


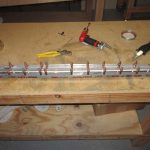
Like every journey starting with the first footstep, I started my journey on the rear spar, like so many others who have gone this way before me.
I worked a solid 2.5 hours tonight. I didn’t want to push myself to do to much in my first session, and really wanted to just dig in and start cleco-ing stuff together to help motivate me.
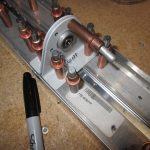
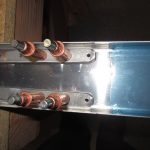
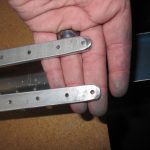
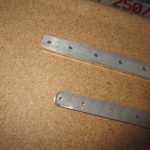
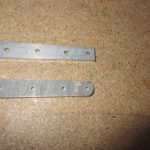
Tonight I completed all the steps for the “Rear Spar” section of the first page on the plans. I found that using my bench grinder with a course wheel made quick work of the thick HS-609PP reinforcement bars. I had to break the edges and then taper the ends off. I rough outlines my shape with a sharpie and used the course wheel to work the metal down to the marks. Once i was happy with the rough shape, I used my file and the scotchbrite wheel to smooth the edges. I really like that scotchbrite wheel, its a great tool.
I am leaving the flat surfaces unfinished for right now, so I highlighted that step in my plans so i don’t miss it. I am going to prime the interior sections with AKZO, and I am going to try to consolidate all my priming so I will leave the surface as is, until priming day.
I made sure to mark that 8th hole on each side where HS-708 will attach so as to not rivet it by accident.
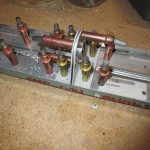
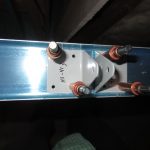
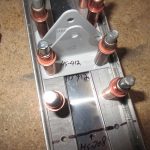
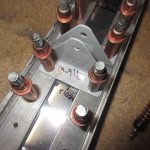
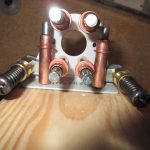
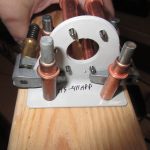
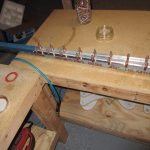
Then I moved on to building the HS-411PP bearing assembly. I actually picked up a good trick from George Ordorffs videos of drilling the VA-146 bearing assembly. I clamped HS-411APP and HS-411-BPP together u
sing cleco clamps. The I clecod those two down to a 2×4 block. I used BPP as a drill guide for APP and clecod to stabilize as I worked my way round. Once it was done, I test fit VA-146 between them and it fit beautifully. Deburr’ed the holes, and then sprayed VA-146 with some rattle can self-etching primer after I gave it a good roughing and cleaning. I will let it sit overnight to dry before riveting this assembly together.


Here is a link to the photos from tonights work: https://goo.gl/photos/Pk6pCY4hnbneTEA17
Hours Worked: 2.5