Riveting The Right Wing Rear Spar

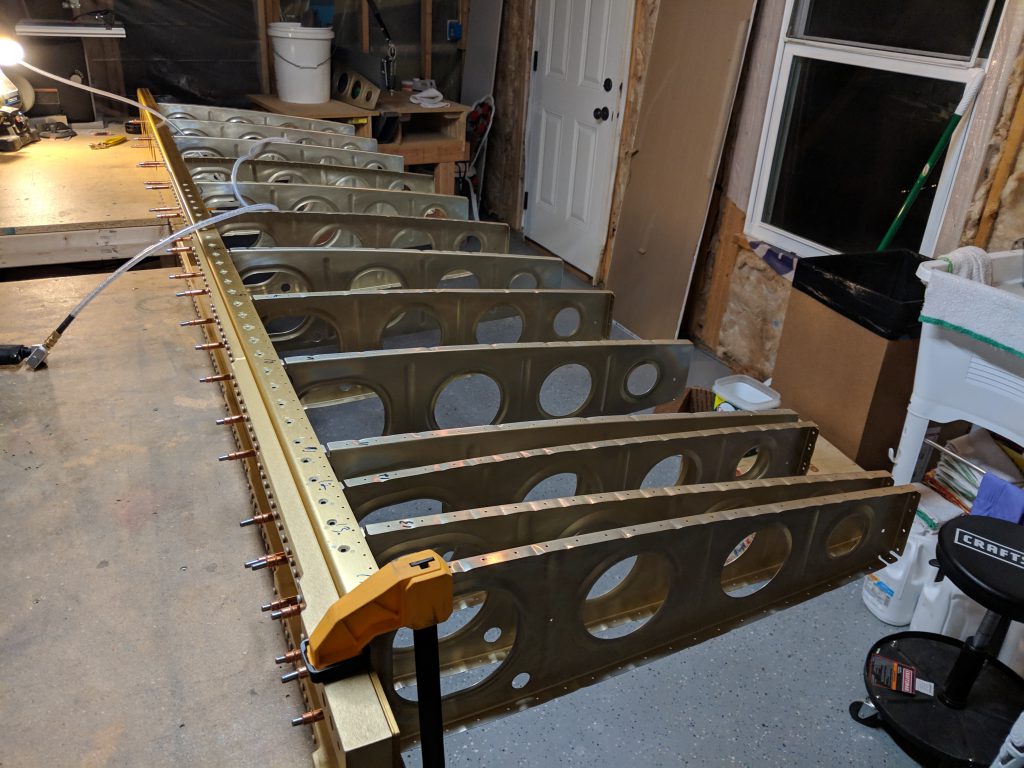
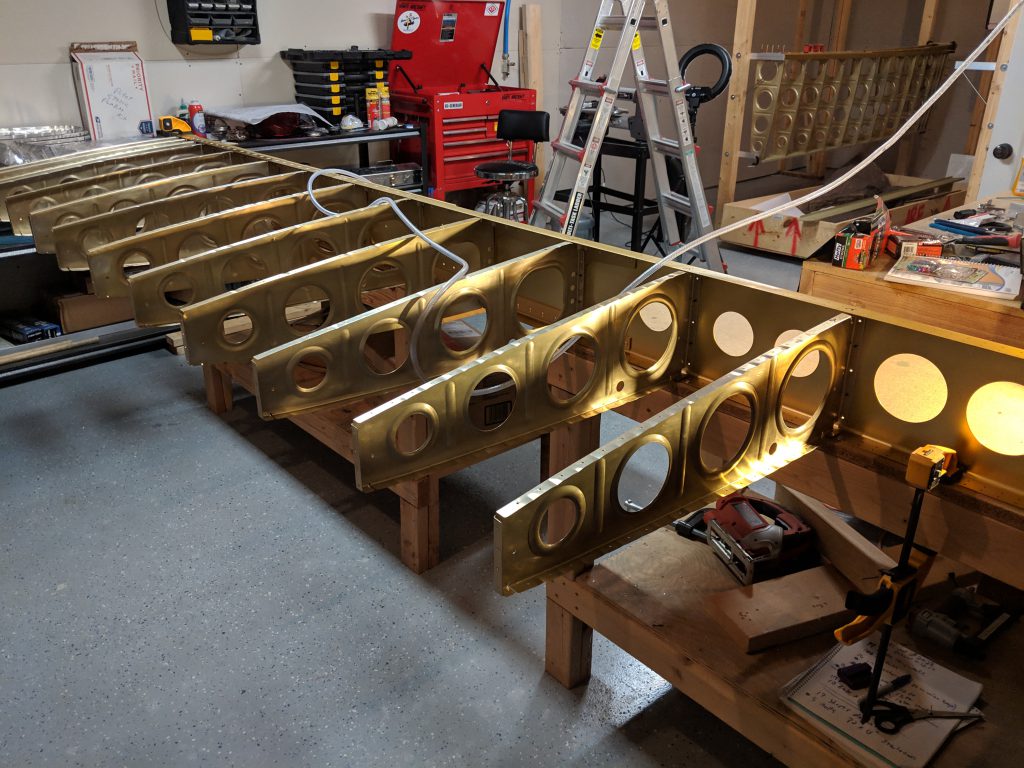
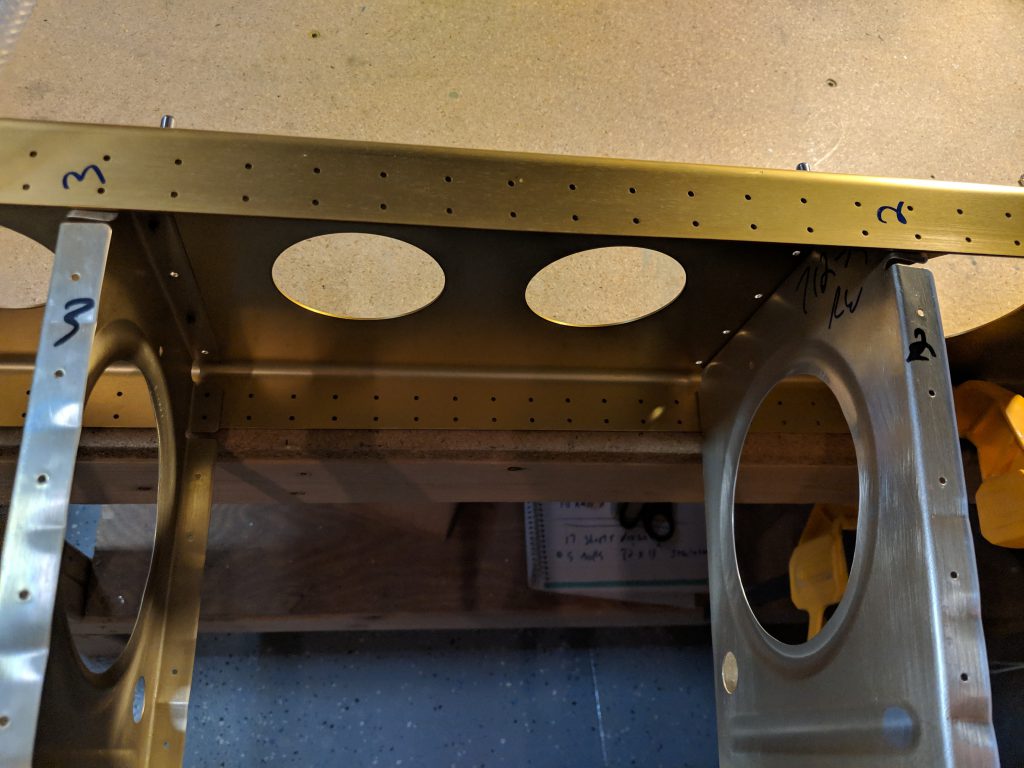
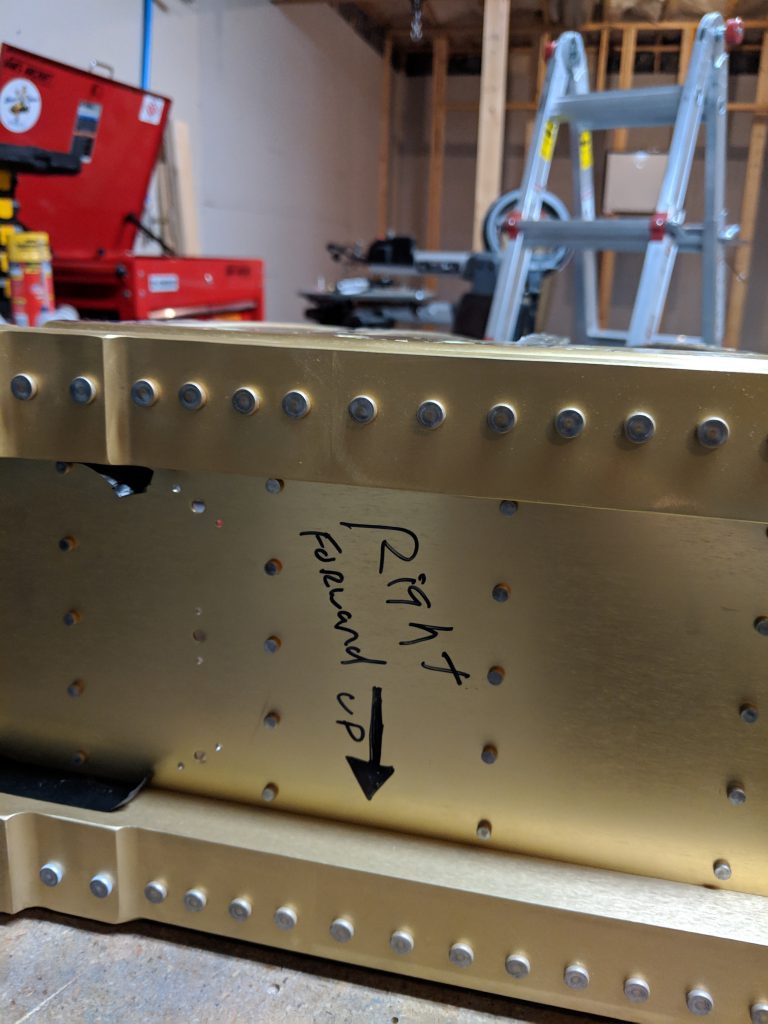
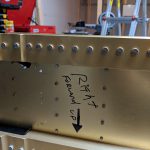
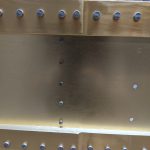
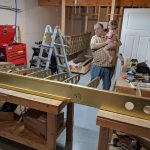
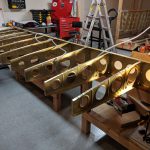
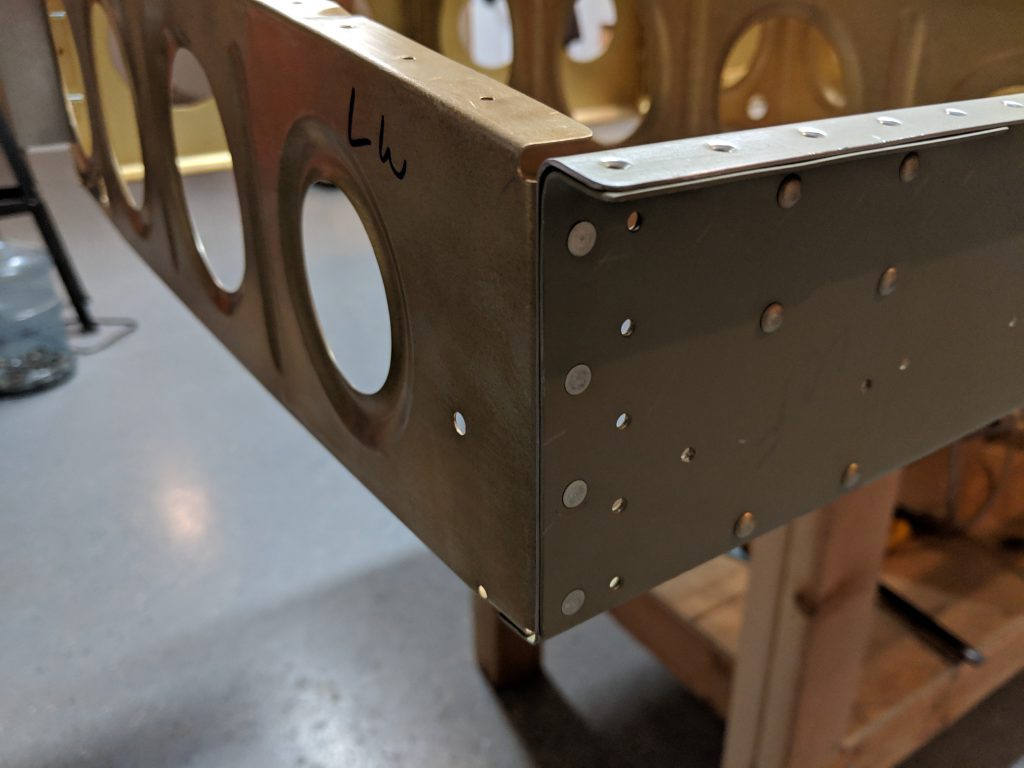
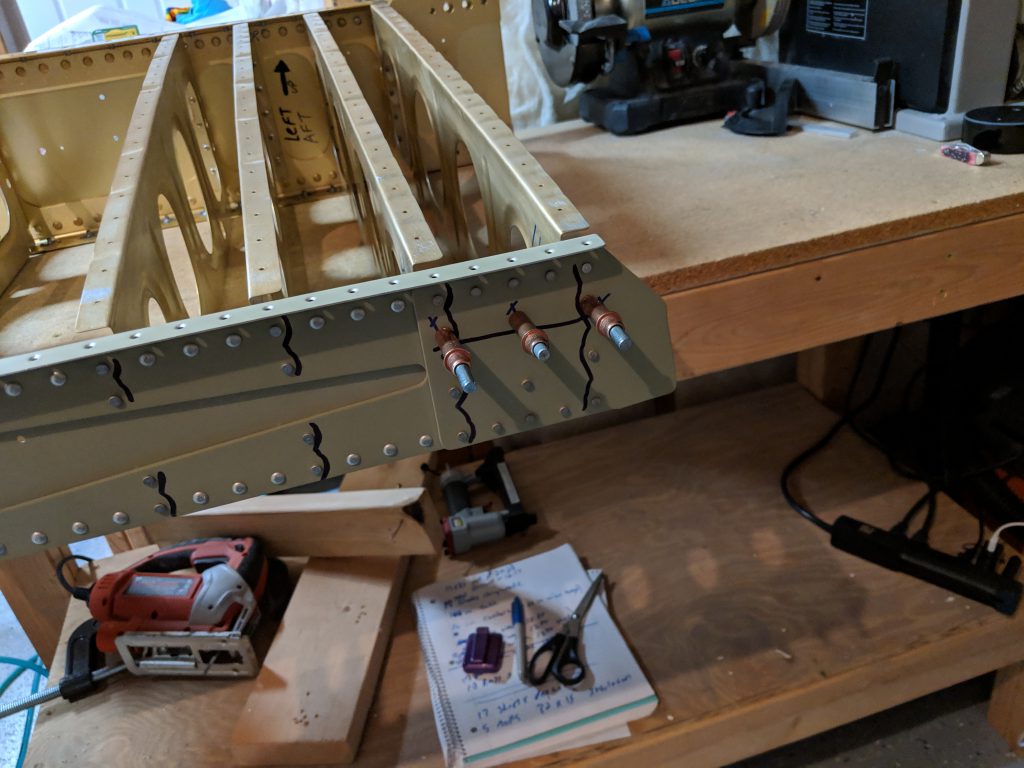
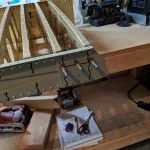
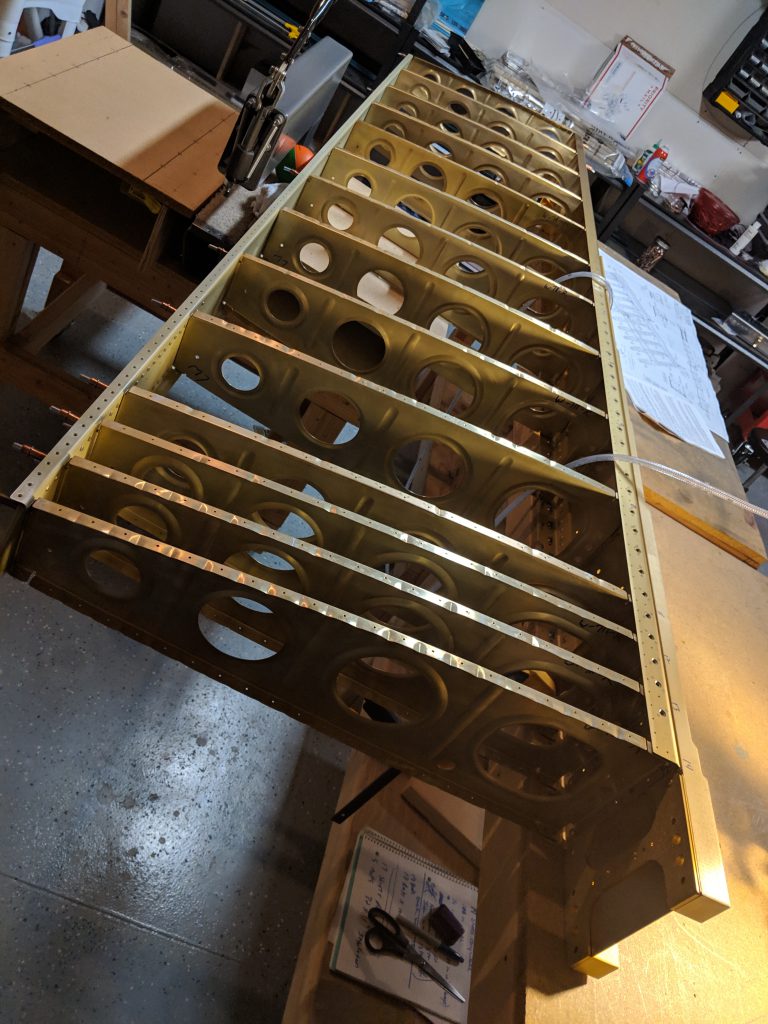
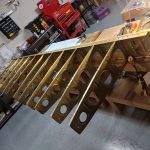
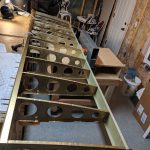
Decent progress tonight! My goal was to get the right wing in its stand so I can start clearing out some space in the shop to work.  I still needed to get the rear spar riveted onto the wing skeleton, so thats where I started.  I clecoed the spar onto the ribs and made sure to note which rivet holes to leave blank as they are used to attach the flap brace and aileron gap seals.  Once I got it clecoed on, I used the Numatx Squeezer to set all the rivets, being very careful to make sure I was using the correct length rivets.  They are all AN470AD4’s but multiple different lengths depending on what all they went through.  This squeezer made quick work of them!

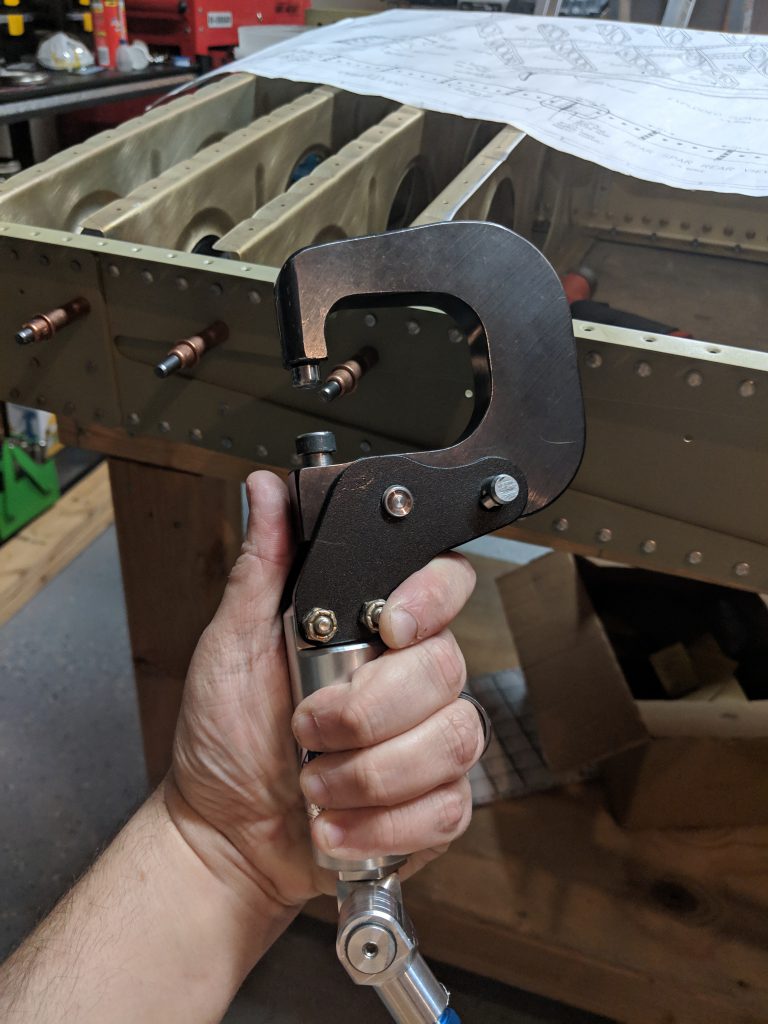
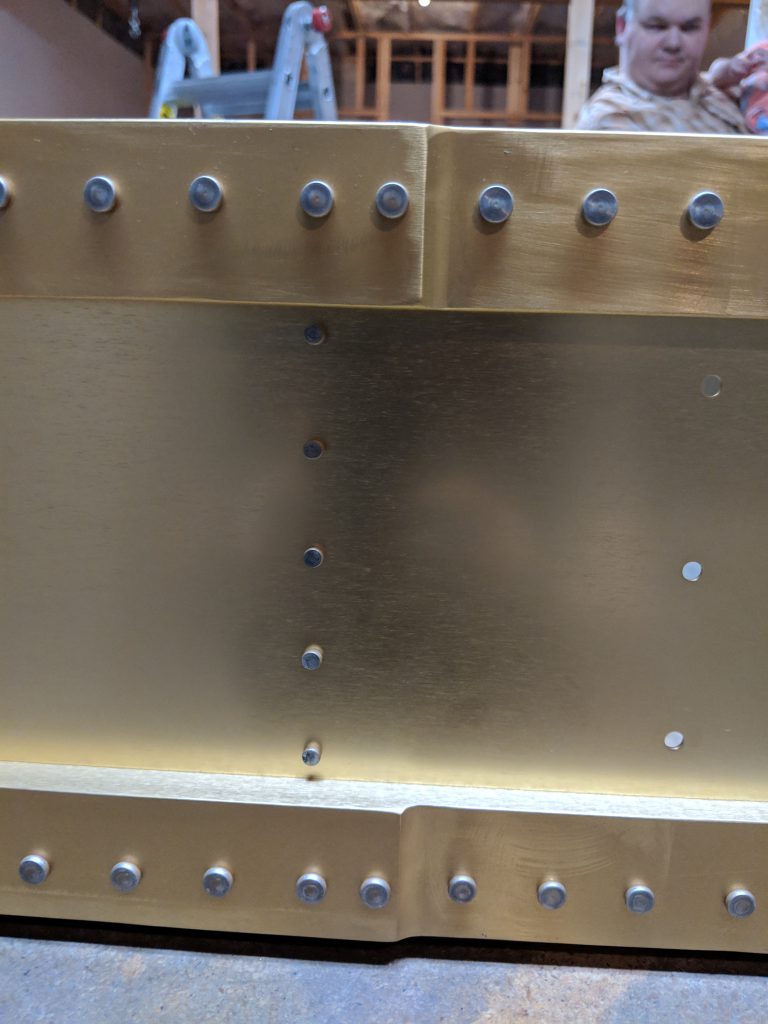
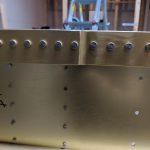
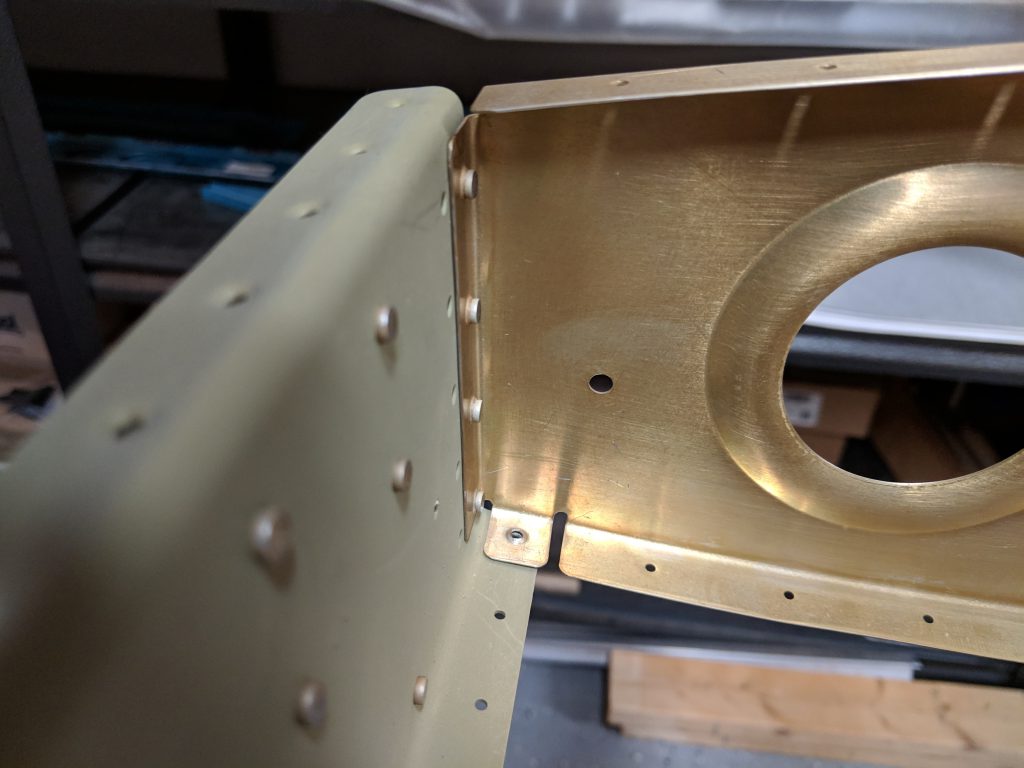
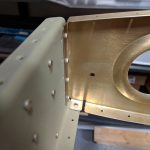
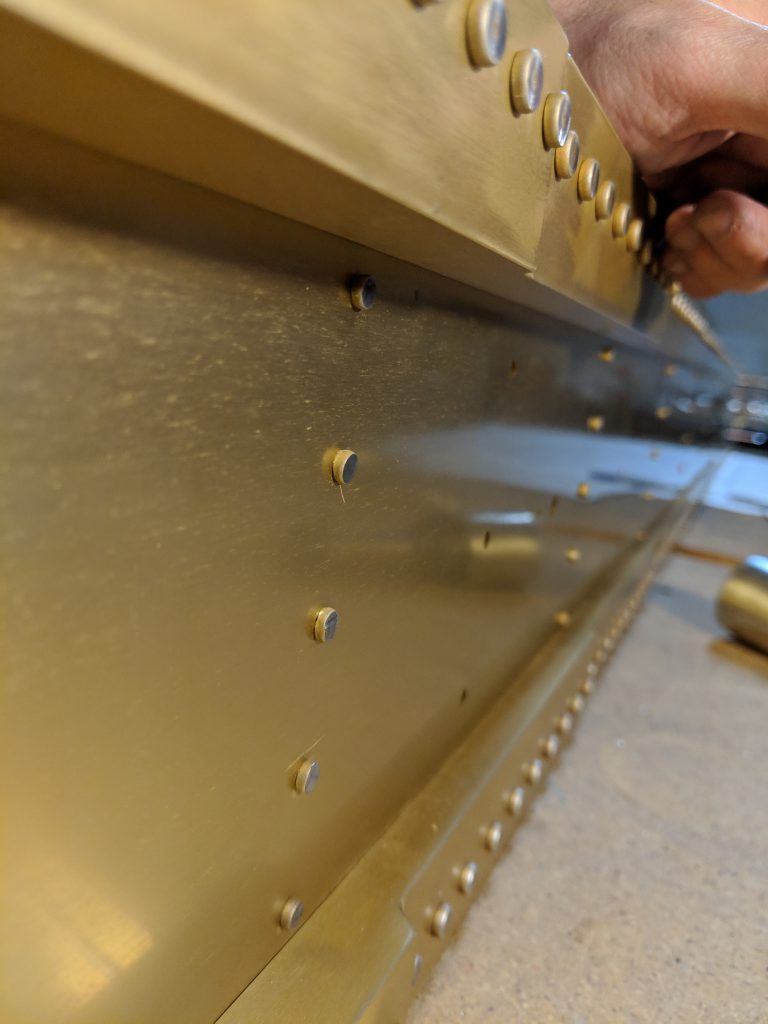
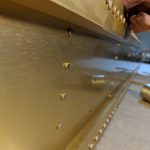
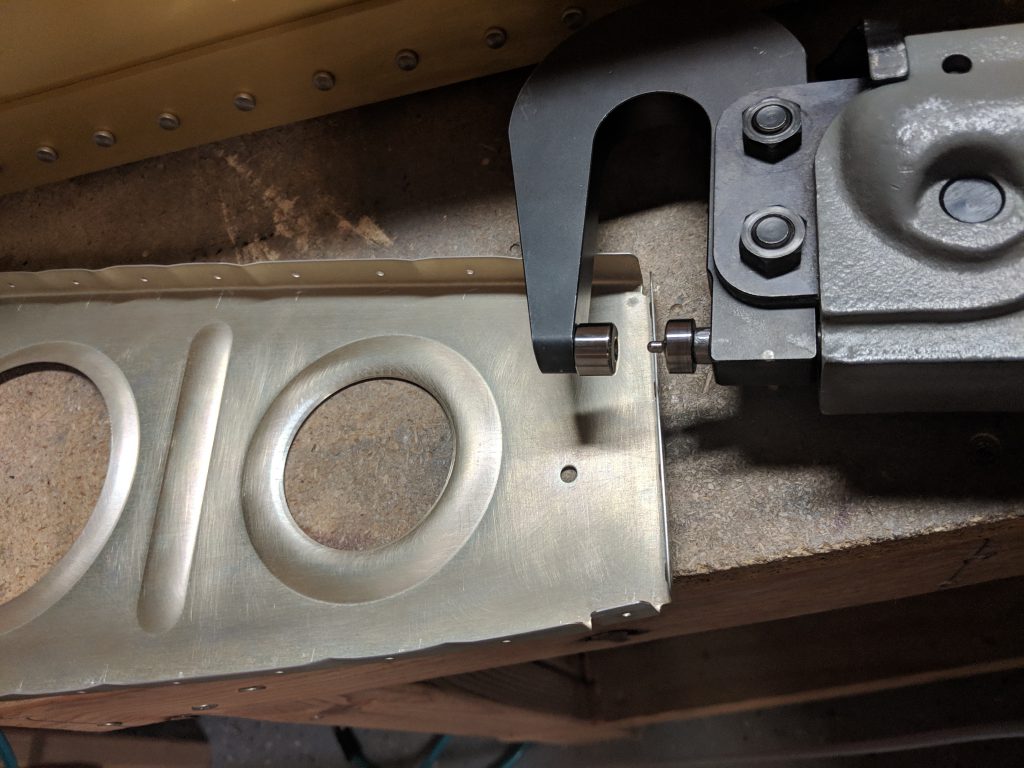
Finally I had to dimple the few holes in the aft side of the wing tip rib so I could get the dimpled spar to sit nice and flush.  We need to use some AN426AD4-5 rivets flush rivets in these holes because the aileron mounting bracket will rivet over top of them.  I used my old pneumatic squeezer to get them dimpled. Here’s the squeezer dimpling the rib, and the next photos show the rivets nice and flushly squeezed.

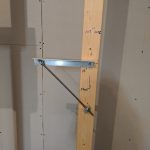
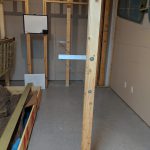
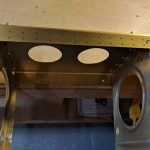
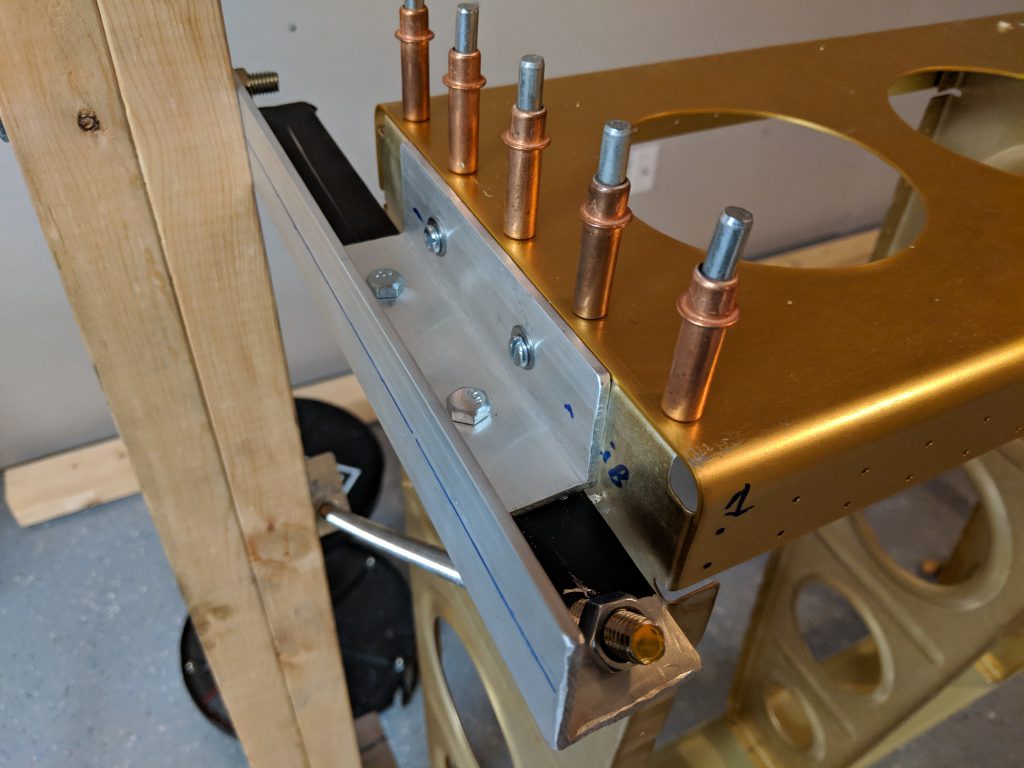
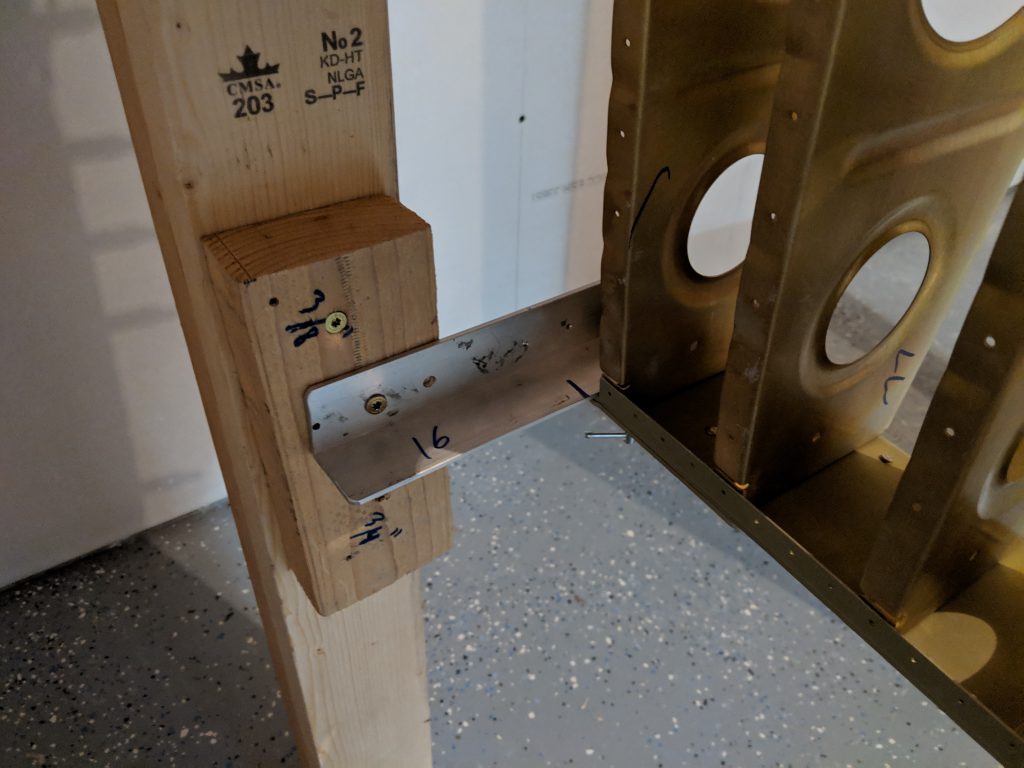
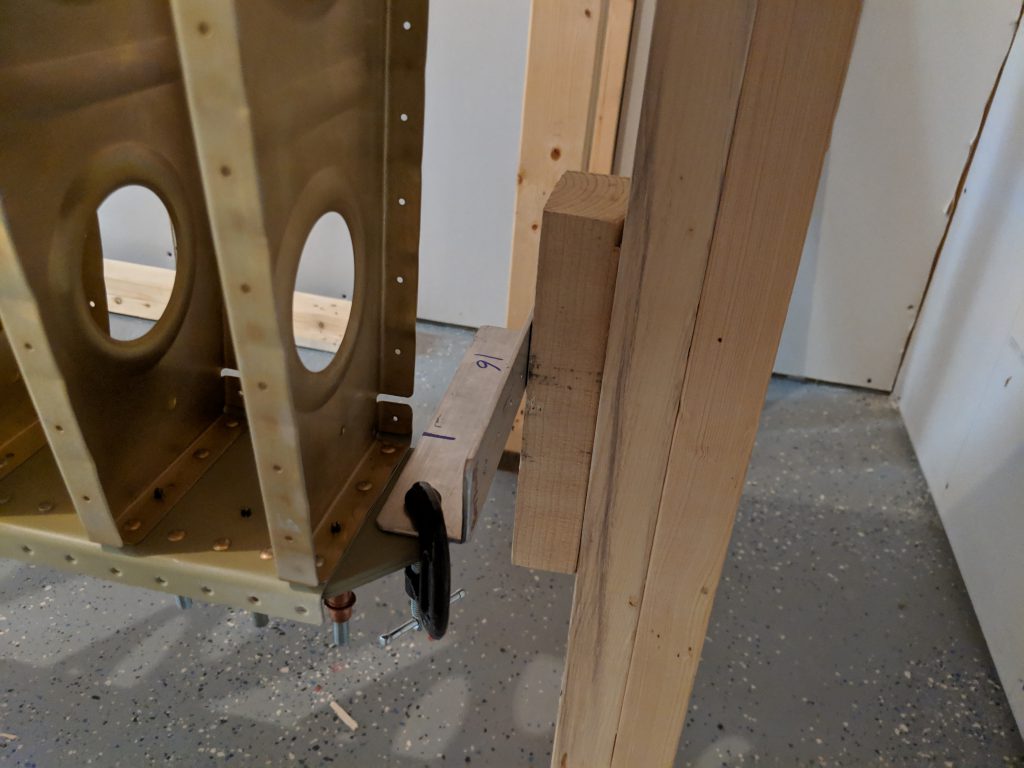
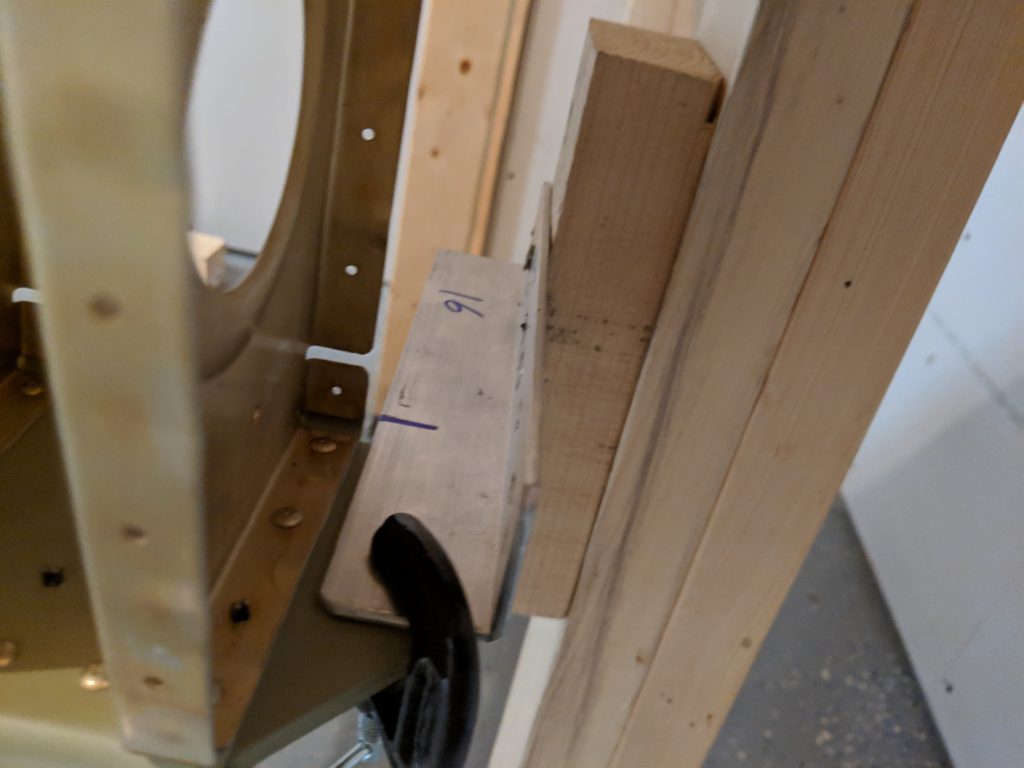
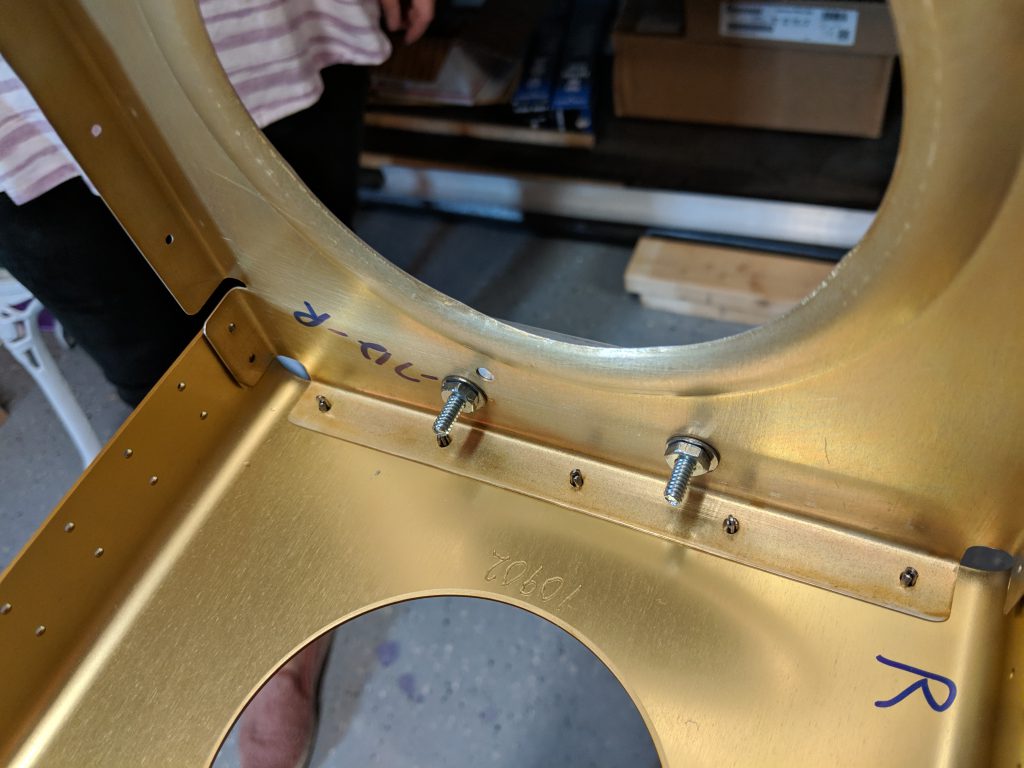
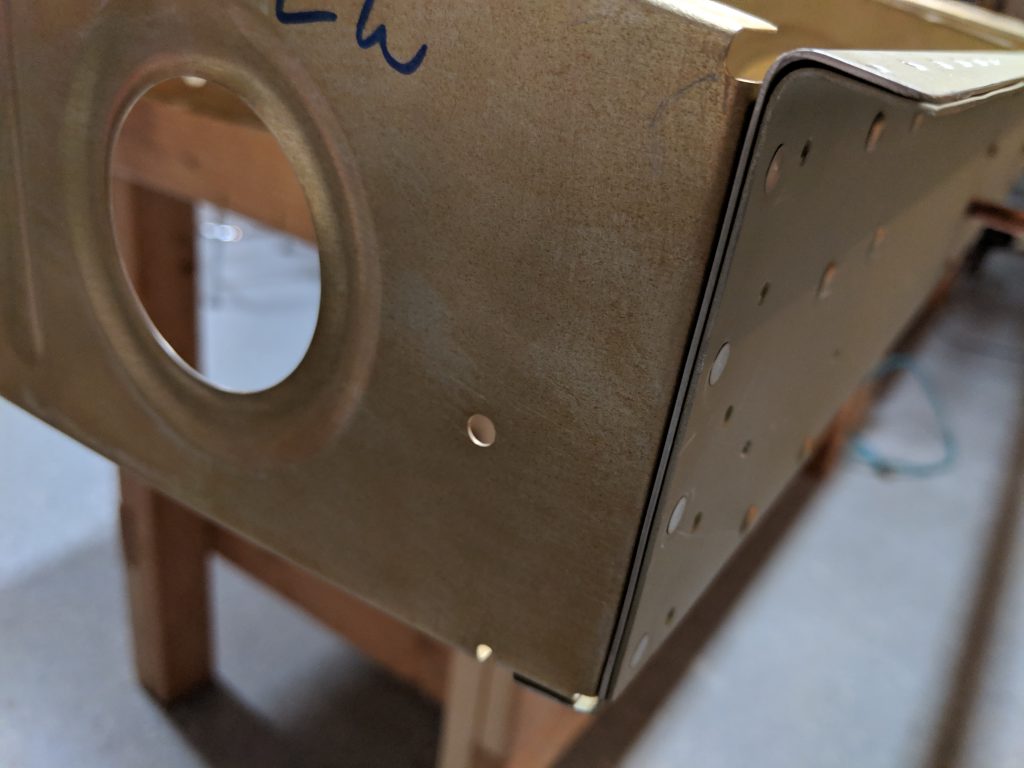
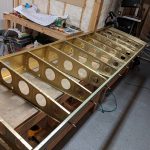
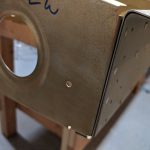
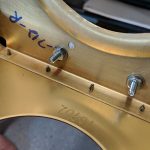
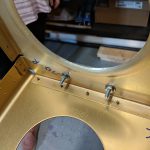
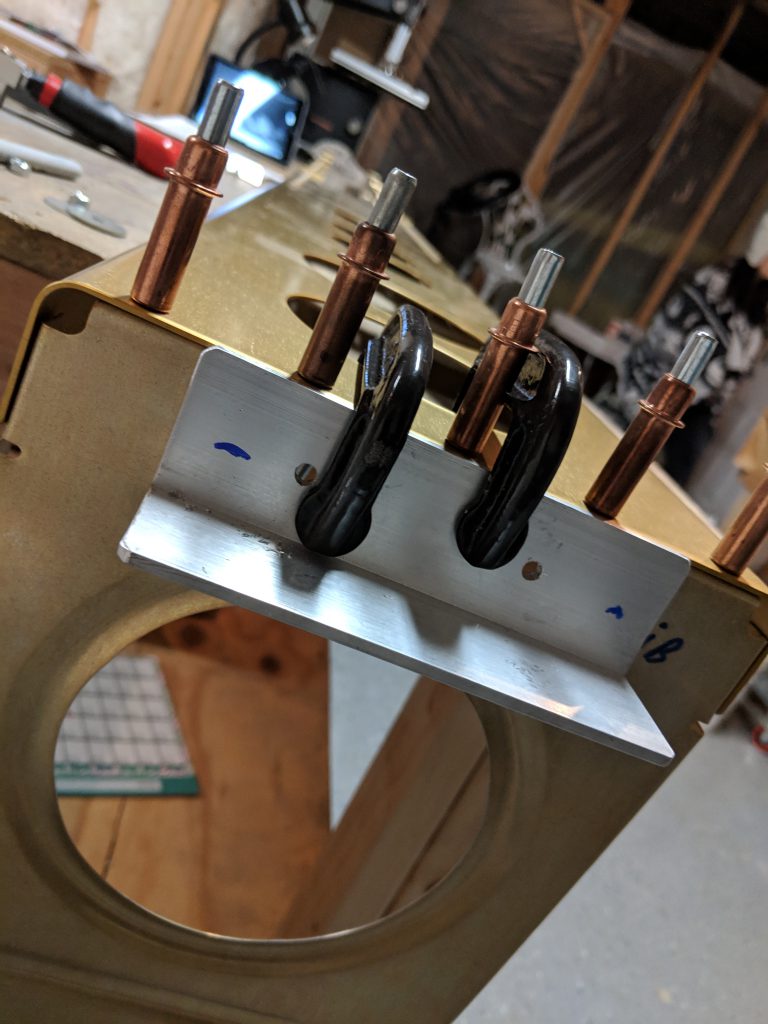
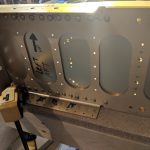
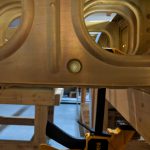
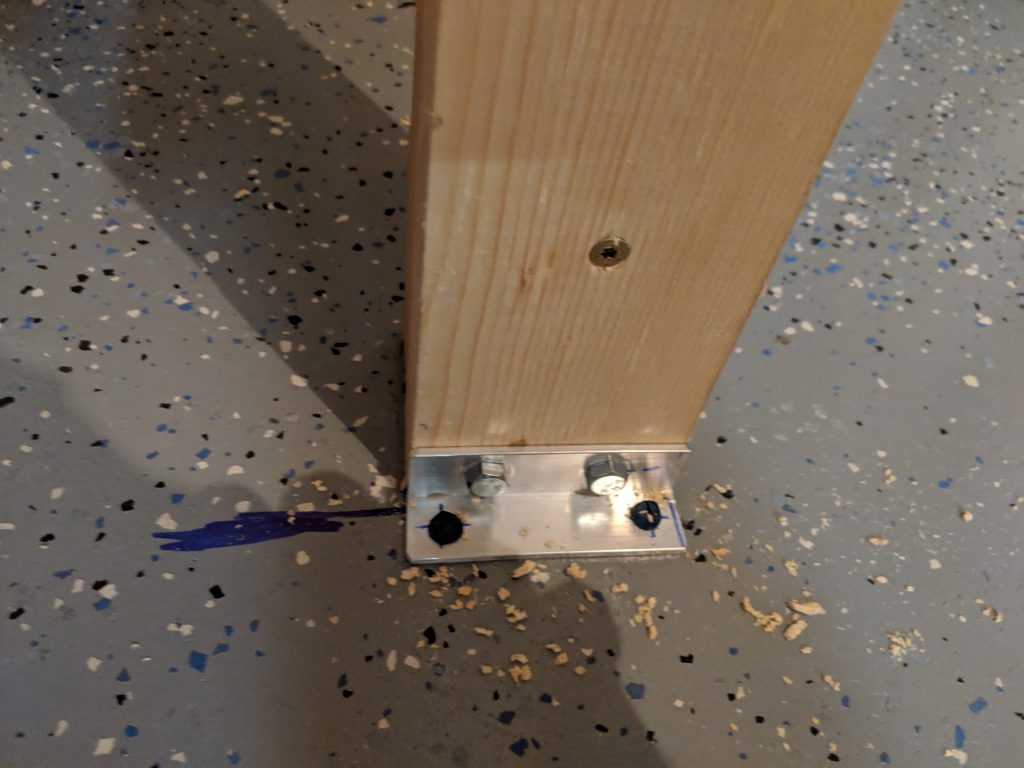
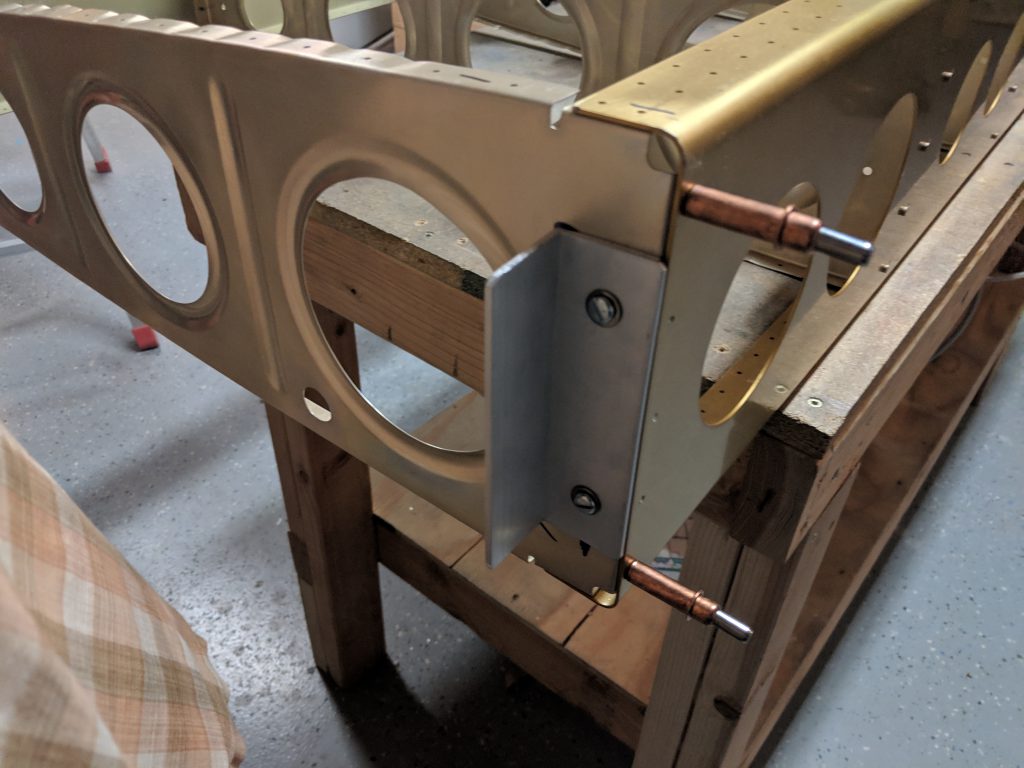
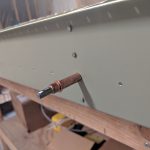
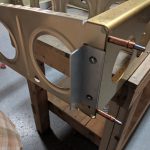
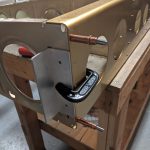
We don’t rivet the wing tip rib to the main spar just yet, so I clecoed it in place and drilled some holes for the angle aluminum bracket I use to hold the main spar in the wing stand, all per Vans recommendations in the plans.  I used some #10 screws in this angle aluminum and we need to back drill the holes into the rib.

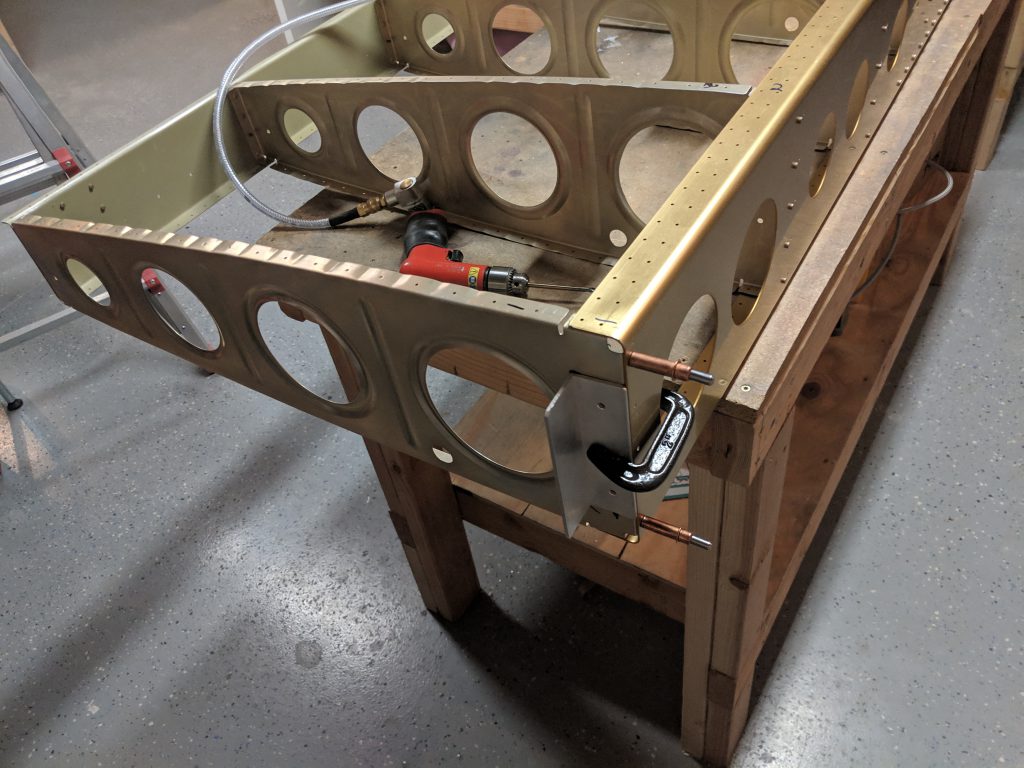
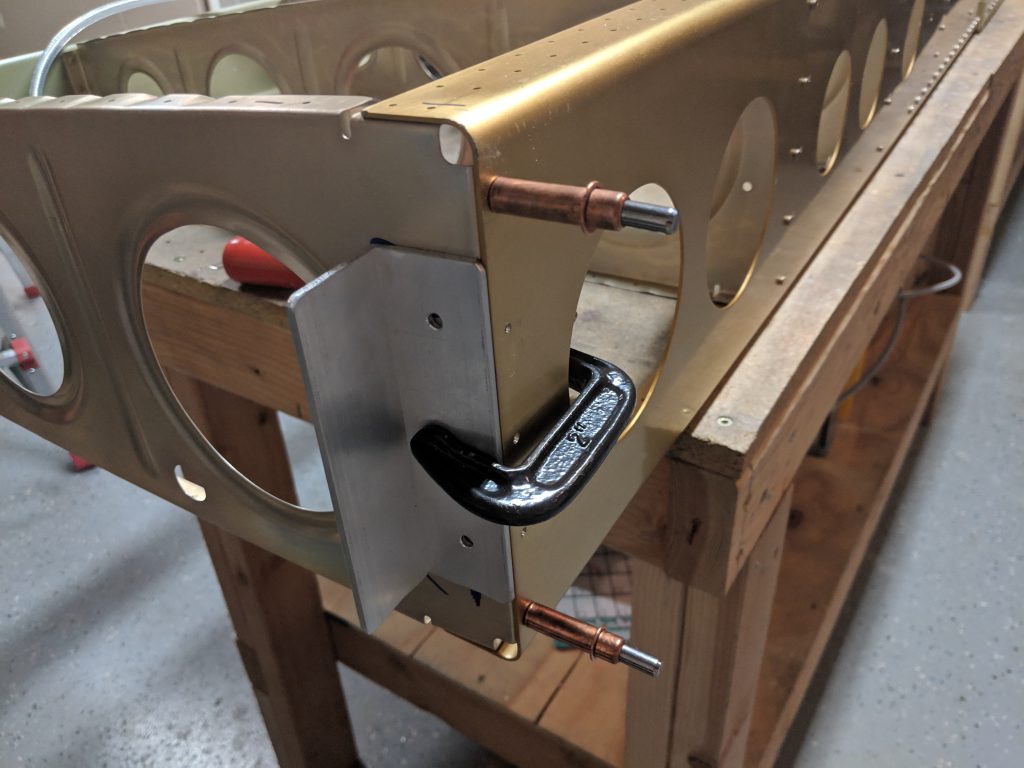
I drilled the holes into the rib, and attached the bracket with some #10 screws, washers (both sides) and nuts.  They don’t need much torque to do their job.  With that completed, the wing is pretty much ready to be secured into the stand!

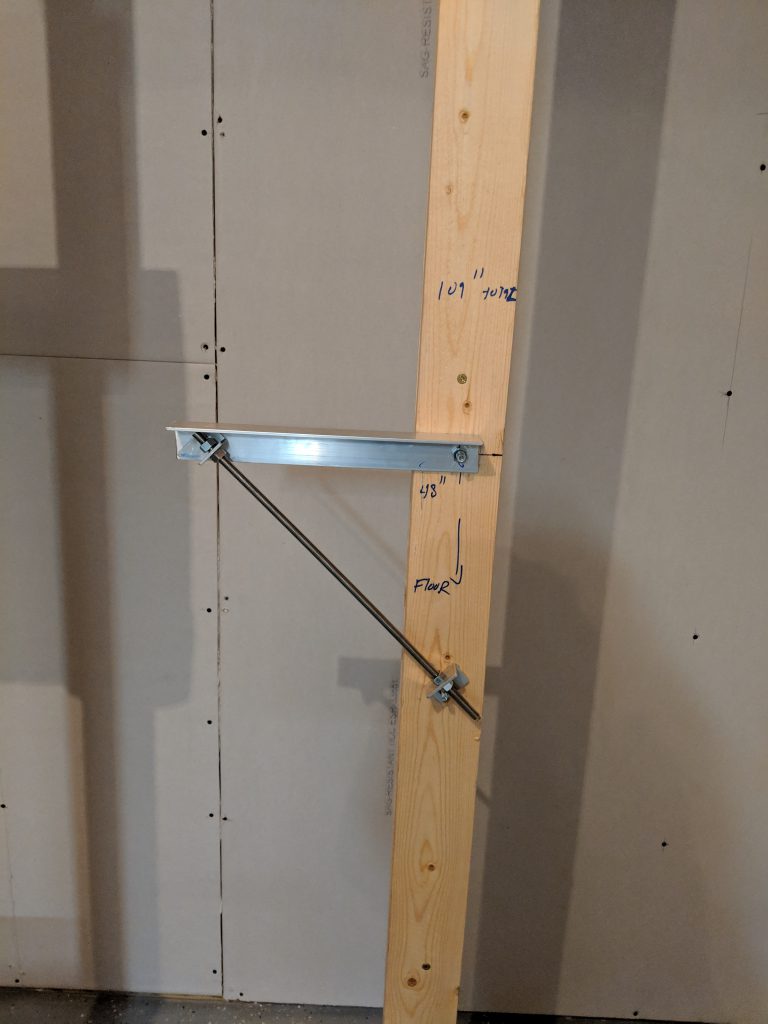
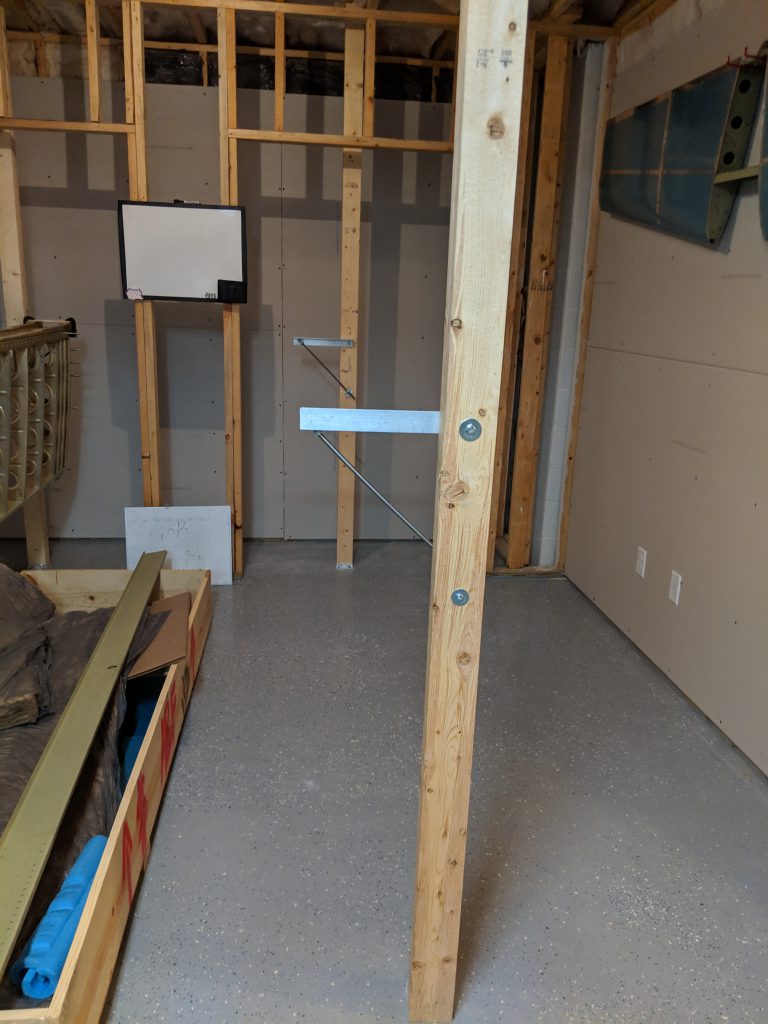
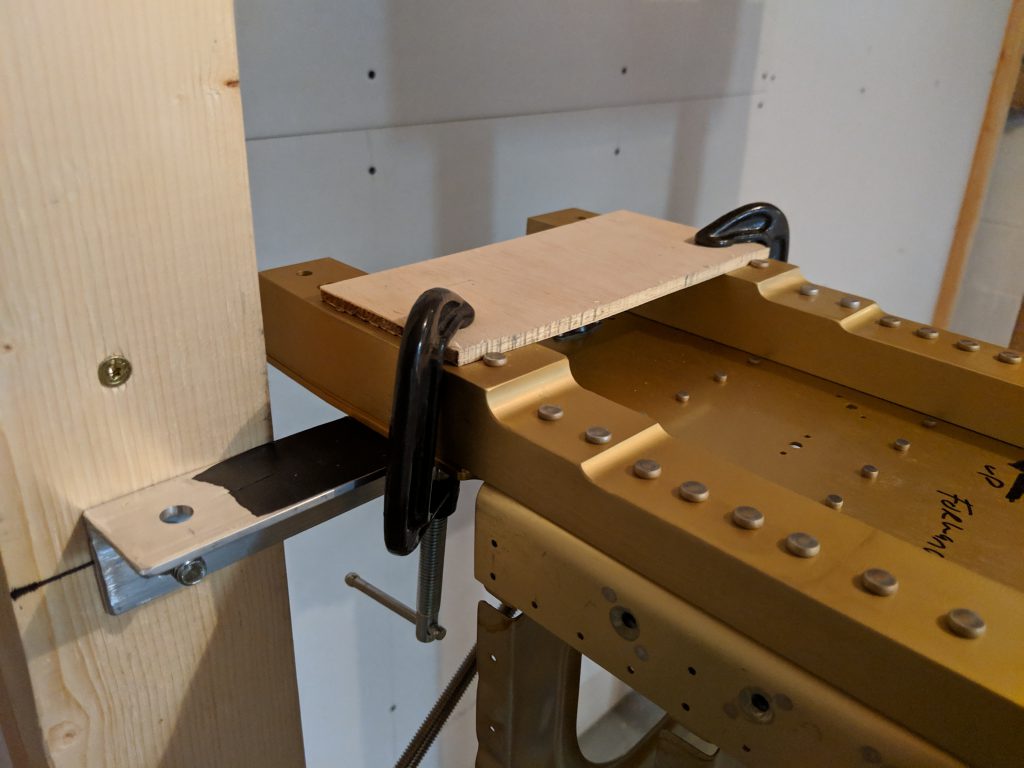
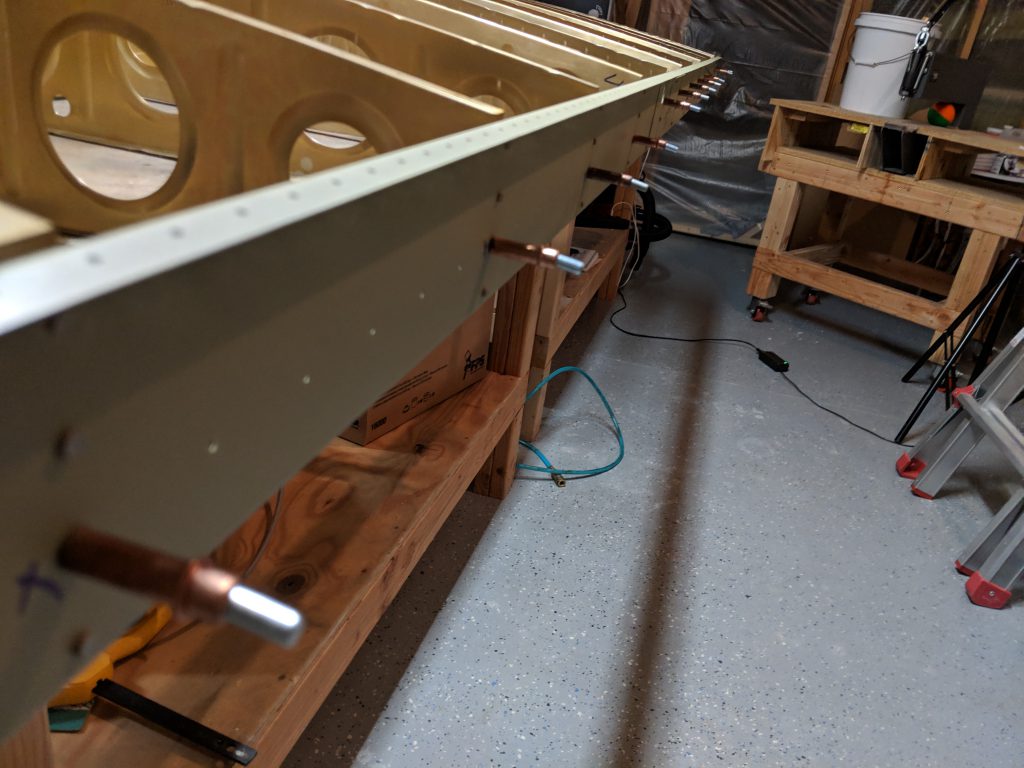
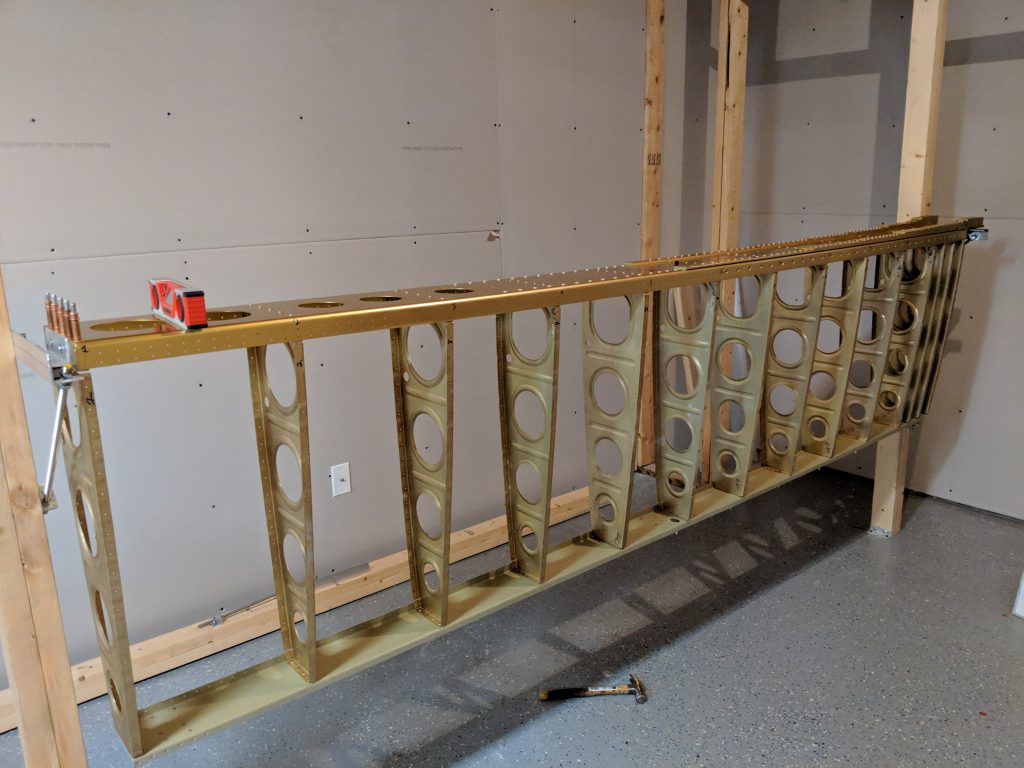
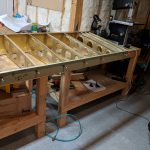
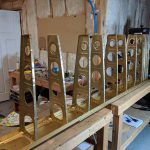
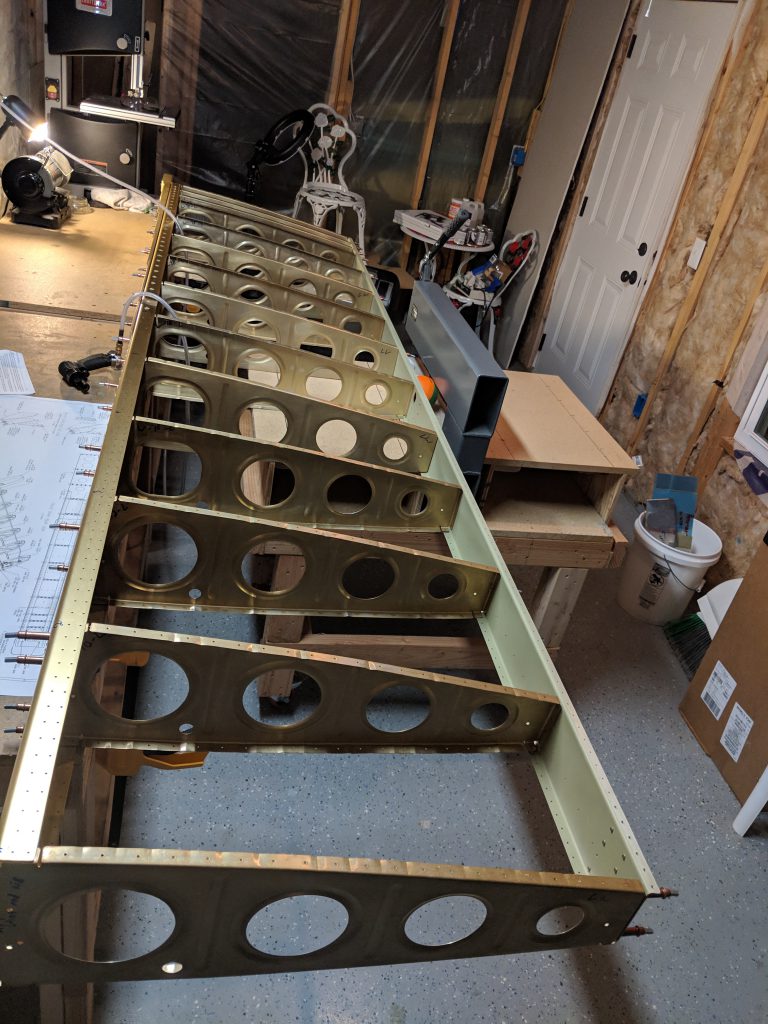
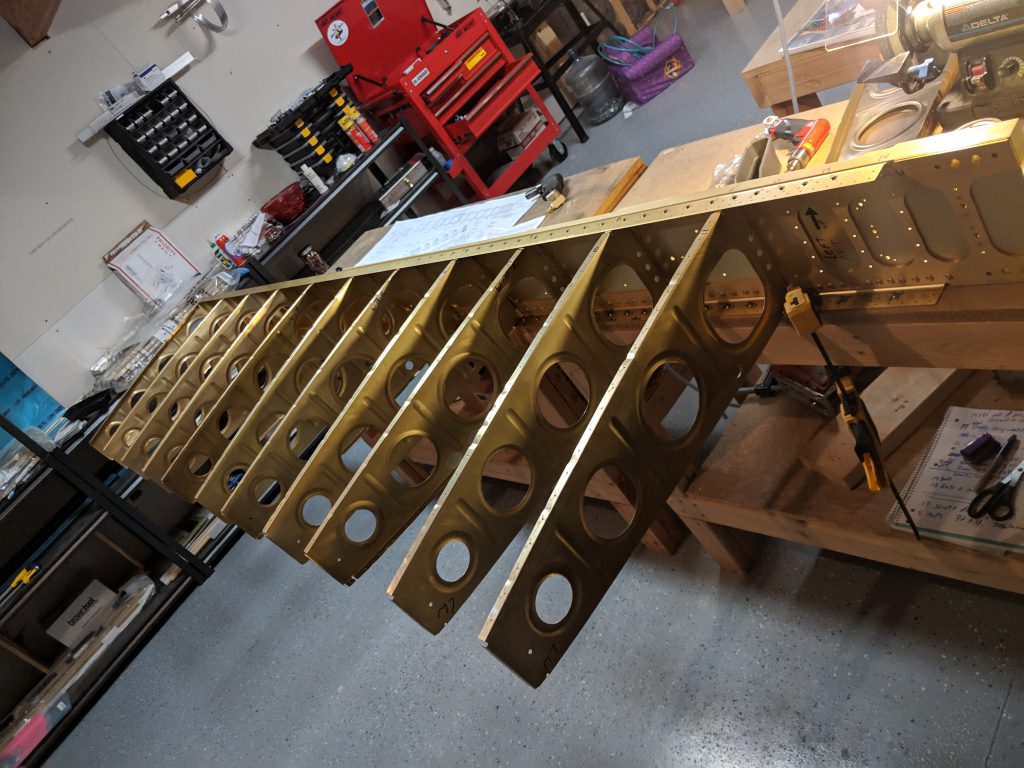
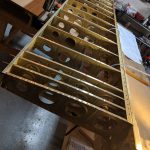
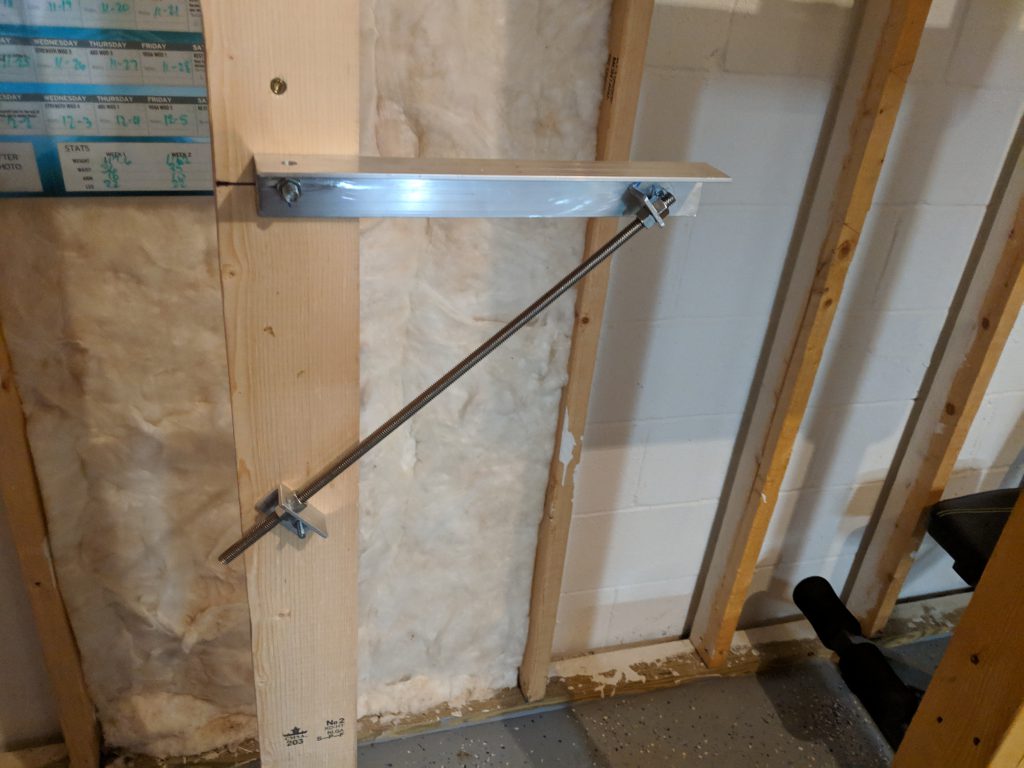
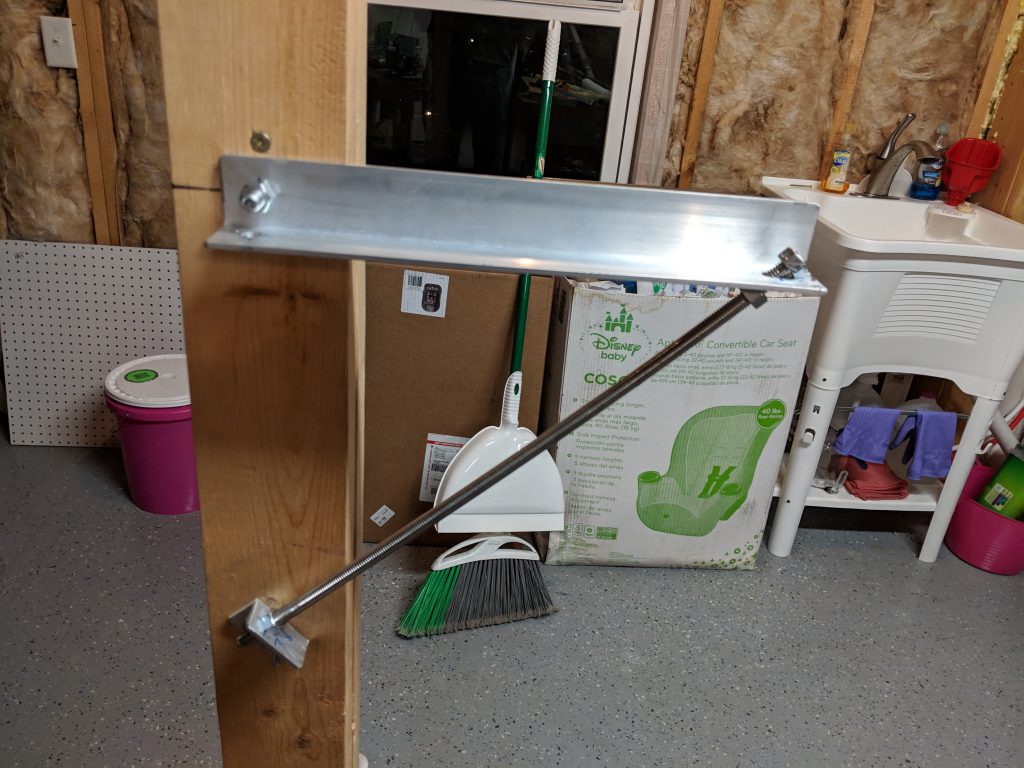
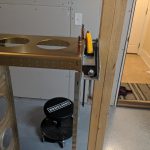
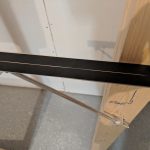
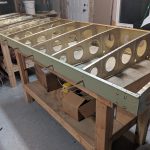
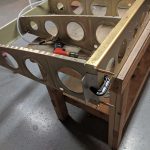
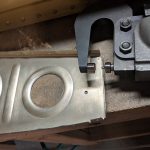
Now its time to get the wing stand ready.  I did one last level checks on the brackets, and then stuck some electrical tape on the brackets to help protect the main spar from scratches.  Then I moved the wings over to the stand and got them somewhat squared up.


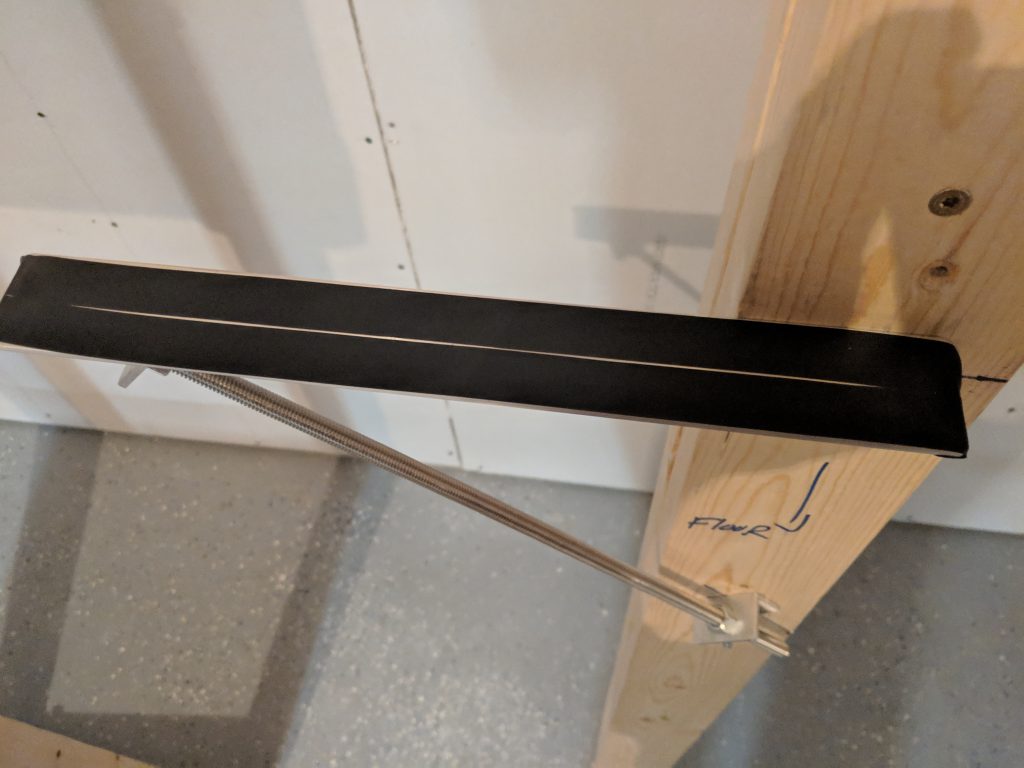
Some electrical tape placed on the wing stand brackets to protect from scratches.

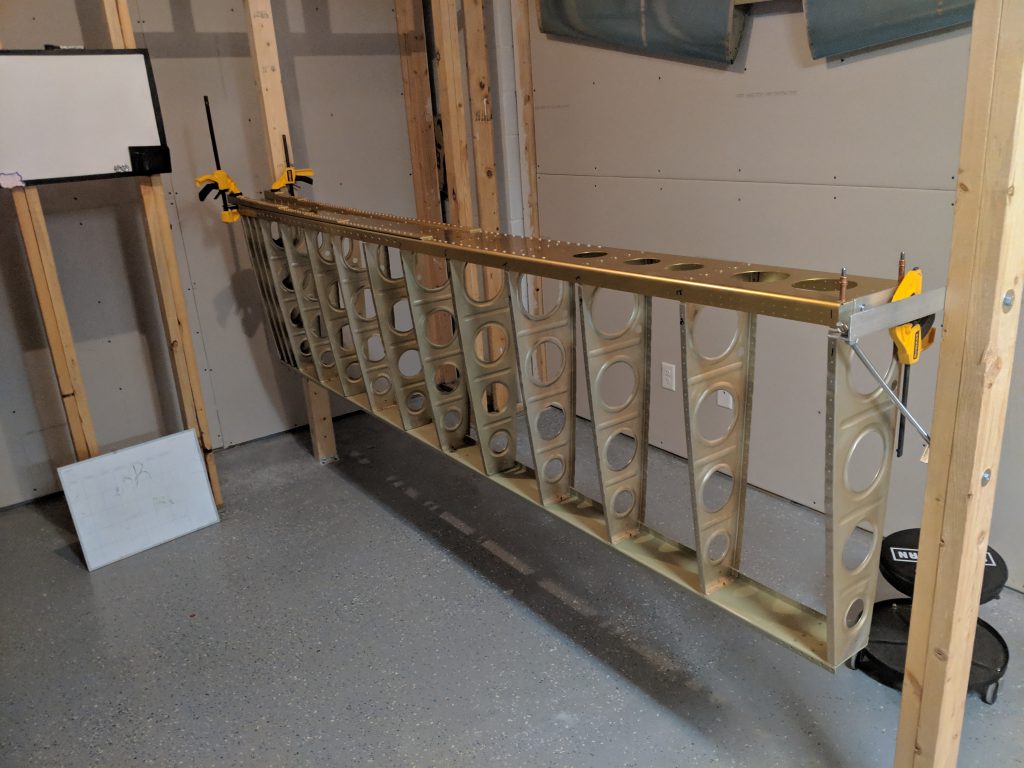
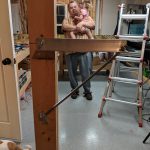
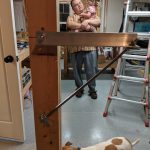
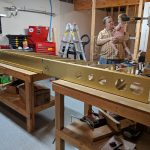
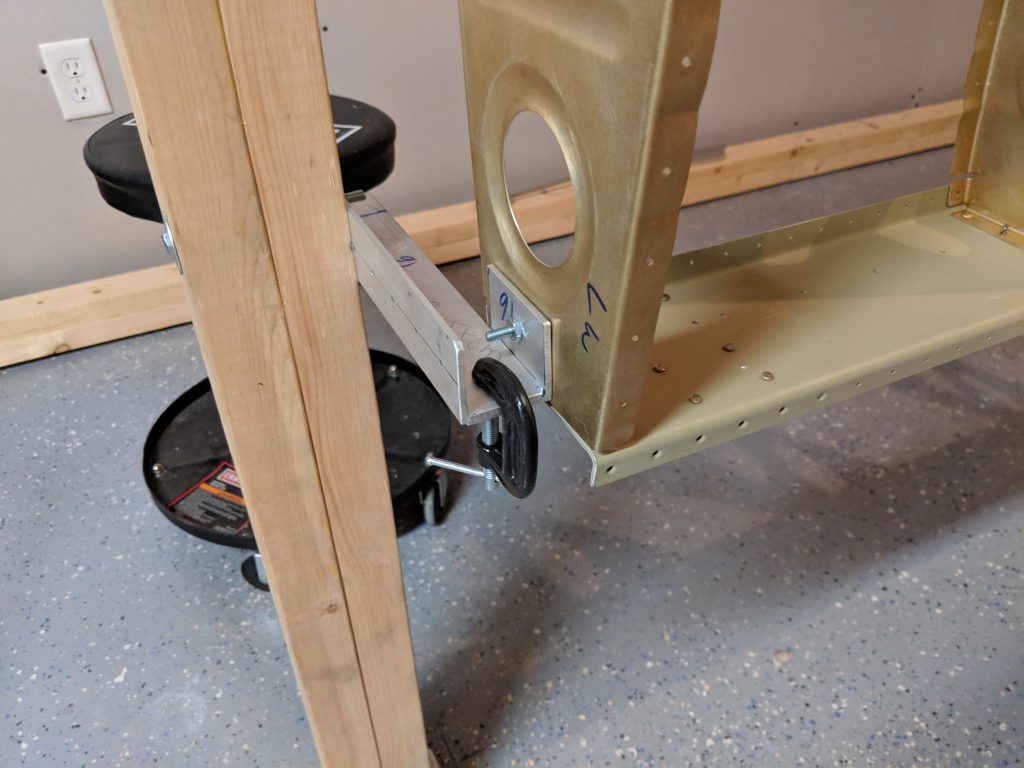
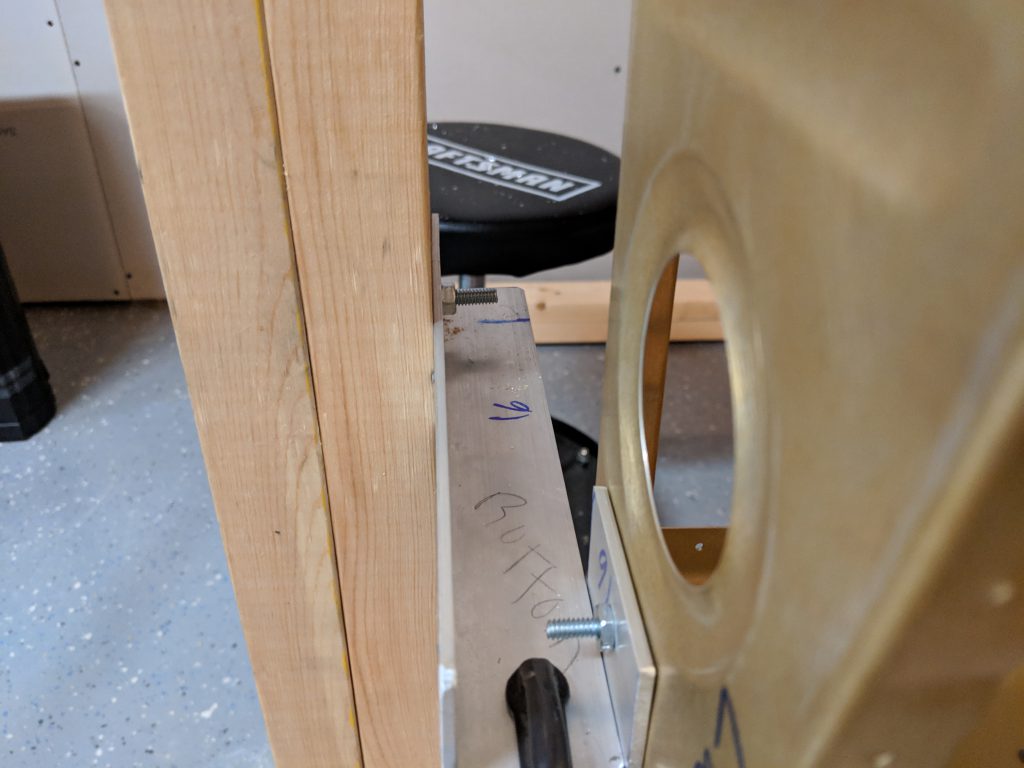
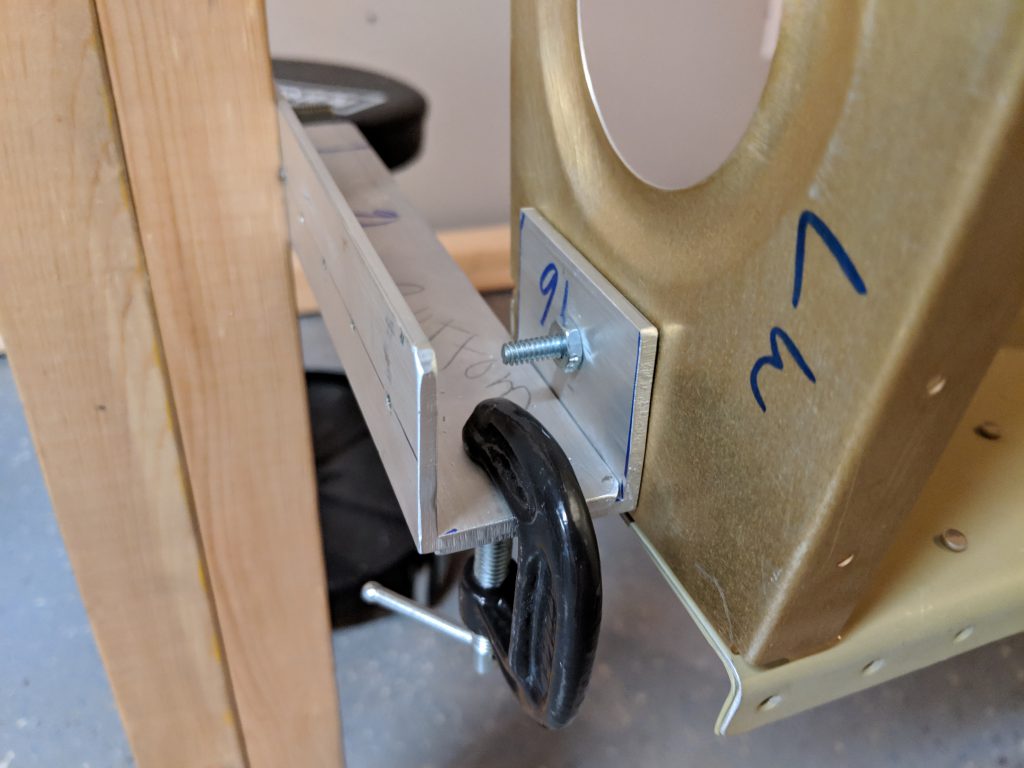
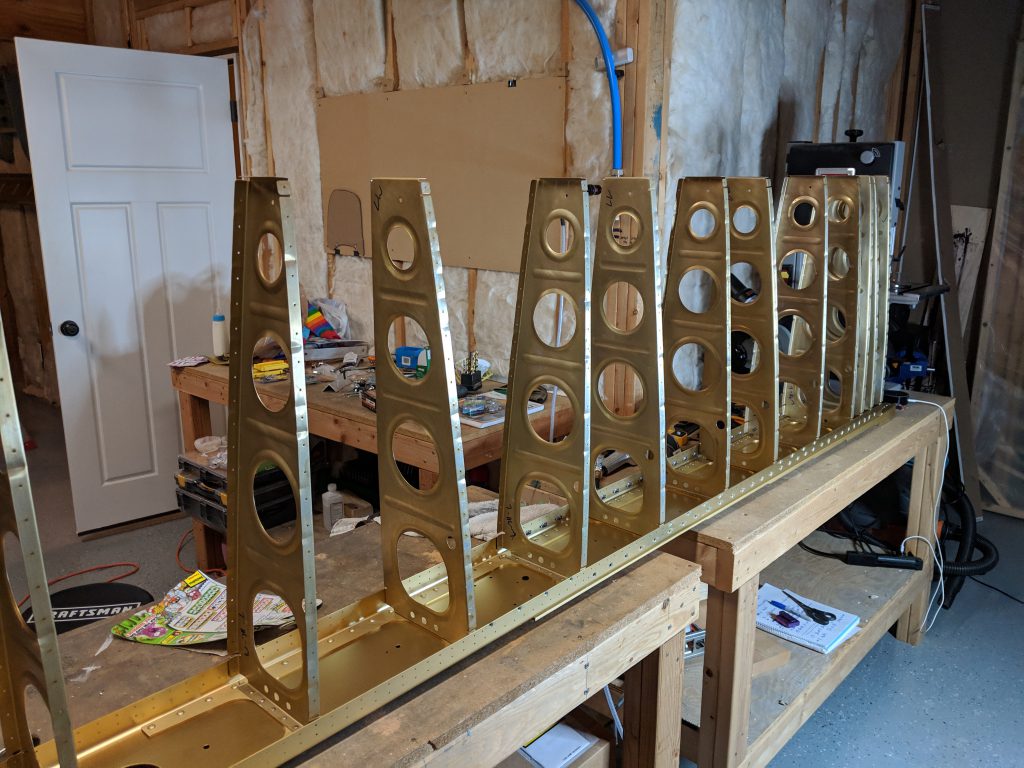
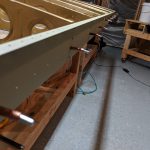
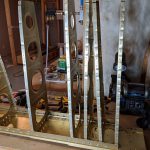
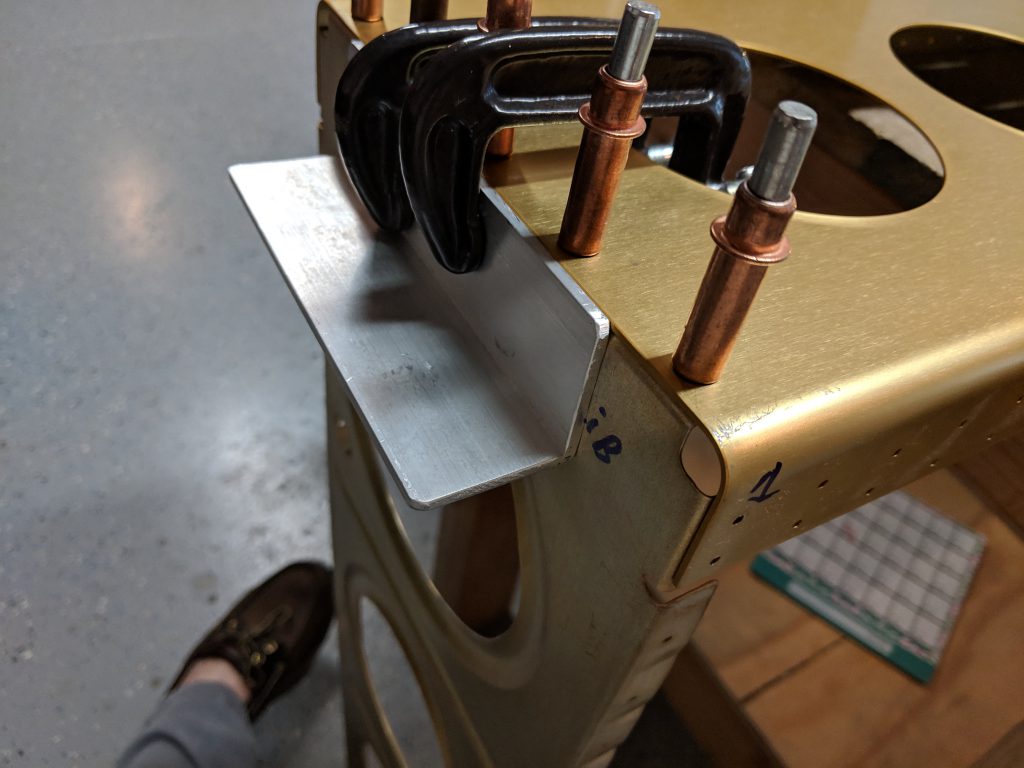
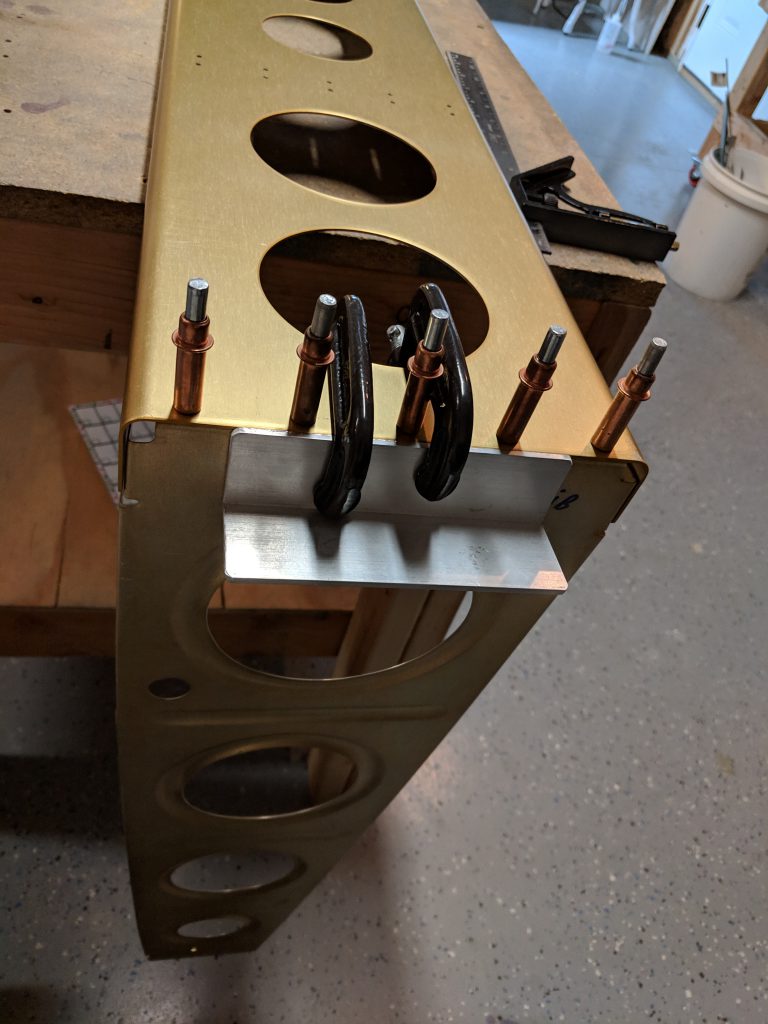
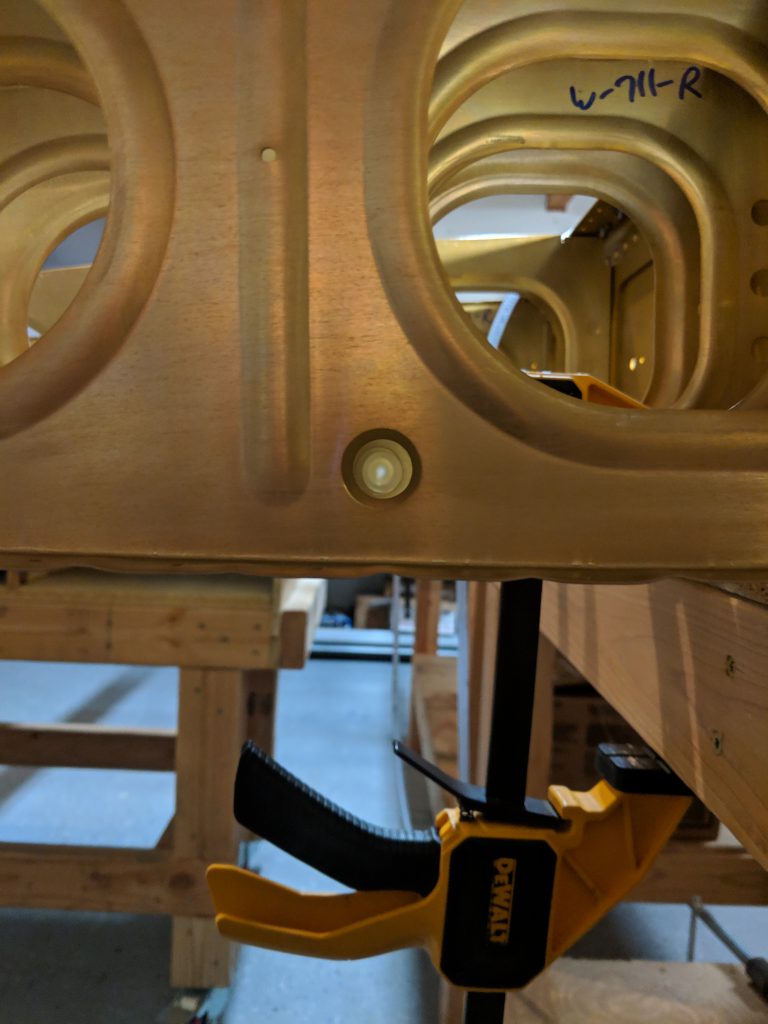
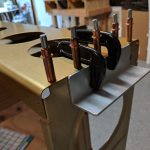
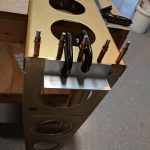
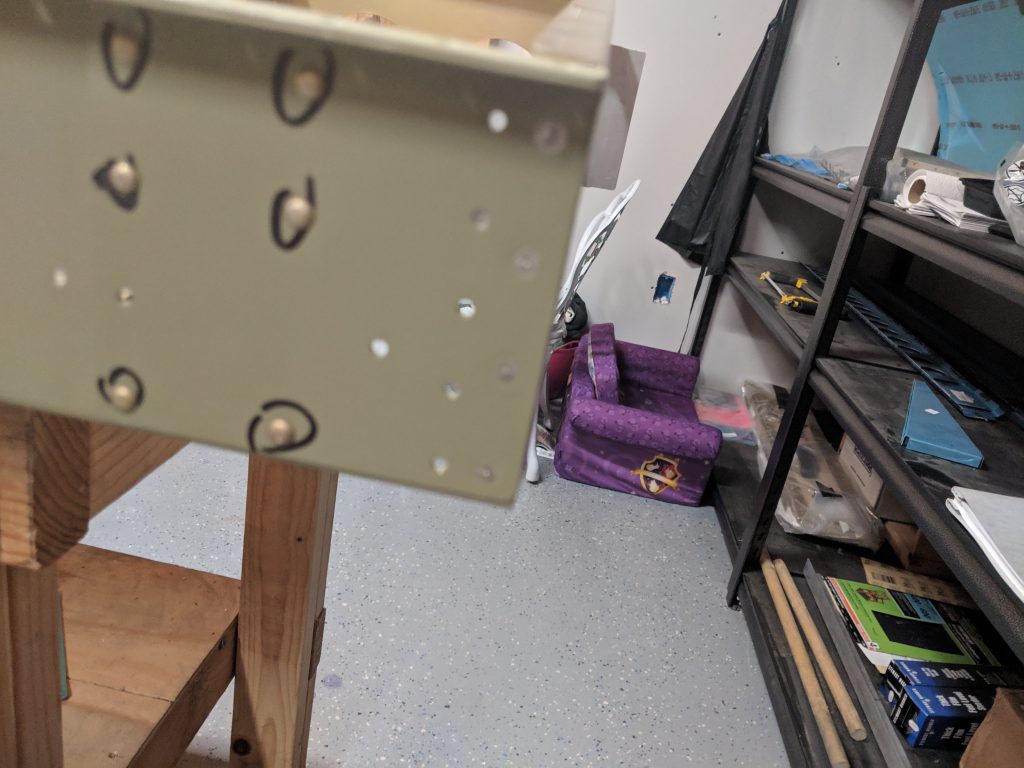
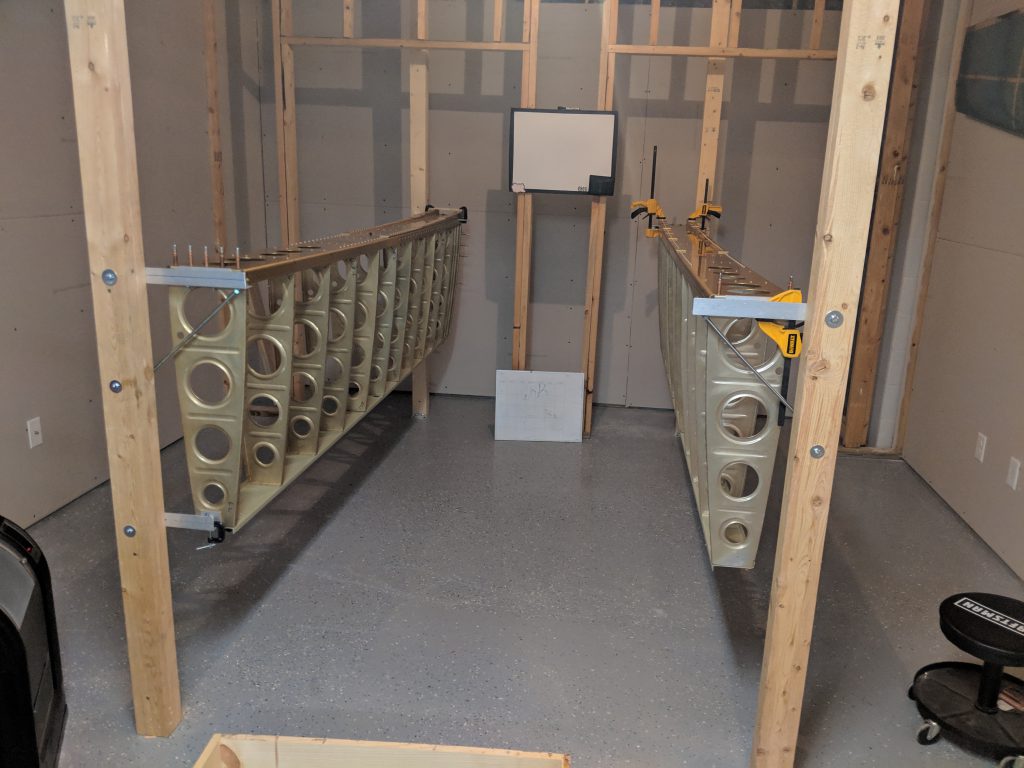
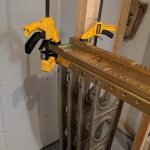
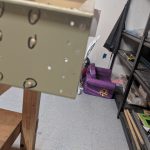
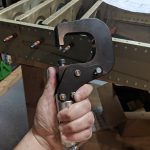
Now, this is when I realize that I do not have any more 2″ or 1″ C-clamps to secure the wings into the stands, so I just had to make do for now….I used some wood clamps to temporarily secure the wing into the stand to keep it safe.  I’ll make a Harbor Freight run to pick up some C-clamps and some bottle jacks to place underneath the middle of the wings to keep them from sagging.  But, now they are both safely in the stands I can get my workshop cleaned up and organized a bit better.

Here’s all the photos from tonights session:

Google Photos Link: https://photos.app.goo.gl/2xQ3q1HhGsNeP24X7

Hours Worked: 2 hours

Riveting the Right Wing Ribs

Well, time to get back to work.  After passing my checkride, I have decided to get back to work on the RV-7.  I need to get the right wing stand finished up and the right wing mounted in to it, then I can free up some space in the shop and start on my tanks.  I started by mounting the posts for the right wing stand to the ceiling joists and bolting them in to the concrete the same way I did for the left stand.  For the details, see that post here.  Once I had the mounts plumb and square, I bolted on the wing stand hardware and got it all leveled up.

The wing stand is ready for the wing! Given that didn’t take as long as what I had thought, I decided to press on and do some more work.  The next step was to get the ribs riveted on to the main spar.  Just like the left wing, this starts out by laying out all the ribs, and then making sure I get them in the right stations.  The odd thing is since the plans are only for the left wing, we have to transpose everything for the right, but its easy enough.  Once I had all the ribs laid out and confirmed, I clecoed them on to the main spar and then clecoed on the rear spar to make sure everything lined up correctly.

Once I was happy all things were lined up and right, I numbered the ribs to their appropriate stations and removed them to make it easier to rivet them one by one.  My big butt wont fit between the little gaps 🙂

I started on the outboard end and worked my way inboard riveting with the manufactured head on the rib side and making sure to pay attention to the rivet callouts as the size changes as we progress inboard. Even after several hundred hours of building and several hundred (thousands?) of rivets set, I still like to check each one with a rivet gauge to make sure its good and proper.  I only had 3 or 4 that I felt needed a few more taps with the rivet gun.

After getting all of the ribs riveted to the rear spar (except for the outboard most rib, per the instructions), I was pretty beat.  I decided to save the rear spar for tomorrow and then I’ll get it up on the wing stand and mounted down.  This was a good stopping point for tonight.  Heres all the photos from tonights session:

And a link to the google photos album: https://photos.app.goo.gl/BARxvFso22qxFhbj7

Hours Worked: 2.25 Hours

Securing the Left Wing in the Stand

Not much to report on tonights work.  I got the left wing completely secured in its stand and made sure the aft spar brackets were secure.  I started out by making sure the wing spar was level as possible and had no twist in it.  I still have a bit of sag towards the middle, that I need to figure something out on.  I will probably go the route of using bottle jacks like everyone else. Once I was happy I had it level, I drilled the mounting holes for the outboard main spar bracket.

And then bolted them to the horizontal support arm on my wing stand.  I used 1/4″ bolts for this, as I had plenty of them. Next up was to secure the aft rear spar on both the inboard and outboard sides.  After a bit of fiddling around with various parts and such, I decided to use aluminum angle and the existing 7/16″ tooling hole in the outboard rib and a couple of C clamps.

I didn’t get it in the photos, but I used a plumb bob to line up the all the outer most outboard holes in the main spar, outboard rib, and rear spar to make sure I had the mounting bracket holding the rear spar in the right position so all the holes would line up in a straight line.  Once I had that, I cinched the C-clamp down tight and moved on to the inboard side. I did something similar here, using some scrap angle aluminum, but I had to use a “spacer” by using a piece of 2×4 to get the angle to meet up with the rear spar doubler.

Using the same process with the plumb bob, I got it perfectly straight and then clamped it down. Finally, I clamped down the inboard side of the main spar to its horizontal support using C-clamps and a piece of plywood to help avoid damaging the expensive spar support bars.

I’ll move on the right wing stand and getting it to this point, while I decide what I am going to do to support the middle of the wing to prevent sagging.  That wraps it up for tonights session.   Here’s all the photos, including some closeups of the wing stand and its adjustments I made.

Google Photos Link: https://photos.app.goo.gl/cwJVmxzsaGAWTt8cA

Hours Worked: 1.75

Riveting the Left Wing Skeleton

It’s time to rivet up the skeleton so that I can mount the wings into their stands to finish up the work.  I was going to do the riveting in the stand, but it appears it would be easier to do if I laid the wing on the table and then riveted the ribs and the front/rear spars together before hanging on the wing stands.  Since I had already riveted on 11 of the 13 ribs to the main spar, I went ahead and riveted the remaining ribs to the main spar, and then cleco’d on the rear spar.  I did find out that those three nut plate holes down near the root on the spar web are indeed for the fuel tanks, and I have to back drill some Z-brackets using the holes. so I did not go rivet the nutplates on.  I will leave them off for now, and just try to work around the tight space with the ribs when the time comes.

I did manage to find some #10 nuts and bolts to use to hold my bracket for the wing stand, so I stuck those on using washers on both sides to prevent scratching and spread the clamping force.

I laid the wing back down (facing as if it would be mounted with the spars “UP” side facing “UP”) so I could cleco on the rear main spar. Once I had the rear spar clecoed on, I went down each rib and double checked which rivets I need to set now, and which holes I need to leave empty as the Flap and Aileron seal pieces attach using some of the holes where the ribs are attached. I used a sharpie to mark the holes I needed to leave open and cleco’d everything together.

Next up was to rivet the outboard end rib to the rear spar ONLY.  Since we have the aileron mounting bracket that goes on here in the future, we use flush mount rivets here.  I used the squeezer to set these rivets nice and flush.  I did have to dimple the rib as I have not done my dimpling yet….something I SHOULD have done before riveting the ribs on.  It’s not a big deal, I can still get them dimpled using the squeezer, but it would have been much faster and easier to use the DRDT-2. I’ll remember that on the right wing 🙂

Then I worked my way down the wing, squeezing the rivets for ribs to rear spar.  There were a few rivet size changes, so MAKE SURE you always double check what size rivet the plans call for.  We have doublers, reinforcement bars, etc, that all add varying thicknesses.  You can see where I marked the holes that need to be left open for the flap and aileron gap seals below:

The clecos are my empty holes that I skip for now. I used the squeezer to easily set all of the rivets for the rear spar. I took a good bit of time on this one because I was having to double check all the rivet sizes and such to be sure I used the correct ones.  Eventually I had the wing skeleton to the point I could stick it on the wing stand for a preliminary fitting.

Theres some sag towards the middle which is to be expected.  Van’s tells us that we should use a bottle jack or similar to help support the rear spar in the middle to eliminate the sag.  That wrapped up the session for tonight.  I’ve a few more tiny things to do before its bolted and clamped into the stand. Here’s all the photos from tonight:


Google Photos Link: https://photos.app.goo.gl/LhNYv2Xik3BaEgf56

Hours Worked: 3.25

Prepping the Left Wing for the Stand

Since the left wing stand is anchored and ready for the wing, I decided to go ahead and get the left wing prepared to go on the stand to free up some space in the shop so I can work on the right wing stand.  The plans tells us we can cut a 5″ piece of angle and use on the outboard end rib on the wing to create a mounting tab for the wing, and even tells us its OK to use 3/16″ bolts and drill holes into the rib as it won’t compromise strength.  So, I cut some scrap angle aluminum down to 5″ and made the bracket flush with the spar web which worked out perfectly to hold the wing level on the stand while my wife Tammy helped hold it.

I just clamped the angle to the outboard rib to check that it was at the right height to hold the spar nice and level.  Once I was happy with the placement, I drilled two new holes into the angle and through the outboard spar sized to a 3/16″ hole.  You can see the new holes below.

Now that I have the bracket drilled and ready to be bolted, it’s time to go ahead and assemble the wing skeleton per the plans.  I gathered up all my ribs, and double checked their placement and clecoed them all to the wing. There are a few towards the wing root that have extra holes for the rear spar, so I made sure they lined by cleco’ing on the rear spar temporarily.

The DRDT-2 table worked good to help hold the spar from twisting with the weight of the rear spar.  I simply have the main spar clamped down to the bench to hold it up for riveting.  The alodining on the ribs, really match up nicely with the anodizing of the main spar.  I have decided to not prime the ribs, and just to leave them alodined.

Once I had verified all the ribs were in the proper place by double checking against the plans, and making sure it all assembled nicely, I labeled the station number on each rib for easier identification when I rivet.  I am way to “round” to fit in between the ribs to rivet, so I’ll have to remove several at a time as I move down from the outboard end to the wing root. As a side note, the plans tell us to NOT rivet the w-712 outboard rib to the main spar, and to ONLY rivet it to the rear spar.  This is because we need to also attach the nose rib to the main spar AND to the main outboard rib, essentially sandwhiching the main spar between the nose rib and main rib using the same rivet line.  So, I left it clecoed in place for now.

I started with the outboard, and worked my way inb0ard riveting the ribs as I went, double checking the rivet sizing as we change sizes (lengths) a few times due to the thickening spar web.  Thankfully I was able to flex the rib just enough to get the rivet gun and set to line up with the rivet and drive the AN470AD4-7 rivets.   They came out pretty good considering I haven’t done any riveting in about 7 months!

There are 14 total ribs, but I was only able to get 11 done.  The last three are pretty close together and there are three holes that look like nutplates go into.  I didn’t want to cramp up all the space to set any nutplates, so I decided to just call it a night for now, and I’ll look into the plans to see if these can be done now, before I cramp up the space with ribs.  I think they are for the fuel tank?  See the photo below.

And here’s a shot looking down the hole I am planning on using for the conduit.  All the ribs line up nice and neat, and you can see straight down the line!

And here is a shot of tonights work:

Thats it for tonight.  I’ll check the plans for those nutplates, and decide if I need to go ahead and set them now to make it easier.  Heres a link to the google Photos album:  https://photos.app.goo.gl/aeVr2bpDVVjMt2DZ7

And heres all the photos from tonight:

Hours Worked: 3.25

Building the Left Wing Stand

I picked up some Tapcon screws from Home Depot to use to anchor the wing stands into my concrete floor.  These things are pretty dang nice!  They worked great.  More about them later.  Tonight we finished up the left wing stand.  Just like the right stand, we got it leveled up screwed it into the floor joists.

Then I made up some brackets for the floor out of some scrap Aluminum angle.  After one last check on the stand to make sure its plumb and straight I marked my holes and drilled the hole in the concrete use the Tapcon bit. 

Then I used some lag bolts (5/16 I do believe) to bolt the 4×4 beam to the angle which was held in place by the 1/4″ tapcon screws.  I bought 8 Tapcons in a pack, and then the special Tapcon bit that is used to drill the hole for less than $10.  Drilling the holes took a bit, since I did not have a hammer drill, but I eventually worked the bit down to the right depth, removing it every so often to vacuum up the concrete dust and cool the bit. I didn’t have to use a whole lot of pressue surprisingly, and the holes were nice and straight.  The Tapcons threaded right in like the holes were machined for them.  They clamped down with a good bit of force too.

Then I leveled up my spar mounting arms to get ready for the spars.  My adjustable screws made this really easy to do.  I’ll check it again when the spar is on to see if I have any twist or uneveness.

I did both sides of my left stand, and it is ready to have the spar mounted.  I need to move some stuff around before I get to that point, so my next “build session” will be me cleaning up and getting stuff moved out of the way.  Heres some shots of the beams ready to go!

Google Photos Link: https://photos.app.goo.gl/pZEhtgEJcQVi7zC3A

Hours worked: 2.0

Building the Right Wing Stand

There is no more delaying it.. I have to build the wing stands.  I have done everything I can on the wings to the point of needing to get the spars on the stands.  I spent some time trying to visualize where to best put these things, and what would give me the most working room.  I built the uprights using 2 2×4 beams that would reach up to the floor joists in the ceiling.  This would give me a solid place to mount them.  For the floor, I will drill some holes in the concrete and use some angle brackets to anchor them down.  They are not anchored yet, I need to get a good masonry bit and/or a impact drill.  Here’s where I decided to put the right wing stand and the uprights are screwed in to the floor joists.

And here I have drilled the hole for the 3/8 bolt that will go through the upright to hold the horizontal arms that the spar root will clamp to.

I drilled the holes for both sides and then the uprights were about halfway done.  I took a quick break for some food, and came back down to finish up the mounting system for the wing spar.  I used the Vans recommendation, in addition with some other folks on how to make the horizontal arms adjustable so I could easily level and work the twist out of the spar by adjusting the “jack screw” to raise and lower the horizontal arms.

It works really well.  That is just some 3/8″ all-thread rod I trimmed down and then I cut up some scrap angle aluminum to make the brackets the all-thread goes into.  Then some 3/8″ nuts to act as jam/adjusting nuts and I have a solid and adjustable mounting system for the wing spars.  On the end of the wing I had to get a little more creative due to how we have to use the wing’s end rib and some angle to mount it. but it still works out pretty good.

The all-thread comes up through the horizontal arm at an odd angle, but with the jam nuts I am still able to adjust it up and down enough.  And, I will have some adjustment on the other pieces of angle that get bolted to the wing’s end rib per the plans.   I still need to cut some angle to use to bolt the bottoms of the uprights to the floor, but I will wait until I have both the left and right wing stands ready so I can rent a hammer/impact drill and a concrete bit to drill the holes in the floor for a solid mount.  That pretty much wraps it up for the right wing stand.  I spent a little over 3 hours on it, but the left wing stand should go much quicker as I worked out all the bugs and layout on the right one 🙂 Here’s all the photos from tonights session:

This slideshow requires JavaScript.

Google Photos Link: https://photos.app.goo.gl/QRJEjomxy3XW69rt8

Hours Worked: 3.25


Finished up Alodining the Wing Ribs

Holy crap…its been a LONG time since I did any real work on the RV-7.  Like nearly 7 months.  Life’s been a bit busy, I bought a 1973 Cessna Cardinal 177RG and have been flying the wings off of it, and that has taken up some time on the build, in addition to work, and family.  But, with the daylight hours dwindling, and flying weather getting sparse, its back to building!

Anyways, the last place I left off, I had to finish up Alodining some wing ribs, and then get my wings in their stands.  I ended up going down to Aircraft Spruce a few months back (In the Cardinal of course!!) to pick up some more Alumaprep and Alodine.  So I mixed it up tonight.  Here is what I am using for the mix ratios:

Alumaprep bath: 

1 Gallon of Alumaprep 33 concentrate mixed with 3 gallons of distilled water.  Makes 4 gallons.

Rinse the parts off to get rid of dust and grime. Scuff with maroon scotchbrite a little if needed during the rinse.  Then soak for 7 to 10 minutes in the bath.

Rinse parts in cold water to remove alumaprep.

In the photo above, I had to use a rib and a glass jar to help hold down the other 6 ribs.  The bubbles from the Alumaprep during its cleaning causes the aluminum to float!


Alodine bath:

1 Gallon of Concentrate Alodine mixed with 2 gallons of distilled water. Makes 3 gallons.

After the alumaprep bath and rinse, soak parts in Alodine bath for 7 to 10 minutes.  Remove and rinse in cold water to remove excess alodine and then let air dry.

And the obligatory photo that shows to the FSDO that I am actually the sucker building this plane…..apron,, gloves and all.  I did remove my safety glasses for the photo though.


I was able to get all of the wing main ribs and wing end/nose ribs done and set out to air dry. It was good to get back down here and work on this project and start making progress again. I have decided to not spray primer on the ribs, except maybe the nose ribs.  I think I will prime them since they will be fully enclosed and potential traps for moisture. Here’s how they ended up:

And here is the entire photo album from tonights work. Not many photos since it was just alodining.  I think  I will start working on the wing stands next.


Google Photos Link: https://photos.app.goo.gl/e5yTndwHvwCXRT6L9
Hours Worked:  2

Alodining the Right Wing Ribs

I found a tub that was just big enough to hold two main wing ribs to bathe them in Alumaprep 33 and Alodine!  I was lucky I had JUST enough of each to fully submerge the parts.  I started out by submerging the parts in Alumaprep, 2 ribs at a time and letting them sit for 5 minutes each.

Then I rinsed them off really good and set them shook off as much water as I could.  Right after that, they went right into the Alodine bath to soak for 5 minutes.

The photos only show a single wing rib, which was my test piece to make sure I had enough solution to fully submerge them. I was able to get two at a time in each bucket, and wound up doing an assembly line style workflow.  Two parts in Alumaprep 33 while two other parts were in the Alodine.  This worked out pretty well as I moved the parts from the first bath the second in sucession with rinses in between each.  The Alumaprep gave a real nice sating finish that was very clean:

And here’s how they look after the Alodine bath.  I love that gold color!

I’m going to put these on the shel for now and cover them with a towel to prevent dust from getting on them.  I’ll do the right wing ribs next and once I have all of them alodined, I’ll spray them all with AKZO in one large session for convenience.

Here’s all the photos from Tonights work: https://photos.app.goo.gl/uVTs4E68yxpRwyWU8

Hours Worked: 1.75

Washing the Right Wing Ribs

Quick entry tonight.  I am still working on my wing stands, more on those in a later post.  Tonight I decided to scrub up my Wing Ribs so they’d be ready for Alumaprep and Alodining later on. Pretty simply, I filled up my utility sink with some Dawn dish detergent and then scrubbed them lightly with a scotchbrite pad until all the crud was free.

The goal was to get a slight scuff on the surface to break any gunk off, and let the Dawn do the work of cleaning.  Once I had them cleaned, I rinsed them off with clear water and set them aside to dry.

I am still going to dunk these in Alumaprep 33 so it can chemically etch the surface as well as let it do a final cleaning, before going in the Alodine. I only did the right wing tonight, because I didn’t want to get these confused with the left wing ribs.  I’ll let them dry and go to Wal-mart to find a tub that they will fit in.  They are just over 27″ long, and won’t fit in my largest tub for the chemical baths.

That’s it for tonight.  I’ll pickup some larger tubs for these ribs, and get them alodined.  Then I’ll repeat the process for the left wing, and shoot them all with primer.

Google Photos Link: https://photos.app.goo.gl/uzZ9ndfiTqx7D9ef1

Hours Worked: 1