


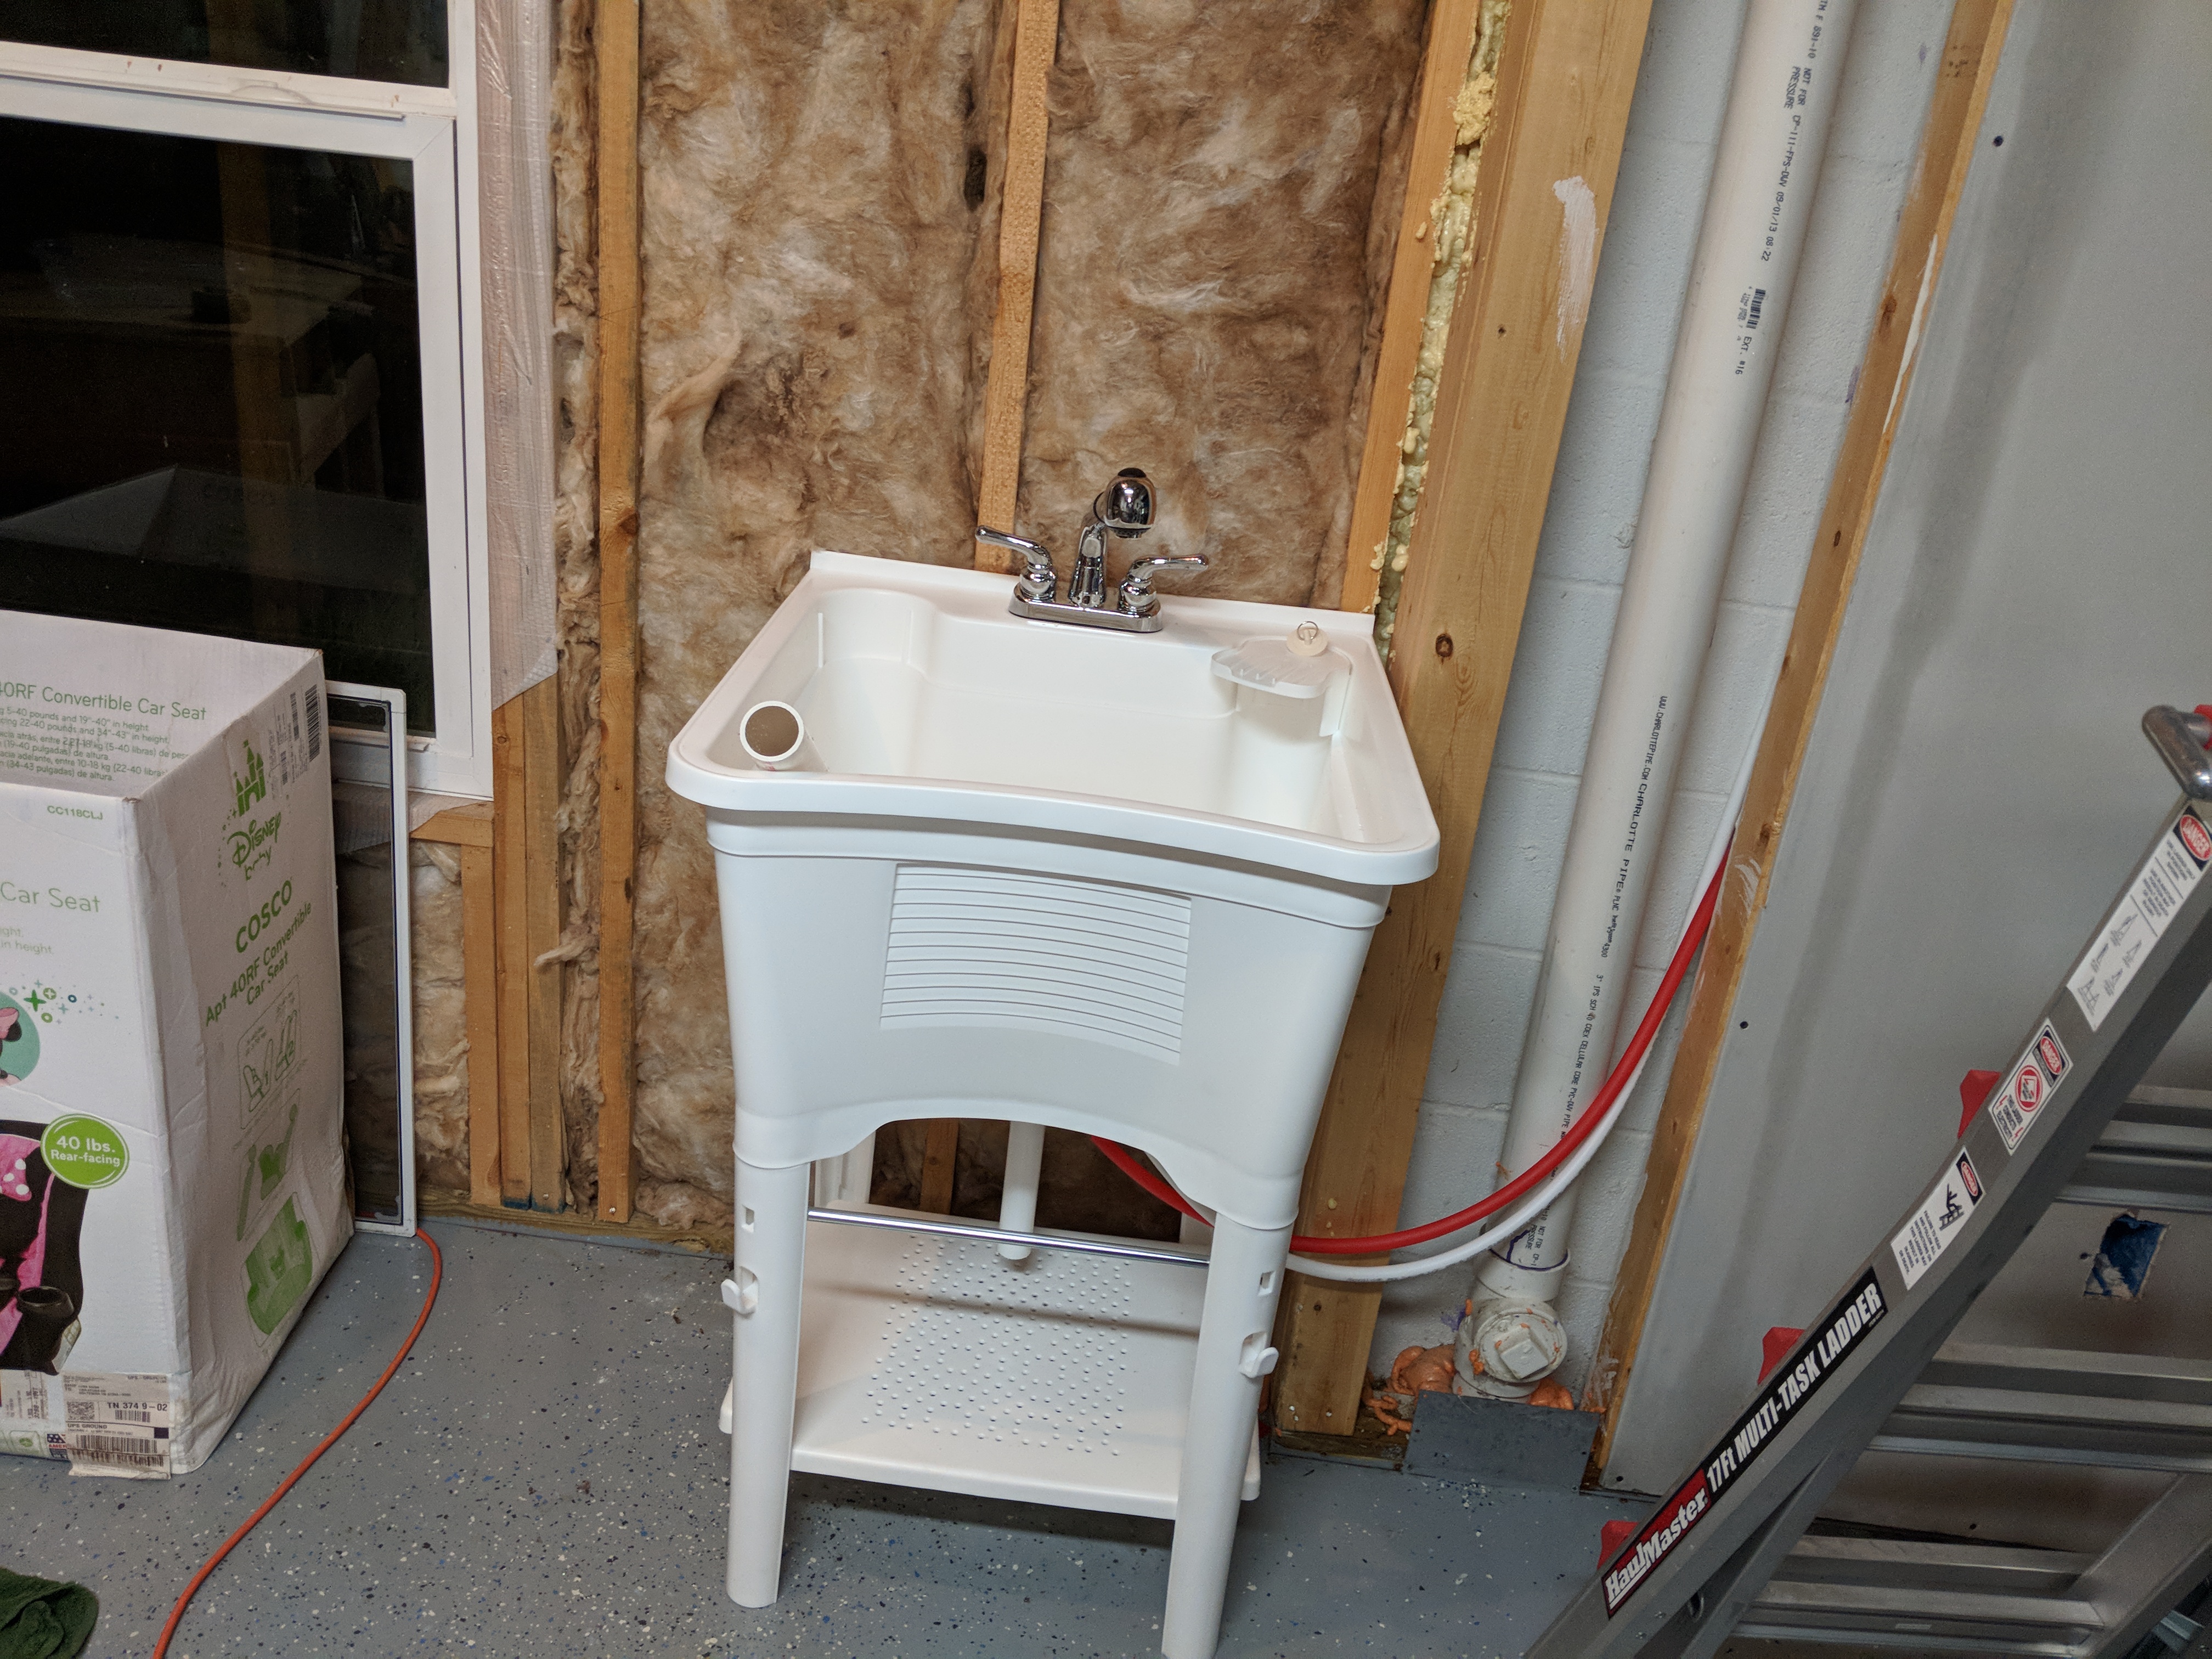
This sort of a two-for-one post. My Alumaprep and Alodine came in this week, and in anticipation of this new process, I installed a utility sink in the airplane factory. I’ve been wanting a utility sink in my shop for a while now for various reasons, and this was the kicker that made me install one. I had a nice little place picked out for it, right next to a 3″ sewer line and hot/cold supply lines. Thankfully, the builder installed PEX lines in my house, so a couple of Sharkbite connectors is all it takes to plumb this sink in. Whoever came up with the idea of PEX and Sharkbite push-fit connectors….I salute you!
Anyways, I am not counting the hours I spent installing the sink in the build. So tonight I decided to try this whole Alumaprep and Alodine process. Part of building an experimental aircraft is learning the techniques! I mixed both of them into the proper ratios for a bath solution, and gave it a shot. I wanted to test the lazy scenario first: Not scuffing or cleaning the parts, and letting the alumaprep do that for me. To be safe, for my first time I figured I would just do a small batch and focus on the stiffeners (I hate scuffing those suckers). SOOO, I put them in some tubs and poured my alumaprep bath over them until they were submerged. At first I grabbed the stiffeners for the RIGHT aileron first to keep them sorted with the right side.

Per the instructions, I let them sit for 5 minutes in the bath solution and watched the bubbles take away all the dirt and alclad. Once the 5 minutes was up, I pulled them out and let the Alumaprep drip back into the tub and then rinsed them off in my sink.
Now its time for the Alodine. I done the same procedure in the alodine bath. I stuff the right stiffeners in the Alodine while I put the left stiffeners in the alumaprep.
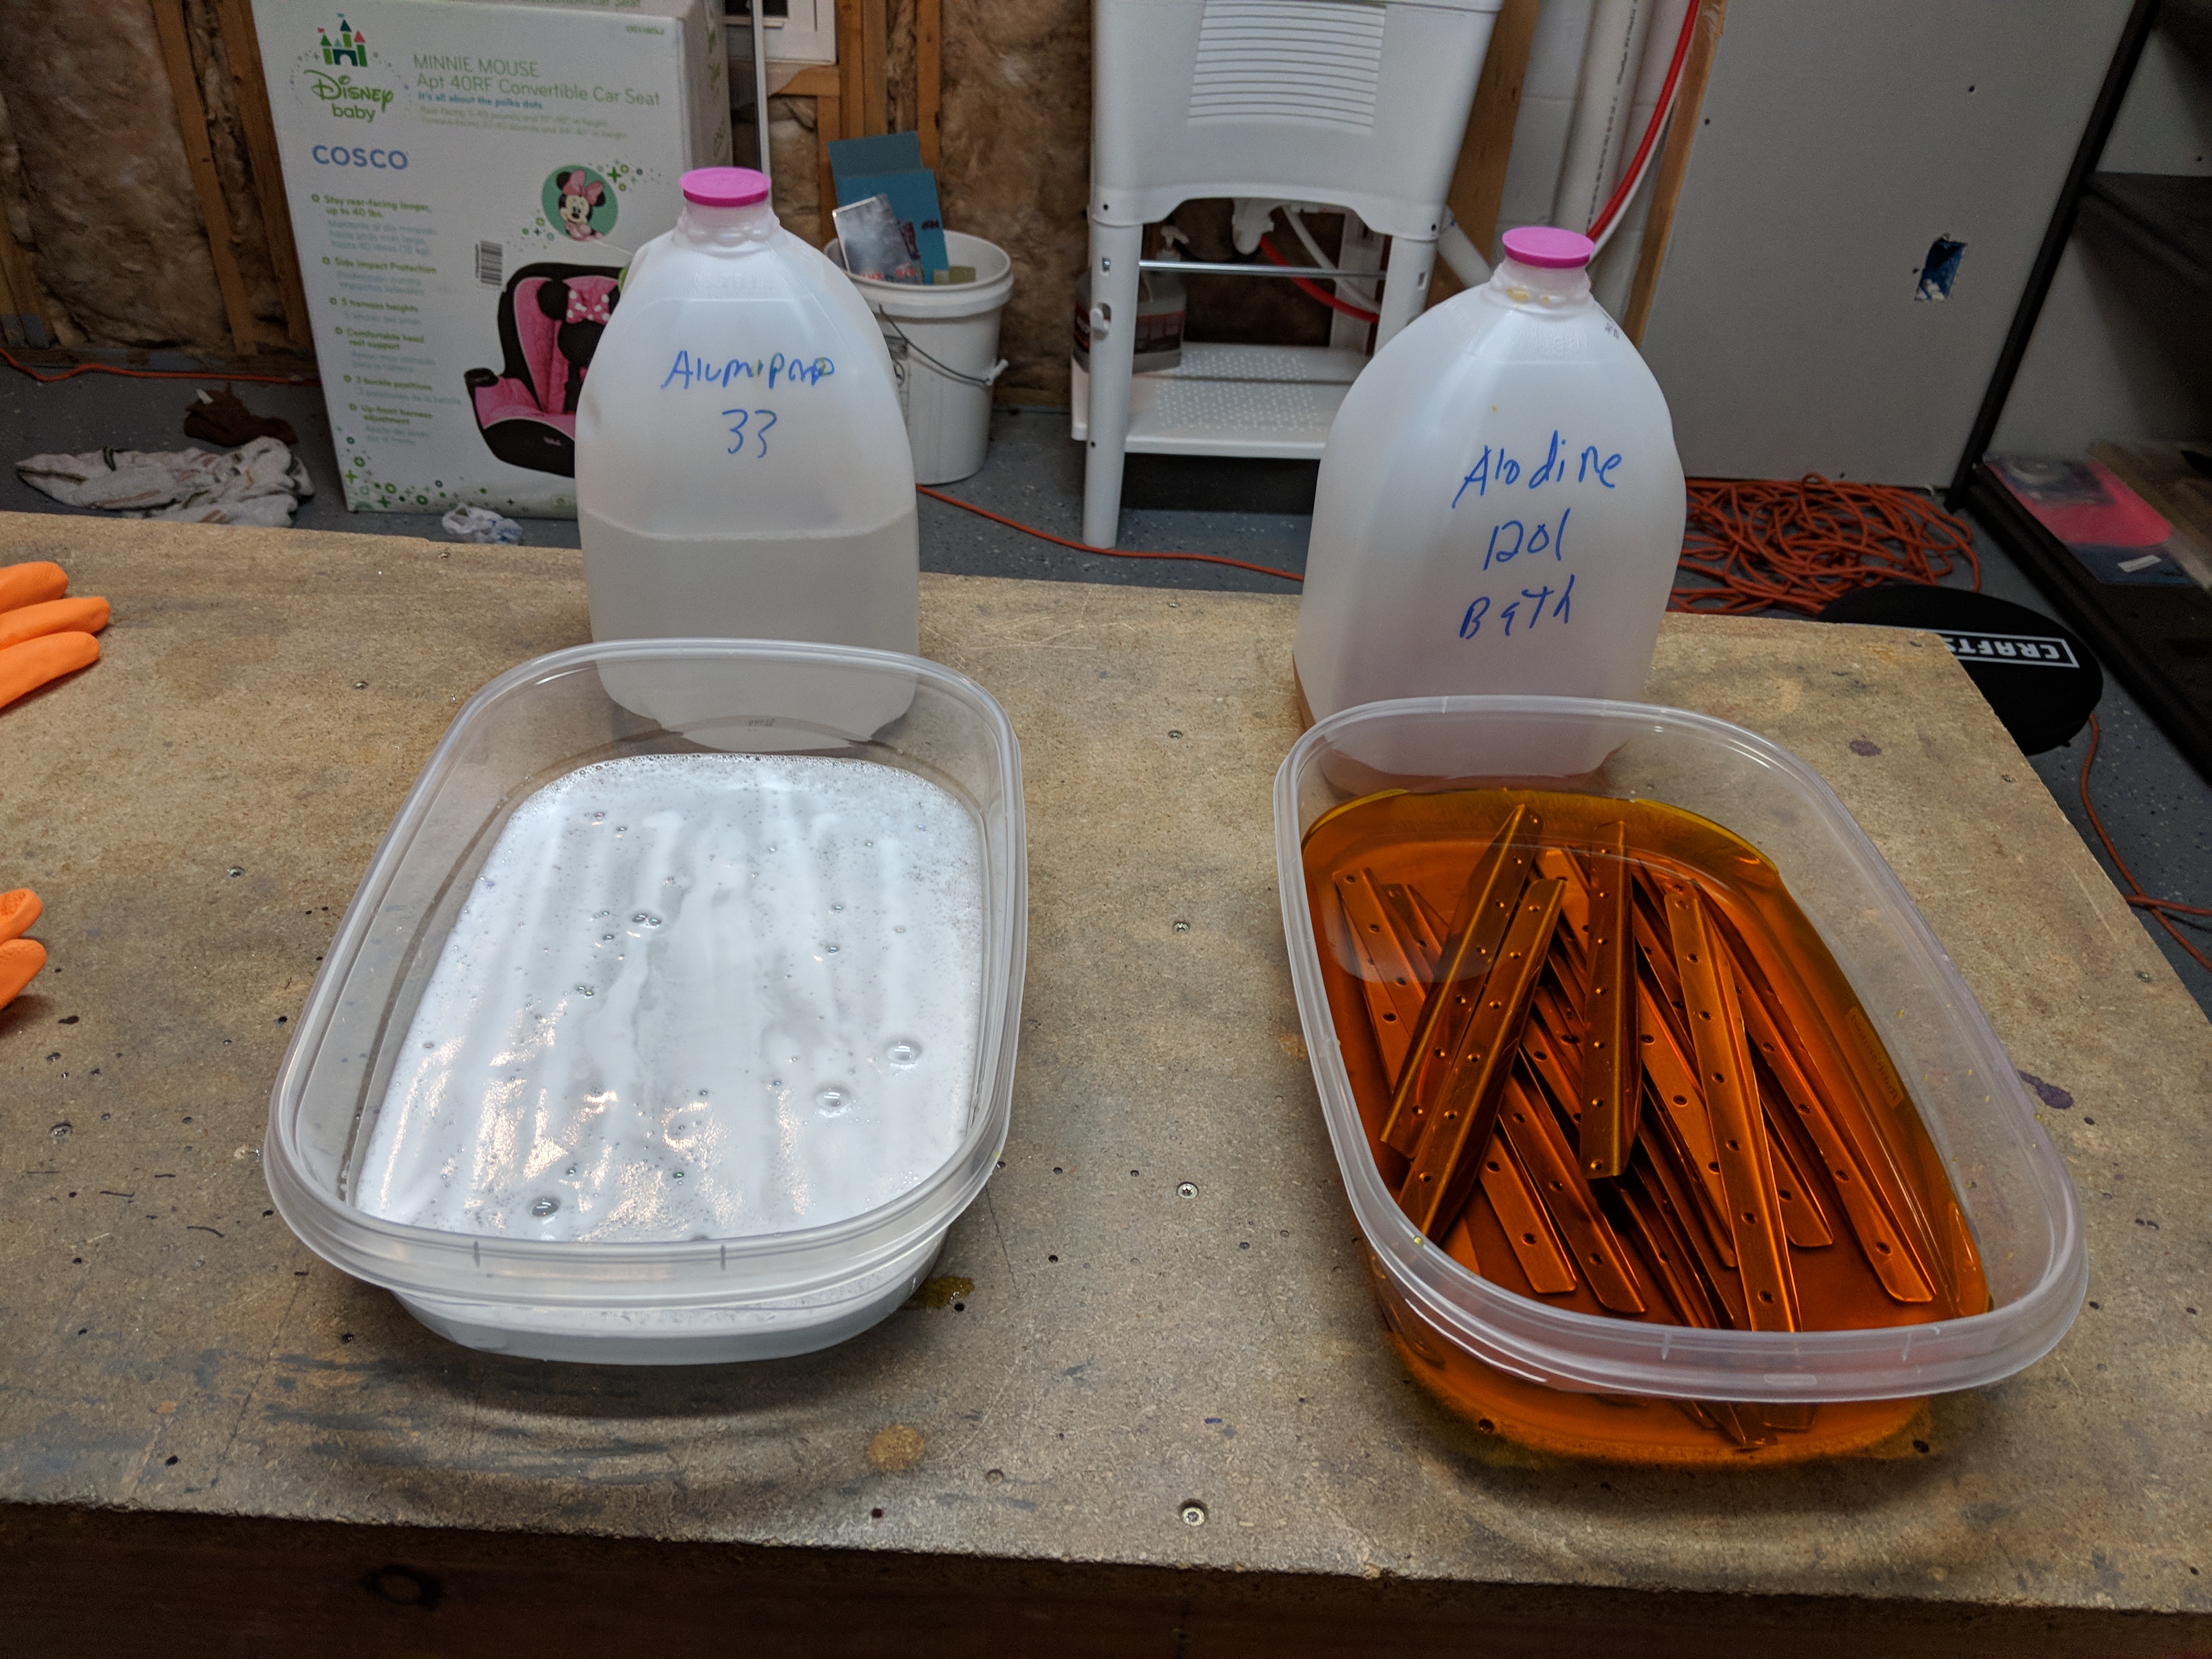

When the Alodine bath was ready, I pulled them out and dunked them into fresh water in the sink and rinsed them off really well and left them to dry. Meanwhile, the last left side stiffeners were ready to be rinsed and then dunked into the alodine. When their alodine bath was done, I rinsed them and set them to the side to dry.
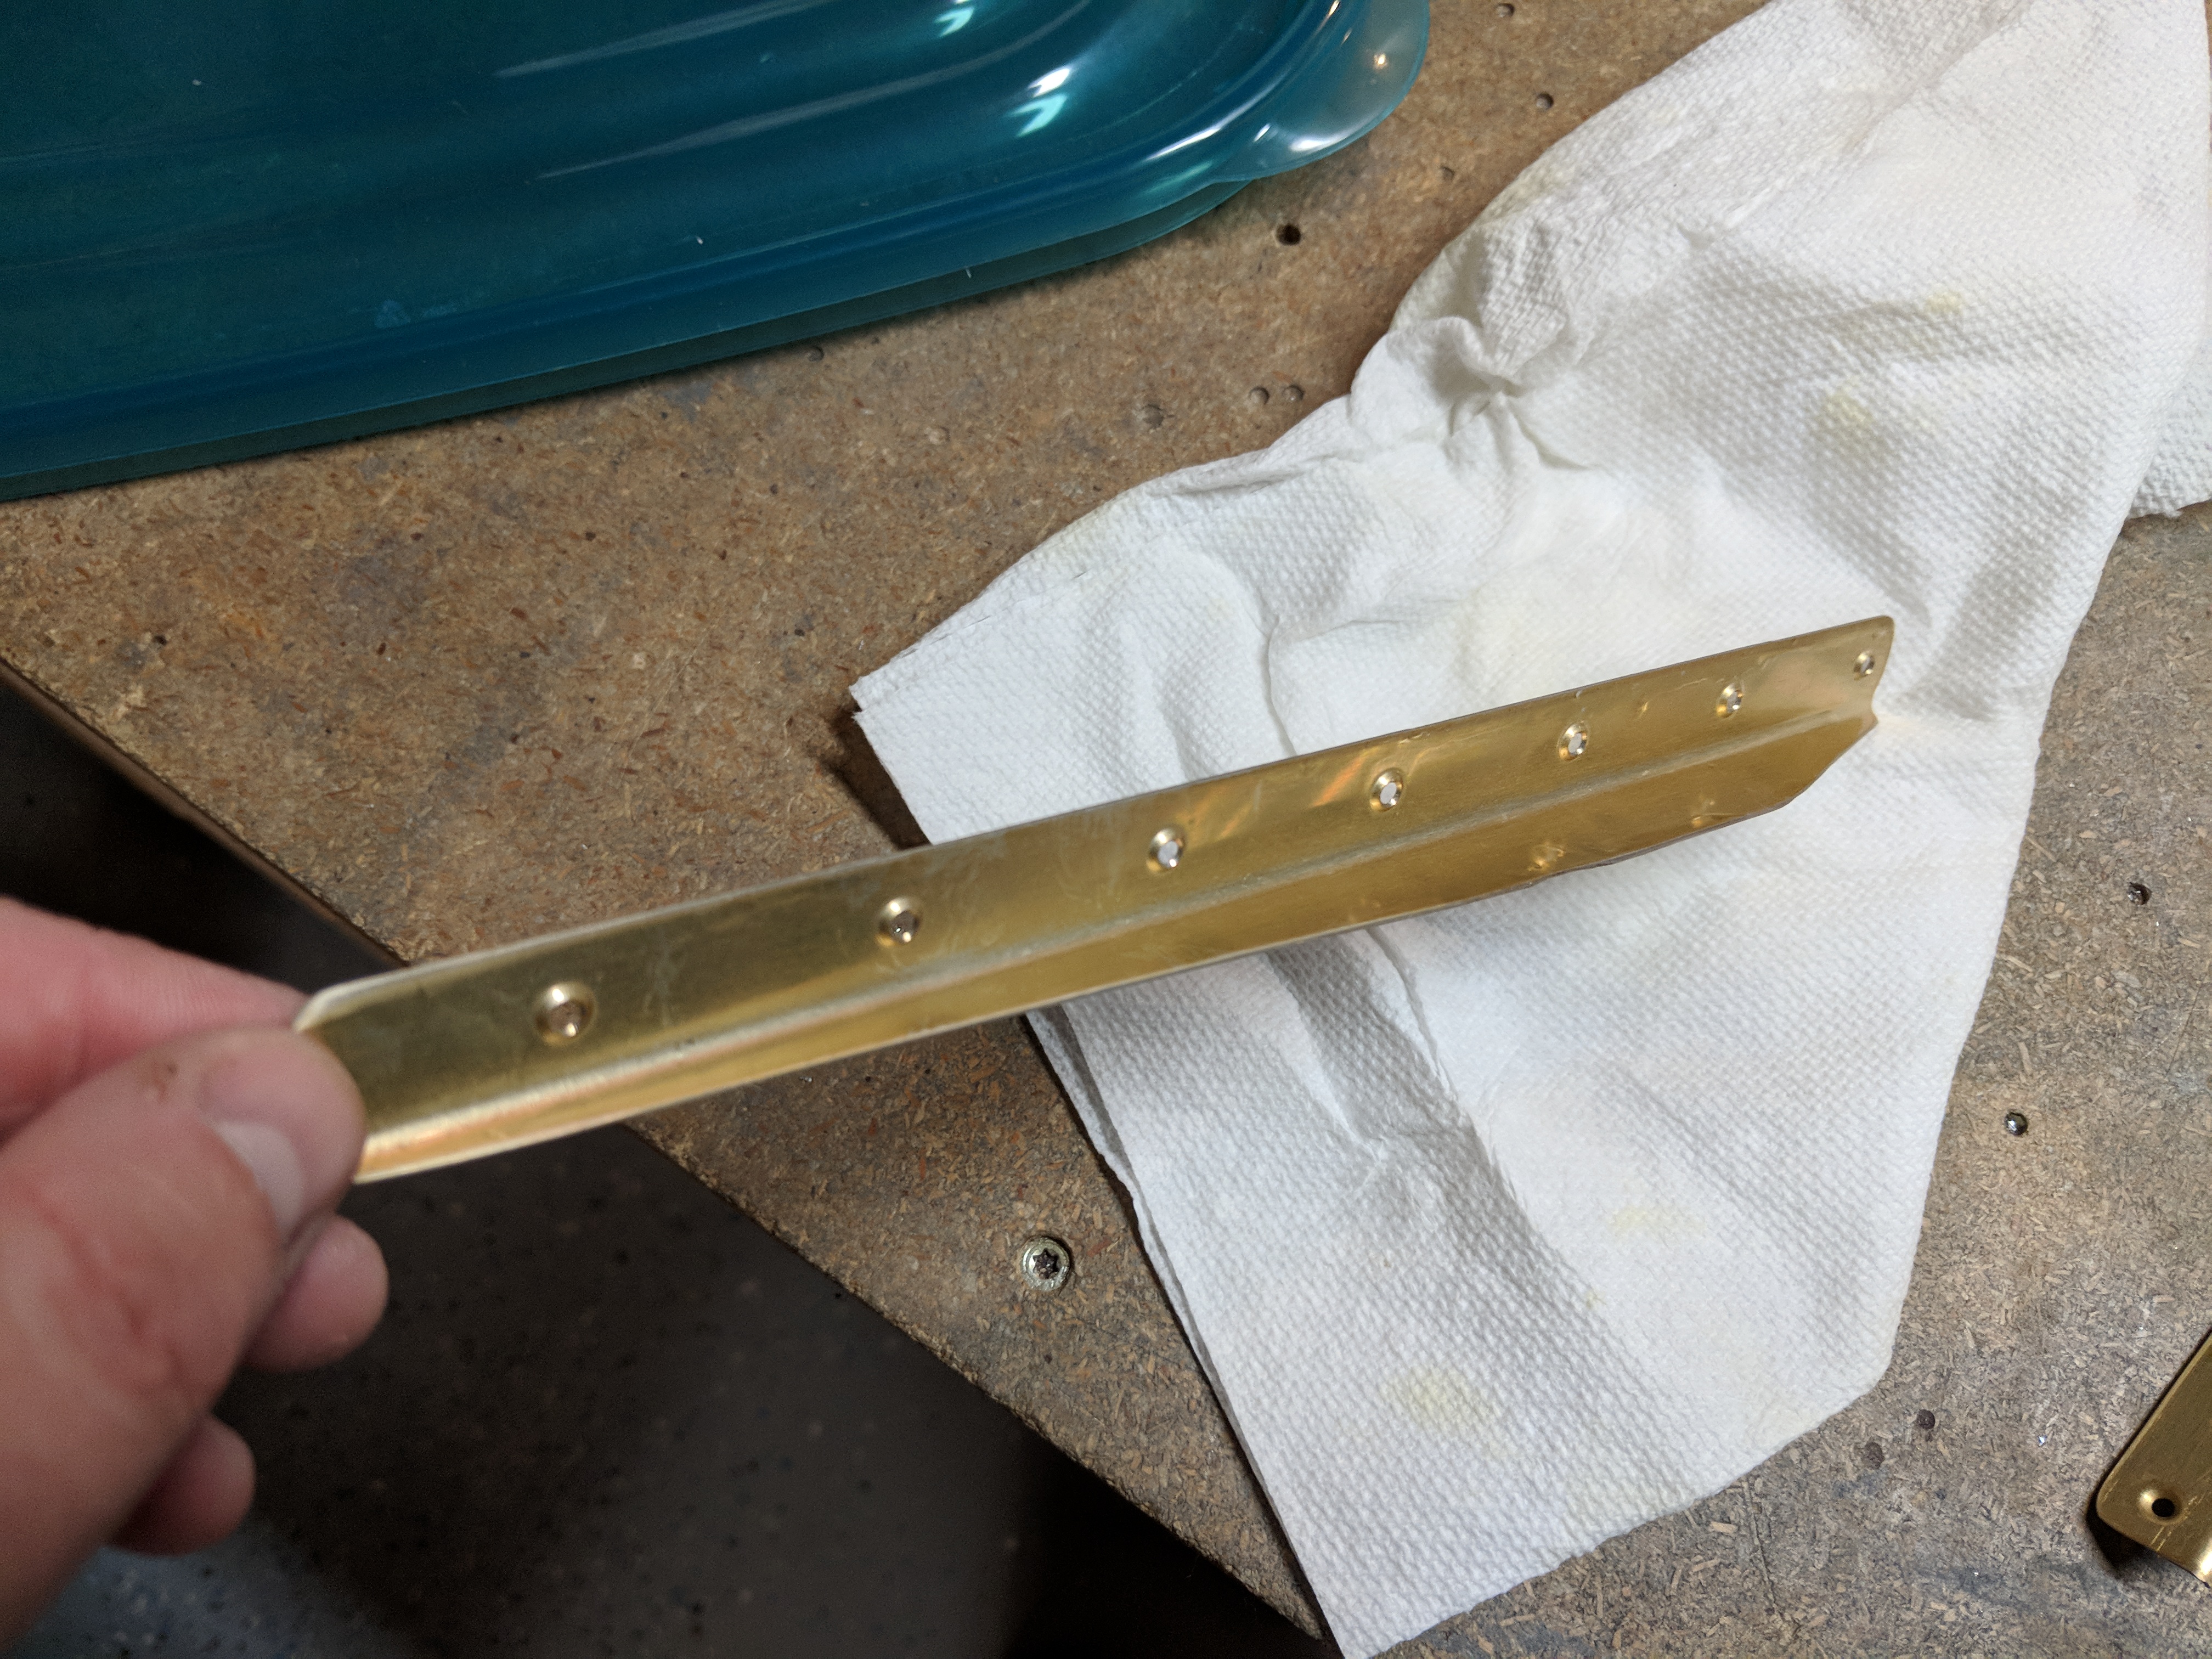
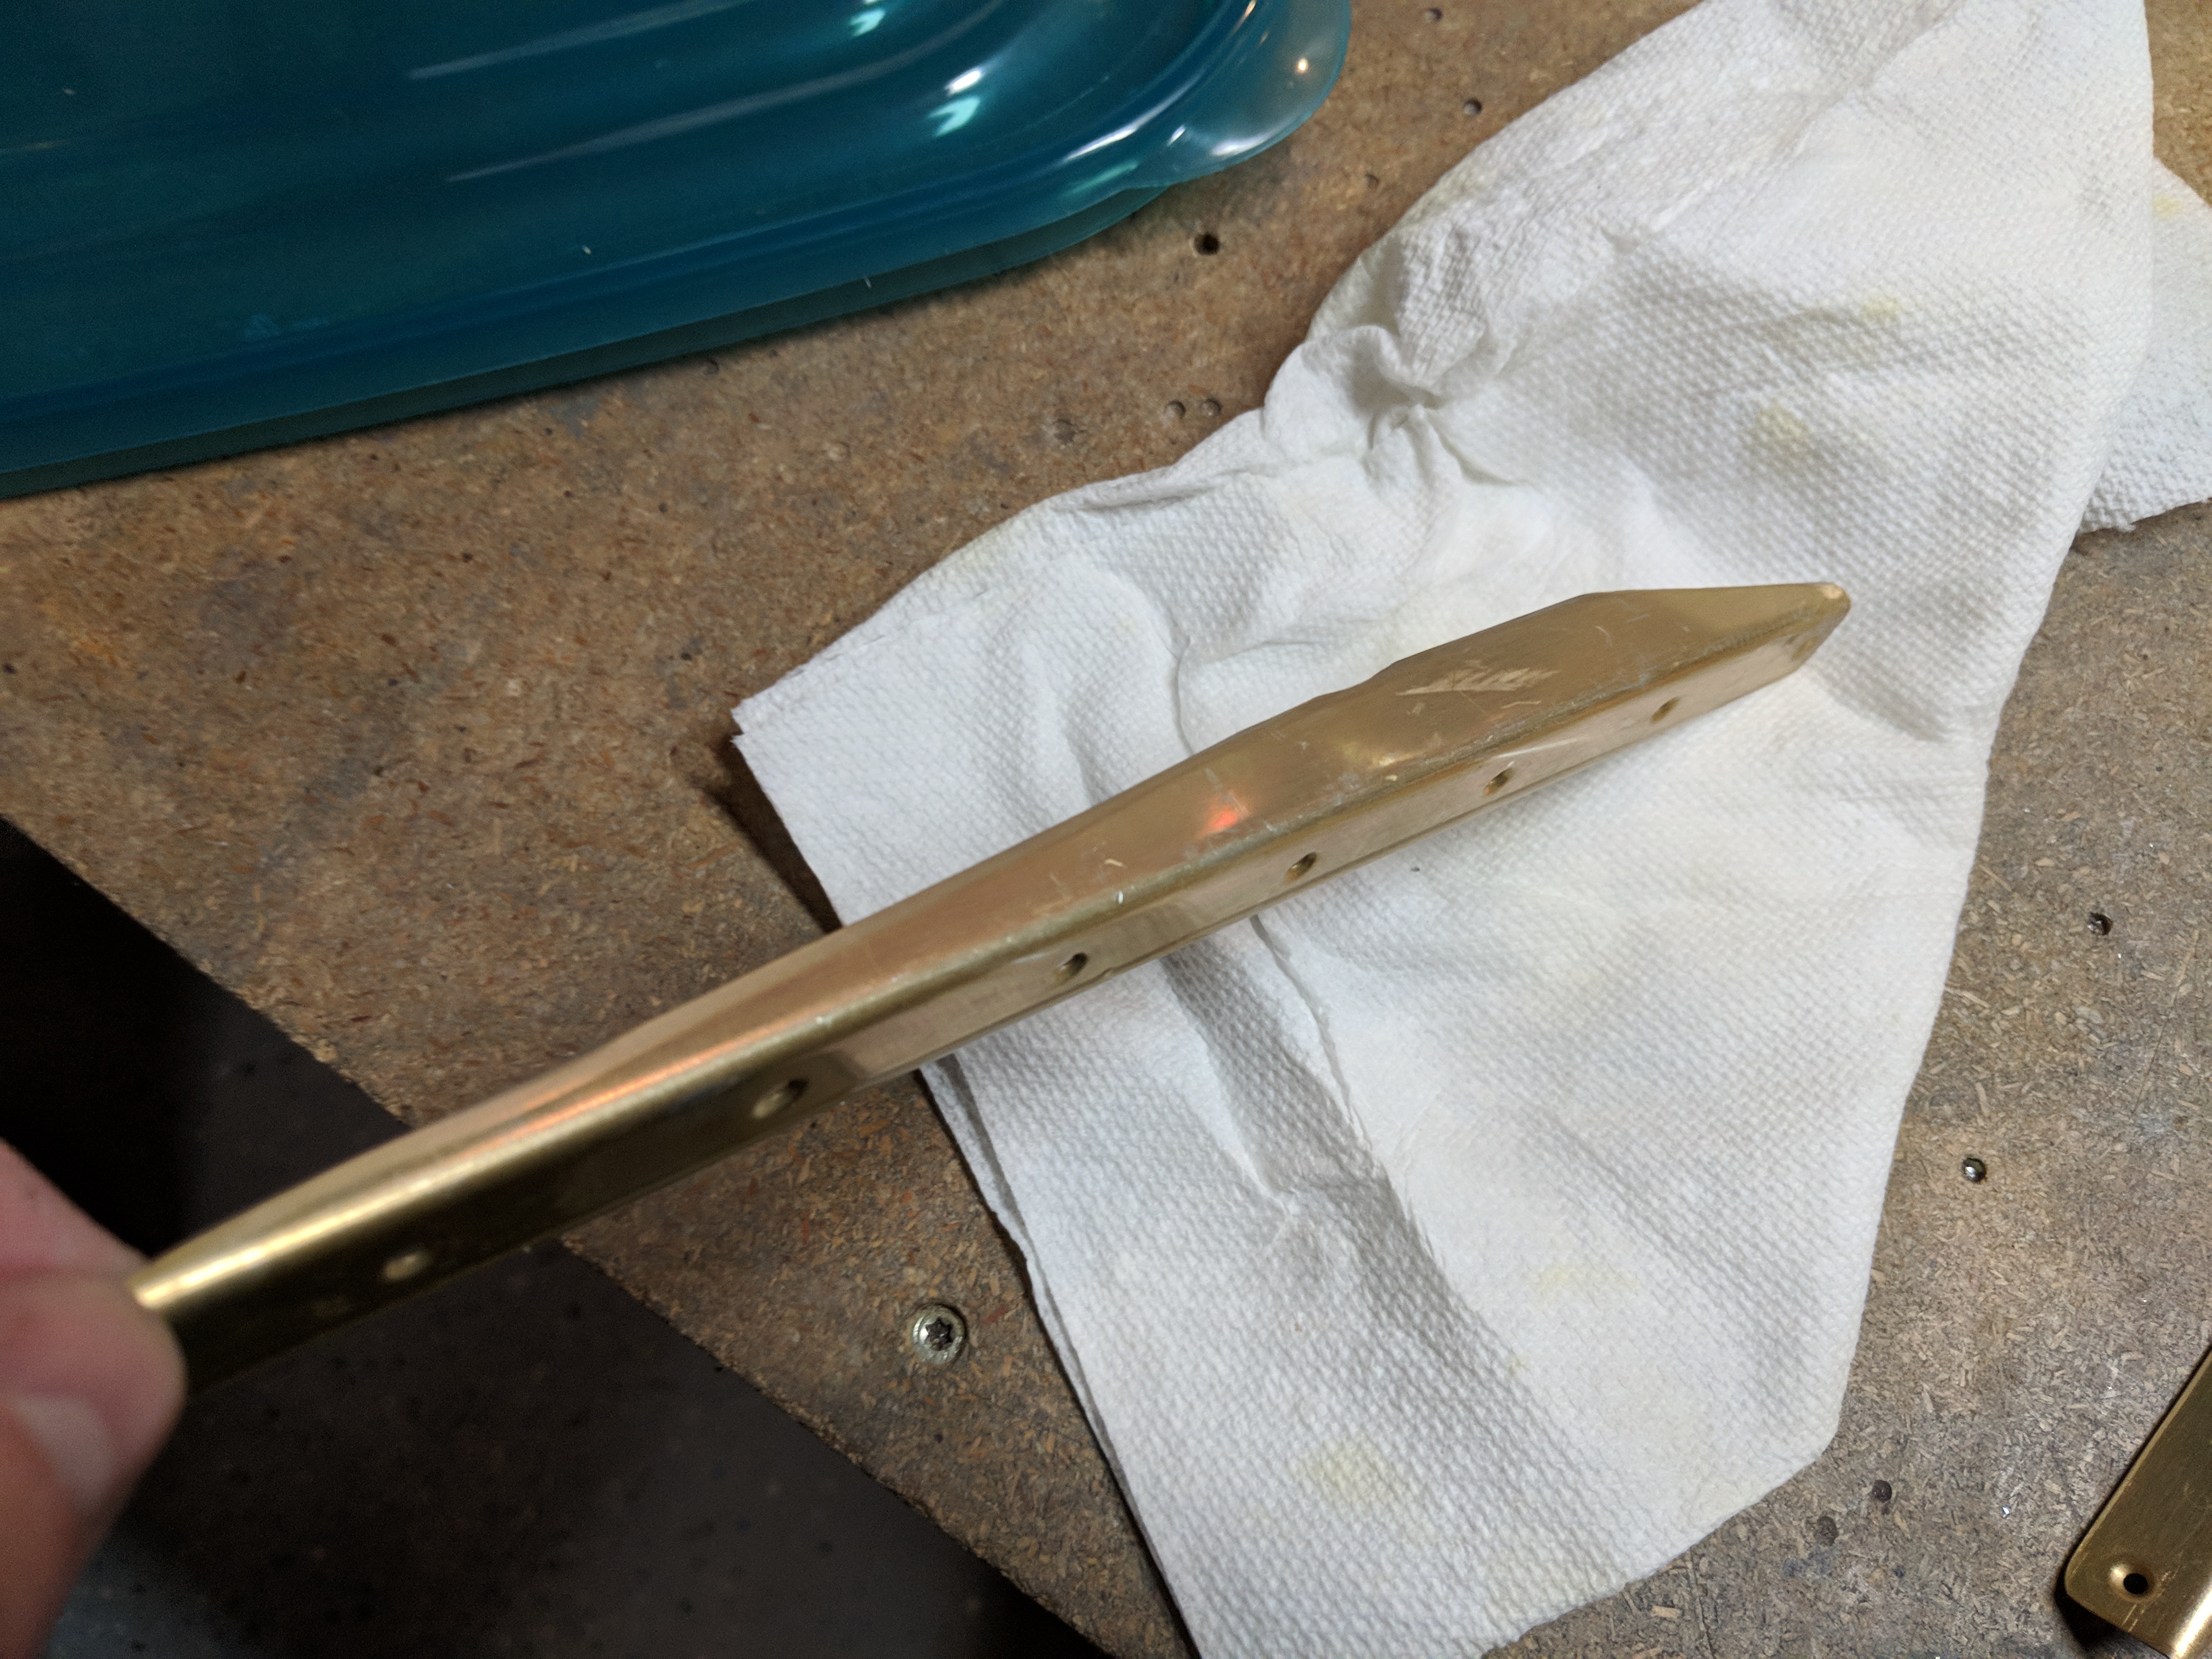
I am not quite sure if they got “done” enough, but they have that pretty golden finish and they are a satiny feel. I think AKZO will stick really good to these things. I am going to let them dry overnight and then check on them in the morning. If they look fine, I may end up shooting some primer on them.

I still think I might get some Bon-Ami cleaner and then clean my parts with it and a gentle scrubbing with a scotchbrite pad to get them more prepared for the Alumaprep bath. Maybe this will give the primer a better surface. I will say this….I much prefer this process over the hours of scuffing and cleaning with acetone! Here’s the photos from tonights work:


Google Photos Link: https://photos.app.goo.gl/Vf0NnRRTX0DzFGRB2
Hours Worked: 1.25