


After getting the right elevator bent, it was time to move on the left. This process is pretty much identical to the right elevator, so I will leave out all the details. I did it exactly this one the same way as I did the right. First up is to break the edges of the top skin to help the lap joint form a nice tight lap. I used my edge breaking tool to do this. Then, starting out by bending the top skin leading edge, I used a dowel rod and gorilla tape to roll it to the right bend, and then finished it off with my hands. I did the same with the bottom skin. Once all the bends were made, I clecoed them together.
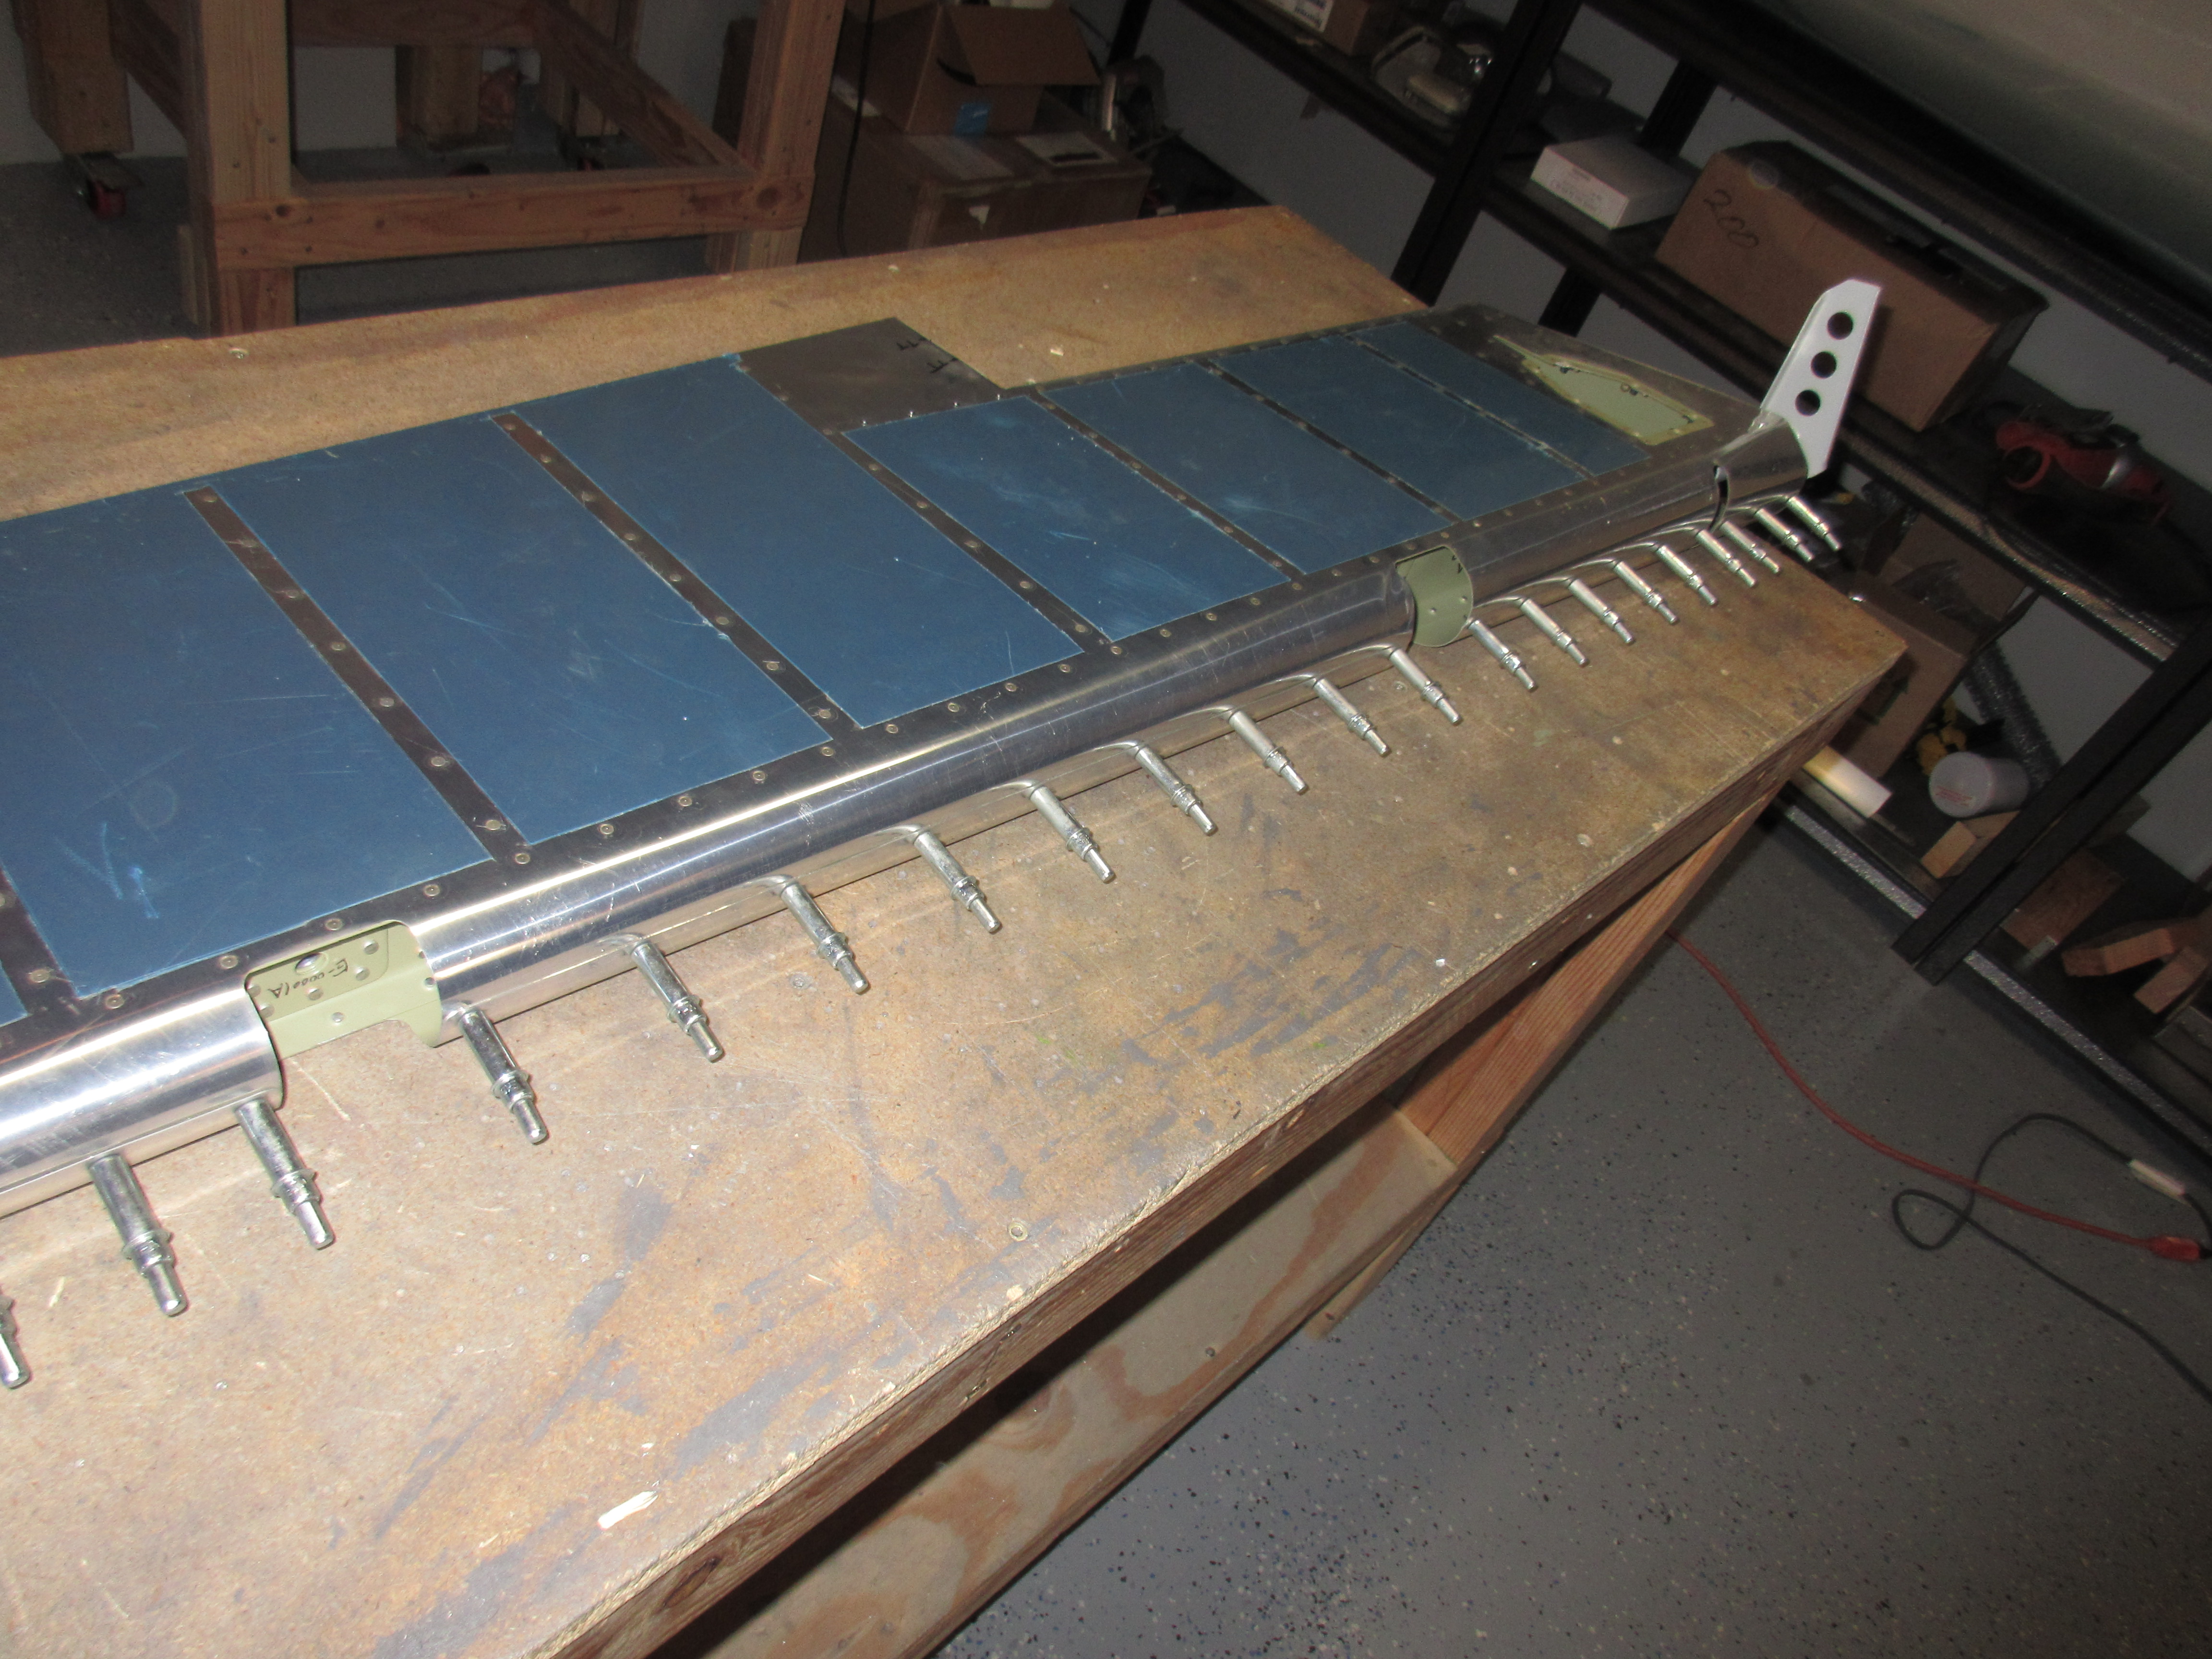
The next step is to match drill all the holes to a #30 hole for the AD-41-ABS blind rivets. I did one hole at a time, and replaced it with a 1/8 inch cleco as I went. Once all the holes were drilled to the proper size, I unclecoed everything and deburred the holes with a scotchbrite pad. Then, re-assembled everything back with the clecos to hold them in place while I set the blind rivets. I worked my way down the leading edges, removing a cleco and setting a blind rivet as I went. Eventually, it was all riveted together and looking good:


The last step for the night was to install the AN316-6 jam nut onto the MD3614M rod end bearing, and then insert that into the plate nuts on the spar. I used Boelube on the threads to make this a bit easier, because platenuts can be hard to thread into. I don’t have my rod end bearing tool made yet to thread these all the way in, nor do I have a caliper to measure the distance, so I just threaded them in a few turns and I will come back and get them set to the proper depth when I have those tools. I need to do this to the right elevator as well. Here’s the photos from tonights work:
Google Photos Link: https://goo.gl/photos/Krv1f4cjMnk98k5NA
Hours Worked: 1.25