


I built my bending brake / jig for the trailing edge of the elevators tonight, and decided to give it a whirl on the right elevator. It came out really good, and it looks like the trailing edge is going to be straight as an arrow. I had been working on the plane earlier today, but took a short little break and started back at it. First up, I had to build my bending brake / jig using some 2×6 boards that I picked up a couple of weeks ago from the Lowes Aviation Suppy here in town. Van’s has some directions on how to build a simple little brake, but I have modified it very slightly per some suggestions from Vans Air Force members. Instead of hinging the 2×6 boards so they fold width wise, I hinged them so they fold on their narrow side, which should make the break much more sturdy.
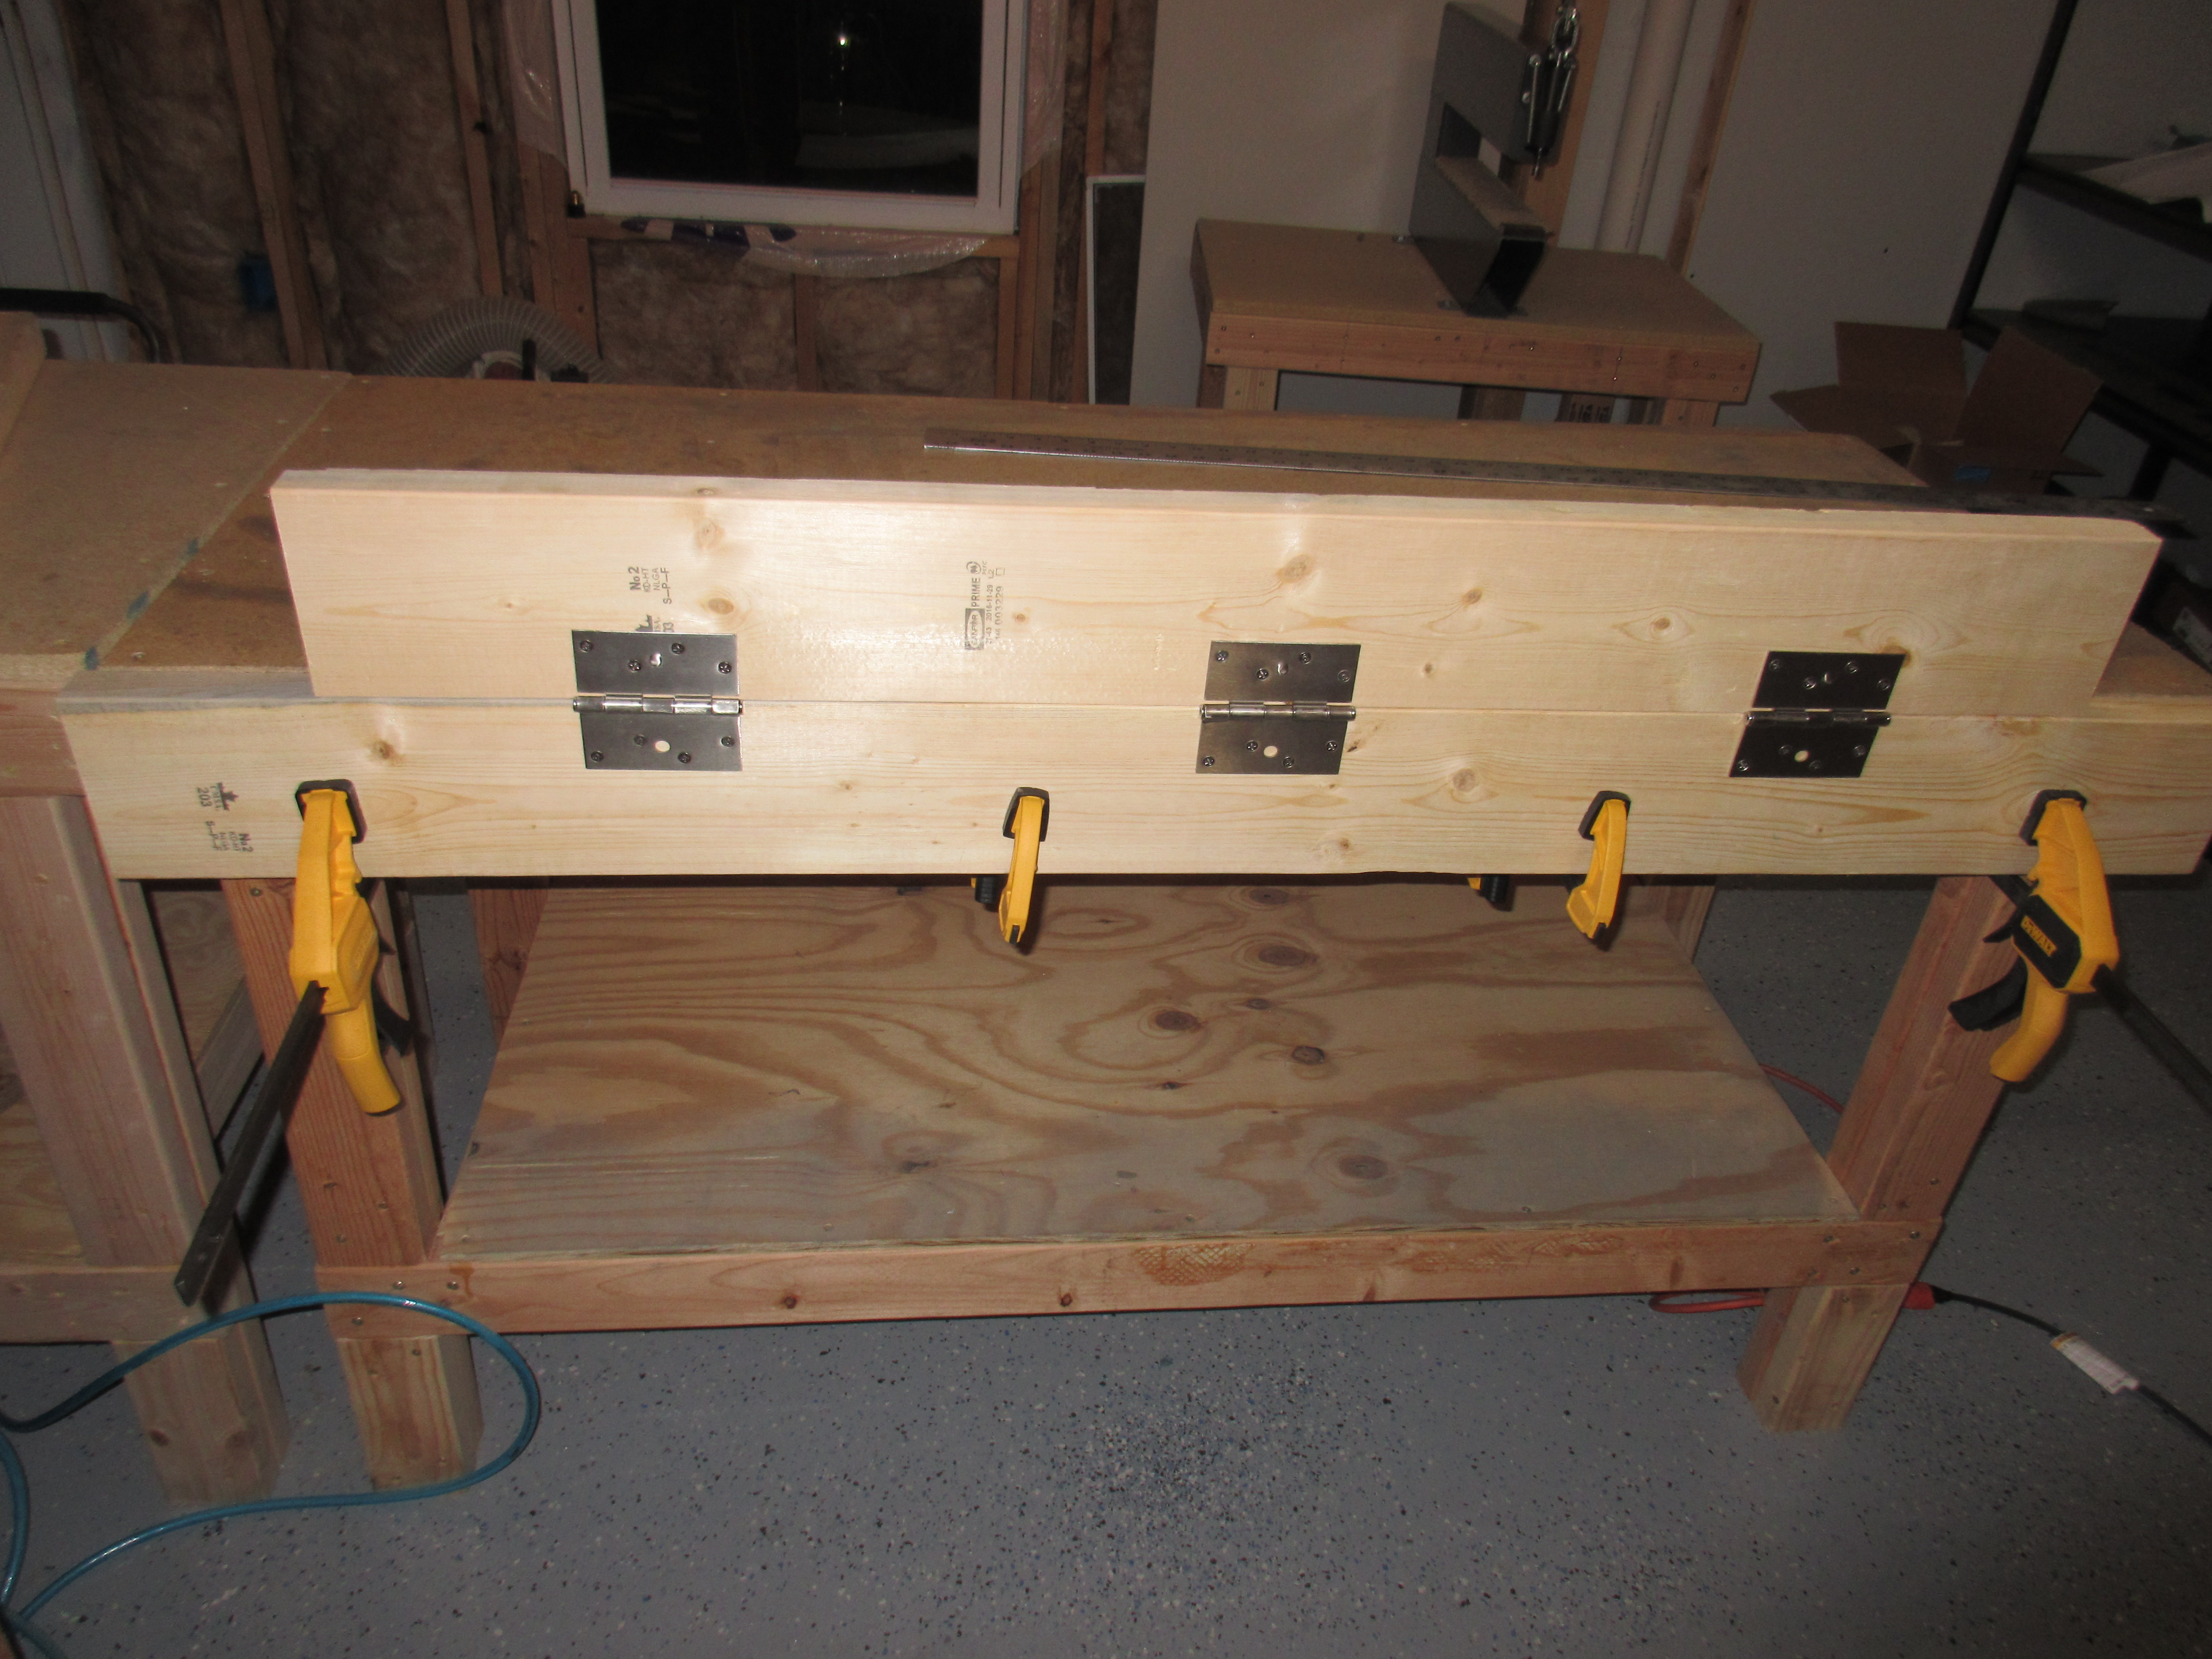
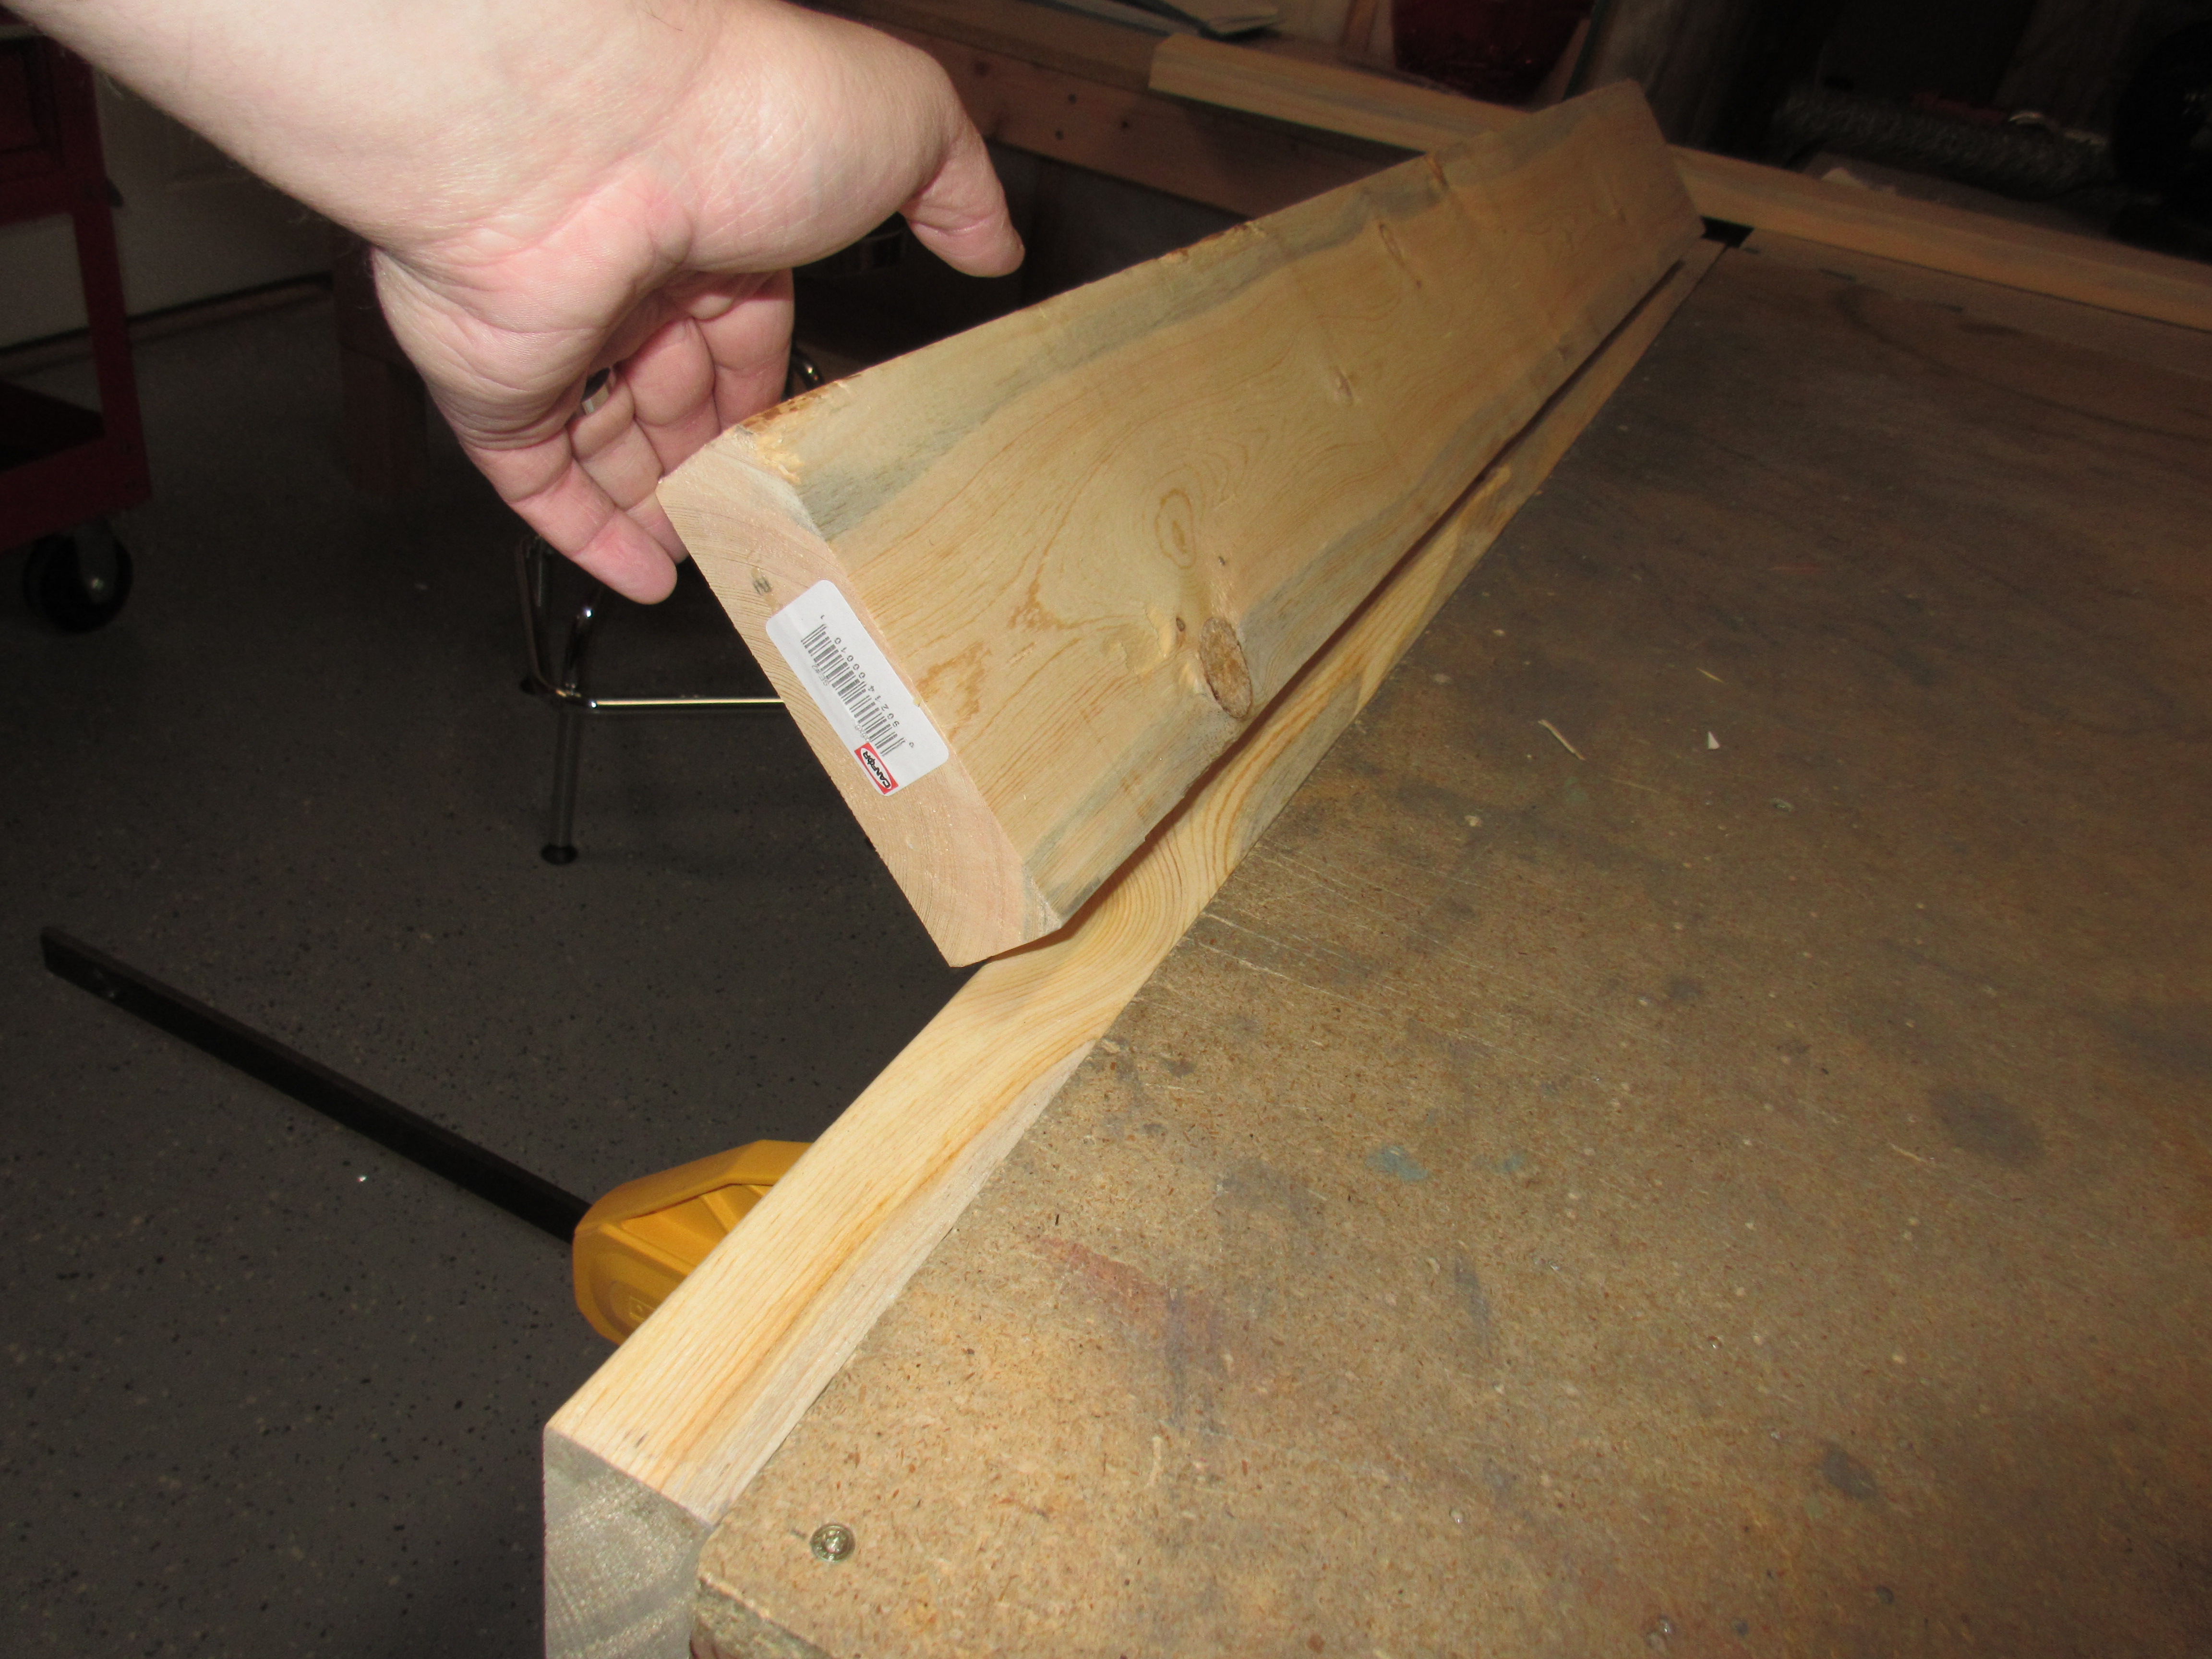
This lets me clamp the brake to my work bench so I can use it easier, and gives a nice flat surface for the elevator to lay against during bending. It also lets me use more leverage. Bending the trailing edge took a bit more work than what I was thinking. It takes quite a bit of force to get this thing to lay down! I did my bending in short easy bends so I didn’t over do it, checking as I went to make sure the elevator is bending straight. After several rounds of applying pressure, removing the elevator and checking it, I finally started to get it close to being bent.
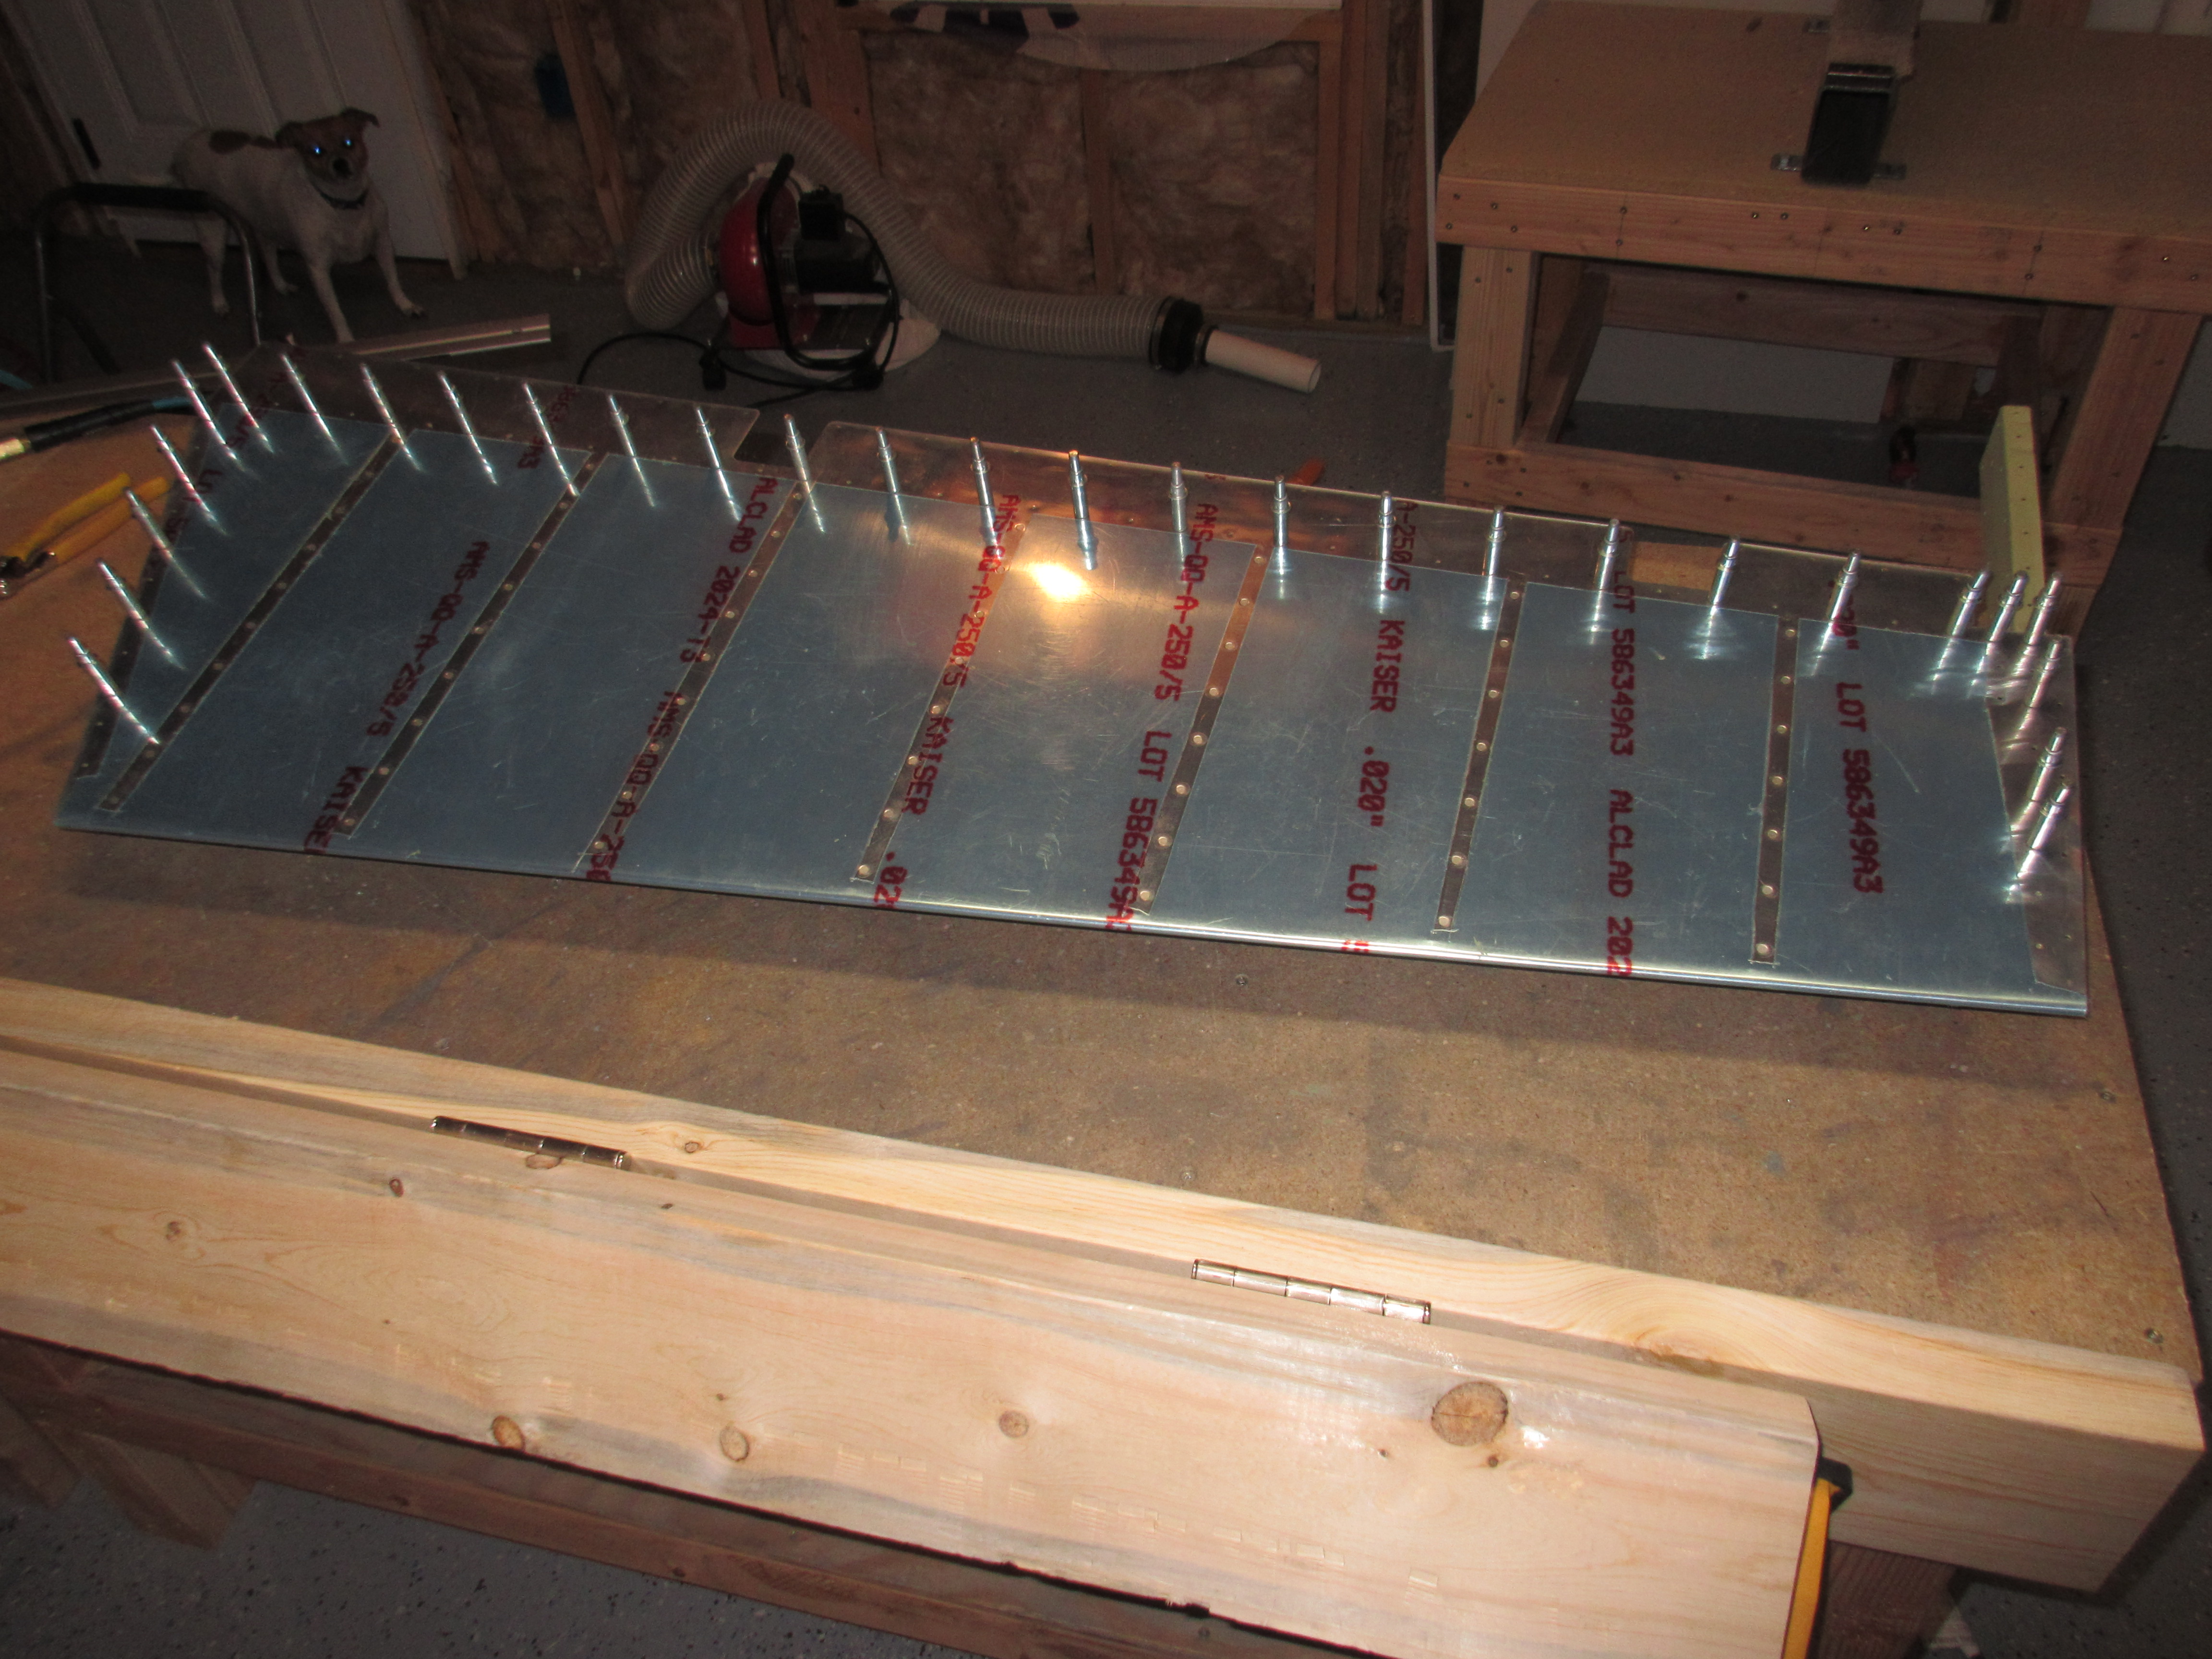
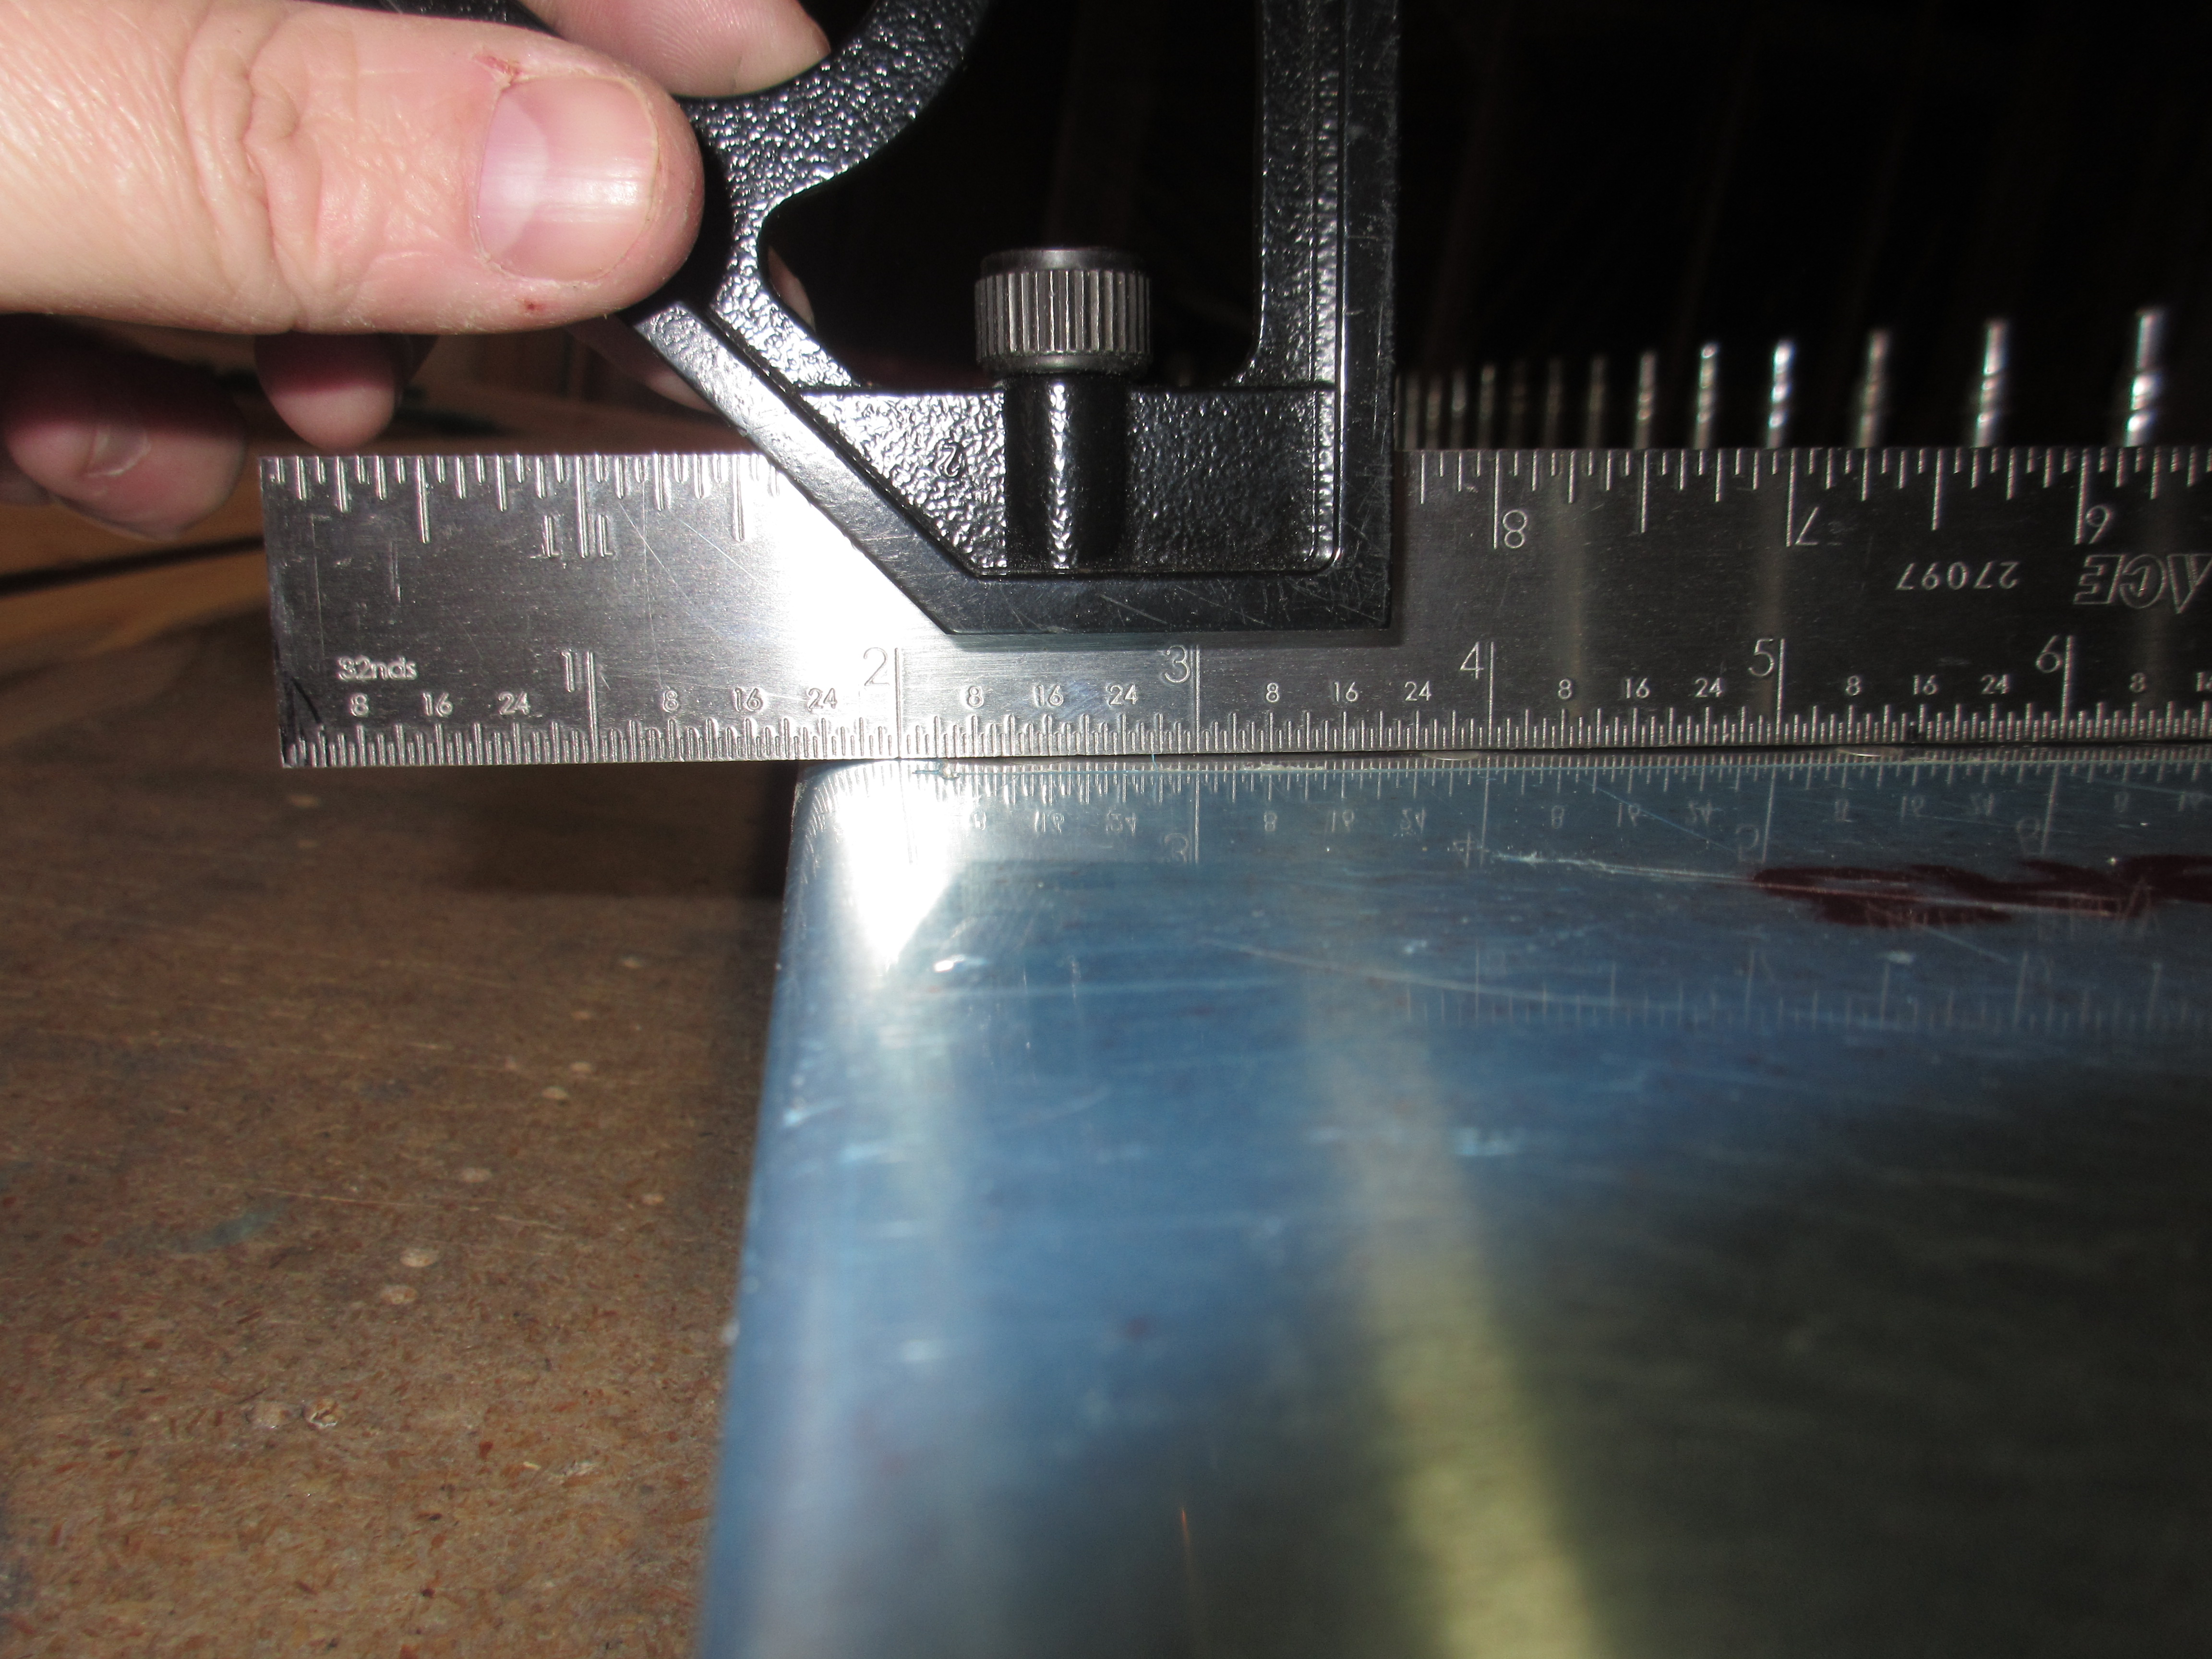
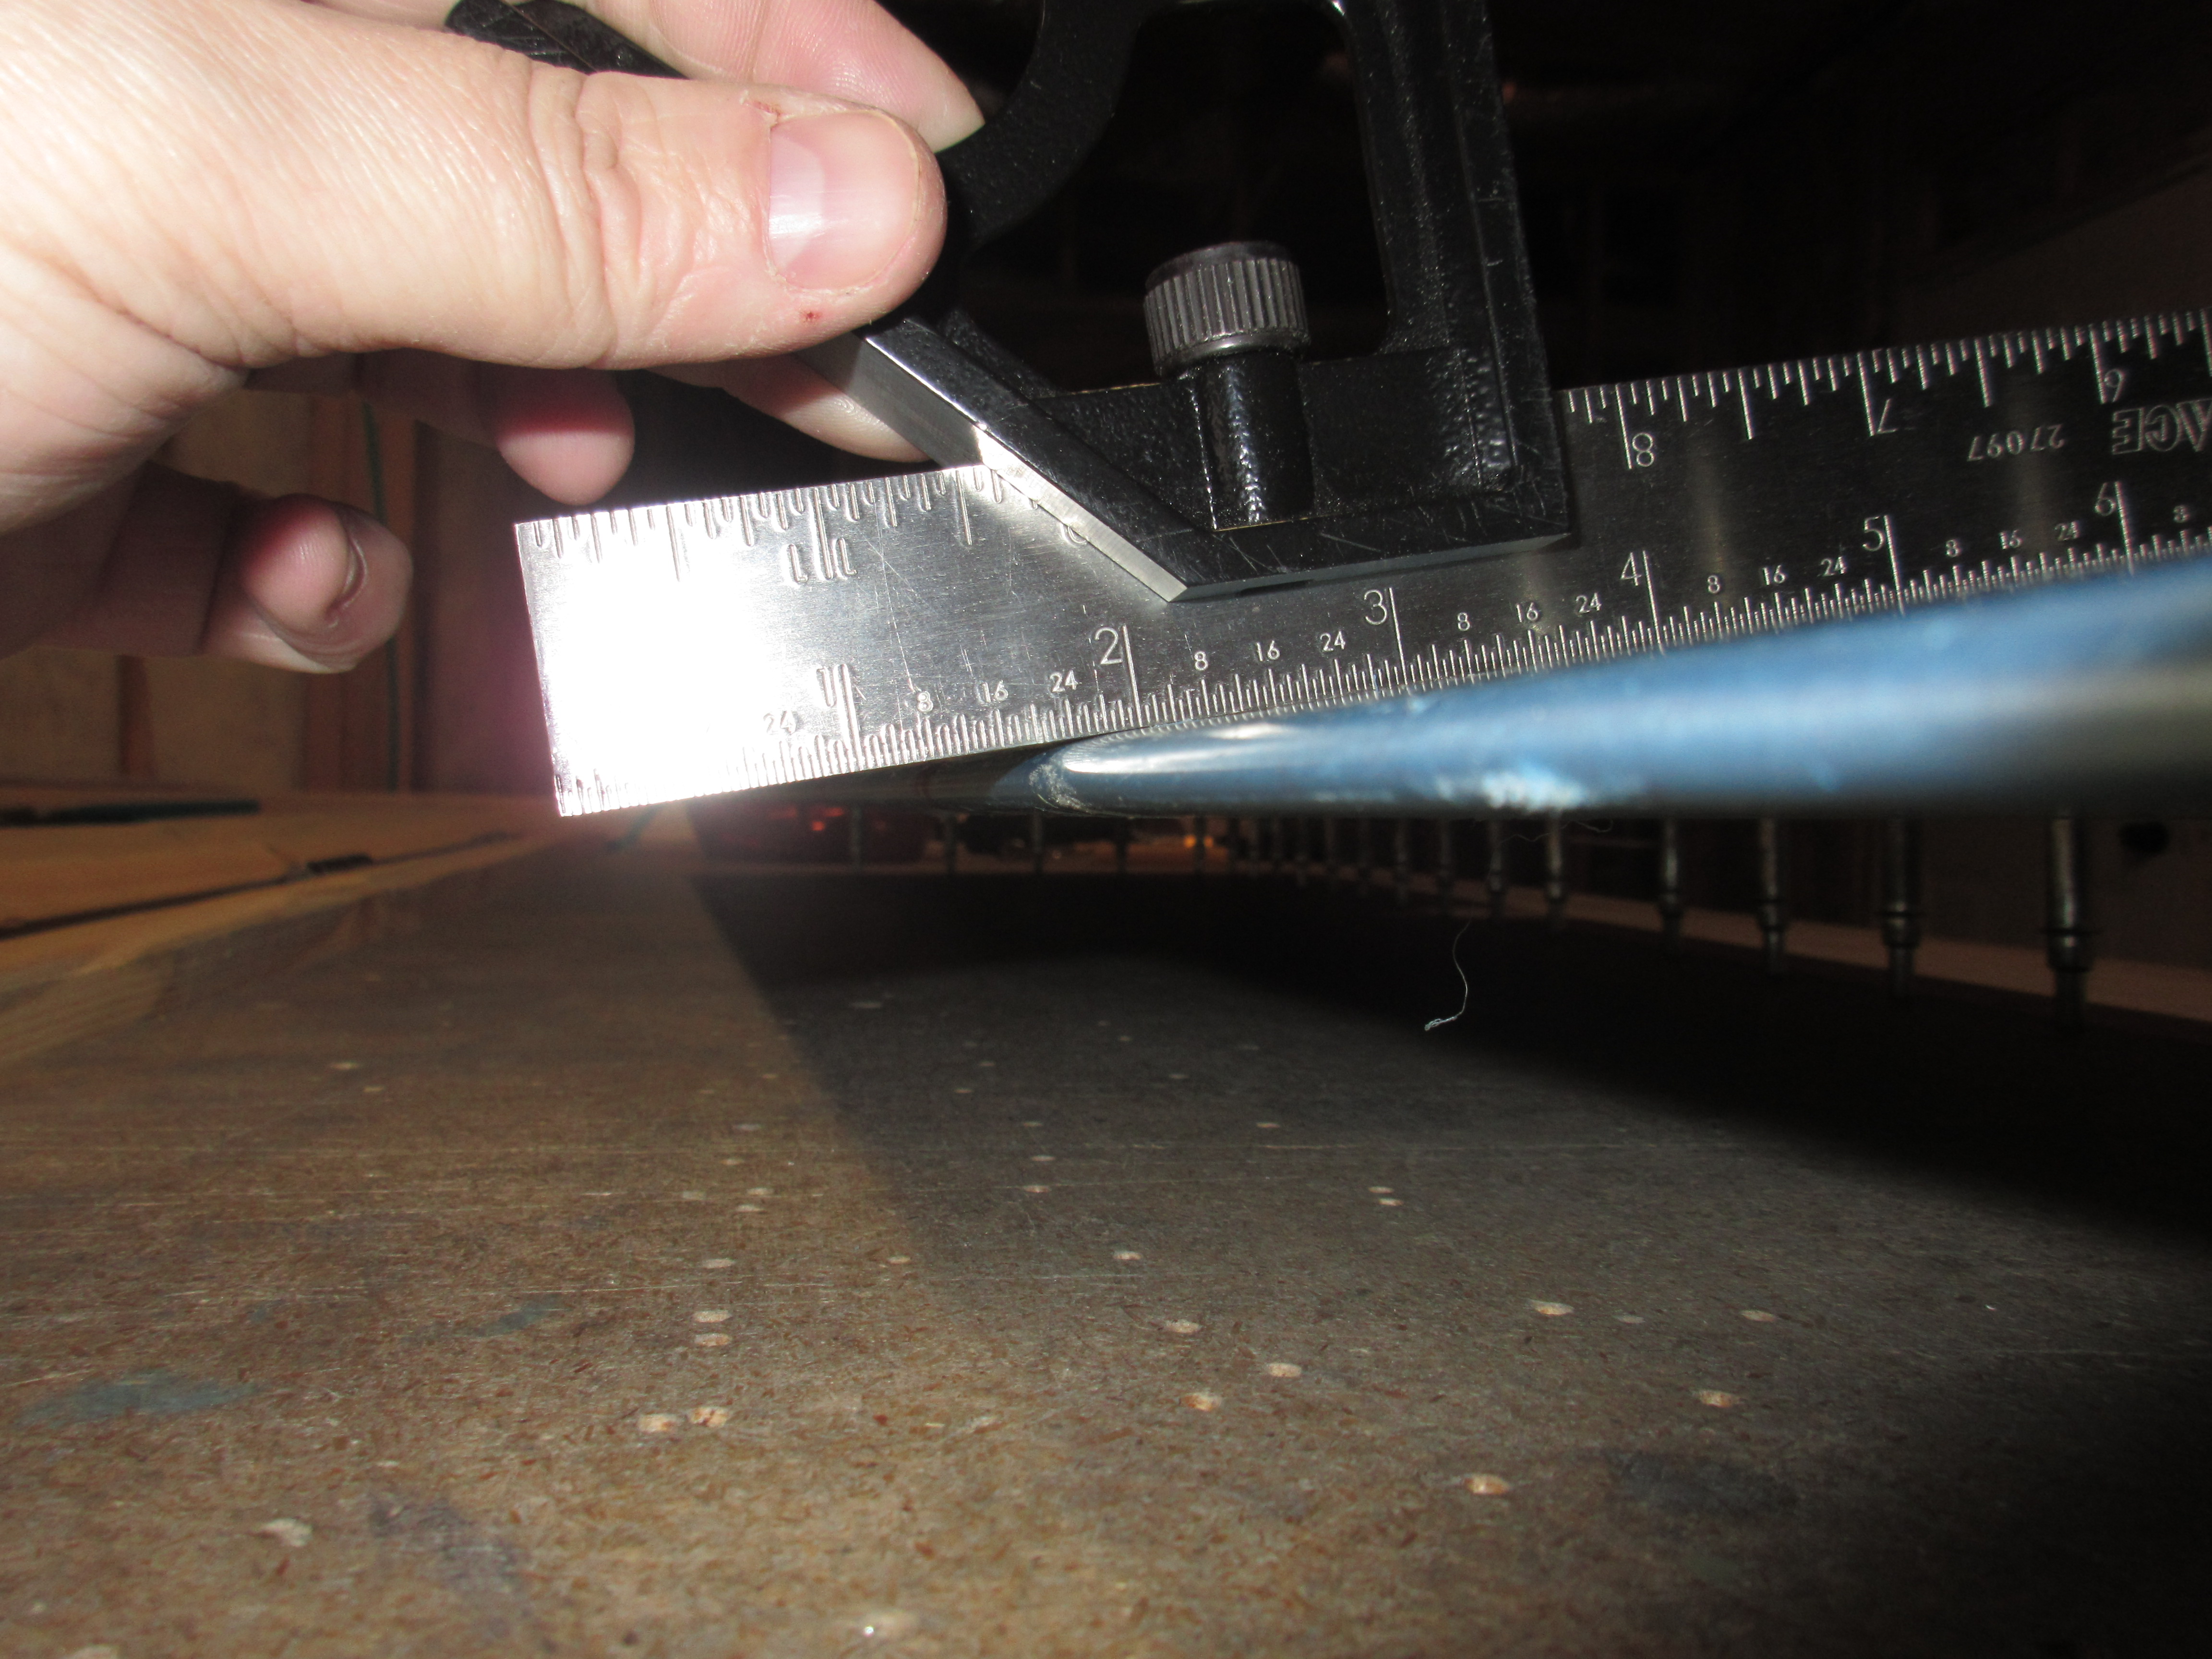
Once I get the skin to the point that it laid naturally across the front spar, I clecoed the front spar and the end ribs in place to get a better idea of how it was turning out. I was pretty close at first, but had to put it back in the brake a few more times to get it perfect. I used my square to check that the bends were complete. What we want to see is the skin flat against a straight edge, all the way from the front spar, down to the trailing edge, where the bend sharply drops off to a perpendicular to the square. If the skin sort of “falls” slowly away from the straight edge, you haven’t bent it enough. If the skin concave’s away from your straight edge, you have to much bend. Too little bend is WAY easier to fix than too much, so I did this in small steps to make sure I didn’t over do it. I checked the skin from the top to the bottom at every stiffener and in between the stiffeners using my square and its looking really great:
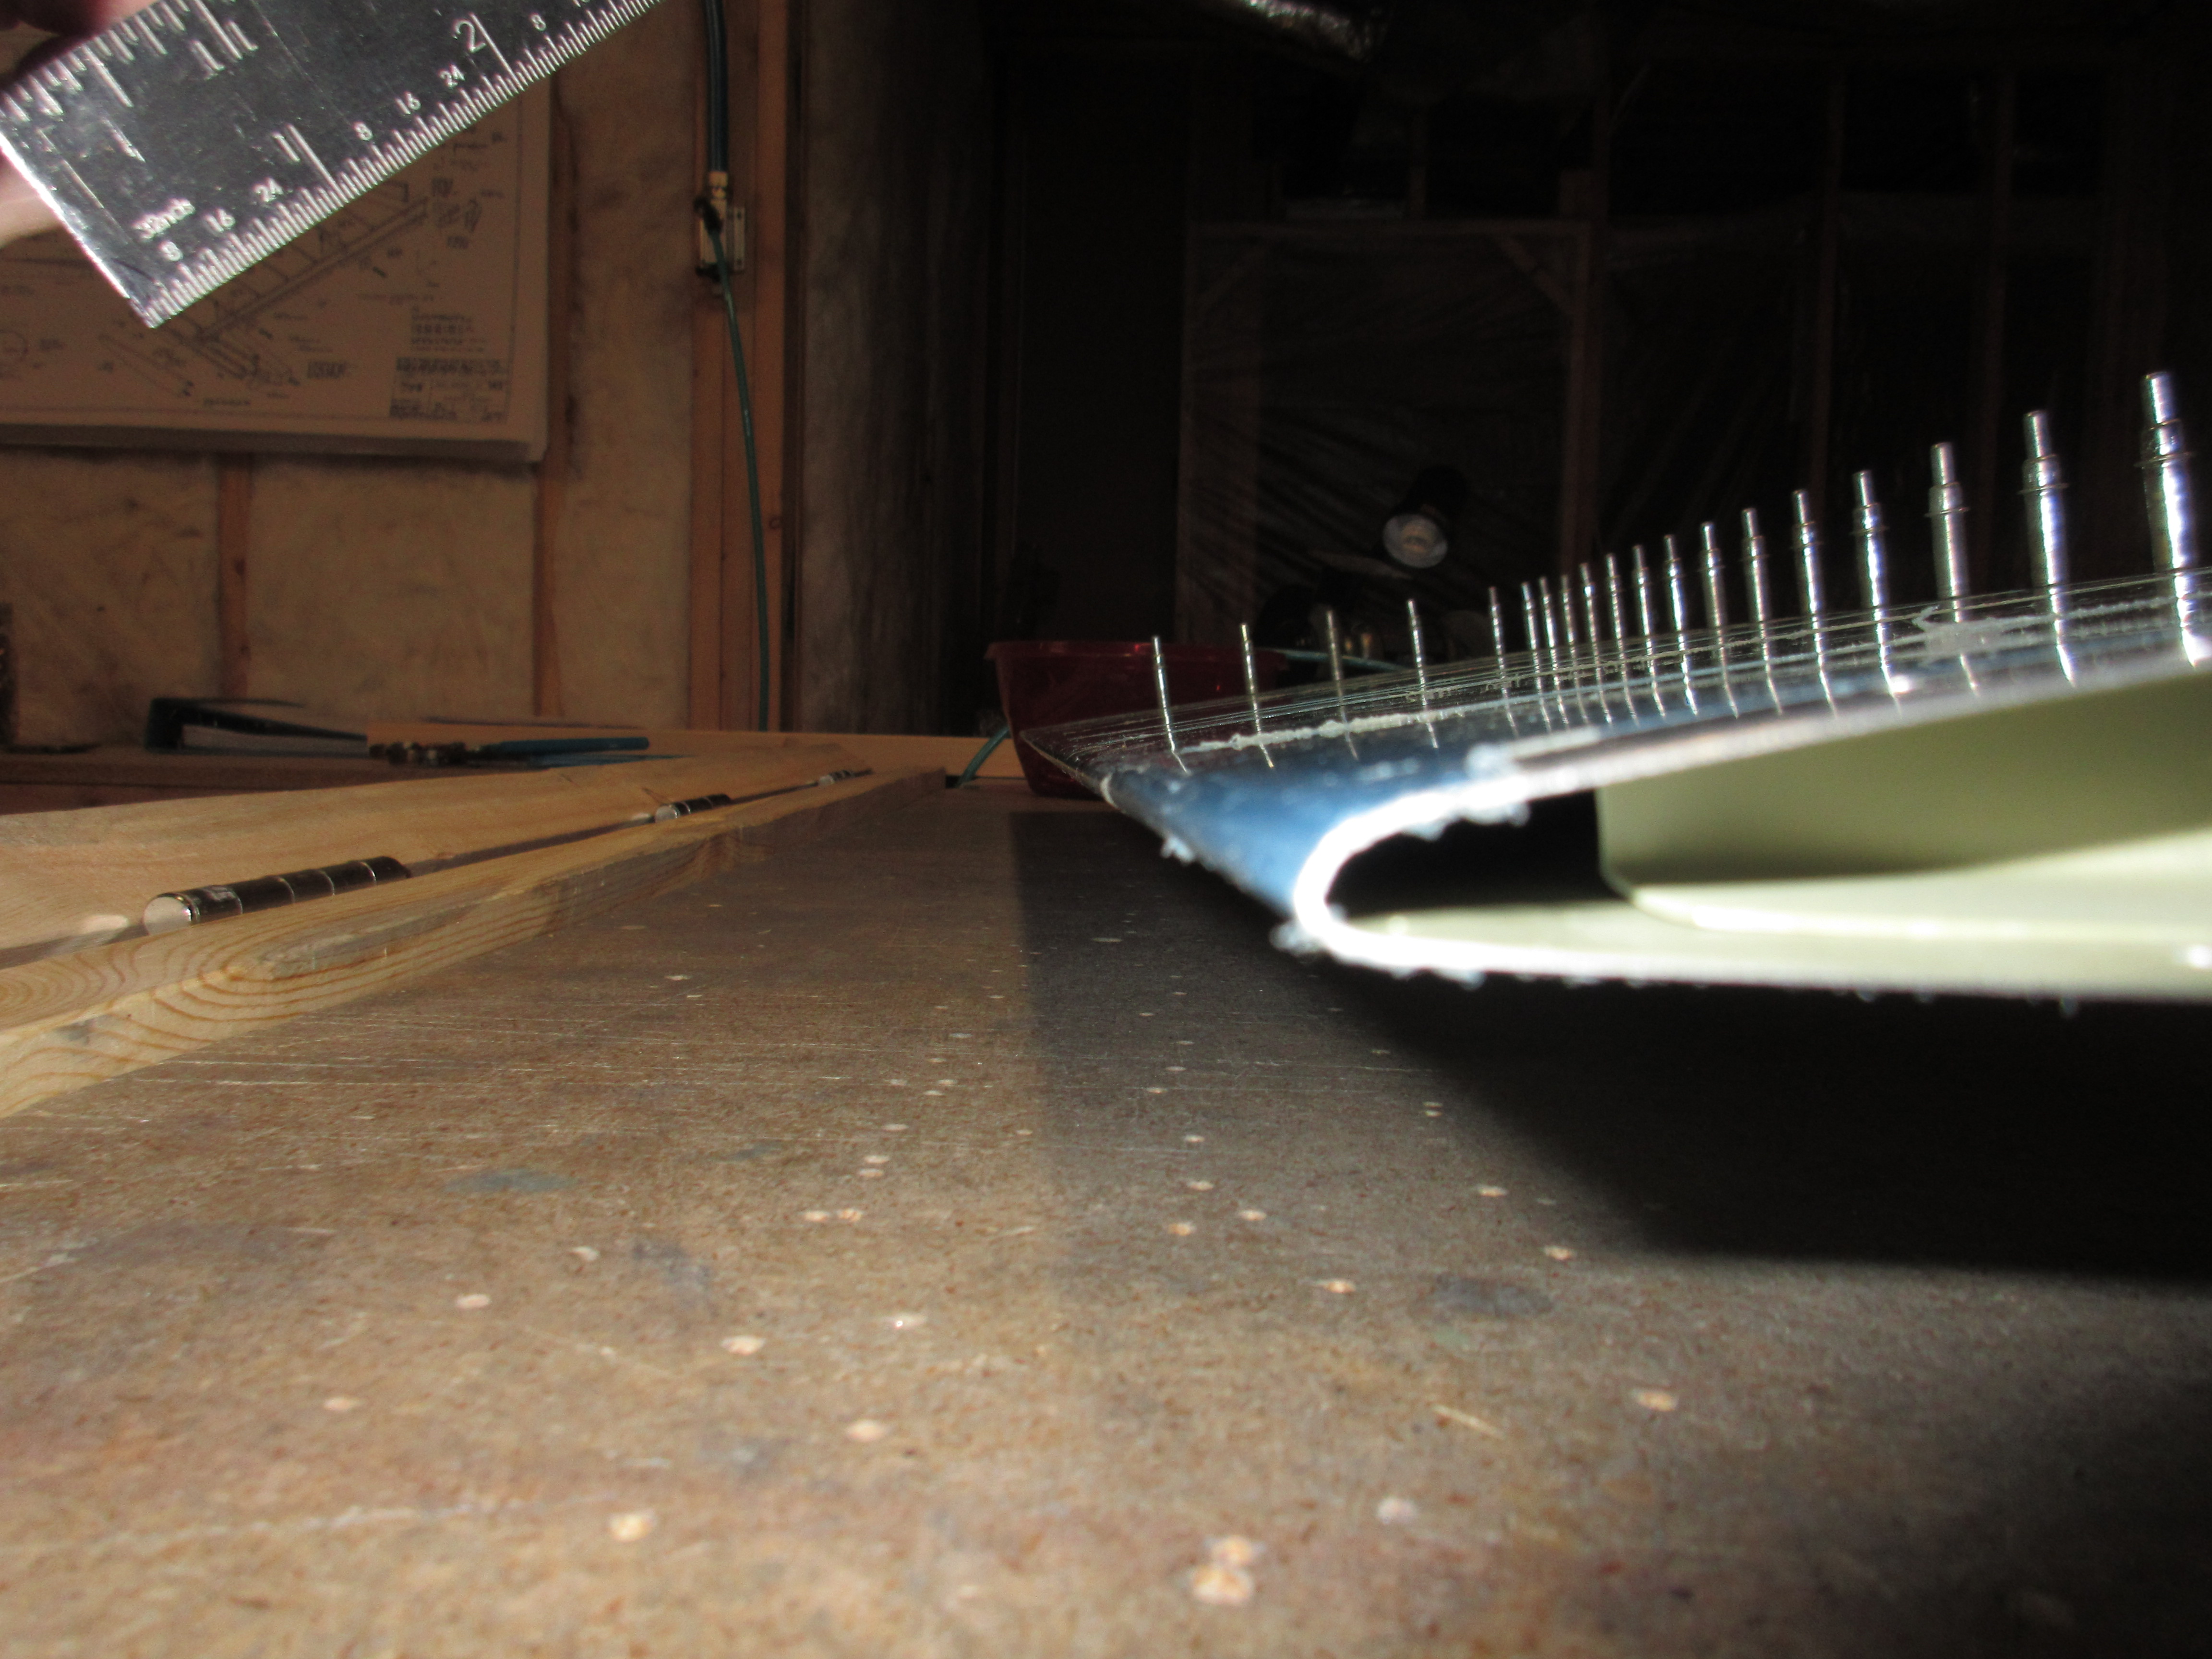
However, I think I have a very slight twist in the elevator somehow. When I laid a straight edge (4 foot aluminum drywall ruler) across the trailing edge from top to bottom I noticed that the trailing edge bowed about 3/32″ around the middle. I thought I had a photo of that, but it was overexposed from the flash reflecting off the ruler. But, I decided to call it a night at this point. I am fairly happy with the trailing edge, and I’m going to post a question over on the forums about the very slight bow. It’s probably easily fixable seeing as how I haven’t riveted the elevator yet. Heck, the 3/32″ may actually be in spec for the rudder, I’m going to do some research and find out. Here’s all the photos from this build session:
Google Photos Link: https://goo.gl/photos/NrH78YdKxtHENdNV6
Hours Worked: 1.75