


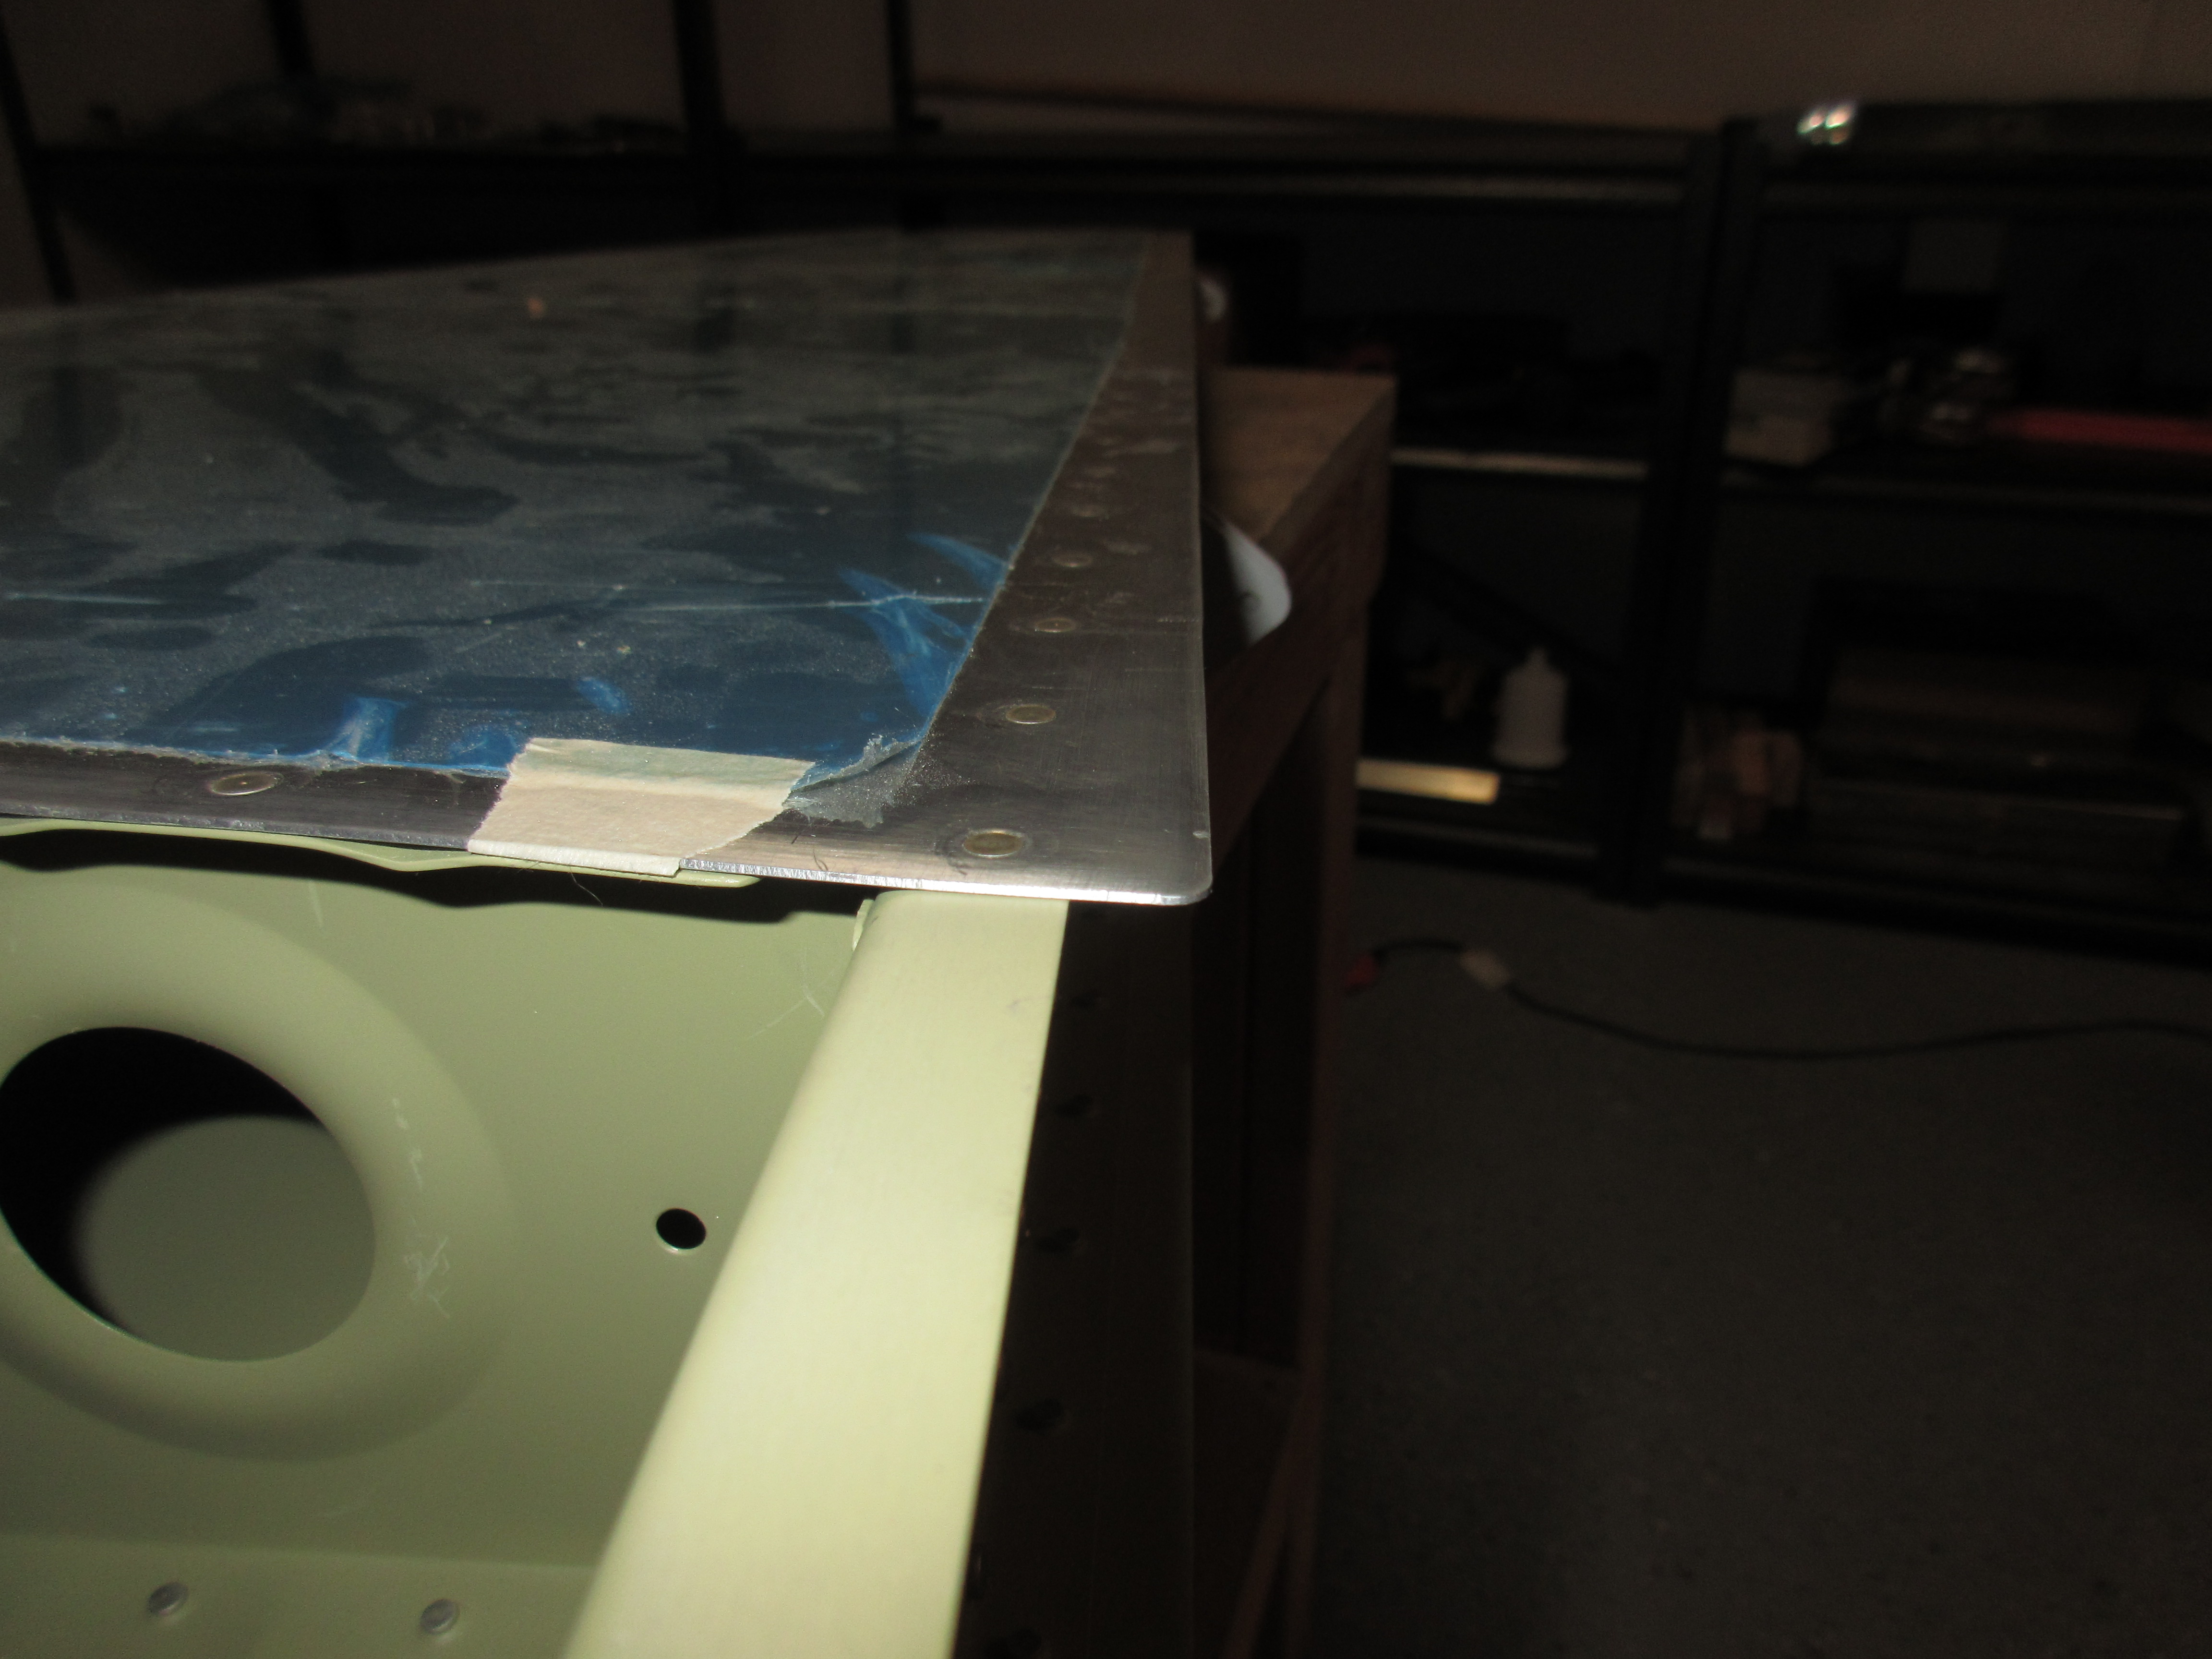
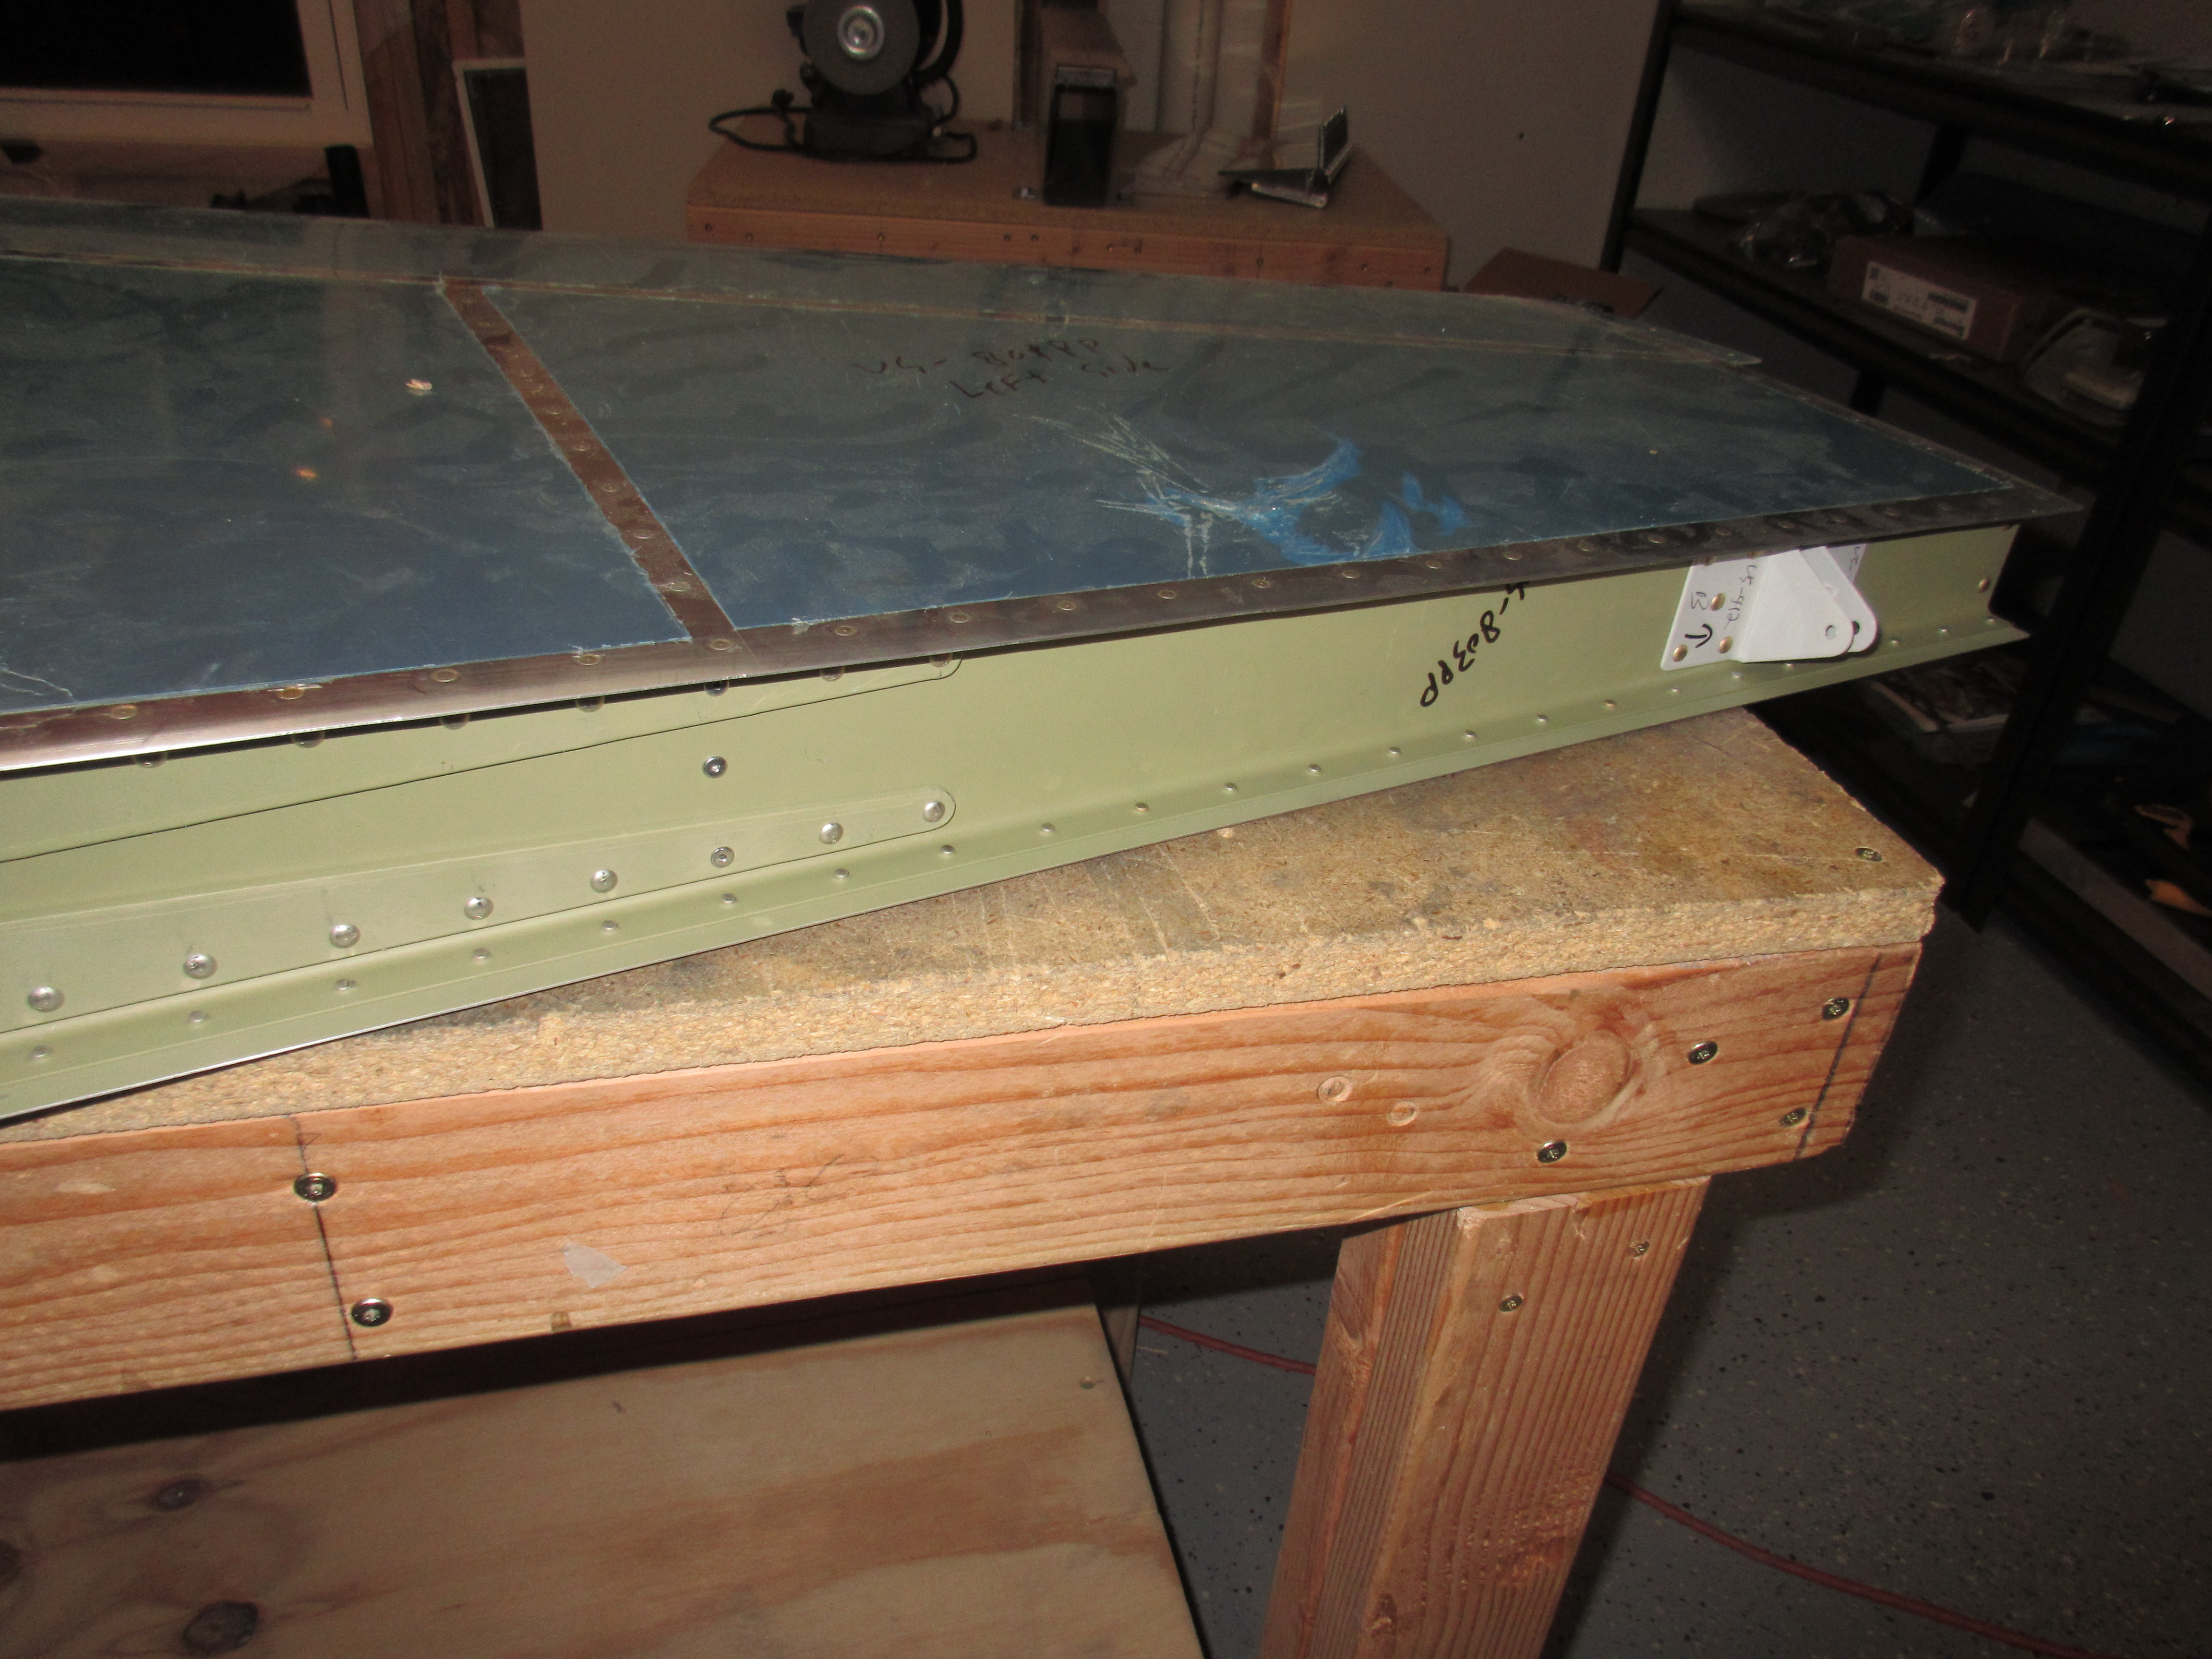
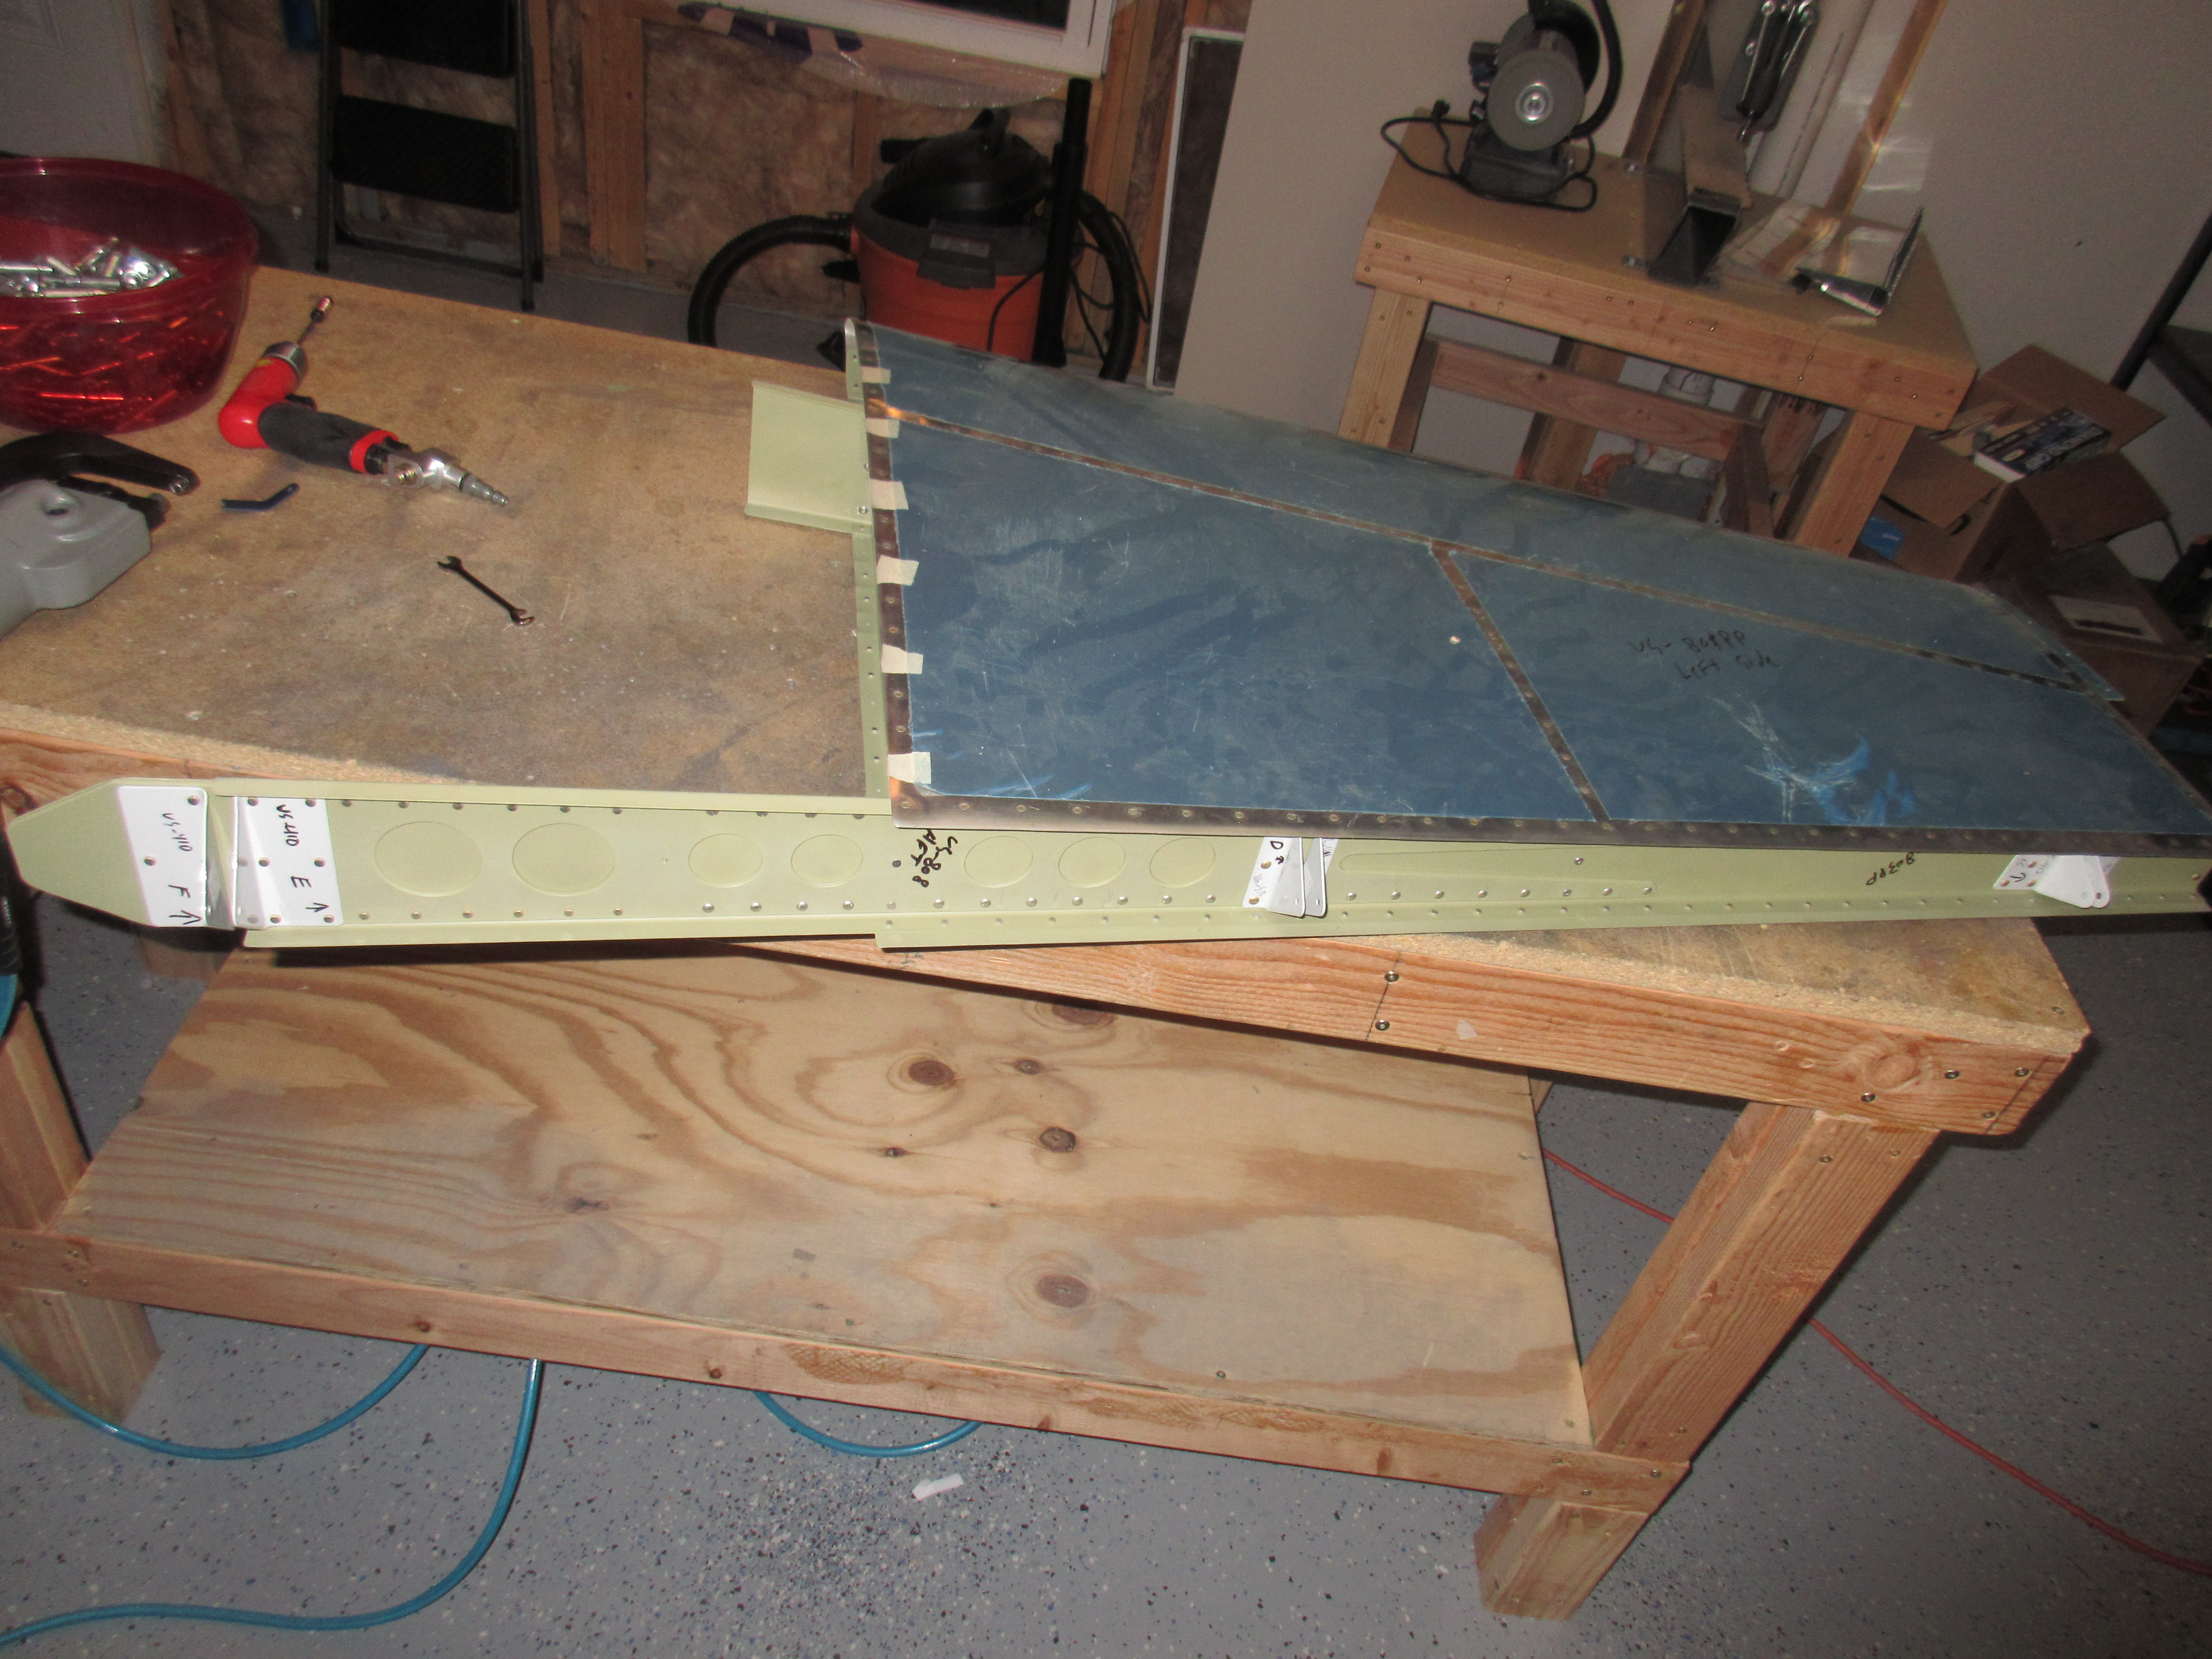
After completing the horizontal stabilizer in a previous work session, I decided to continue on and finish the vertical stabilizer. The Tech Counselor came out this morning and approved all my work so far, and that means its safe to close these guys up and mark them as done! I started out by clecoing the rear spar back on to the vertical stabilizer skin, we had removed it this morning so the inspector could take a good look at the riveting done inside.
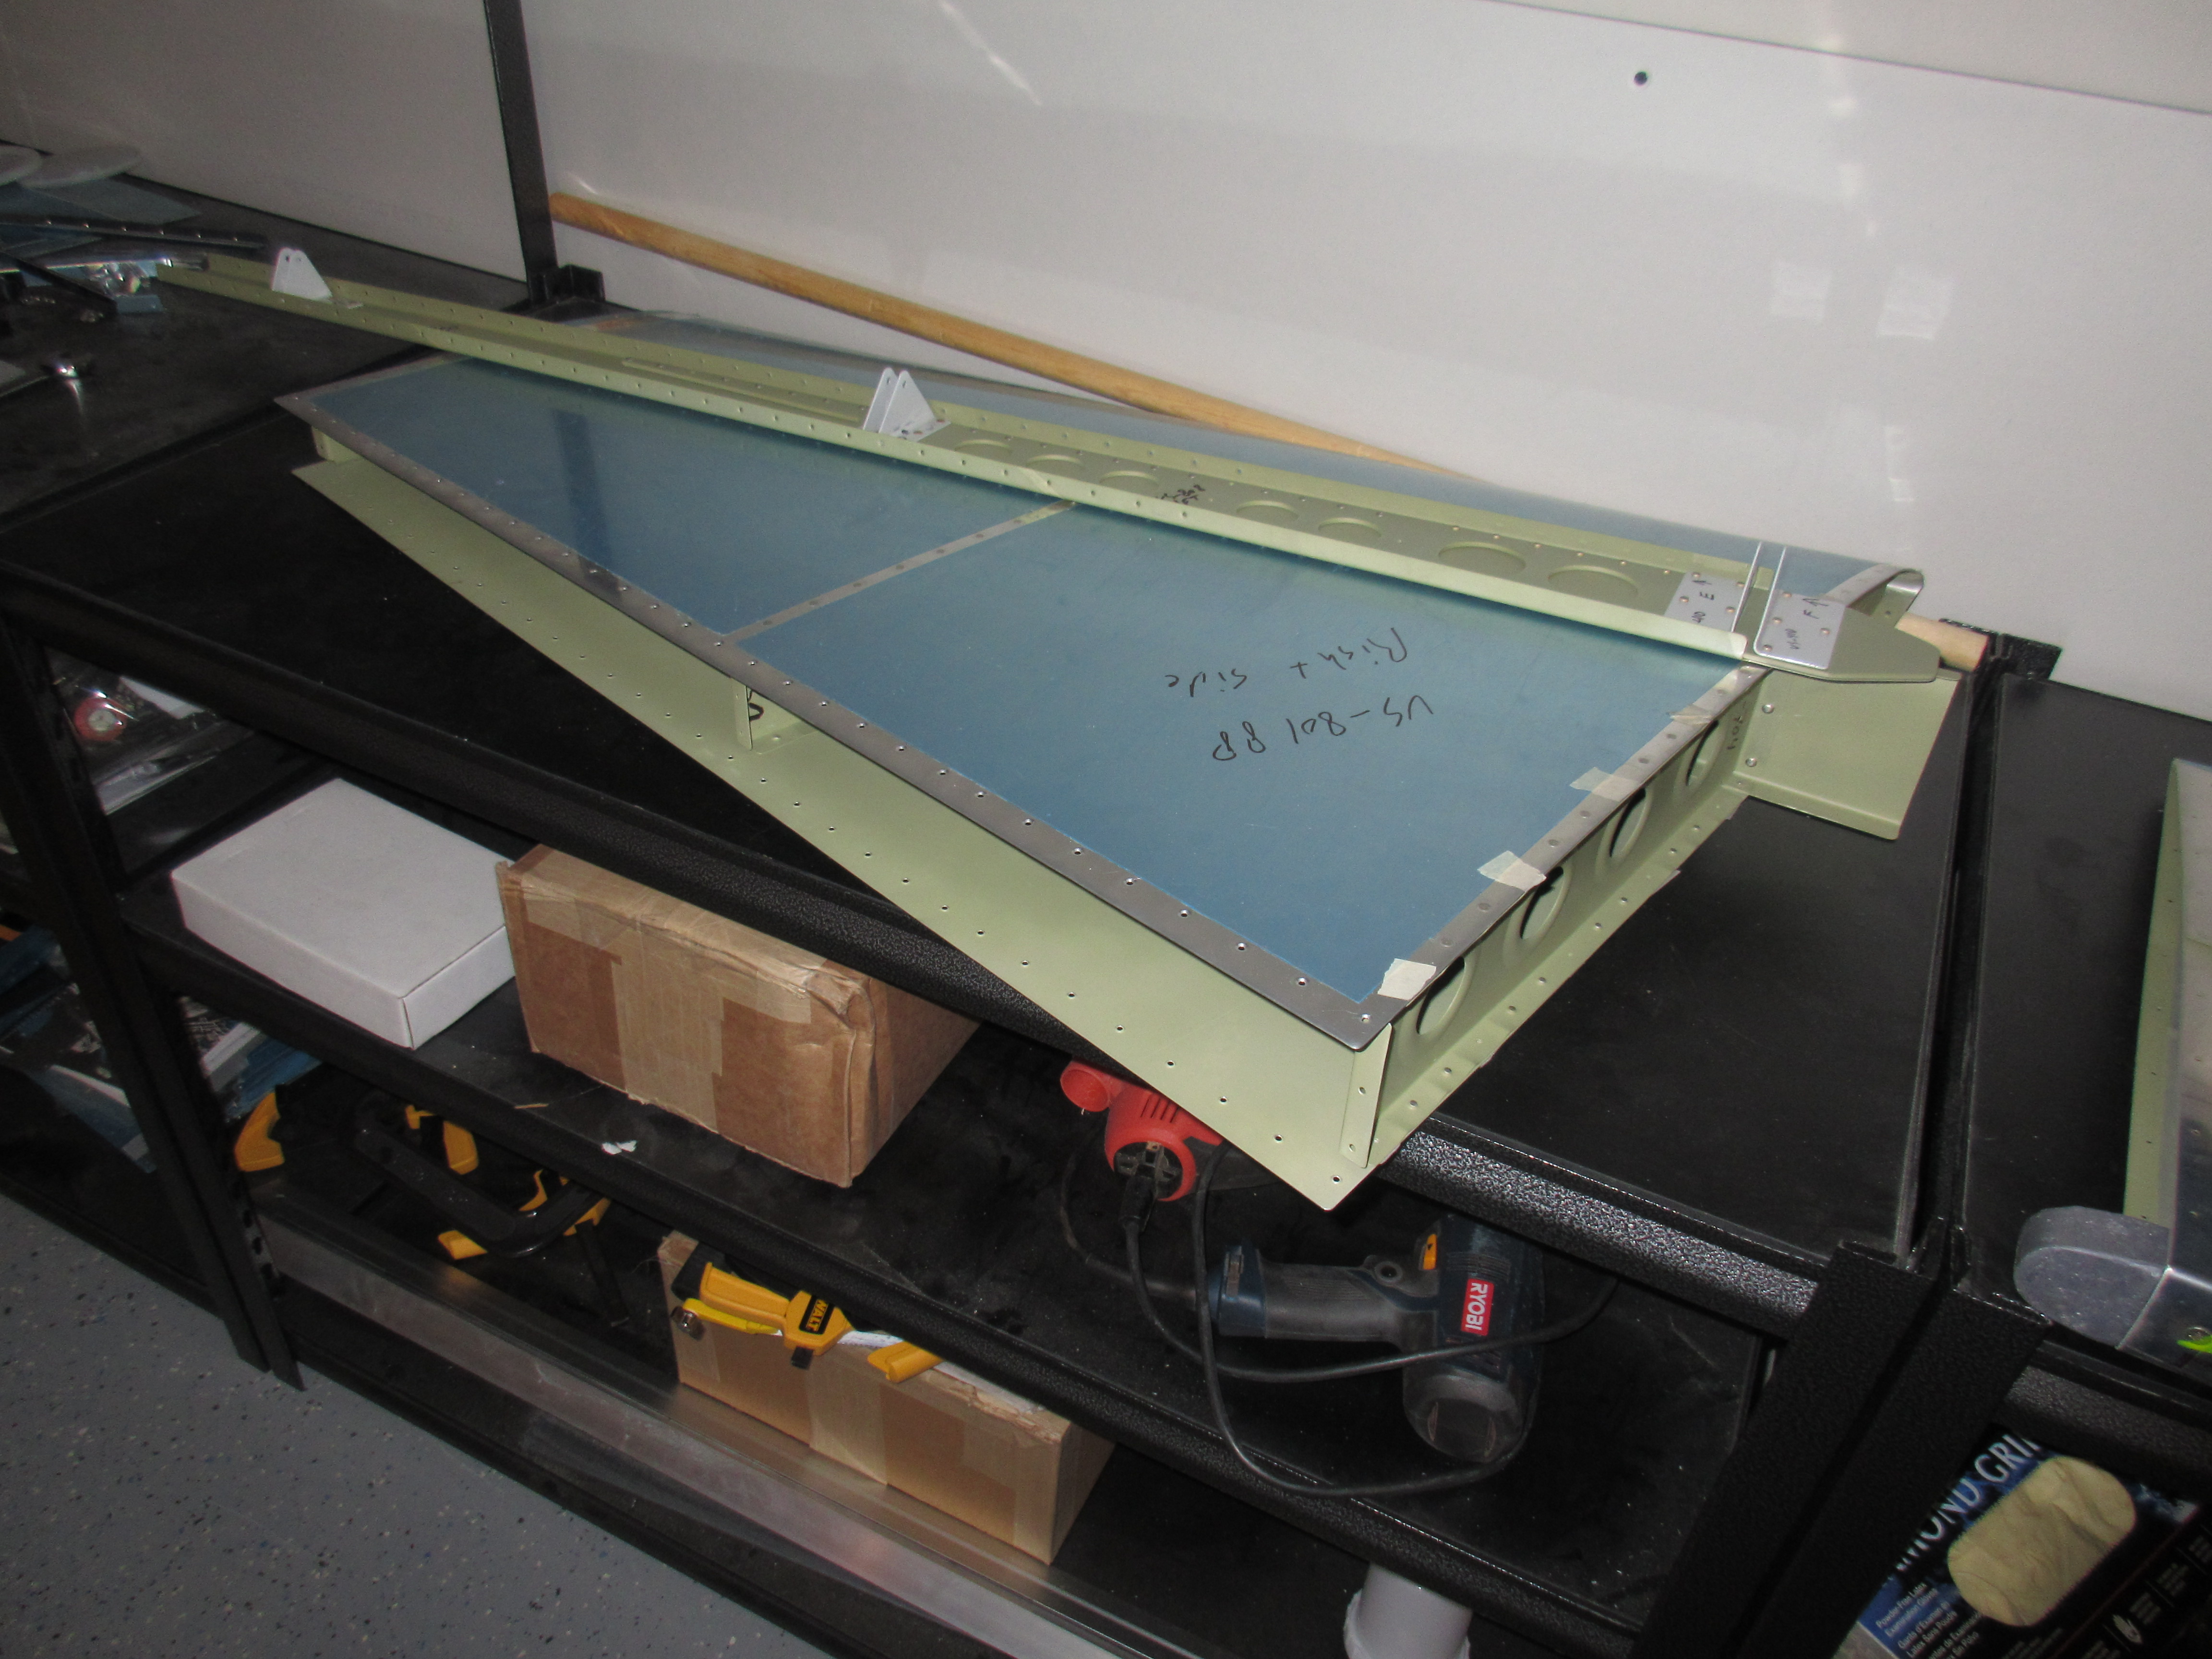
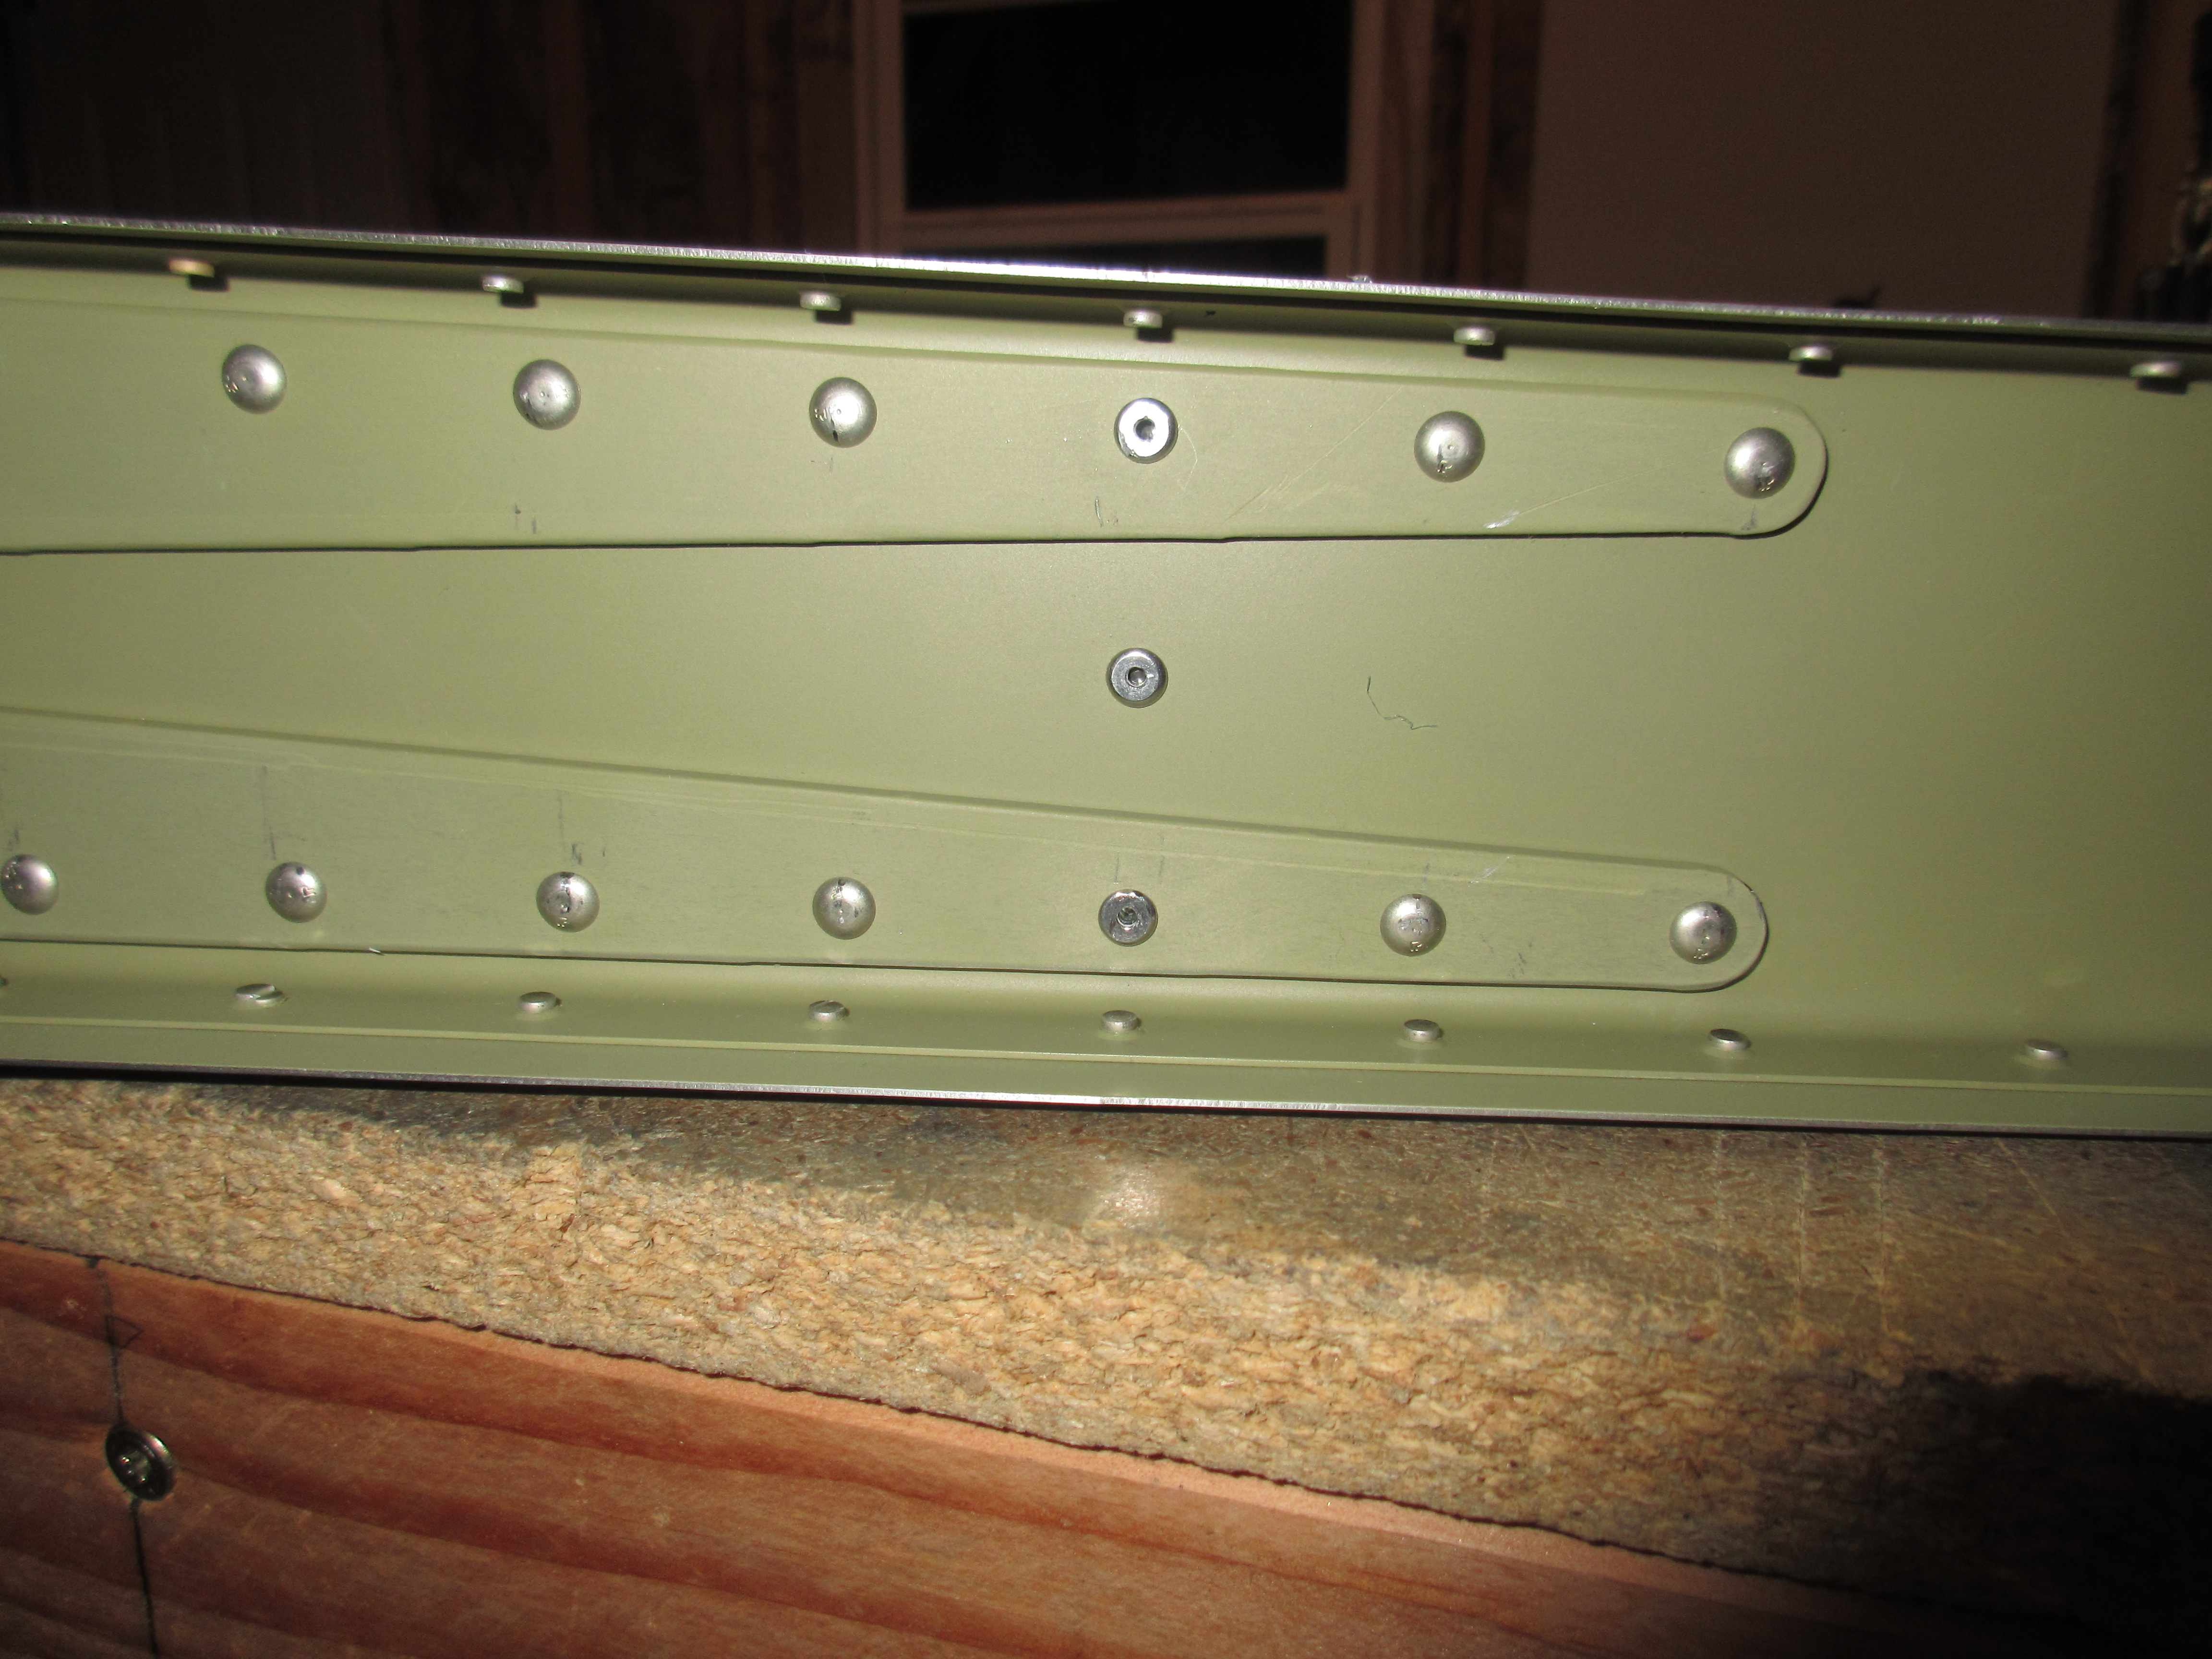
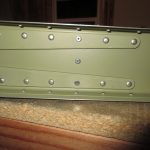
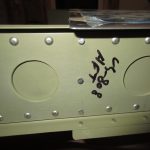
Once the VS-803PP rear spar was clecod on, I inserted an AN426AD3-3.5 rivet into every other hole and used the squeezer to set the rivets. Once they were all done on both sides, I removed the clecos and then riveted those holes. Since I was able to use my squeezer, these rivets came out perfect:
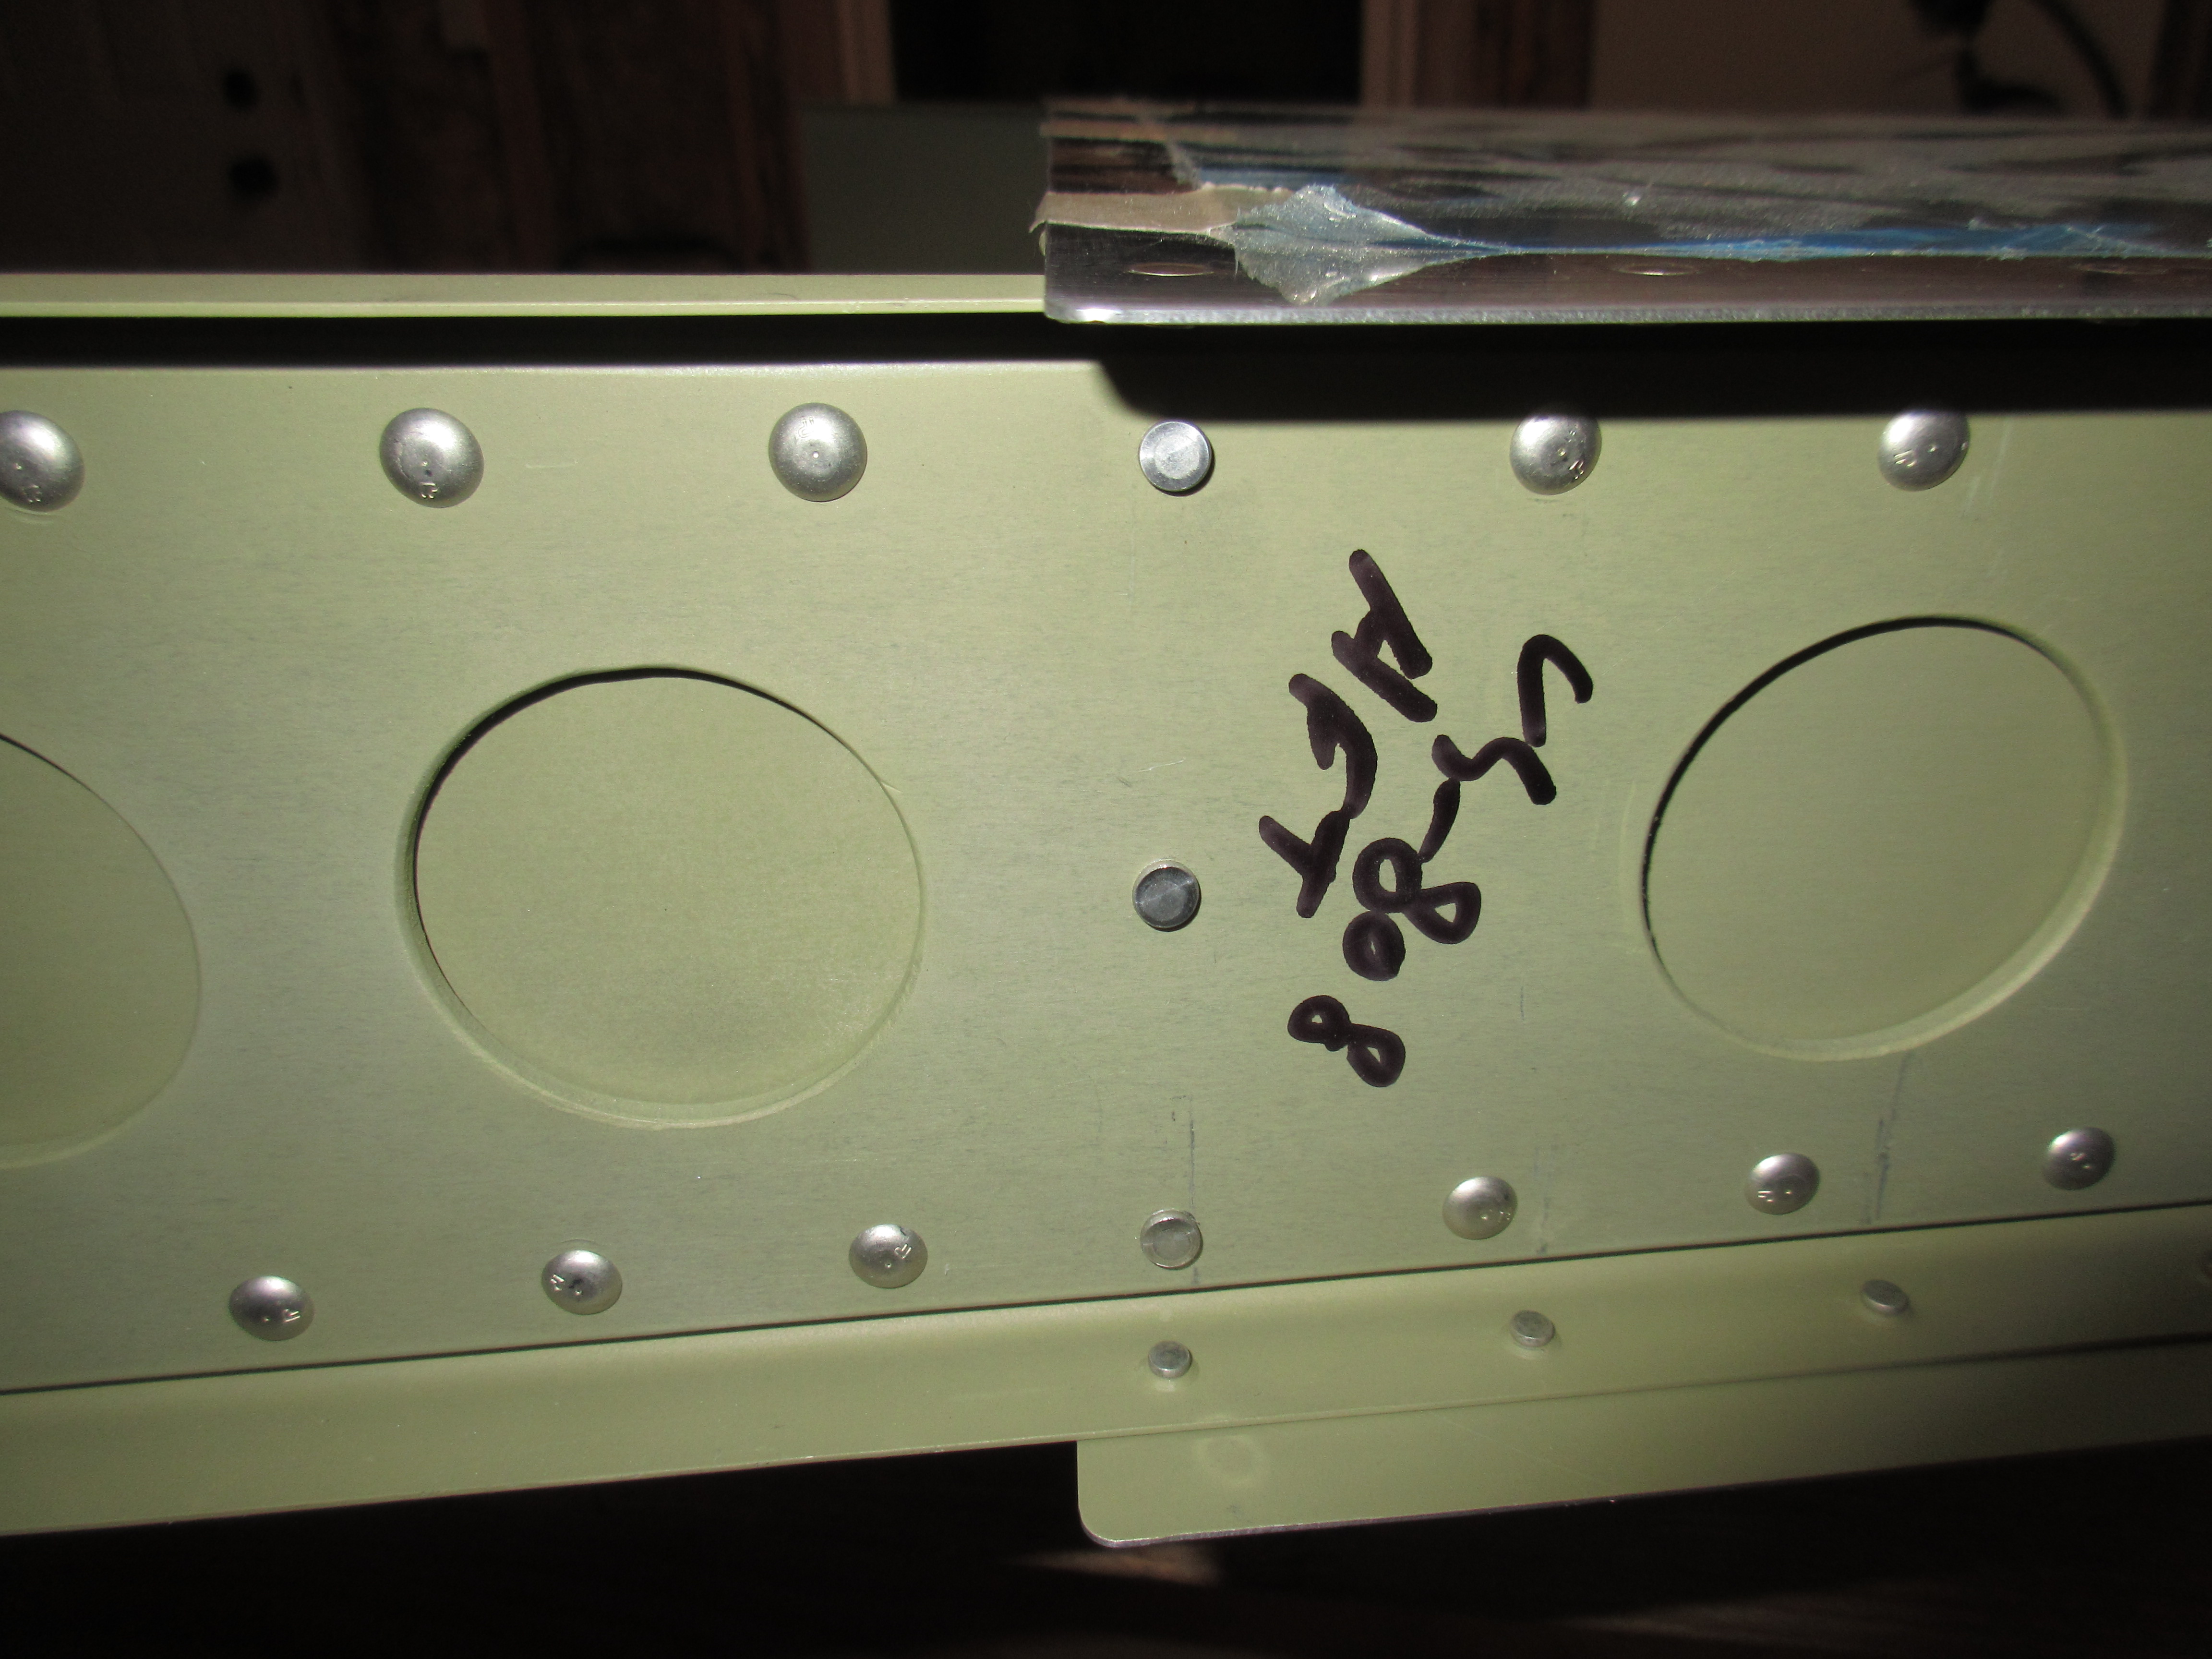
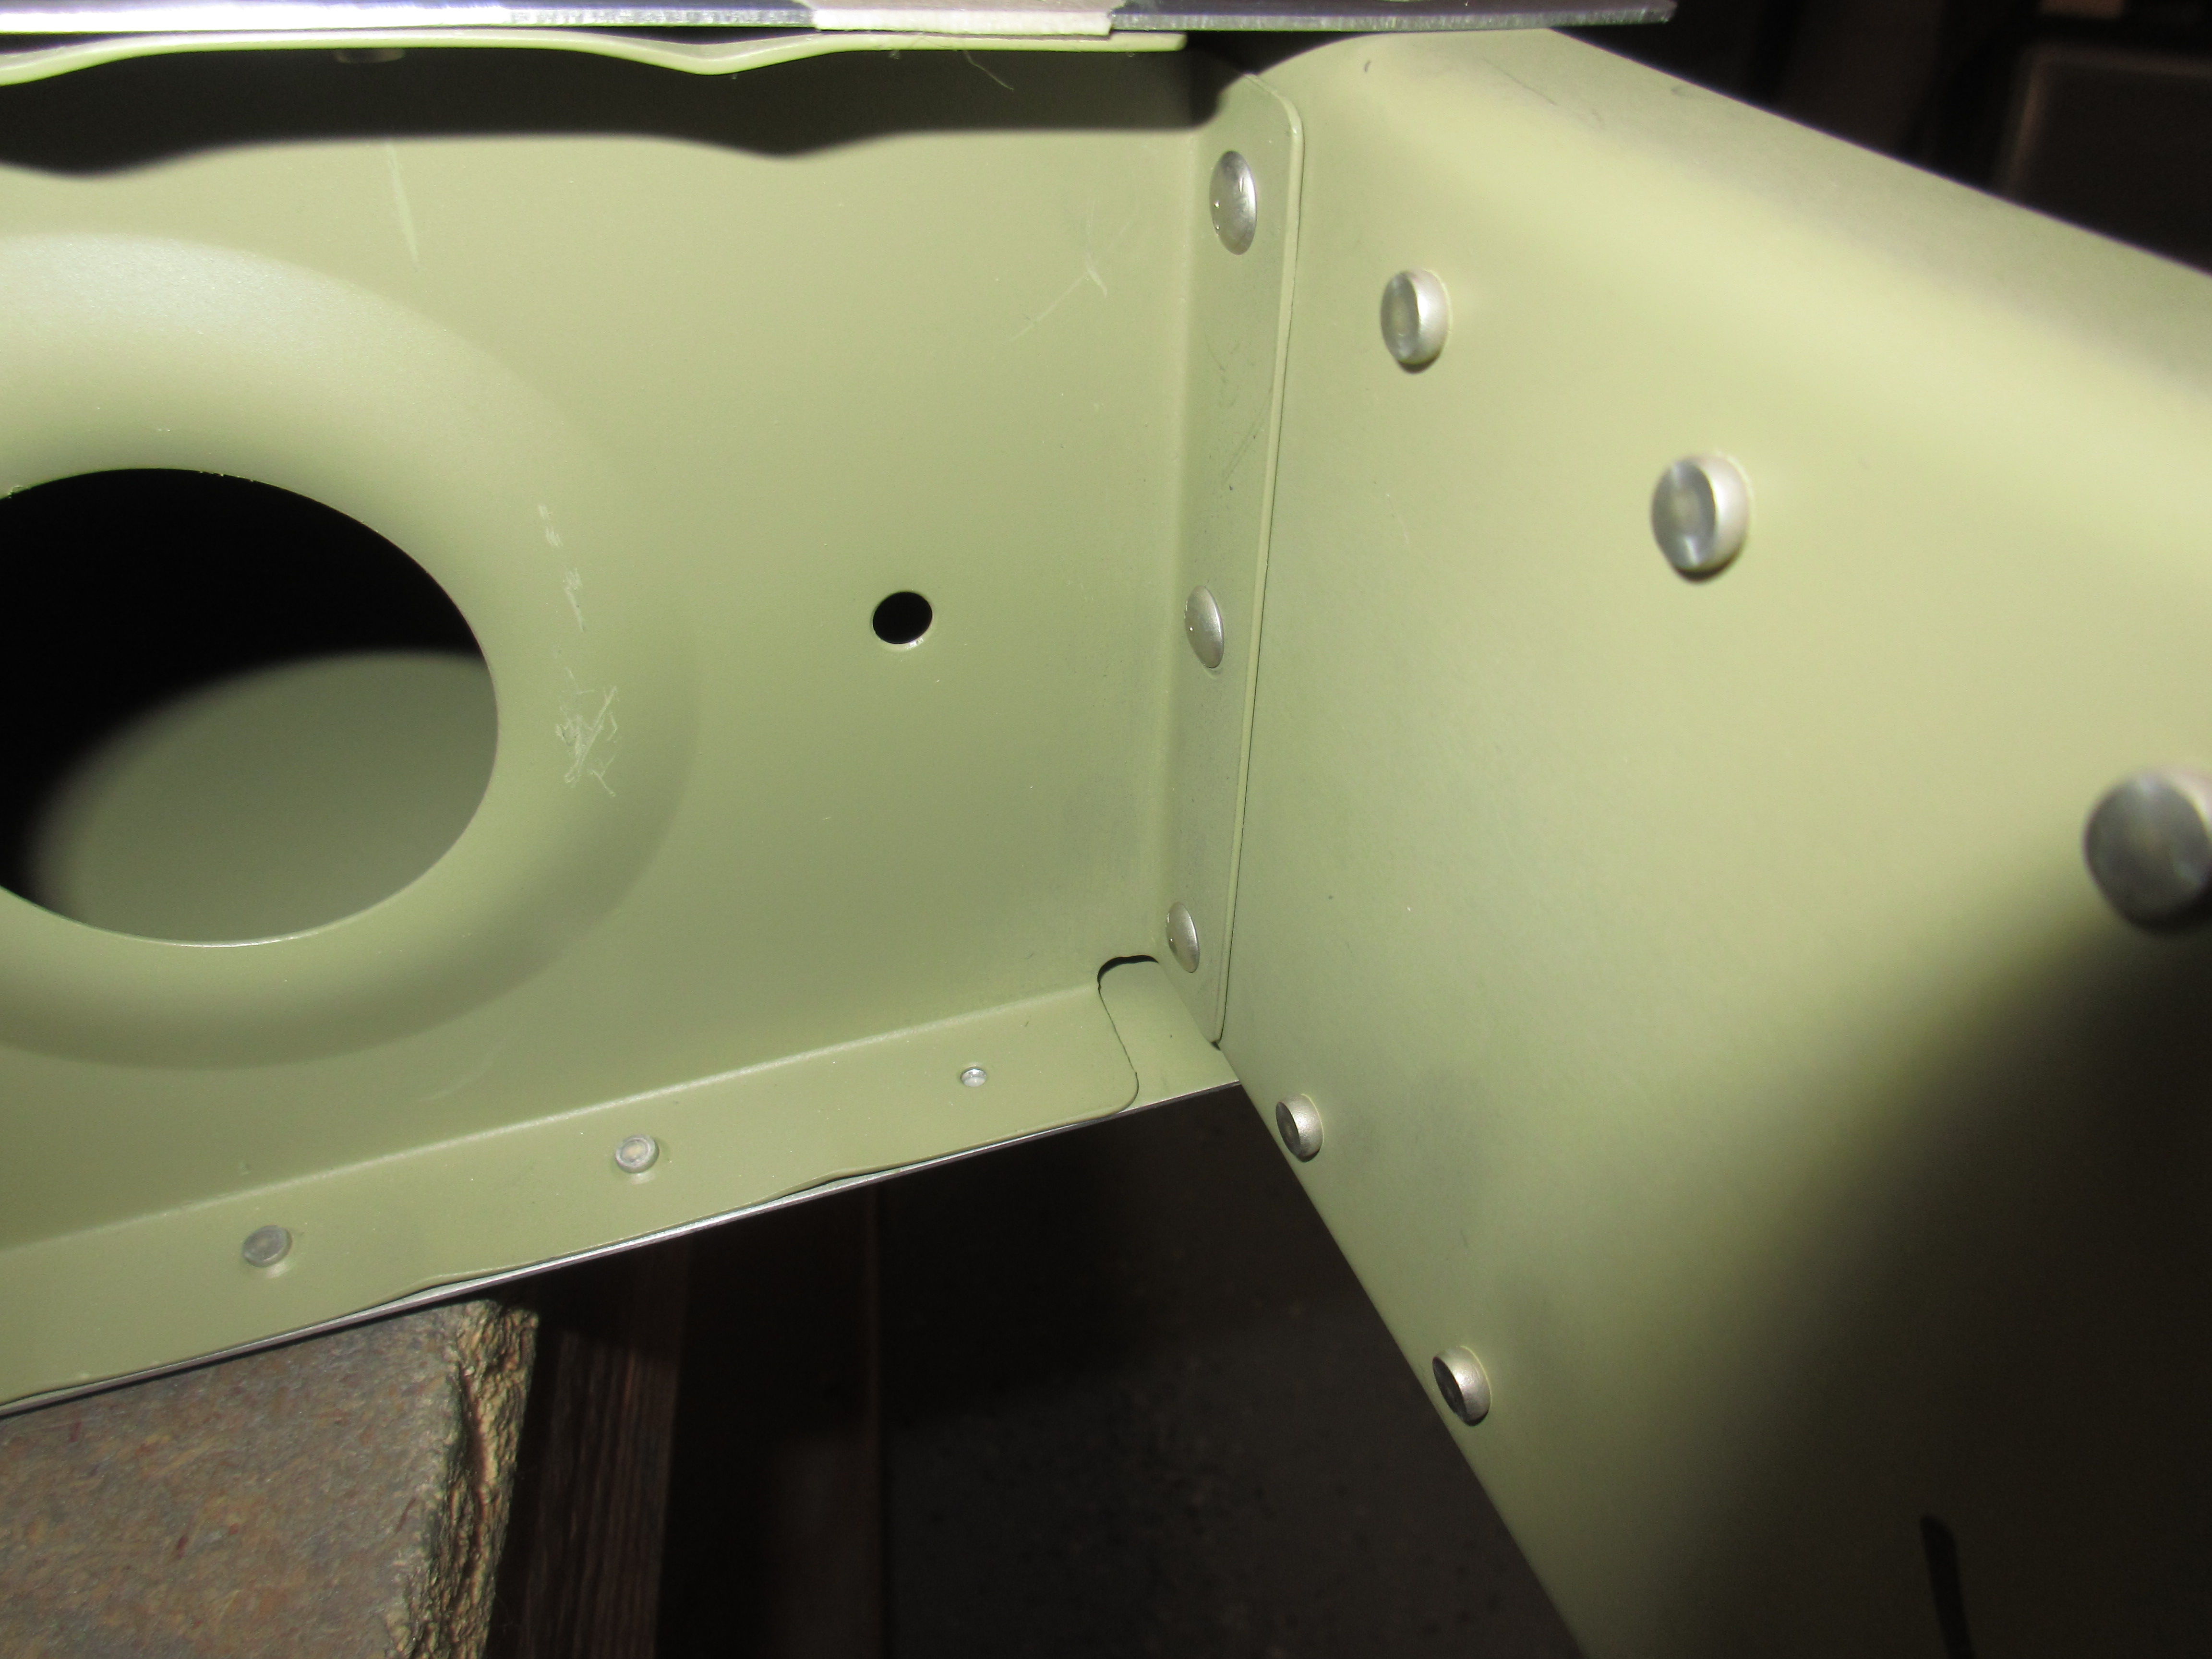
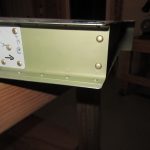
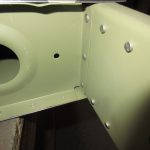
Next up was to attach the VS-707 rib to the VS-803PP rear spar assembly using LP4-3 blind rivets. These were easily done using the pop rivet tool, making sure to keep them flush with the parts when setting.
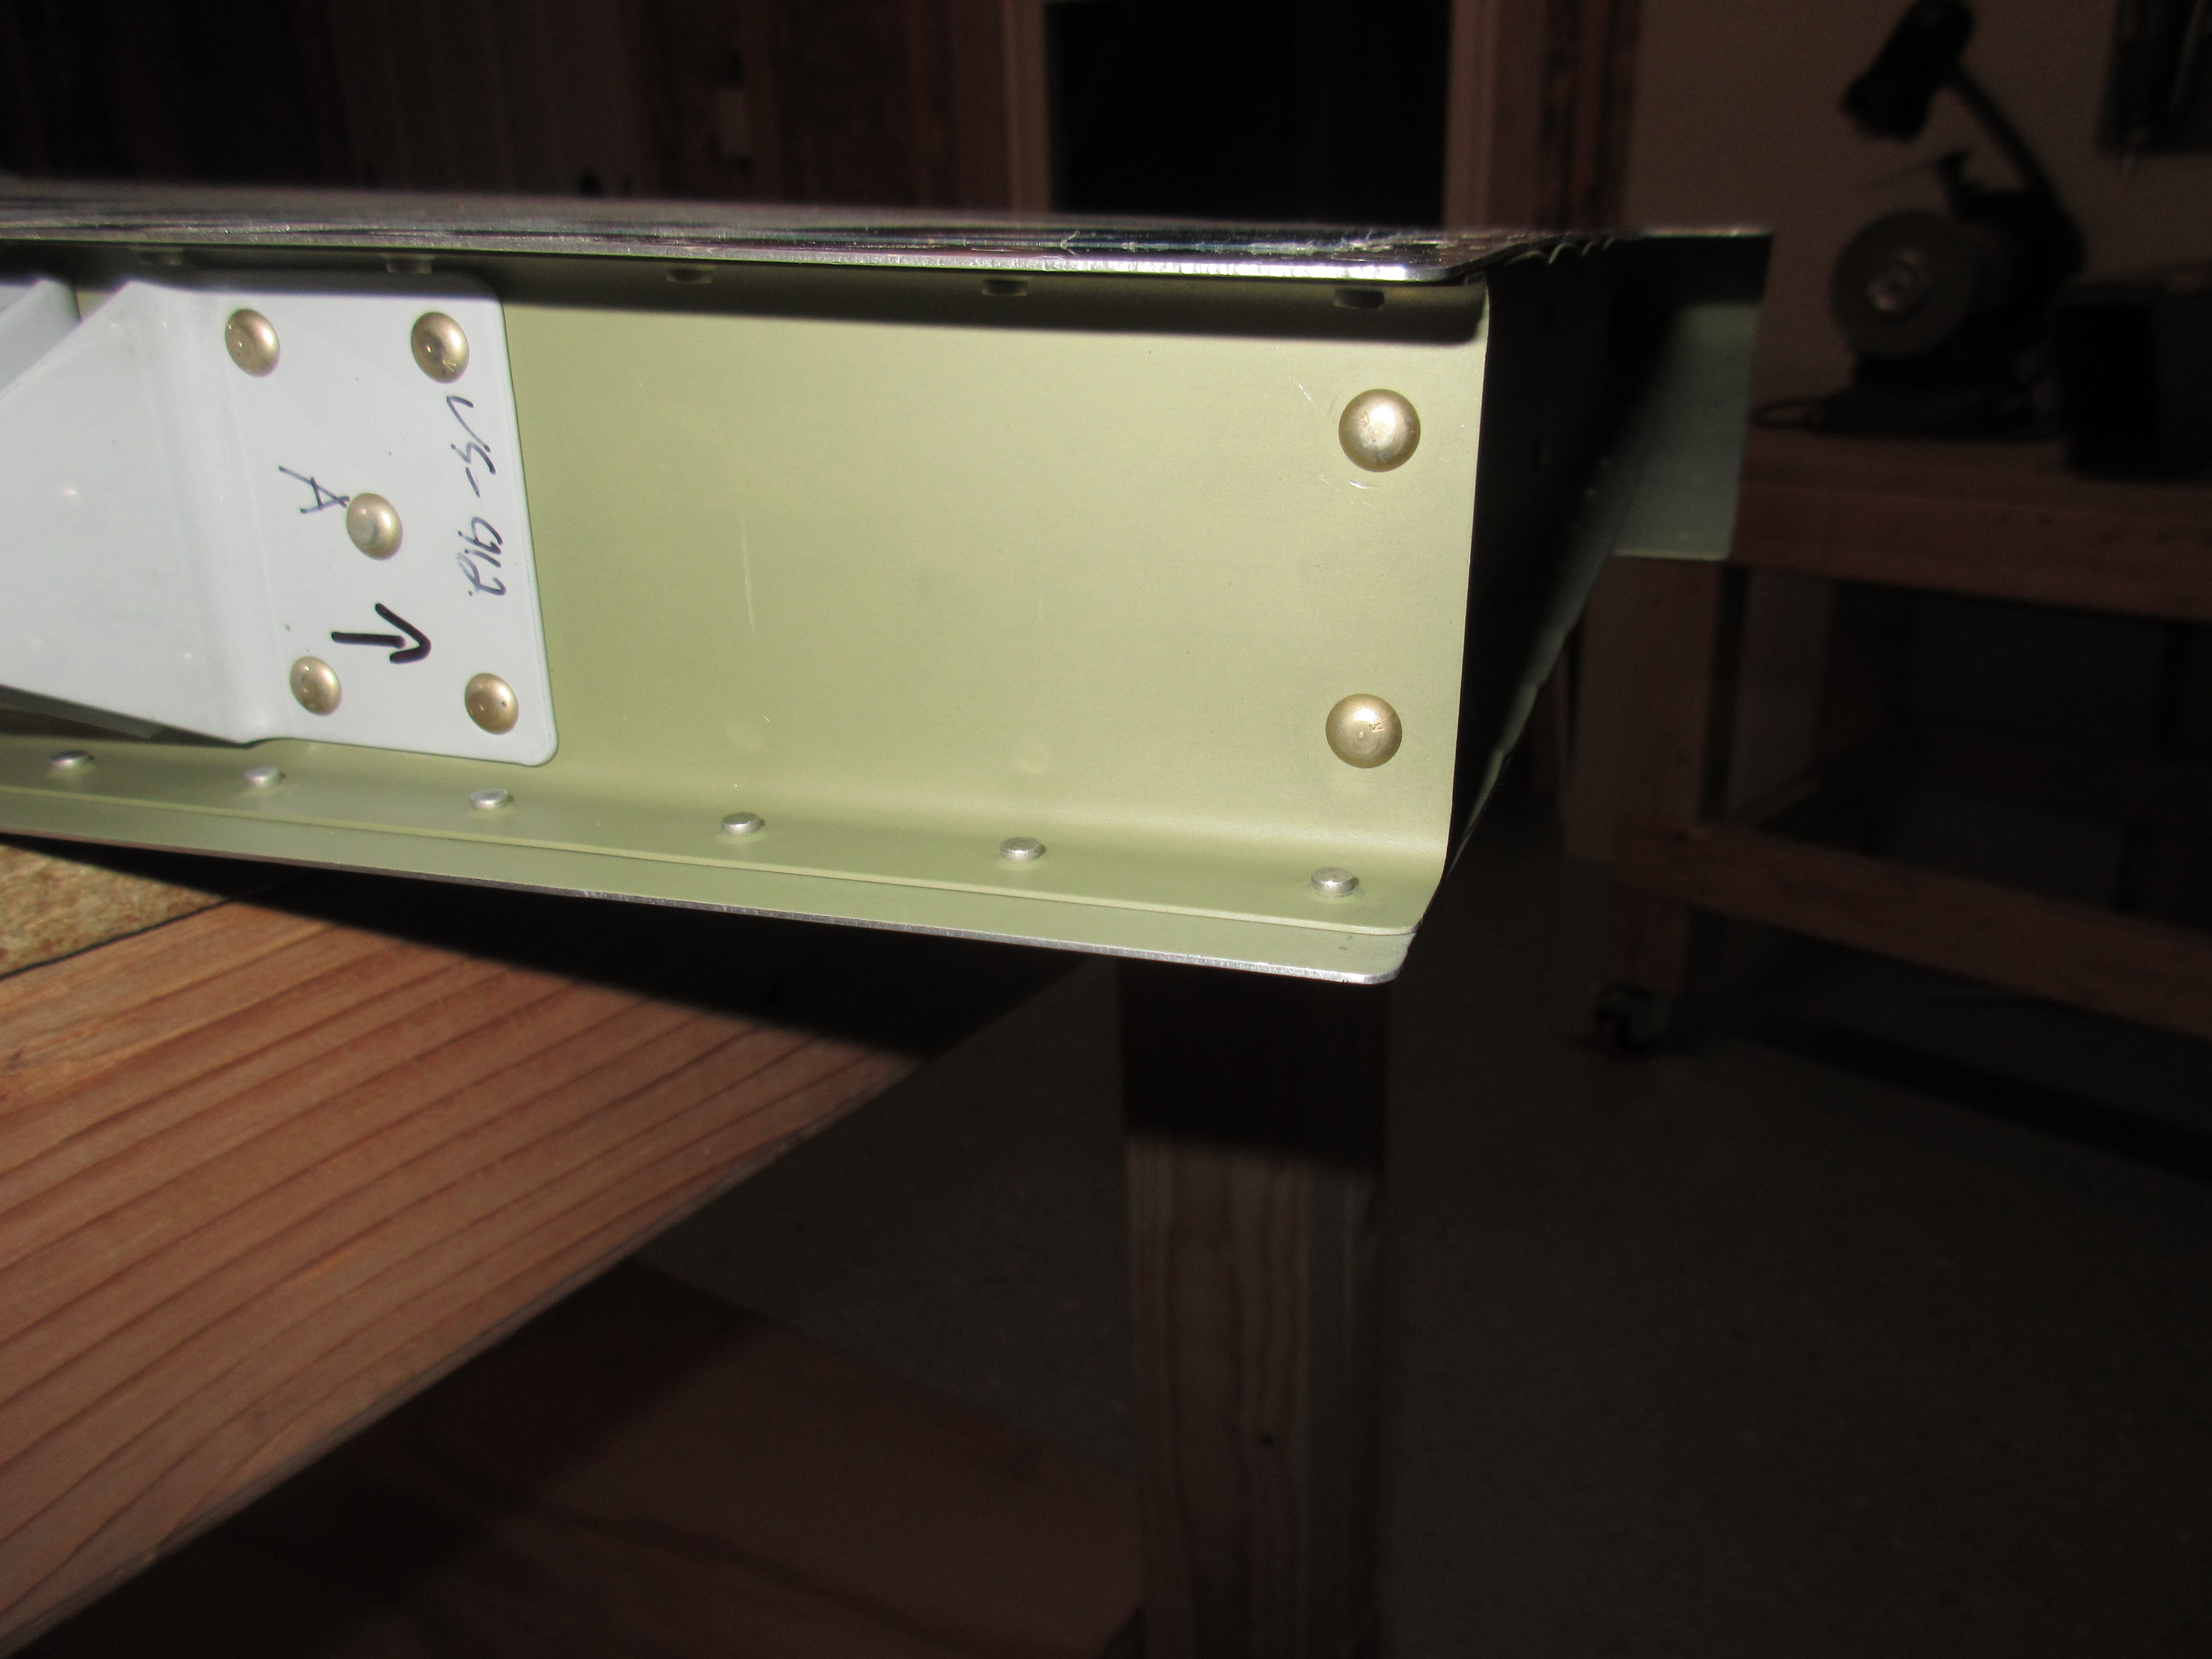
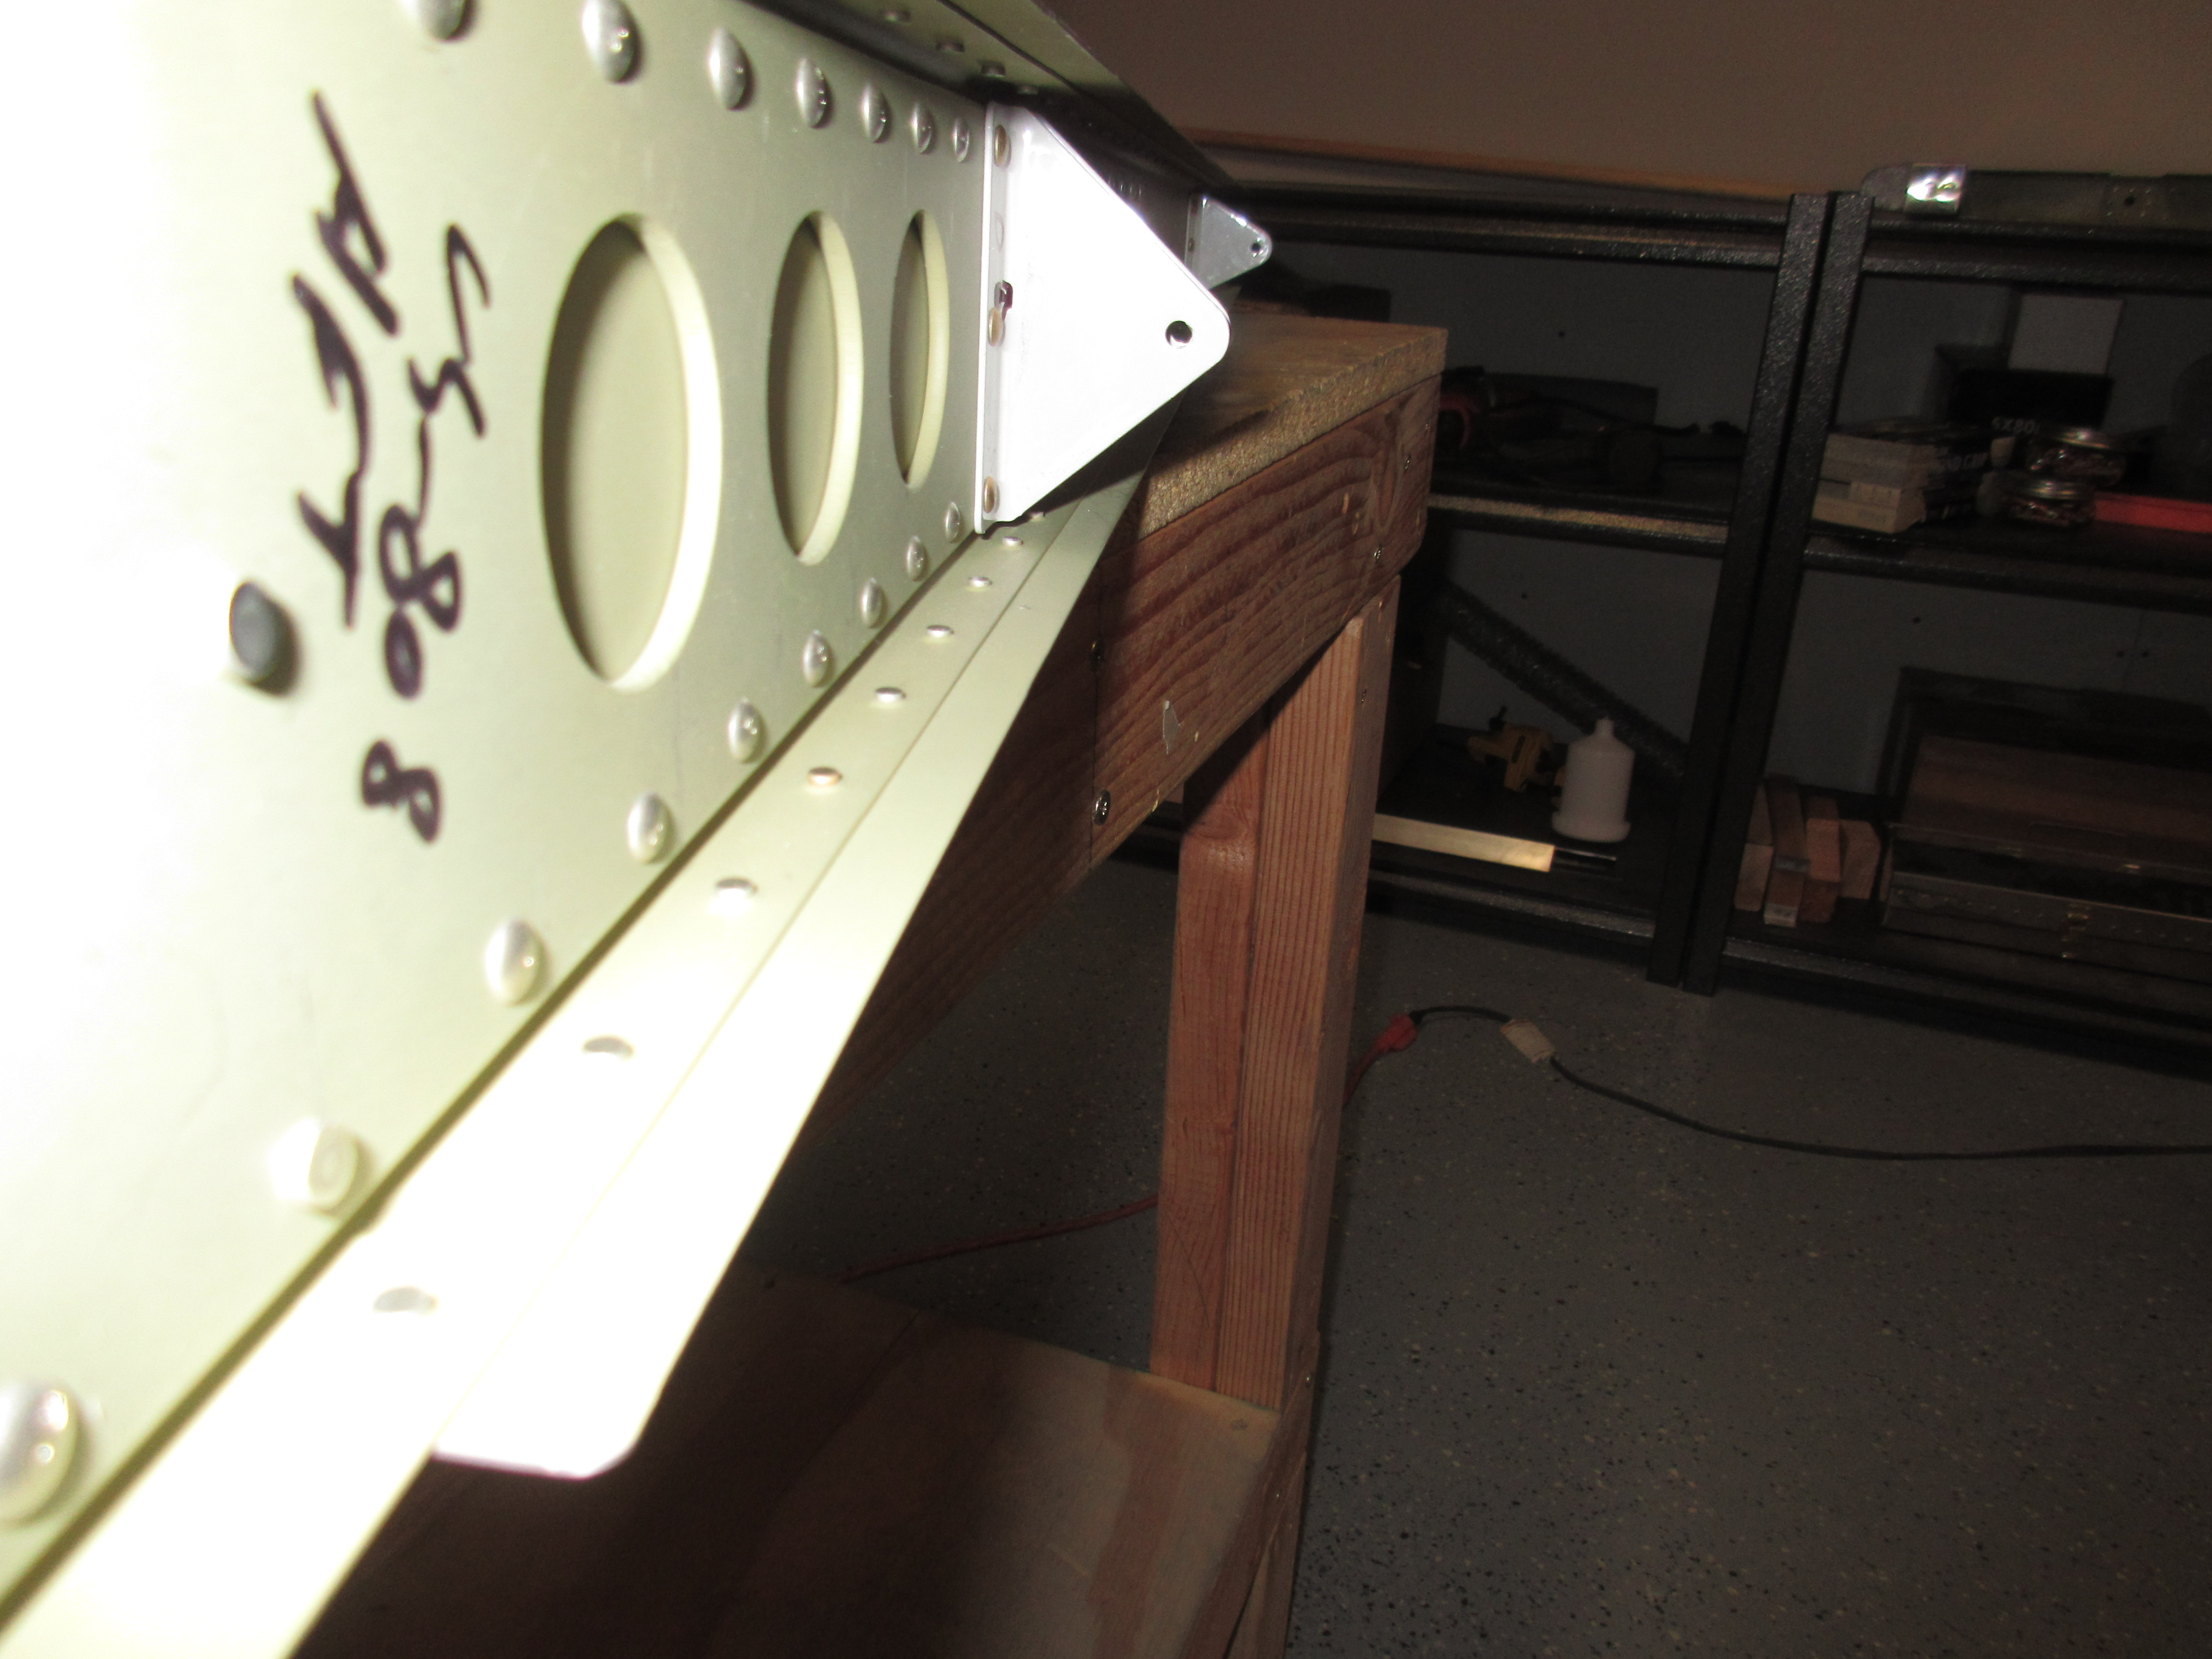
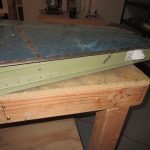
Finally, the last step was to rivet on the VS-704 end rib to the VS-803PP rear spar assembly using AN470AD4-6 rivets and then attaching the VS-706 tip rib to the rear spar using AN470AD4-4 rivets. I used the squeezer on these guys, and they set really nicely. Its still very nice to see just how rigid everything ends up being once it all riveted together. These skins are nice and tight and have zero oil canning.

Here is a nice time lapse video I took of this session:
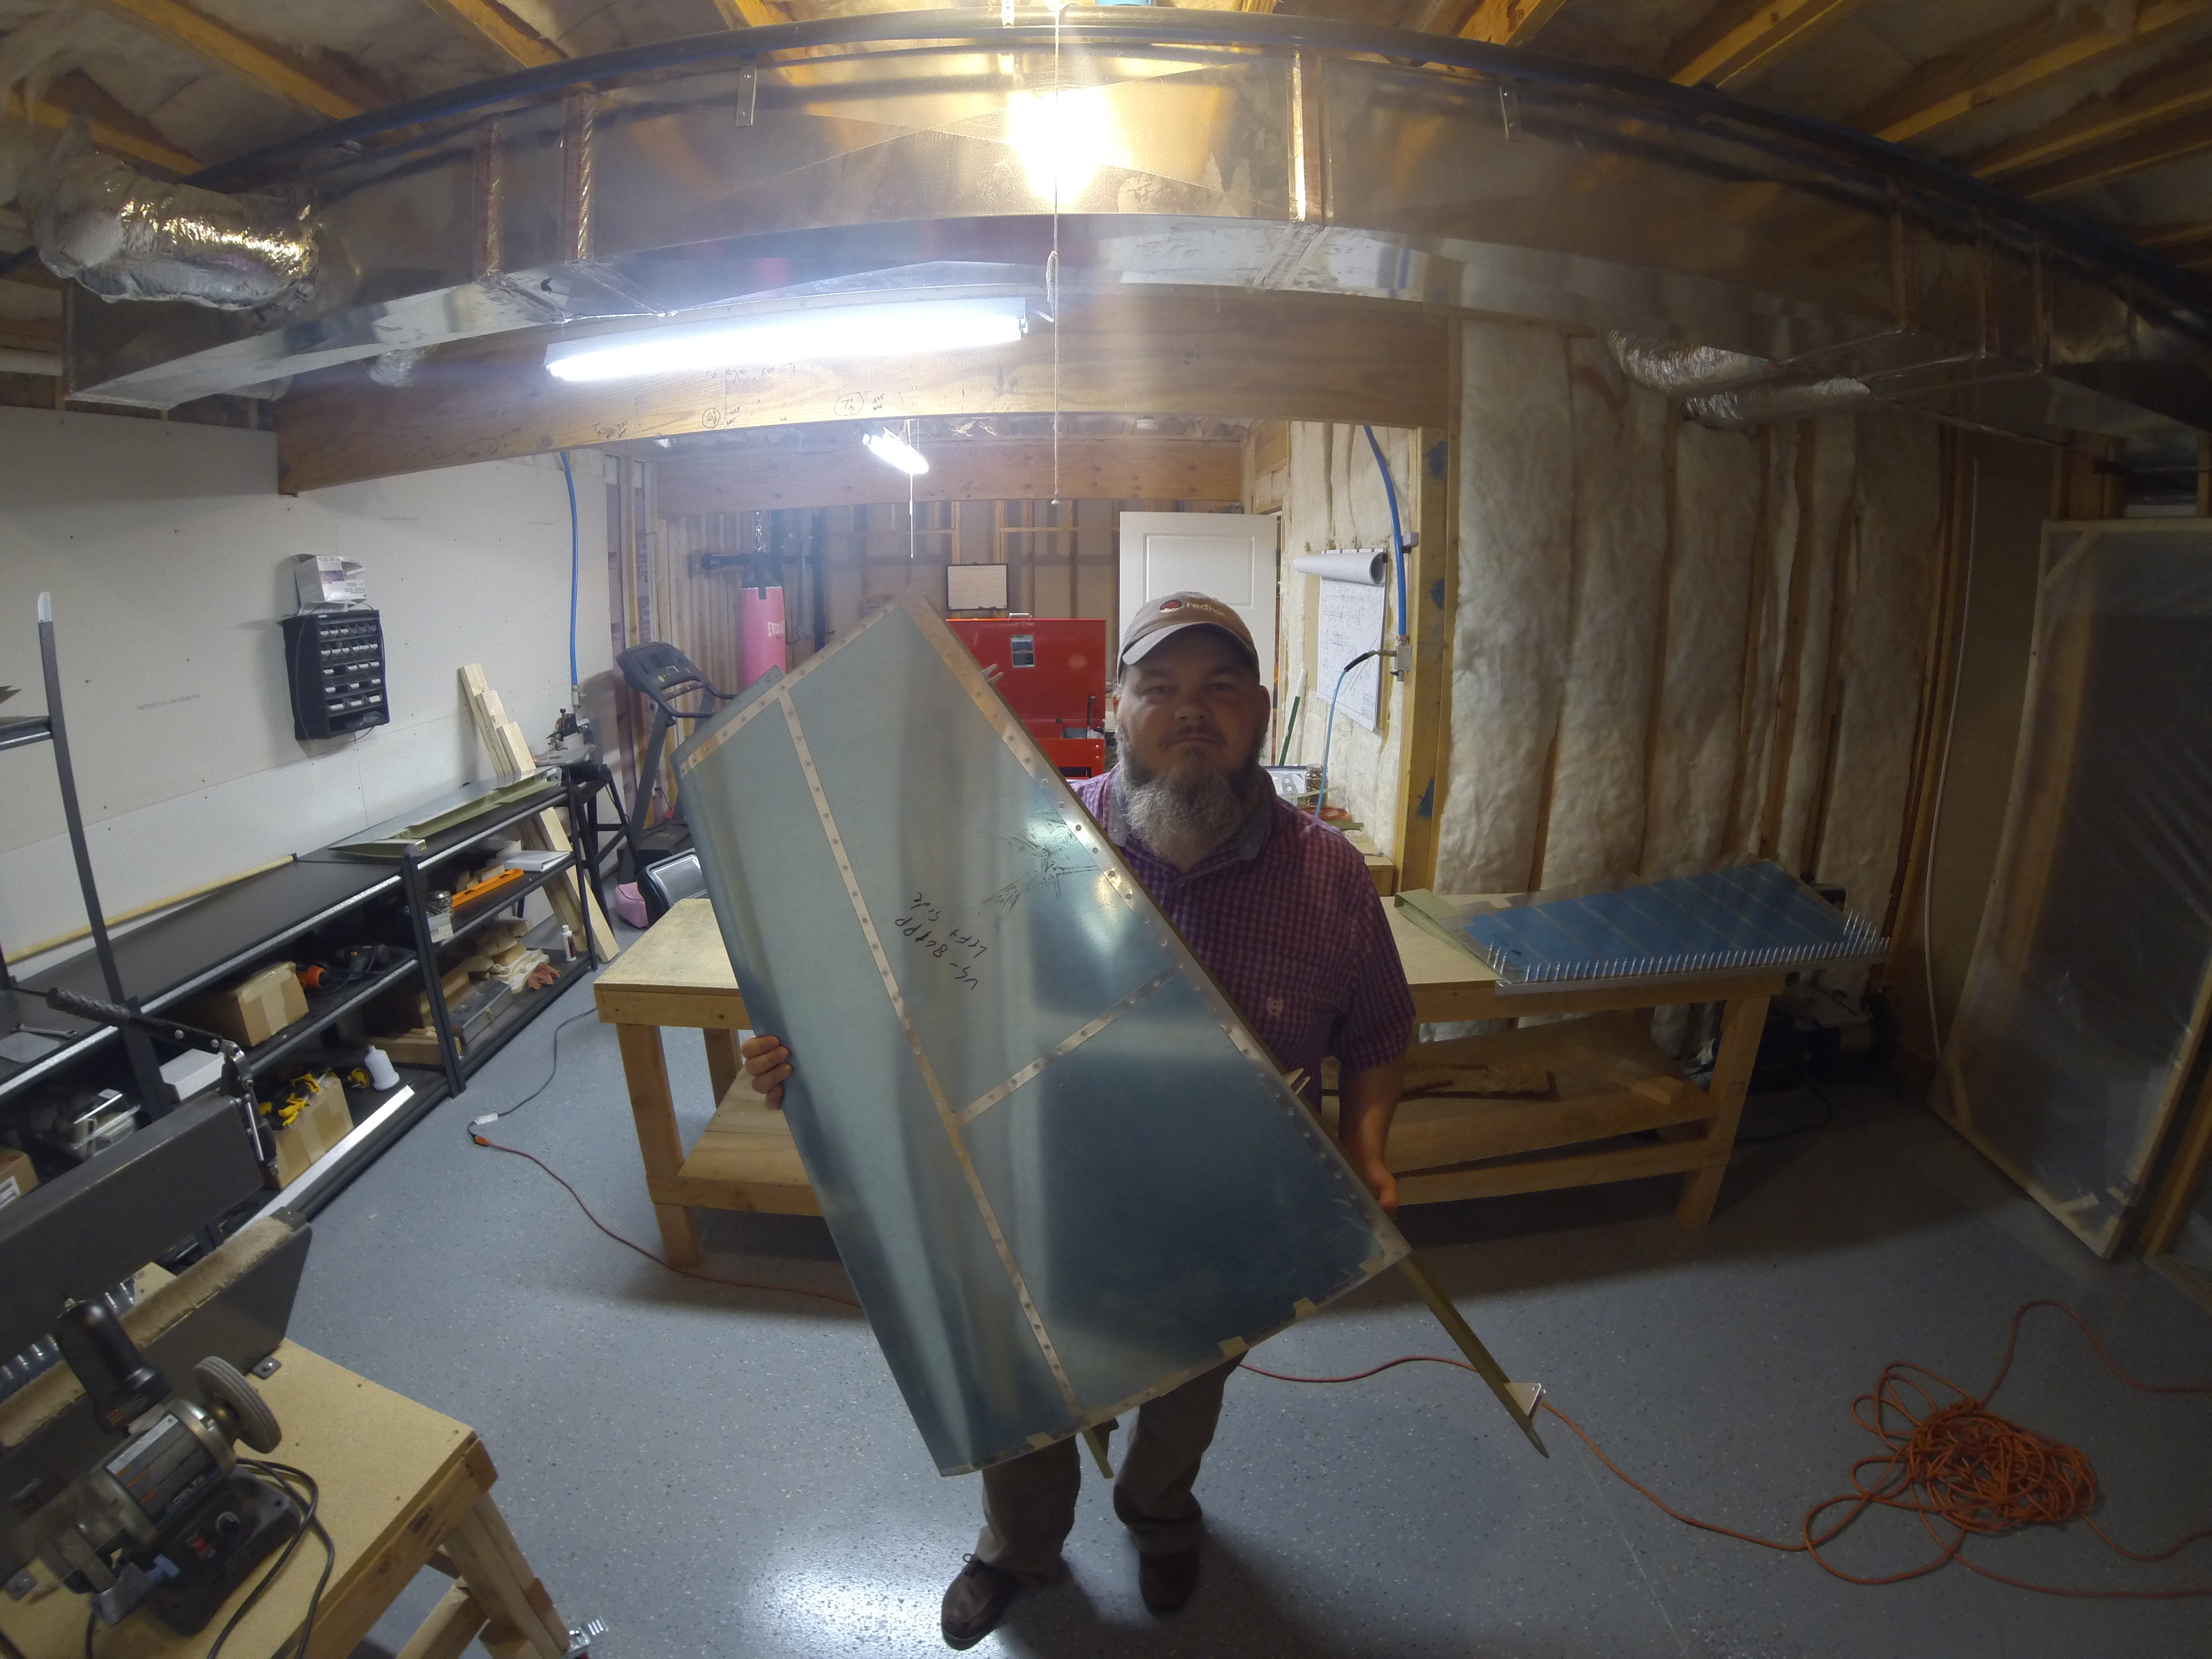
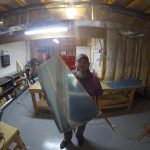
Of course, the obligatory happy selfie of the finished vertical stabilizer:
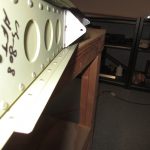
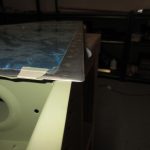
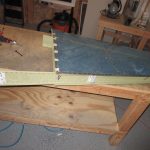
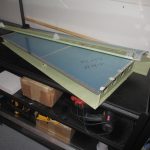
And here is all of the photos I took of tonights build:
-
IMG_1347
-
 IMG_1346
 -
IMG_1345
-
 IMG_1344
 -
IMG_1343
-
 IMG_1342
 -
 IMG_1341
 -
IMG_1340
-
 IMG_1339
 -
IMG_1328
-
G0030929
Google photos Link: https://goo.gl/photos/SX4DAd6o8eWHGtPu7
Hours Worked: 1