


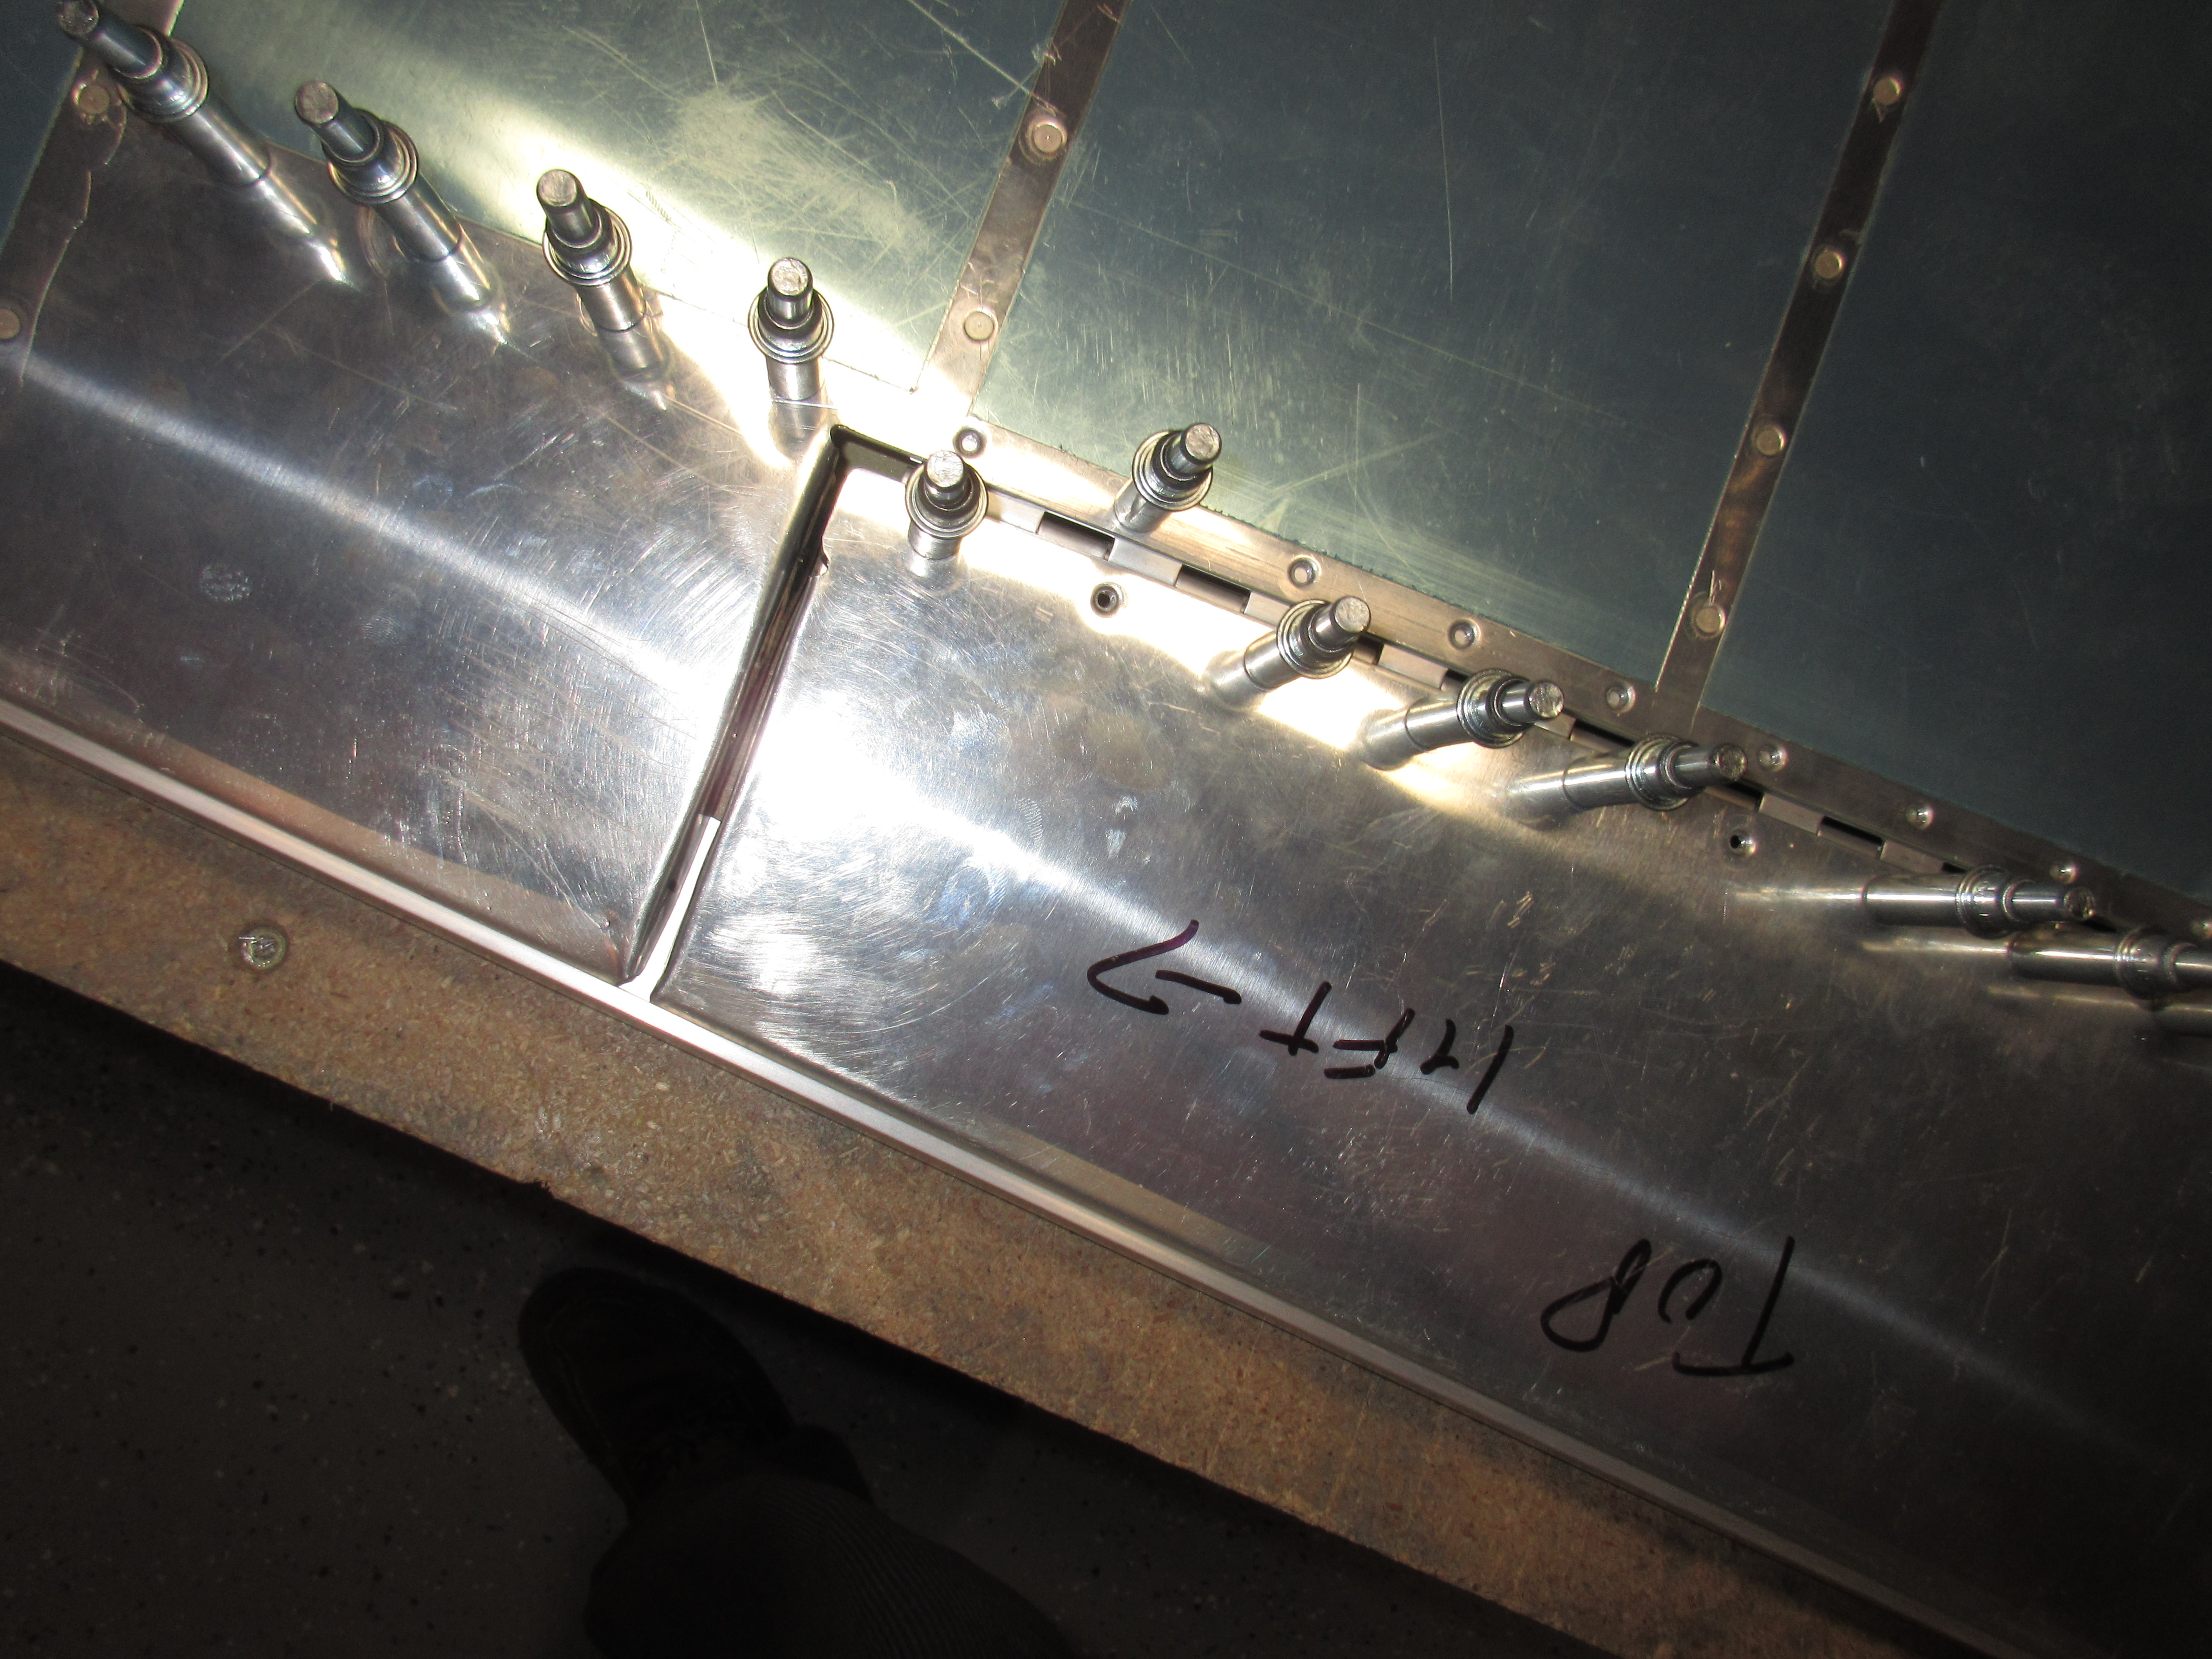
I am coming down to the finish line on this empennage kit. Tonight I finished up with the elevator trim tab, and it is ready to be permanently attached. I had gotten it nearly completed the last time I worked on it, but I needed to get the elevator riveted up so I’d have a finished surface to work with. I started out the night by getting the trim tab lined up with the elevator. The trailing edge is critical, and needs to be perfectly in trail with the elevator trailing edge. Luckily, I had an easy way to make sure of this. I had some left over 2×2 angle, so I laid one side of the angle under the elevator, and let the other side function as my straight edge. I made sure the angle was sitting flush up against the trailing edge, and then I positioned the trim tab so that its trailing edge also fit flush against the angle. This made sure that both trailing edges were perfectly in alignment.
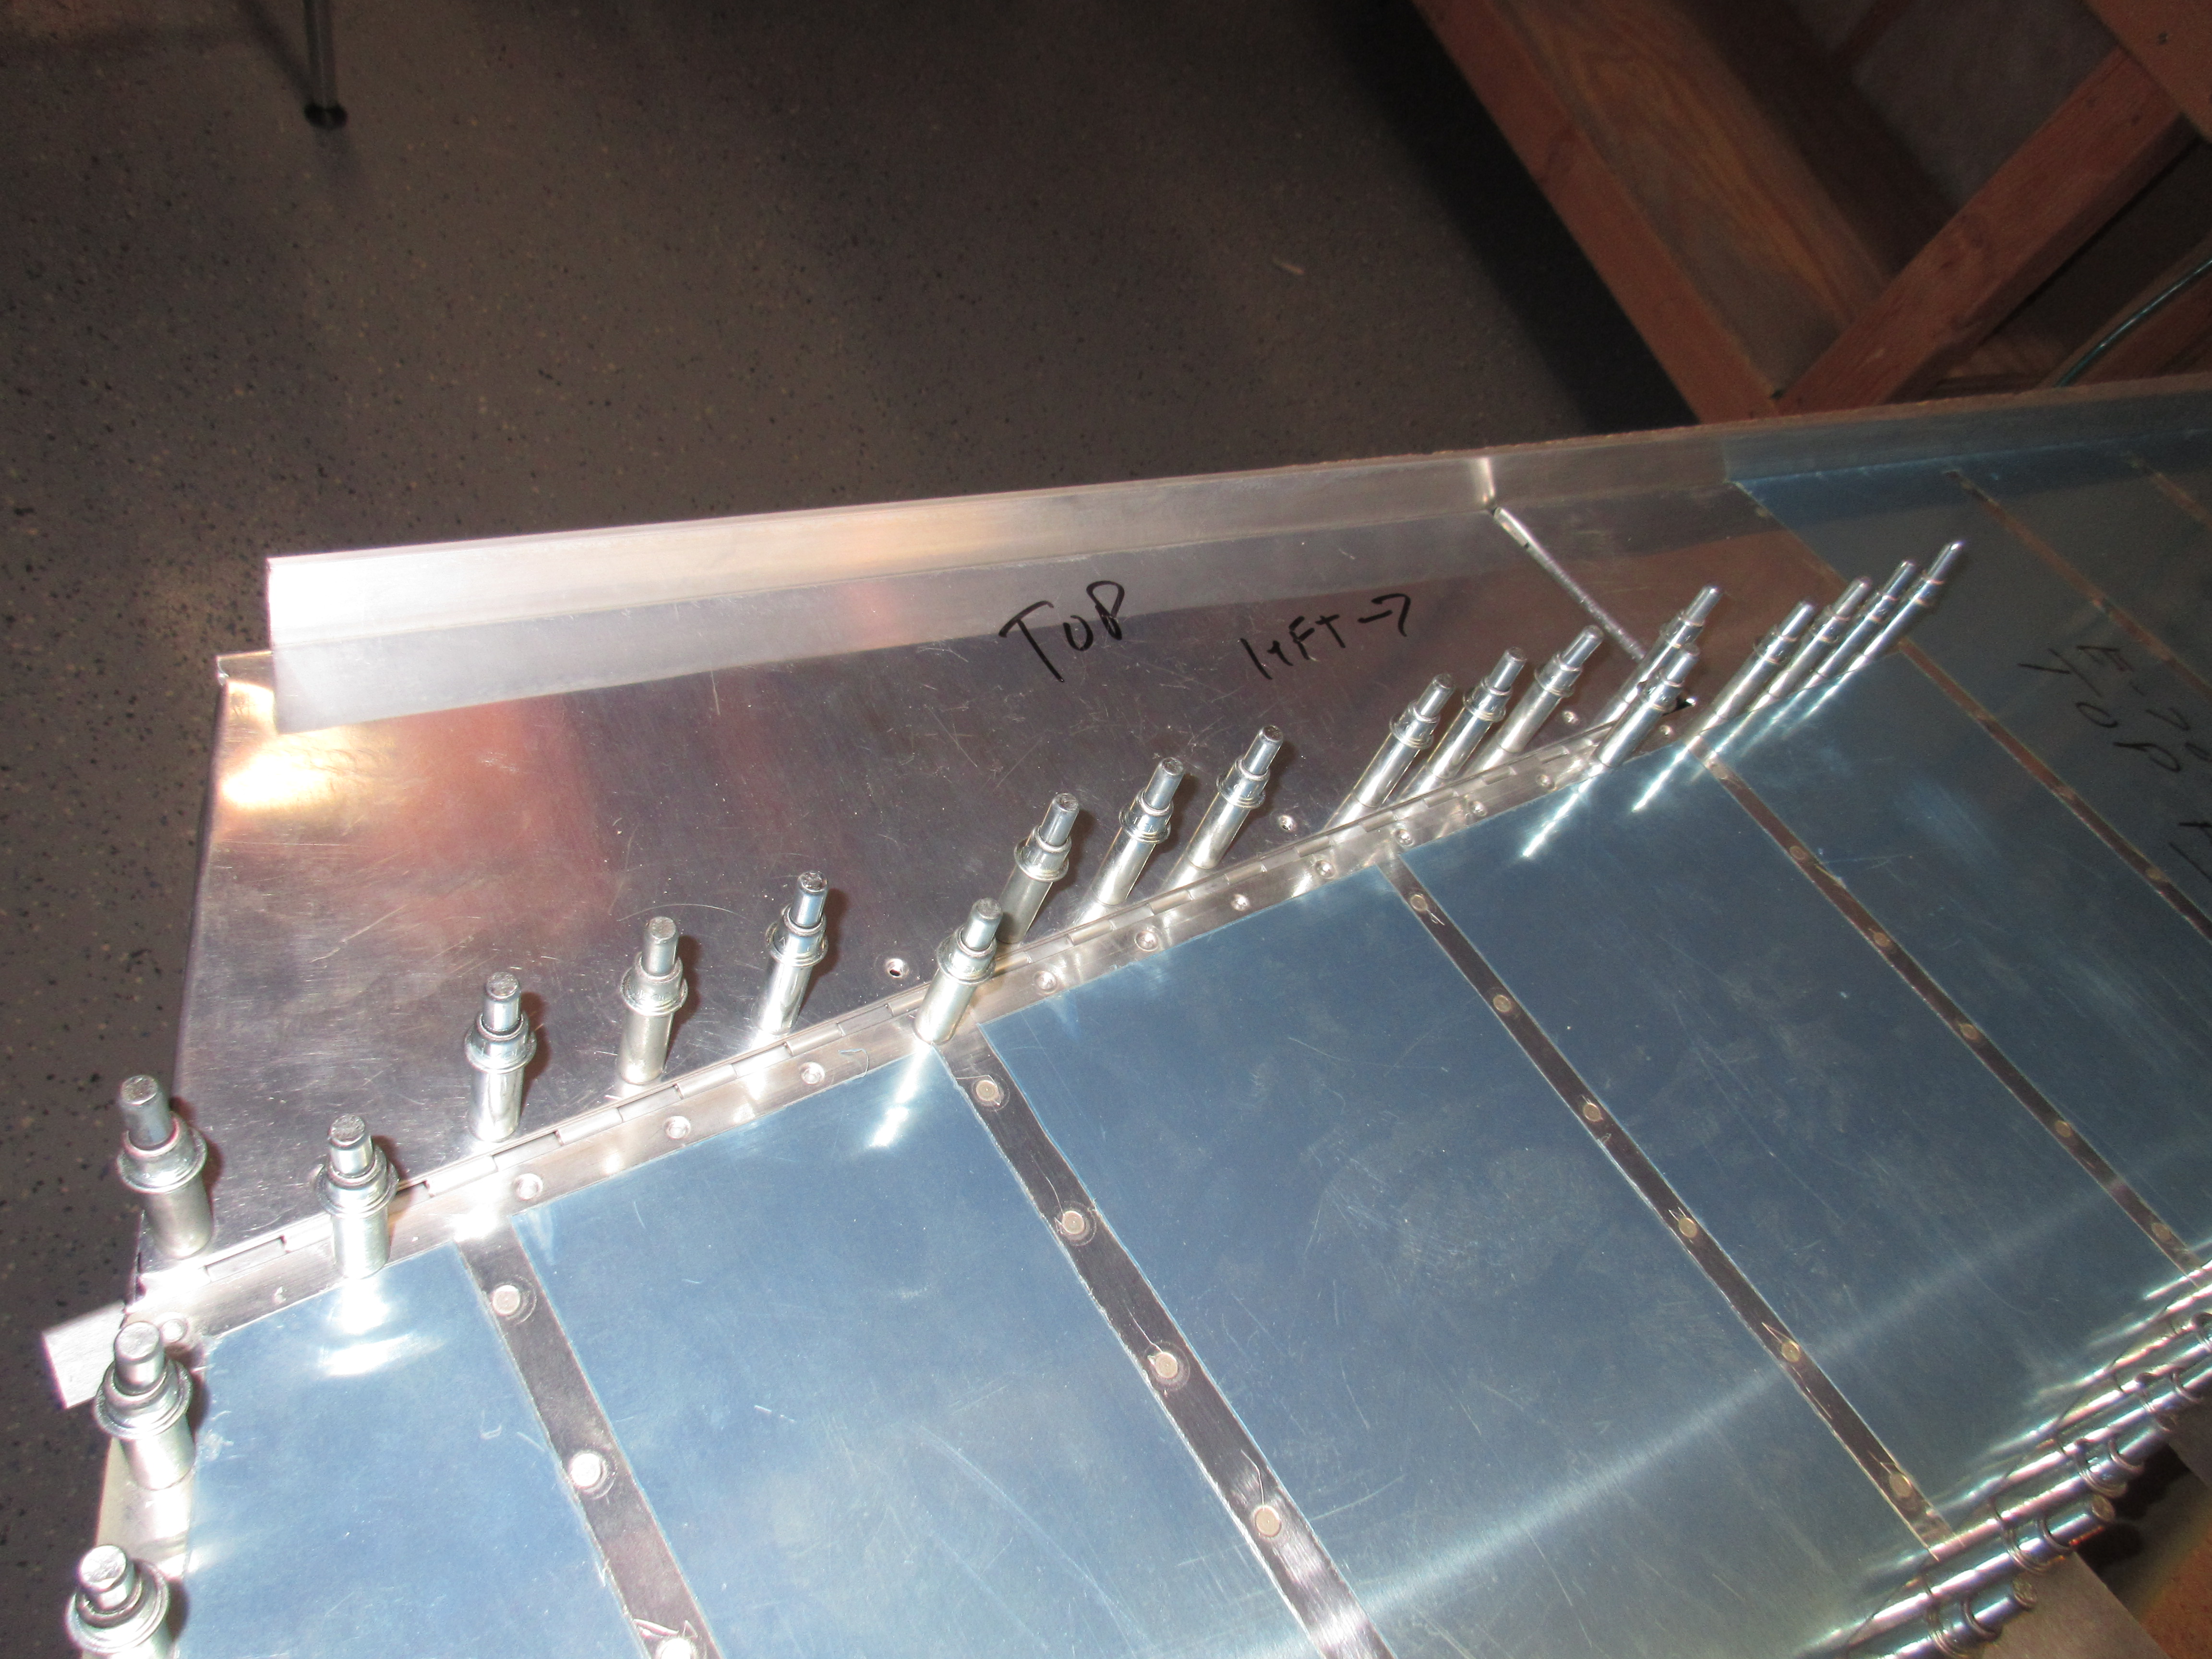
Once I was happy that the trailing edge was flush, I double checked the edges on the inboard edges as well, to make sure they are aligned together. Then it was time to clamp it all down and get to match drilling. I used a cleco side clamp to hold it, while I drilled the first hole on the inboard edge. Then I cleco’d that hole and re-checked my alignment and drilled the outboard hole which held the E-721 trim tab hinge from loosing its alignment.

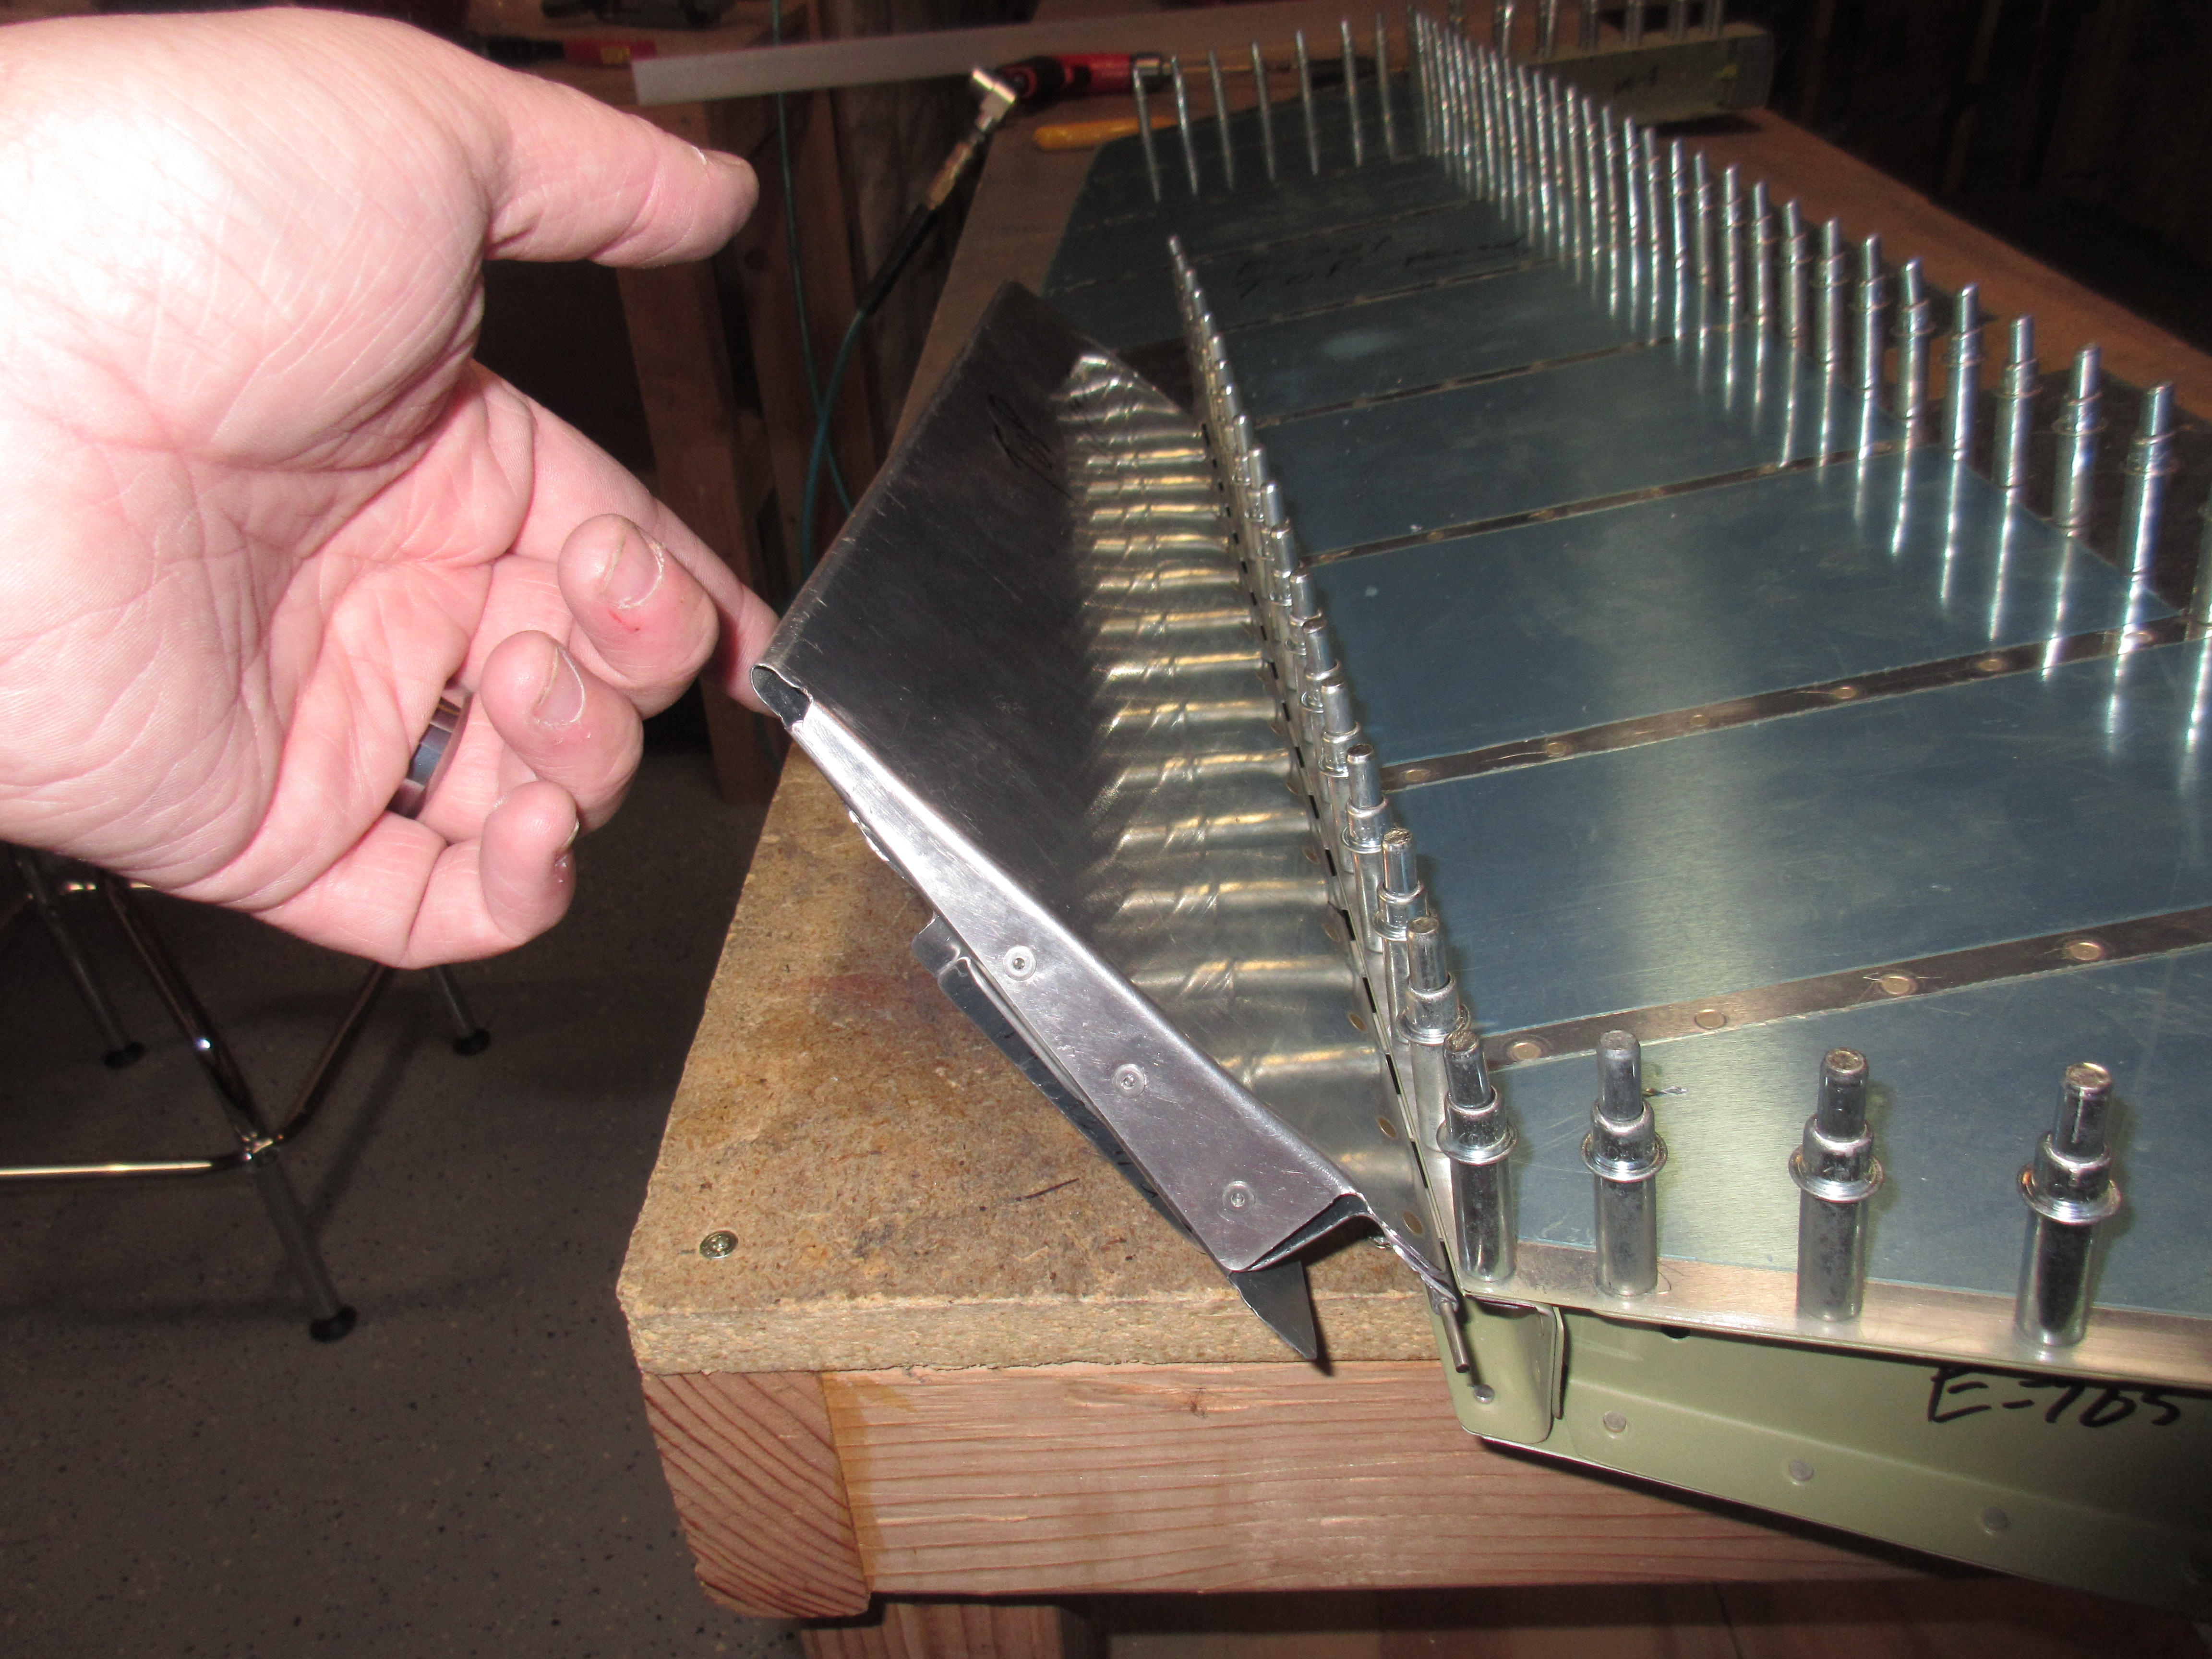
Then I removed the trim tab, but left the forward half of the trim tab hinge clecoed to the elevator. I used all of my cleco clamps to help hold the hinge flush against the E-616PP spar. This also helped hold the hinge steady while I gently match drilled the remaining holes, using the E-701 as a guide.

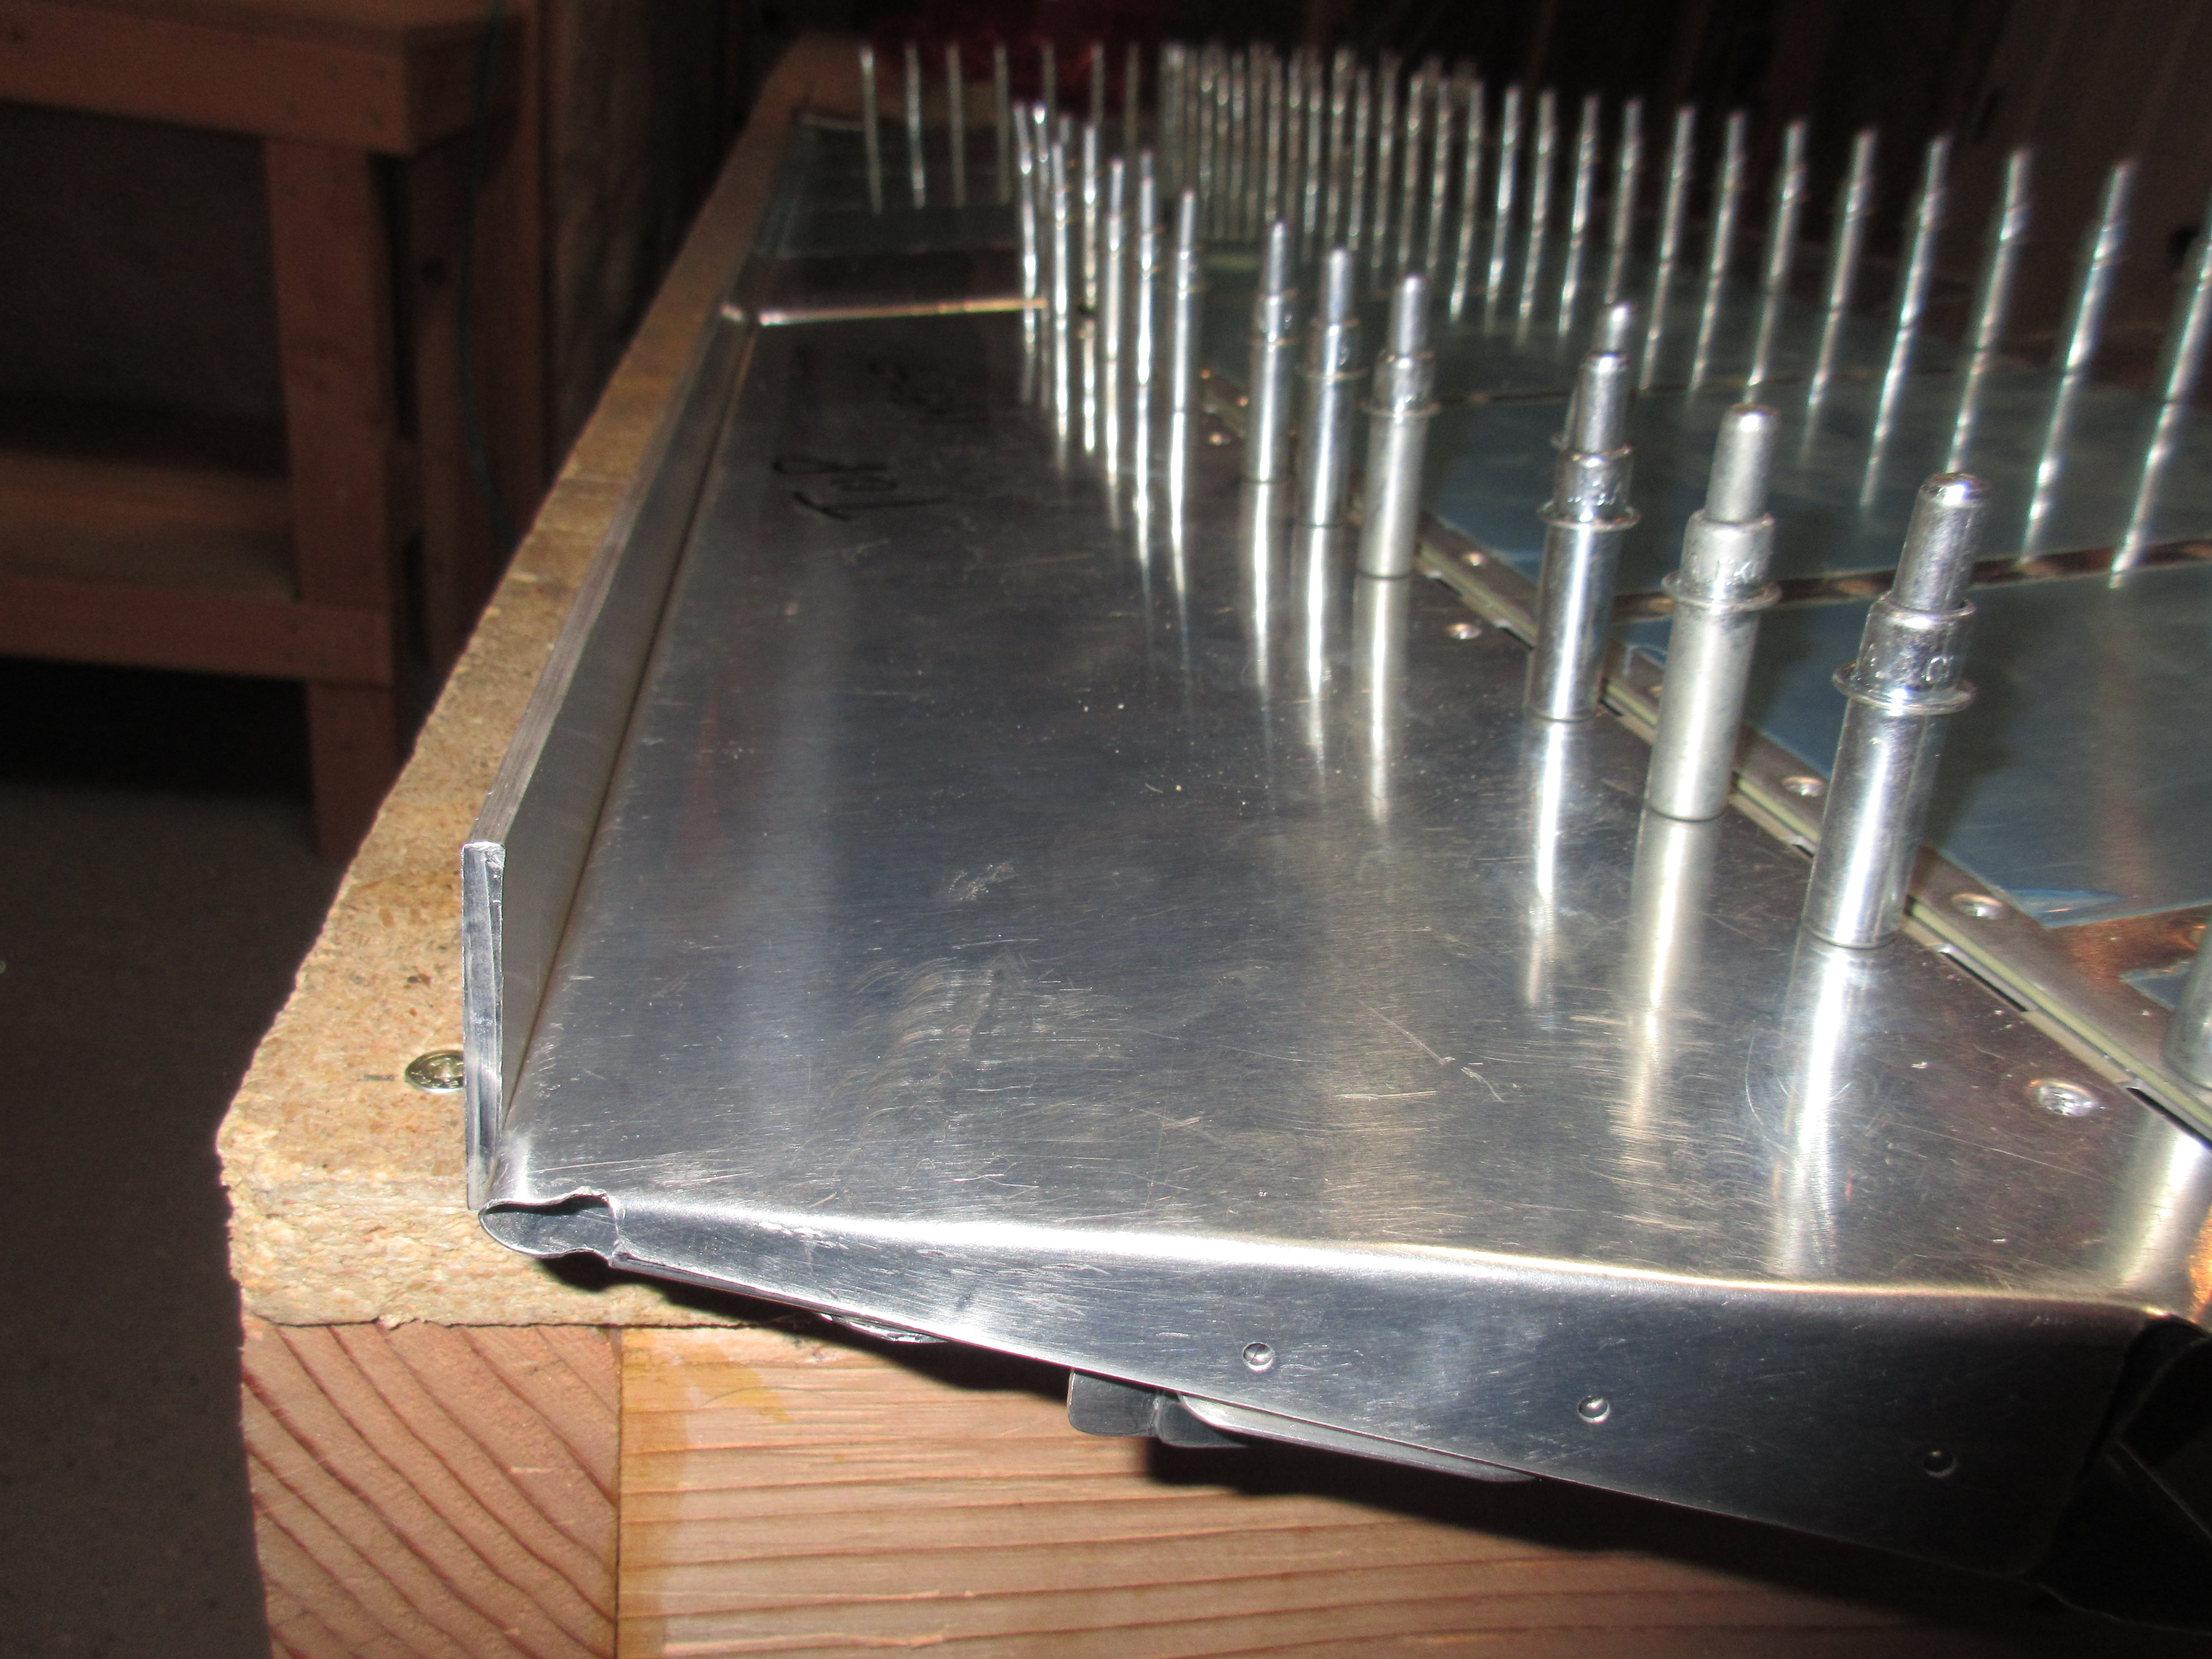
After I got the forward hinge drilled to the elevator, I removed everything, and then deburred all the holes, and cleaned up the edges of the hinge, rounding the corners. The plans also has us mark and trim off the excess hinge from the inboard side, which was easy to complete. I dressed these edges as well. Next up was to rivet the hinge to the trim tab itself. I had triple checked that everything was still in alignment with the tab on the elevator, and then I drilled the holes for the end tabs on the inboard side of the trim tab, using a #40, followed by a #30 for final size. I clecoed those holes and then removed the trim tab to rivet everything. I riveted the trim tab hinge using my squeezer making sure I did not catch the loops of the hinge in the squeezer. Riveting this hinge cause a slight bend in the loops, so I spent some time gently bending the loops back into alignment, using the hinge pin to make sure. With that being done, I drilled the outboard end tabs and then used CS4-4 blind rivets to finish up both sides of the end tabs. With that, the trim tab is done!
Here’s all the photos for tonights session:
Google Photos Link: https://goo.gl/photos/pV1jmjChAmoVbwpH9
Hours Worked: 2.5