


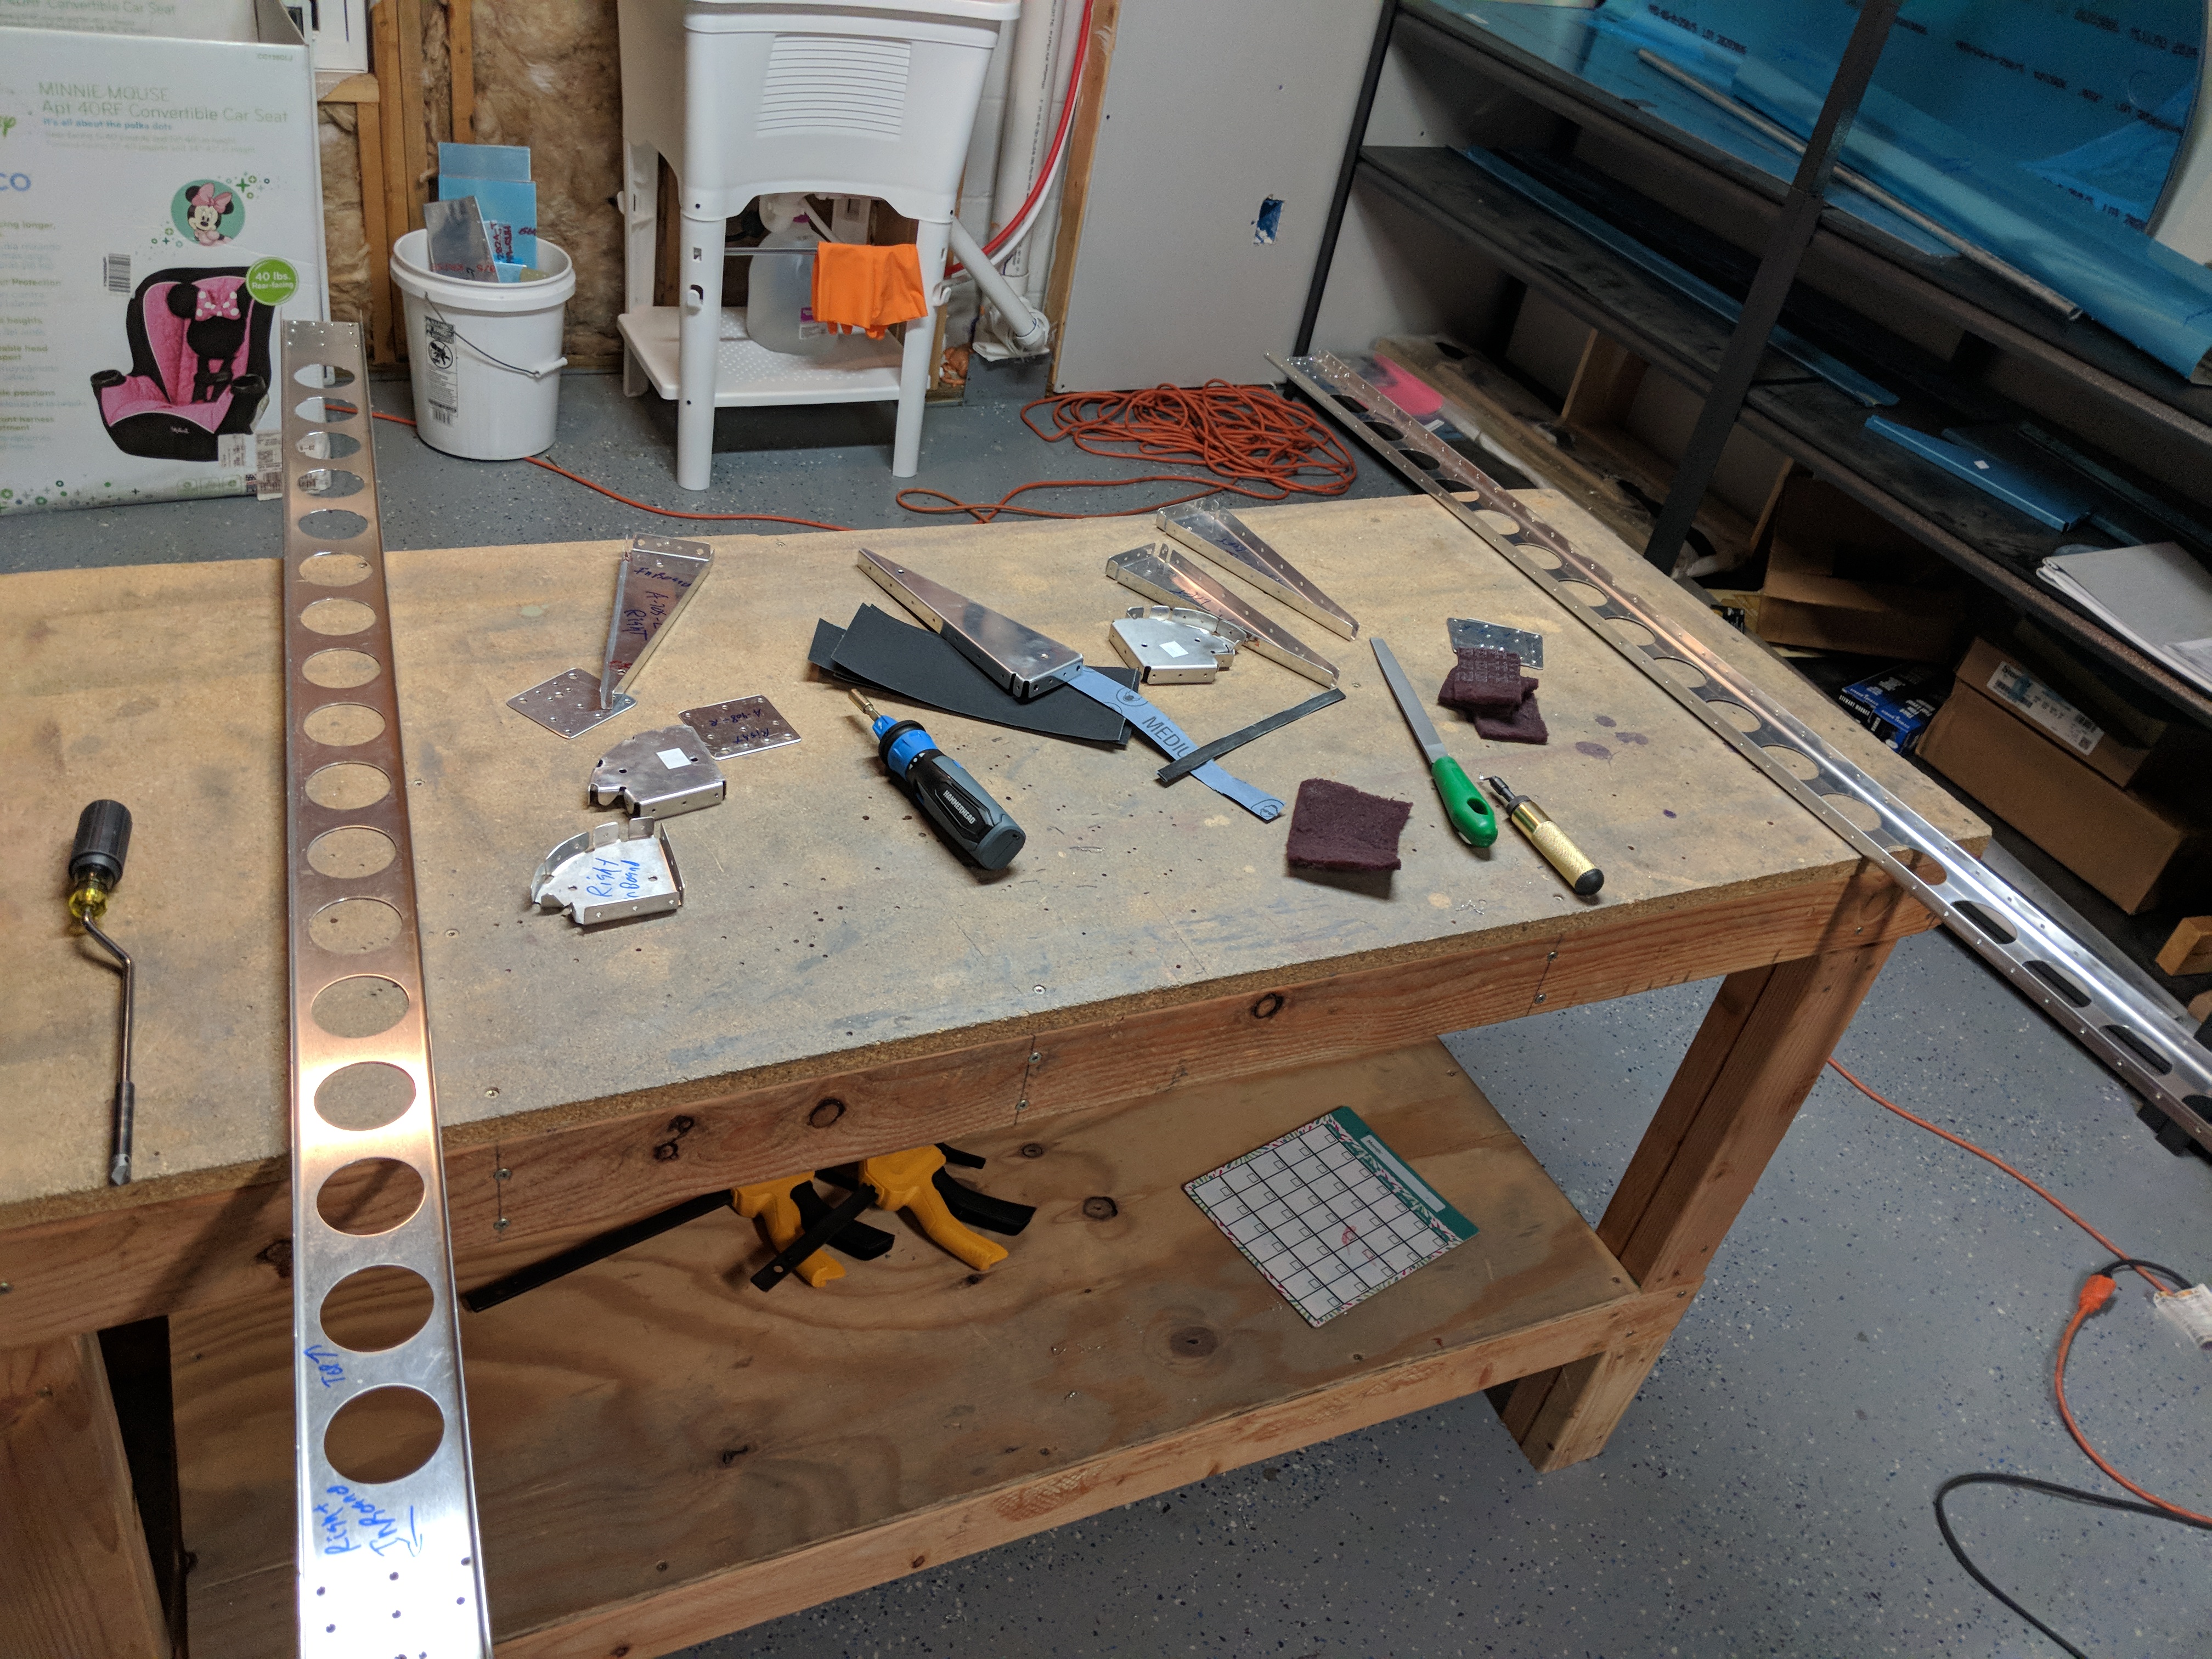
Time to get down to the dirty work: Deburring, and edge finishing. This will be a short post, but it was jam packed with work. First I deburred all the holes in both aileron parts (skins, ribs, spar, etc). Then, I deburred all the lightening holes in the spar, of which there are many. I ended up using my Shaviv deburring tool to make easy work of all those lightening holes, and then touched it them up with a quick scuff of scotchbrite maroon pads. Next up was to deburr and smooth all the edges and corners of each part. My bench grinder with a scotchbrite wheel helped this go quick. Then I had to manually work all the little tiny nooks and crannies that I couldn’t get with the wheel. The nose ribs were the worst! They are super thick metal, and have very complex curves, with some very tight spacing. I ended up using a combination of emory cloth and maroon scotchbrite pads to get into all the tight spaces. Eventually I had a bench like full of finished parts like this:
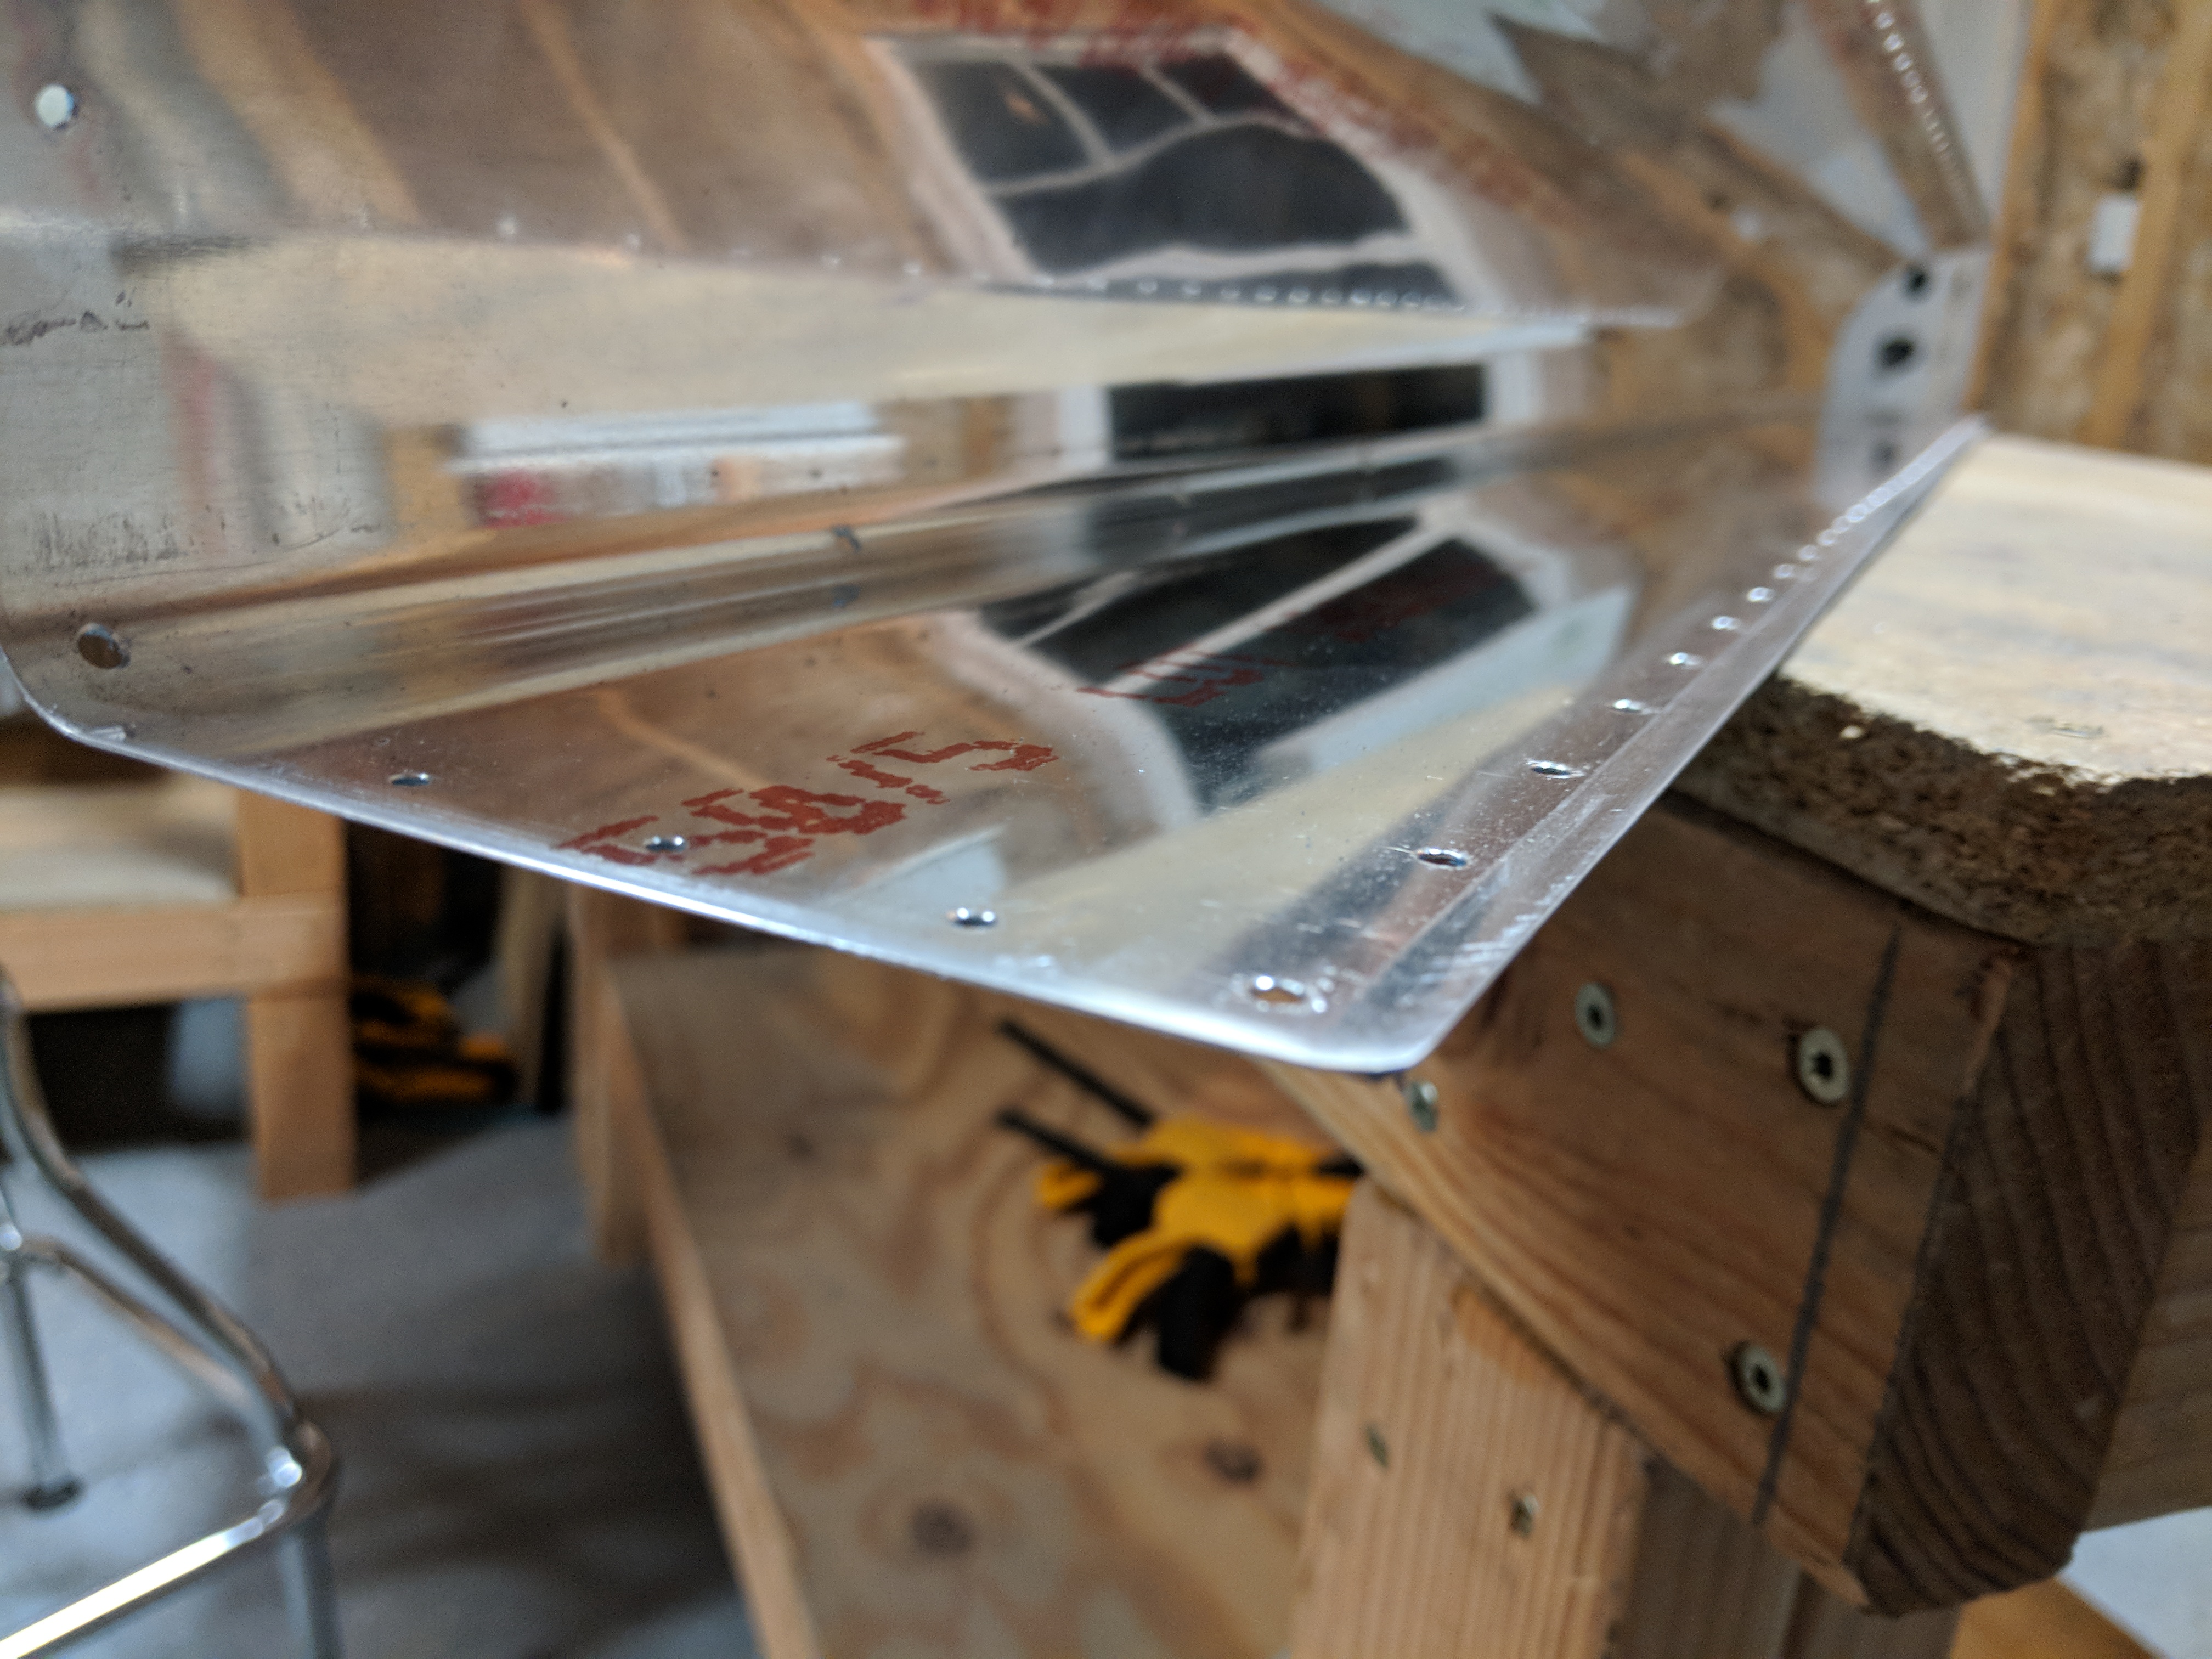
Lastly, it was time to do the same to the skins (leading edge and trailing edge for both ailerons). I deburred all the holes, and then used a fresh scotchbrite pad to smooth down and deburr the edges of the skins. The last step I used a edge rolling tool to induce a very very slight bend in the last 1/4″ of the edge of the skins, downward. This little bend will help make a very nice lap joint where the leading edge skin overlaps the trailing edge skins at the spar. I only did this on the leading edge skin, since its the one that overlaps. This photo doesn’t do a very good job, but you can kinda see the little edge bend (Its bent slightly upward in this this pic):
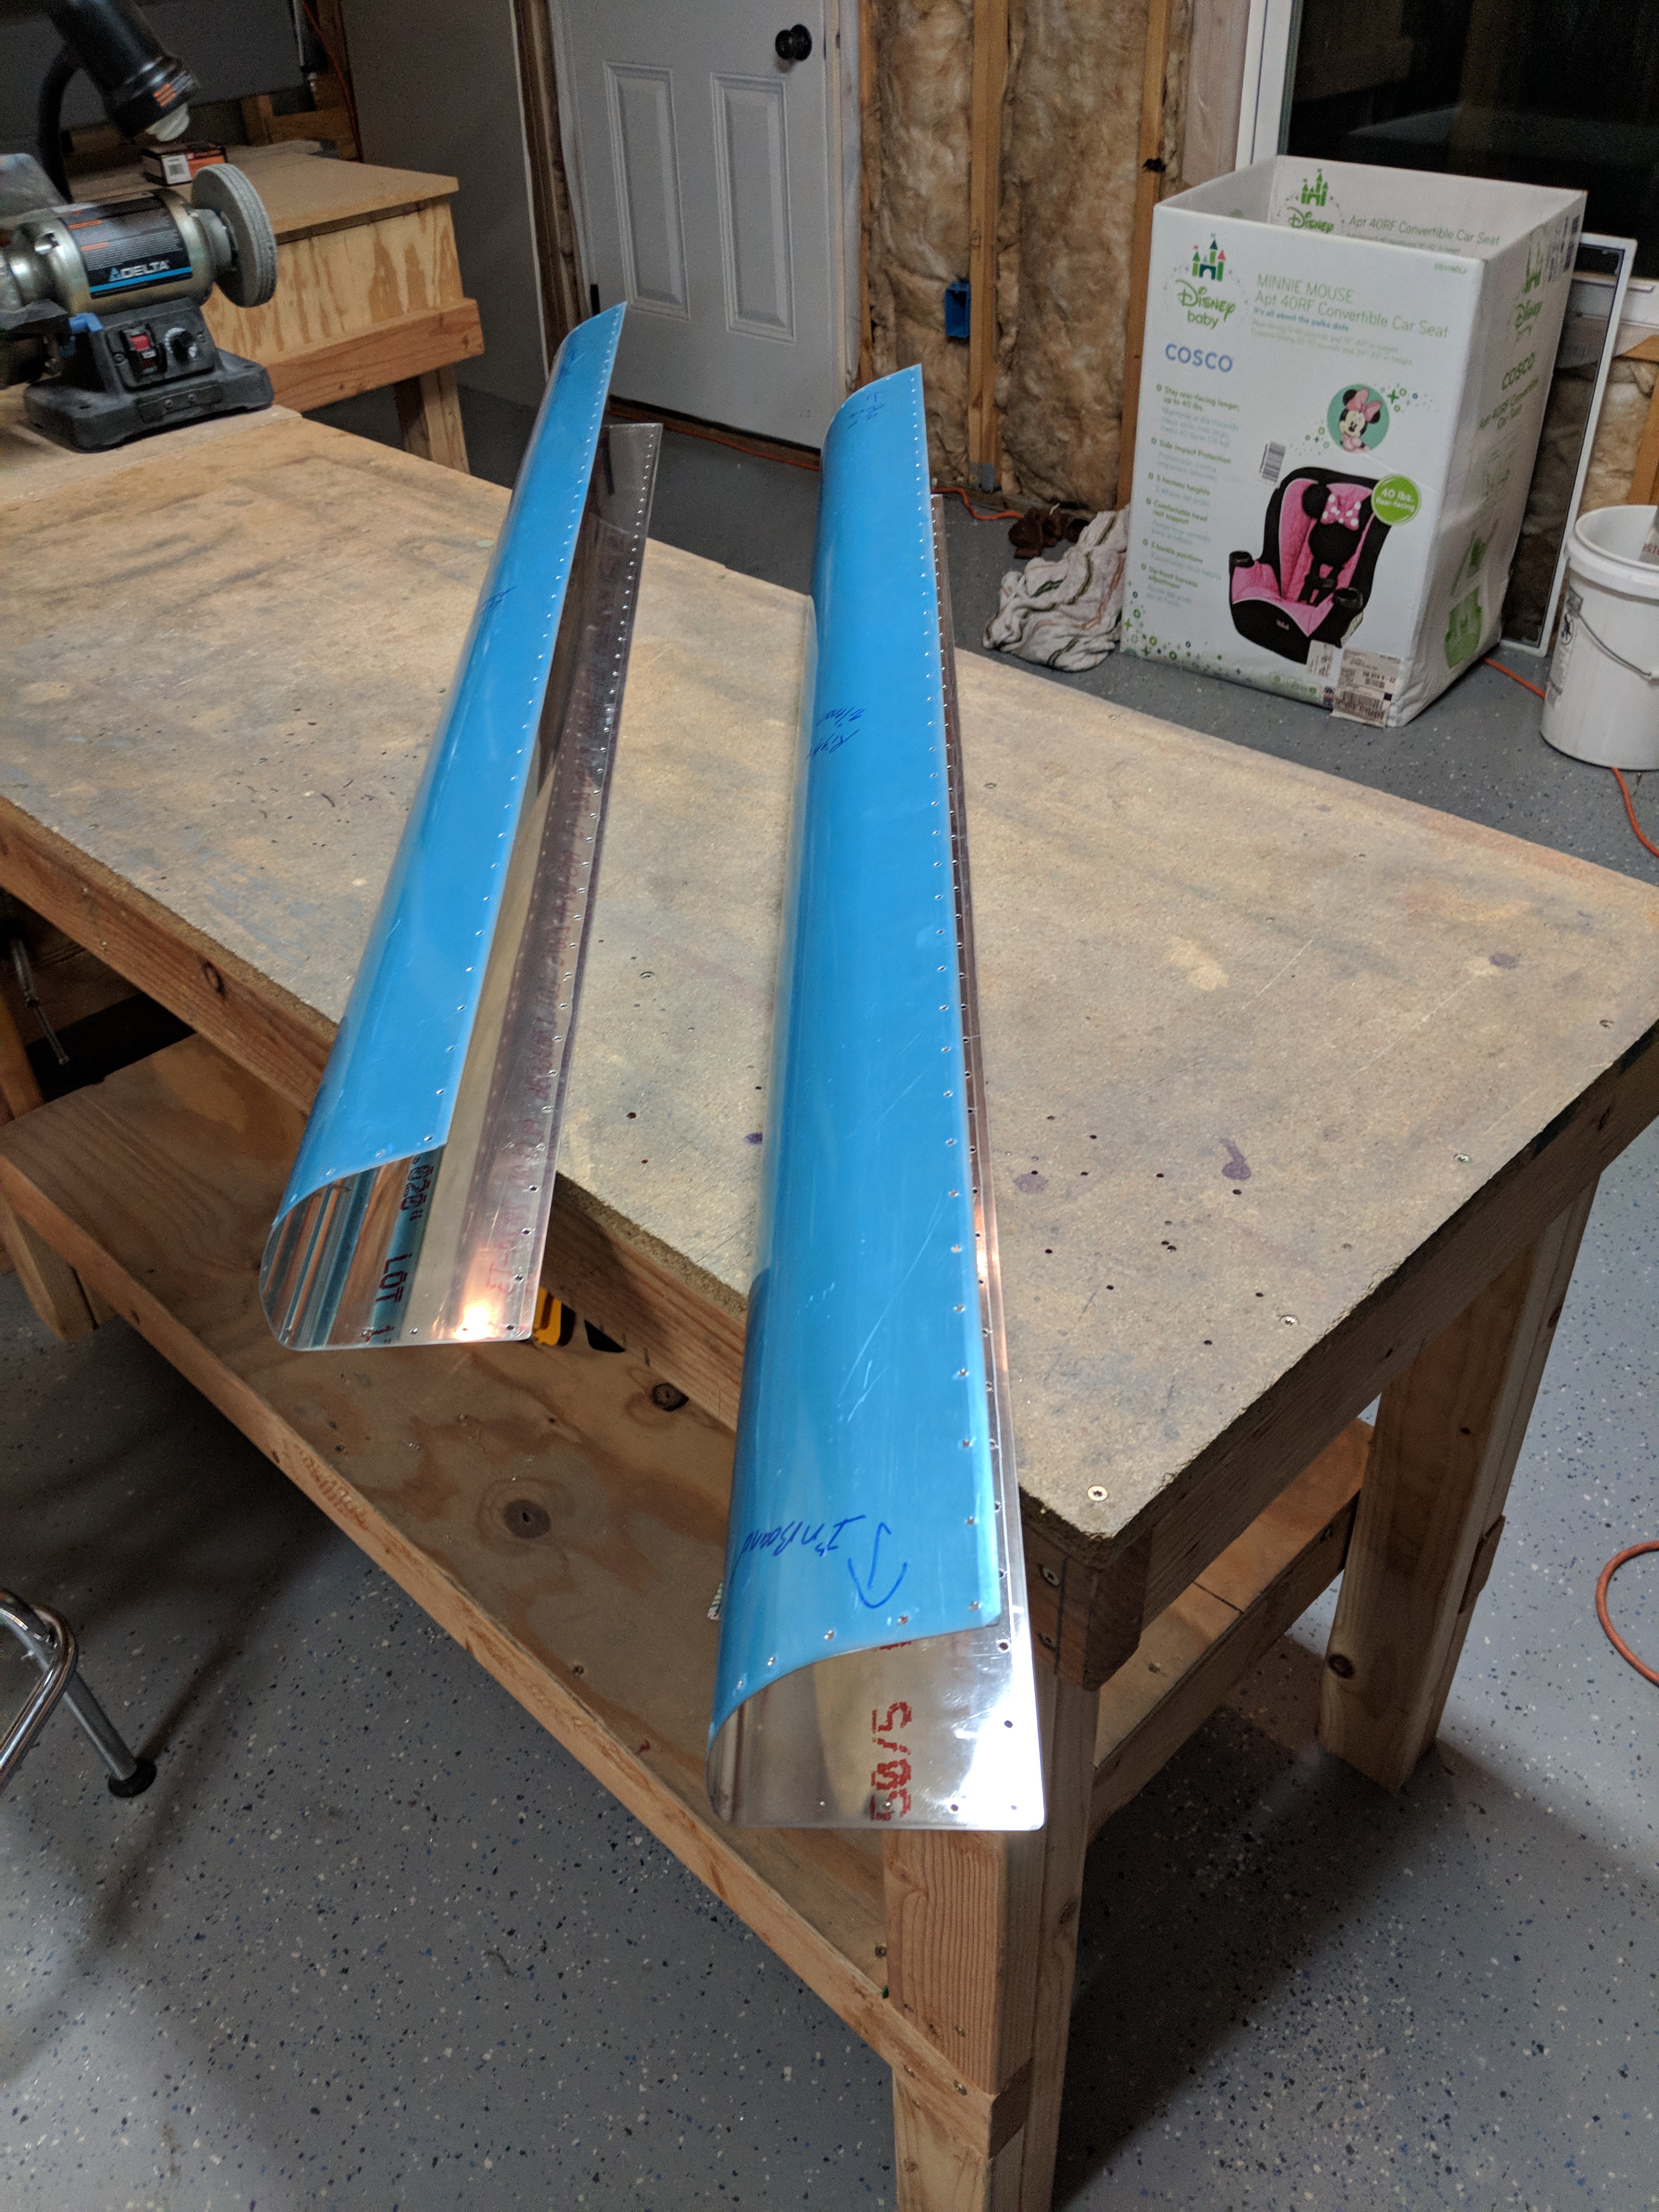
And that wraps up the session for tonight. I have all my aileron parts ready to go to the next step, which is dimpling and priming, and then final assembly/riveting. I’ll get everything dimpled tomorrow night, and also put the small parts into alumaprep/alodine baths, and hopefully have everything ready to prime Saturday. I have to head out of town for a week for business, so that will give the parts plenty of time for the AKZO to cure and be ready for riveting when I get home Friday. One last photo!
Google Photos Link: https://photos.app.goo.gl/KS0S5Zift06309g42
Hours Worked: 2.0