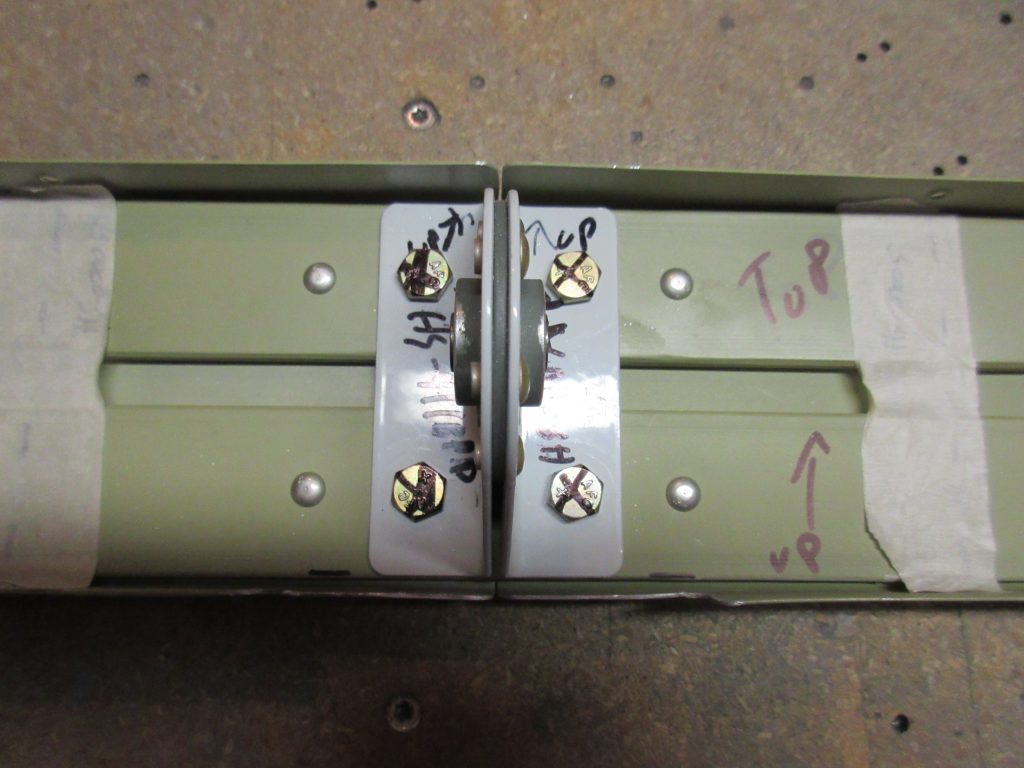
I didn’t have much time tonight, I was working on my parade car most of the day. But, I did find a little over an hour to get some work done on the airplane. My beam torque wrench was delivered today, so I also torqued the bolts that hold the HS-411 hinge bracket to the rear spar. Referring to the chart in the Van’s manual, I am supposed to torque the AN3 bolts down to 20-25 inch pounds, adding in the torque required to turn the nylon lock nuts. My beam wrench was showing 5-8 inch pounds required to turn the nylon nut on the AN3 bolt, so I figured I would torque the bolts down to a total of 28-30 inch pounds. After torquing the nuts down, I marked them with an “X” using a sharpie. I will apply some torque seal once it gets here. This way I know which bolts have been torqued.
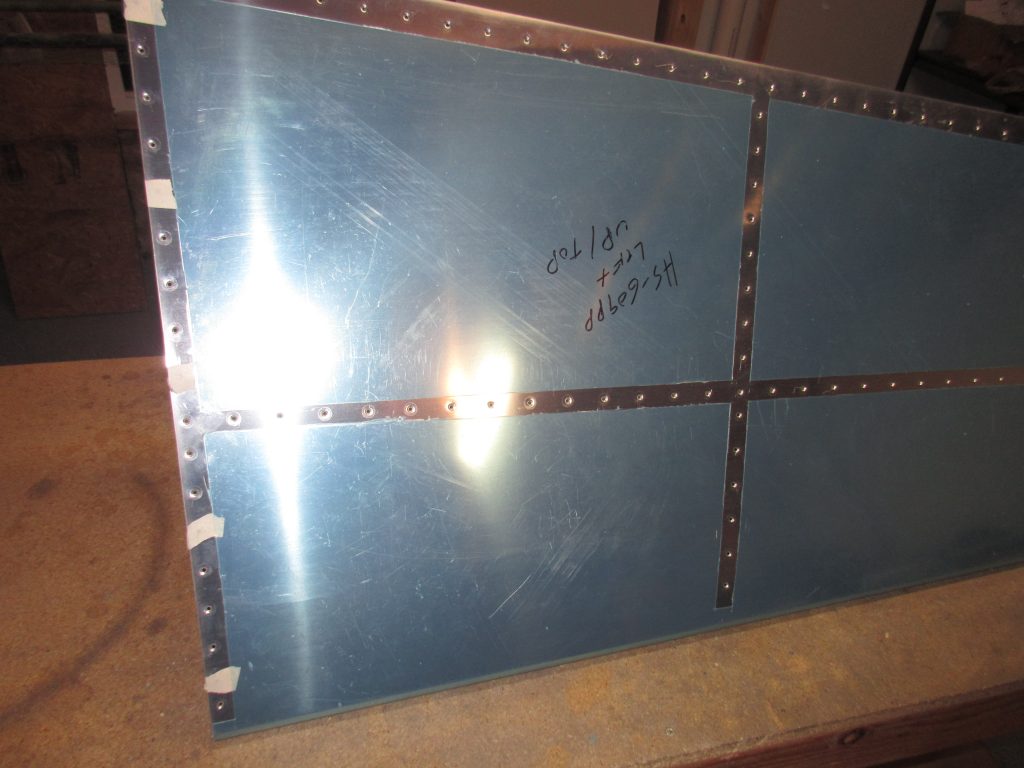
Having completed that, I figured I should go ahead and dimple the right horizontal stabilizer skin, since I had a little bit of time left for the night. I used my DRDT-2 dimpler to do the work, and it went smoothly. I already had the dimpler set up from last nights work, so I just popped in the sets, and went at it. I also remembered to mask off the holes in the skin that do not need dimpling, since they will be getting nut plates. The skin turned out well.
And for some reason, my camera decided to make a little video. I must have flipped a switch somewhere, so for fun, here is the video my camera made for us:
I spent a few minutes tinkering around with the pressure settings on my rivet gun. I will be riveting the ribs to the skins in a few sessions, so I want to make sure I have everything set right. I think I might spend some more time on the practice kits doing flush rivets over again. This will give me some more practice, as well as let me fine tune my rivet gun for the -3 flush rivets.
Here is a full photo album of tonights work: https://goo.gl/photos/upb27wsi3J5HnDuu5
Hours Worked: 1.25


