


I only spent about an hour on the project tonight. All I have left on the rudder is to fit the counterweight and then start the process of deburring, dimpling, and edge finishing so I can get the parts ready for priming. I am seriously considering building an air tight spray booth in the basement that ventilates the air outside so that I can spray the parts regardless of time of day or weather outside. Thats a project for another day though.
Tonight I began with drilling the forward hole for the counterweight into the R-912 rib. I placed the E-614-020 lead weight in the rib and match drilled the hole. The plans calls for a #10, but after getting the screw and nut called for in the plans, I think a #12 bit will work just fine. I do however have a#10 dimple die set. I drilled a #12, and then dimpled the rib using the DRDT-2. I also had a #10 countersink, so I used that in my hand deburring tool to machine countersink the lead weight.
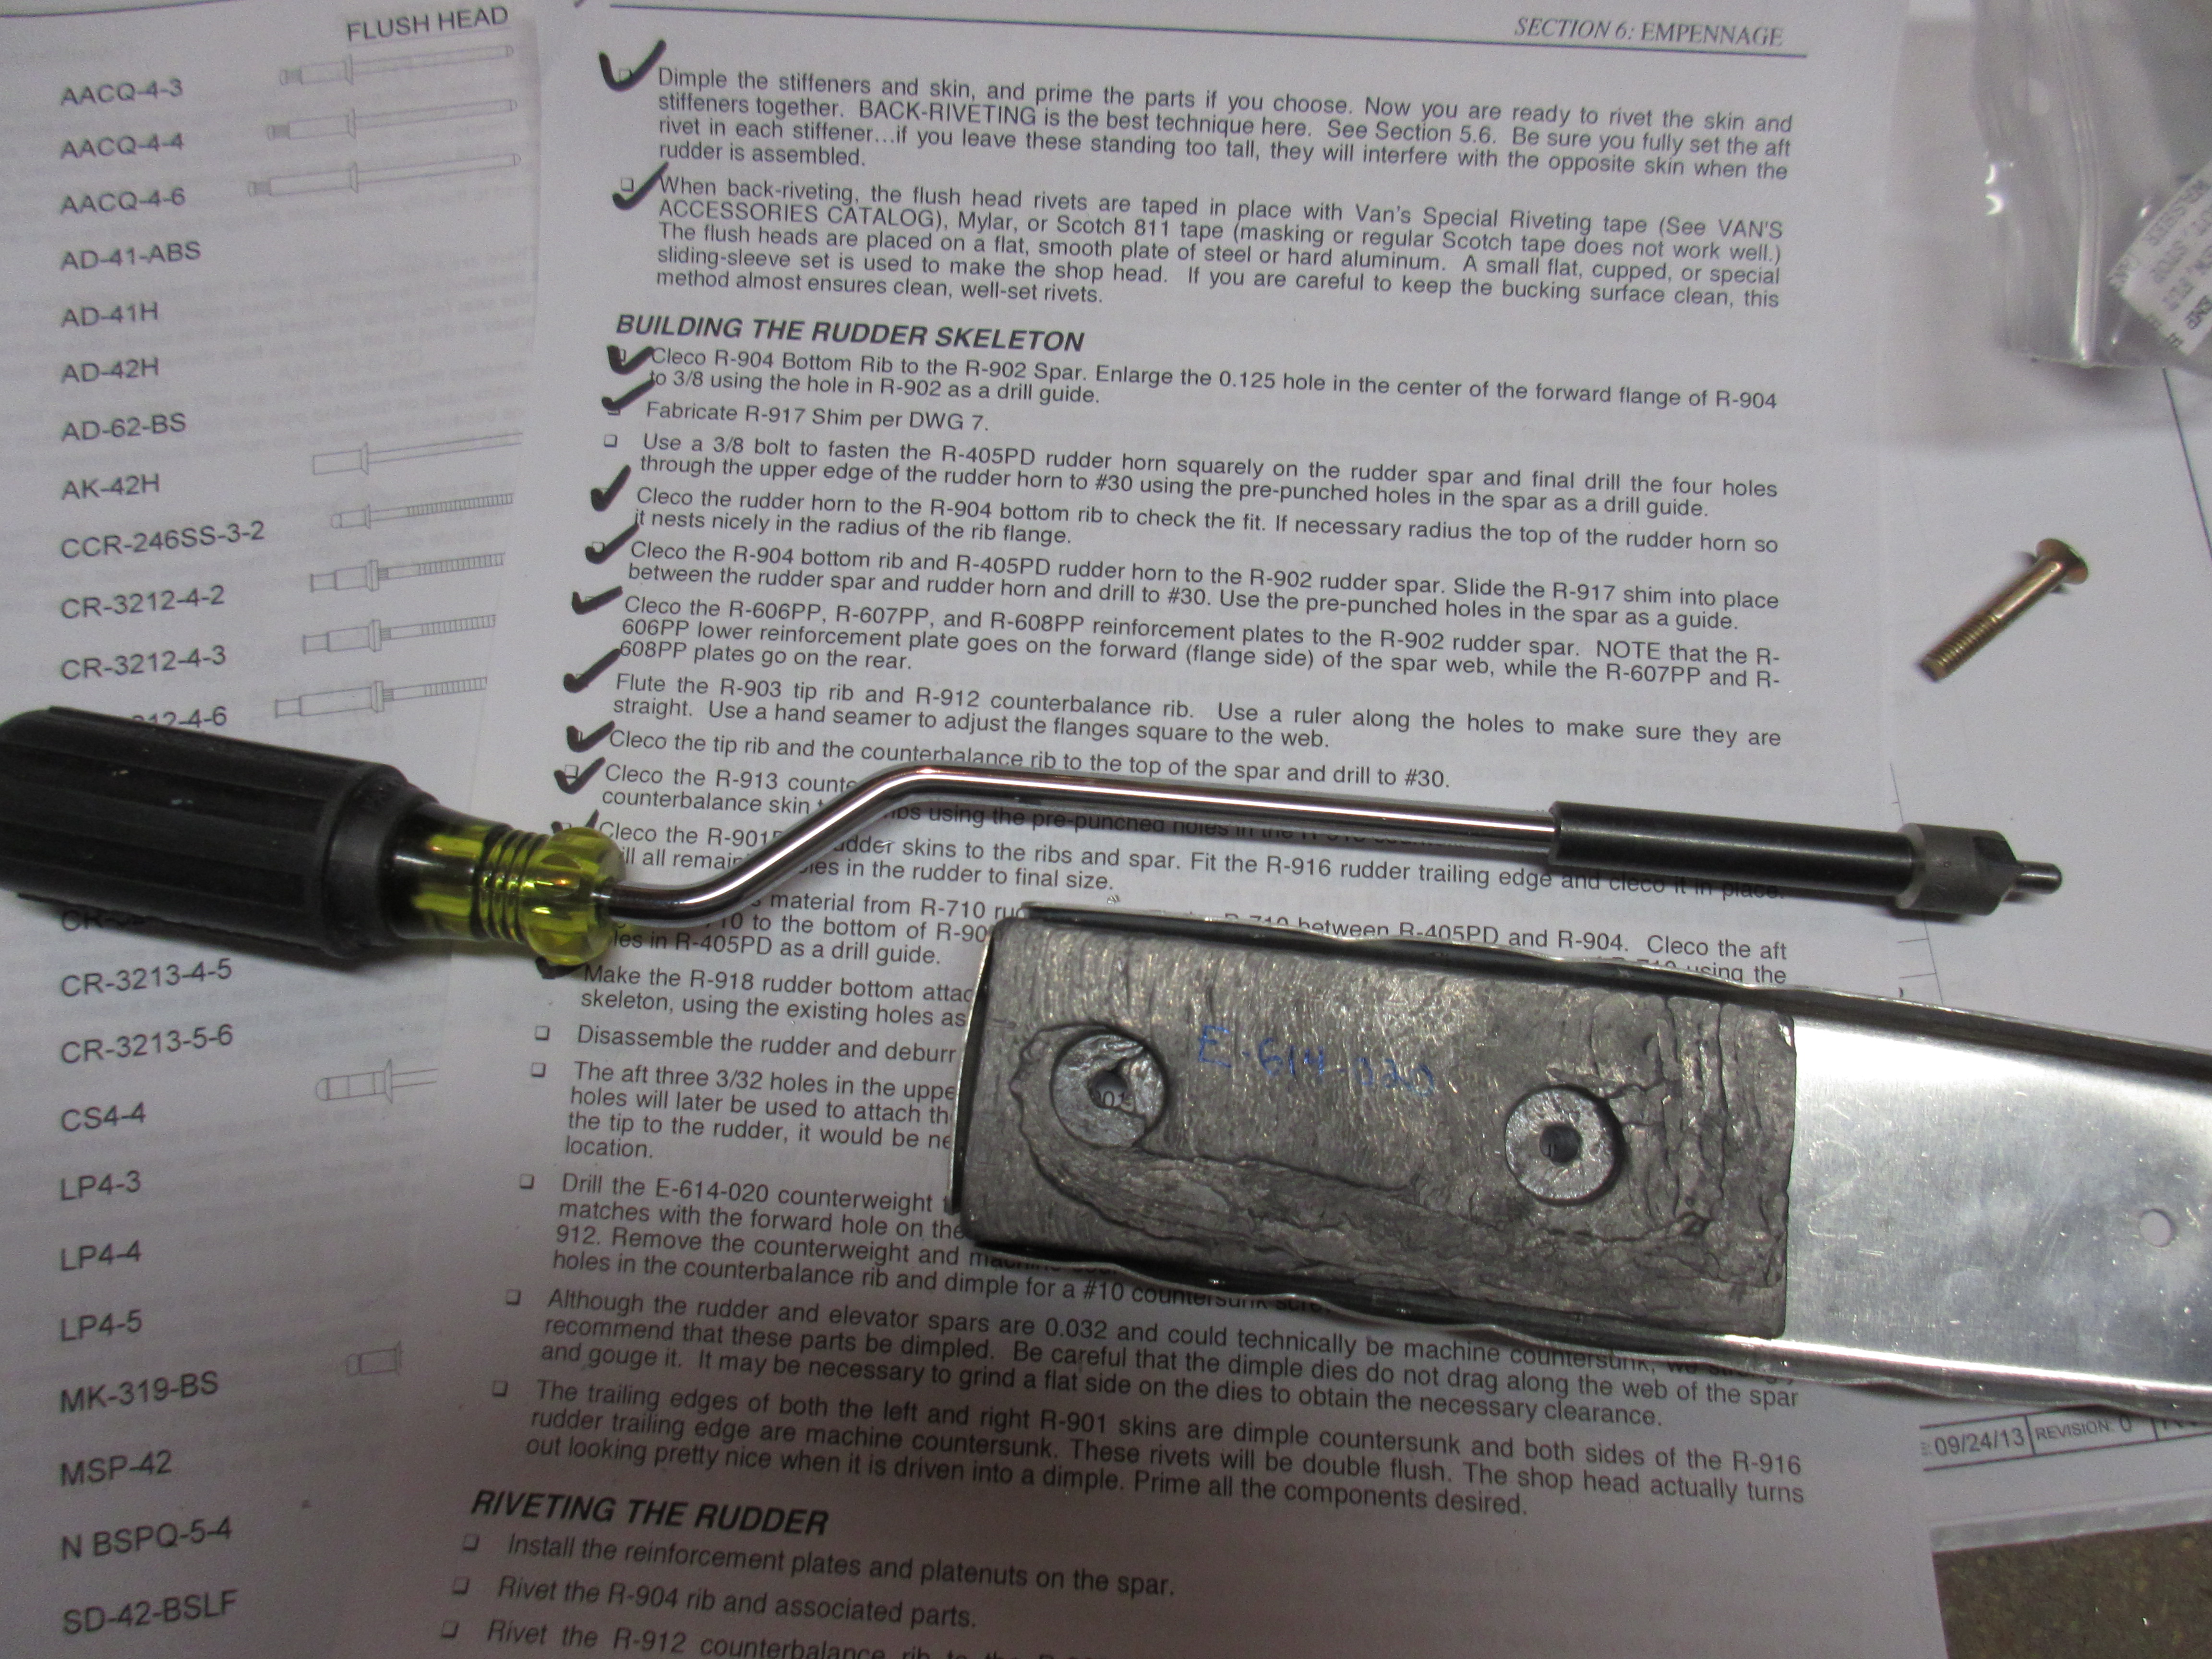
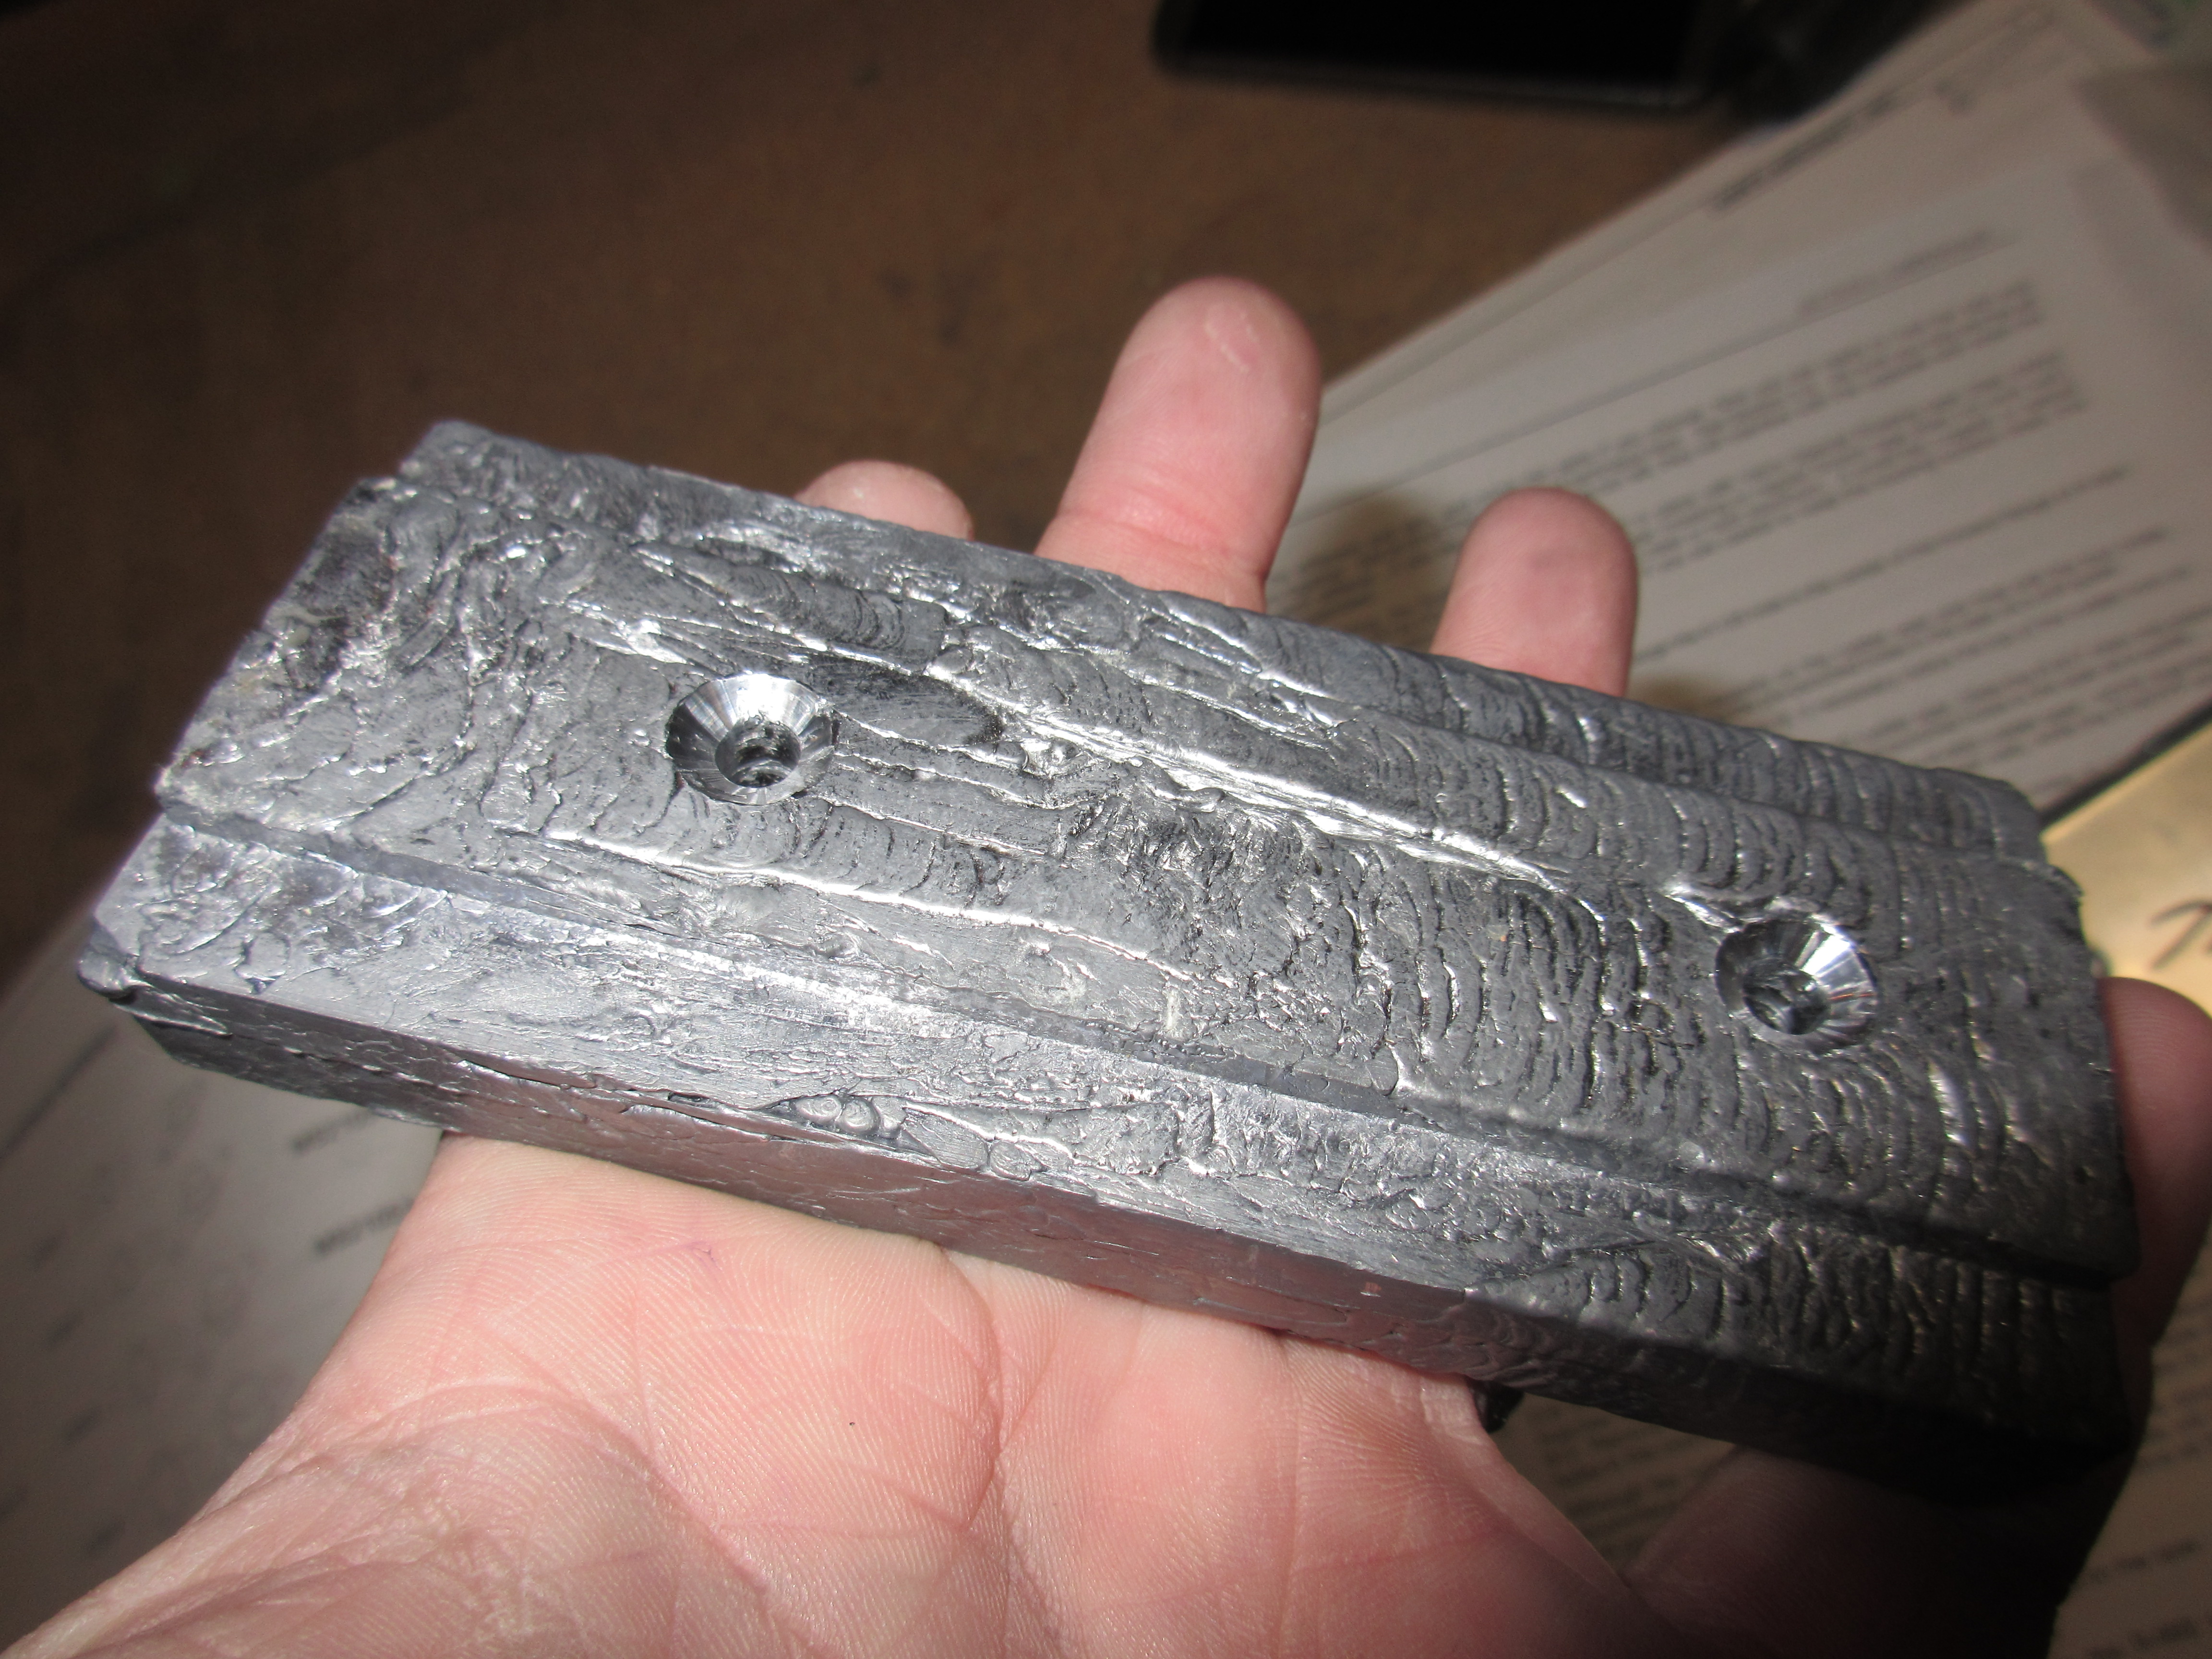
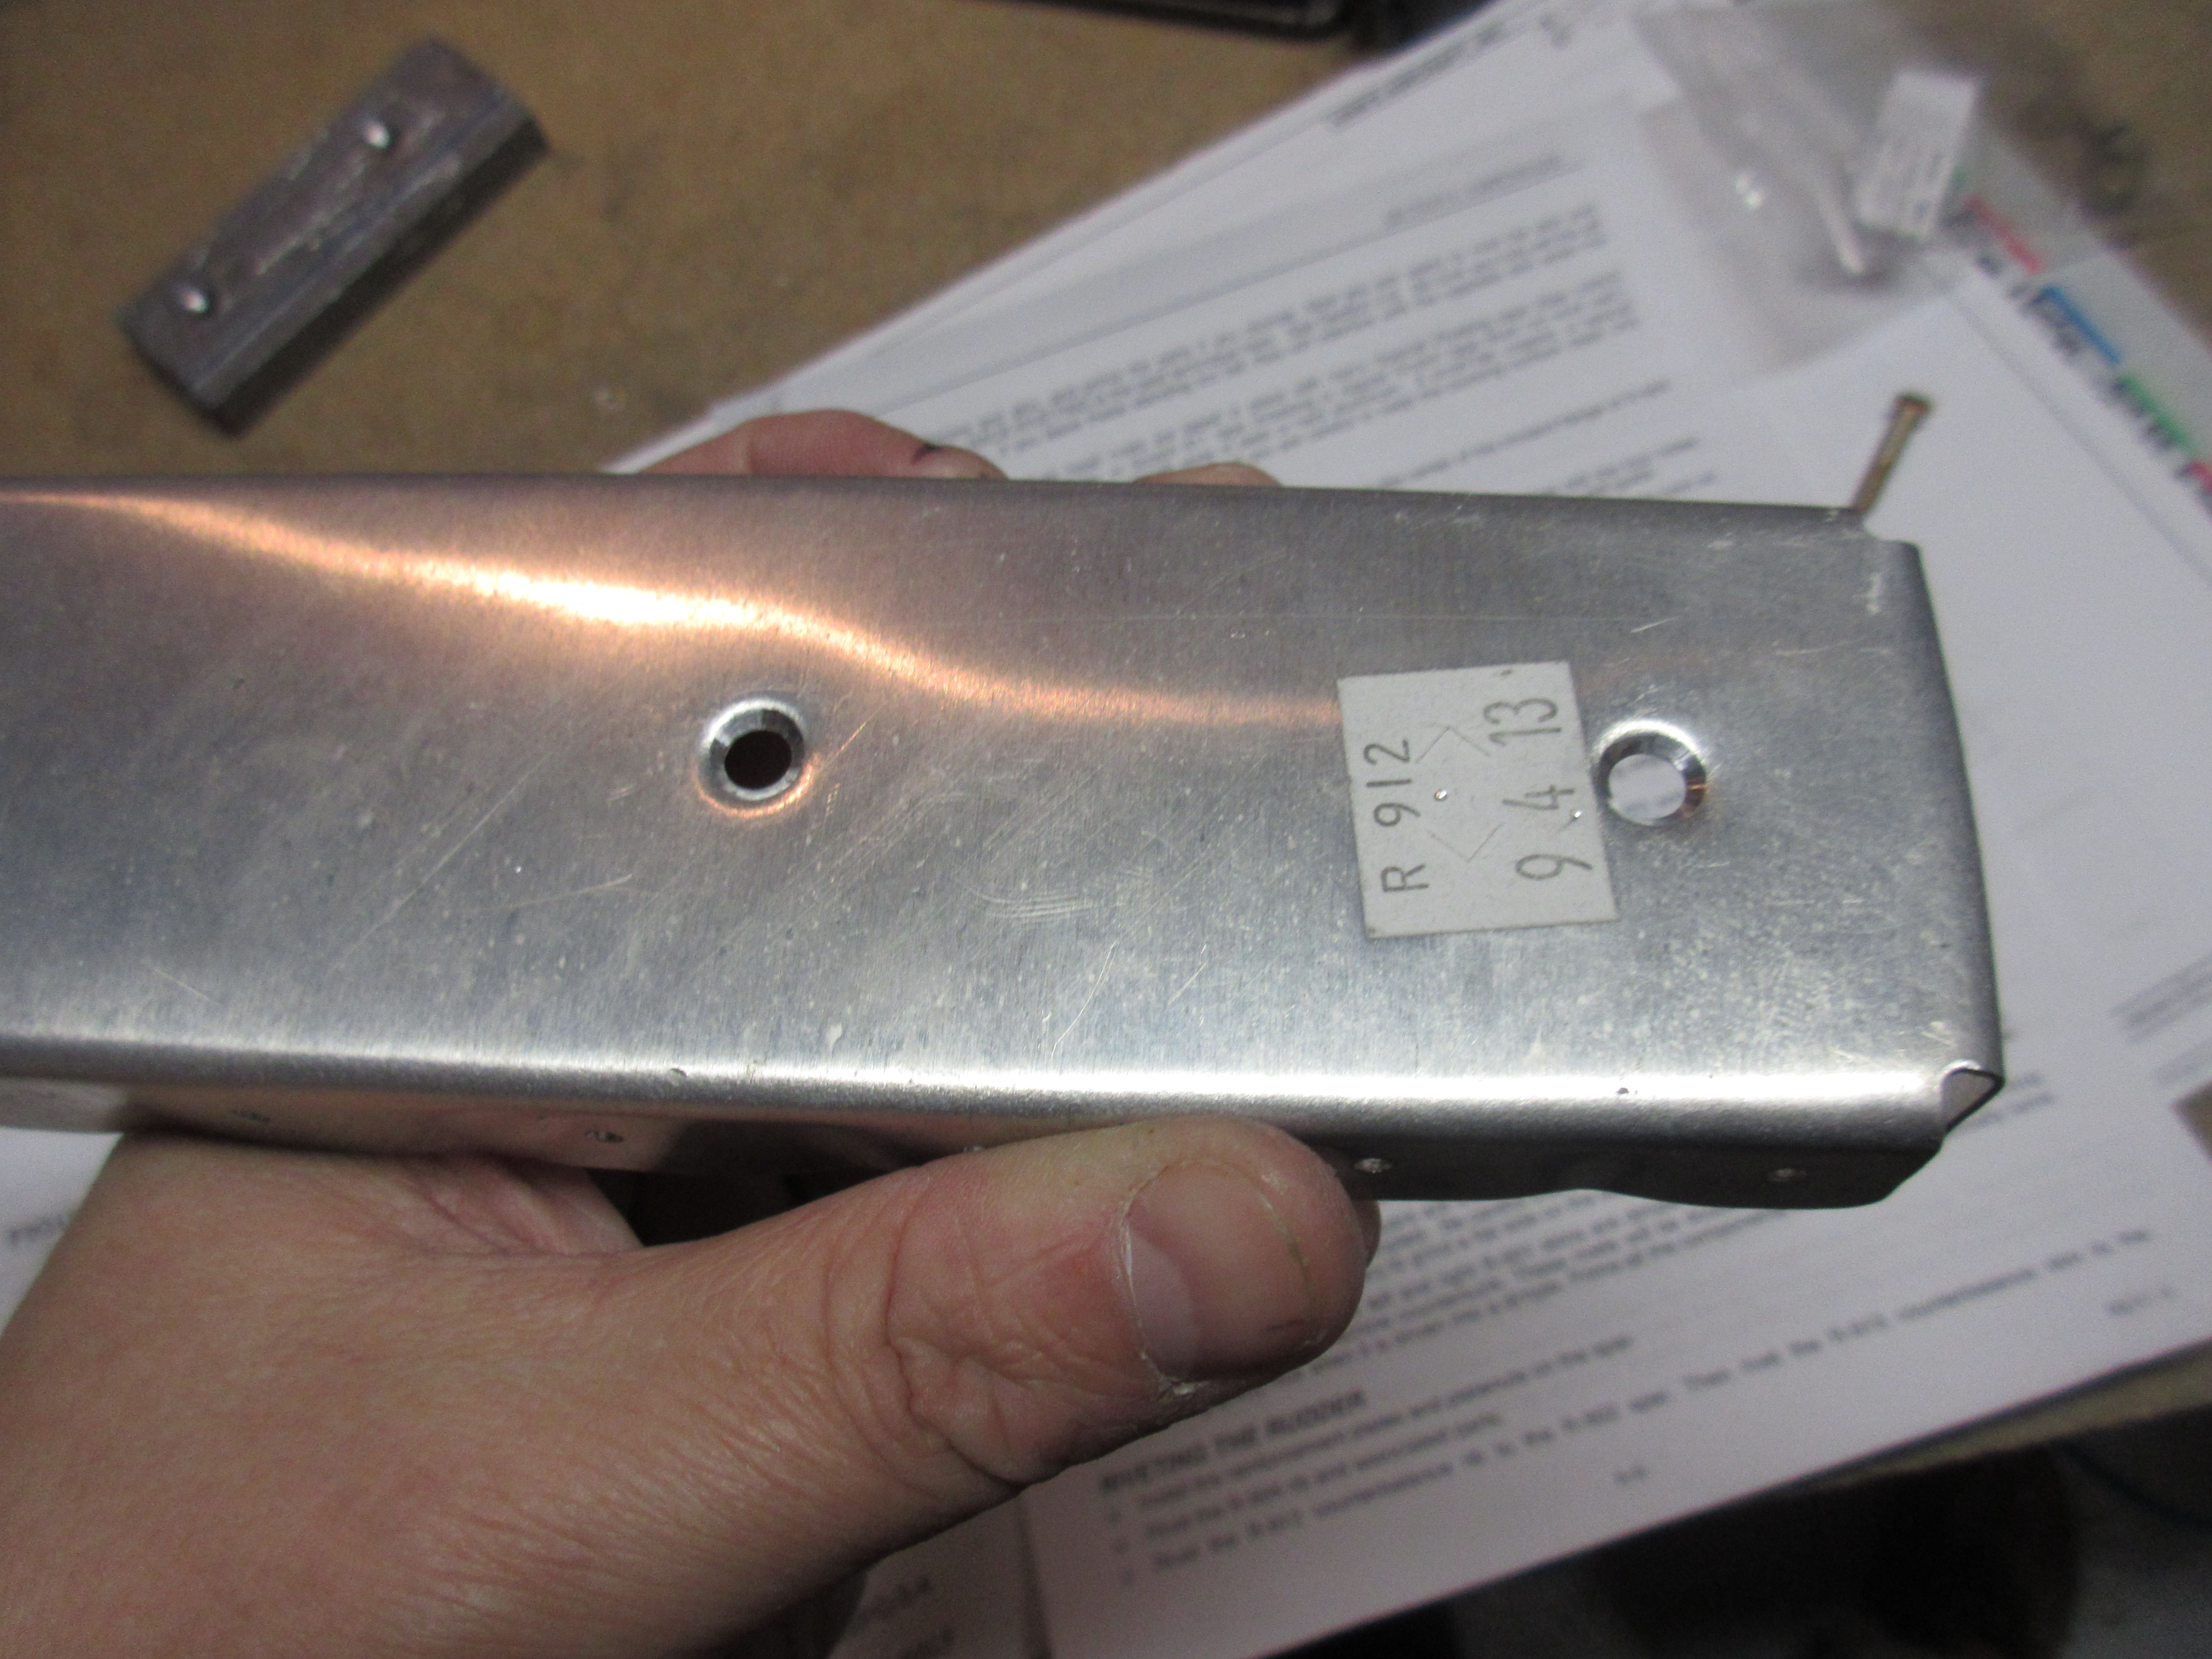
The rear hole was back drilled into the rib using the pre-drilled holes in the lead weight as a guide. Once I had that finished, I decided to work on preparing all the parts of the rudder.
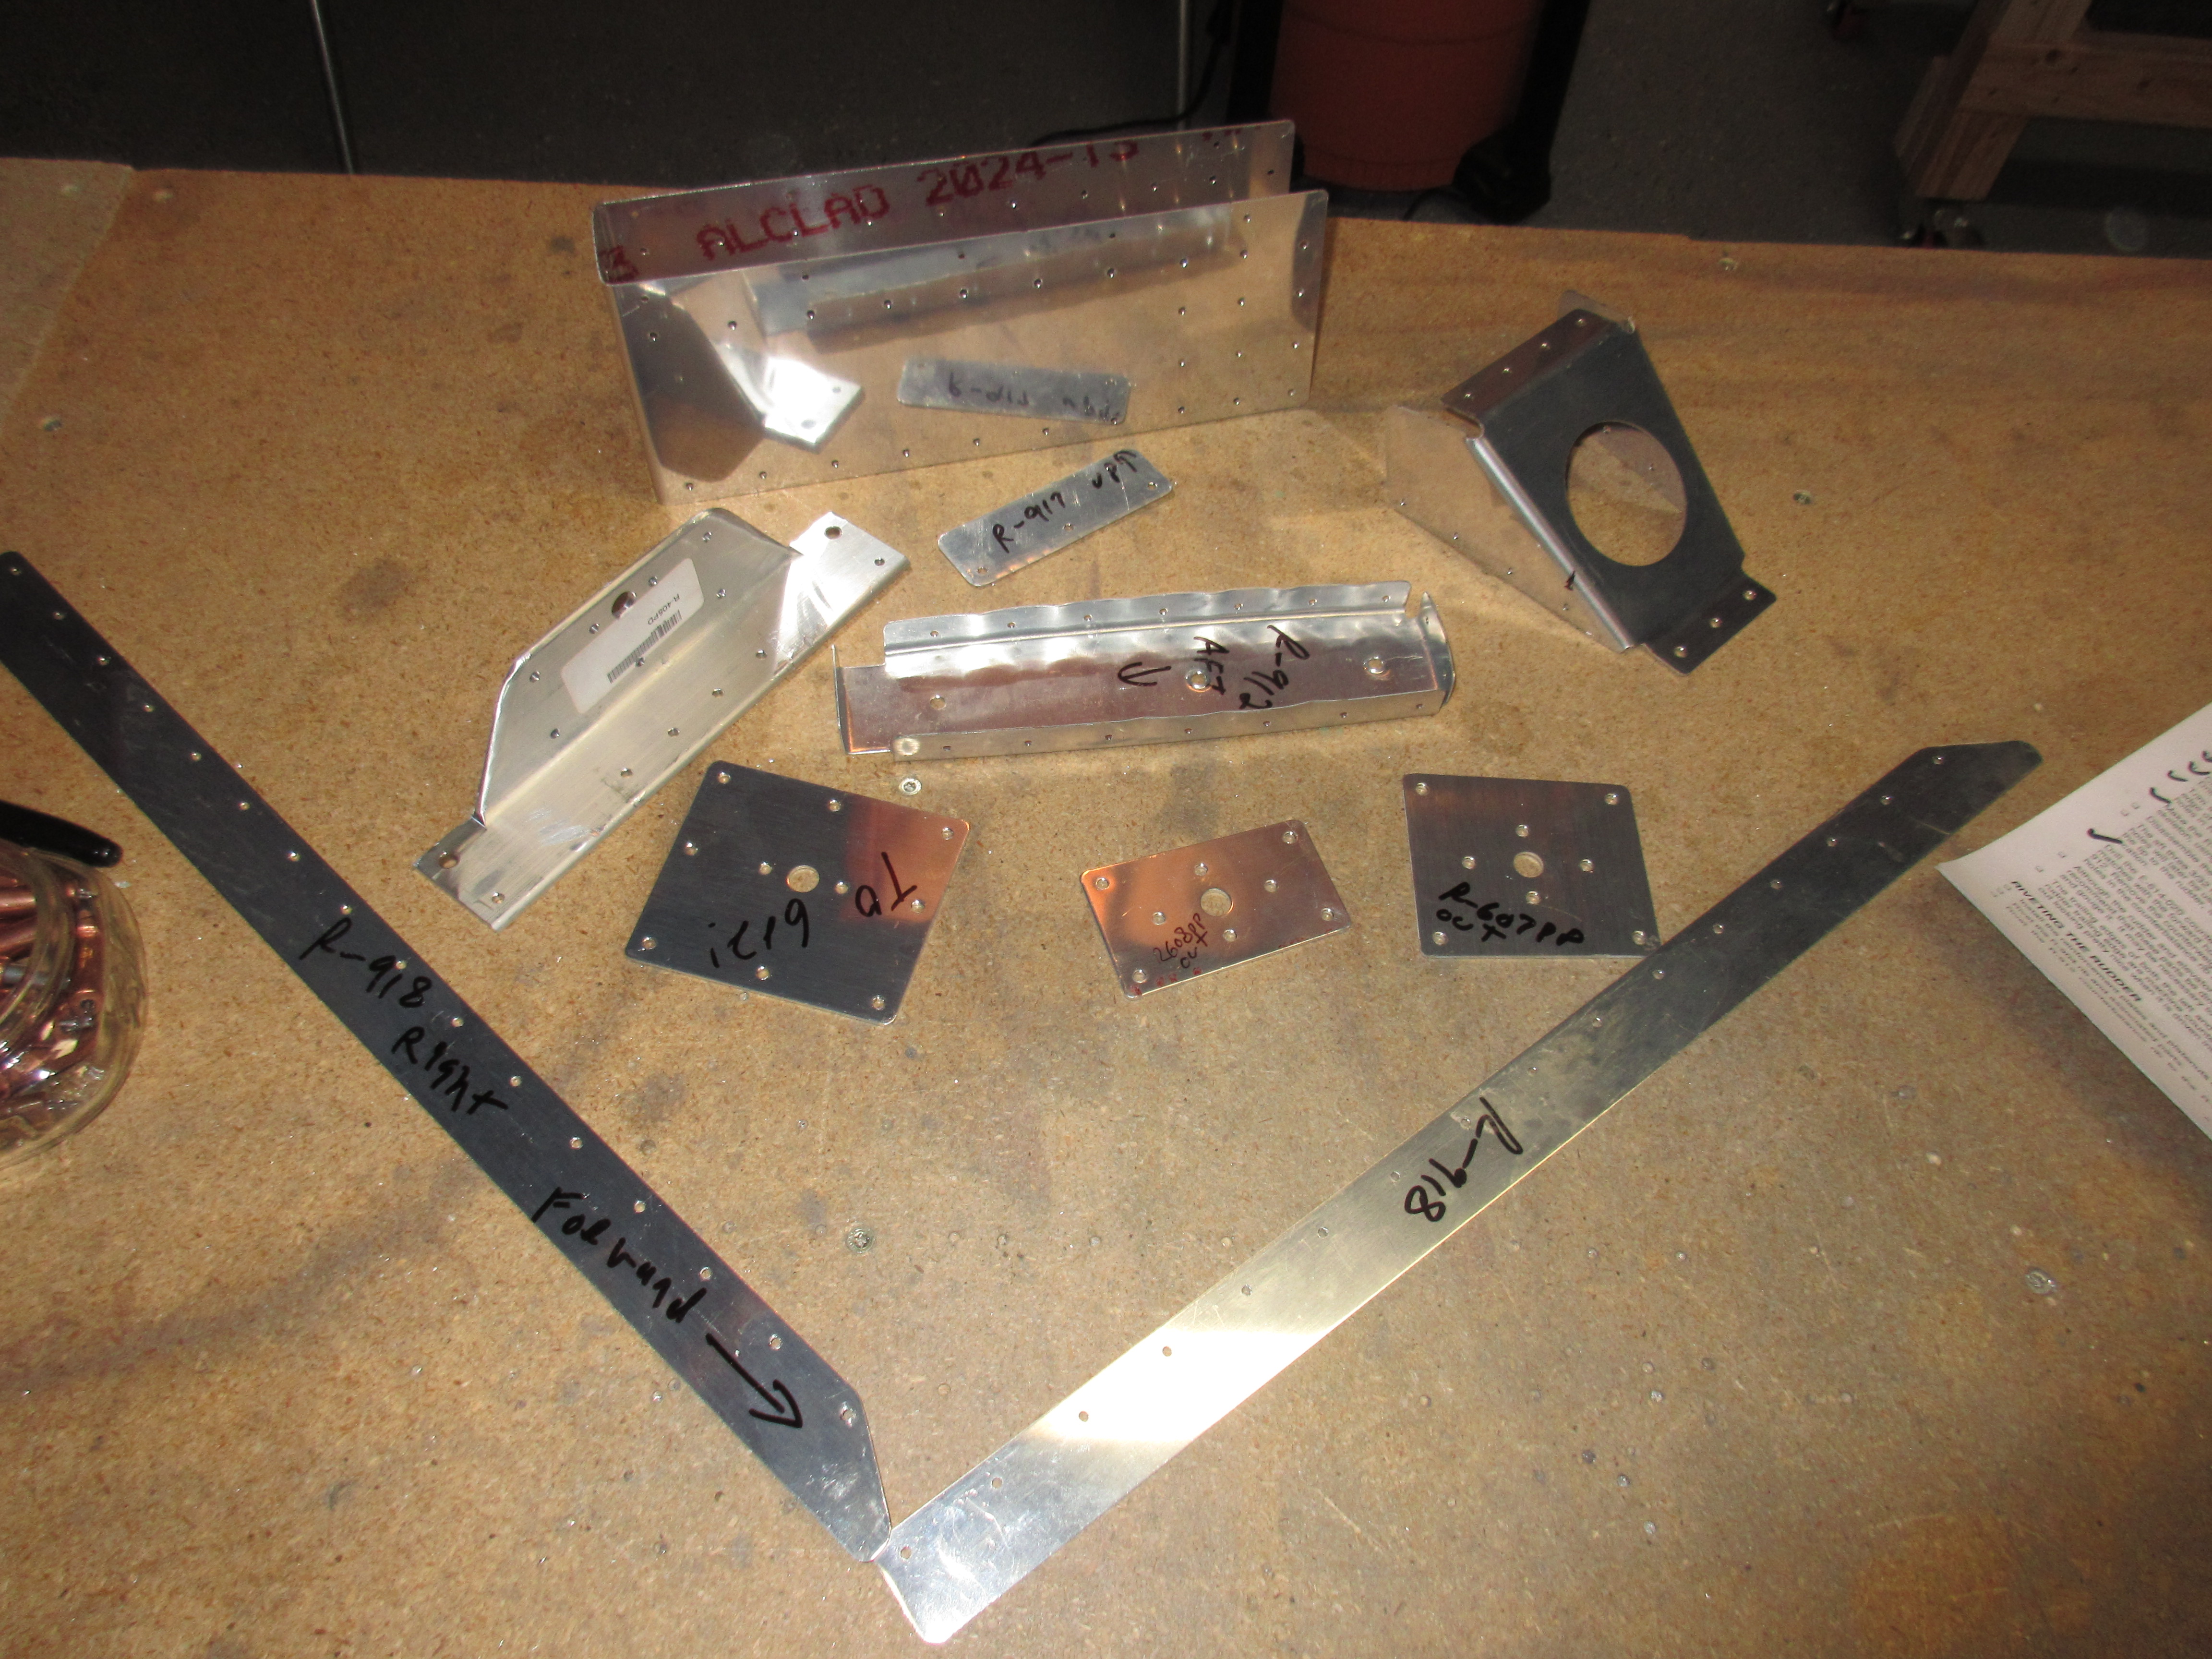
Metal prep is something that you will spend A LOT of time on during a build. I am going to pick up an electric screwdriver to hold the deburring cutter so I don’t kill my wrists using the little wobbly-spinning screwdriver tool. There are thousands of holes in the plane that need deburring. There really isn’t much to photograph or even talk about during these types of phases in the projects. I started out by deburring a few pieces of the rudder, and then decided it was time to call it a night. I will pick up an electric screwdriver on Monday and make this work go a lot faster. I knocked a few pieces of deburring out:
Heres the photos from tonights short build session:


Google Photos Link: https://goo.gl/photos/nvqHhj4oujqPV9bC6
Hours Worked: 1