


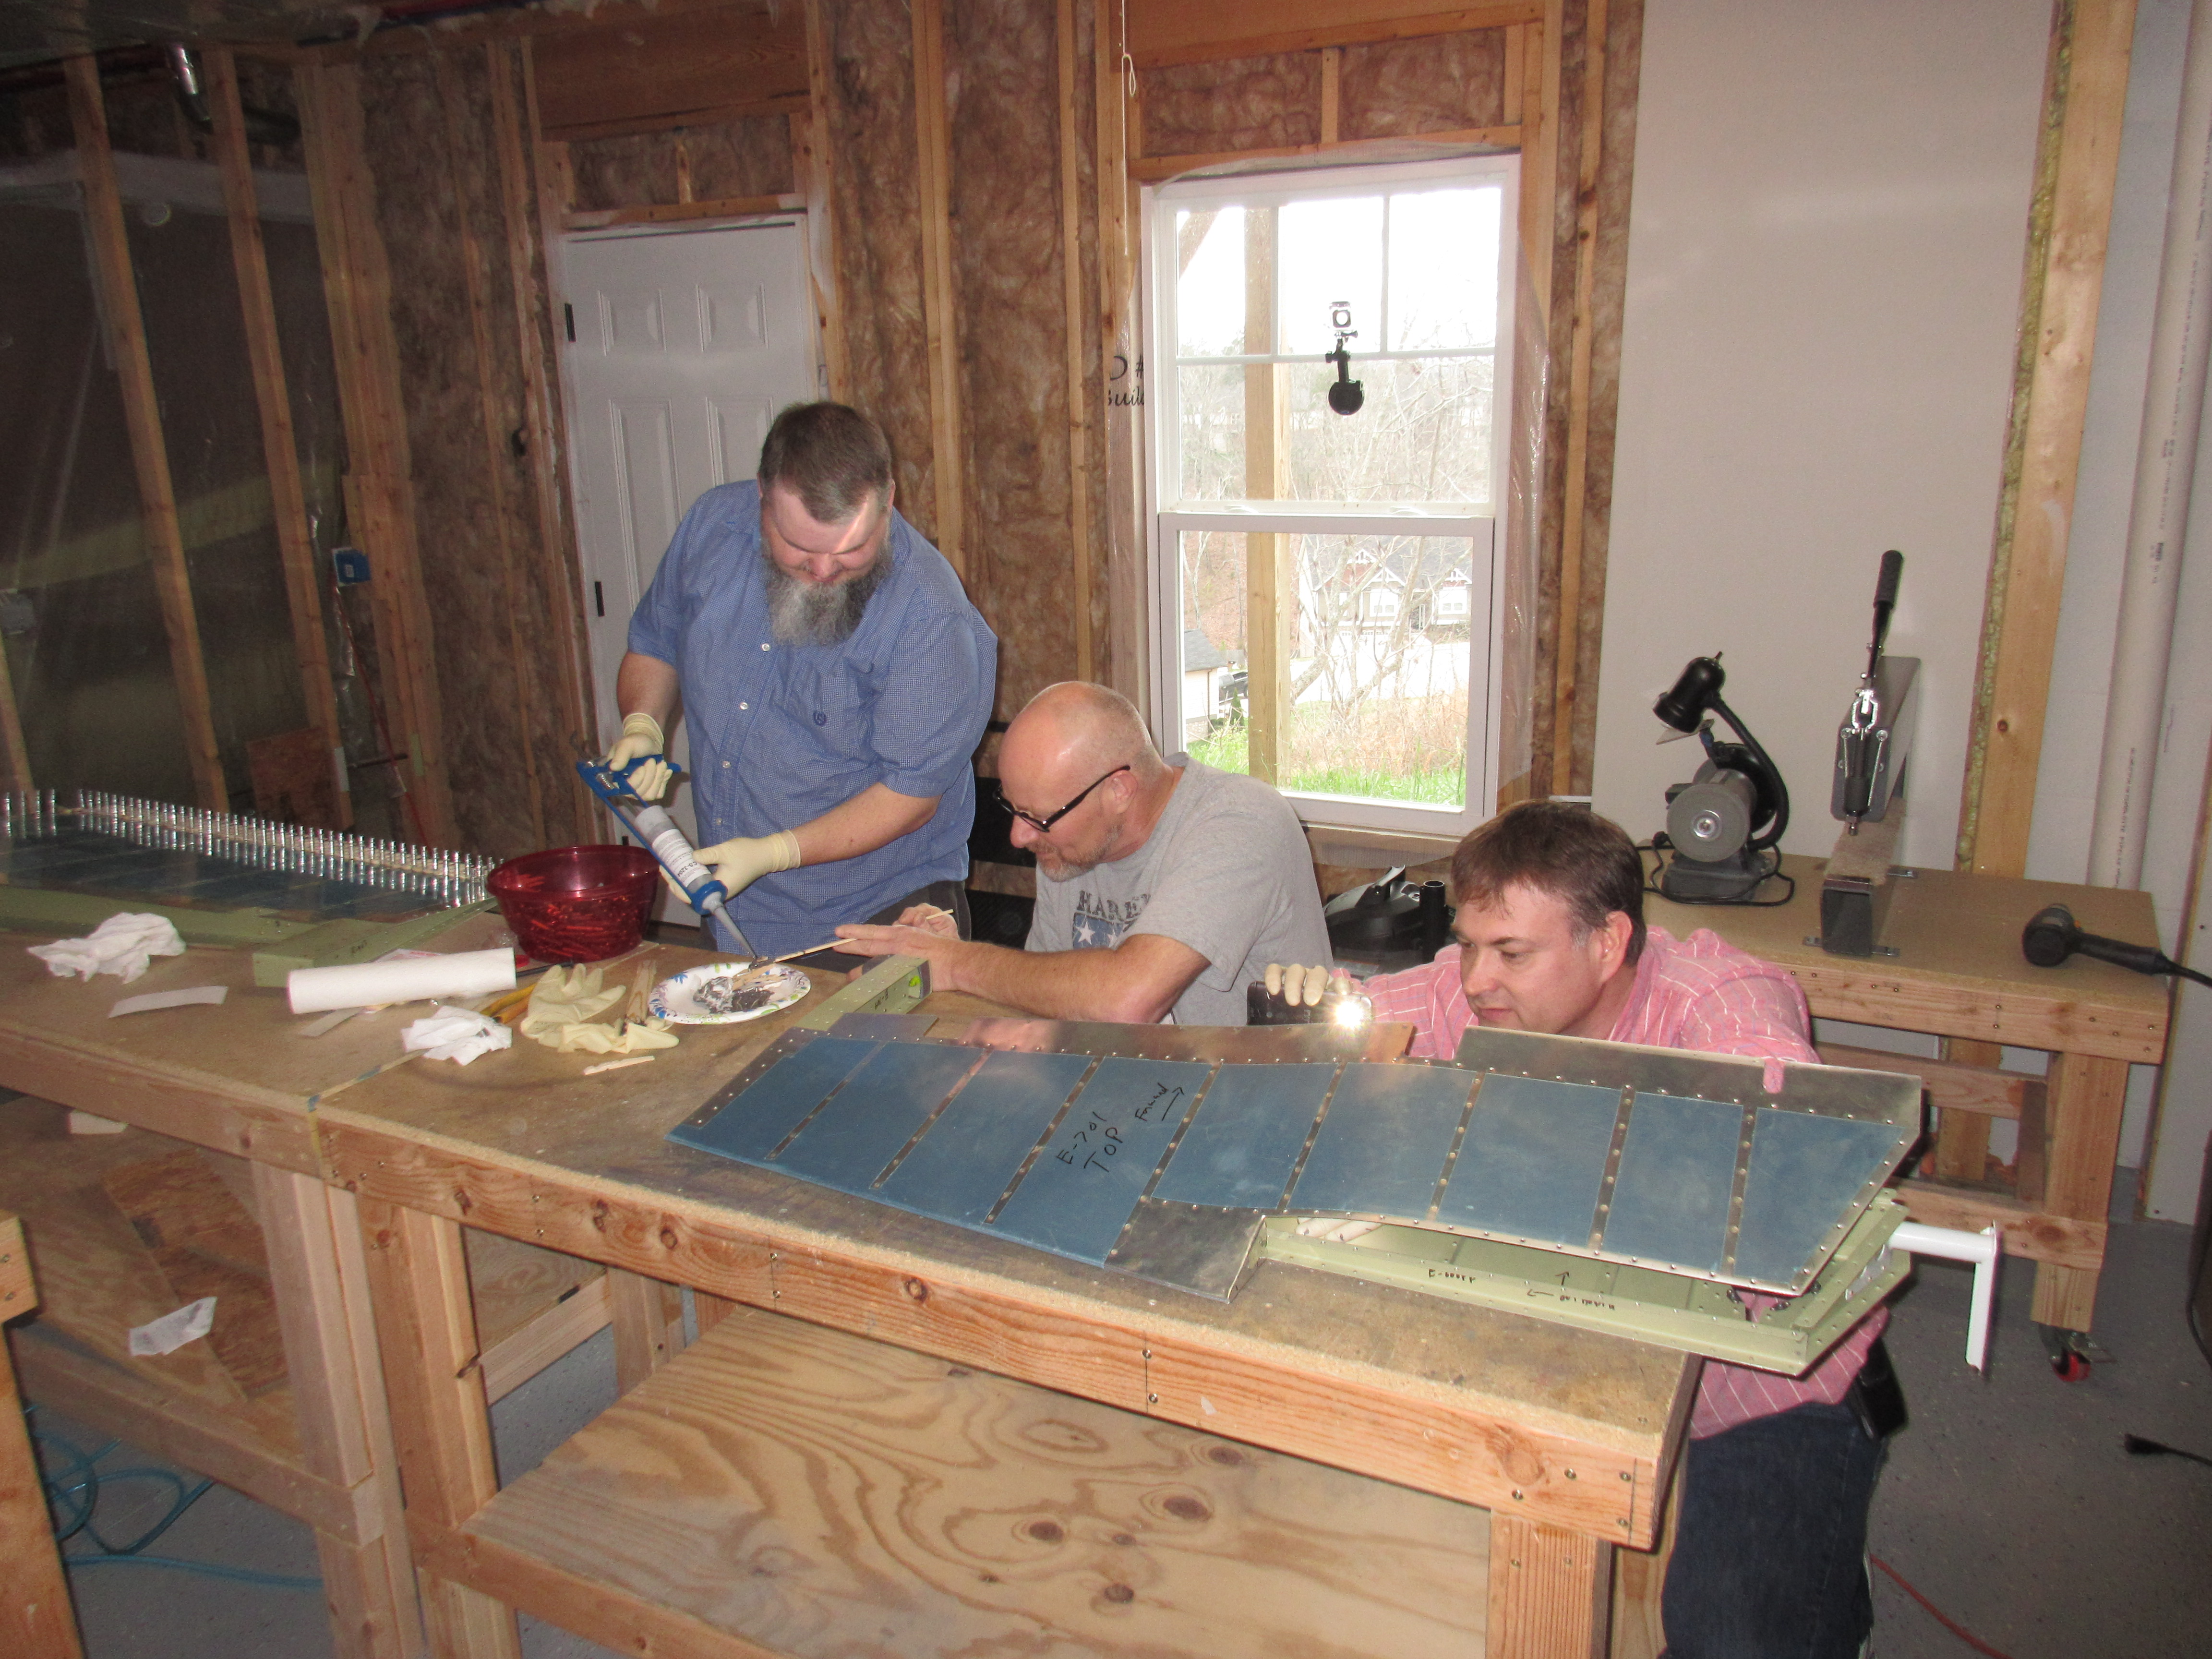
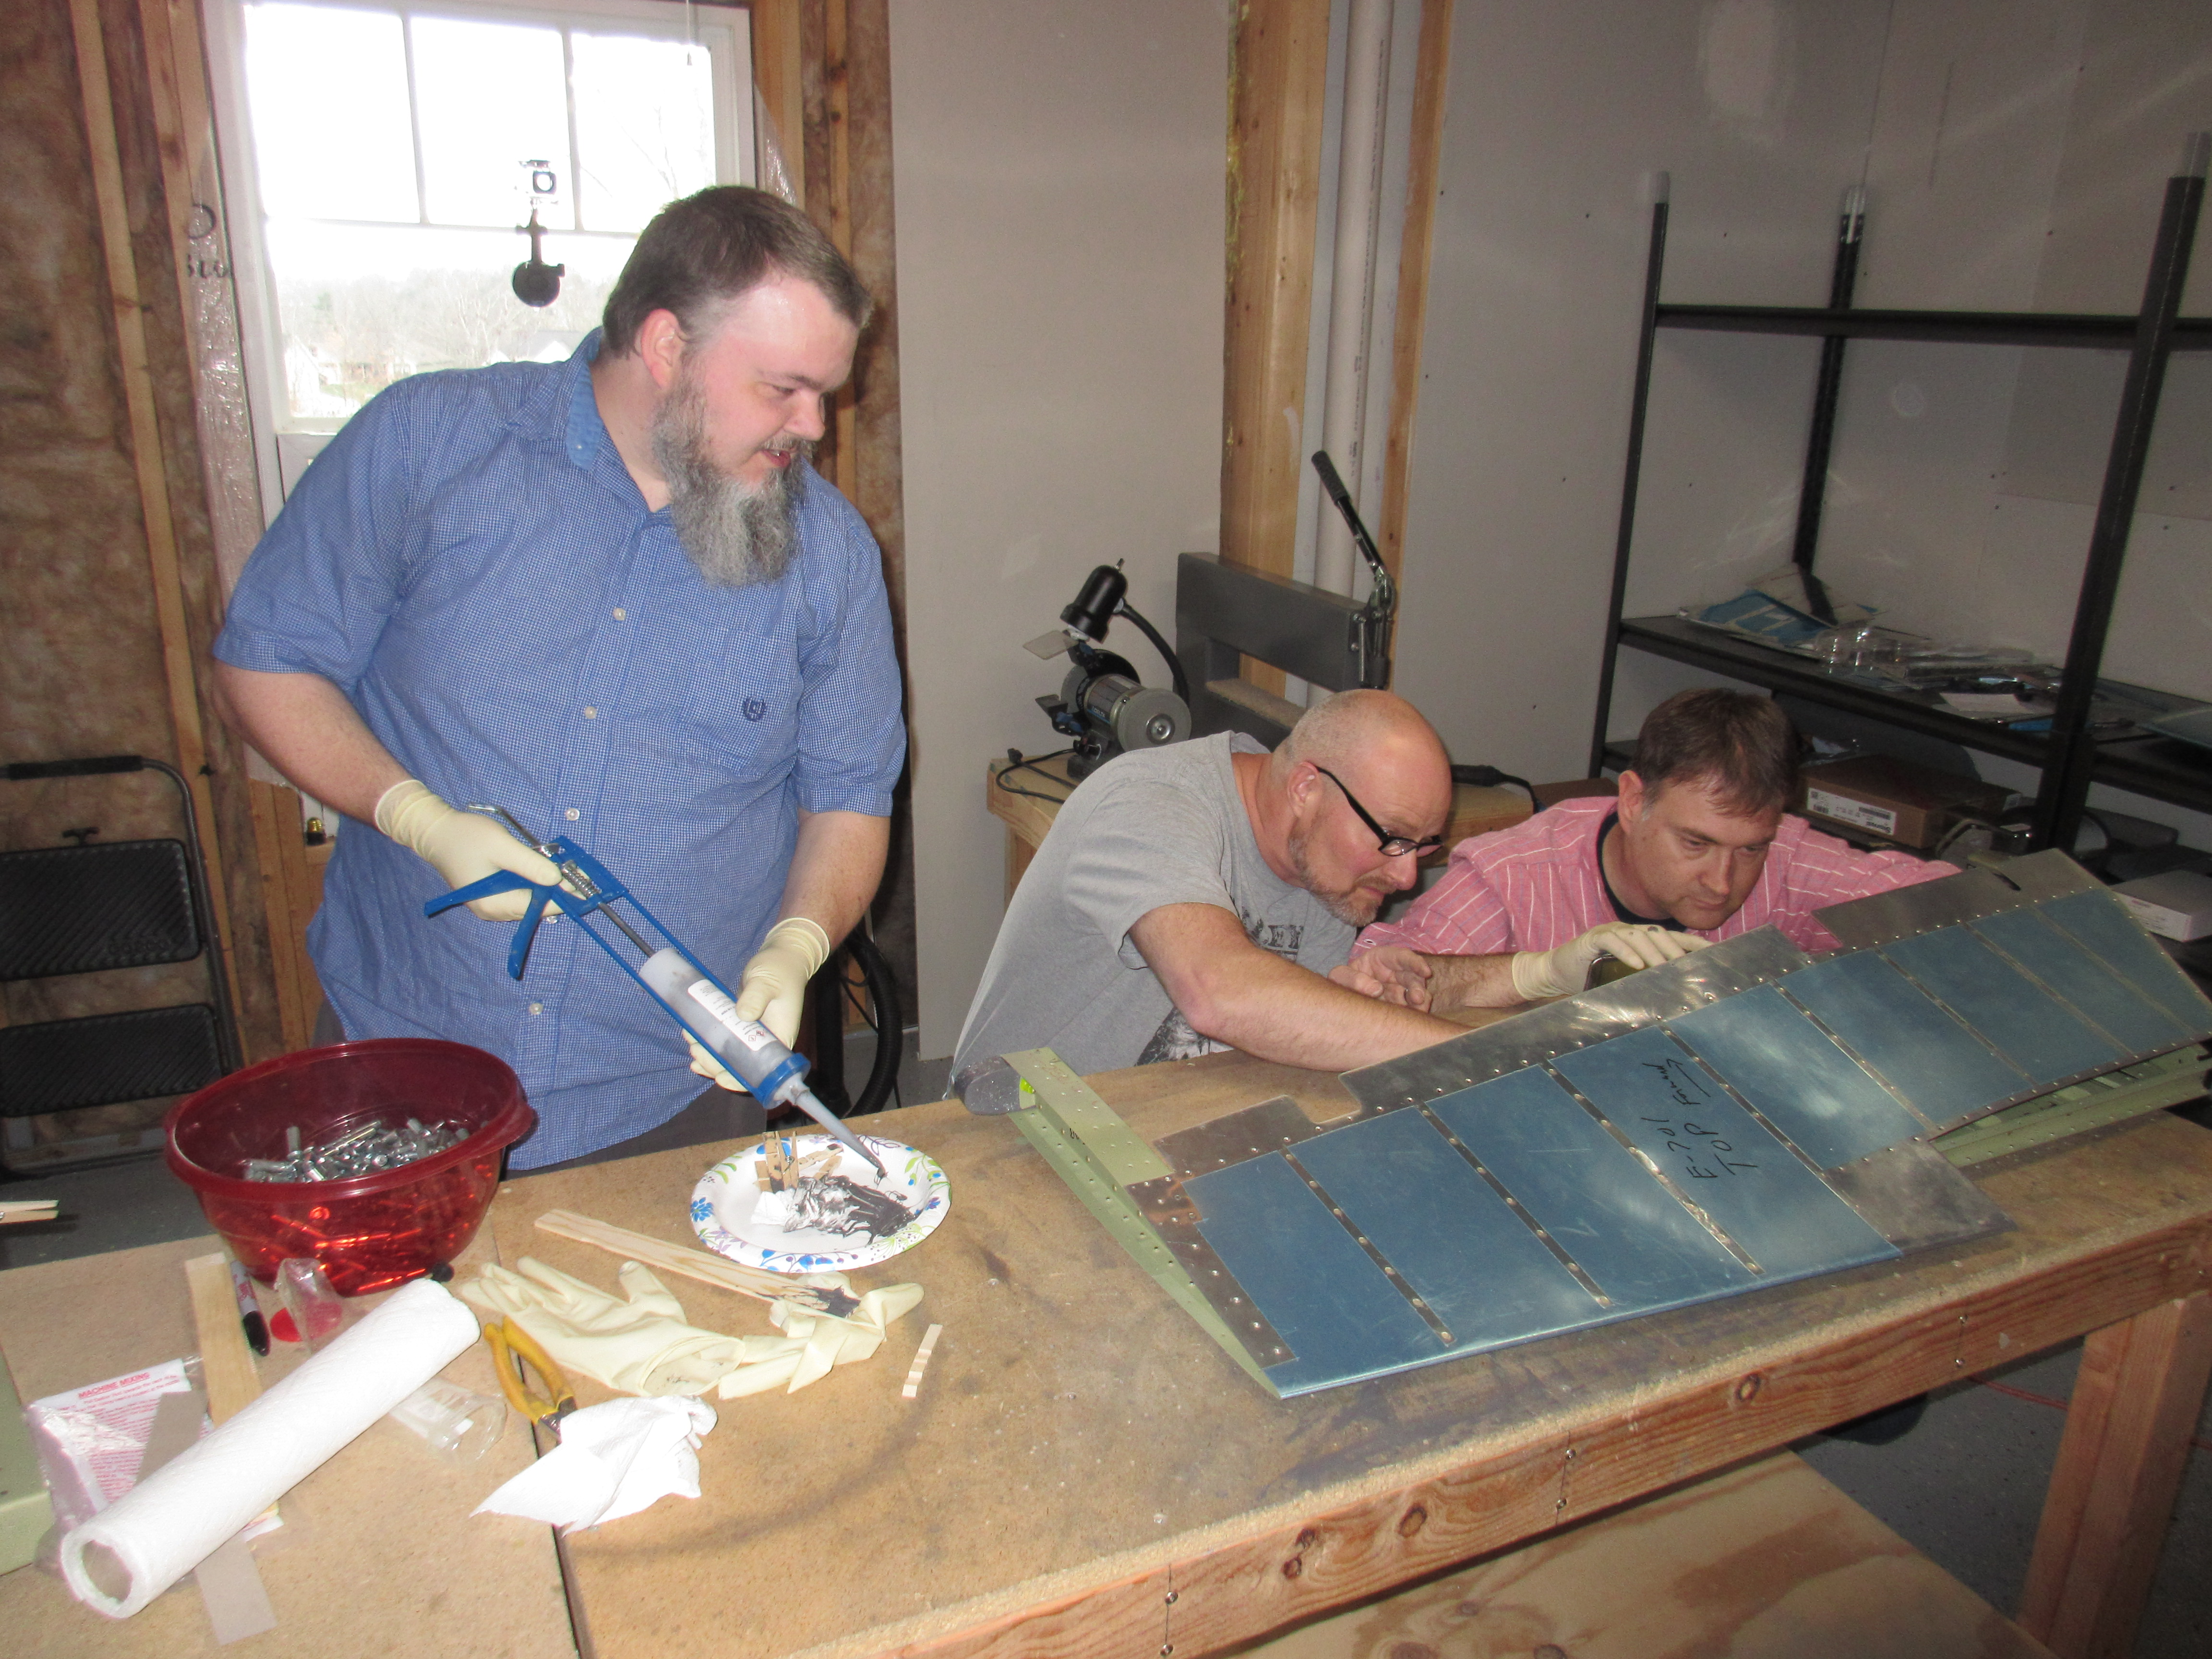
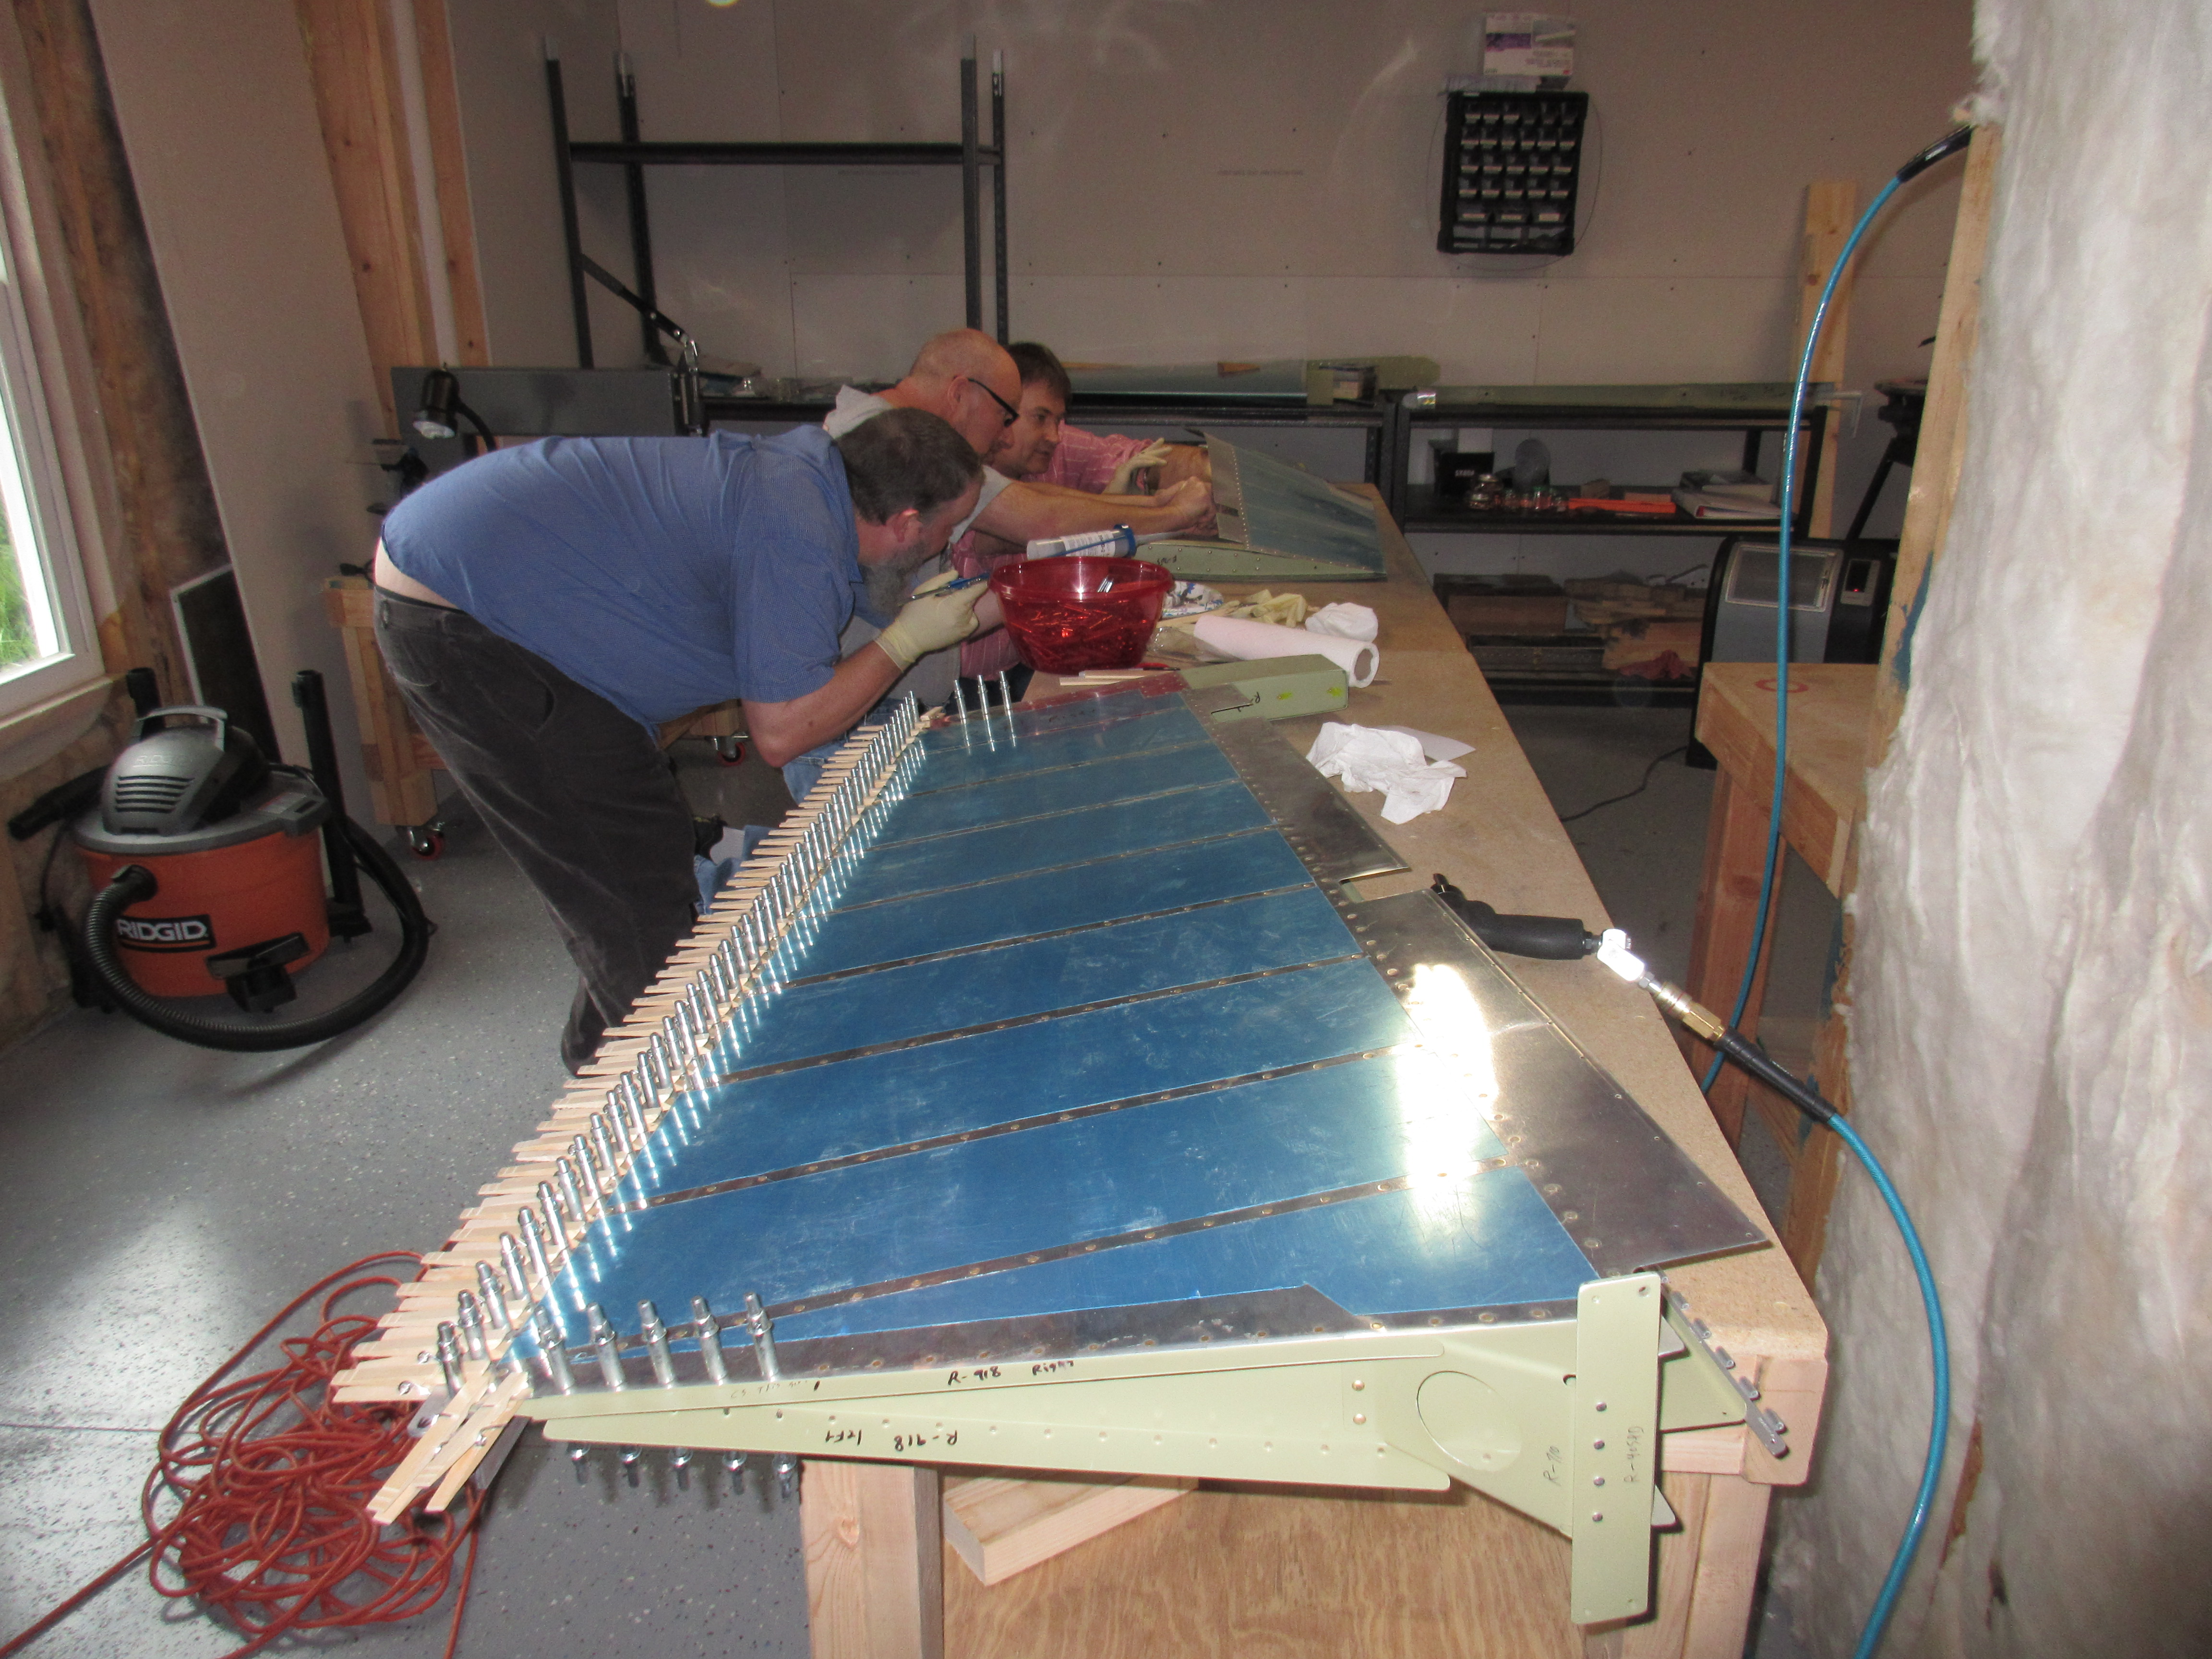
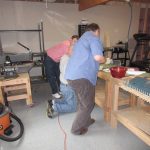
Today was actually a pretty fun day. I decided to wait on prosealing the rudder and elevators until I could do it all at once, and save on the cost of mixing up two different tubes for two different sessions. I also took advantage of having some helpful friends to come by and lend a hand at this super messy task, with the promise of feeding them some of Tammy’s awesome “Mississippi Mud Pot Roast” as payment for their help. One of the helpers has had experience with ProSeal before, so he gave us some tips on using this stuff. Best tip: Double glove….
We started out by un-cleocing the trailing edge of the rudder so we could get the trailing edge wedge out and clean it. I used acetone to wipe down the wedge as well a both sides of the skin to make sure we get good adhesion, although after using ProSeal, I think this stuff would stick to anything. Once we had the parts cleaned off, we mixed up the tube of Proseal. This was actually a neat setup, and the rods made it pretty easy to get it all mixed up and proportioned correctly. Then we gooped on a decent portion on the trailing edge wedge, and smeared it to a nice even consistency using the pieces of some clothespins.
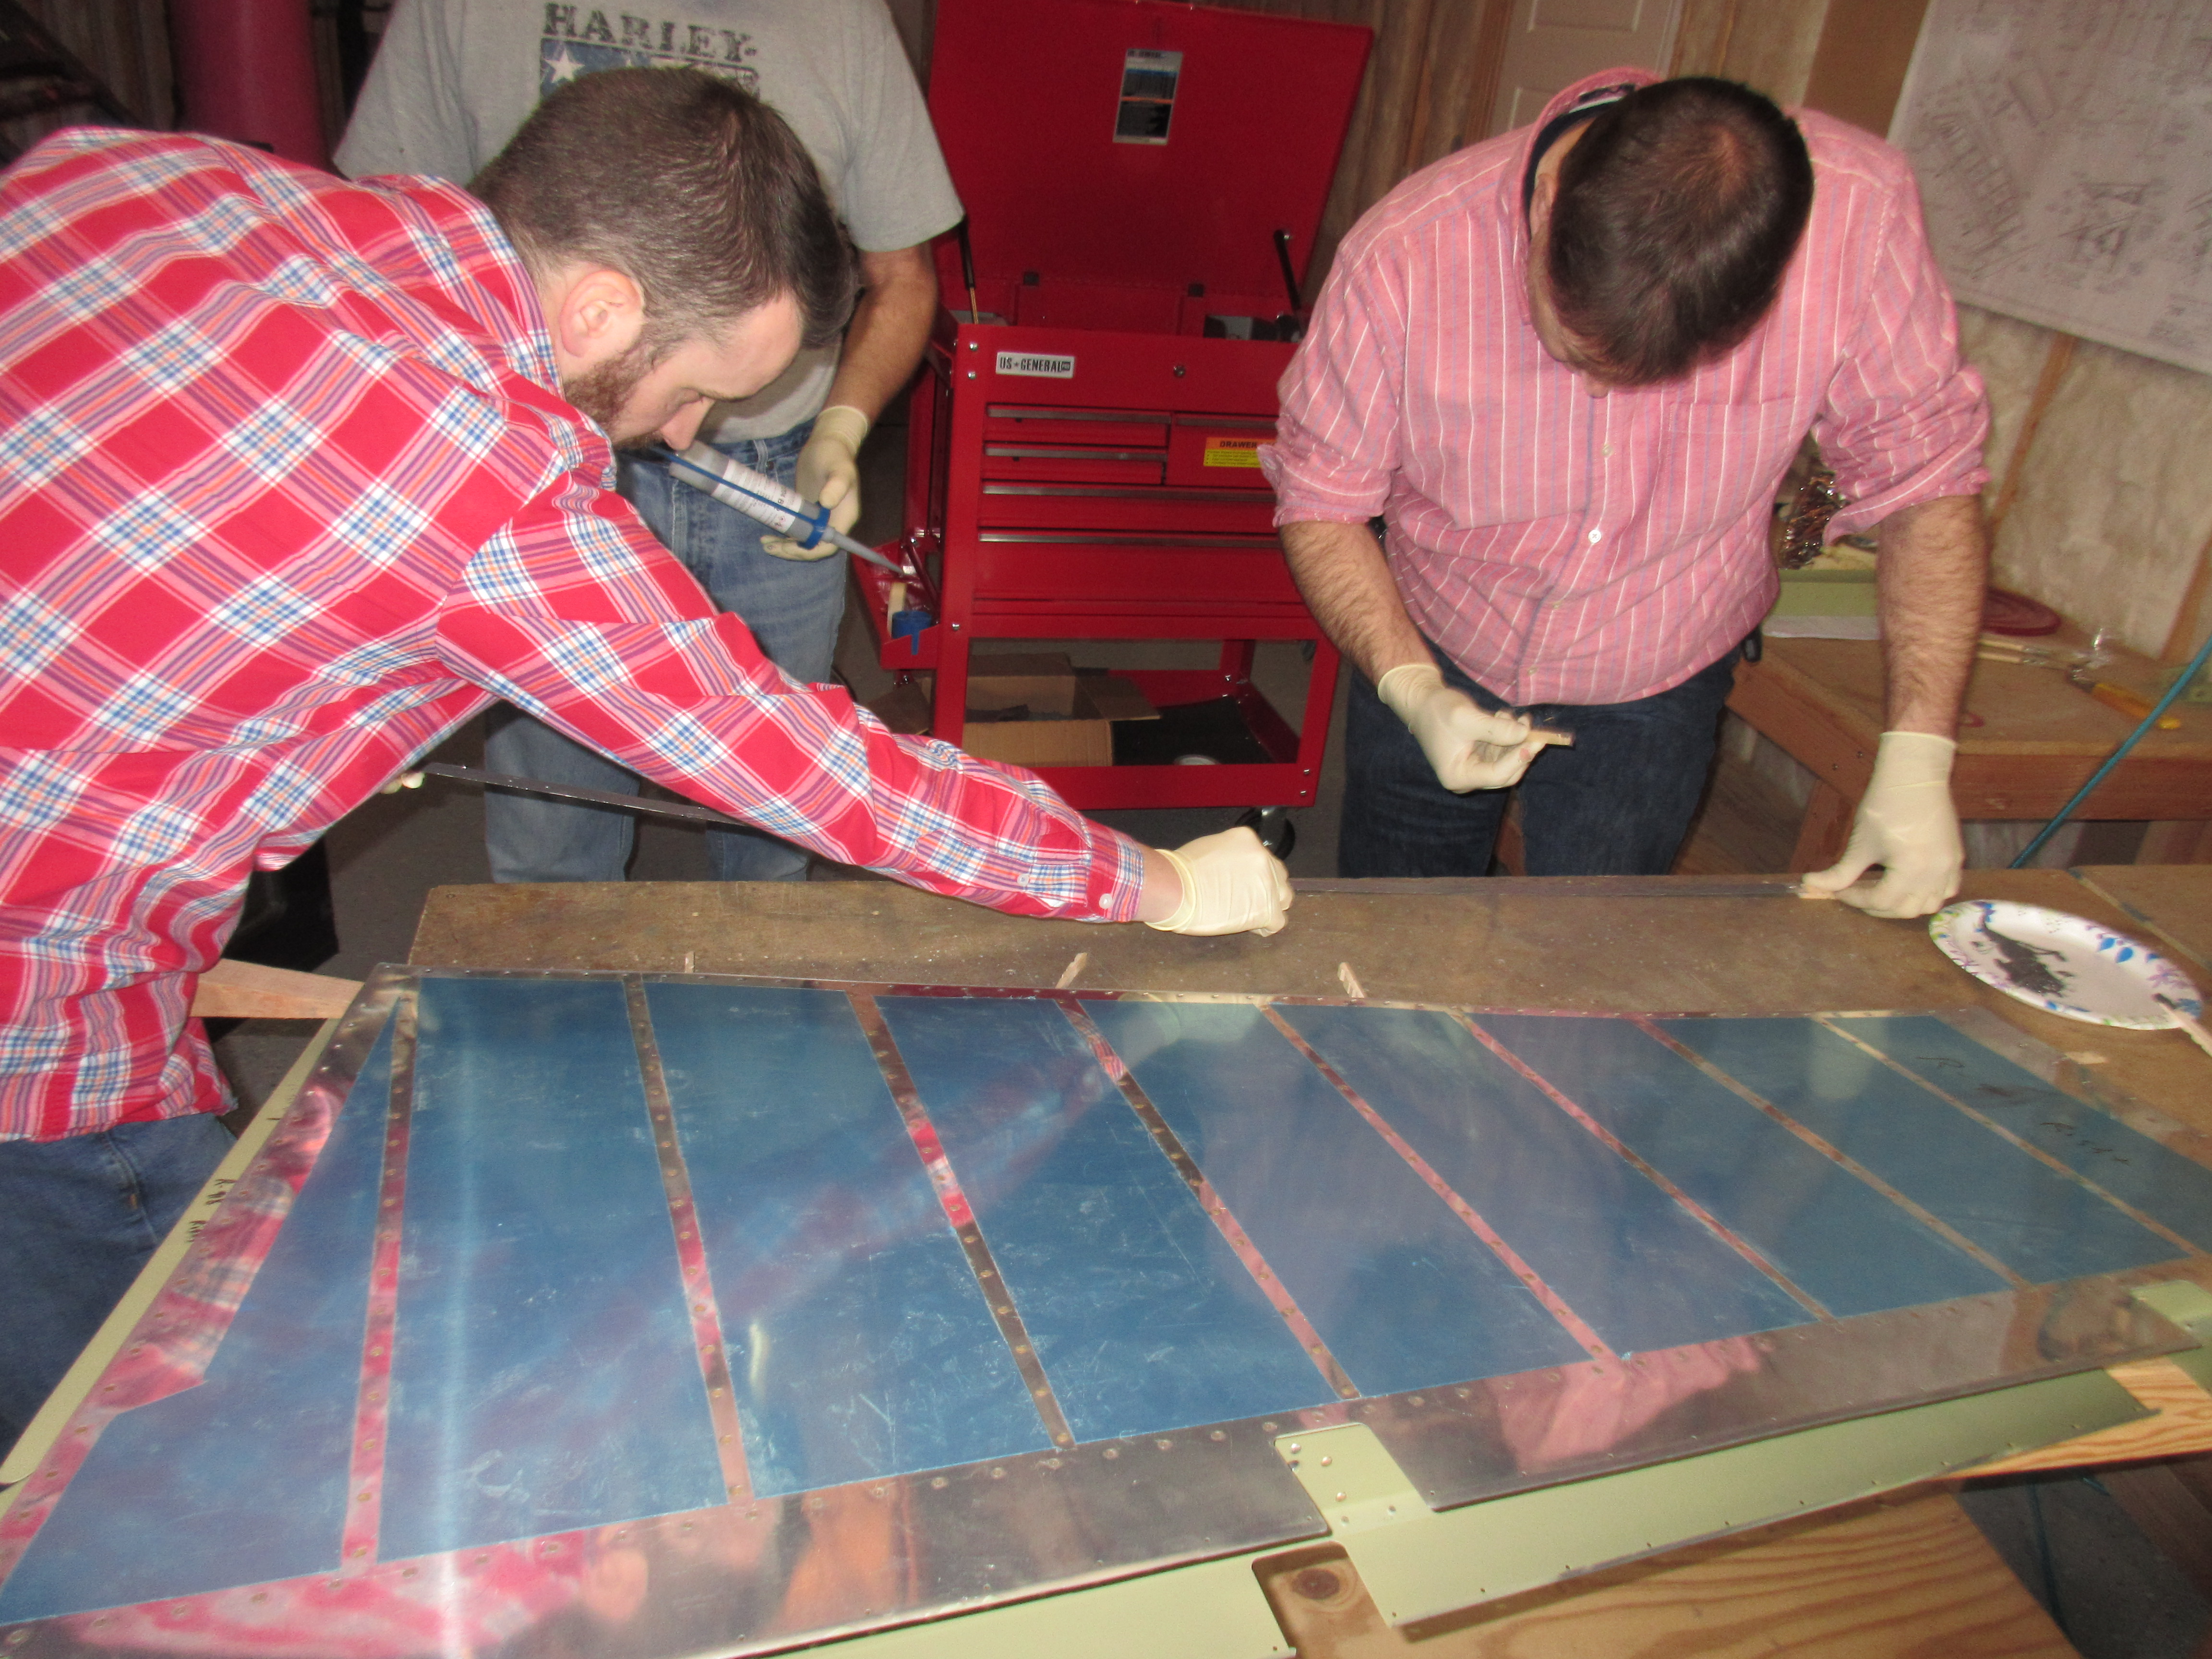
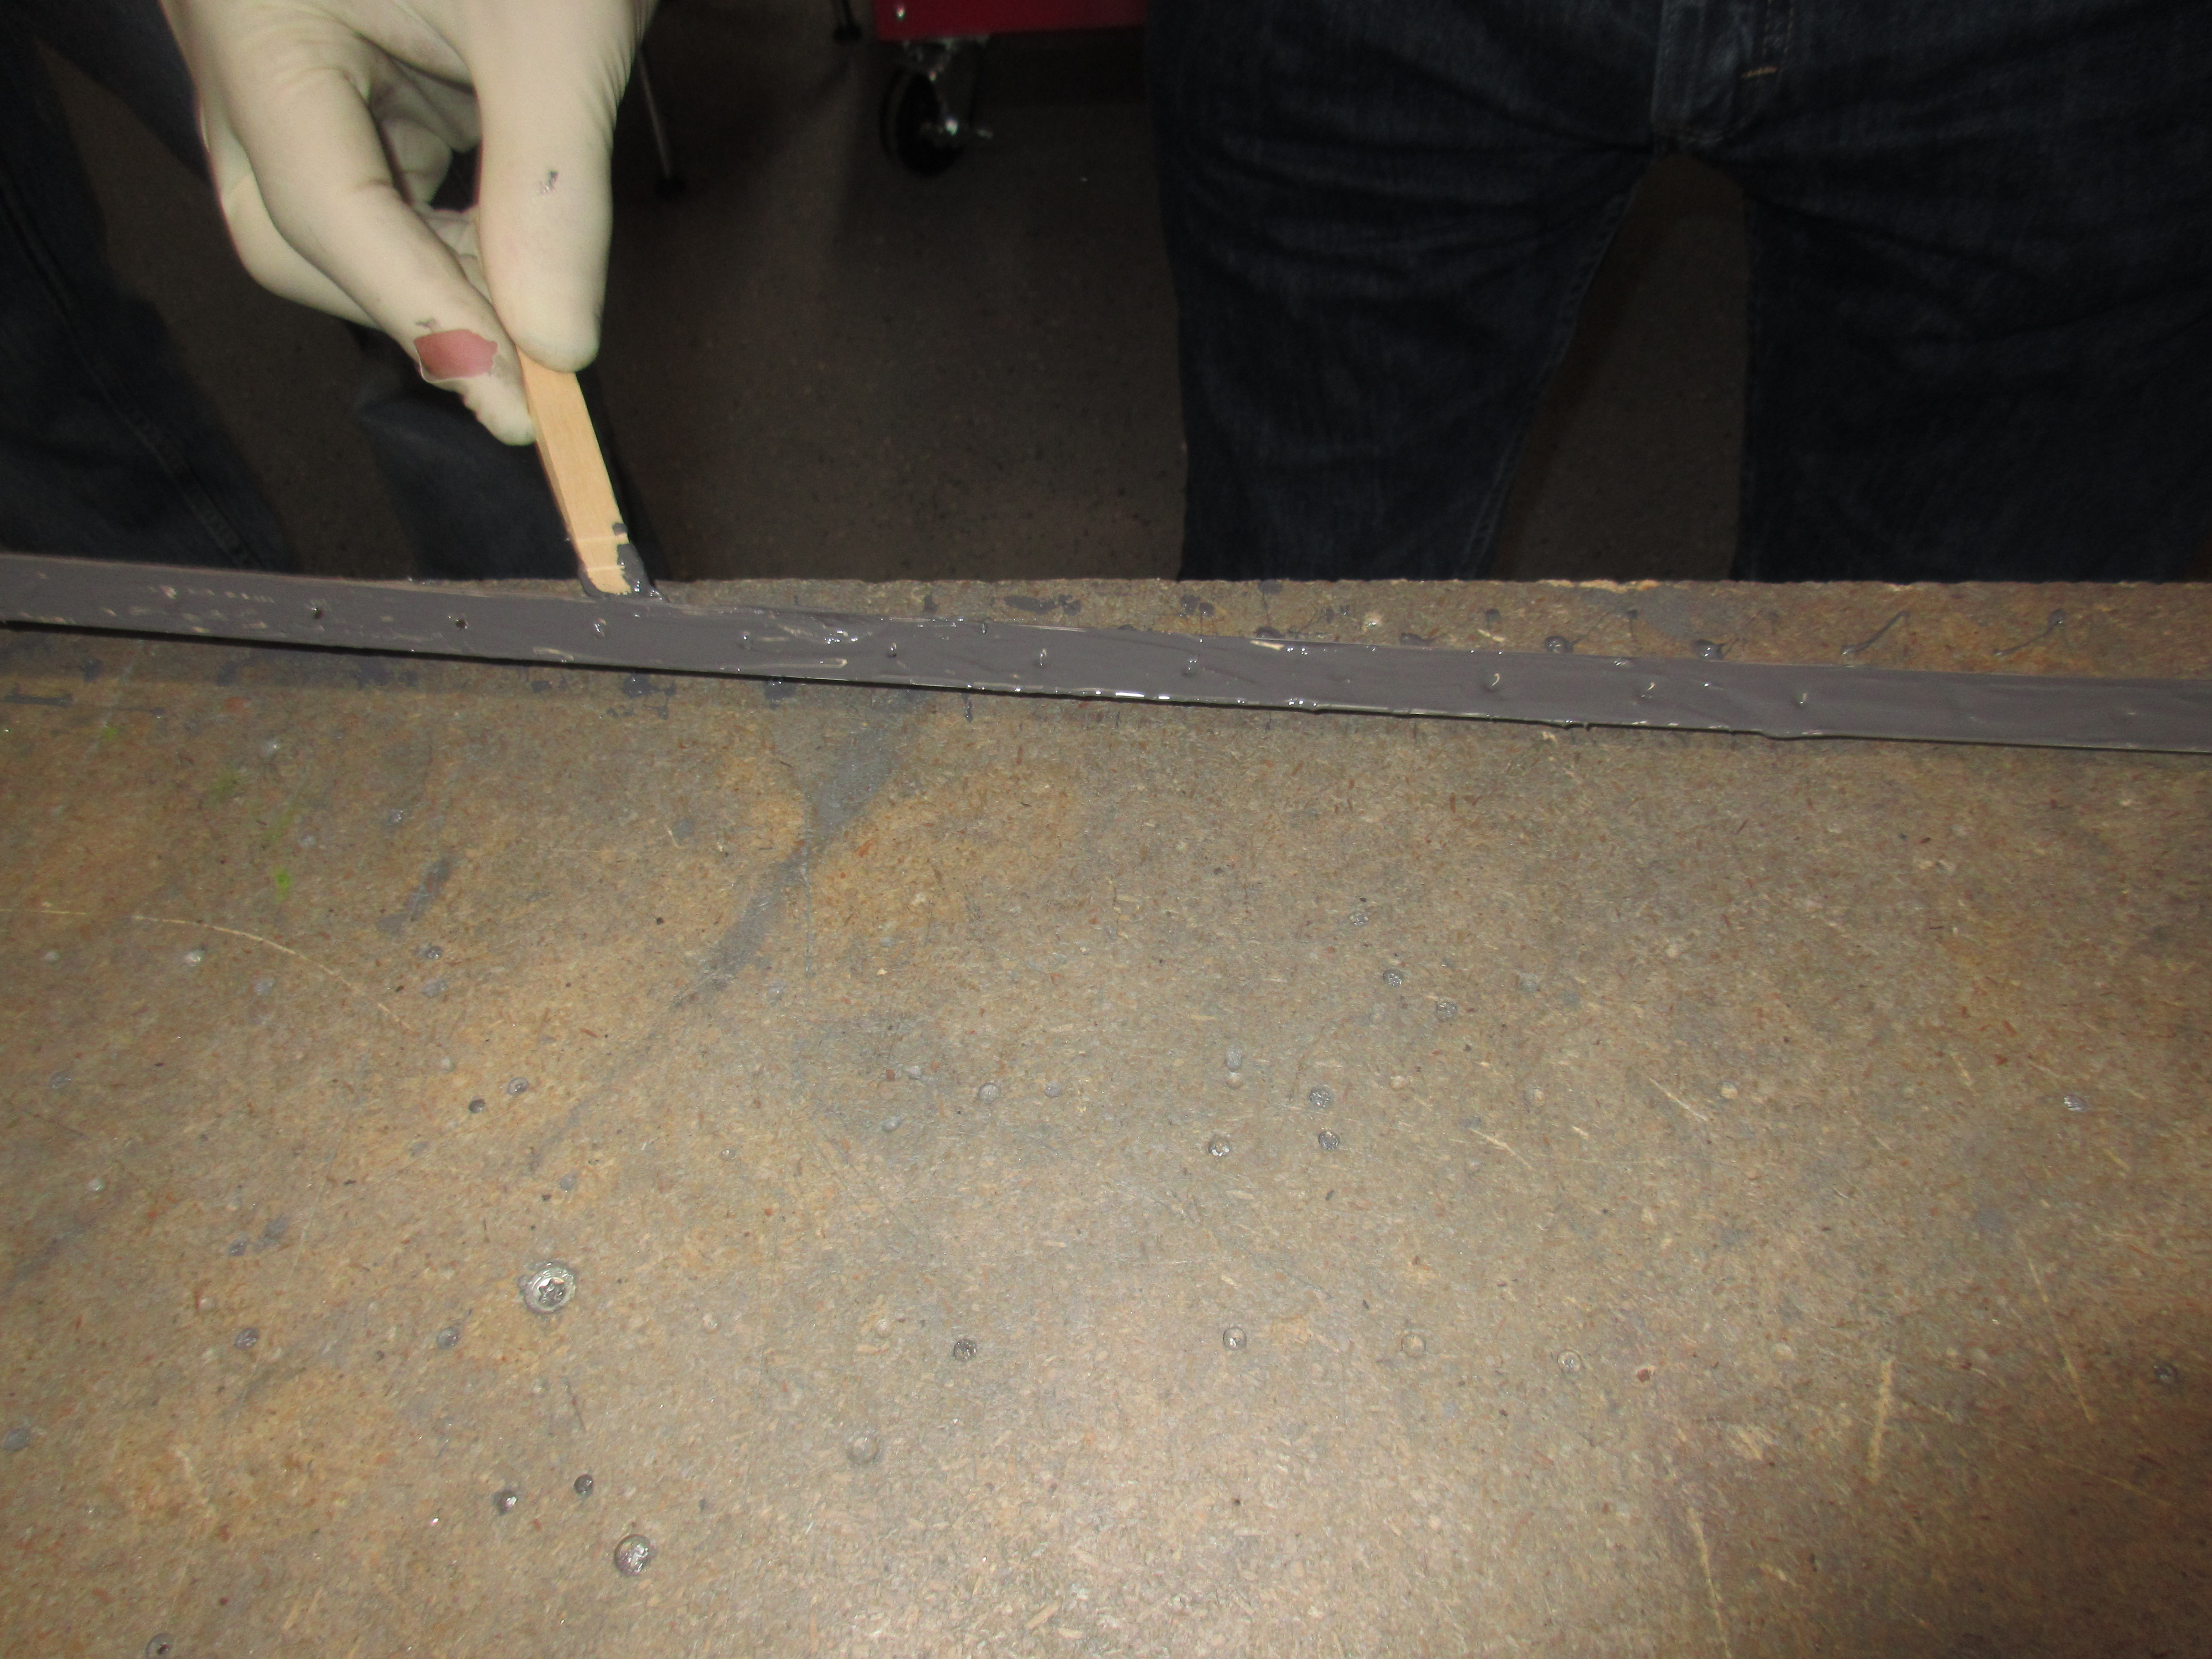
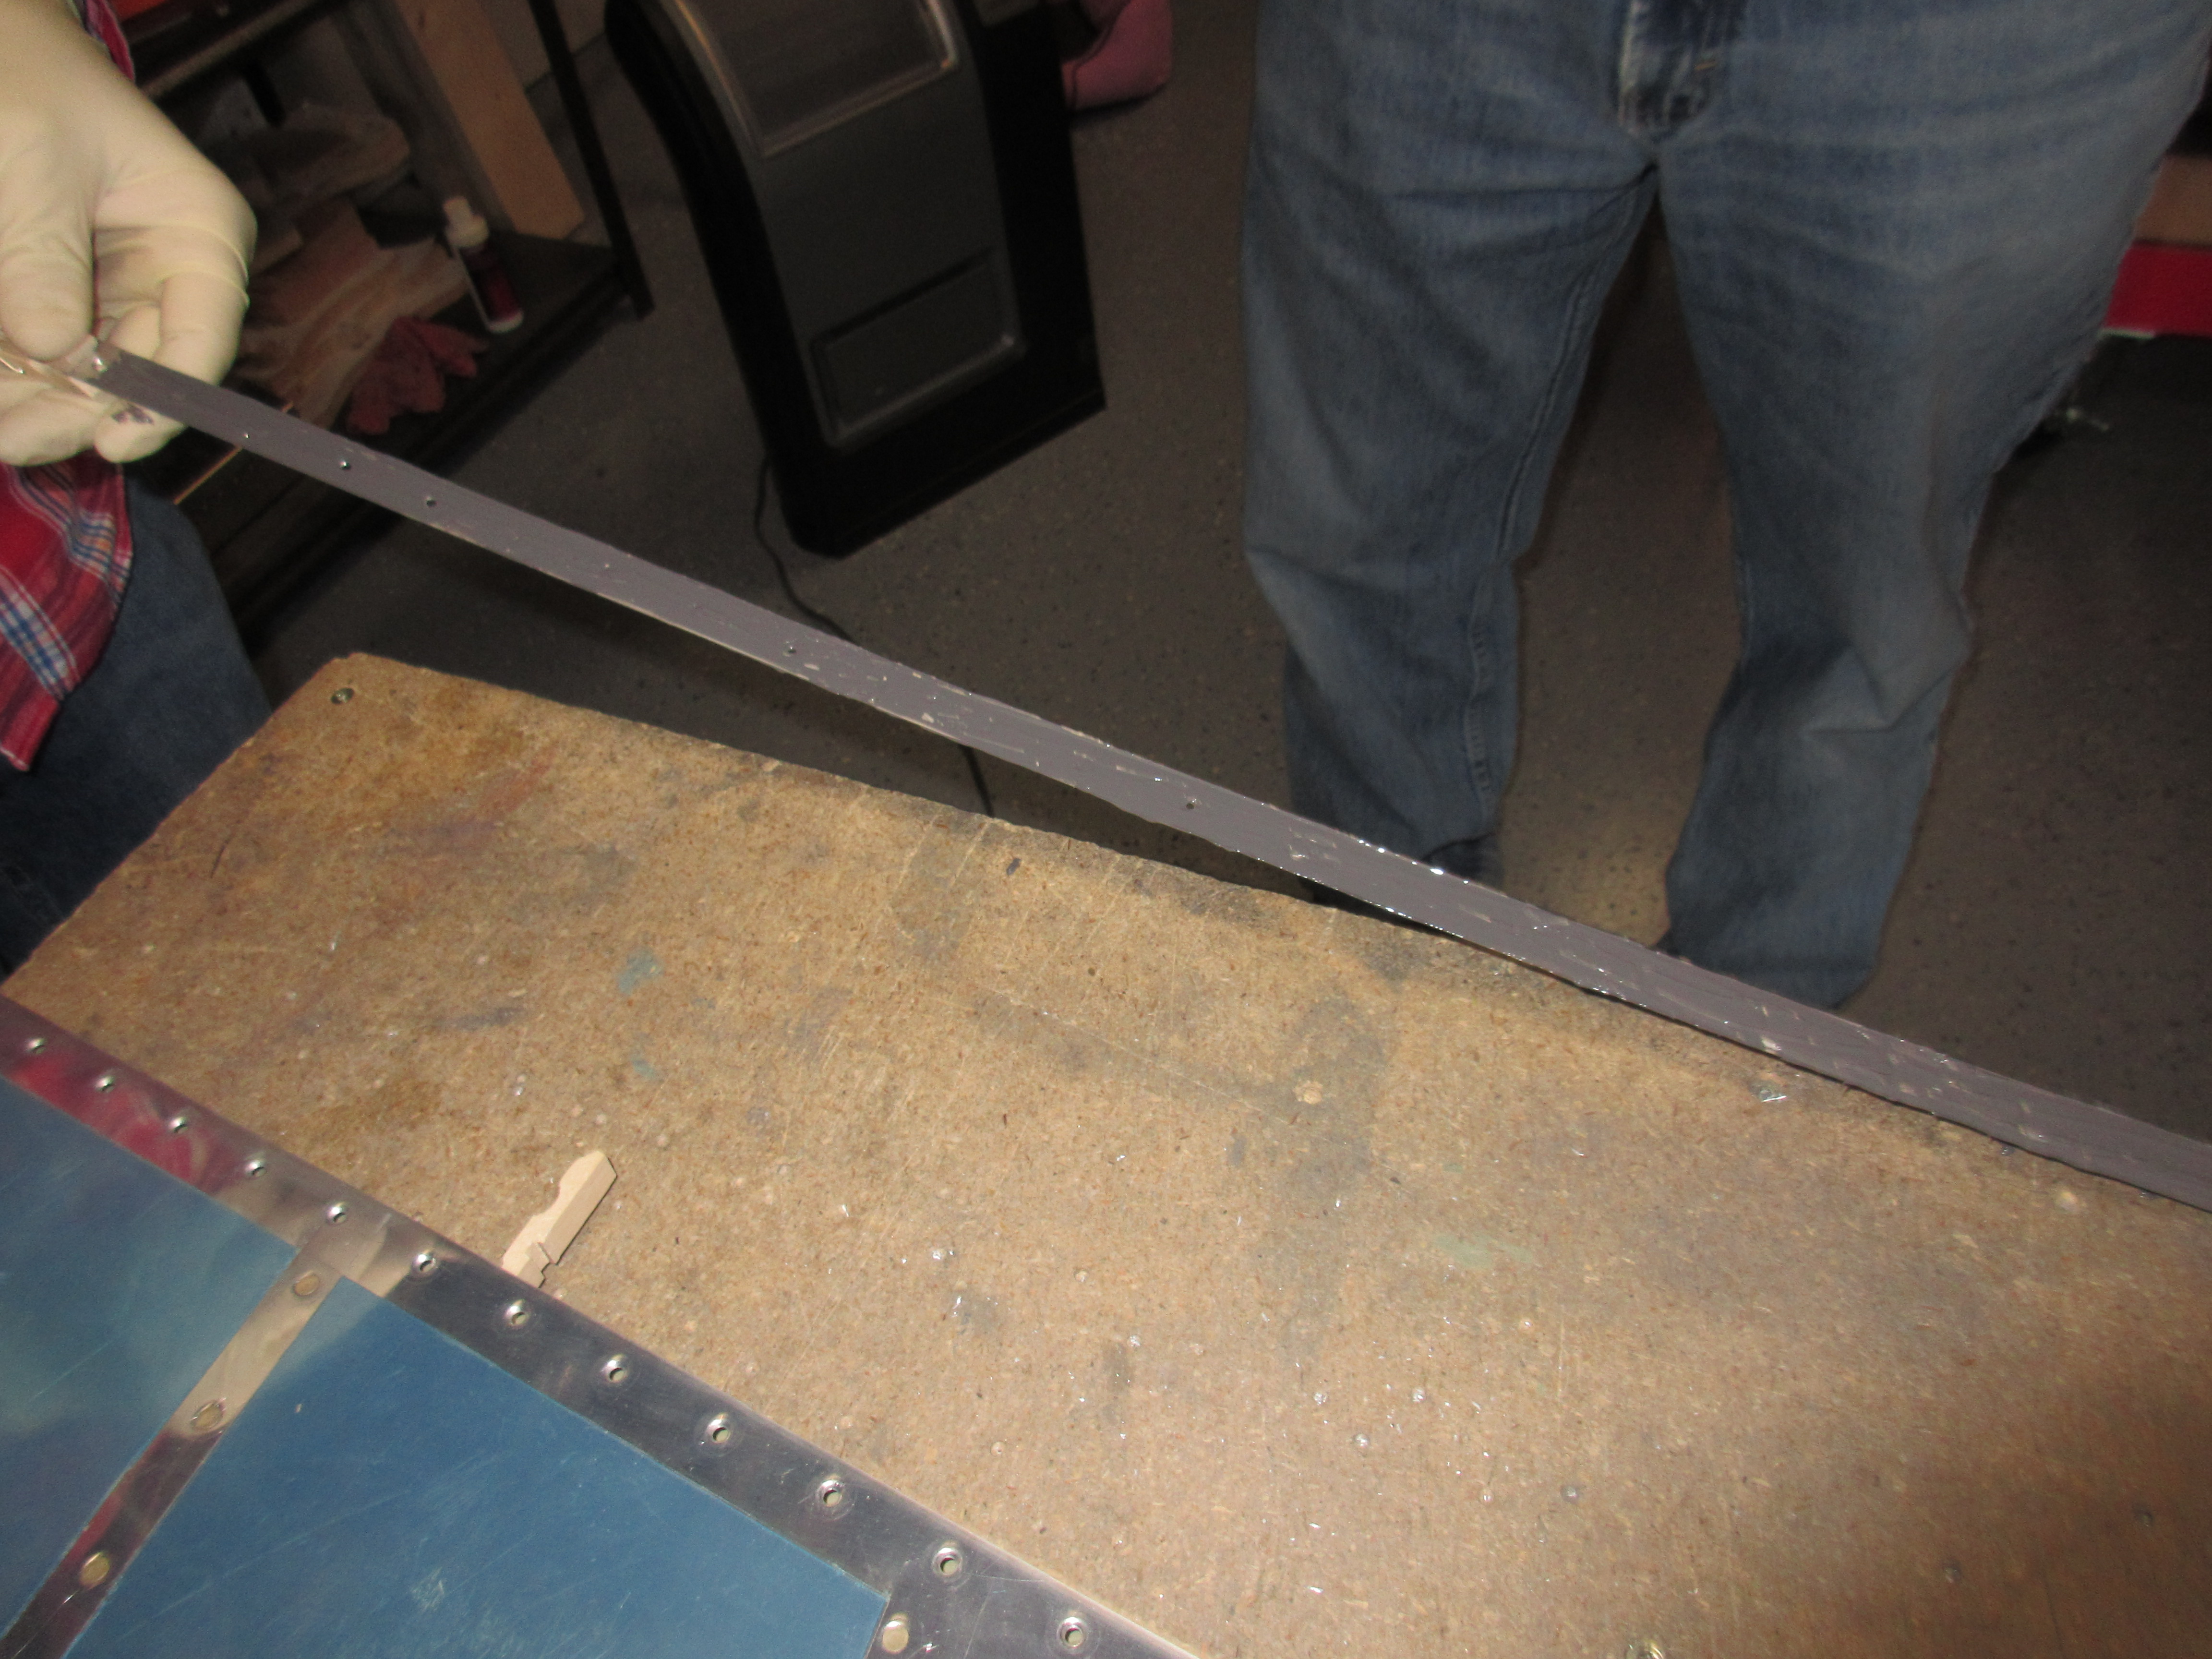
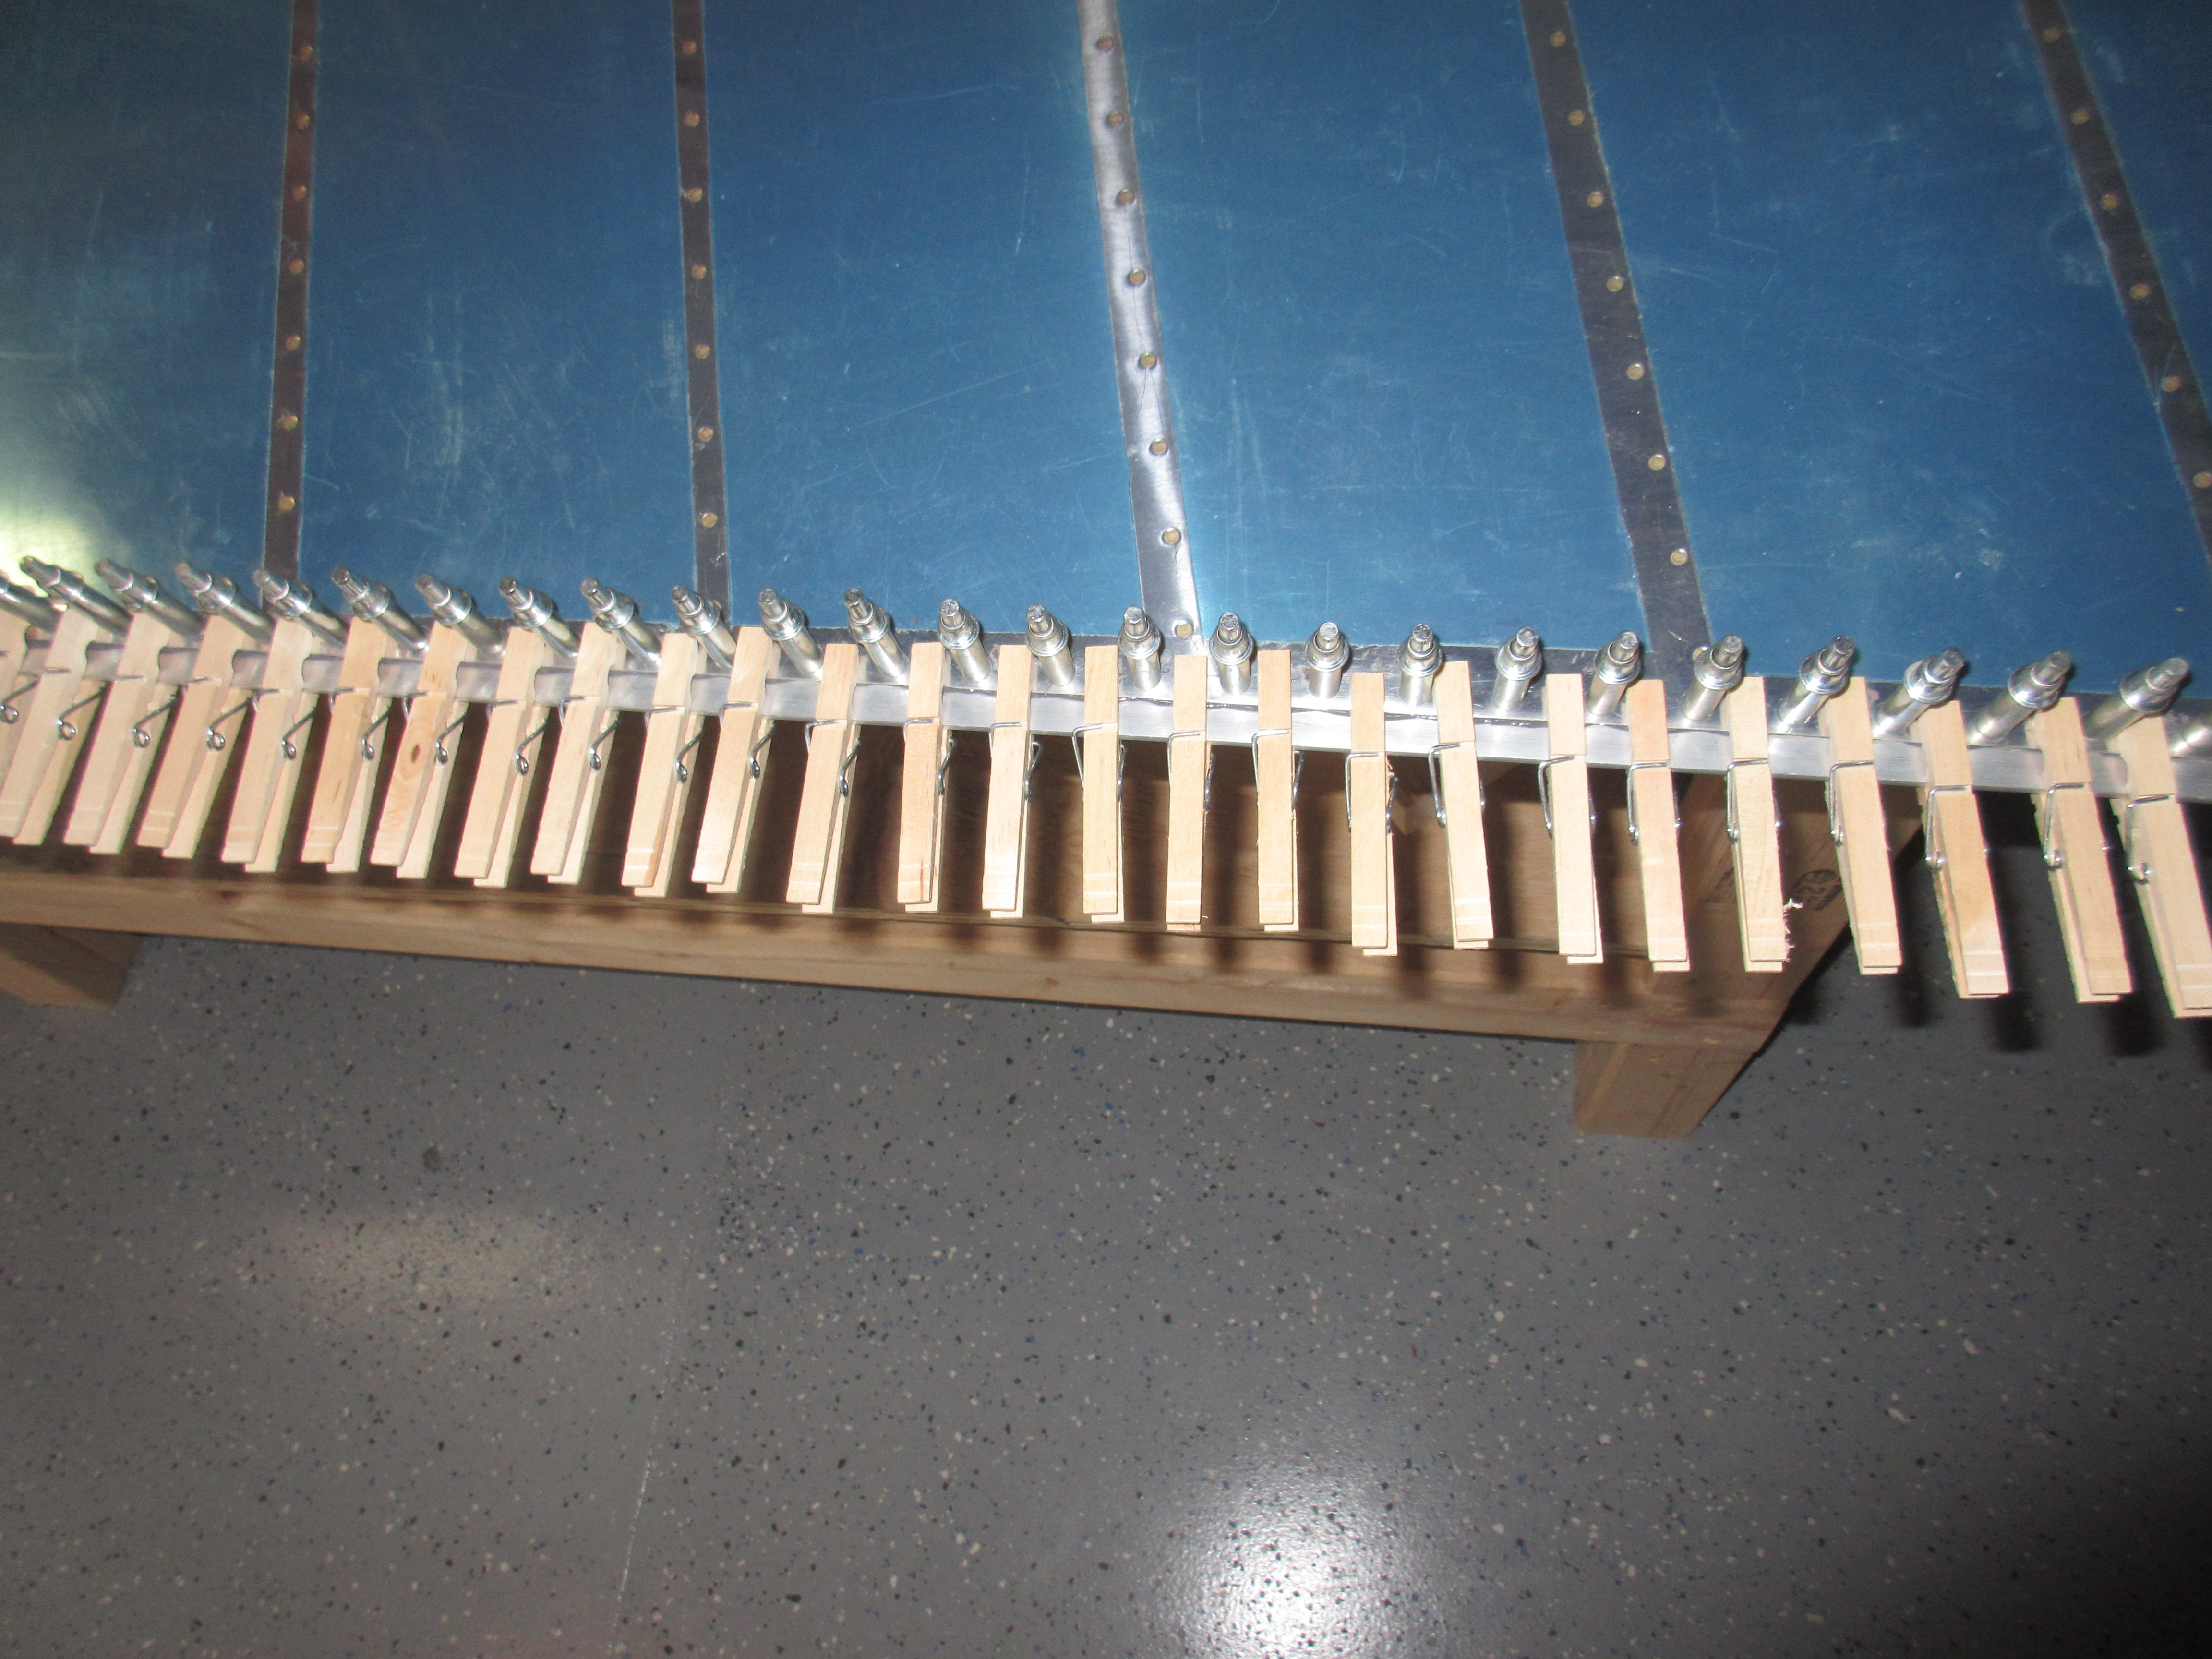
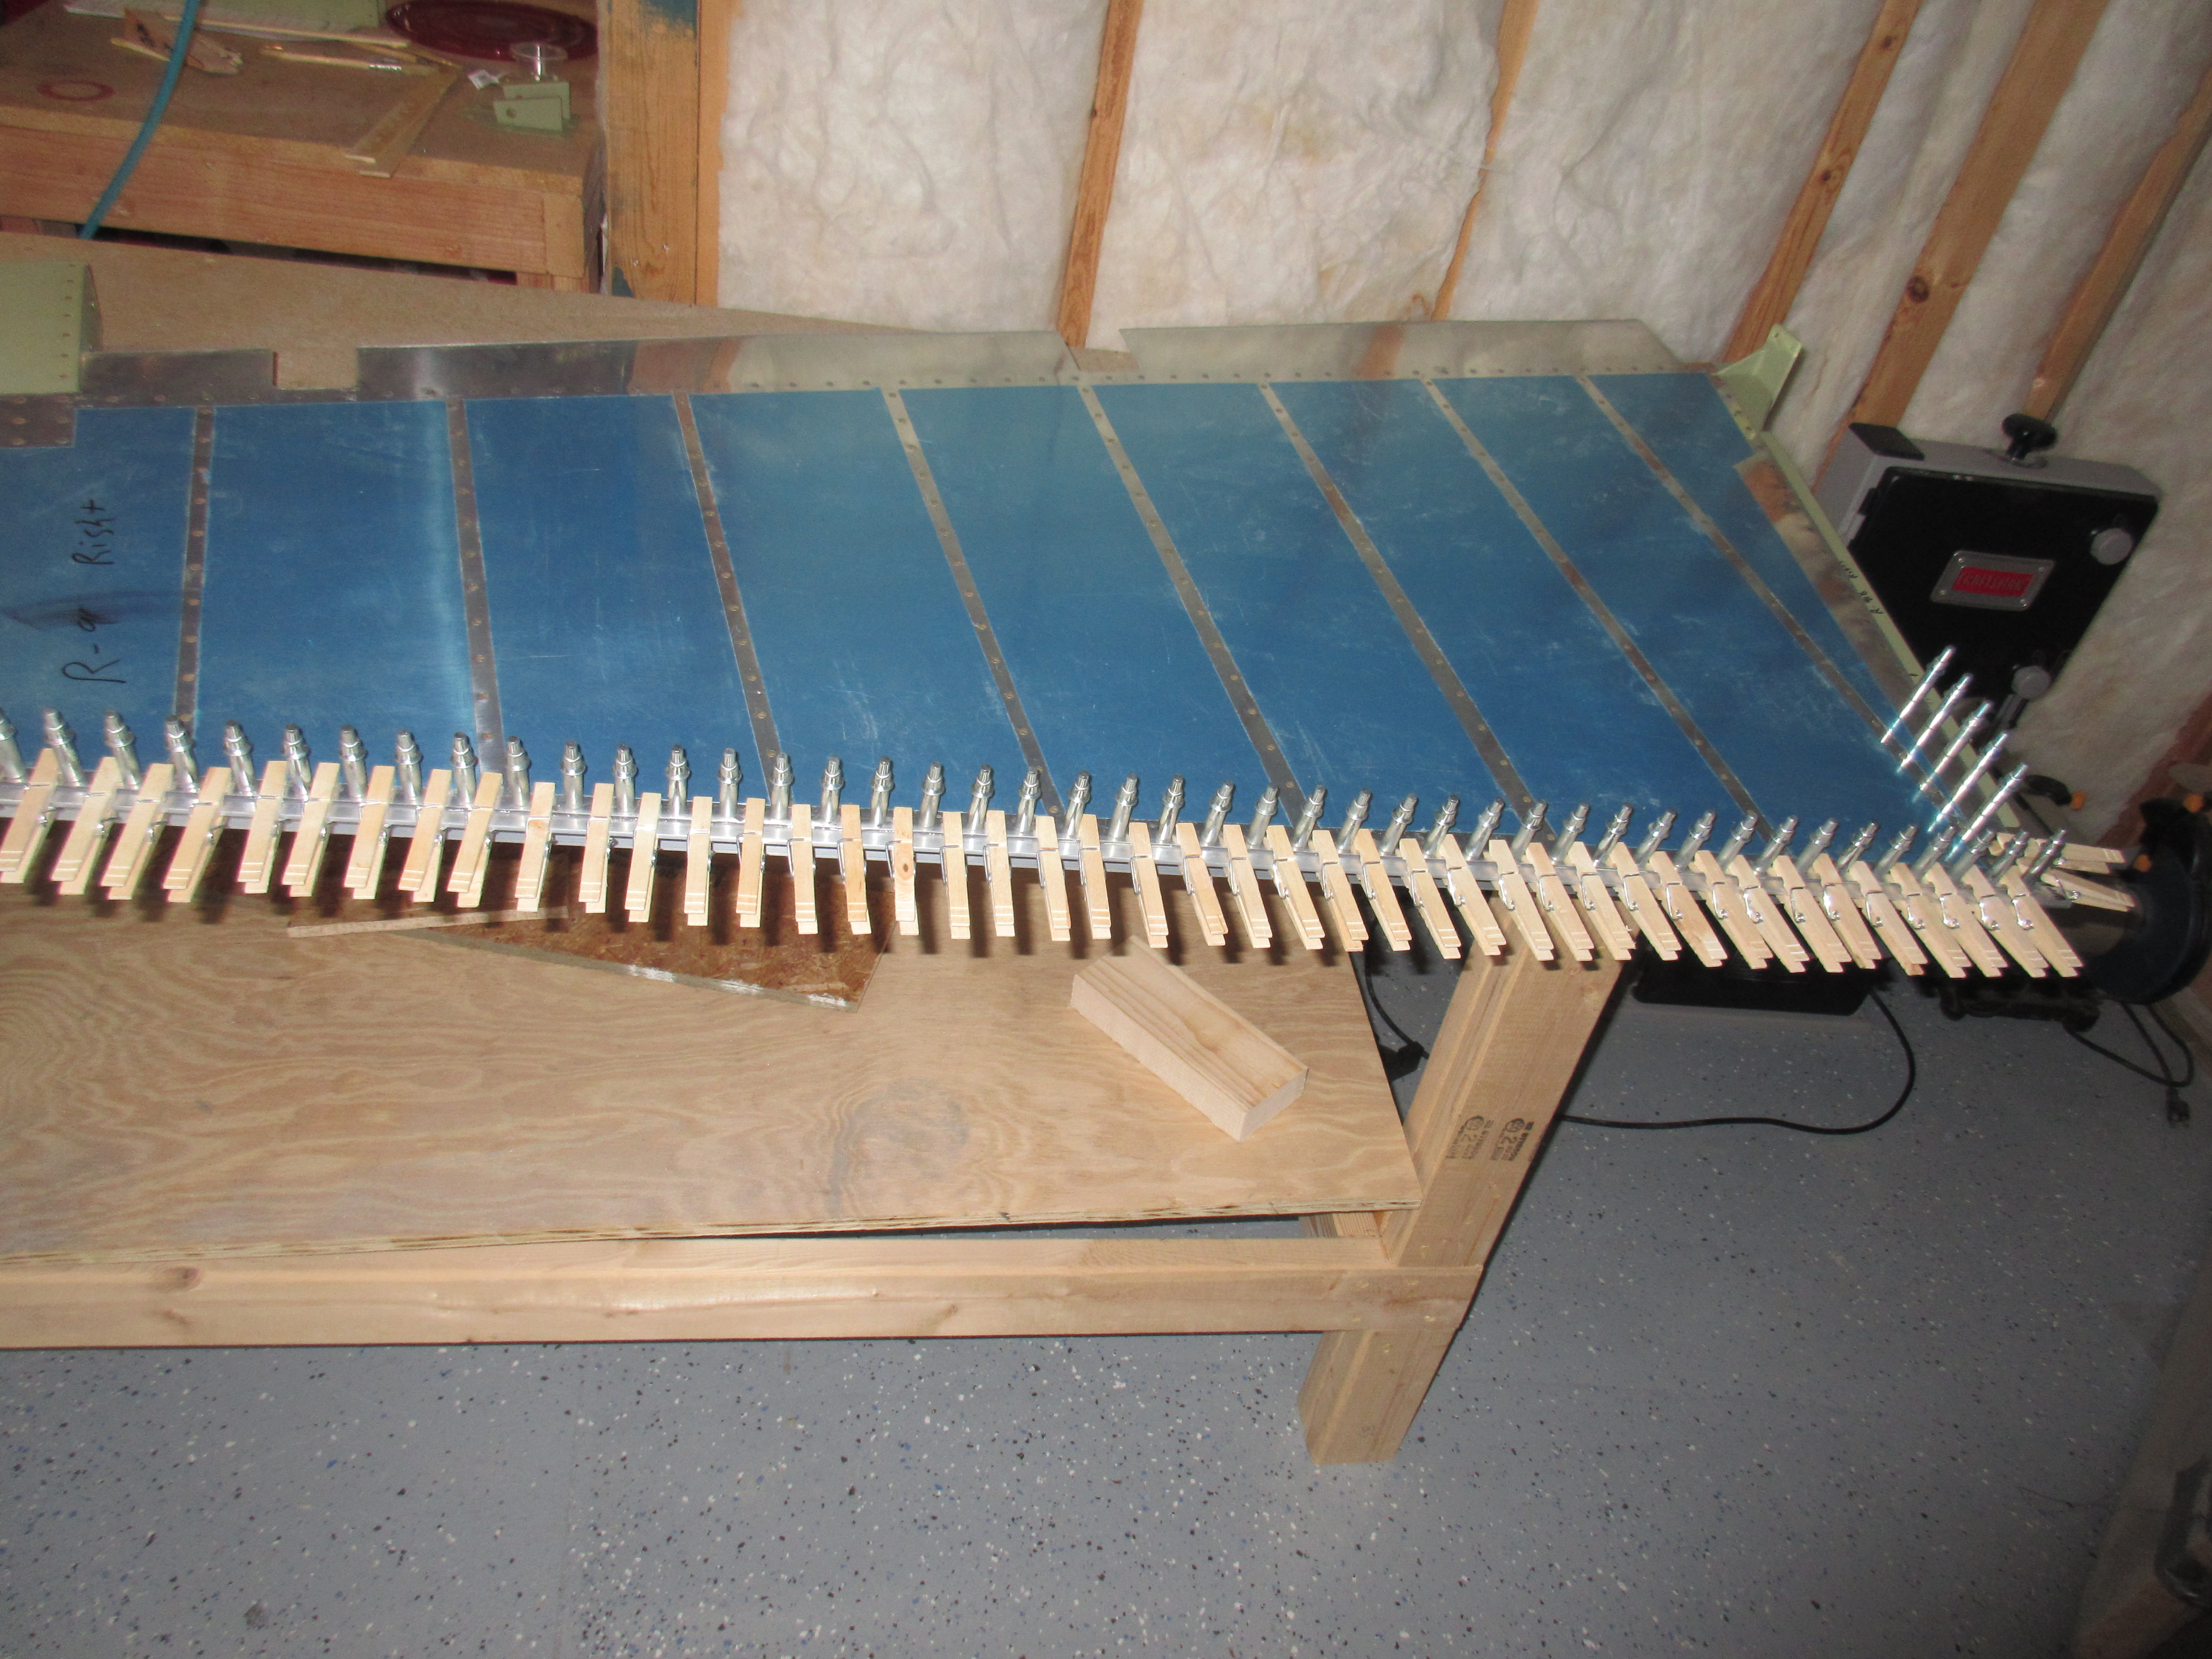
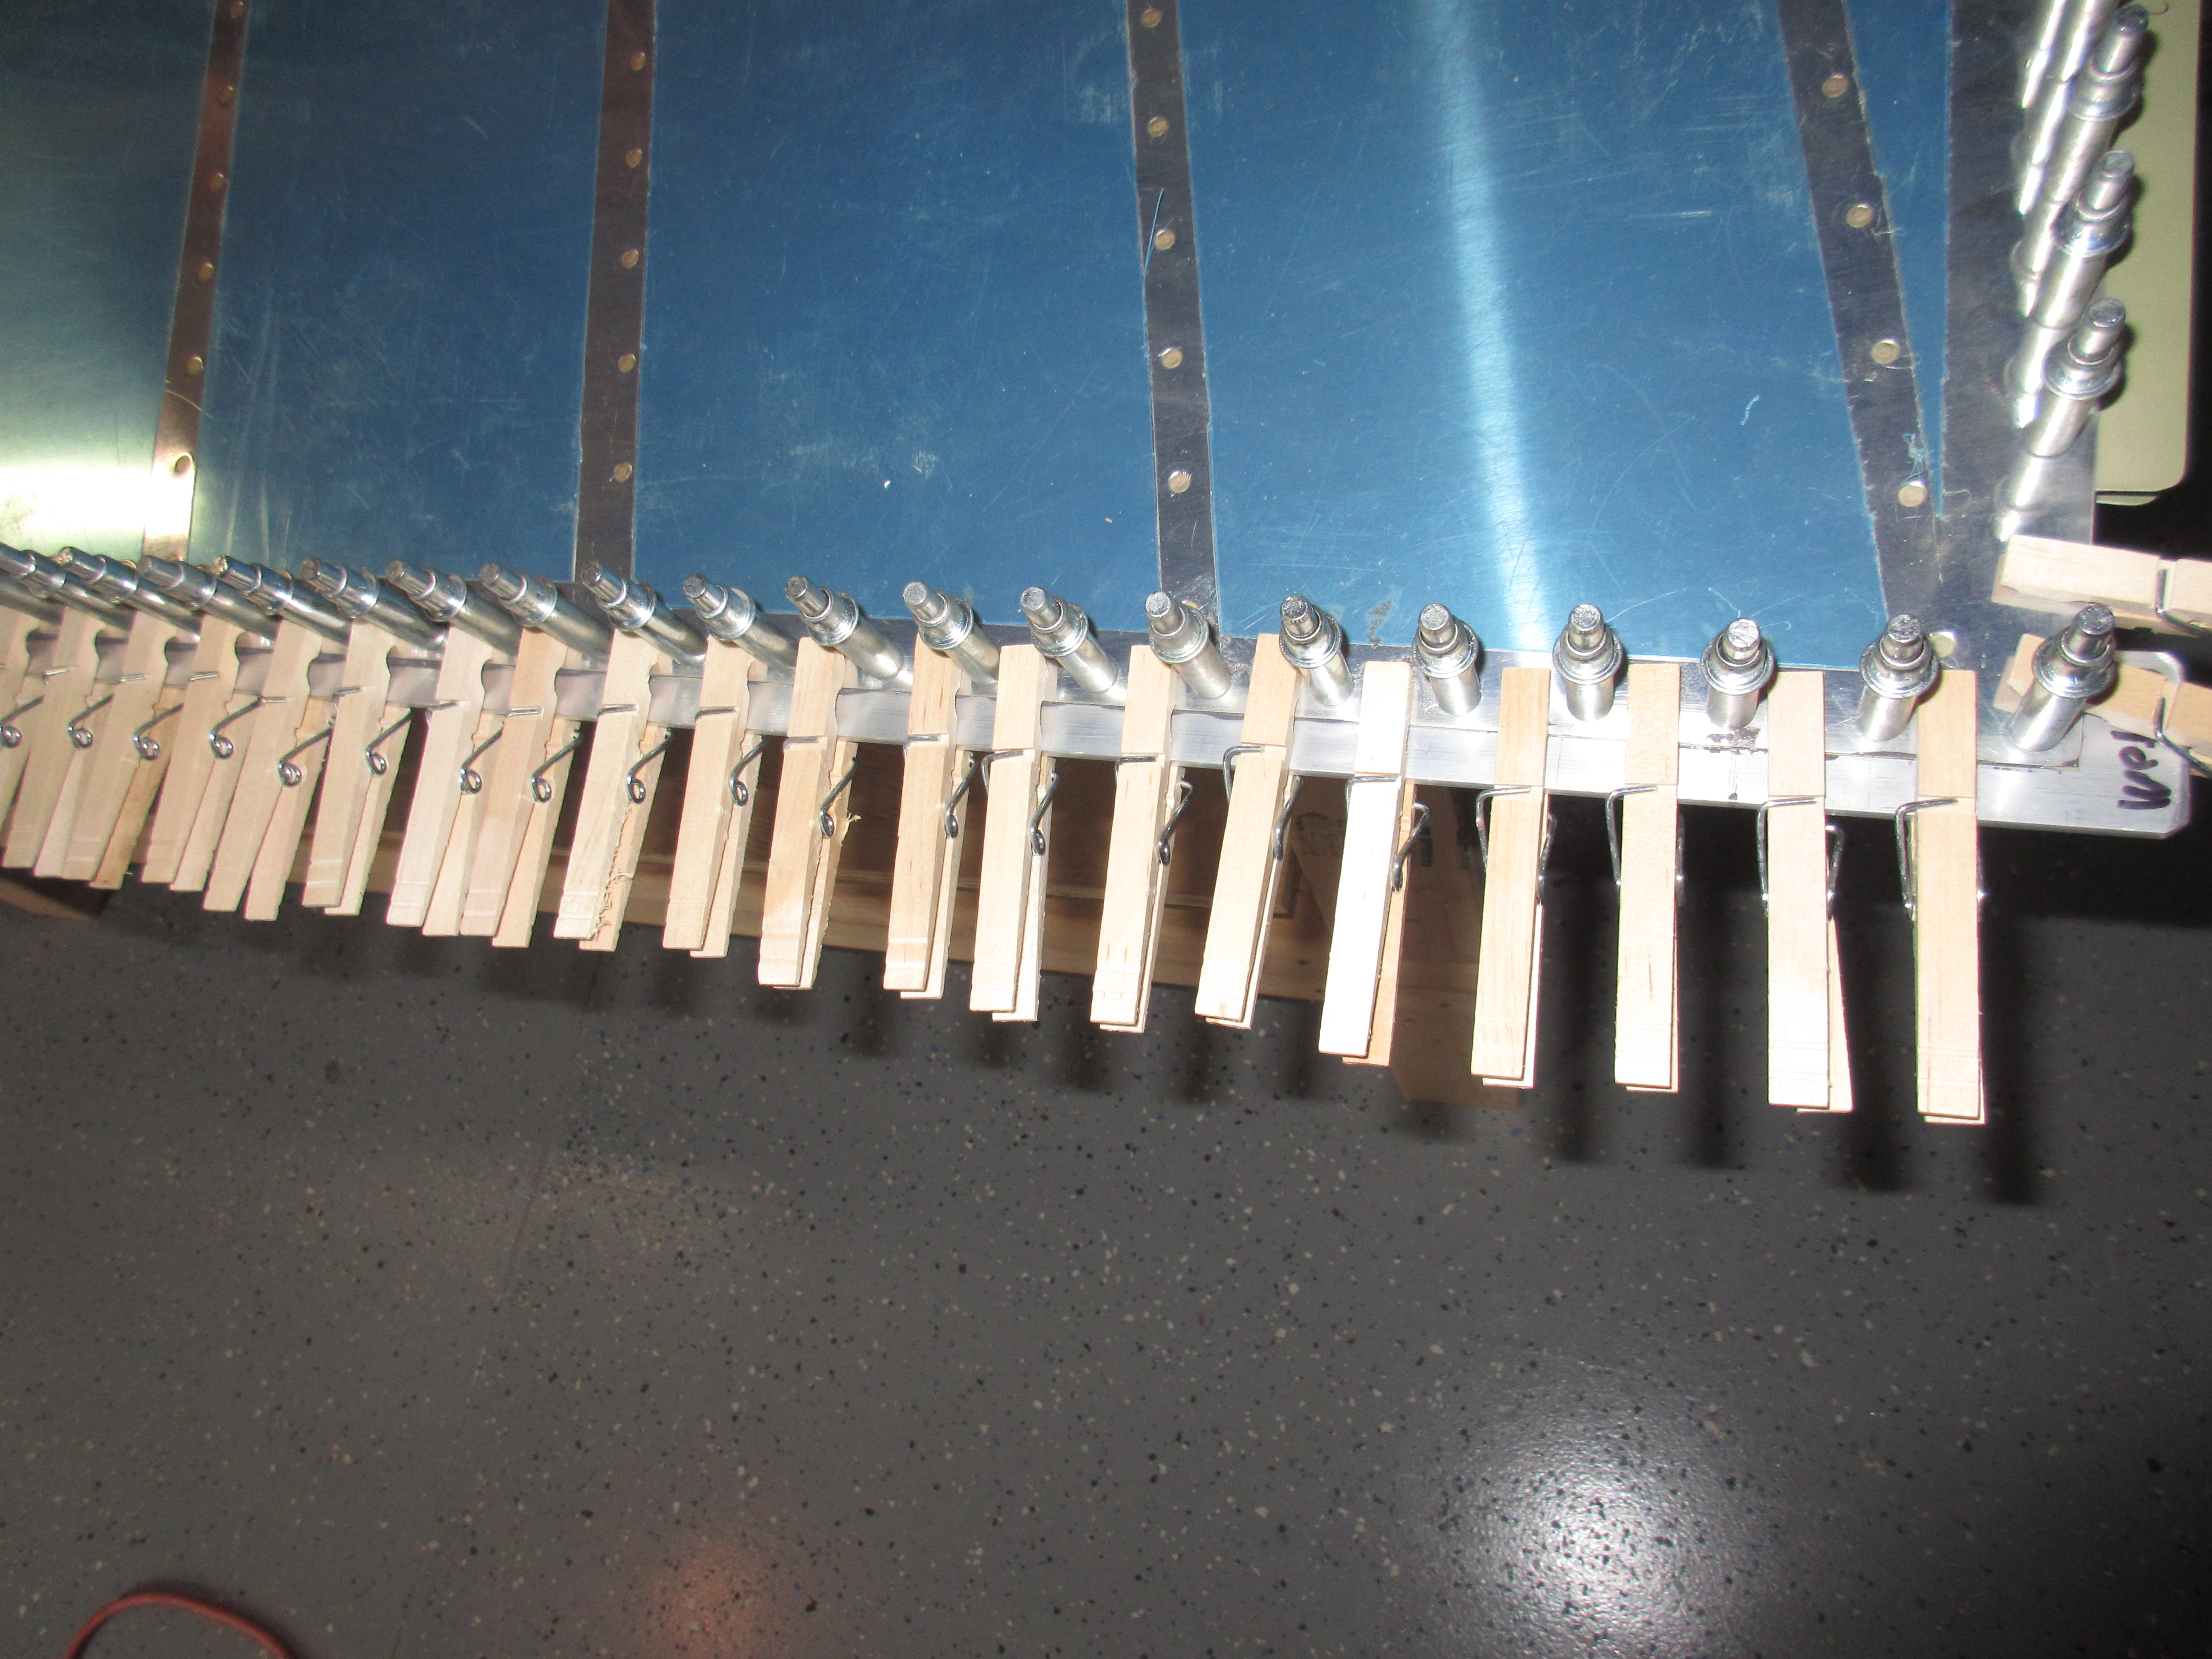
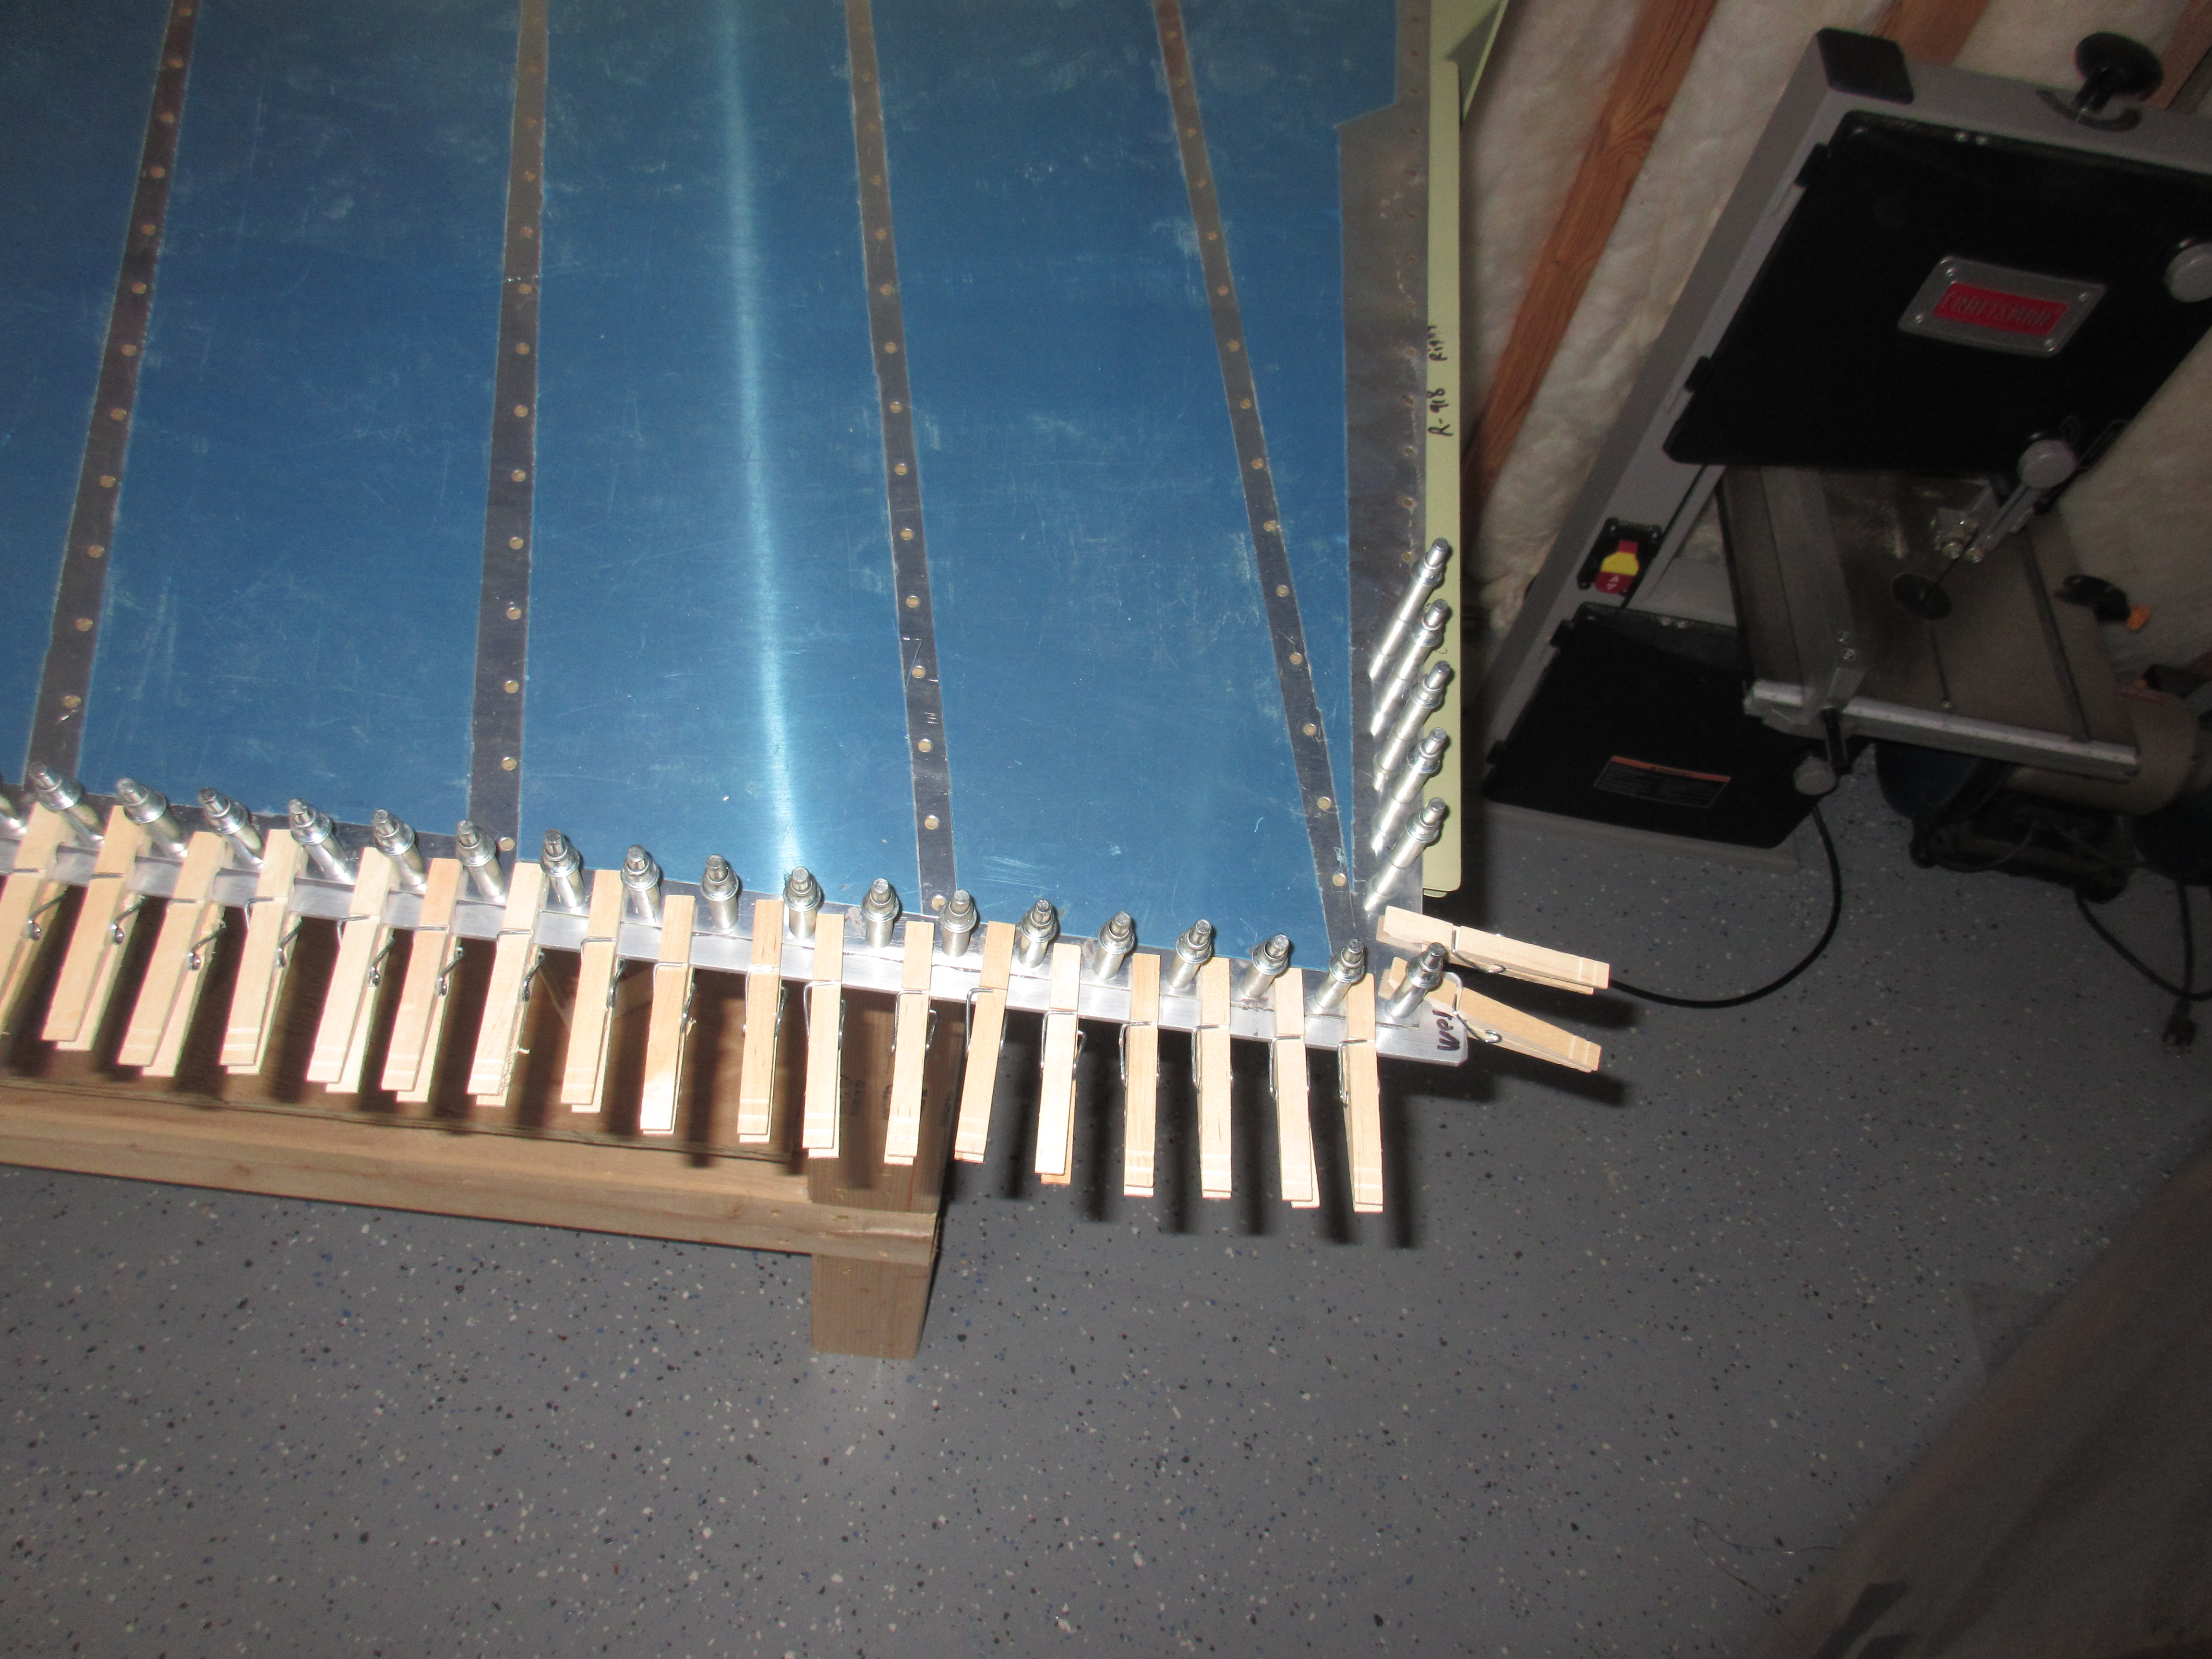
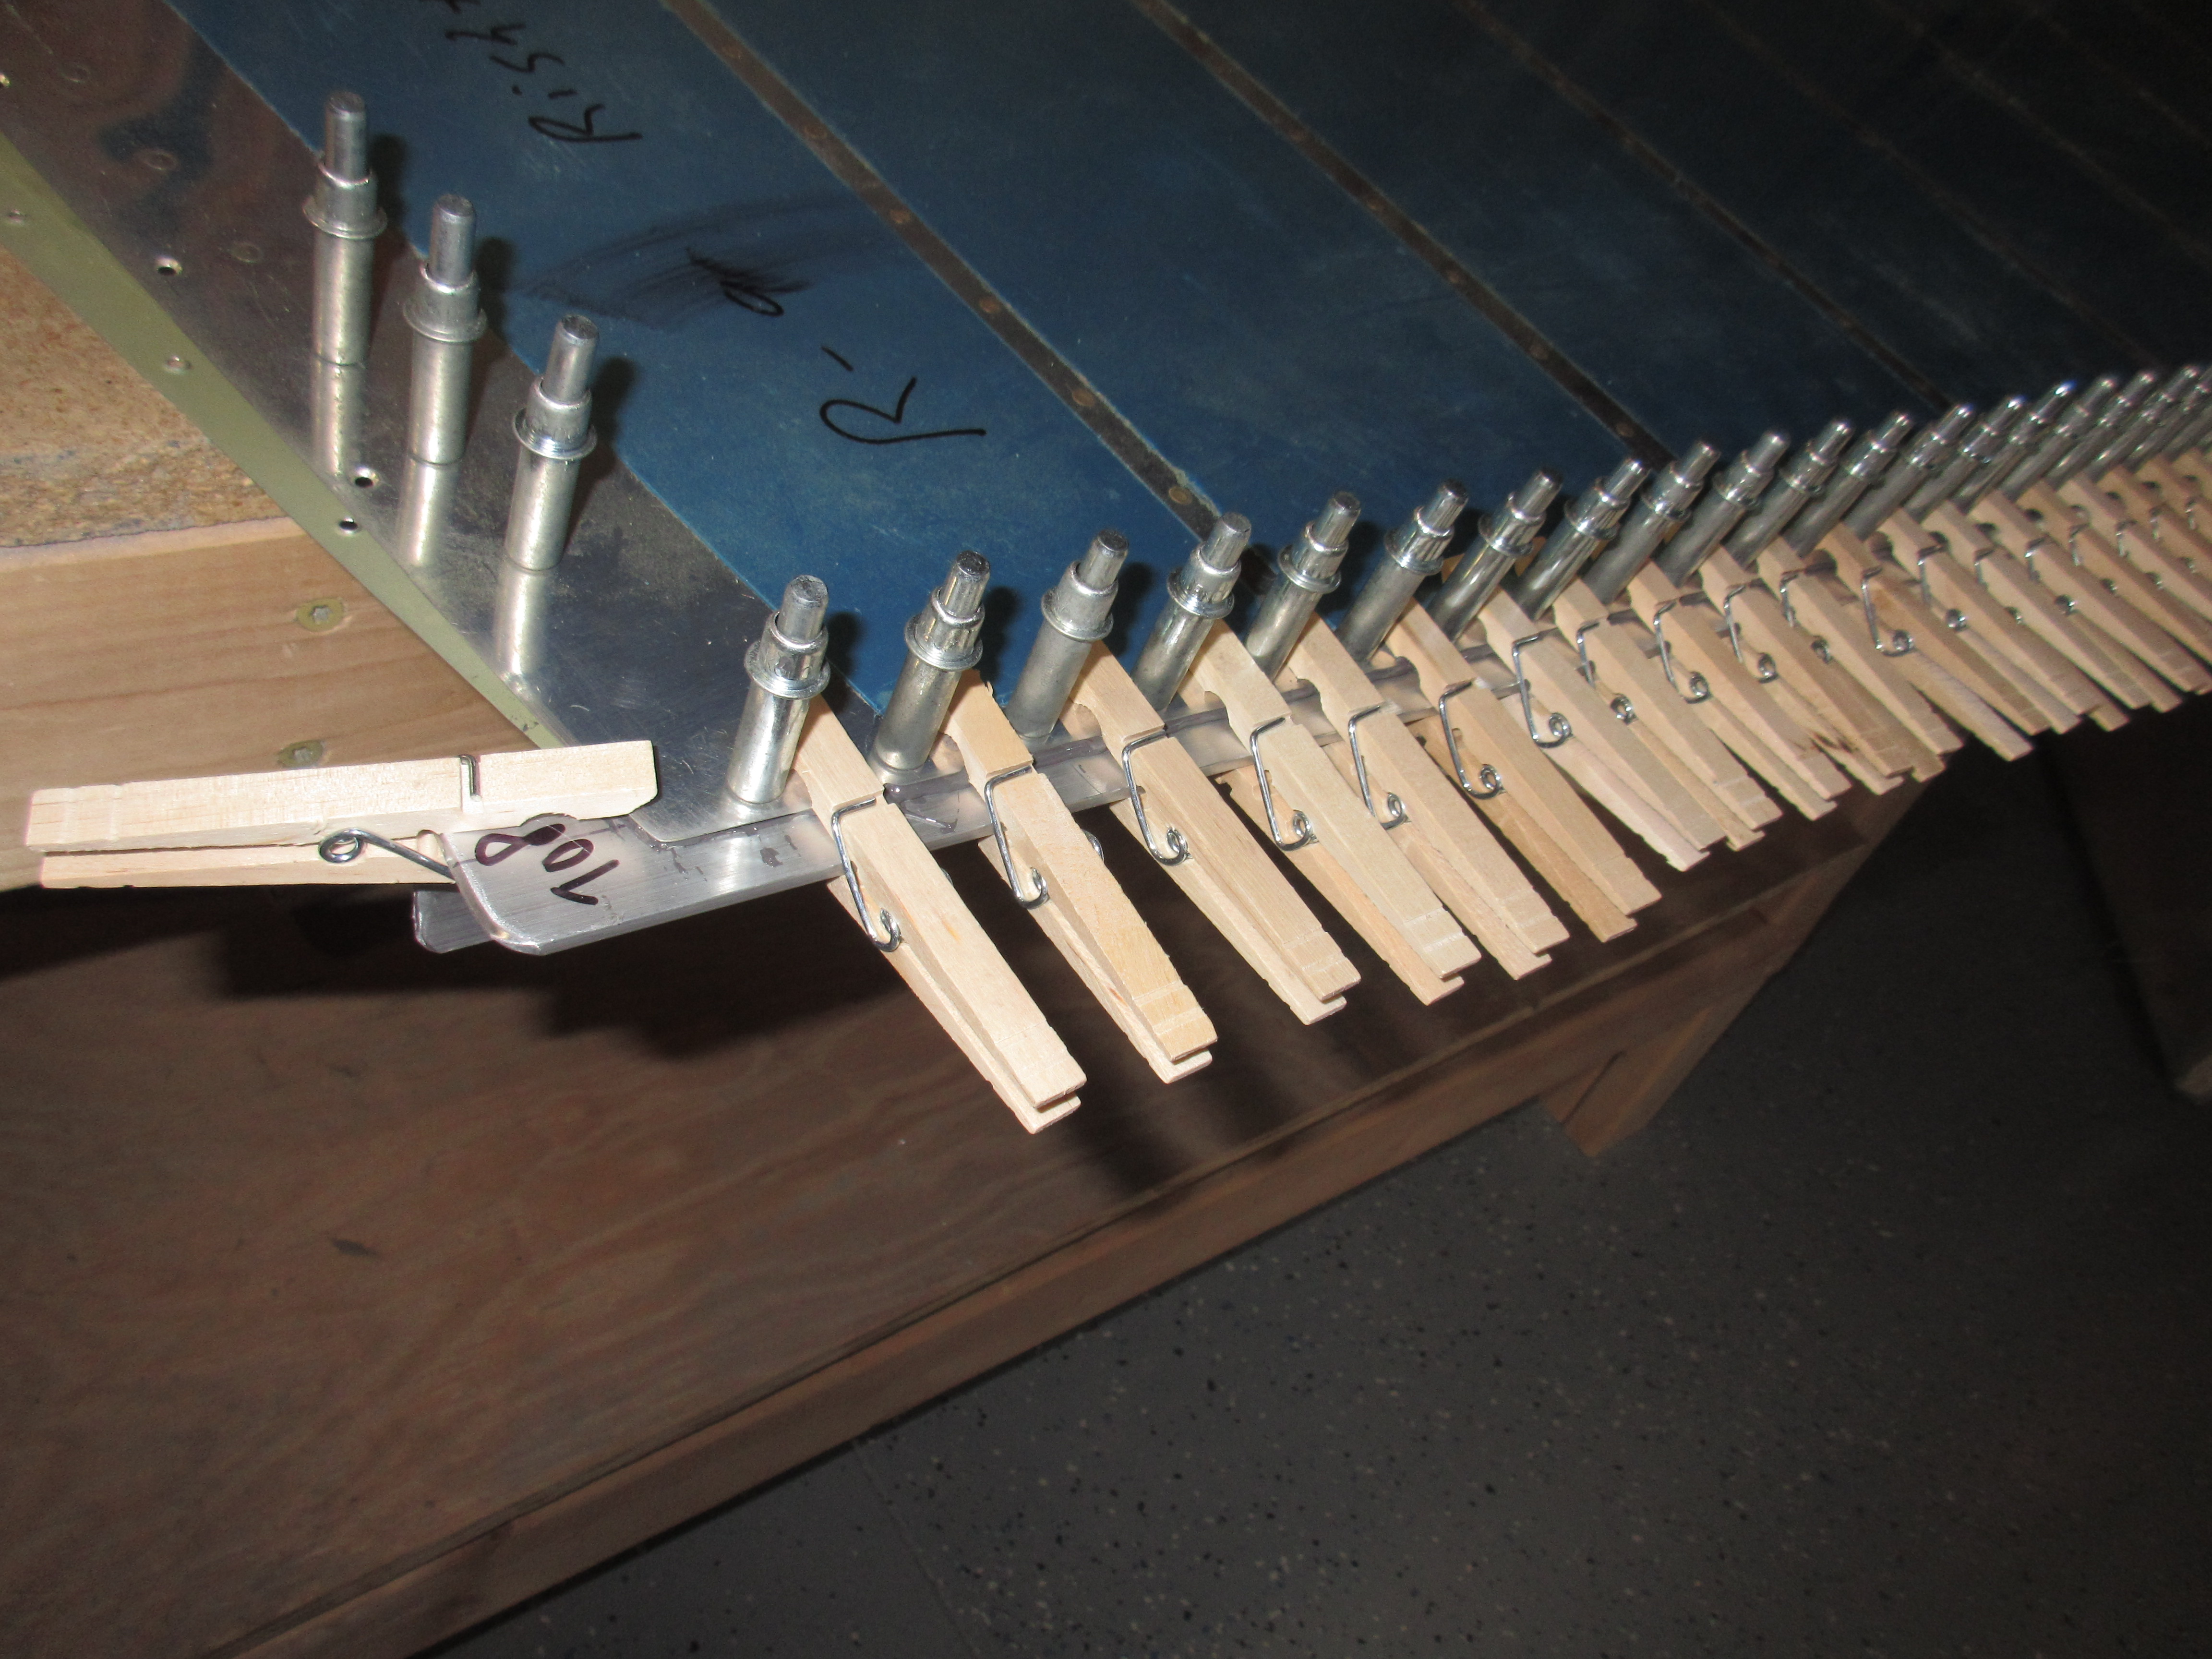
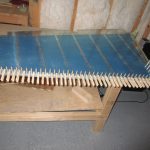
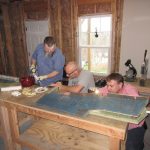
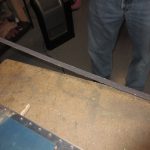
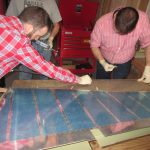
Having plenty of hands made this job go much smother. One guy squirted on the Proseal from the caulking gun, while we smoothed it out using the ends of the clothespins and pieces of some paint mixing sticks. Once we had the wedge good and covered with this sticky mess, two guys held the ends of the wedge, while me and the other helper held the trailing edge of the skins open just enough so they could slide the wedge in place. We lined it up with the holes and then used a few clecos to hold it until we could set it aside and then cleco it down to the 2×2 angle aluminum which serves as our straight edge. Before clecoing it down to the straight edge, I did run my finger using some force along the the trailing edge to make sure all the excess Proseal was squeeezed out to prevent pillowing between the clecos. Then, once we had all the clecos inserted, we went back and placed some clothes pins in between the clecos to help clamp it down even further. I also gave each one of the clothes pins an extra “squeeze” every so often by pinching the down on the nose of them.

With the rudder ready to be set aside and cured, we moved on to the elevators. I wanted to put a decent glob/dab of ProSeal at the ends of the stiffeners near the trailing edges. This is supposed to help fight off any vibration and keep the stiffeners from cracking, so I figured its worth the little bit of time to go ahead and do this. We started out by unclecoing both elevators, and then using a combination of paint mixing sticks, the caulking gun and finese to get a good blob of Proseal on each stiffener junction. Again, having several sets of hands REALLY made this job much easier. We ended up using nearly the whole tube (medium sized tube from Vans) on the rudder and both elevators.
After we had both elevators prosealed, we clecoed them back together, and I will finish riveting them in a few days once the Proseal cures. Just some words of advice:
- Proseal is incredibly sticky, and WILL get everywhere.
- Double glove…it makes it easy to pull off your outer layer, and slip on a new set. Sweaty hands from the gloves are hard to get a fresh pair on, so double gloving avoids this problem
- This stuff smells like sewer and new tires. Make sure you have good ventilation. Its not as bad as AKZO, but man, its a weird smell.
- It has a pretty decent working time of about an hour or so. Maybe more if you are willing to risk it. It was a little cold in the basement, so we didn’t want to chance it.
Here’s the whole photo album:
-
IMG_1415
-
IMG_1414
-
IMG_1413
-
 IMG_1412
 -
IMG_1411
-
 IMG_1410
 -
IMG_1409
-
IMG_1408
-
 IMG_1407
 -
 IMG_1406
 -
IMG_1405
-
IMG_1404
-
IMG_1403


Google Photos Link: https://goo.gl/photos/4fRLG915Z8FAGnmZ6
Hours Worked: 1.25