


The primer has dried and cured on my left elevator parts, so theres only one thing left to do… Start assembly and riveting! I started out the session by bending the tabs on the elevator skin. On this left skin, there are two tiny little tabs that must be folded over, just like the trim tab, in order to close the edge where the trim tab sits. These also support the outboard edge of the skin, much like a rib would. This is a very delicate operation, and one that can go wrong quickly. When I bent the trim tab, I had a second one for a spare so I didn’t worry. With this skin, I only have the one, and I have a ton of work in it already! I used the same bending blocks as I did for my trim tab, since the angles are pretty much identical. I inserted the block and clamped it down to the bench. I used a straight edge held against the block of wood to make sure I had it right on my bend line.


We bend the bottom tab first, and then fold the top tab over the top this way we form a lip that allows water to run over the skin, and not get trapped between the tabs, or worse, get inside the skin! Notice my note to myself (1 st!) so I don’t bend the wrong tab first. I used a large block of wood and a small hammer with light taps to bend the bottom tab into position. Once I had the bottom tab where I liked it, I did the same with the top tab, and the end results were decent. While they are not perfect, and have a few tiny dents from the bending, I am happy with them as they are. The dents wont be visible since they are on the inside of the edge and will have the trim tab butted up against them.

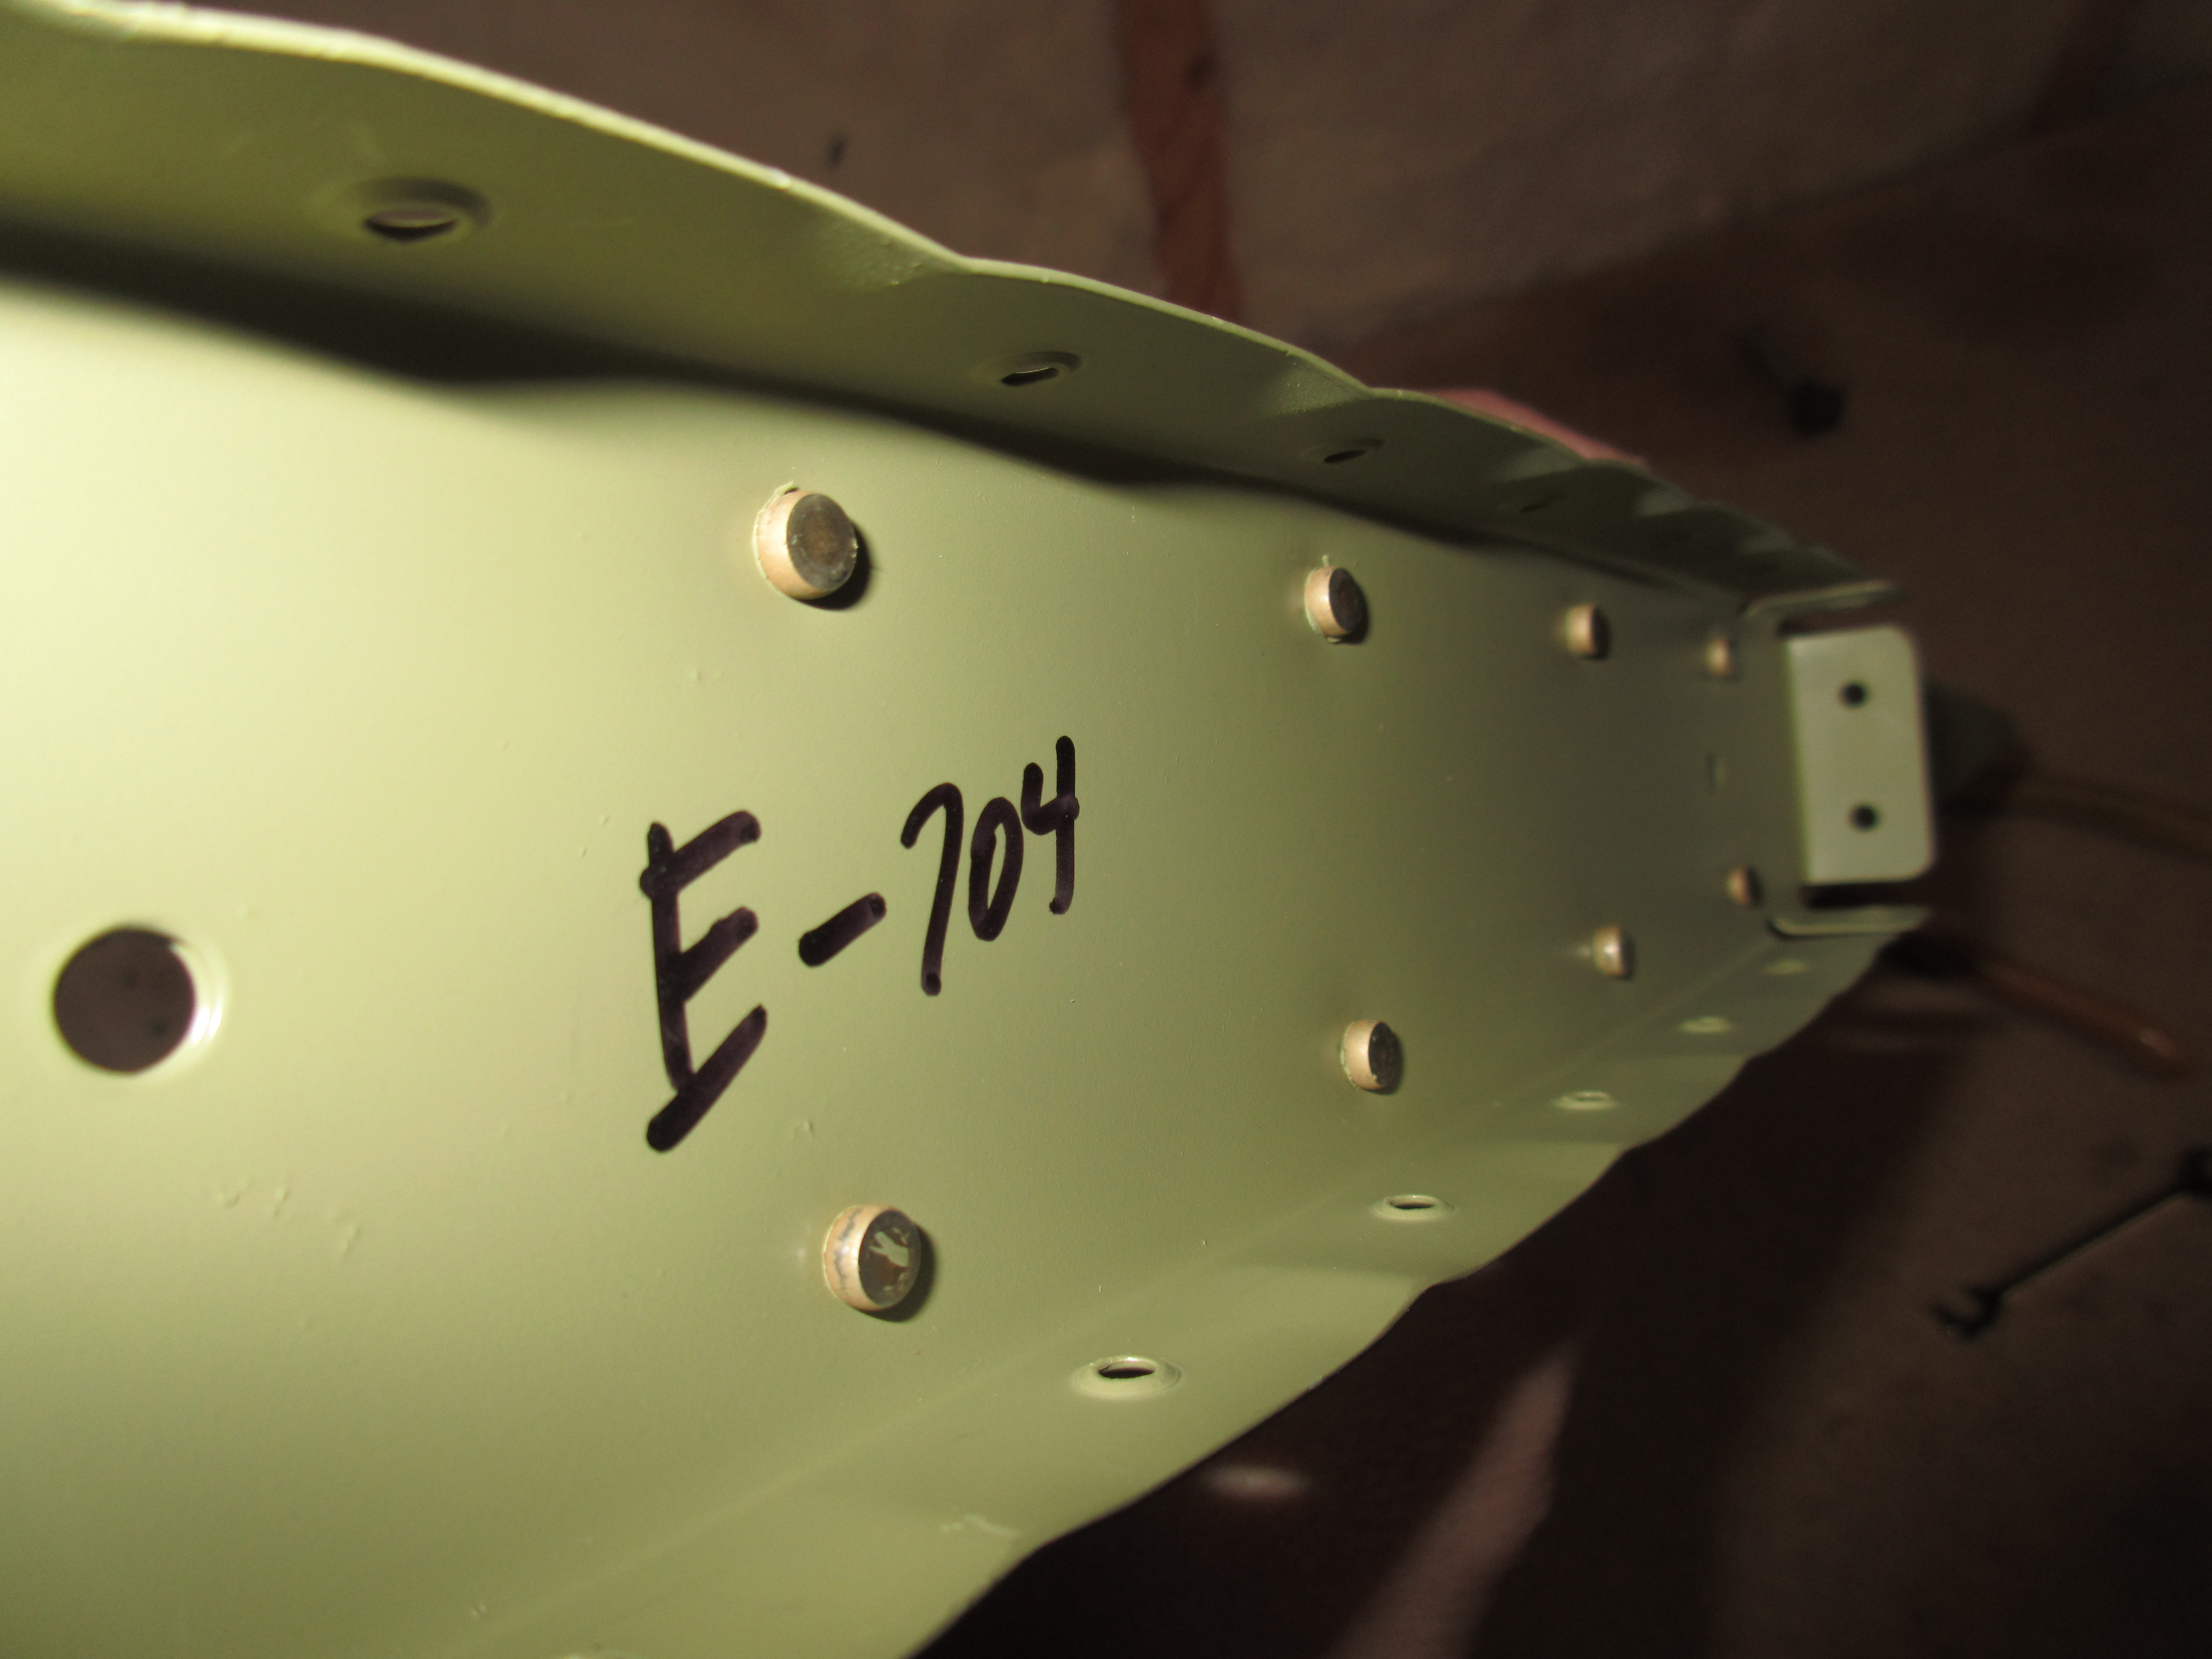
Next up, I dimpled all the parts and skin. I like to dimple after priming because it makes scuffing in preparation for priming so much easier. I dimpled the skin, spar, end ribs and all associated parts for the left elevator. I used a combination of my squeezer and the DRDT-2. I had to use my squeezer on the skin this time, due to how tight the trailing edge is. Once I had all my parts dimpled, I continued on with the rest of the plans. In the section titled “Riveting the Left Elevator”, Van’s has us start out by riveting E-704 End Rib and E-703 counterbalance rib together.
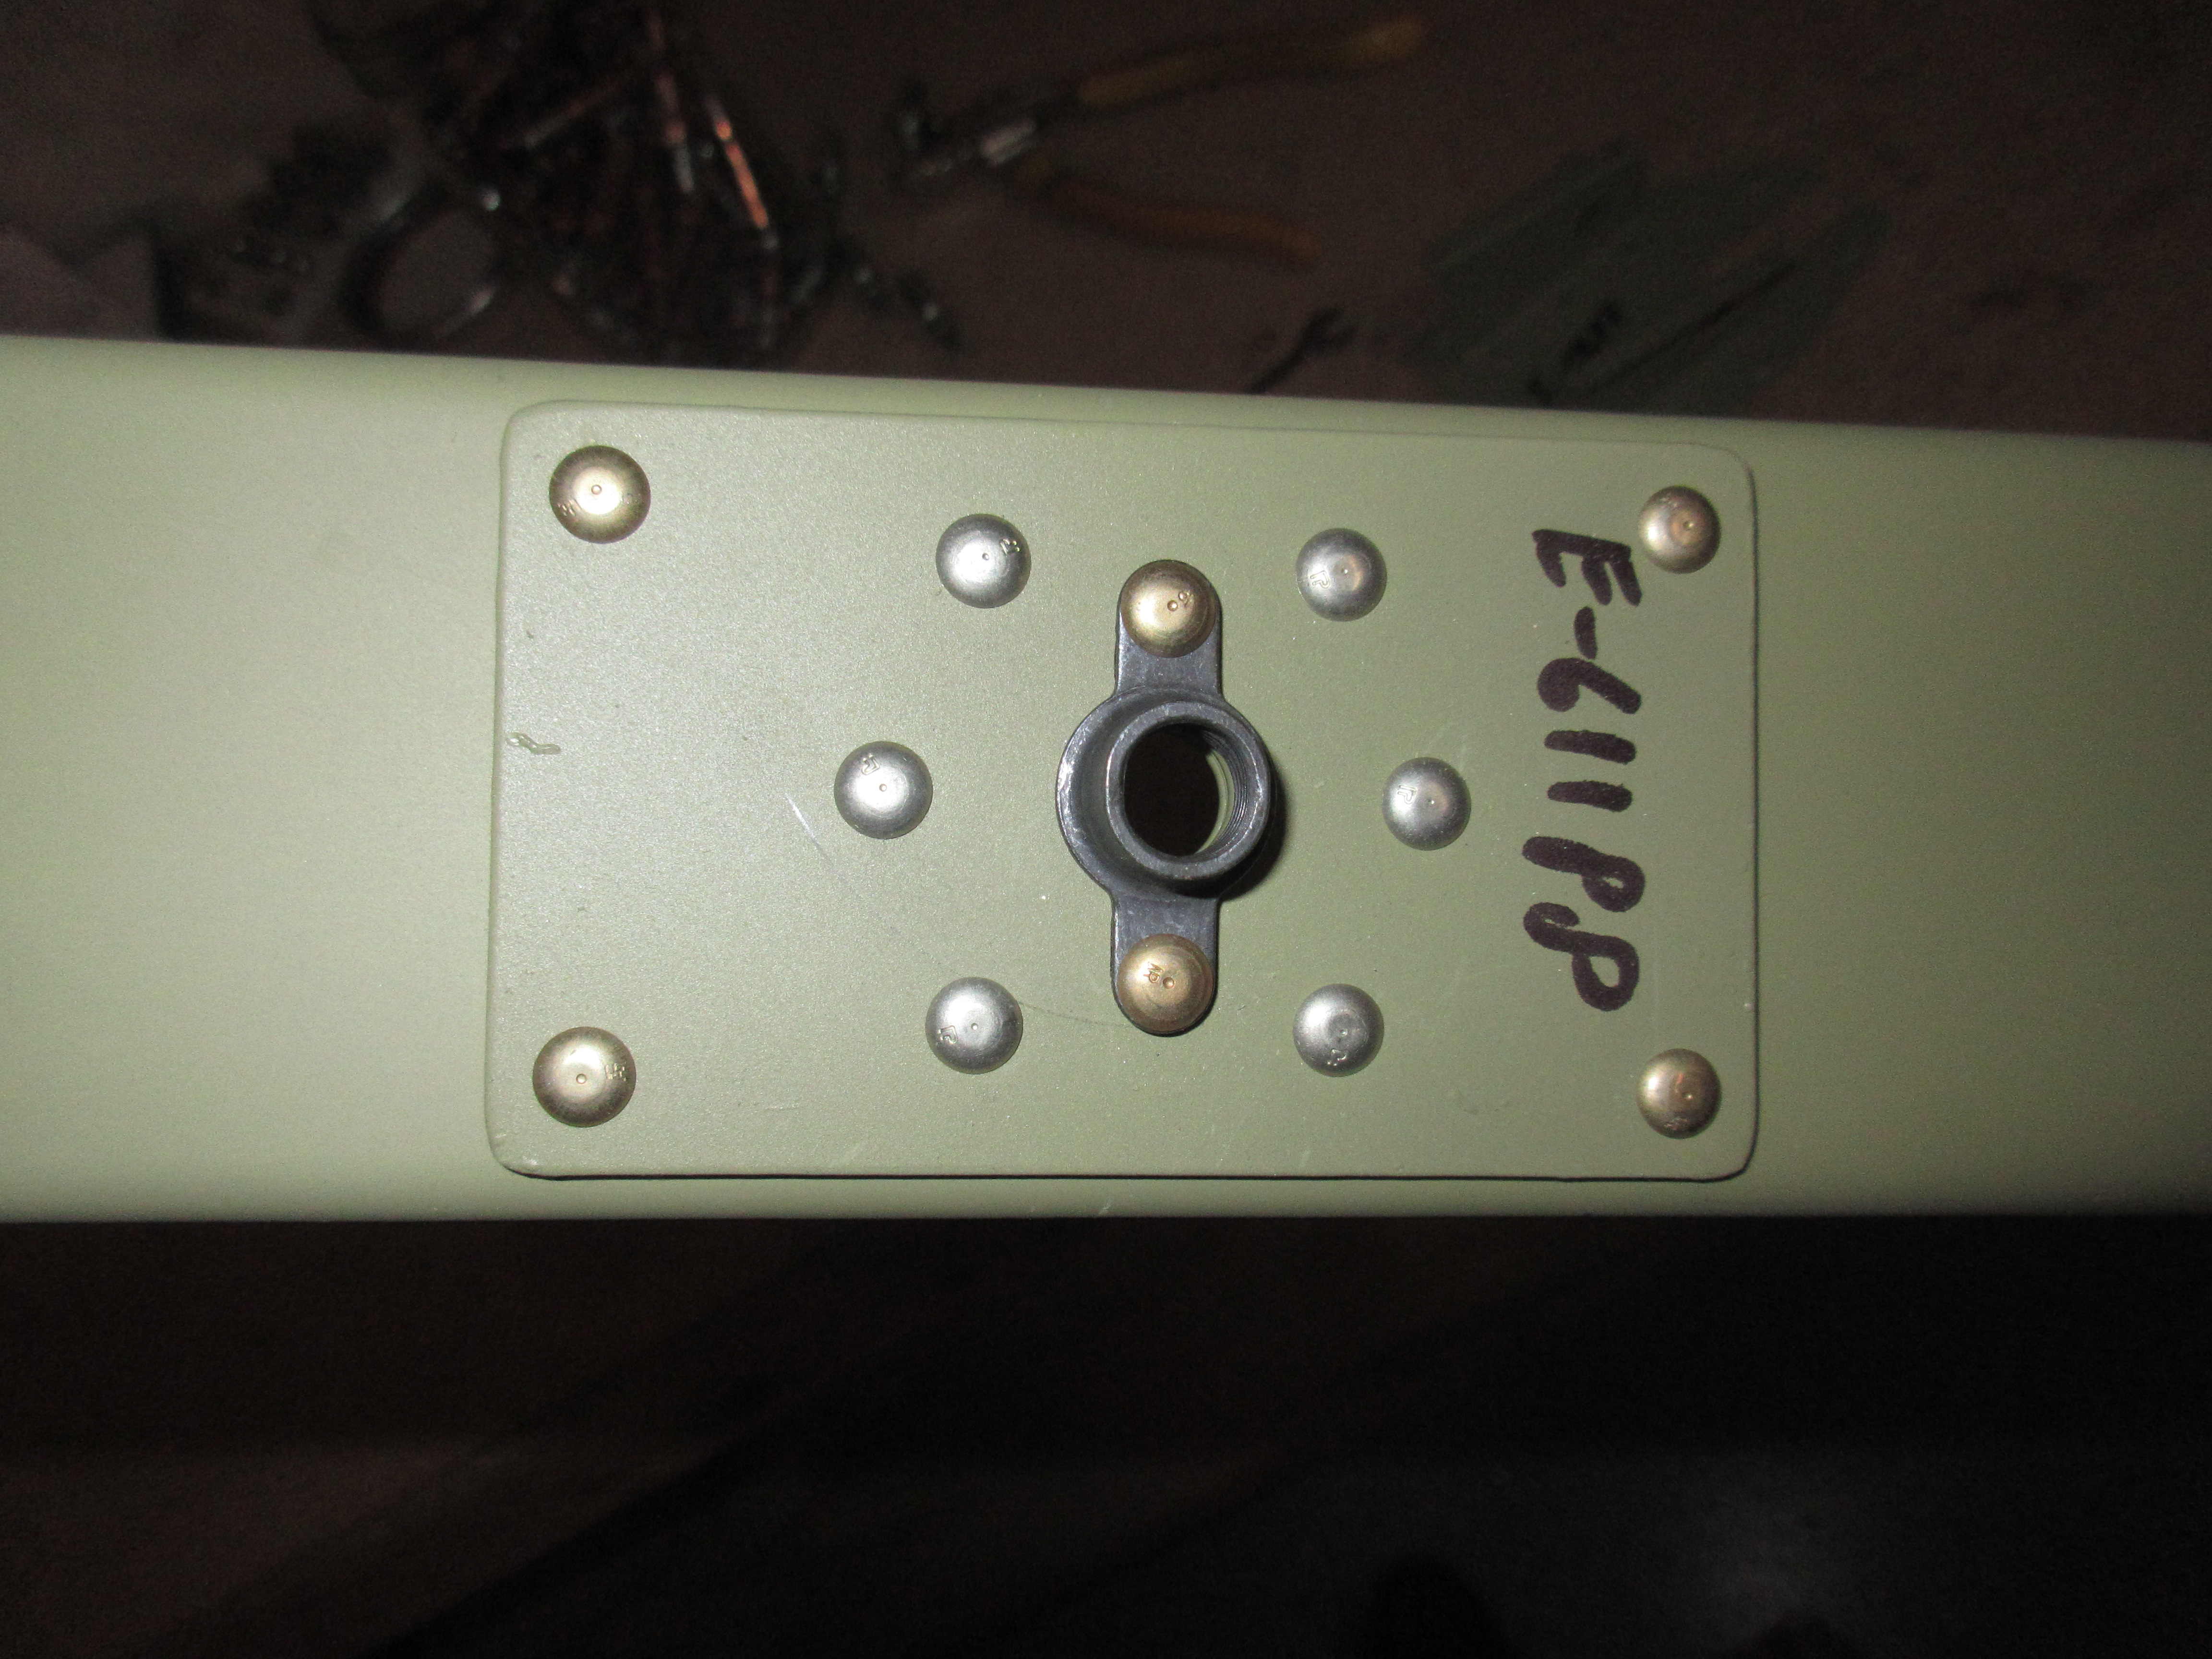
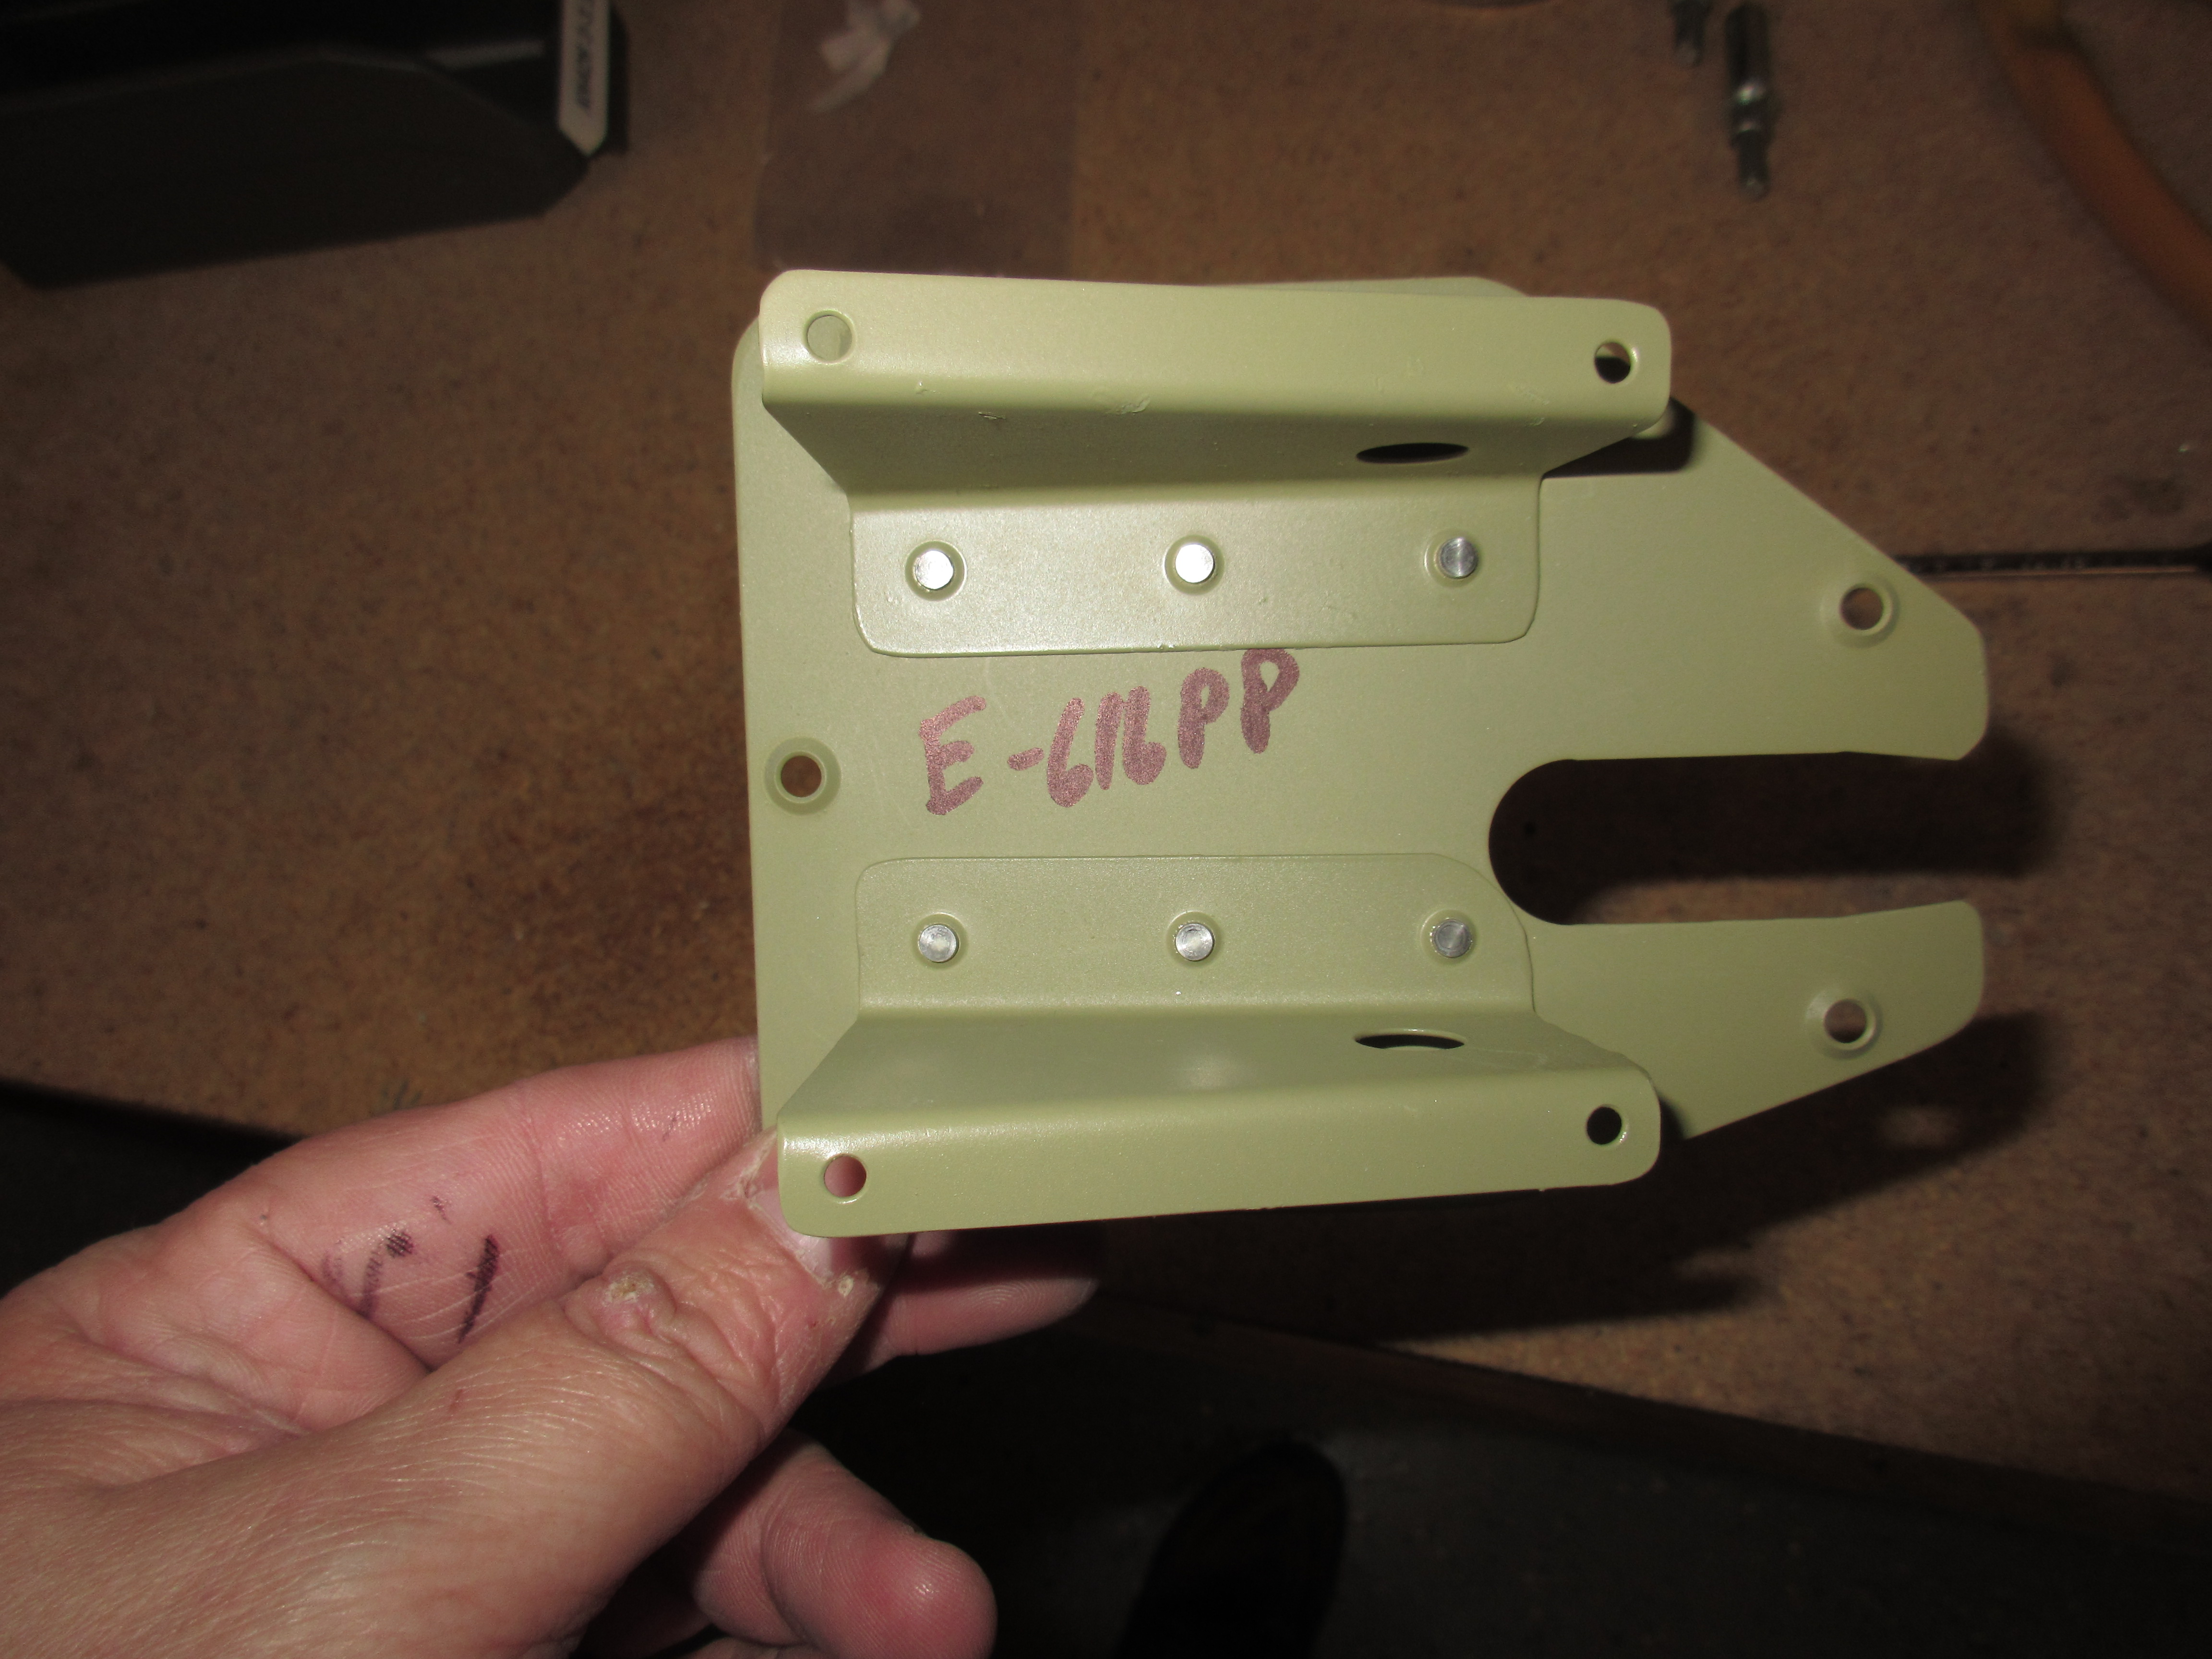
After that, we move on to riveting the E-610PP and E611PP reinforcement plates to the E-702 spar, along with the E-00001A and E-00001B doublers and the rivnuts. We have to be very careful here, as there are three different rivet lengths that attach all these together. I used the squeezer to set all these rivets.


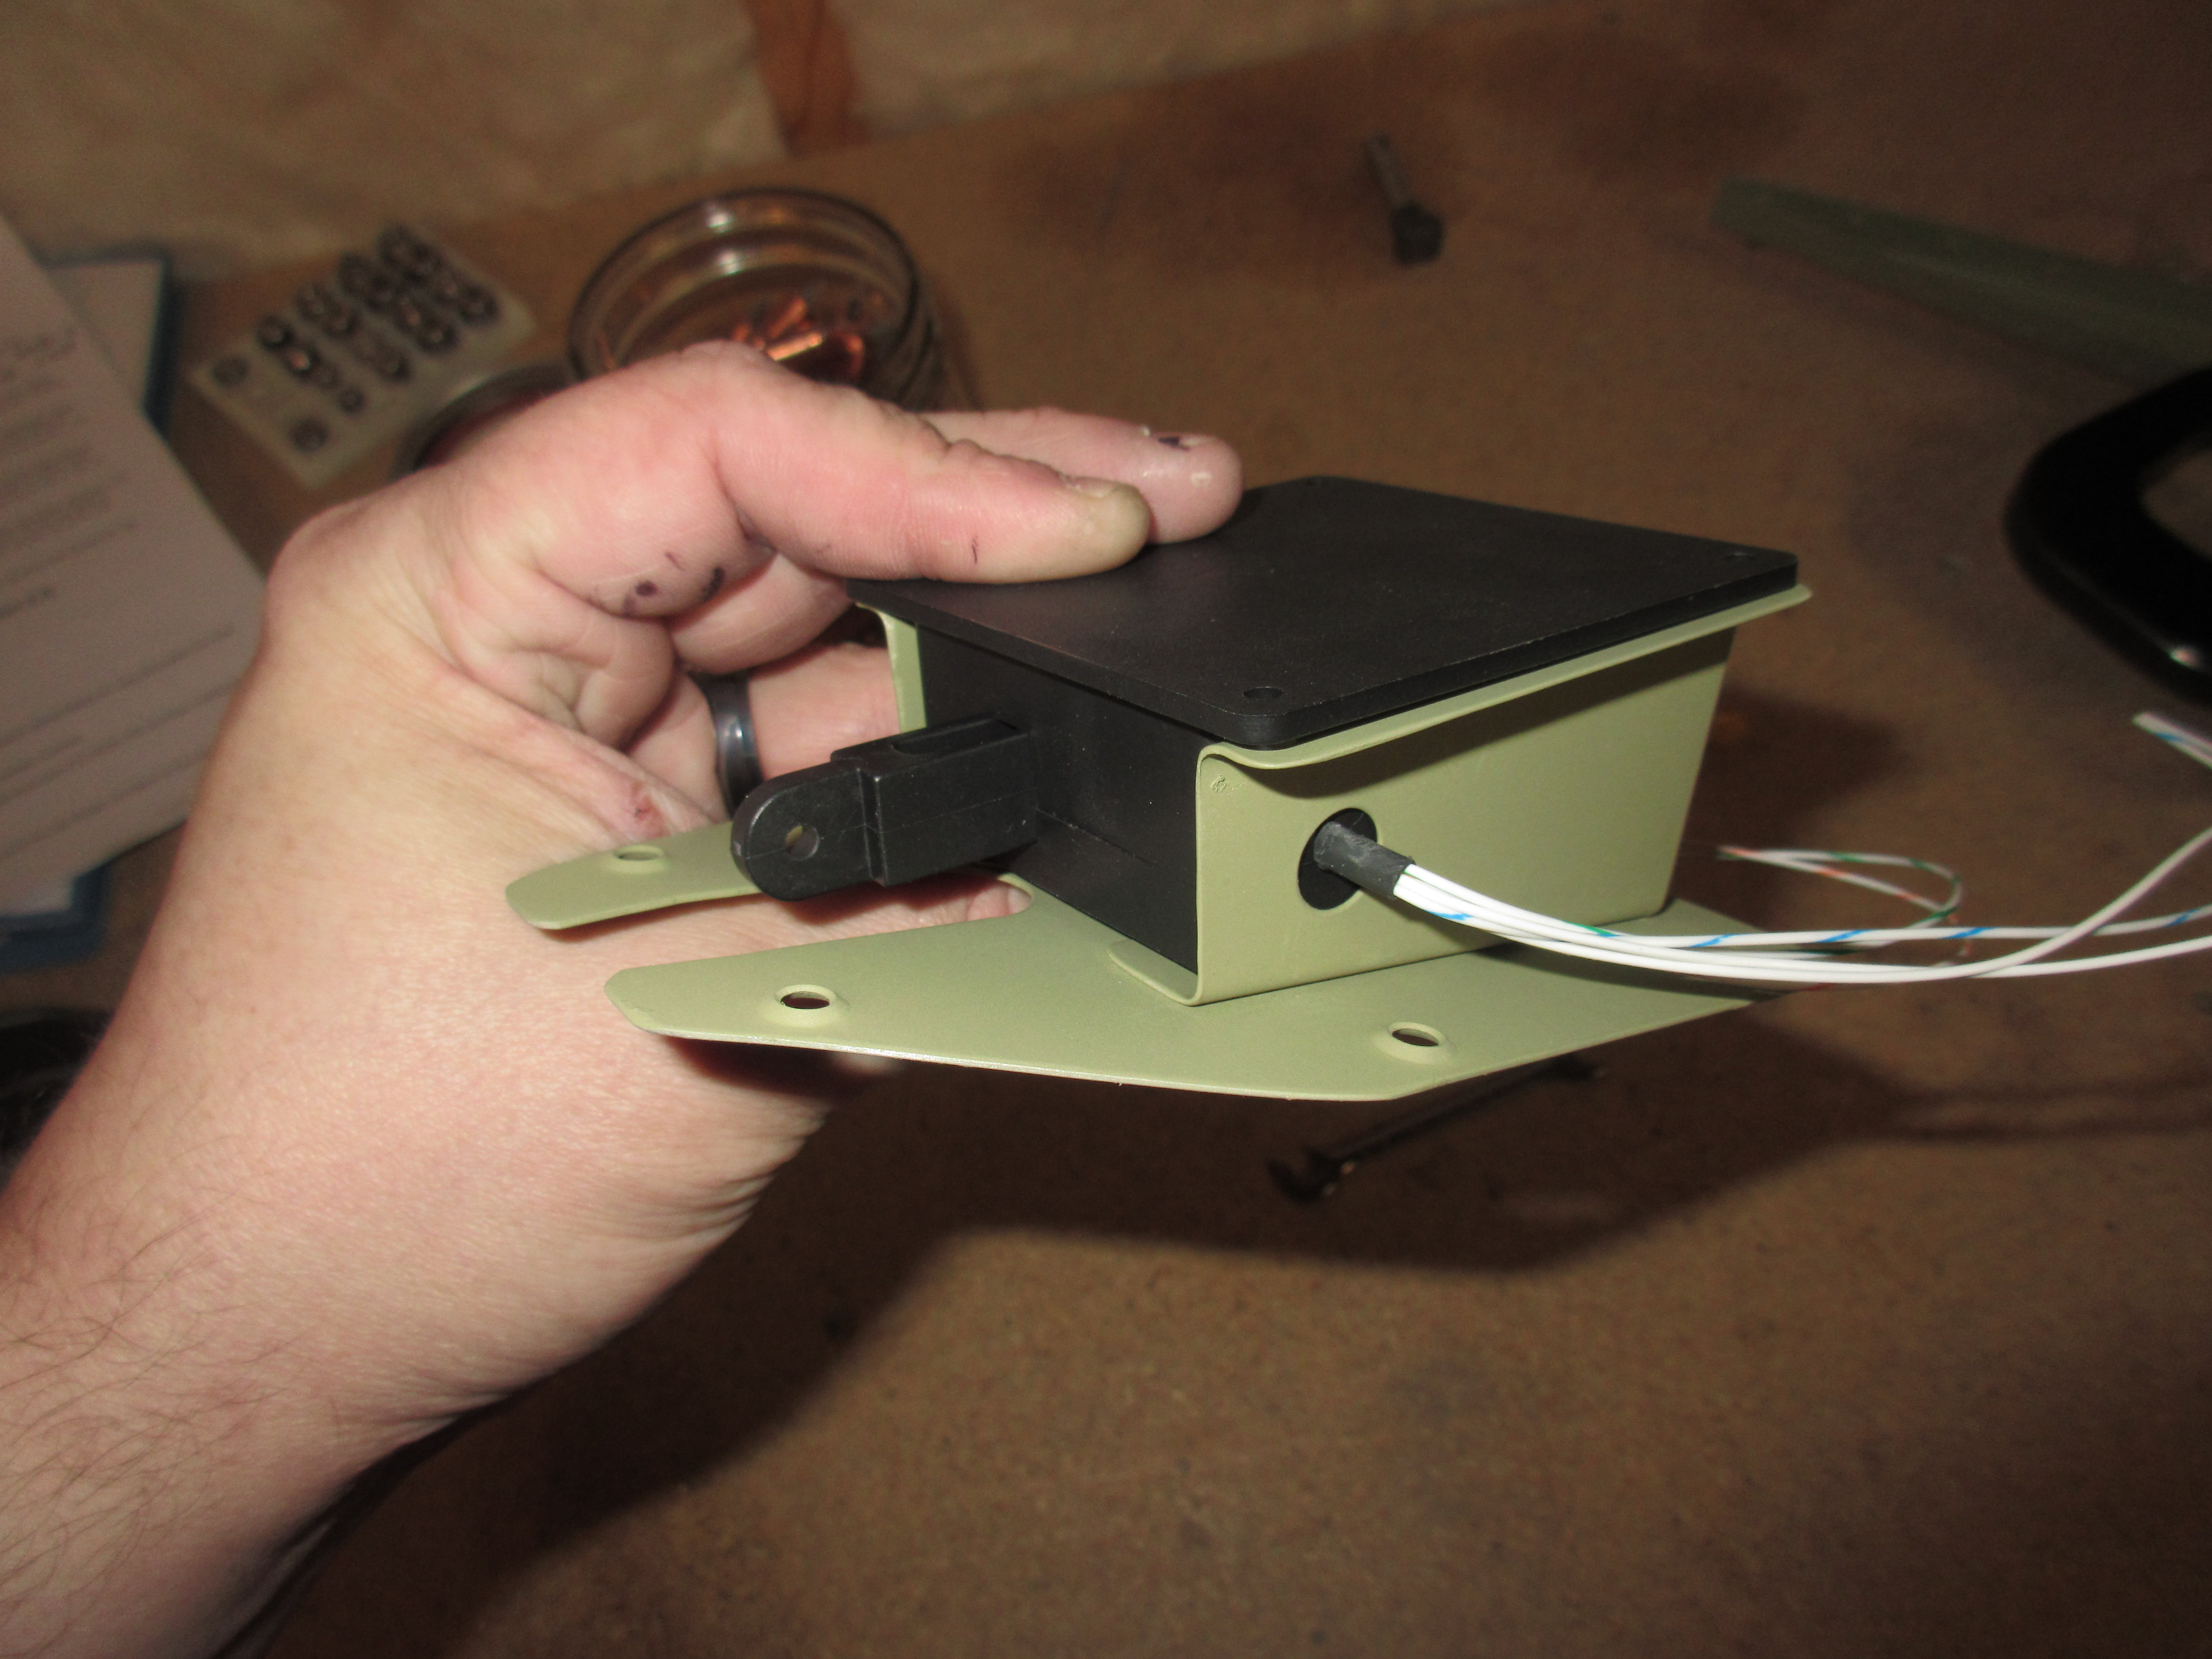
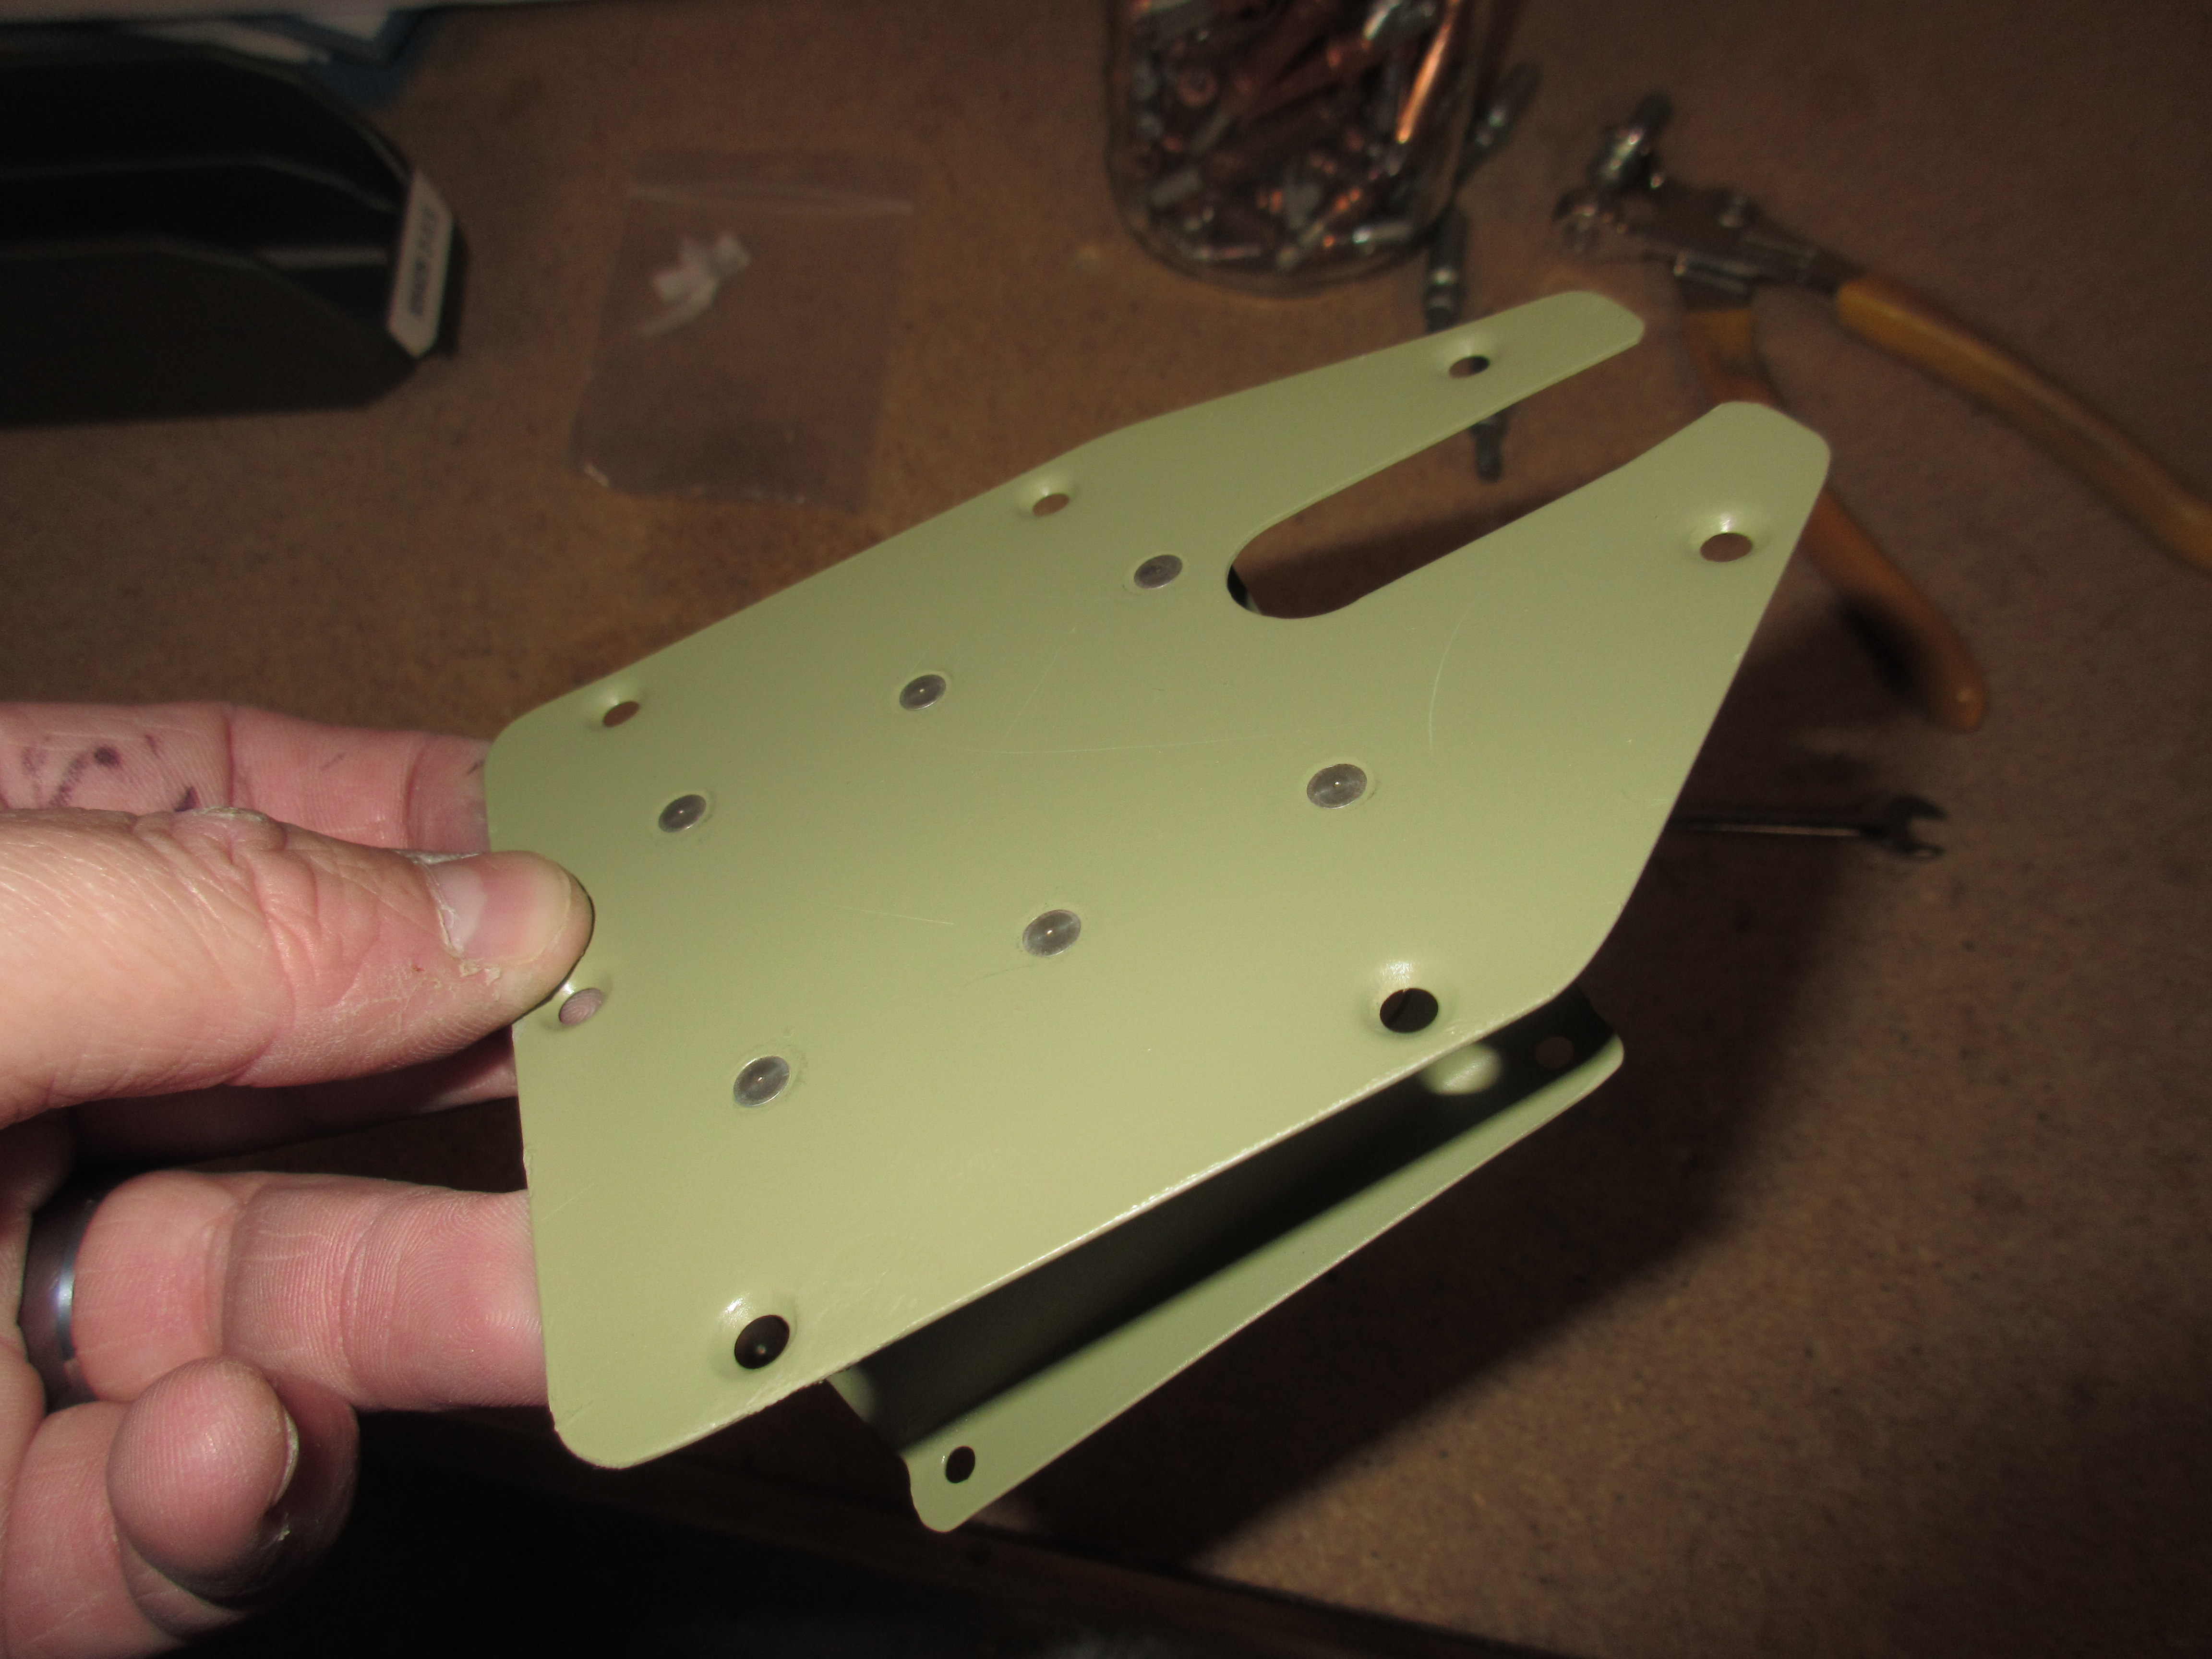
I was running a bit out of gas, so I decided to finish up the session by knocking one more simple little part: The trim tab servo plate and brackets. This is a simple part and only requires about 6 rivets. I used the squeezer to set these flush rivets, and then test fitted the servo to make sure it was still all in alignment. It came out great.
Thats all for tonight. I still have a little bit more riveting to complete, so I will leave that for the next session. I have also spoken with my local EAA Tech Counselor, and he’s going to come by this Saturday afternoon to give my project a look. I still have the horizontal stabilizer, vertical stabilizer and elevators to close up, so I will leave them until he can inspect them before closing them up. Here’s all the photos for tonight:
Google Photos Link: https://goo.gl/photos/MEyHbRc28WovGerUA
Hours Worked: 3