


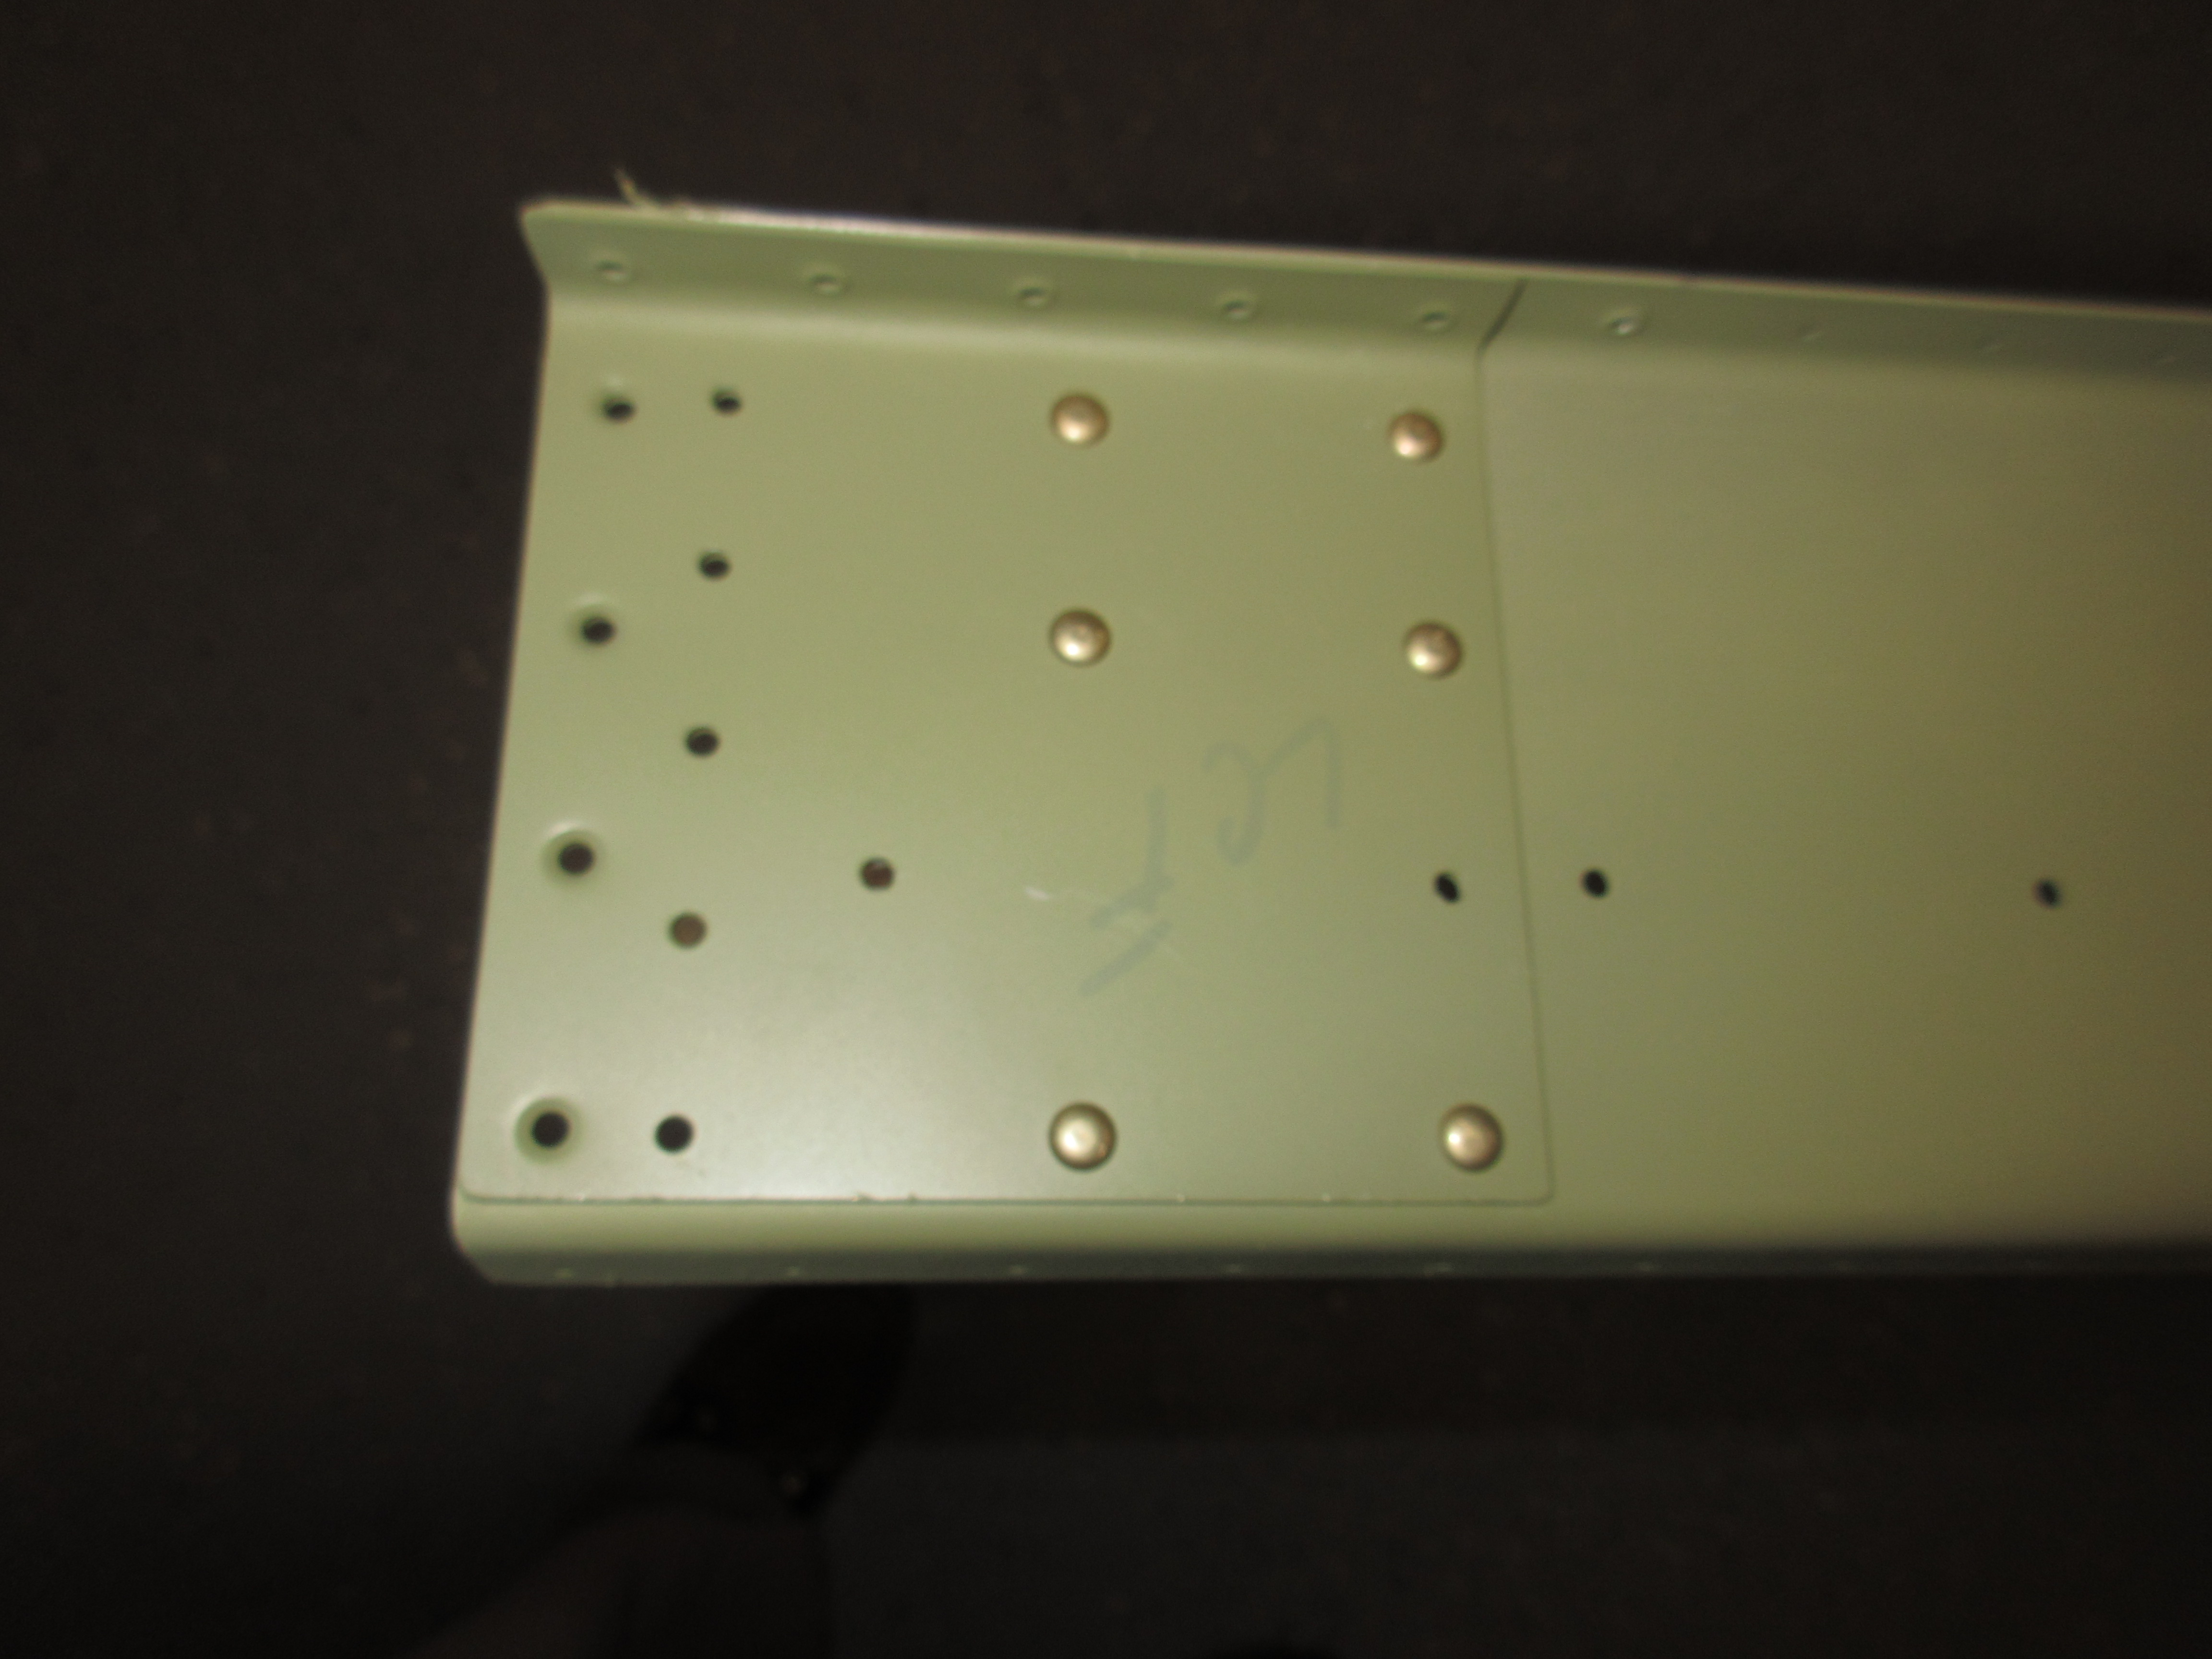
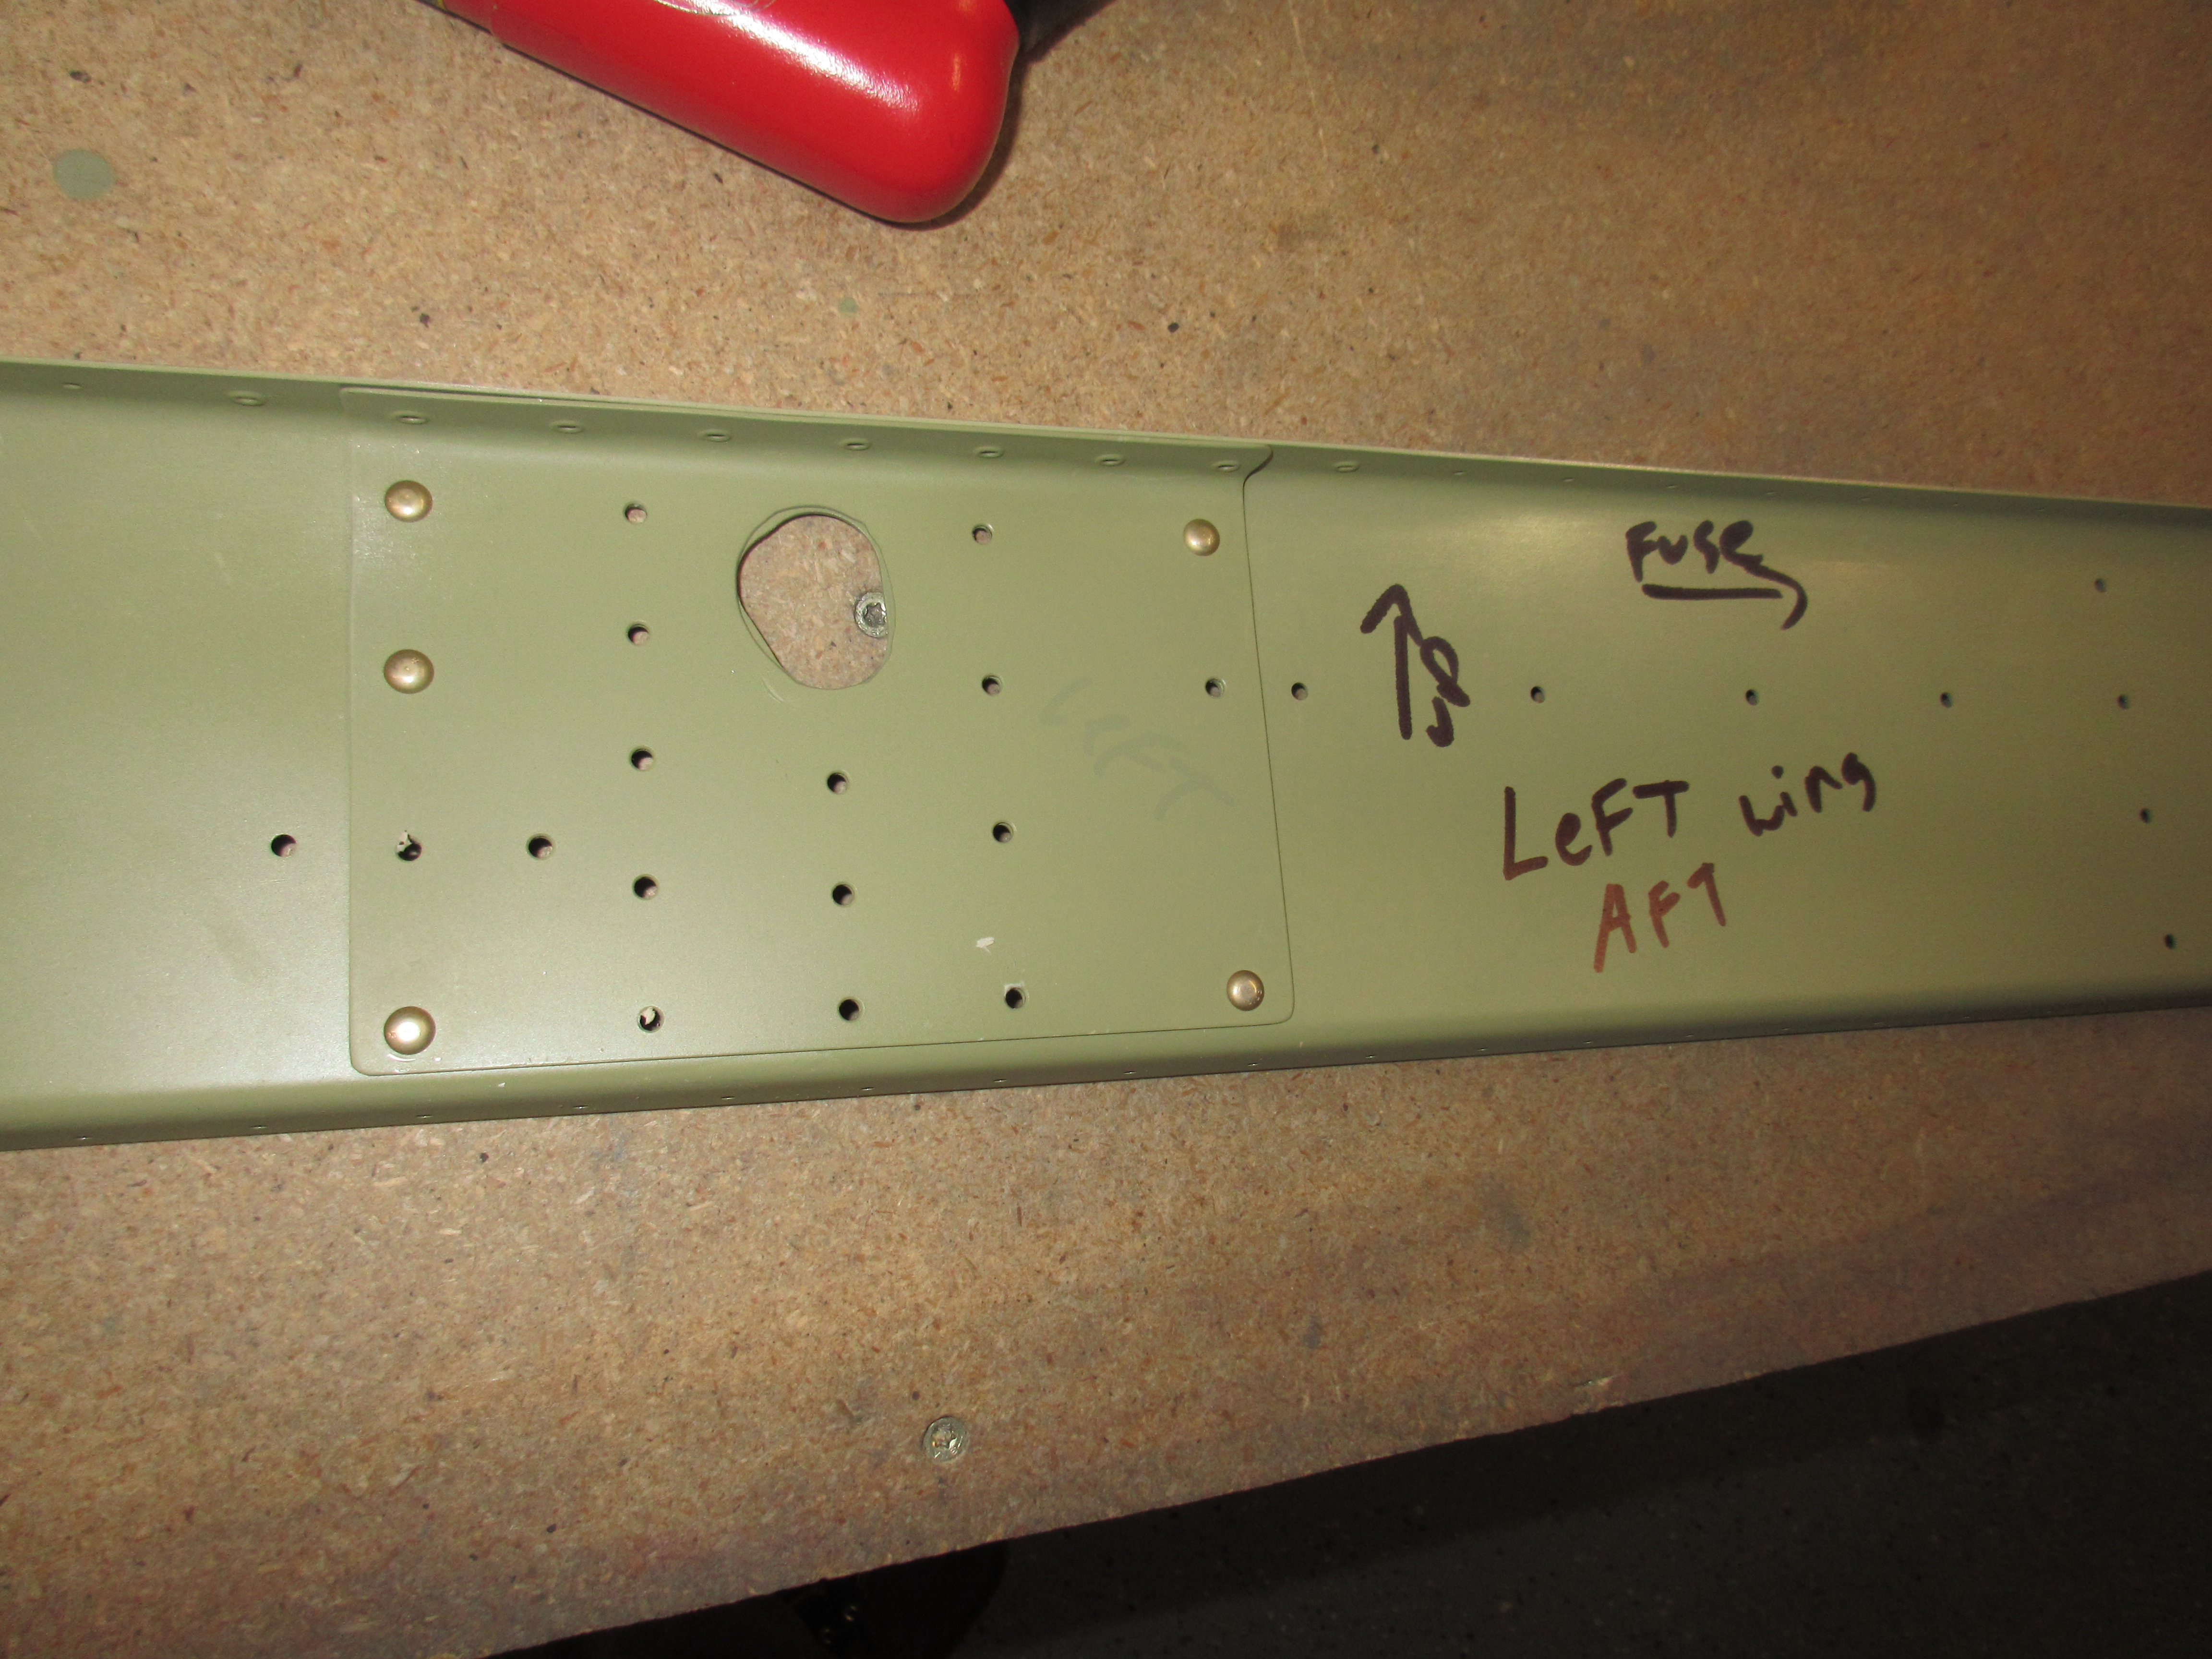
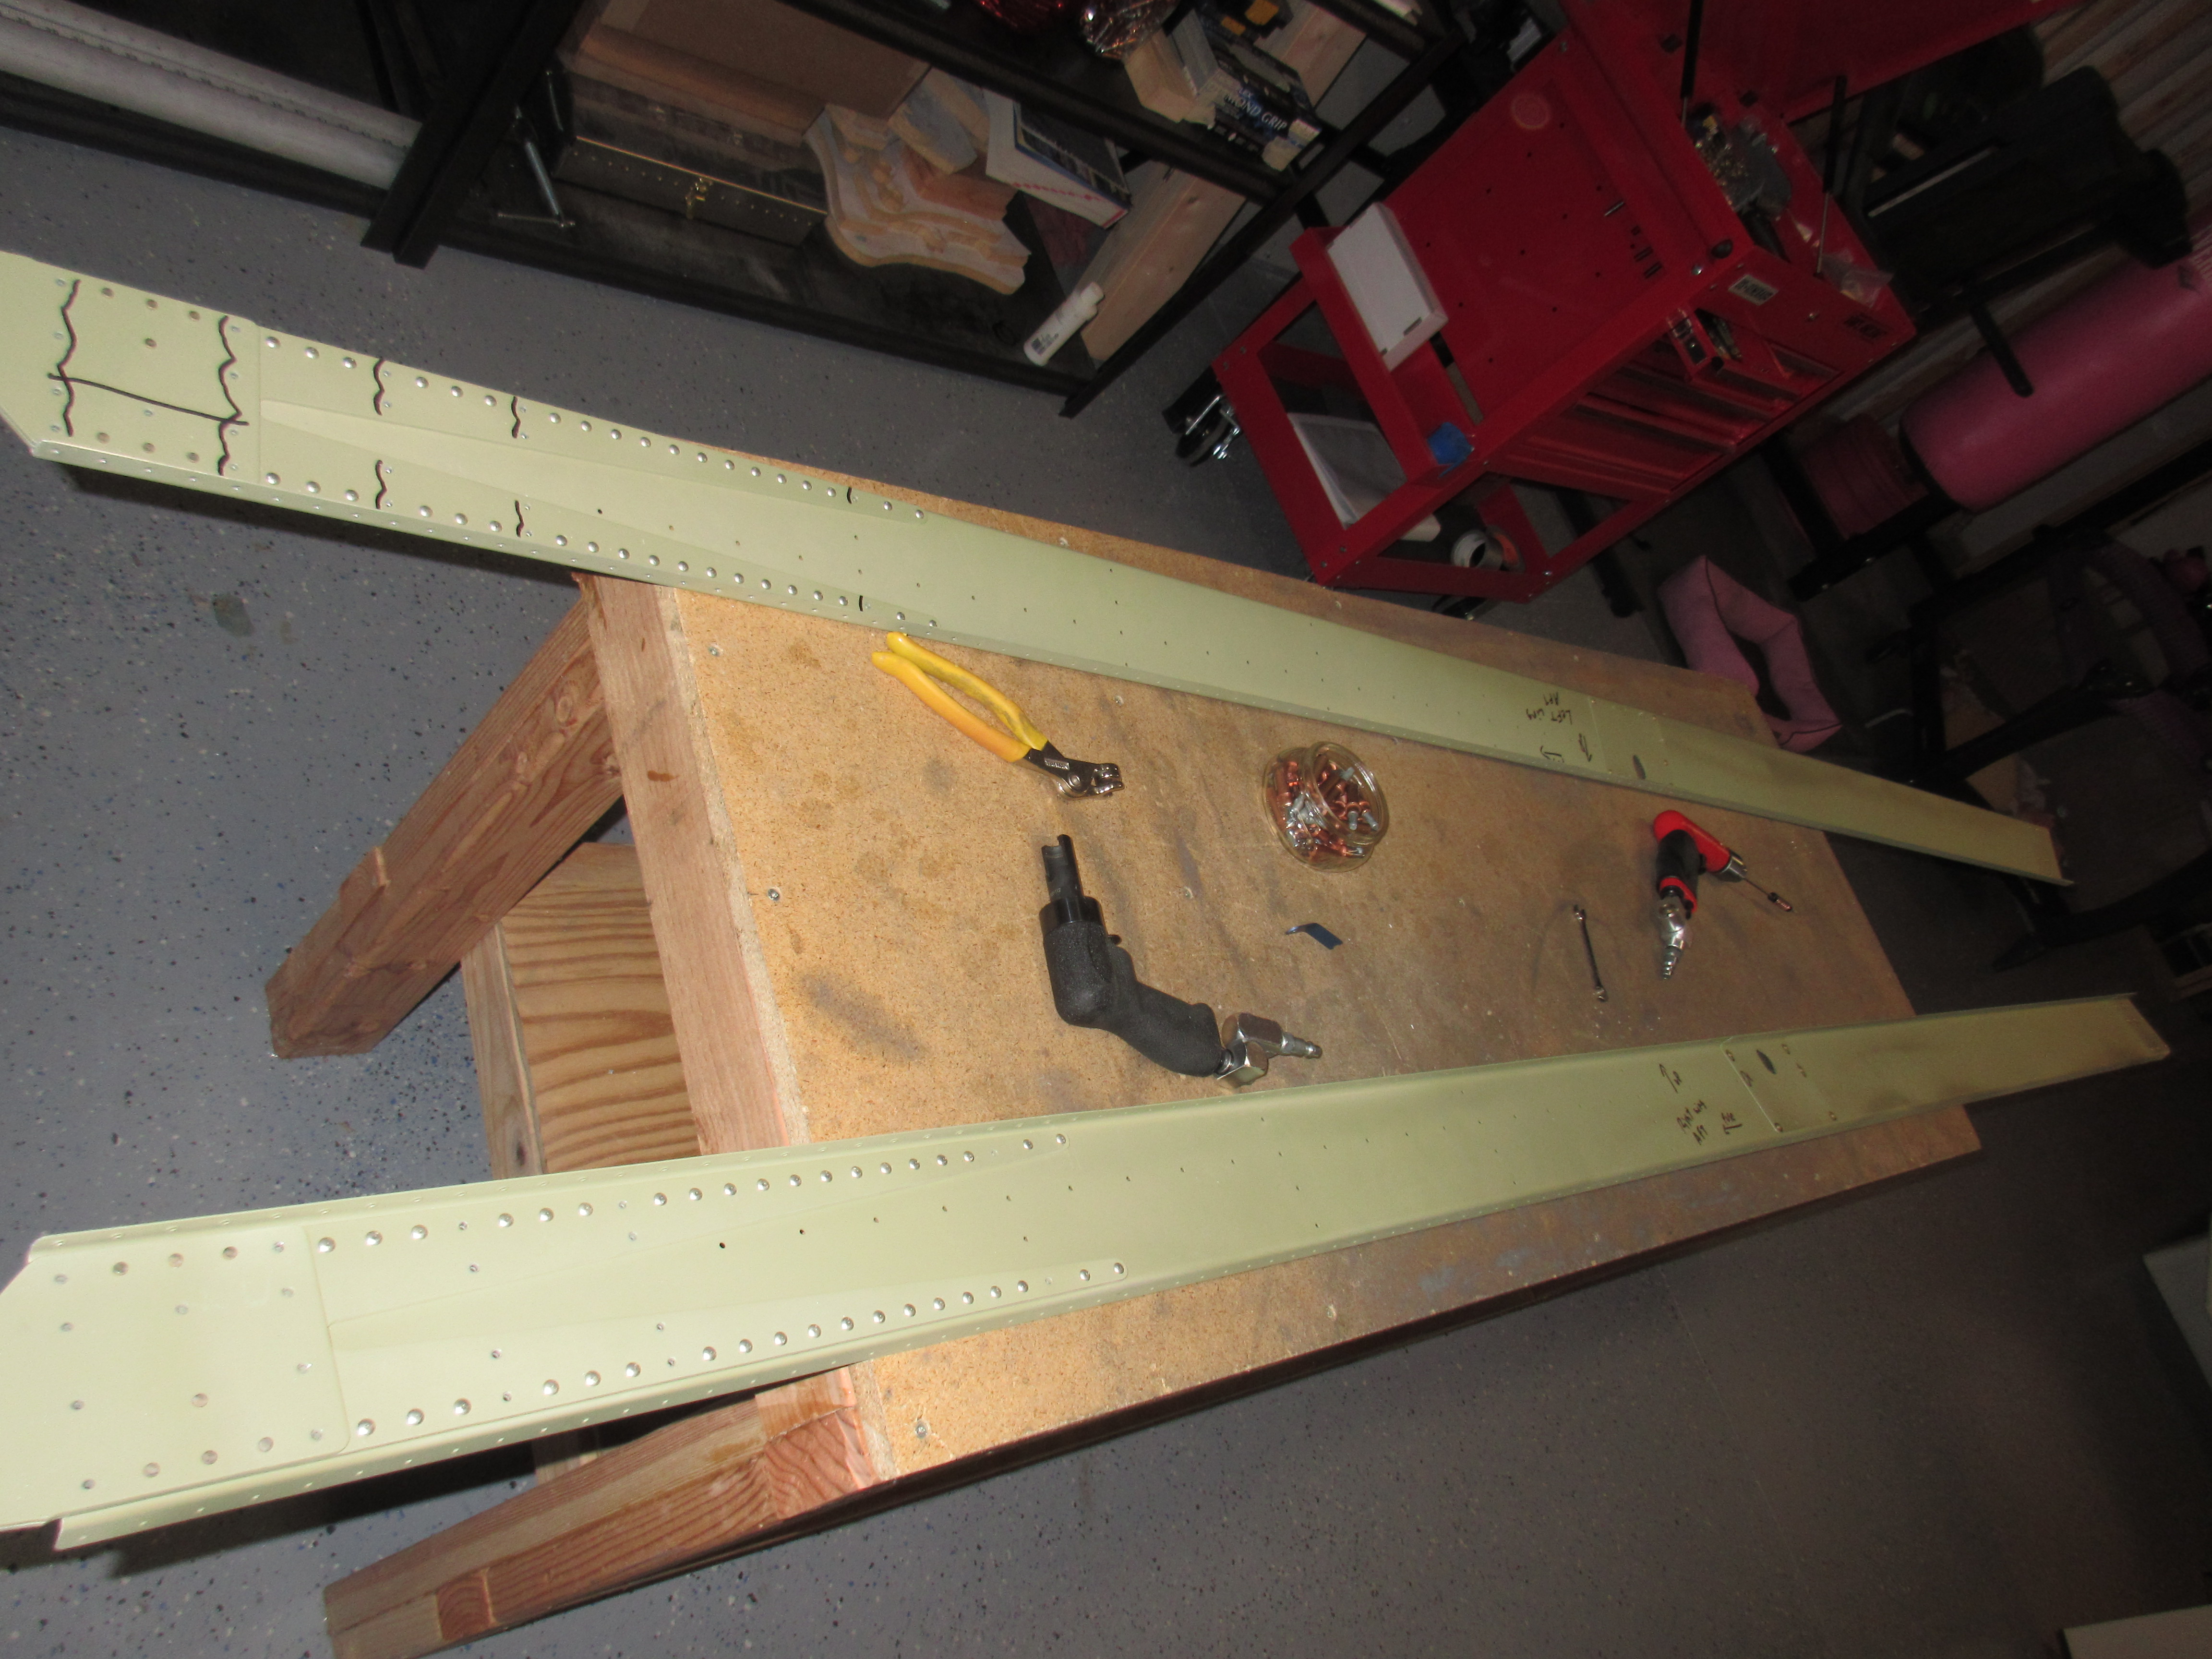
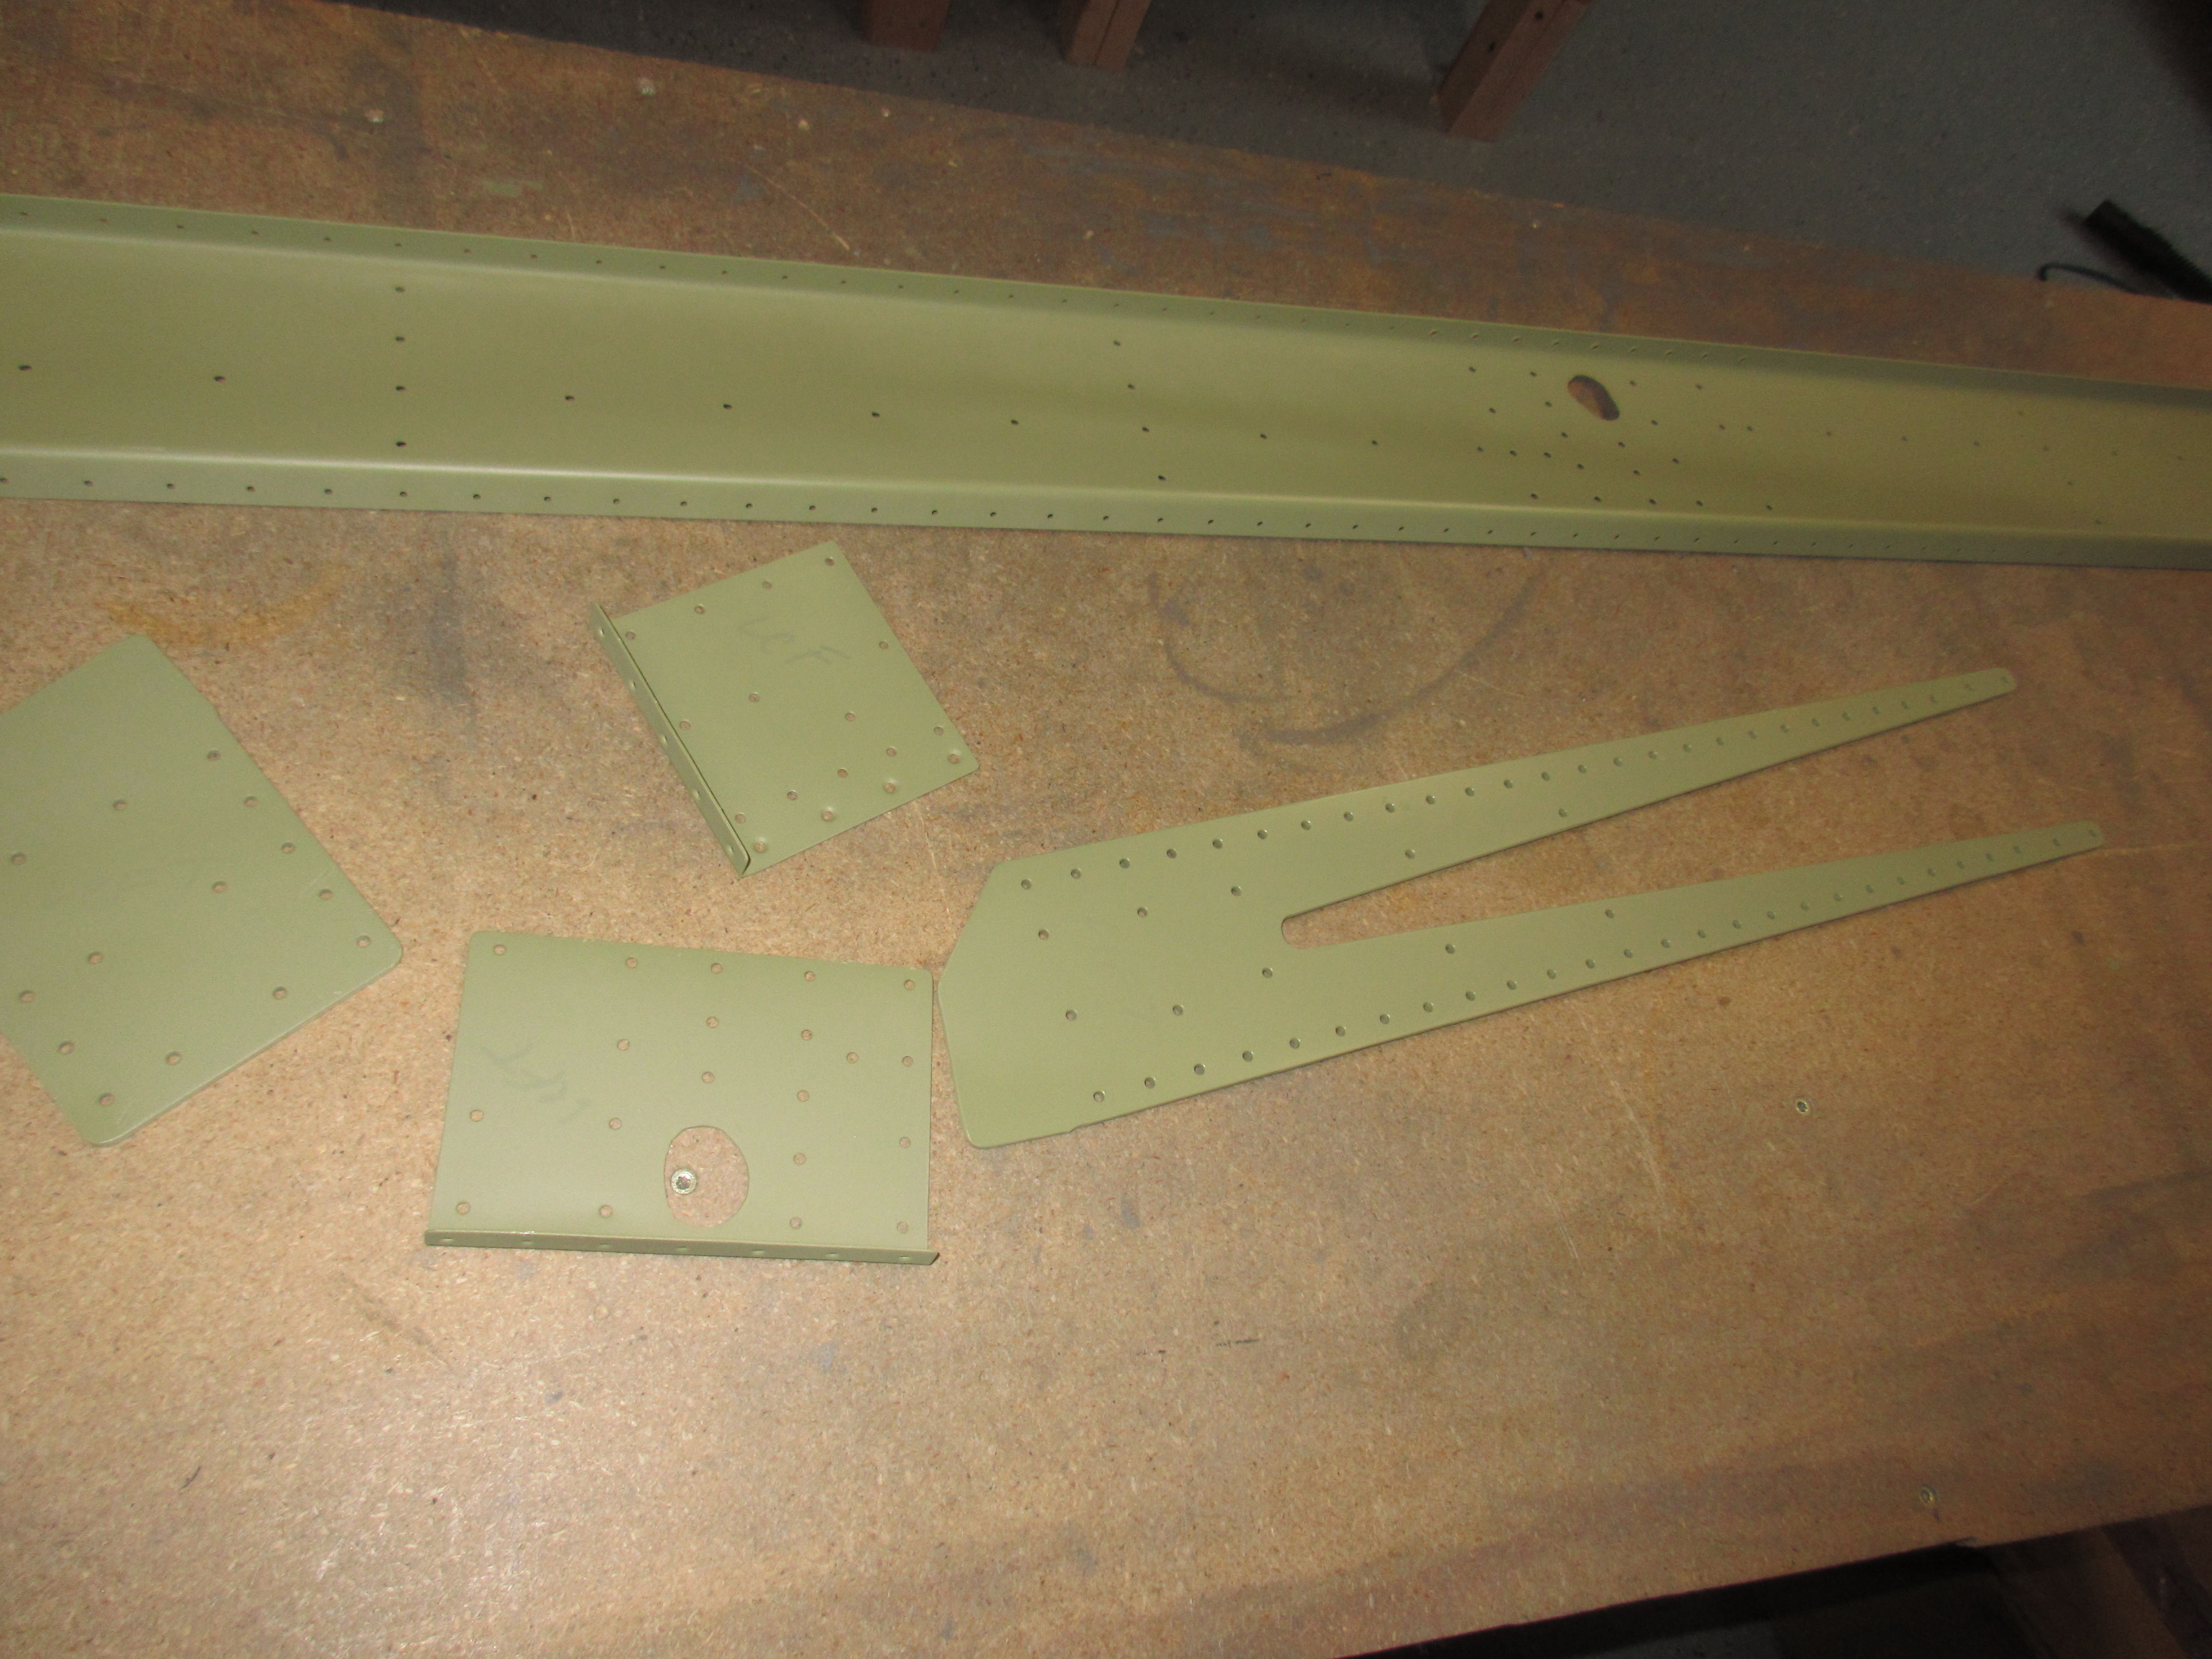
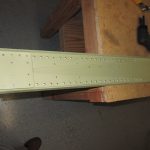
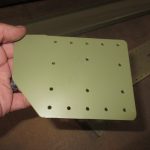
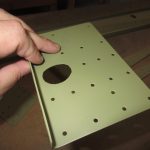
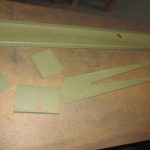
I found a little time to finish up the rear spars for the wings tonight. I had let the AKZO cure for a few days while Tammy was off so we did family time during those days. Tammy was back at work tonight, so I pulled the primered parts from the booth and riveted them together. I started out on the left rear spar since it is the one that is specifically shown in the plans. The right one is not in the plans, and Vans assumes we know how to mirror the left for the right wing. First thing was to cleco the doublers to the rear spar as well as the reinforcement forks and its doubler plate.
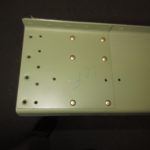
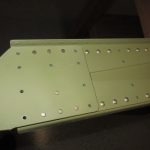
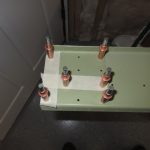
Next, we have to carefully match up which holes need rivets, as some of the holes will be used to hold the spar, doublers ribs and even the gap seals for the aileron and flaps. I used masking tape at first to cover up the holes that don’t get rivets right now and then clecoed everything together.

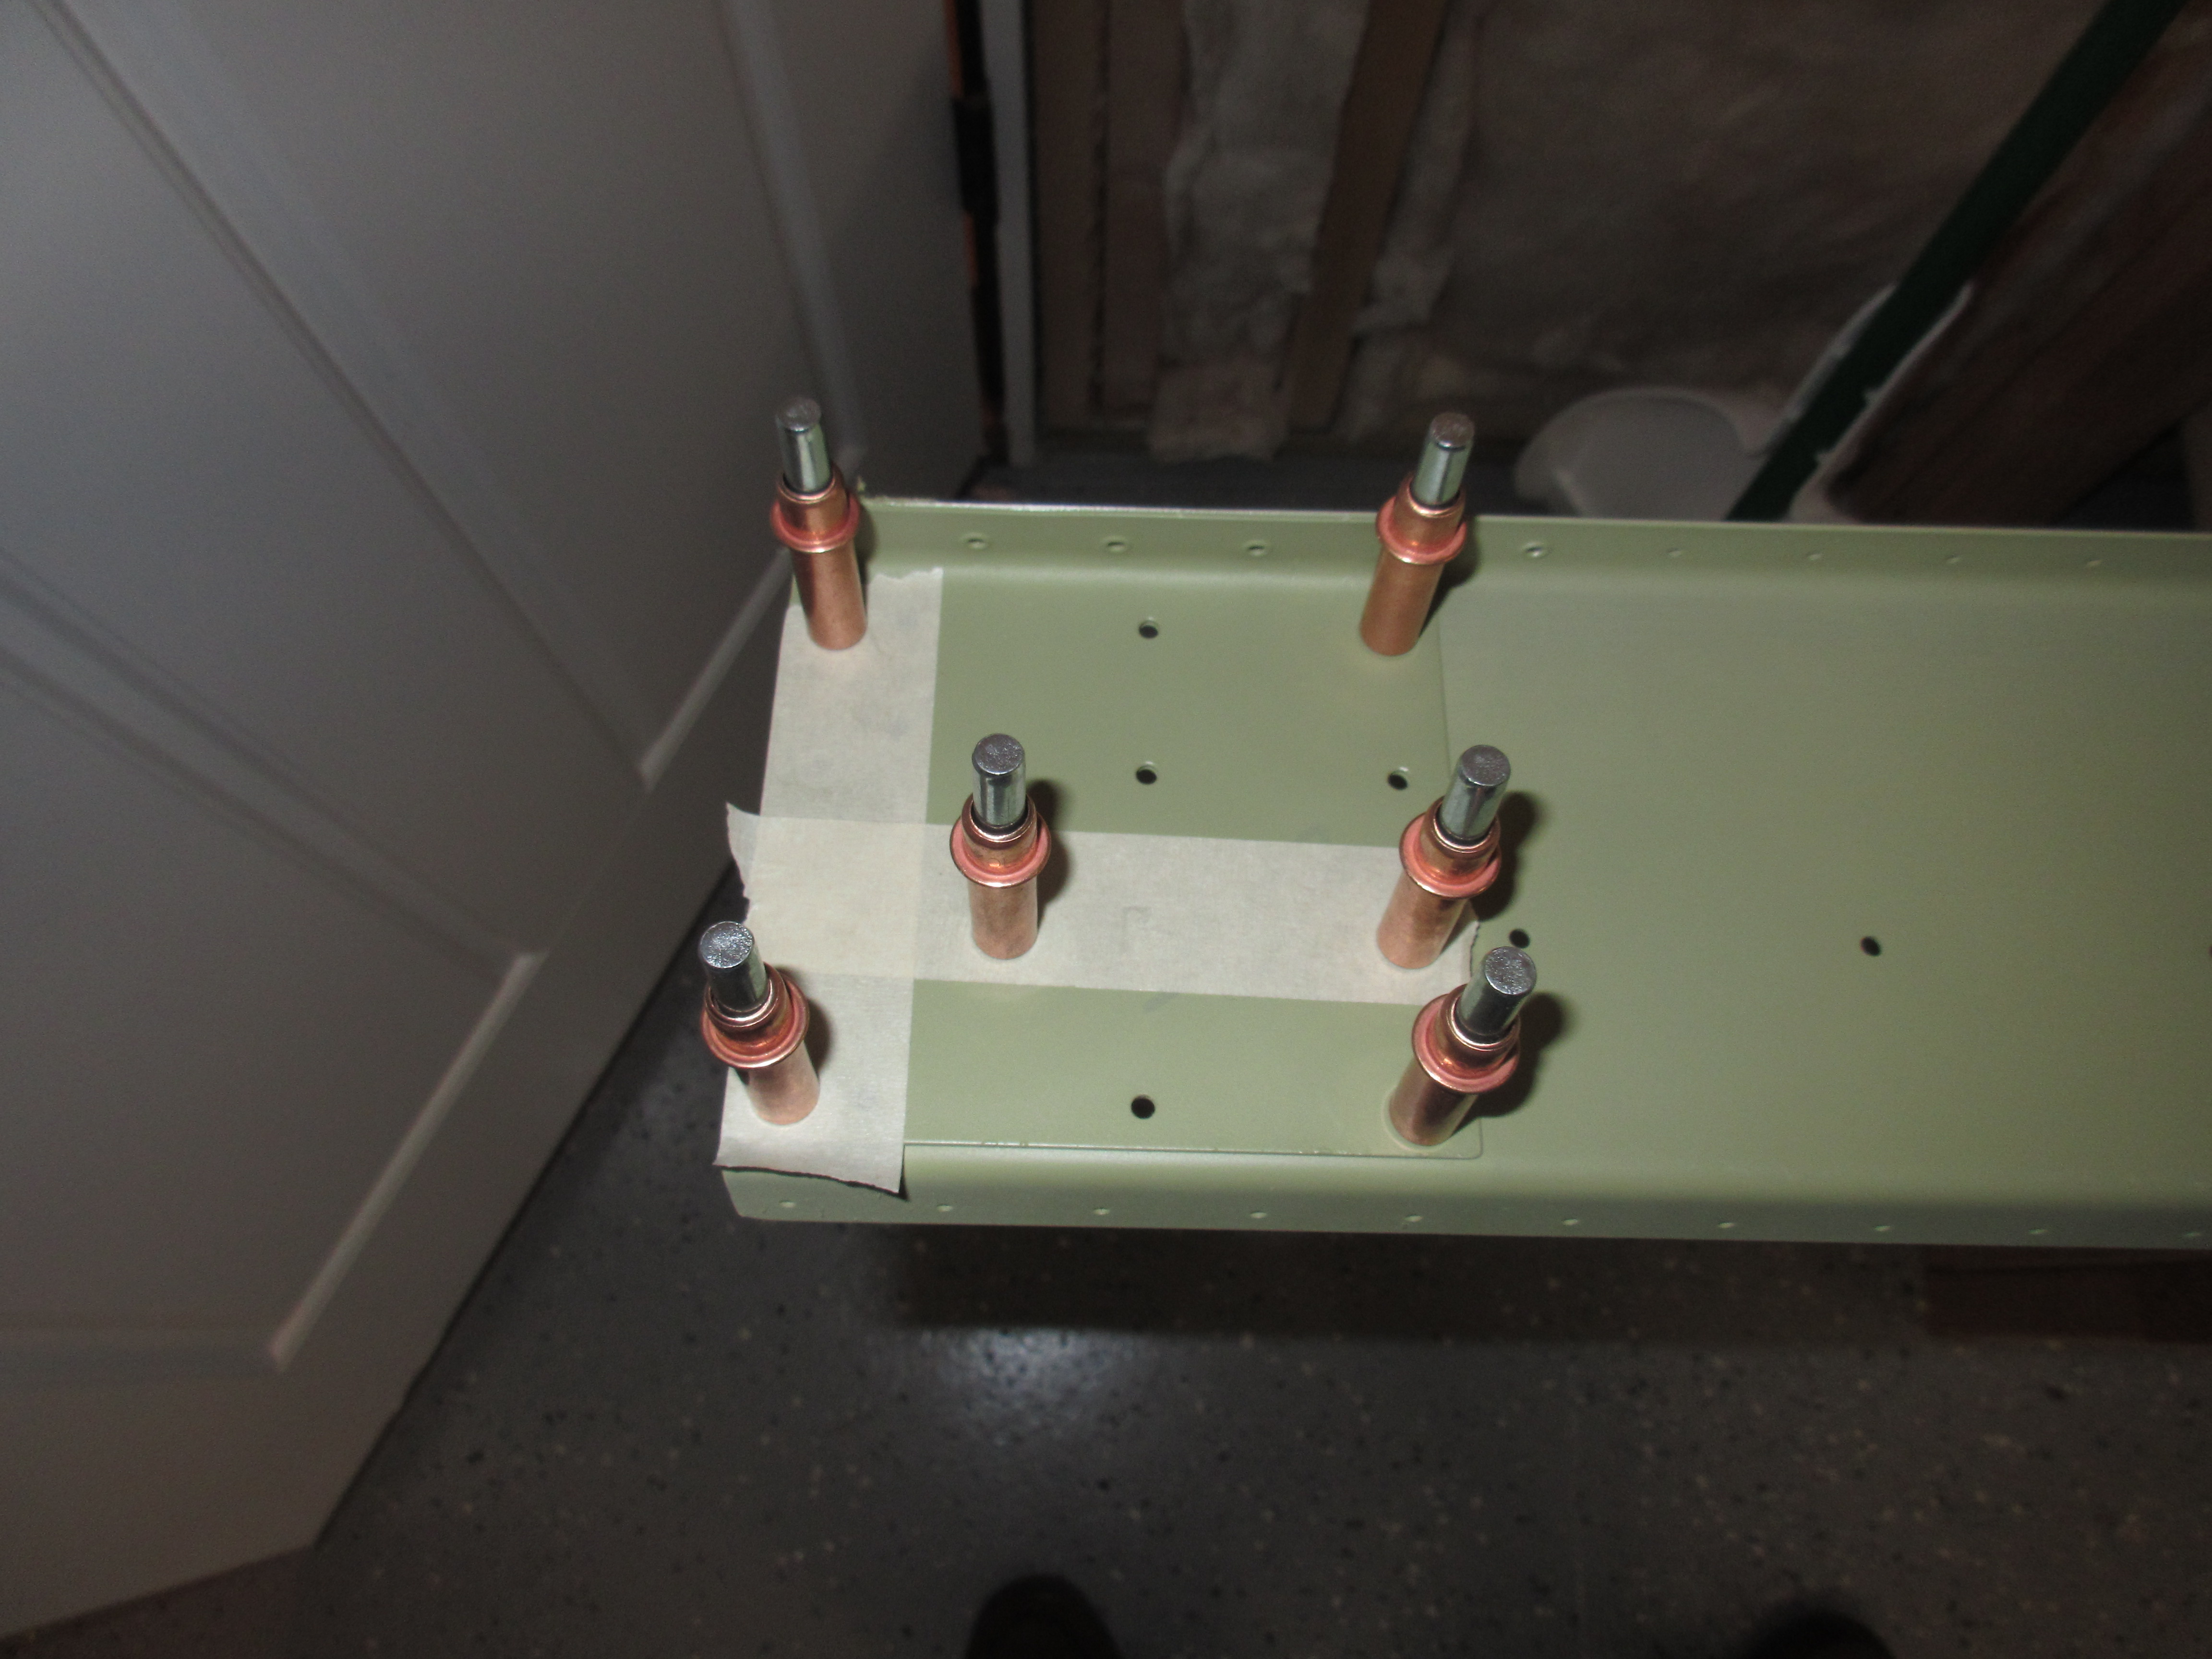
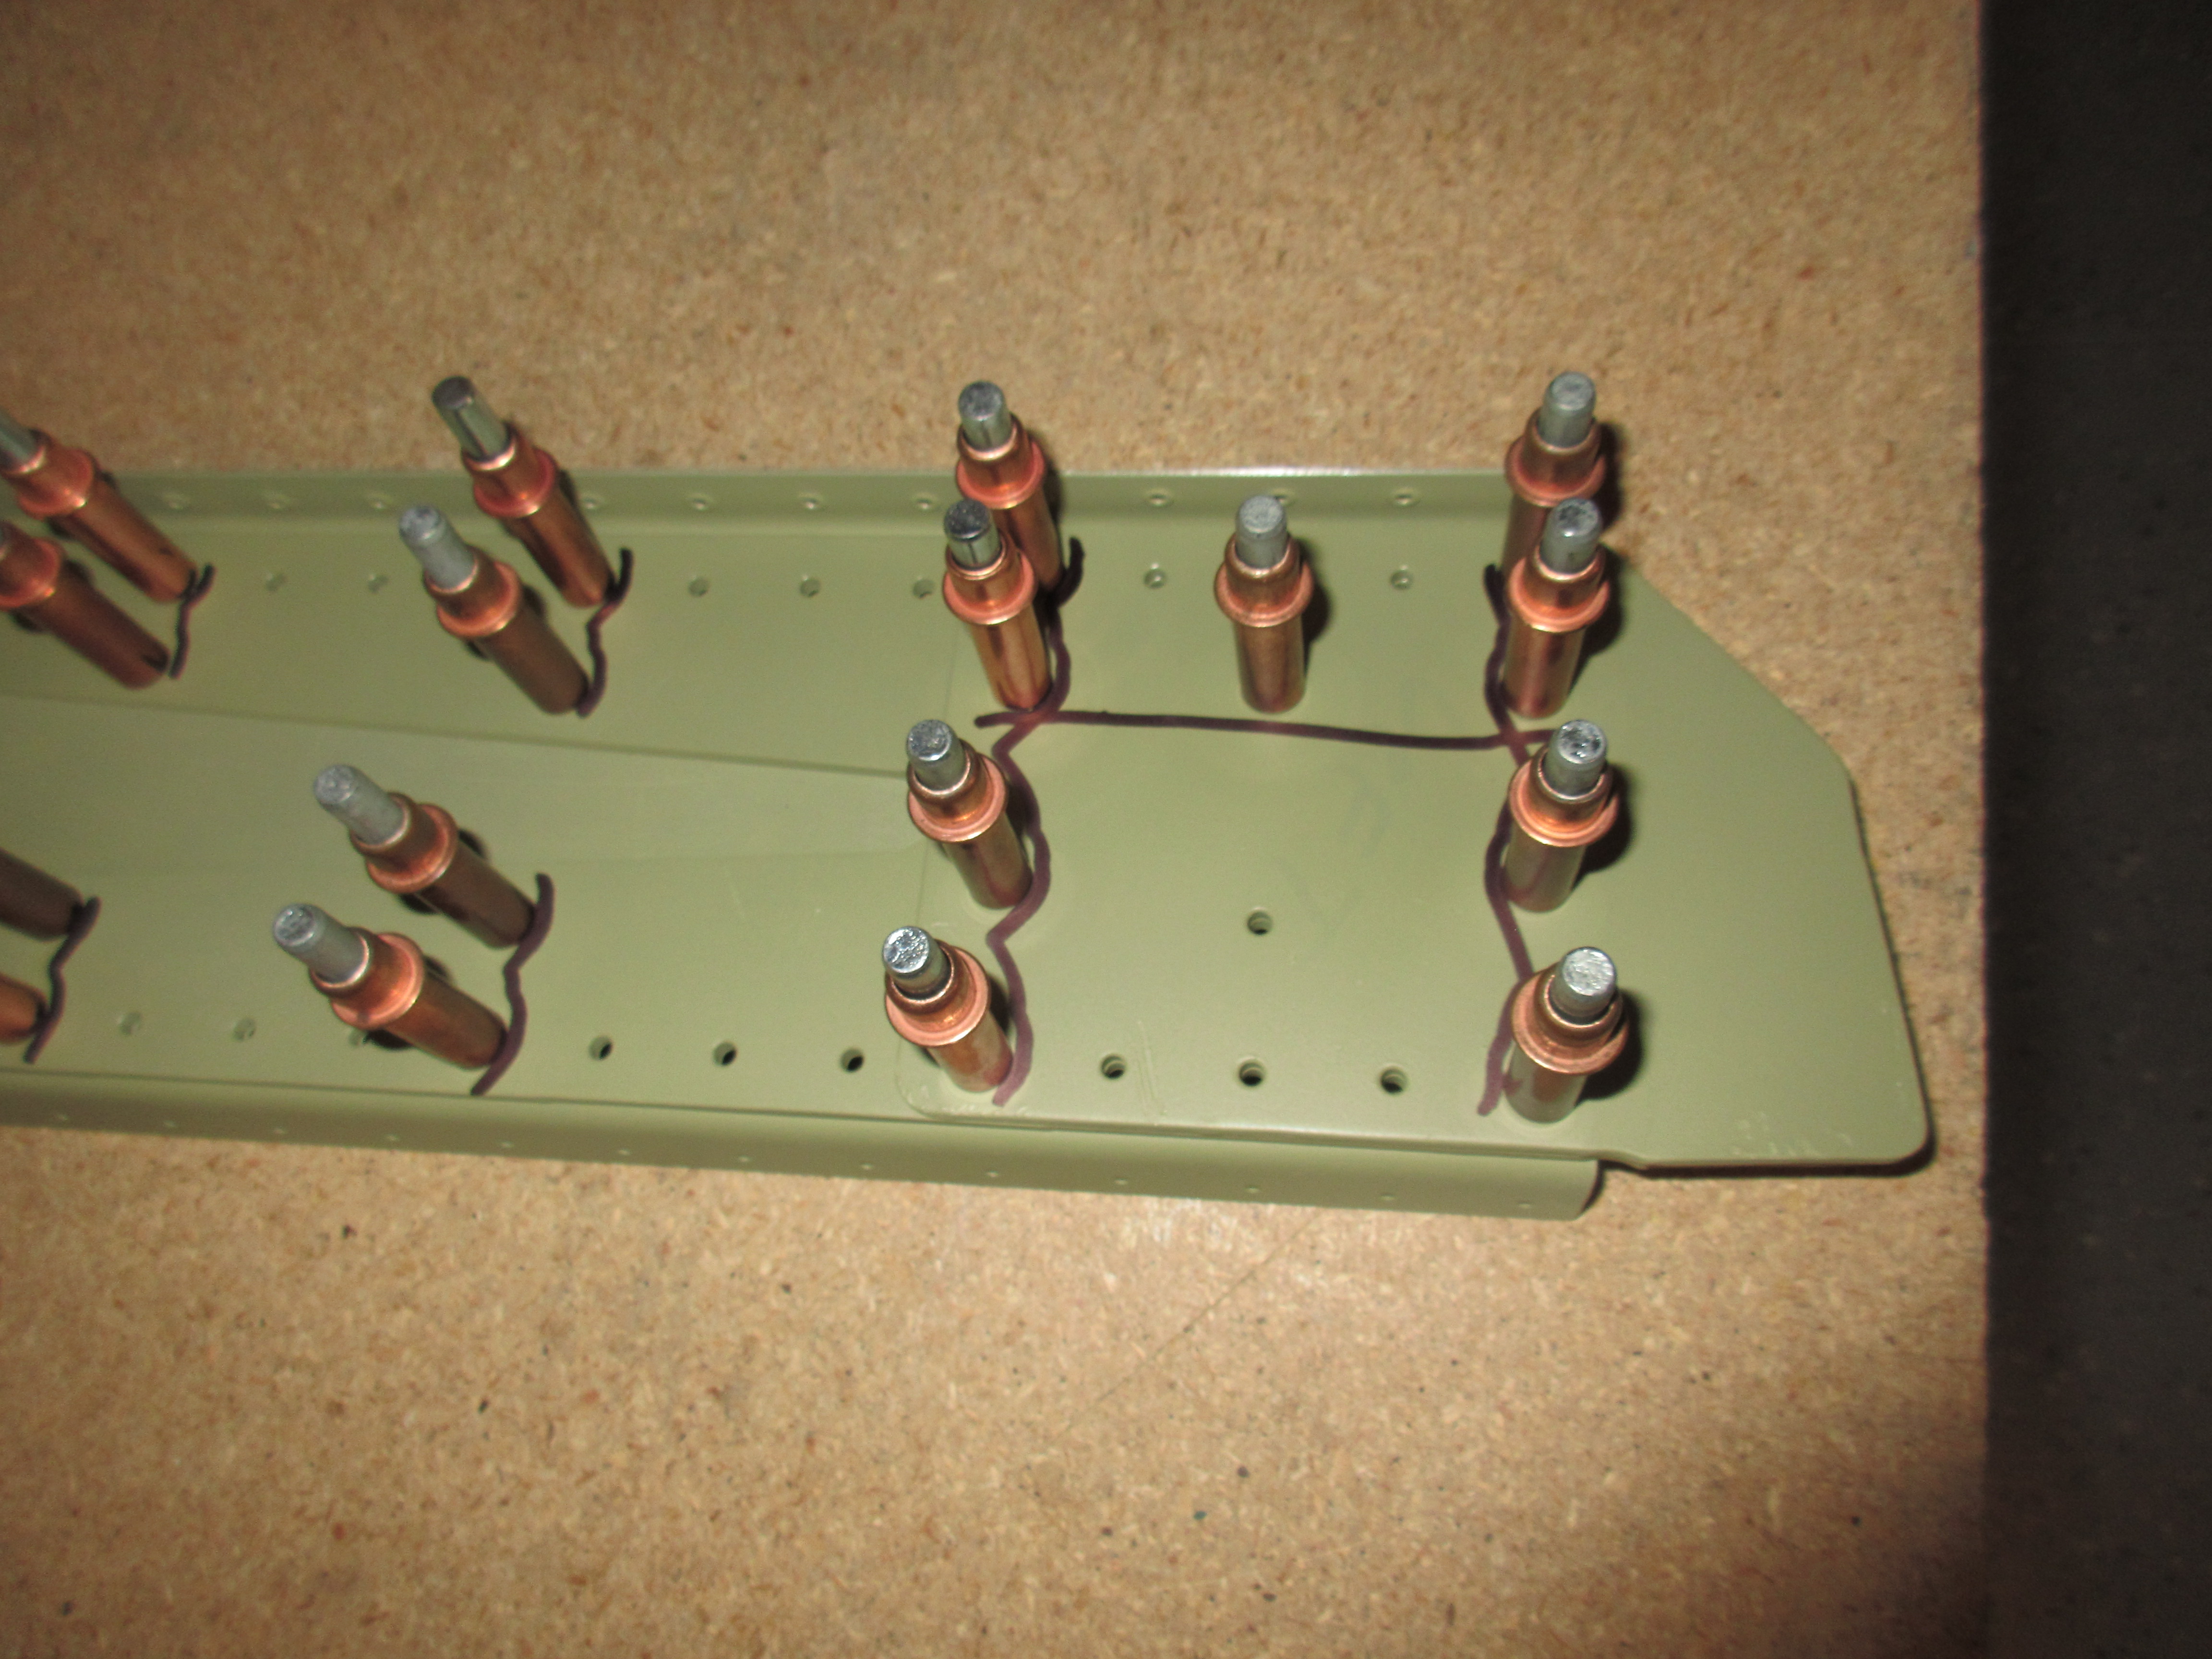
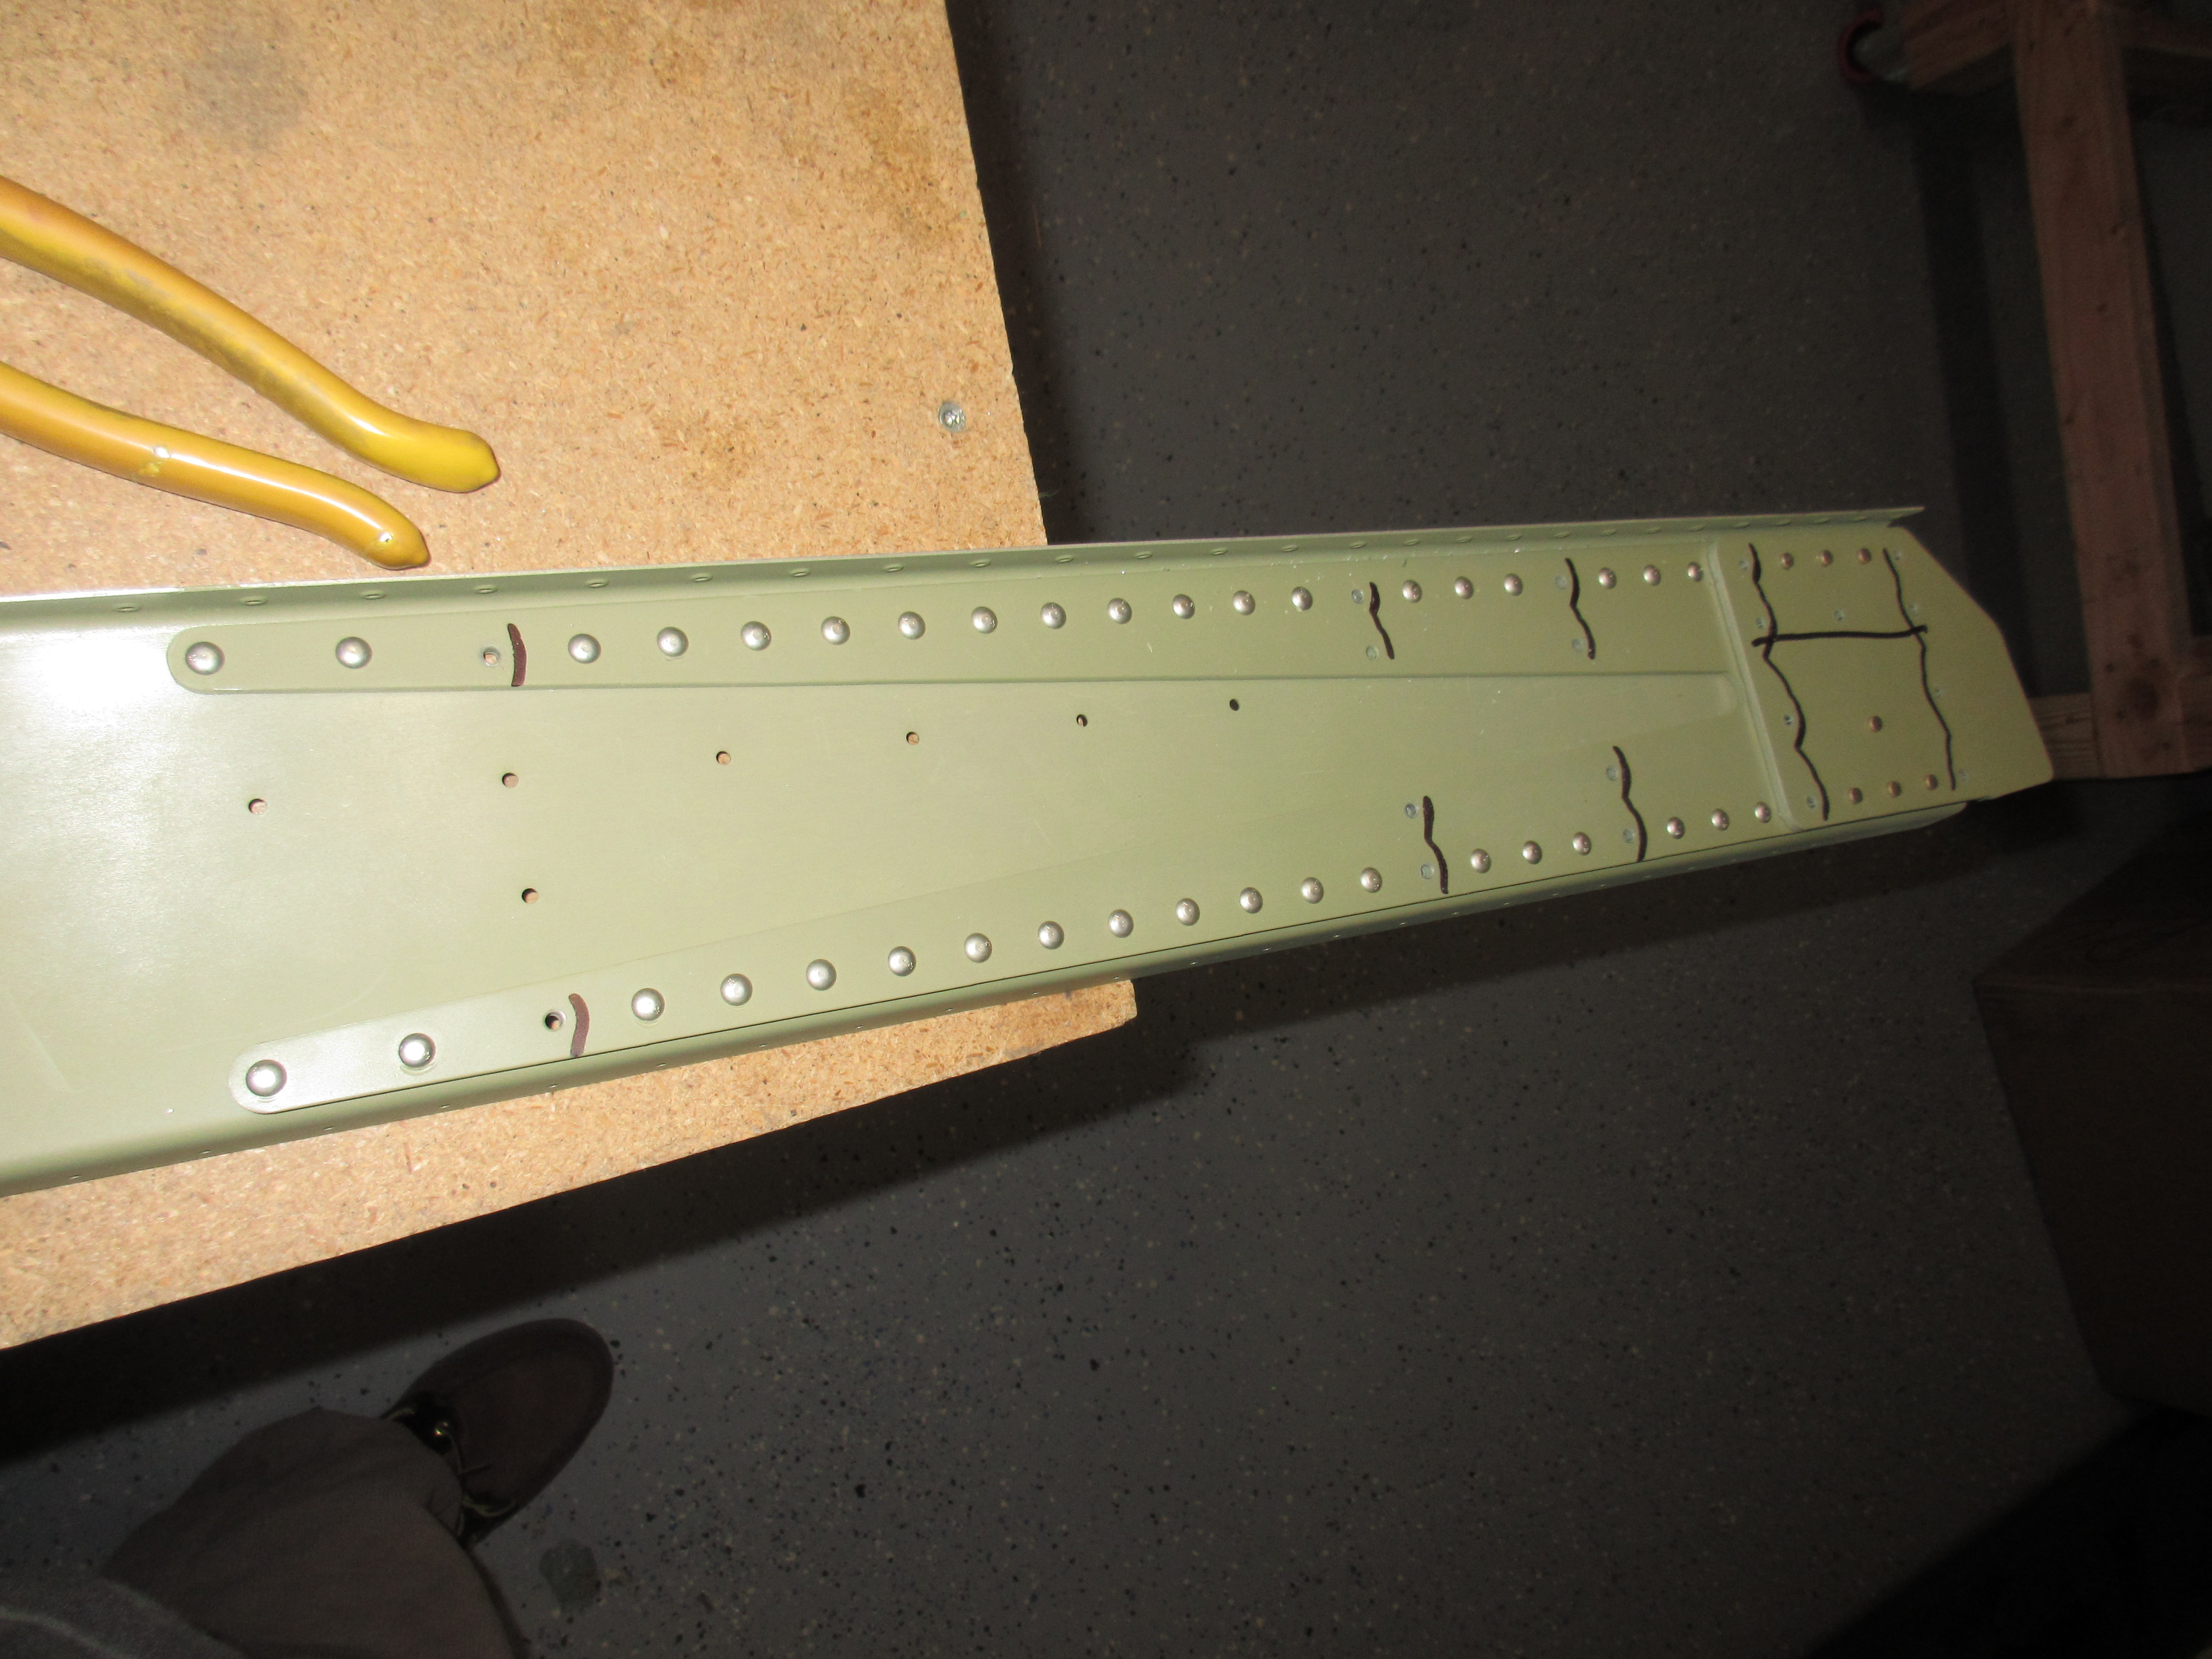
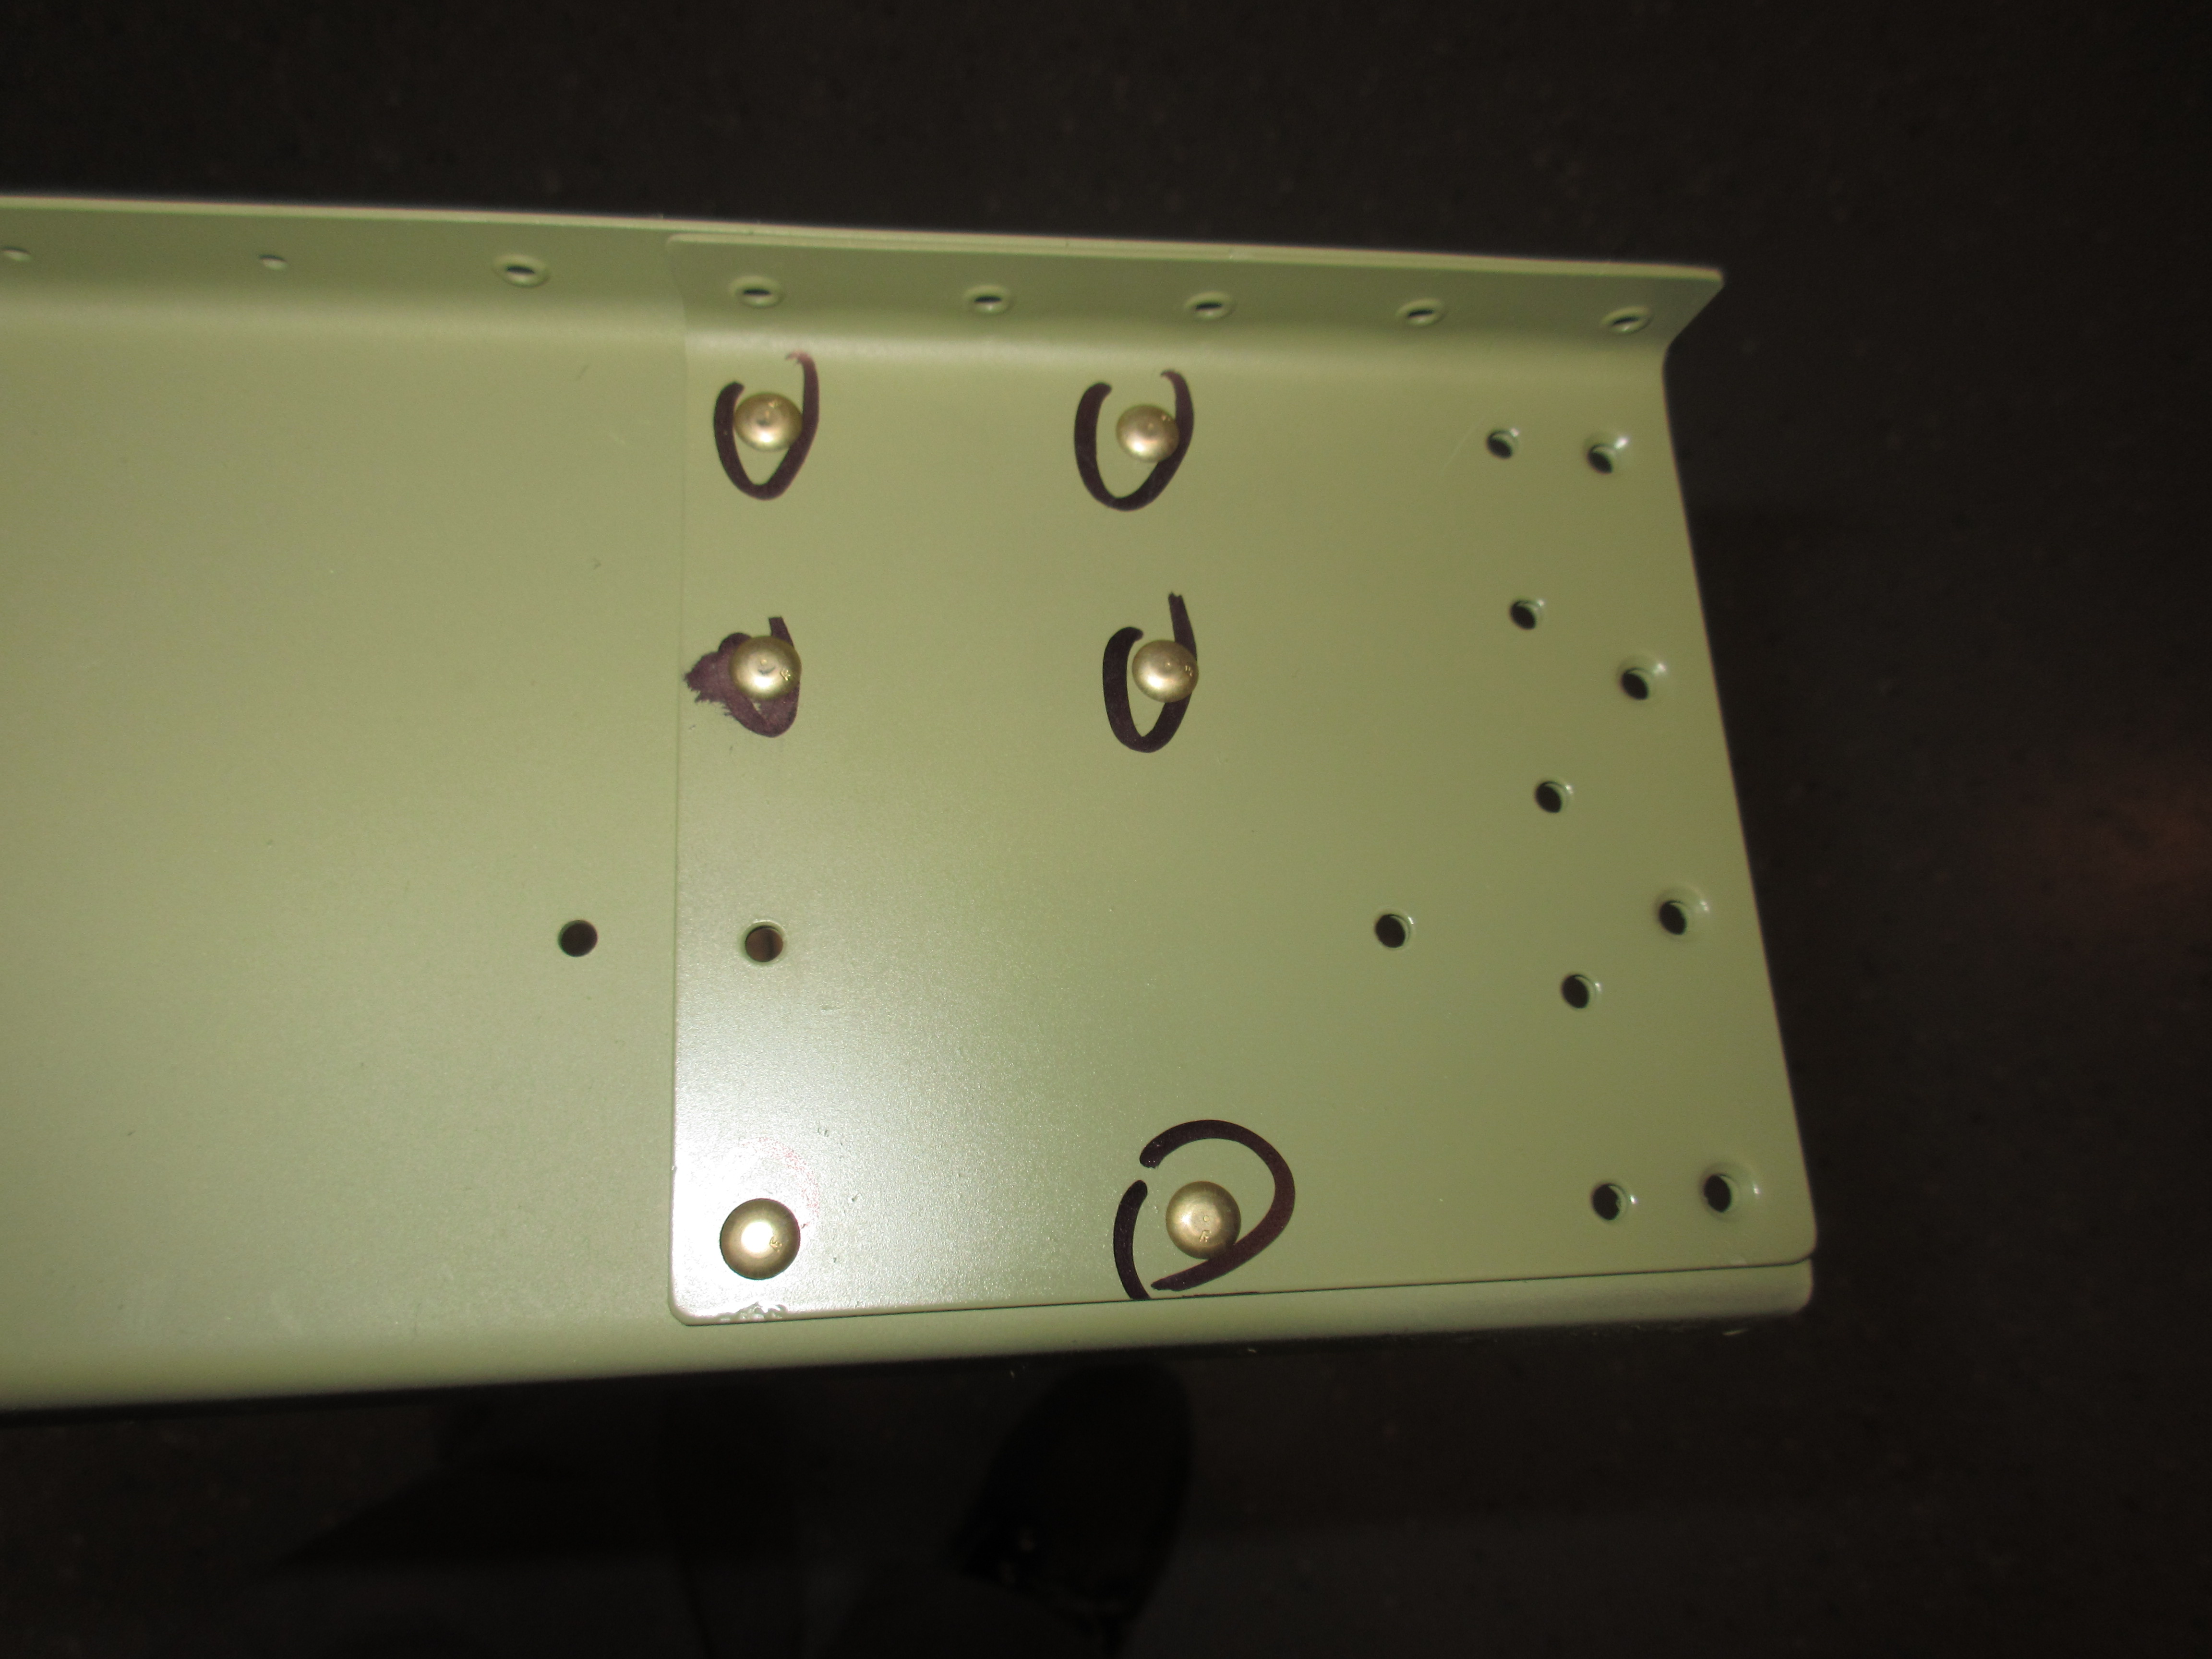
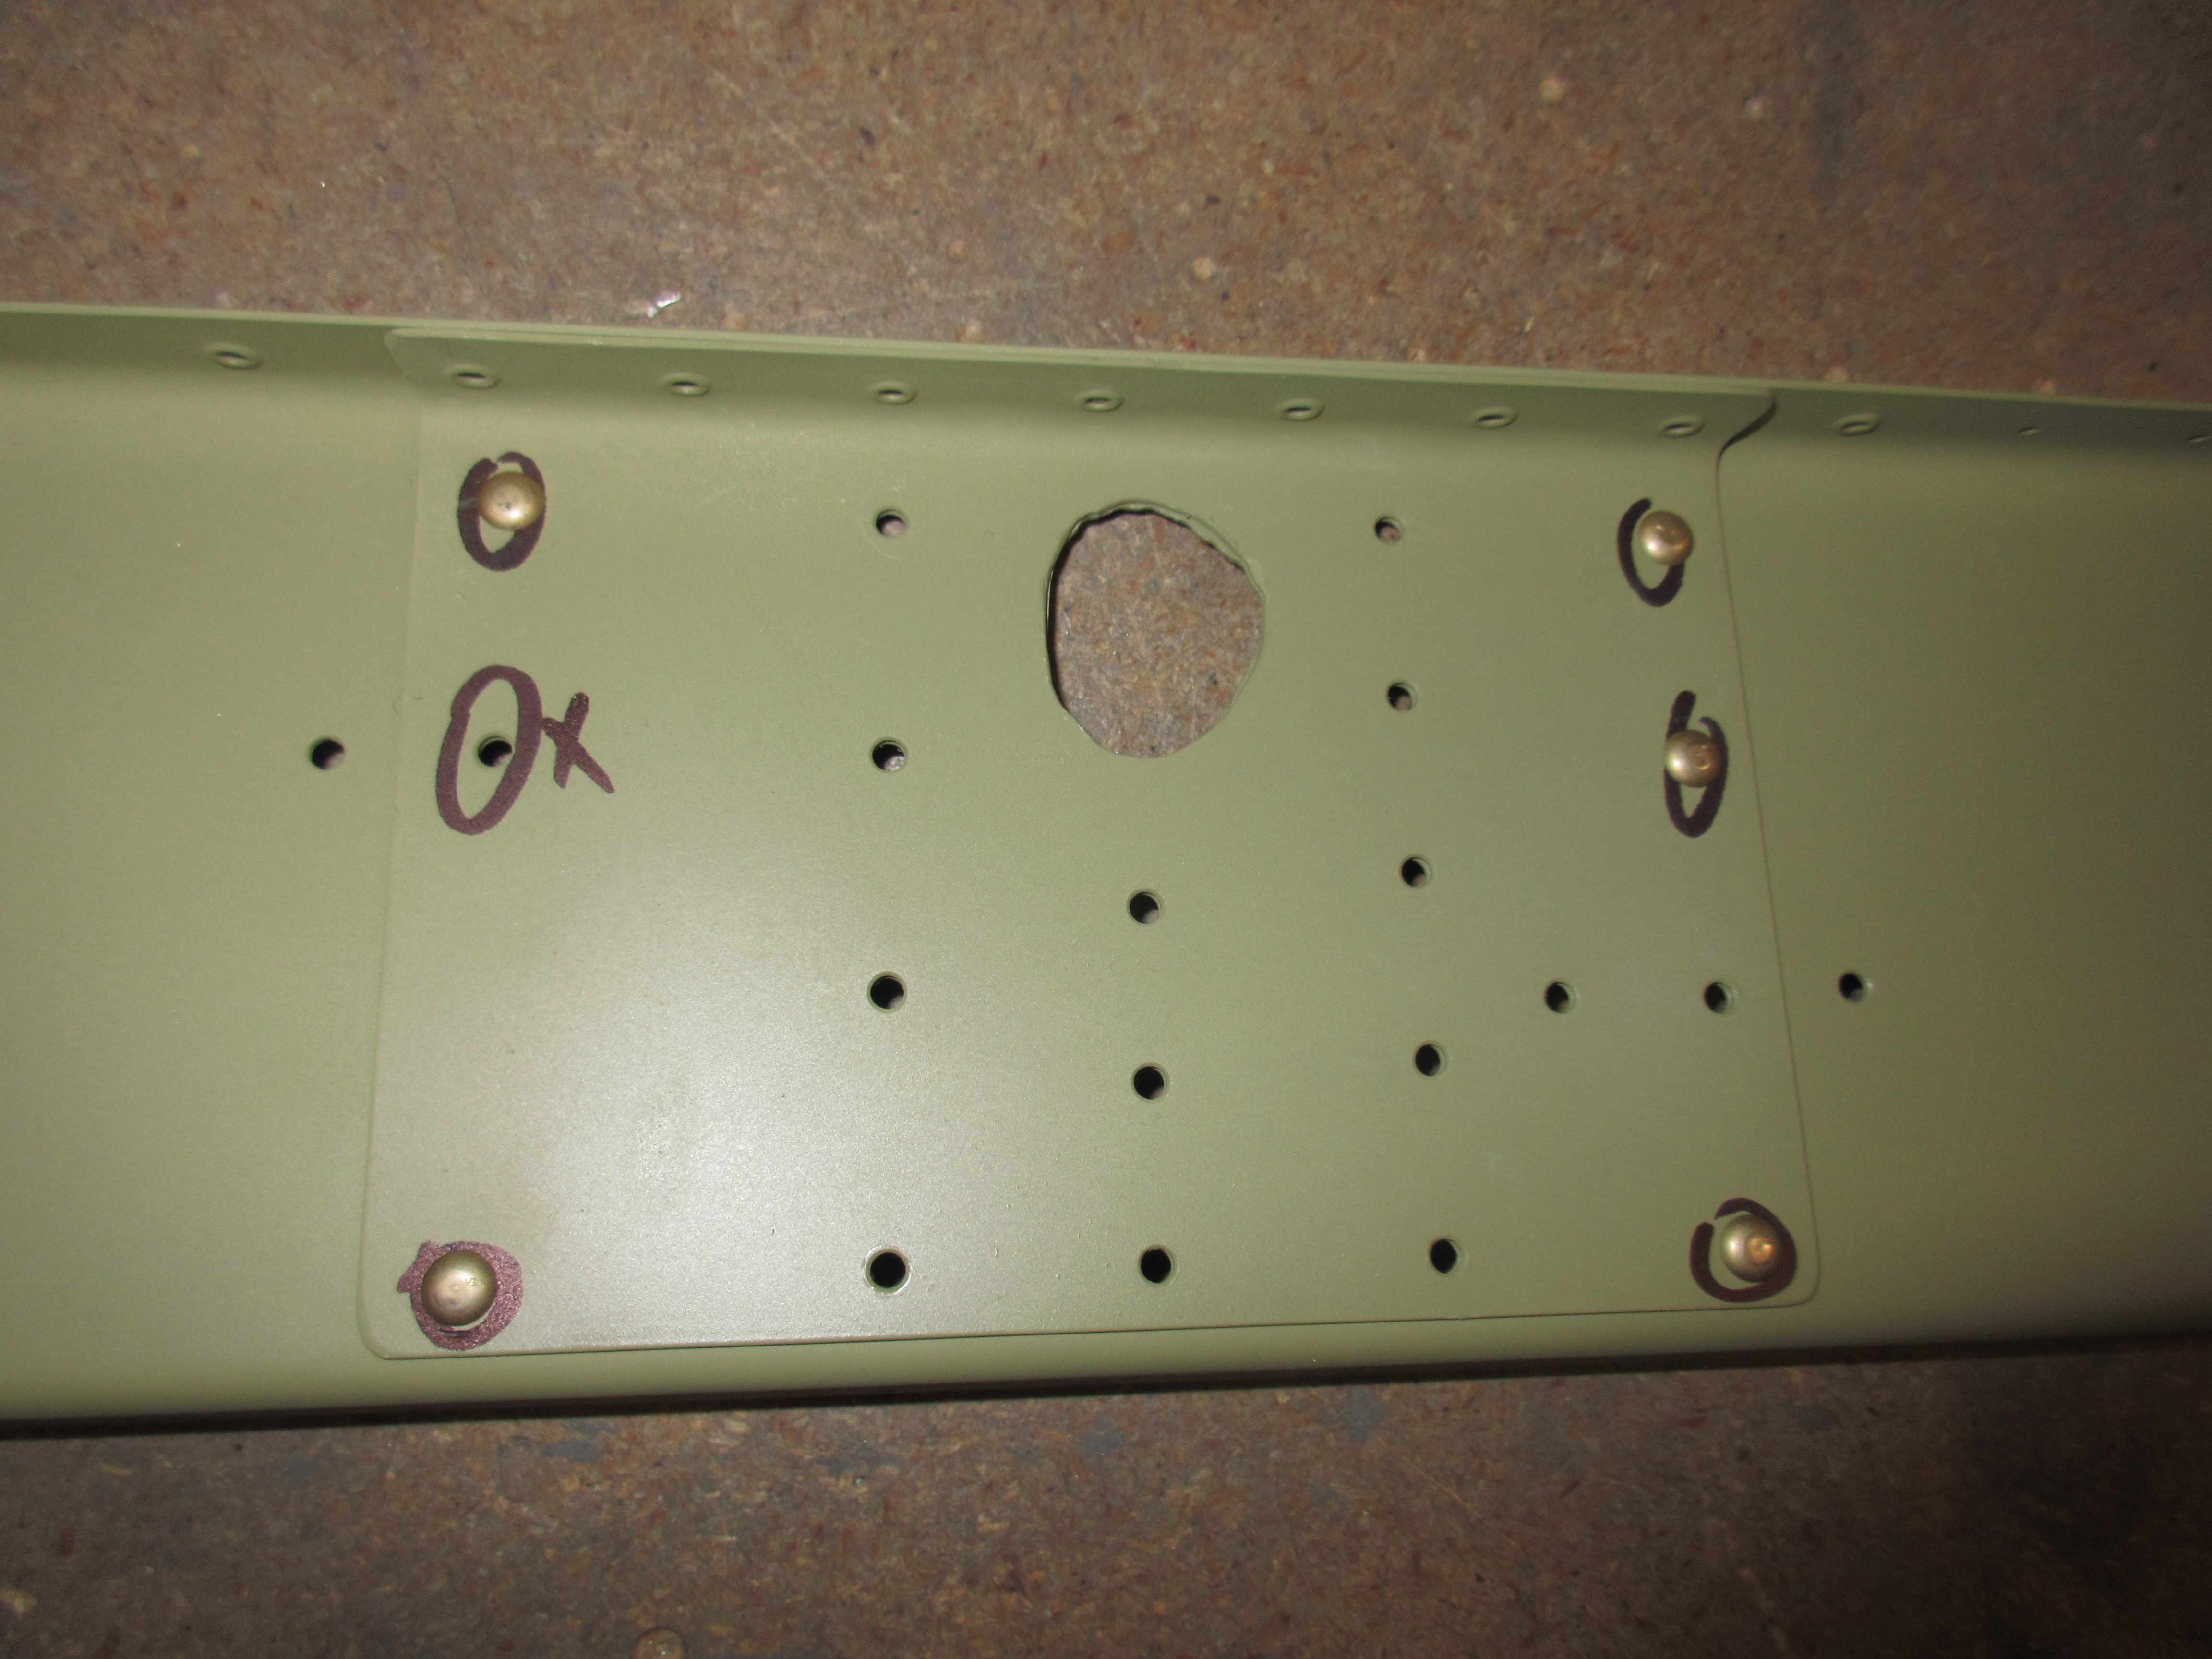
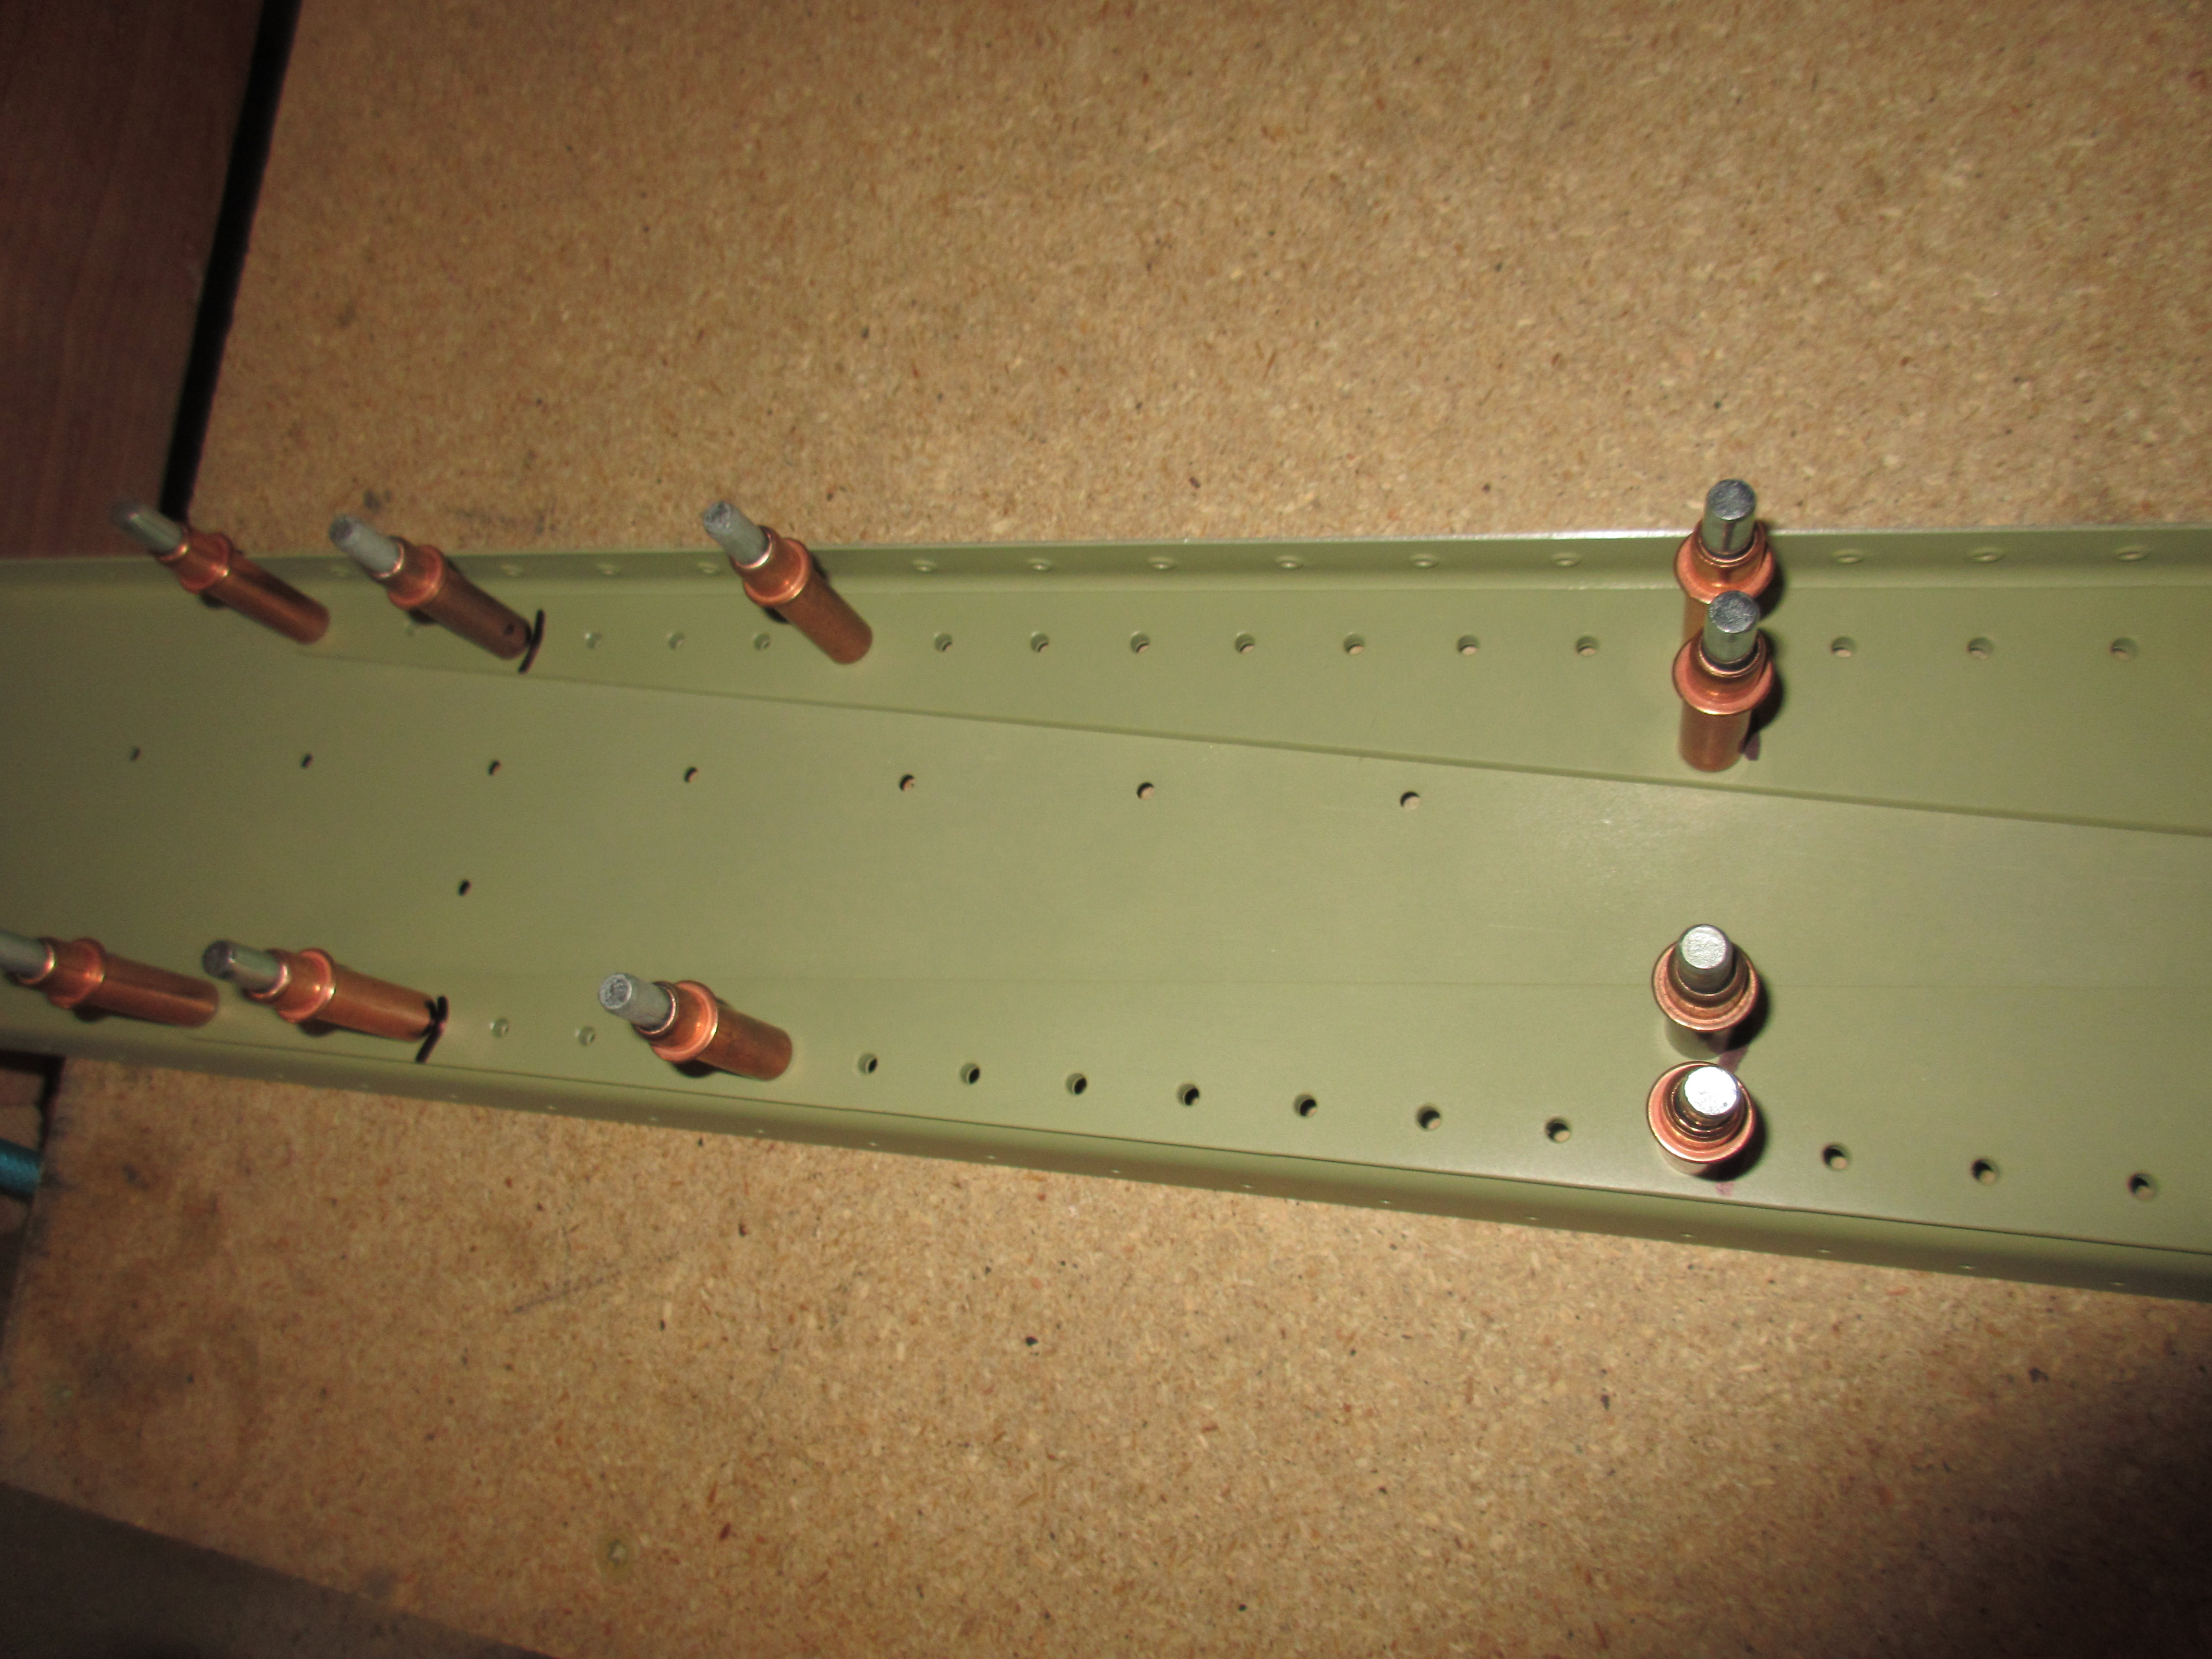
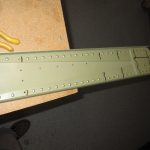
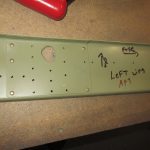
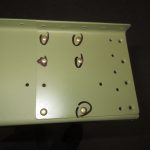
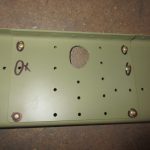
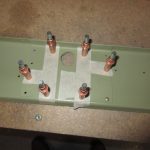
In the last photo above, you can see where I just used a sharpie to mark the holes the DO NOT get rivets instead of using masking tape. After looking over the plans, we are only going to be using three different rivet sizes. AN470AD4-4 for the thinner doubler plates, AN470AD4-6 for the reinforcement fork to rear spar, and finally AN470AD4-8 for the reinforcement fork, its doubler plate and the rear spar. To make my work more efficient, I decided to start with the smaller rivets first, setup my squeezer for them and then do all of the 4-4 rivets on both rear spars, and then just adjust the squeezer for the next size and repeat. So, I went ahead and clecoed the right wing rear spar parts together, making sure to mirror their orientation to the left wing. Since there are only a few rivets on some of these doubler, I just decided to circle the ones I needed to squeeze instead of using masking tape for the right rear spar.
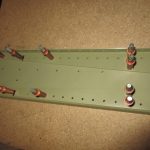
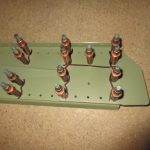
Then it was time to squeeze. I started out with the AN470AD4-4 rivets and adjusted my squeezer until the rivet was setting perfectly against the rivet gauge, and the I went and squeezed all of the 4-4 sized rivets on both the left and right rear spars, always checking each one with the rivet gauge (I am picky about this). Once I had them all done, I moved up to the AN470AD4-6 rivets and did the same thing for both sides, and then finally finished up by riveting the handful of the larger AN470AD4-8 rivets. Each rivet was checked with the gauge for precision.
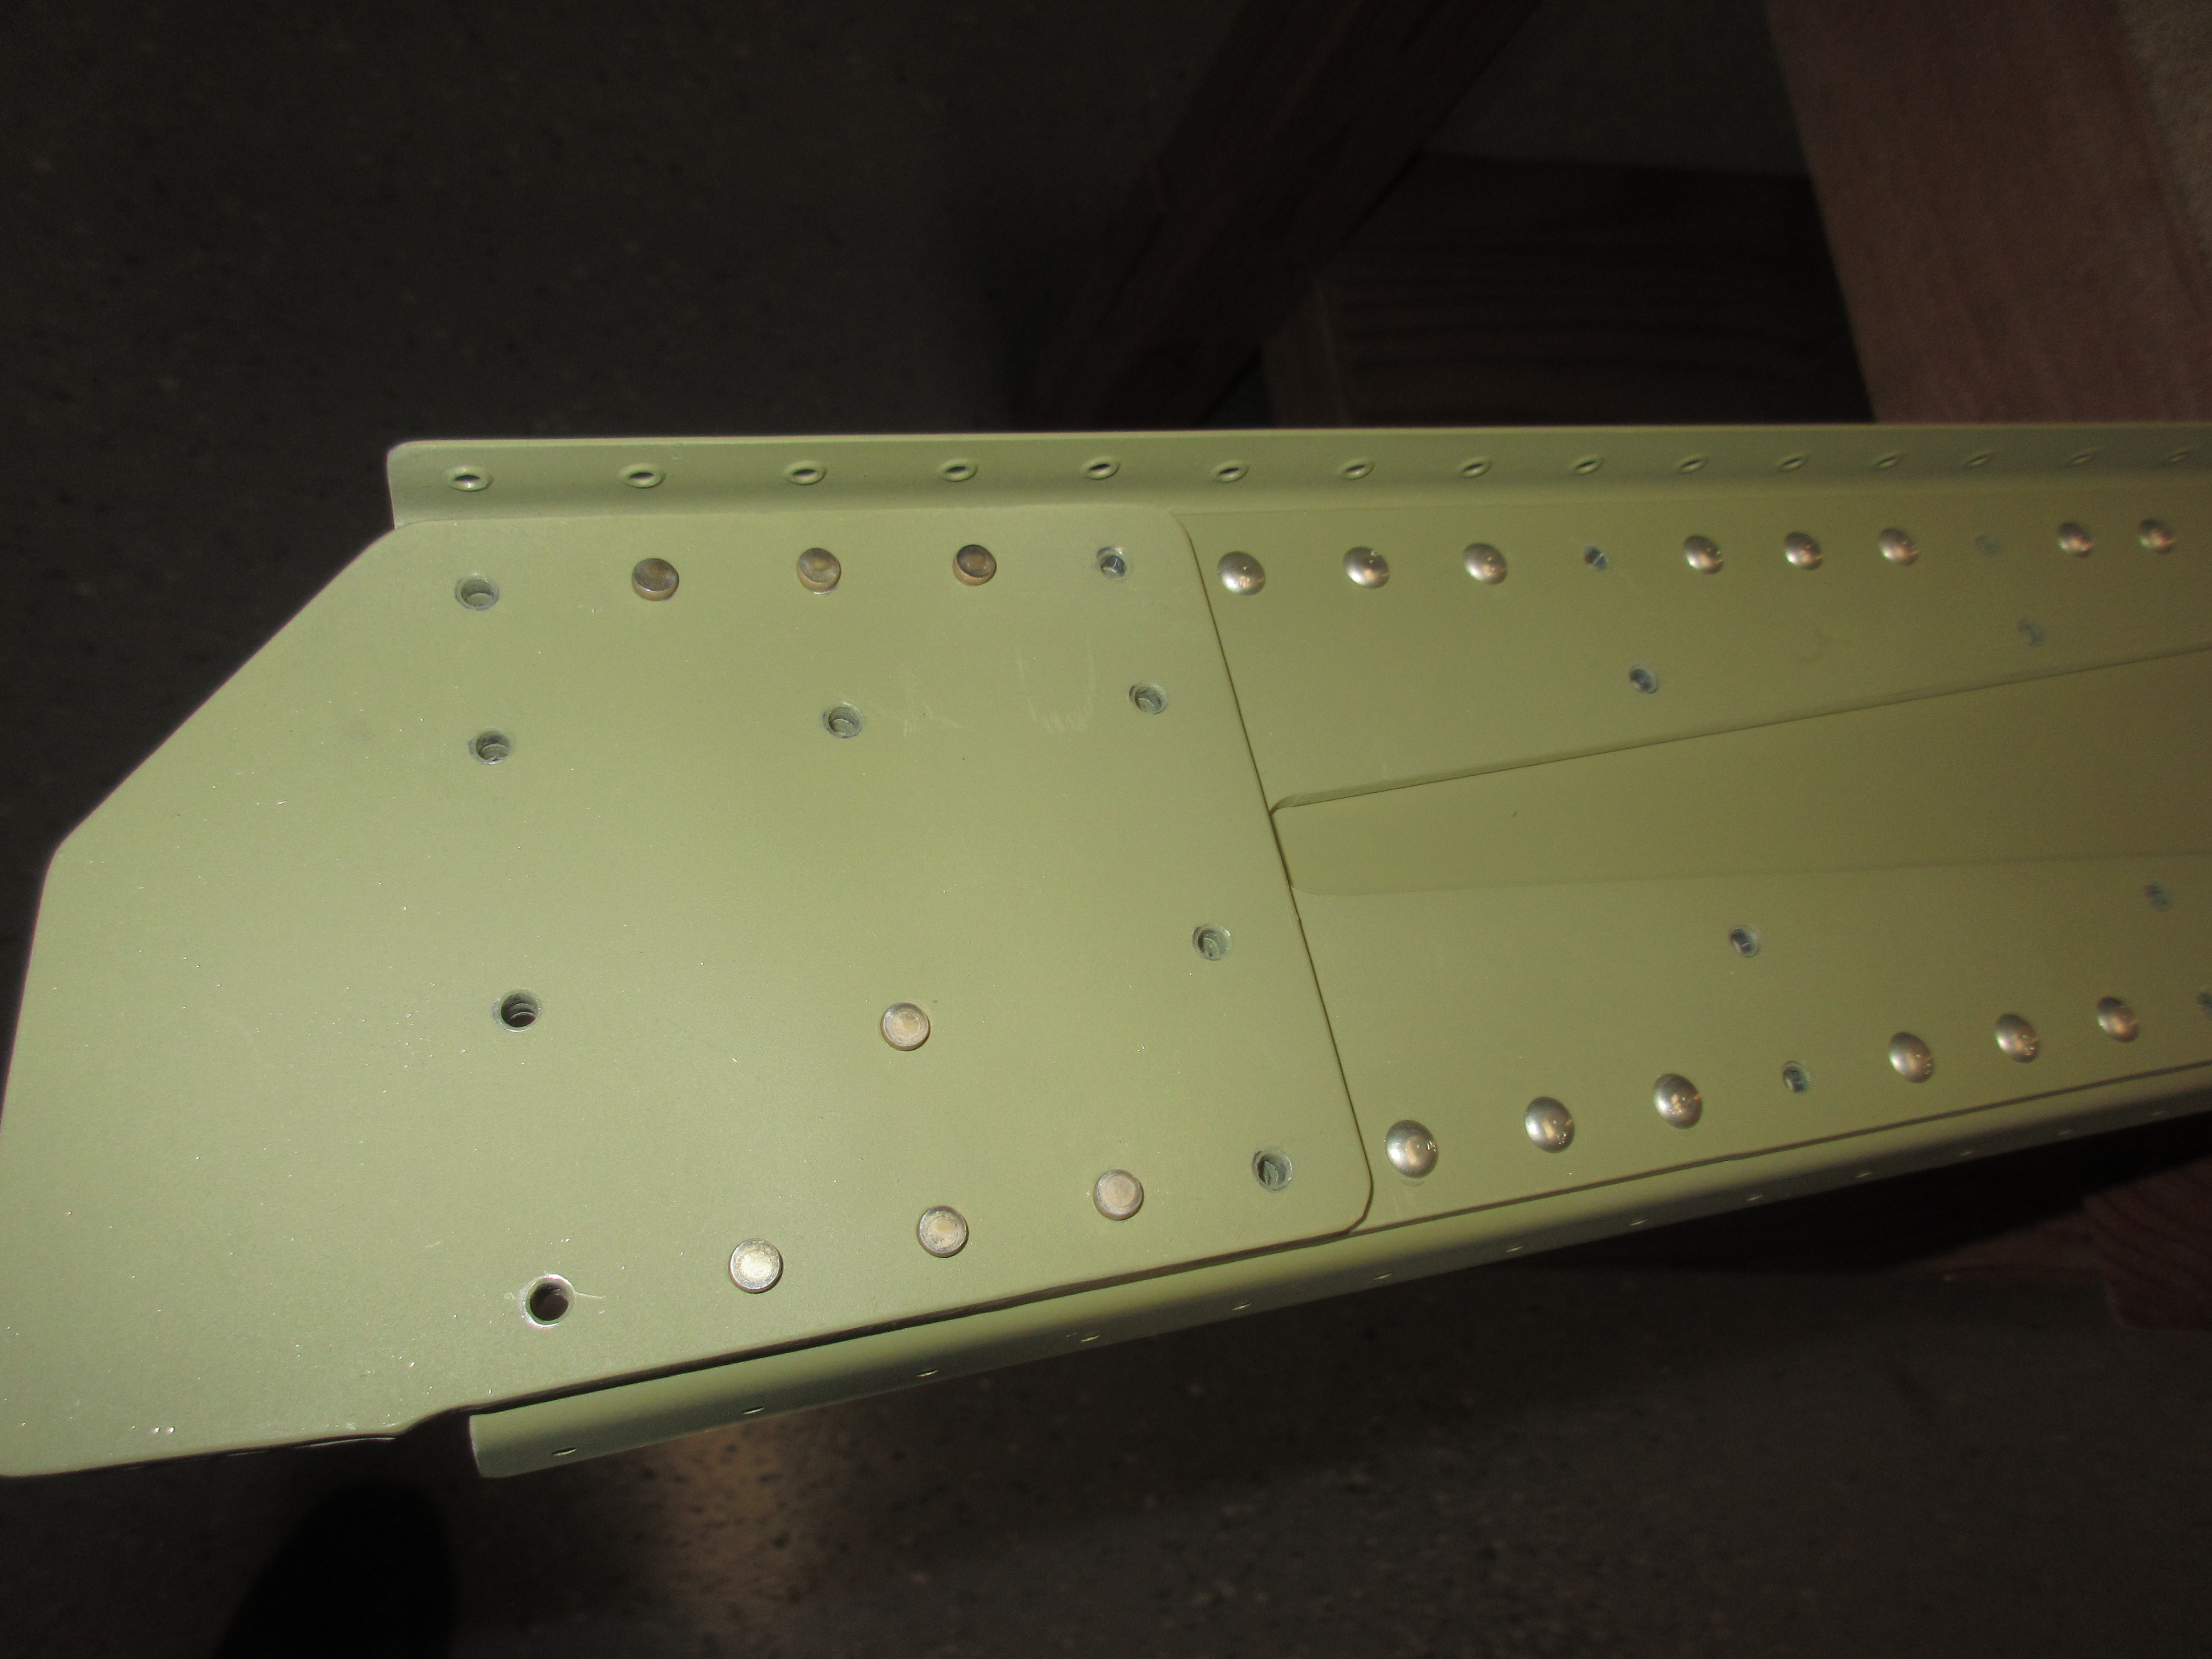
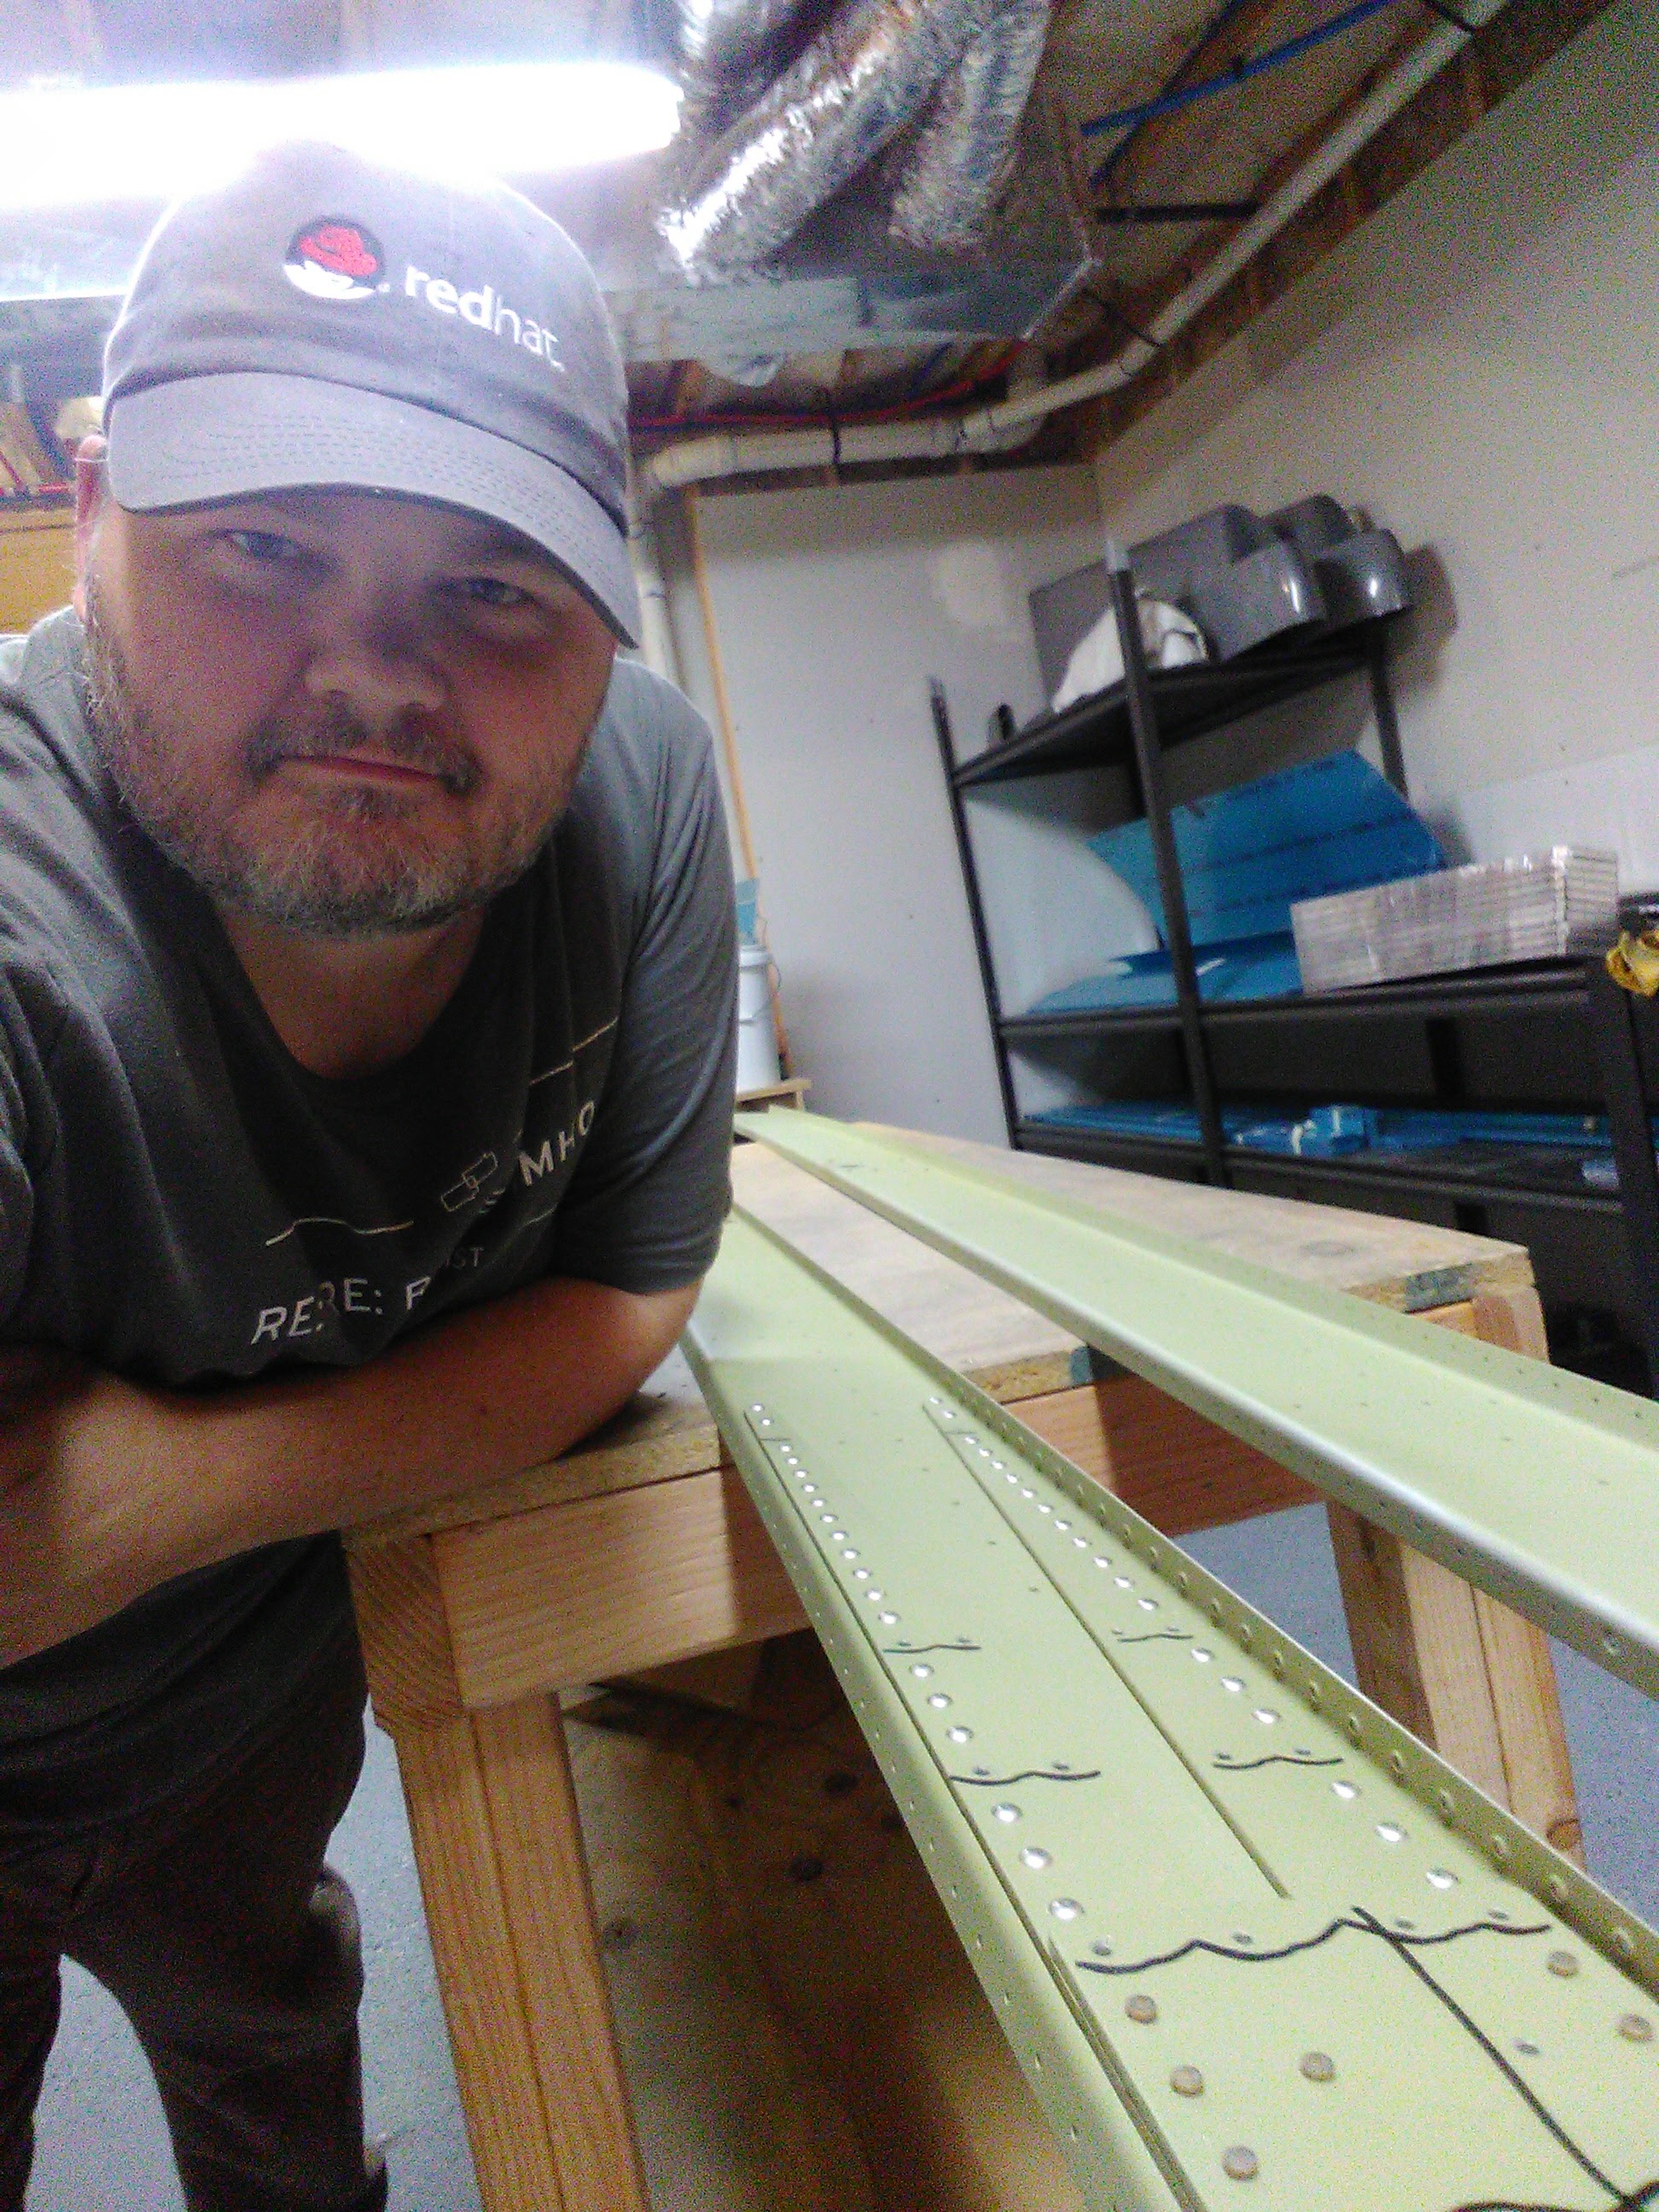
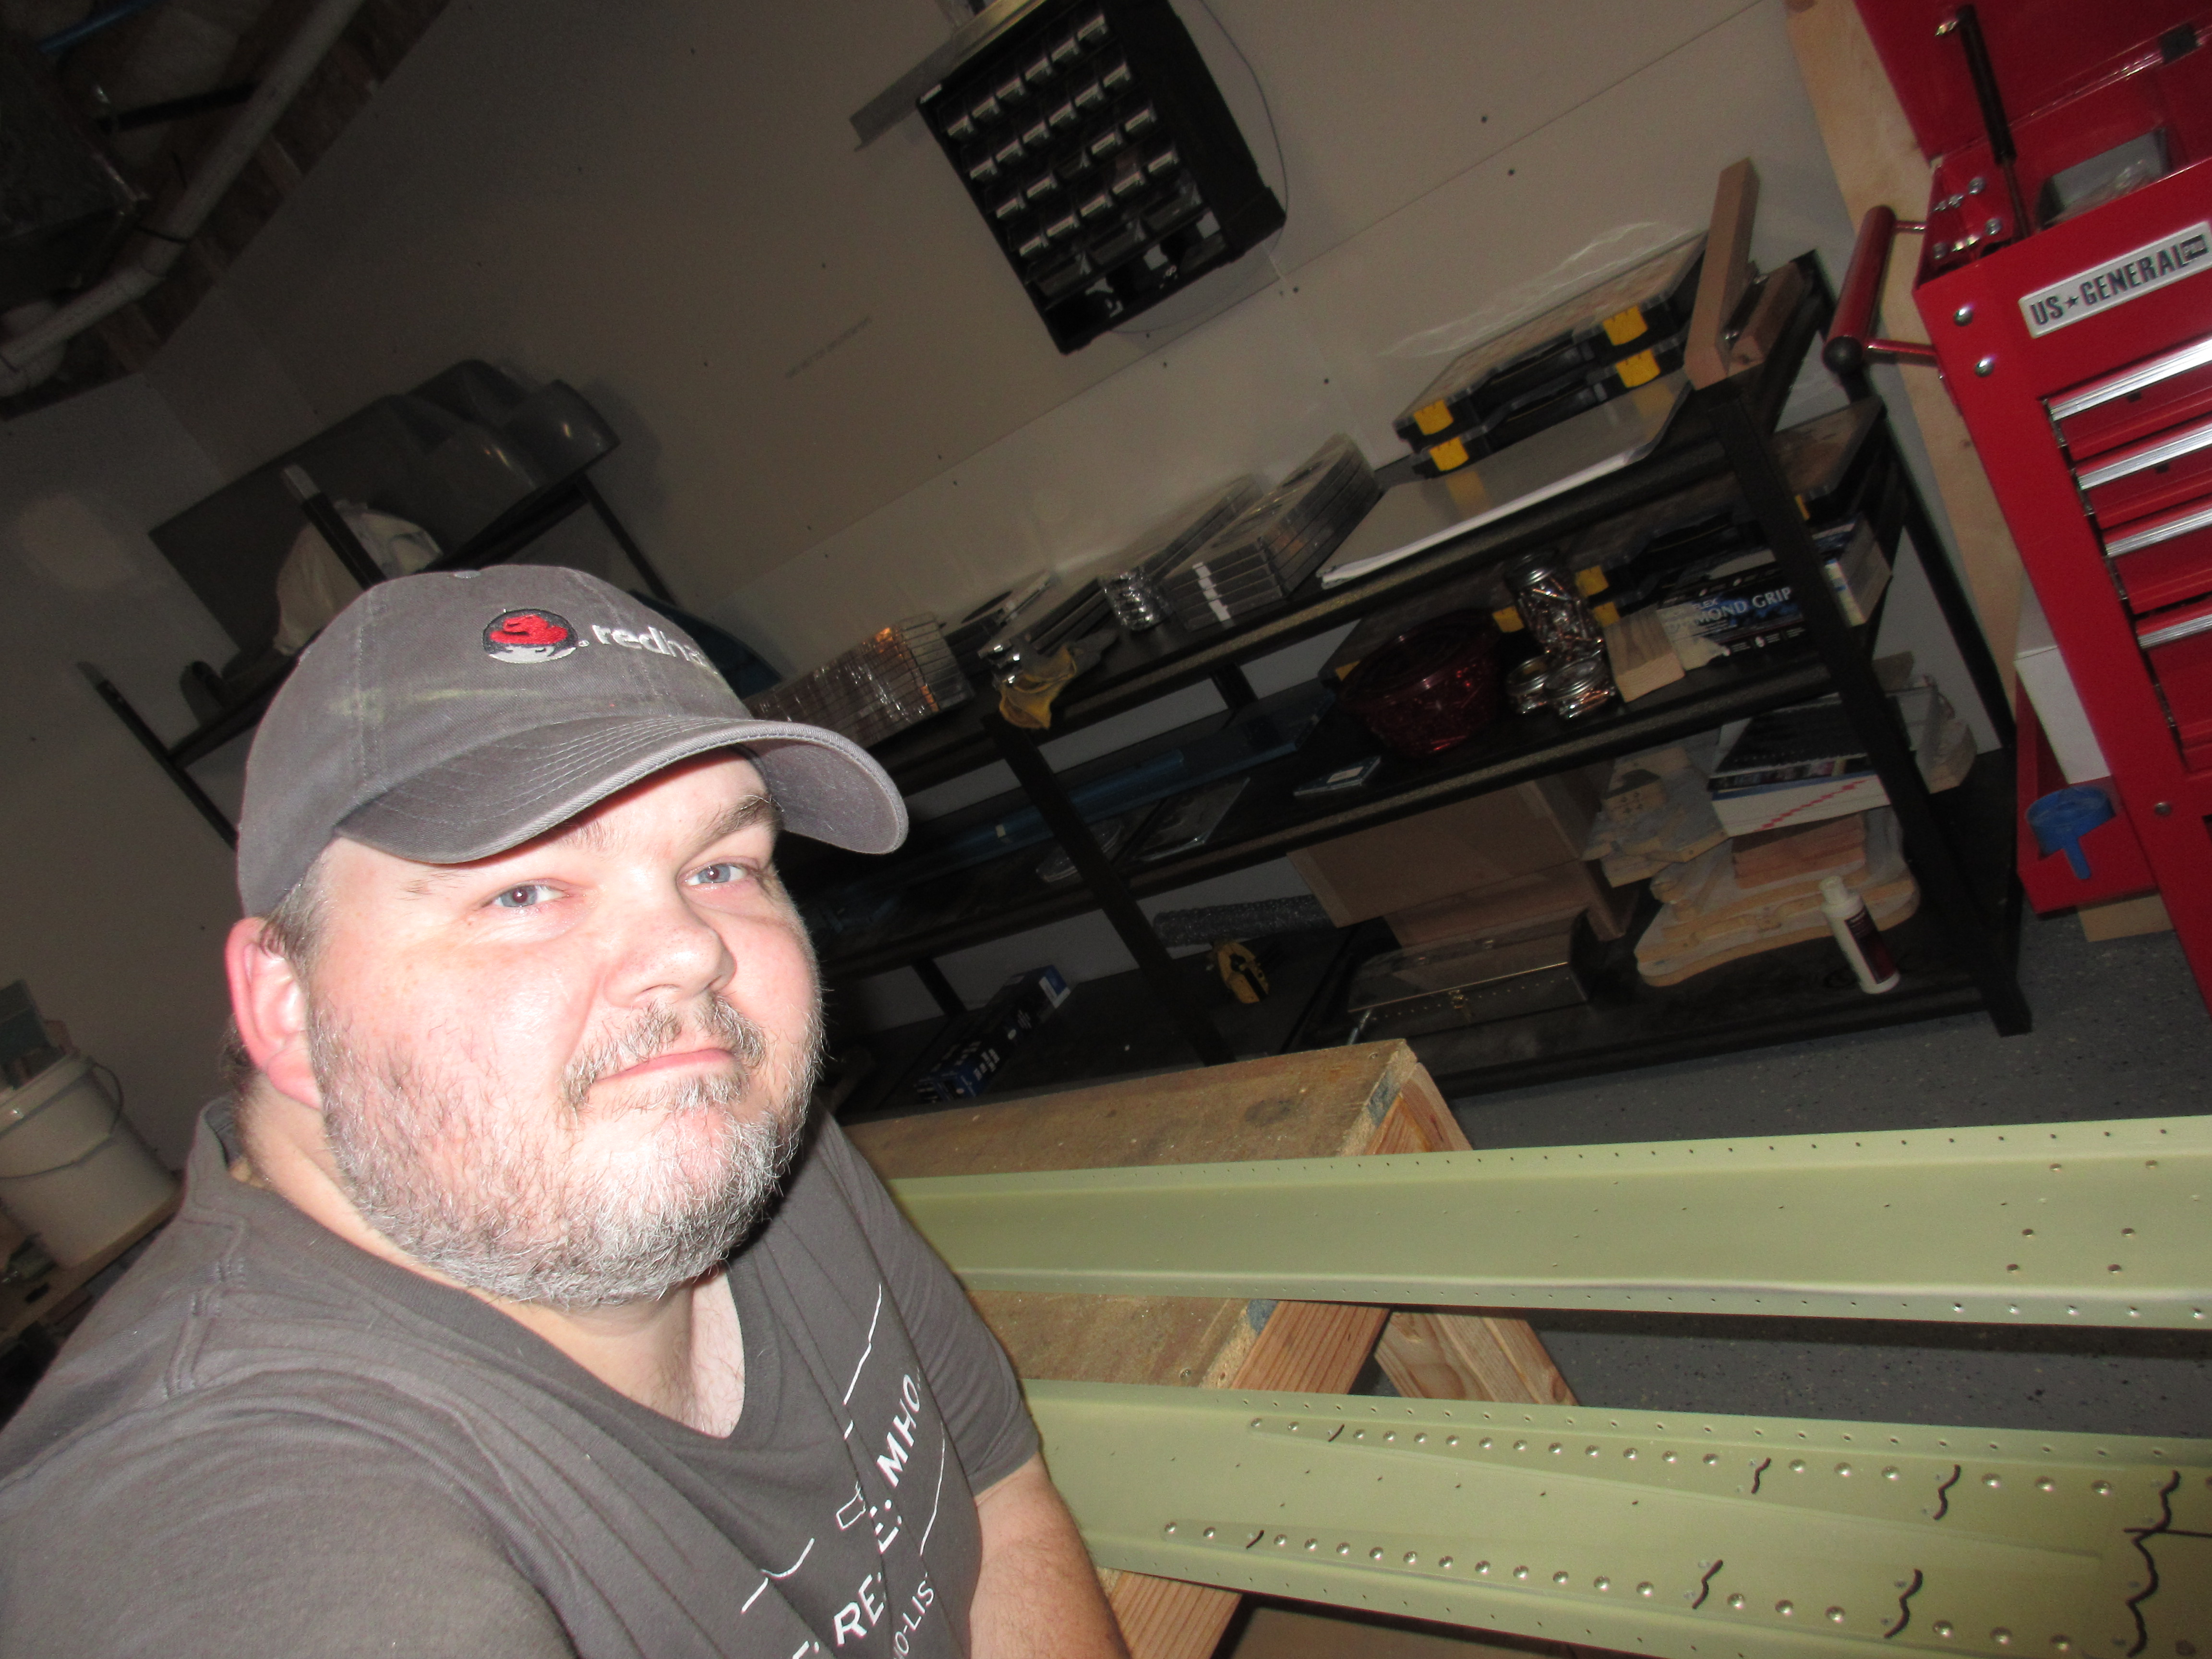
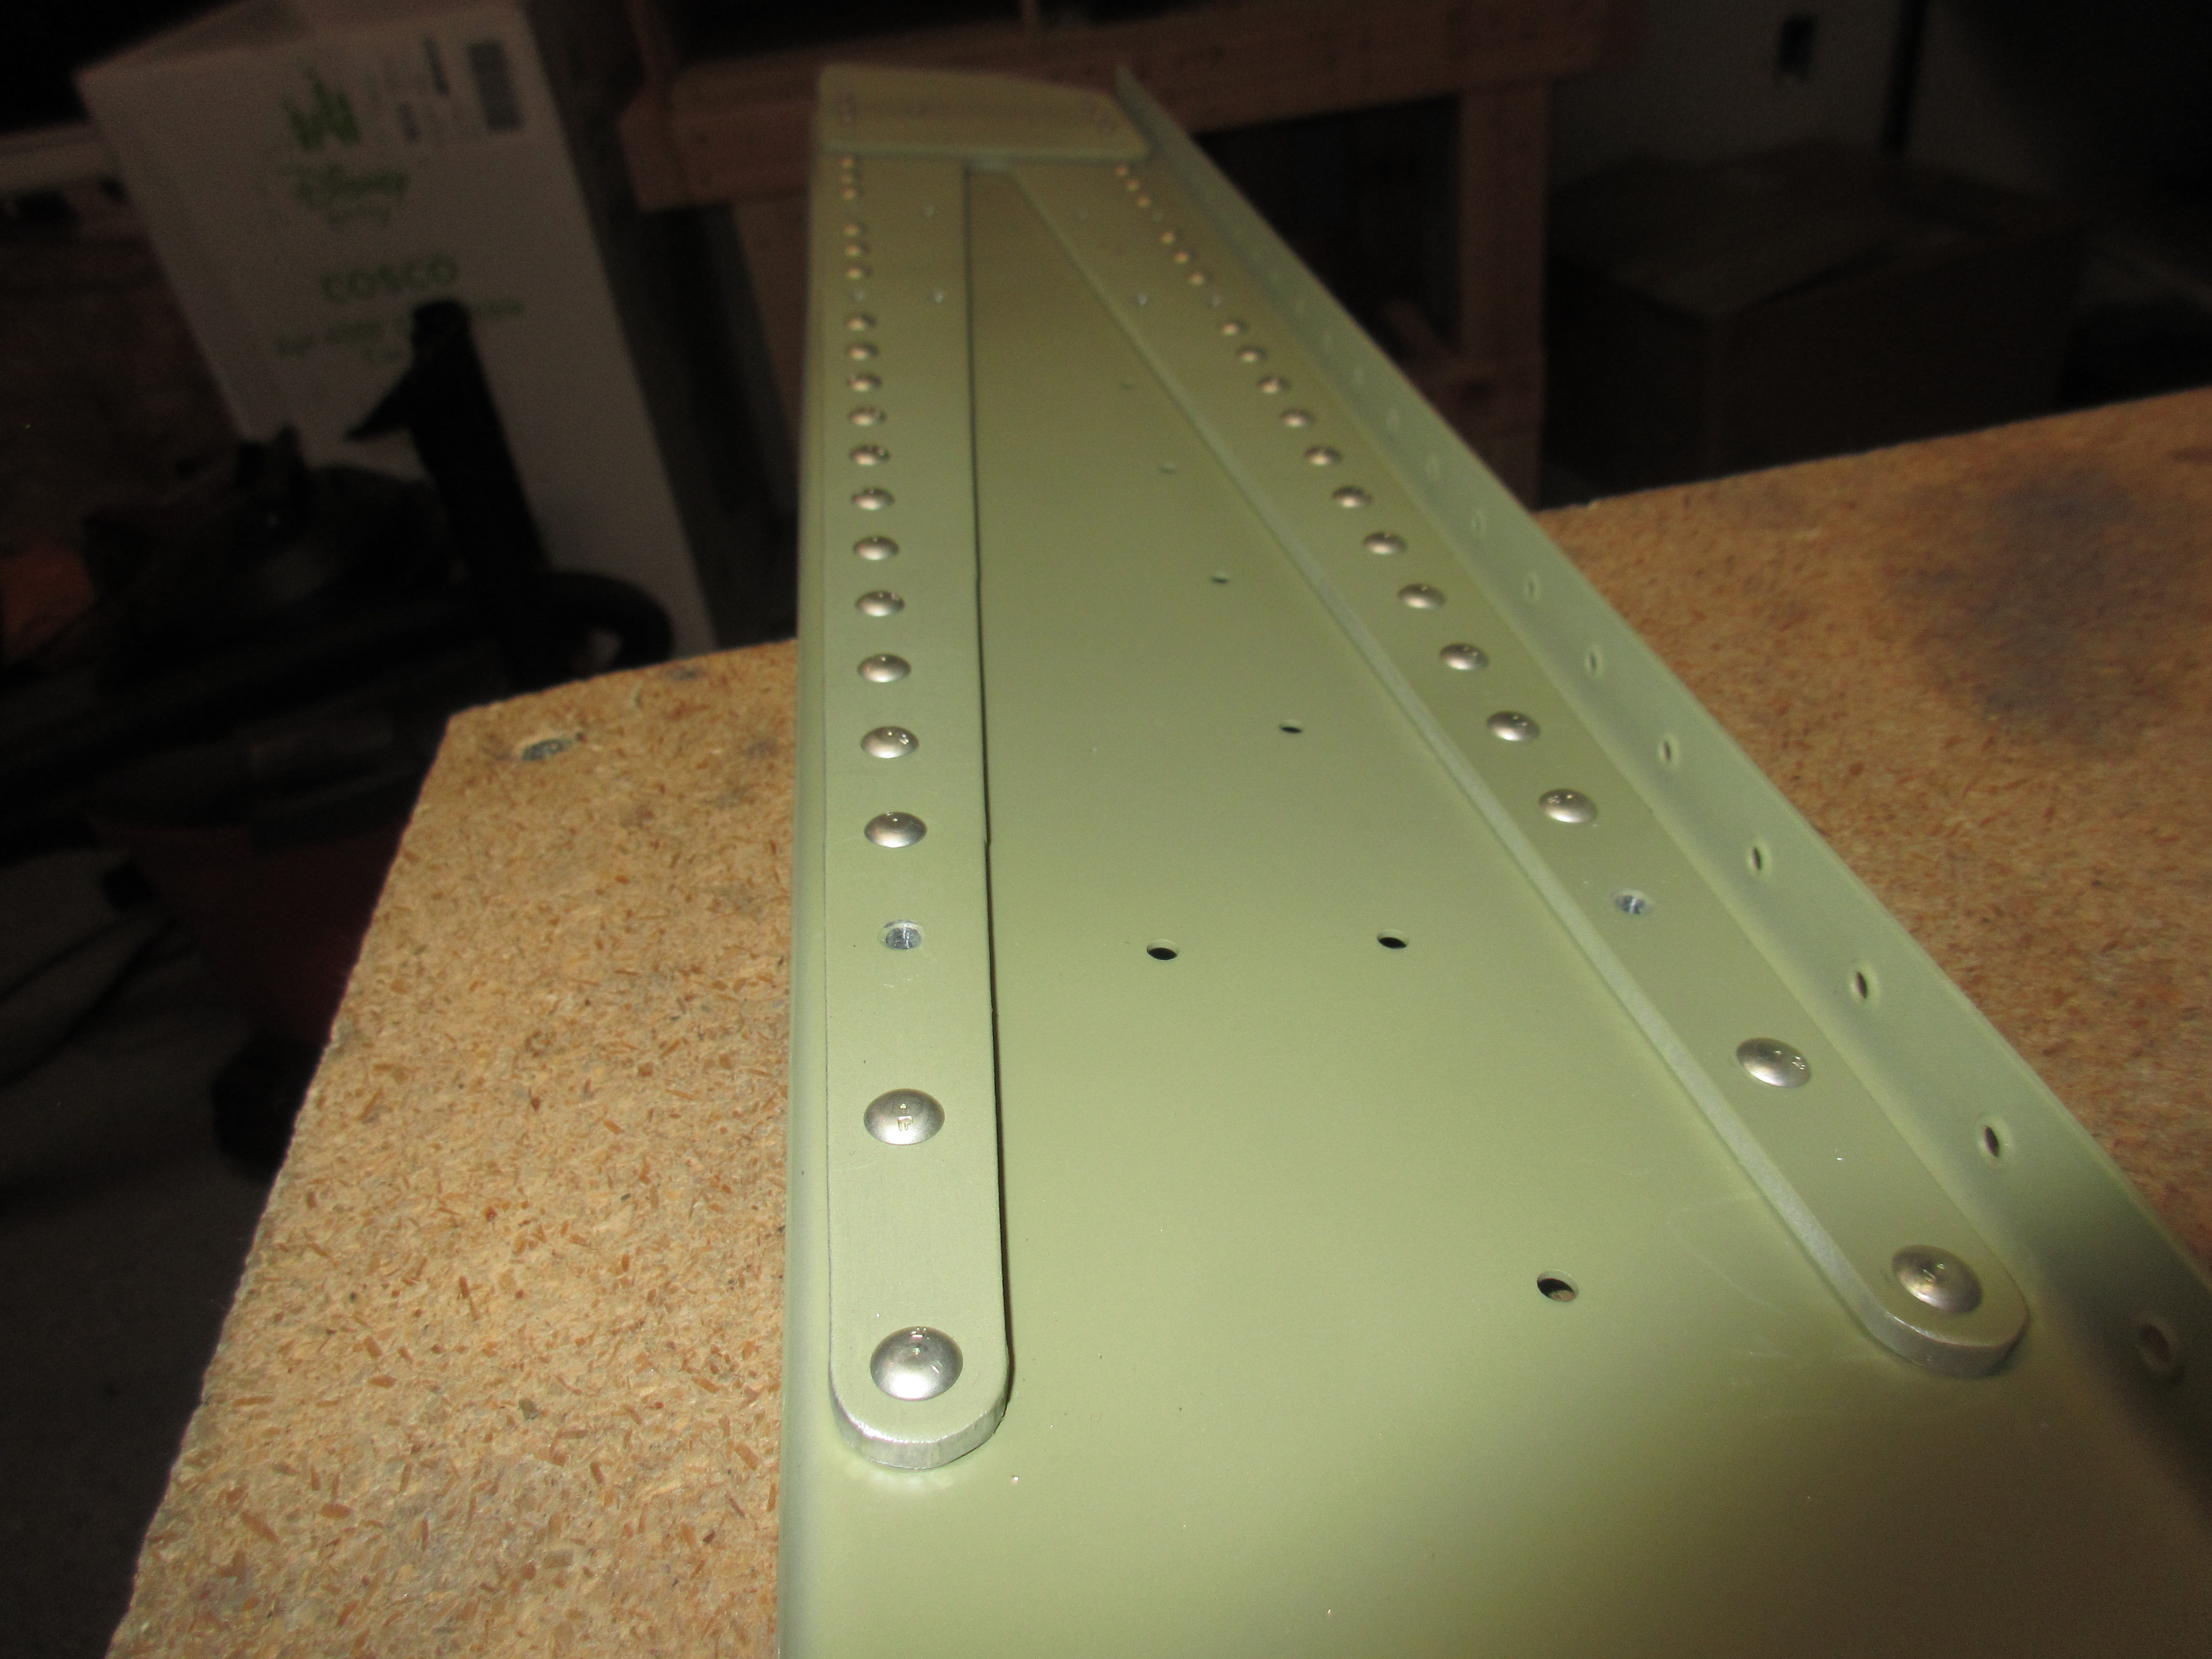
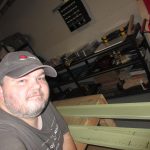
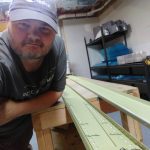
You’ll notice that on the reinforcement fork, I set the rivets with the manufactured head on the thickest metal. While this isn’t technically correct, I needed to be sure I would have space to squeeze the wing skins in the holes directly above those rivets. However, on the thick doubler plate to reinforcement fork, you’ll notice that I did indeed set these with the manufactured head towards the thinnest (rear spar channel) metal which is technically how it should be. While there is debate on how this should be done, this will be fine since even though the rear spar channel is indeed thinner than the reinforcement fork, it is still a thick piece of metal itself. Had I been riveting the very thin skins to something thicker, I would made sure to put the manufactured head on the skin side. Here’s the required selfie of me and the completed rear spars to help prove I actually did the work for the repairmans certificate.
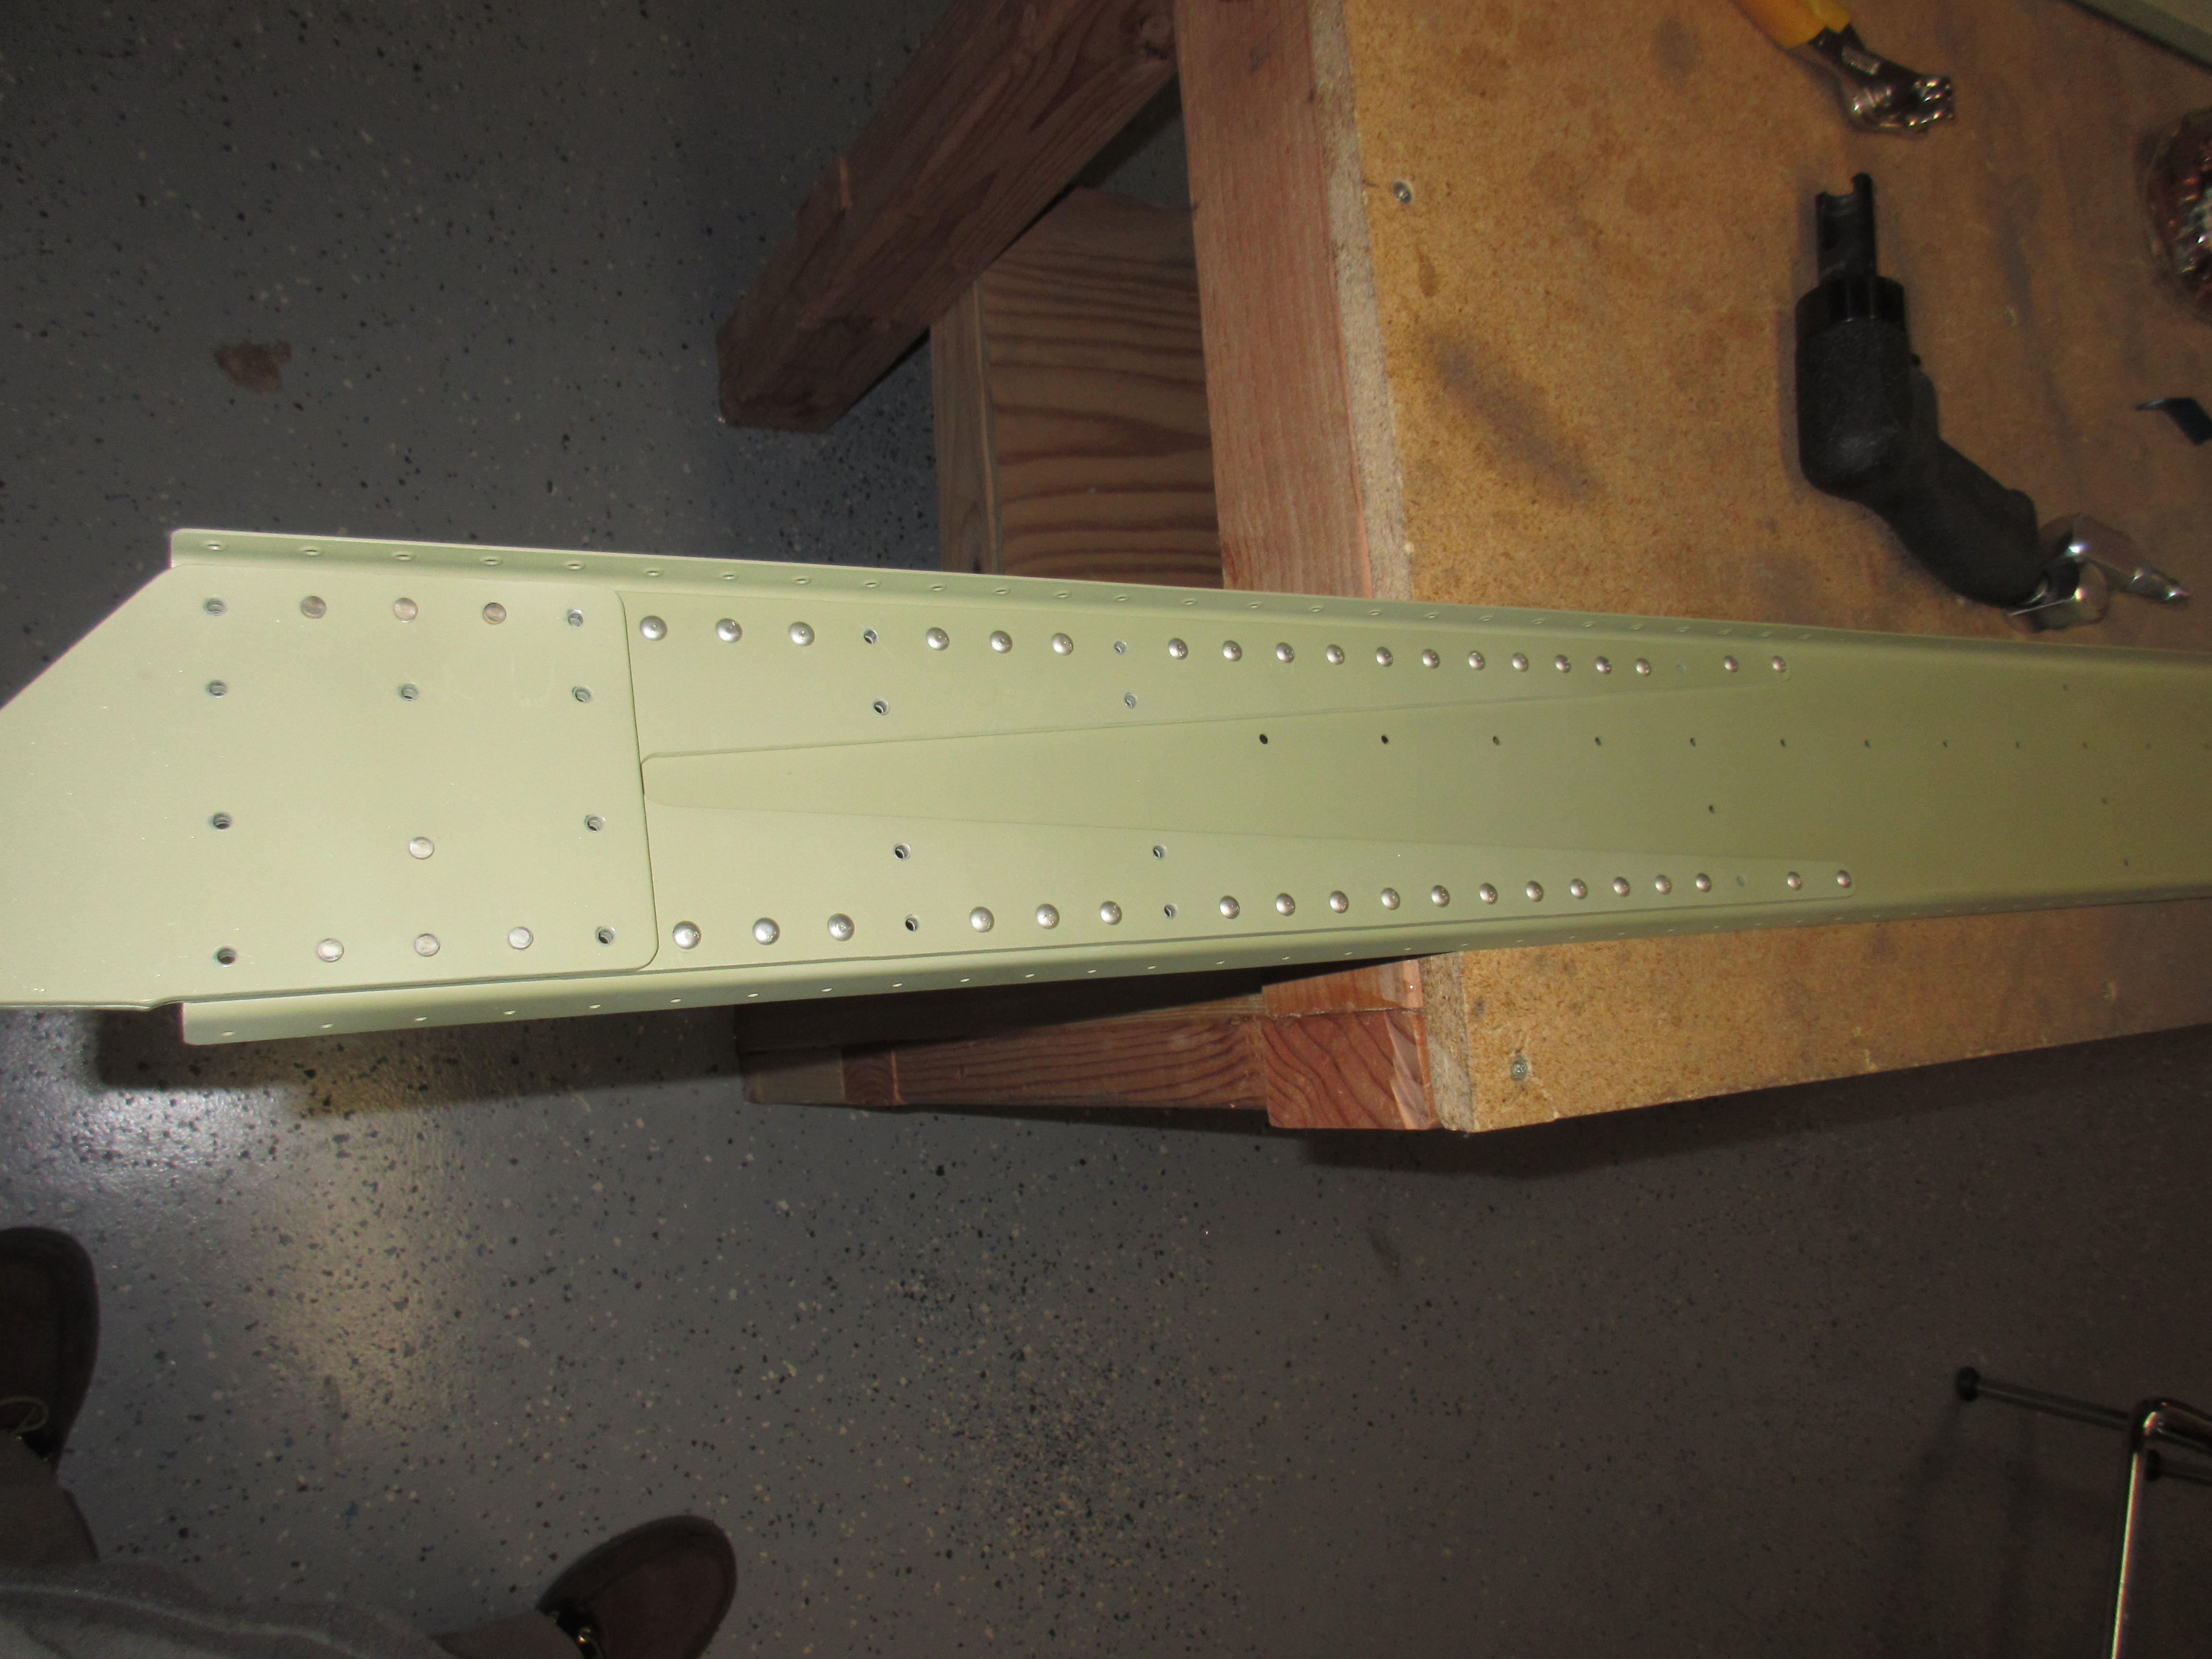
And that is pretty much it for tonights session. It was only about 1 hour and 45 minutes of work for tonight, but this actually completed the assembly of the rear spars. They will go back on the shelf along with the main spars until I have all these ribs deburred, drilled and primed; then I’ll pull them off the shelf and build the wing skeletons. Rib prep will be consuming quite a bit of time for the next couple of weeks, so I am going to have my metal wing stands built during this time frame, hoping they’ll be ready by the time I am done with the ribs. Here’s the photos from tonights work:
-
 IMG_1739
 -
 IMG_1735
 -
 IMG_1734
 -
IMG_1733
-
 IMG_1732
 -
 IMG_1731
 -
 IMG_1730
 -
 IMG_1729
 -
IMG_1728
-
IMG_1727
-
 IMG_1726
 -
IMG_1725
-
IMG_1724
-
IMG_1723
-
 IMG_1722
 -
 IMG_1721
 -
 IMG_1720
 -
IMG_20170628_224636

Google Photos Link: https://goo.gl/photos/NX9zek3fvUcWvmSR7
Hours Worked: 1.75