


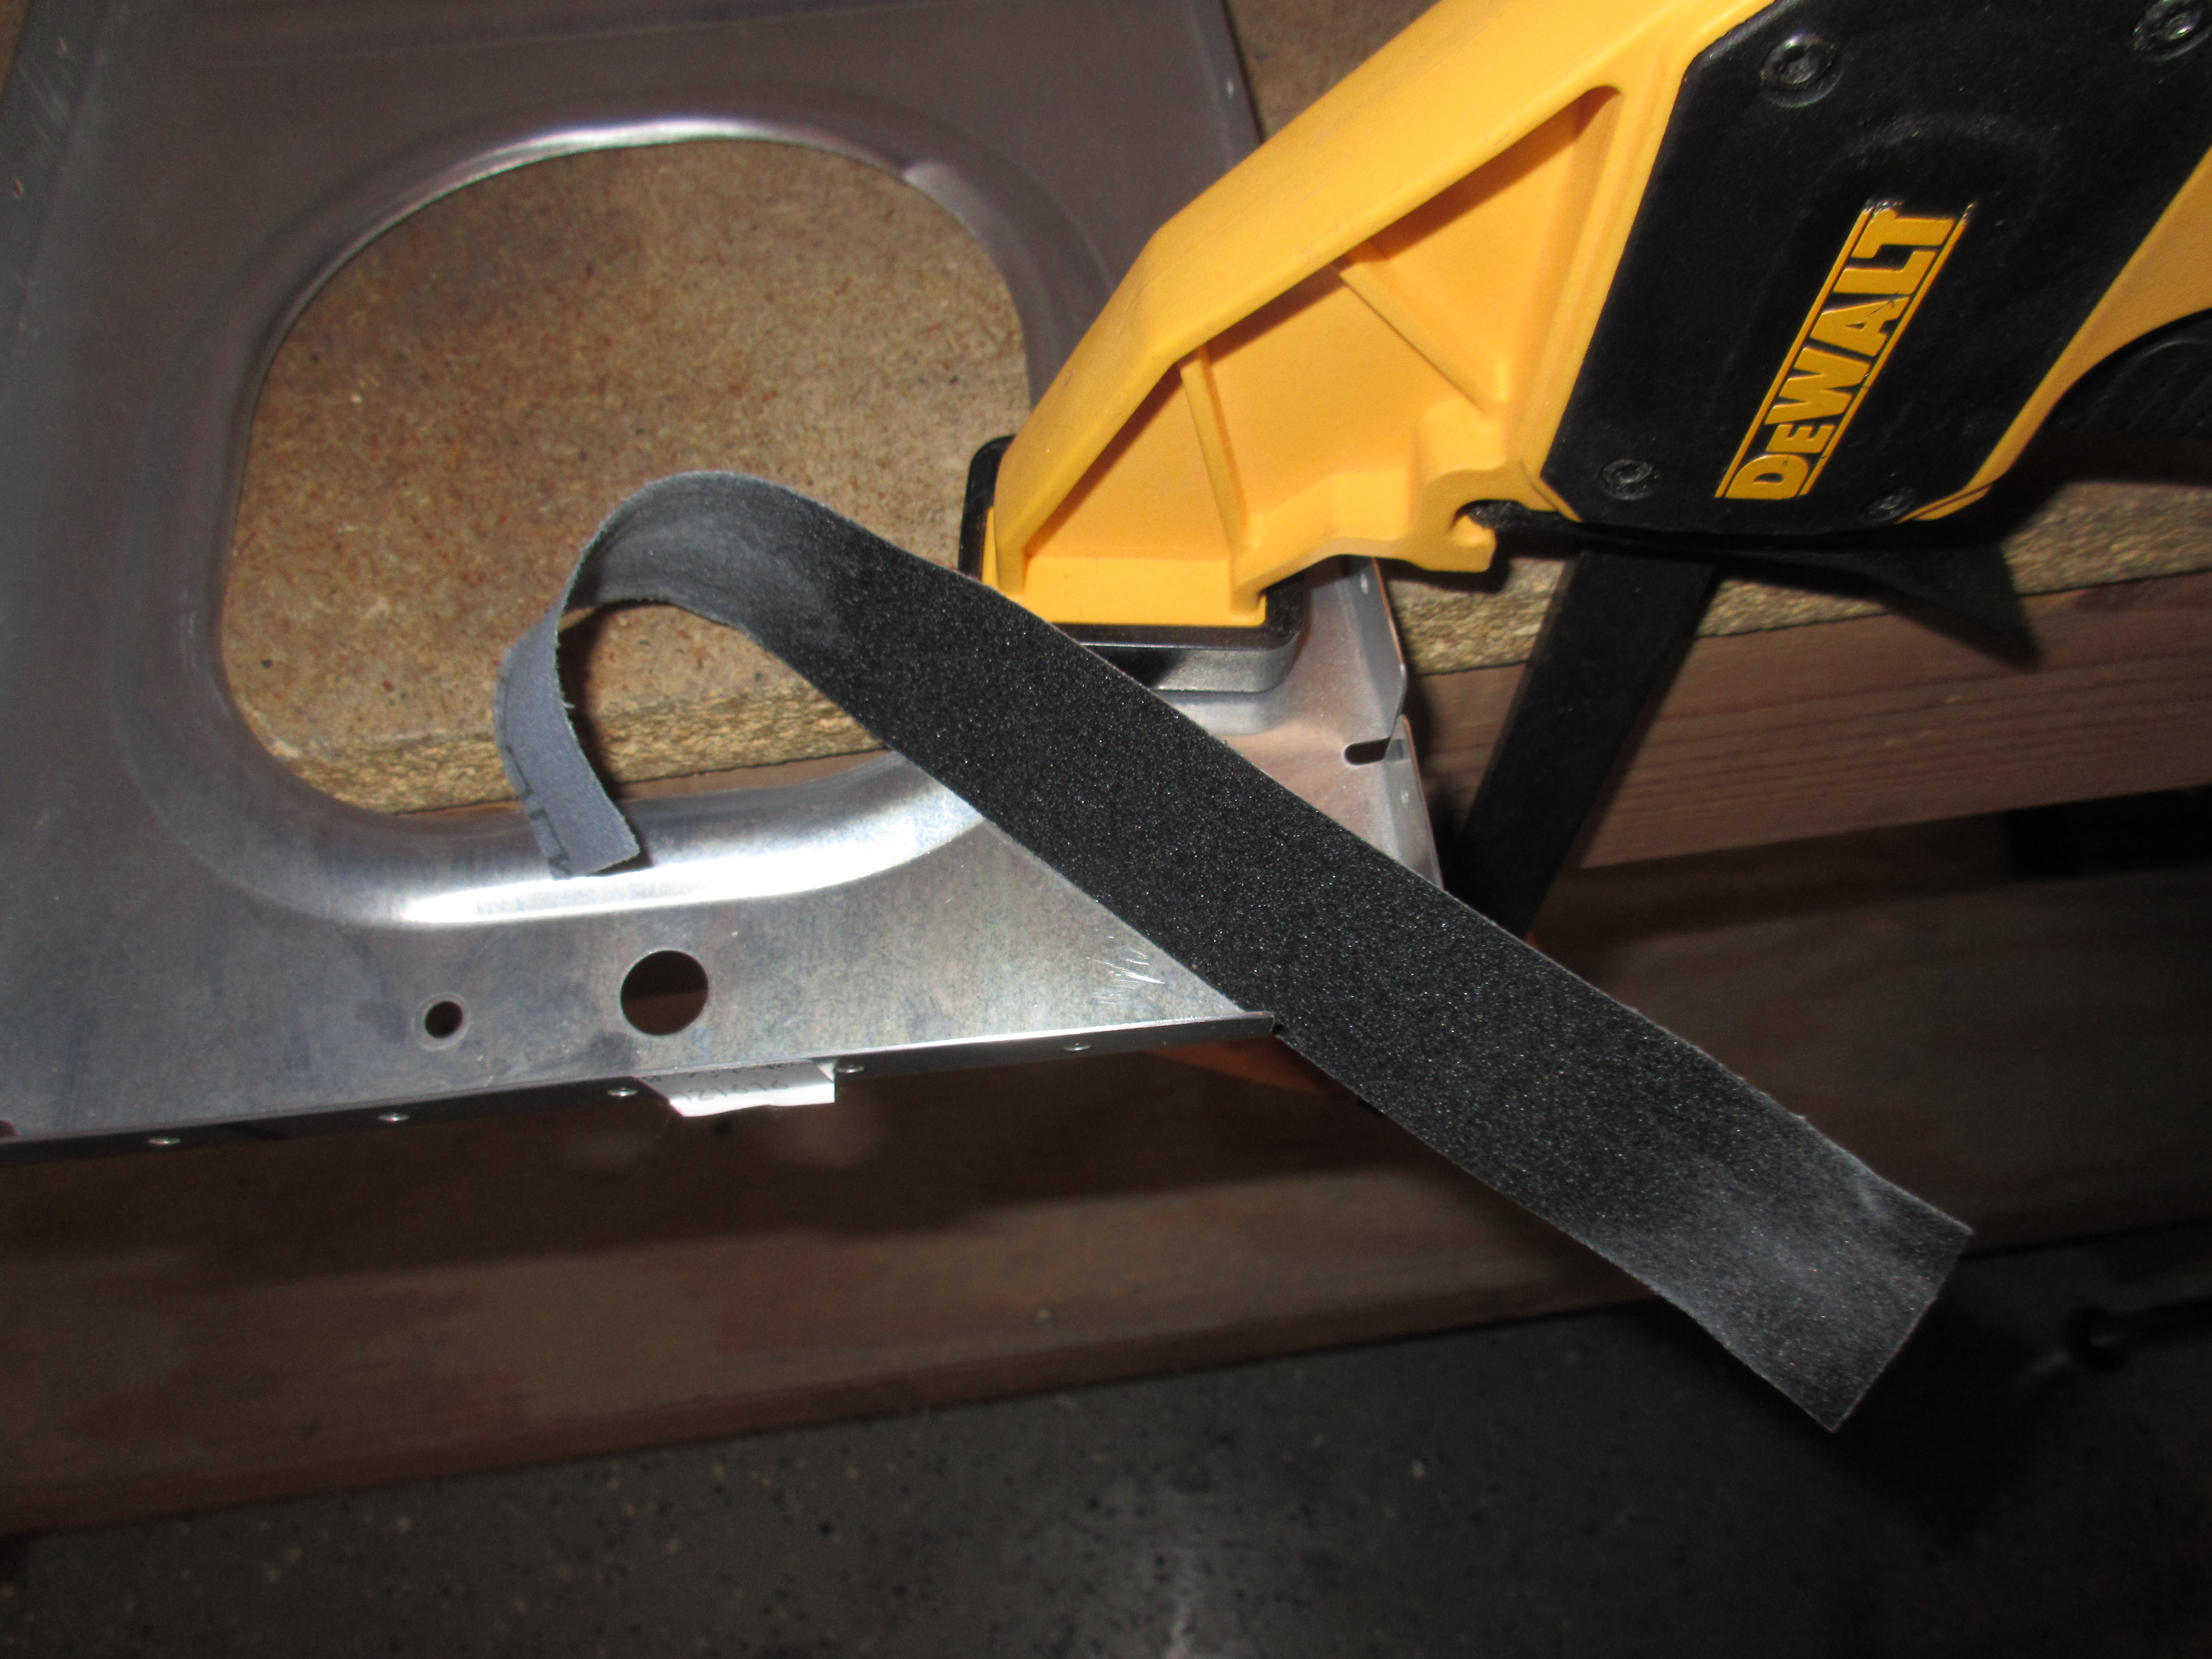
After discussing the use of the scotchbrite cones with folks on the forums, I decided to go pick up some emery cloth and sandpaper to deburr the gaps in the rib flanges. Making the cones, using them and making more was taking too much time. I only have the softer 1″ scotchbrite wheels, and it appears everyone is using the harder, grey looking ones. After driving all over Chattanooga, I finally found some emery cloth at Tractor Supply. I decided I would gently clamp the ribs down to my bench and then use strips of emery cloth like dental floss to get into the gaps of the flanges. I cut the emery cloth into about 3/4″ to 1/2″ strips that were just wide tall enough to fully cover the flanges, and that worked out pretty good.
I was able to get about 4 or 5 ribs using a strip of emery cloth and that was being conservative. I probably could have gotten more, but this stuff is pretty cheap, and I can make about 4 strips or more from a sheet. I was able to get the remaining 14 inboard and outboard ribs done using this method pretty quickly. I decided to move on to the fuel tank ribs and knock them out as well. Using the same method as above, they went pretty easily too, but I took extra caution to make sure the leading edges of these ribs were very smooth. The plans tells us to make sure we also smooth out the bumps from the reliefs on the leading edge flanges because there are some complex curves here. I started out using my bastard file to work the edges and bumps on the fuel tank ribs, but soon realized I could use my scotchbrite wheel on the bench grinder to make this easier.
And it did! Using the scotchbrite wheel, I put the grinder on the slowest speed it had, so I didn’t burn through the thin metal to quickly. This worked out great! I could smooth down the leading edges very smoothly in no time using this method. They were really smooth, and the skins should lay very nicely around this complex curve with no bumps or roughness.

I decided to carry on and go ahead and knock out all the leading edge smoothing on all the leading edge ribs using my scotchbrite wheel. I was able to get them all done in about 20 minutes or so. Now, I still need to smooth down gaps in the flanges for all the leading edge ribs, but I decided I’d leave that for tomorrows session. I ended the night on a good note, and hopefully put a dent in the rib workload. I’ll be glad when this part of the wing build is done! HAH!. Here’s all the photos from tonight:


Google Photos Link: https://goo.gl/photos/2a8y2CEpbsAxcYJ17
Hours Worked:2.5