


Yeap. Part 3. This is a short session for tonight, but progress none the less. I also stopped by Ace Hardware and picked up another small can of oil based metal primer to finish off the other tube, where we ran short last night. I did manage to completely assembly one of the push-pull tubes though! Here’s the short timelapse for this session.
And the bench view:
I started out by unclamping the tube that was left drying overnight. The primer inside the tube had dripped out, and was dry enough to work with. I grabbed the rod end for this particular tube, and coated it in some fresh primer, then inserted it into the push rod tube.
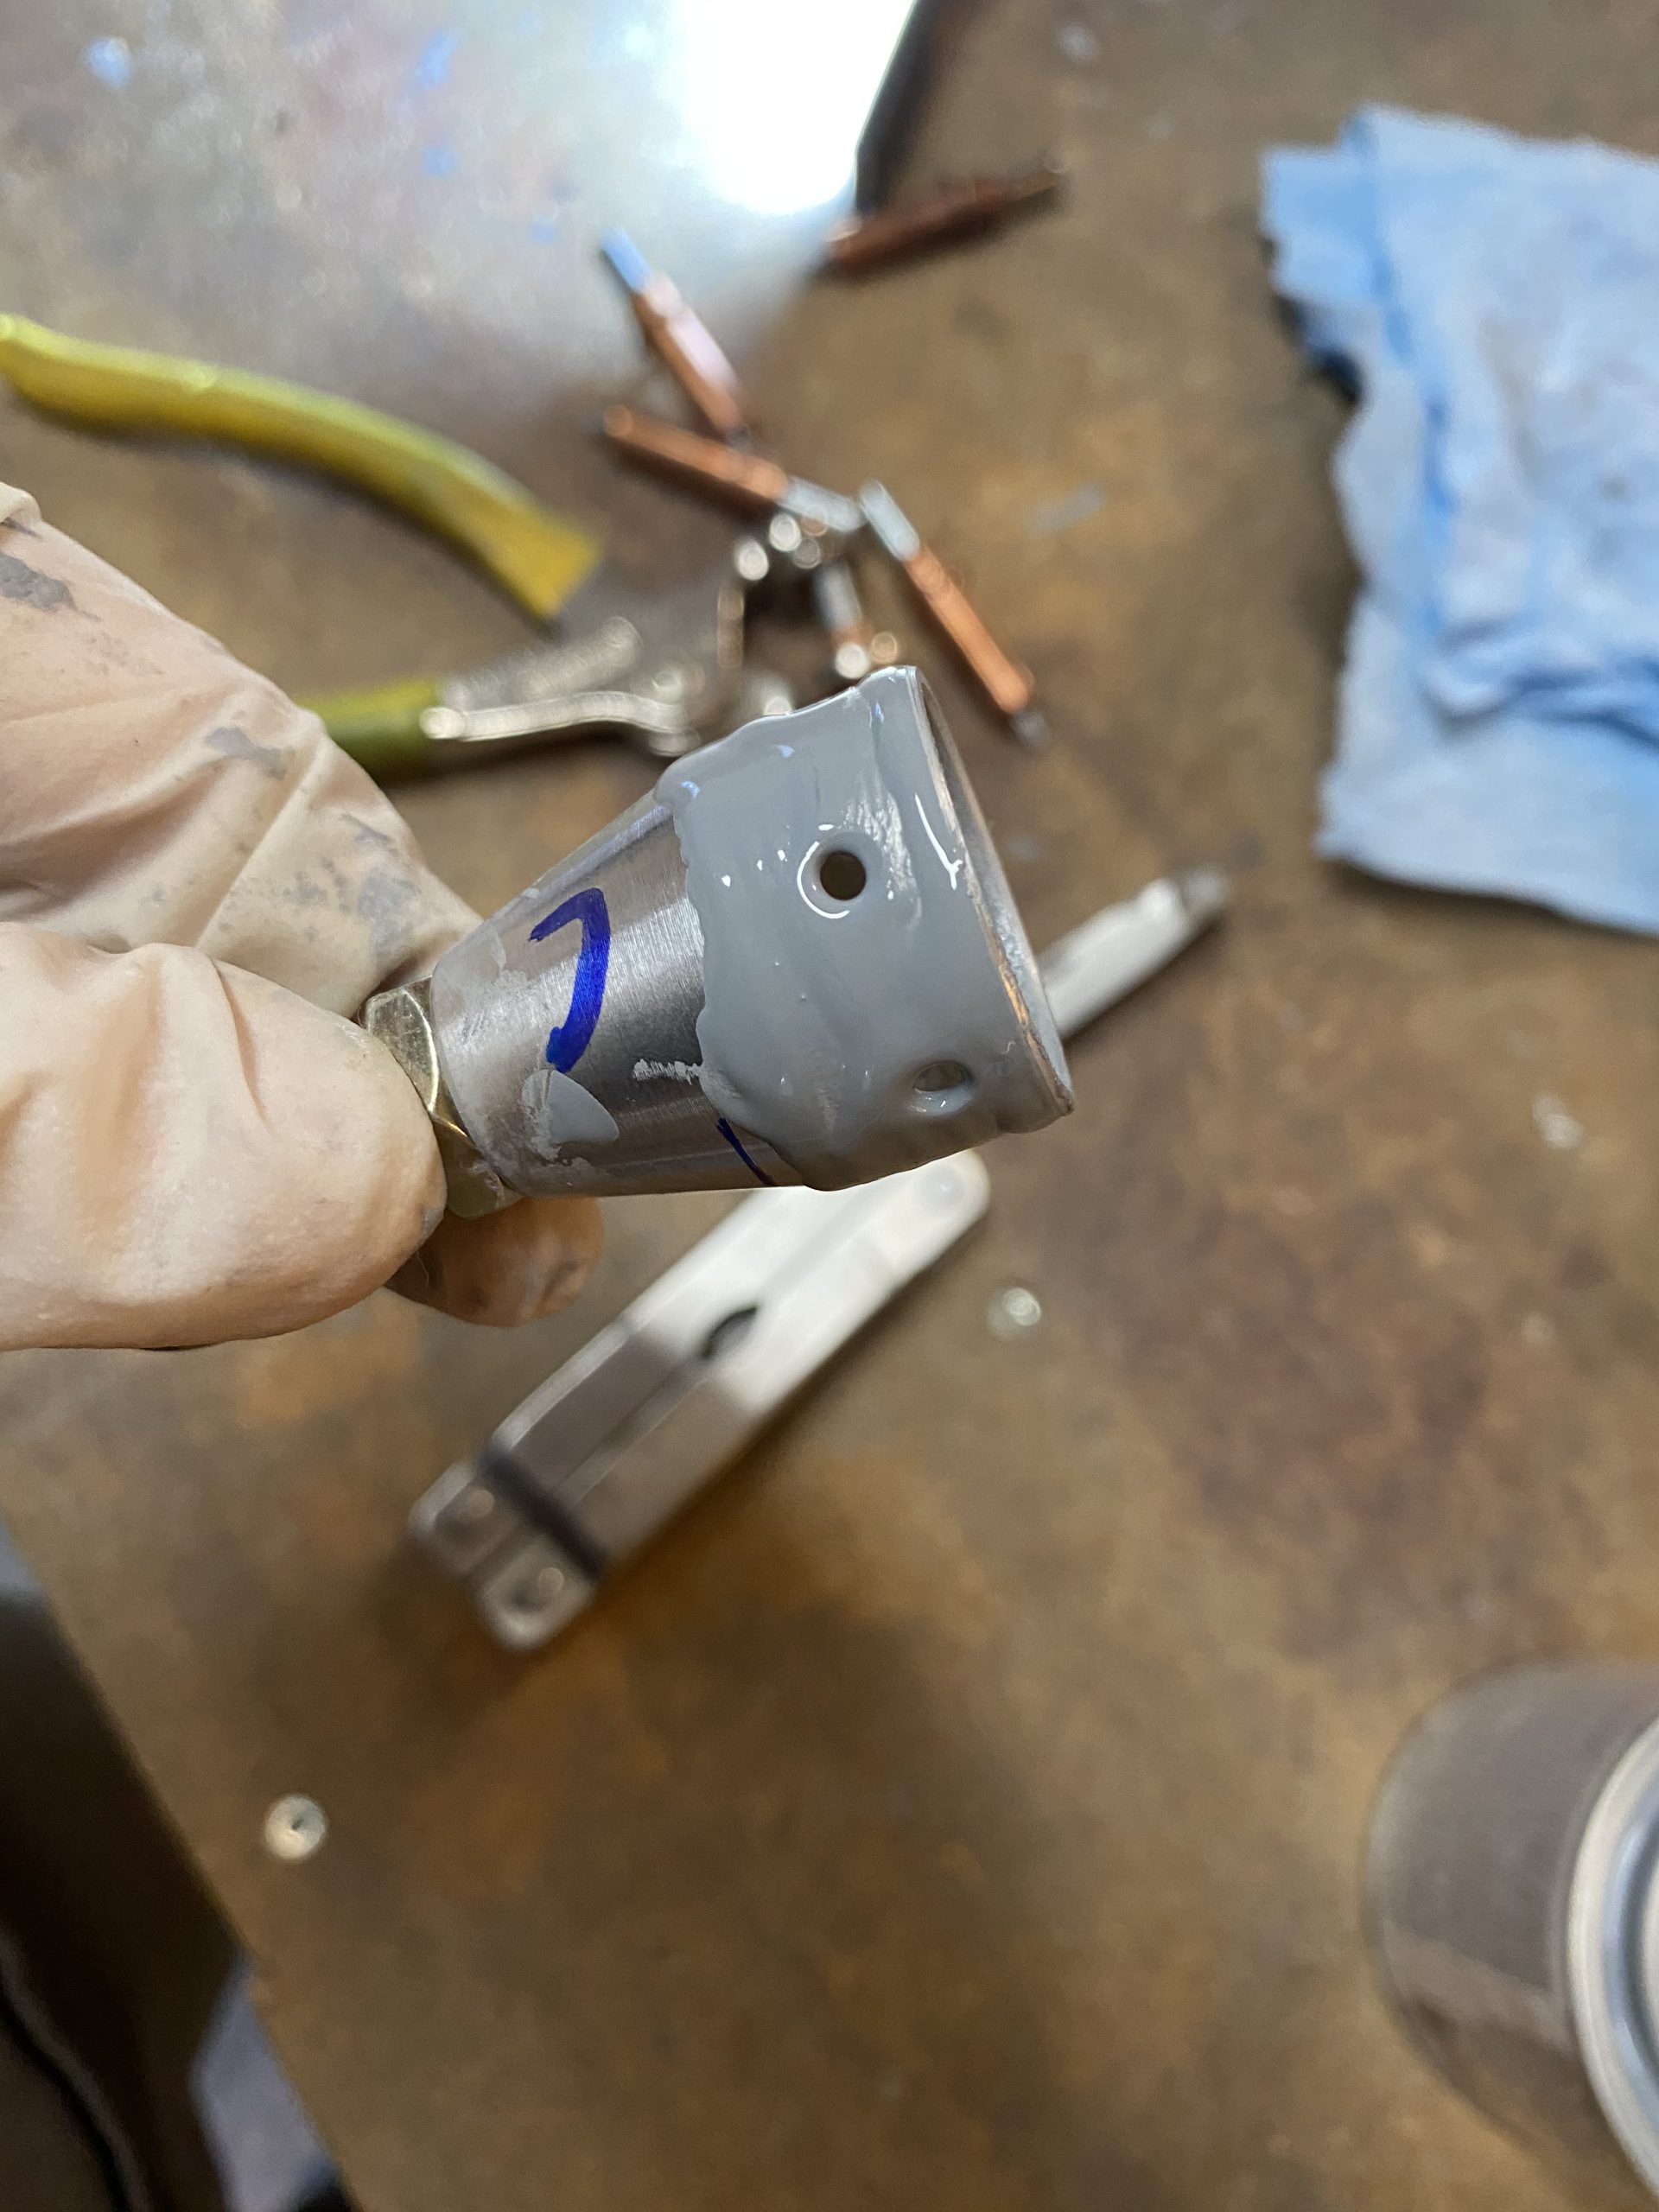

As you can see, I also coated the inside portion of the rod end to be safe. We did this on the other end as well. I clecoed the rod end into the tube and then set the MSP-42 blind rivets. Like I did last time, I dipped the rivets into the primer to give them a good coating before setting them in the tube / tie rod end.
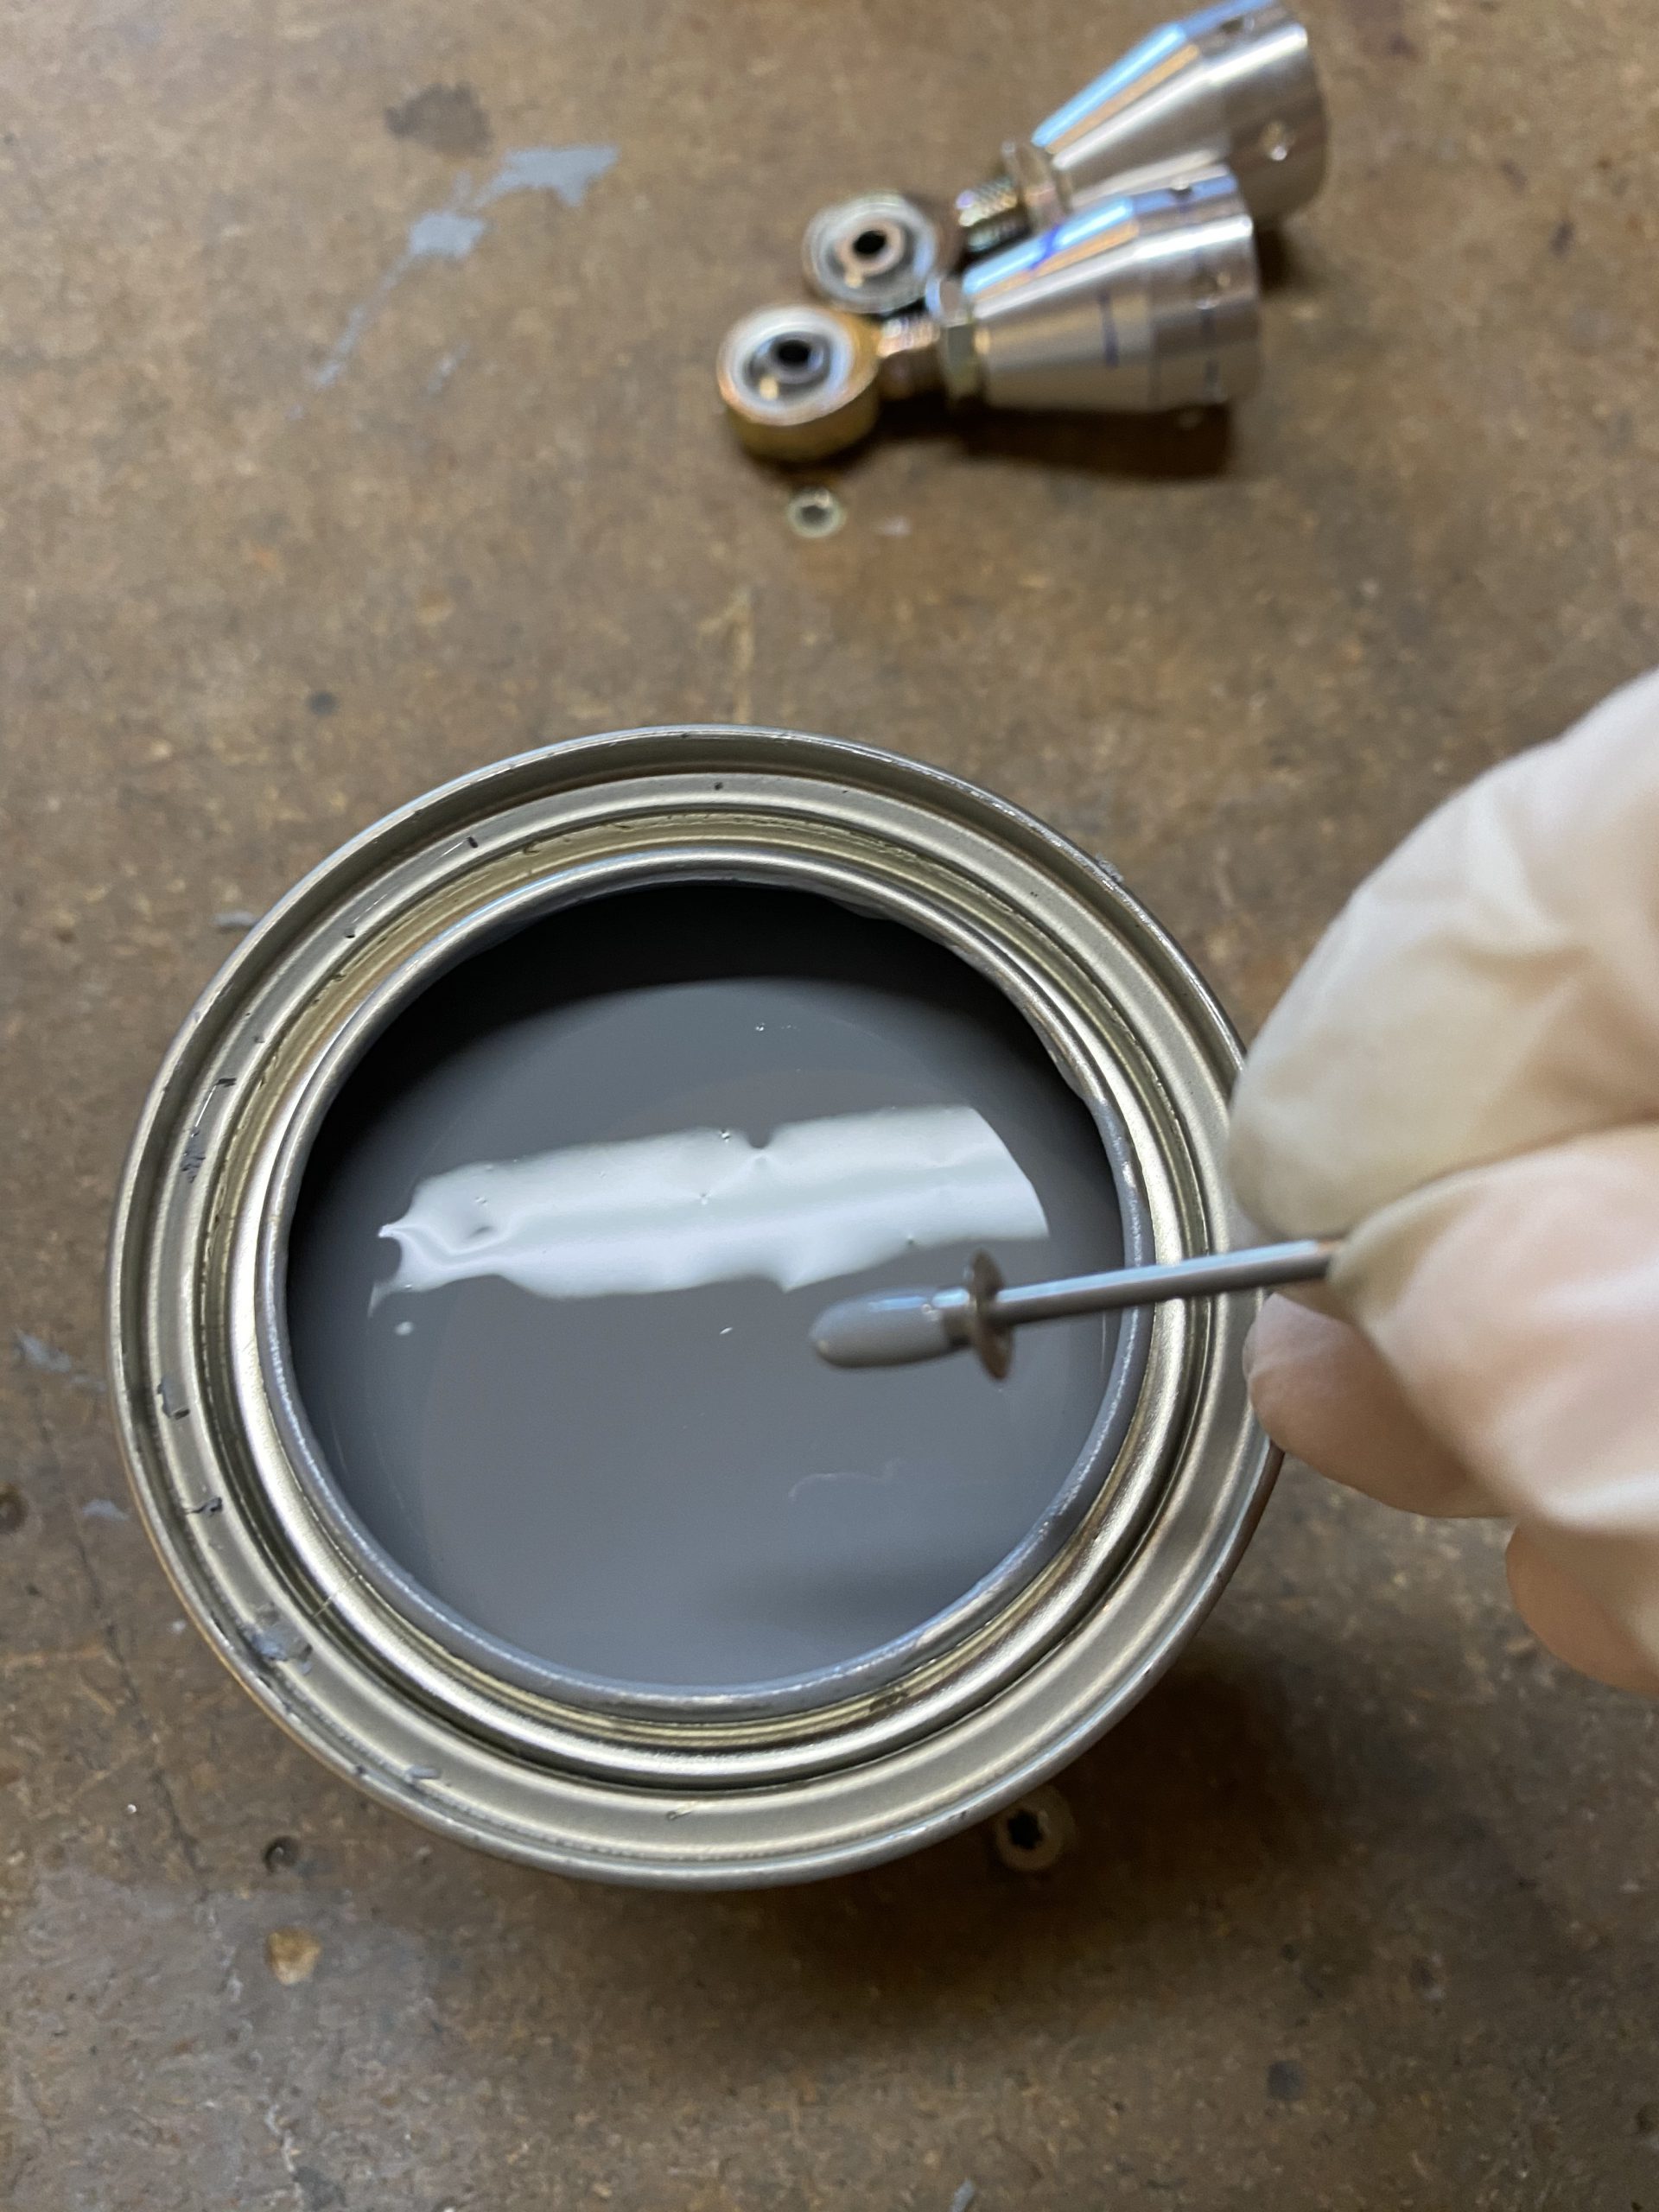
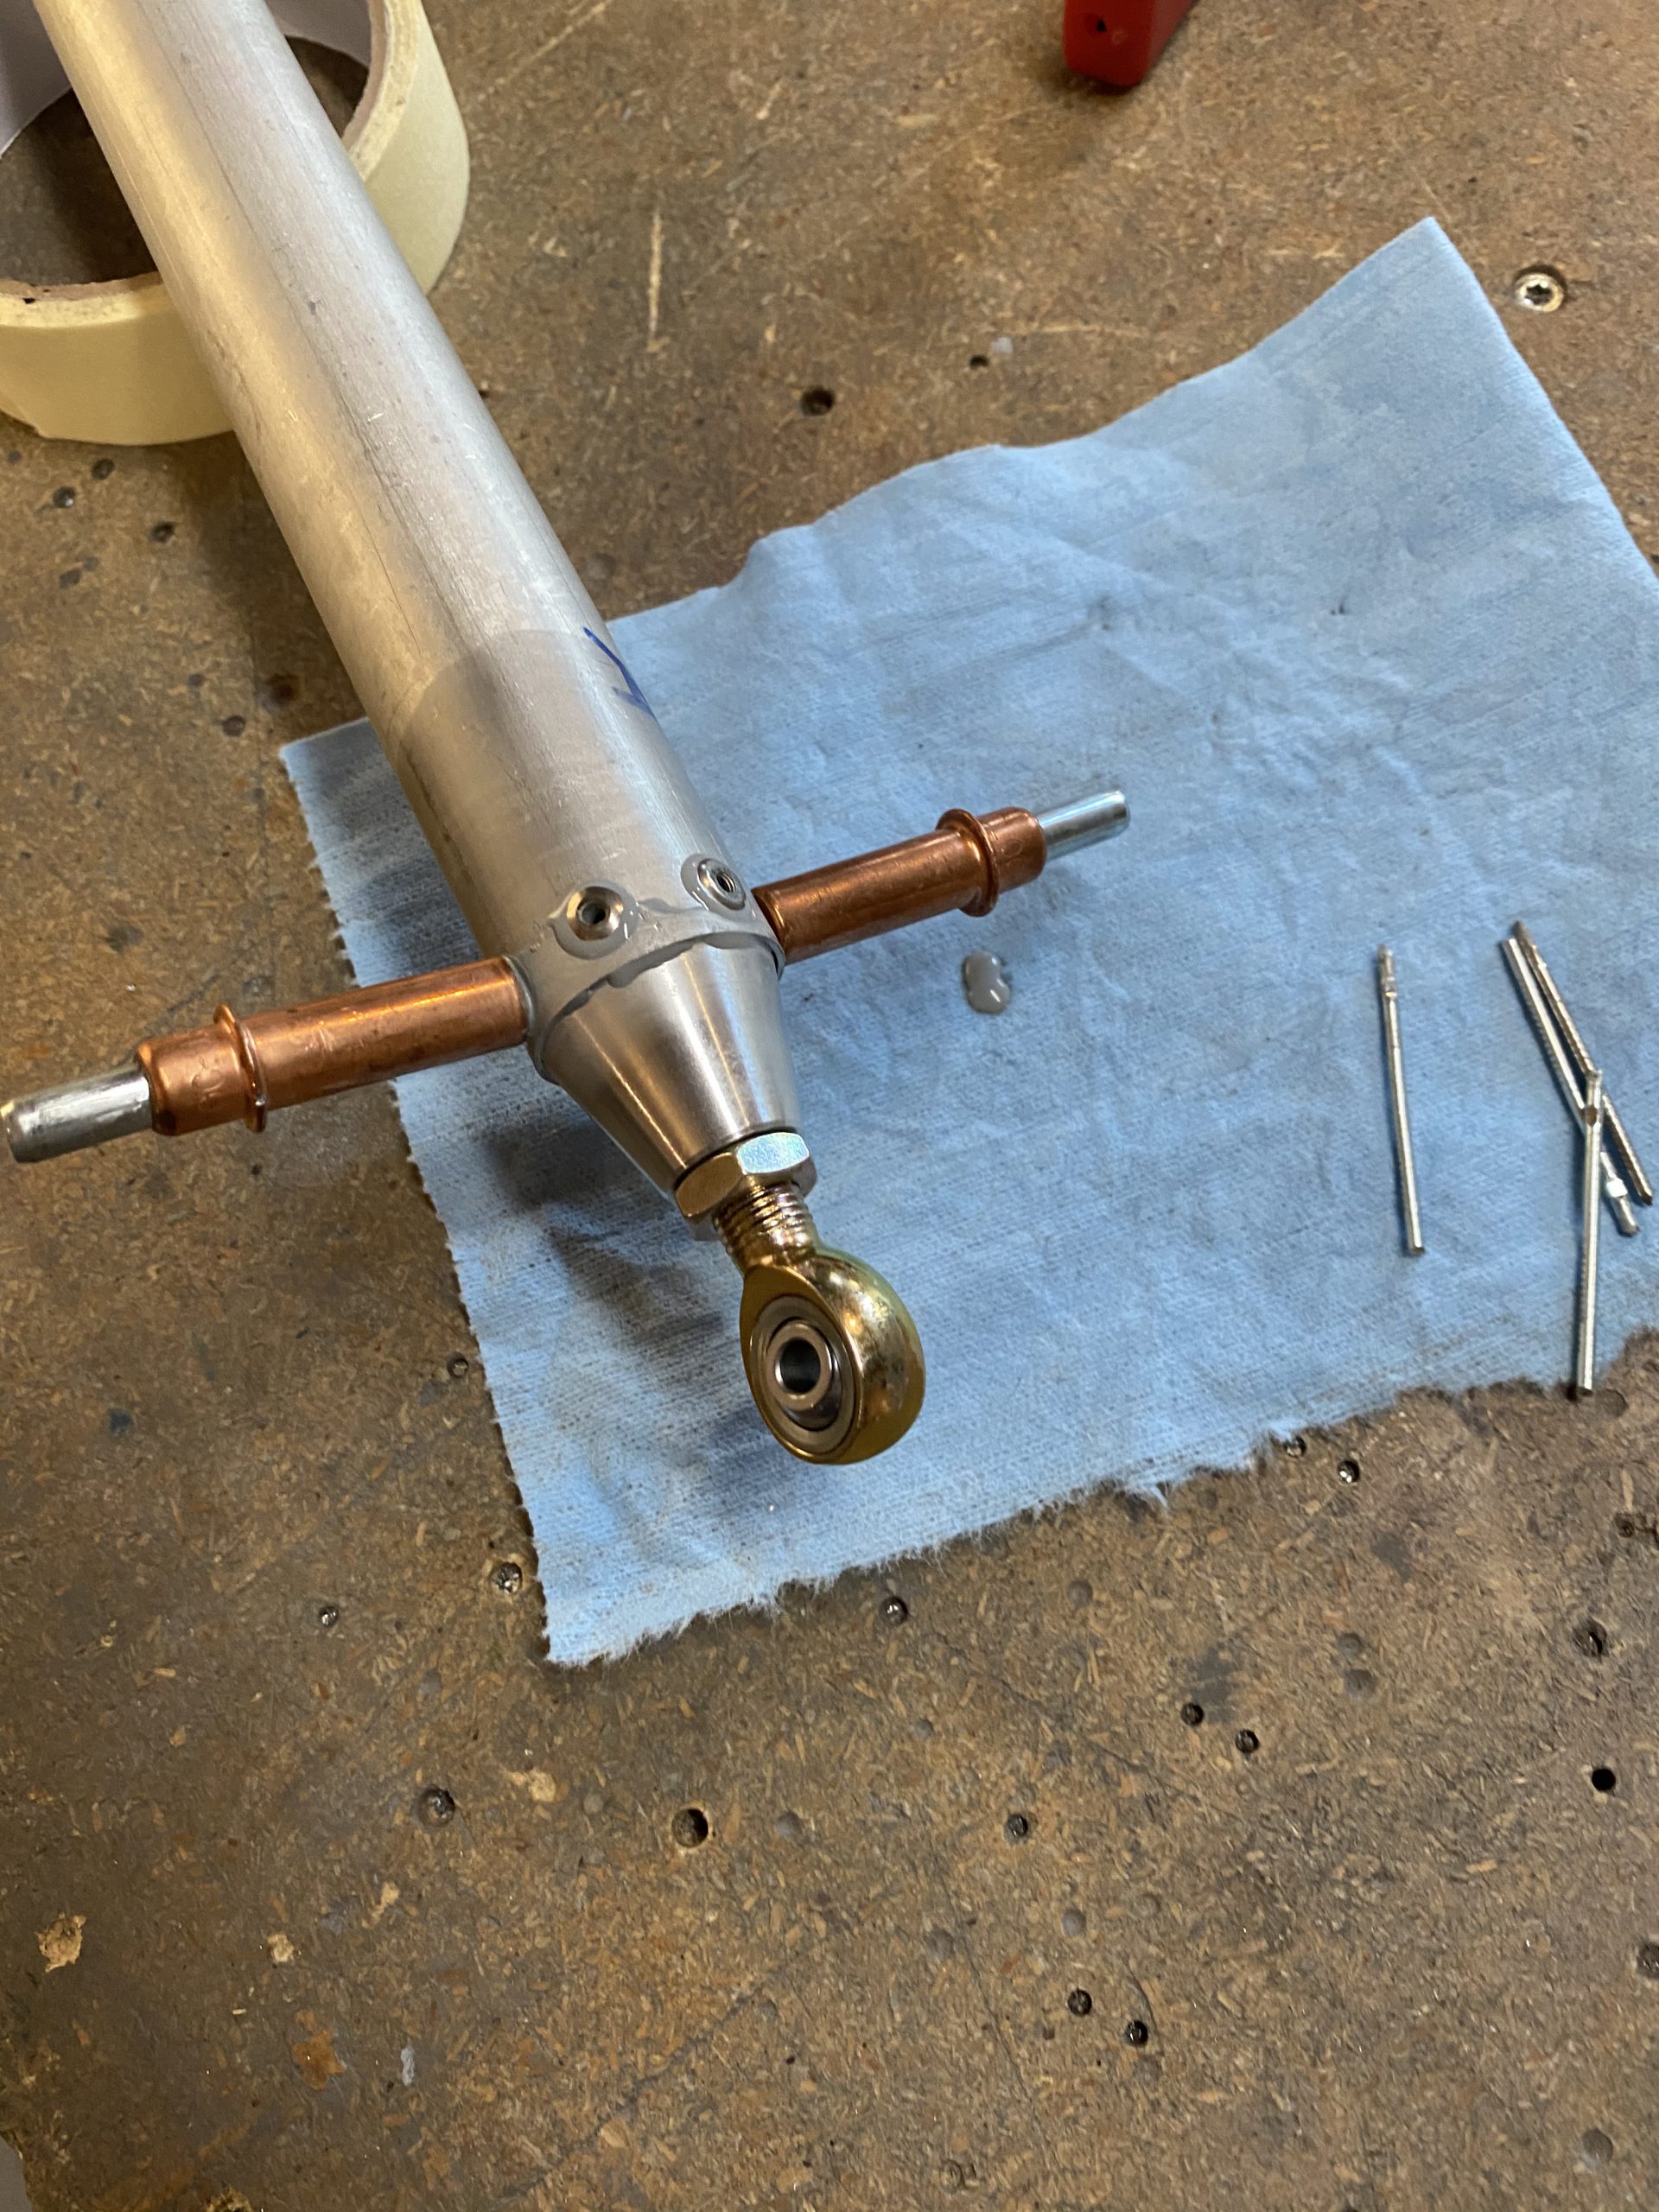
After I had all 6 of the blind rivets set, I wiped down the excess primer, and put this tube on the shelf. It’ll need to have its outside primed, which I’ll do in AKZO soon. For now, its safe on the shelf. Now that I had a new can of fresh primer, I grabbed the second push rod tube and then poured some down inside the tube, swirling and swishing it around to fully cover the inside of the tube. Like last time, I installed the VA-111 rod end in one end of the tube, setting the MSP-42 rivets like I did in the photos above. Then I clamped the tube with the open end facing down, onto my bench to allow the excess primer to drip from the tube and down onto a paper towel. I’ll let this one sit overnight also and then rivet on the last rod end tomorrow, finishing off the assembly of these tubes. Unfortunately, I didn’t get any photos of this work, but you can clearly see the work in the time lapse videos above.
Google Photos Link: https://photos.app.goo.gl/ayfMyVPozrieF5118
Hours Worked: 0.75