


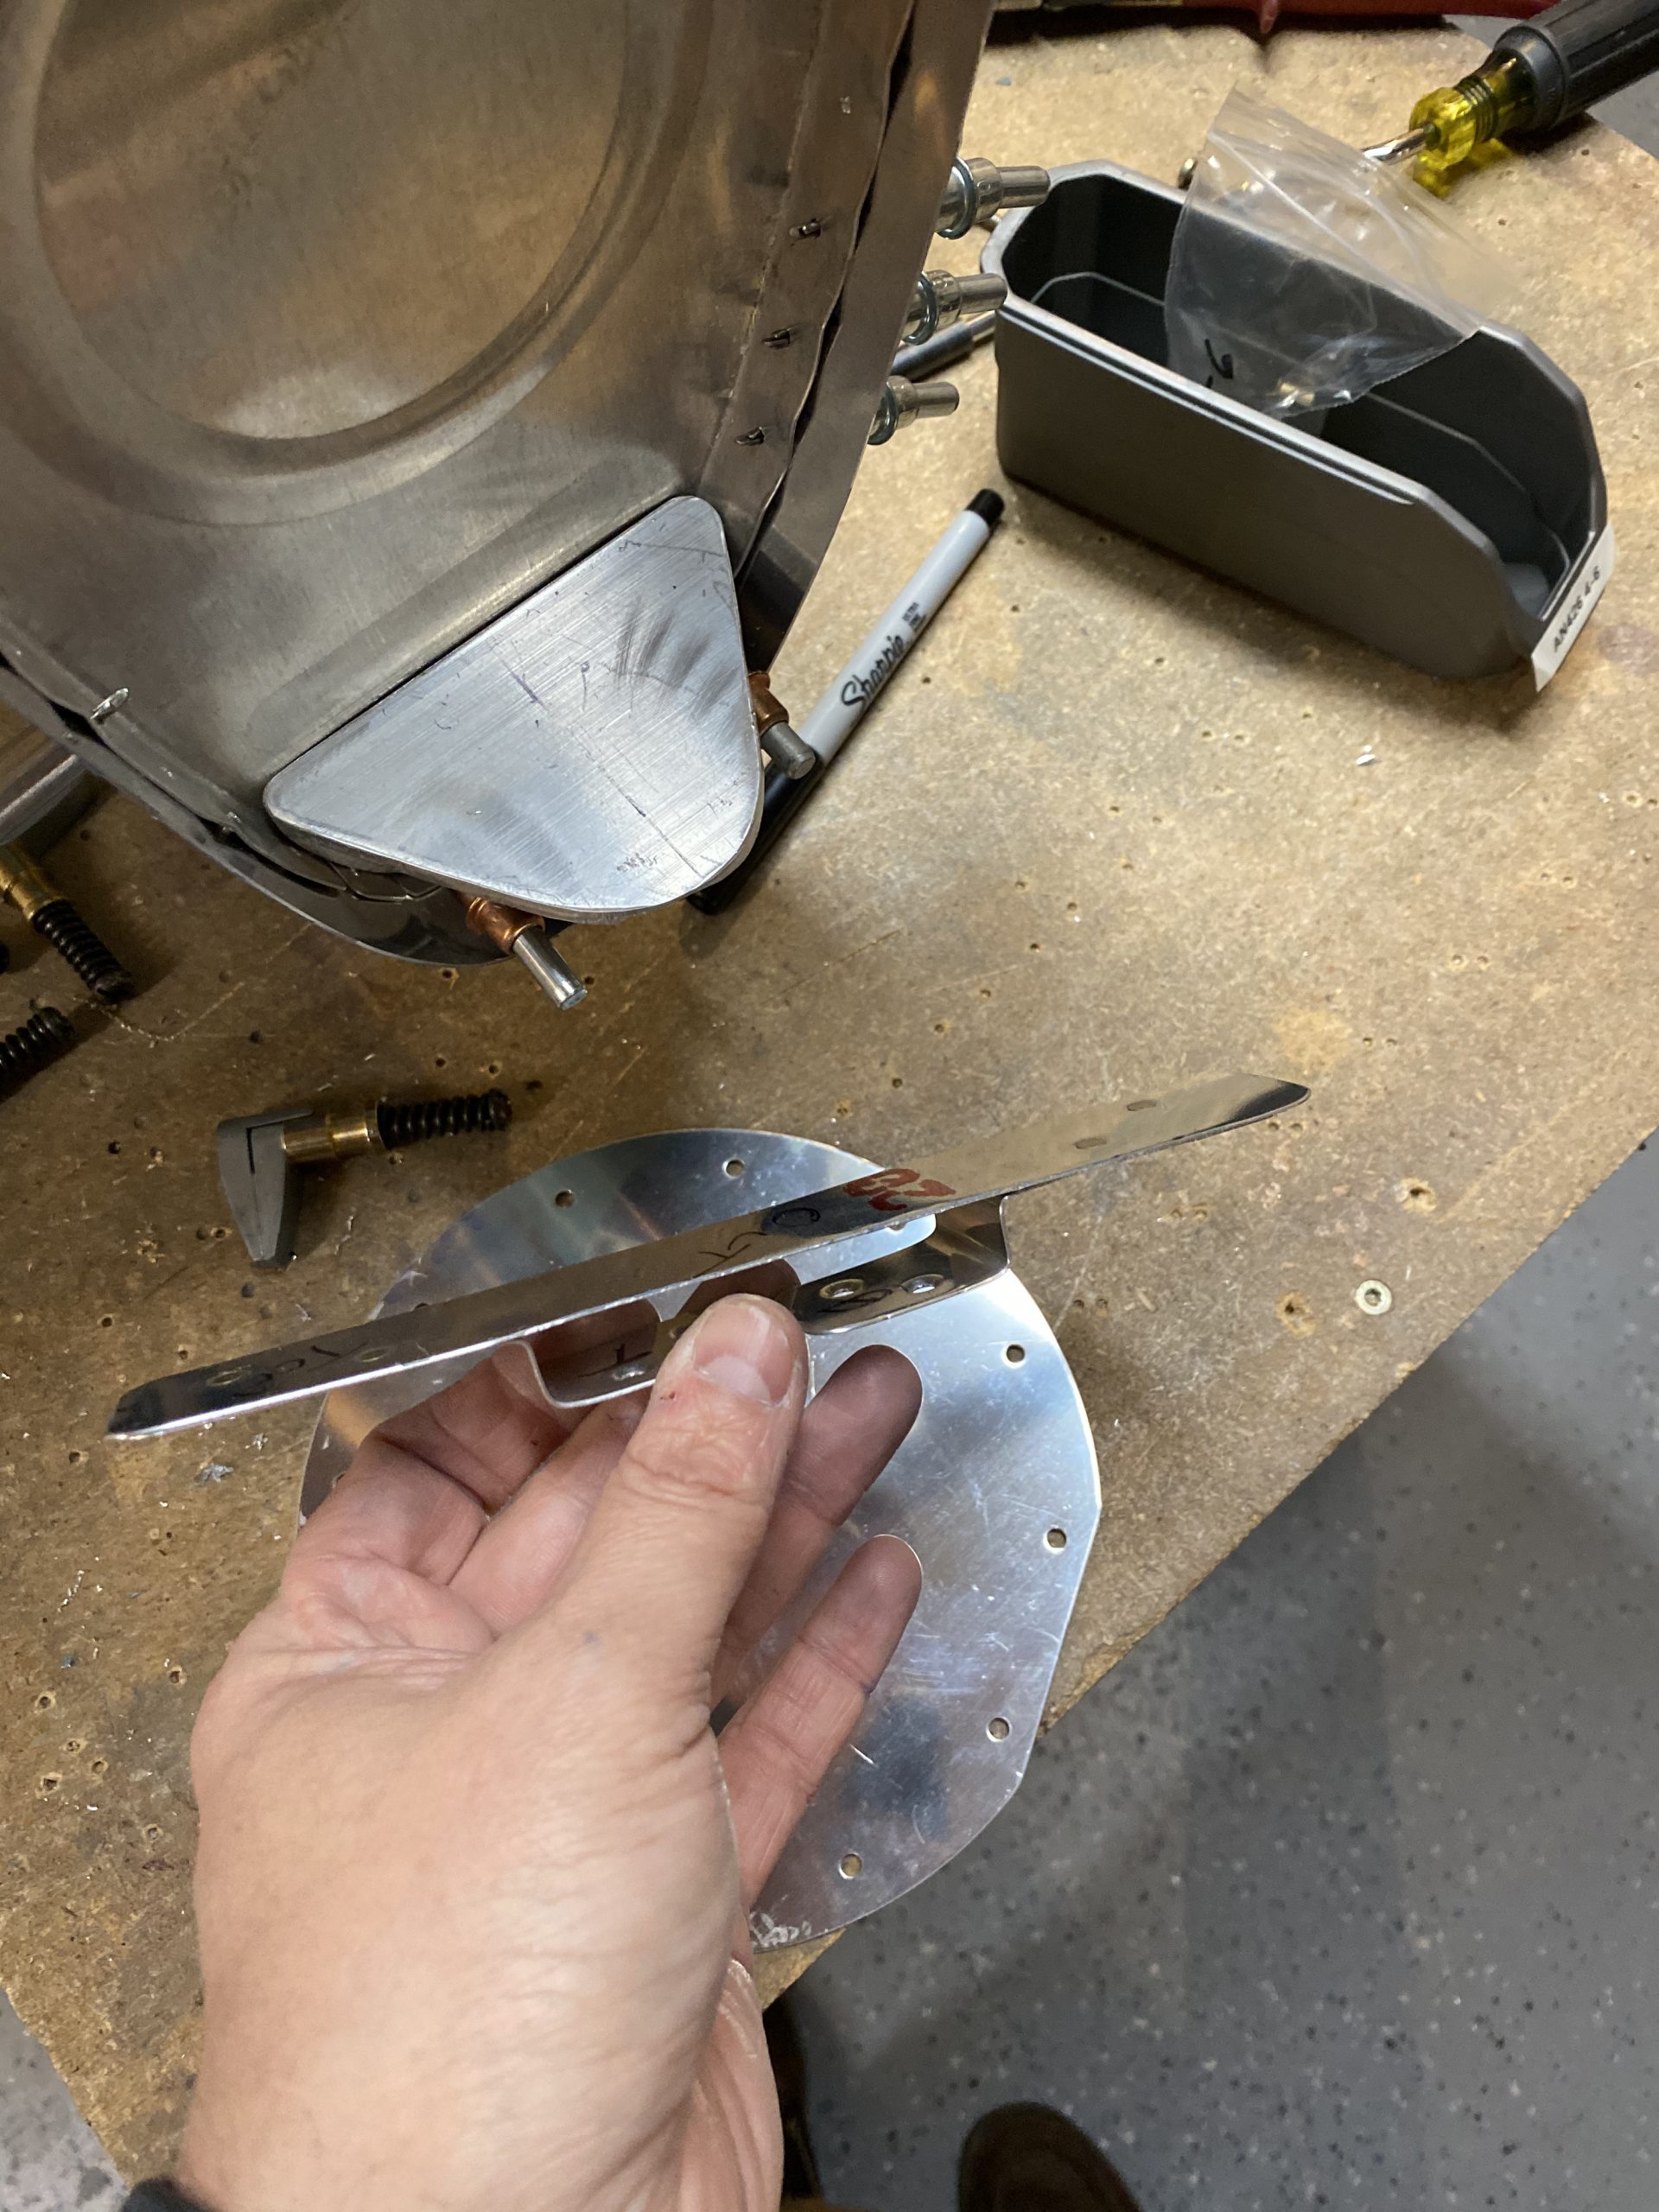
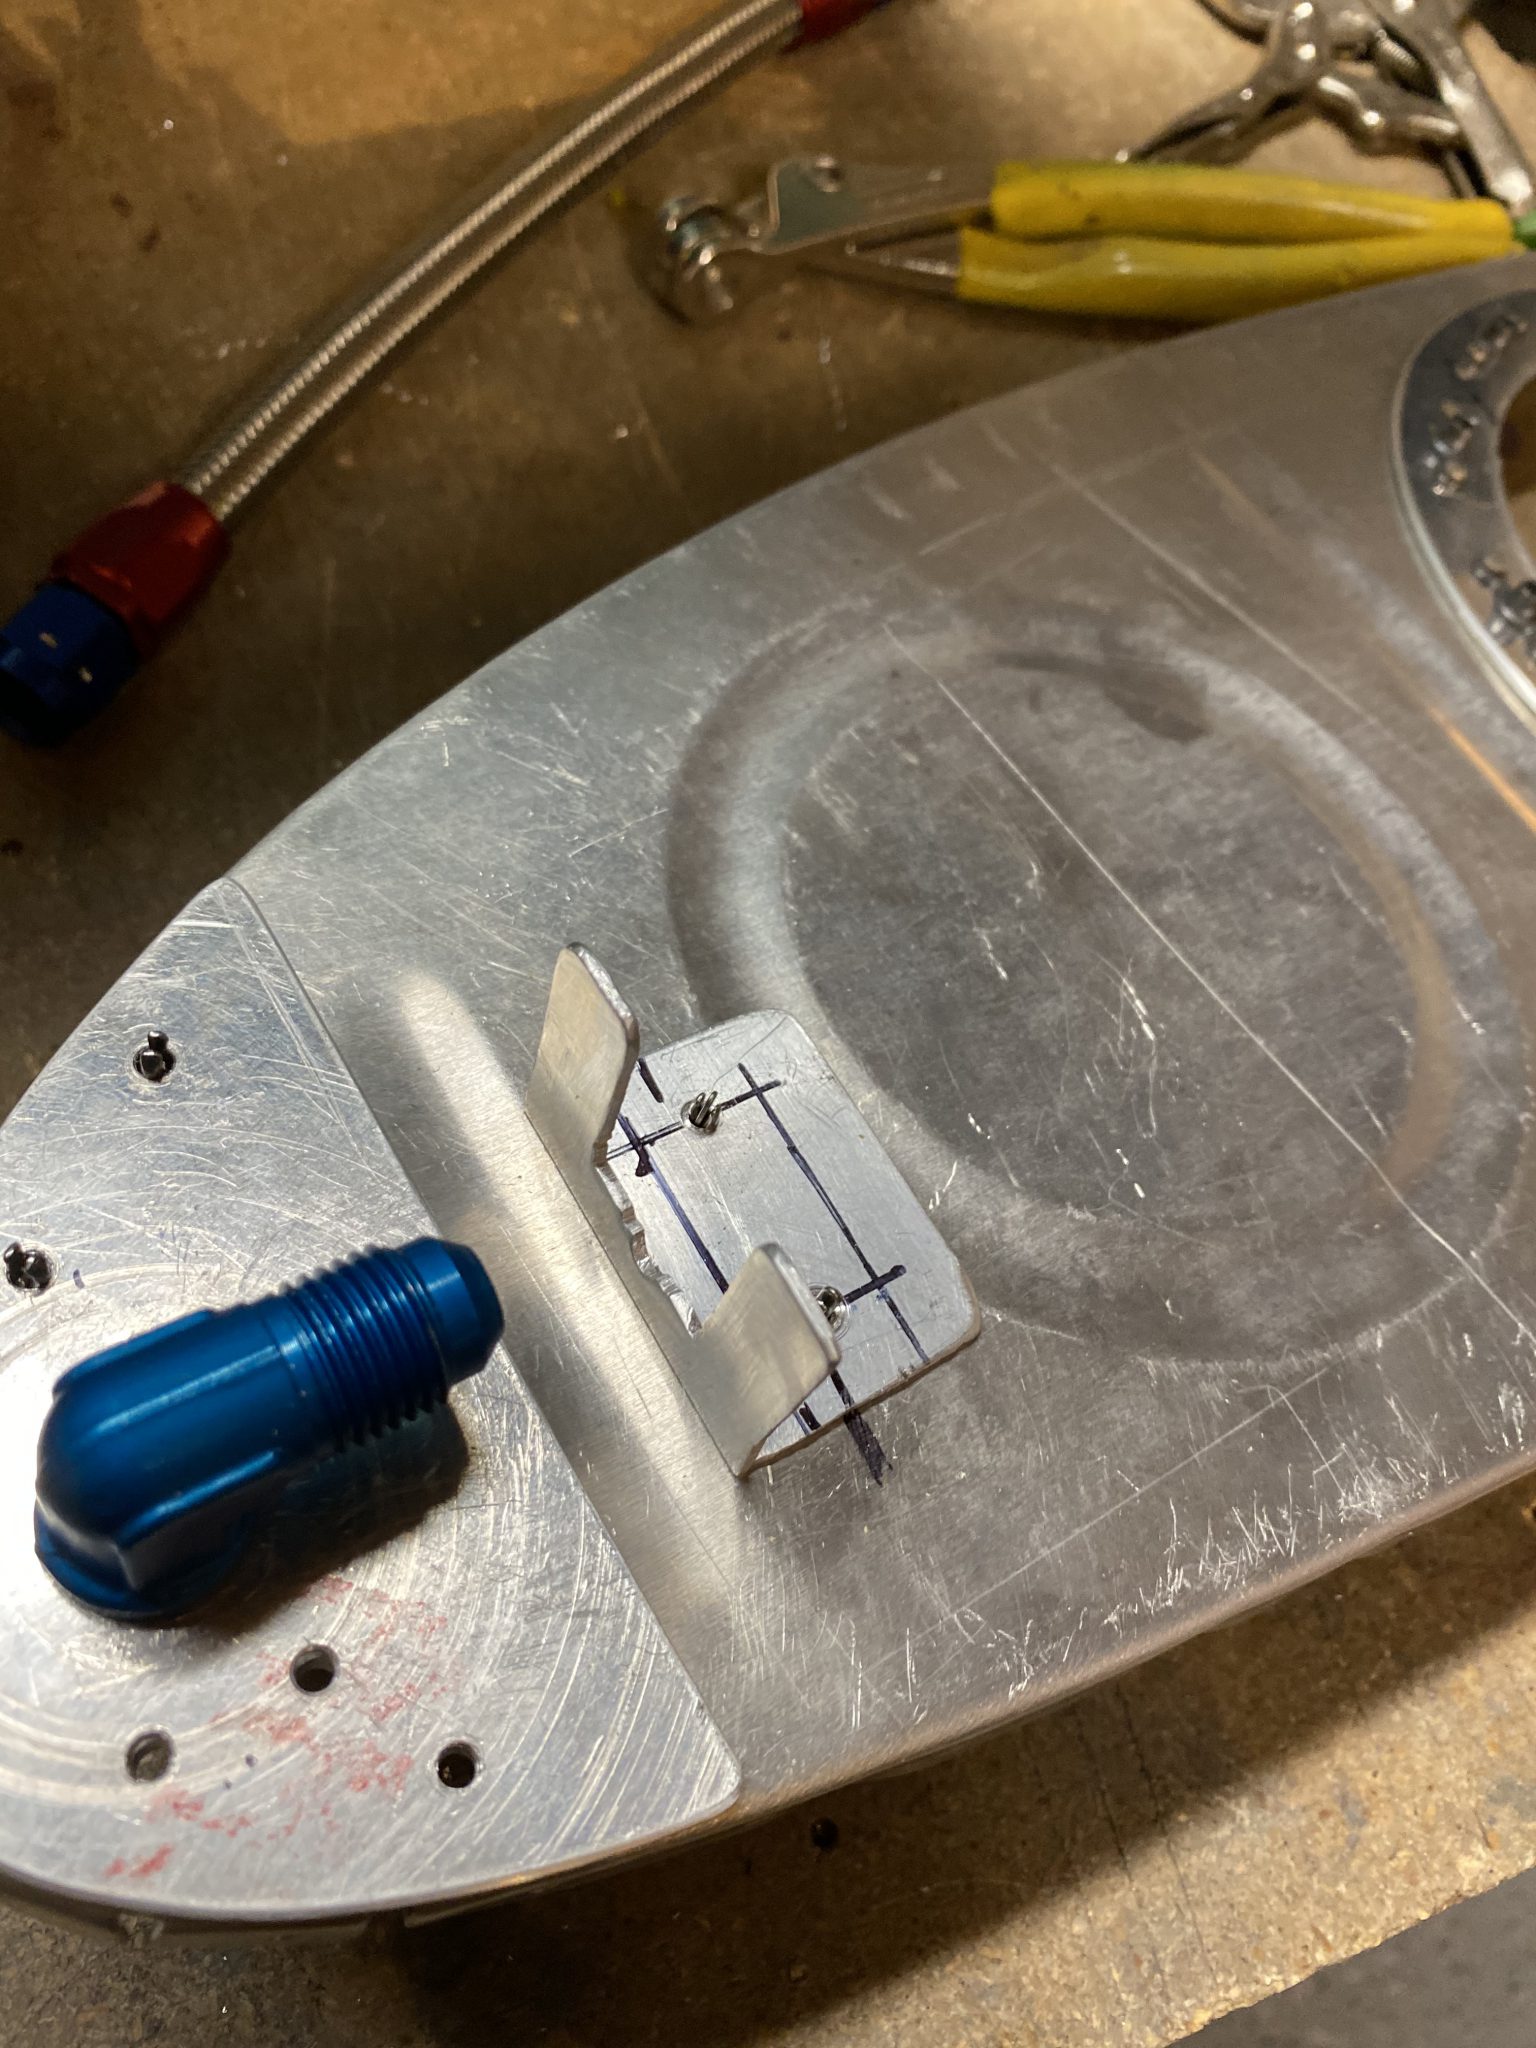
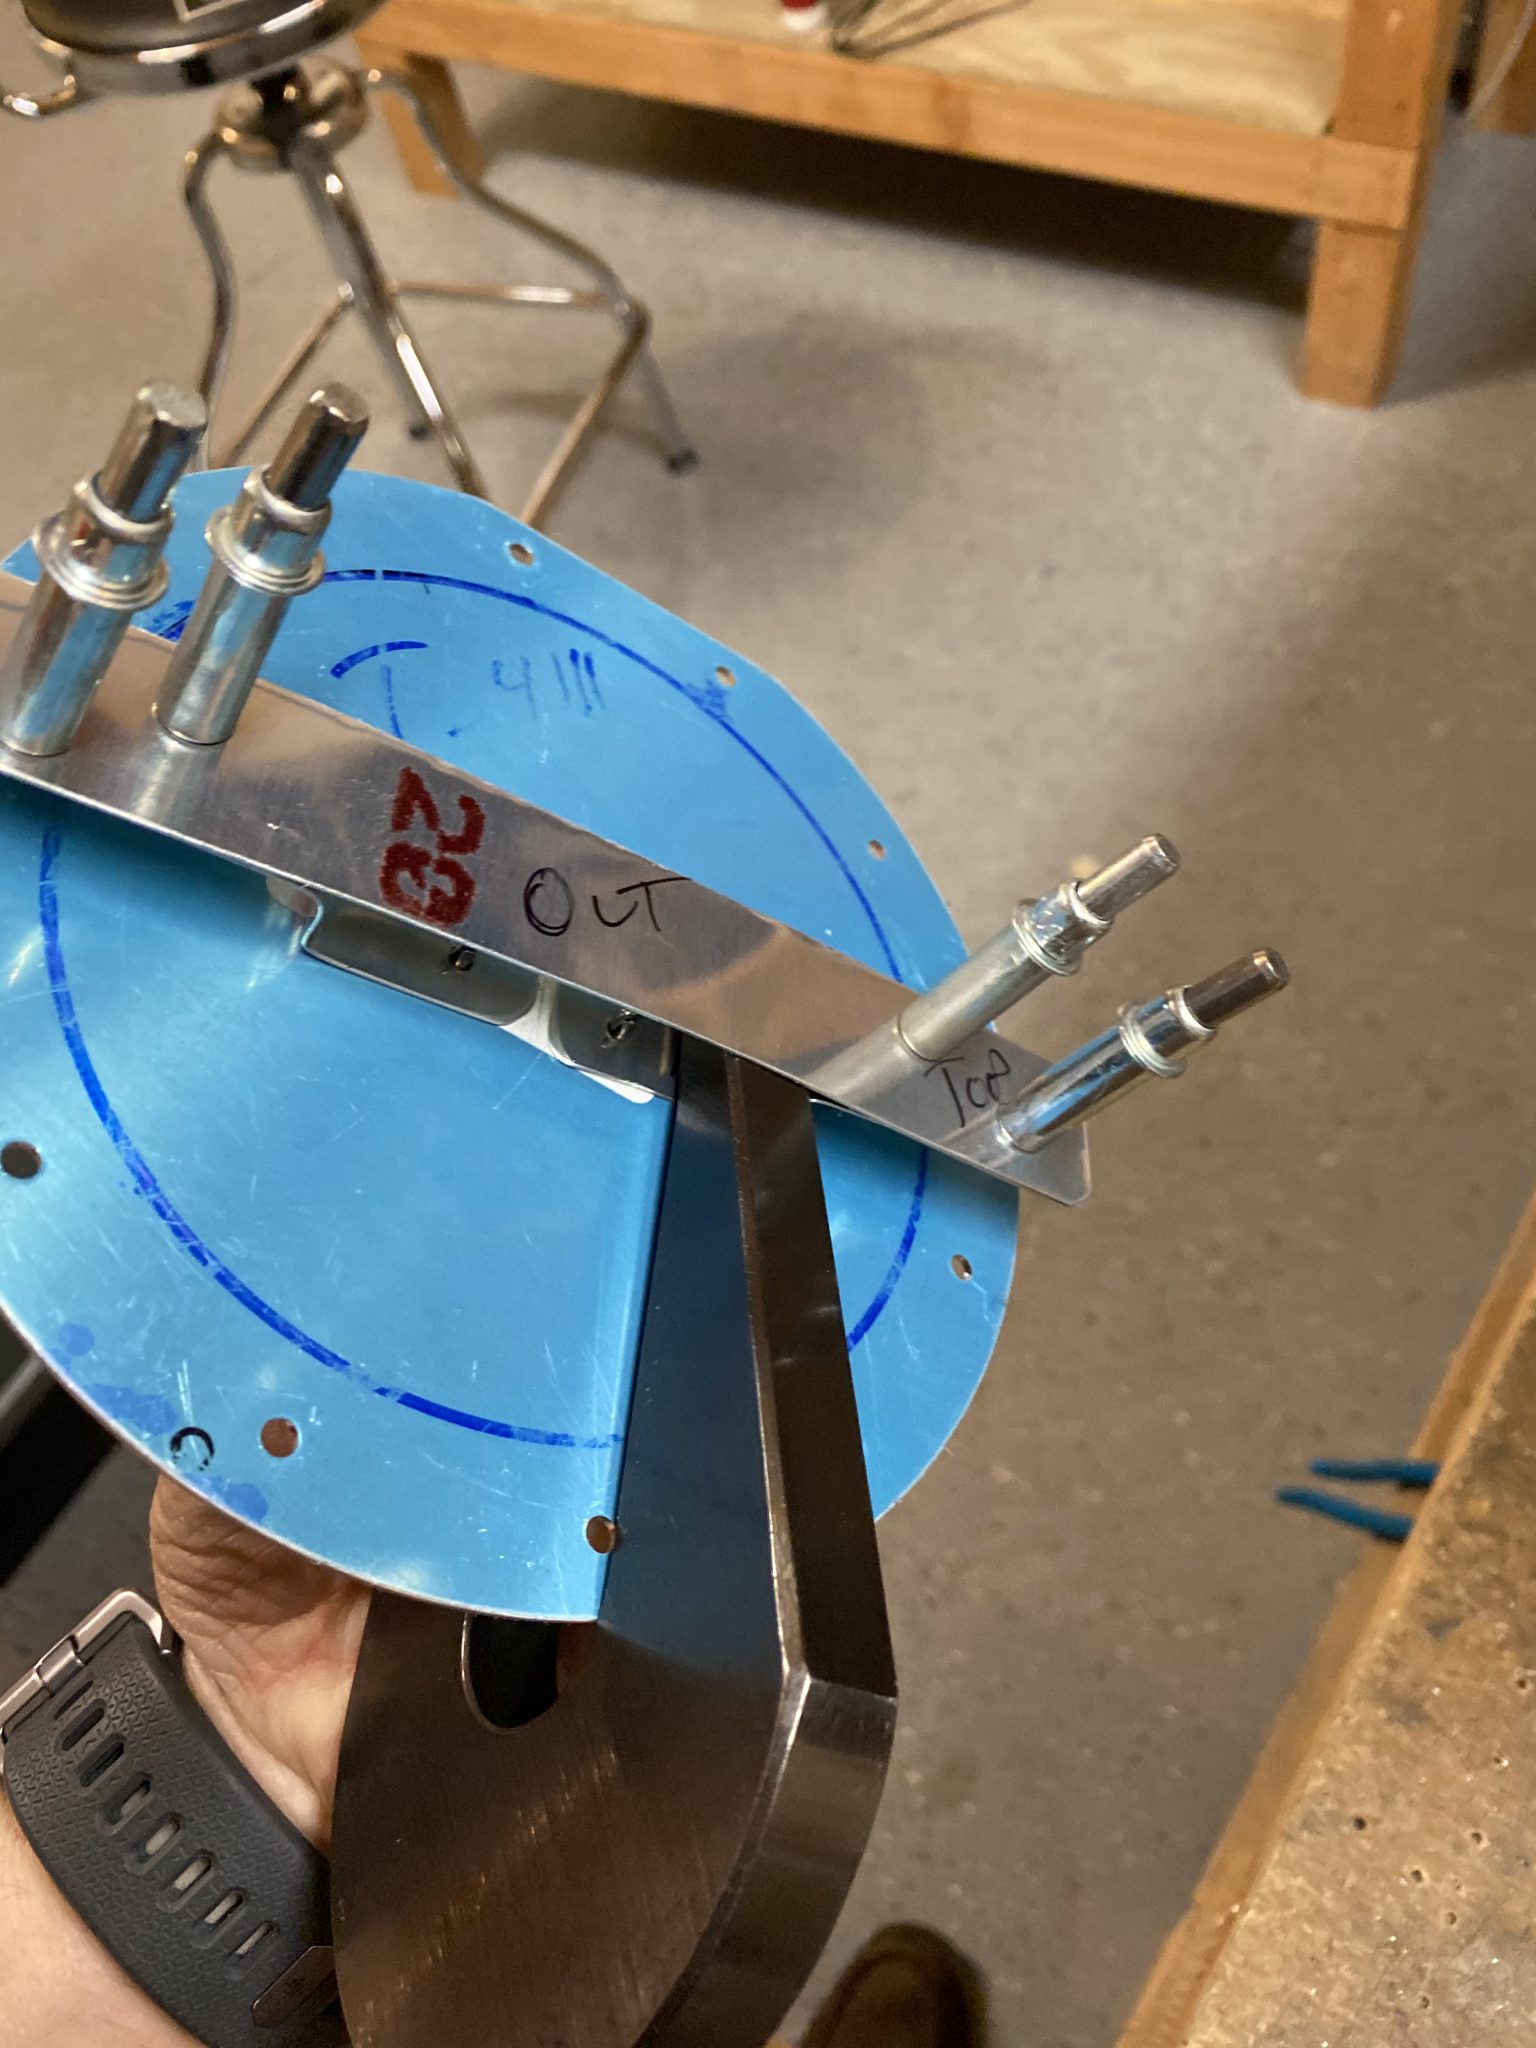
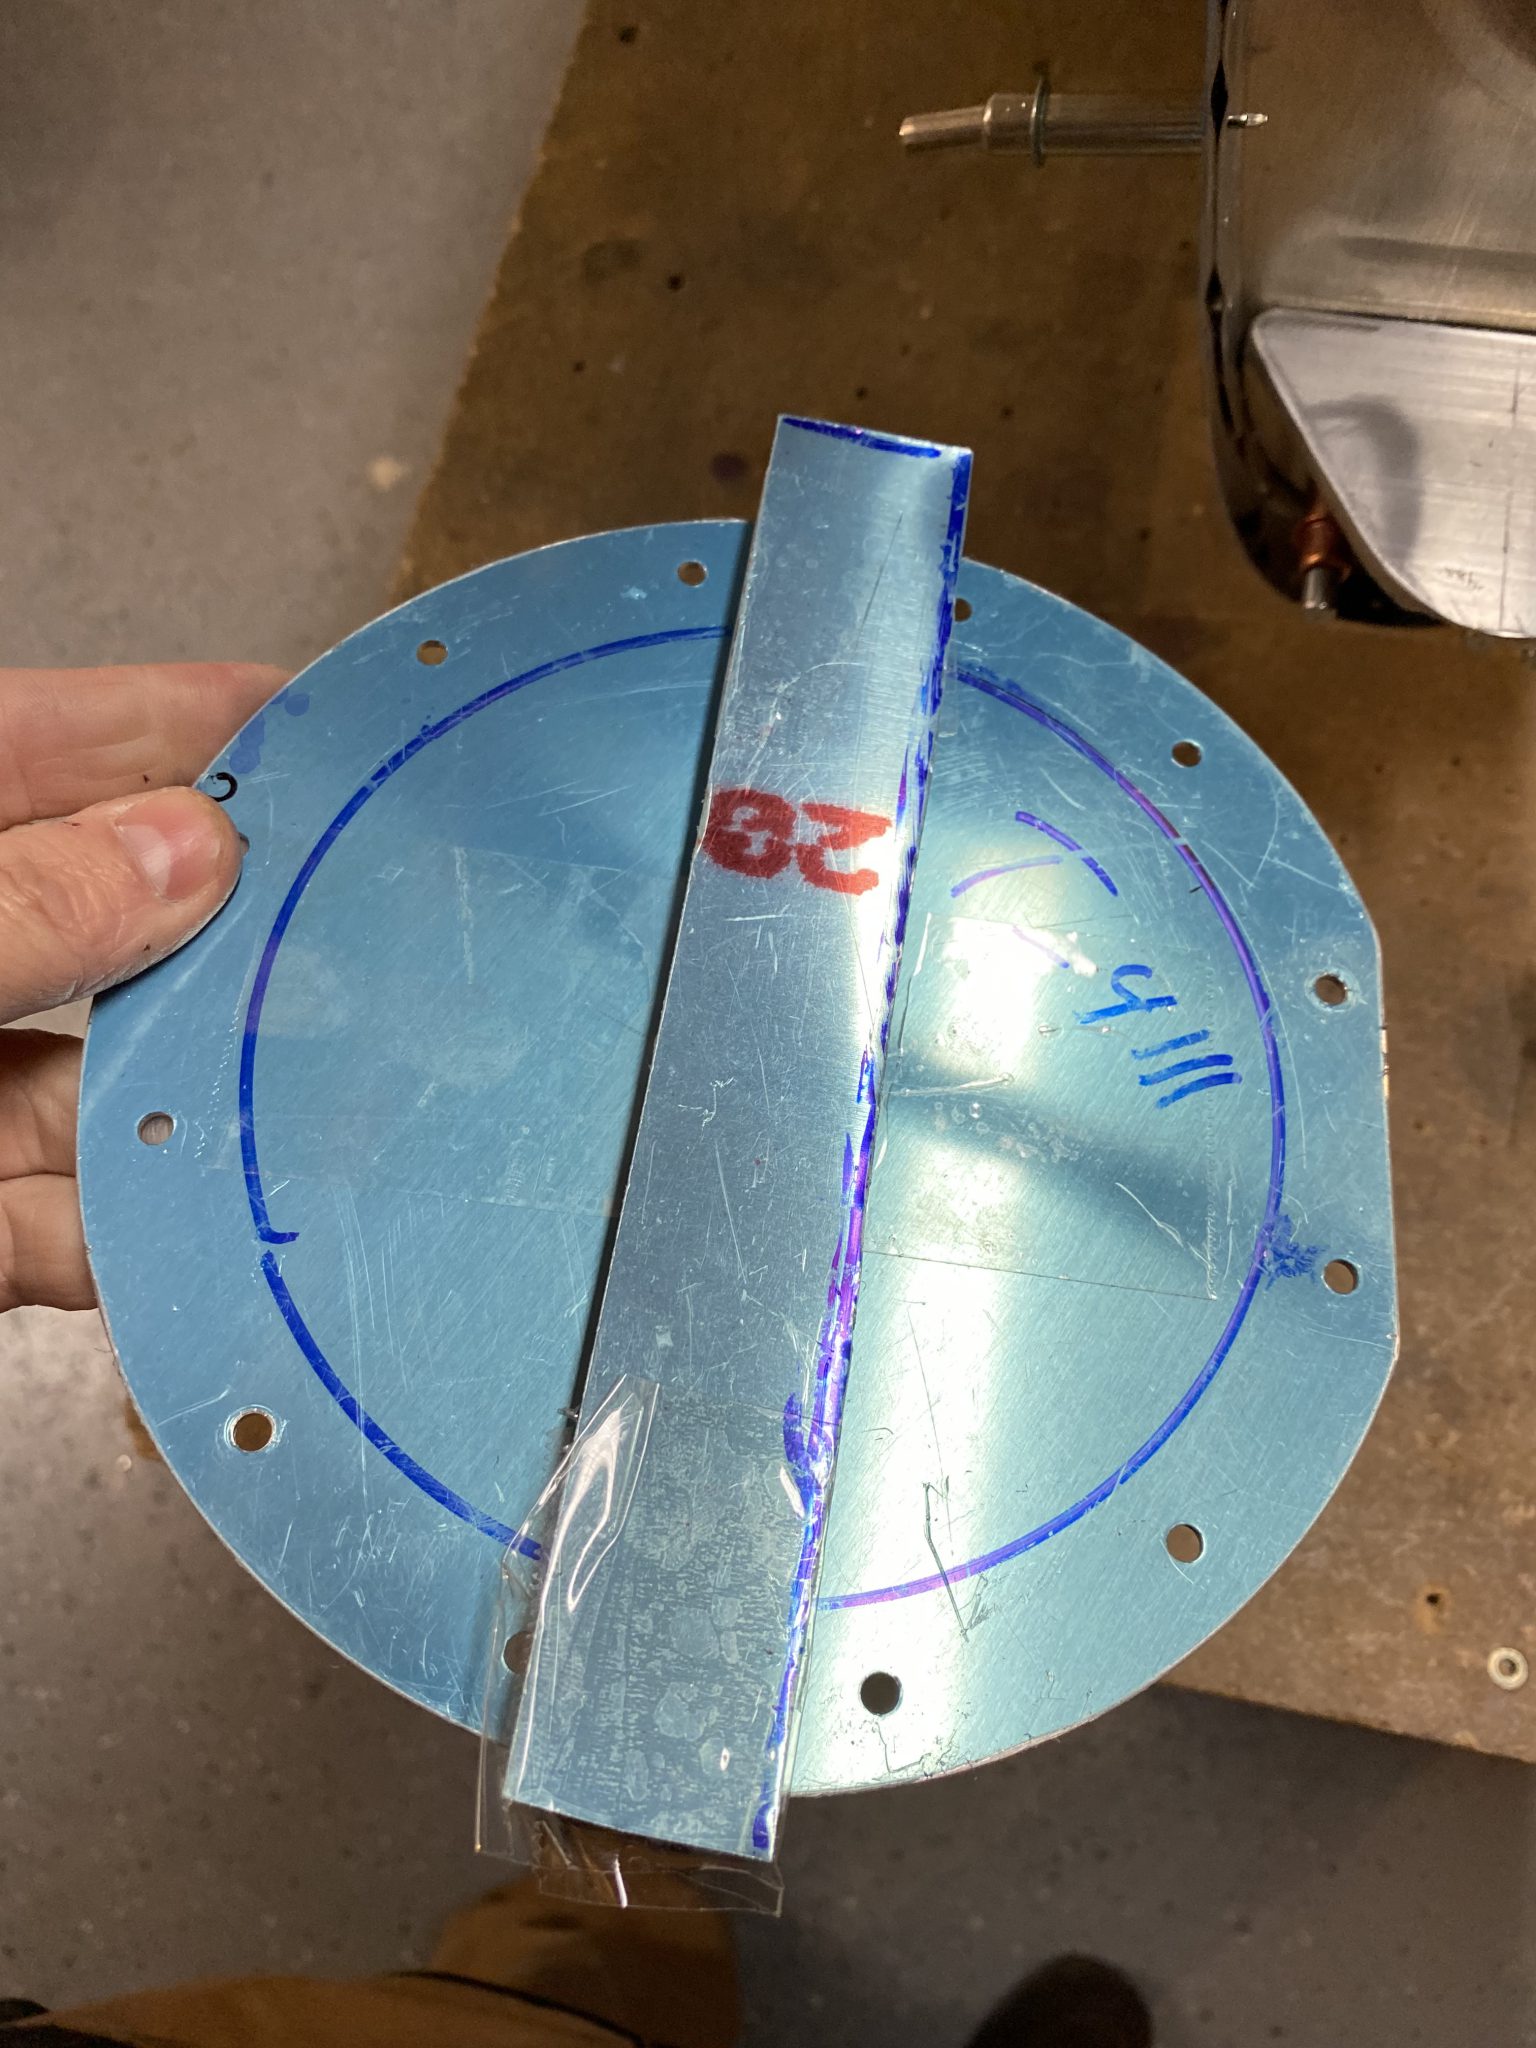
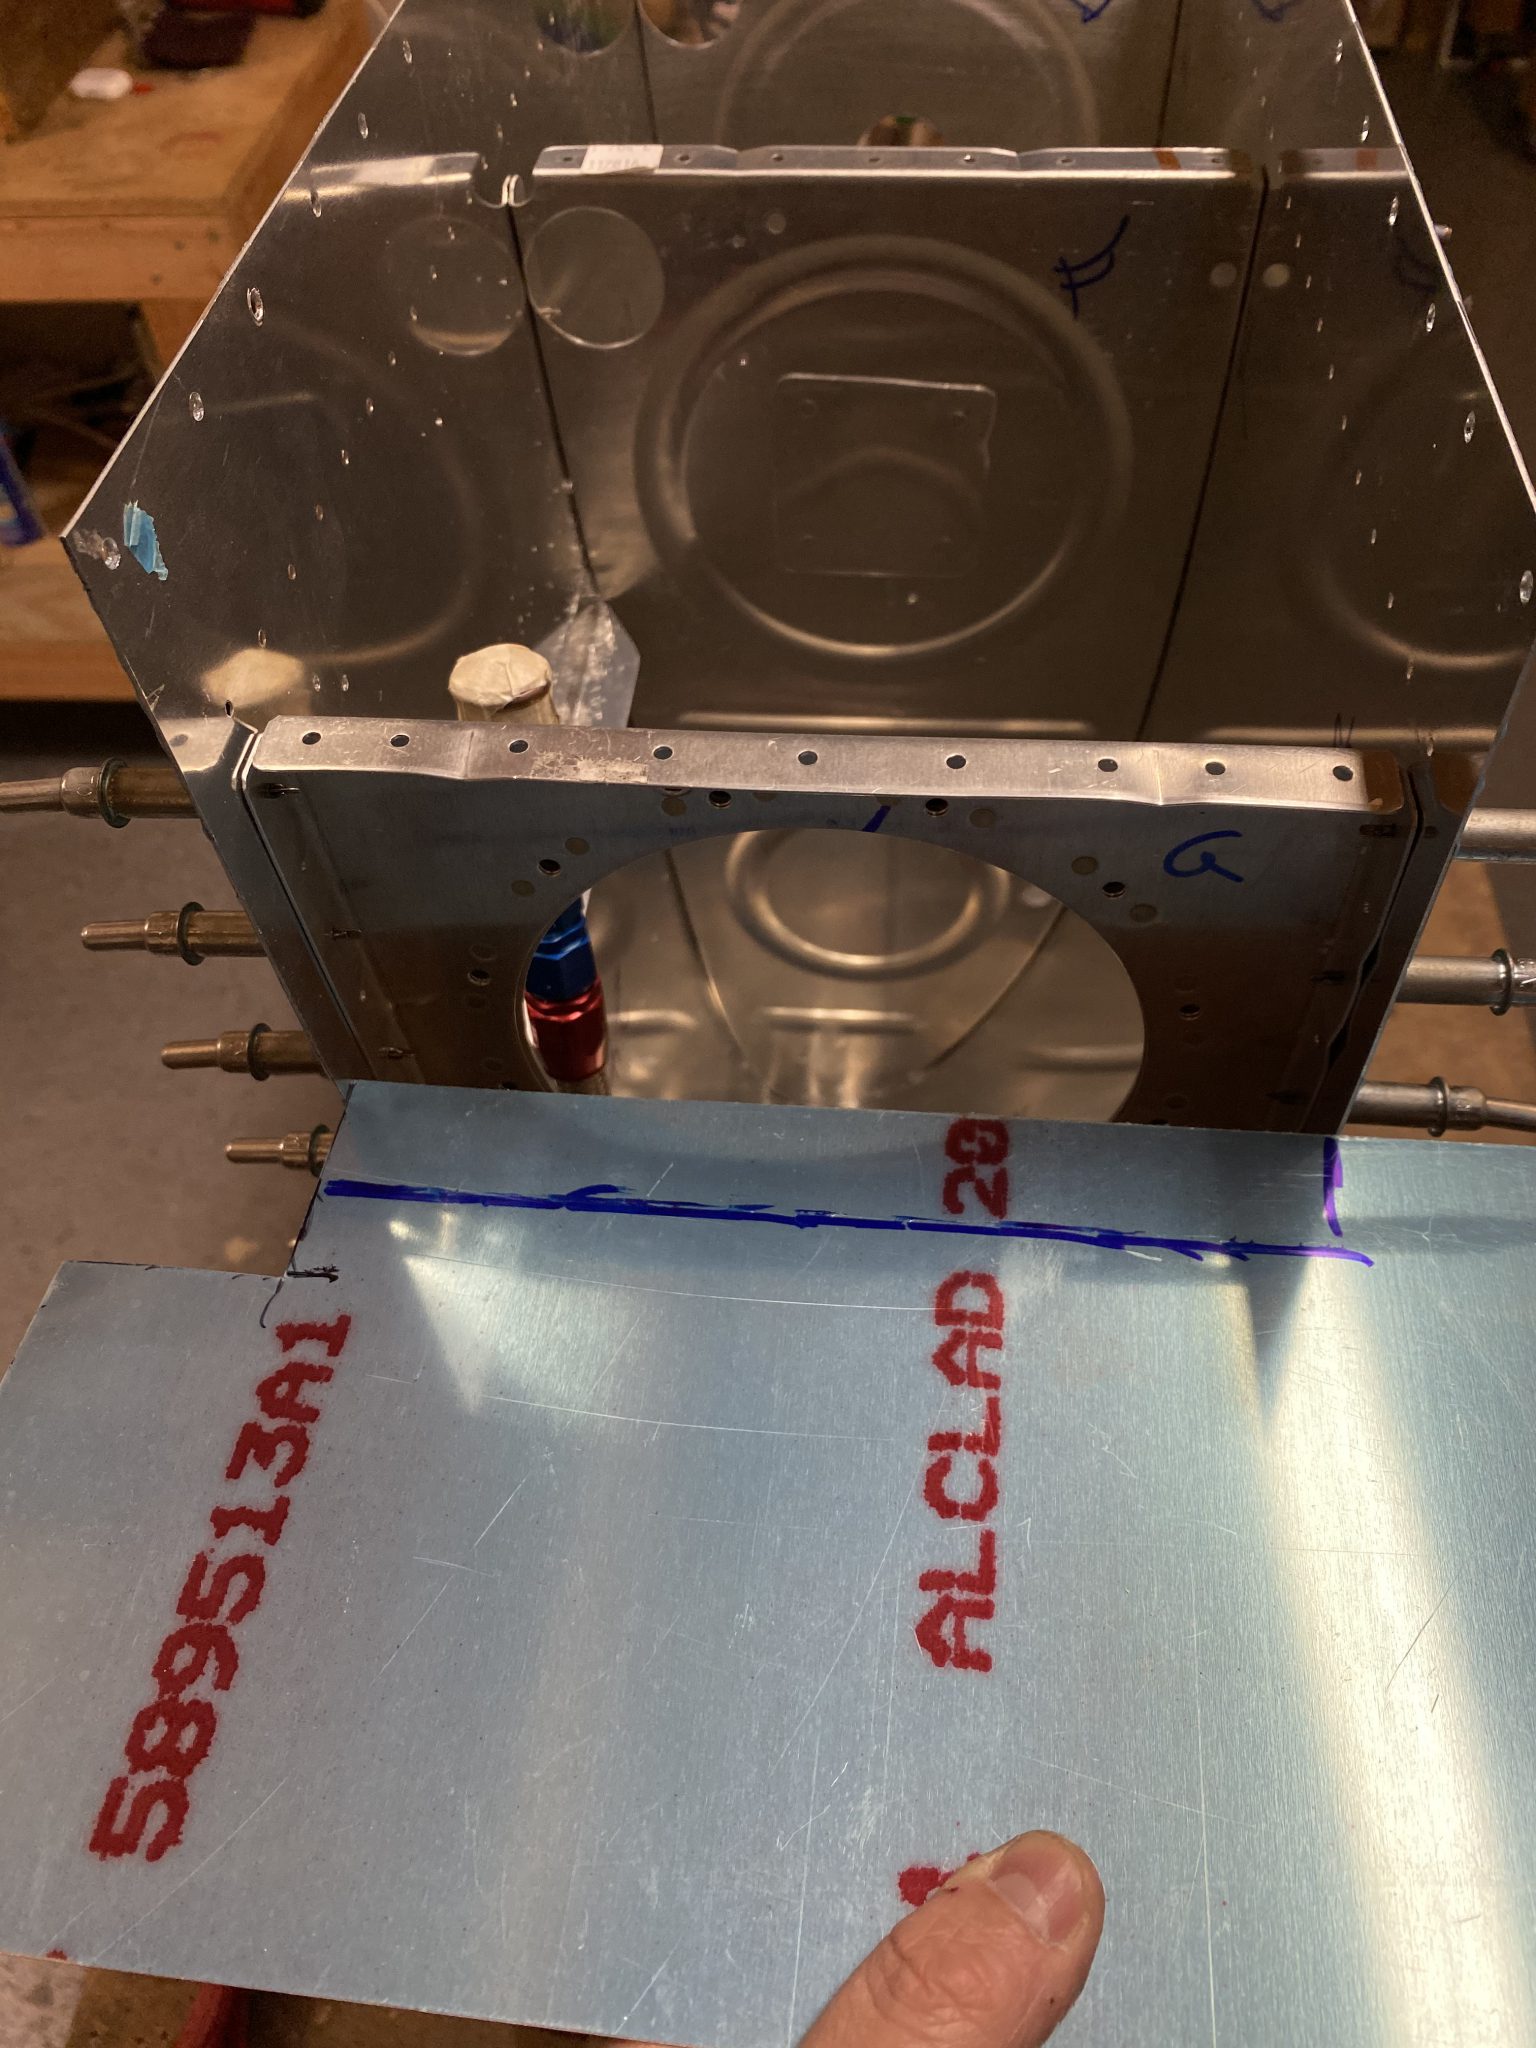
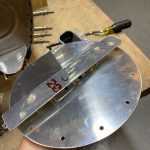
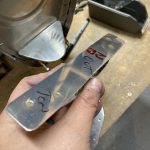
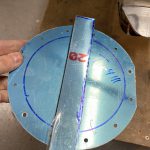
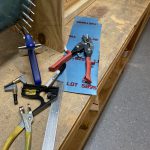
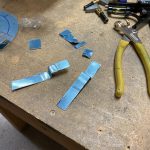
I told myself this was going to be a quick sesison, just finish up the anti-hangup brackets and we’re done for the night…….it didn’t happen that way :-0 I actually ended up doing a LOT of work, 3.5 hours worth, but I am glad I got it all done. At this point, I am ready for the fuel vent tube, and the capacitive senders. I started this one off by making the anti-hangup brackets that keep the flop tube from getting stuck on the nutplates for the access panel. Van’s wants us to make a simple one by riveting a piece of .020″ alclad onto the back of the reinforcement plate, but that would block any easy access into the tank if you ever needed it. So, a bunch of clever builders came up with ways of making anti-hangup brackets that attach to the access plate, and come out with the access plate so as to give you full access through the hole when the cover is off. Thats how I am doing mine. It takes a little more time to do it now, but its worth it if you ever need into your tanks. I went through a few different iterations, and several pieces of scrap became smaller pieces of scrap in the process, like below:
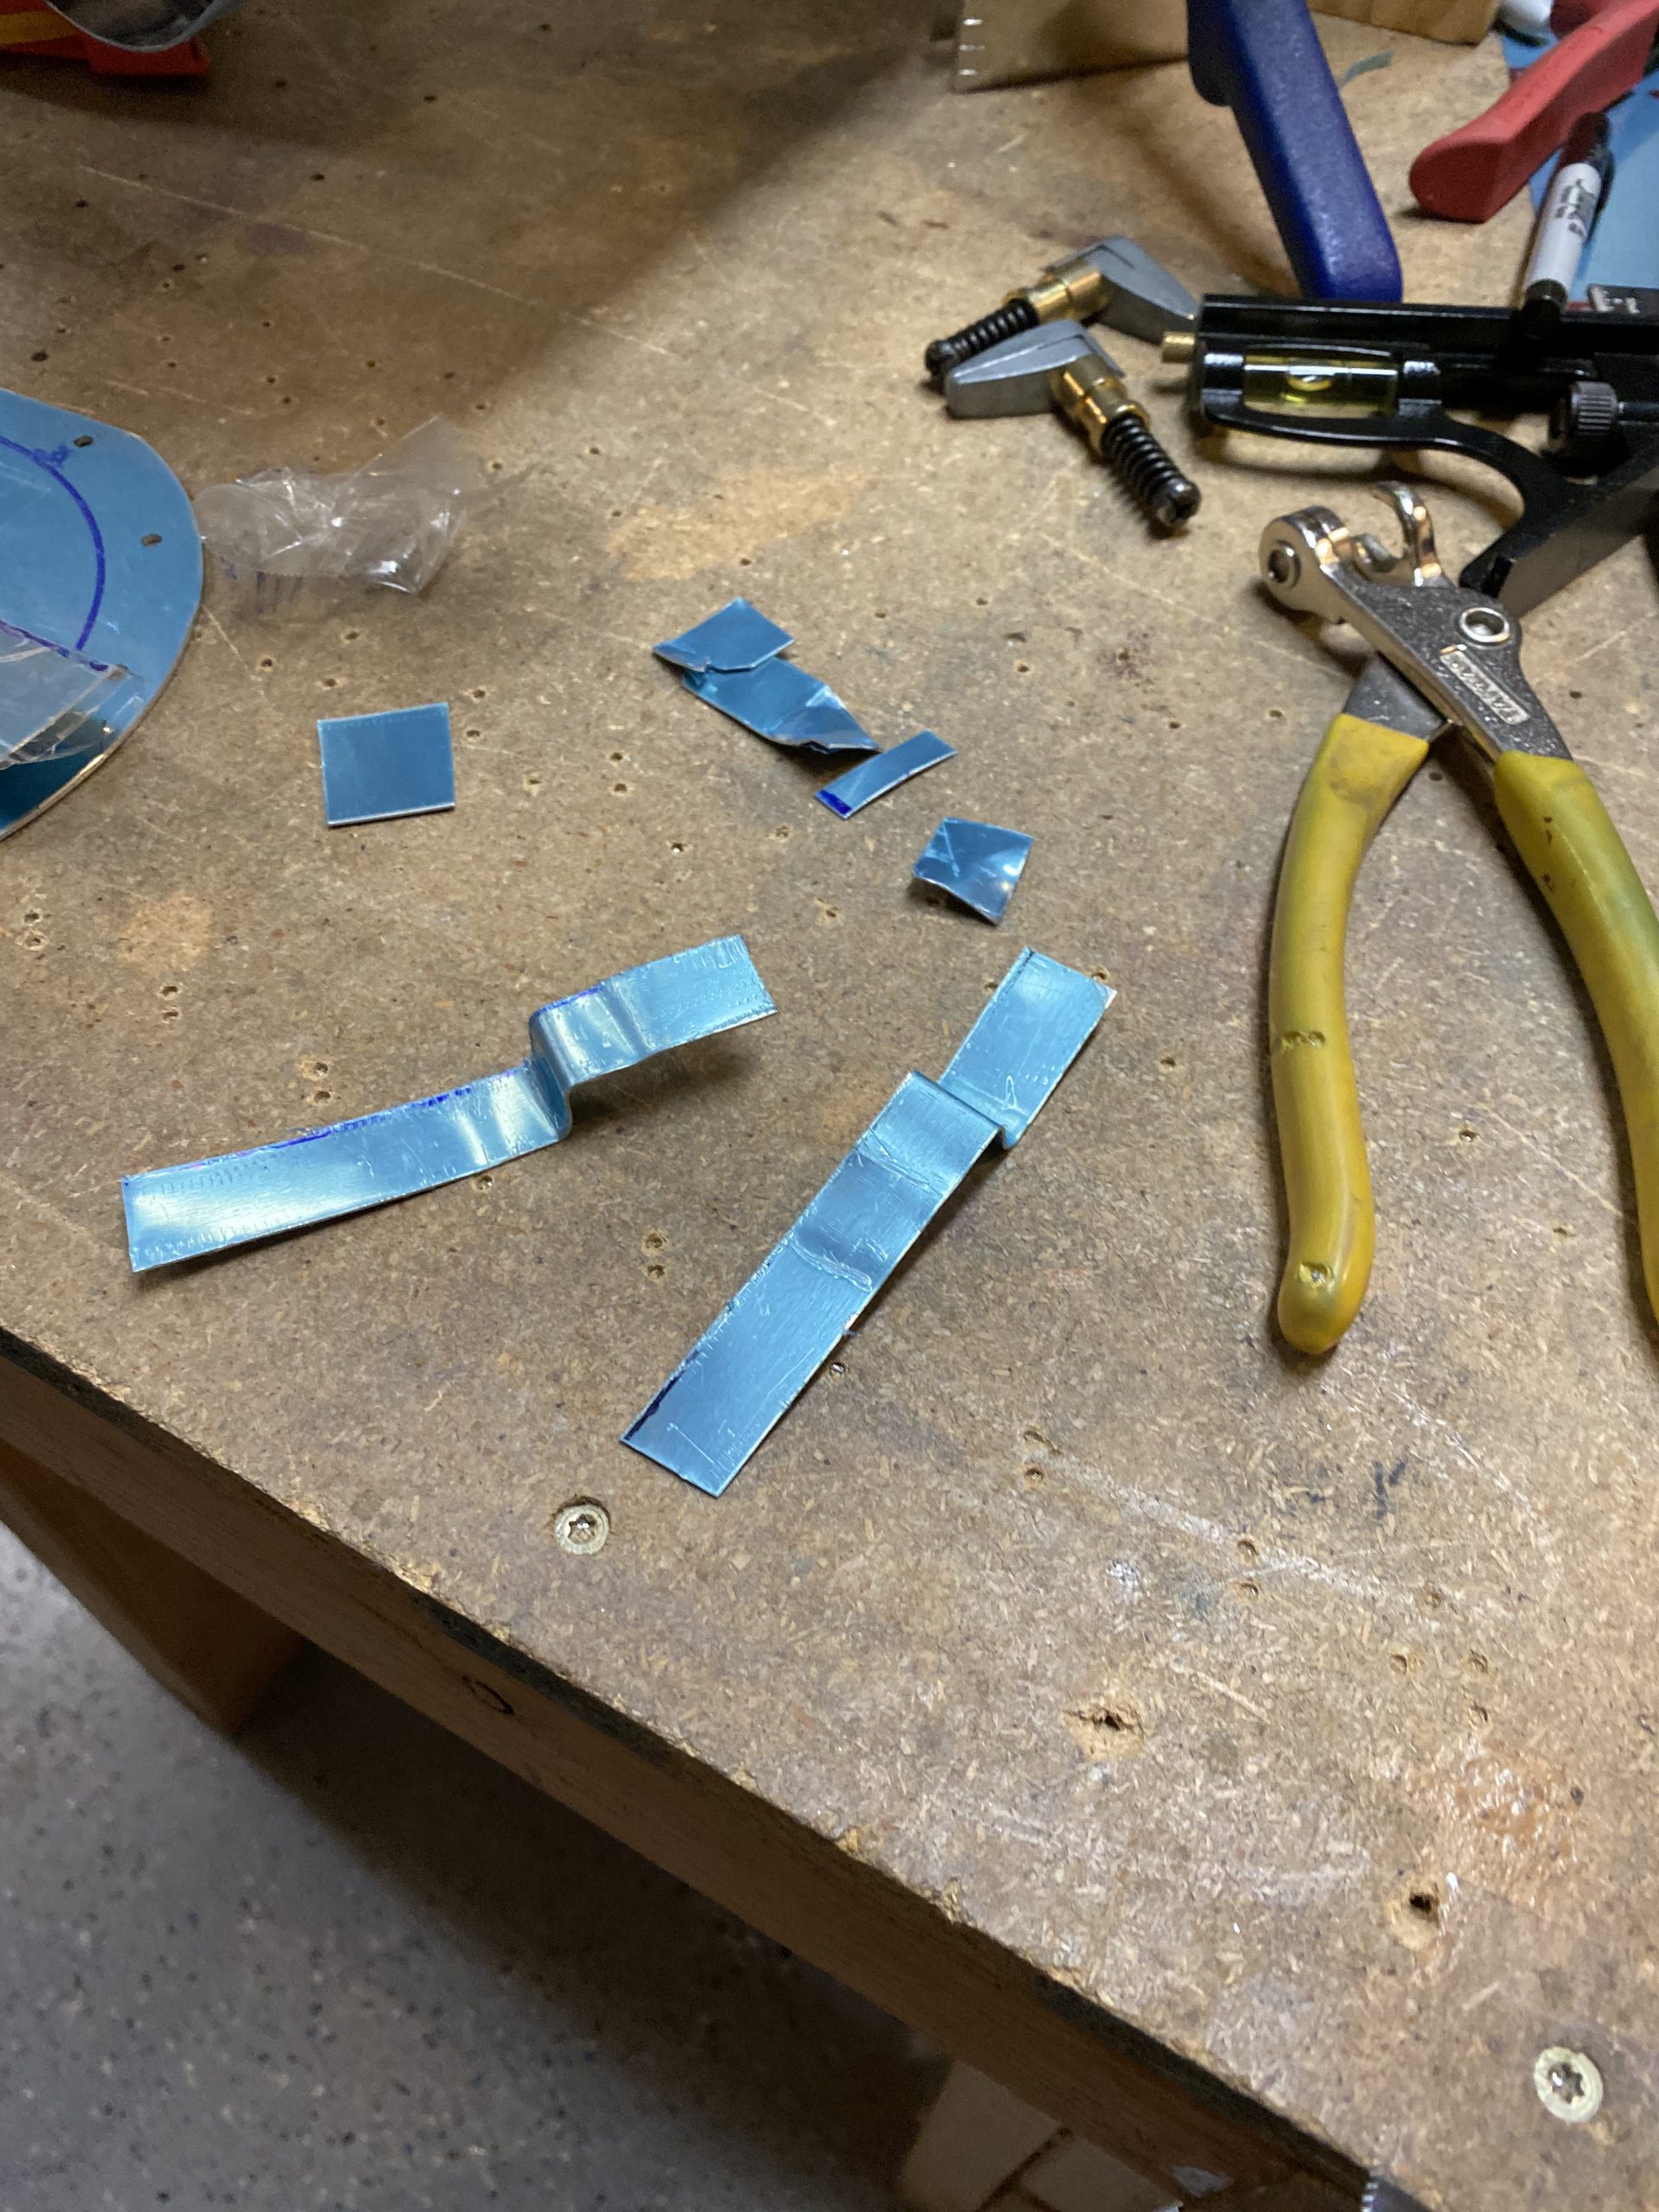
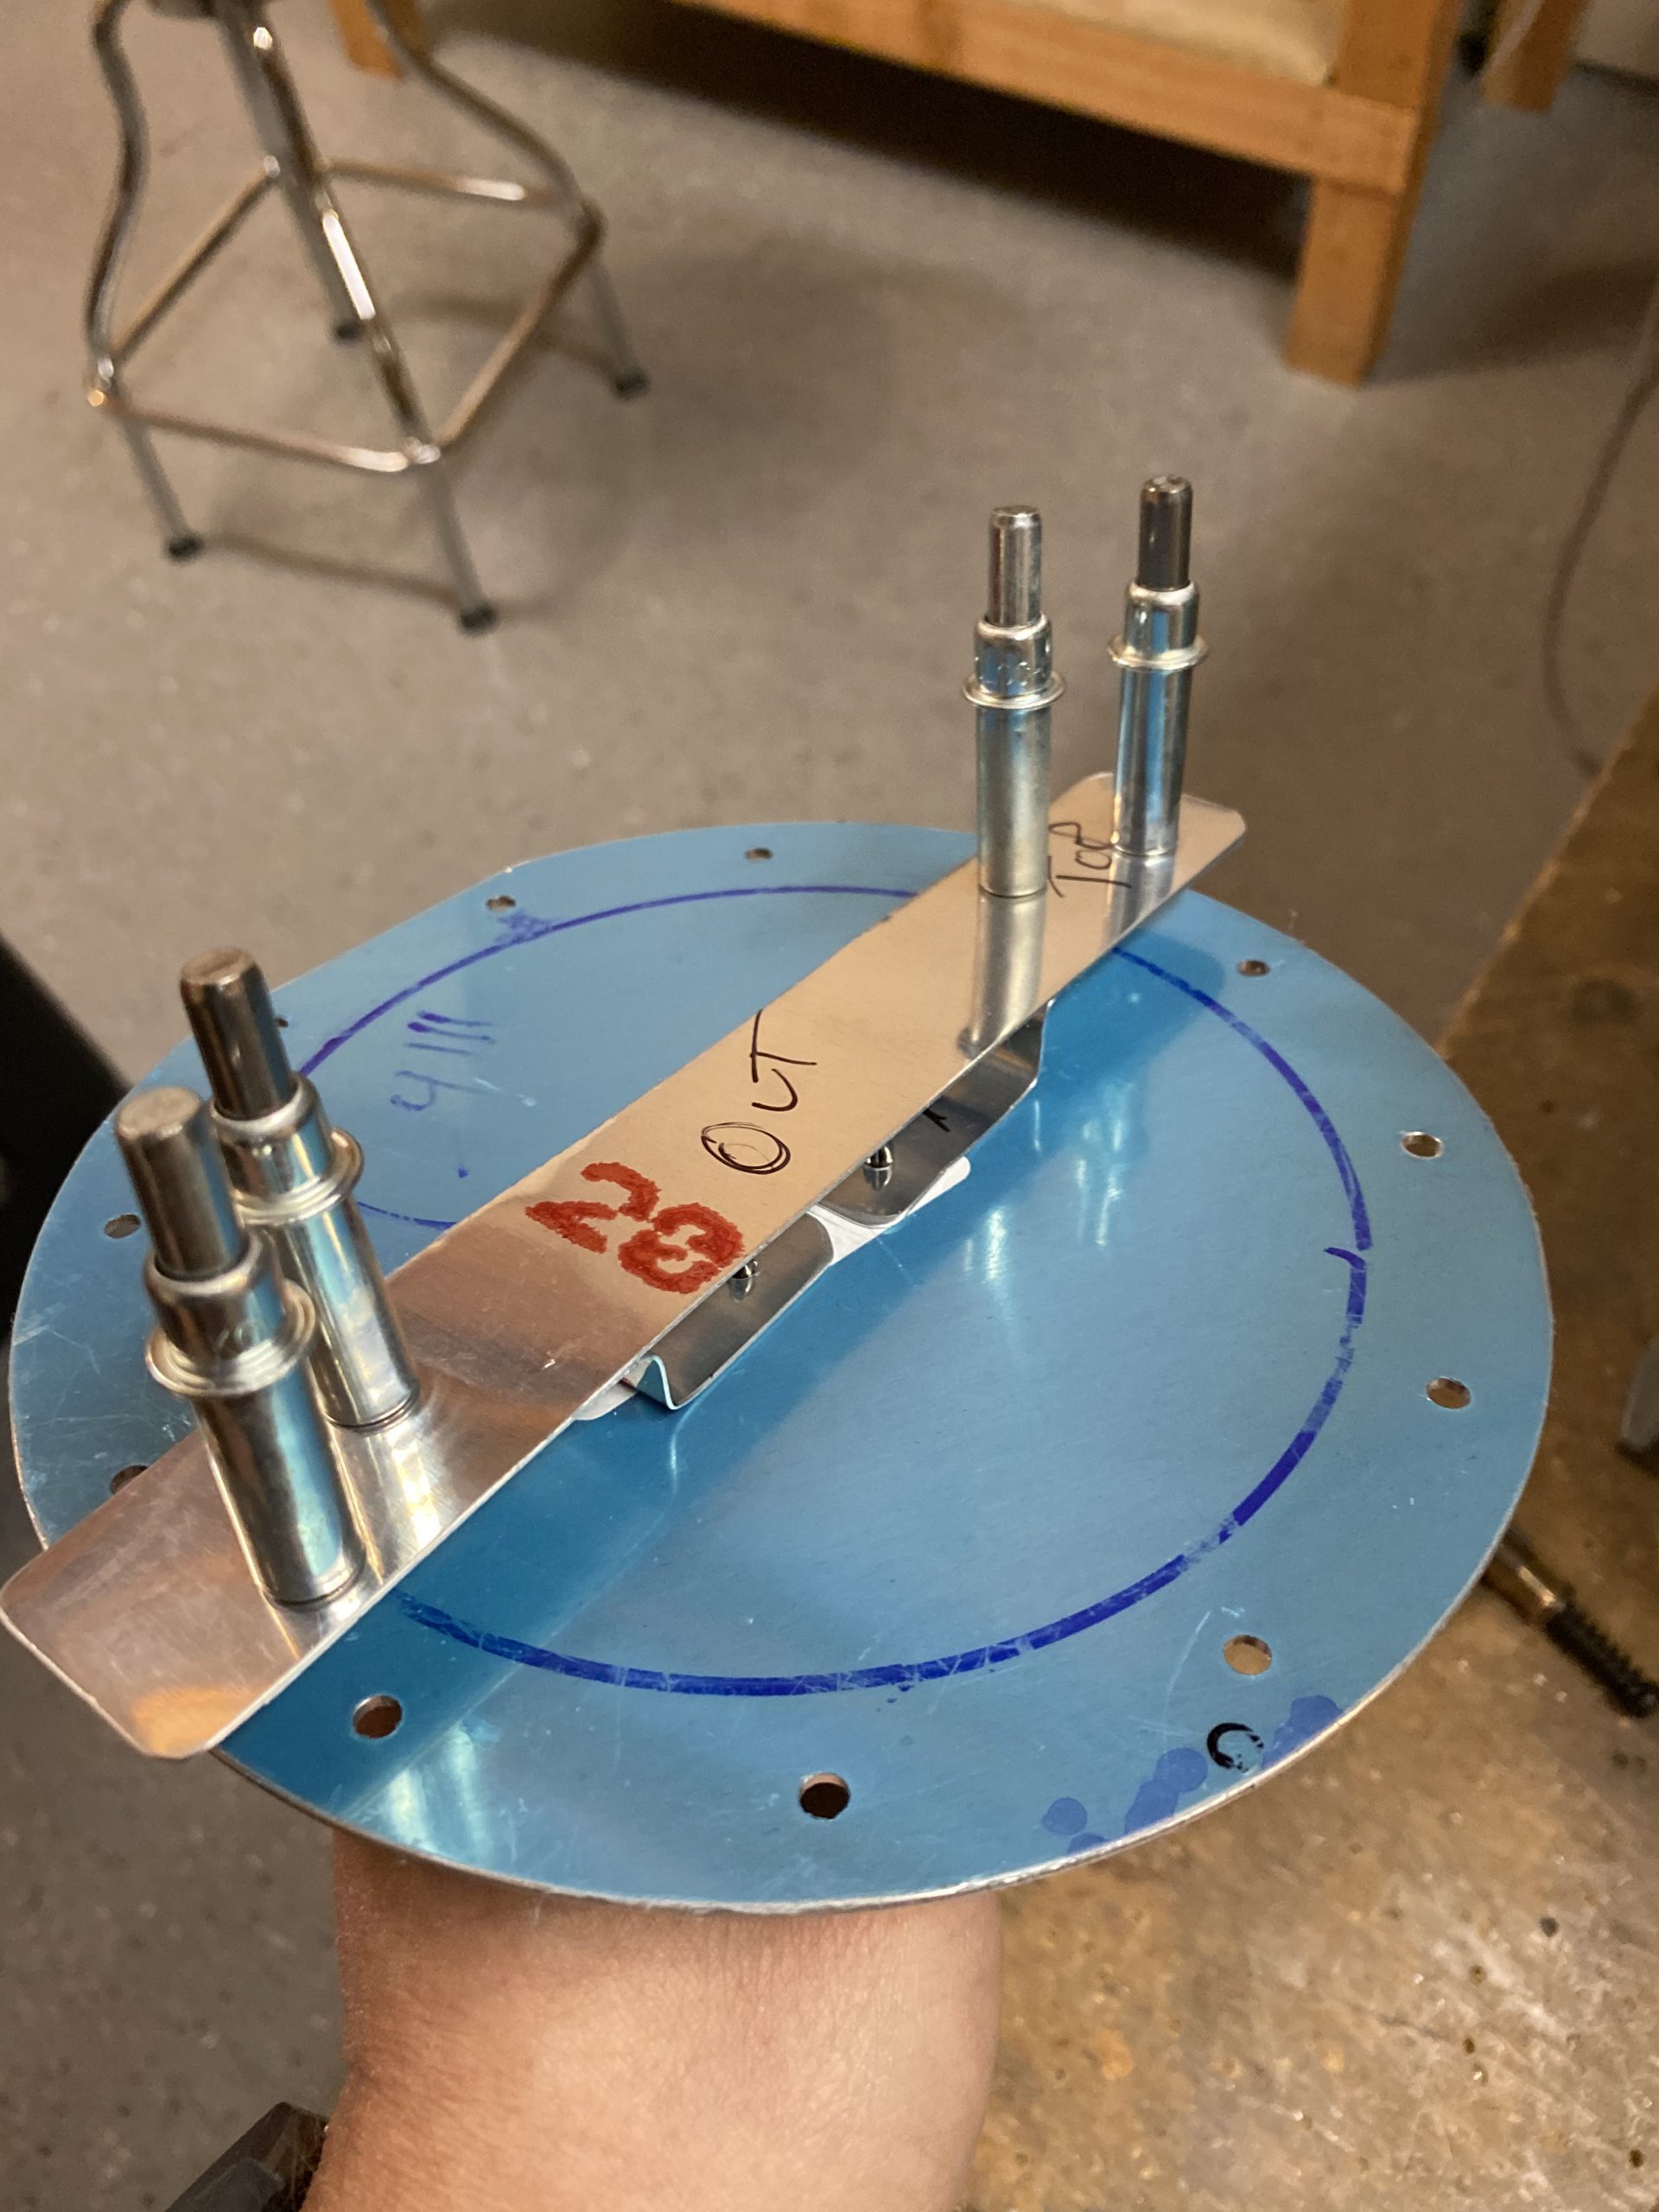
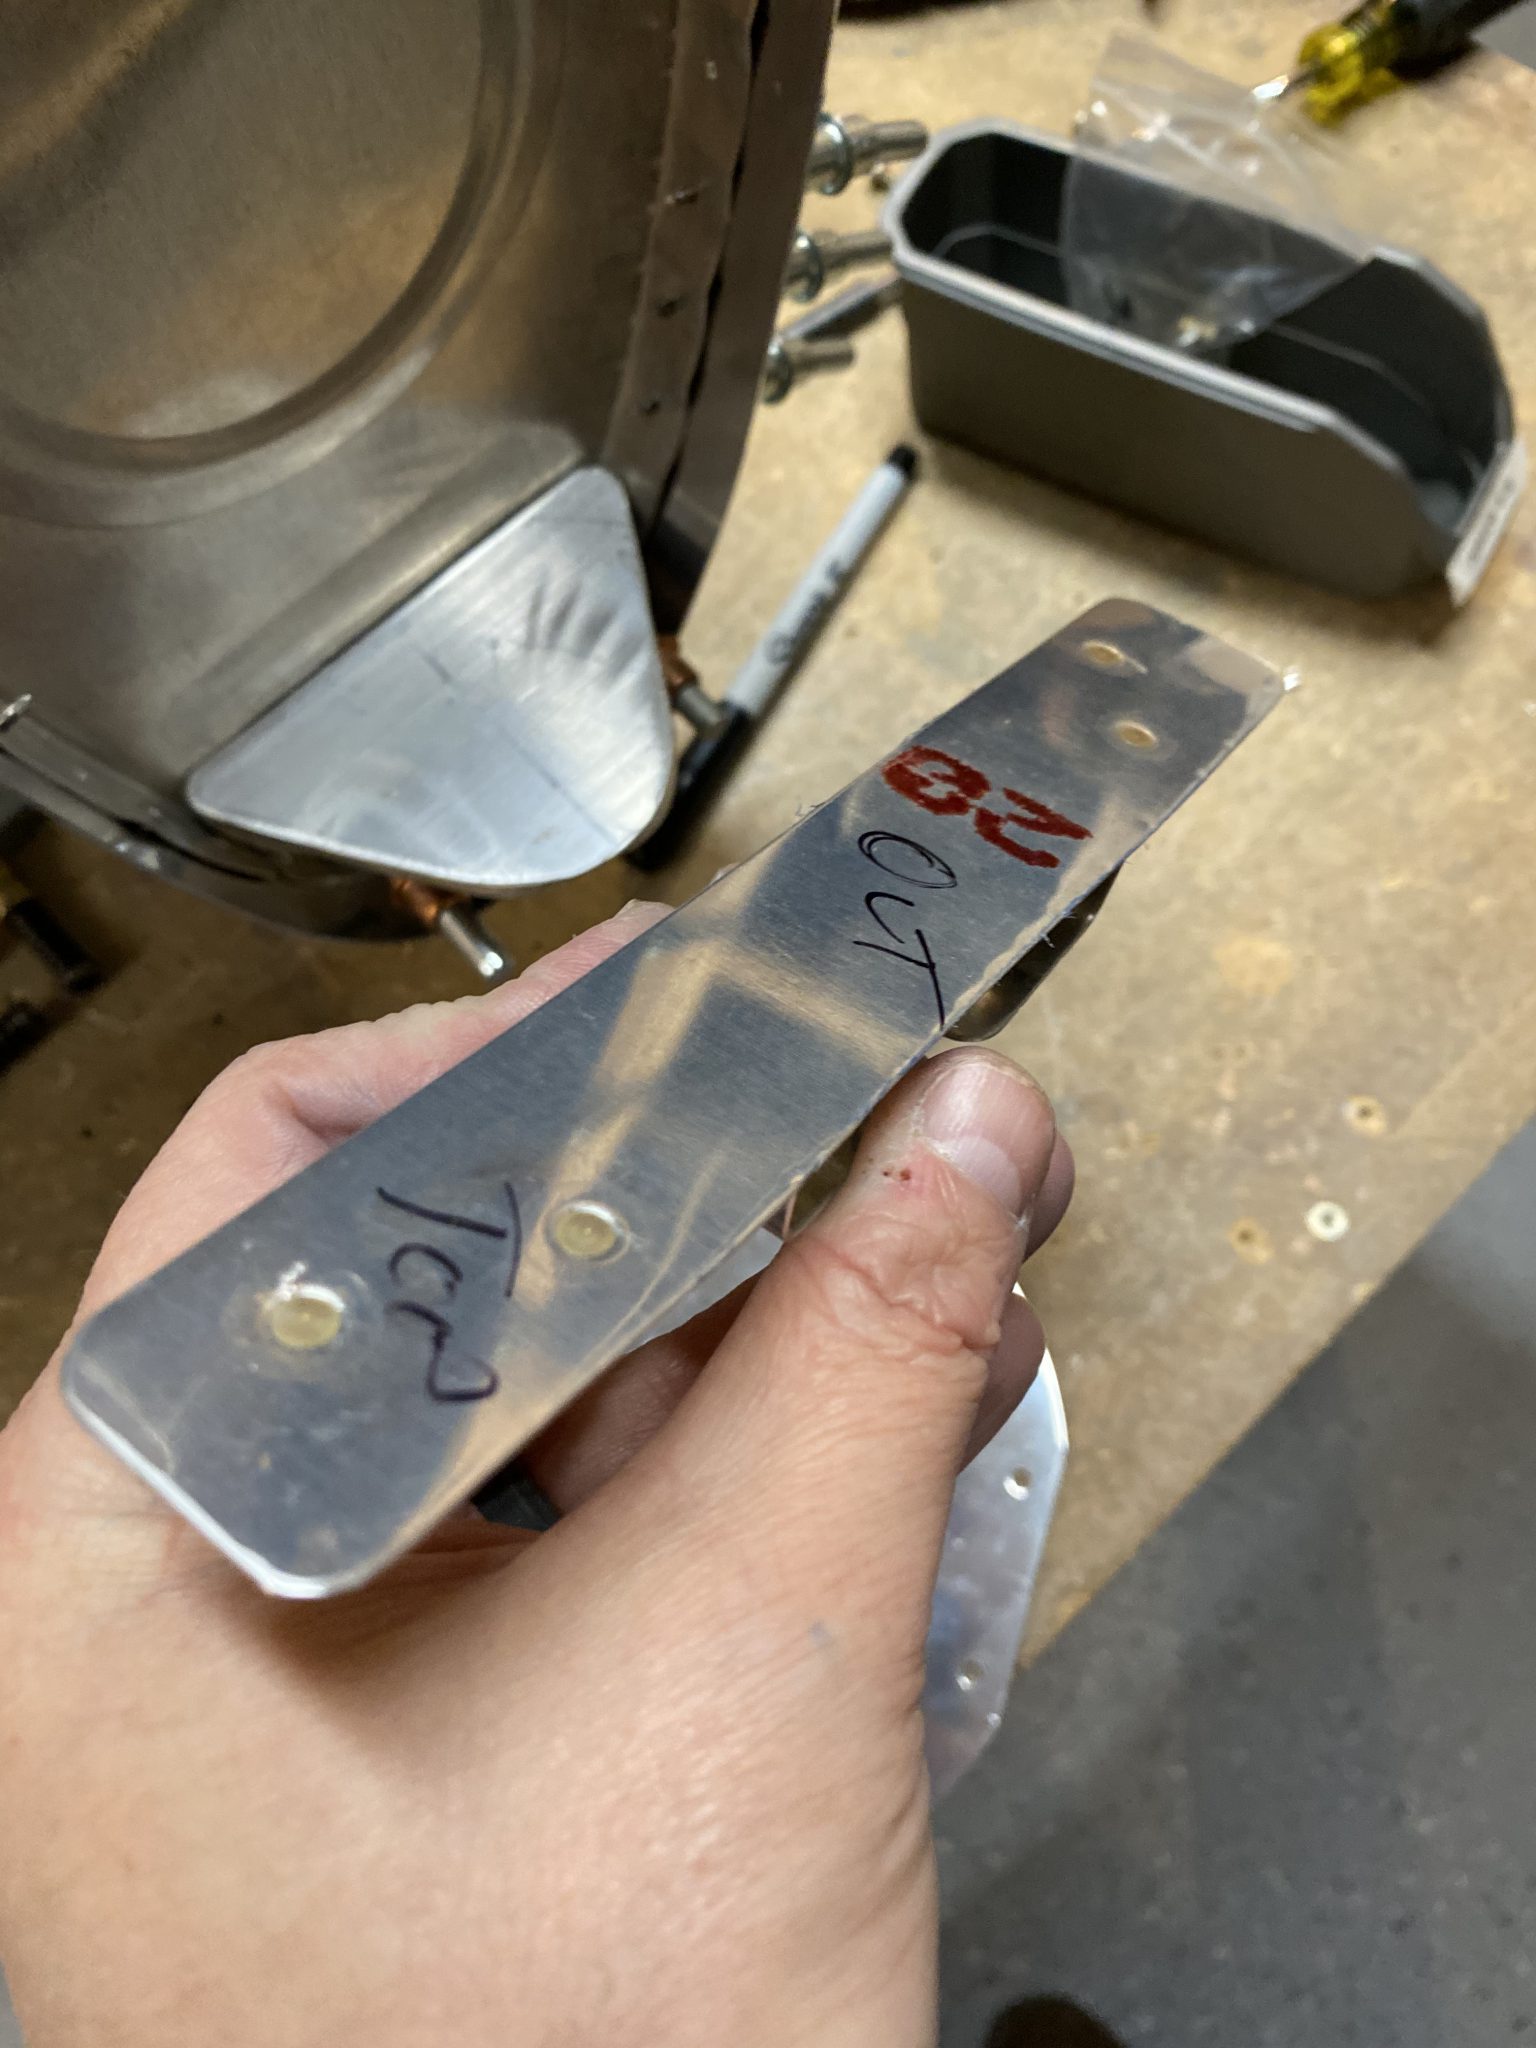
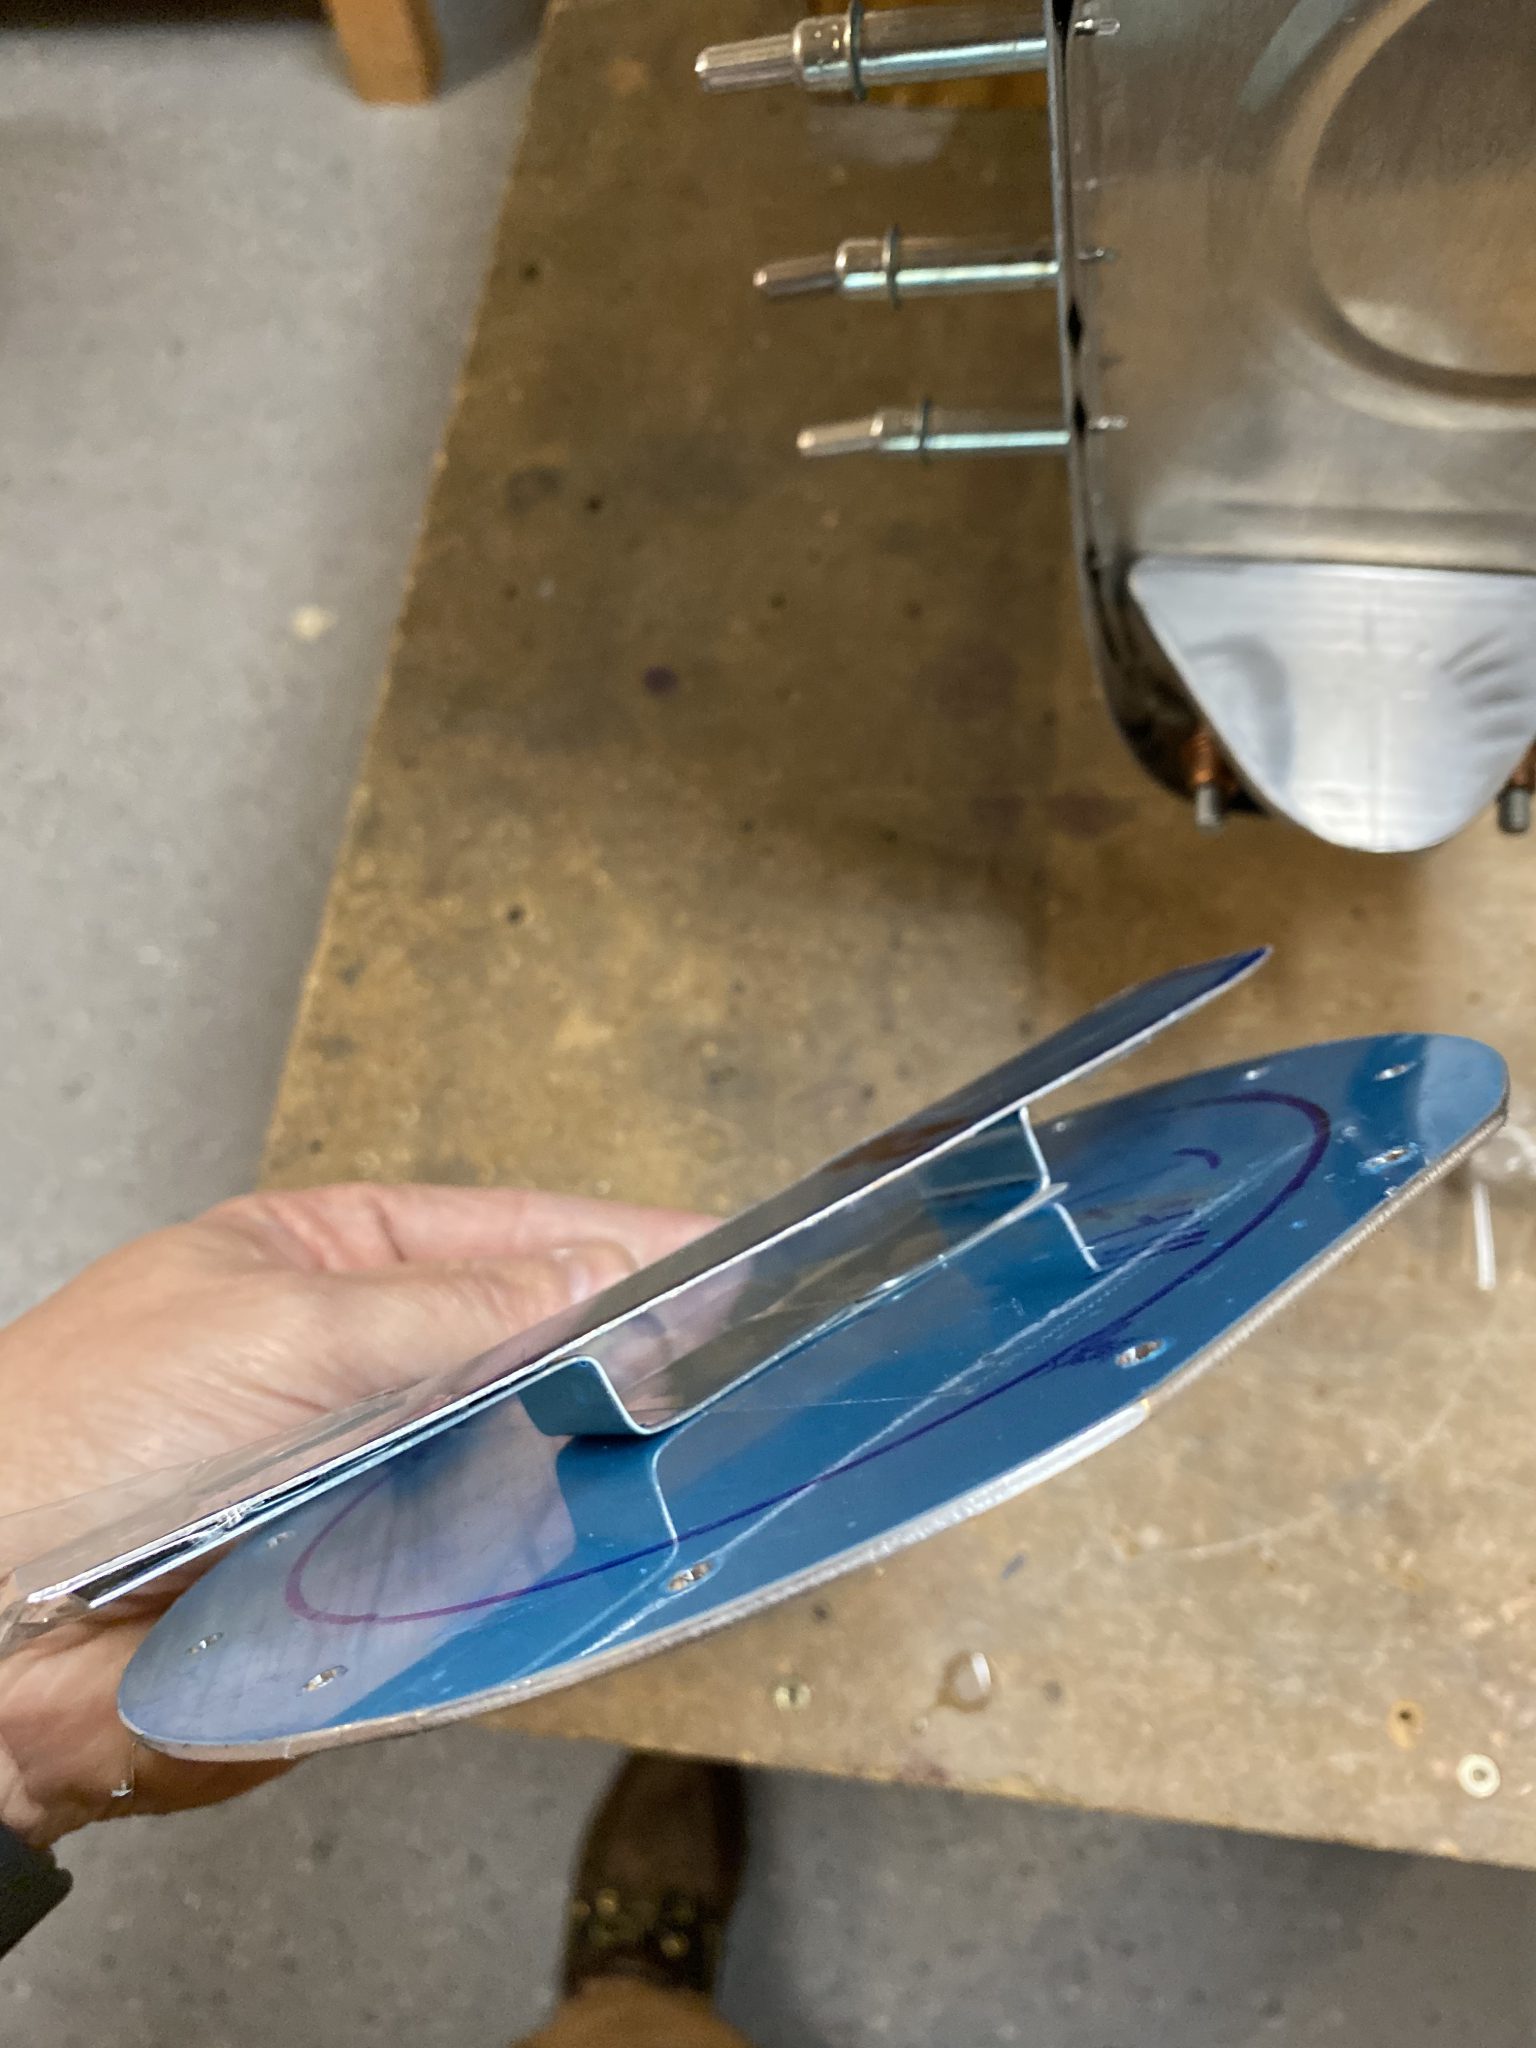
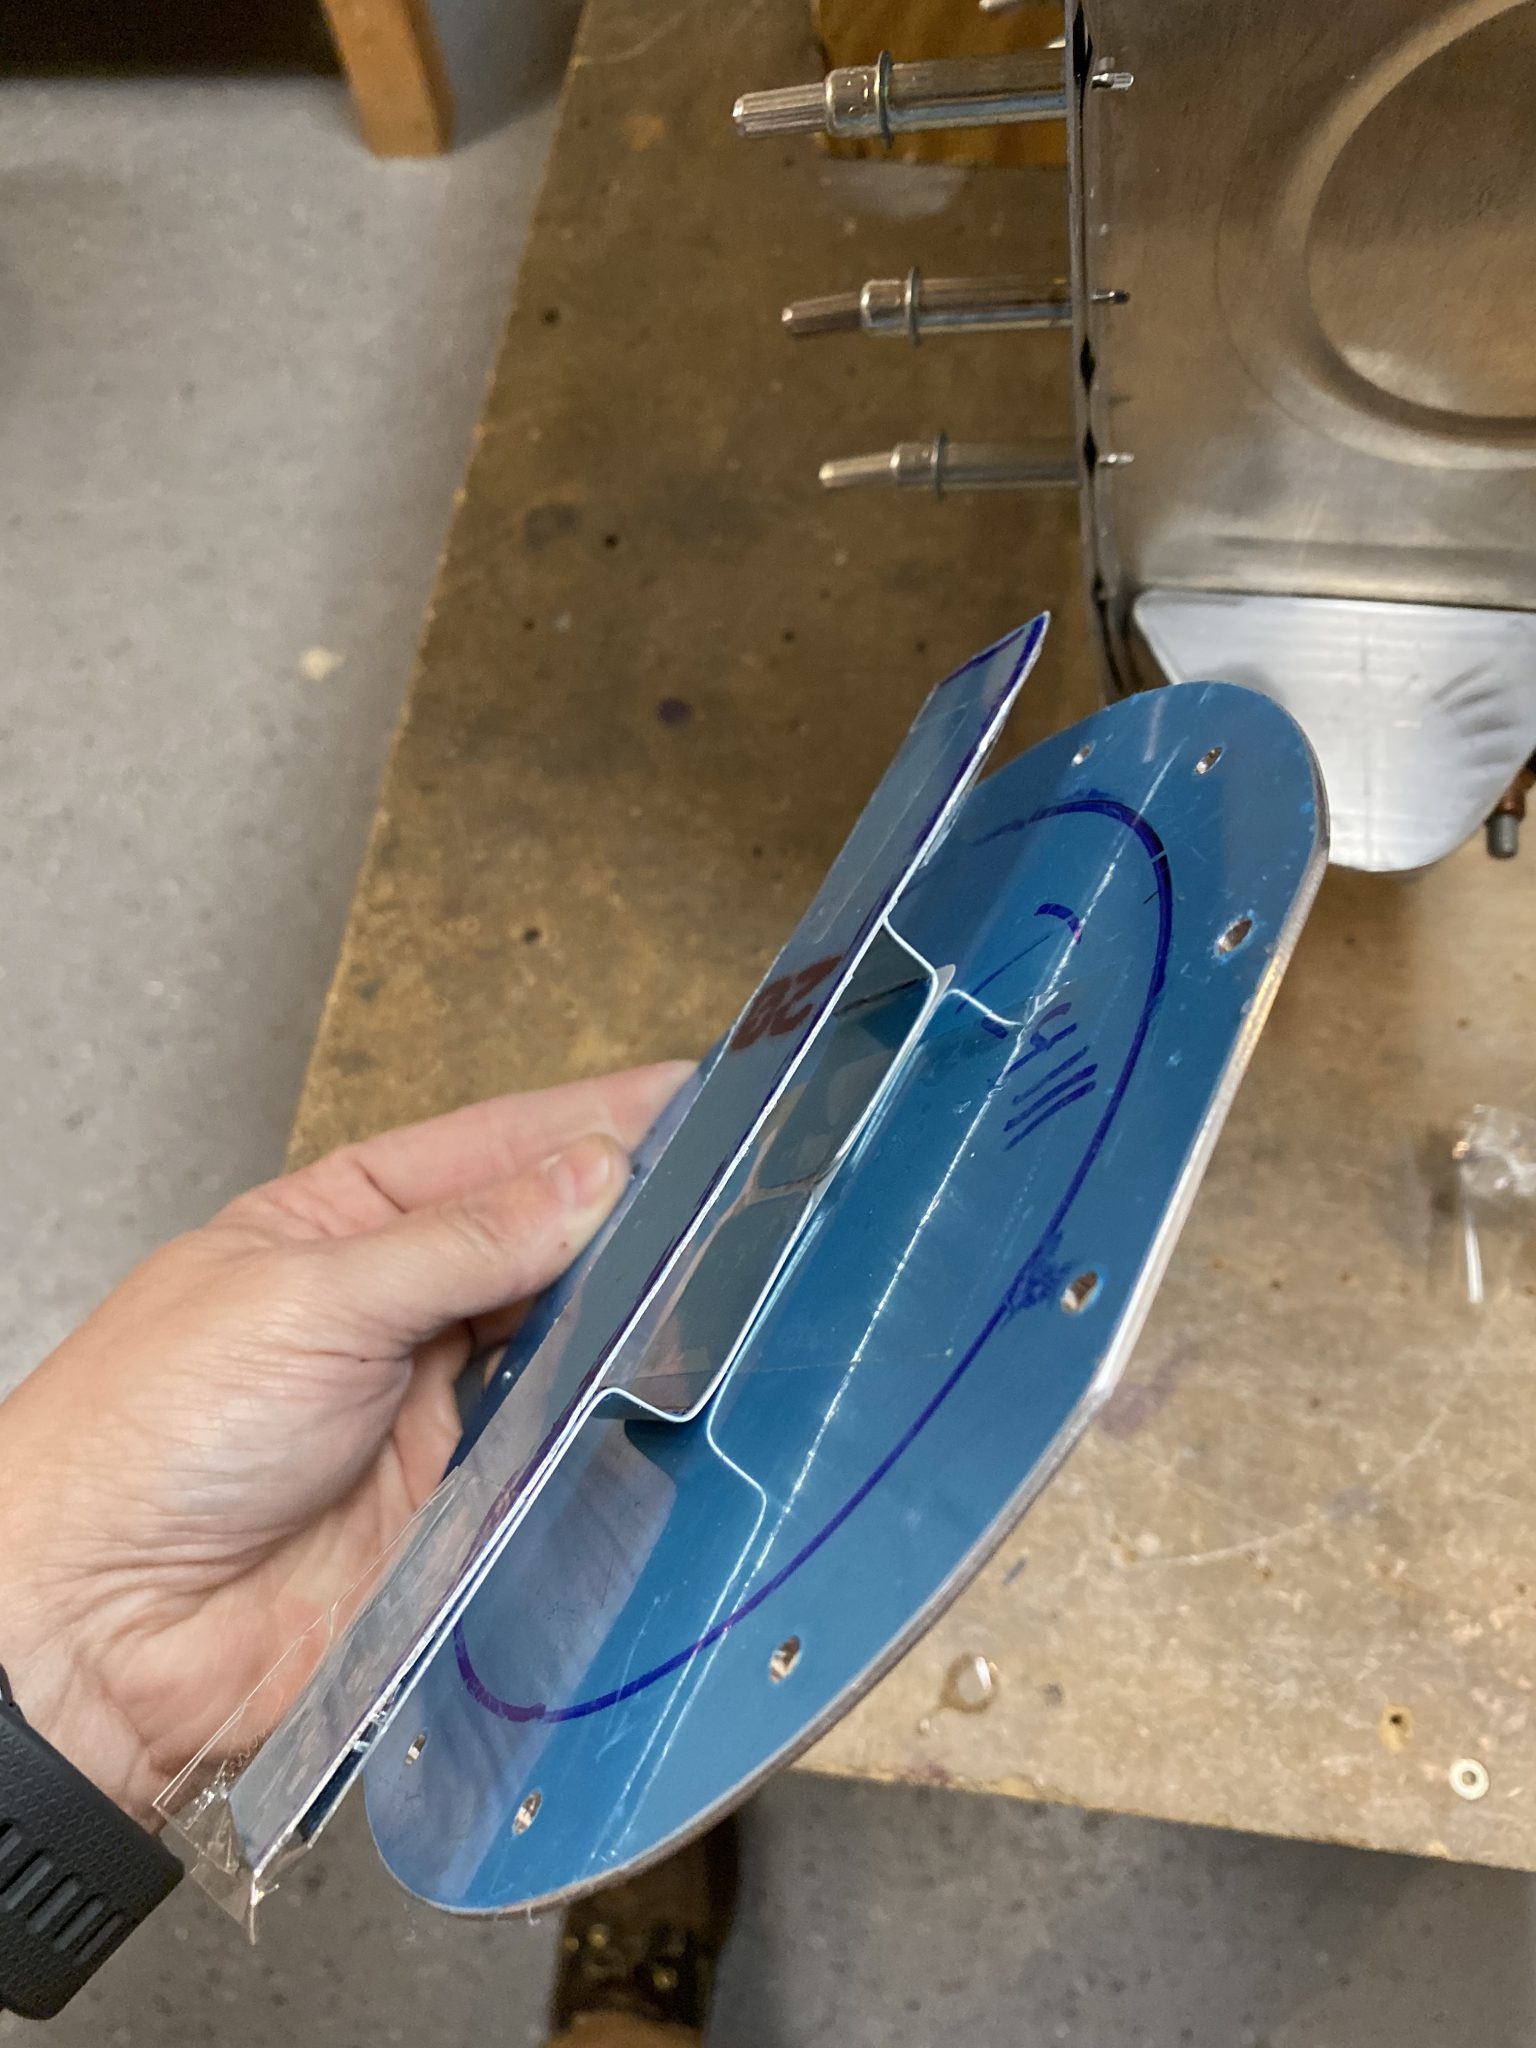
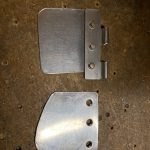
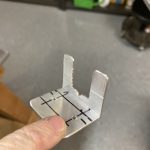
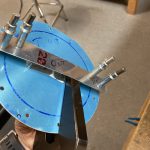
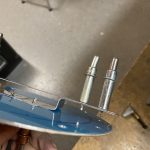
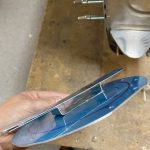
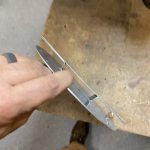
But, eventually I came out with something like this below. I used .025″ alclad, cut to about 3/4″ wide and long enough to fit from the top of the tank to the bottom with a little bit of clearance. Then I made some Z-brackets out of the same alclad and bent them so they could be riveted on to the access plate, and give enough room that you could work the bracket into the fuel tank while it was attached to the access plate. Here is my rough layup. I am using packing tape to hold things together as I trimmed, and adjusted everything. It worked pretty good as it was easy to move around and held things nicely.


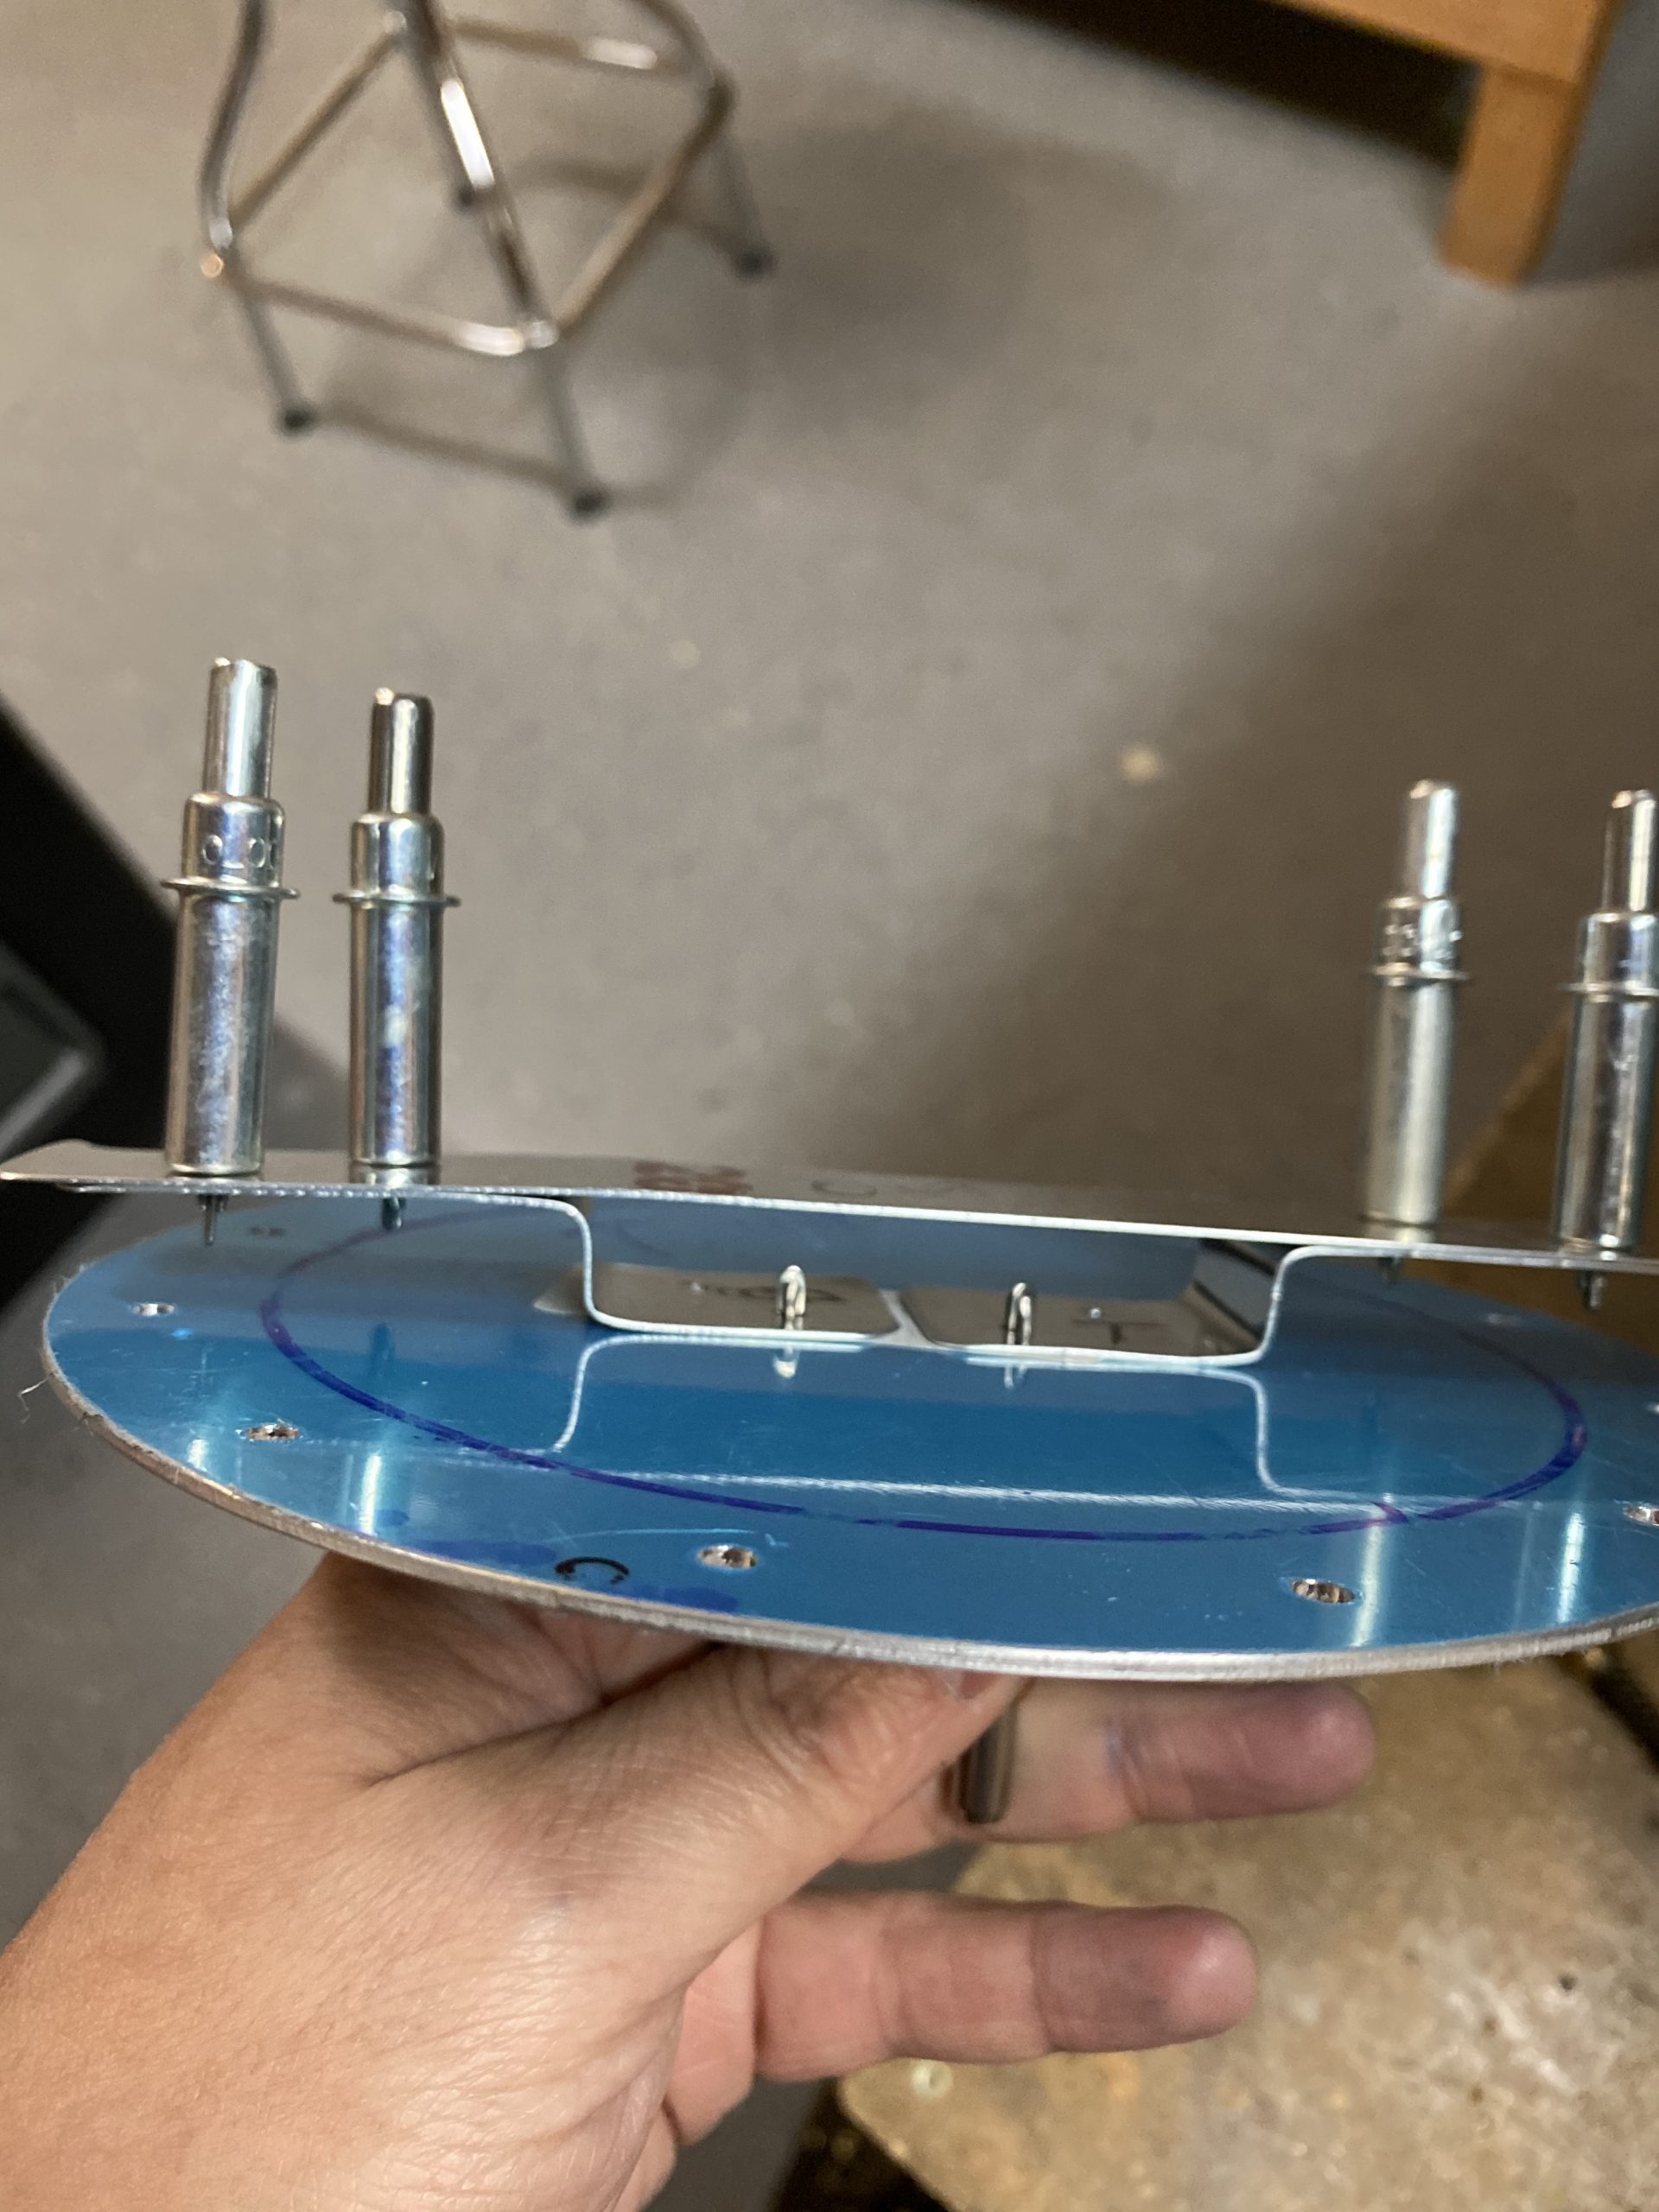
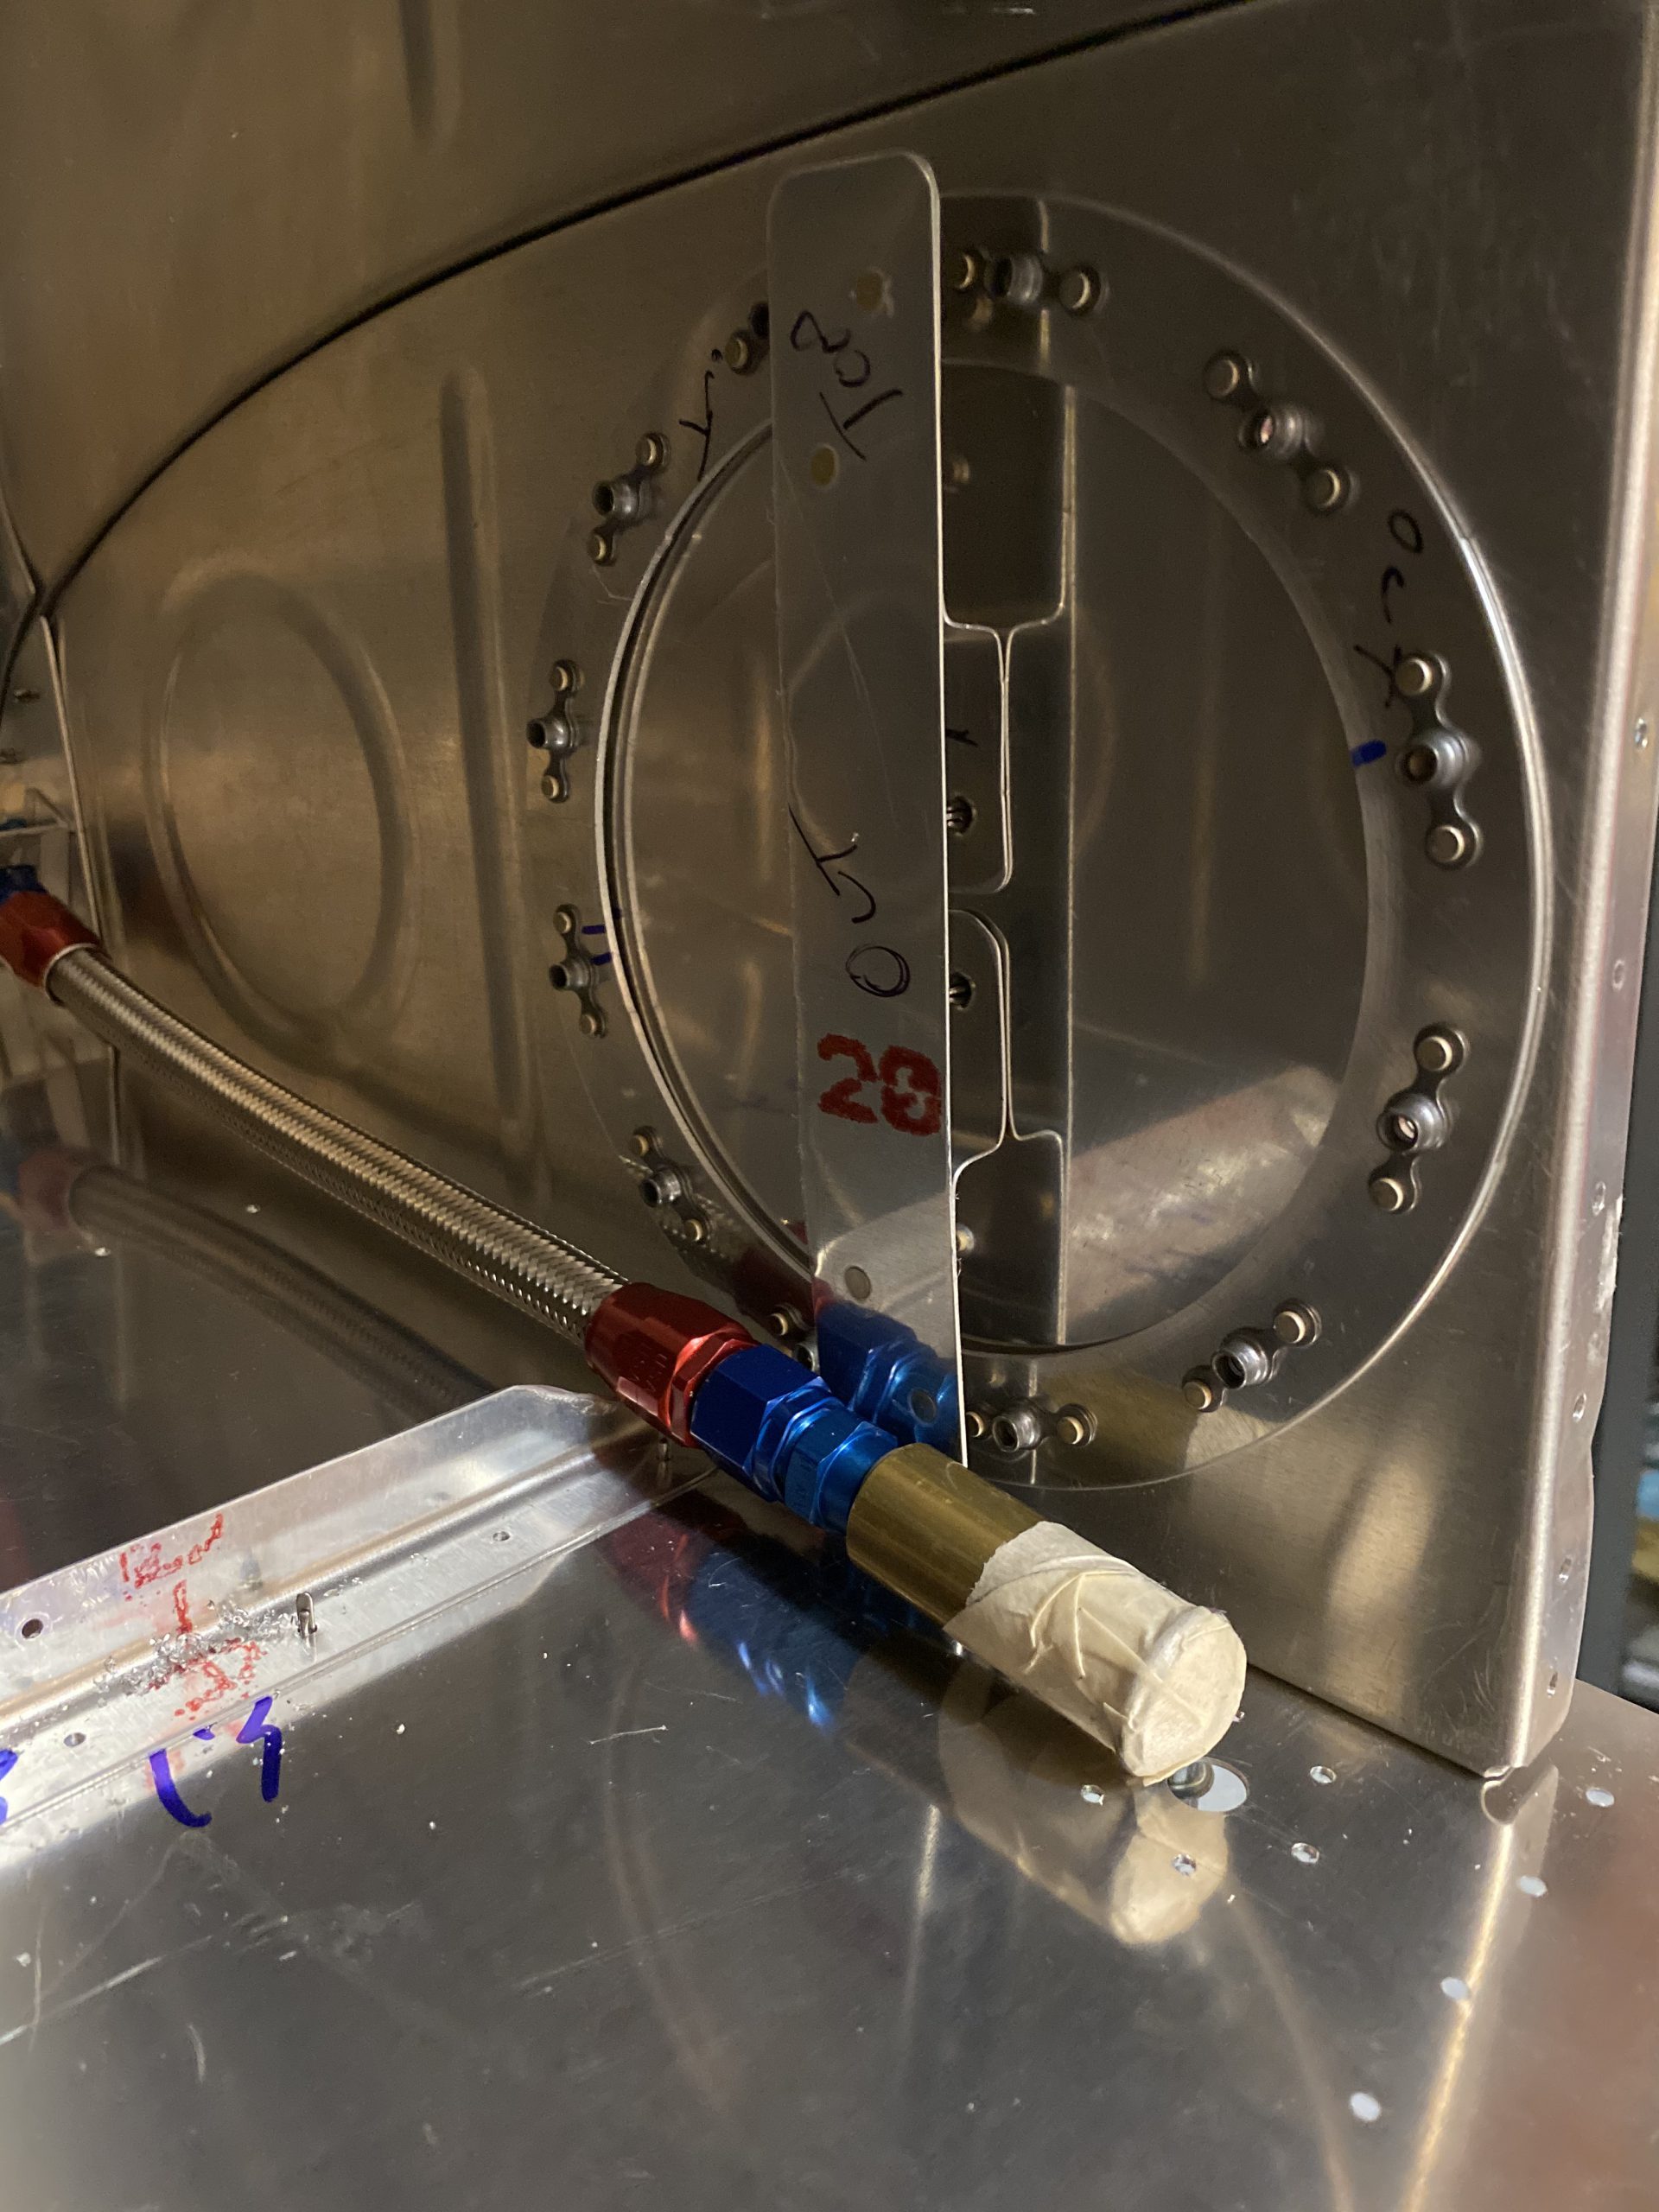
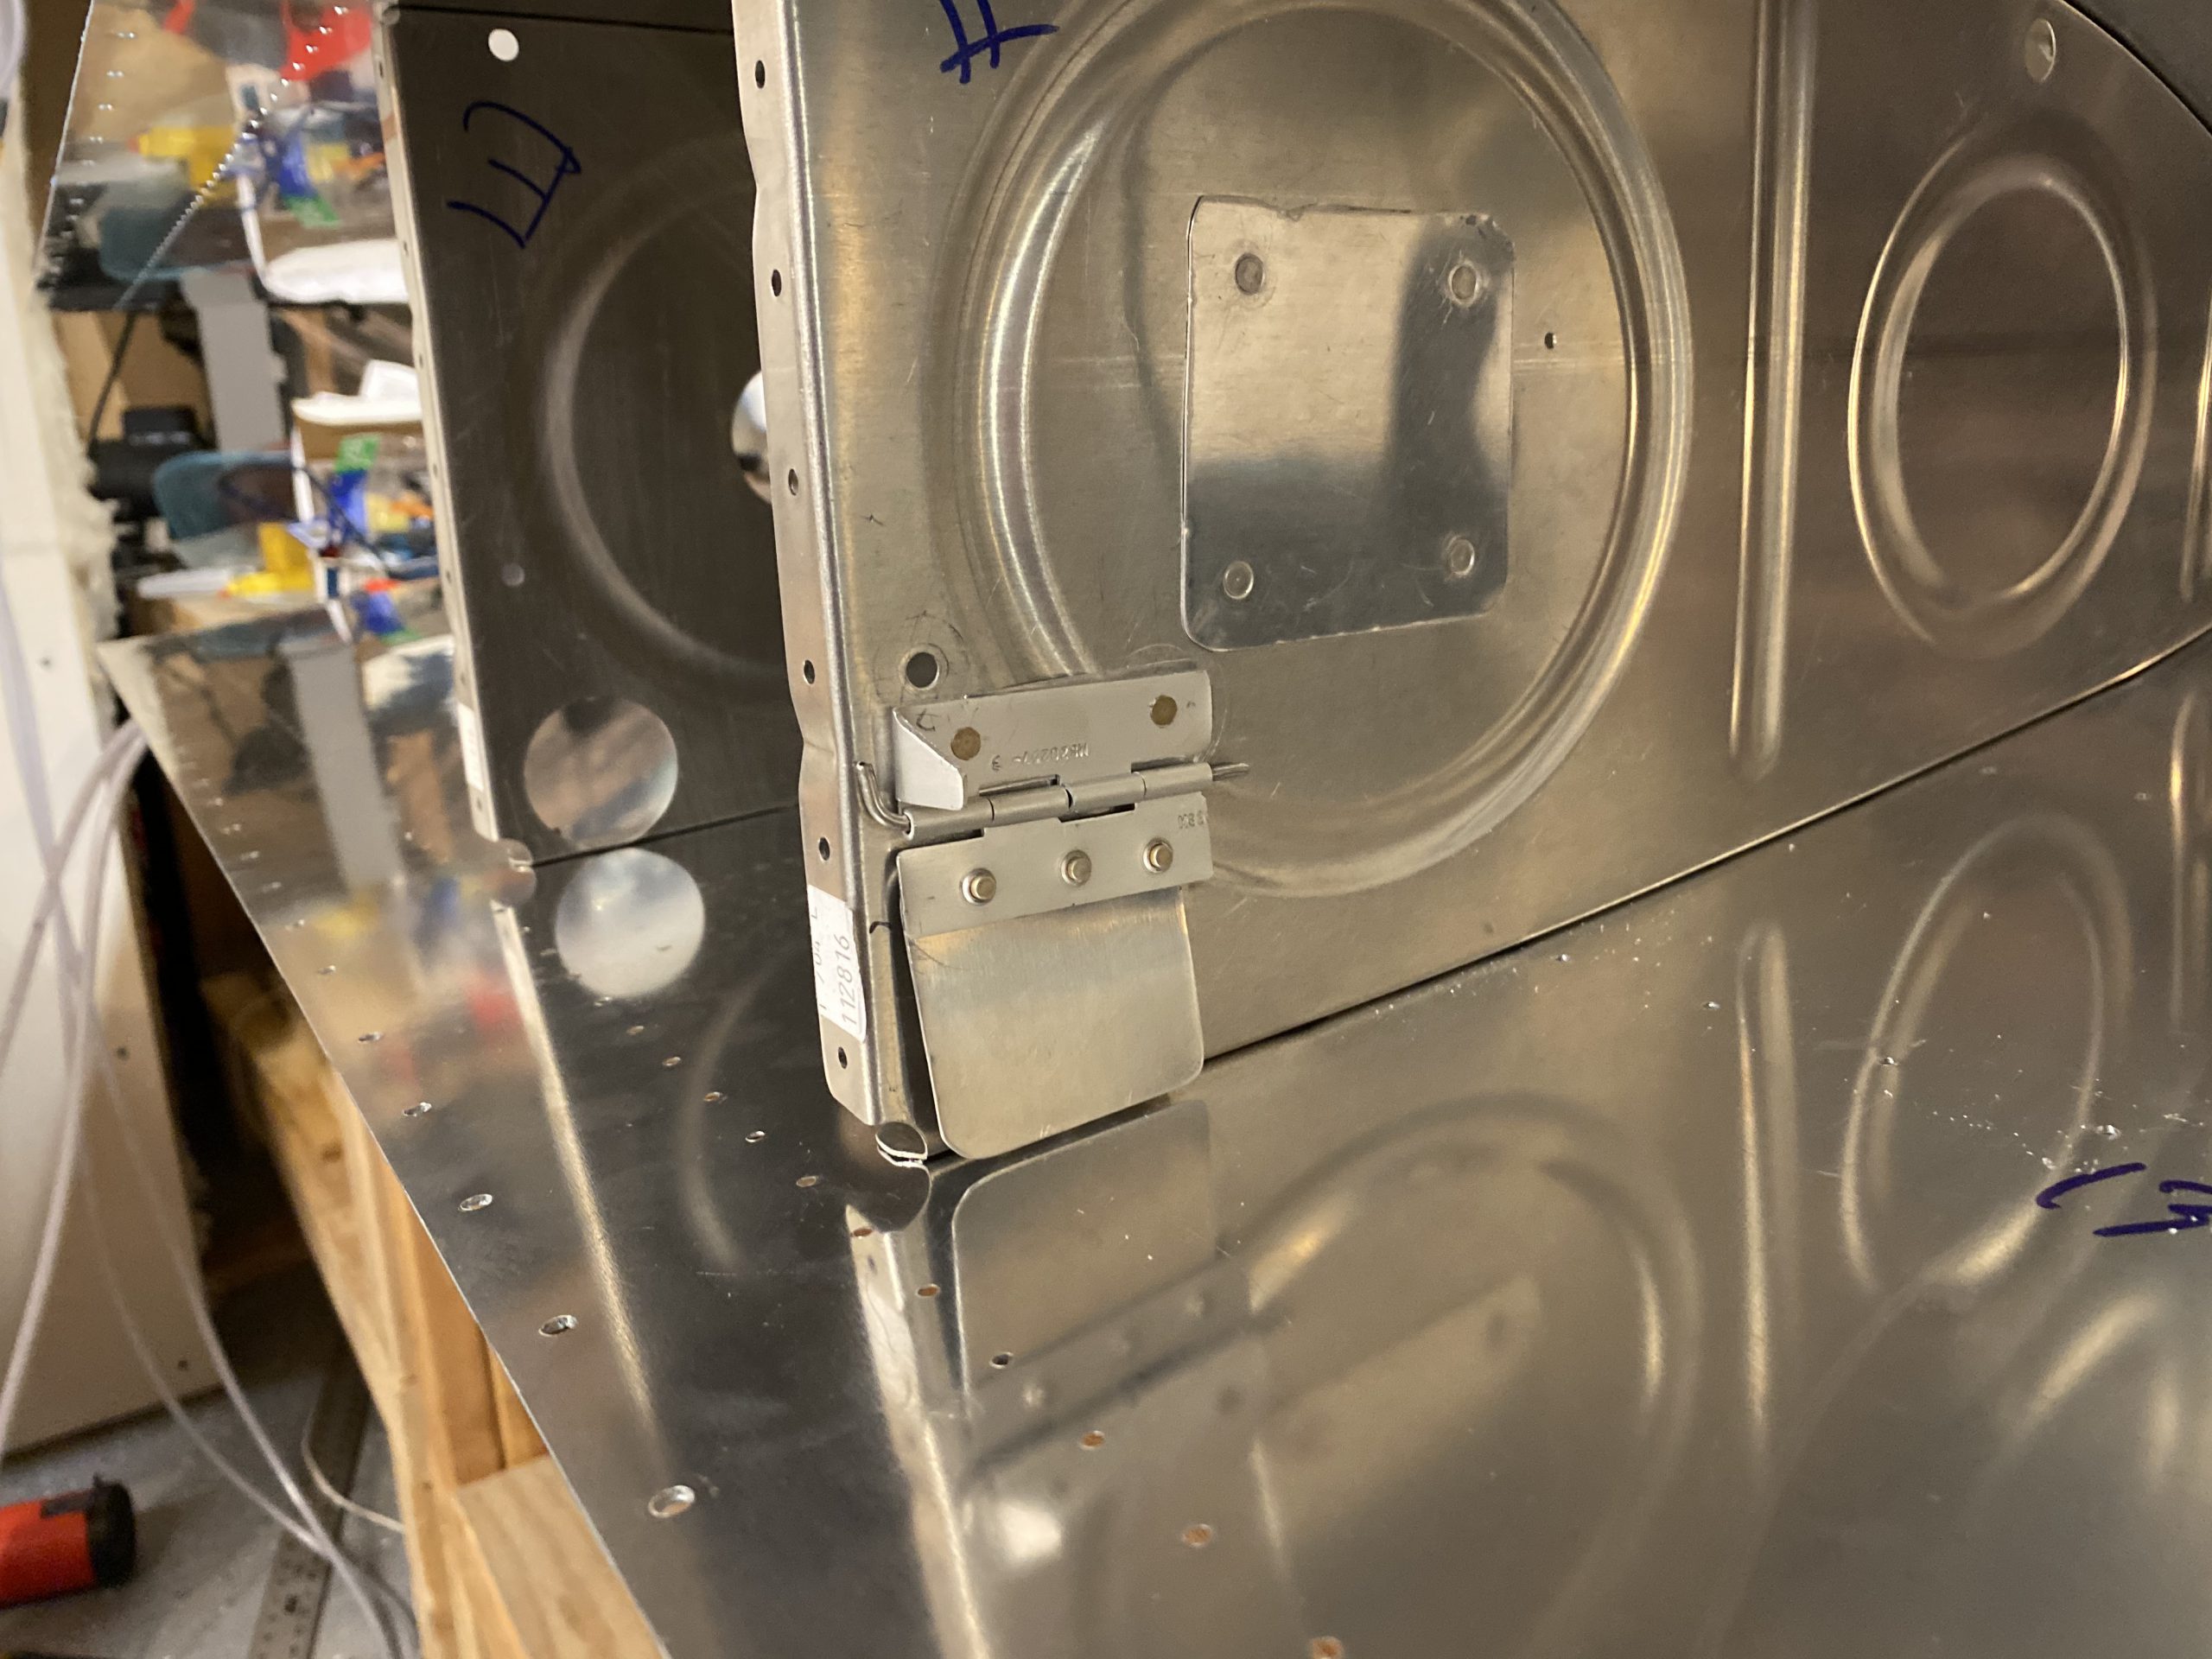
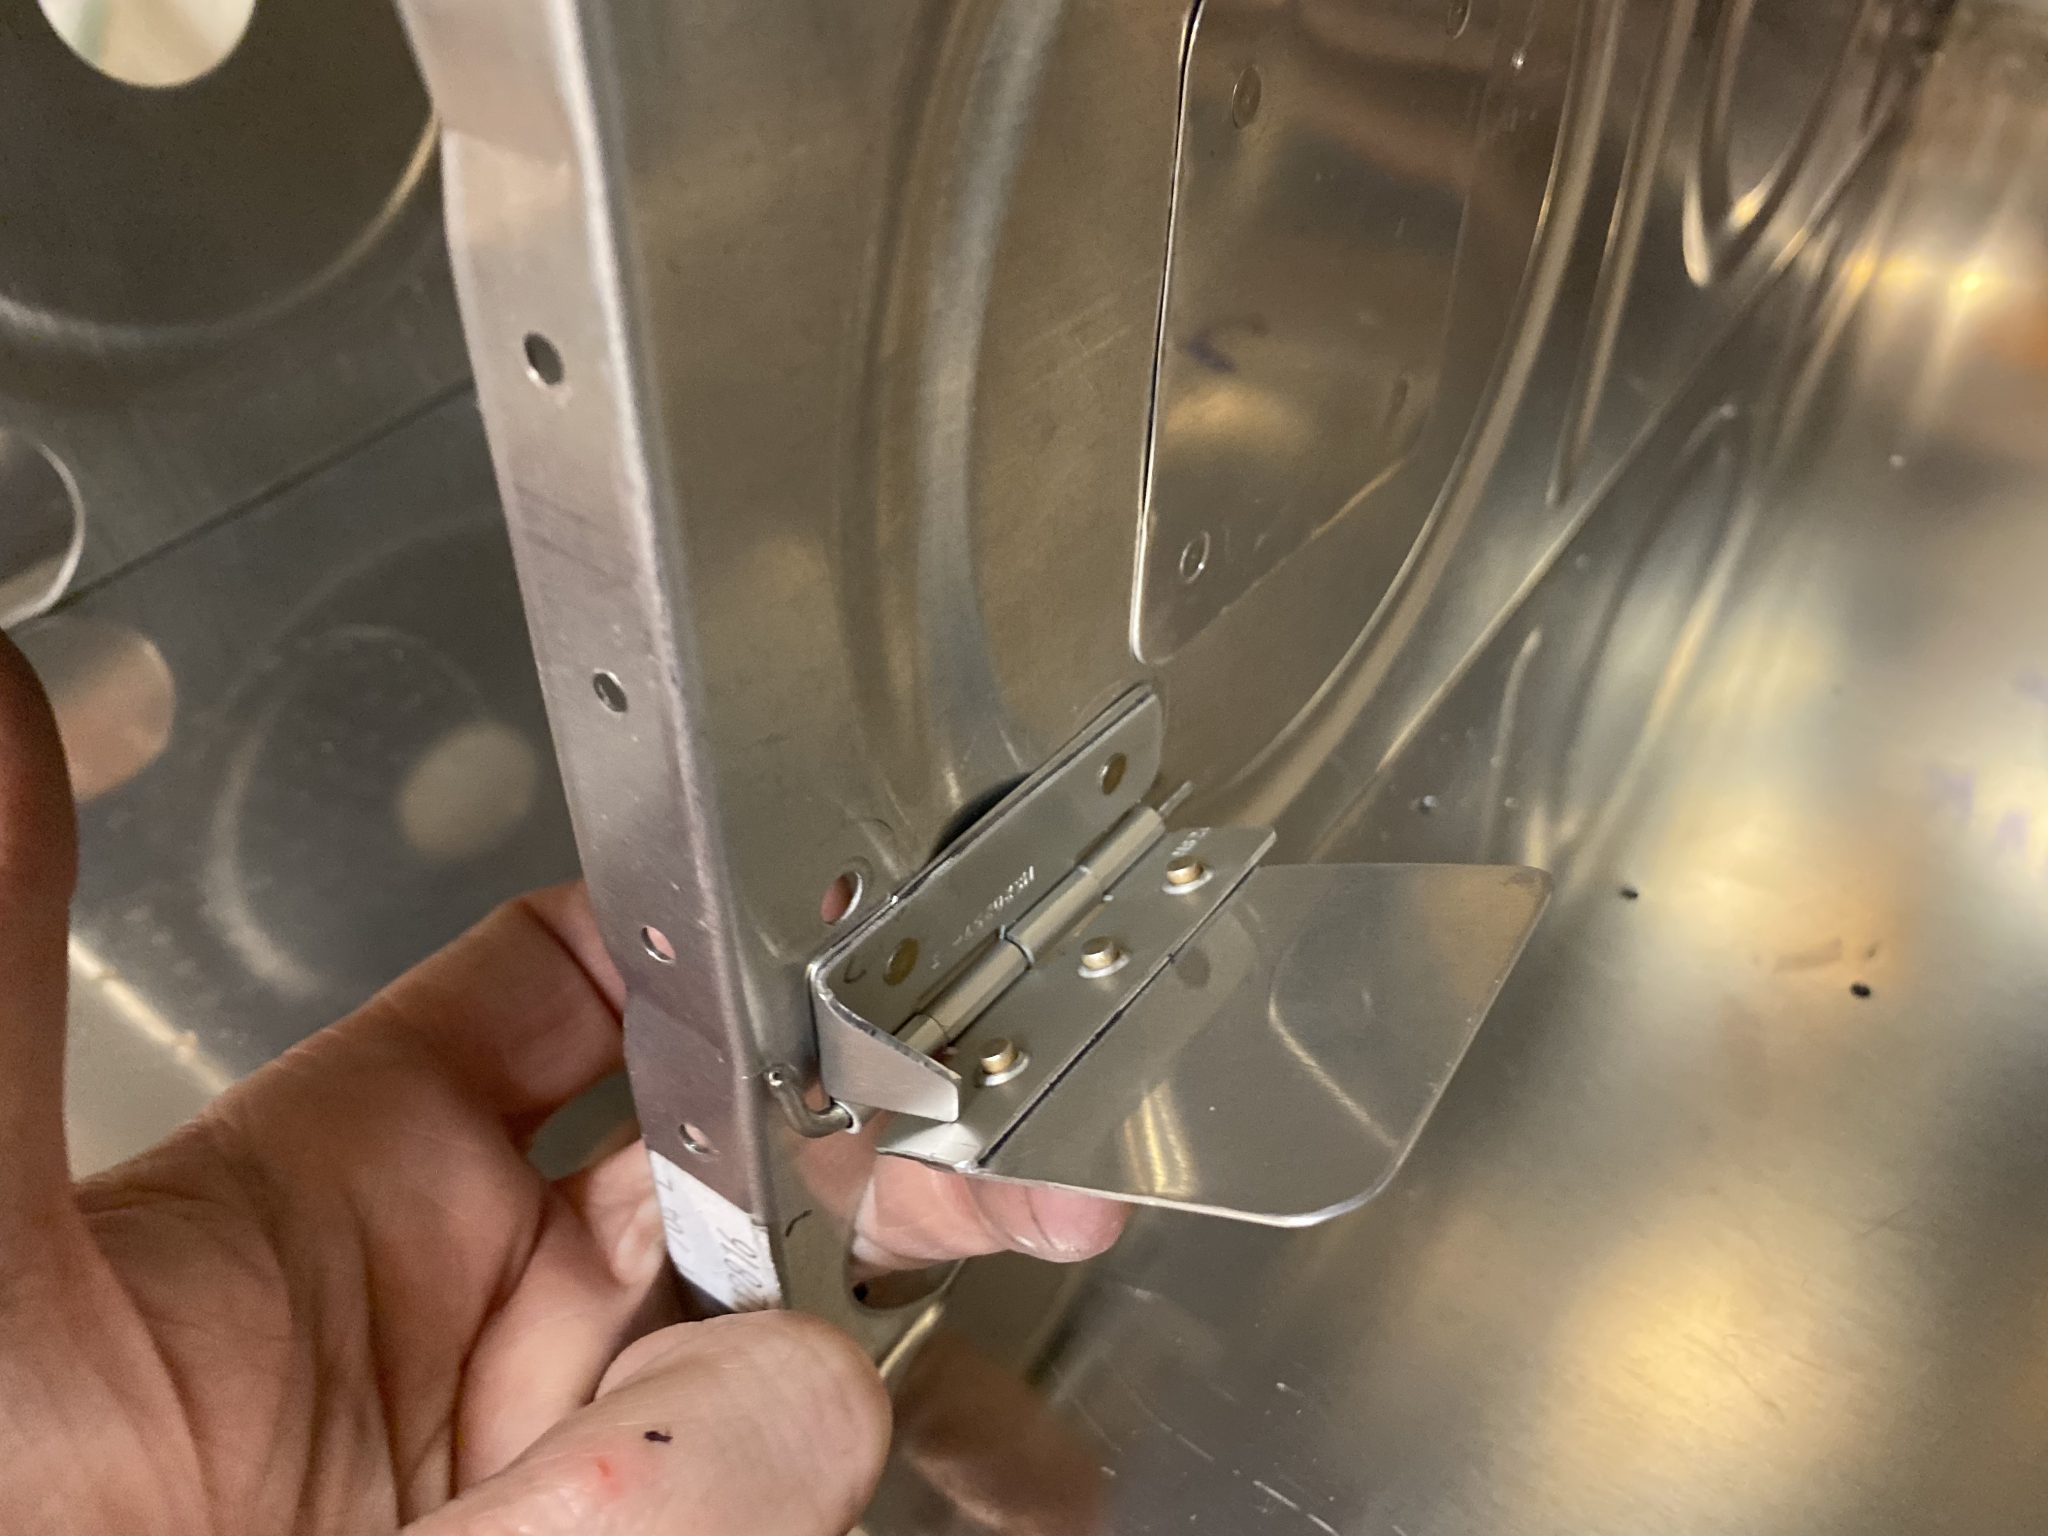
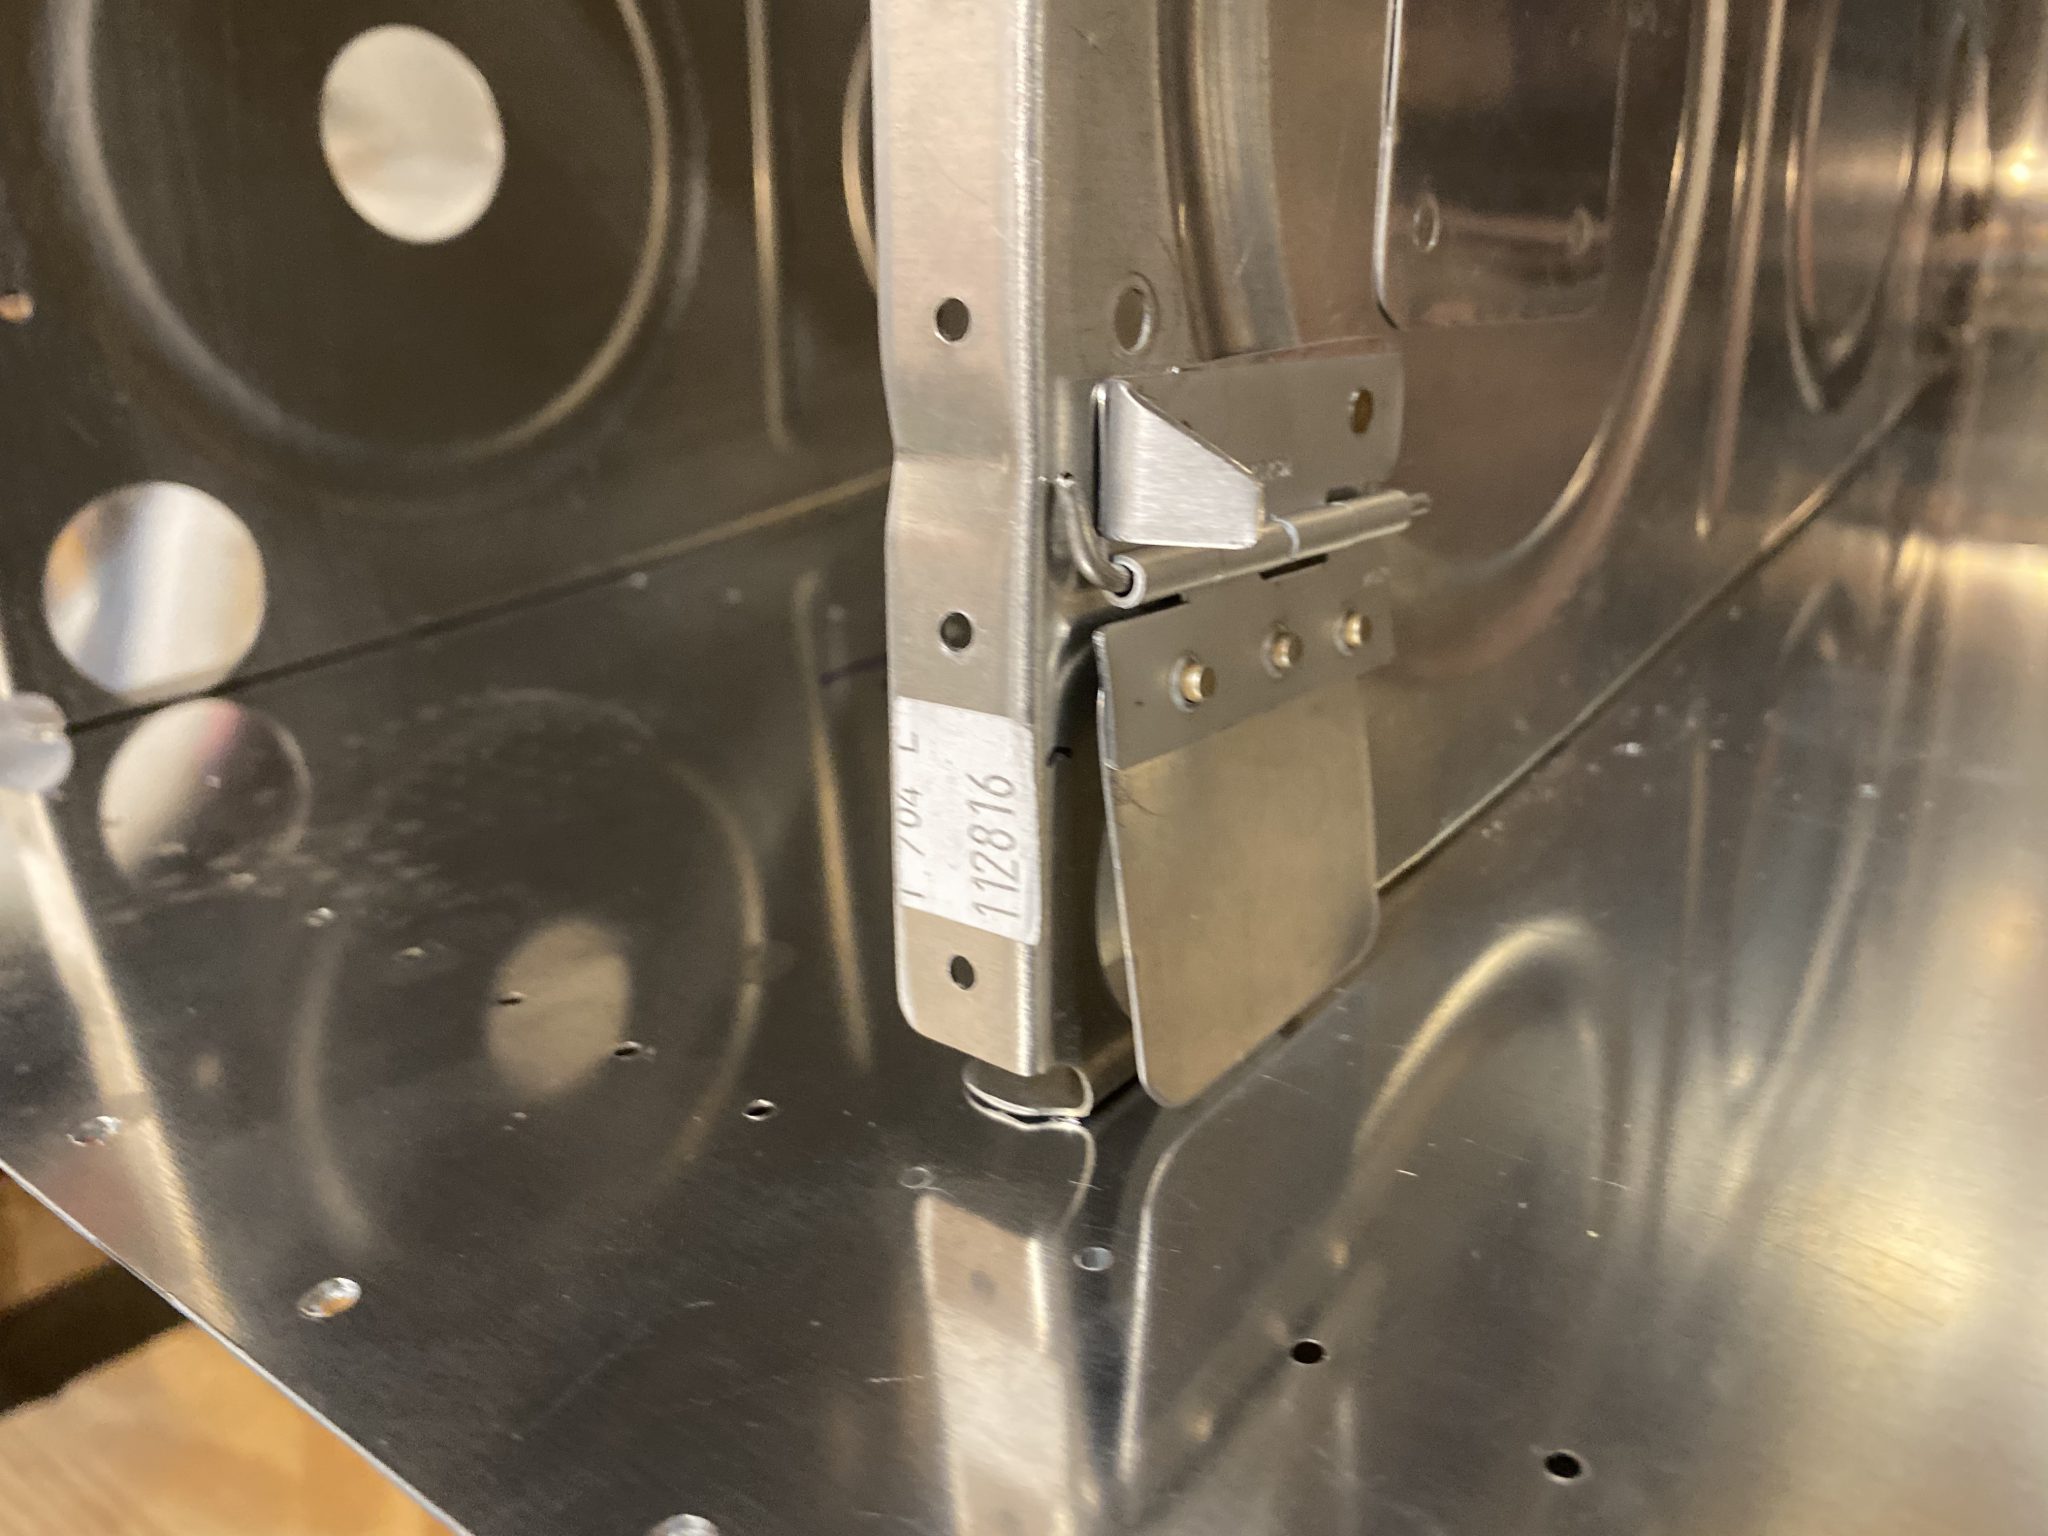
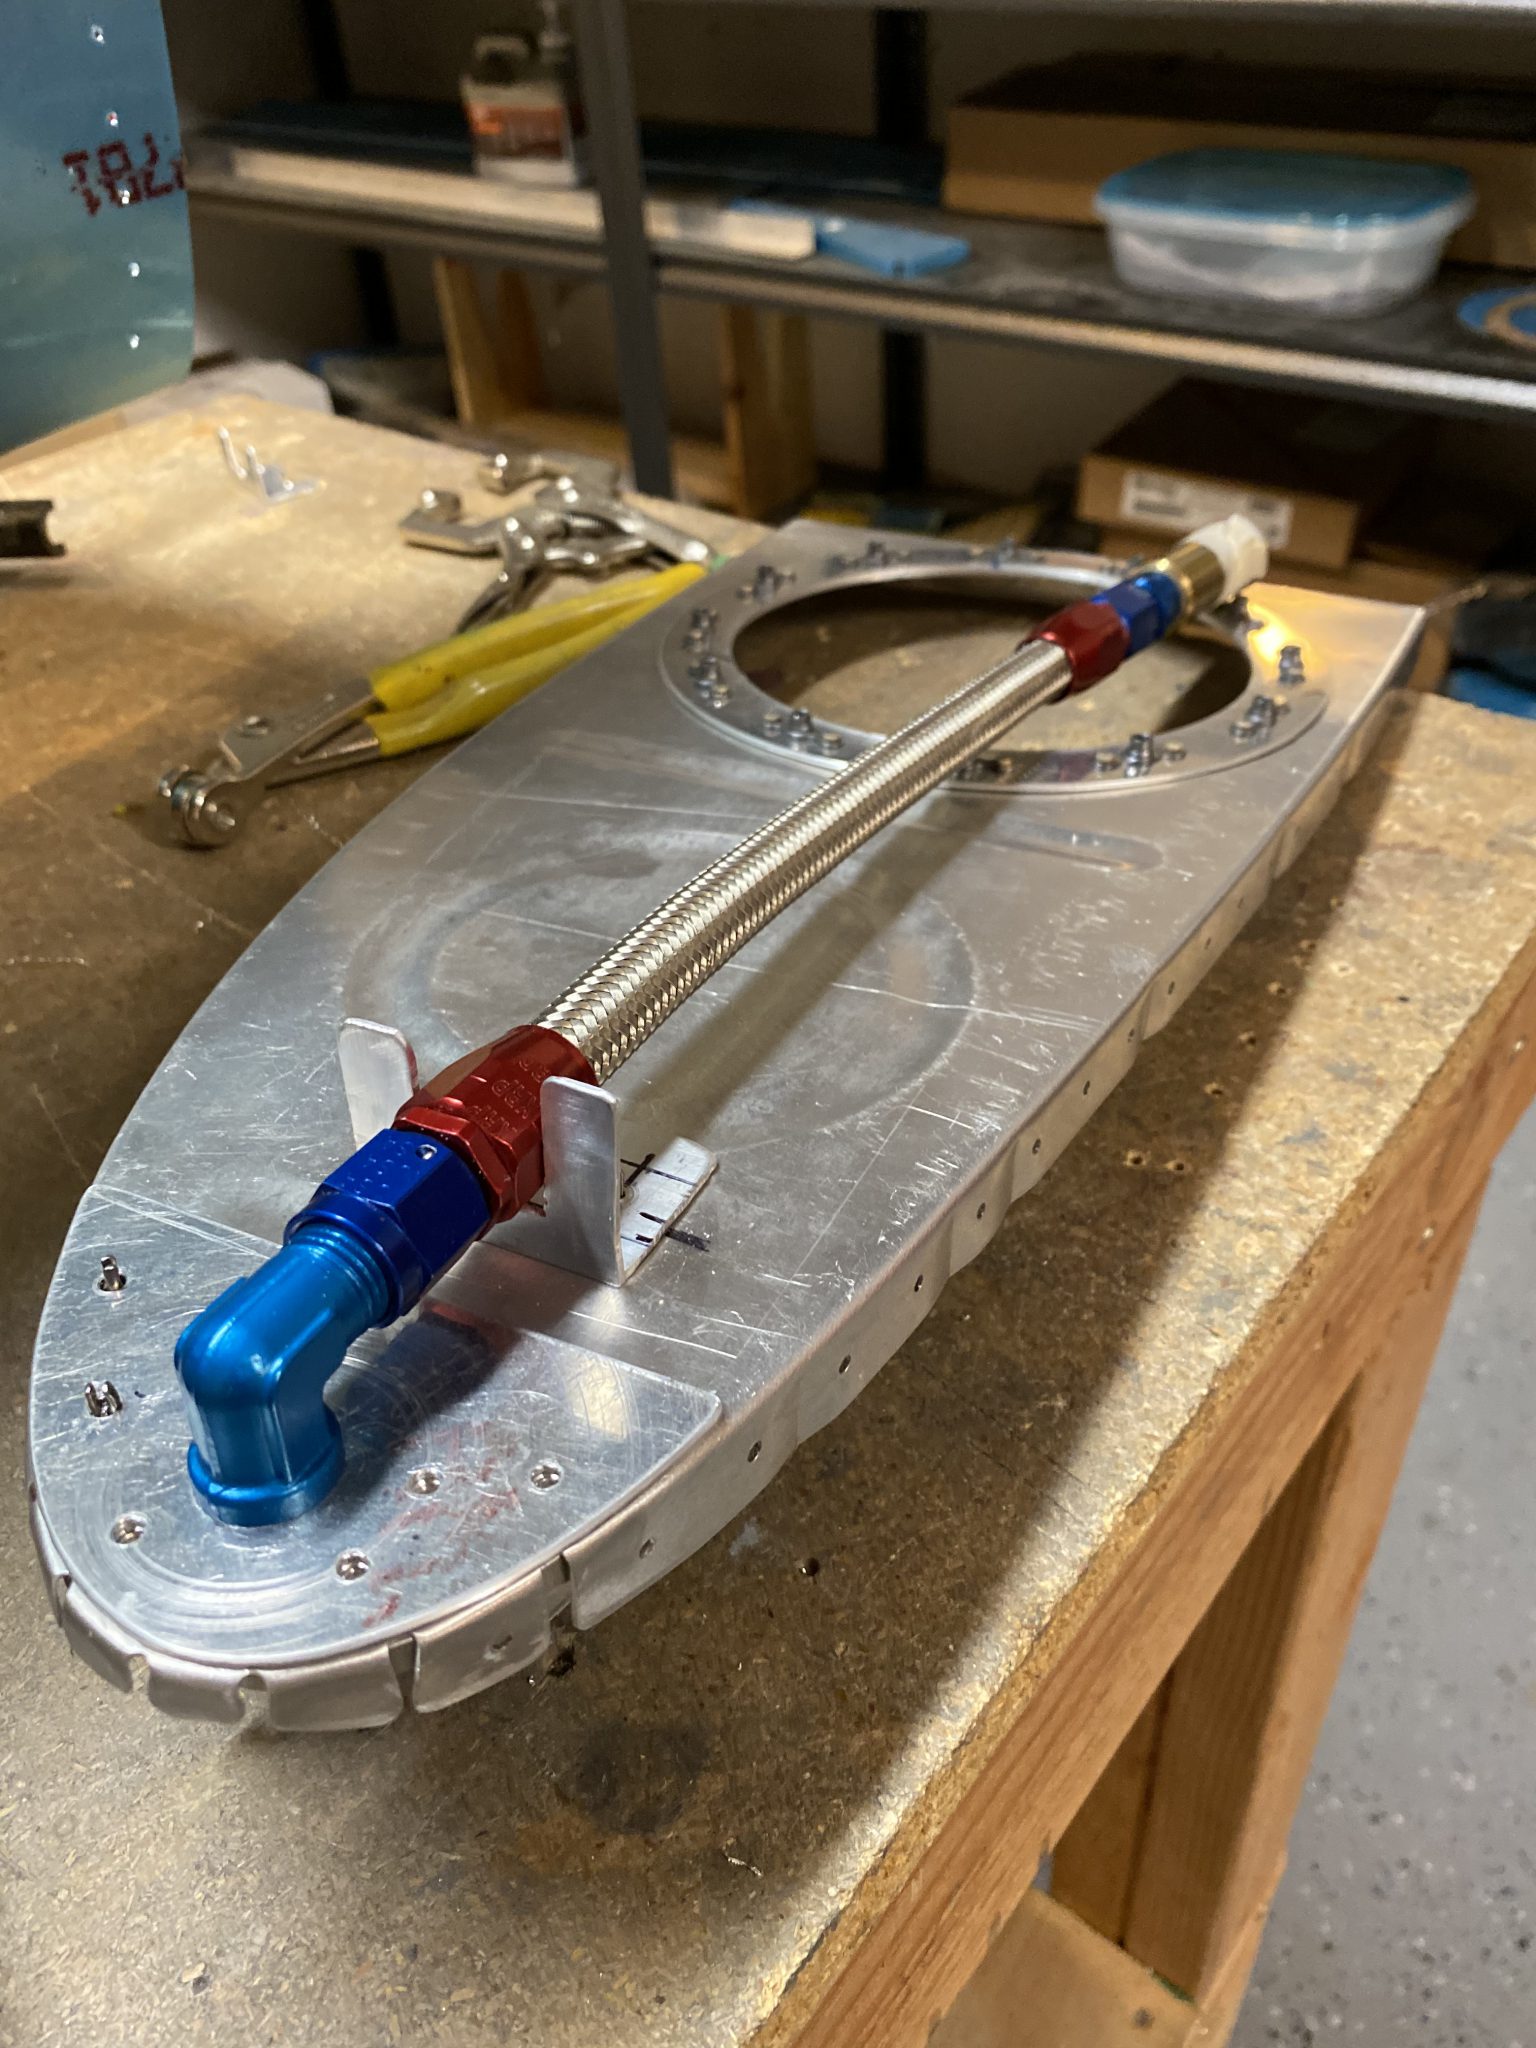
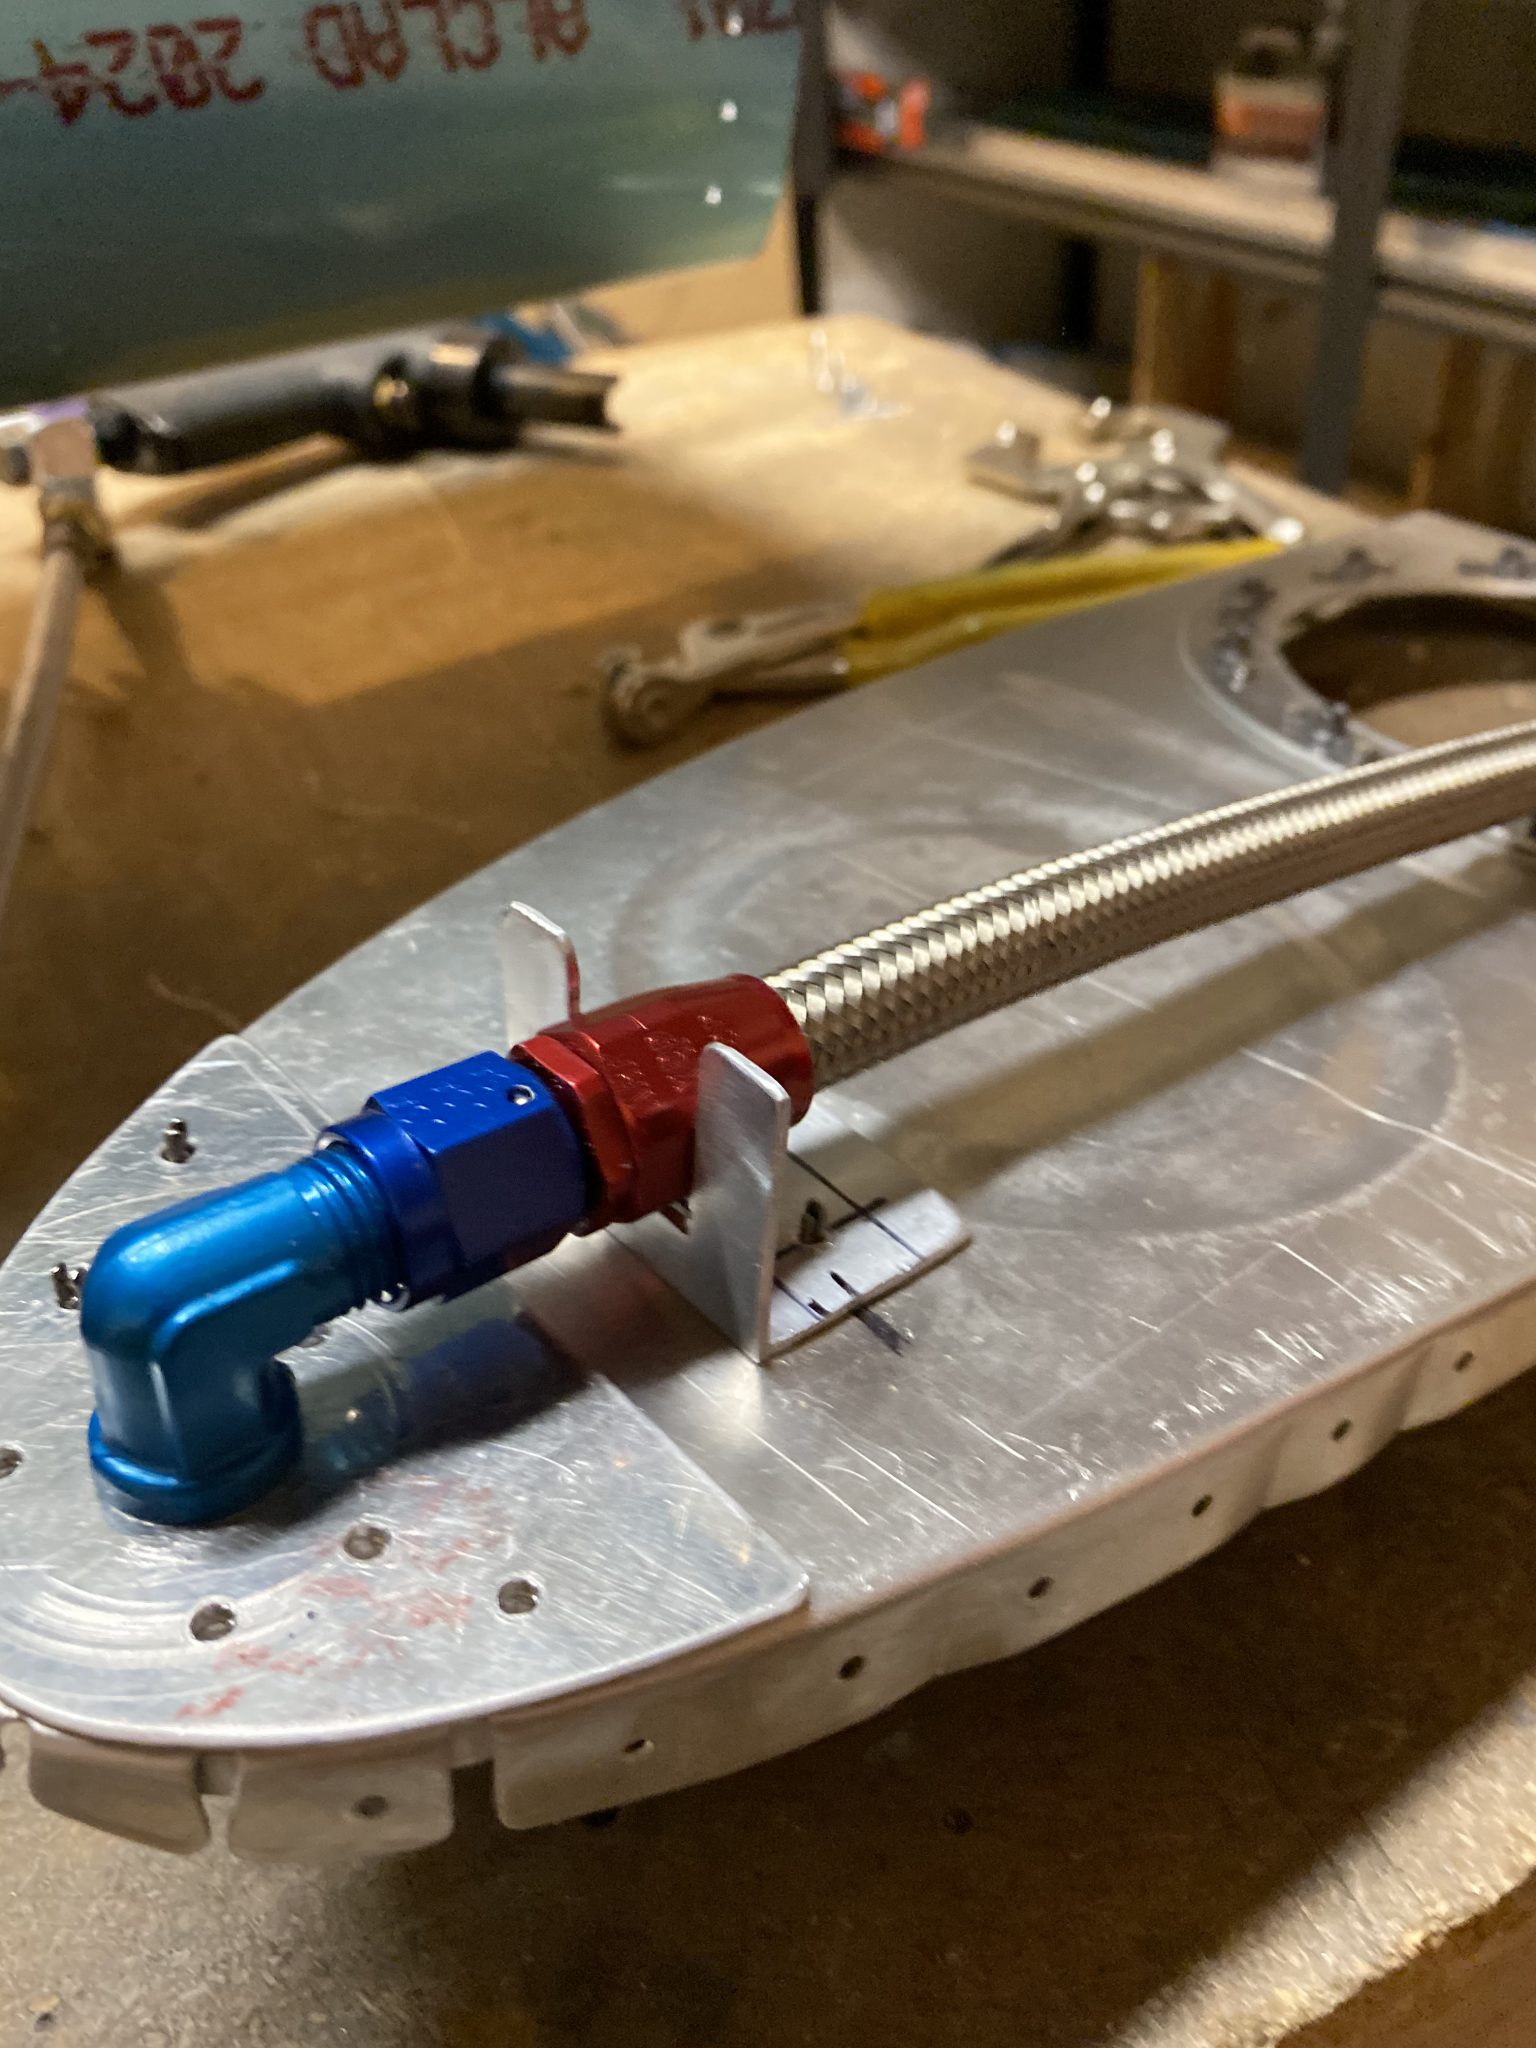
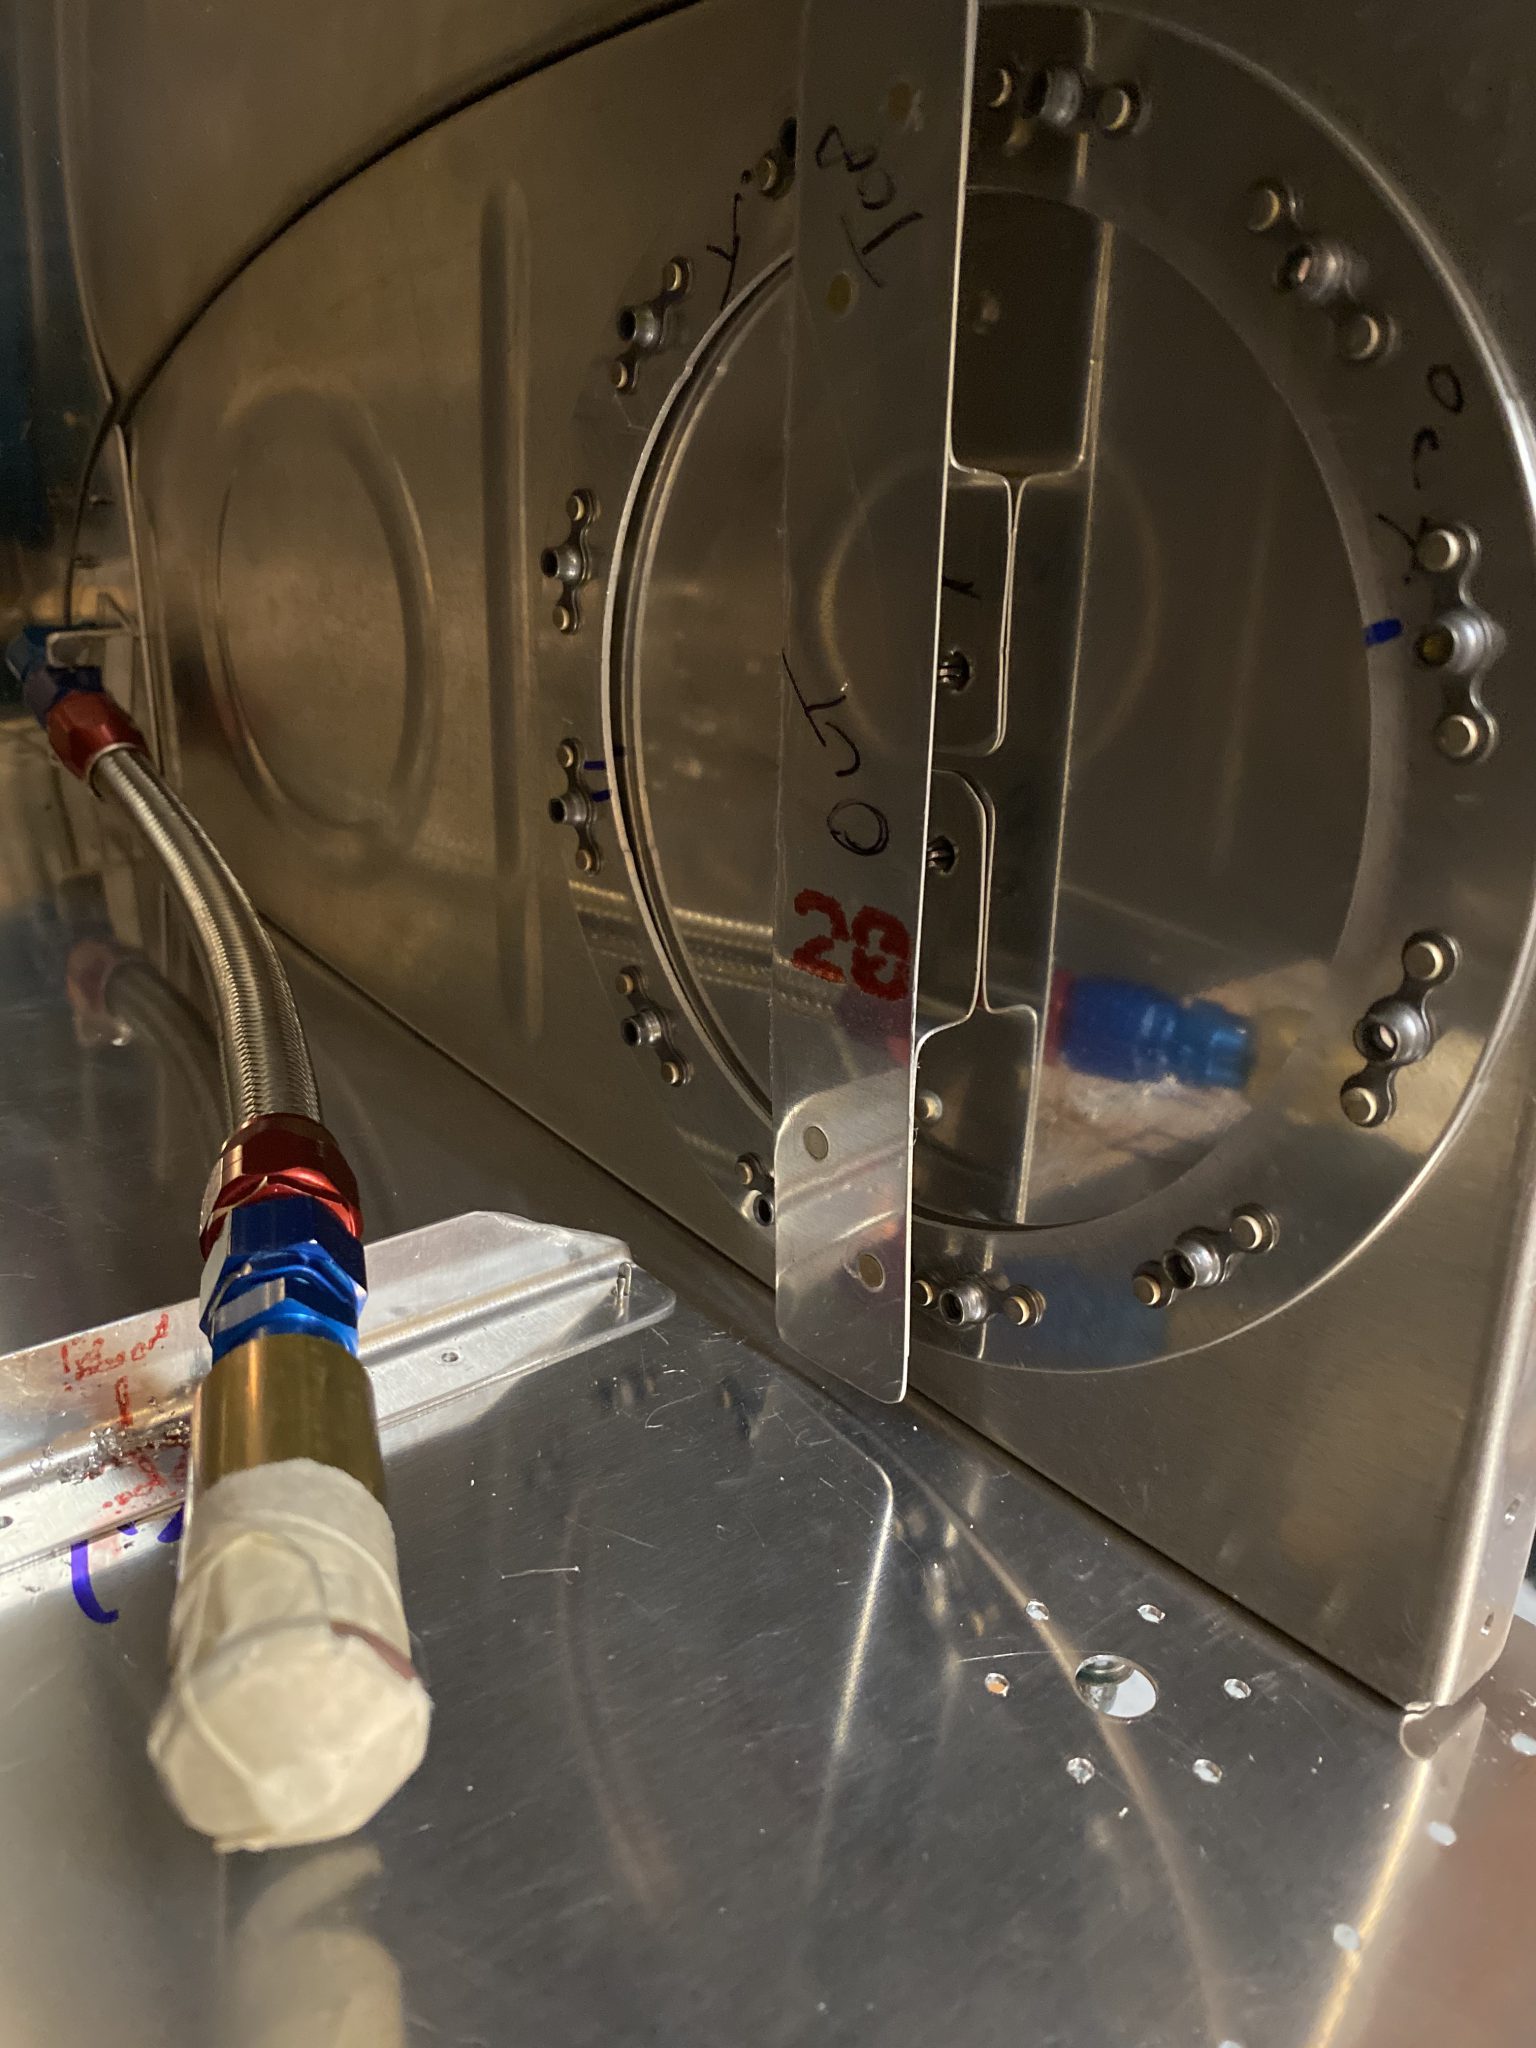
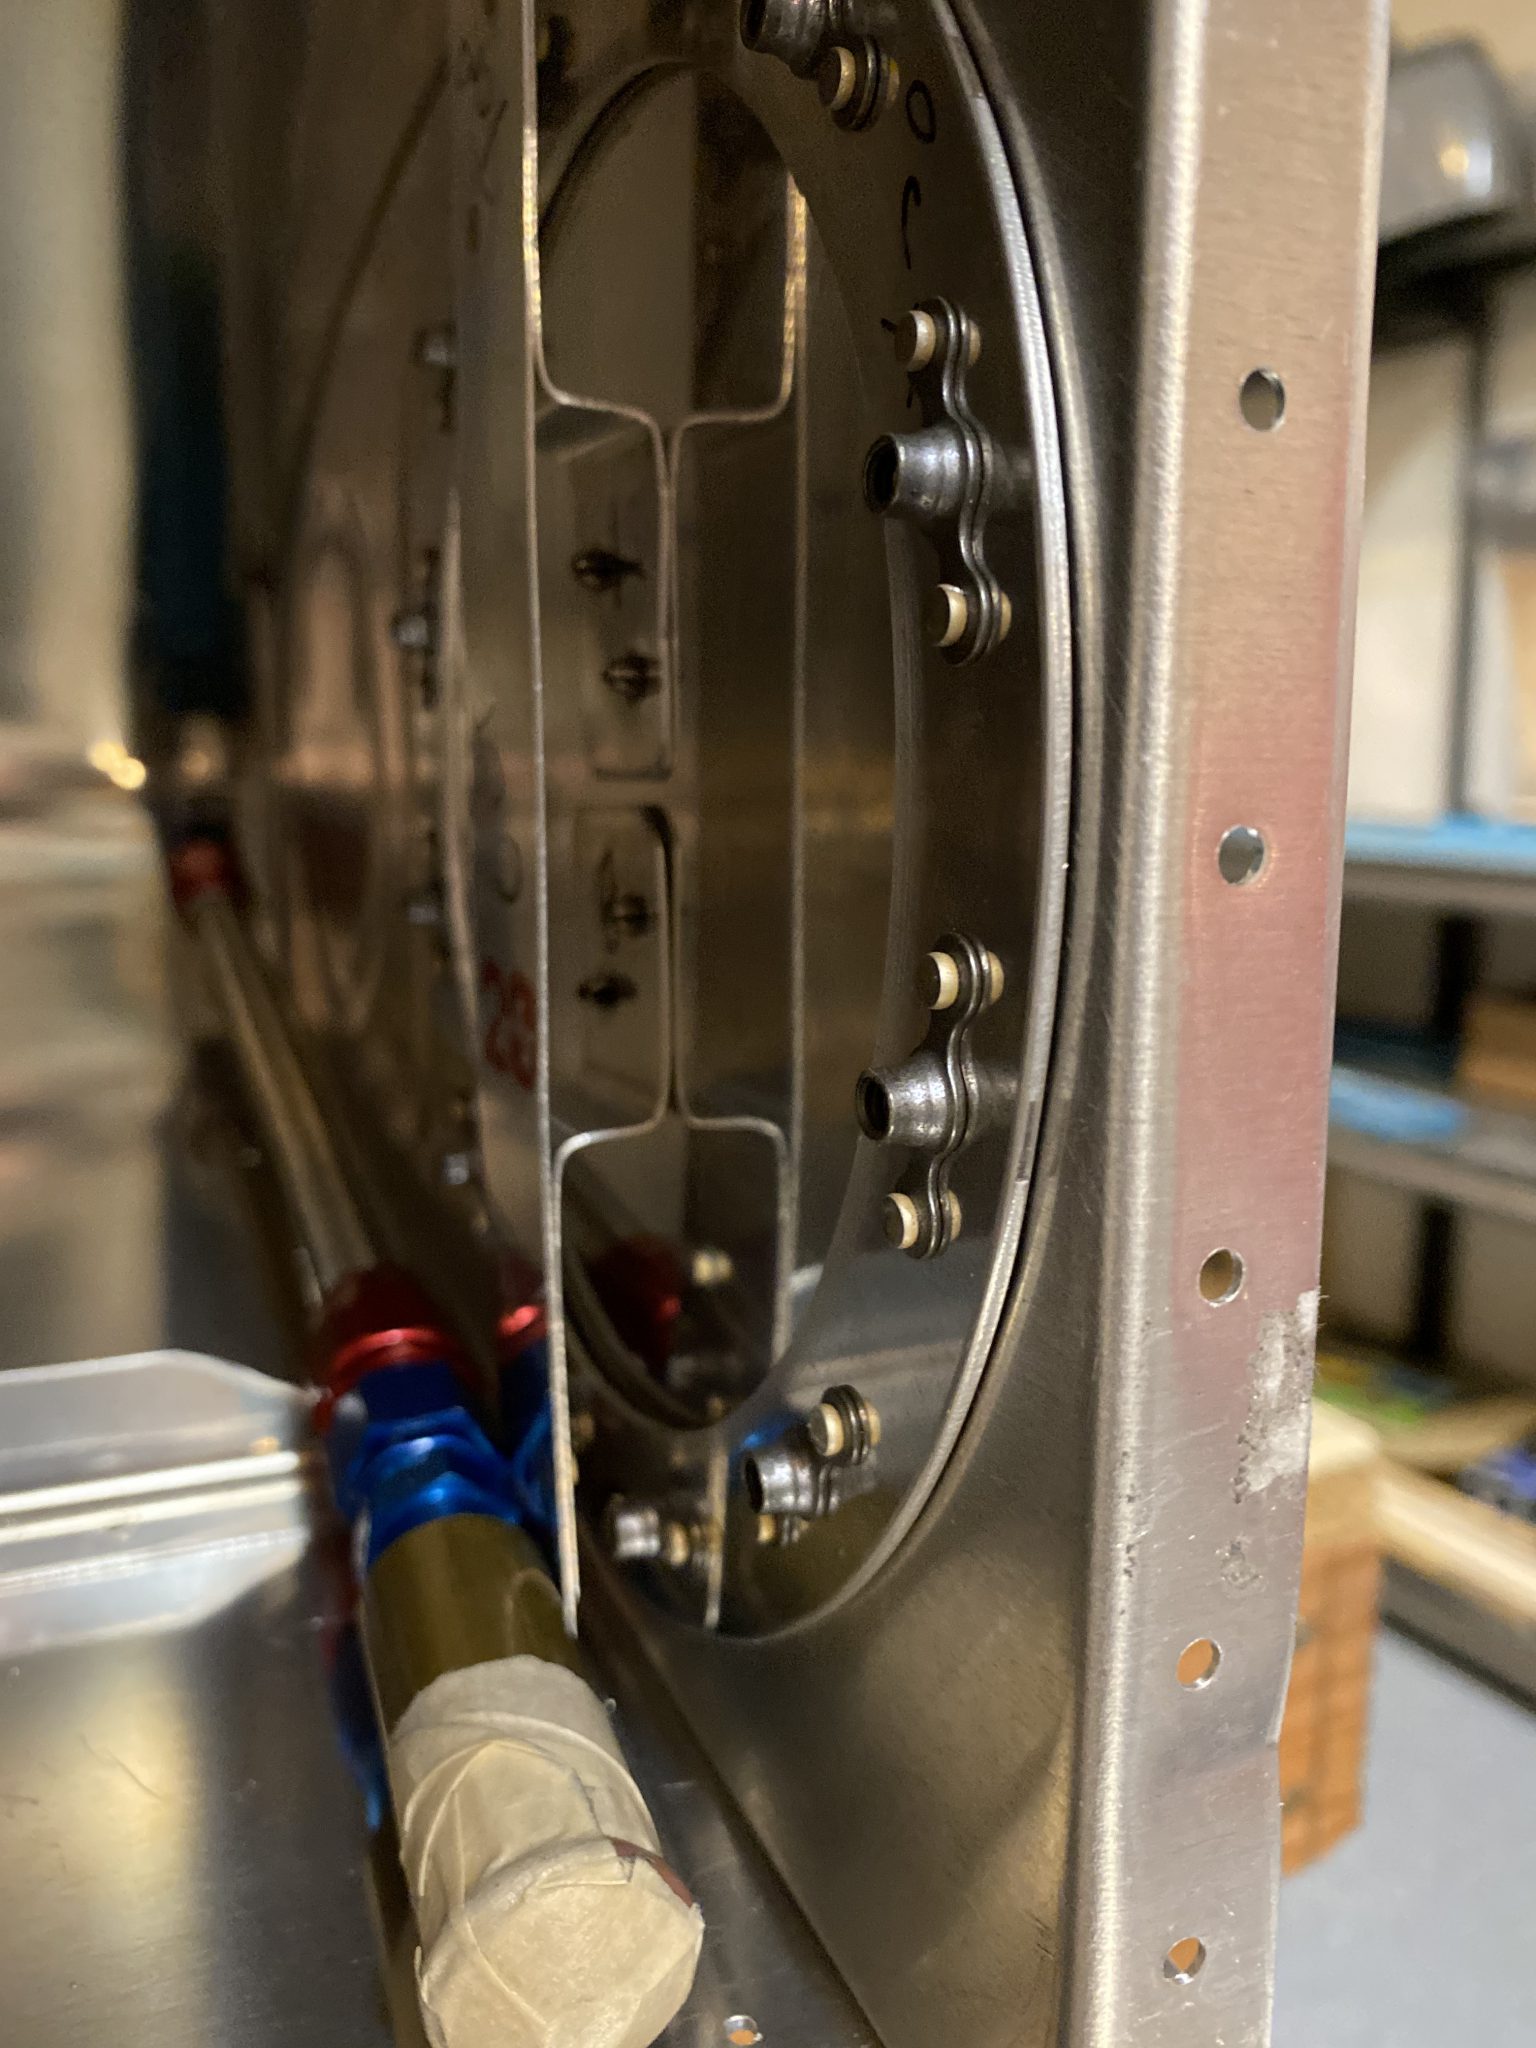
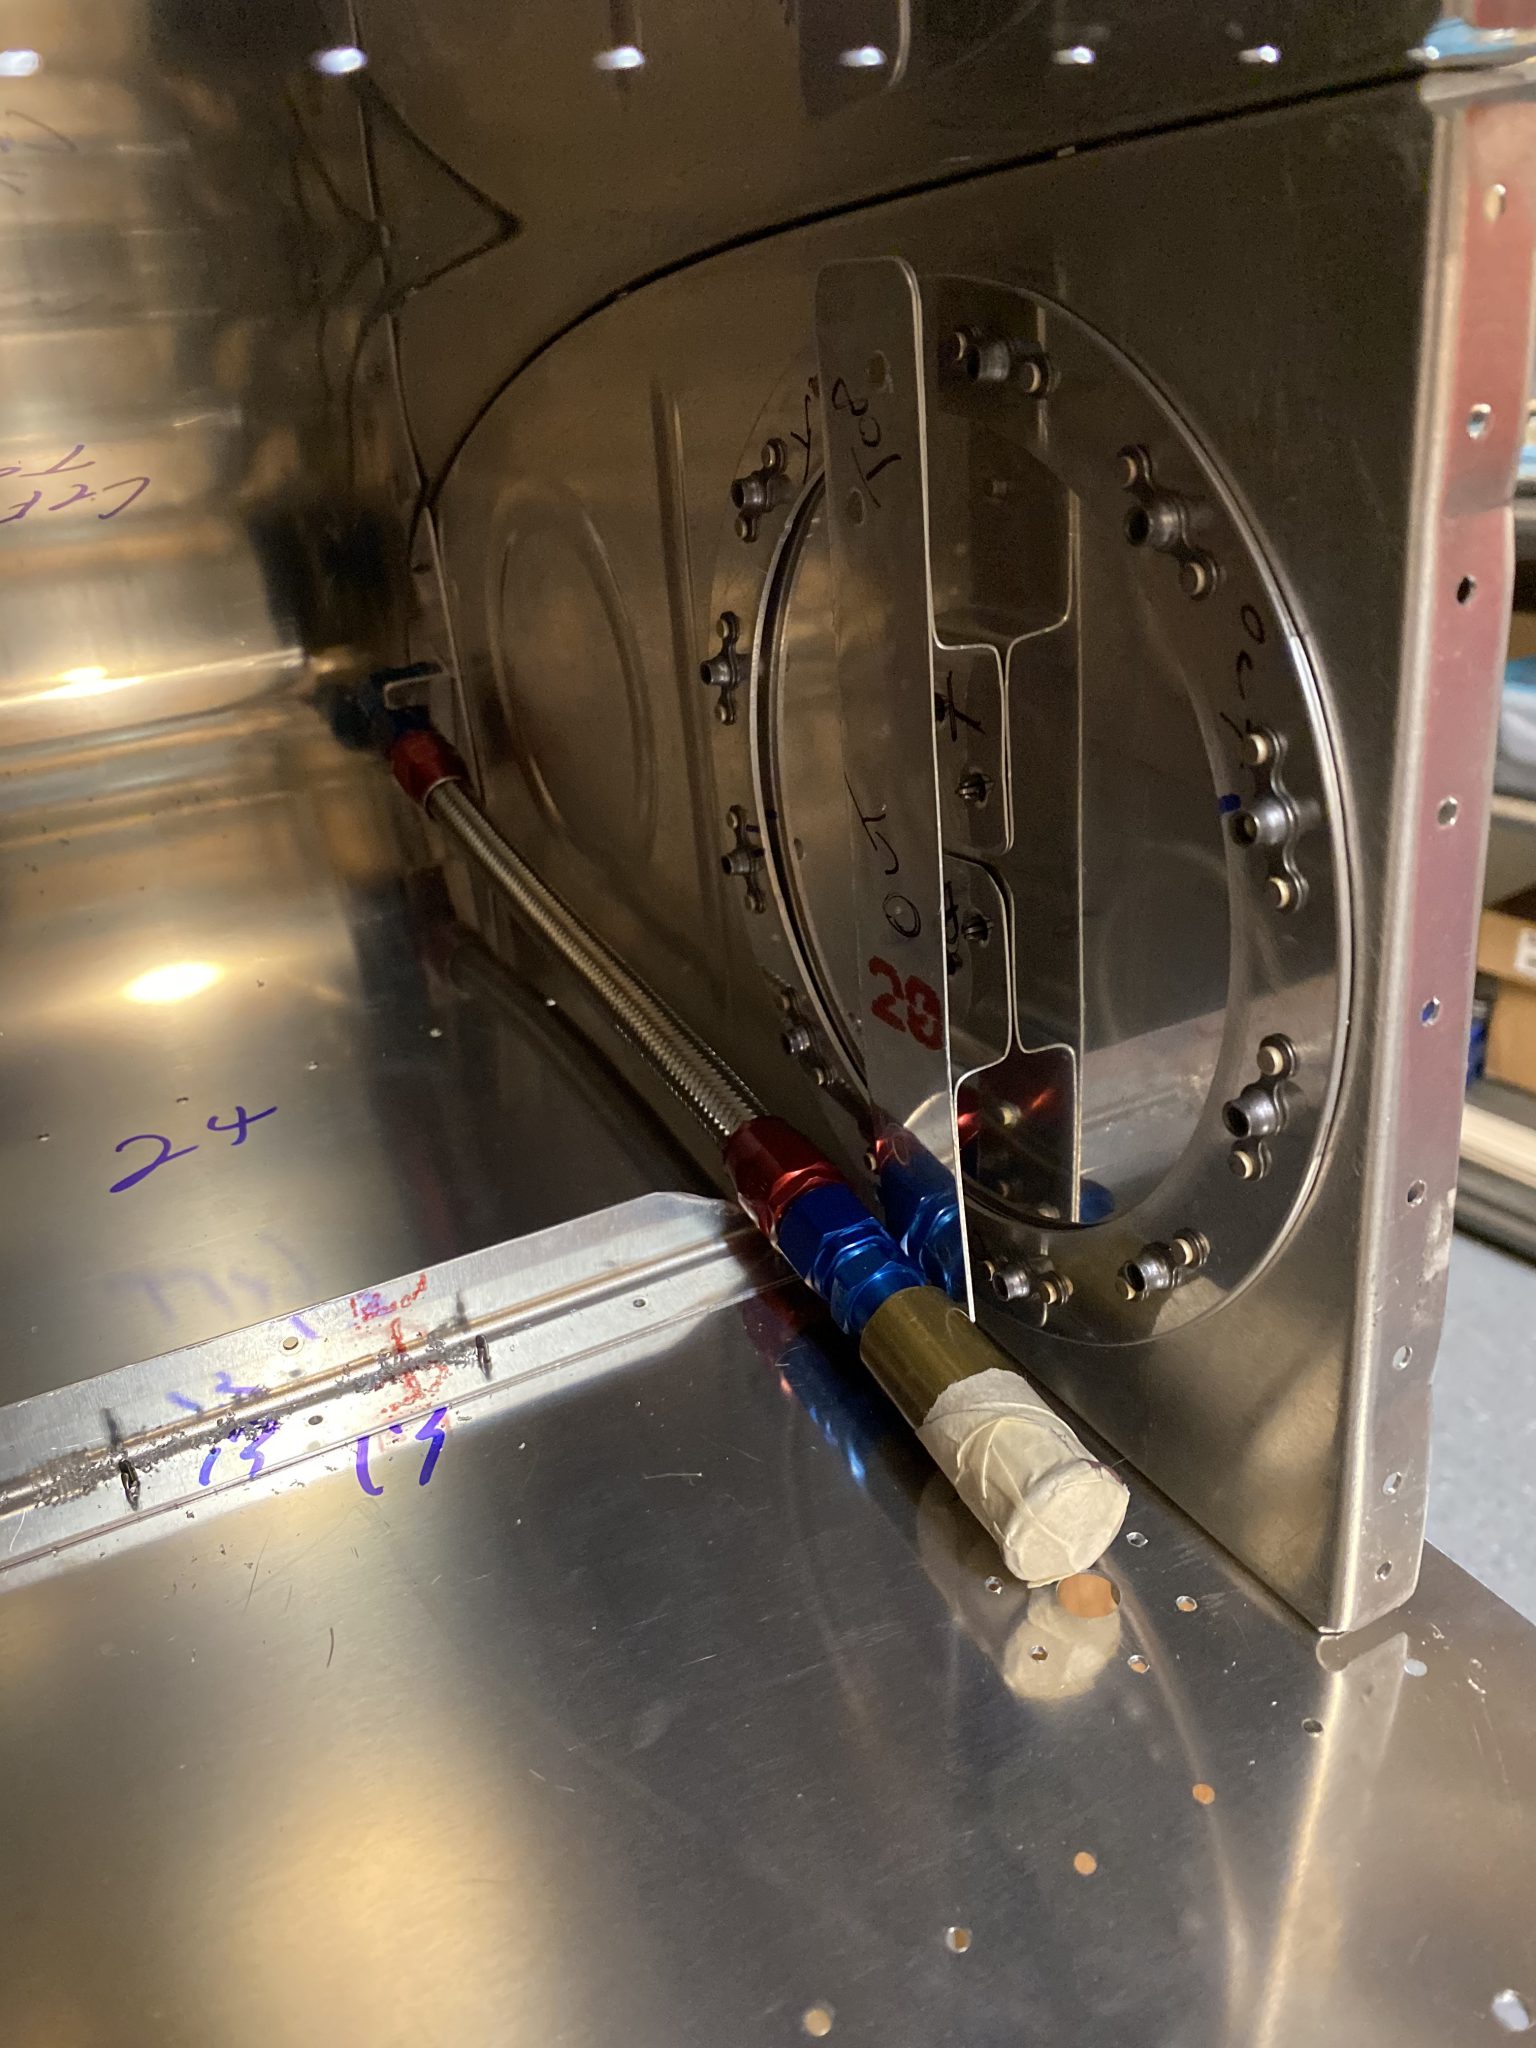
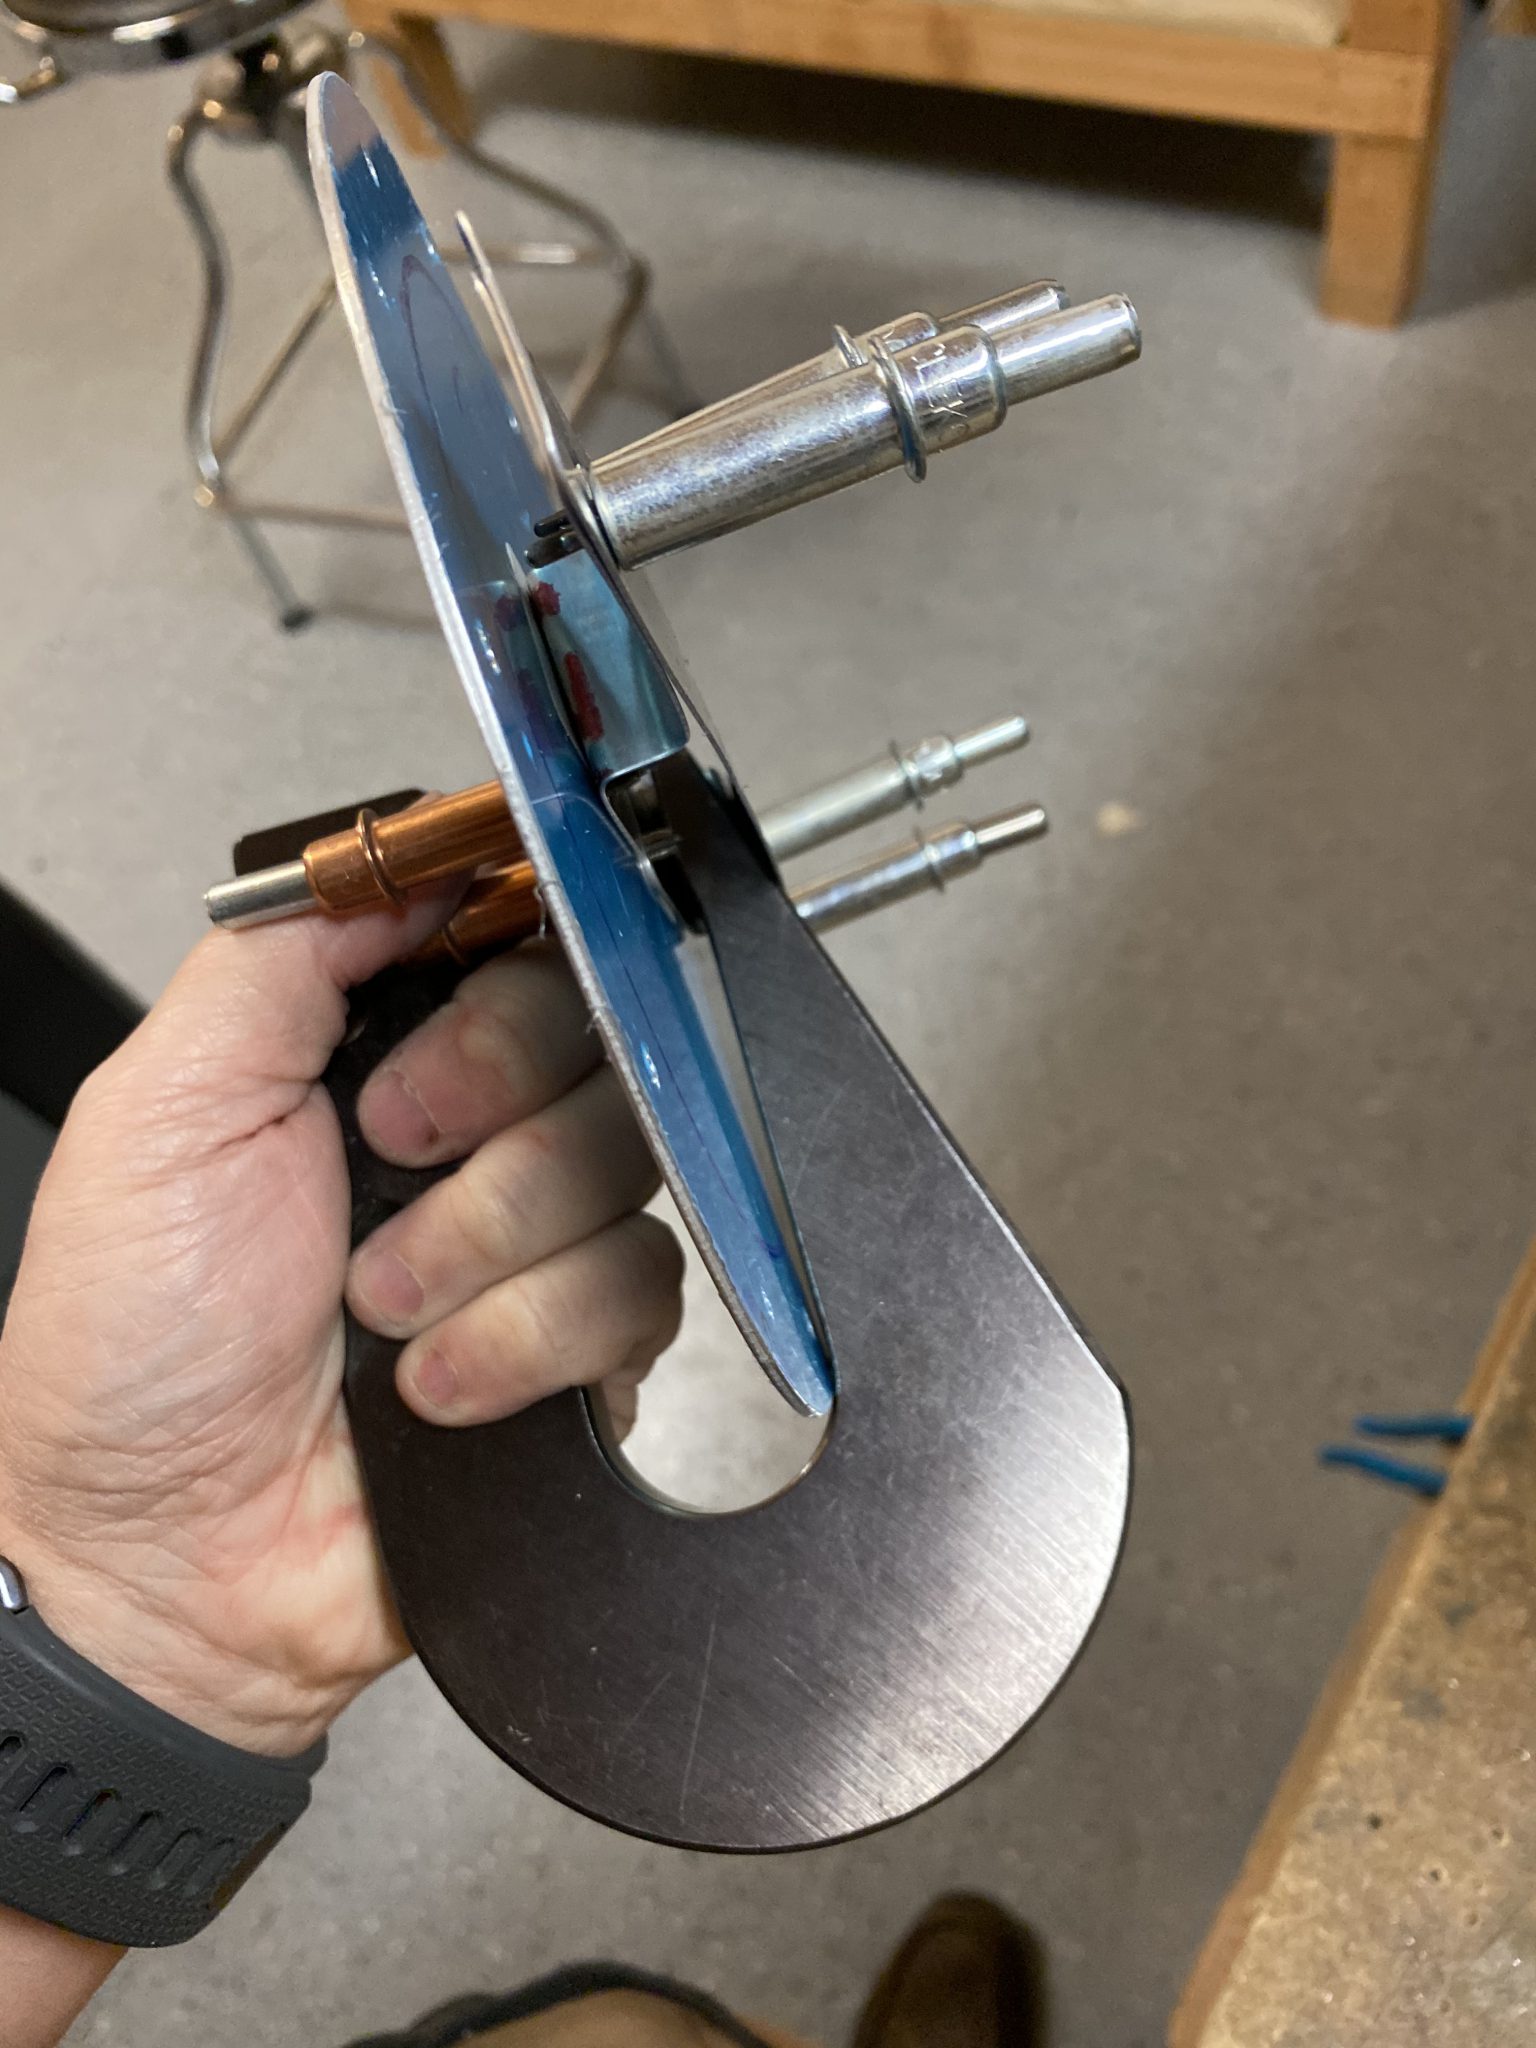
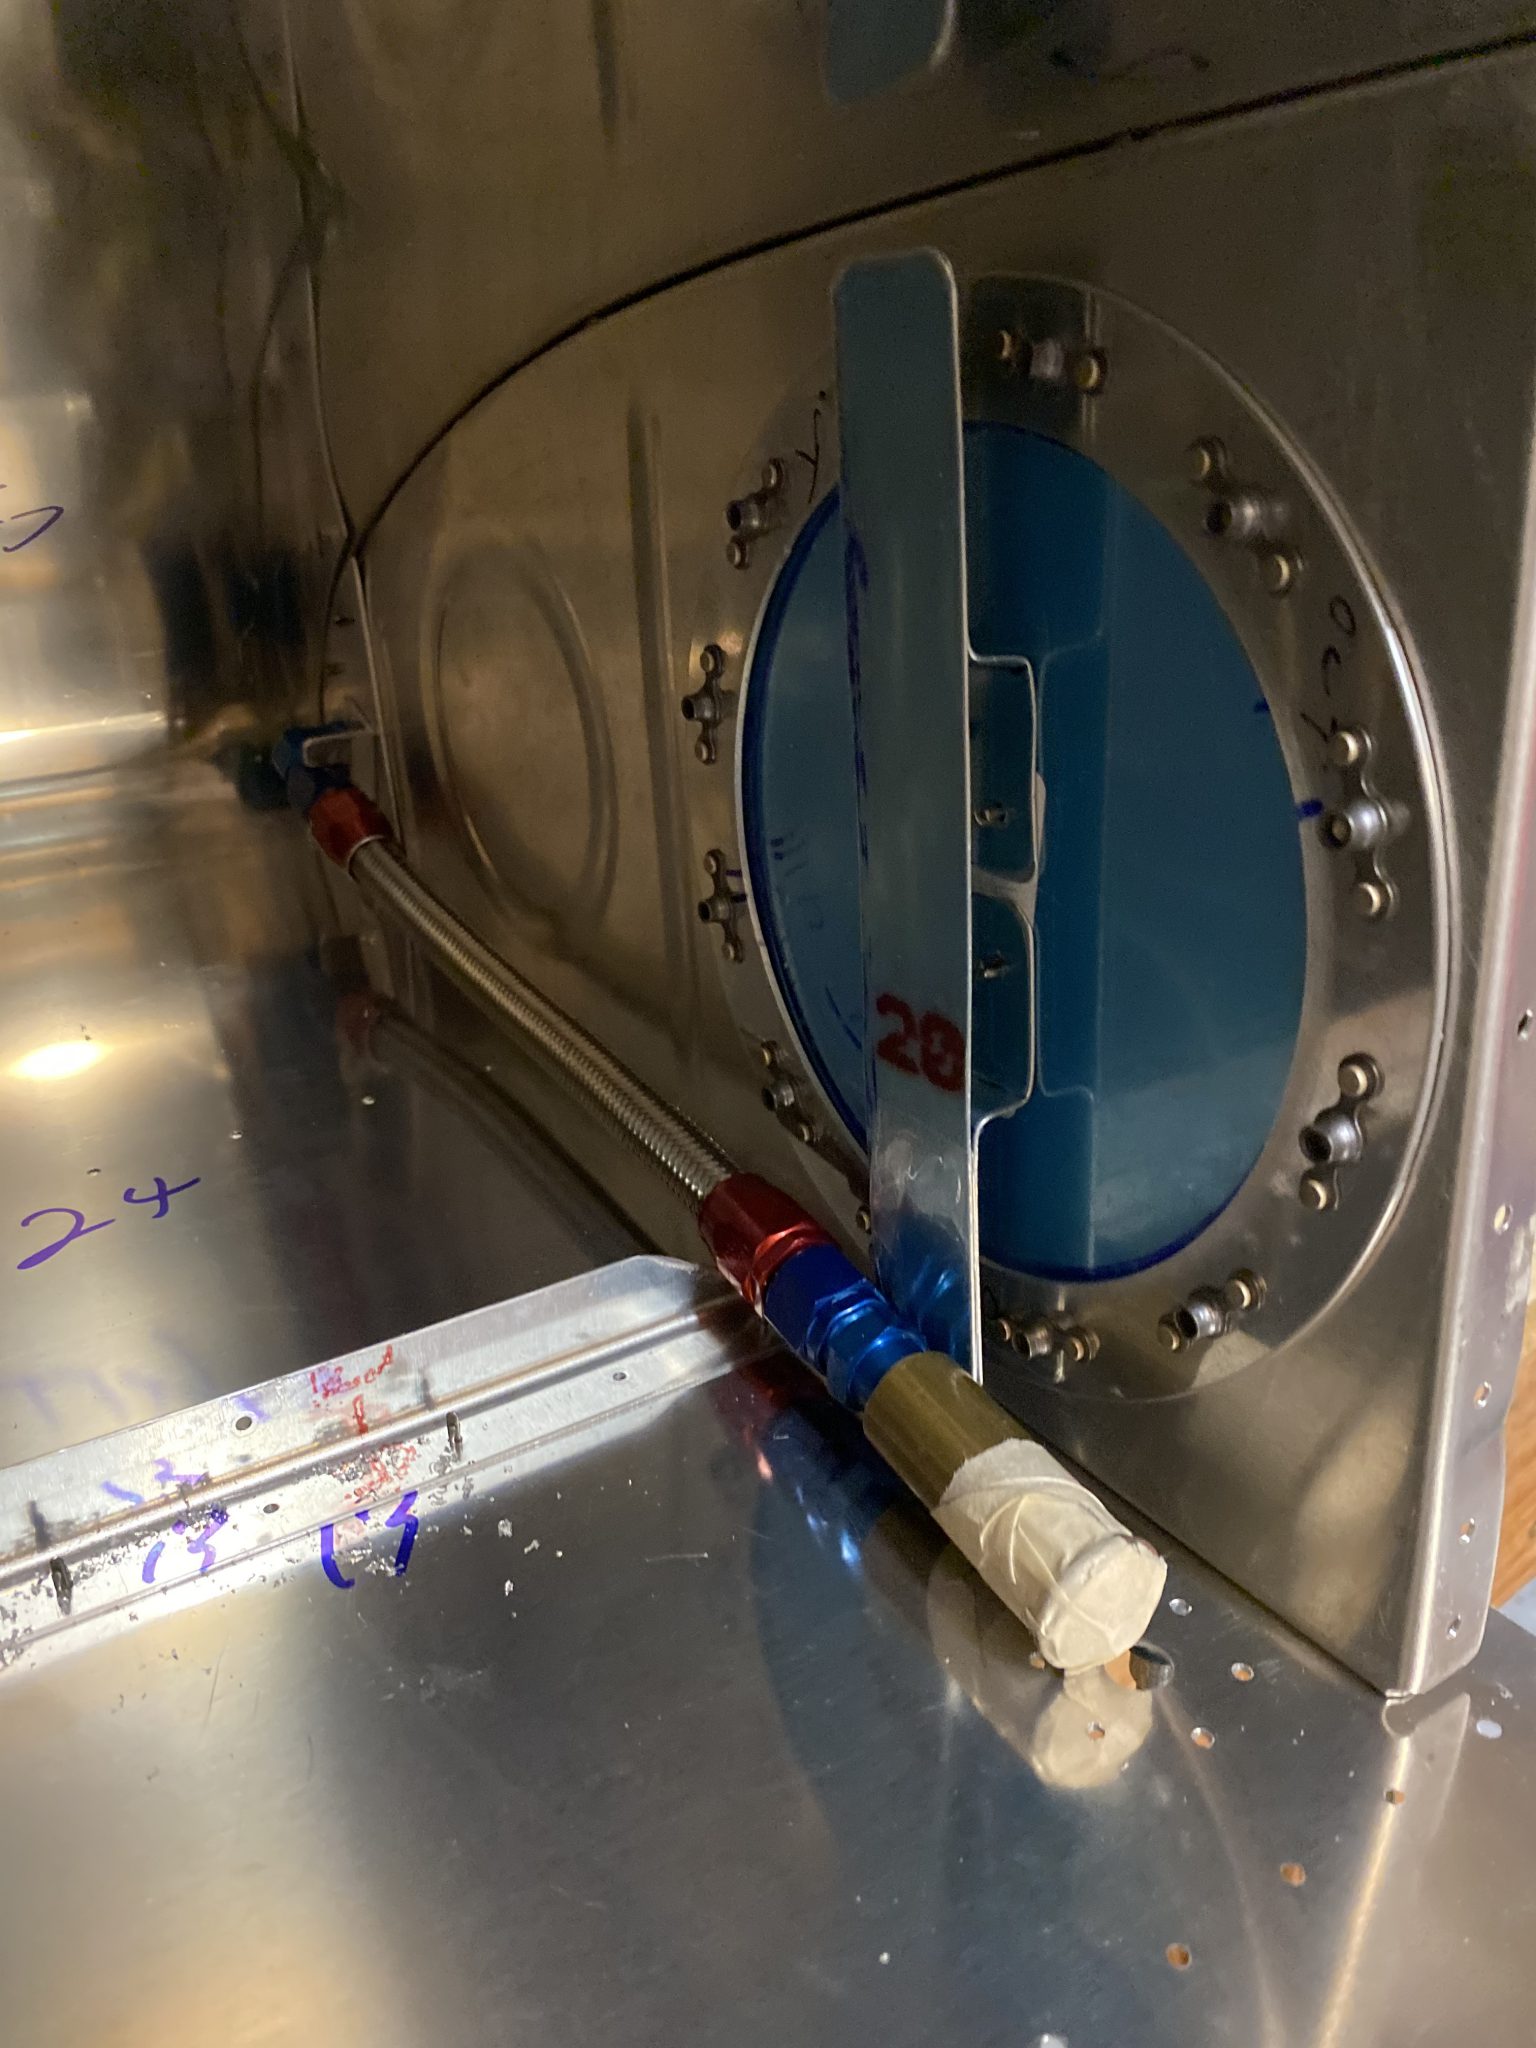
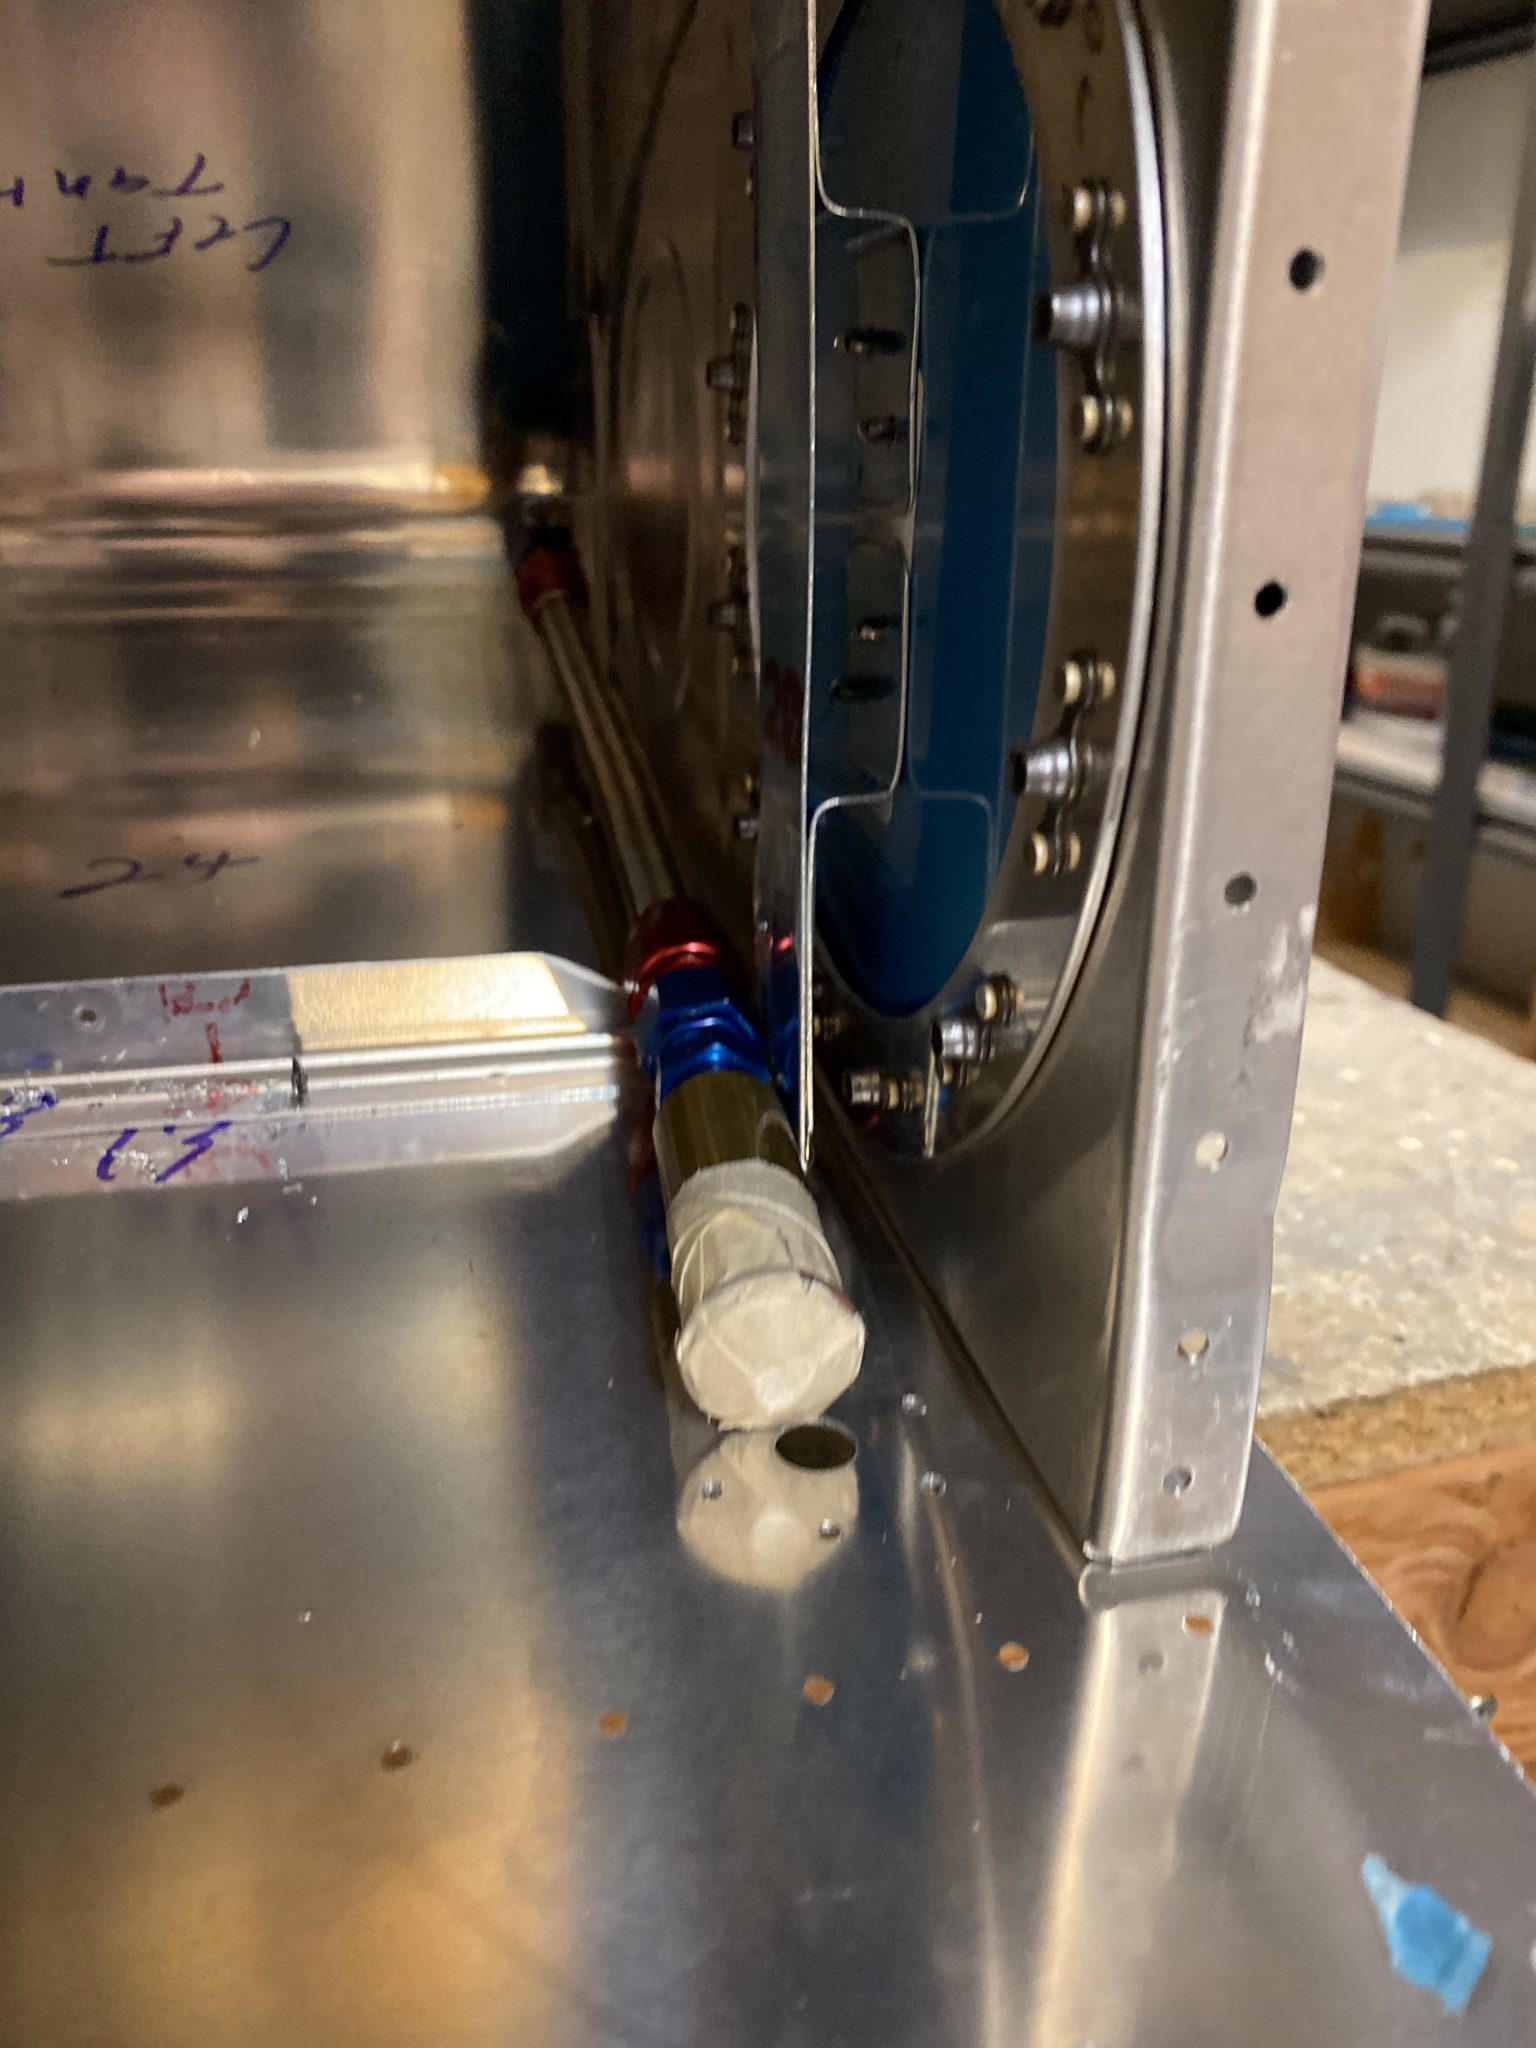
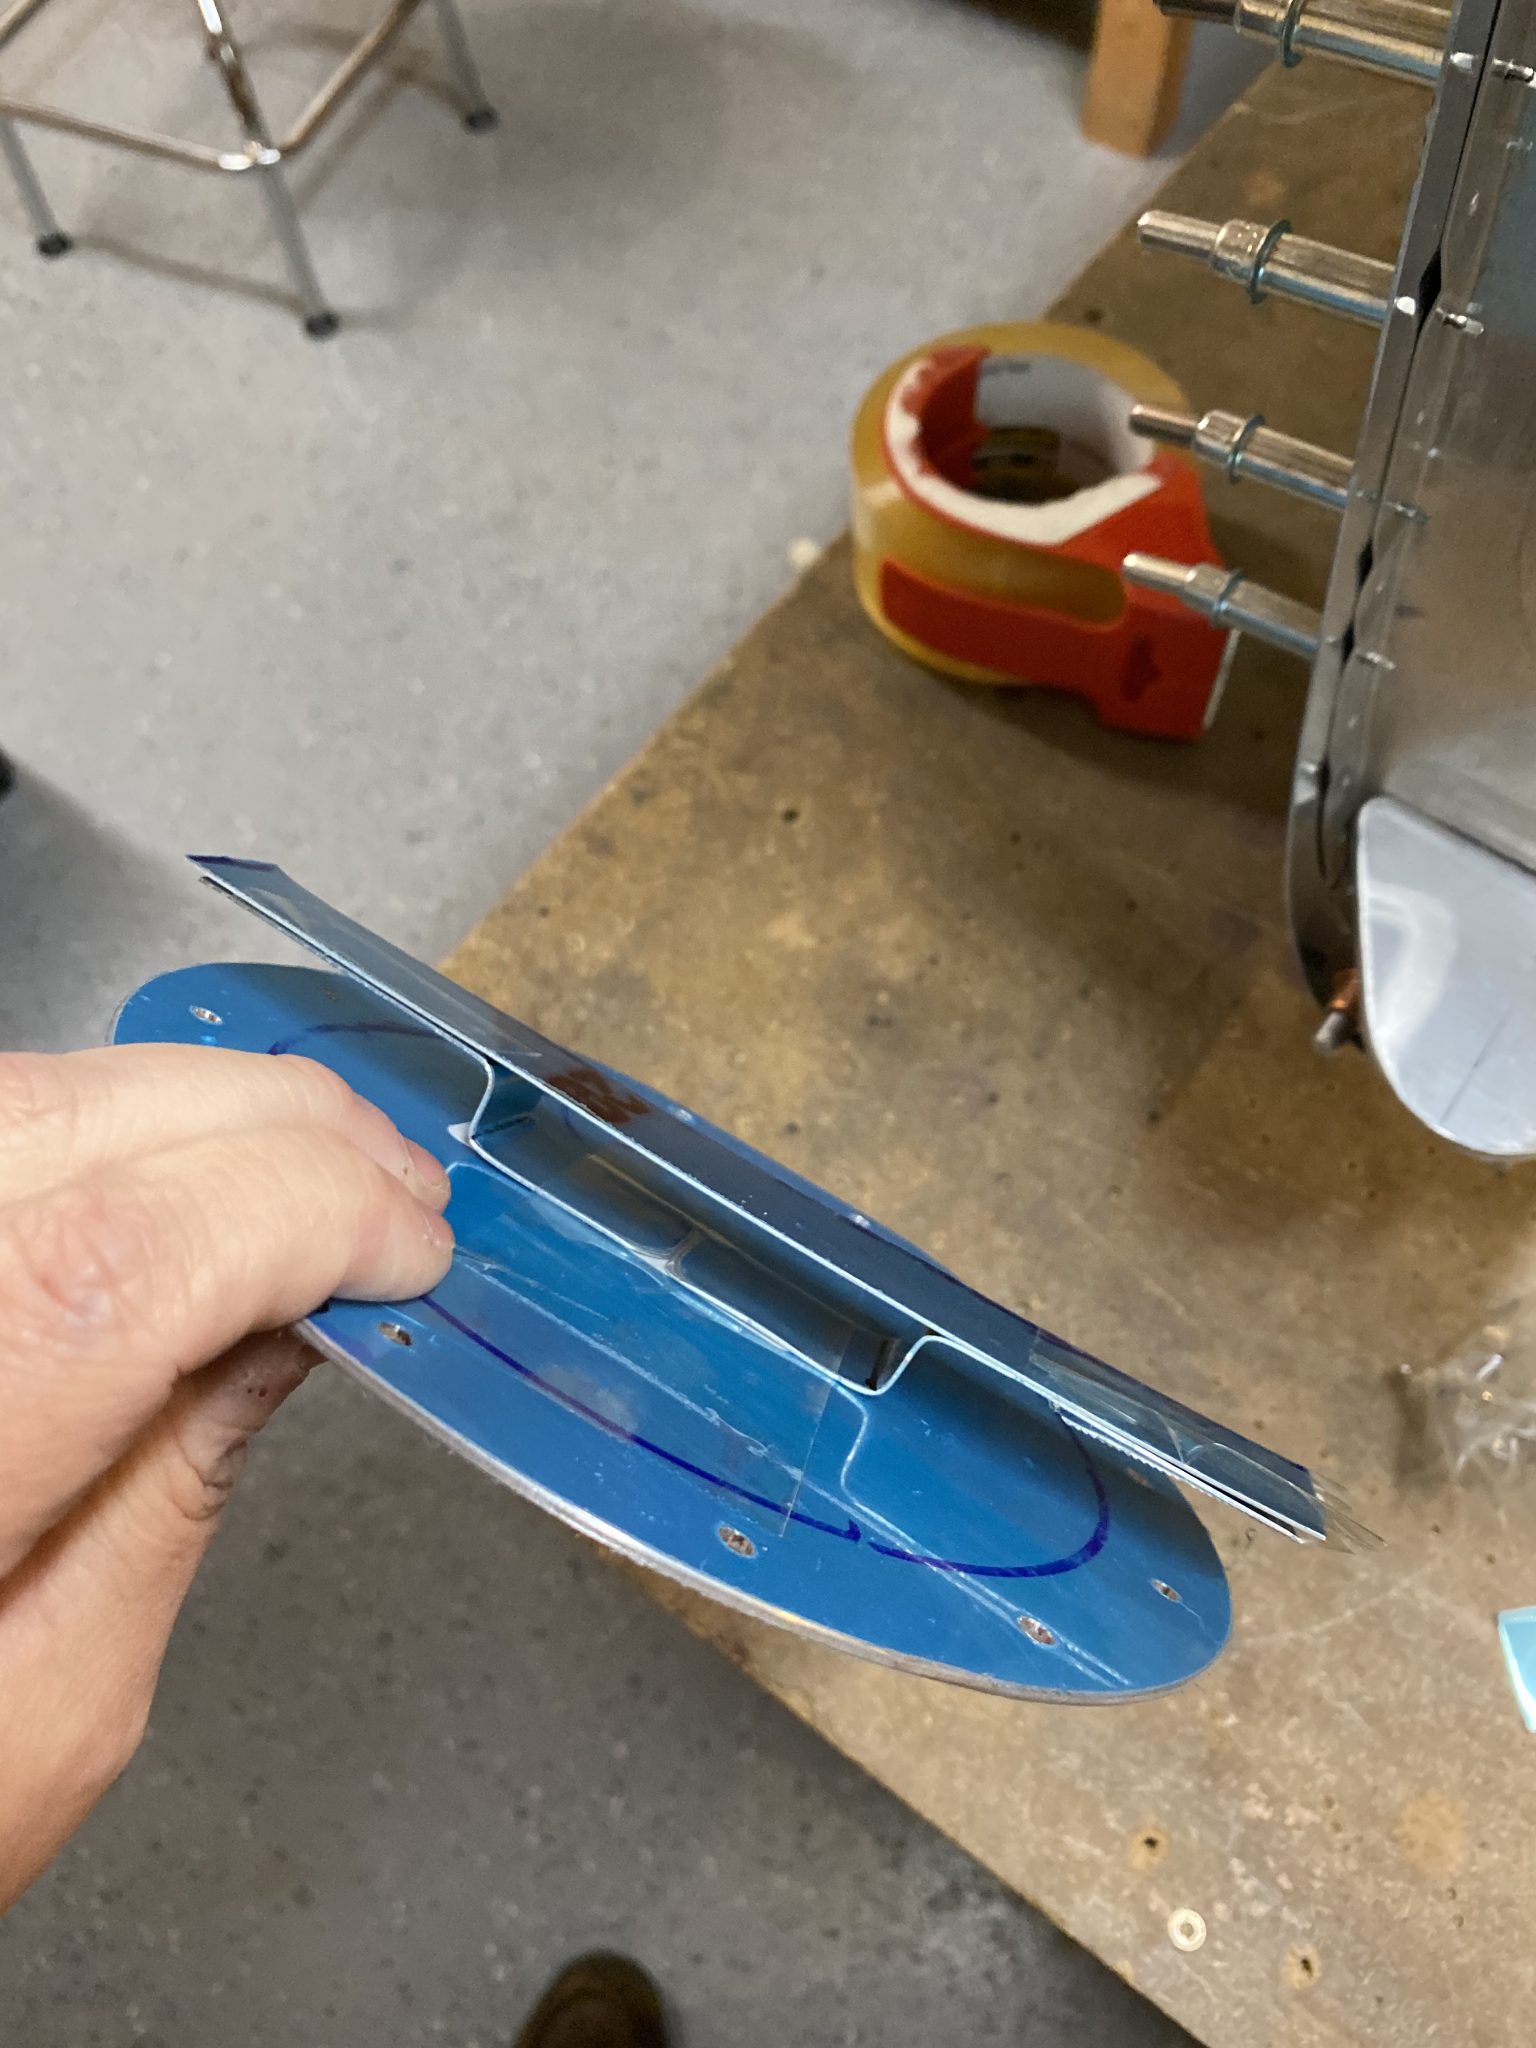
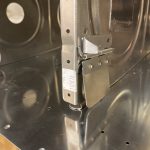
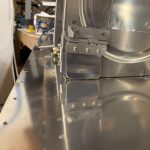
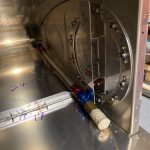
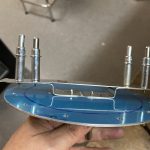
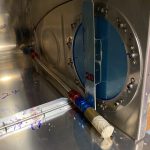
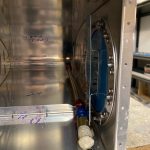
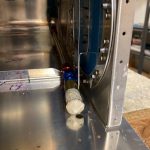
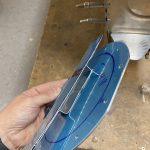
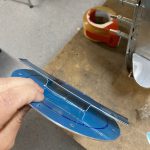
Here’s what it looks like when the cover is in the tank, and the flop tube is resting against the anti-hangup bracket. You can see how well it holds the flop tube away from the platenuts and anything else that it could snag on.


Here’s a quick video of the layout process:
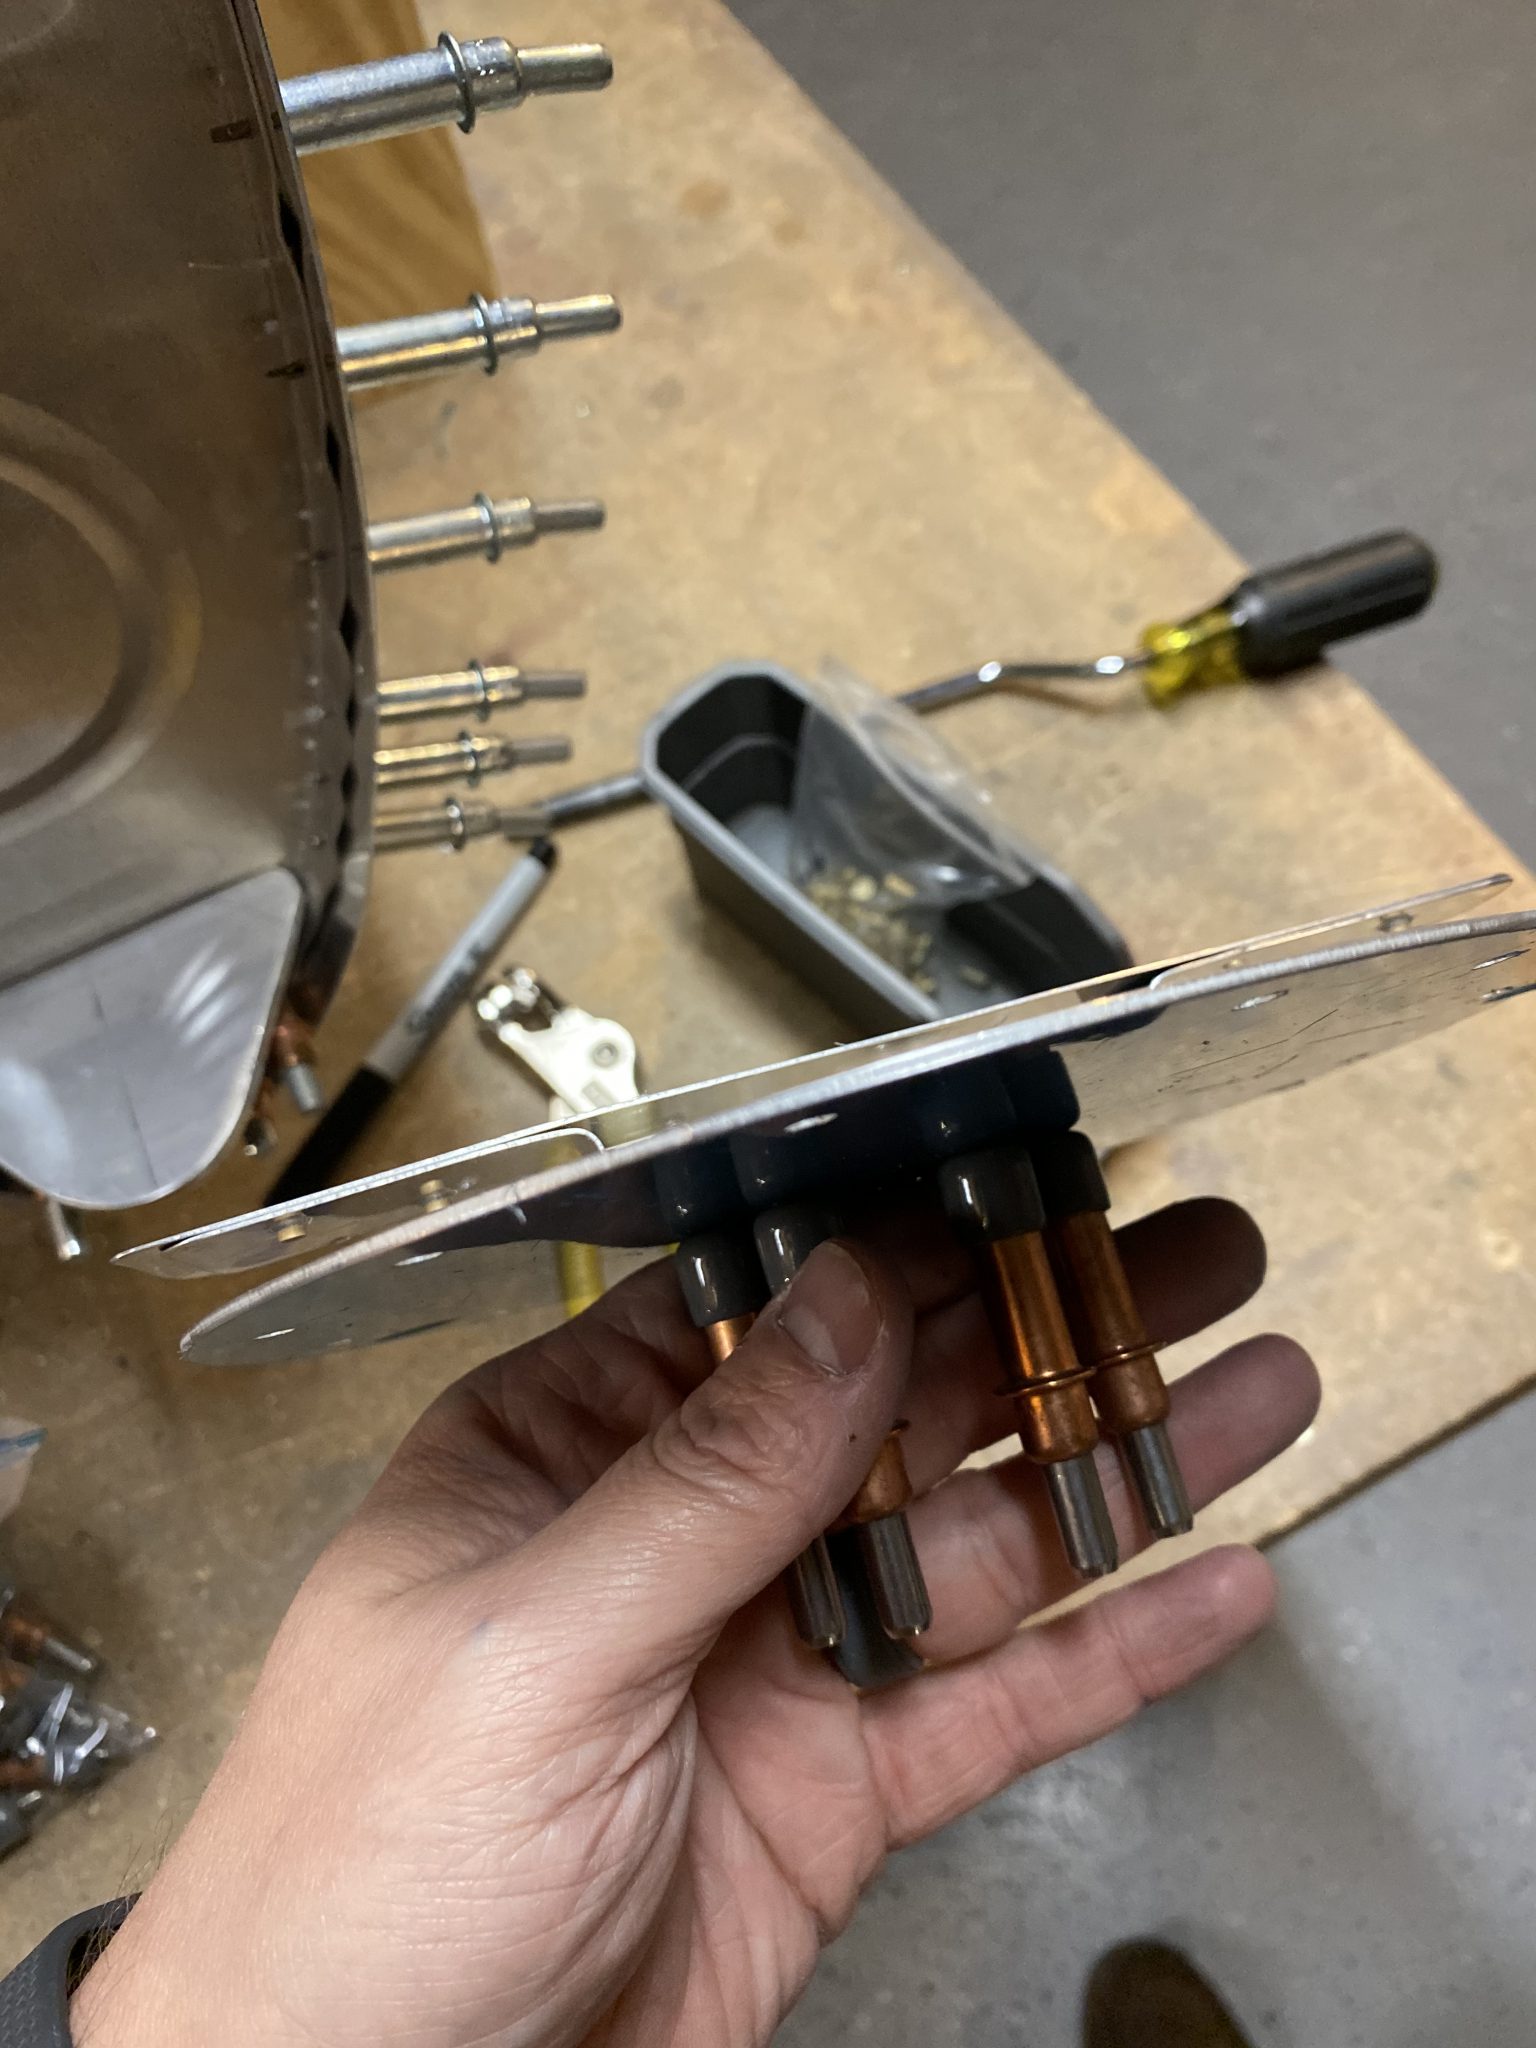
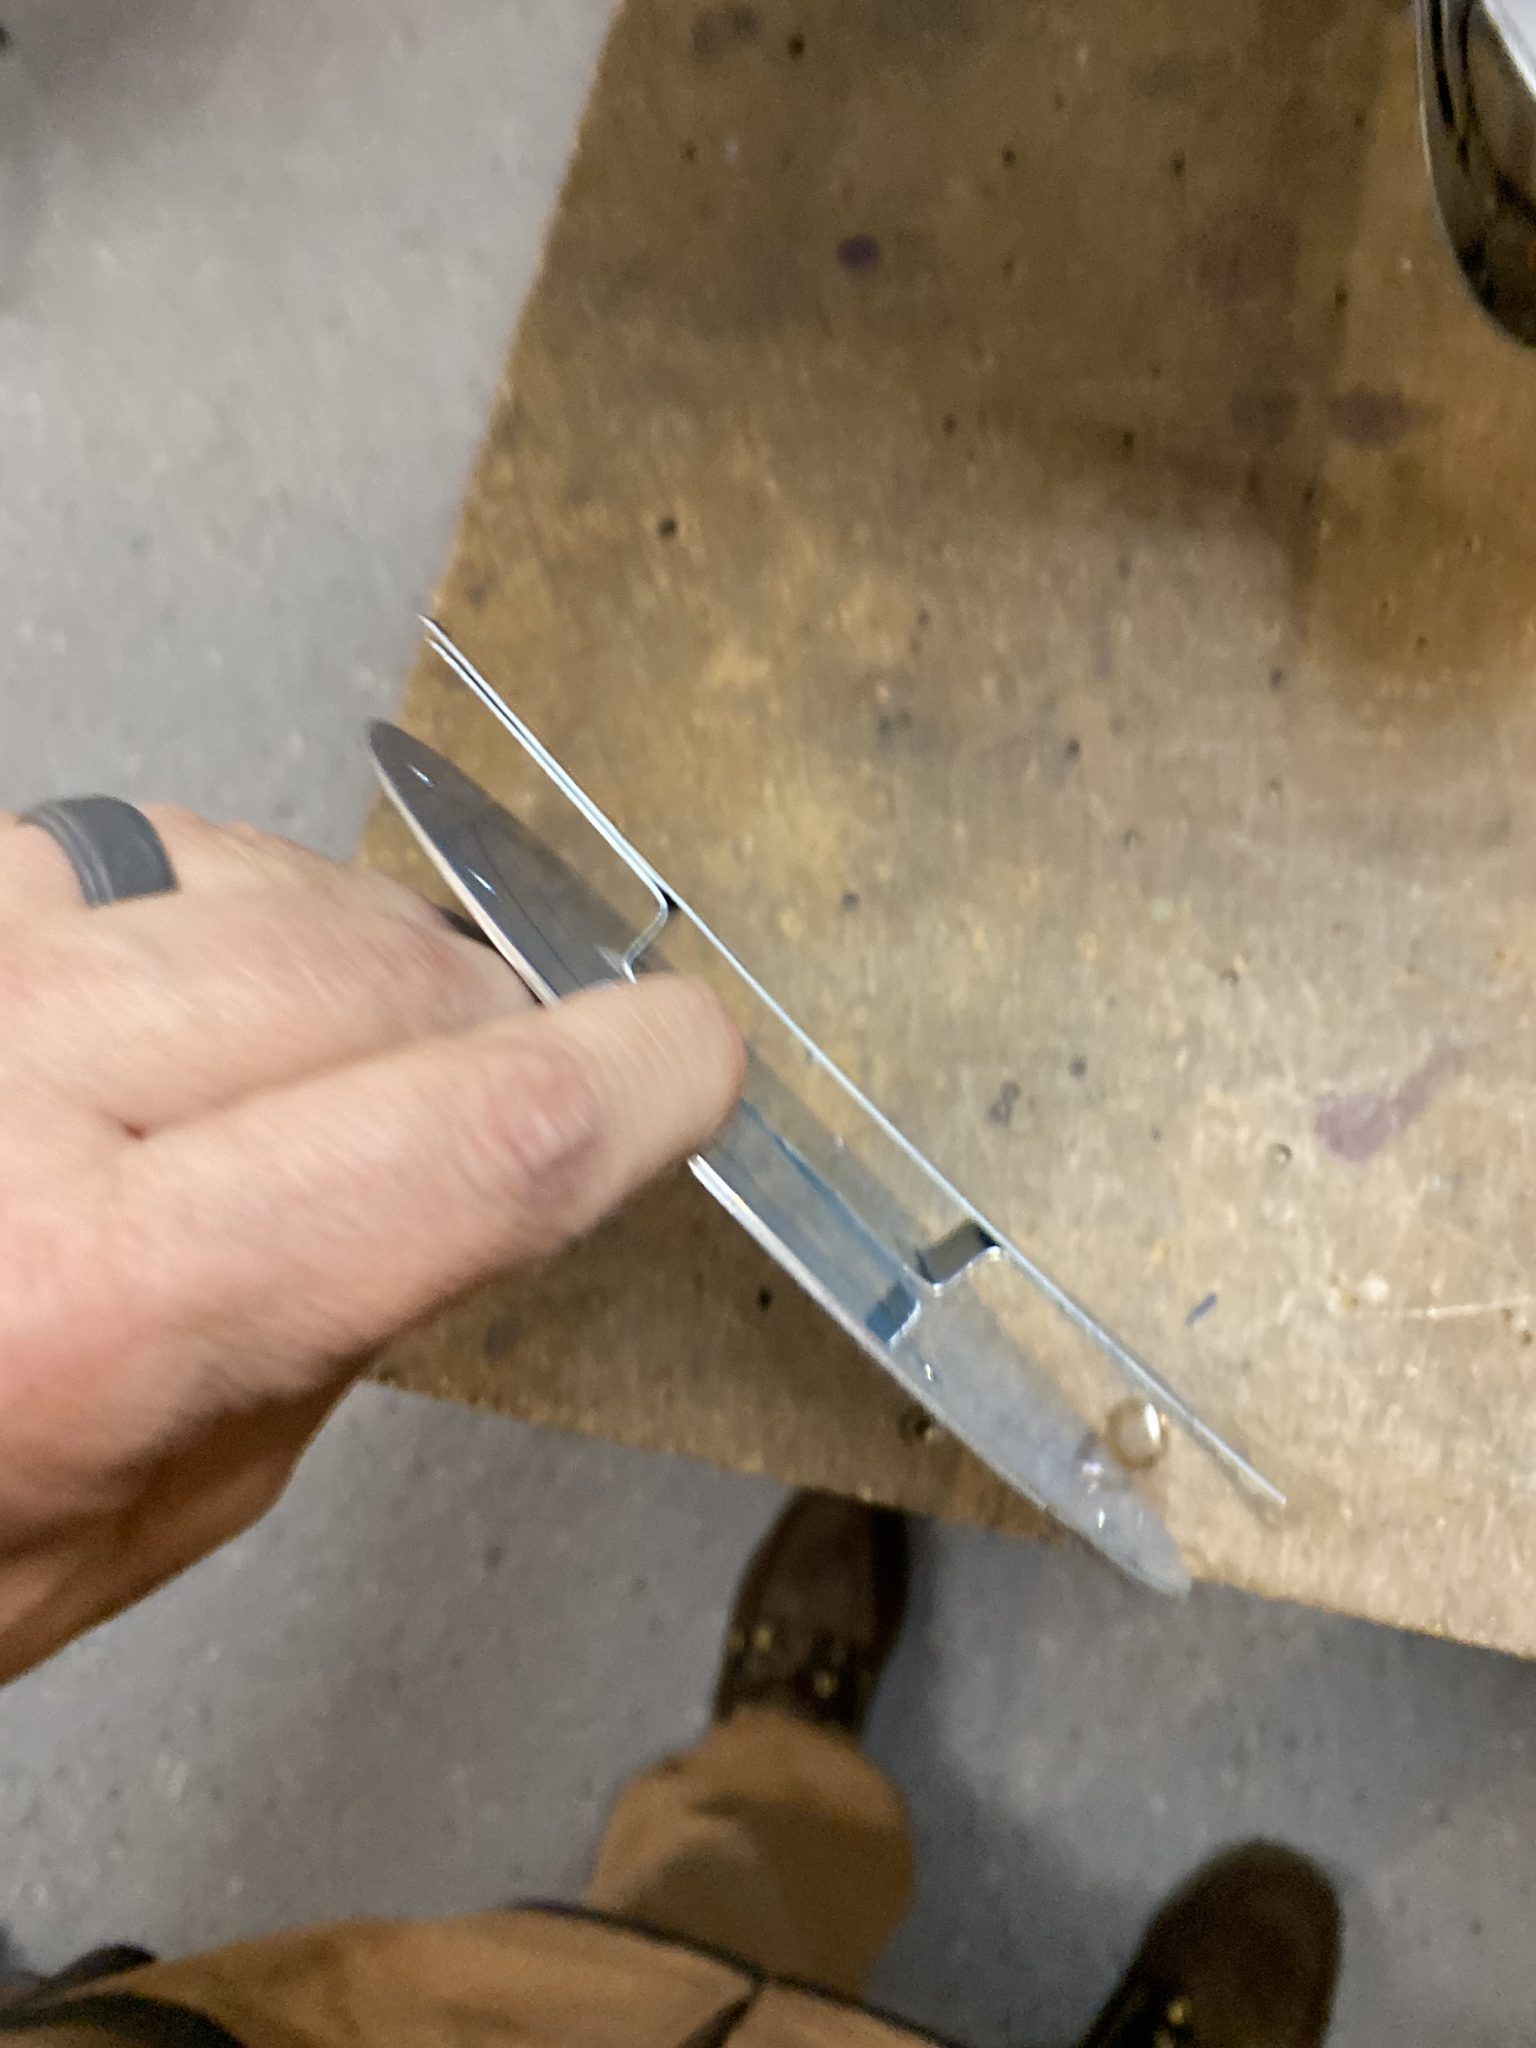
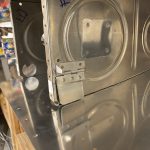
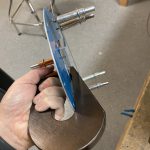
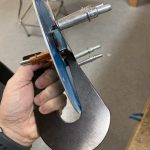
Once I had it where I wanted it, I left everything taped up and then drilled the holes for the Z-brackets into the access plate. After cleco’ing those into place, I then drilled the holes to attached the anti-hangup bracket onto the Z-brackets. I am going to use flush rivets for these to keep a nice smooth surface for the flop tube to ride against, so I will deburr and dimple these as well.
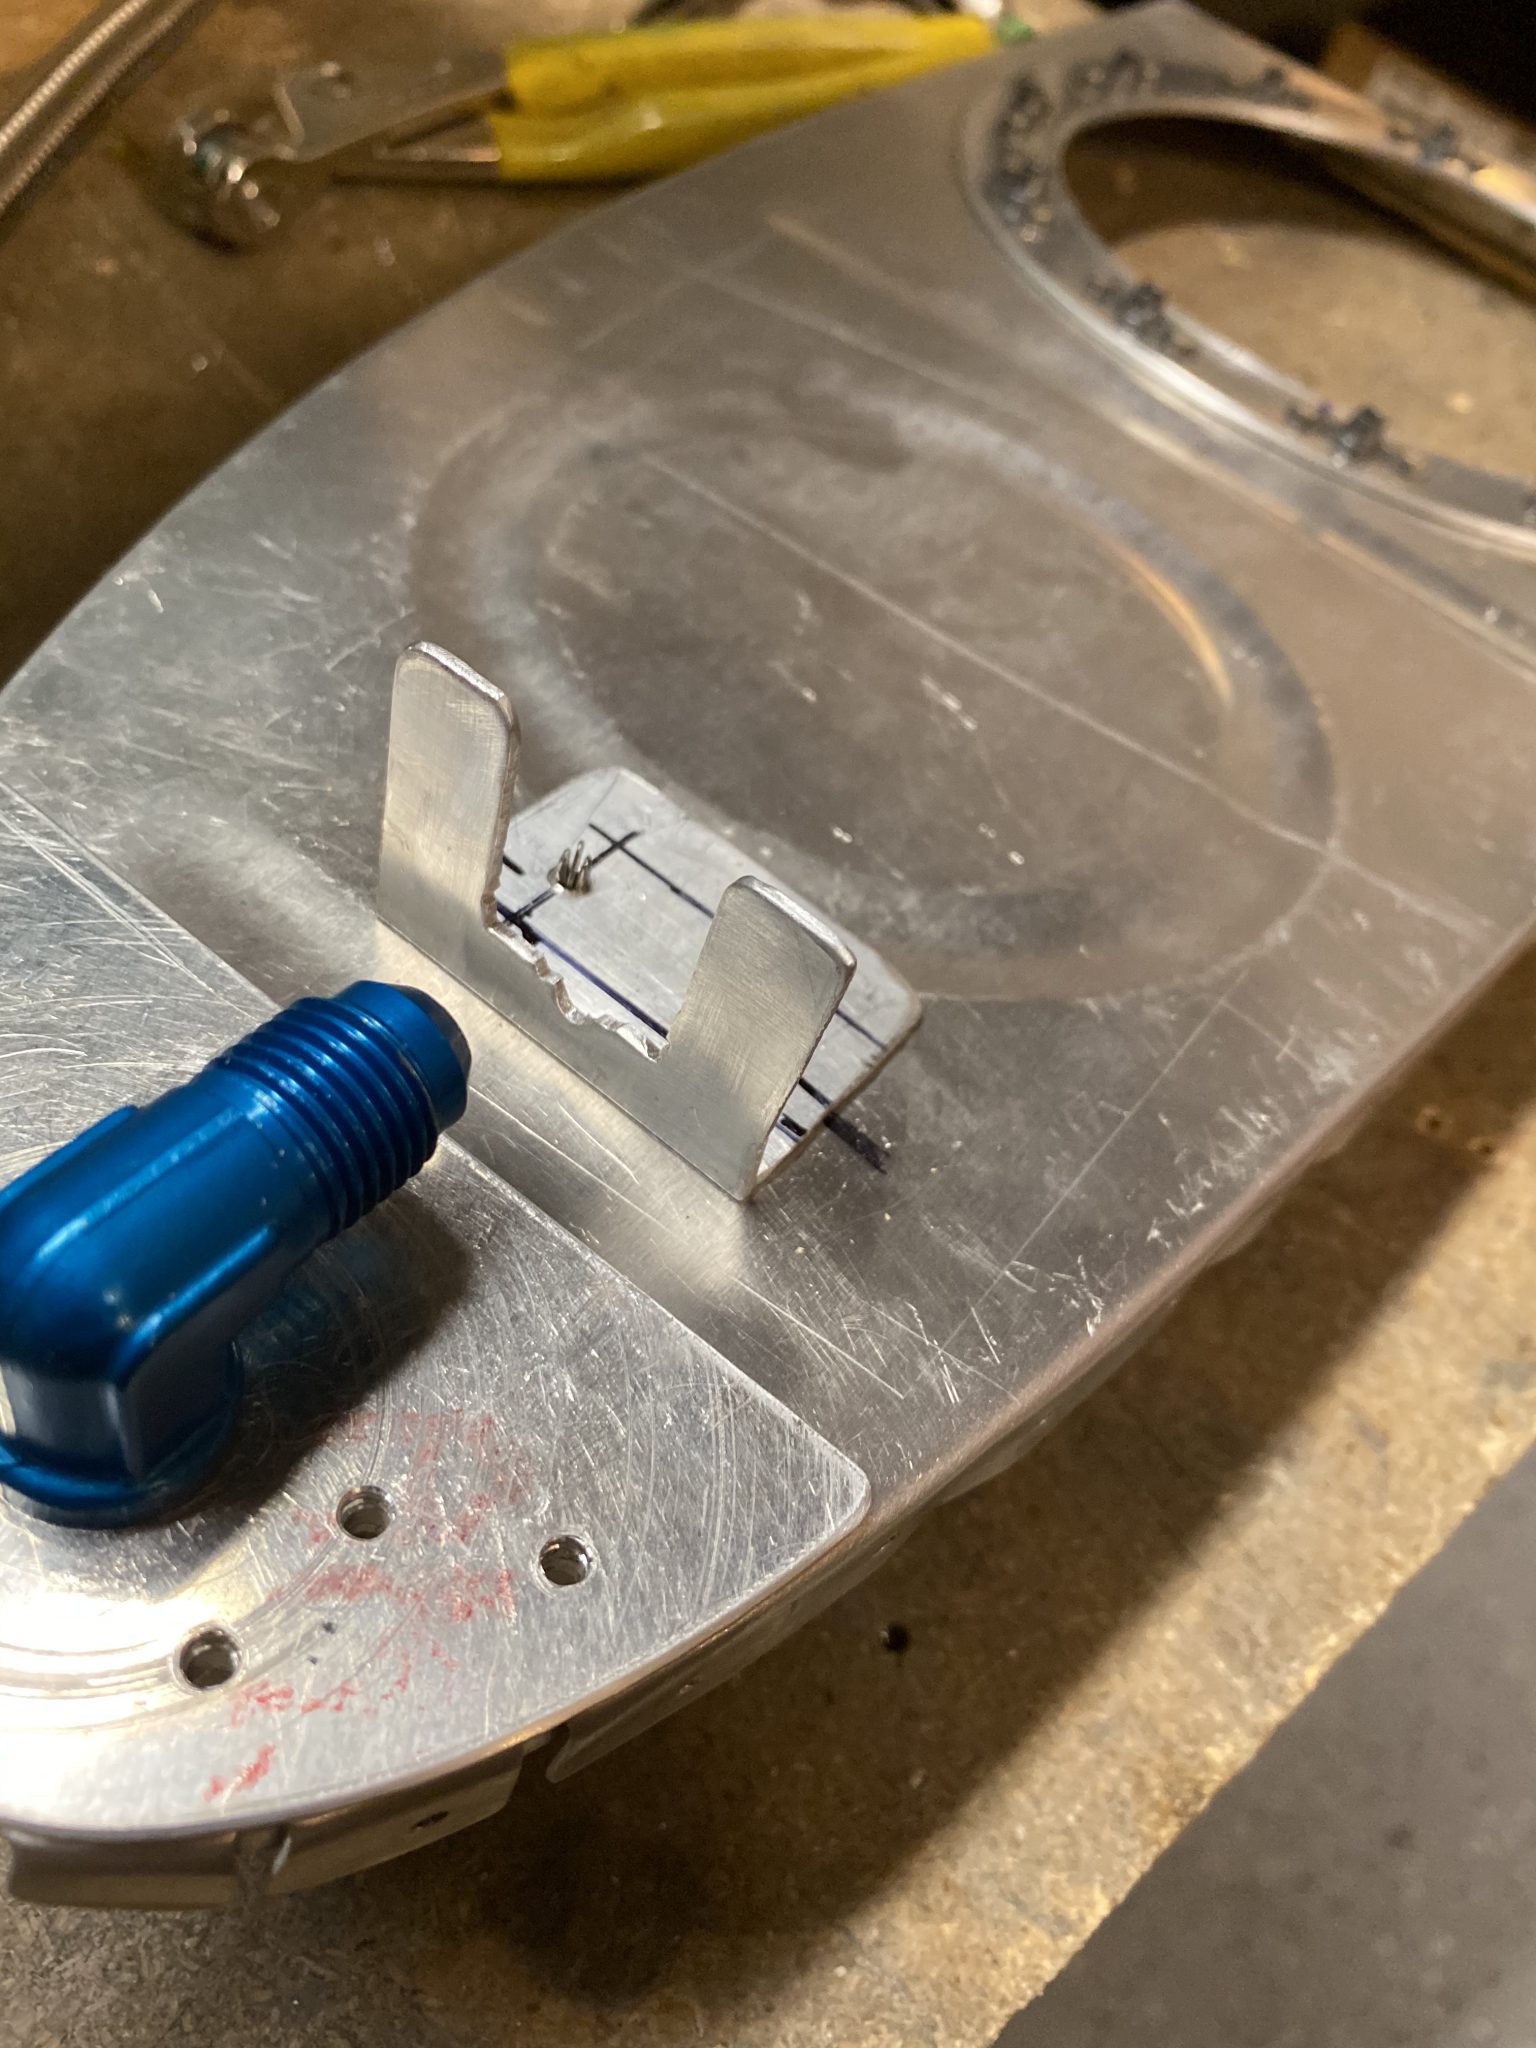
I decided to use flush rivets here to hold the ant-hangup bracket assembly to the access plate, so that I could easily get my long nose flush squeezer yoke in there to squeeze these rivets. These rivets will also get prosealed since they are penetrating the tank.


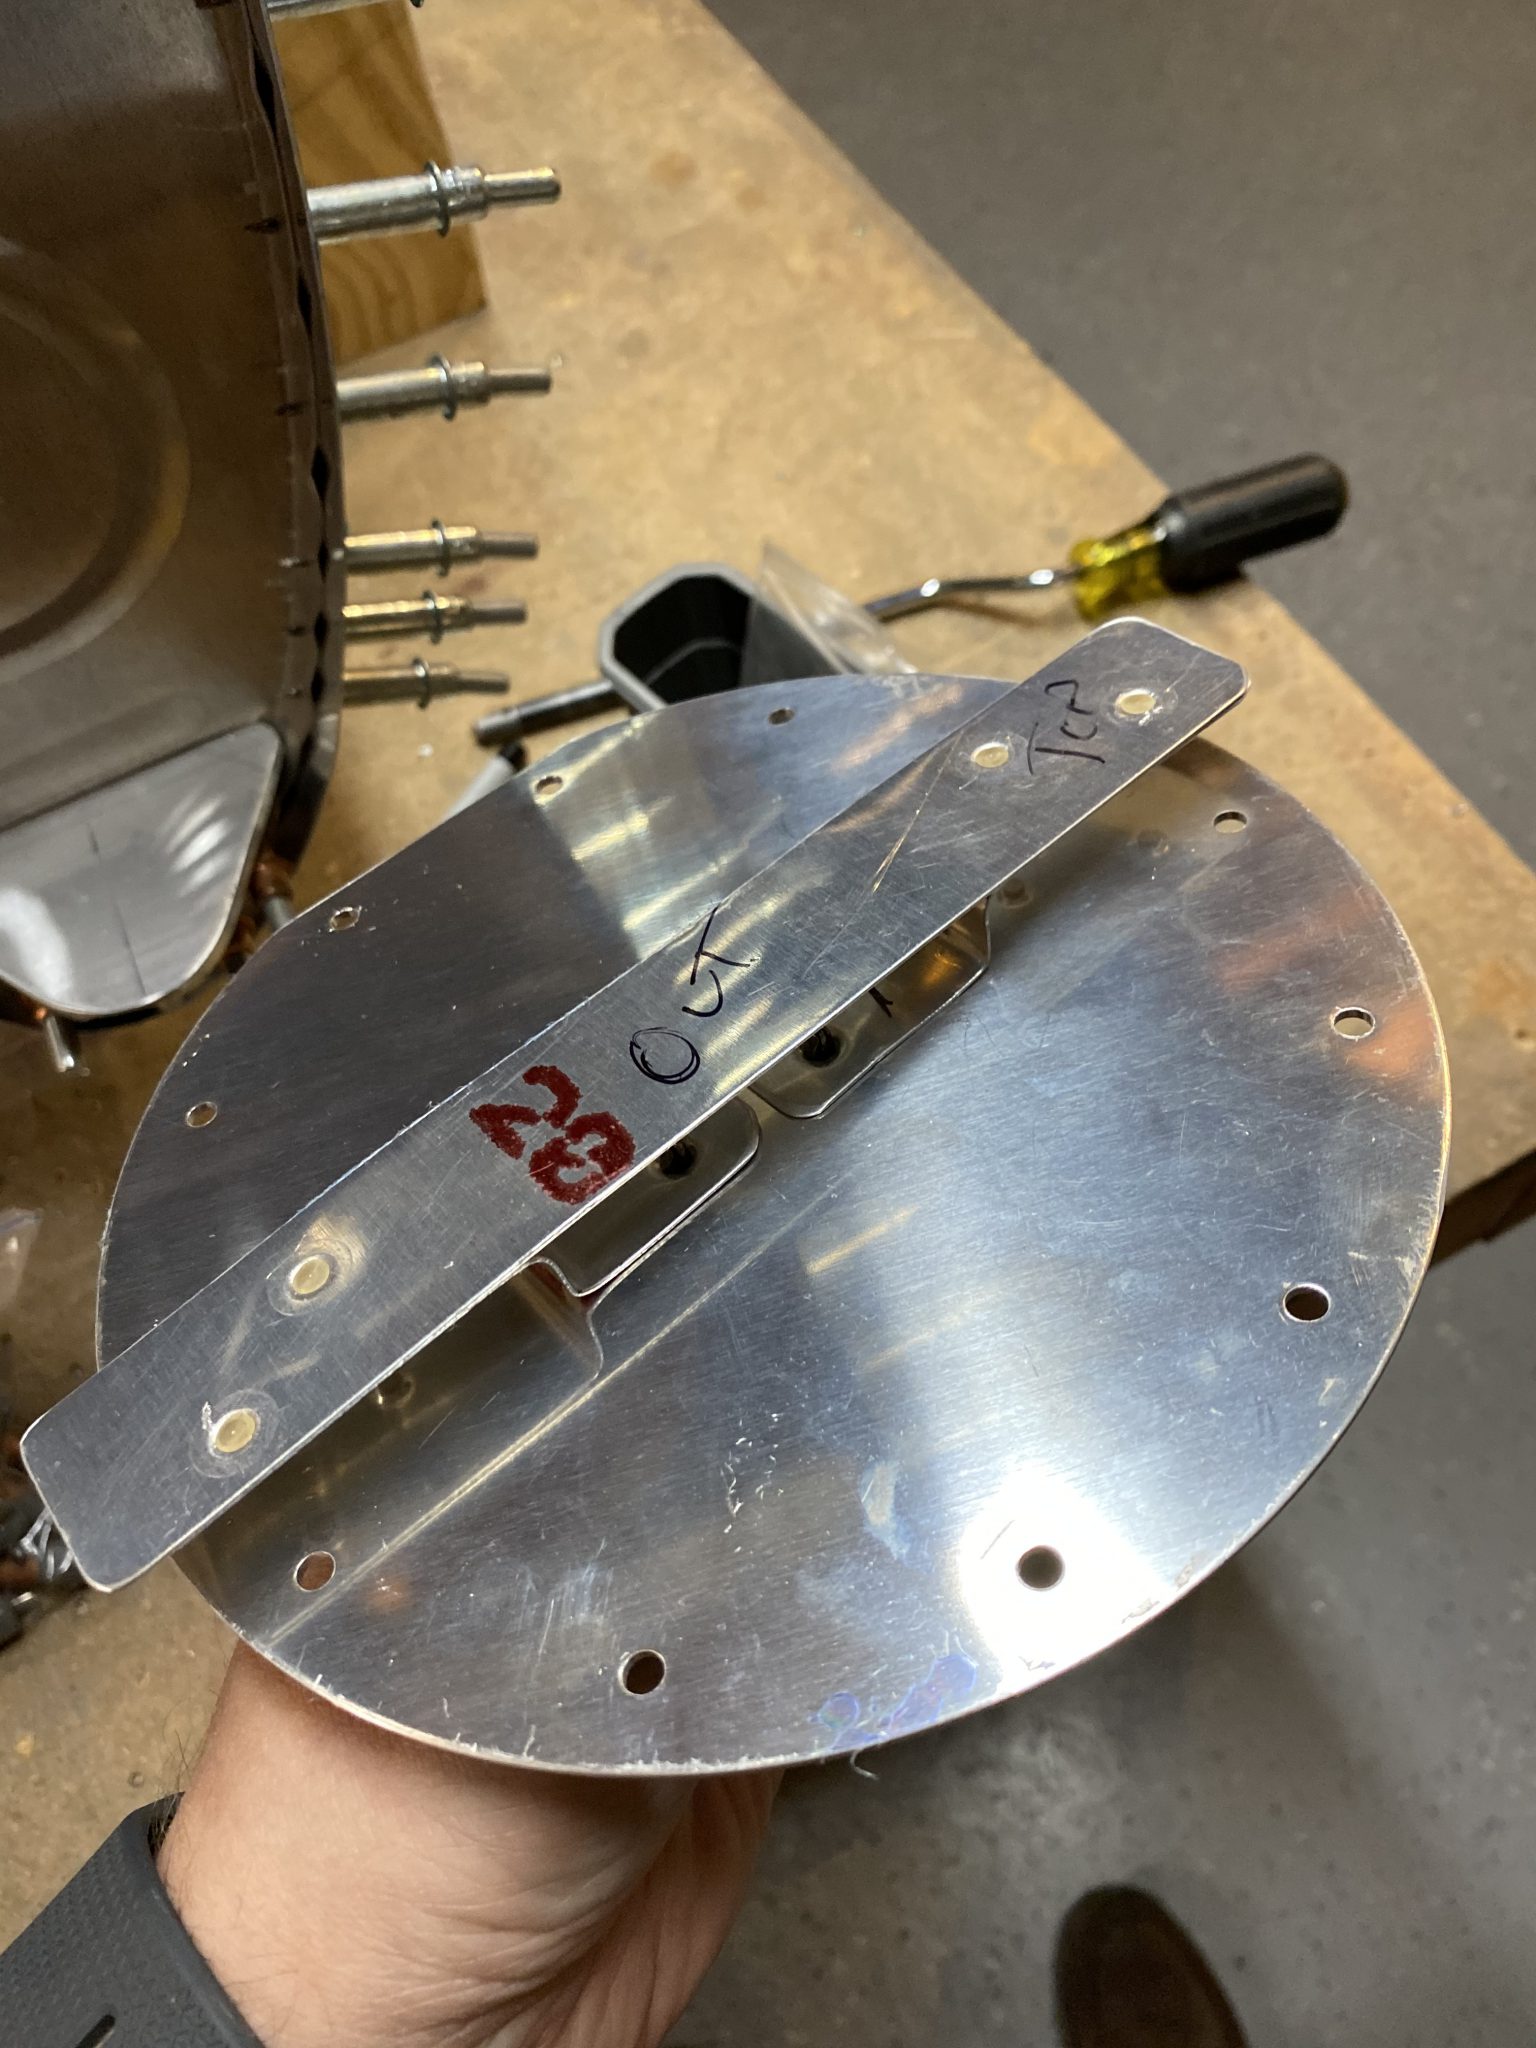
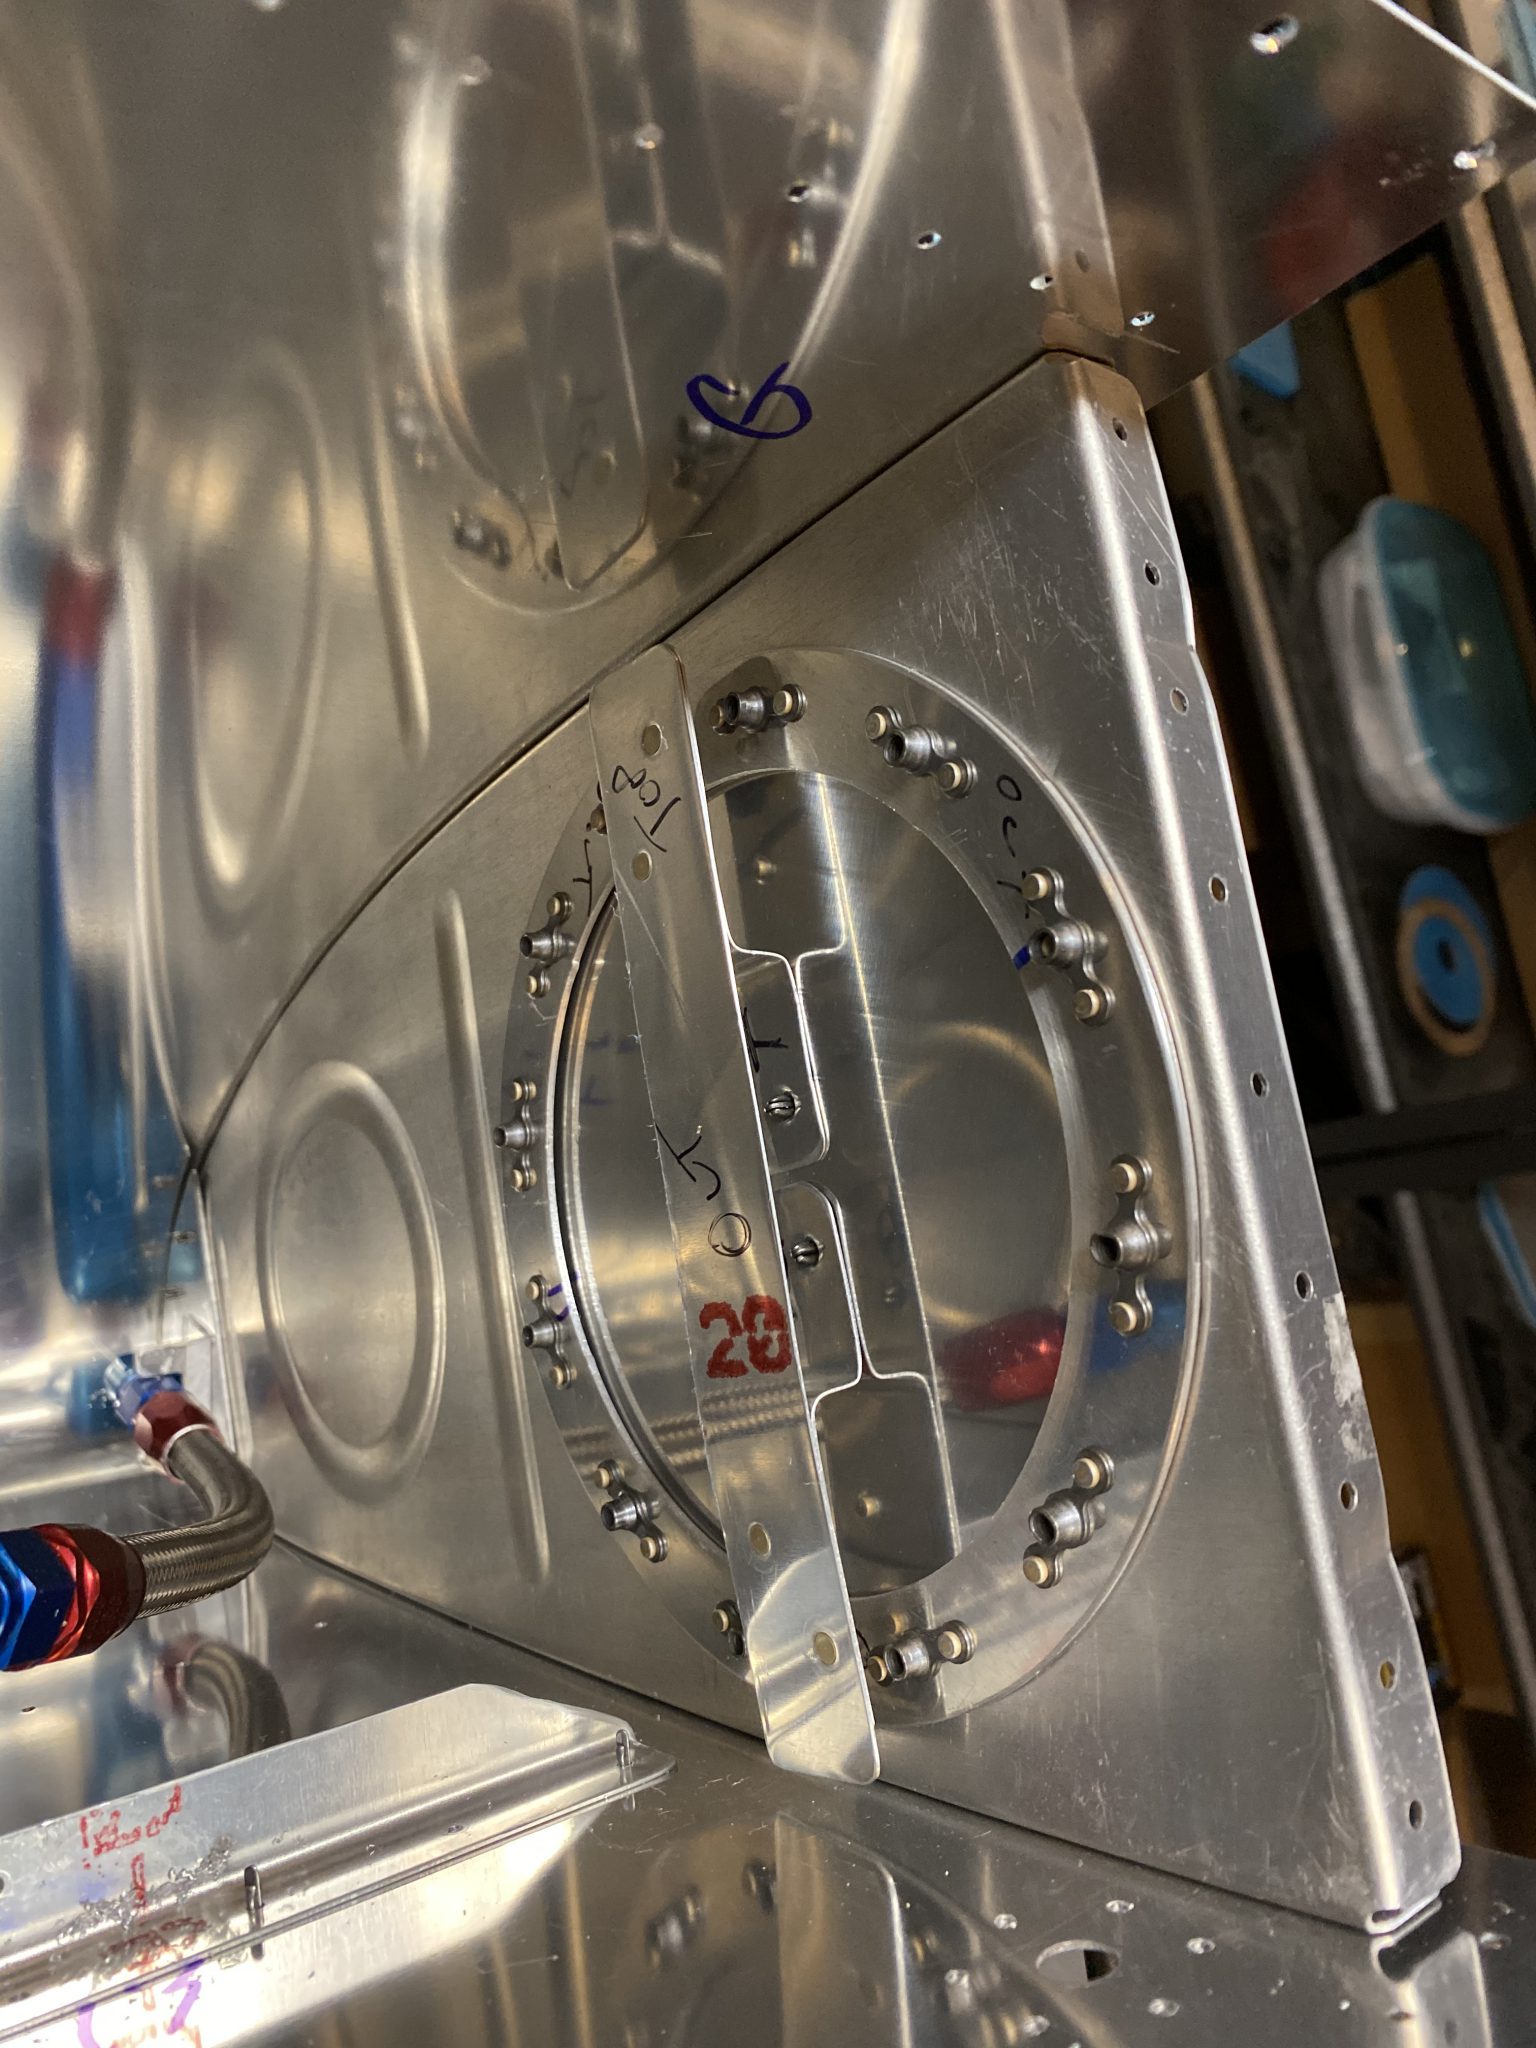
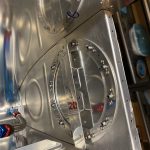
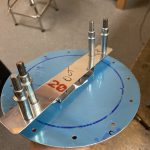
I did go ahead and deburr all the edges and new holes on the assembly, as well as dimpling the Z-brackets and anti-hangup piece. I then machine countersunk the access plate to accept the dimples from the Z-brackets. I went ahead and riveted the anti-hangup to the Z-brackets since its safe to do so at this time. And this is how it came out!

Here’s a video after everything was completed, and showing why and how I did it this way.
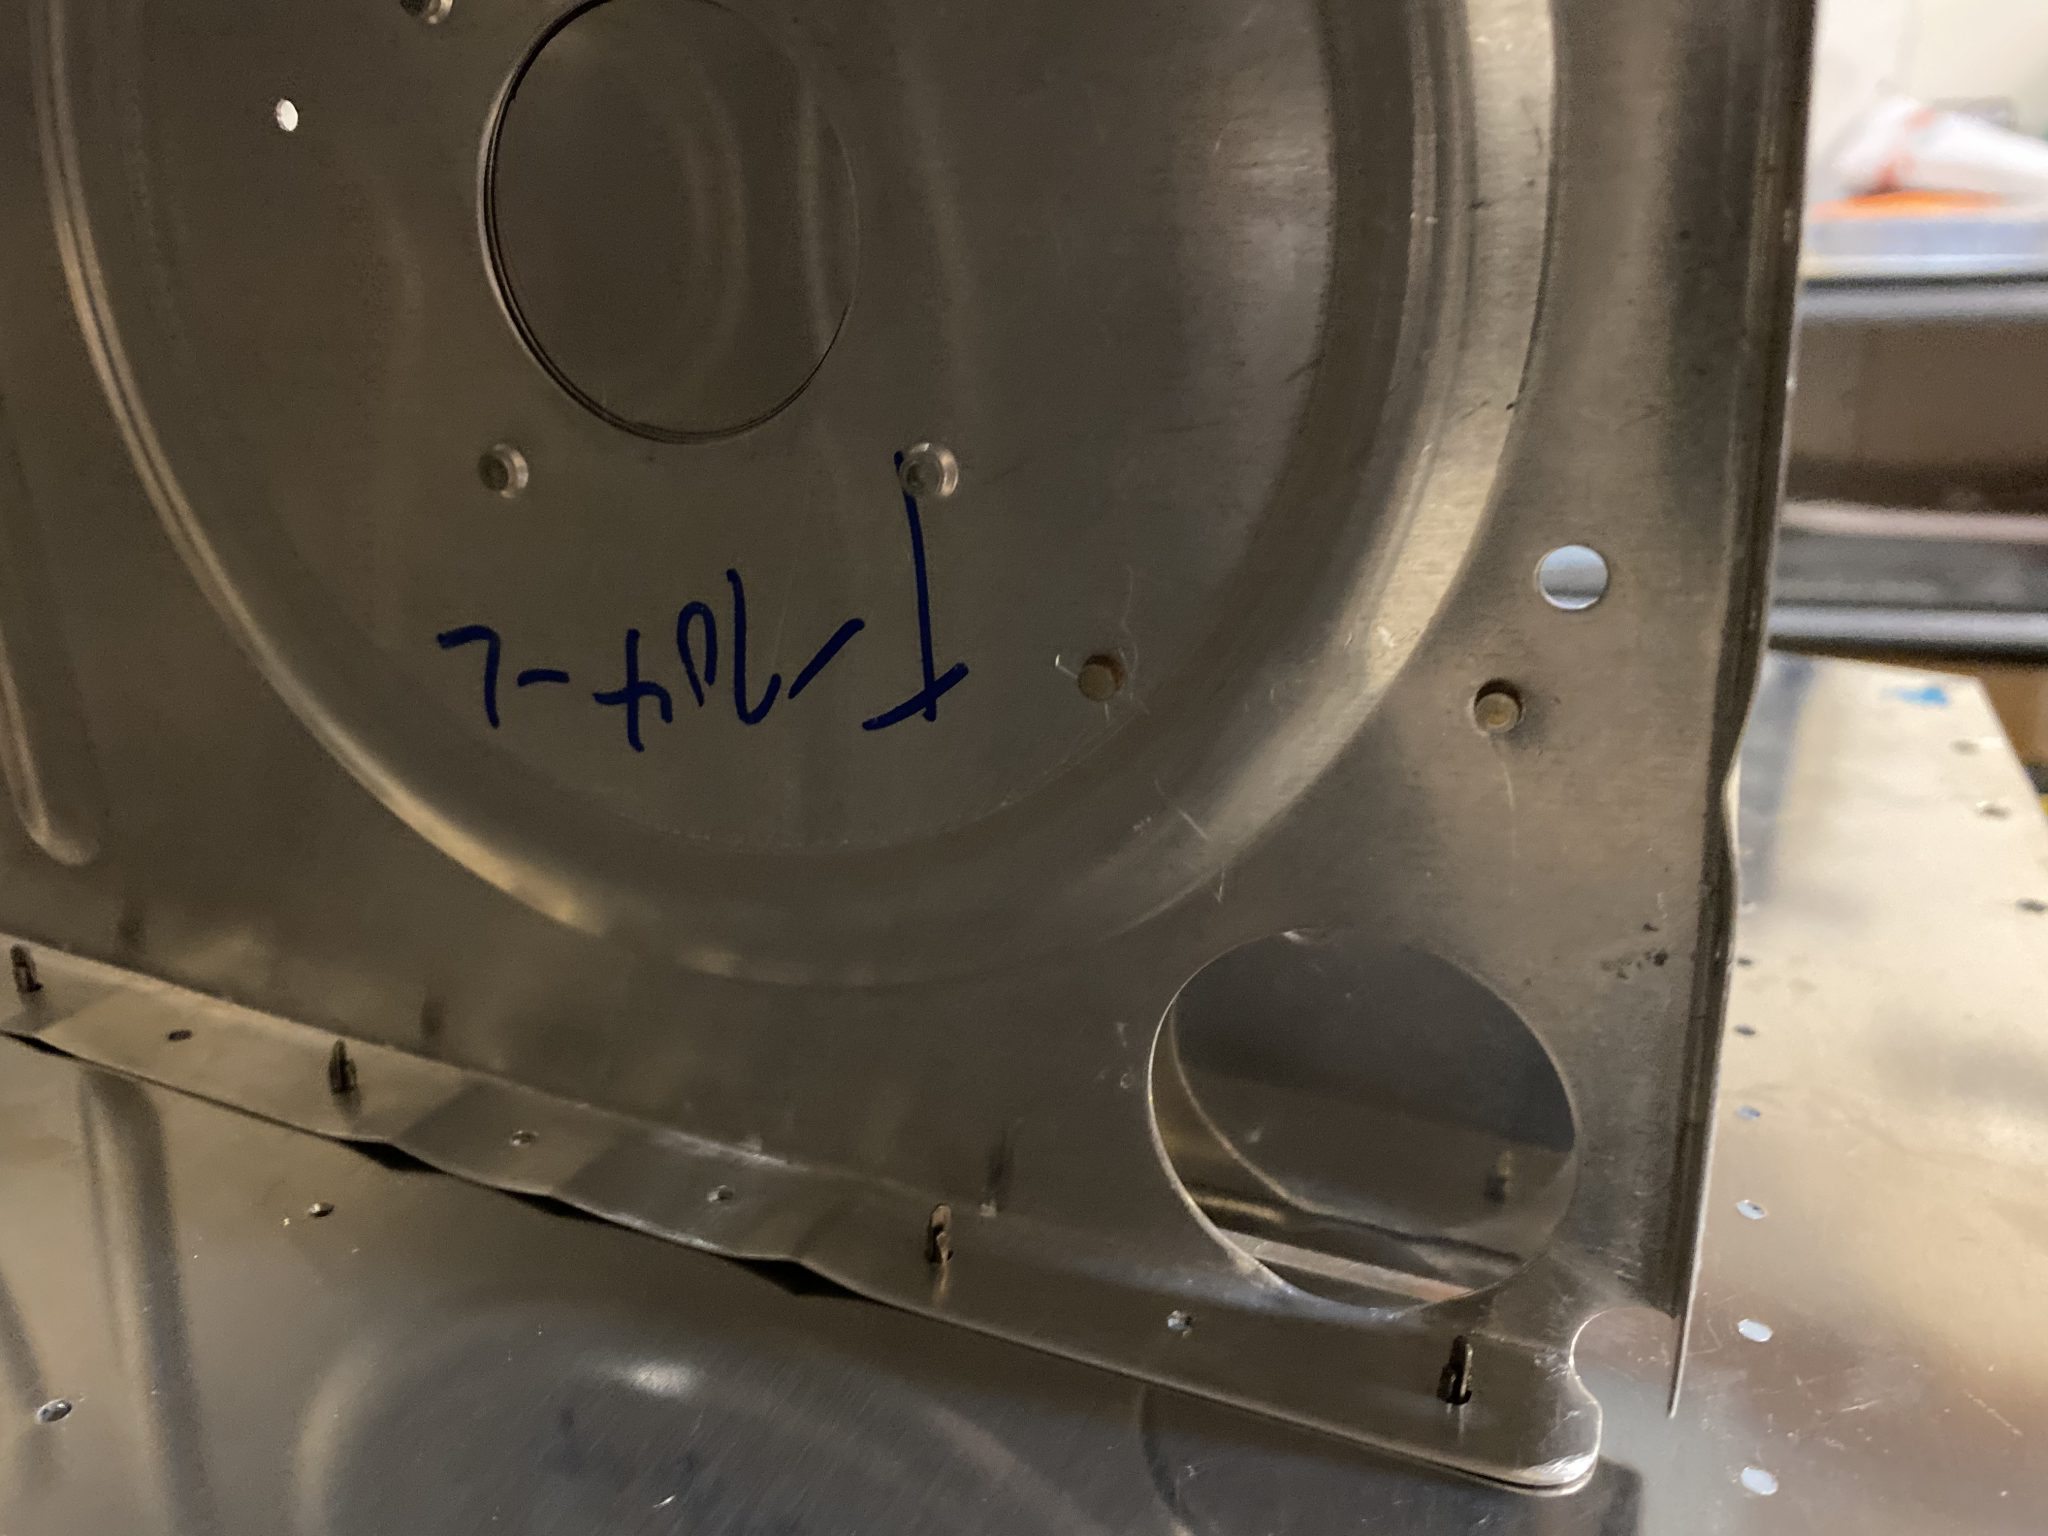
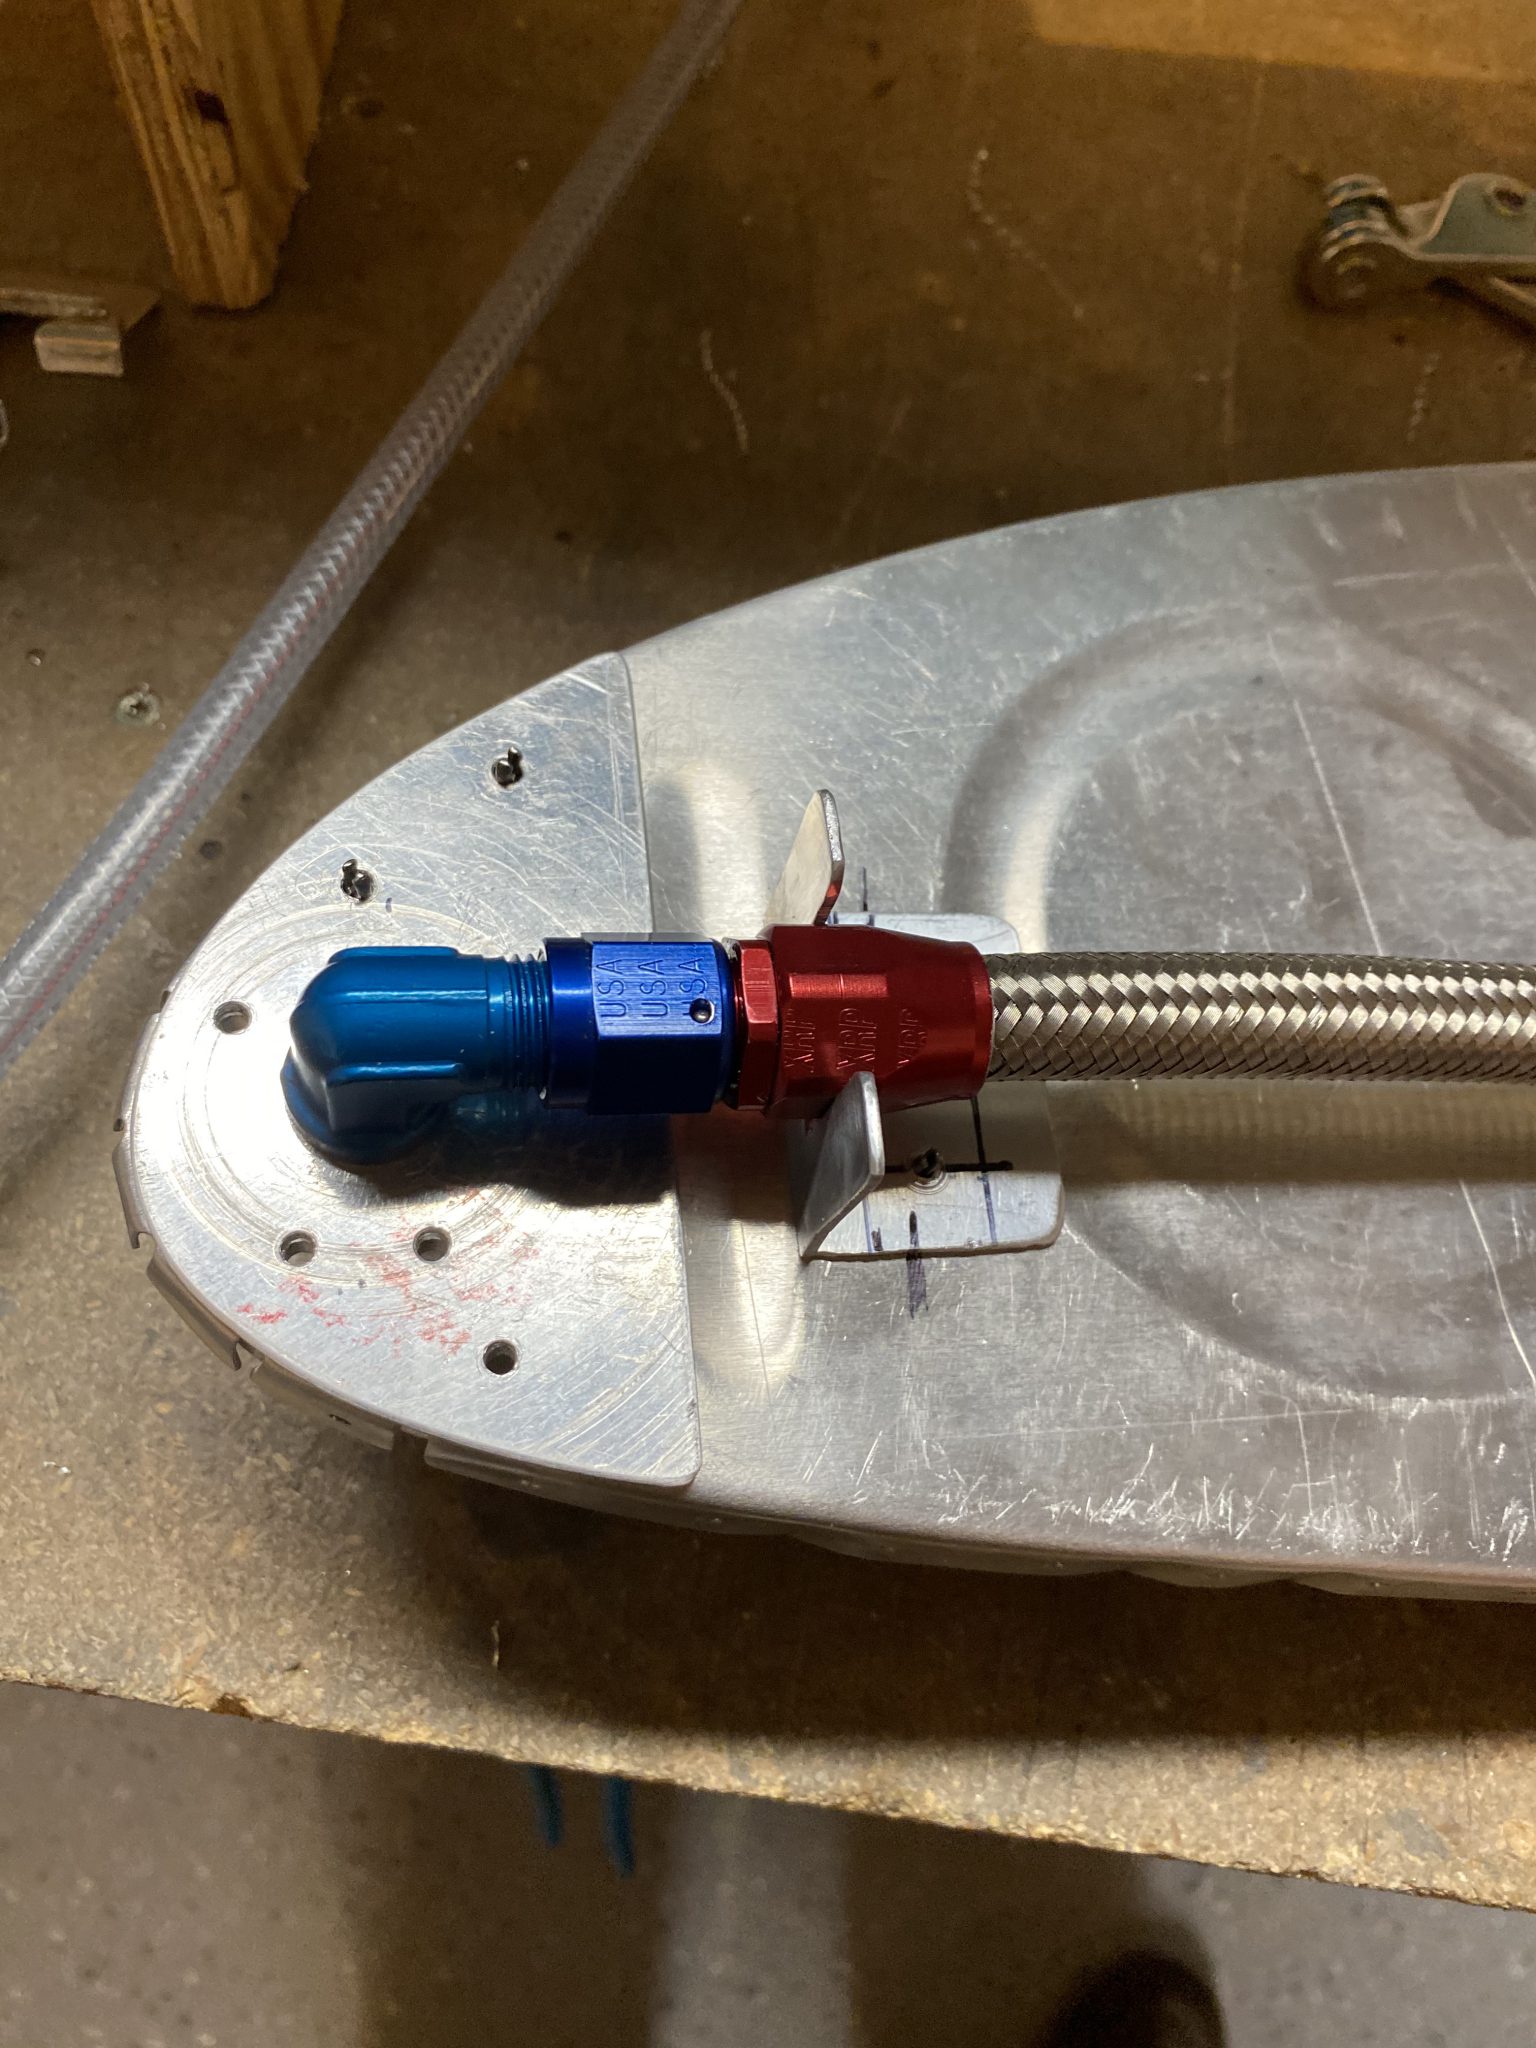
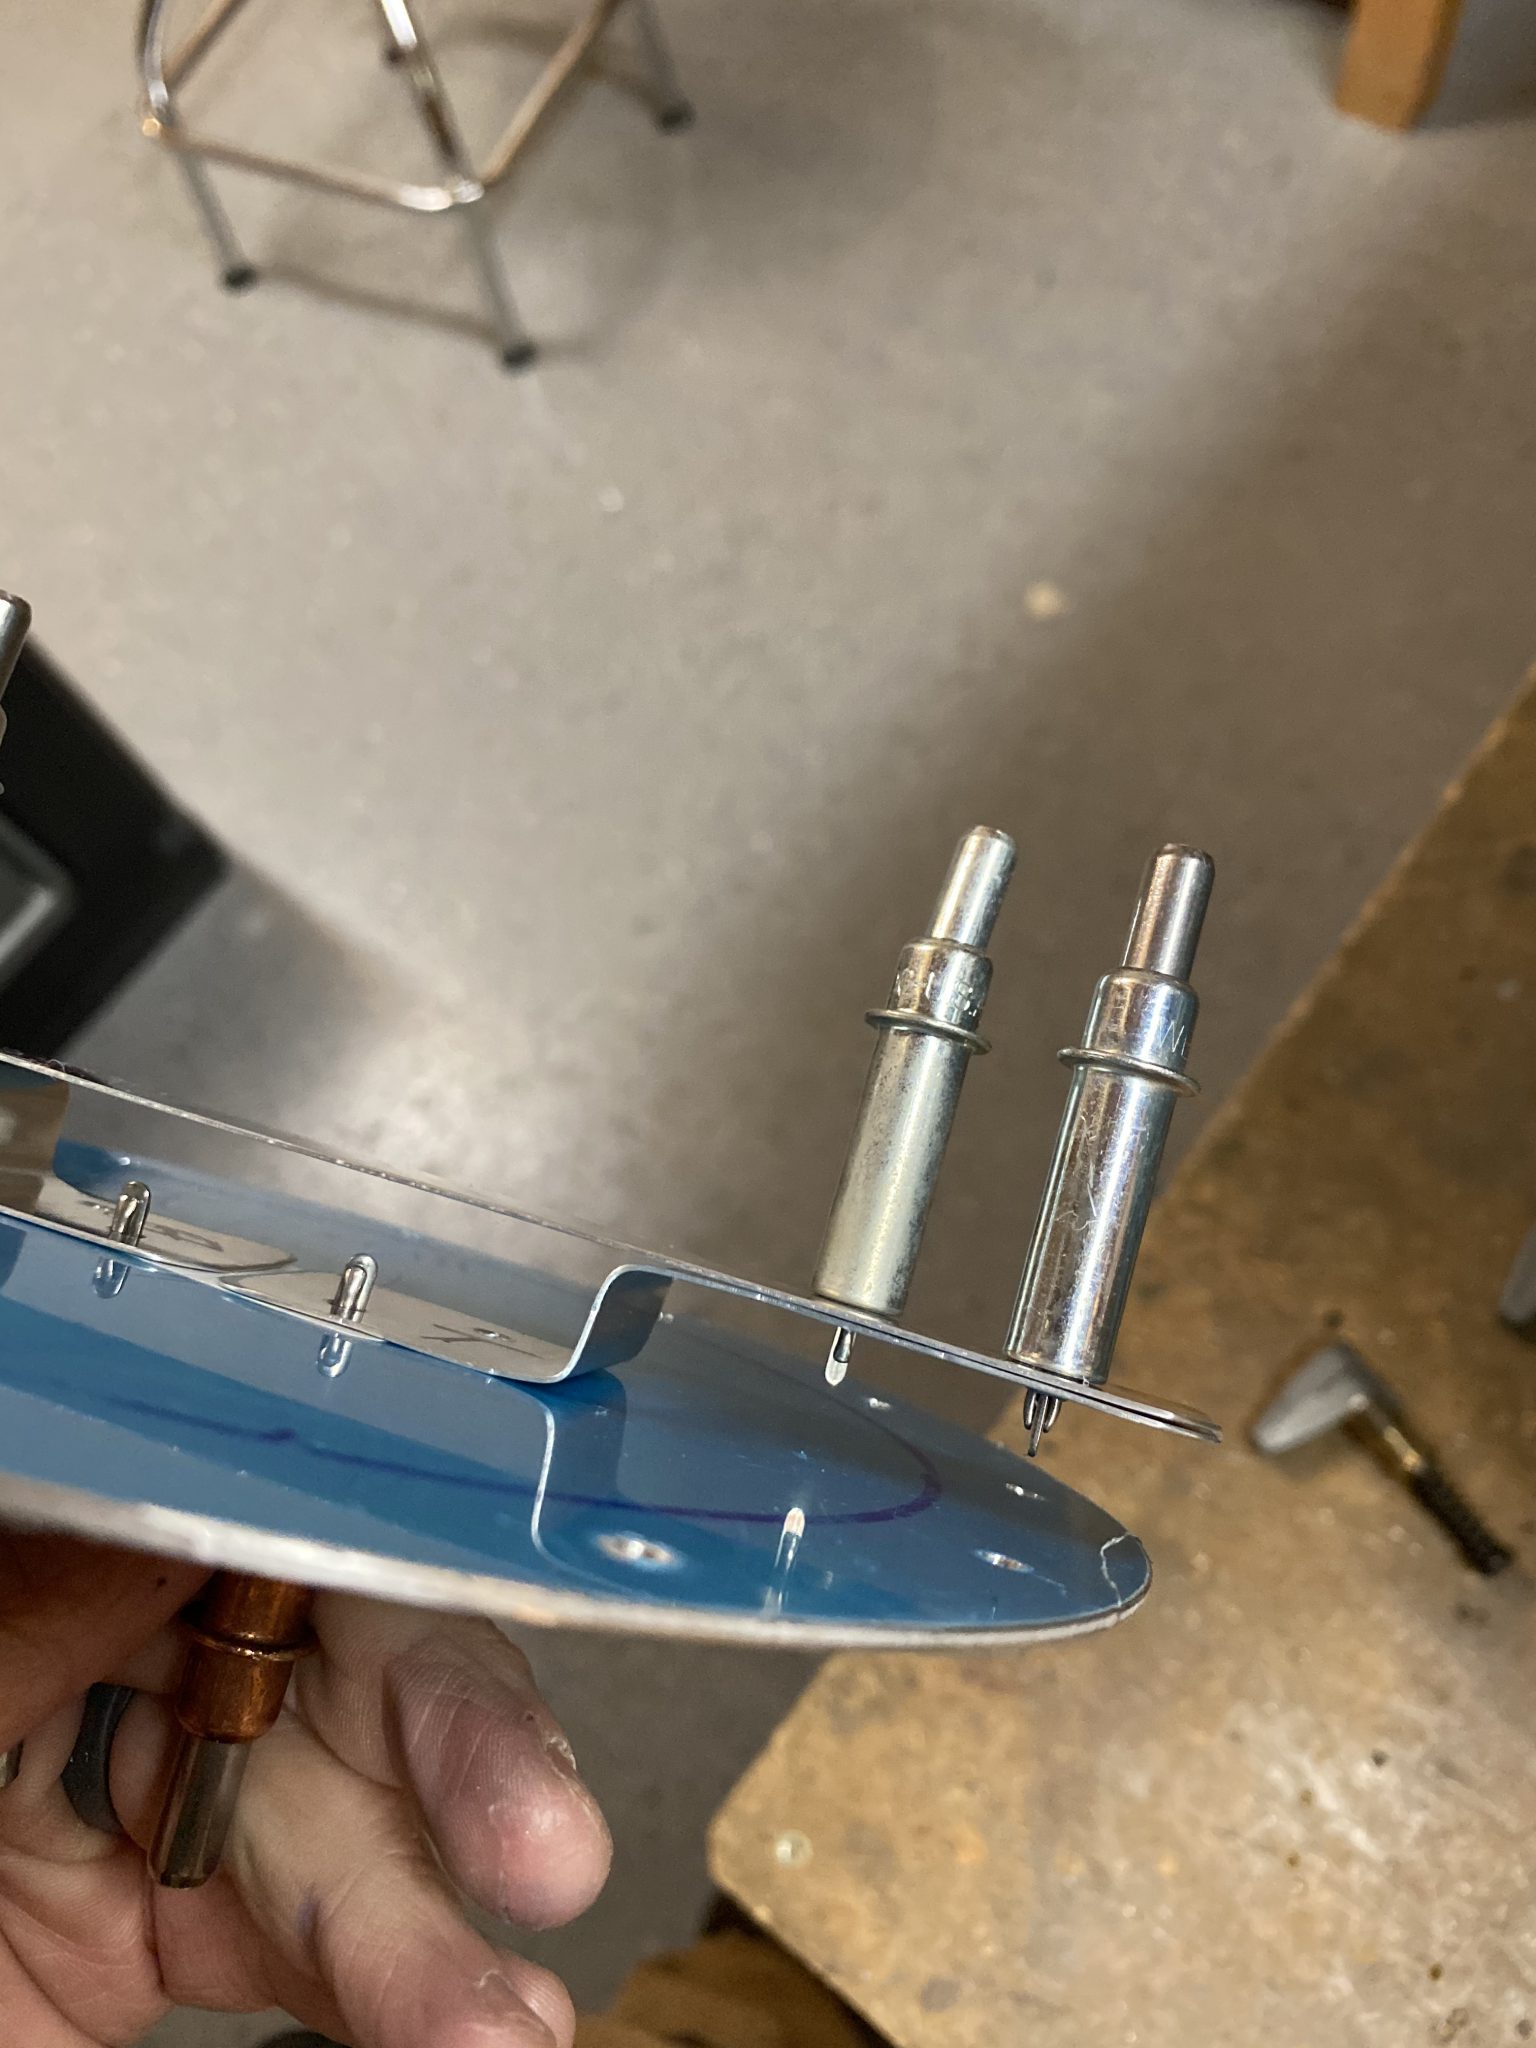
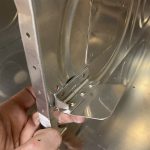
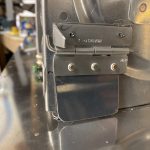
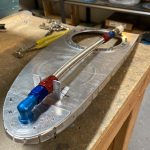
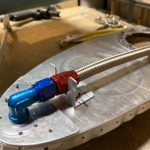
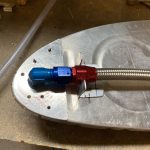
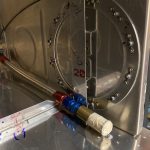
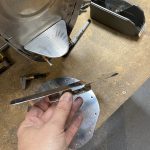
One thing I noticed was that my anti-rotation bracket on the flop tube didn’t allow me to easily remove the flop tube if I ever needed to change it. It actually held the fittings from turning, which meant I’d need to drill the bracket out if I ever decided to change the flop tube. Now was the time to fix it, while it was easy and no loss. So, I trashed the old bracket, and made a new one, placing it a little further down from the fittings that screw onto the 90′ elbow. It was a simple thing to make, using some angle aluminum just like the first one. I marked out some lines for my edge distance, and them trimmed out a section to fit around the red portion of the flop tube. Then drilled two holes to attach it to the rib.
 .
. 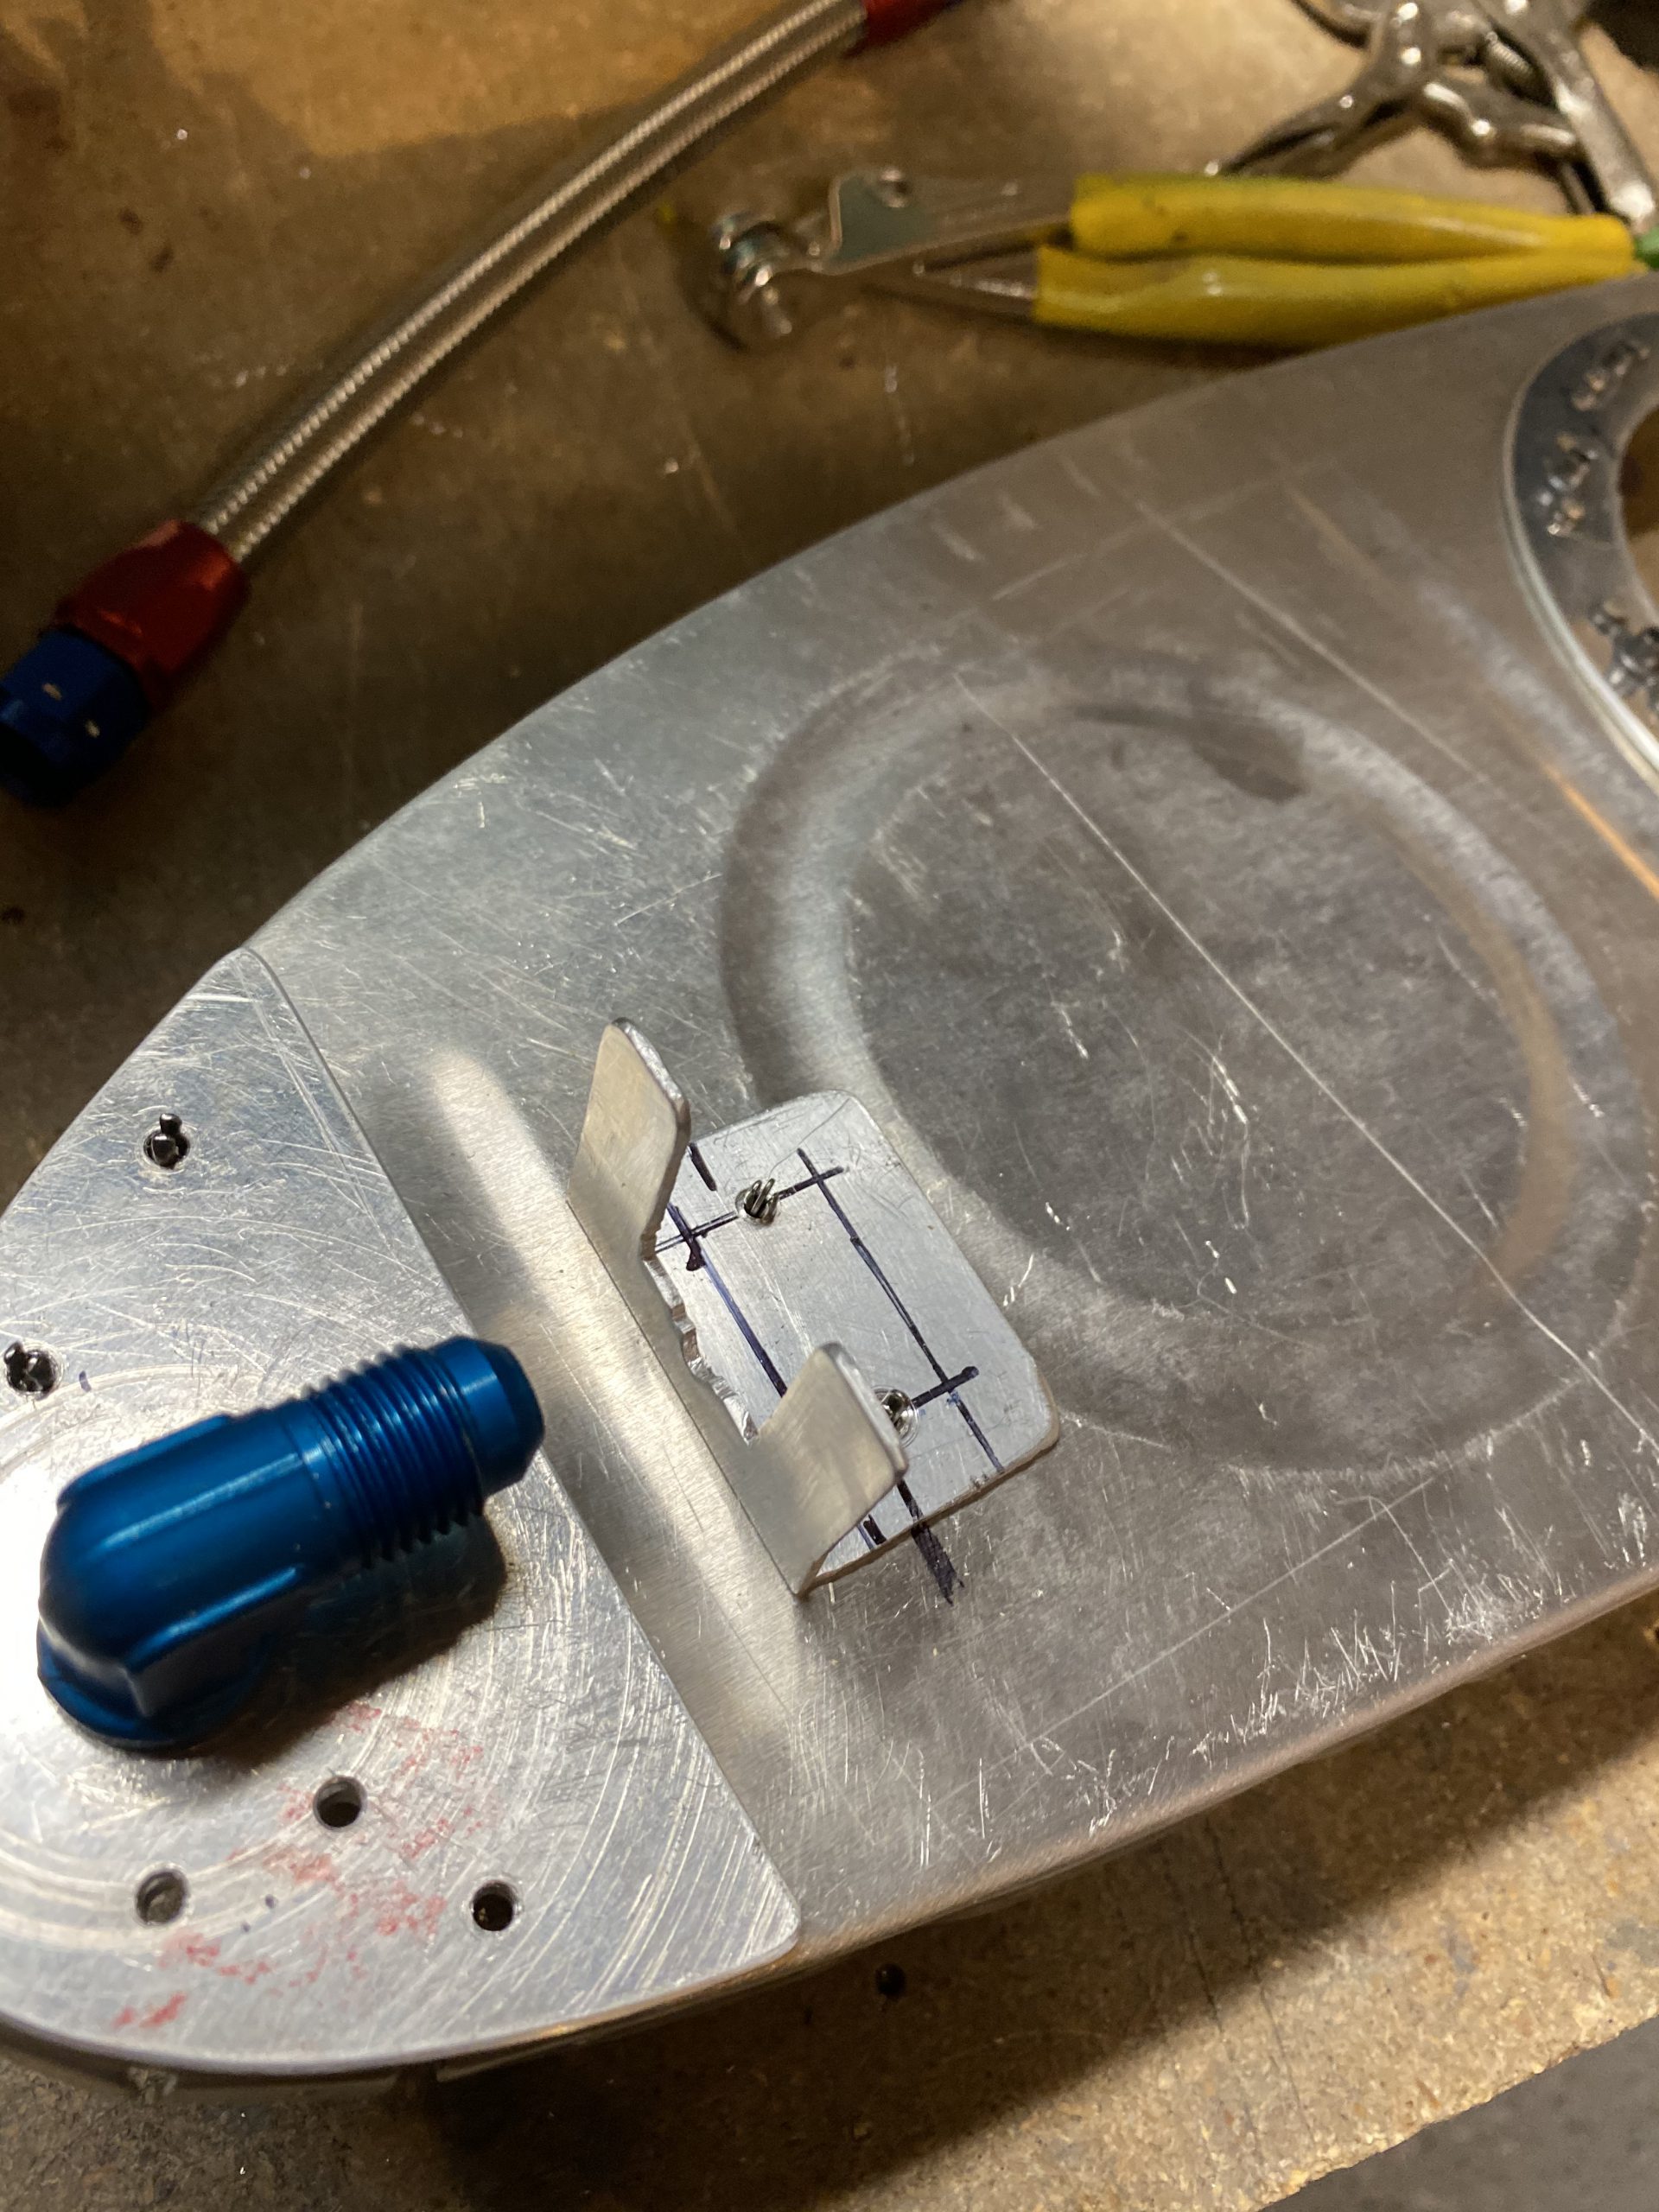
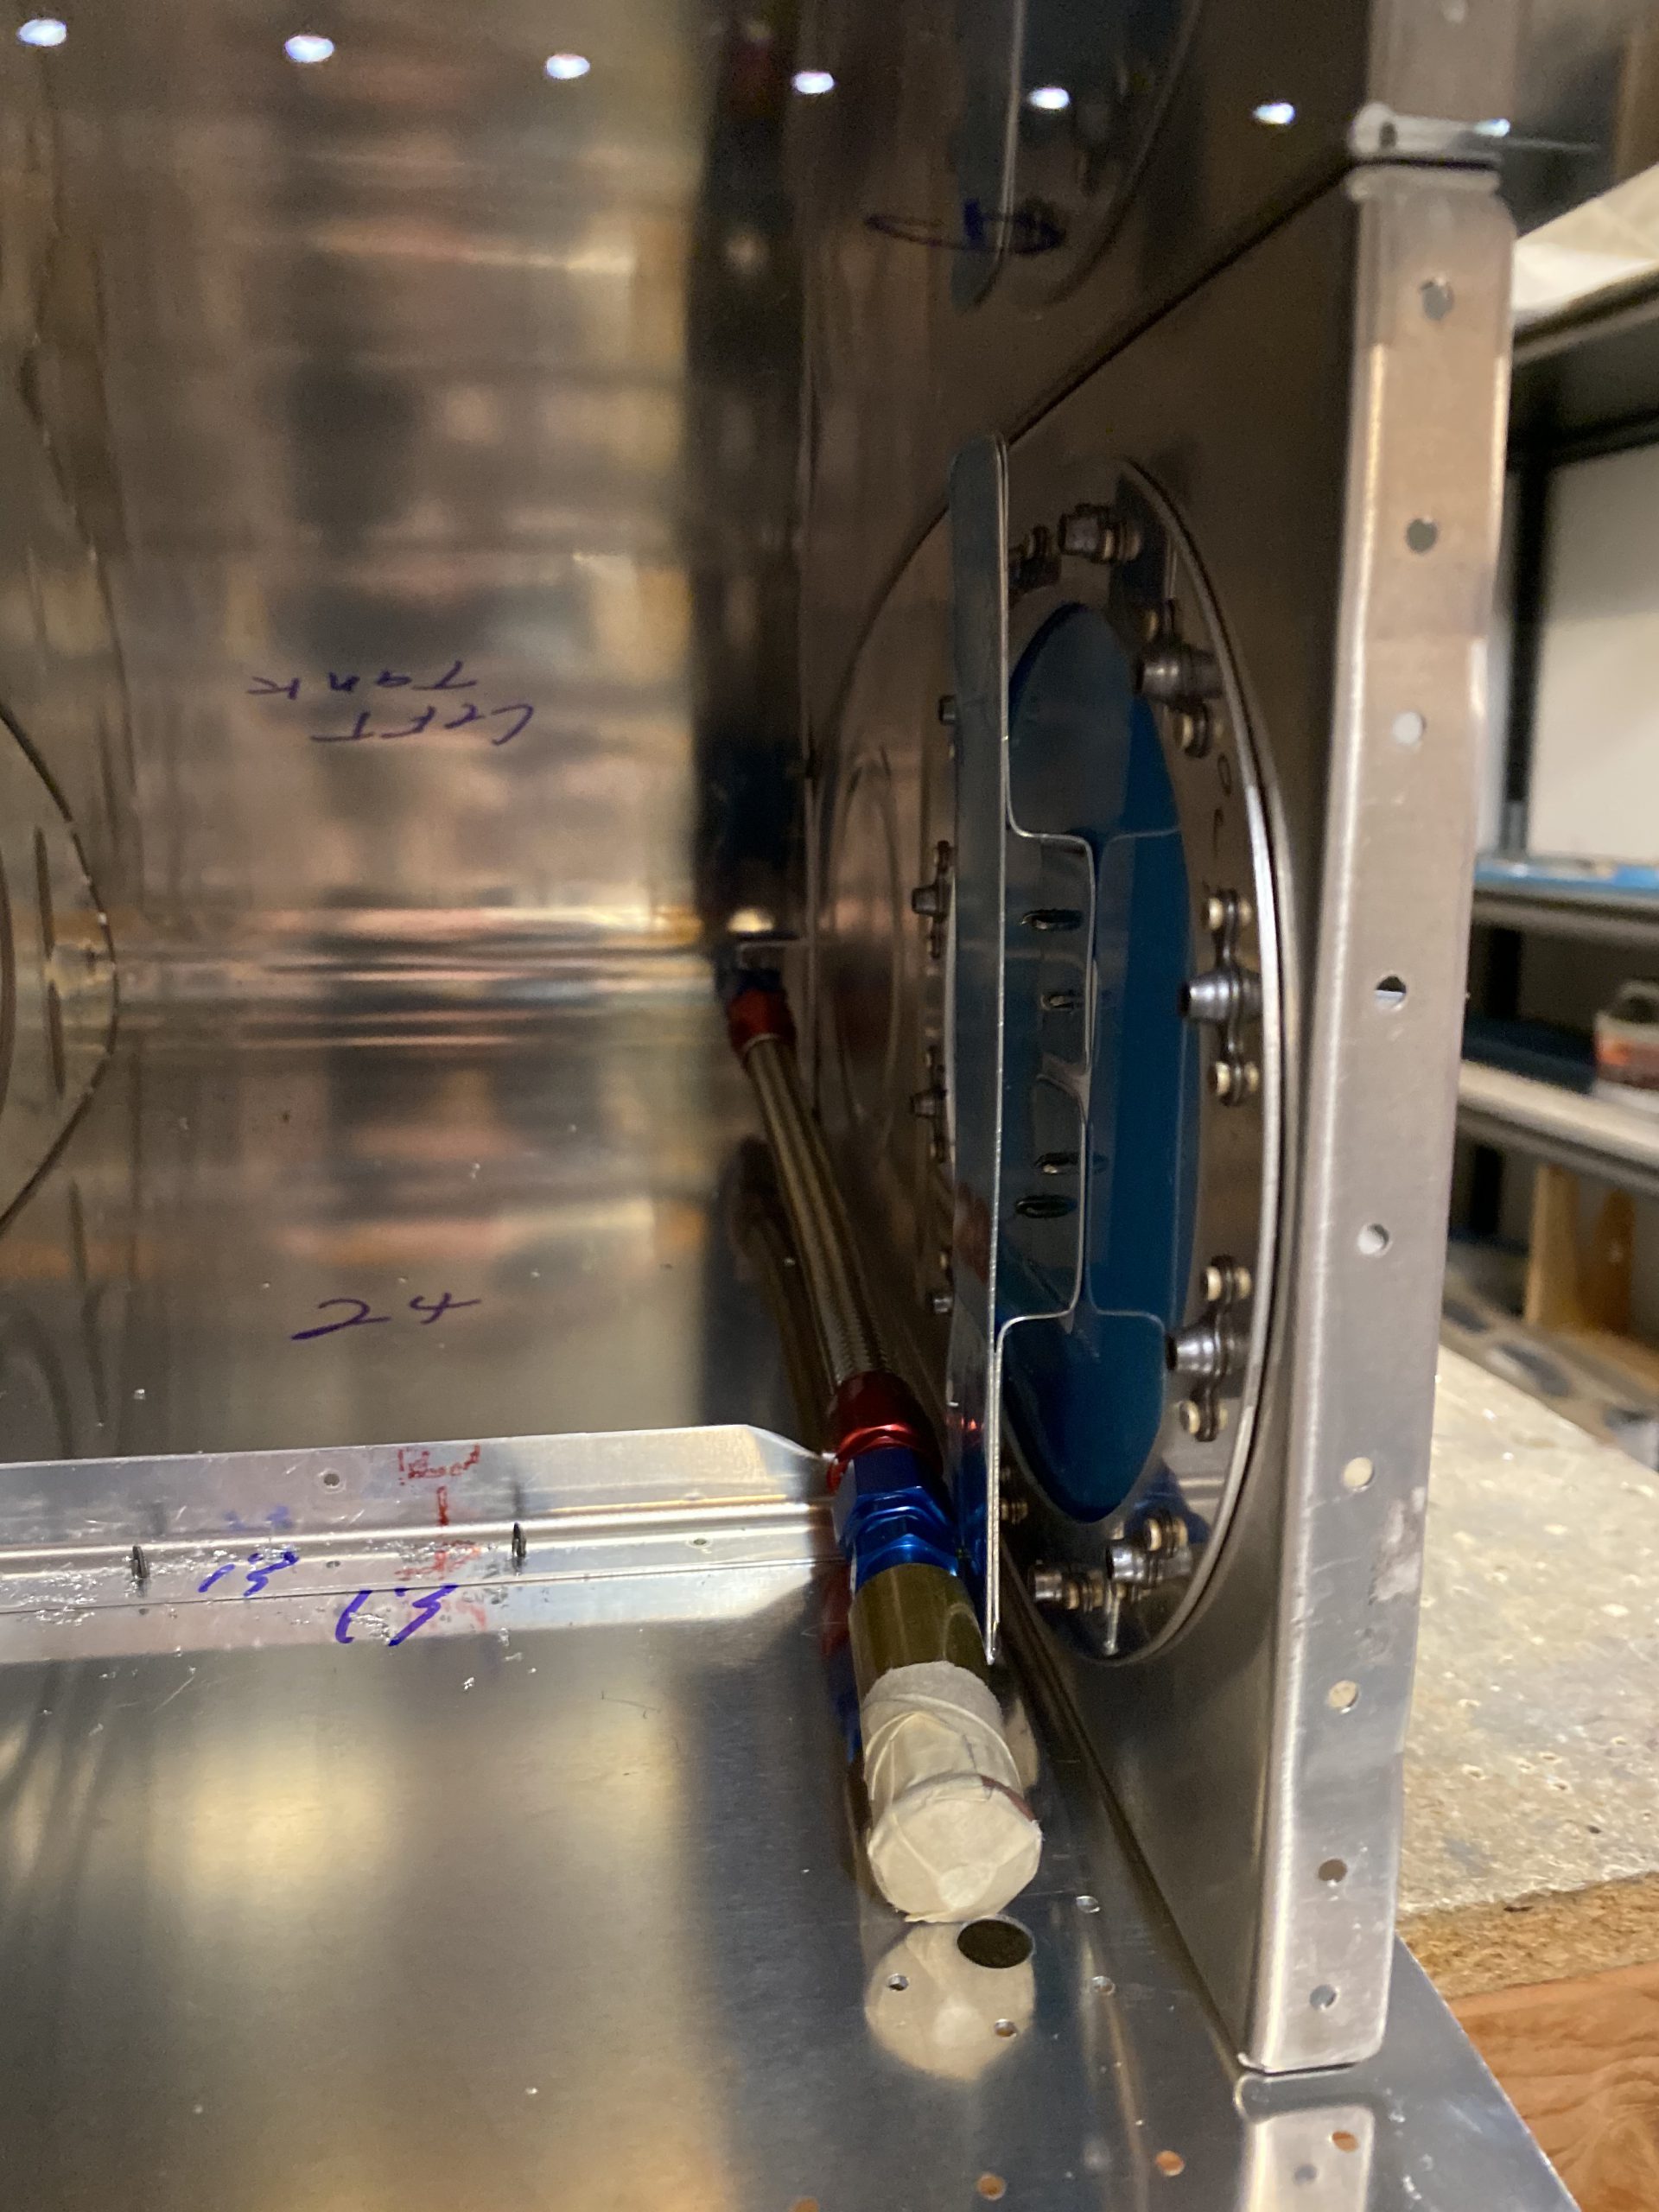
Here’s how it works. The red nut is where the flop tube rotates freely on its fitting. We don’t want the fittings to turn when we tighten them down, nor do we want the flop tube rotating anything when its flopping around during acro. The blue fitting is where we put a wrench on to tighten the flop tube down onto the blue 90′ elbow fitting. with this setup, I can use a wrench, loosen the blue nut, and pull the flop tube up and out of the anti-rotation bracket, for easy removal if I ever need. I like this setup WAY better.

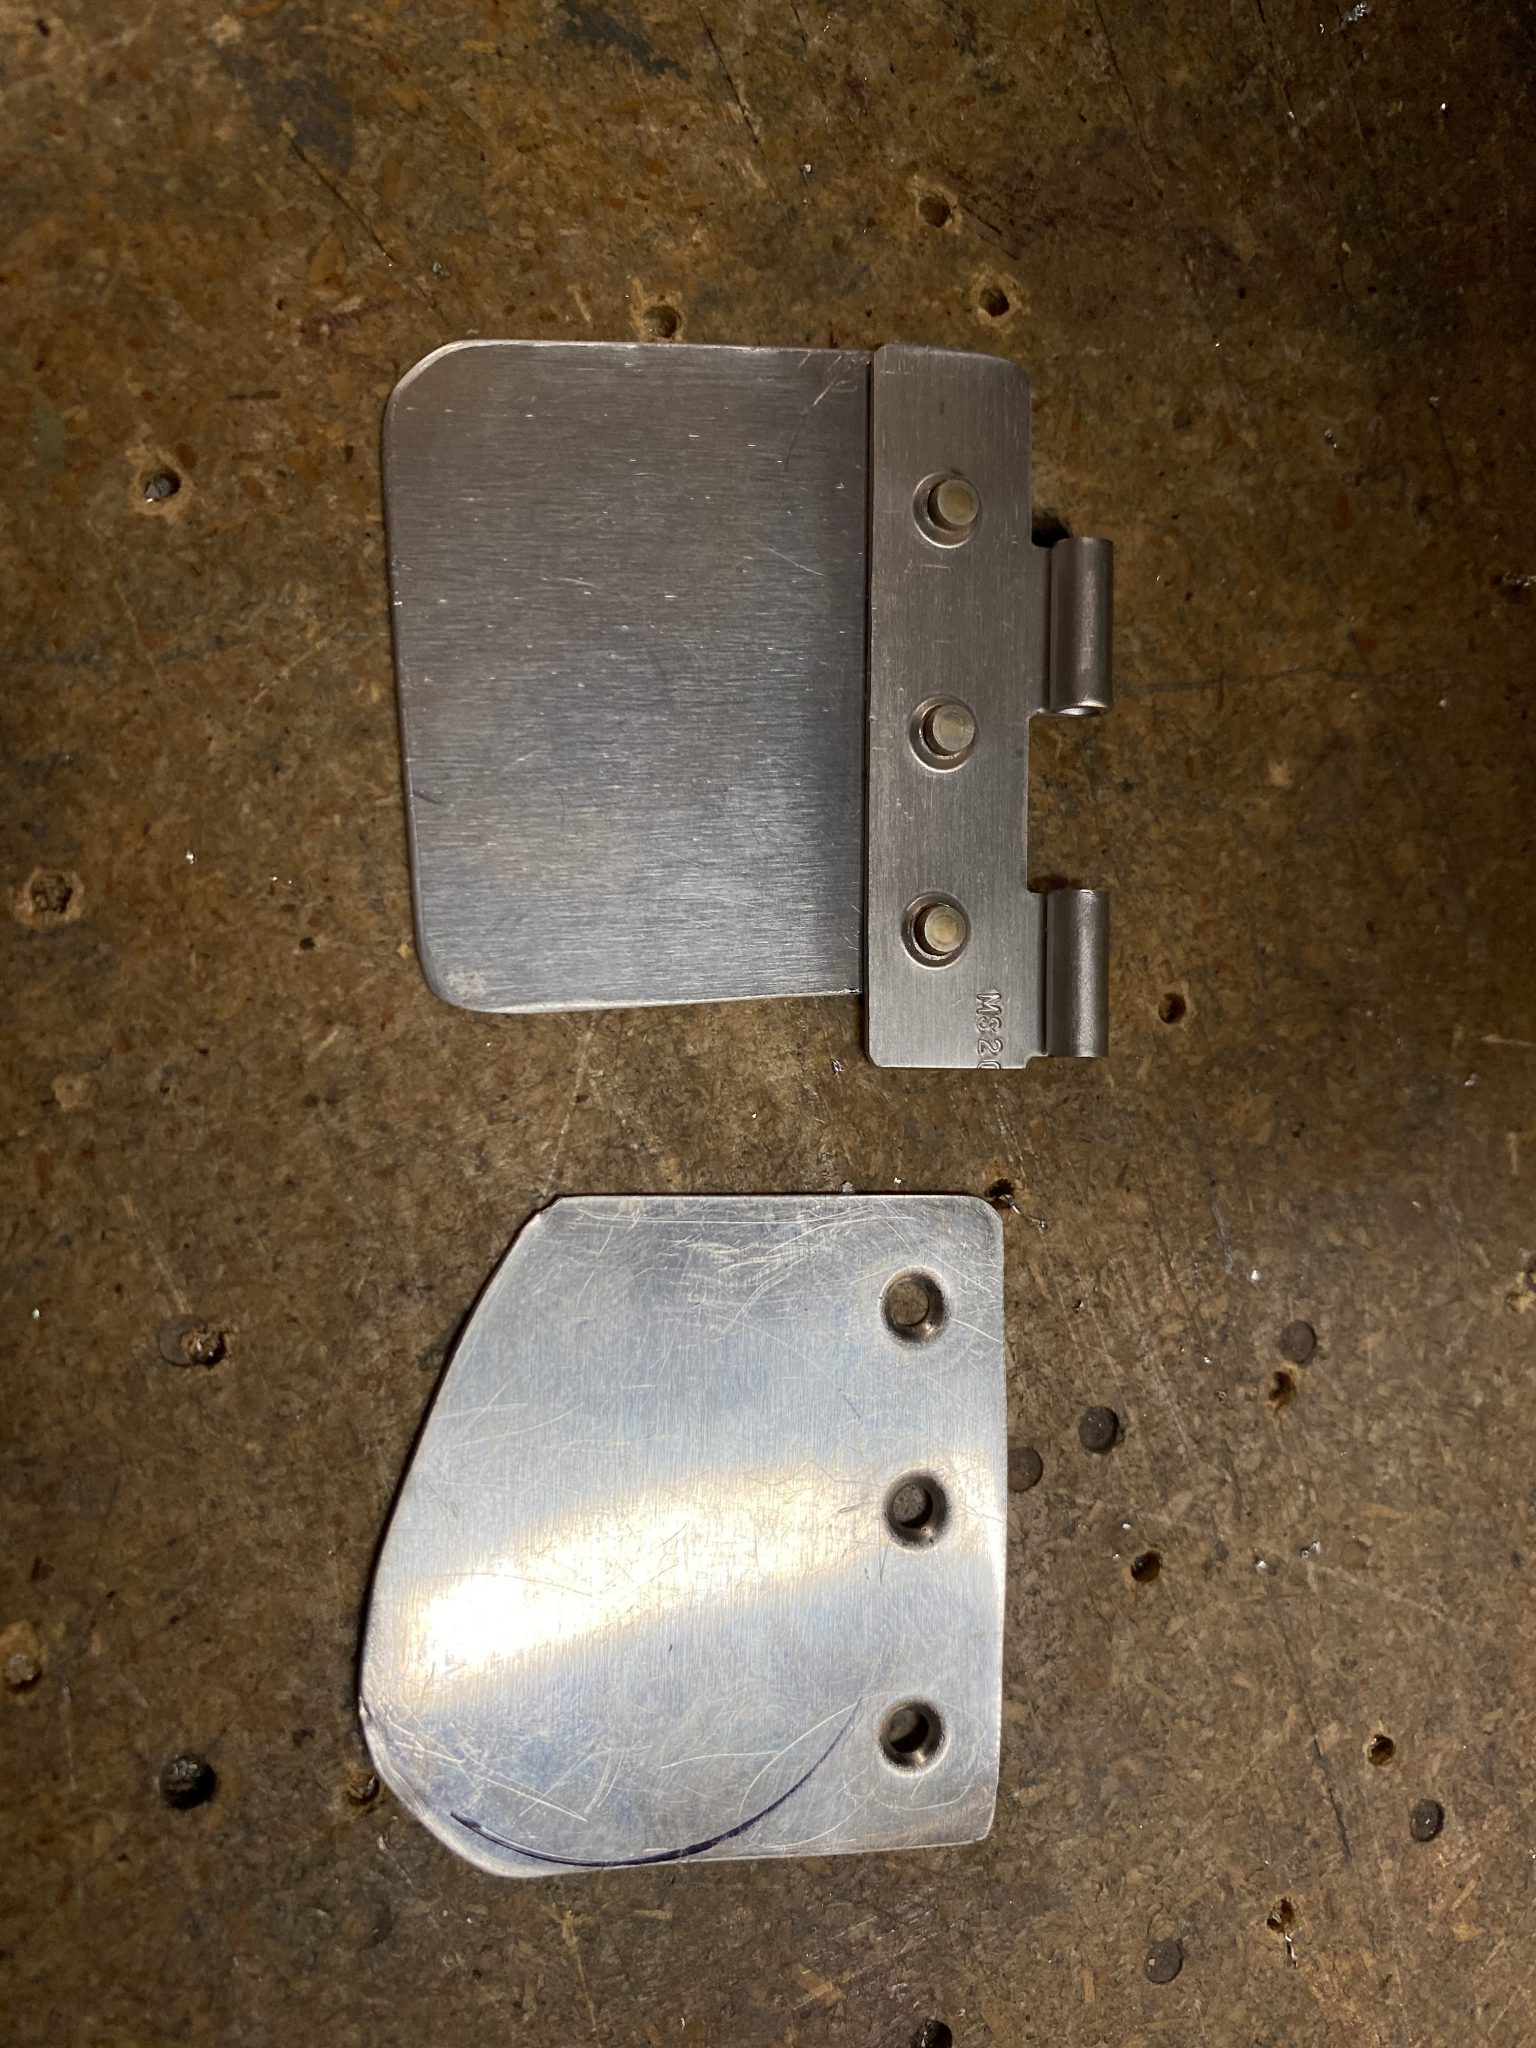
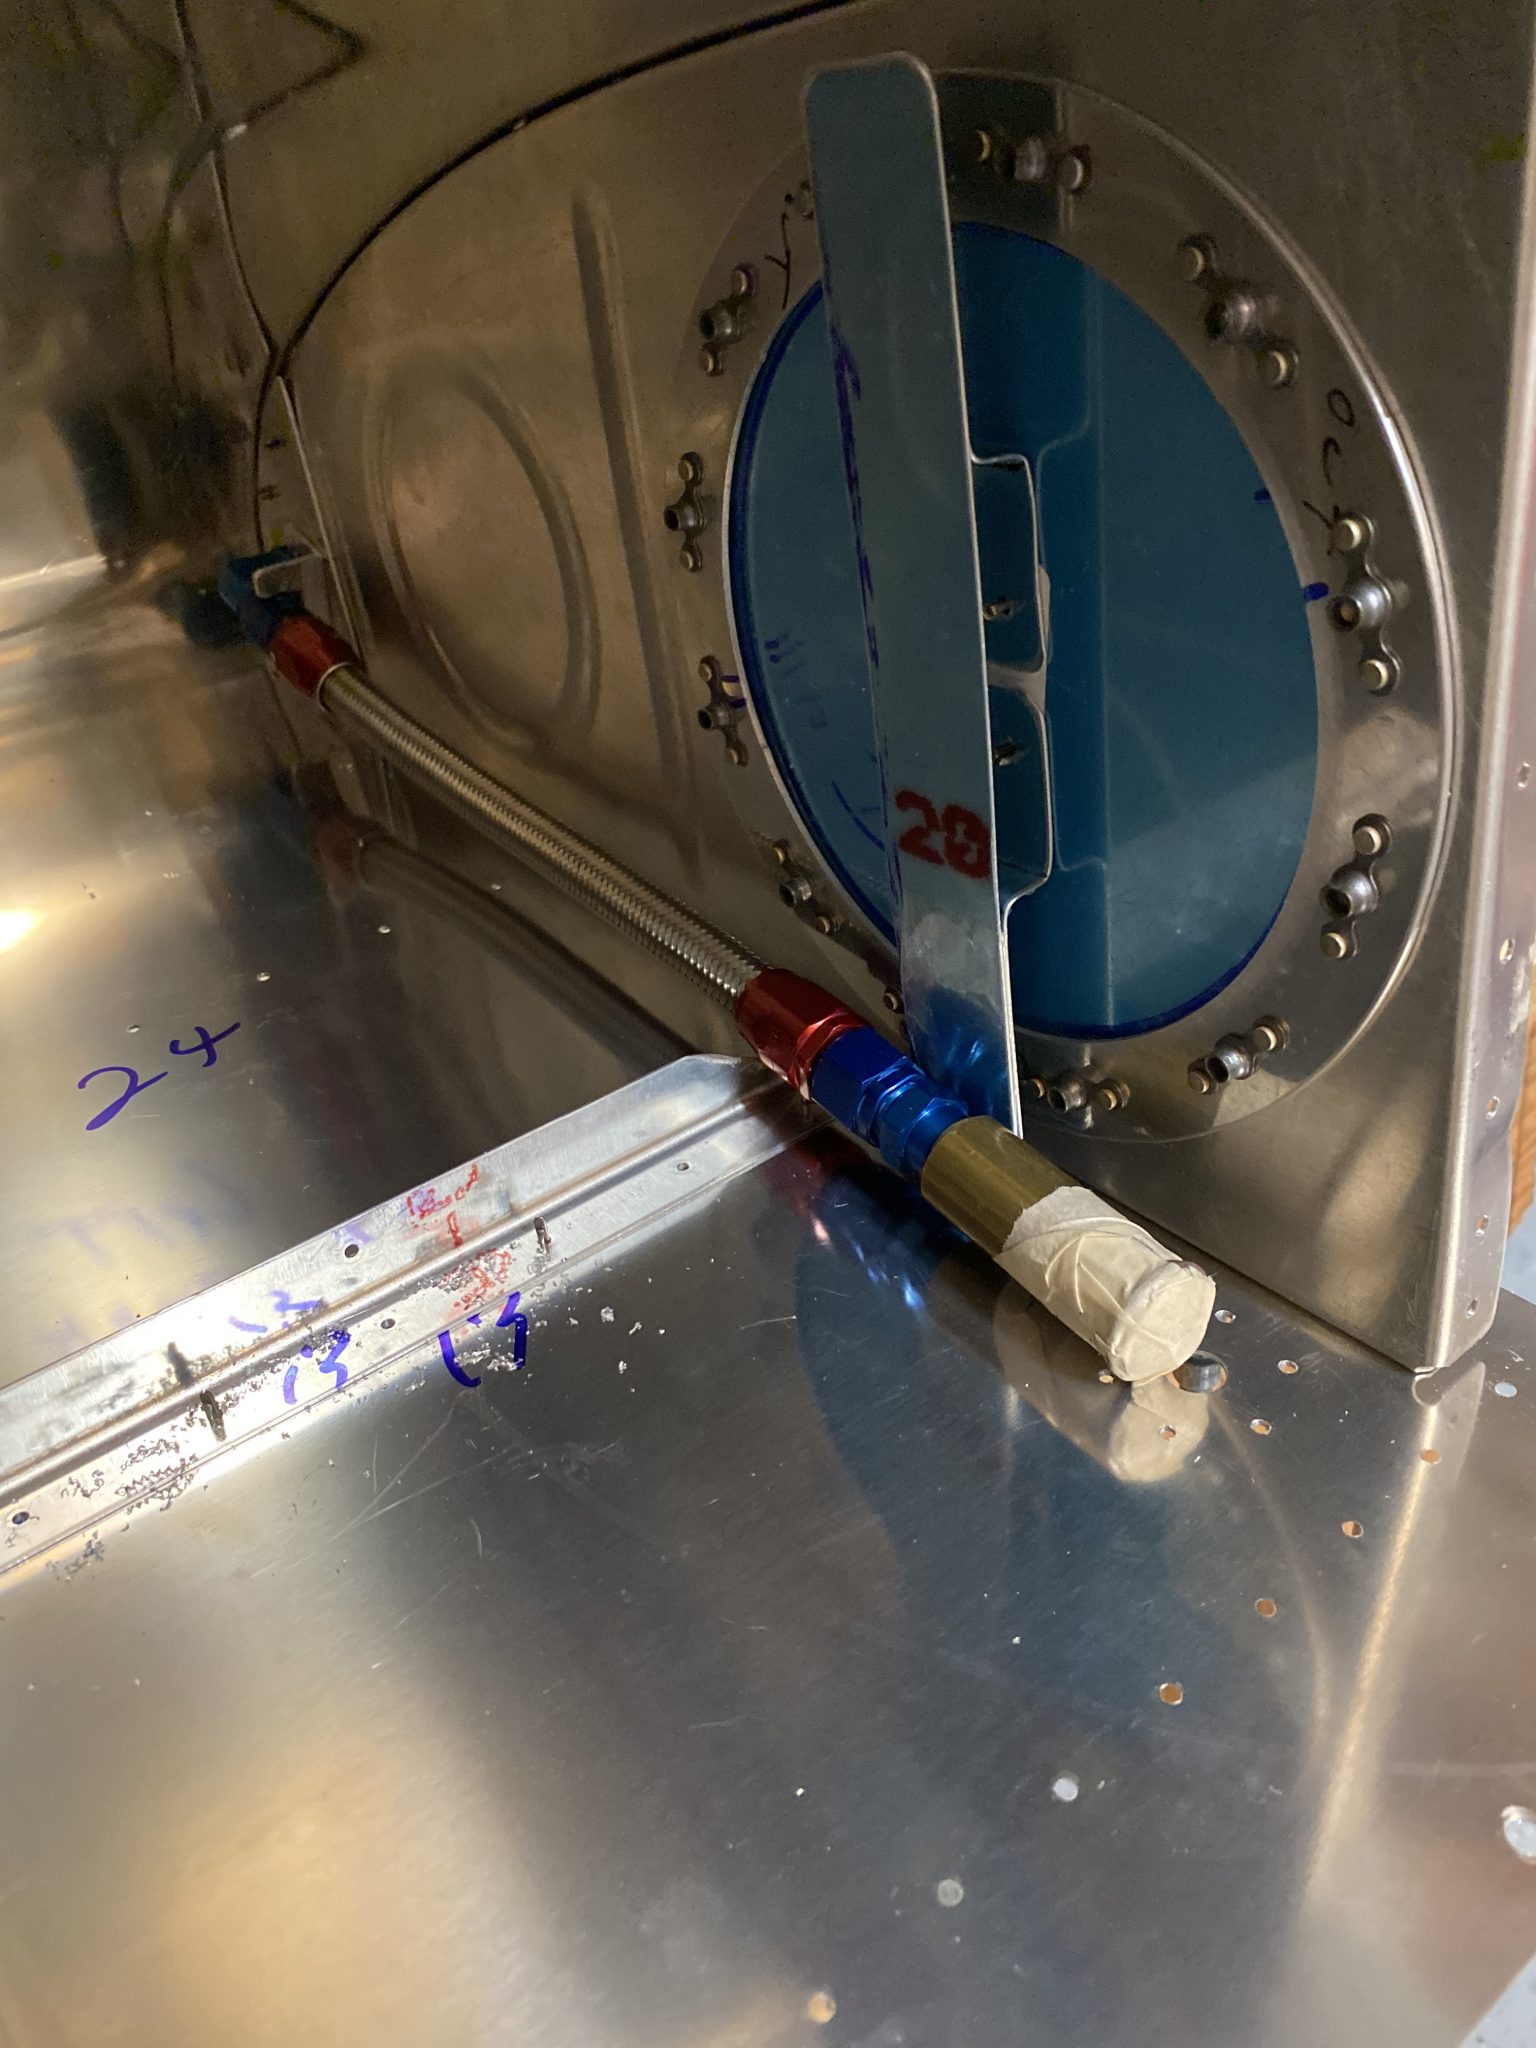
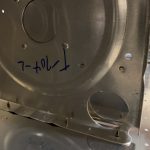
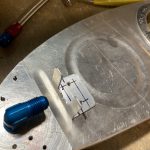
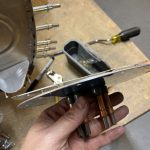
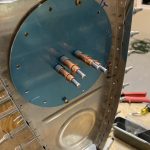
After completing that part, I decided I wanted to remake my little trap door that holds the fuel in the inboard bay during acrobatic flight. I wasn’t really happy about my trimming job on it, so I figured I may as well go ahead and re-do it while it was easy to do. So, I drilled out the three rivets on the old little door, and cut a new piece from 0.25″ alclad per the plans dimentions of 1.75″x1.75″. Then, since I already had the tank and ribs clecoed together in the stand, I thought it’d be best to go ahead and test fit my trap door with the skin and make it perfect. The old trap door is the one on the bottom of the photo below. I wasn’t happy with my trimming job. The new one is the one in the top of the photo.

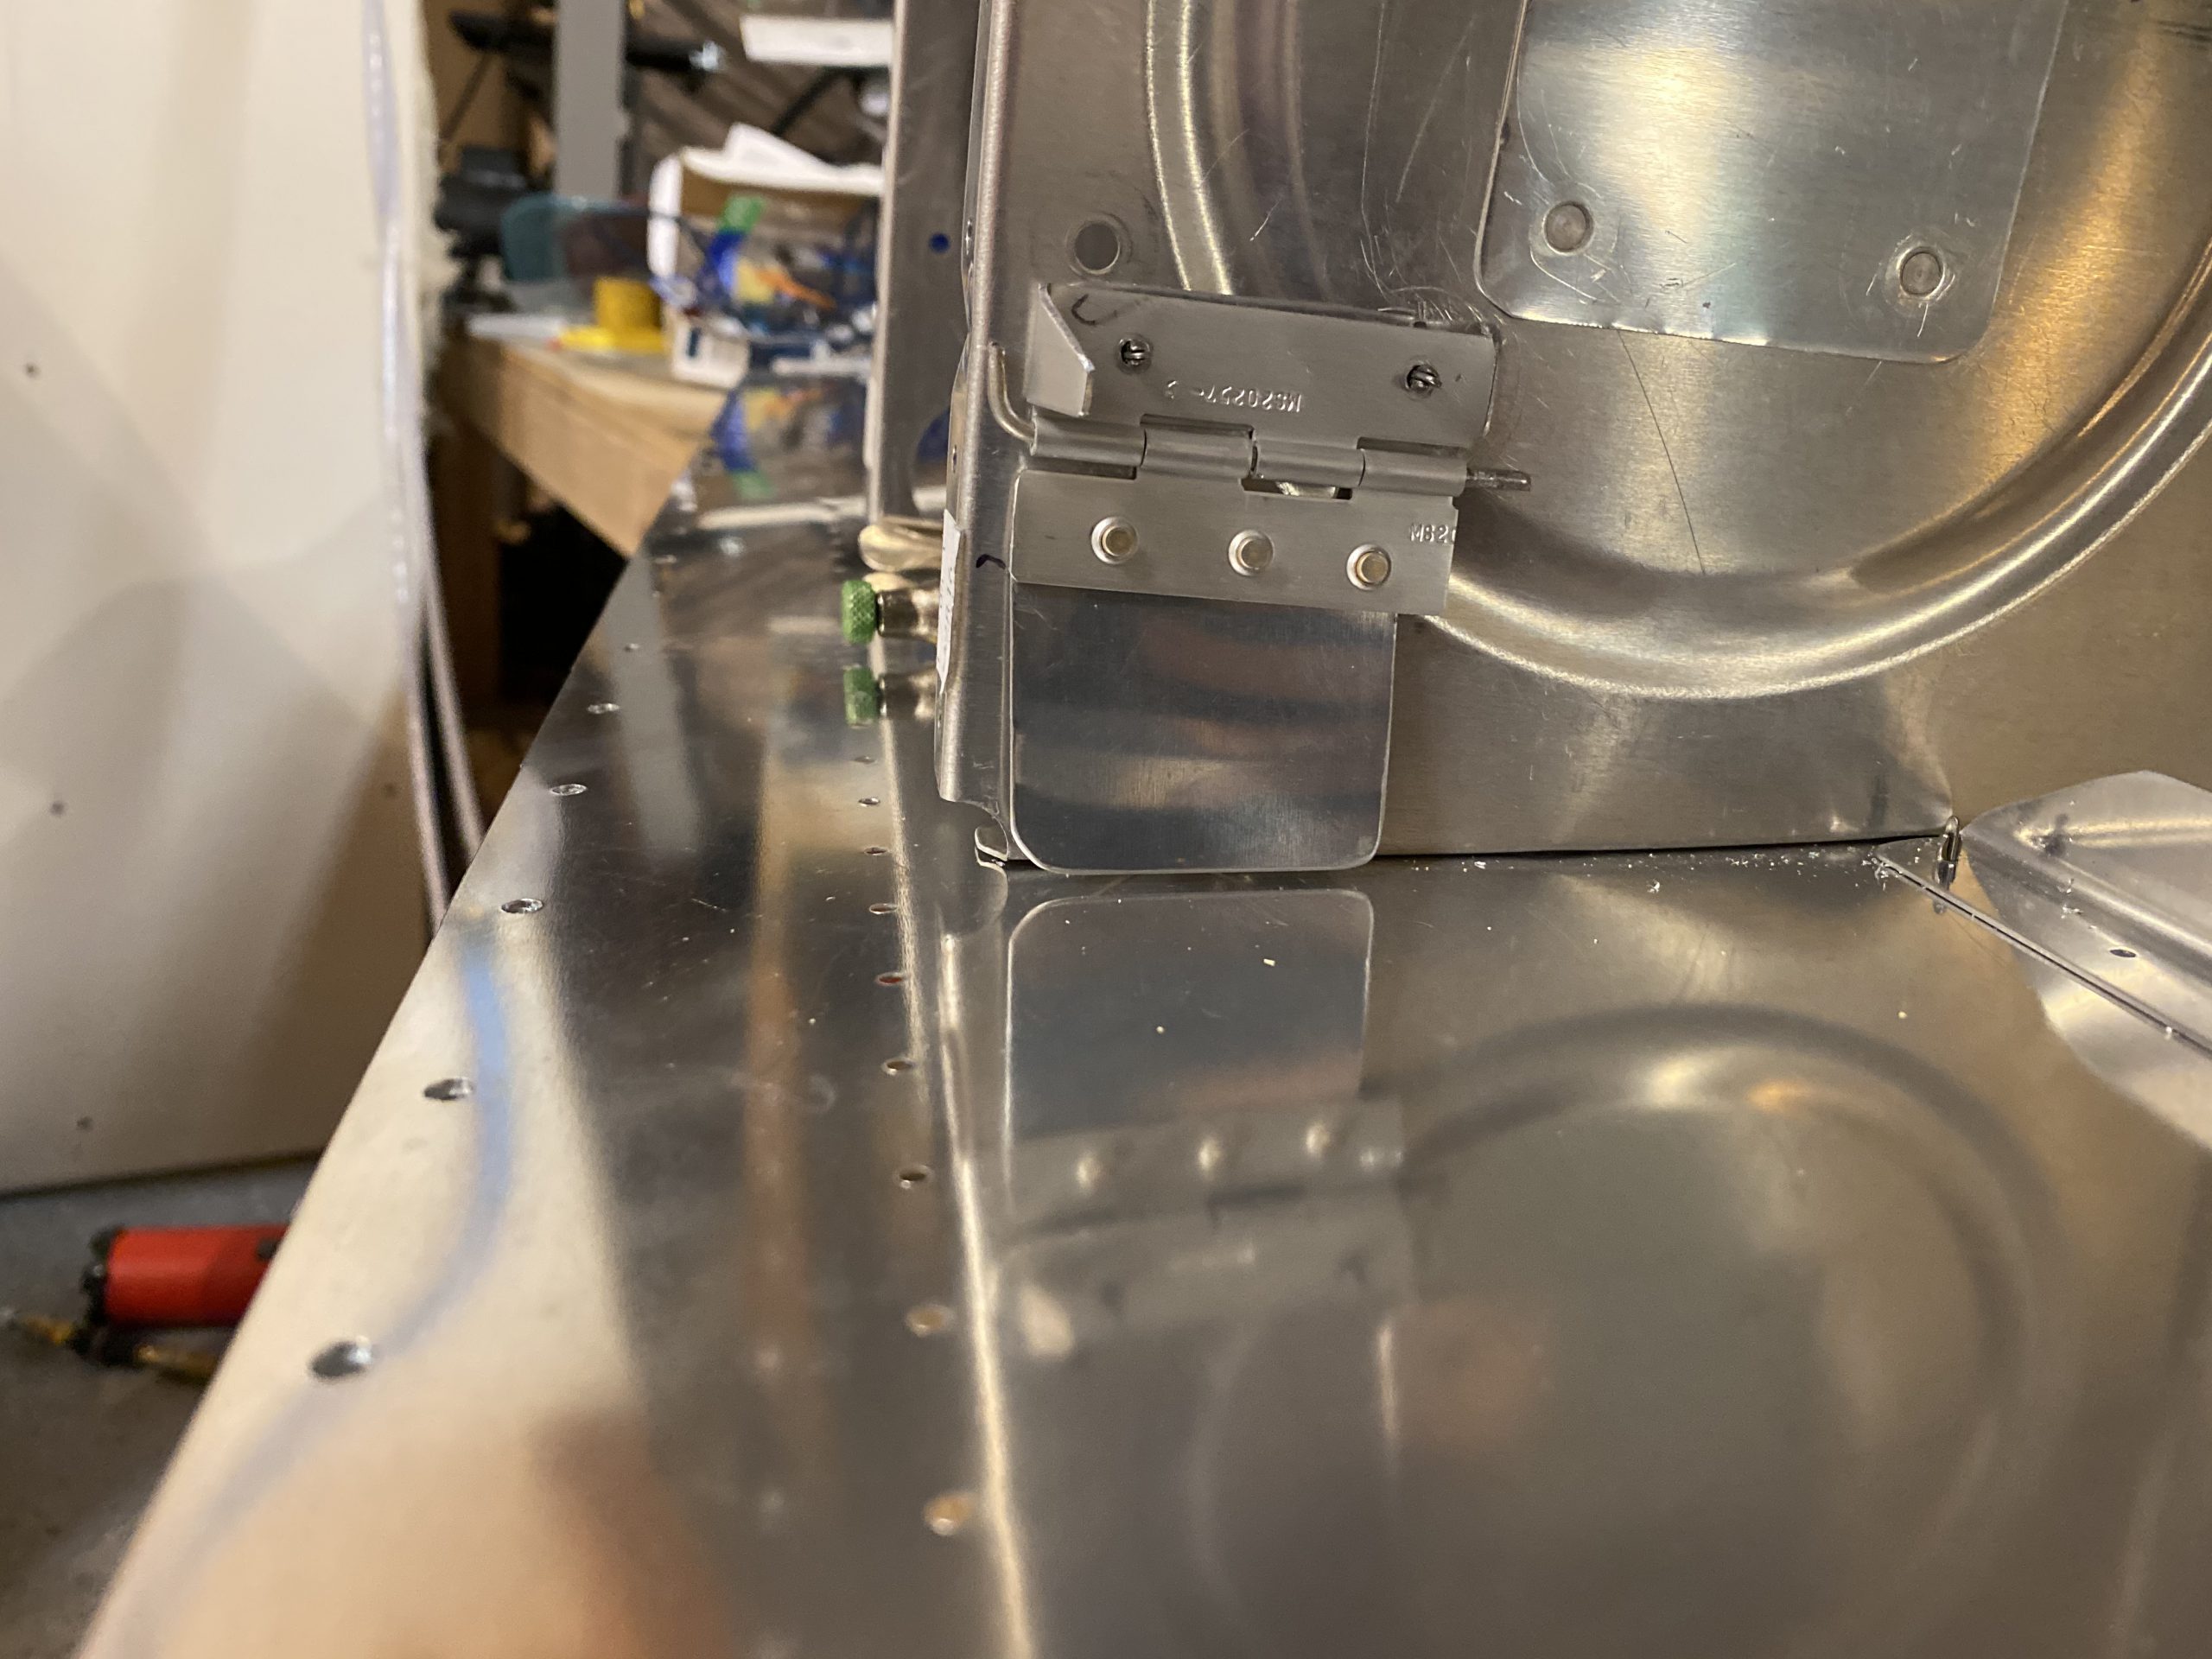
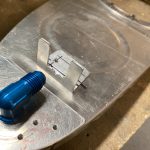
It fits WAY better now. Sometimes its best to re-do your mistakes while its easy, even if they are not really a bad mistake in the first place. My original, janky trimmed door probably would have given great service, but it bothered me everytime I looked at it. HAH! I am much happier with this new version. It sits really close to the skin so it will seal up great when I am doing acro.

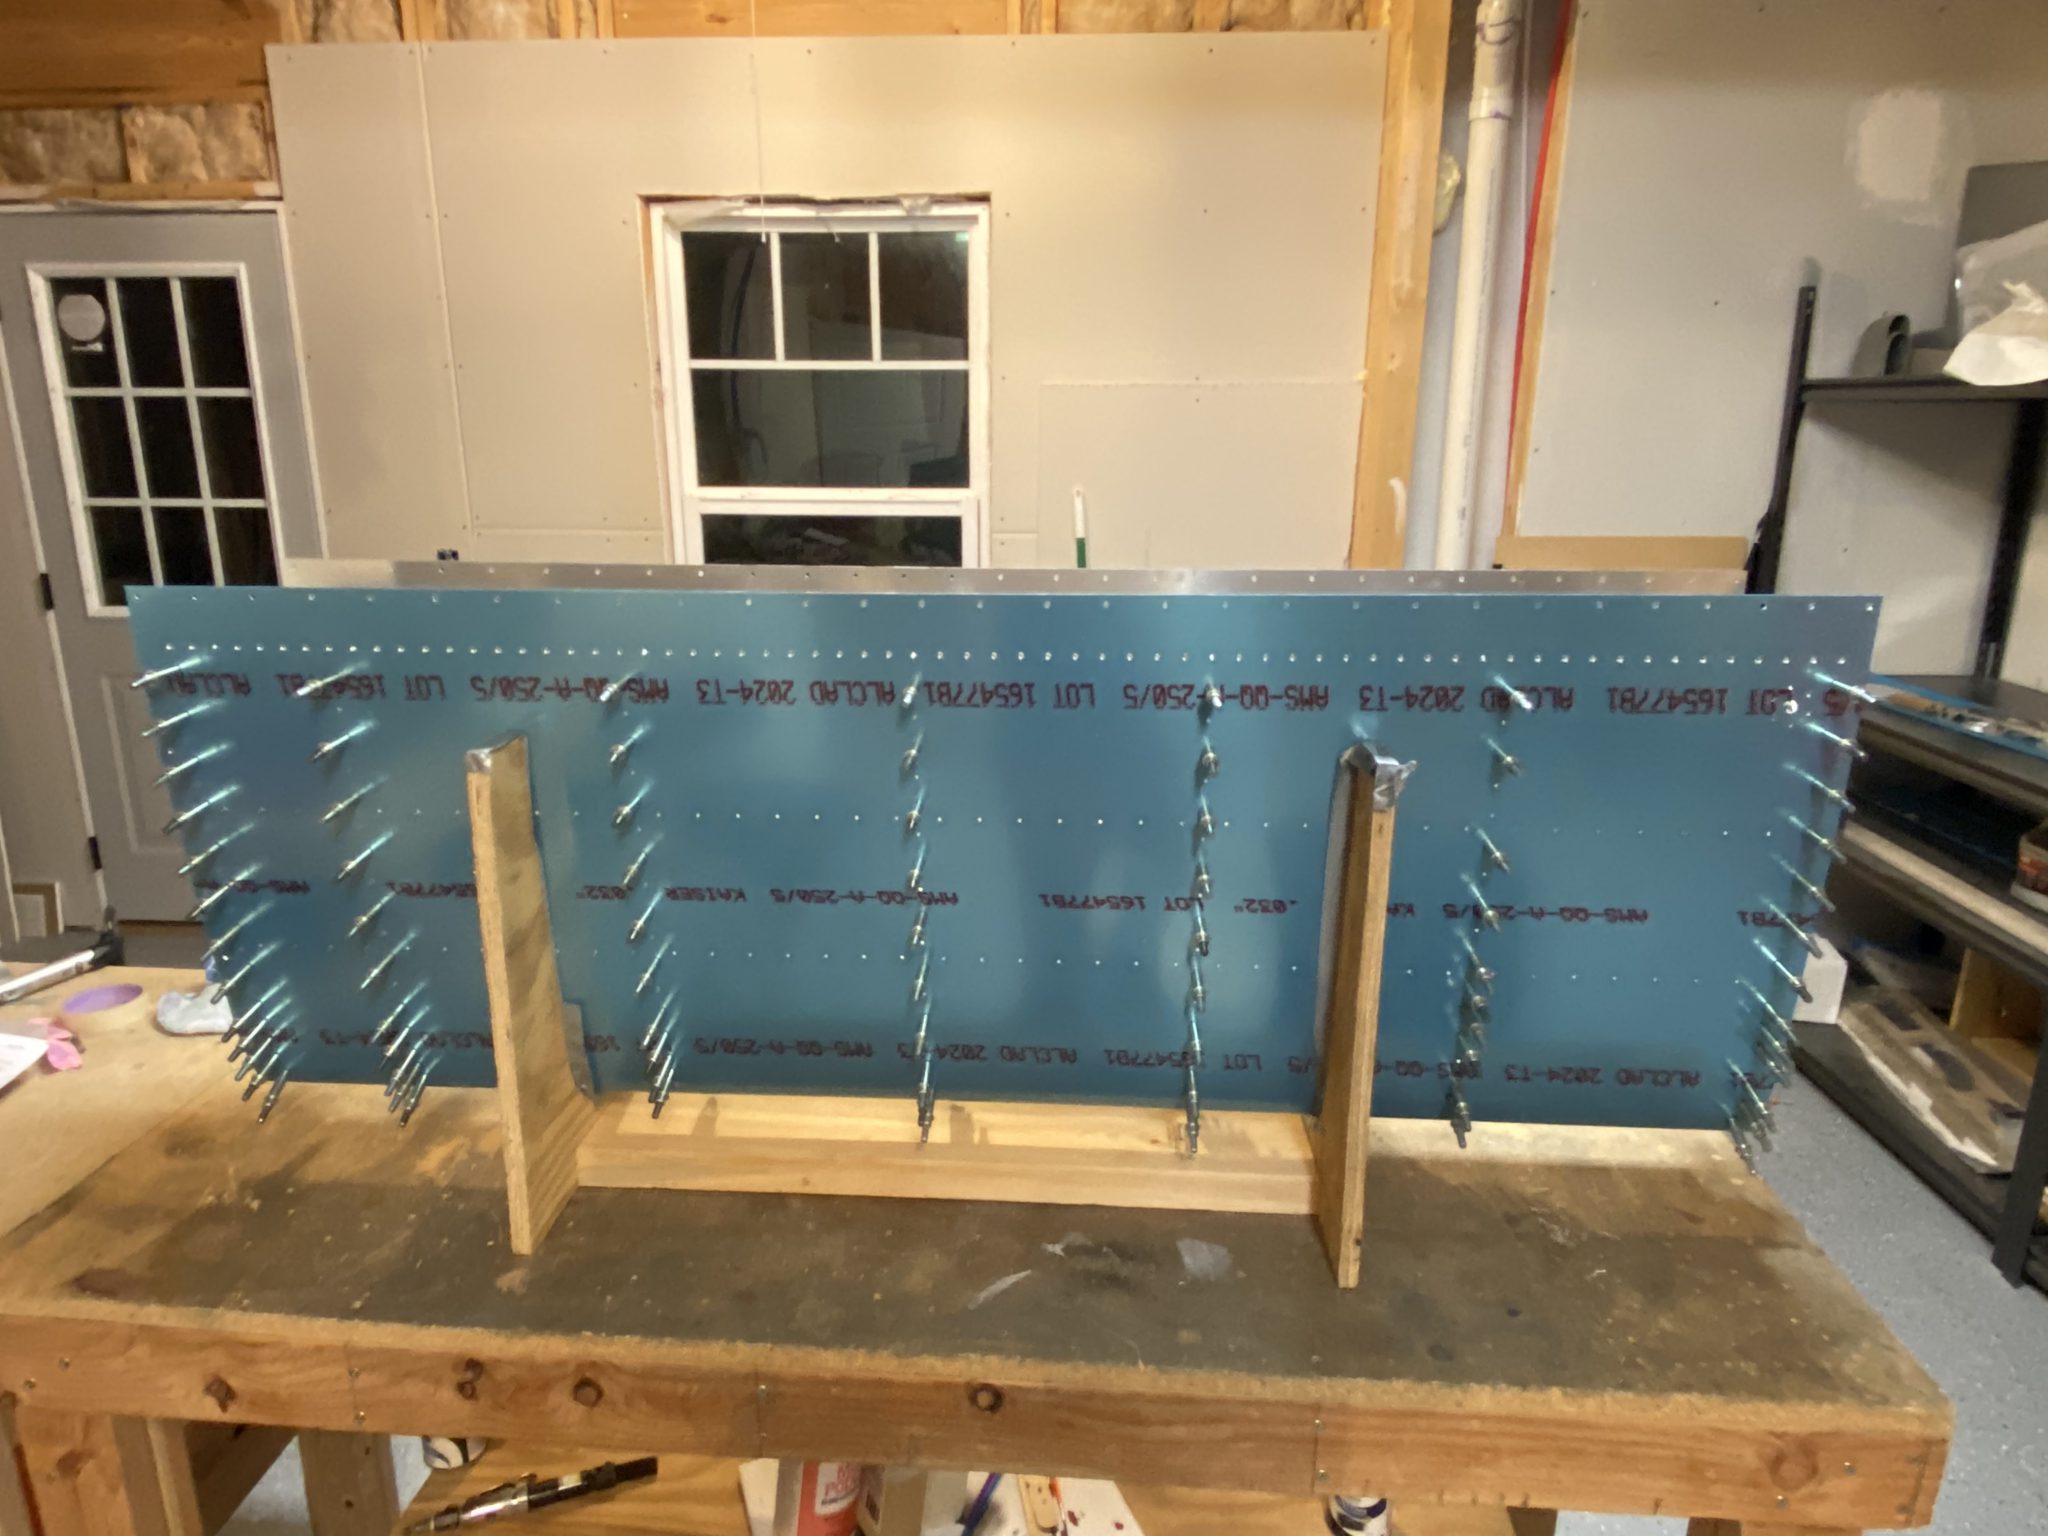
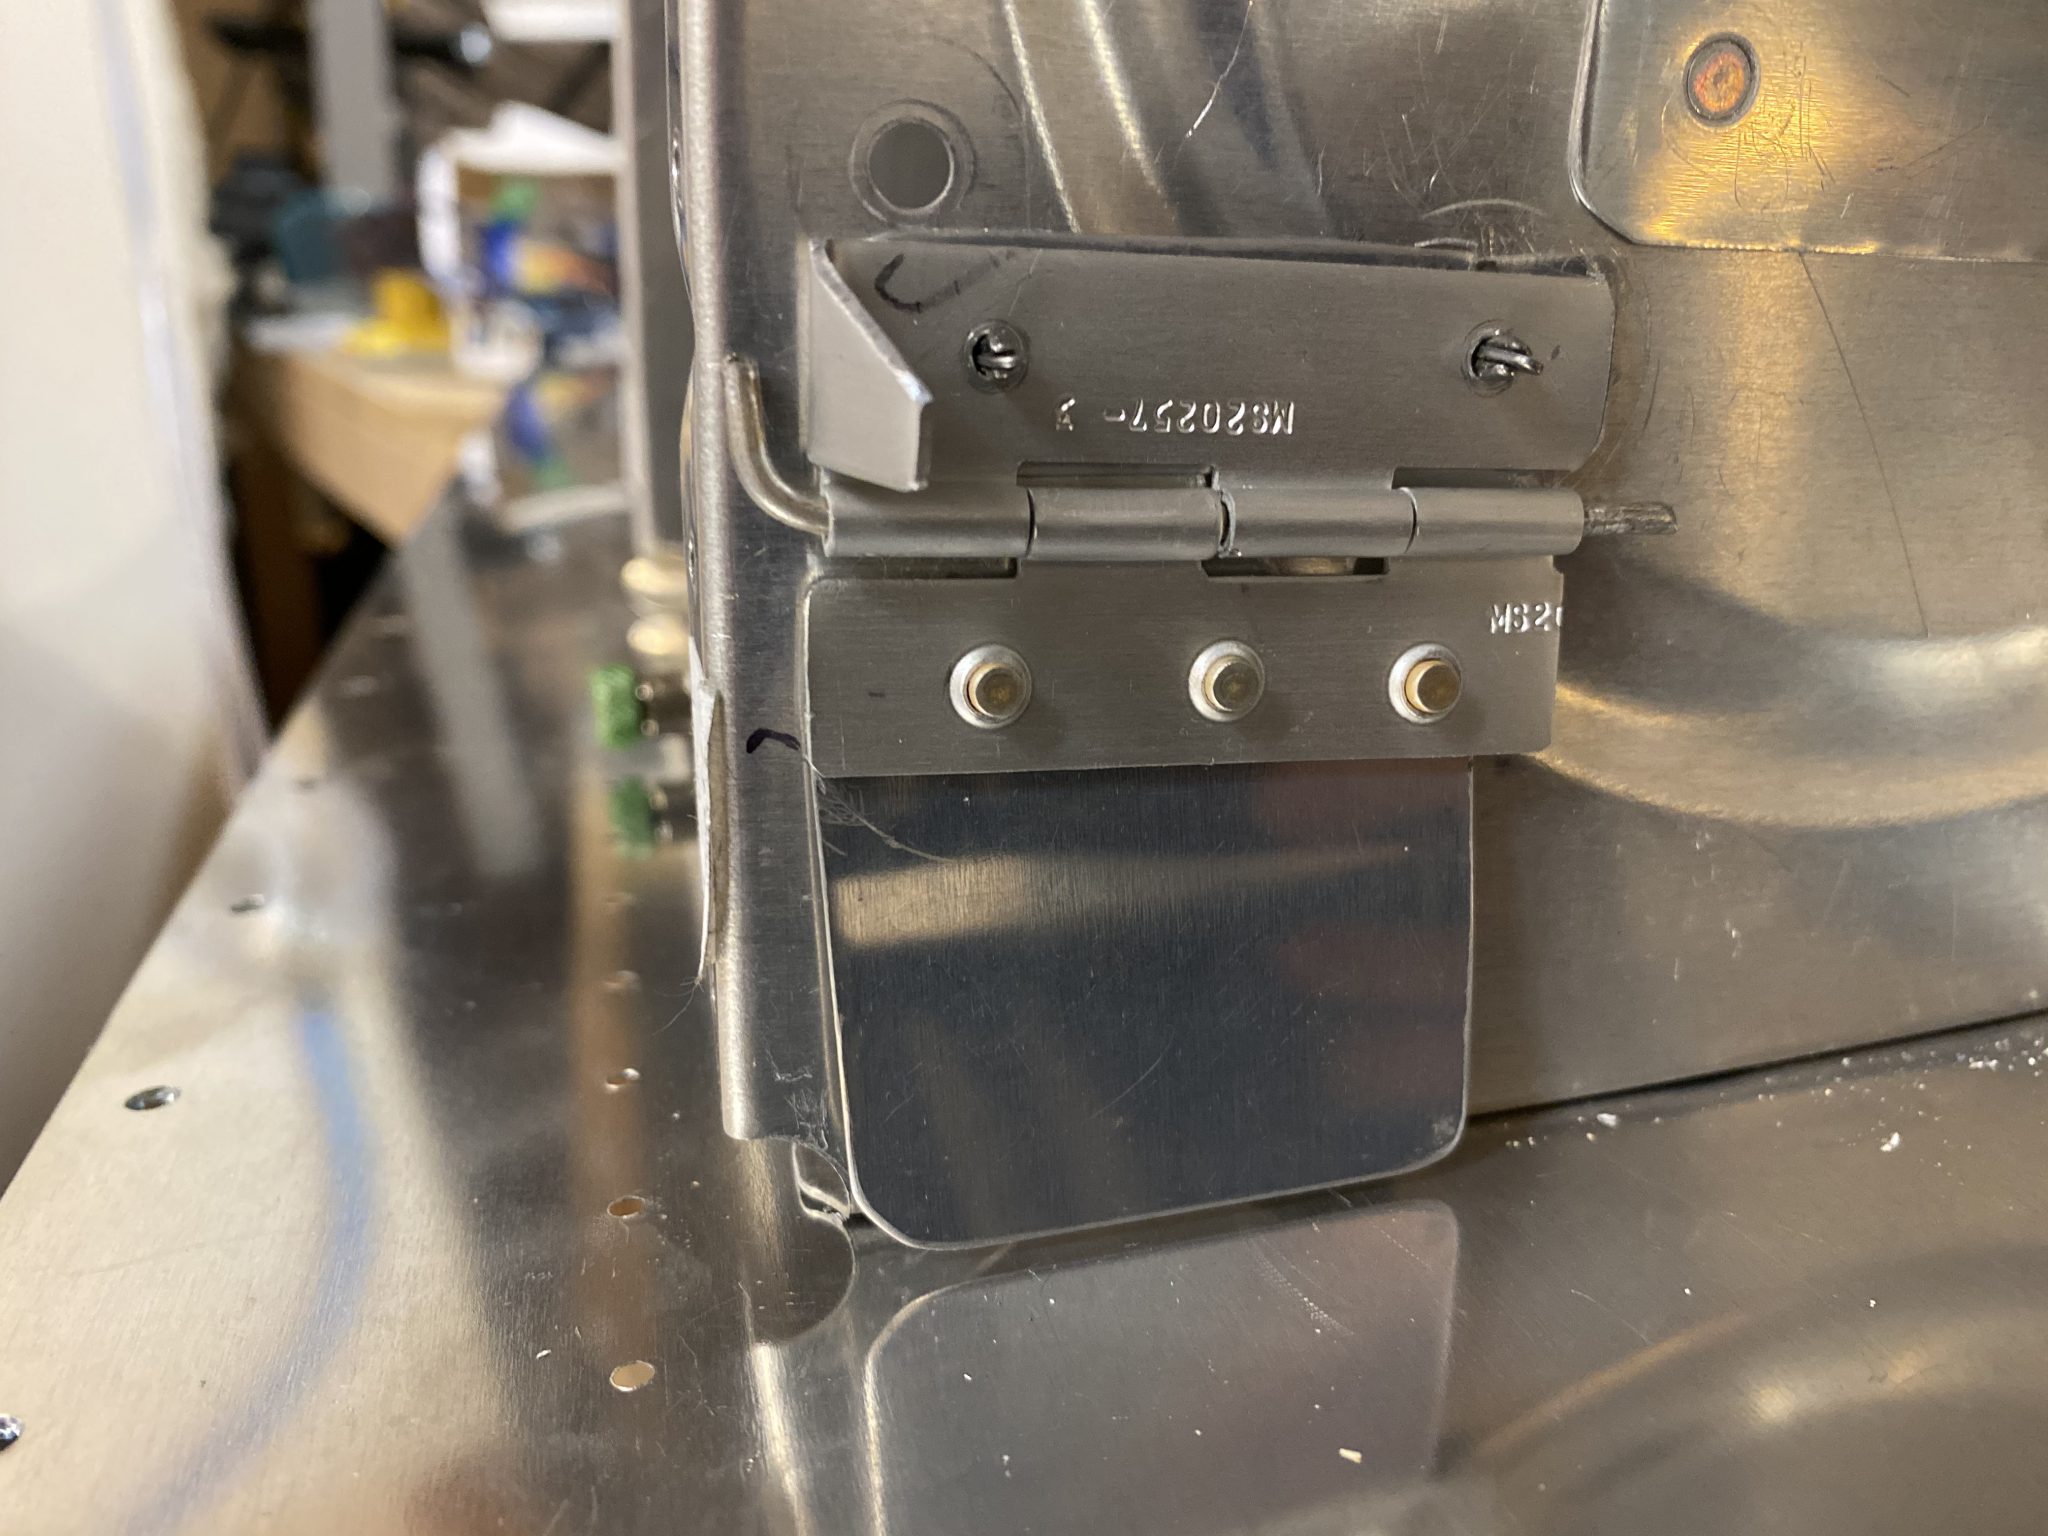
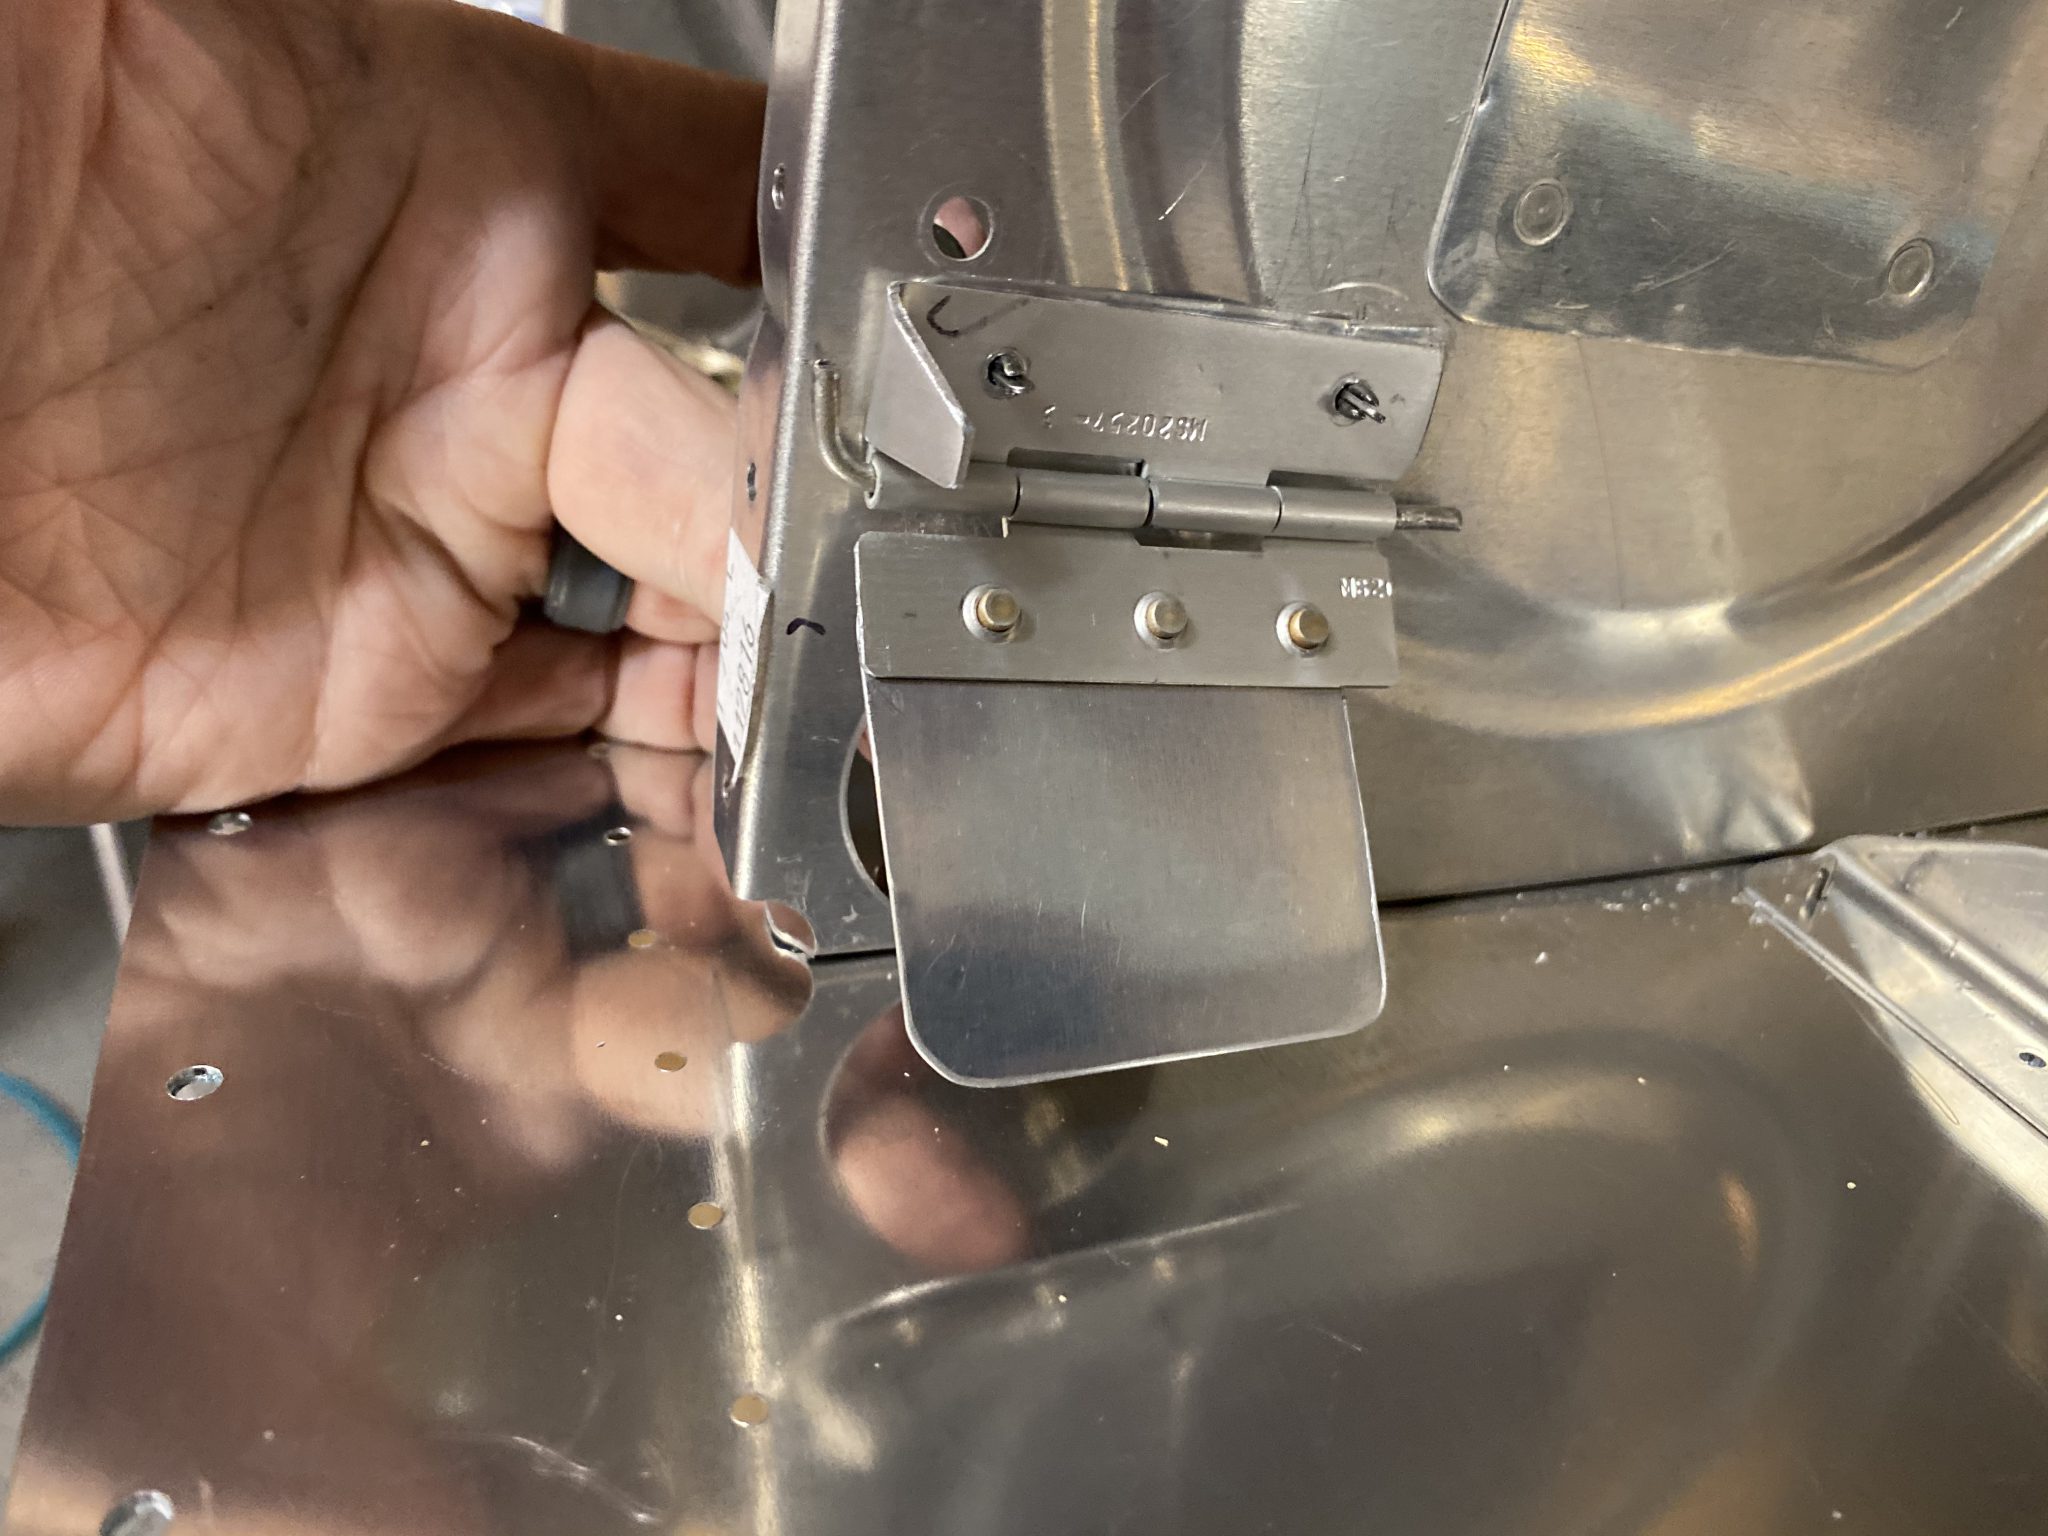
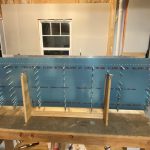
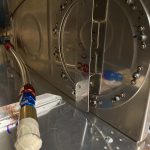
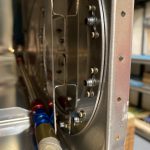
I went ahead and riveted the top hinge to the rib, since I was 100% happy with the door. I can simply pull the hinge pin out and remove the trap door and put it on the shelf until I am ready to close up the tanks. The only other thing I done tonight was install all of the ribs into the fuel tank and cleco them in nice and tight. I need to cut the vent line and install the capacitive sender plates, and I want the tanks assmebled to do that work.
-
 IMG_0911
 -
 IMG_0910
 -
 IMG_0909
 -
 IMG_0908
 -
 IMG_0907
 -
 IMG_0906
 -
 IMG_0905
 -
 IMG_0904
 -
 IMG_0903
 -
 IMG_0902
 -
 IMG_0901
 -
 IMG_0900
 -
 IMG_0899
 -
 IMG_0898
 -
 IMG_0897
 -
 IMG_0894
 -
 IMG_0893
 -
 IMG_0892
 -
 IMG_0891
 -
 IMG_0890
 -
 IMG_0889
 -
 IMG_0888
 -
 IMG_0887
 -
 IMG_0886
 -
 IMG_0885
 -
 IMG_0884
 -
 IMG_0883
 -
 IMG_0882
 -
 IMG_0881
 -
 IMG_0880
 -
 IMG_0879
 -
 IMG_0878
 -
 IMG_0877
 -
 IMG_0876
 -
 IMG_0875
 -
 IMG_0874
 -
 IMG_0873
 -
 IMG_0872
 -
 IMG_0871
 -
 IMG_0869
 -
 IMG_0868
 -
 IMG_0867
 -
 IMG_0834


Google Photos Link: https://photos.app.goo.gl/2mXa67zZcnzU8E6eA
Hours Worked: 3.5