


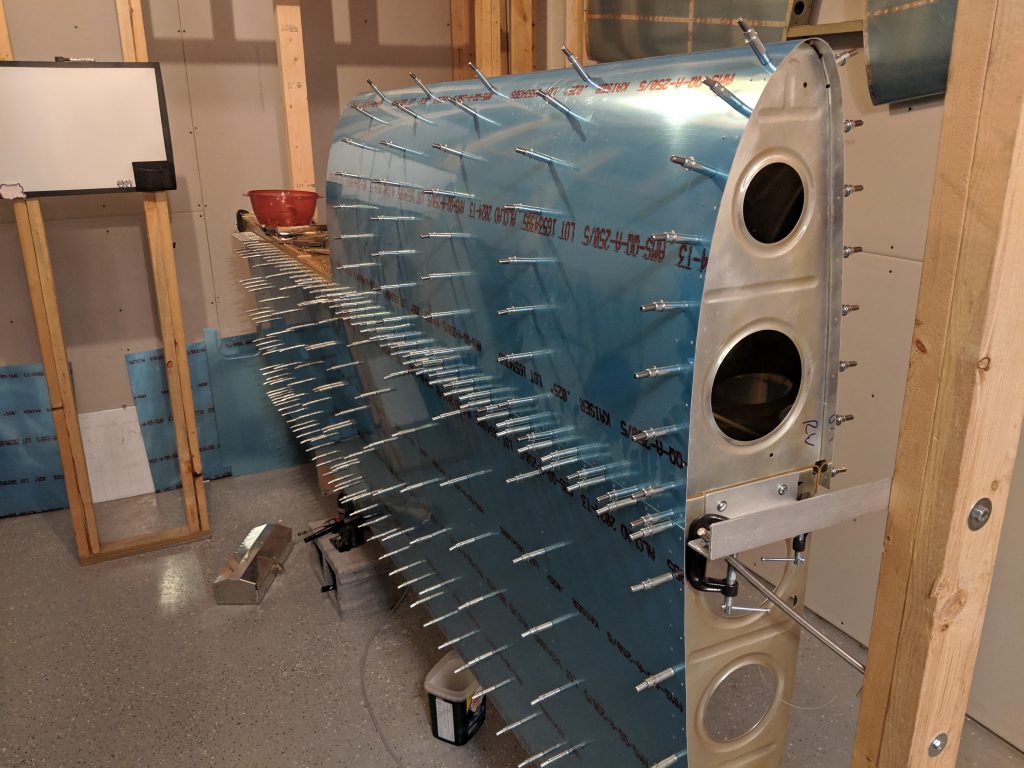
Time to finish up the leading edges….almost. You see, I realized I made a mistake and back drilled the W-408 ribs too close to the flange bend, and they’ll need replaced. It happens :-/ But, I did manage to get the right leading edge mounted on the wing. This is a repeat of the left wing, so I wont go into too much detail. I started out by getting the leading edge skin mounted into the cradle so I could start clecoing the ribs in place. Then I stuck the ribs in, and clecoed them in starting from the leading edge and working my way back.
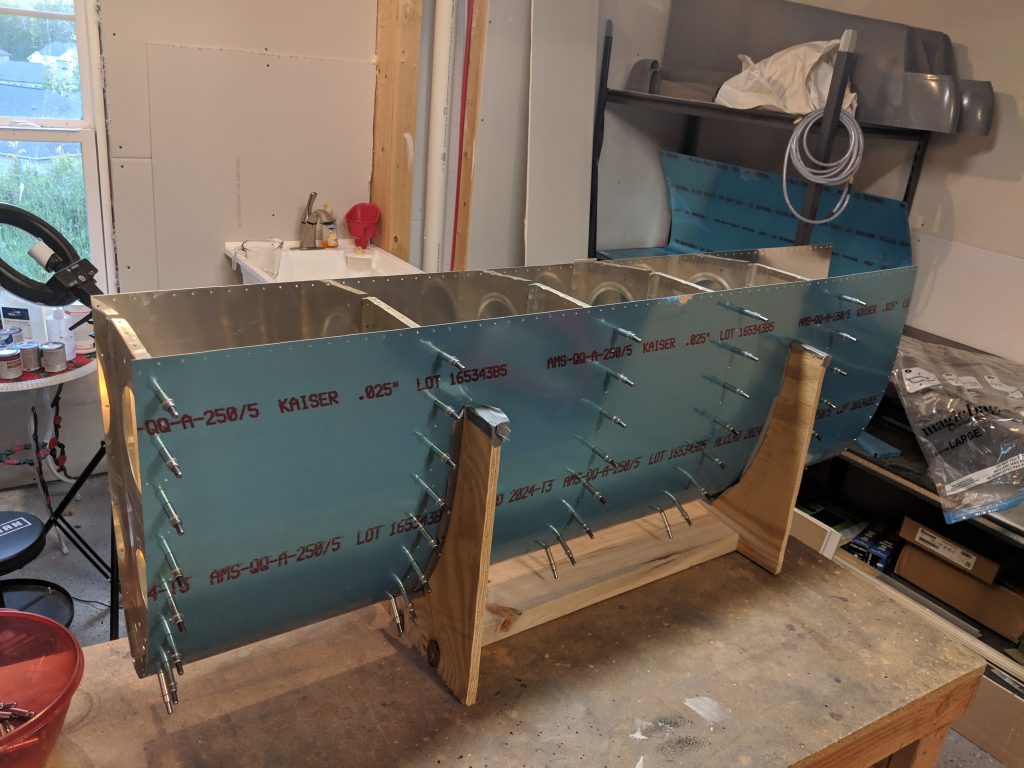
Once I had the leading edge assembled, it was time to mount it onto the spar and start the pain in the but….making the joint plate and back drilling the W-408 rib. This is probably one of the worst parts about the wing build. The W-408 isn’t pre-punched, so you have to get the joint plate, rib and skin all lined up just right and then back drill using the skin as a guide. I messed up my edge distance on this one, as I will note late on in this post.
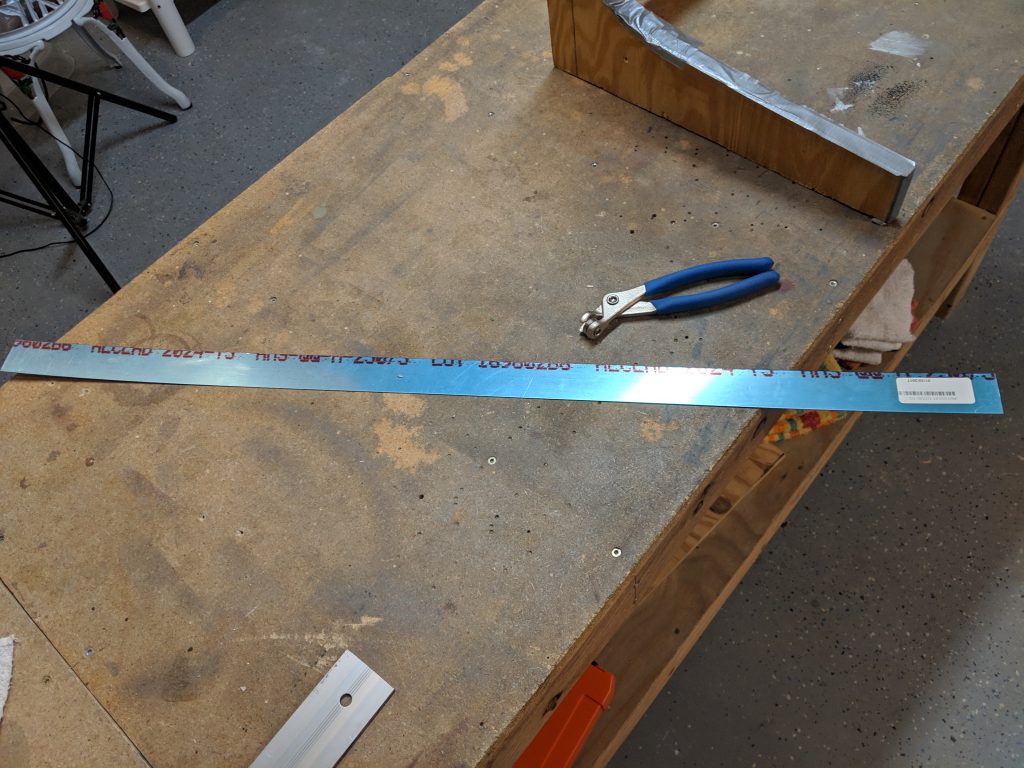
Now its time to make the joint plate. Van’s has the dimensions in the plans for this strip, but I have found that they actually sent two pieces (one for each wing) that was already cut to the dimensions, which was nice:
I removed the plastic and marked a line 1/2″ from the edge per the instructions. This line is used to line the joint plate up with the skin. After that, I marked the center of the flange on the W-408-1R rib that rivets to the spar. This was so I could see where I should line up the rivet holes on the spar for match drilling. Then I slipped it into place with the leading edge, lined up the blue line with my spars rivet holes and match drilled them using a #30 bit. These holes turned out great:
Now the fun part. Trying to form the joint plate into the shape of a leading edge. I remove the W-408 rib that I had just drilled (in the photo above) so I could use it as a template for my initial hand-bending. After a good while I sort of got it to resemble the shape of a leading edge. Then I re-clecoed the rib’s flange to the spar, and started working the joint plate into the small gap between the W-408 rib, and the skin. After fiddling and tapping and fiddling and moving, etc I finally had the blue line I marked on the joint plate lining up with the holes in the skin. I had thought that the plans said we’d need 11/16″ inch from the rib to the outside edge of the joint plate, so thats what I did:
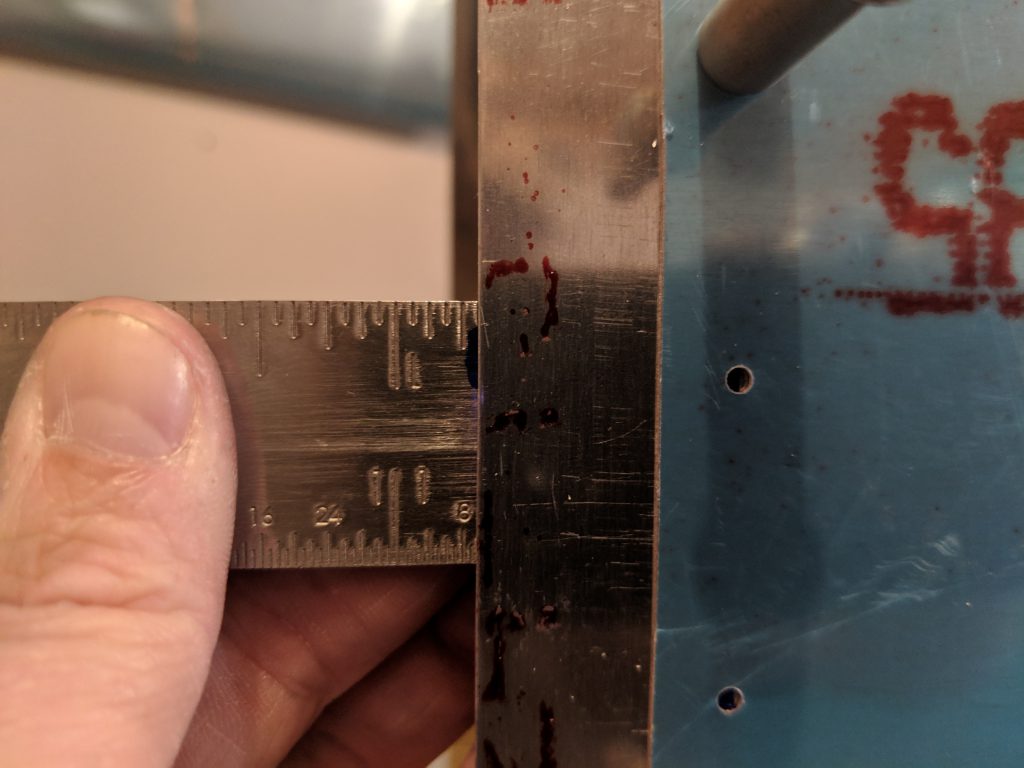
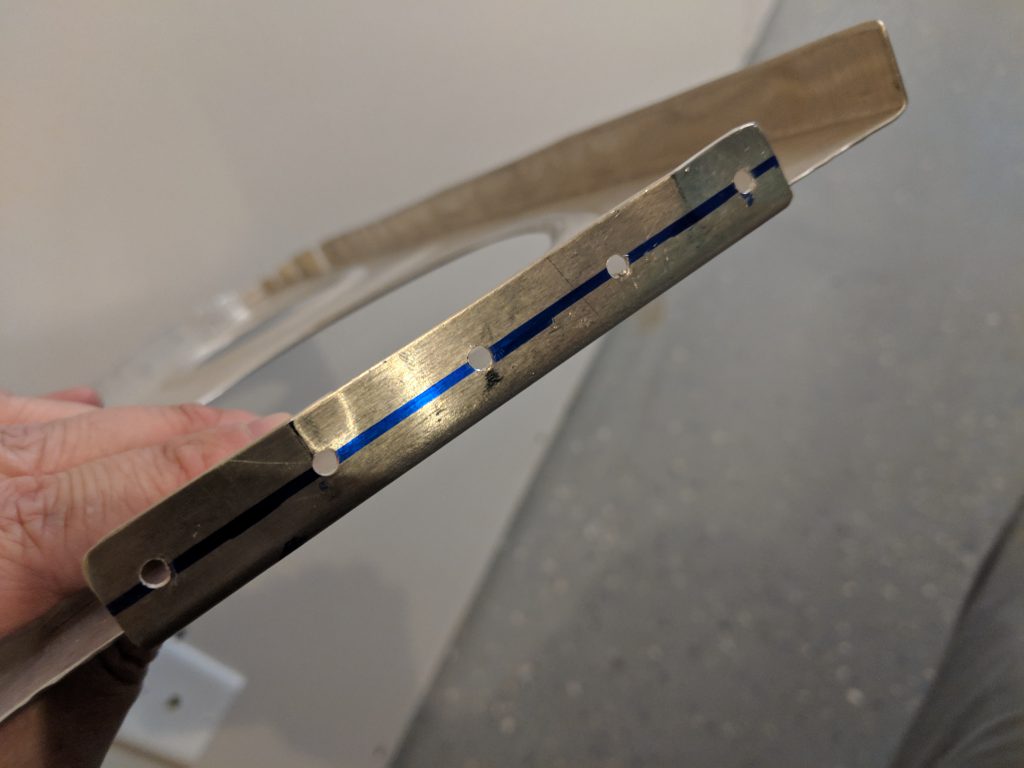
I was obviously wrong. I drilled all the holes using the skin as my guide and was thinking everything would be perfect, because I measured this thing a thousand times and has that 11/16″ perfect at each hole. I was SO SURE this rib was lined up. So I took the rib and joint plate out to check my work:

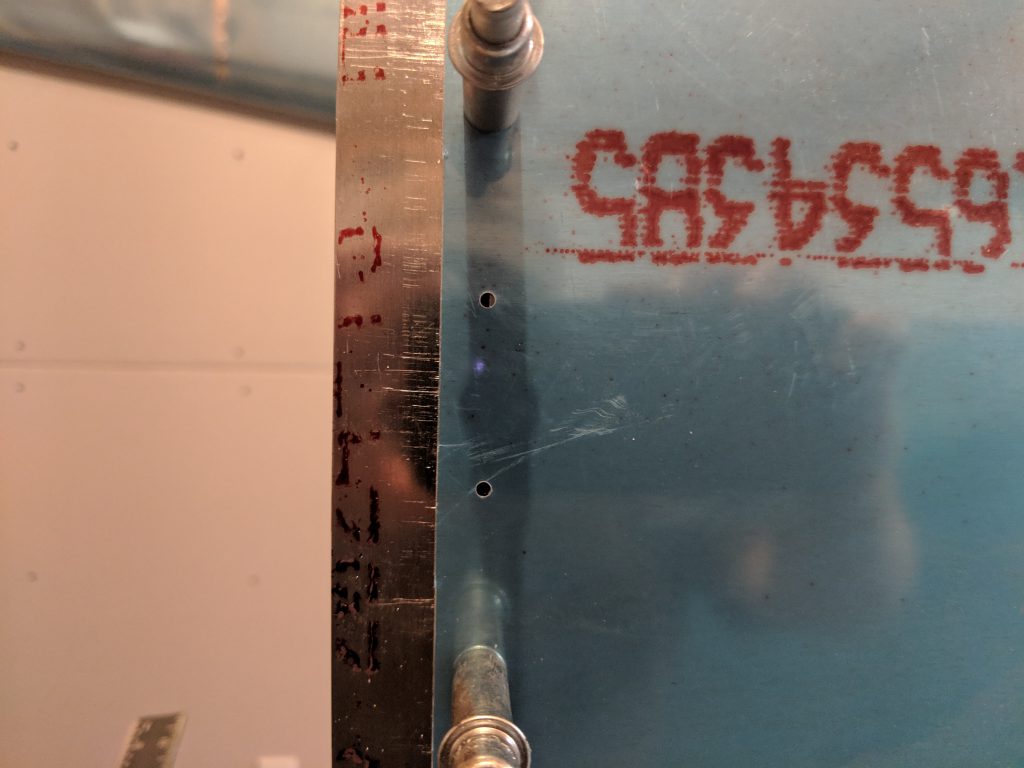
And there it is…. WAY TOOO CLOSE. I thought to myself…”This is exactly the way I did the left rib, so let me make sure I didn’t mess it up too”. And sure enough, I messed it up too:
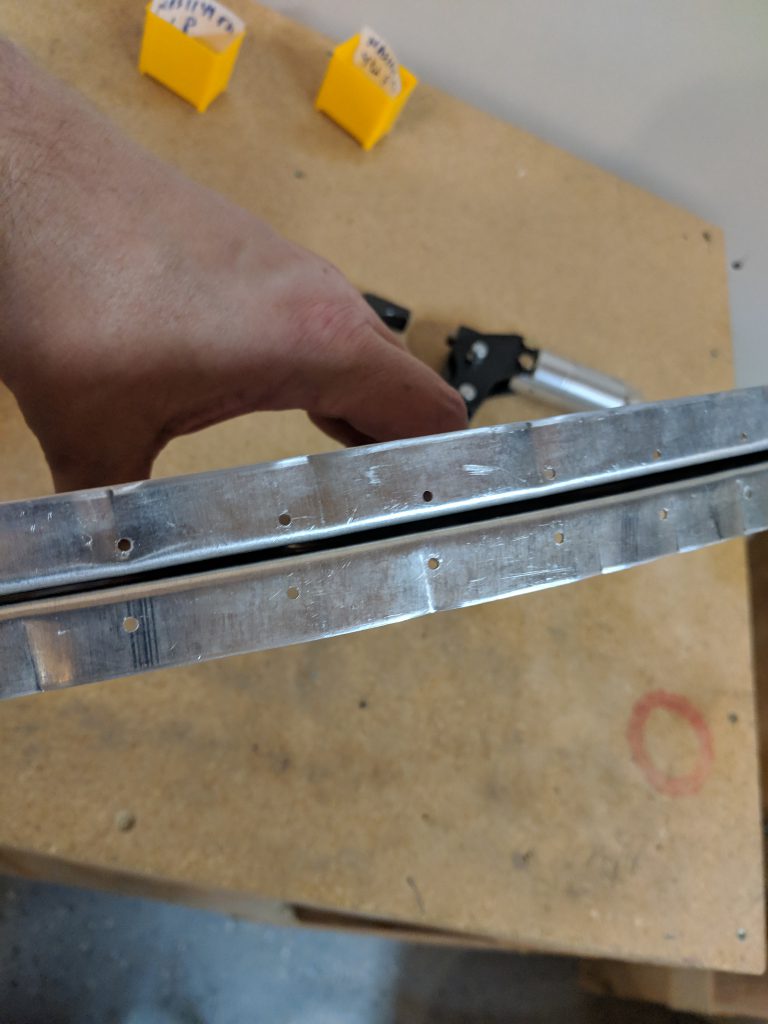
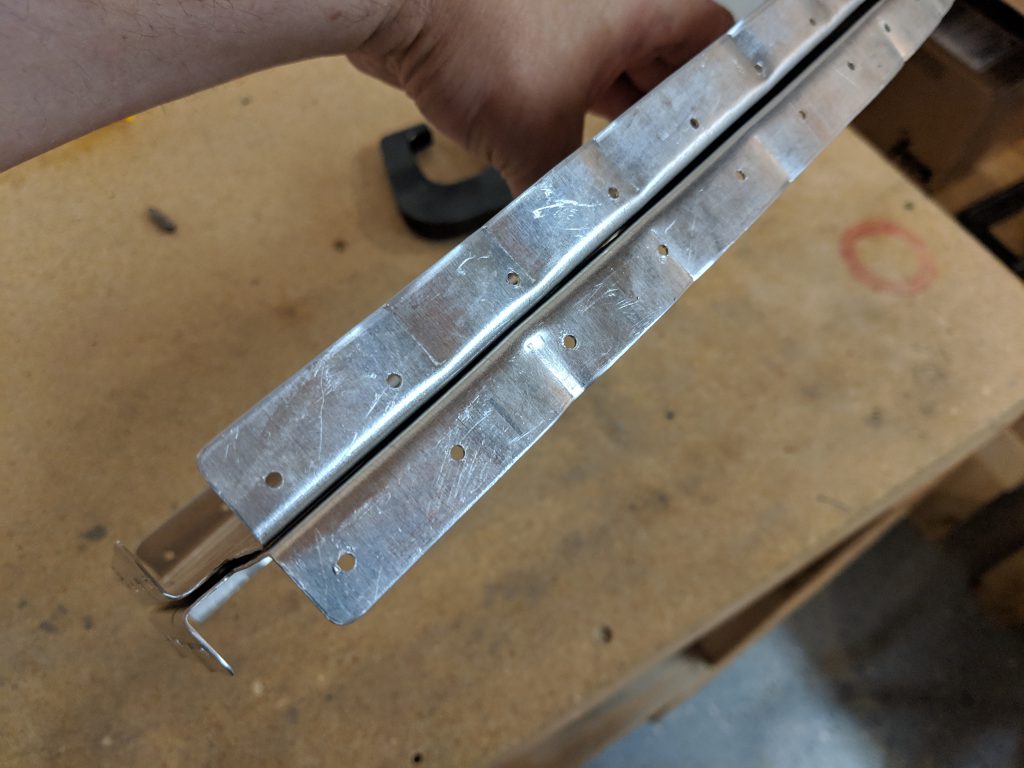
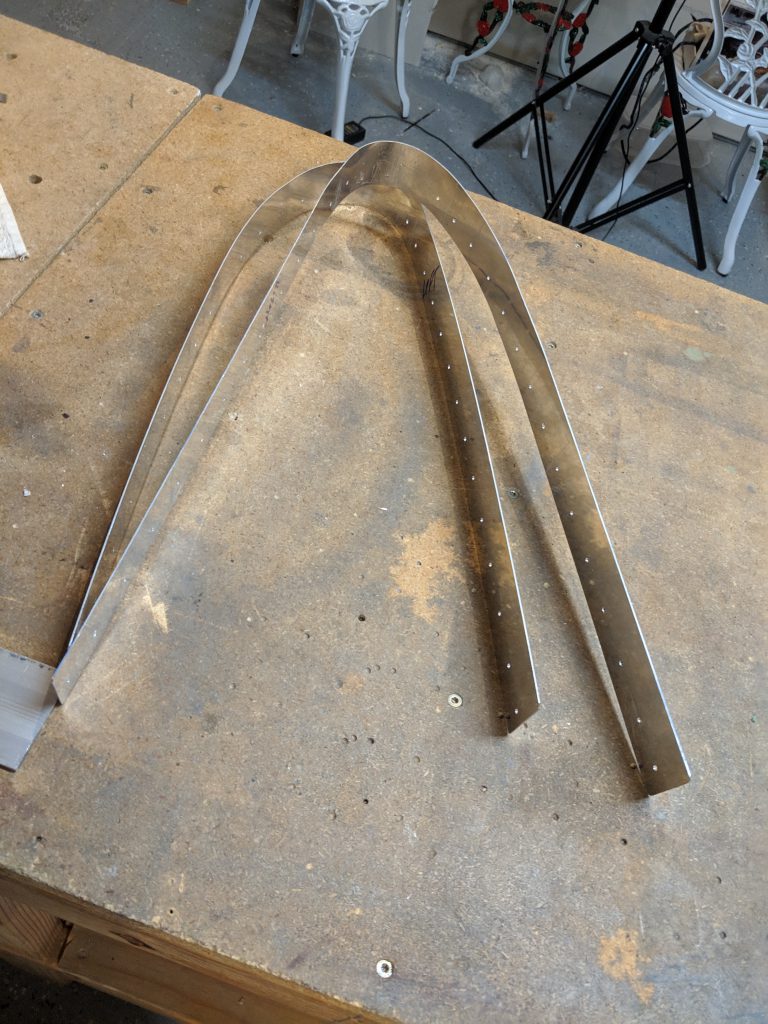
Oh well. Thank goodness these are only about $28 bucks from Vans and I am still able to replace them. It was at this point, I decided to call it quits for the night. I still need to match drill the right leading edge, but I’ll leave that for another session. The next step is the fuel tanks, so I need to place an order for some proseal, and other goodies, so I’ll toss in two new W-408 ribs to replace these ones. I am thinking it may be easier next time to get this right, since the joint plate has its holes. I can just mark the centerline on the new ribs, line them up the holes in the joint plate and skin and match drill. The joint plates turned out pretty nice, and they even look like a leading edge:
Time to spend some money I guess. I’ll probably order some sealant, conduit, new W-408 ribs, and see if I can find a good aviation grade crimper set. My “mistakes” pile is growing 🙂 Thankfully its still much smaller than my pile of completed parts.
Google Photos Link: https://photos.app.goo.gl/wMDxjsoBsiXhjxBX9
Hours Worked: 2.75
Pingback: Drilling the Fuel Tank Z-Brackets – Lynn’s RV-7 Build