


I managed to get down to the shop and spend a little over an hour finishing up the right flap skeleton. There really wasn’t much left to do, but I wanted to knock it out while I had some free time. I started out by clamping down the FL-706A doubler plate to the FL-703-R spar and getting it aligned so I could drill match drill the holes on it. I ended up using my angle drill here to help get in the tight fit, and it worked pretty good.
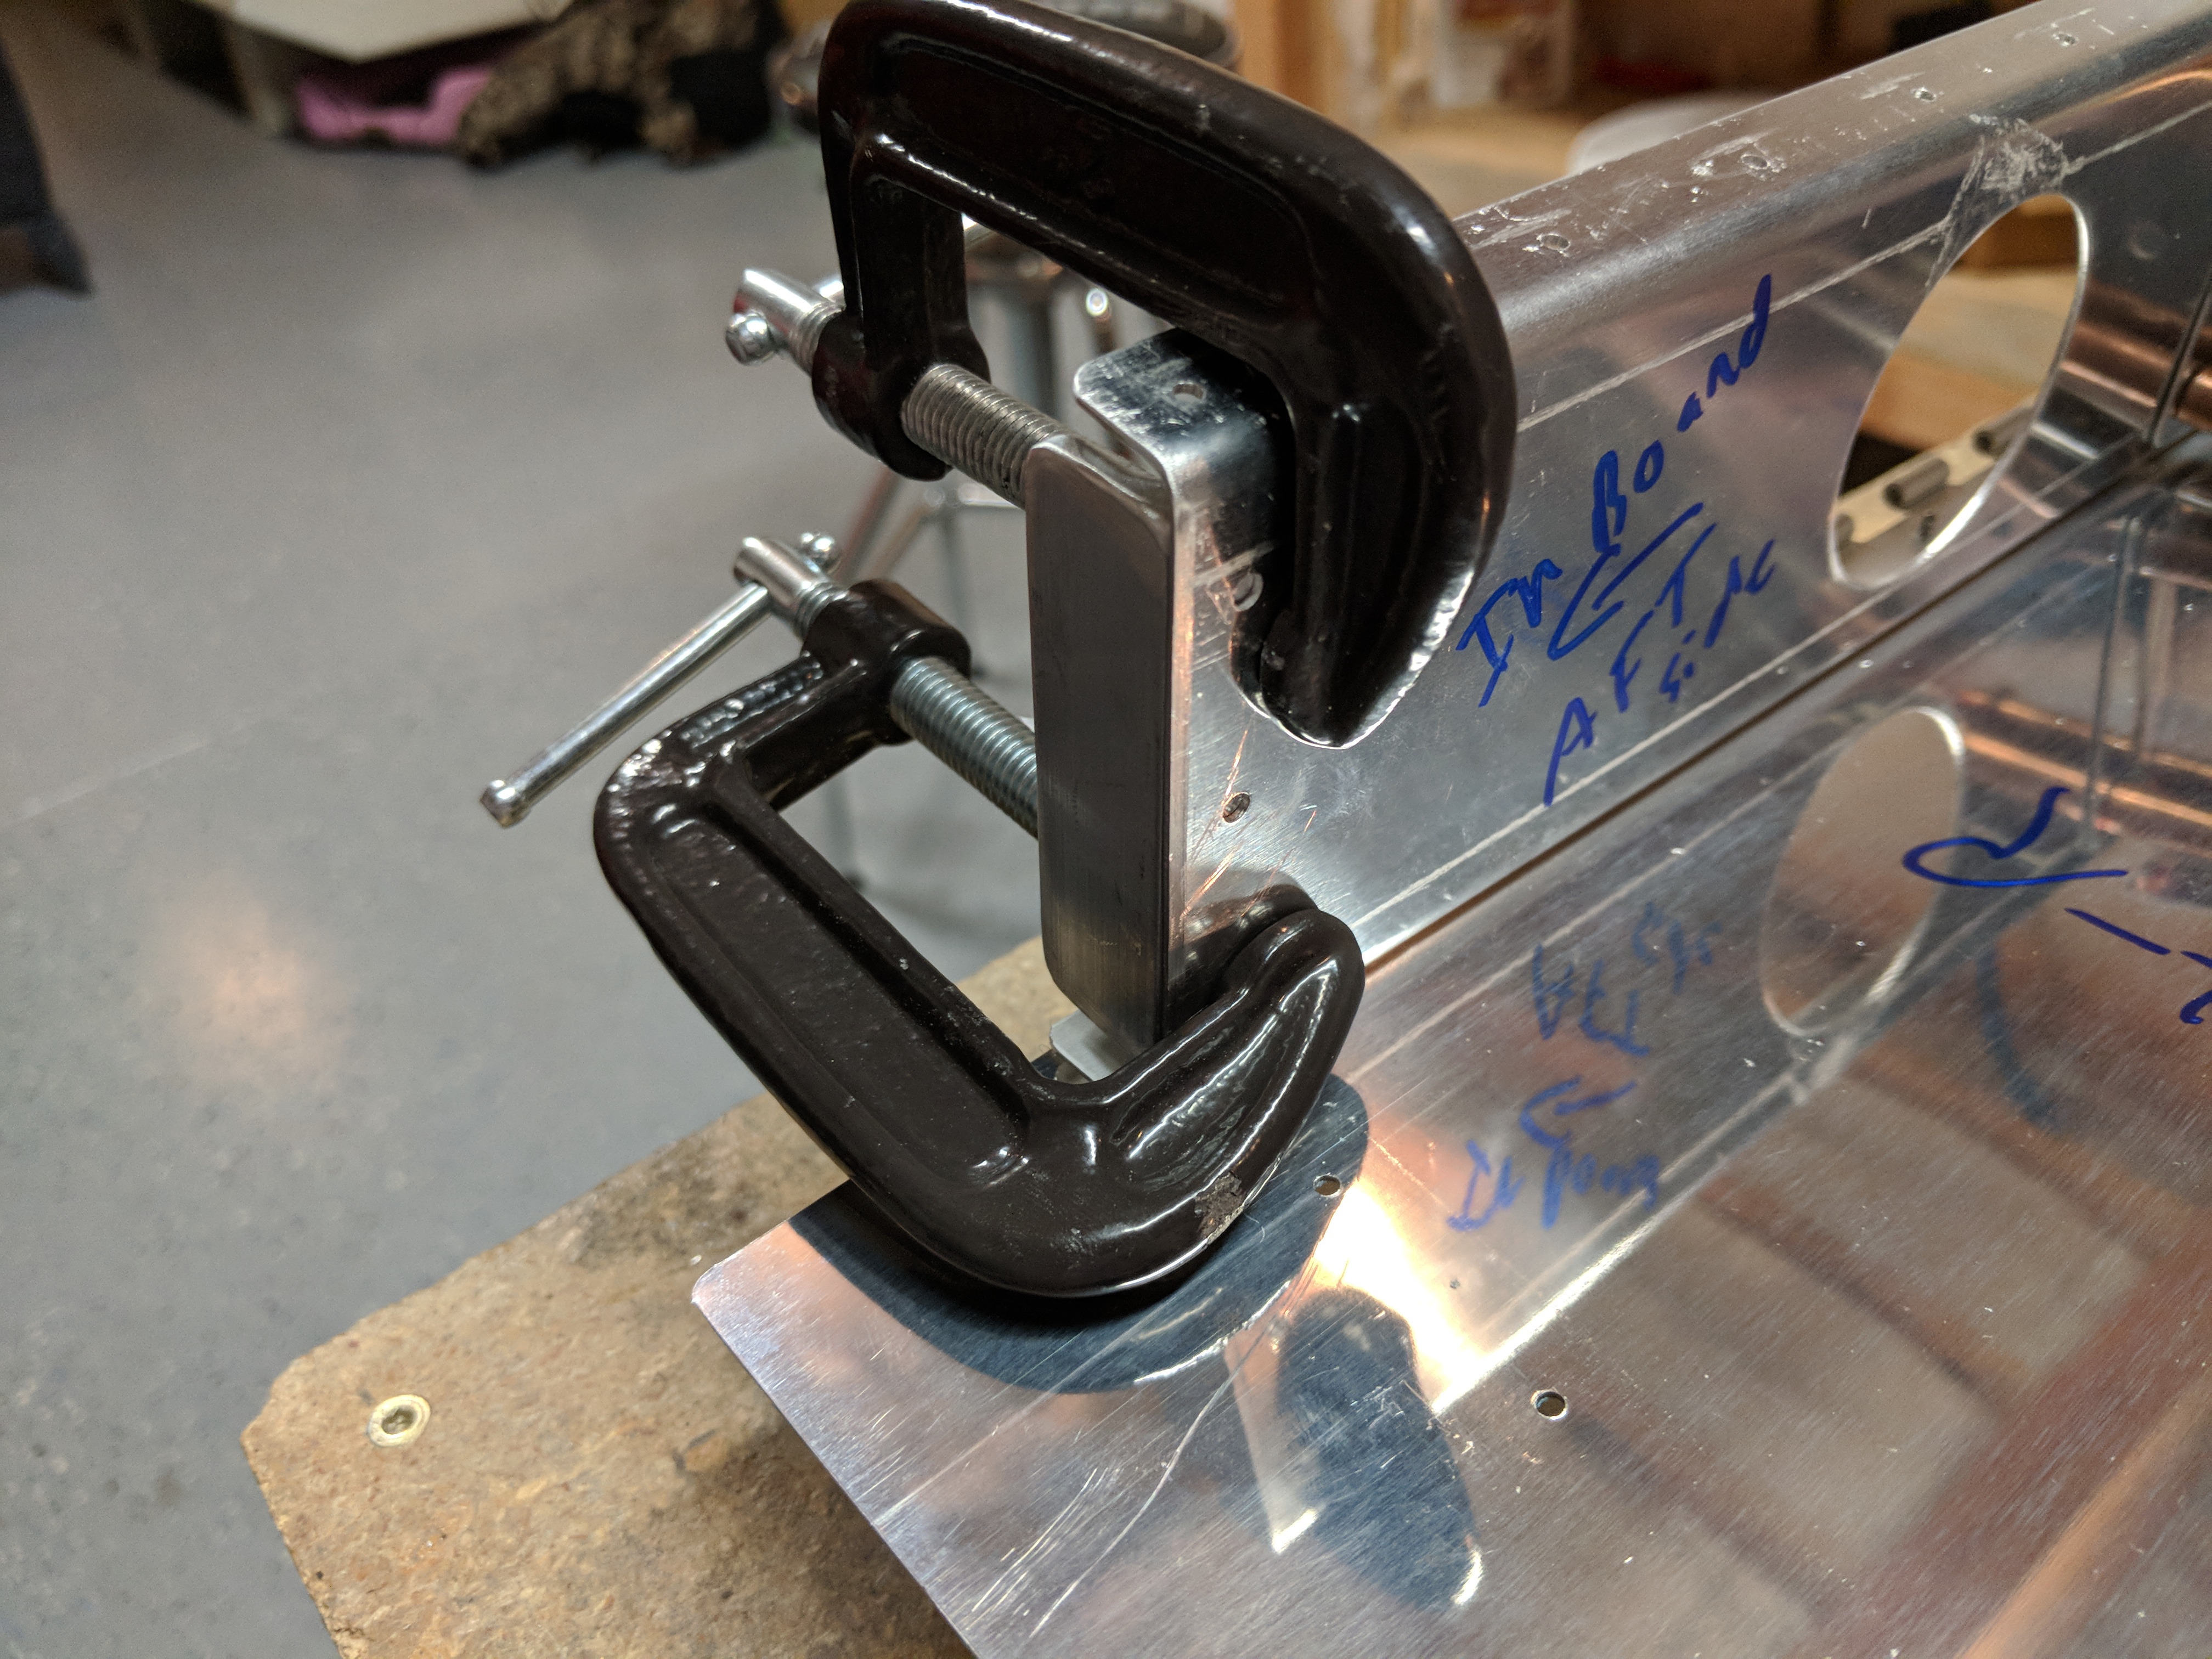
I then used my regular air drill to match drill the holes in the spar web to the doubler while it was still clamped down tightly.
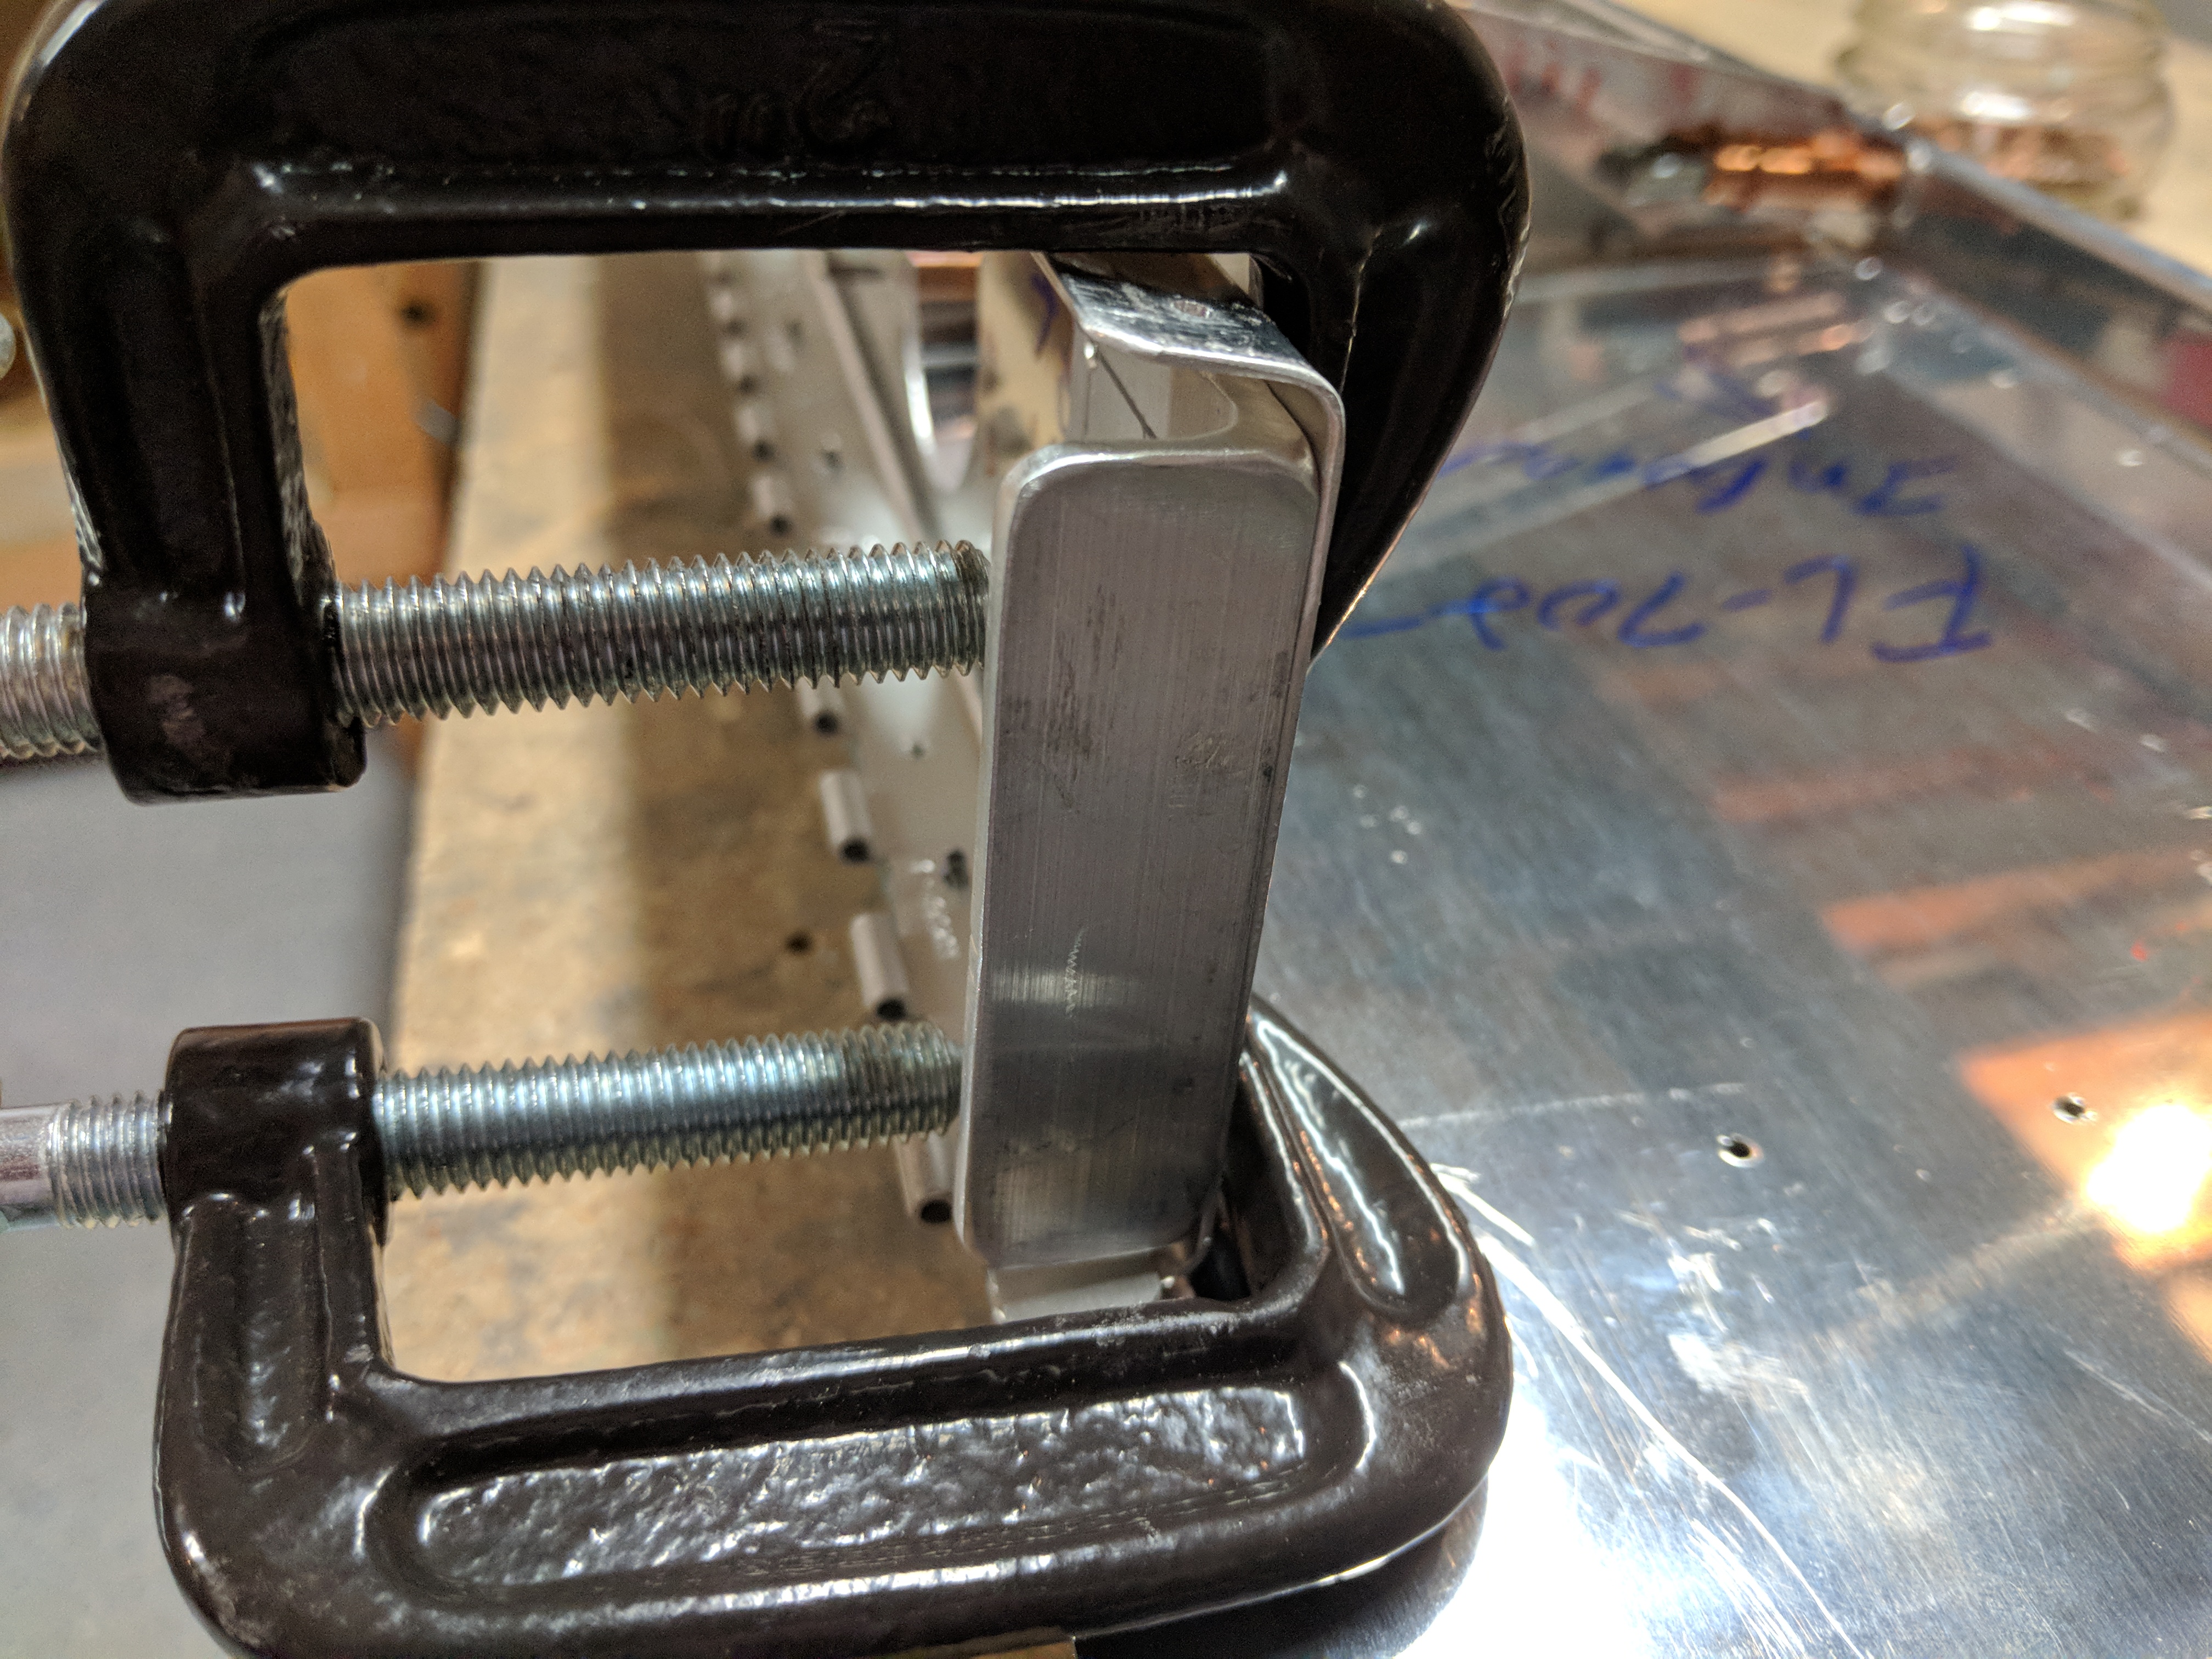
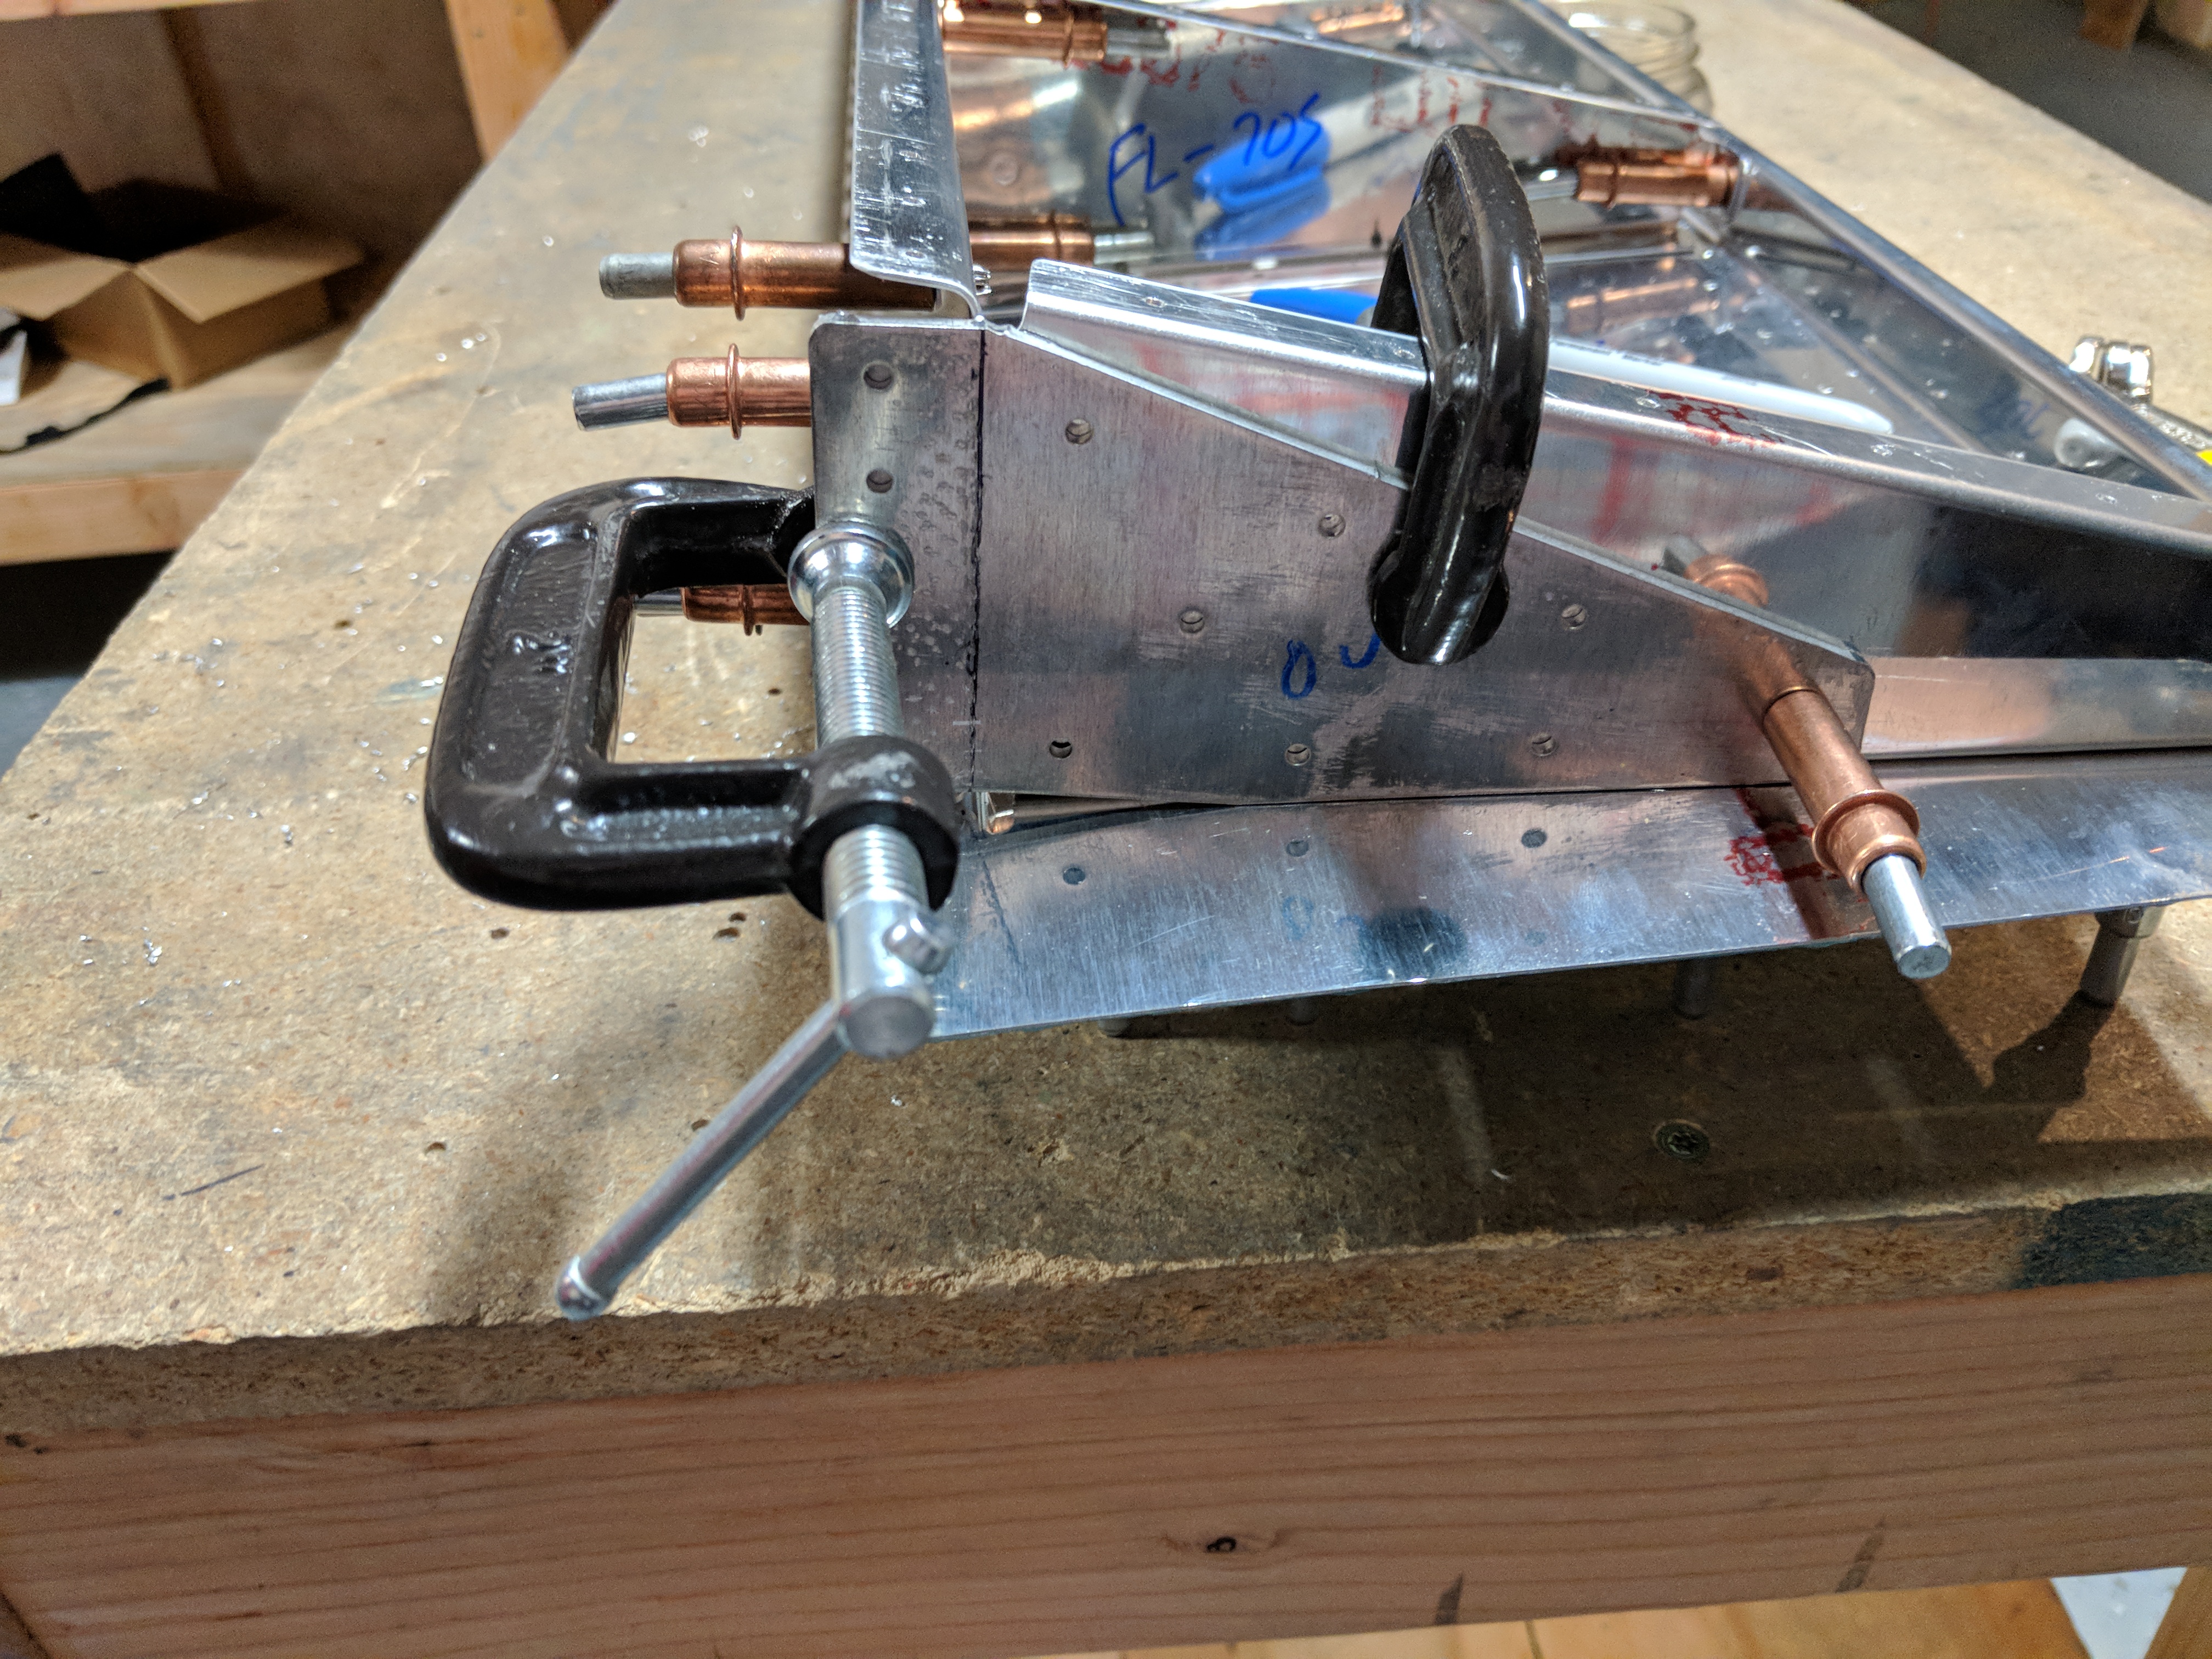
Next up I had to bend the FL-706B doubler plate to match the angle that the FL-704-L end rib attaches, which is supposed to be about 6 degrees. Like every other builder, I just made sure my FL-704 was securely clecoed to the skeleton, and the skins and then did a repeating cycle of test fitting the FL-406B doubler and bending it a little more in the vise and going back and forth until I was happy with the bend.

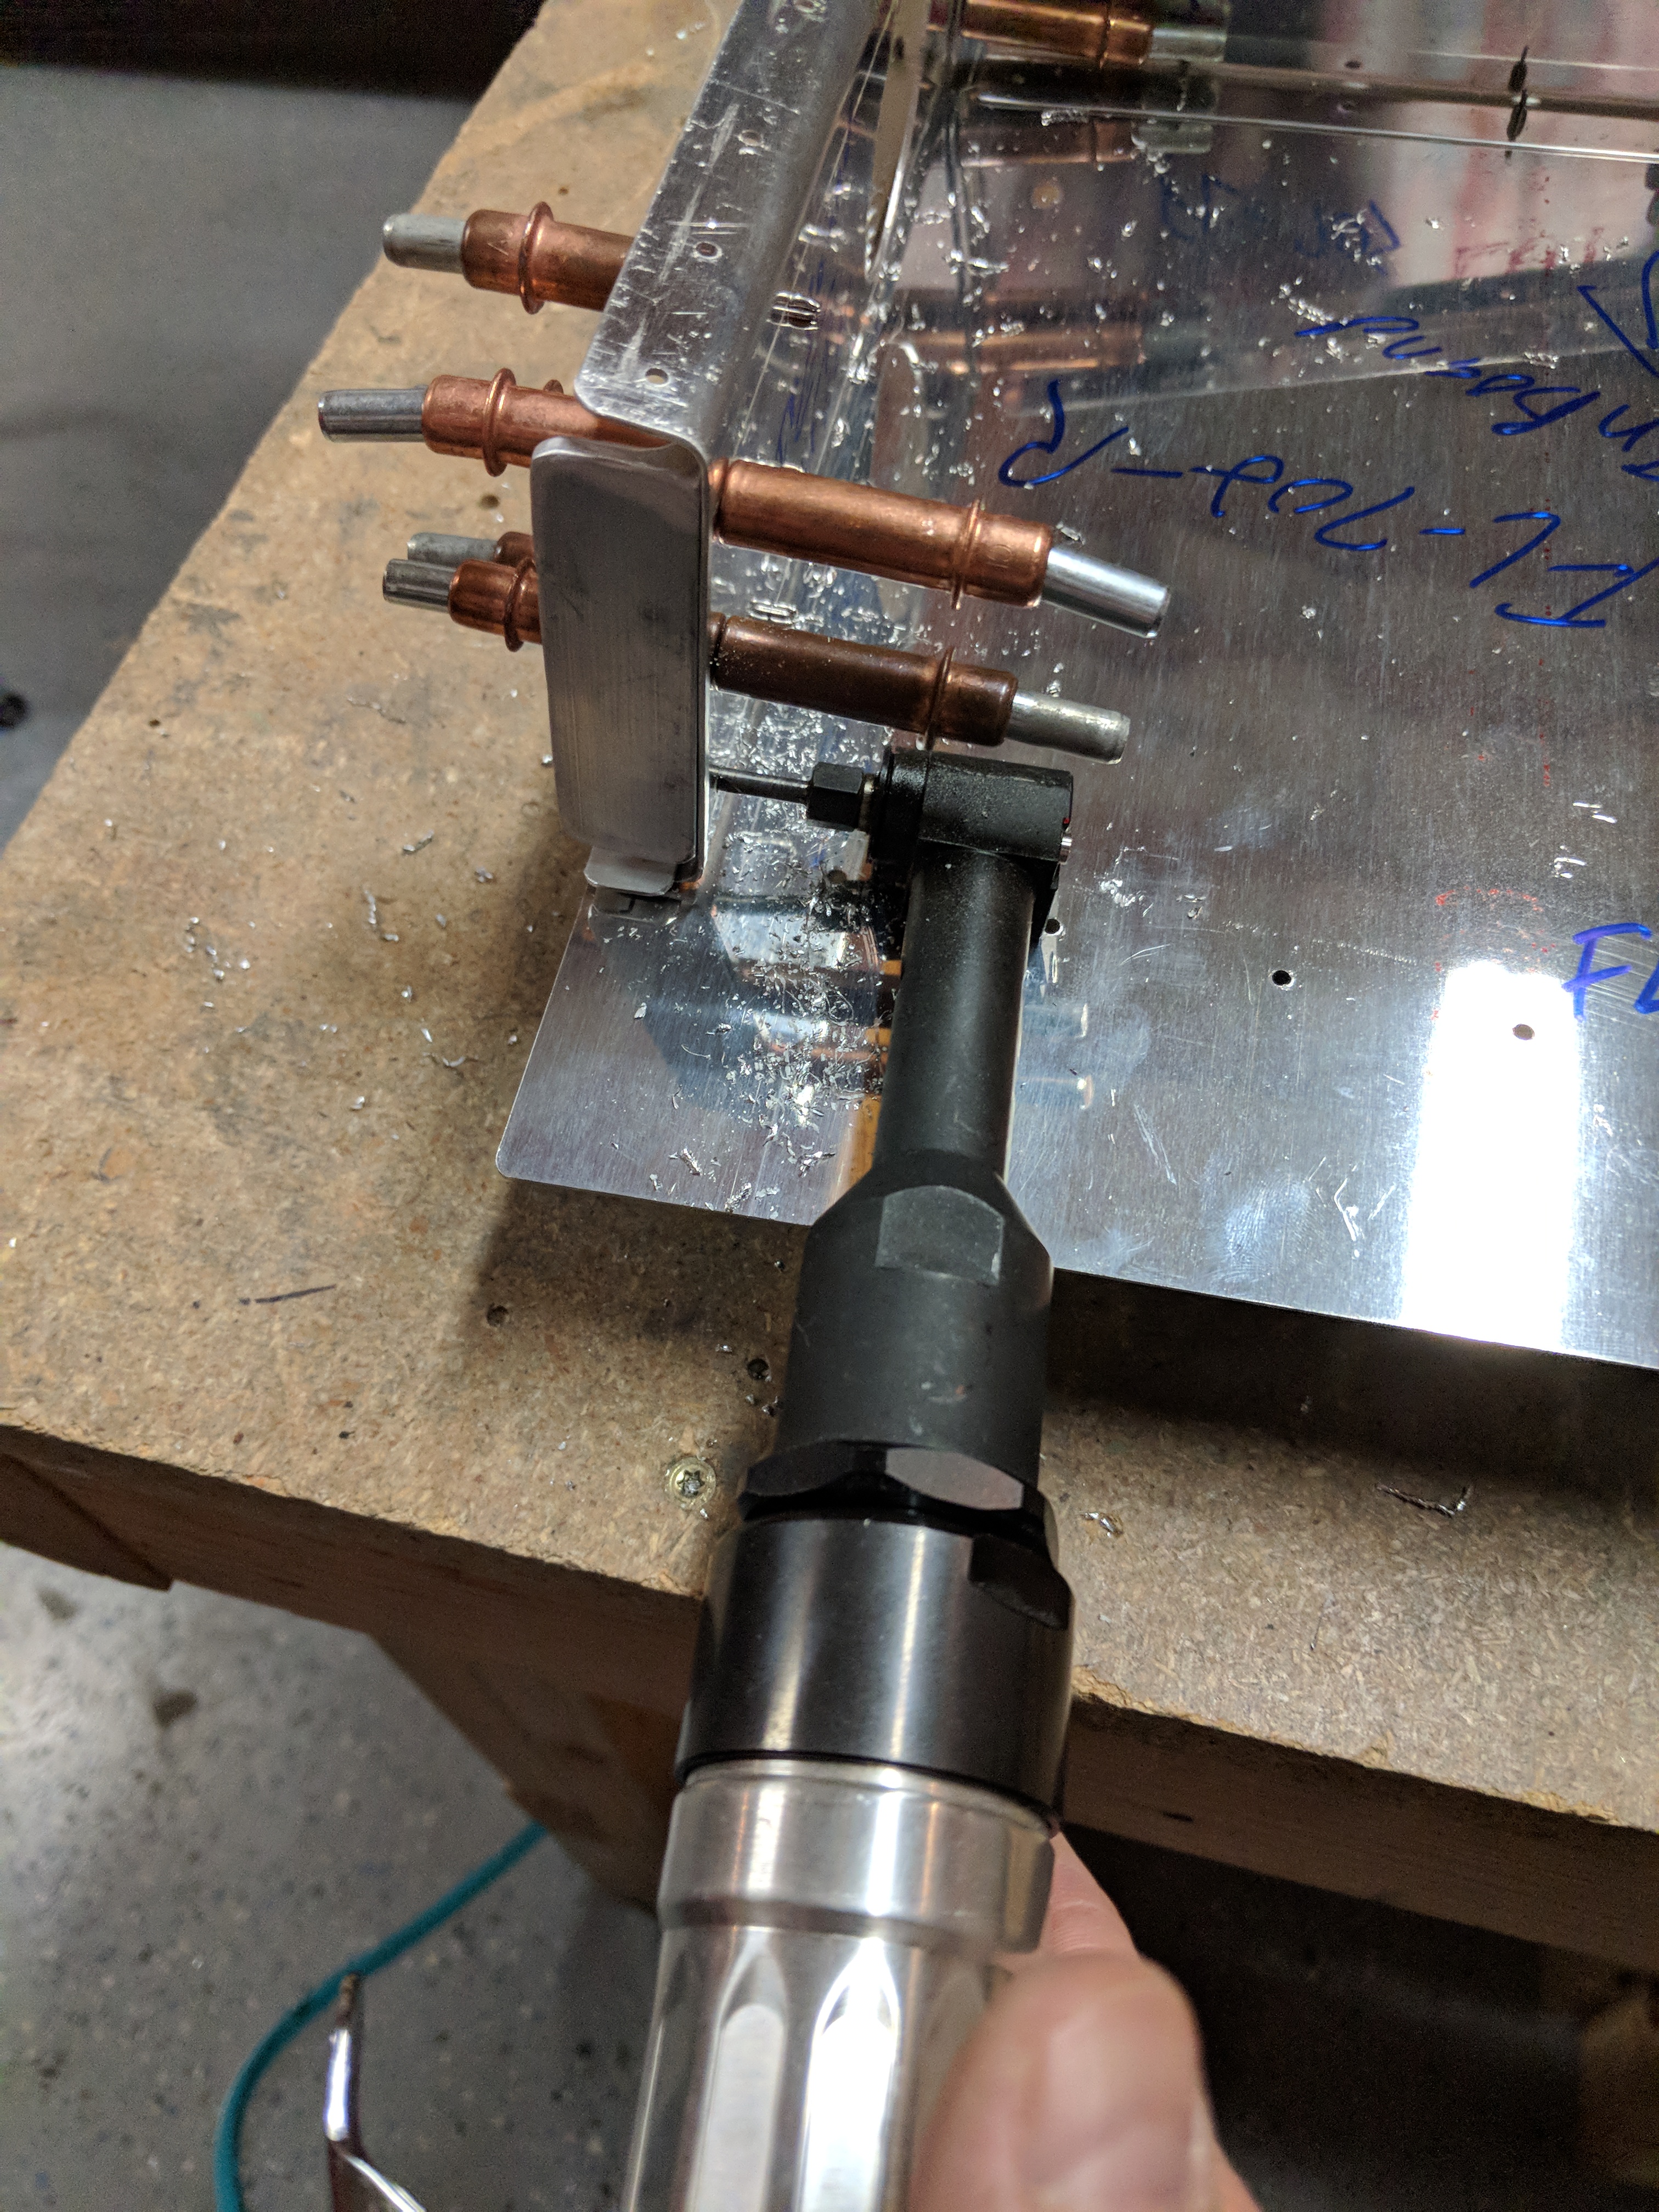
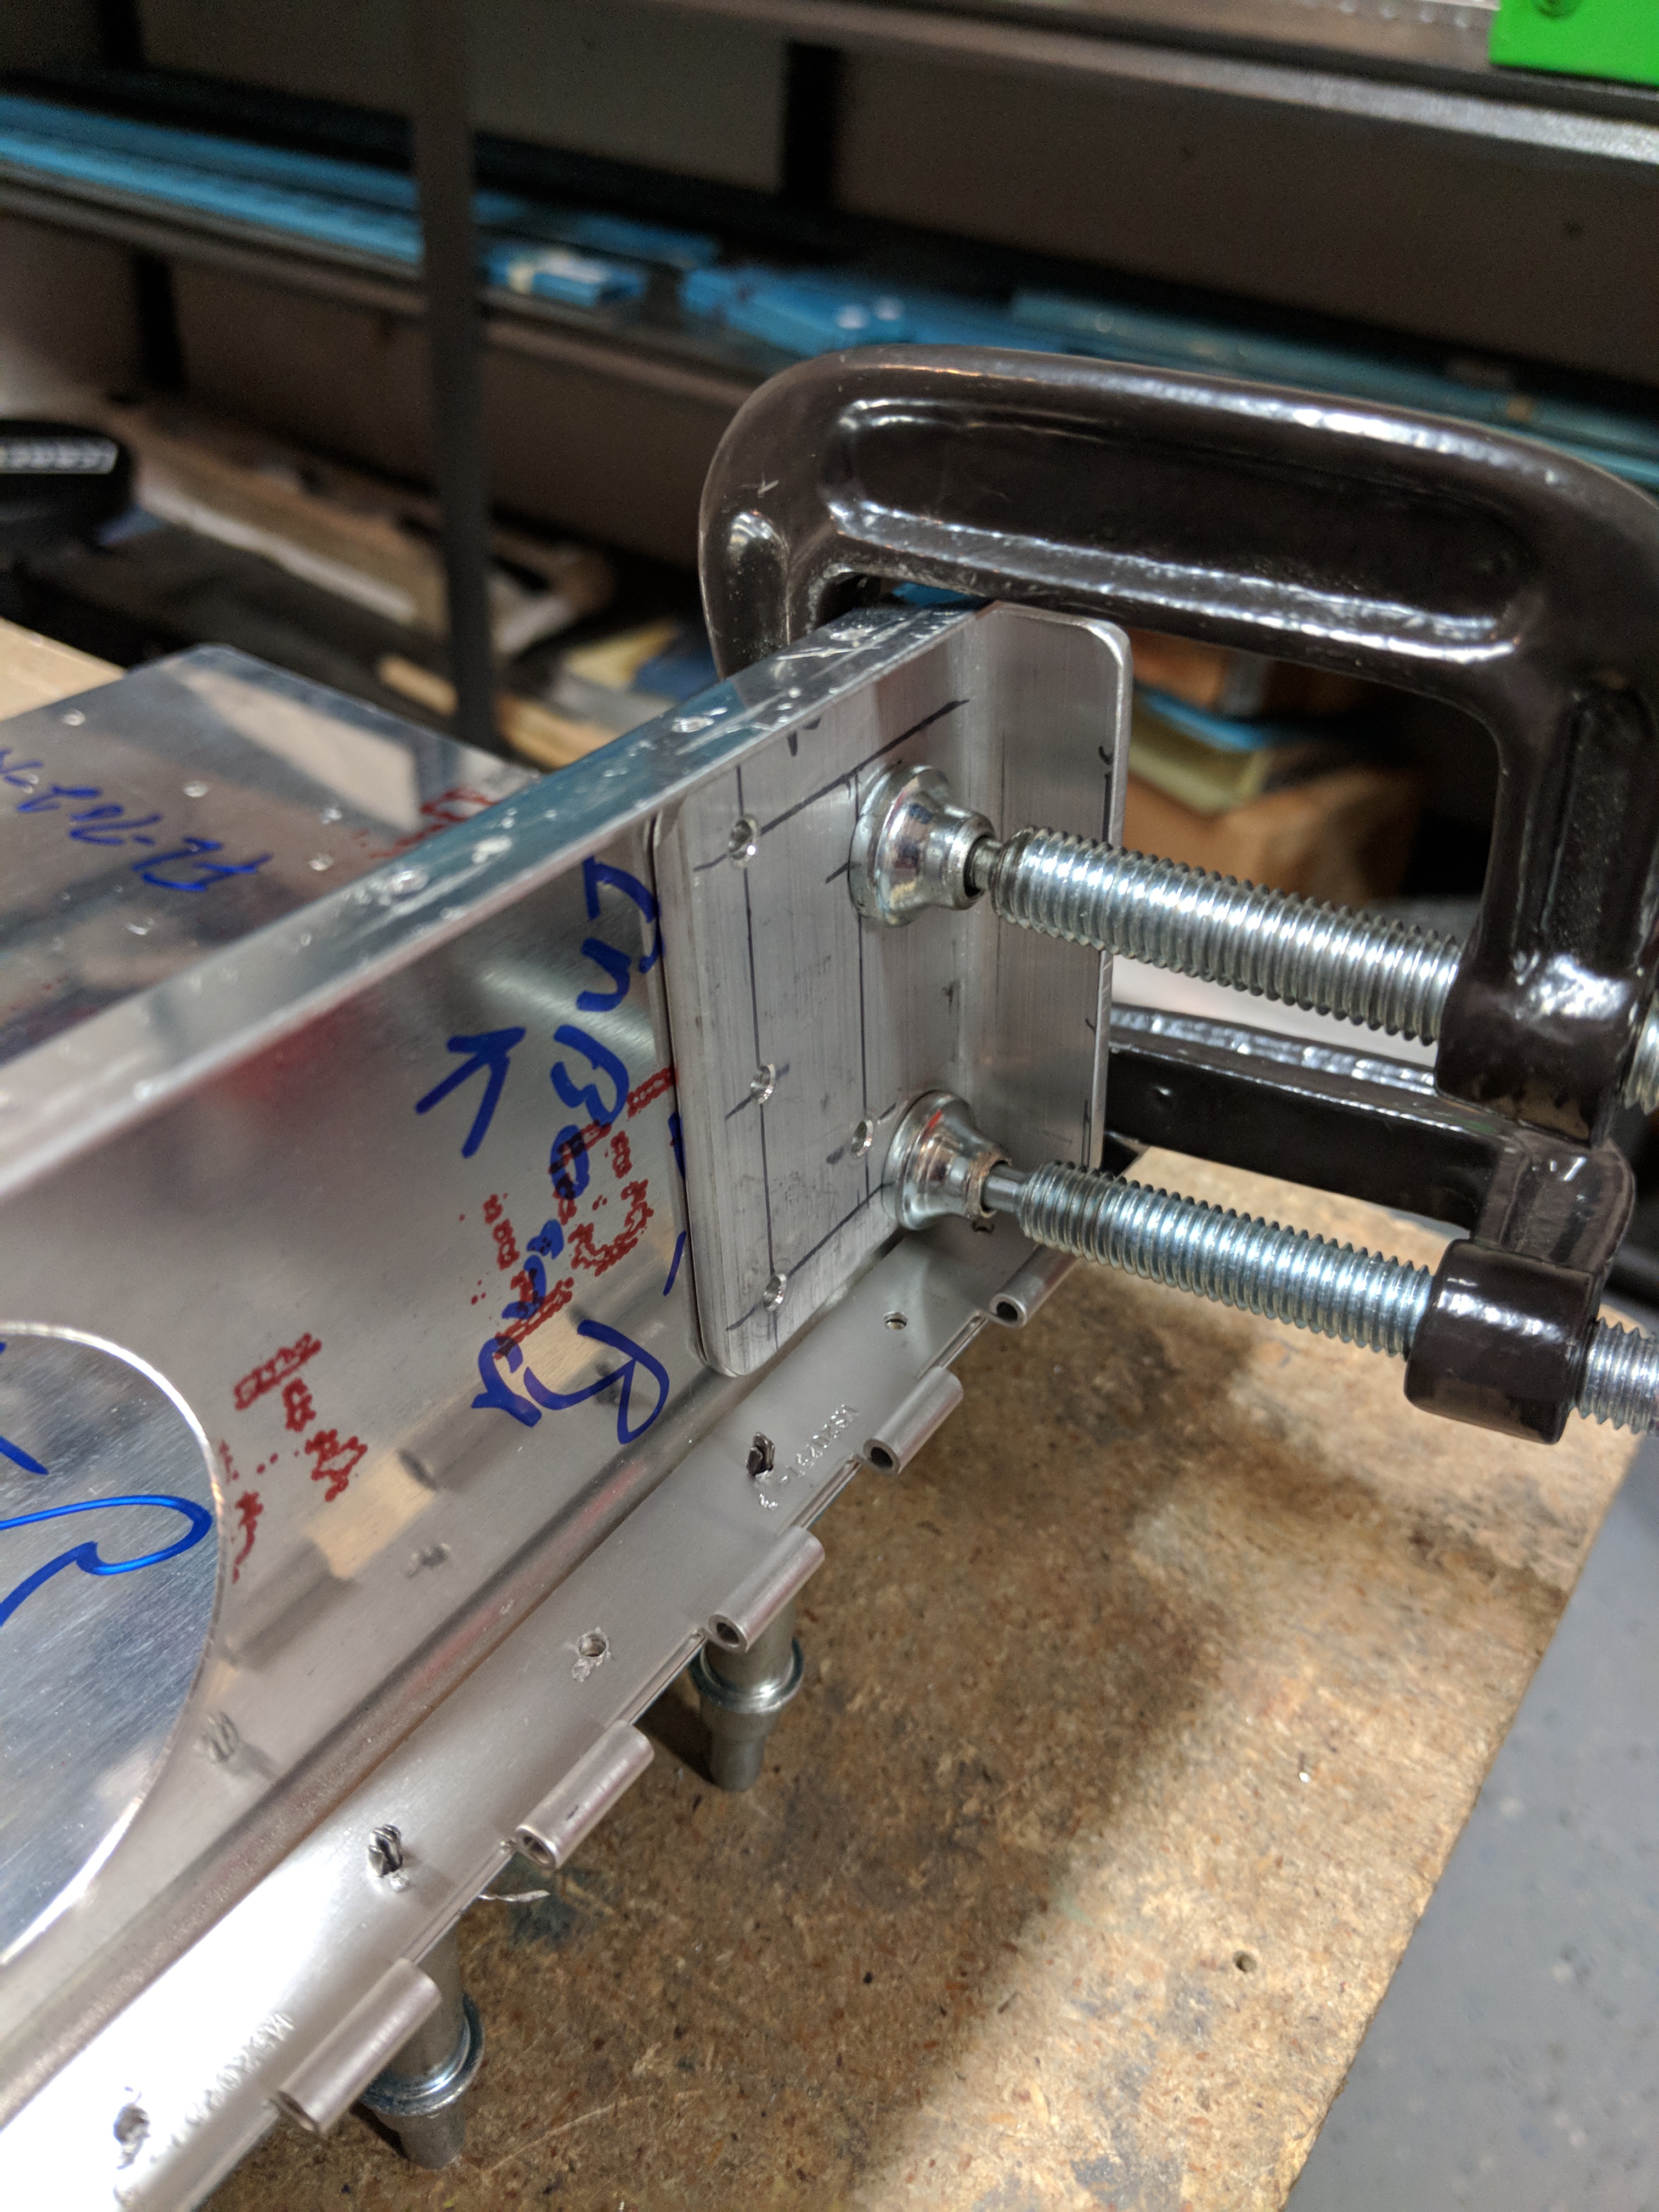
I use blocks of wood and big ole C-clamp to bend the thick aluminum in the vise, to help keep the piece from getting damaged and to make sure the bend occured at the bend line and no where else. Once I had the bend where I wanted, I clecoed it to to the FL-704-L end rib and started match drilling it to the end rib and the FL-706A doubler. Using a couple of C-clamps really helped hold the pieces together while I was drilling.

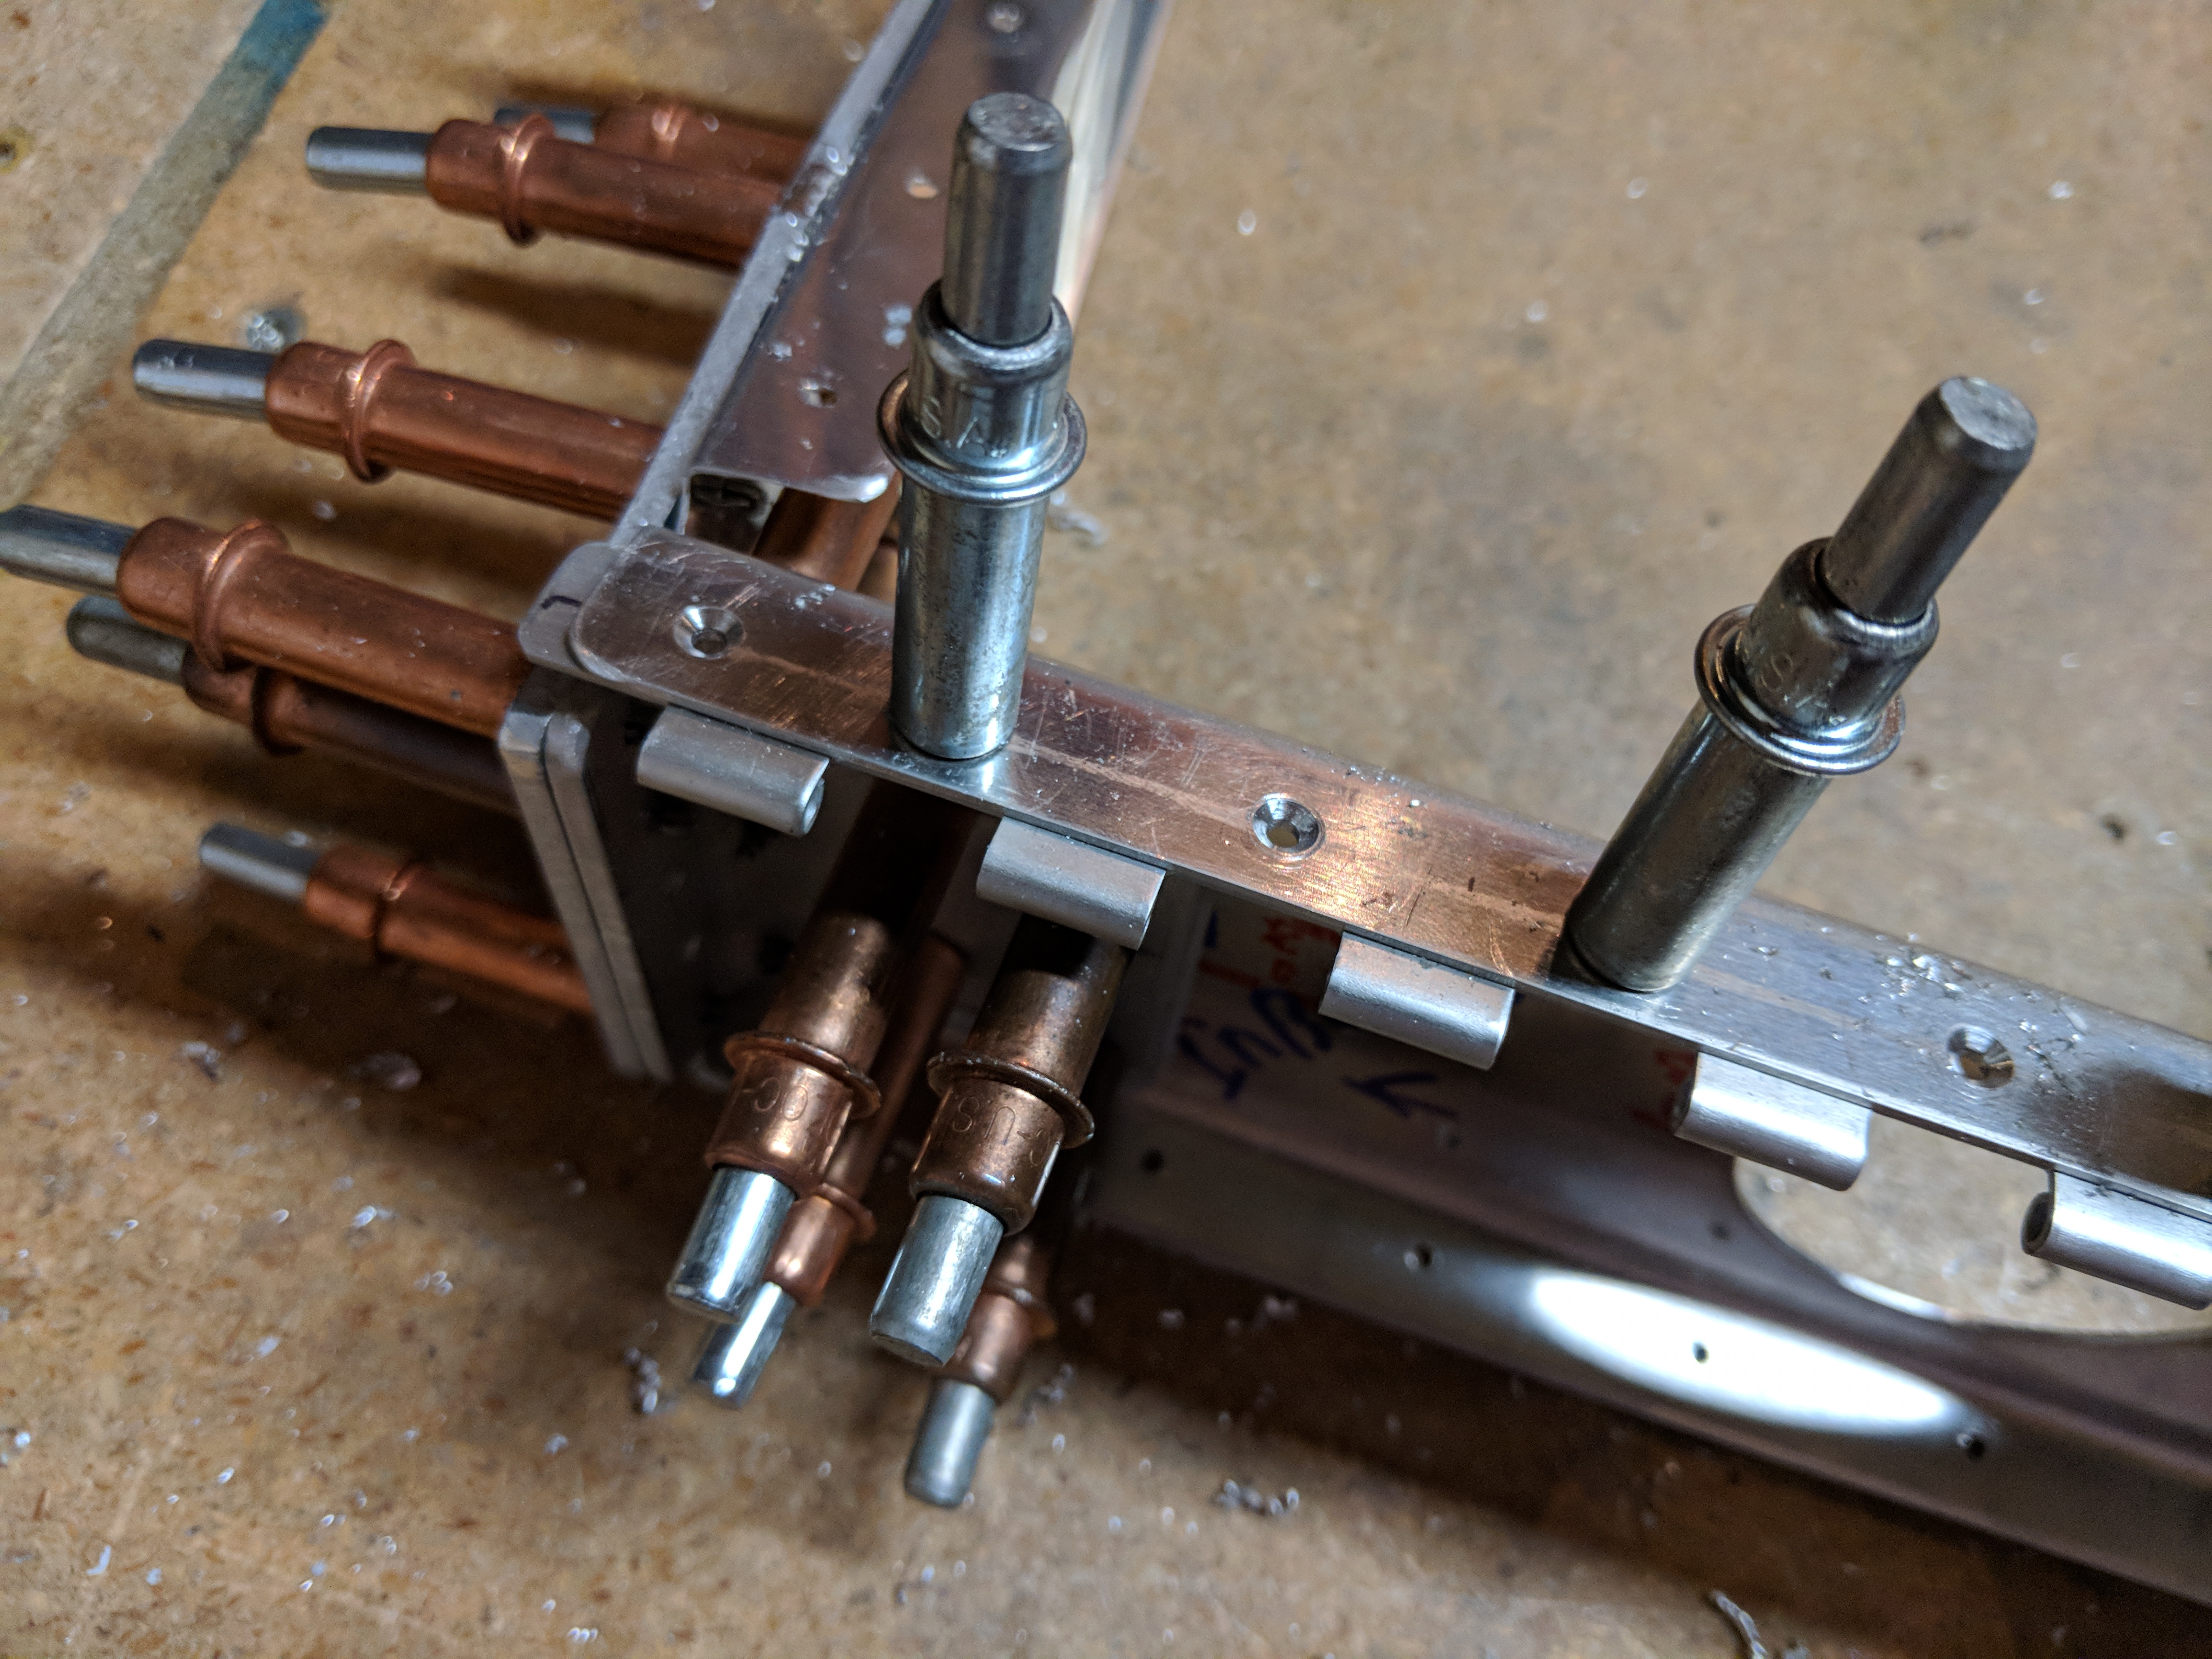
The last step of the night was to countersink the bottom flange of the spar. This flange is where the piano hinge attaches on one side, and the skin attaches to the other. The skin gets dimpled, so we need to countersink the spar to accept the dimple in the skin. This avoids having to also dimple the hinge (if we were to dimple the spar). Vans suggests leaving the hinge clecoed on the spar to help guide the countersinks pilot, and this is good advice, it worked well.
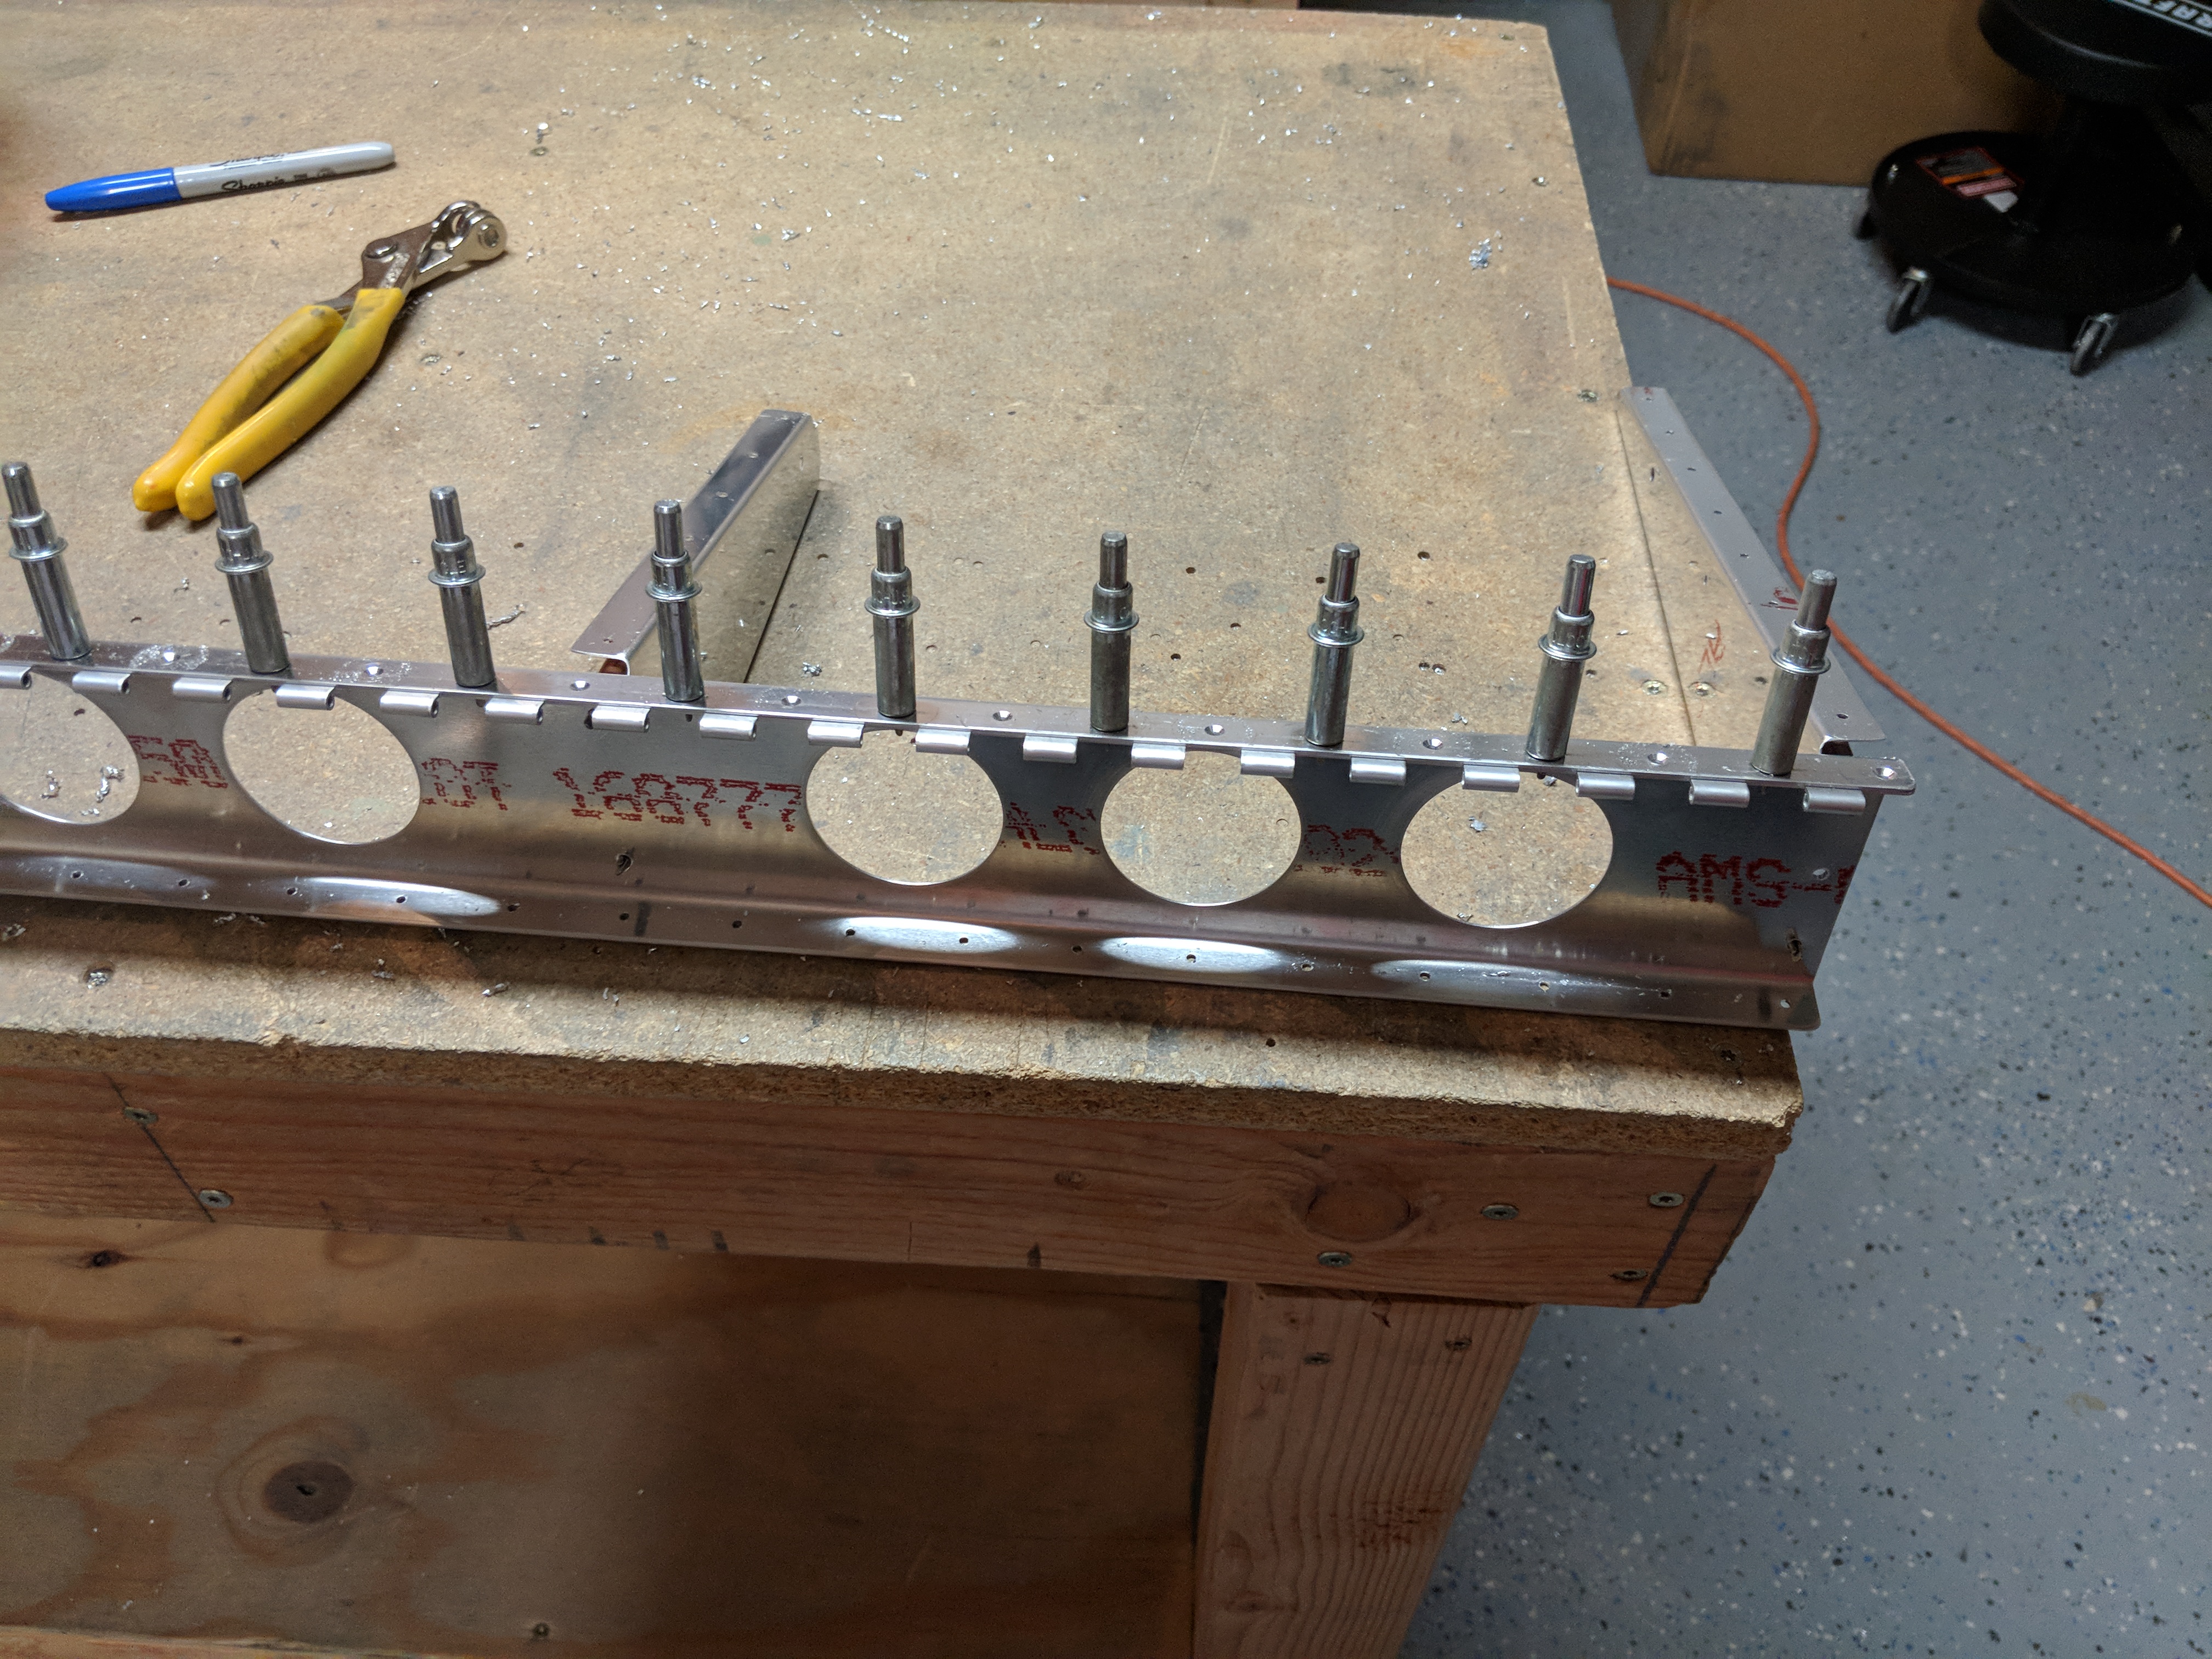
That process was pretty straight forward. Cleco every hole, countersink the exposed holes and then move the clecos and repeat. I would occasionally use a AN426AD3-7 rivet to help me make sure the depth was properly set on my countersink. Once that was done, that pretty much wrapped up this build session. I spent a little over an hour on this, and all thats left for the flaps is to debur the holes, dimple and then prep for priming. Thats work for another session! Heres all the photos from tonight:


Link to the Google Photos: https://photos.app.goo.gl/xdeQH9WA1ZMykFGj1
Hours Worked: 1.25