


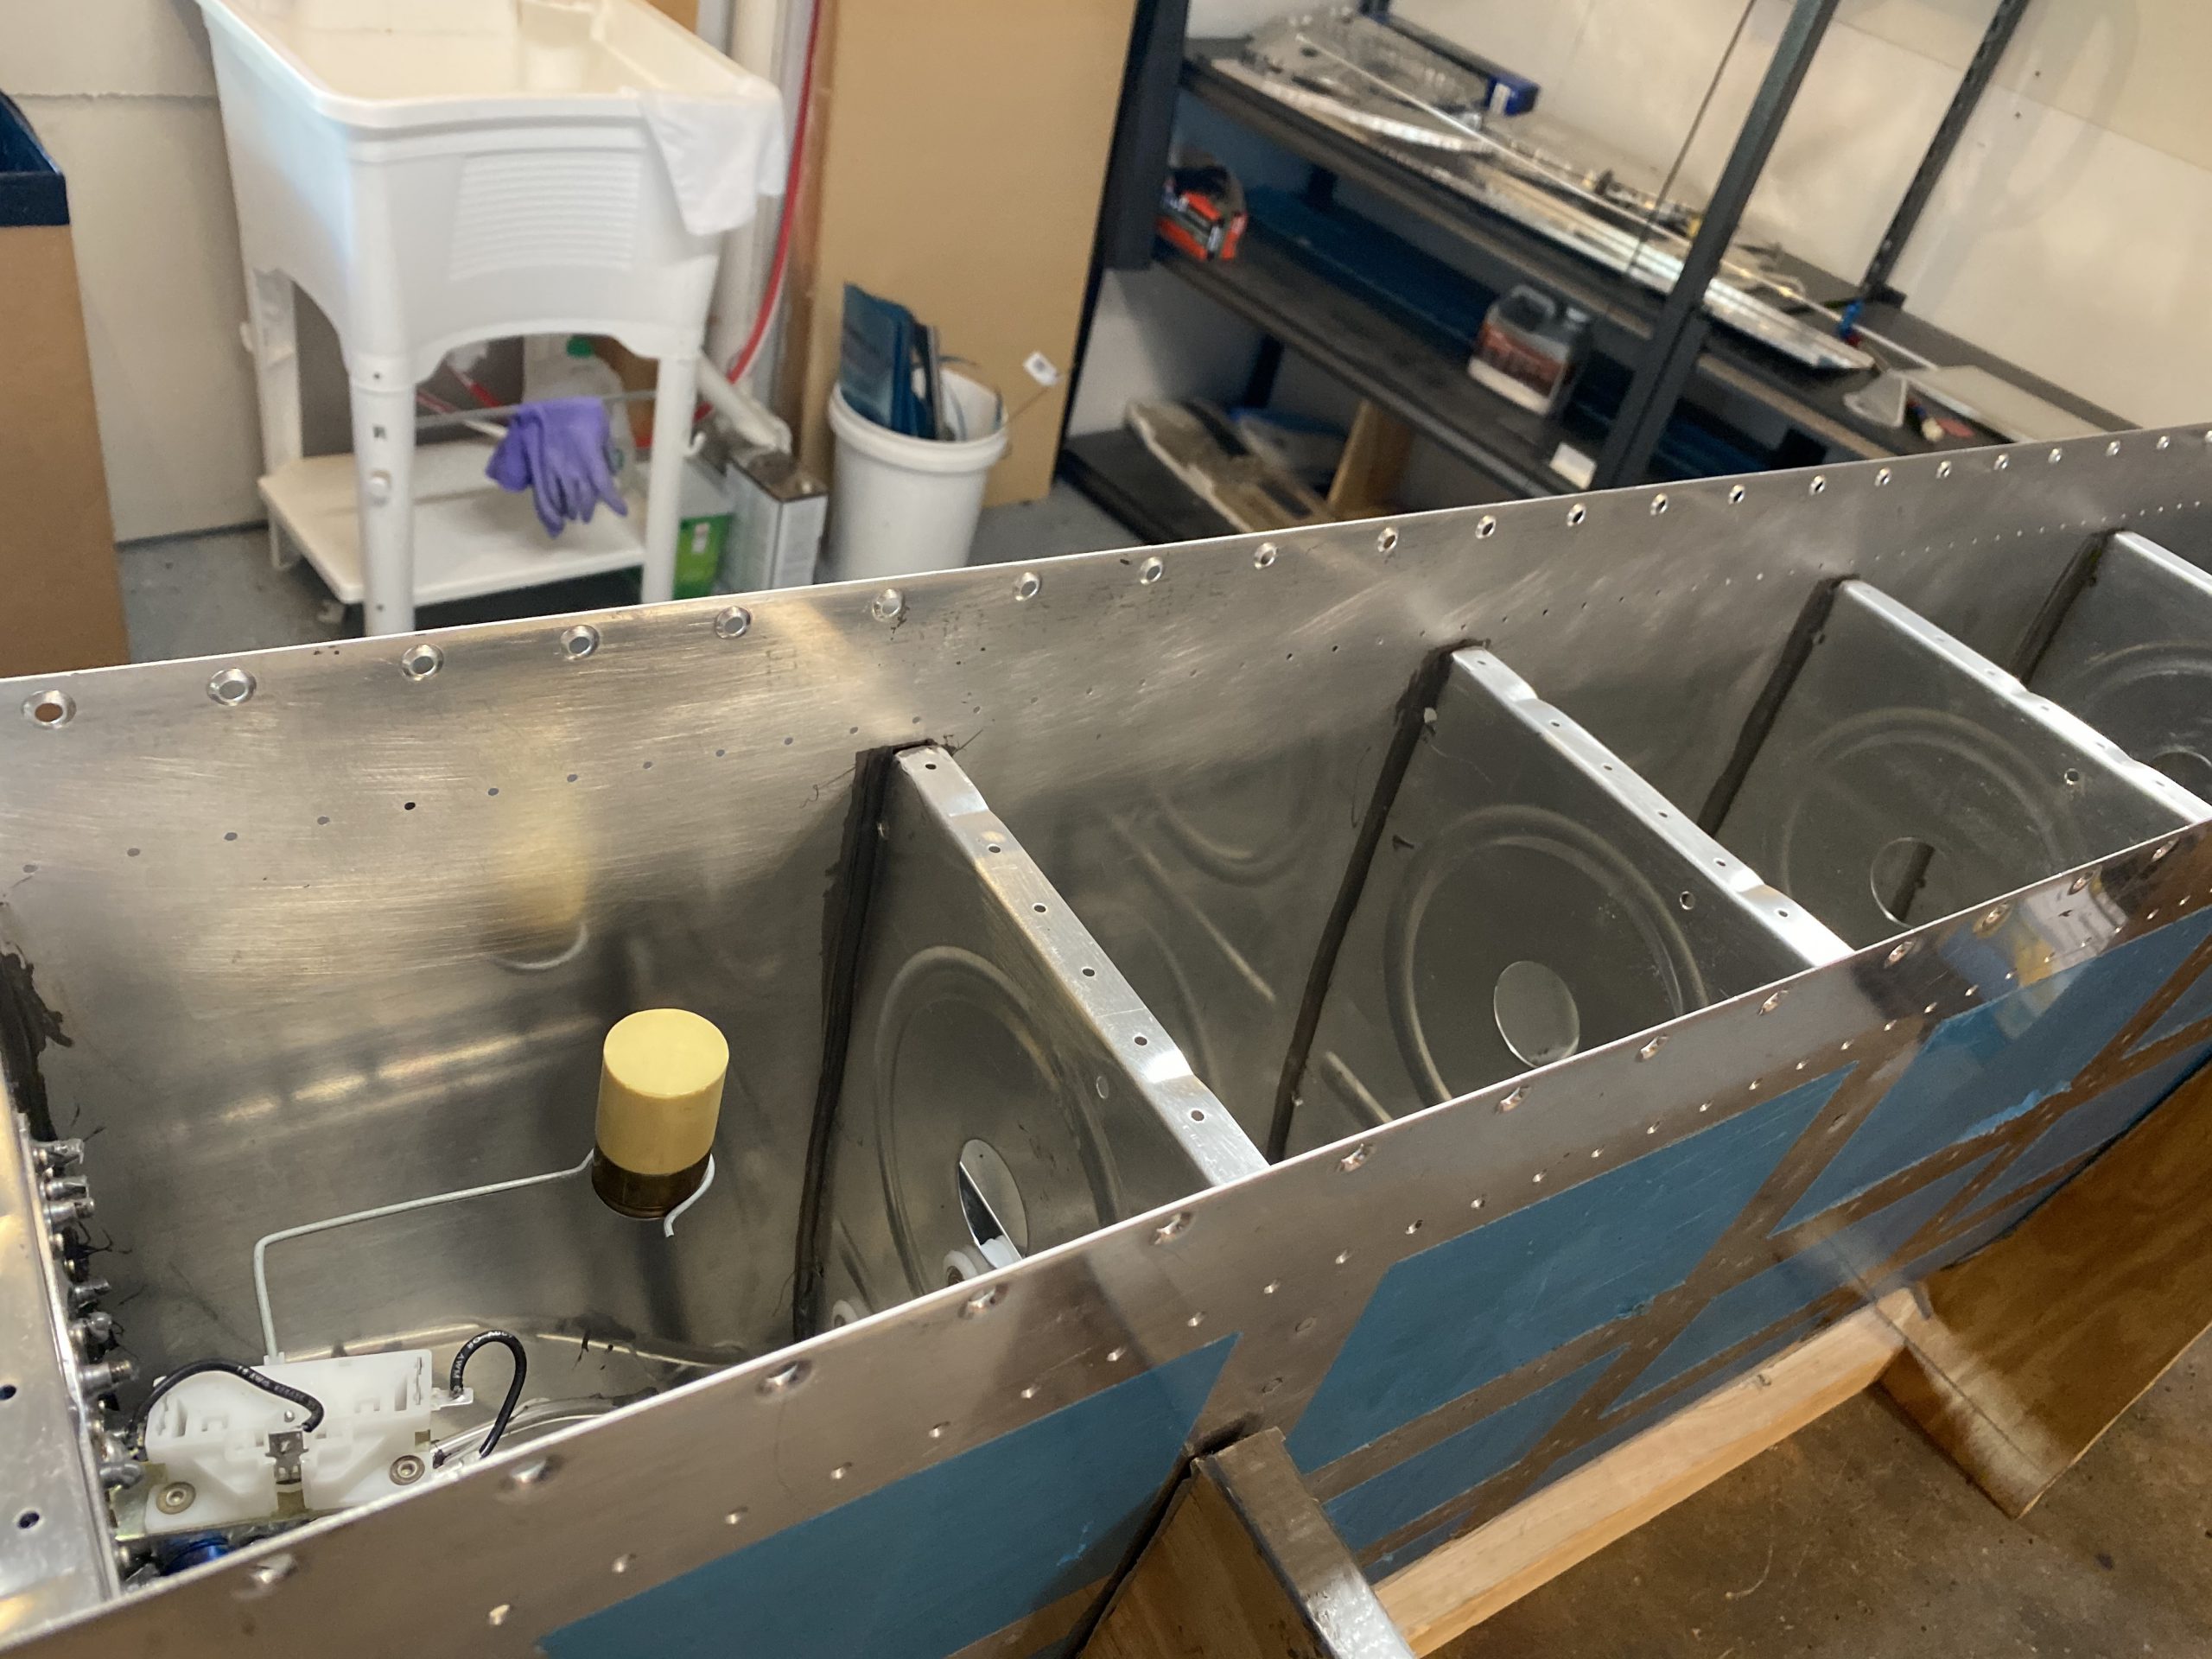
Time to seal up the right tank! My goal tonight was to get this right tank completed and curing so I can do a final leak test on it. I underestimated how much work the baffle would be to be honest. You can’t really stop mid-way once you start on it, you have to keep on until its riveted up and sealed. I did grab a time lapse of the entire process so heres that video.
To start off, I wanted to thoroughly clean the tank and get it ready. So I scrubbed the inside with a clean MEK soaked towel and then scuffed up the flanges of the rear of the ribs, as well we the skin where the baffle rivets. I did the same to the baffle, scuffing it up well. Then I cleaned all these parts with MEK so the sealant would bond nicely. Making sure I had all the sides scuffed and cleaned.
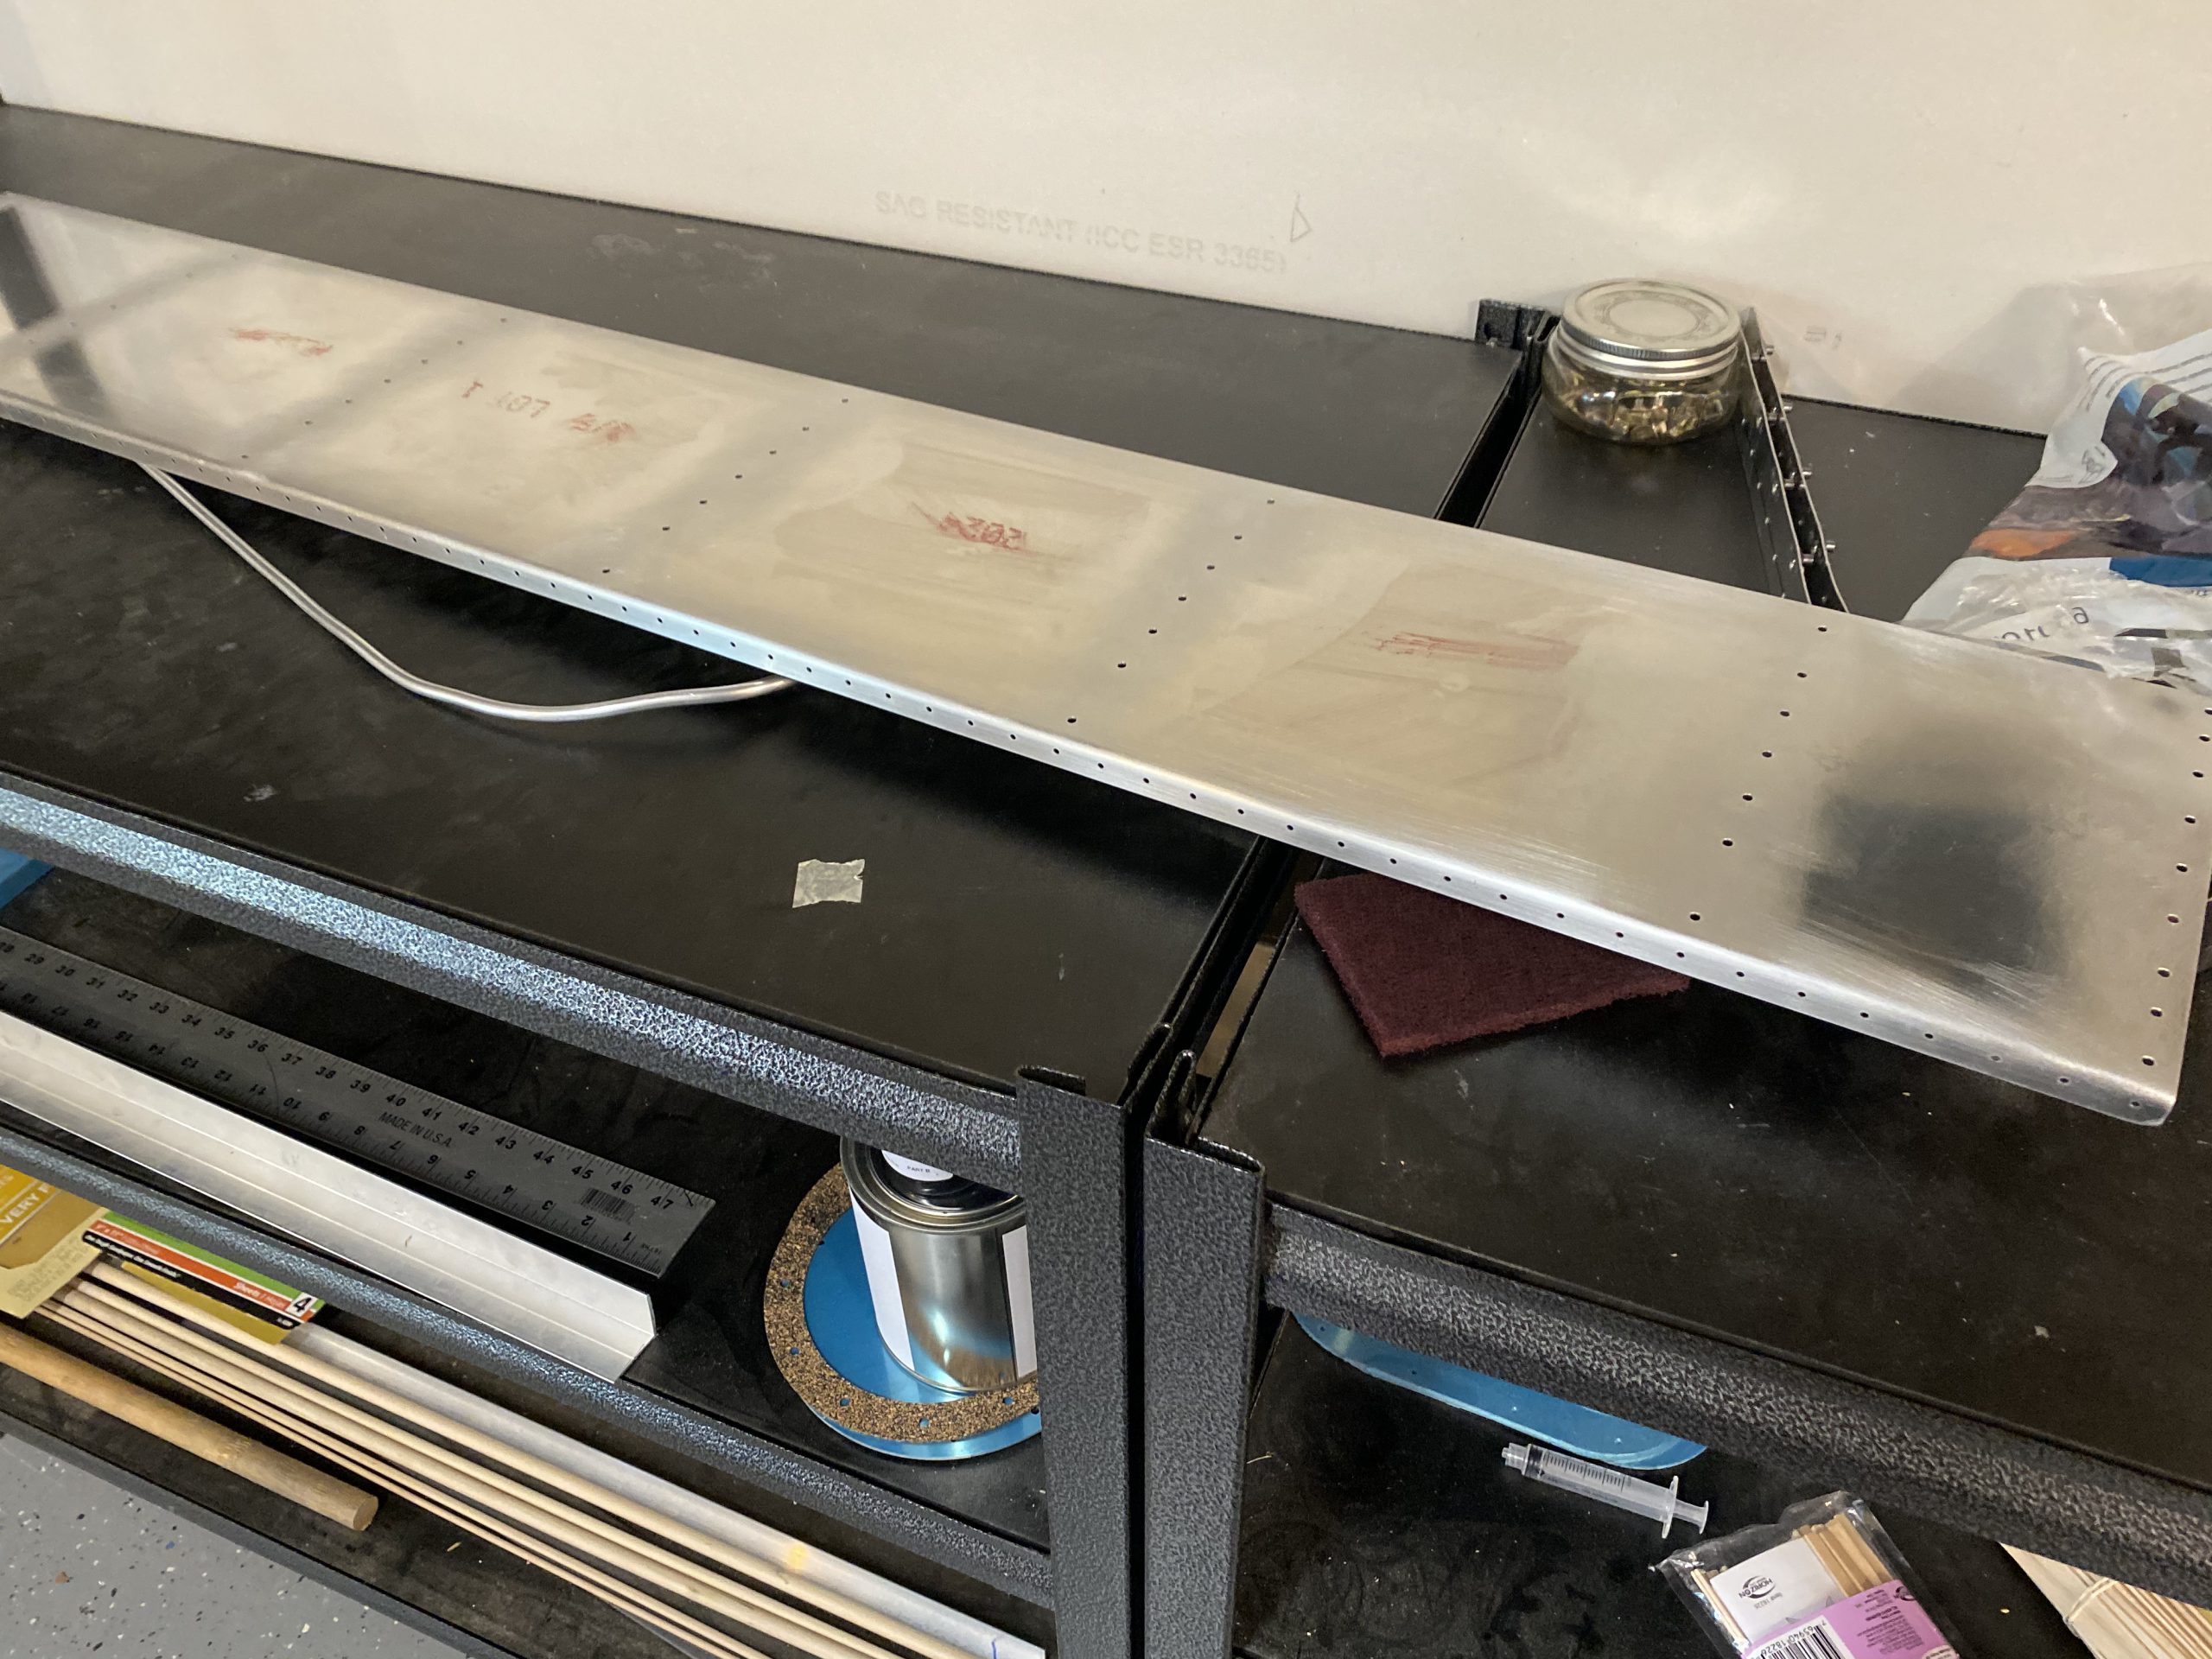
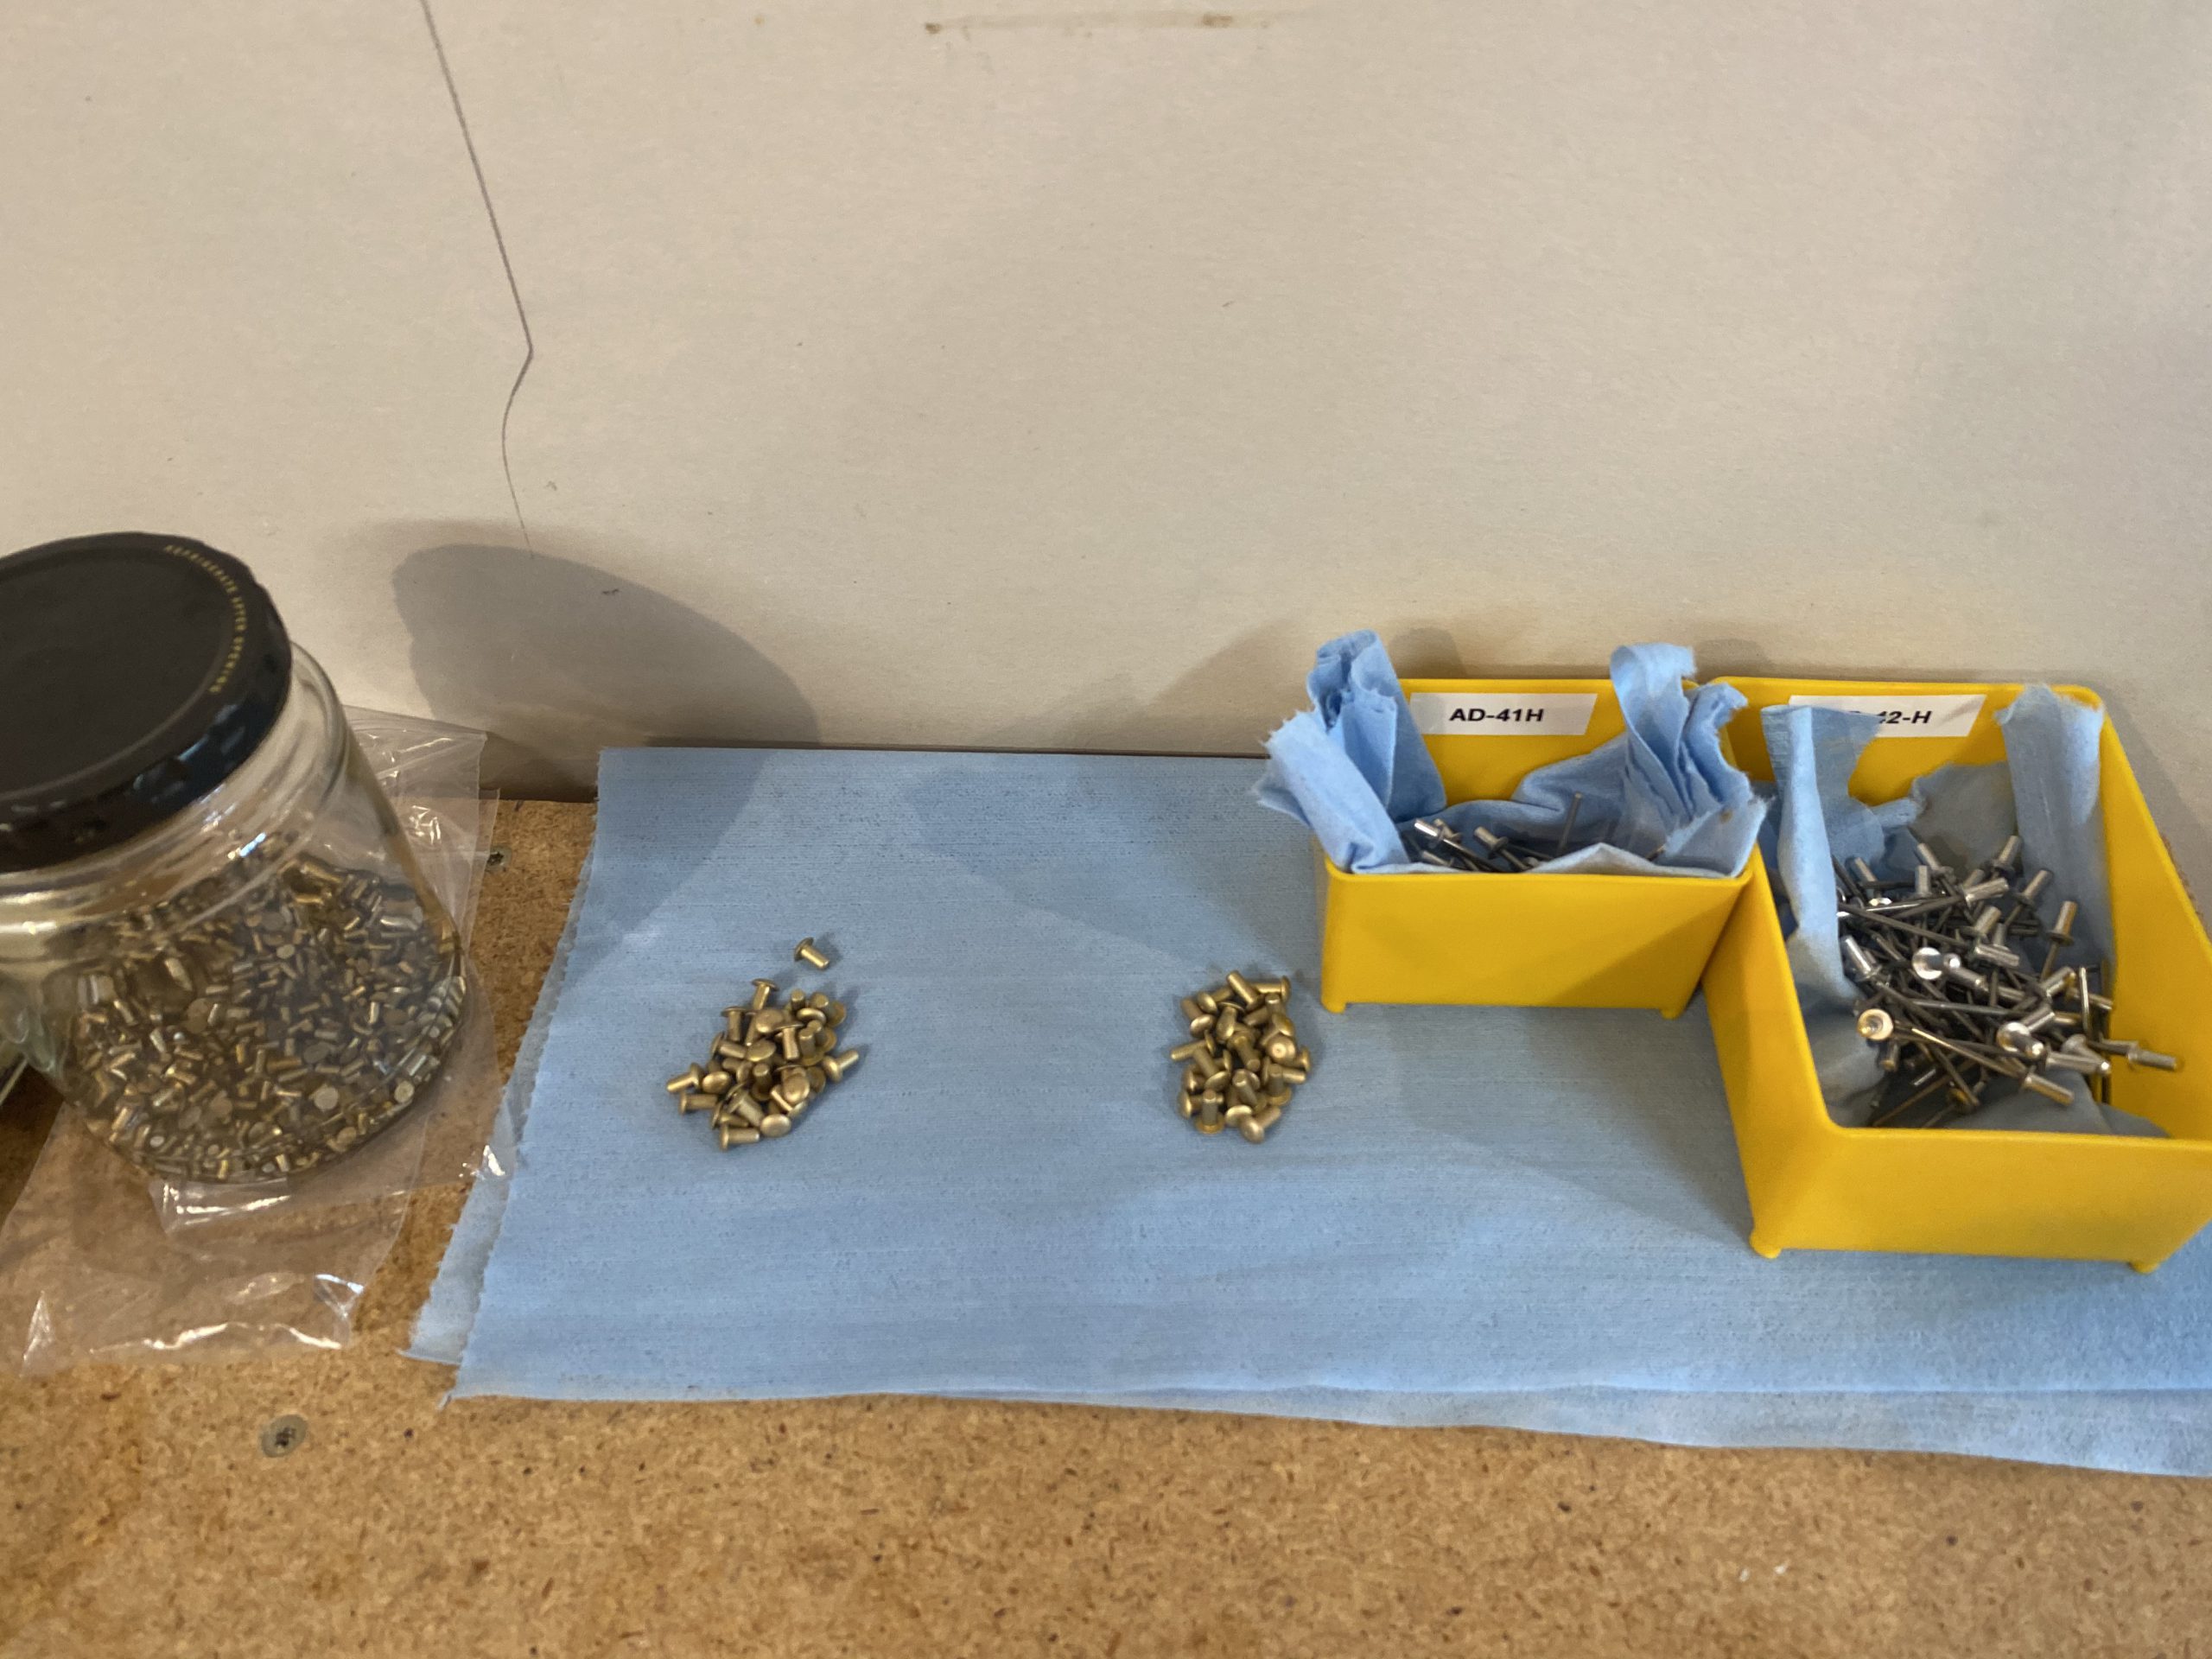
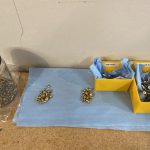
Next I grabbed all the rivets and blind rivets I would need for the session and sloshed them around in MEK to clean off any debris. I needed some AN470 rivets, and the AD-41H and AD-42H pulled / blind rivets. I cleaned them off then laid them on a towel to dry off. While they were drying, I got the area ready for sealant, and mixed up a batch of 100 grams of sealant.
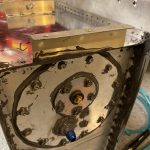
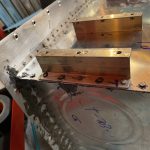
And here is where I failed to get photos again. My hands were gloved, and I had sealant that could get everywhere. But, I used the semco gun and a 2.5 ounce cartride, stuffed it full of 100 grams of sealant, and then laid a bead of sealant on the skin, just ahead of the rivet line where the baffle goes. Then I laid a bead along the aft flanges of all the ribs, making sure I put some big globs in all 4 outside corners.
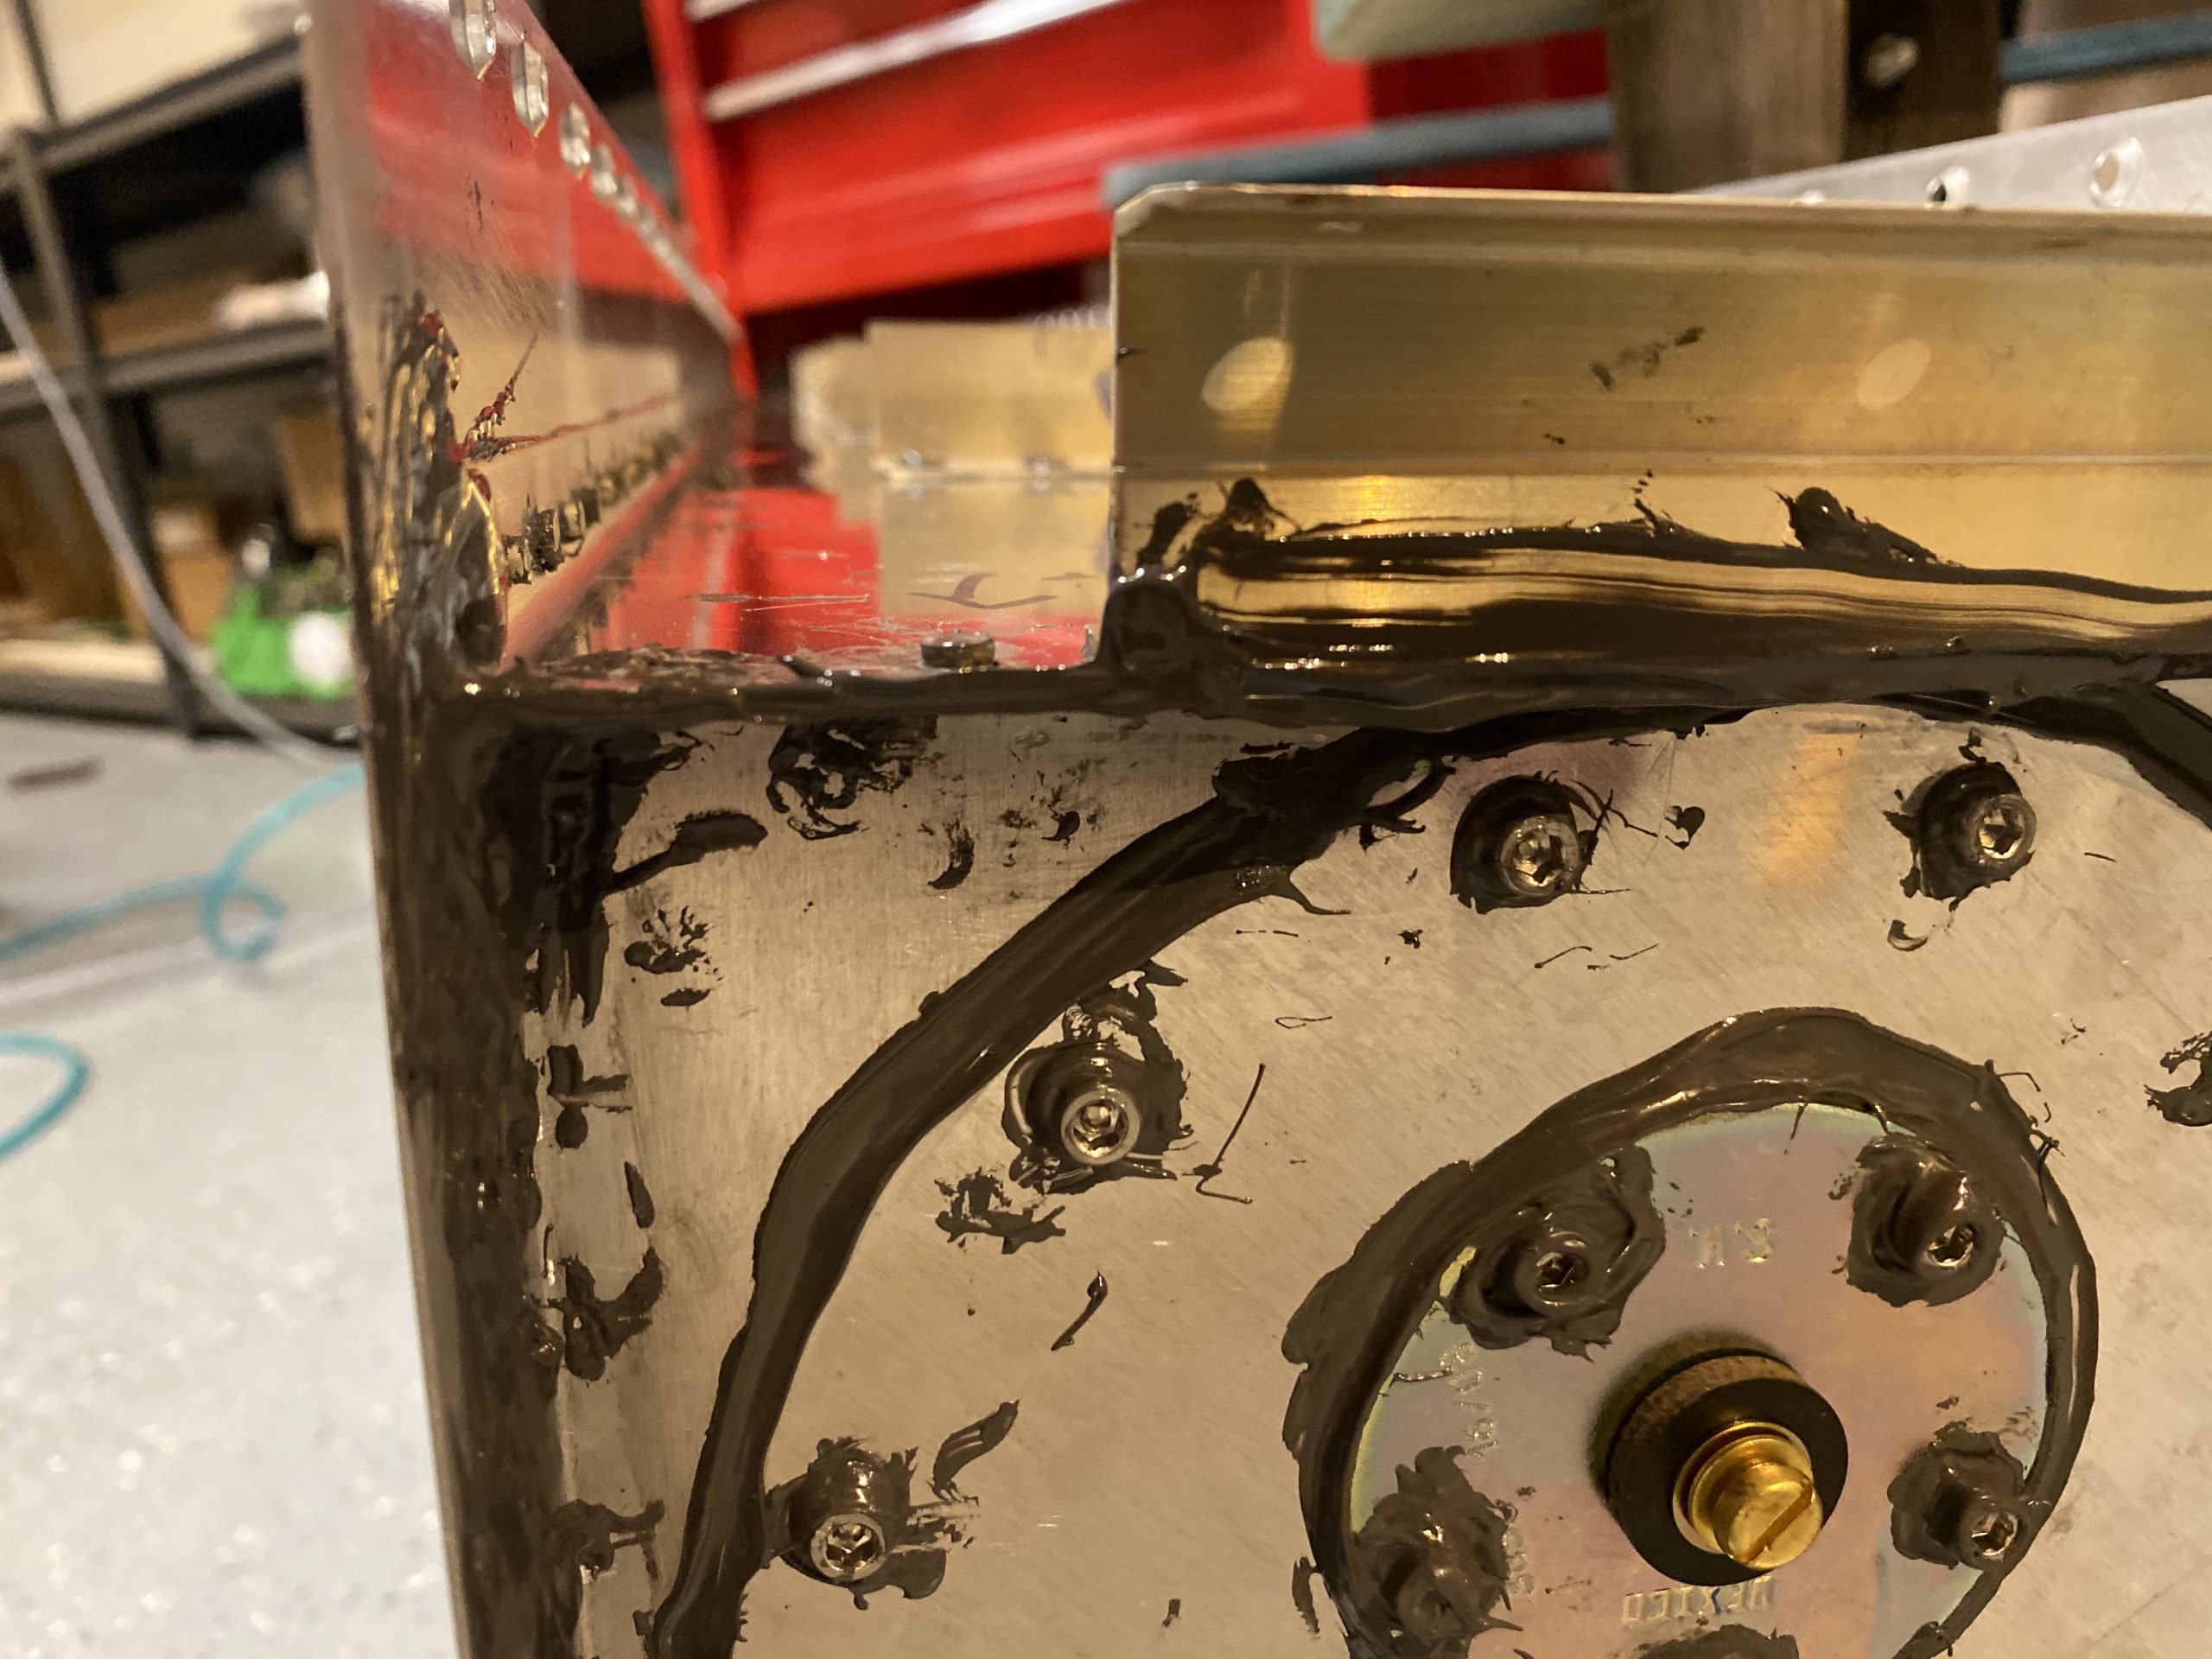
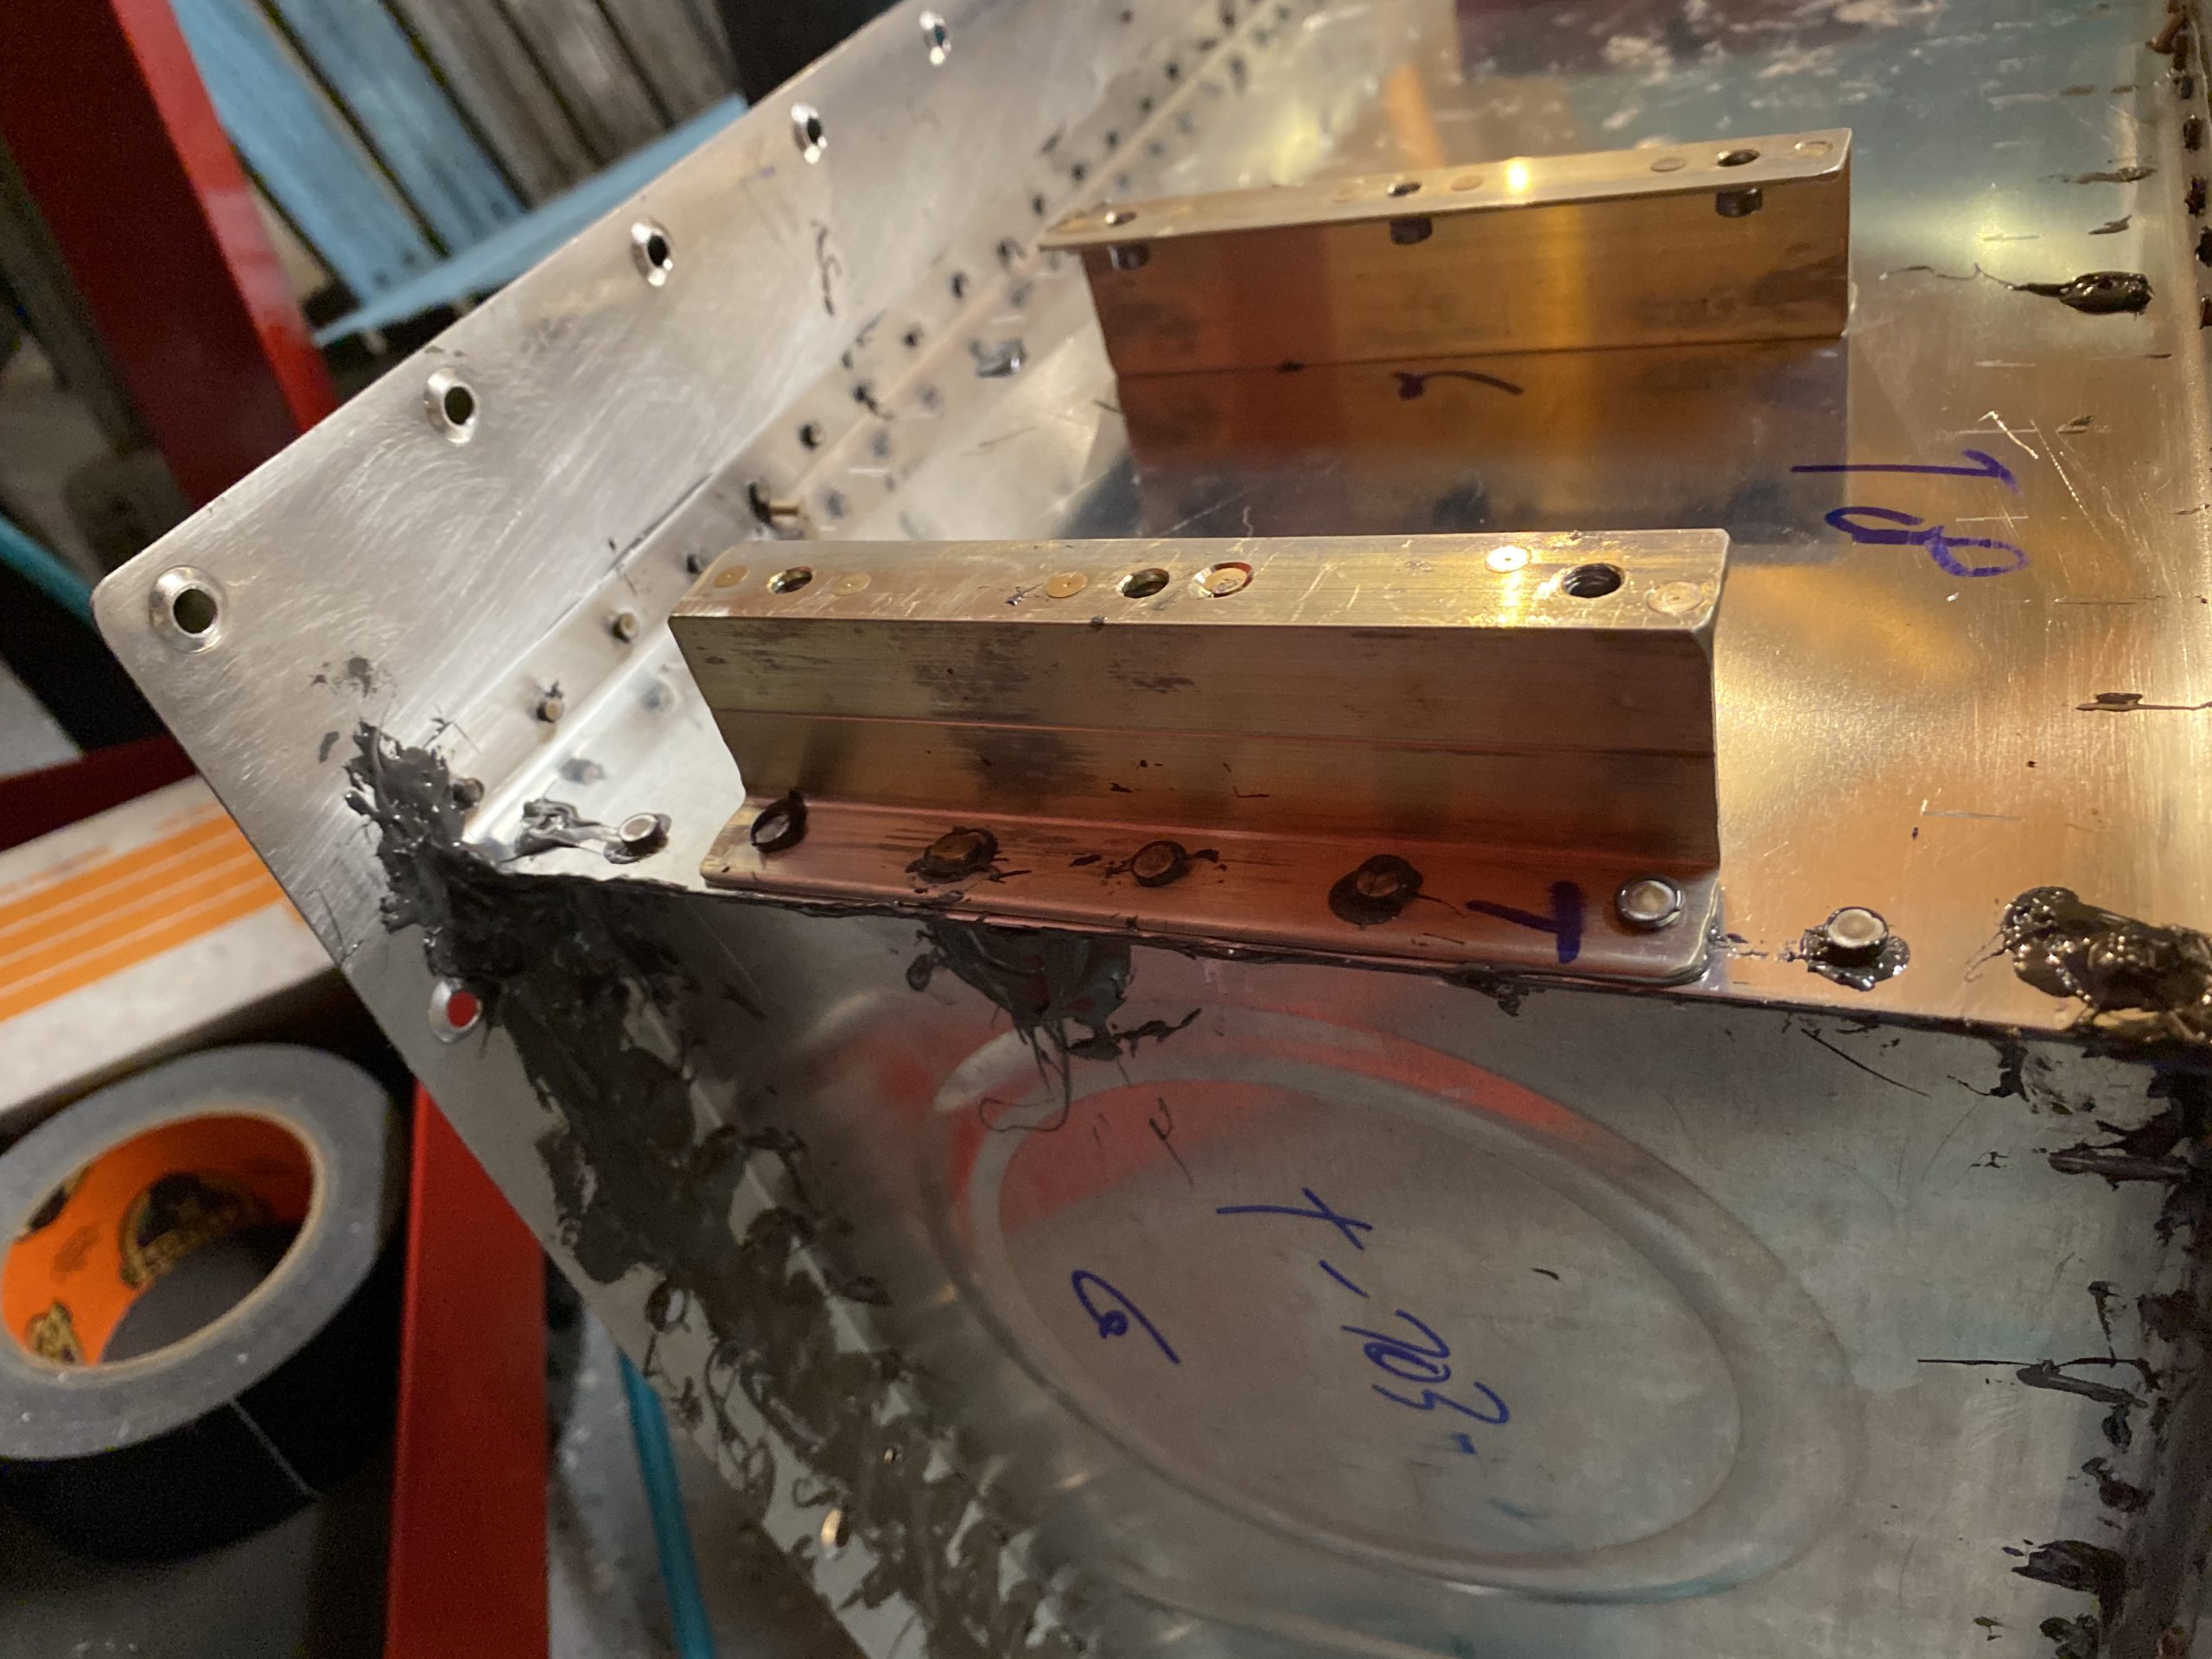
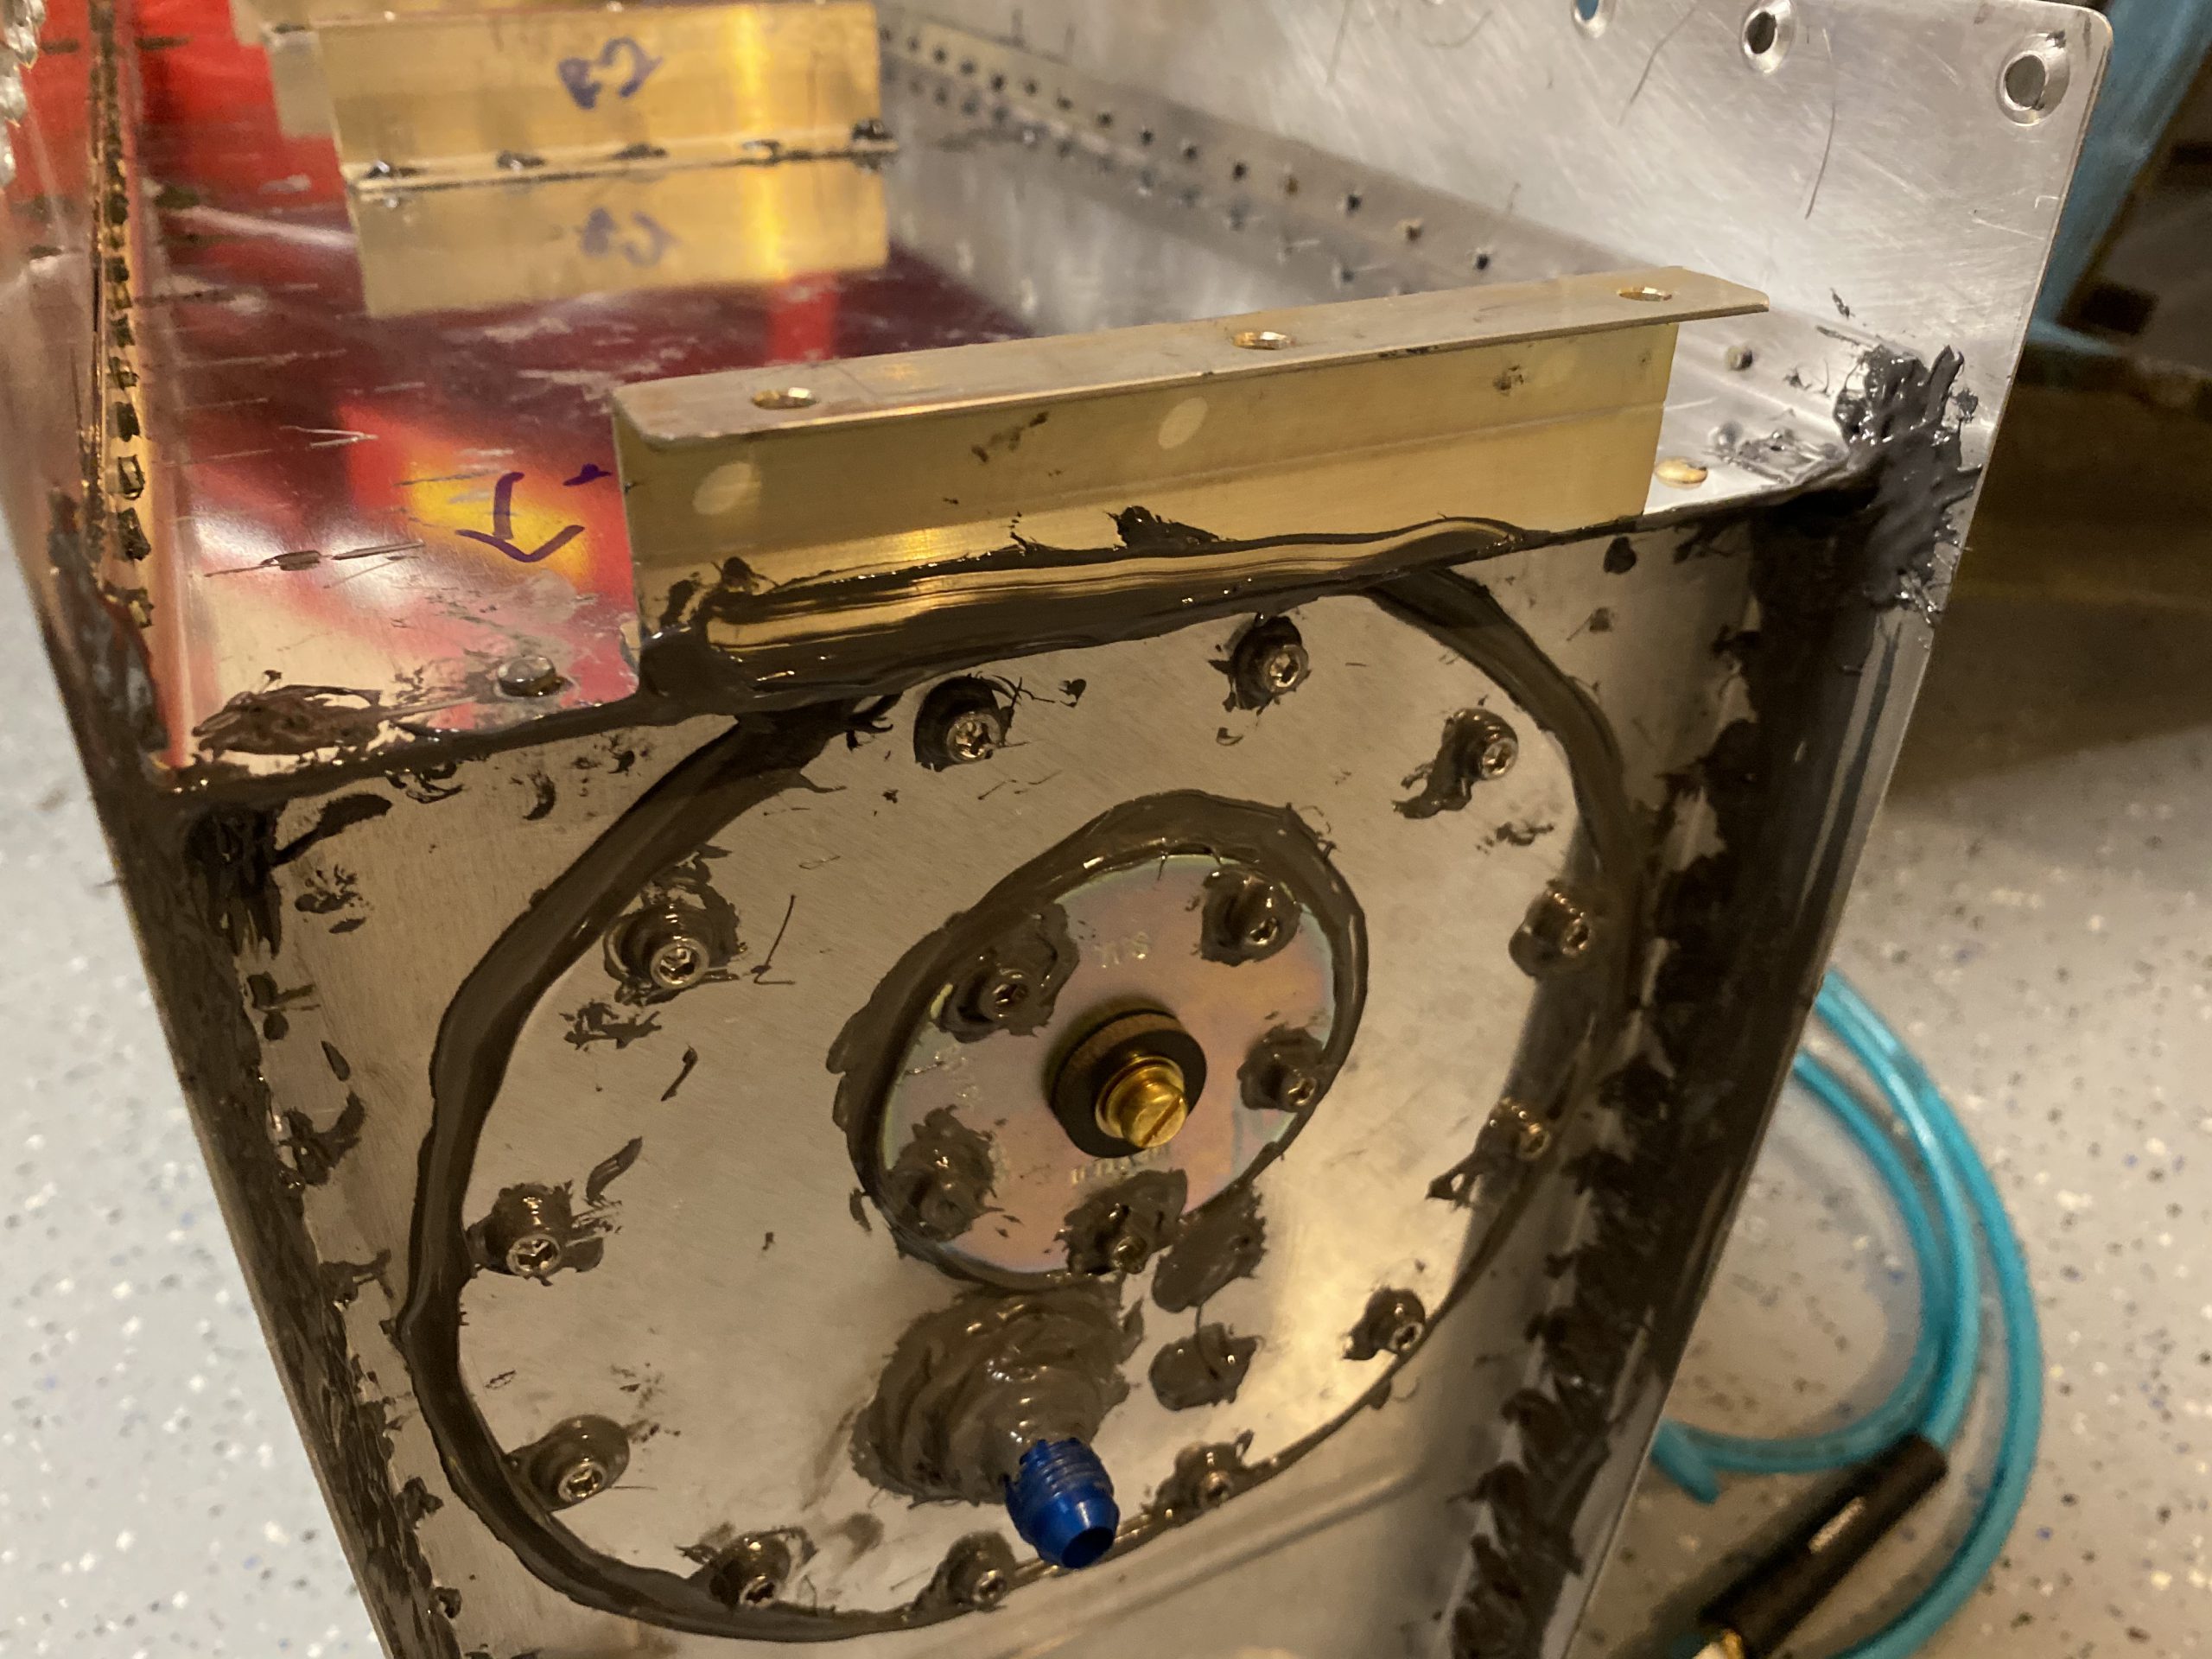
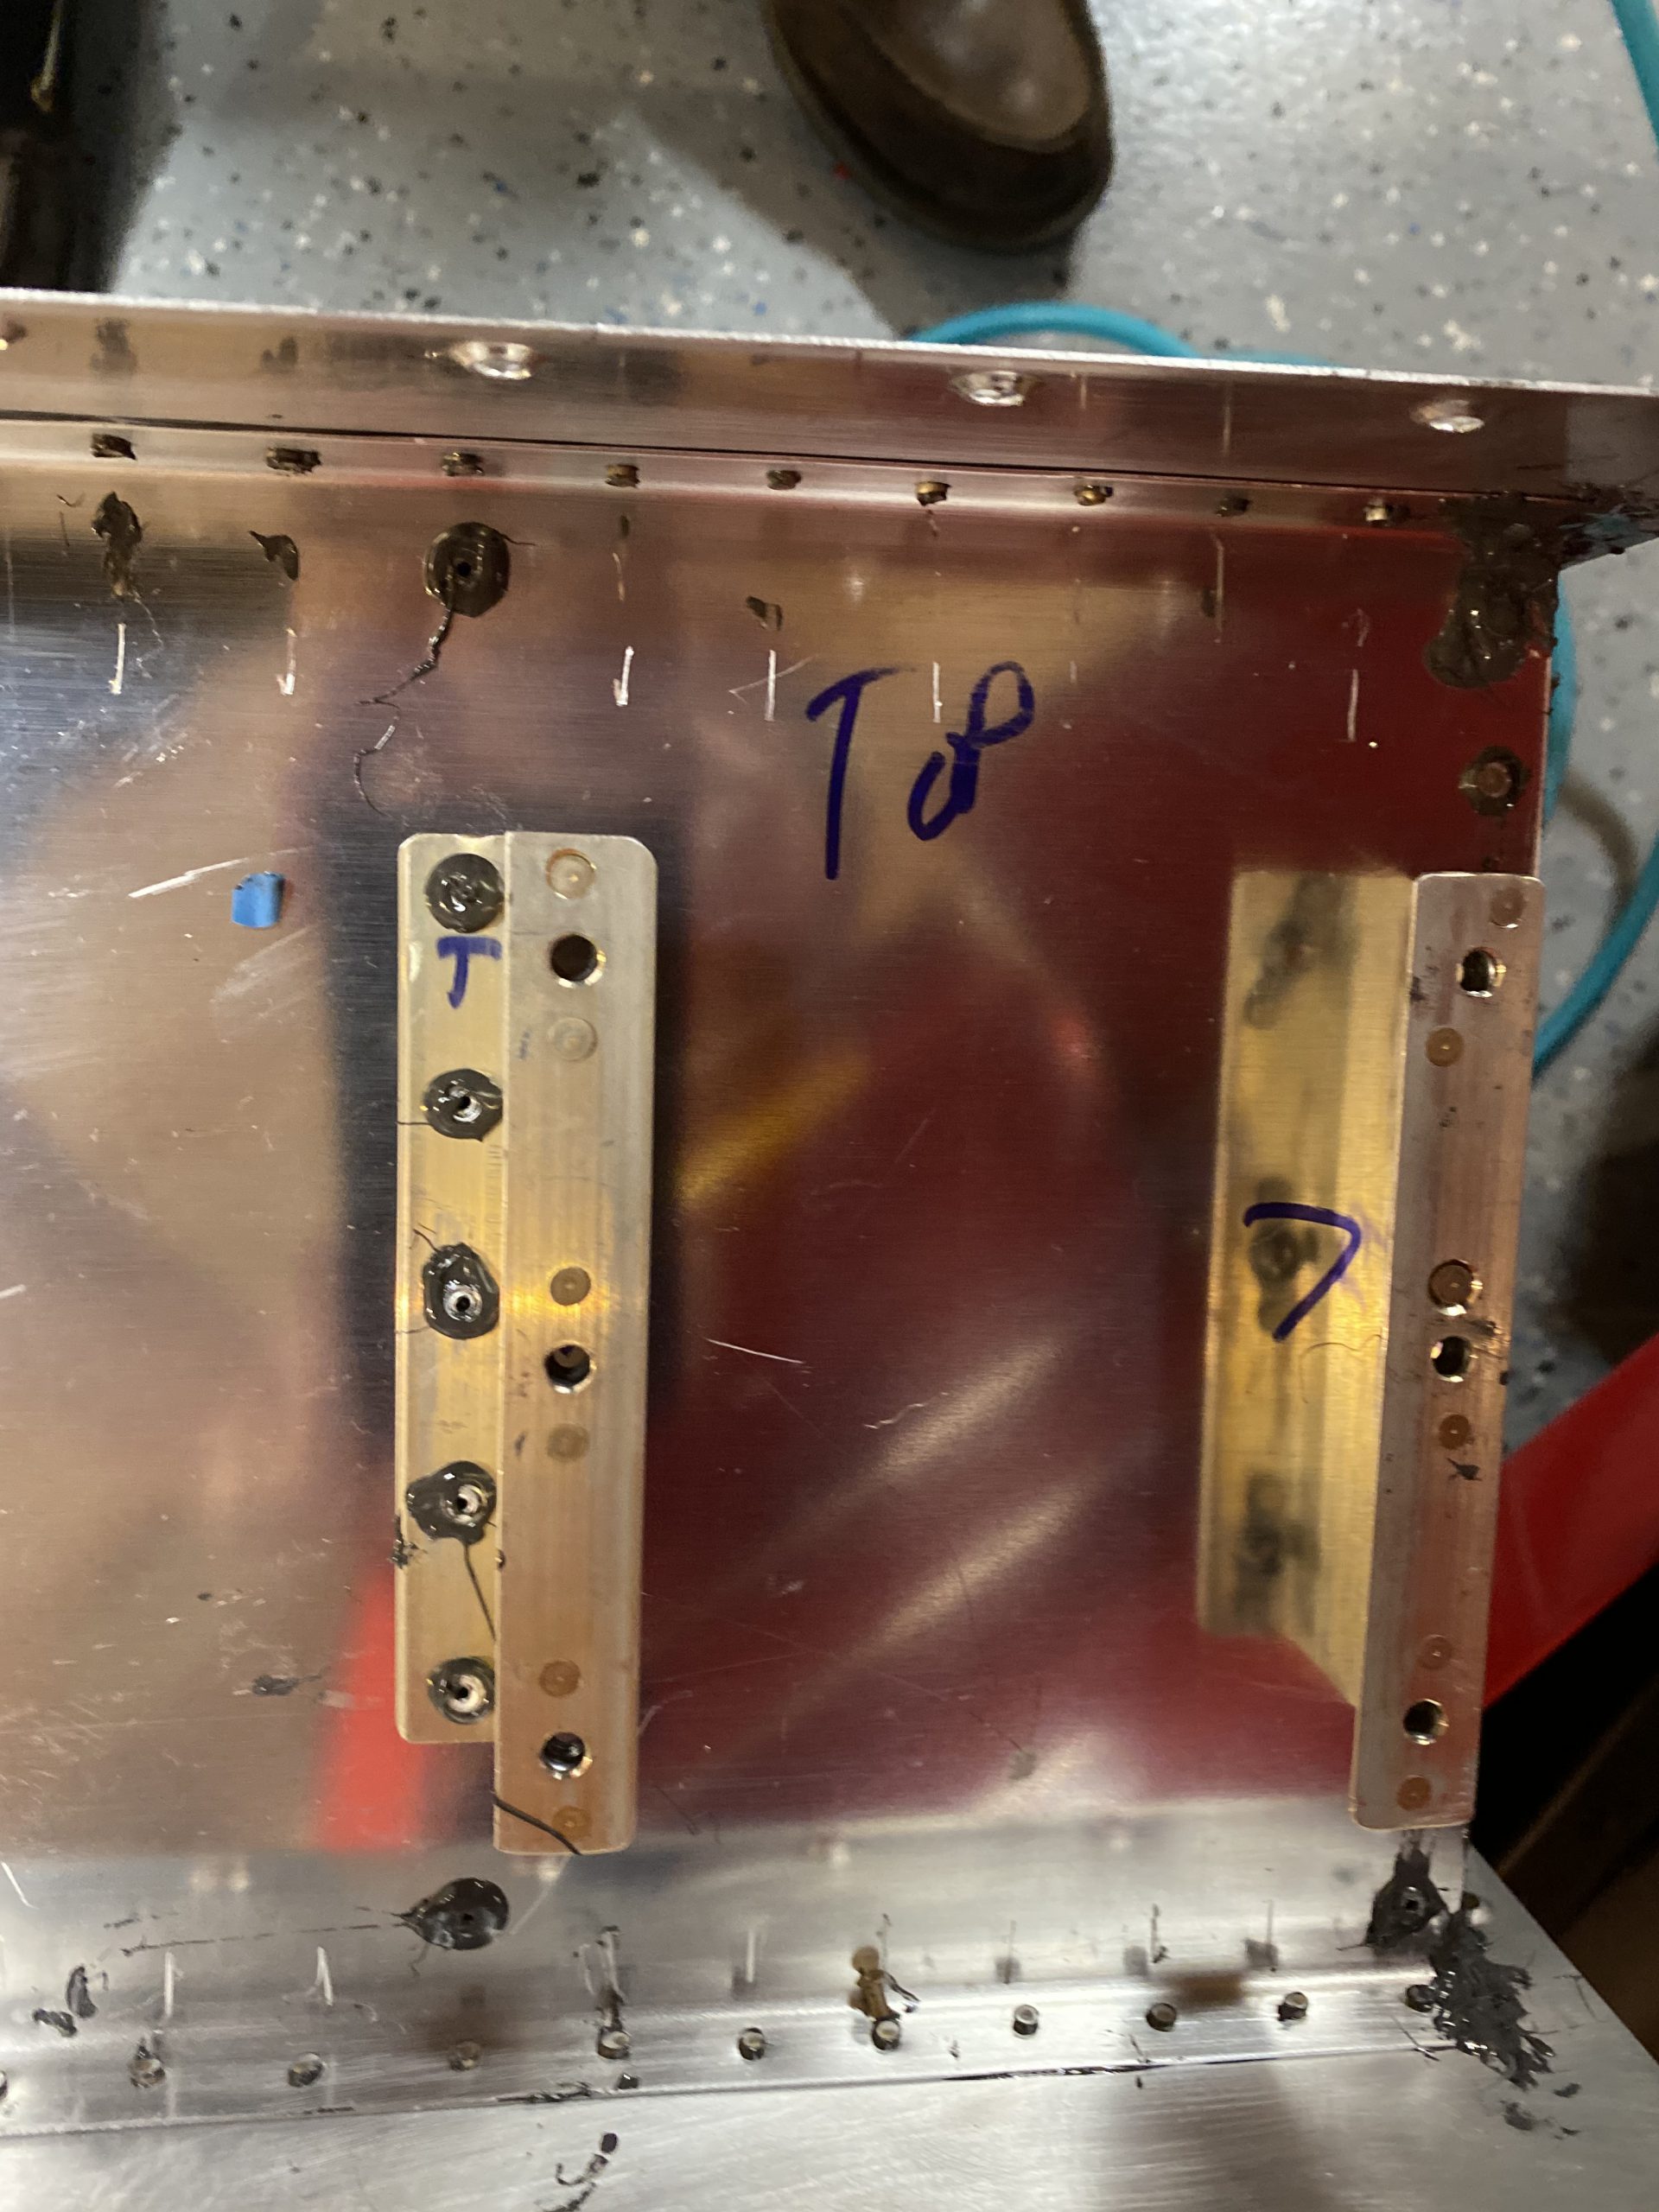
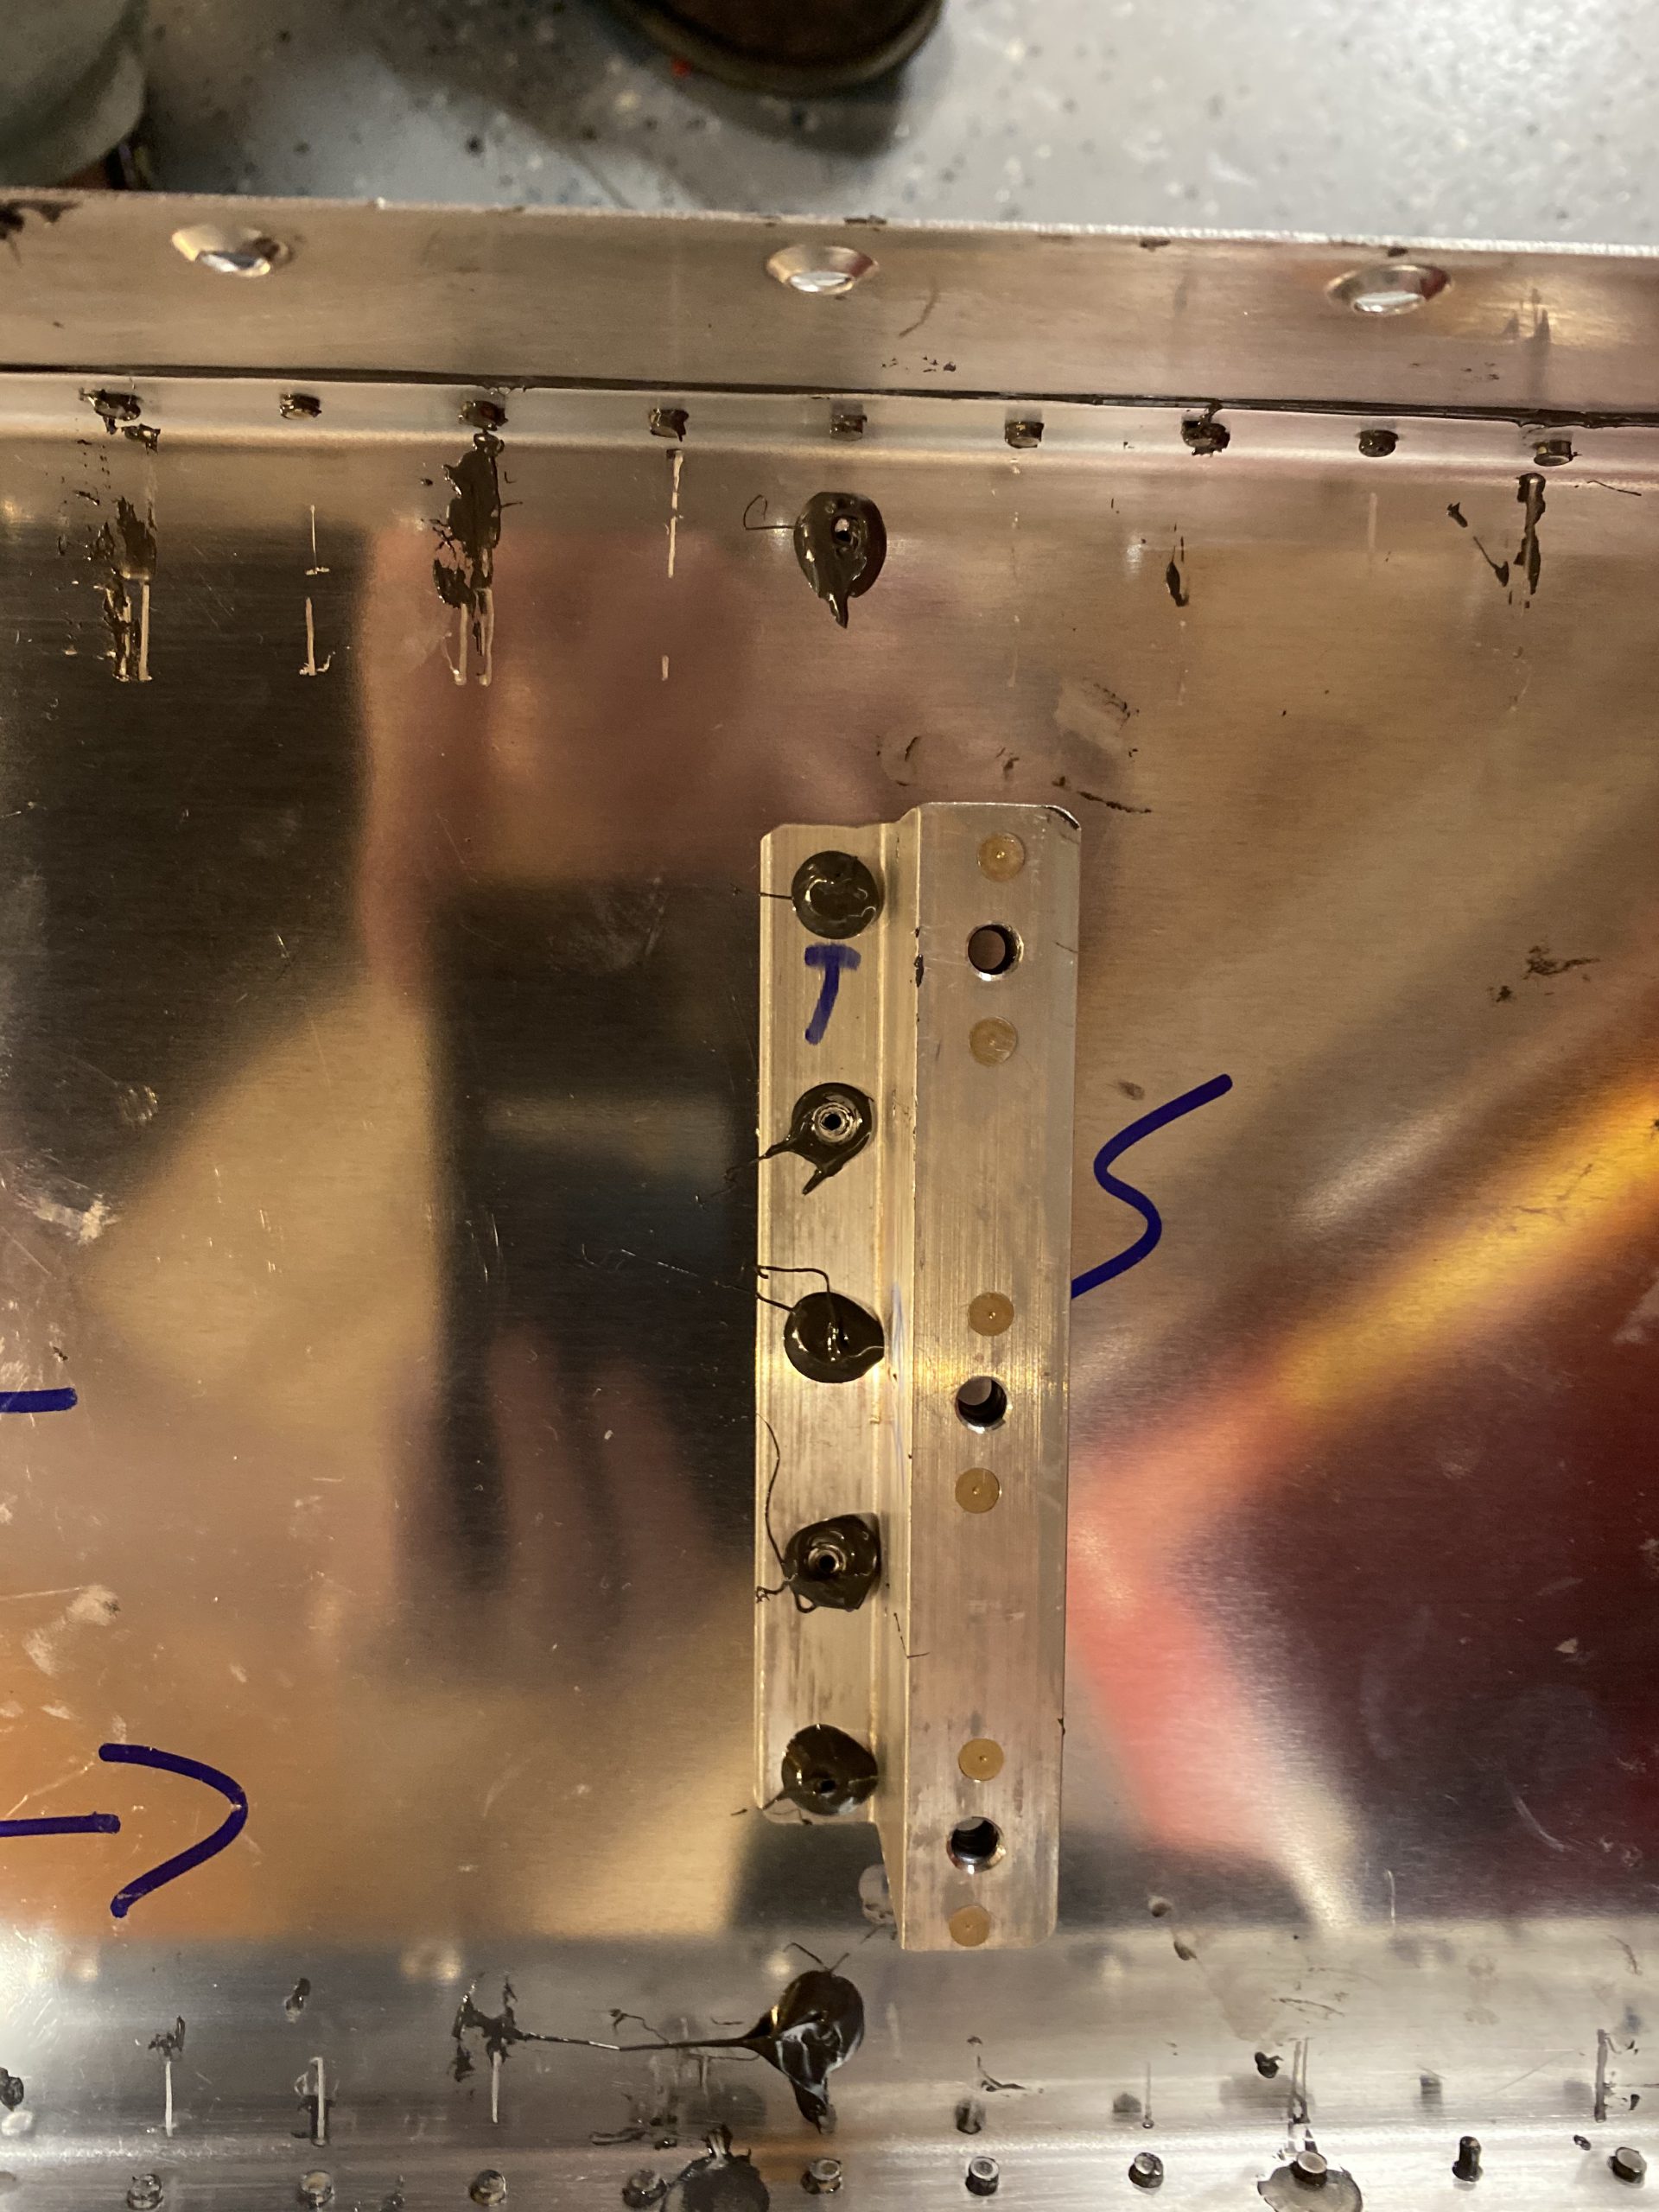
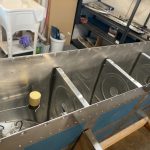
Next, I slowly lowered the baffle into place, making sure it was lined up and in the right orientation. Once I had it on, I put clecos in every single skin-to-baffle hole, and a few in the rear of the baffle to hold it into the ribs. I decided to go ahead and pull the blind rivets since the skin was tightly clecoed. I grabbed my Z-bracket mounts, oriented them to my markings and double checked everything was correct, and clecoed them on the baffle into the ribs. I twirled the tail of the AD-41h and AD-42h rivets in some sealant and inserted them into the brackets, and pulled them with a close fit rivet puller, which worked OK. I had to use pliers to remove the tails of the rivets from the rivet puller because the sealant would goop them in the puller. heh. I was able to use my squeezer on the baffles on the very outside edges of the tank, where we use normal AN470 rivets.
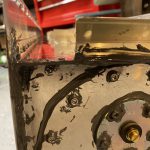
After I had the brackets on, I moved on to the skin rivets. My wife shown up and the right time to help, you can see here in the video :-). We removed every other cleco, swirled a little sealant in the countersink, and then inserted the AN426AD3-3.5 rivets, and then used the squeezer to set them. We did one side, moved to the other side, and then back to the previous side to make sure everything went on square. It turned out pretty nicely.
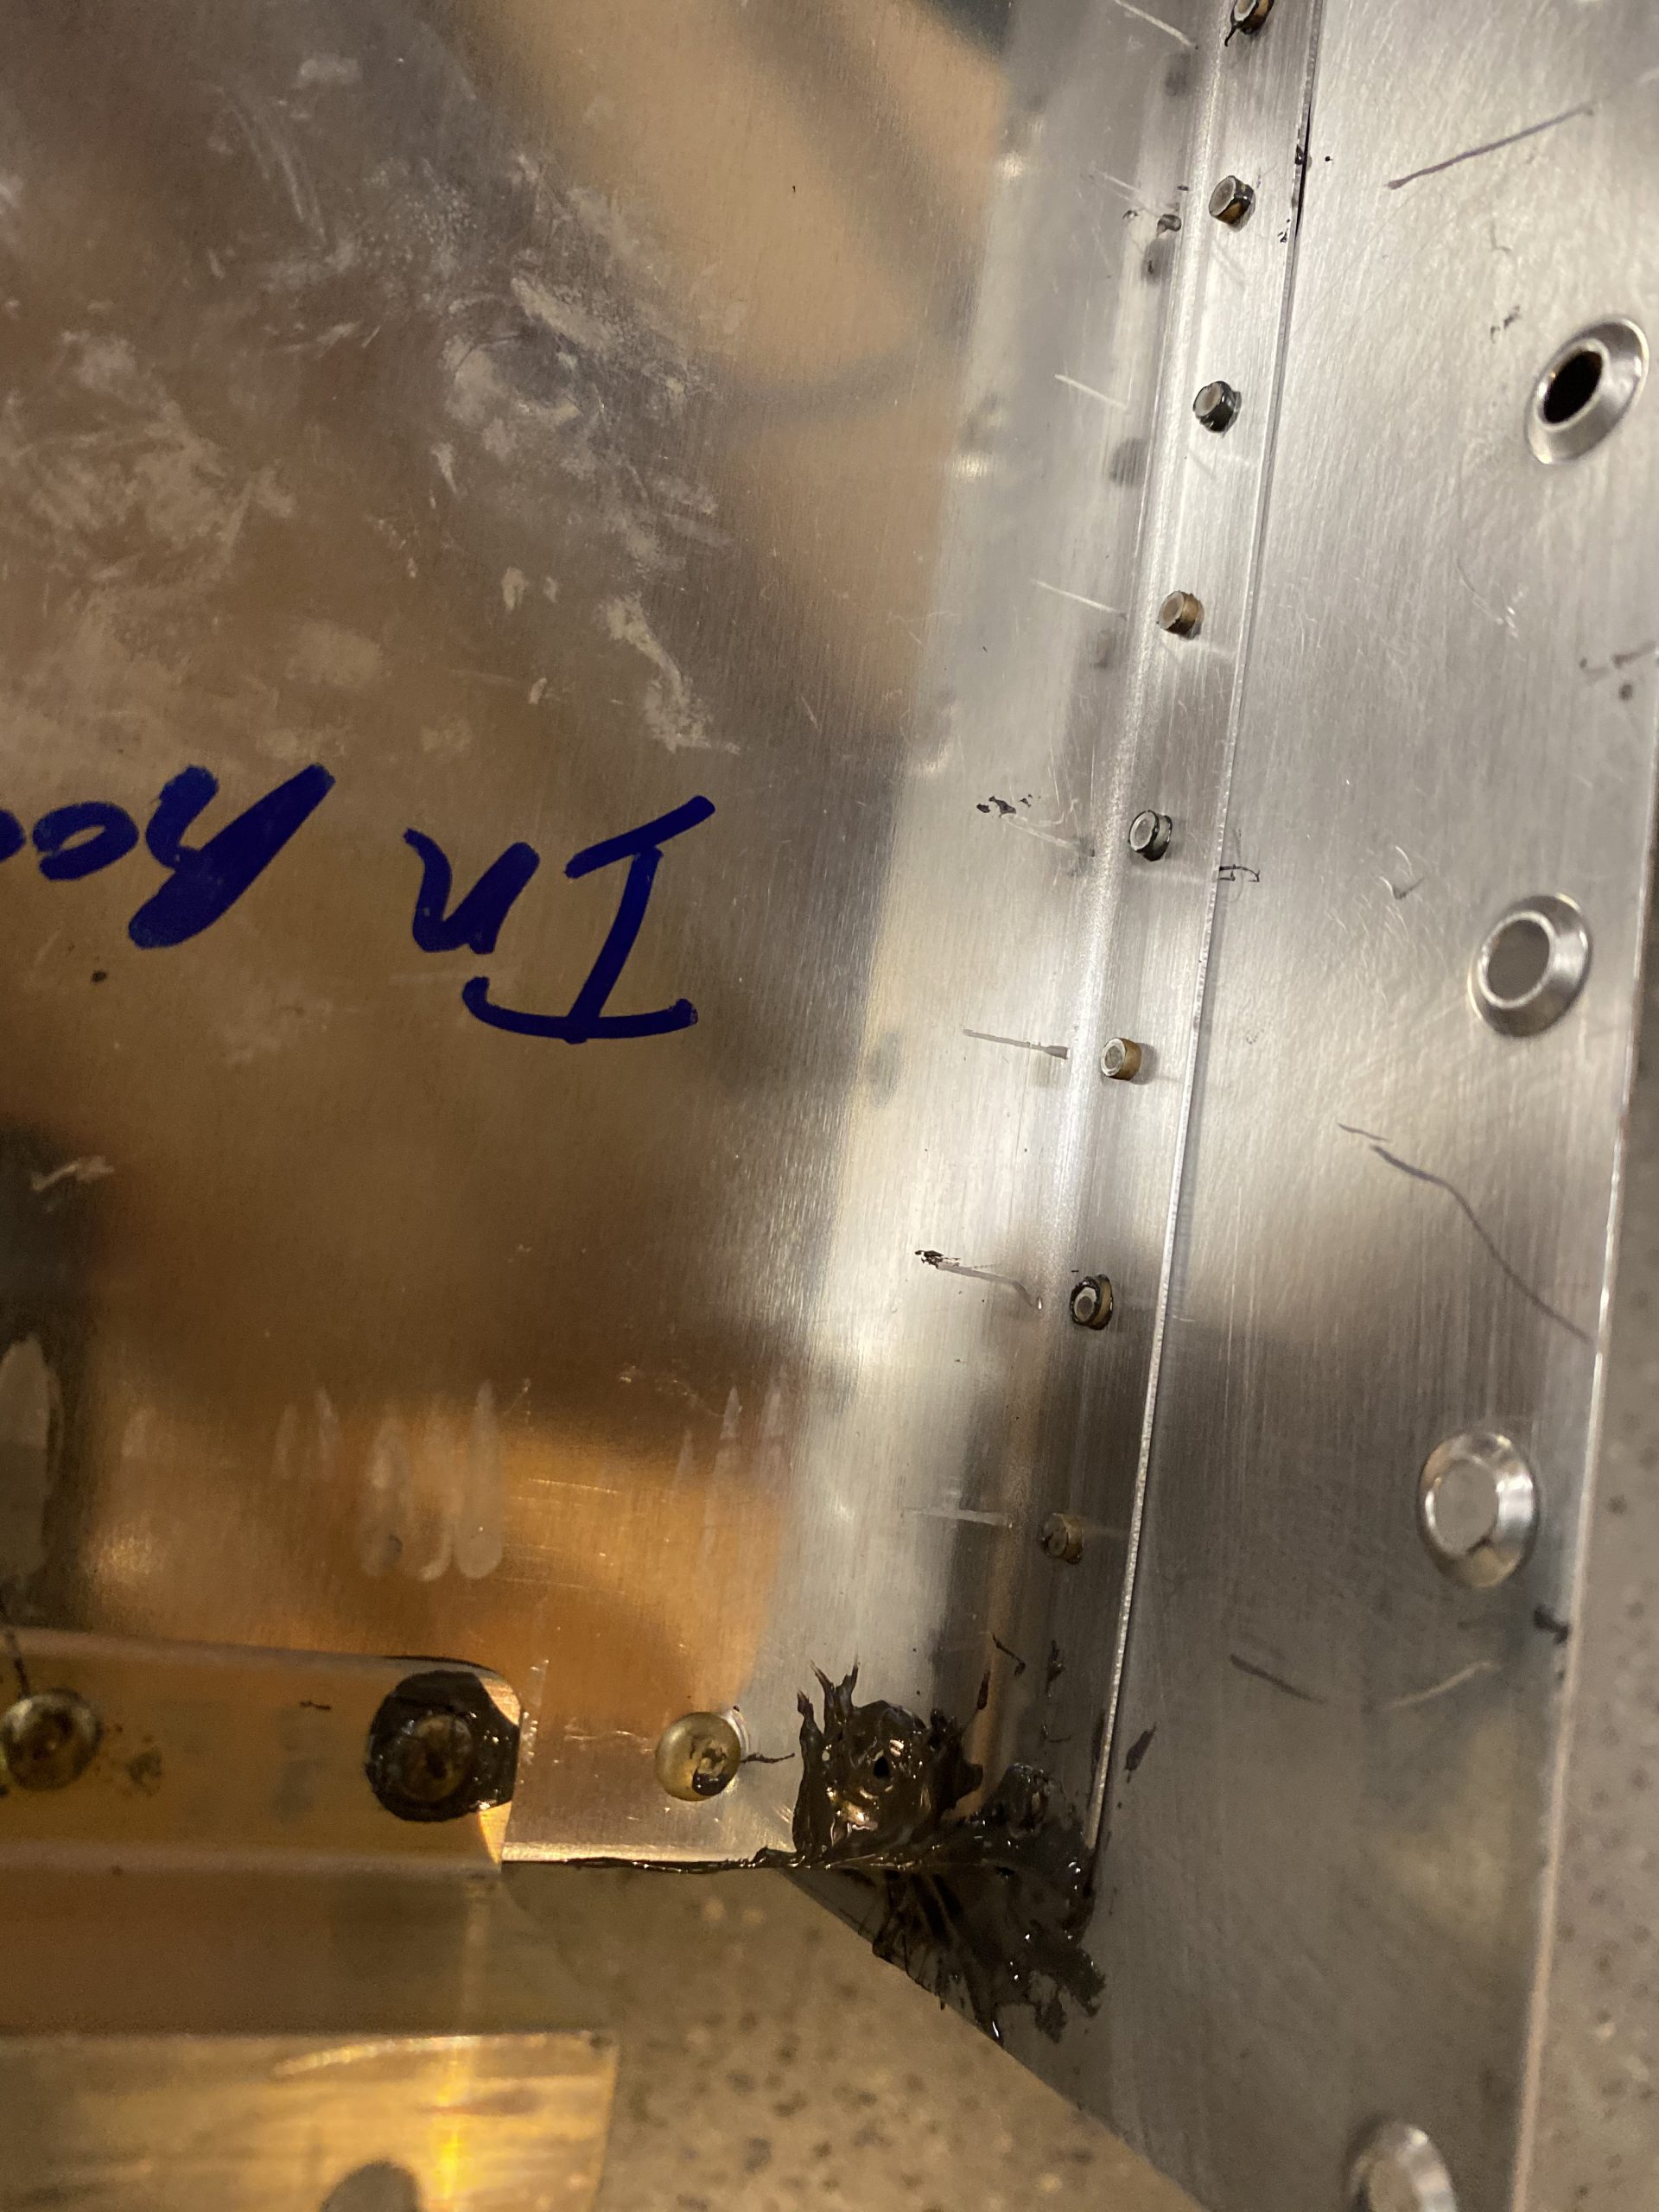
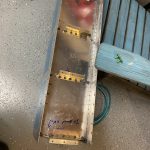
Lastly, I used the left over sealant and some popsicle sticks to put big ole dollops of sealant in the corners of the outer ribs to make sure I didn’t have any leaks. I smeared it around and along the edges of the flanges and then smeared any squish out into a little filet. I REALLY HOPE this doesn’t leak!
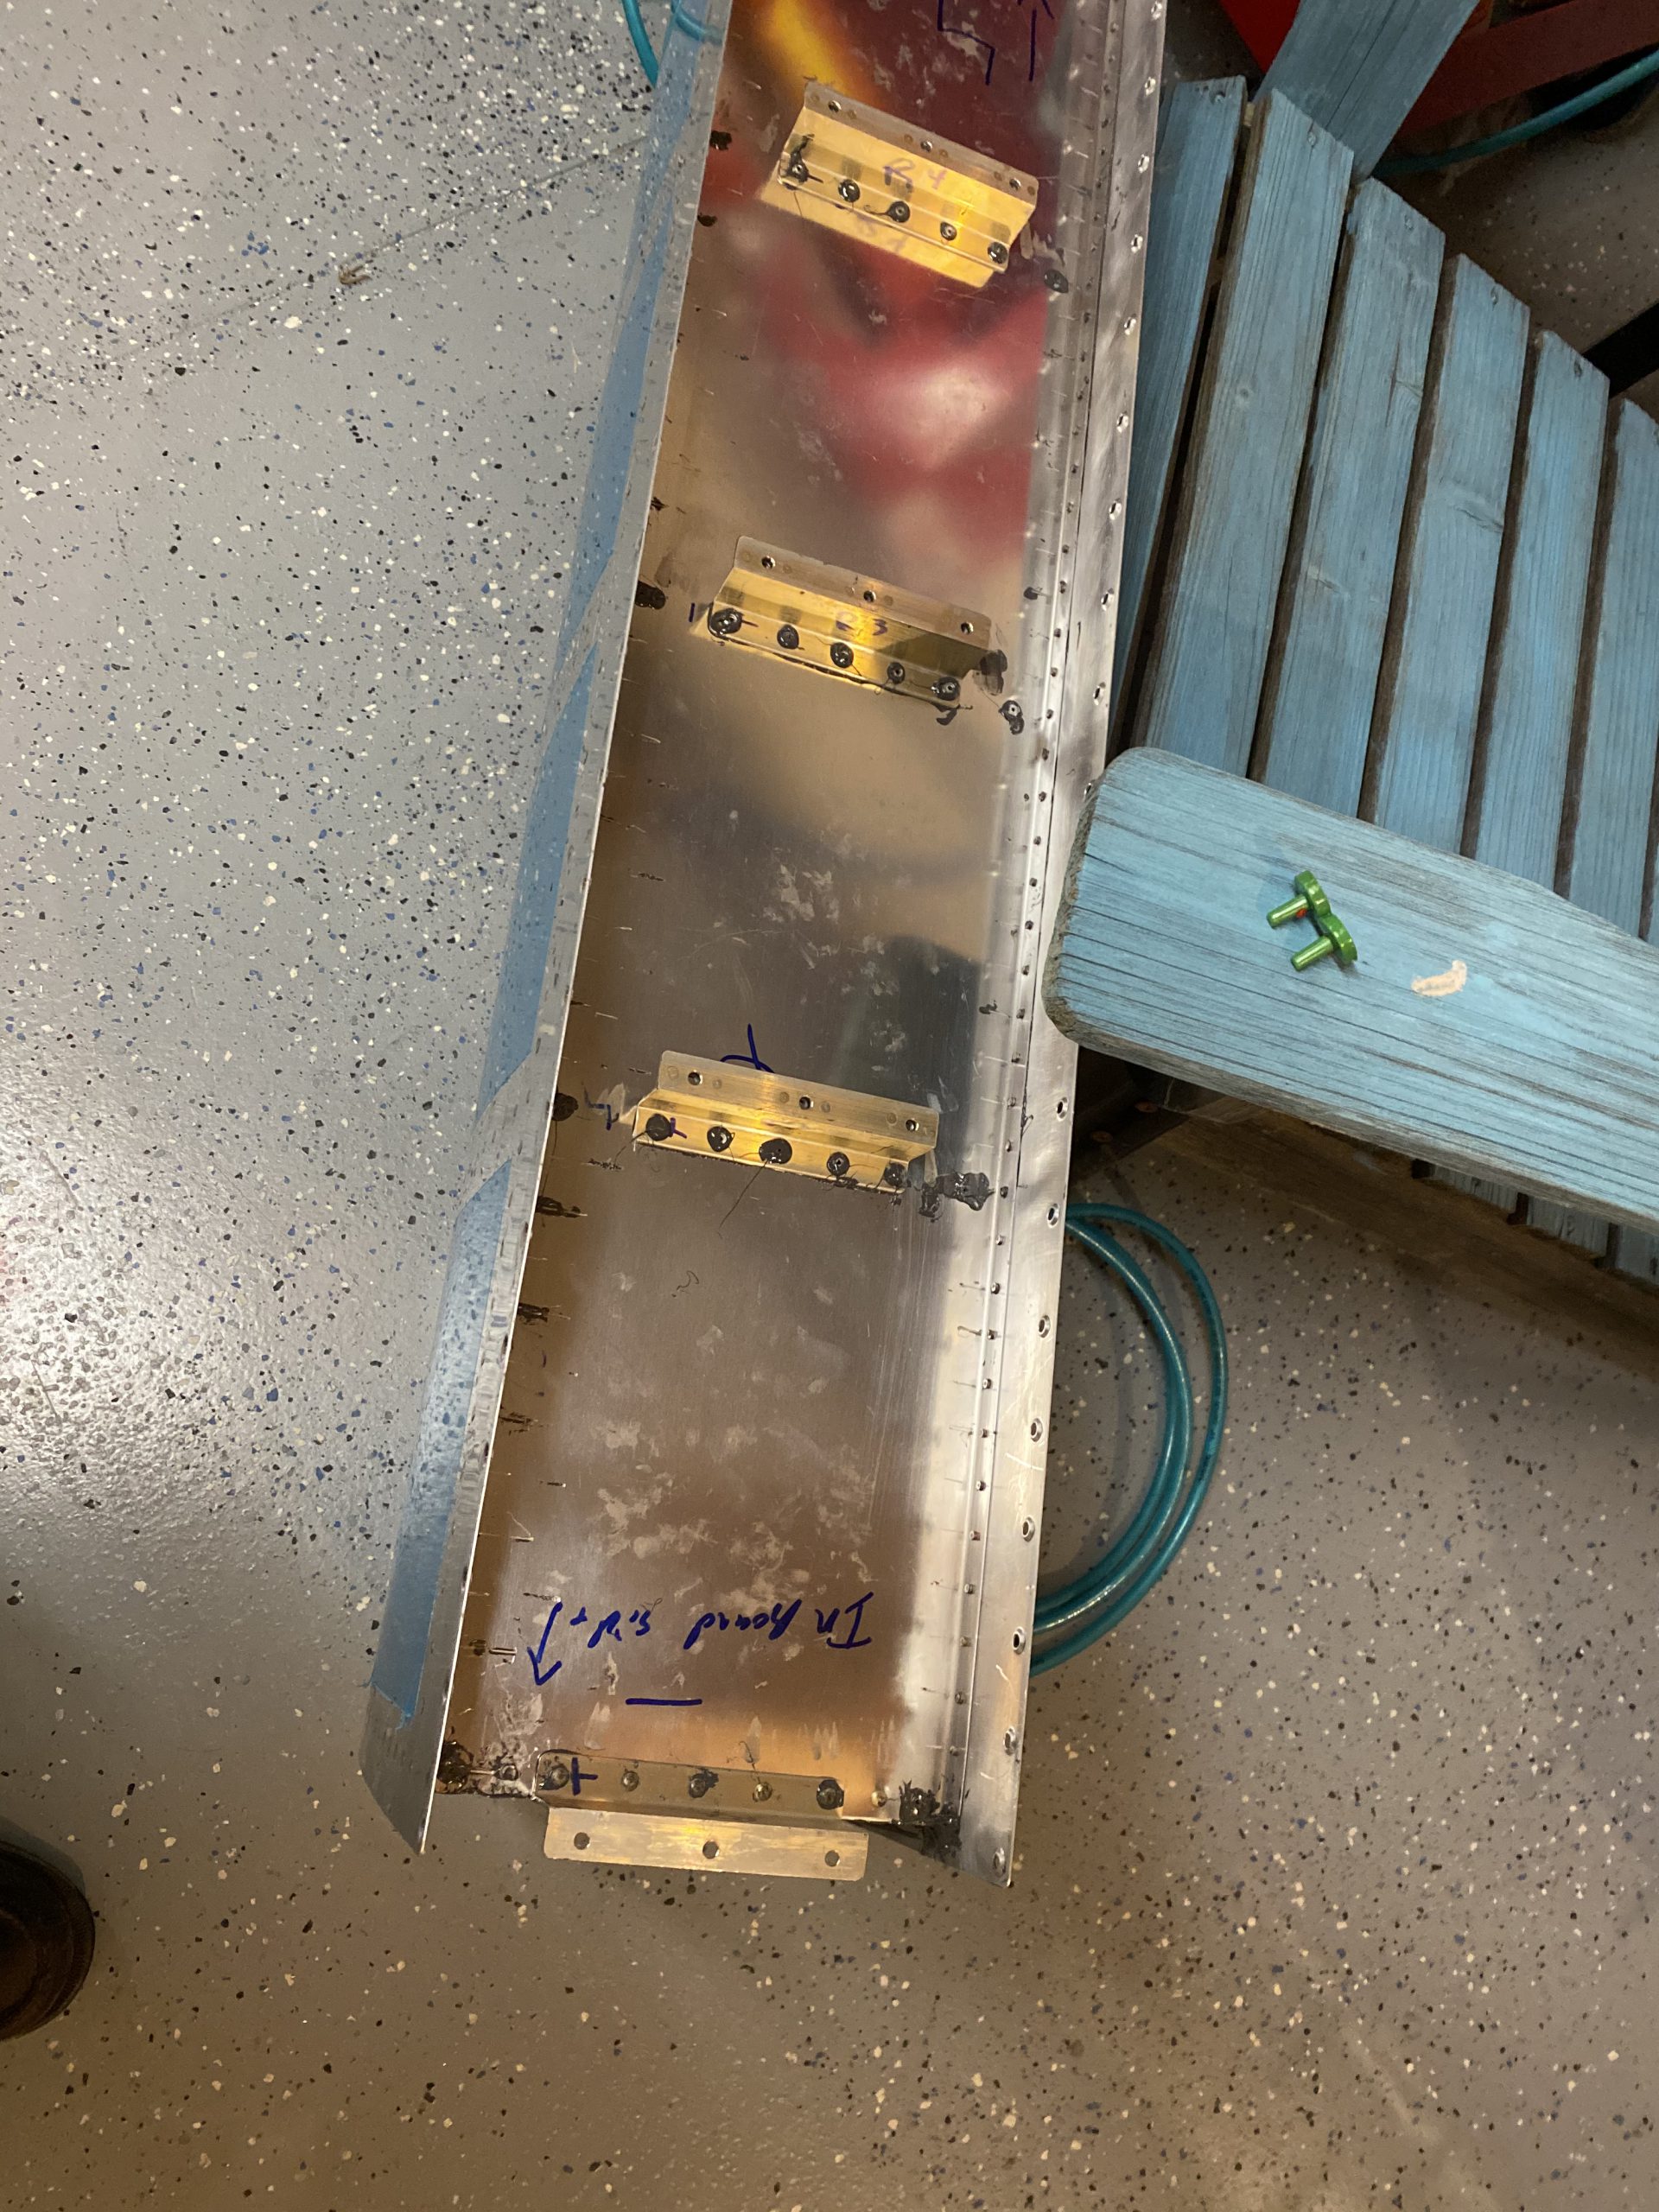
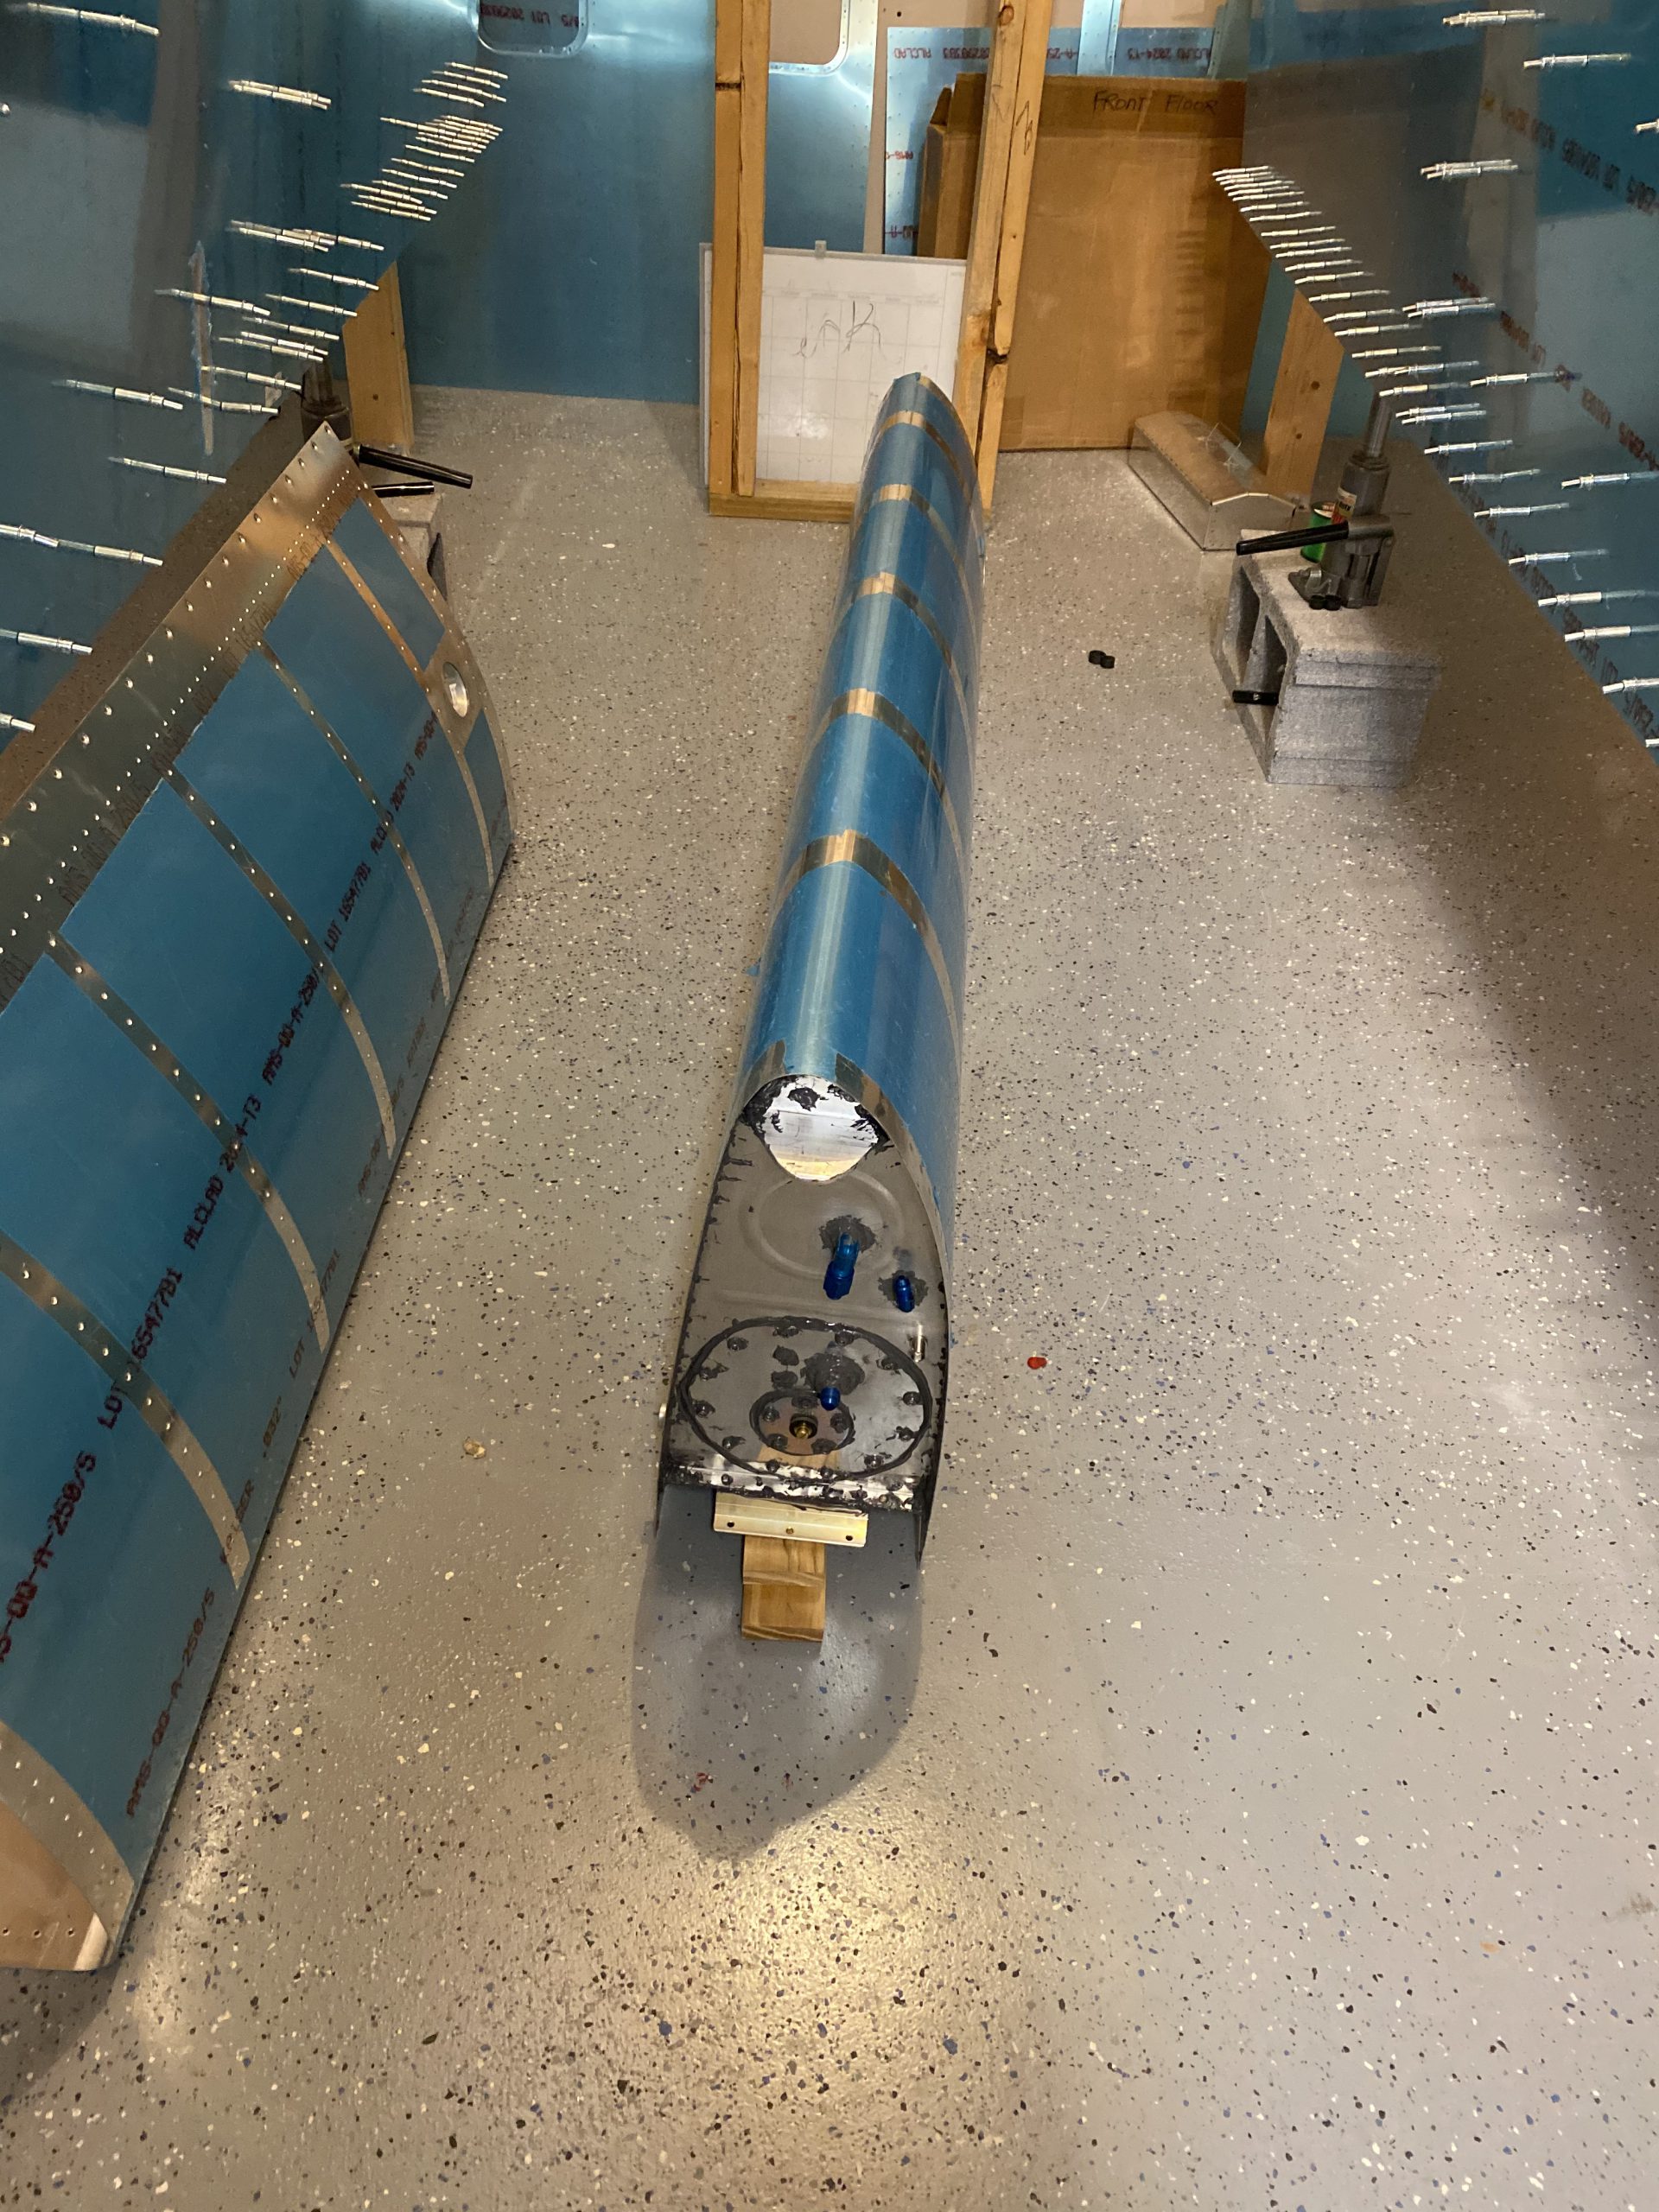
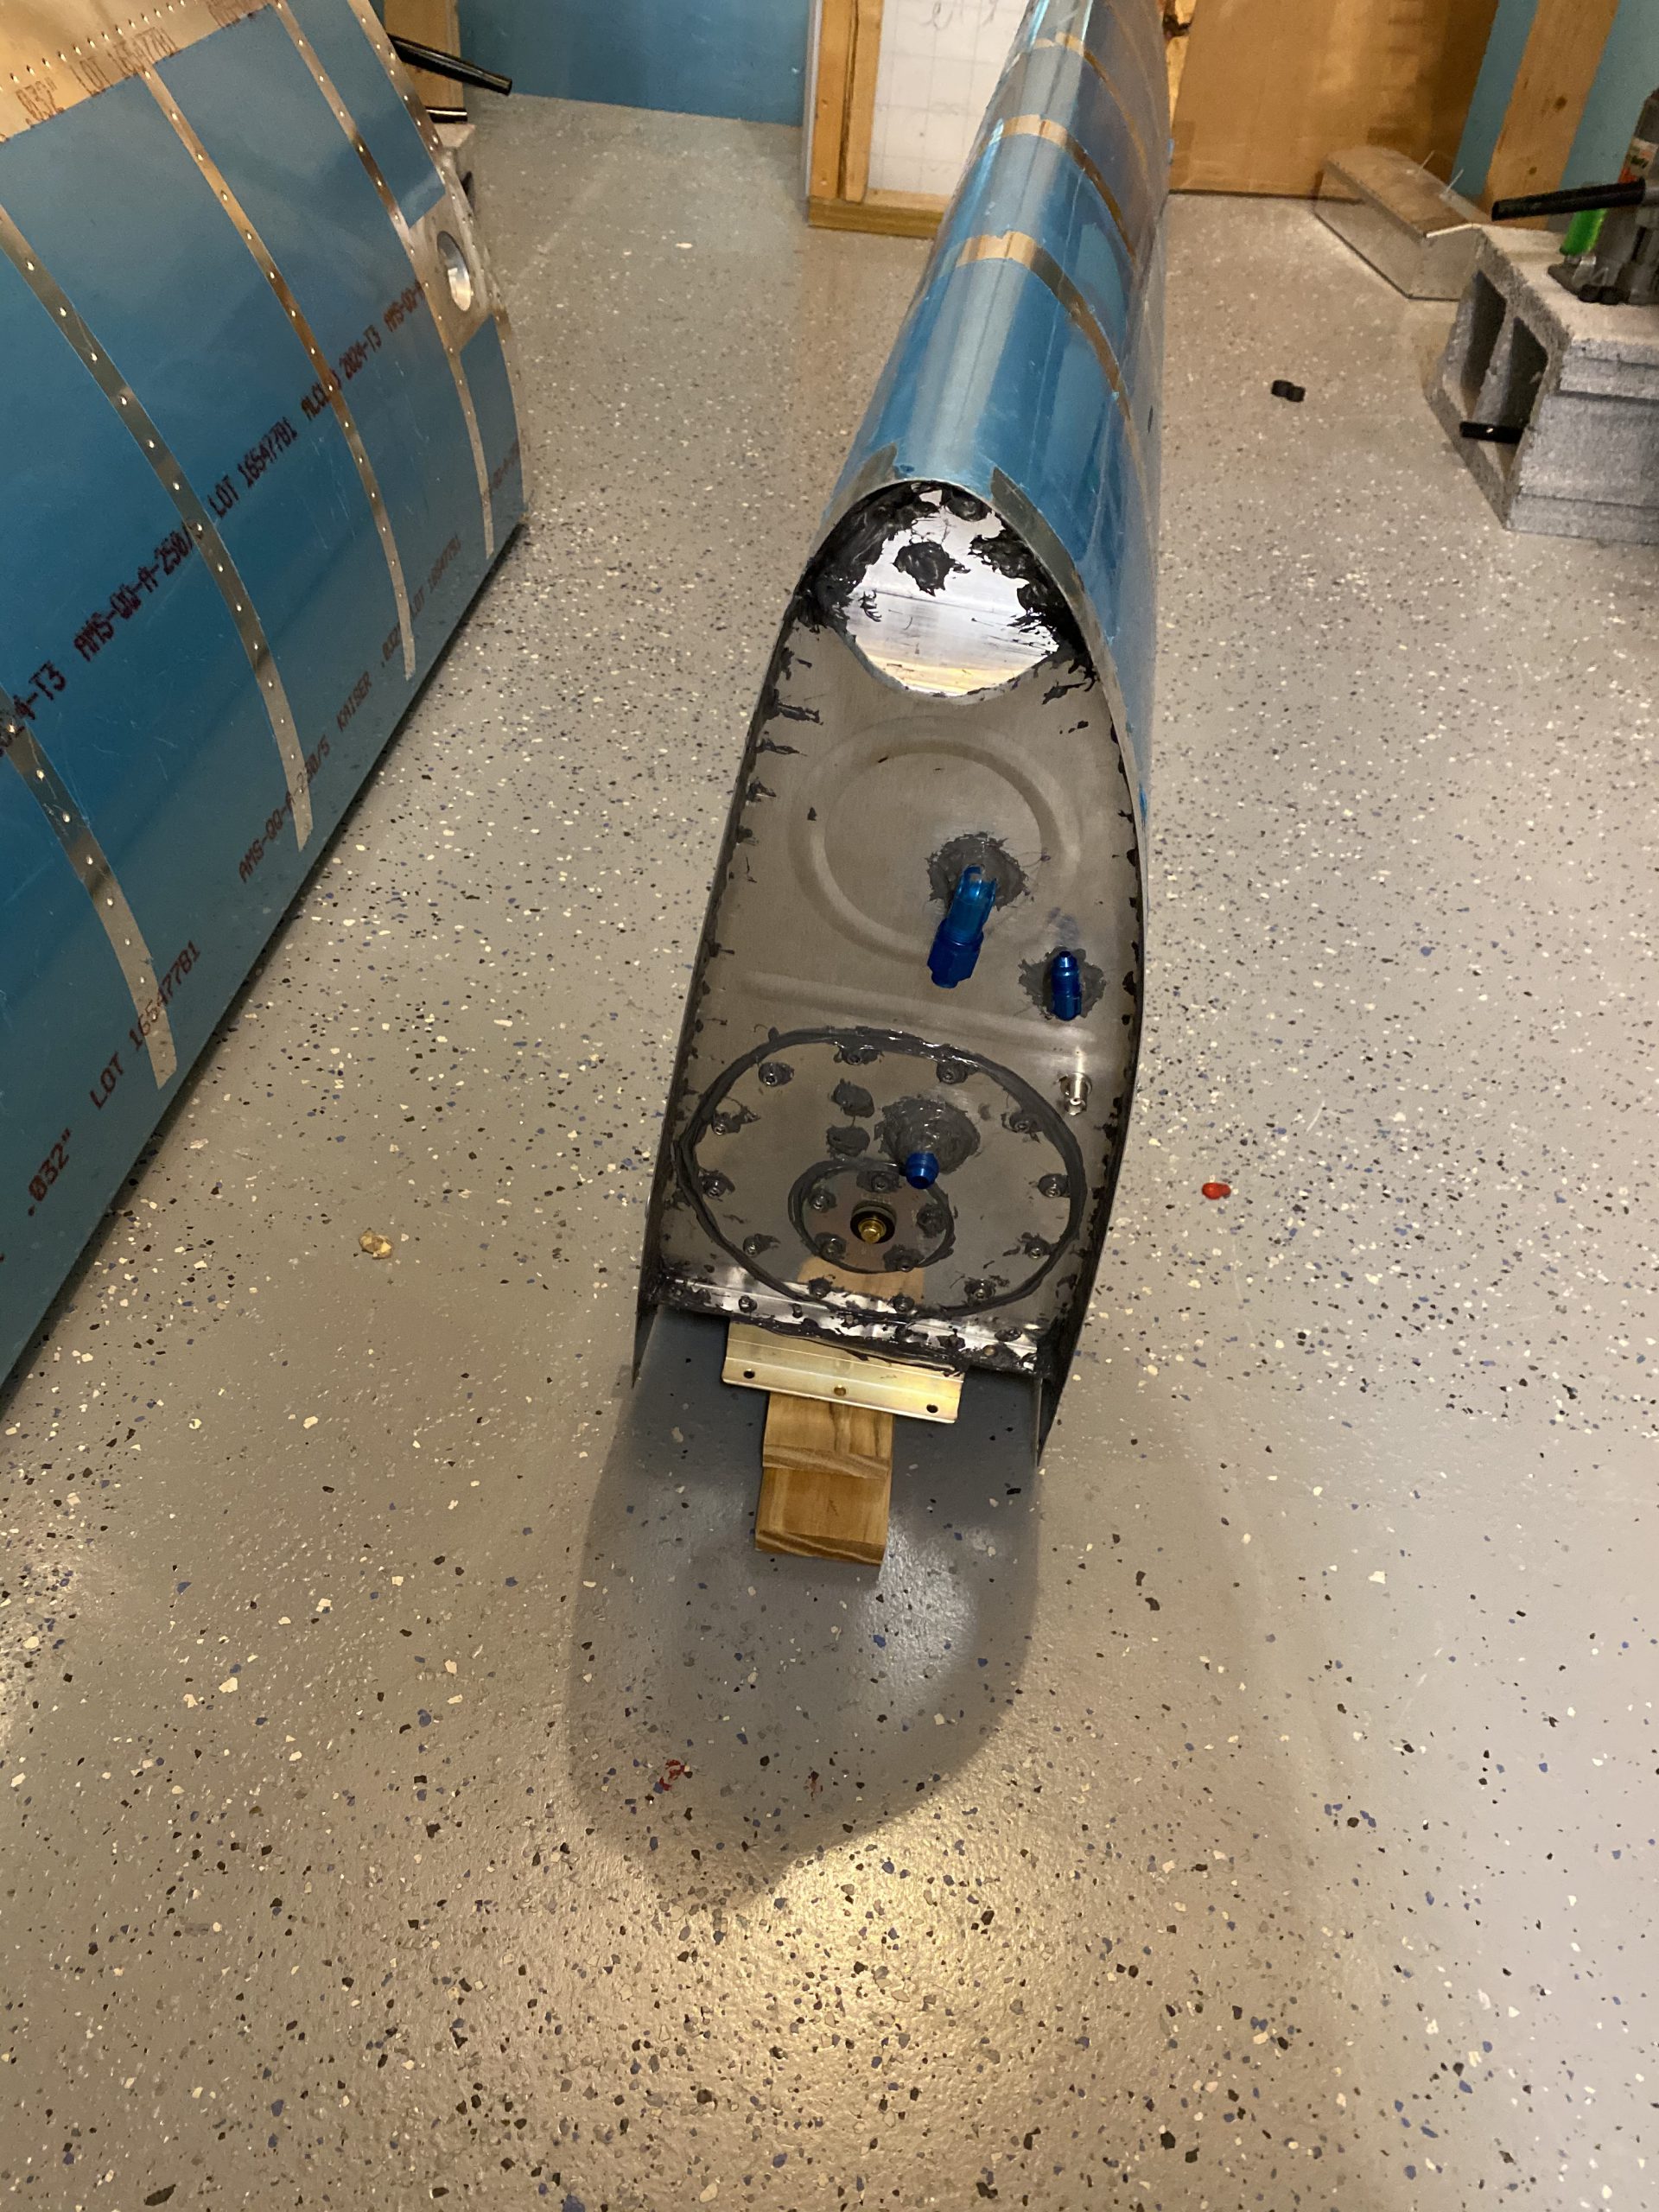
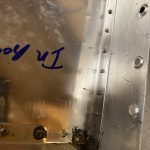
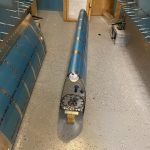
Lastly, I sit the tank with the leading edge facing up, and resting the brackets on some scrap wood, the idea here is if there is any sealant that runs, it will run downward, and back into the baffle to skin gap, instead of towards the leading edge, if it was left in the jig. Will it help? who knows….but its worth a shot? Then I did some cleanup, as tired as I was, and called it a night. I left the fuel filler cap off so I didn’t get any pressure changes in the tank with barometric pressure changes, causing the sealant to blow up before it cures. I’ll give this stuff 3 days or so to cure, and then I’ll do the final leak test.
Google Photos Link: https://photos.app.goo.gl/7cvGfPpG2uUdjKS56
-
IMG_1965
-
IMG_1966
-
IMG_1967
-
IMG_1968
-
IMG_1969
-
IMG_1970
-
IMG_1971
-
 IMG_1972
 -
 IMG_1973
 -
IMG_1974
-
 IMG_1975
 -
 IMG_1976

Hours Worked: 3.75