


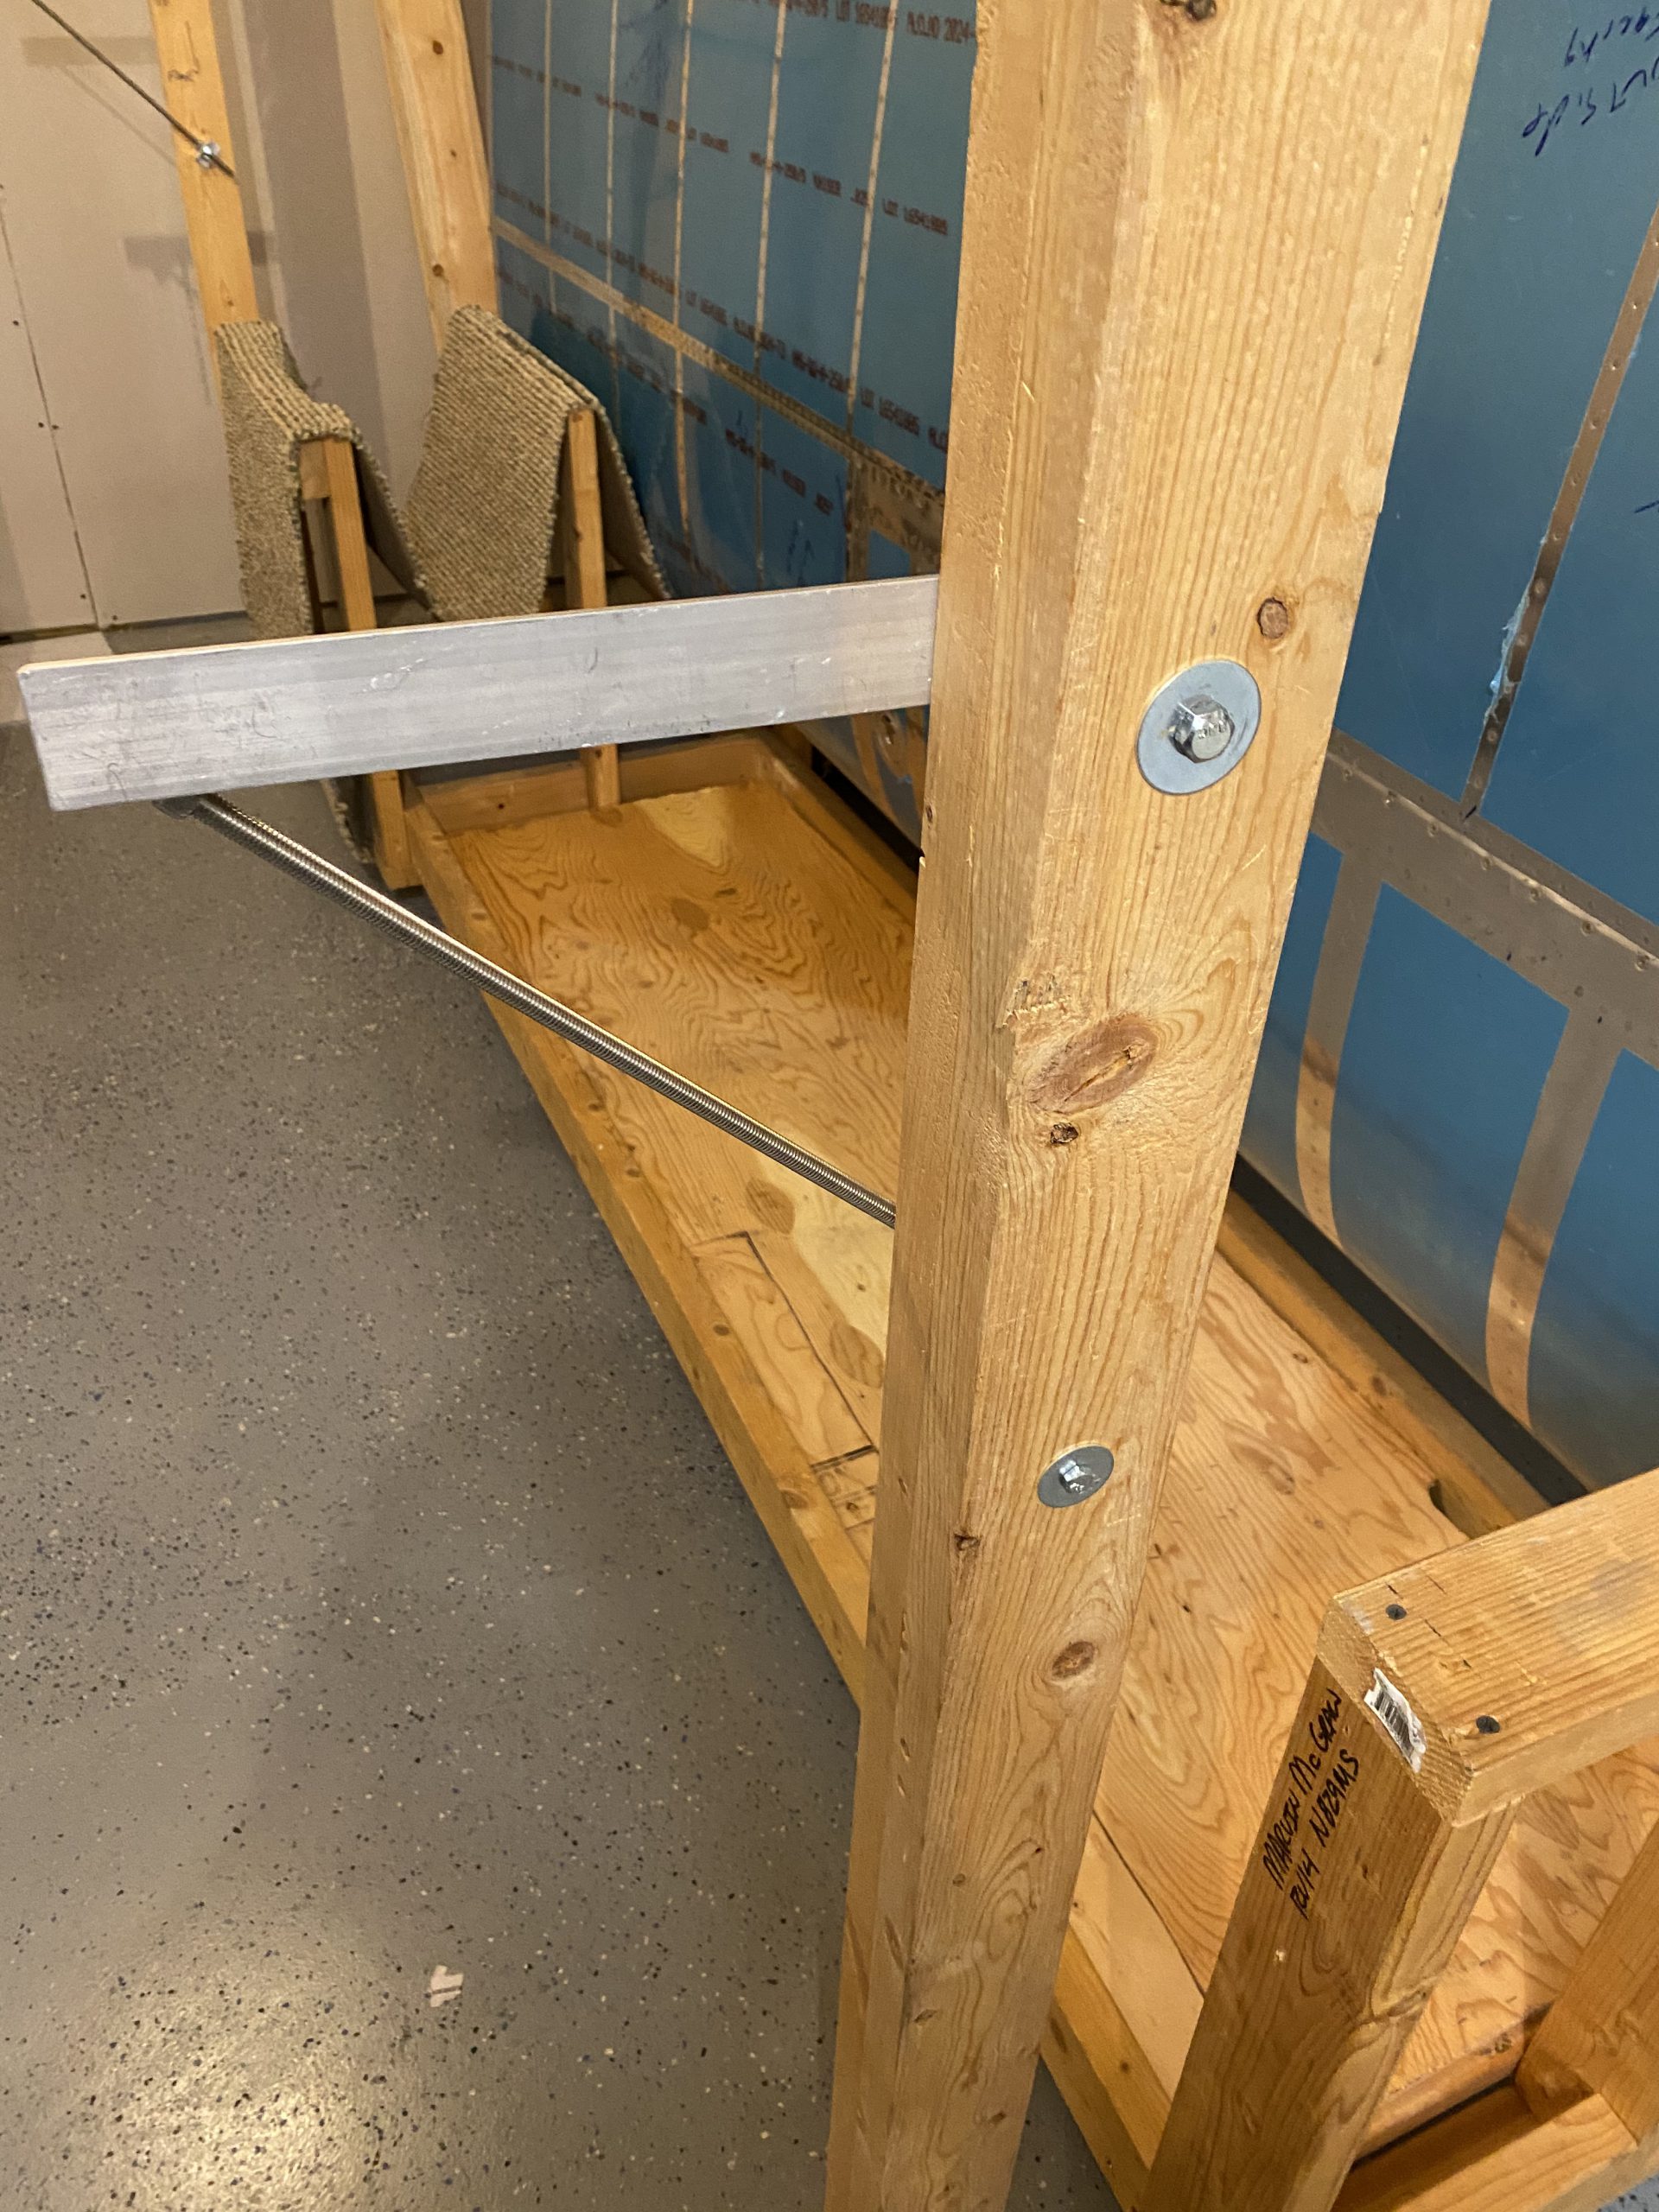
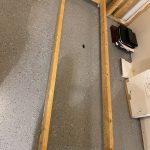
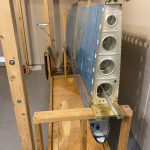
Made some big changes in the shop tonight, not to mention a milestone of getting the wings off their stands! I started out by finishing up an upgrade to my wing cradle: Storage shelf! Theres a bunch of space begging for a shelf between the two posts of the cradle. See what I mean!
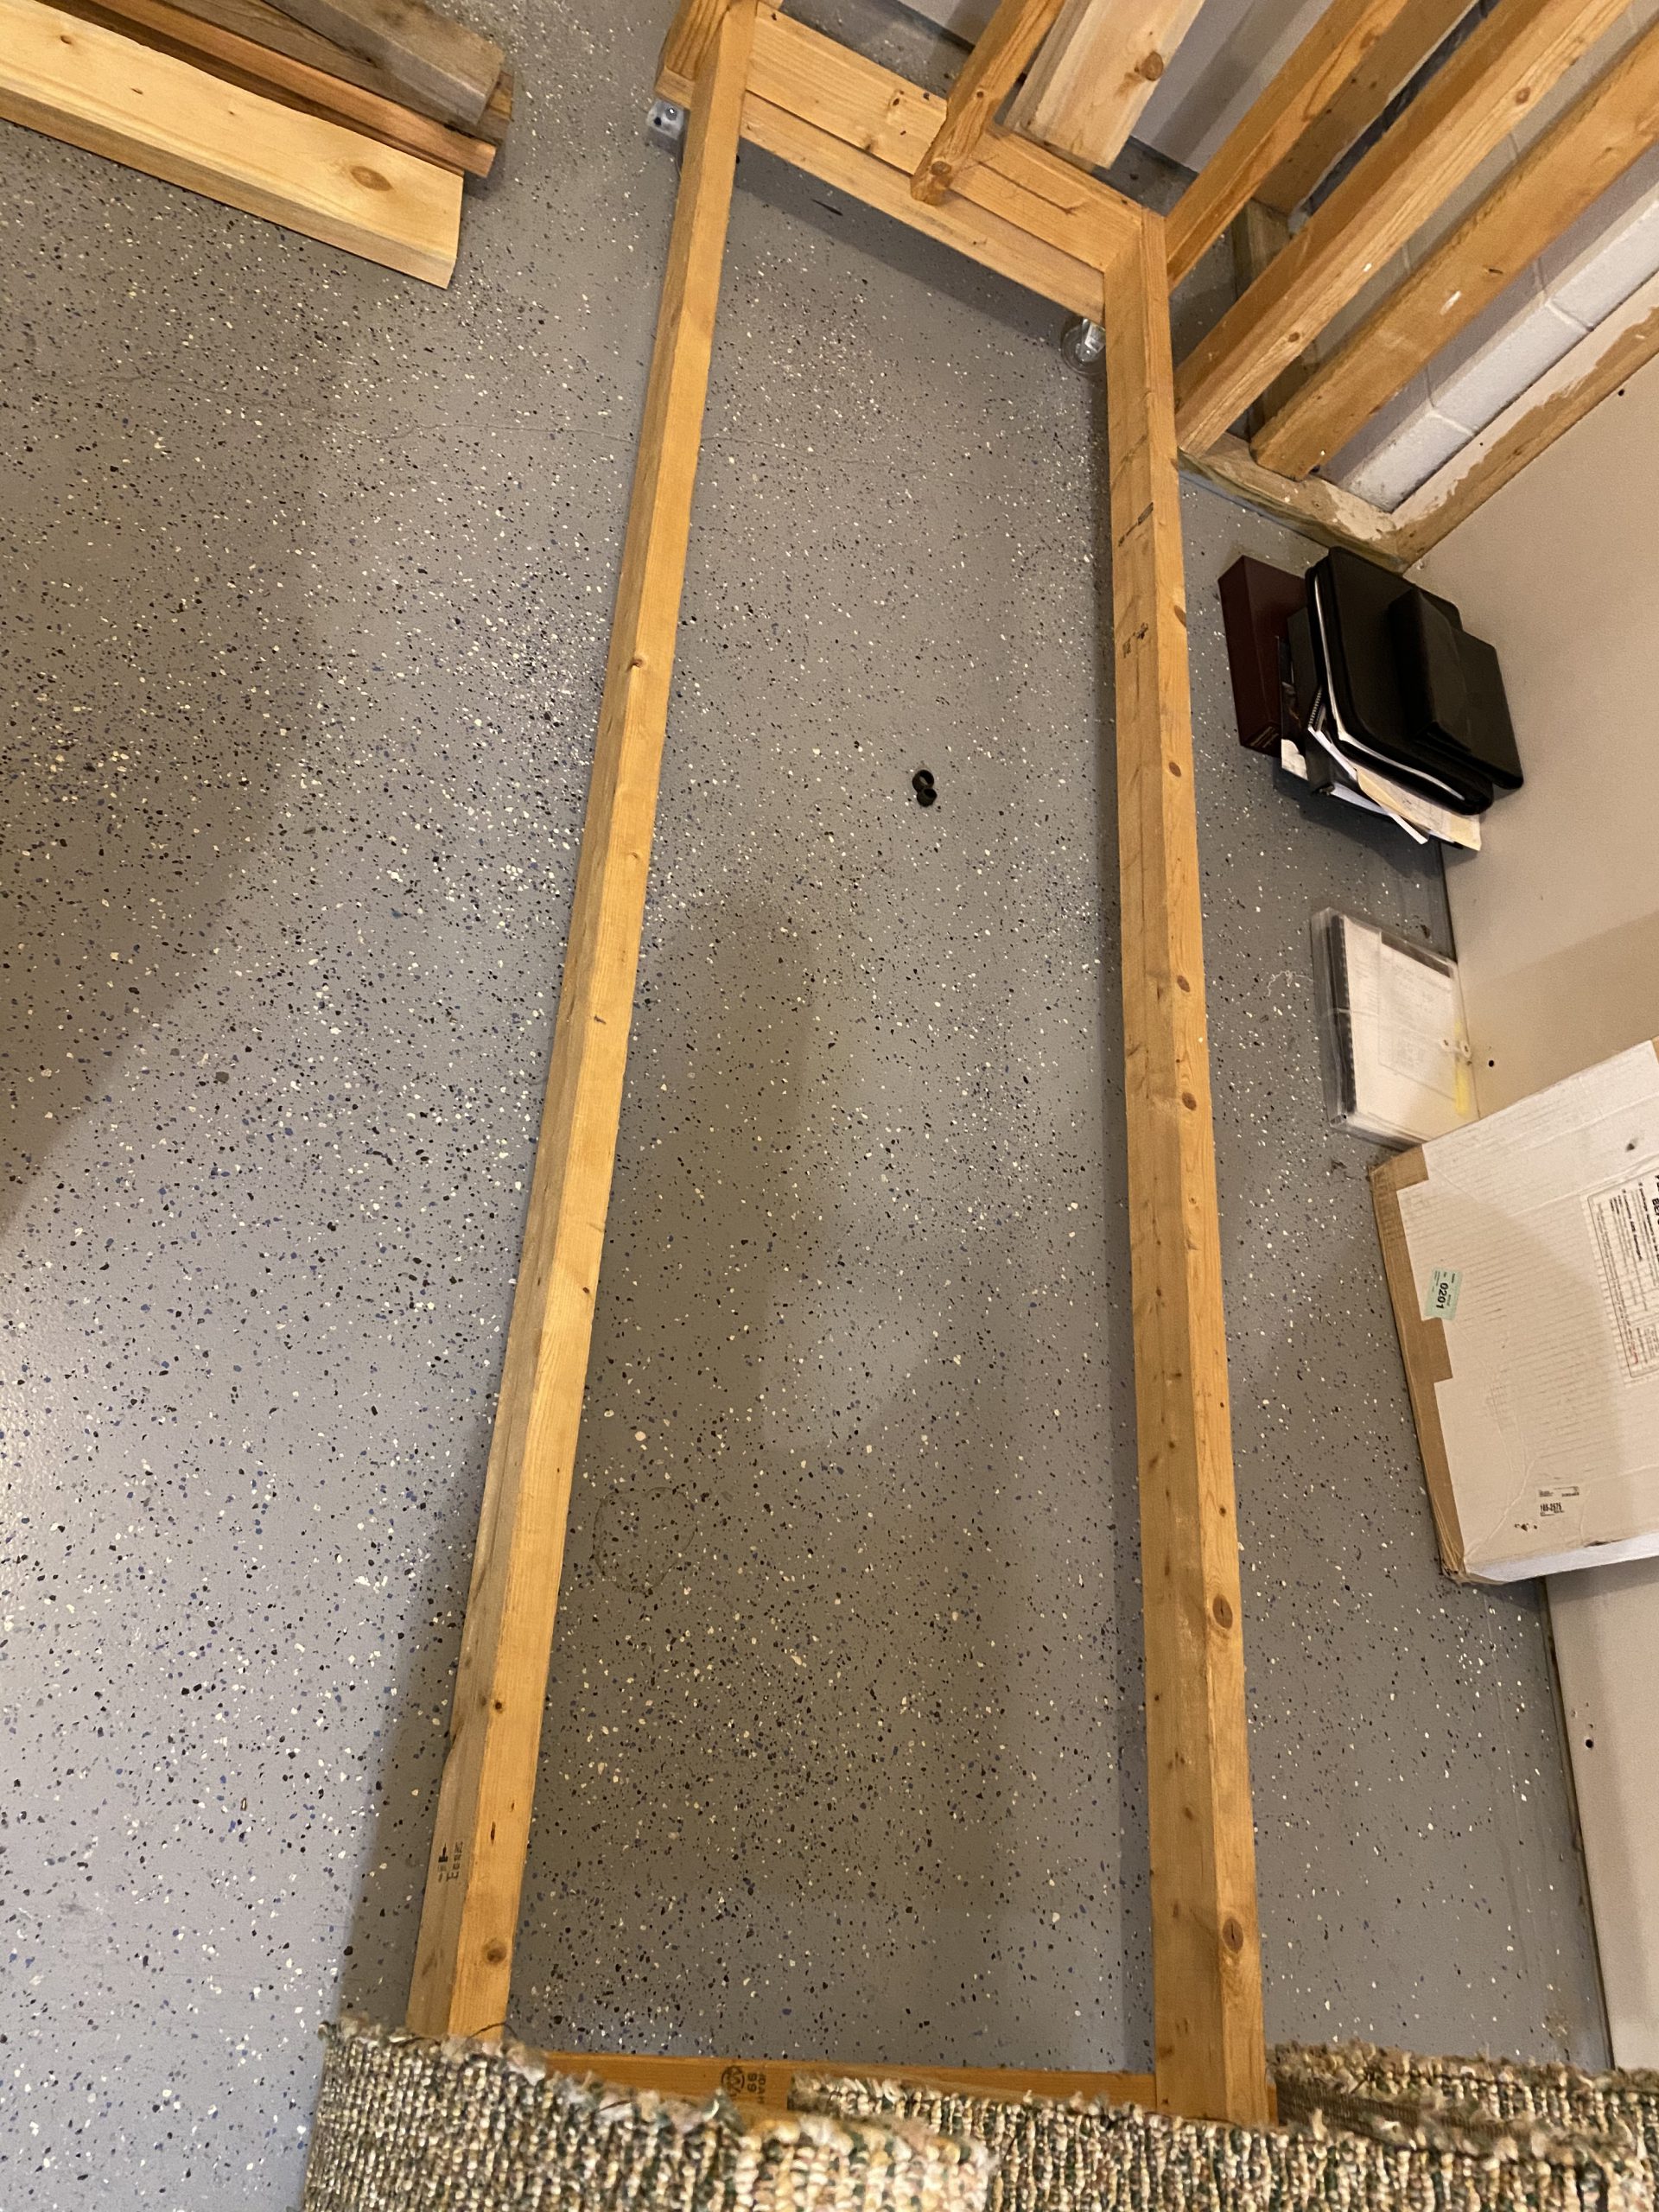
So, I pulled some old scrap 2×4’s from my wood pile, and cut them to fit in between the two rails of the cradle. I cut 5 and spaced them equally down the rails of the cradle. I didn’t get a pic of this unfortunately. Then I screwed the 2×4’s to the rails using construction screws. Next I grabbed some of the scrap plywood that came from the original wing shipping crate, and used it for the “floor” of the shelf, and stapled it down to my freshly installed 2×4 cross beams. I was actually able to put my full weight on this shelf! You can see the new shelf in the photo below, as well as a teaser for what came next 🙂
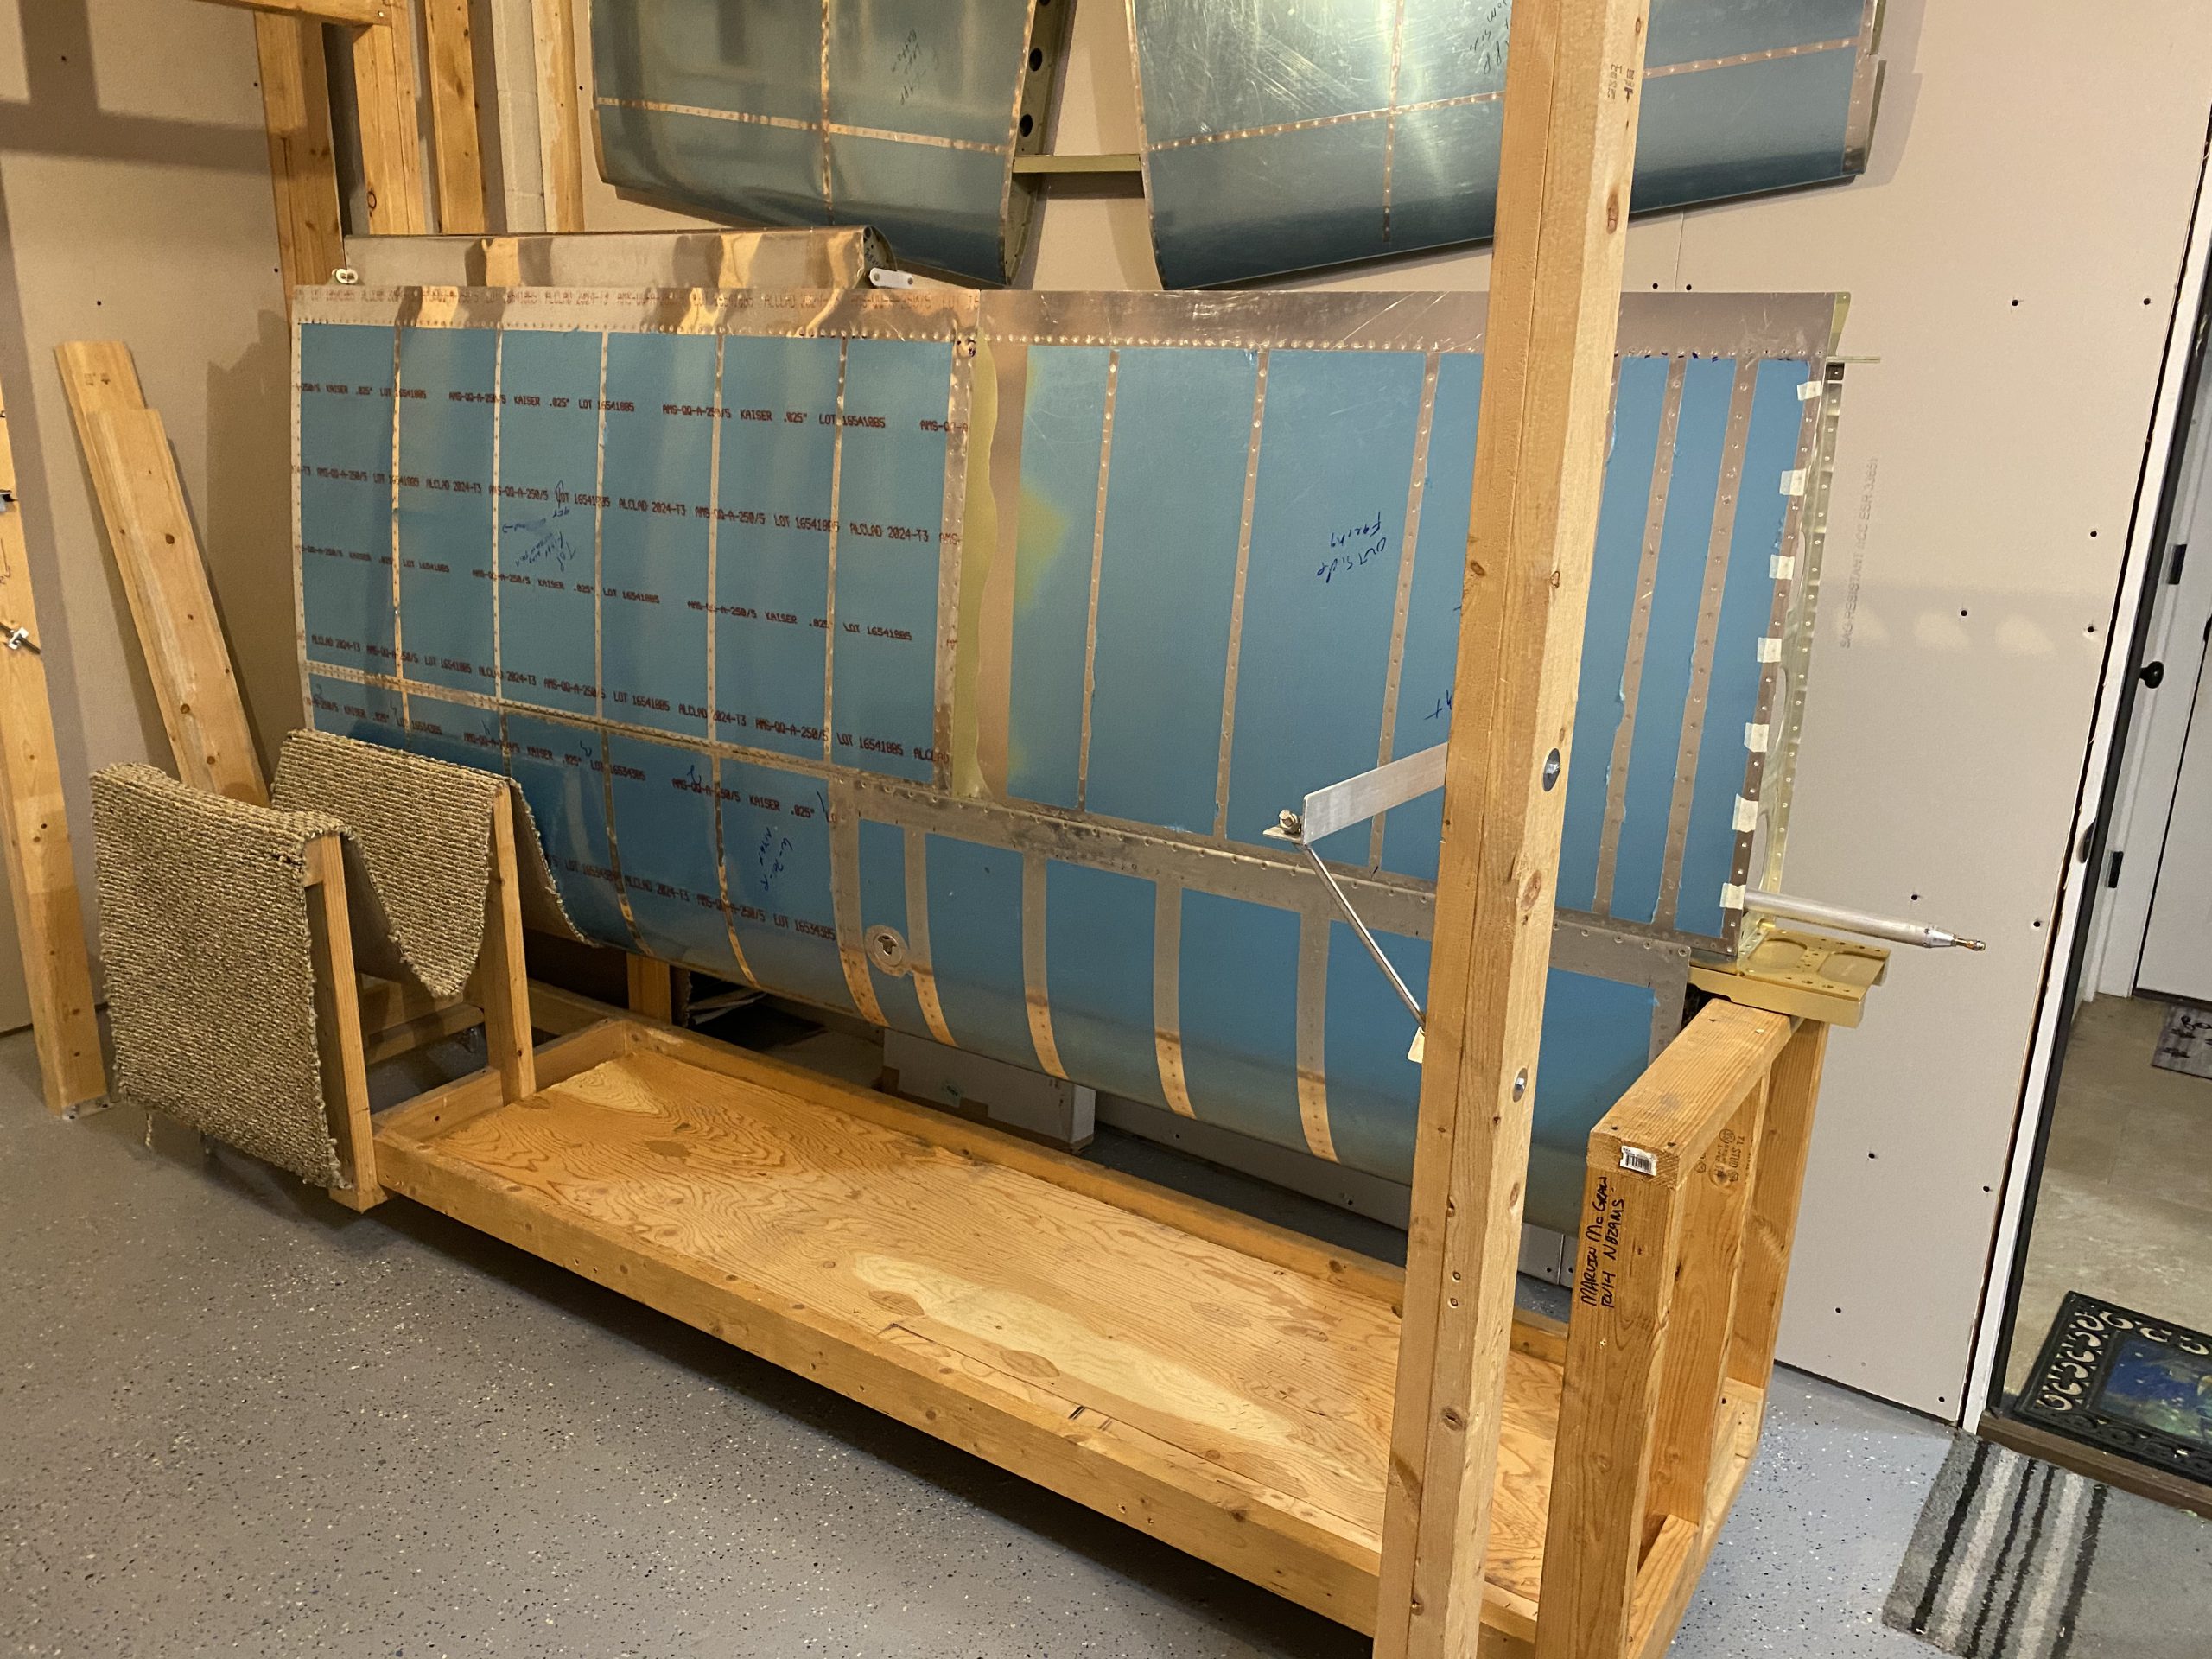
Since I got the right wing’s aileron bolted on, its ready for the cradle, so Tammy helped me gently sit the wing into its cradle, as evident from the photo above! Now that my workbenches were free, we decided to go ahead and get the left wing off its stand, and onto the benches so I can mount its aileron. Tammy helped me get the left wing unclamped from the stand, and we gently laid it on the benches.
At this point, there is no reason to keep the wing stands bolted up, and they can come down to make room in the shop. So, I grabbed some wrenches and went to work disassembling all the aluminum bracketry and stored my hardware for future use…..maybe for a RV-10?
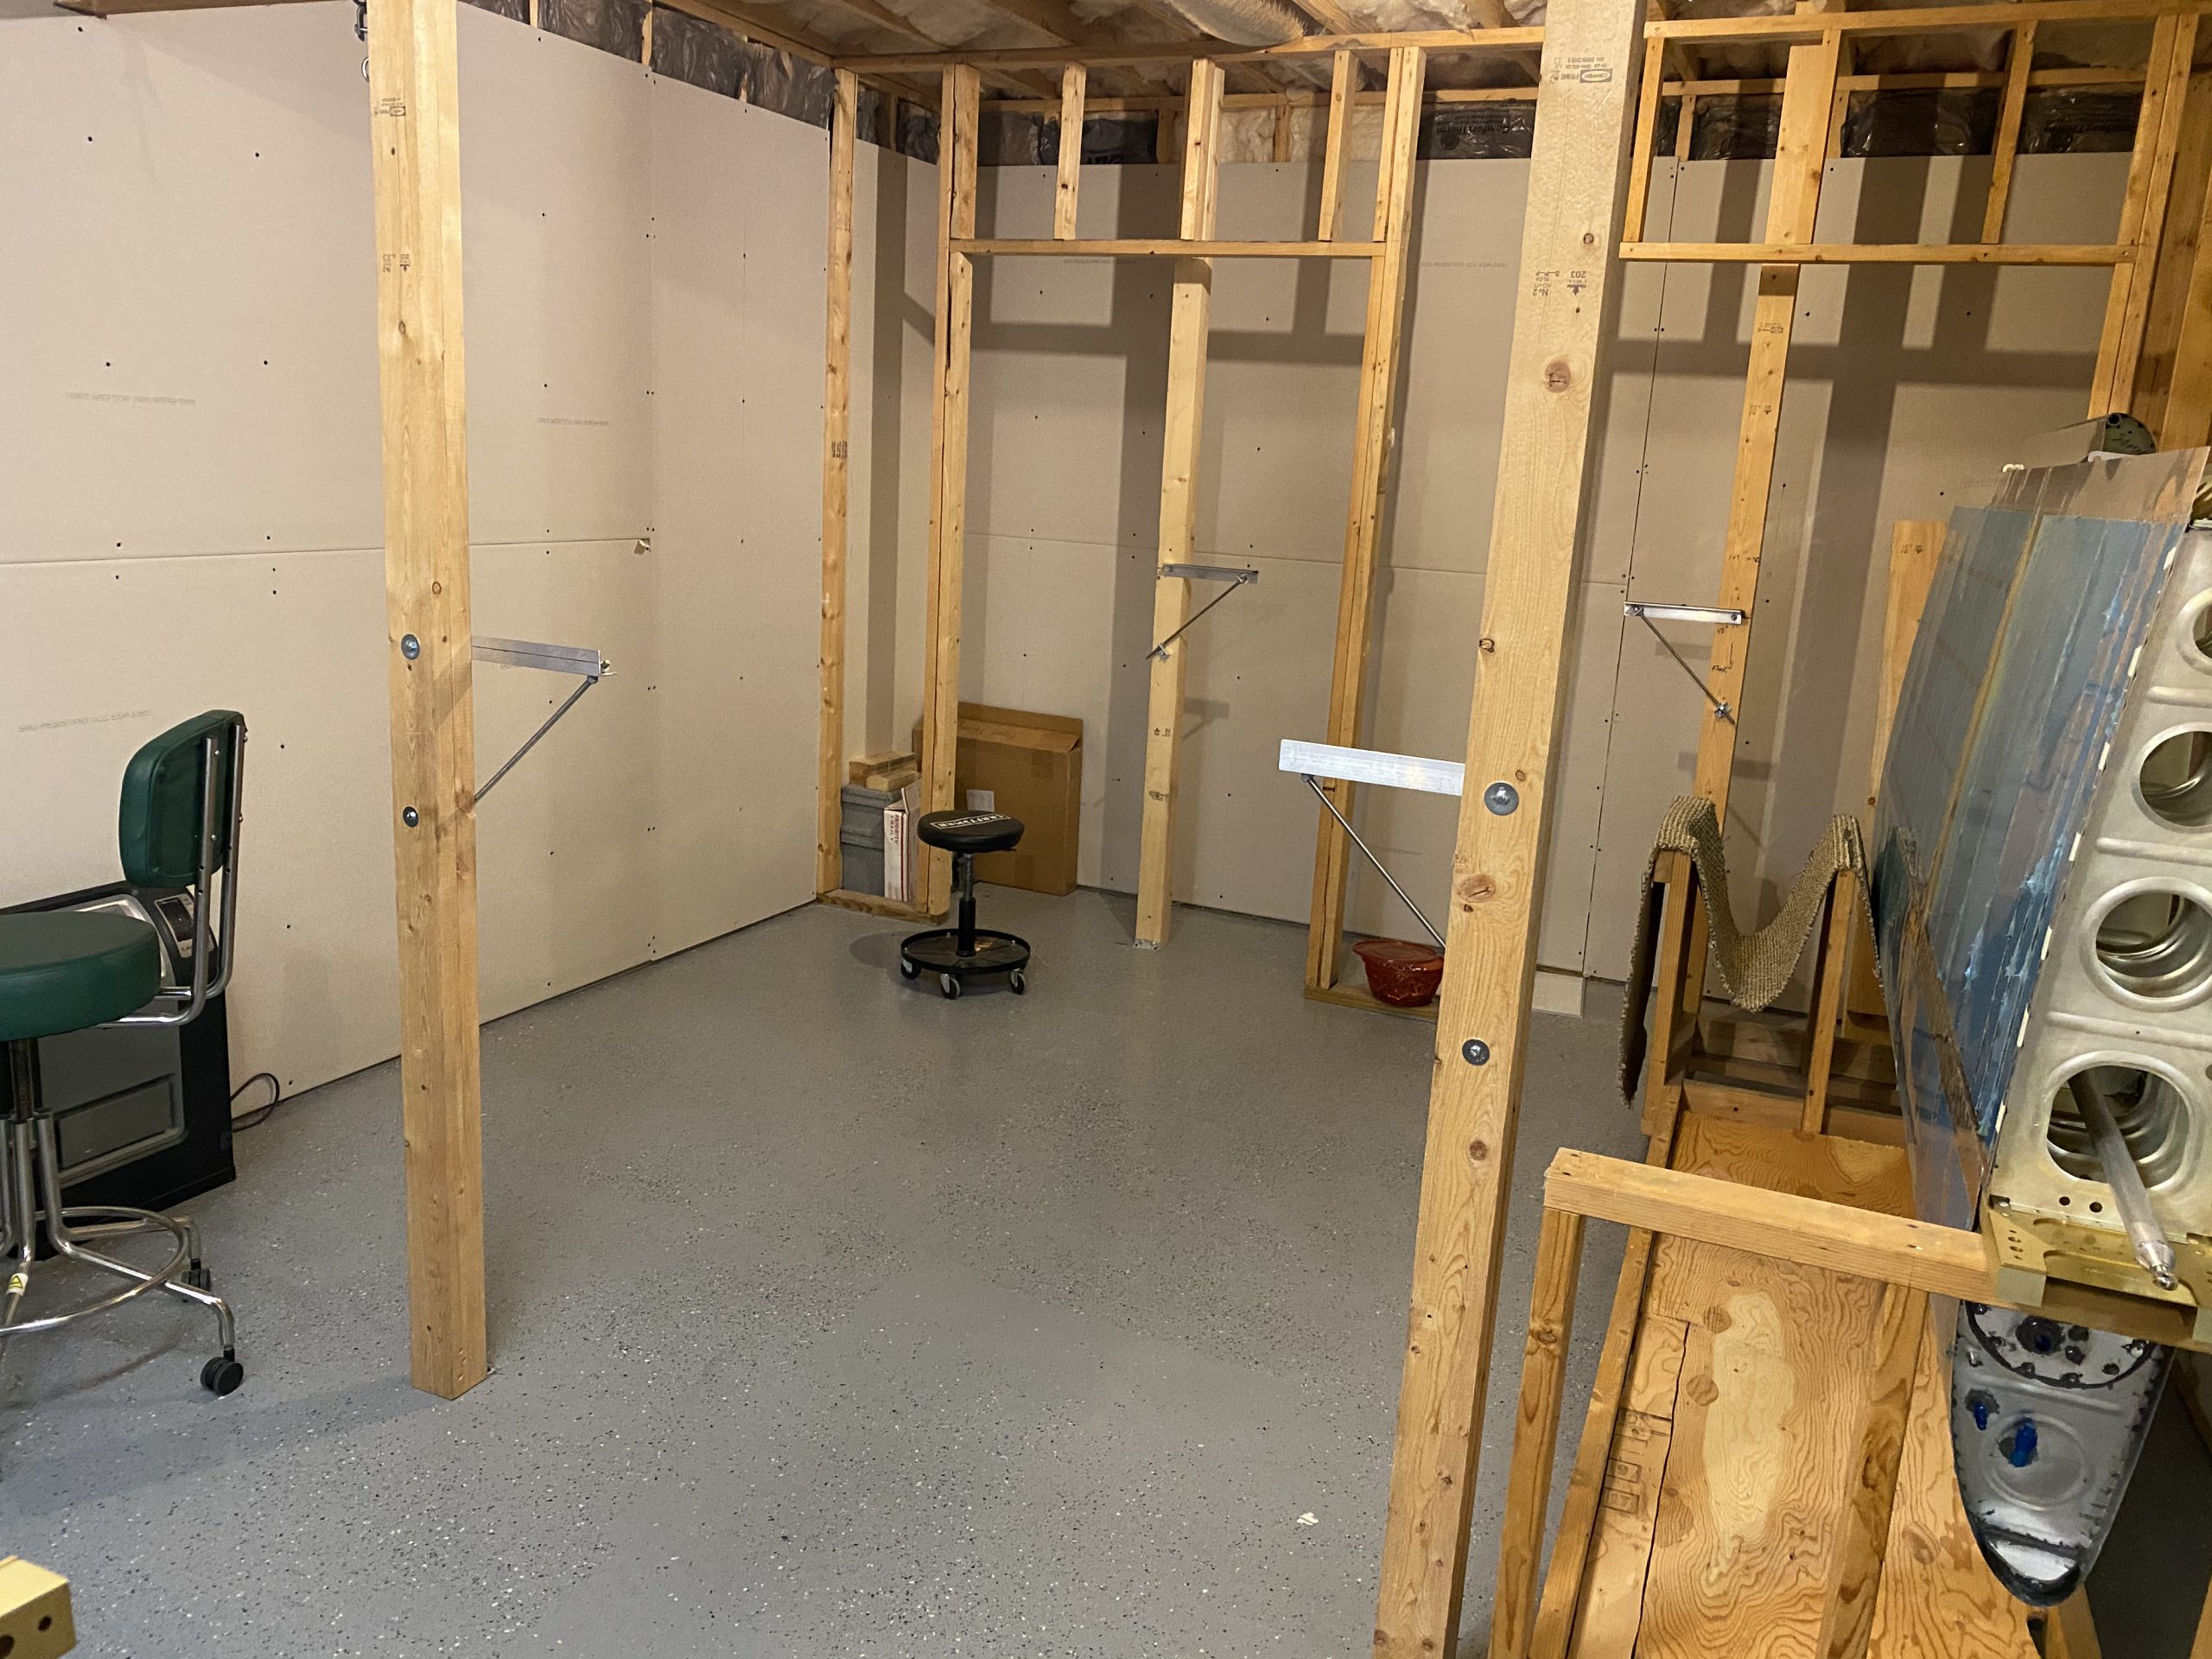

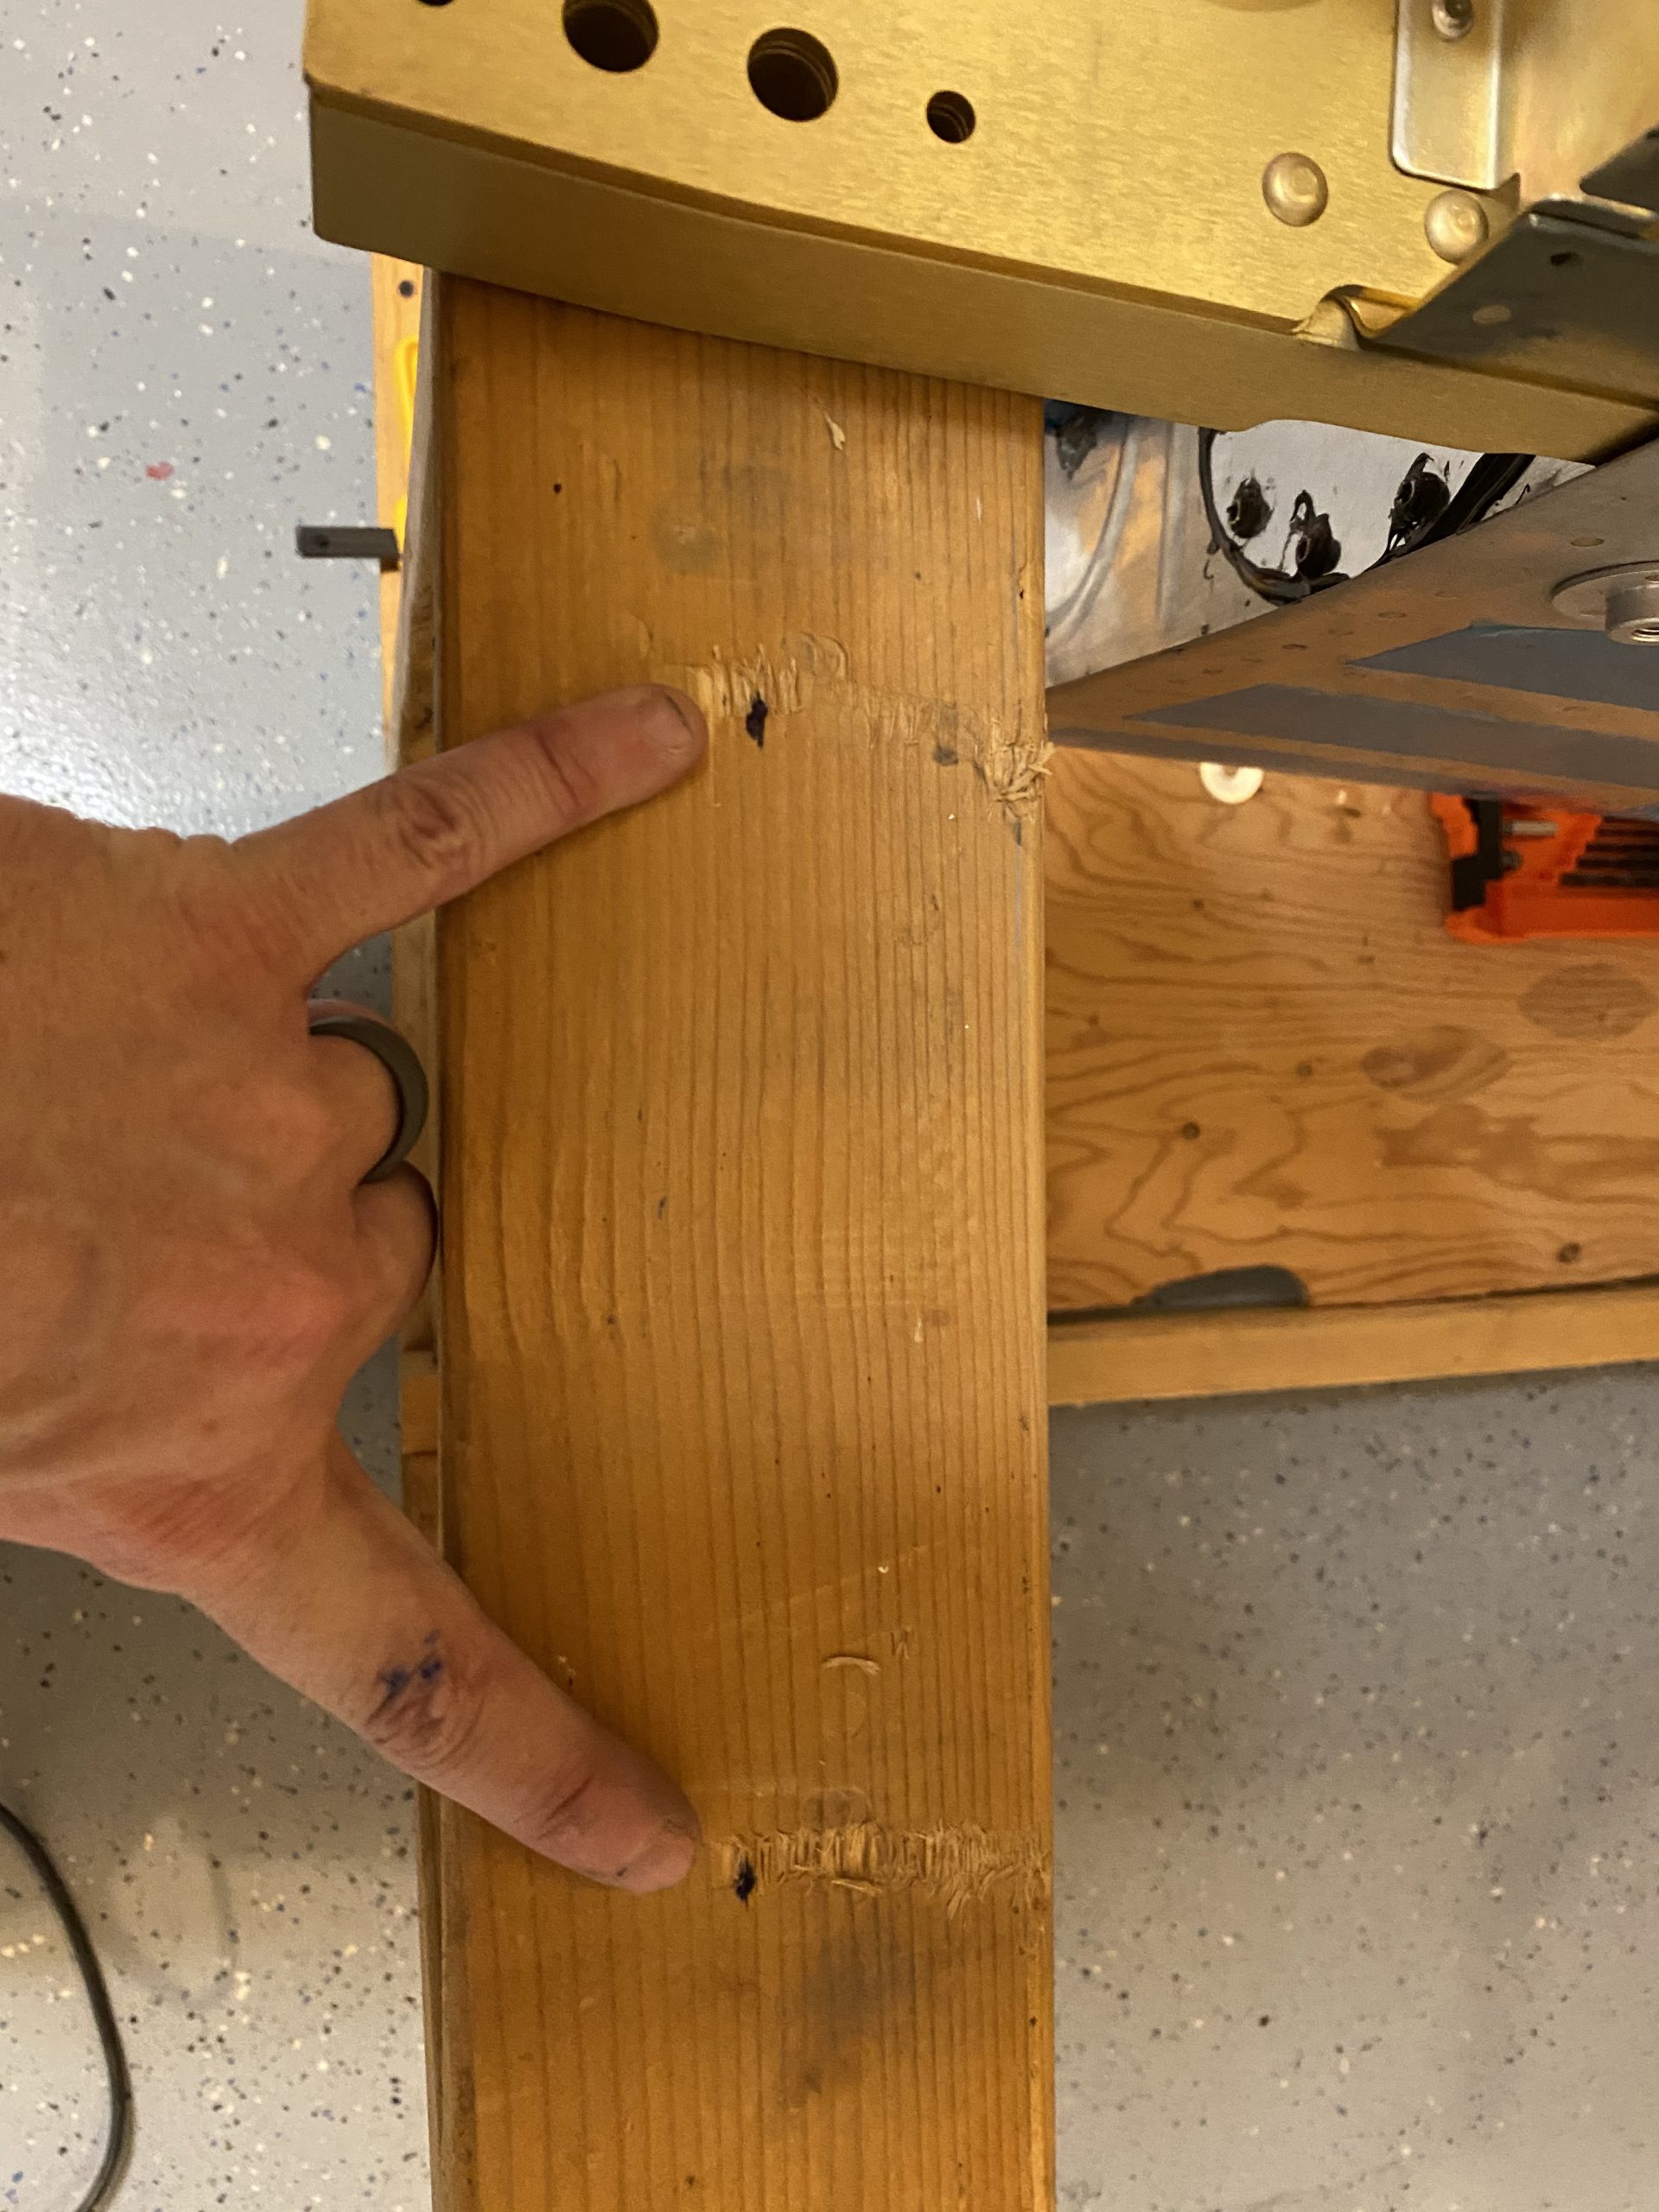
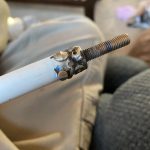
Next was to unscrew the 4×4 uprights that were screwed into the ceiling joists, and then unbolt them from the angle brackets bolted down to the concrete floor. I toted all 4 of these 4×4 posts out into the garage, as I’ll probably use them on a project at my Cabin. These “4×4” posts are actually 2 2×4’s screwed together, so I have a total of 8 9-foot 2x4s from these wing stands! Getting those posts down freed up a lot of room in the shop! I can move the wings around in just about any position!
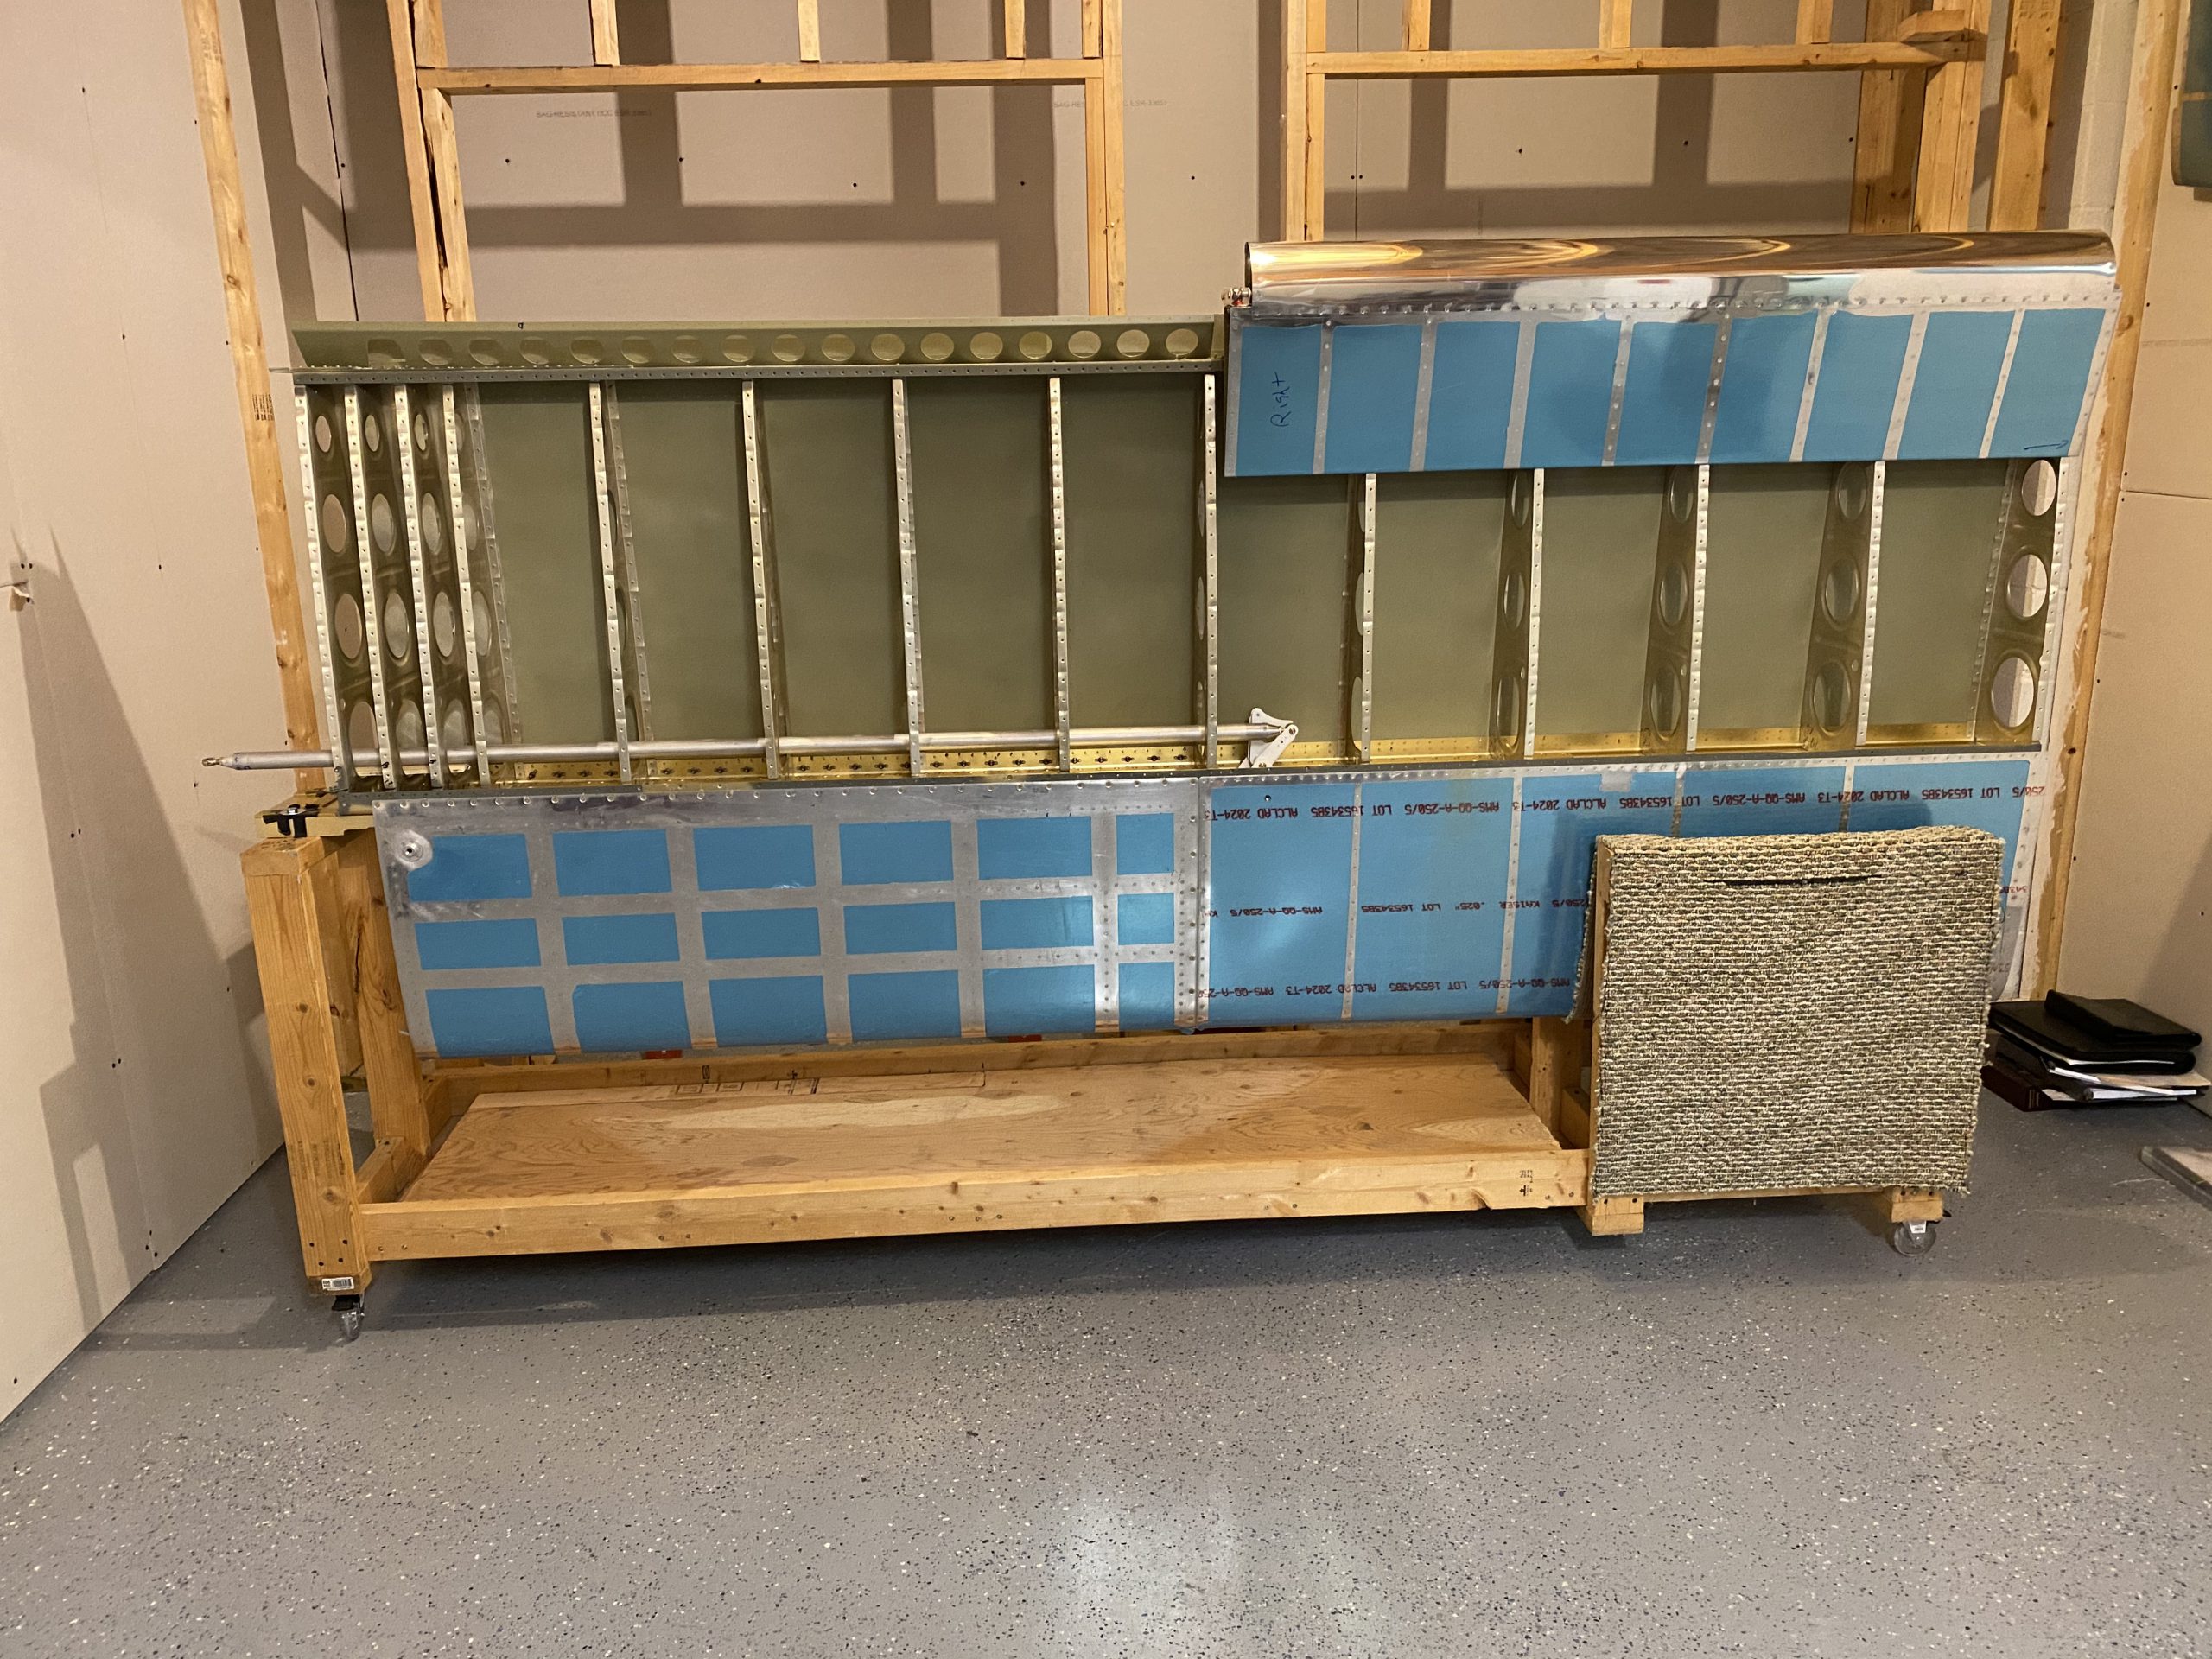
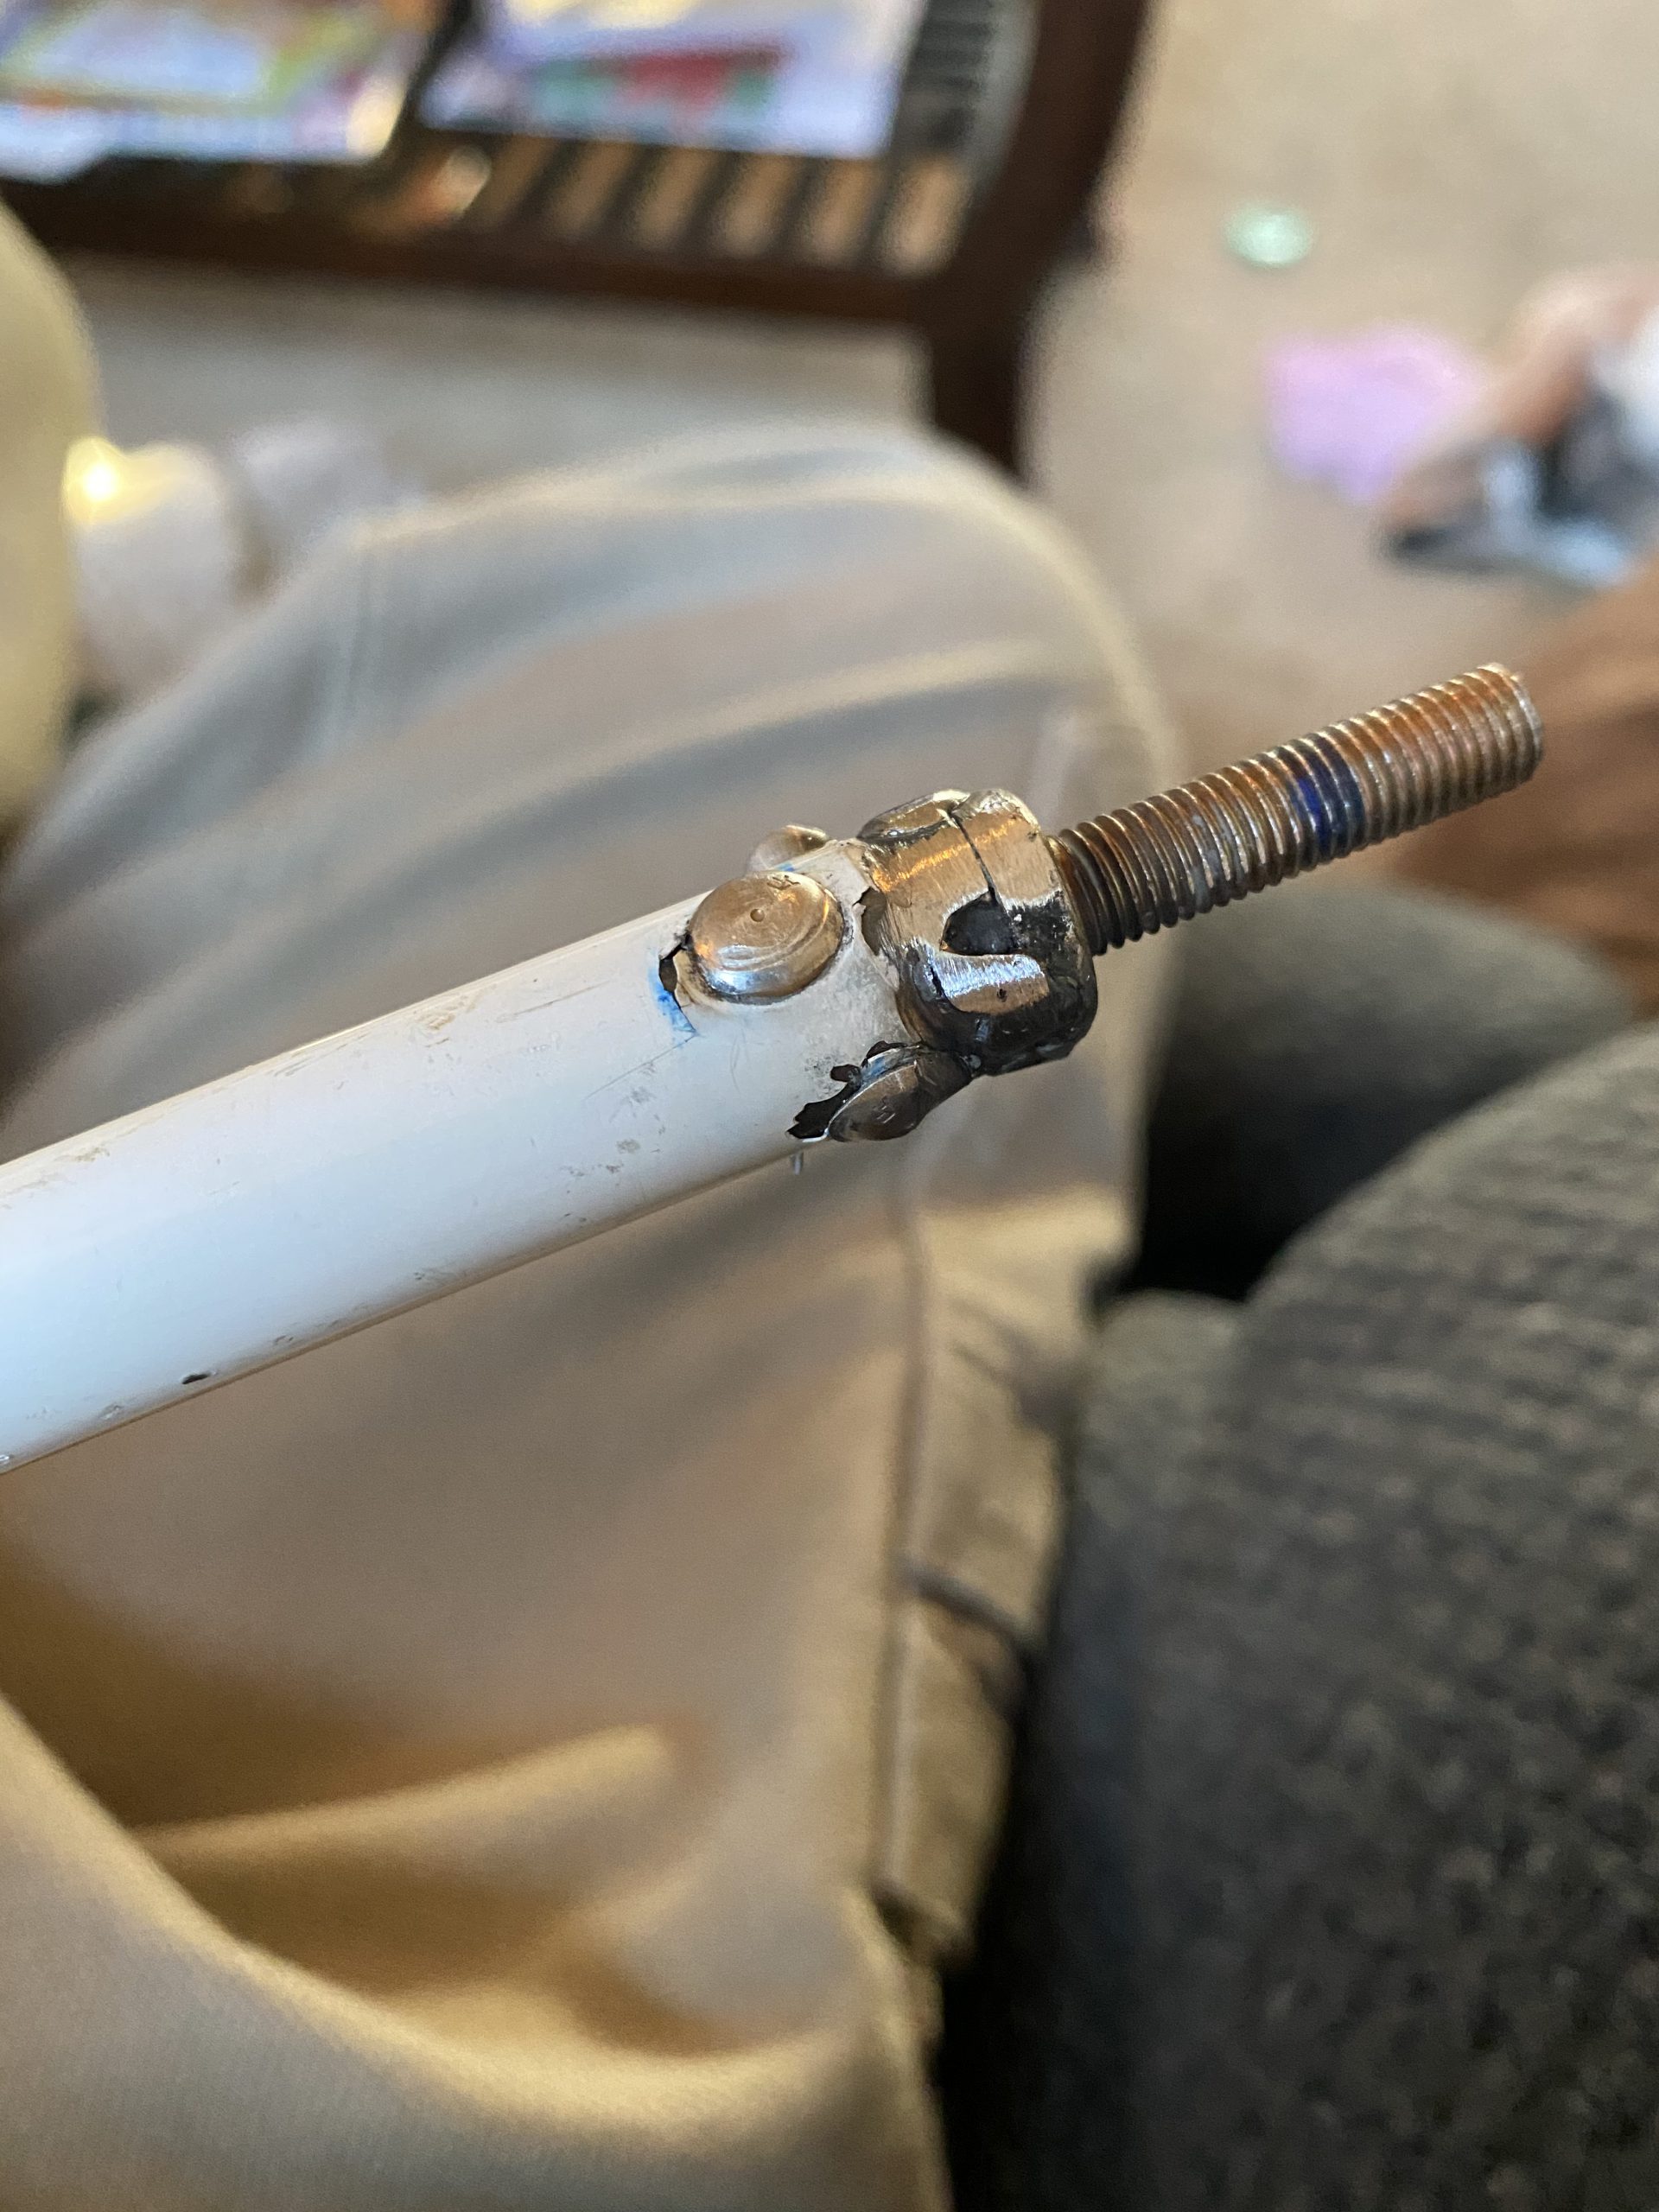
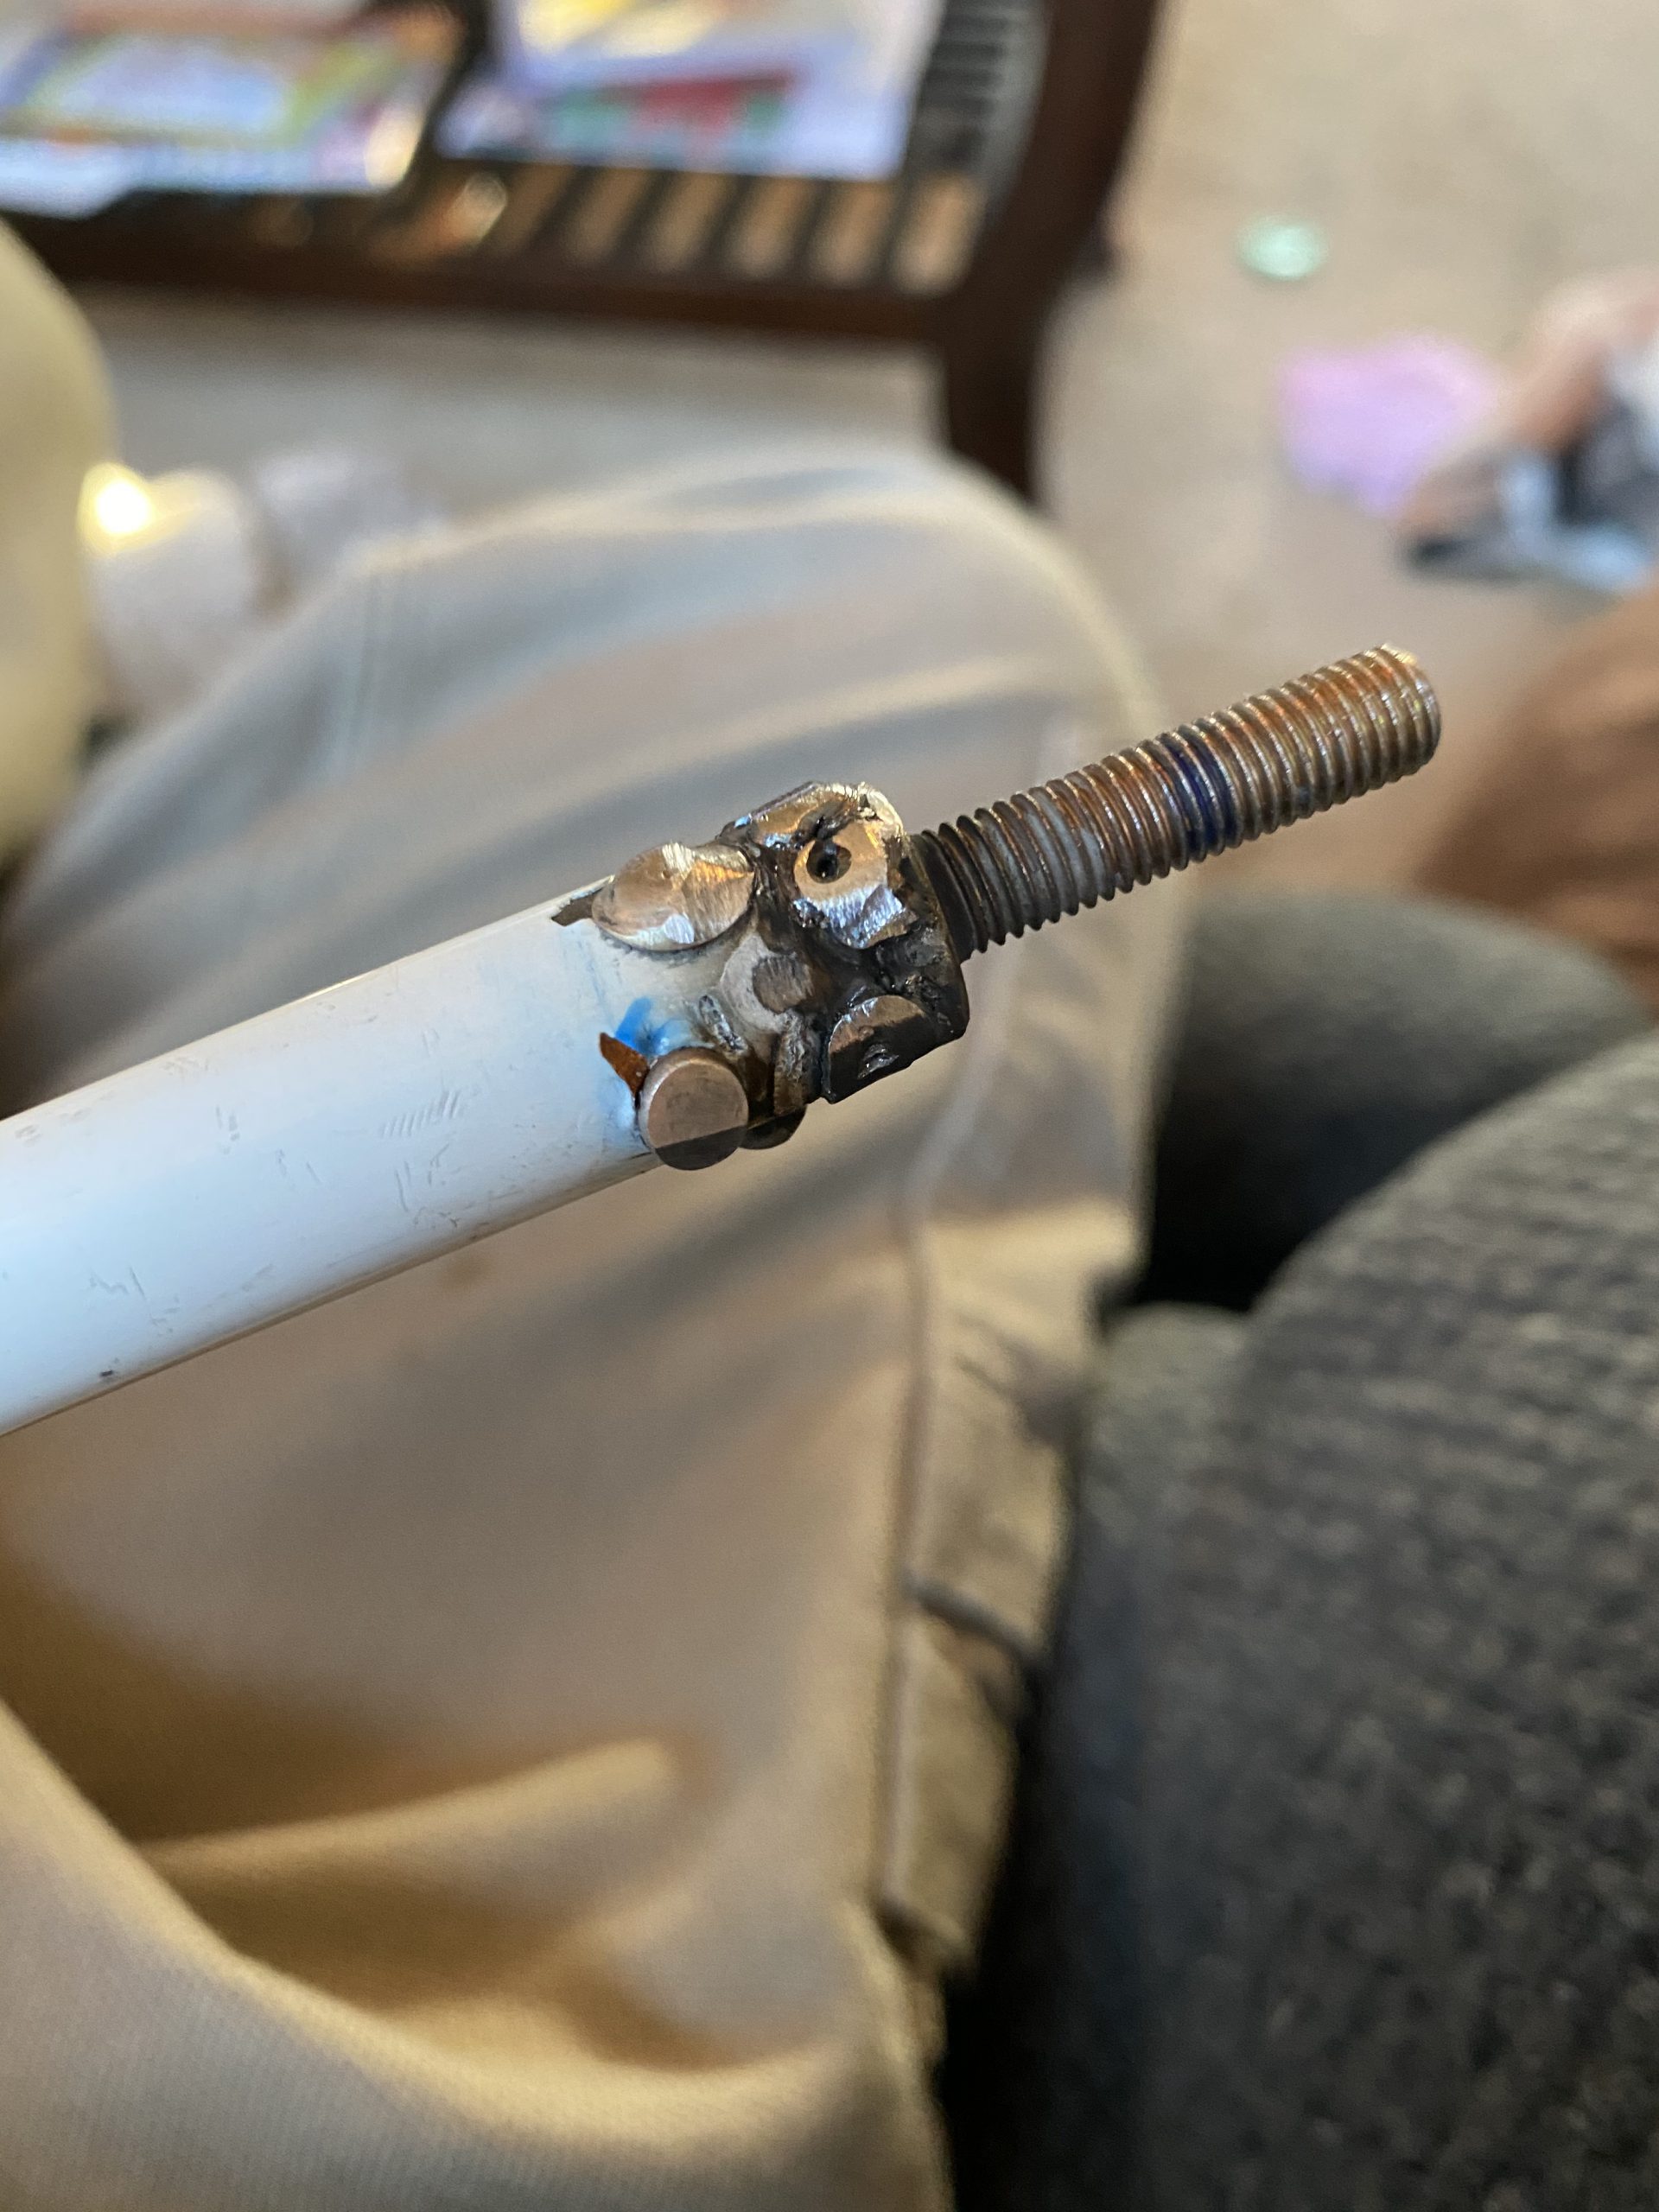
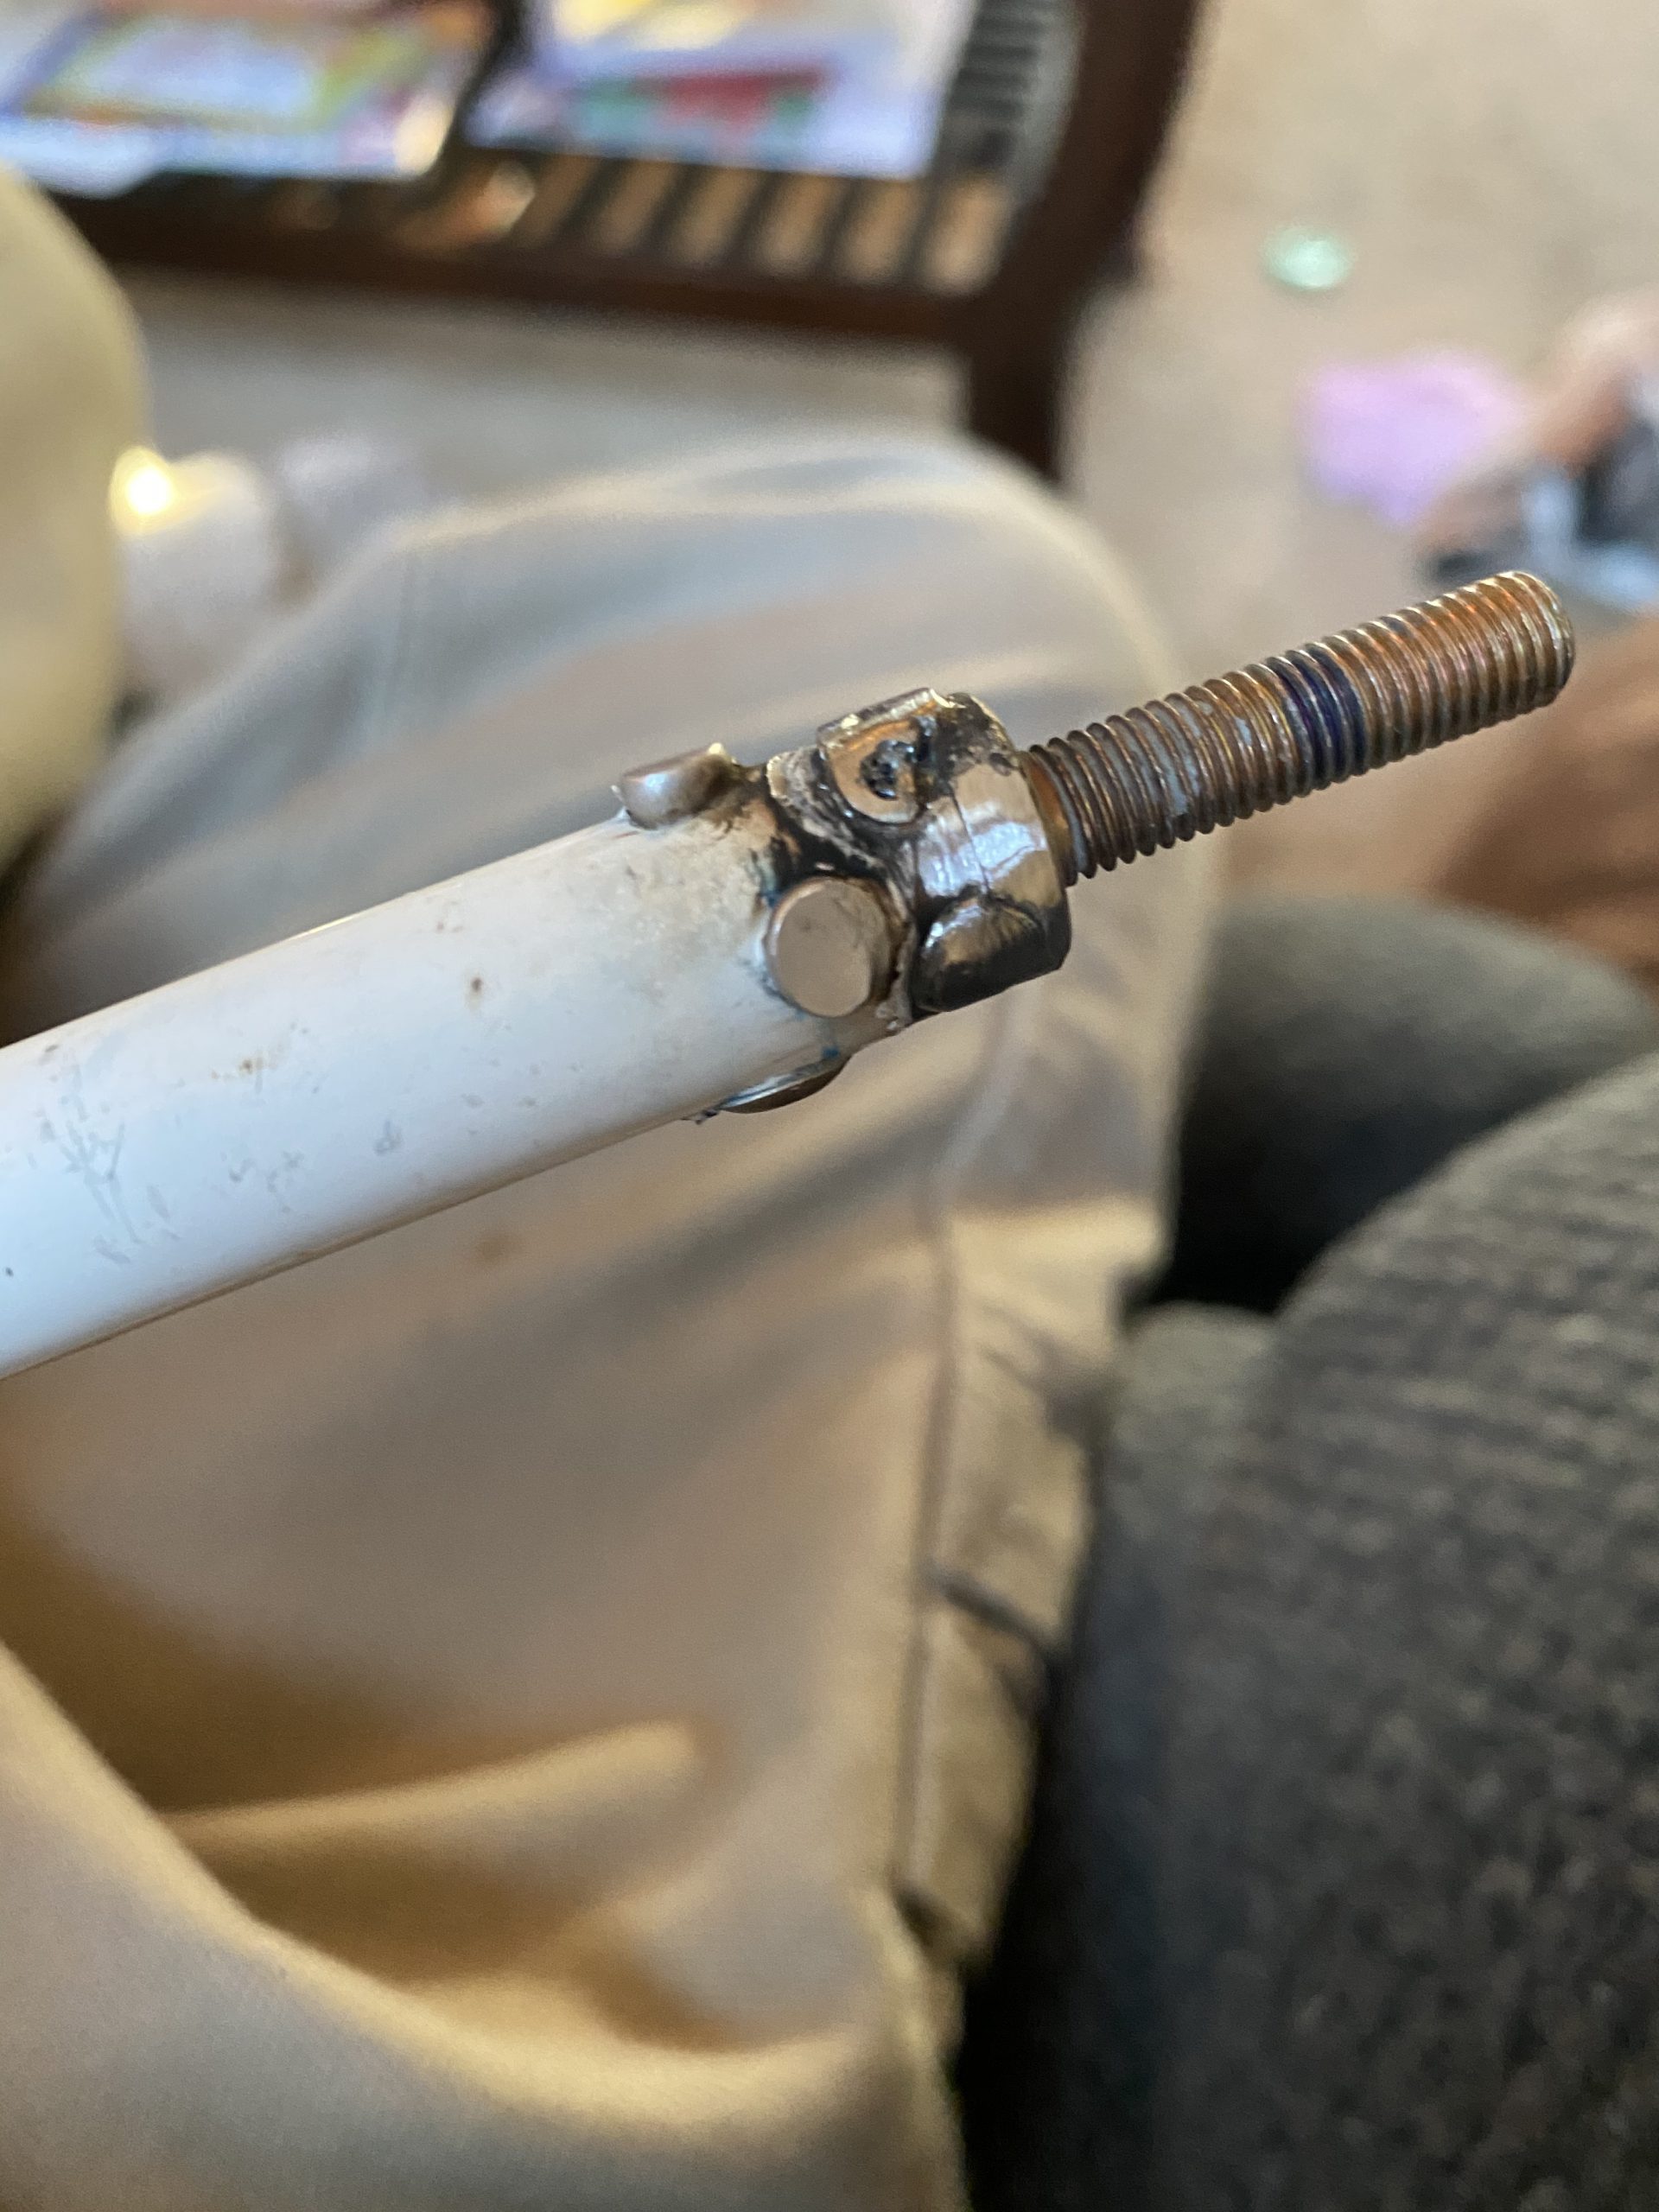
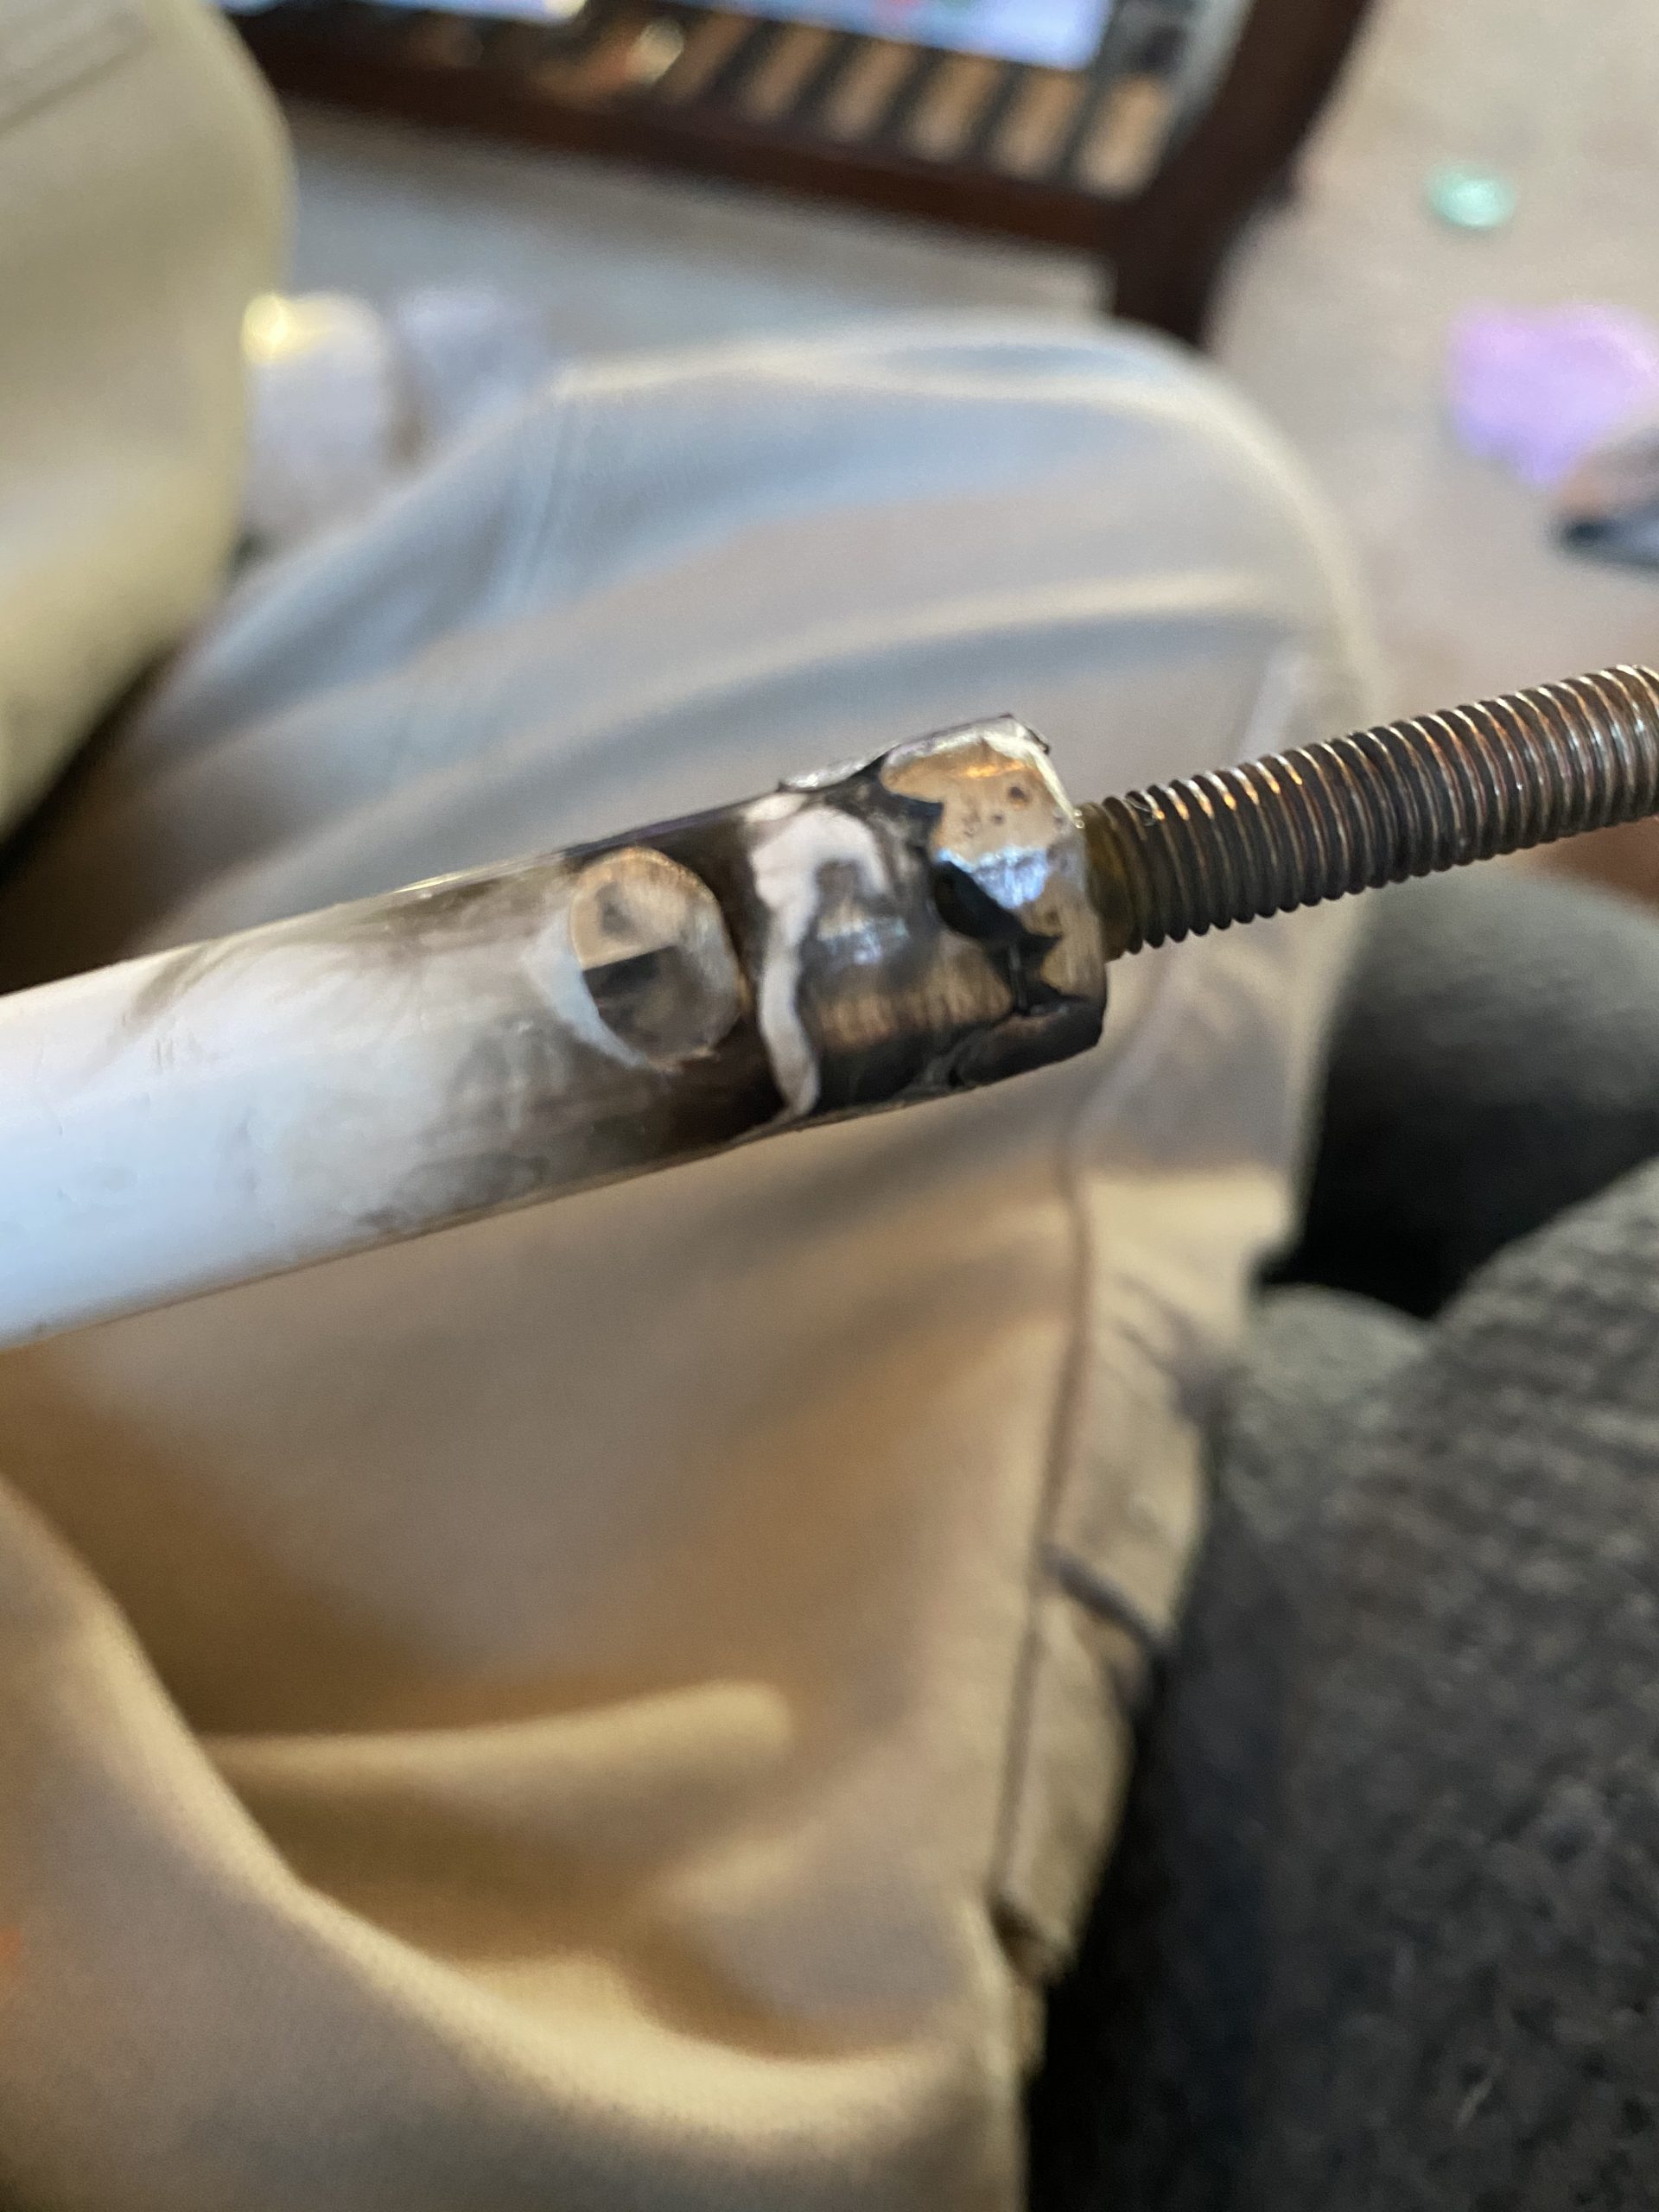
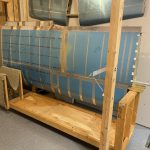
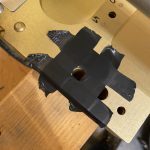
I had a bit of an idea for securing the wings into the cradle. I was not real comfortable with the right wing in the stand, as it seemed to wobble and could potentially tip out! So, I was lucky to have some spare bolts that was just the right size to bolt the main spar onto the cradle. I first centered up the main spar on its “section” of the cradle, in between the middle and outer support post. Then I marked two holes with my sharpie where the bolt holes are in the main spars, making sure it centered on the 2×4 beam.
Then I drilled the holes with a 3/8 drill bit, the perfect size for my spare bolts I got from the wing stands earlier! I wanted to protect the finish of the main spar, so I put some electrical tape around its holes to make a protective cushion for the fender washer to lay on.
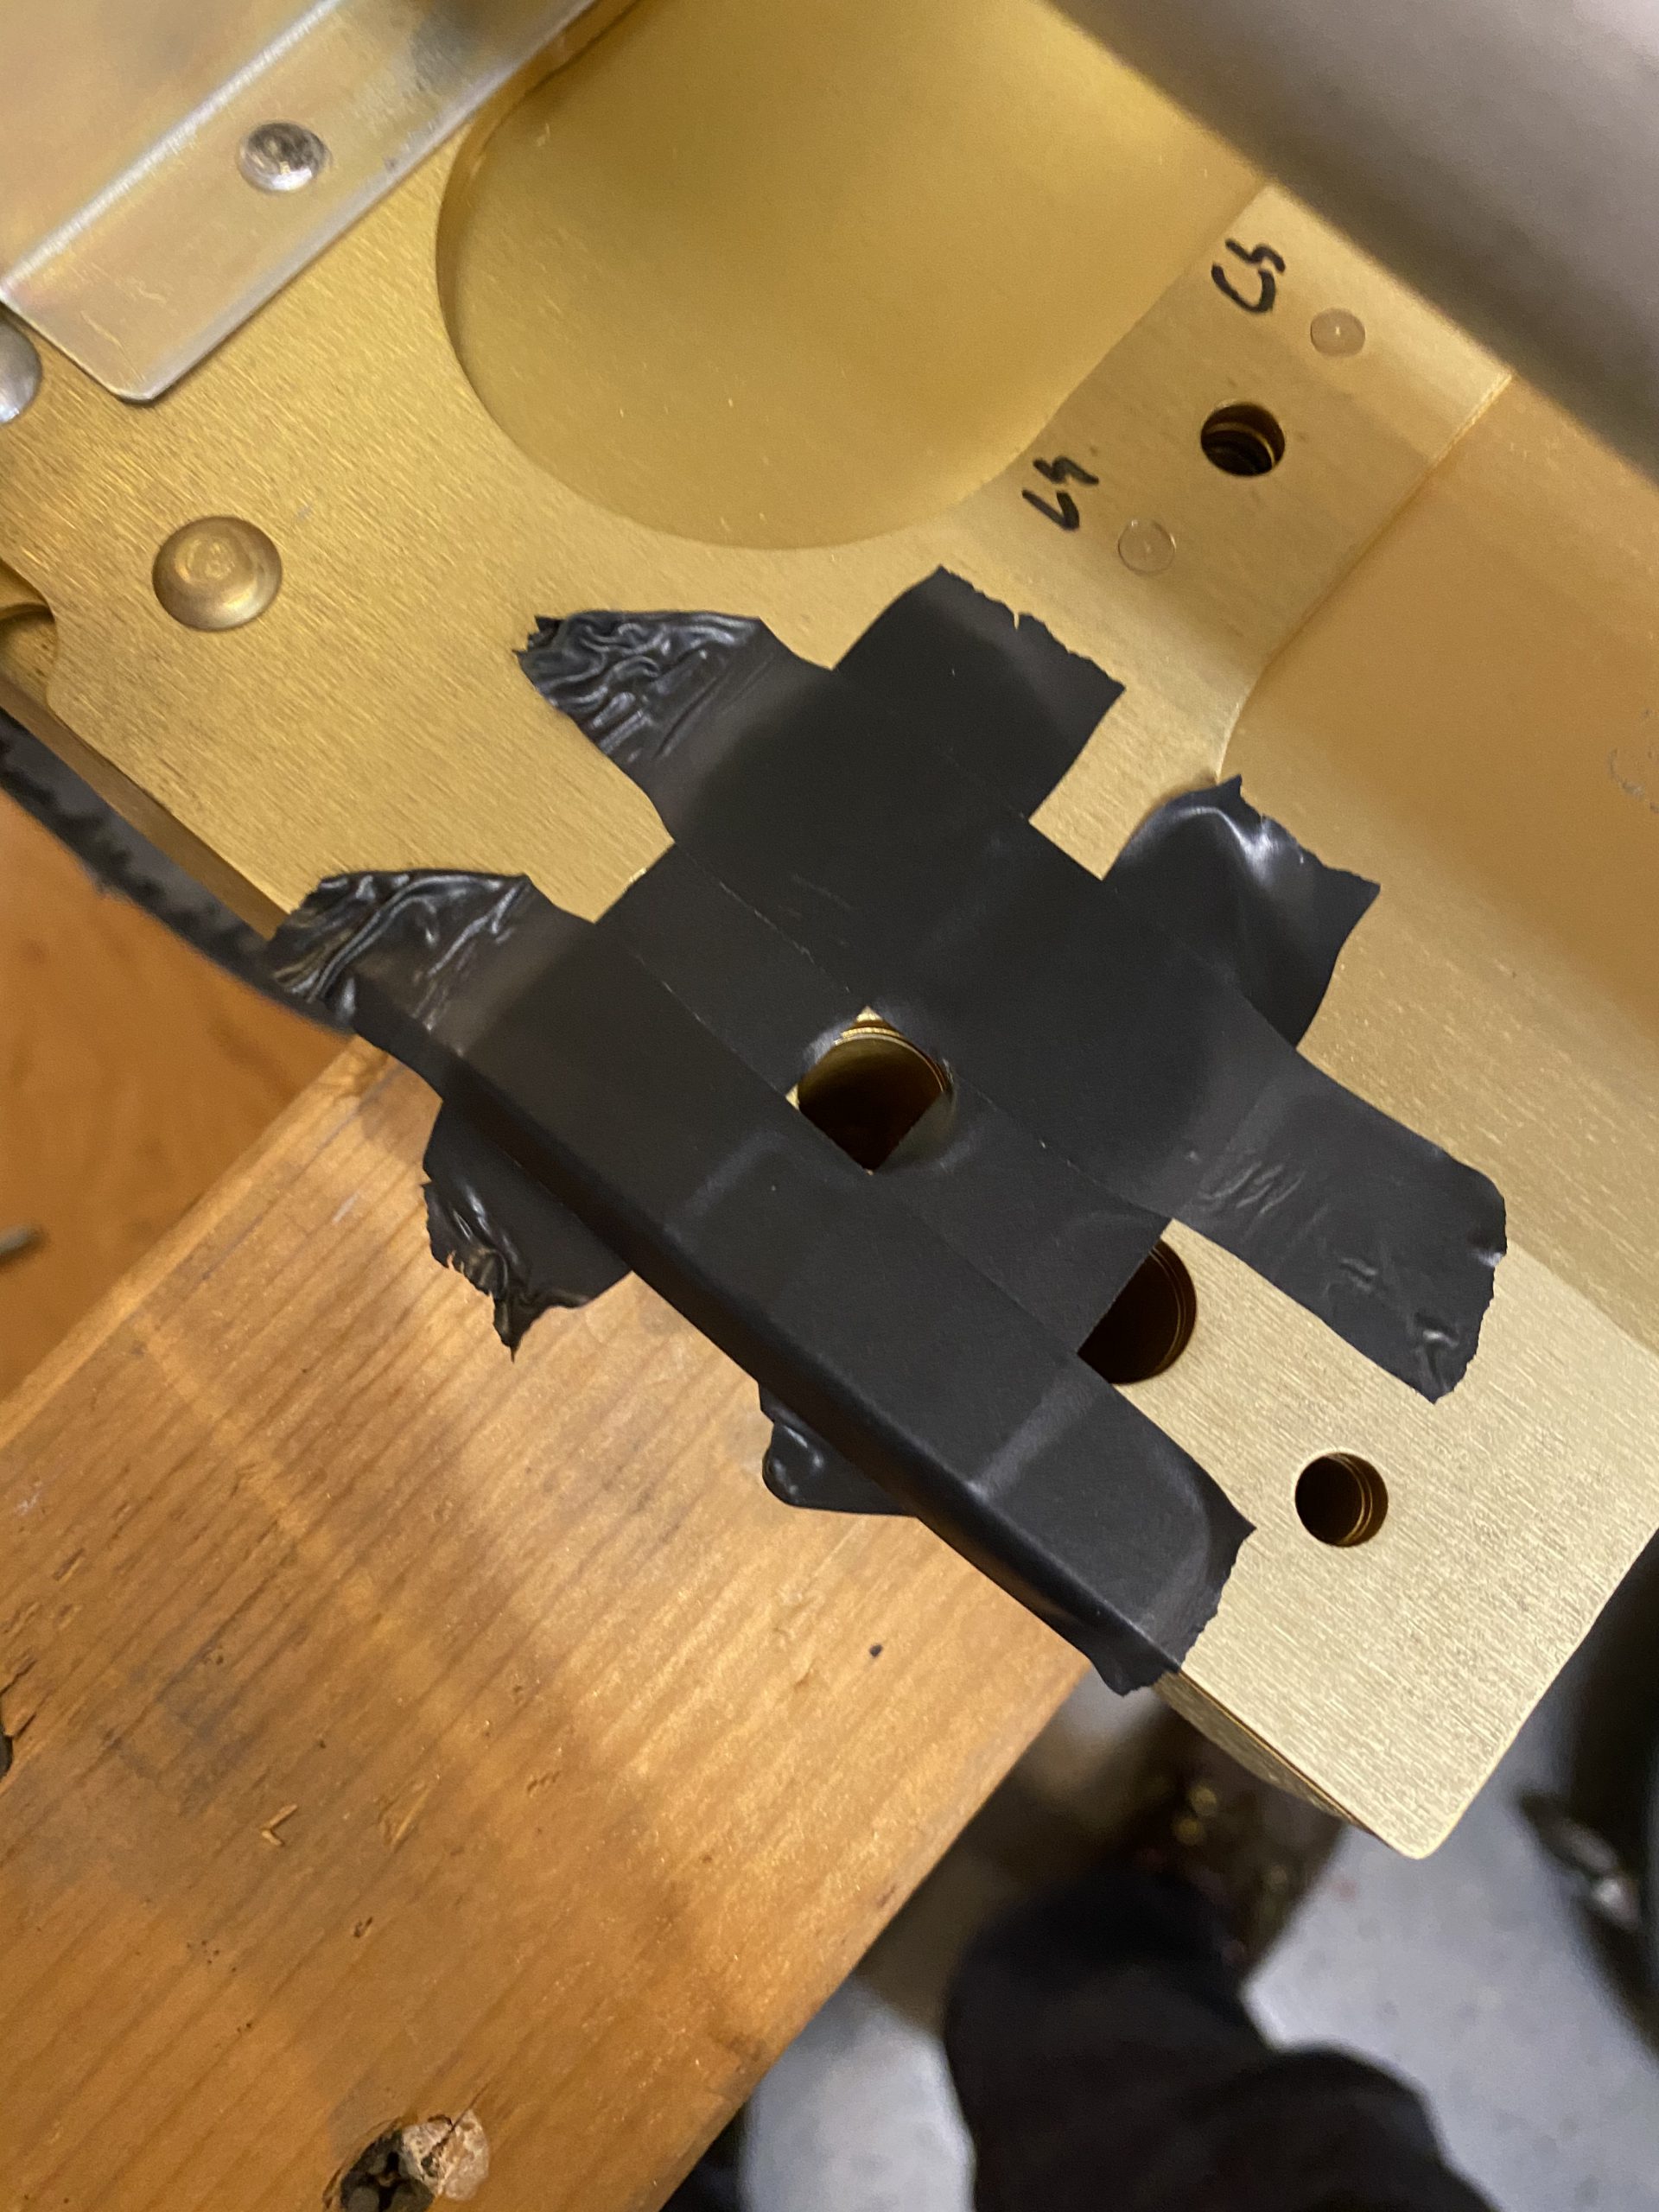
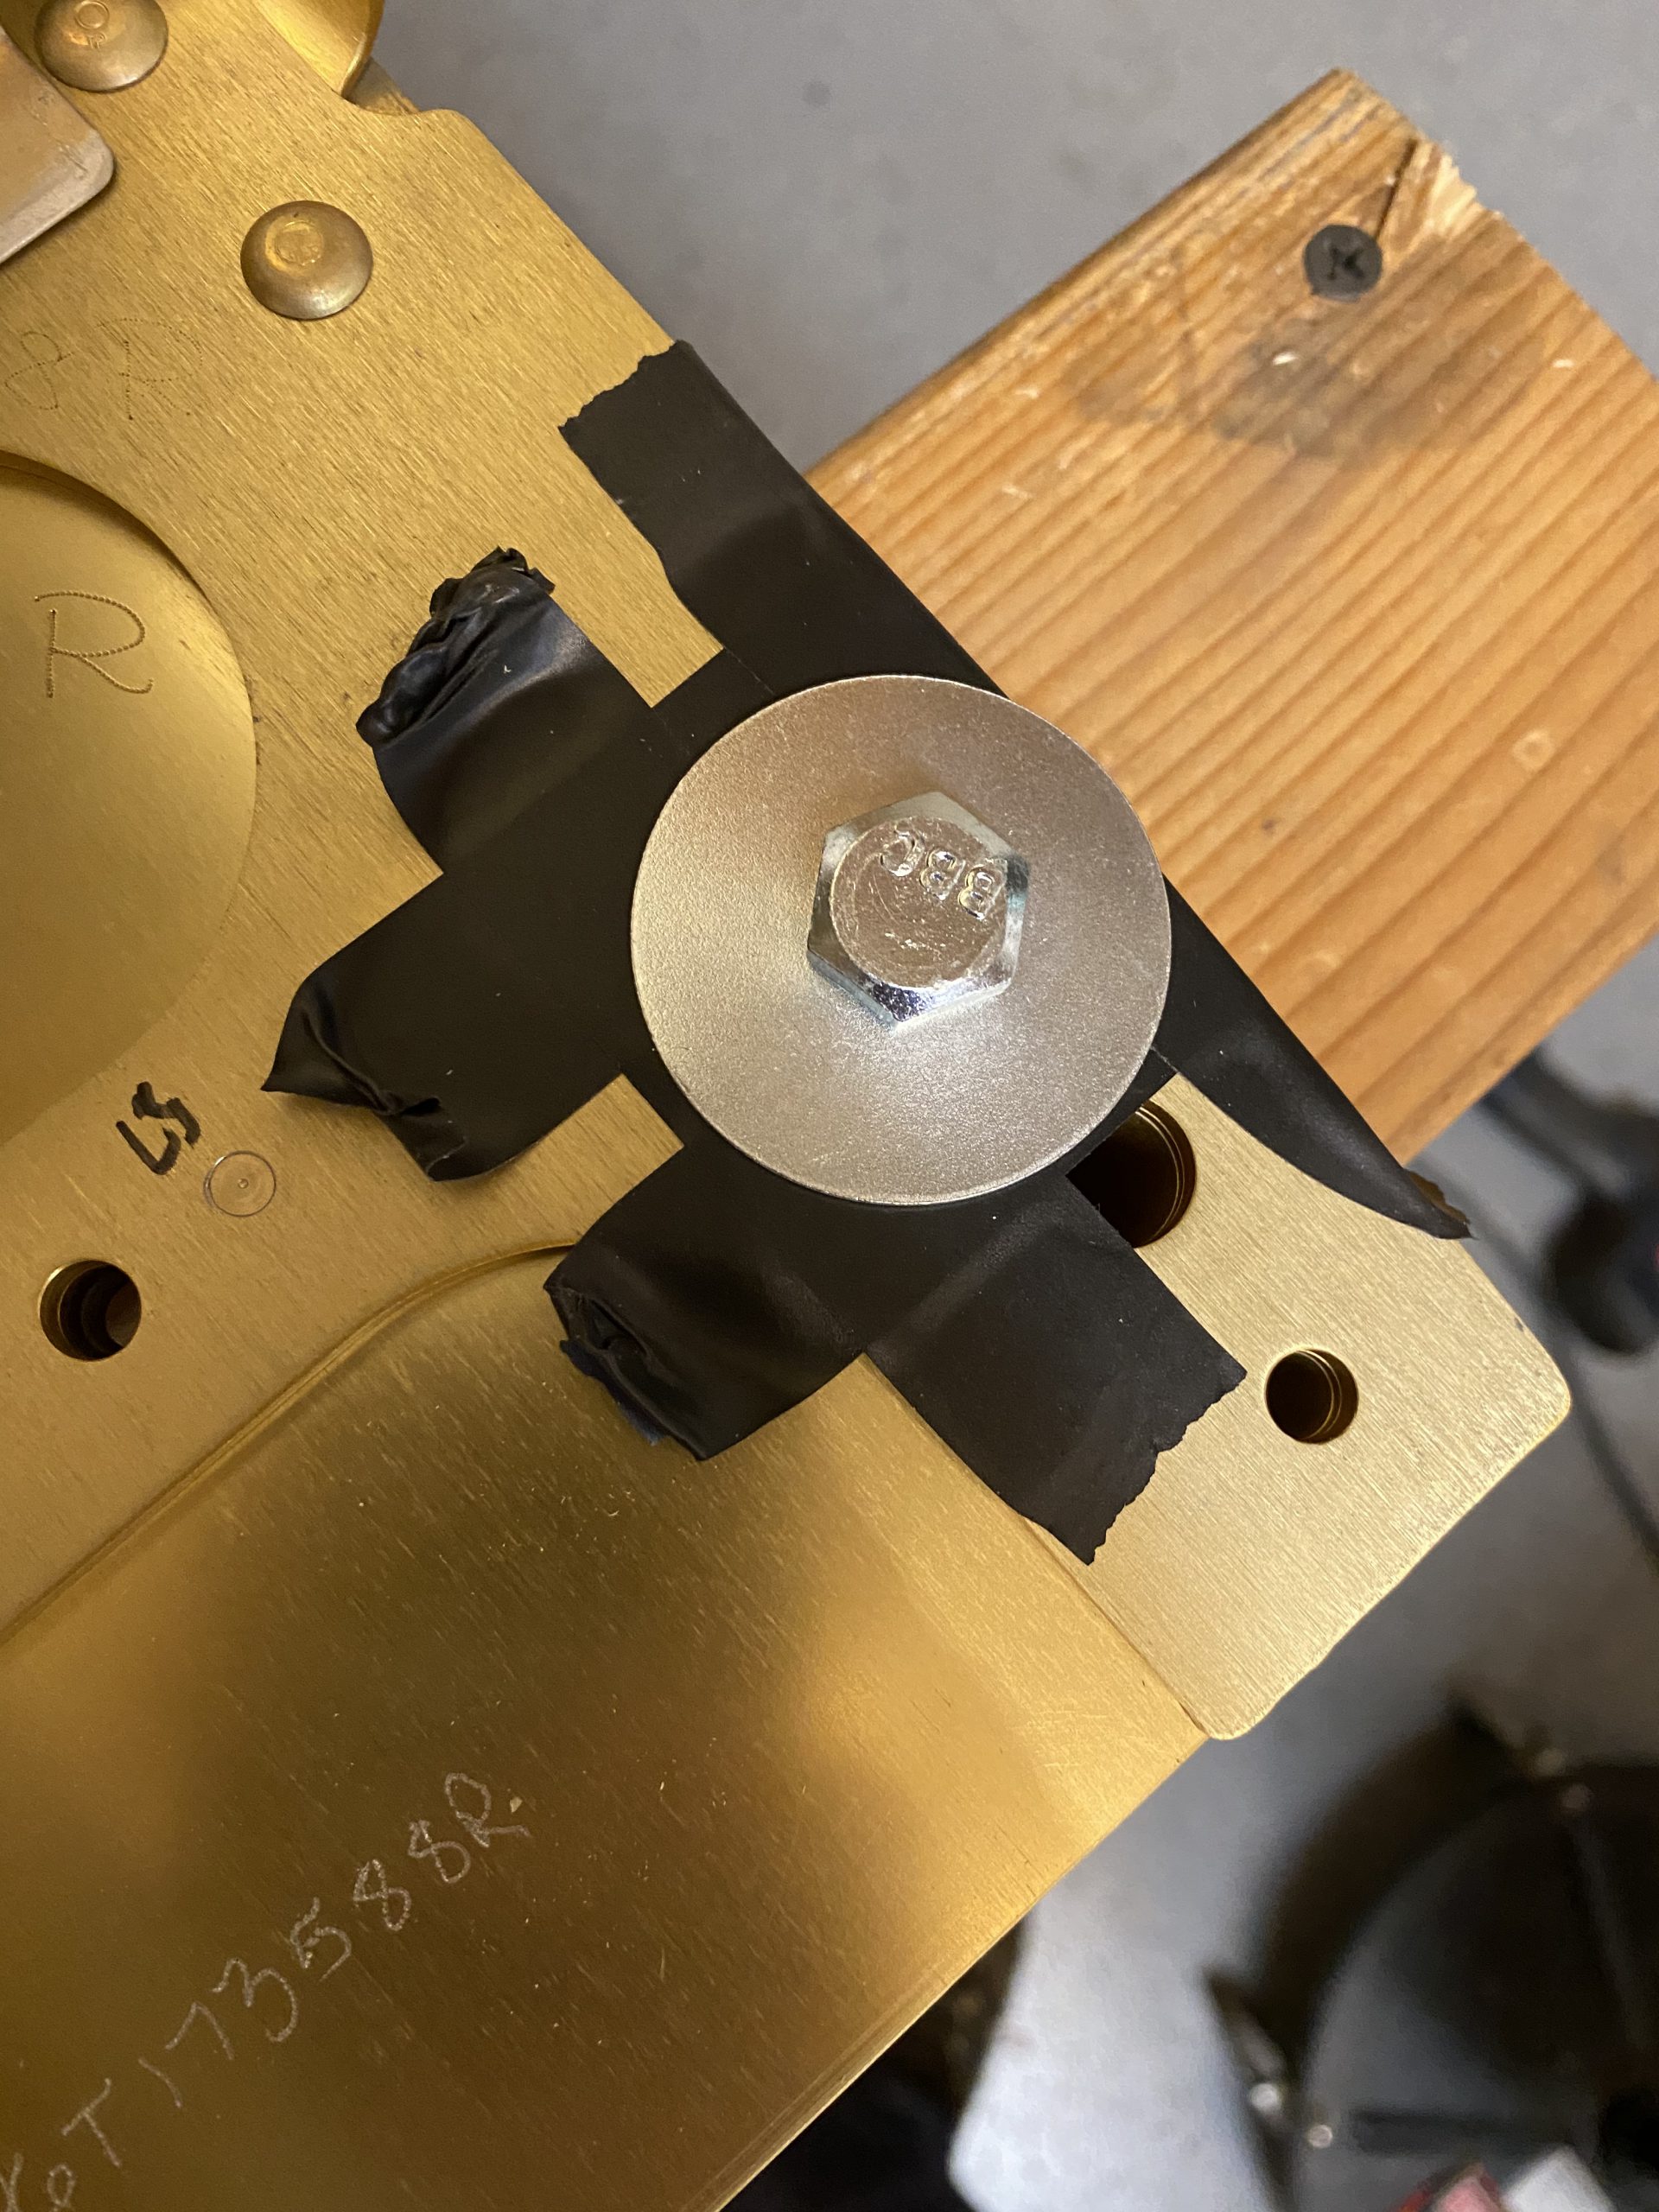
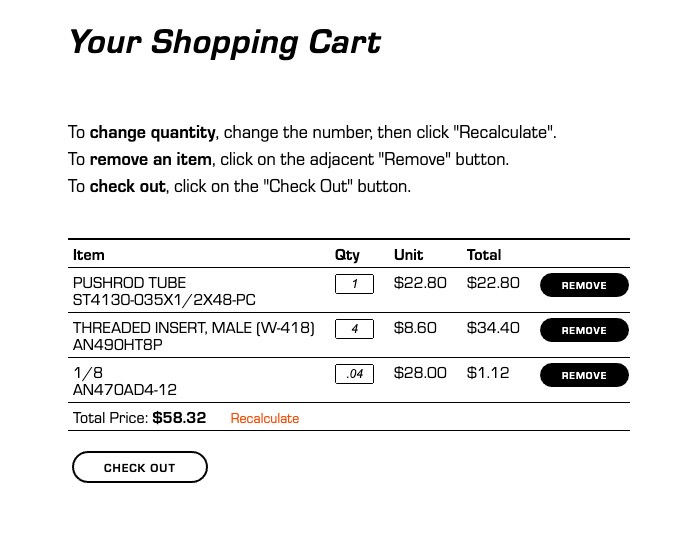
Then, I wrapped some electrical tape around the upper portion of threads on the bolt. This bolt is slightly undersized for the main spars holes, which worked out great for me to tape the threads to protect the spars finish.
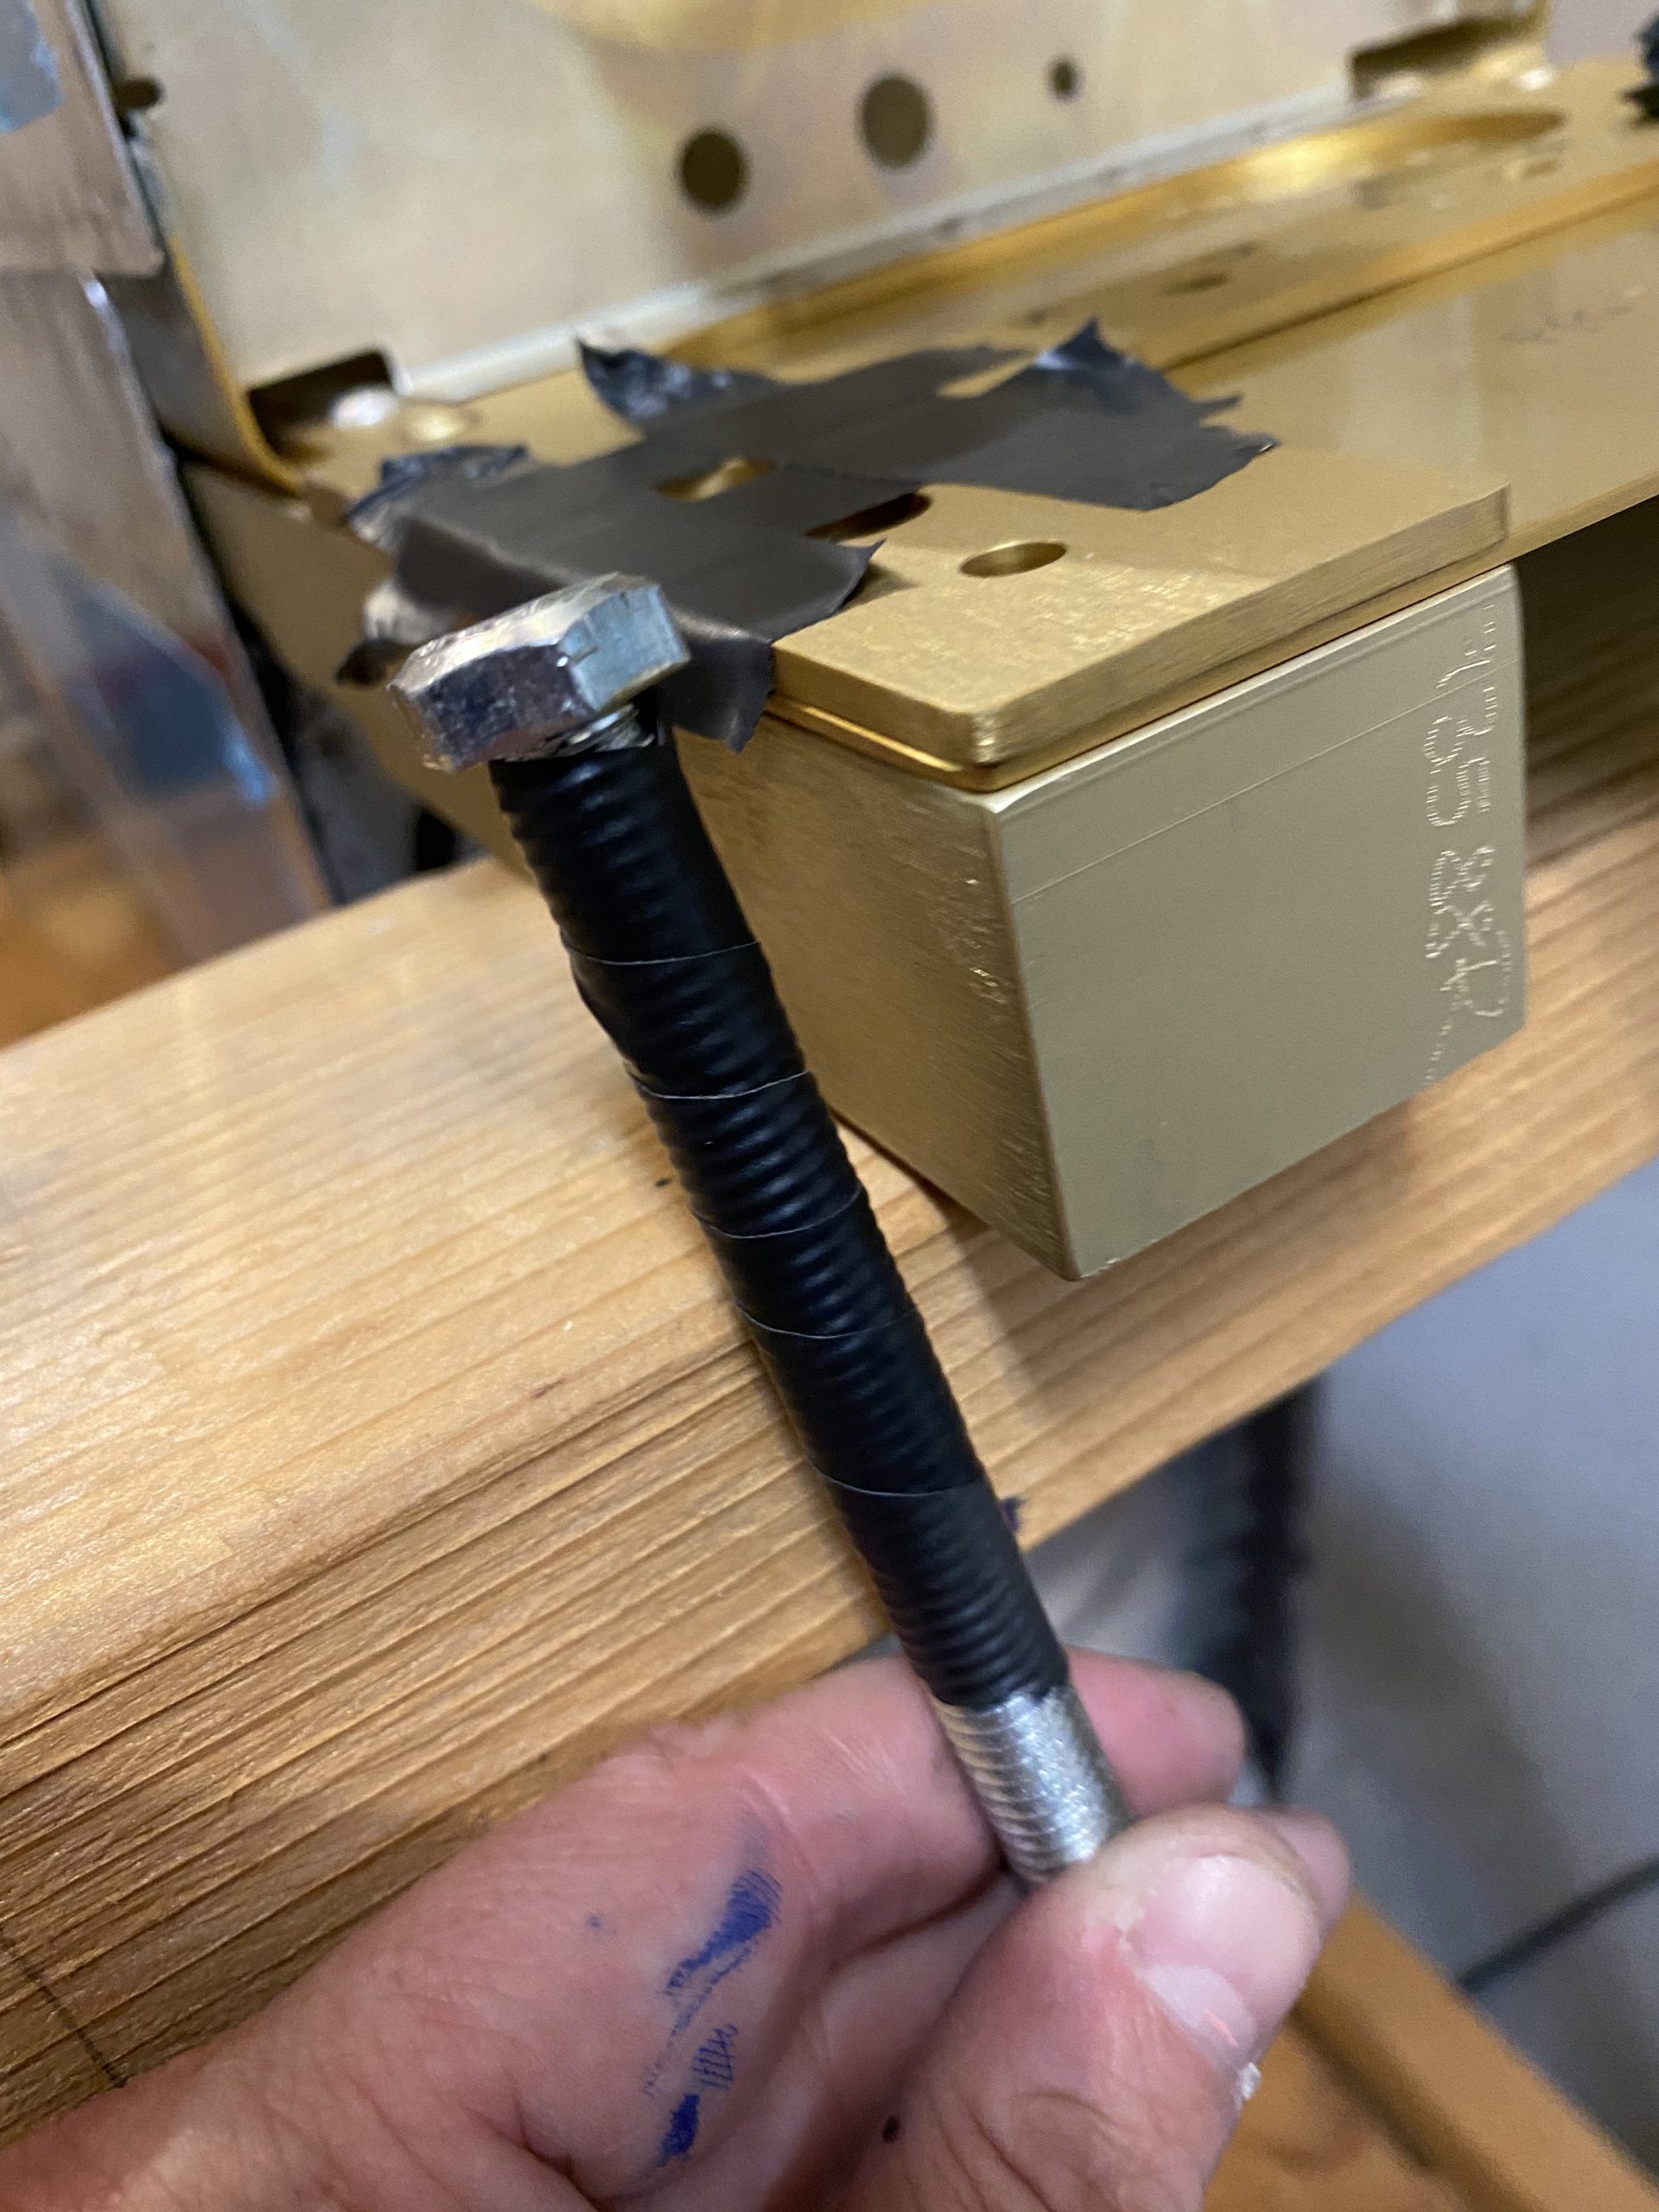
Then. I dropped the bolts through the spar, into the newly drilled holes in the 2×4 beam and put another washer on the bottom, and threaded the nut. The bottom washer helps distribute the load from the nut into the wood. beam, while the top washer helps keep the bolt from damaging the main spar.
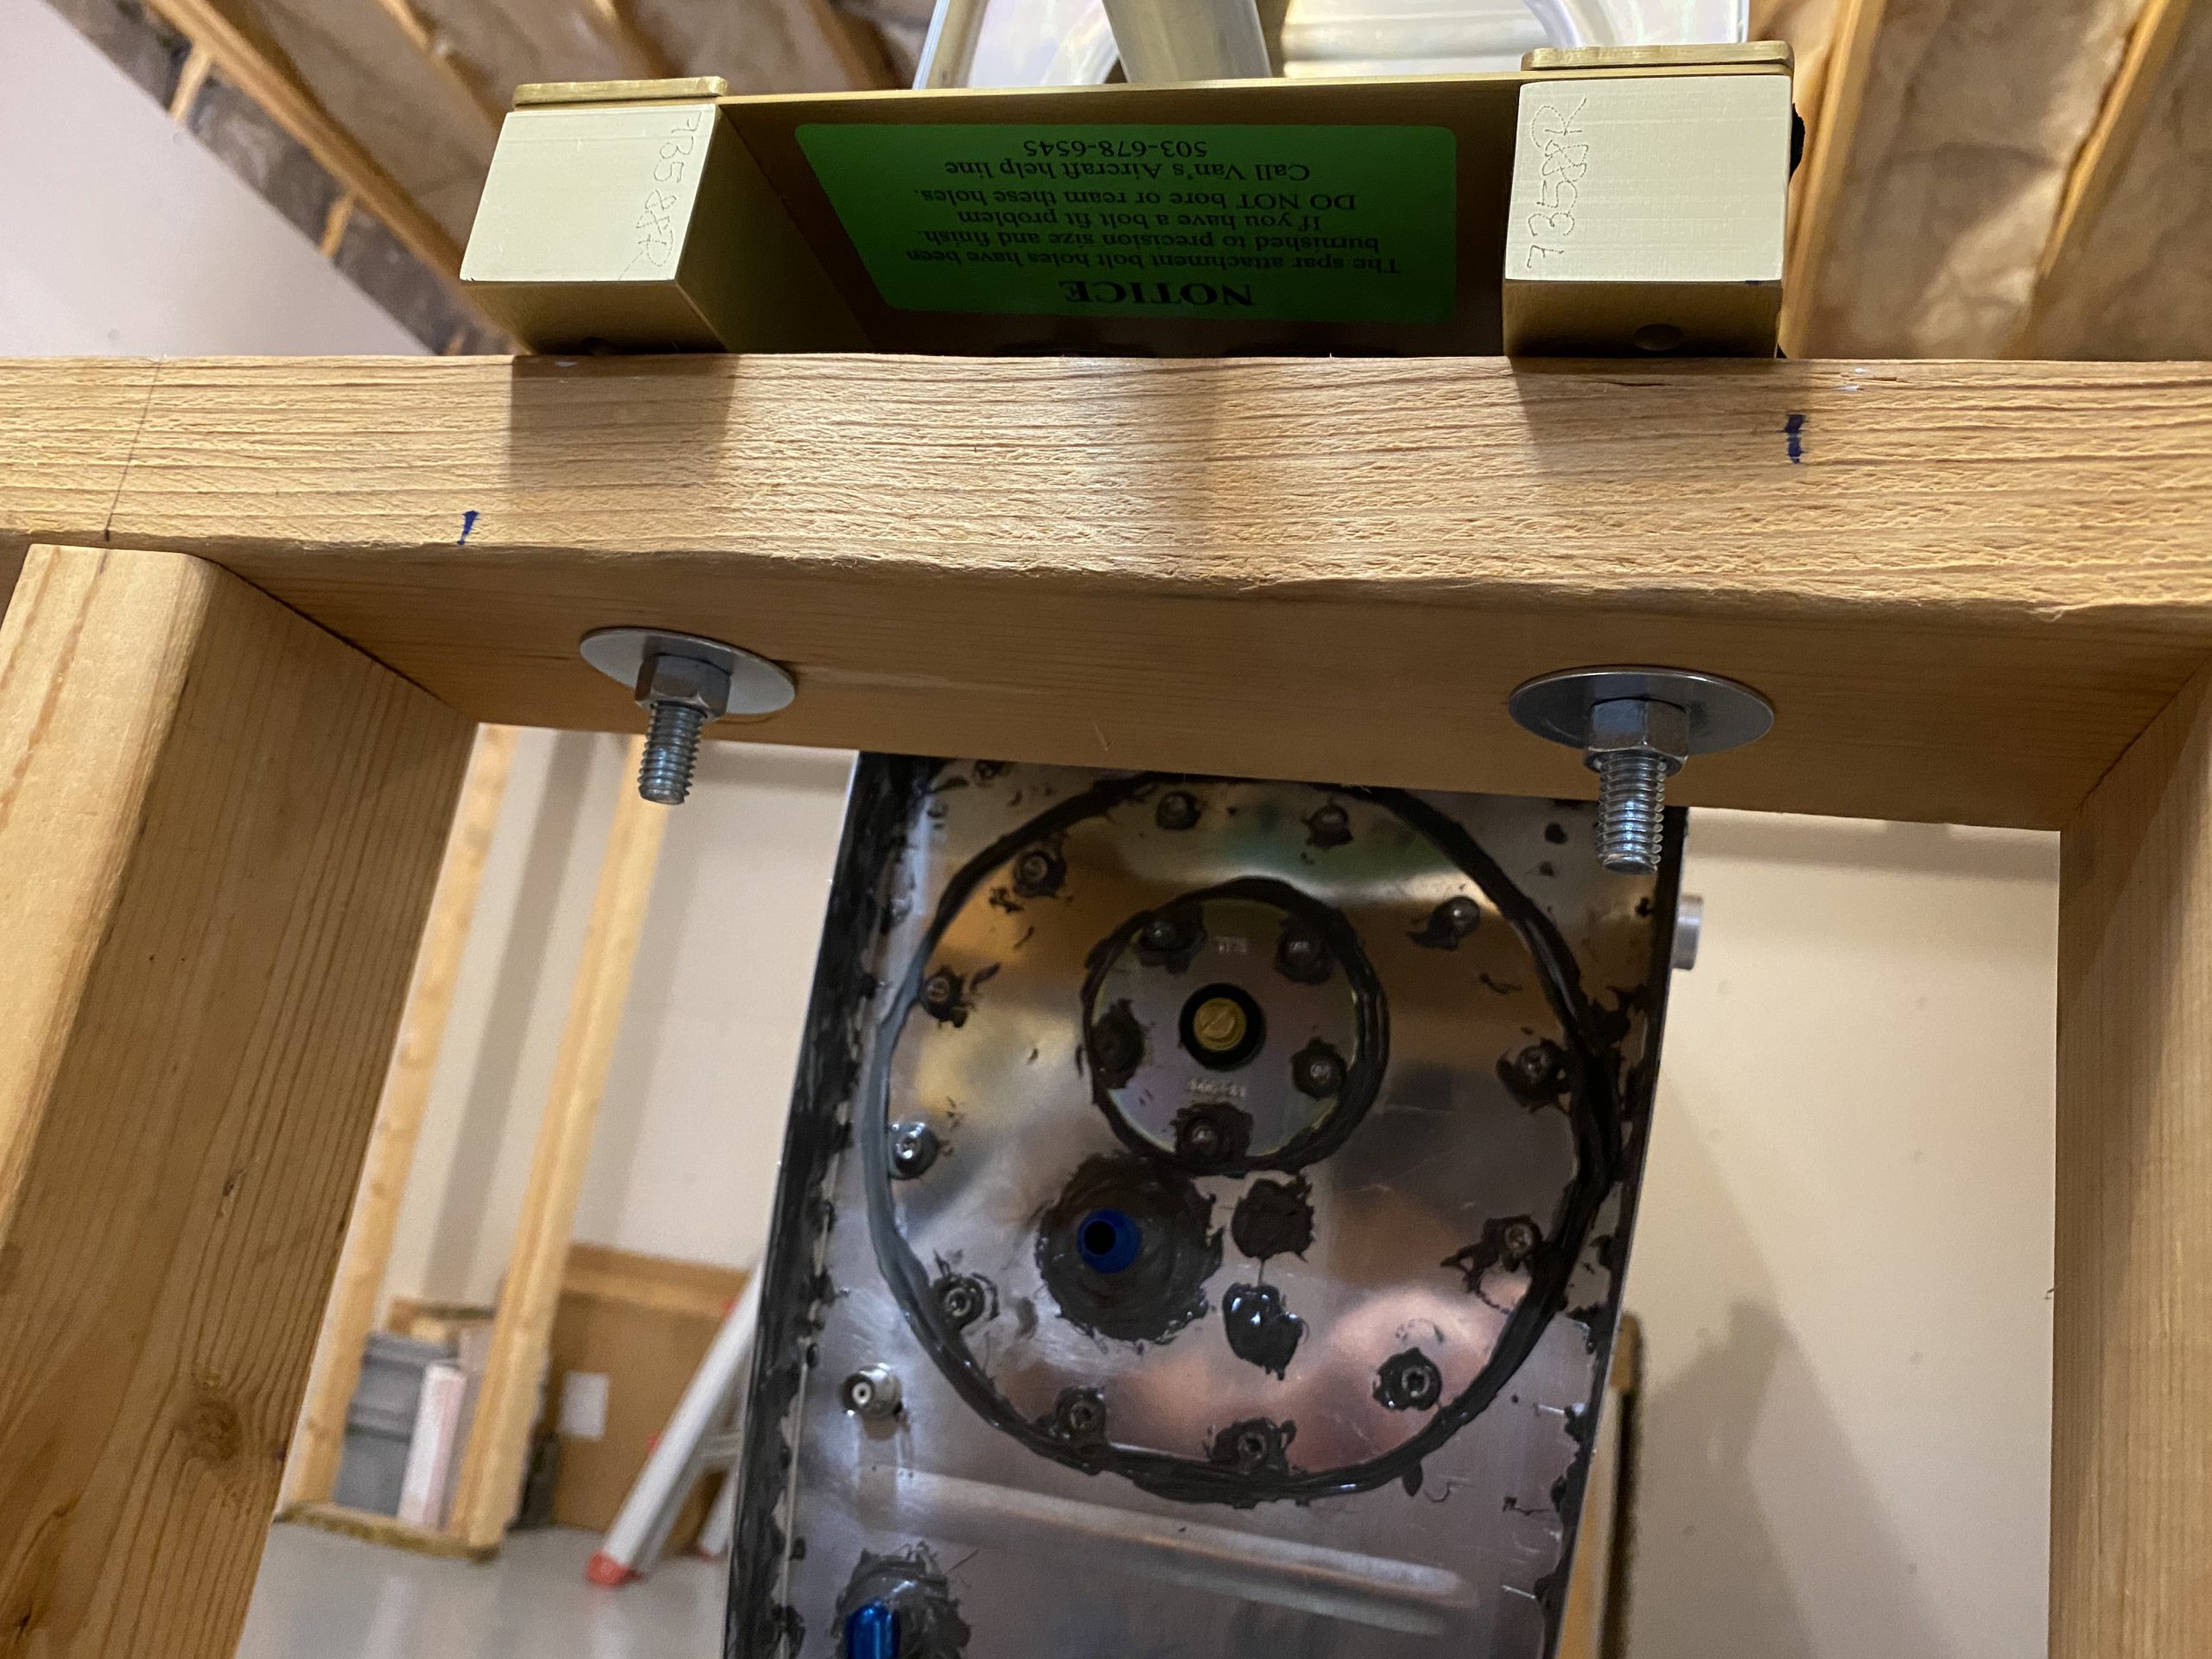
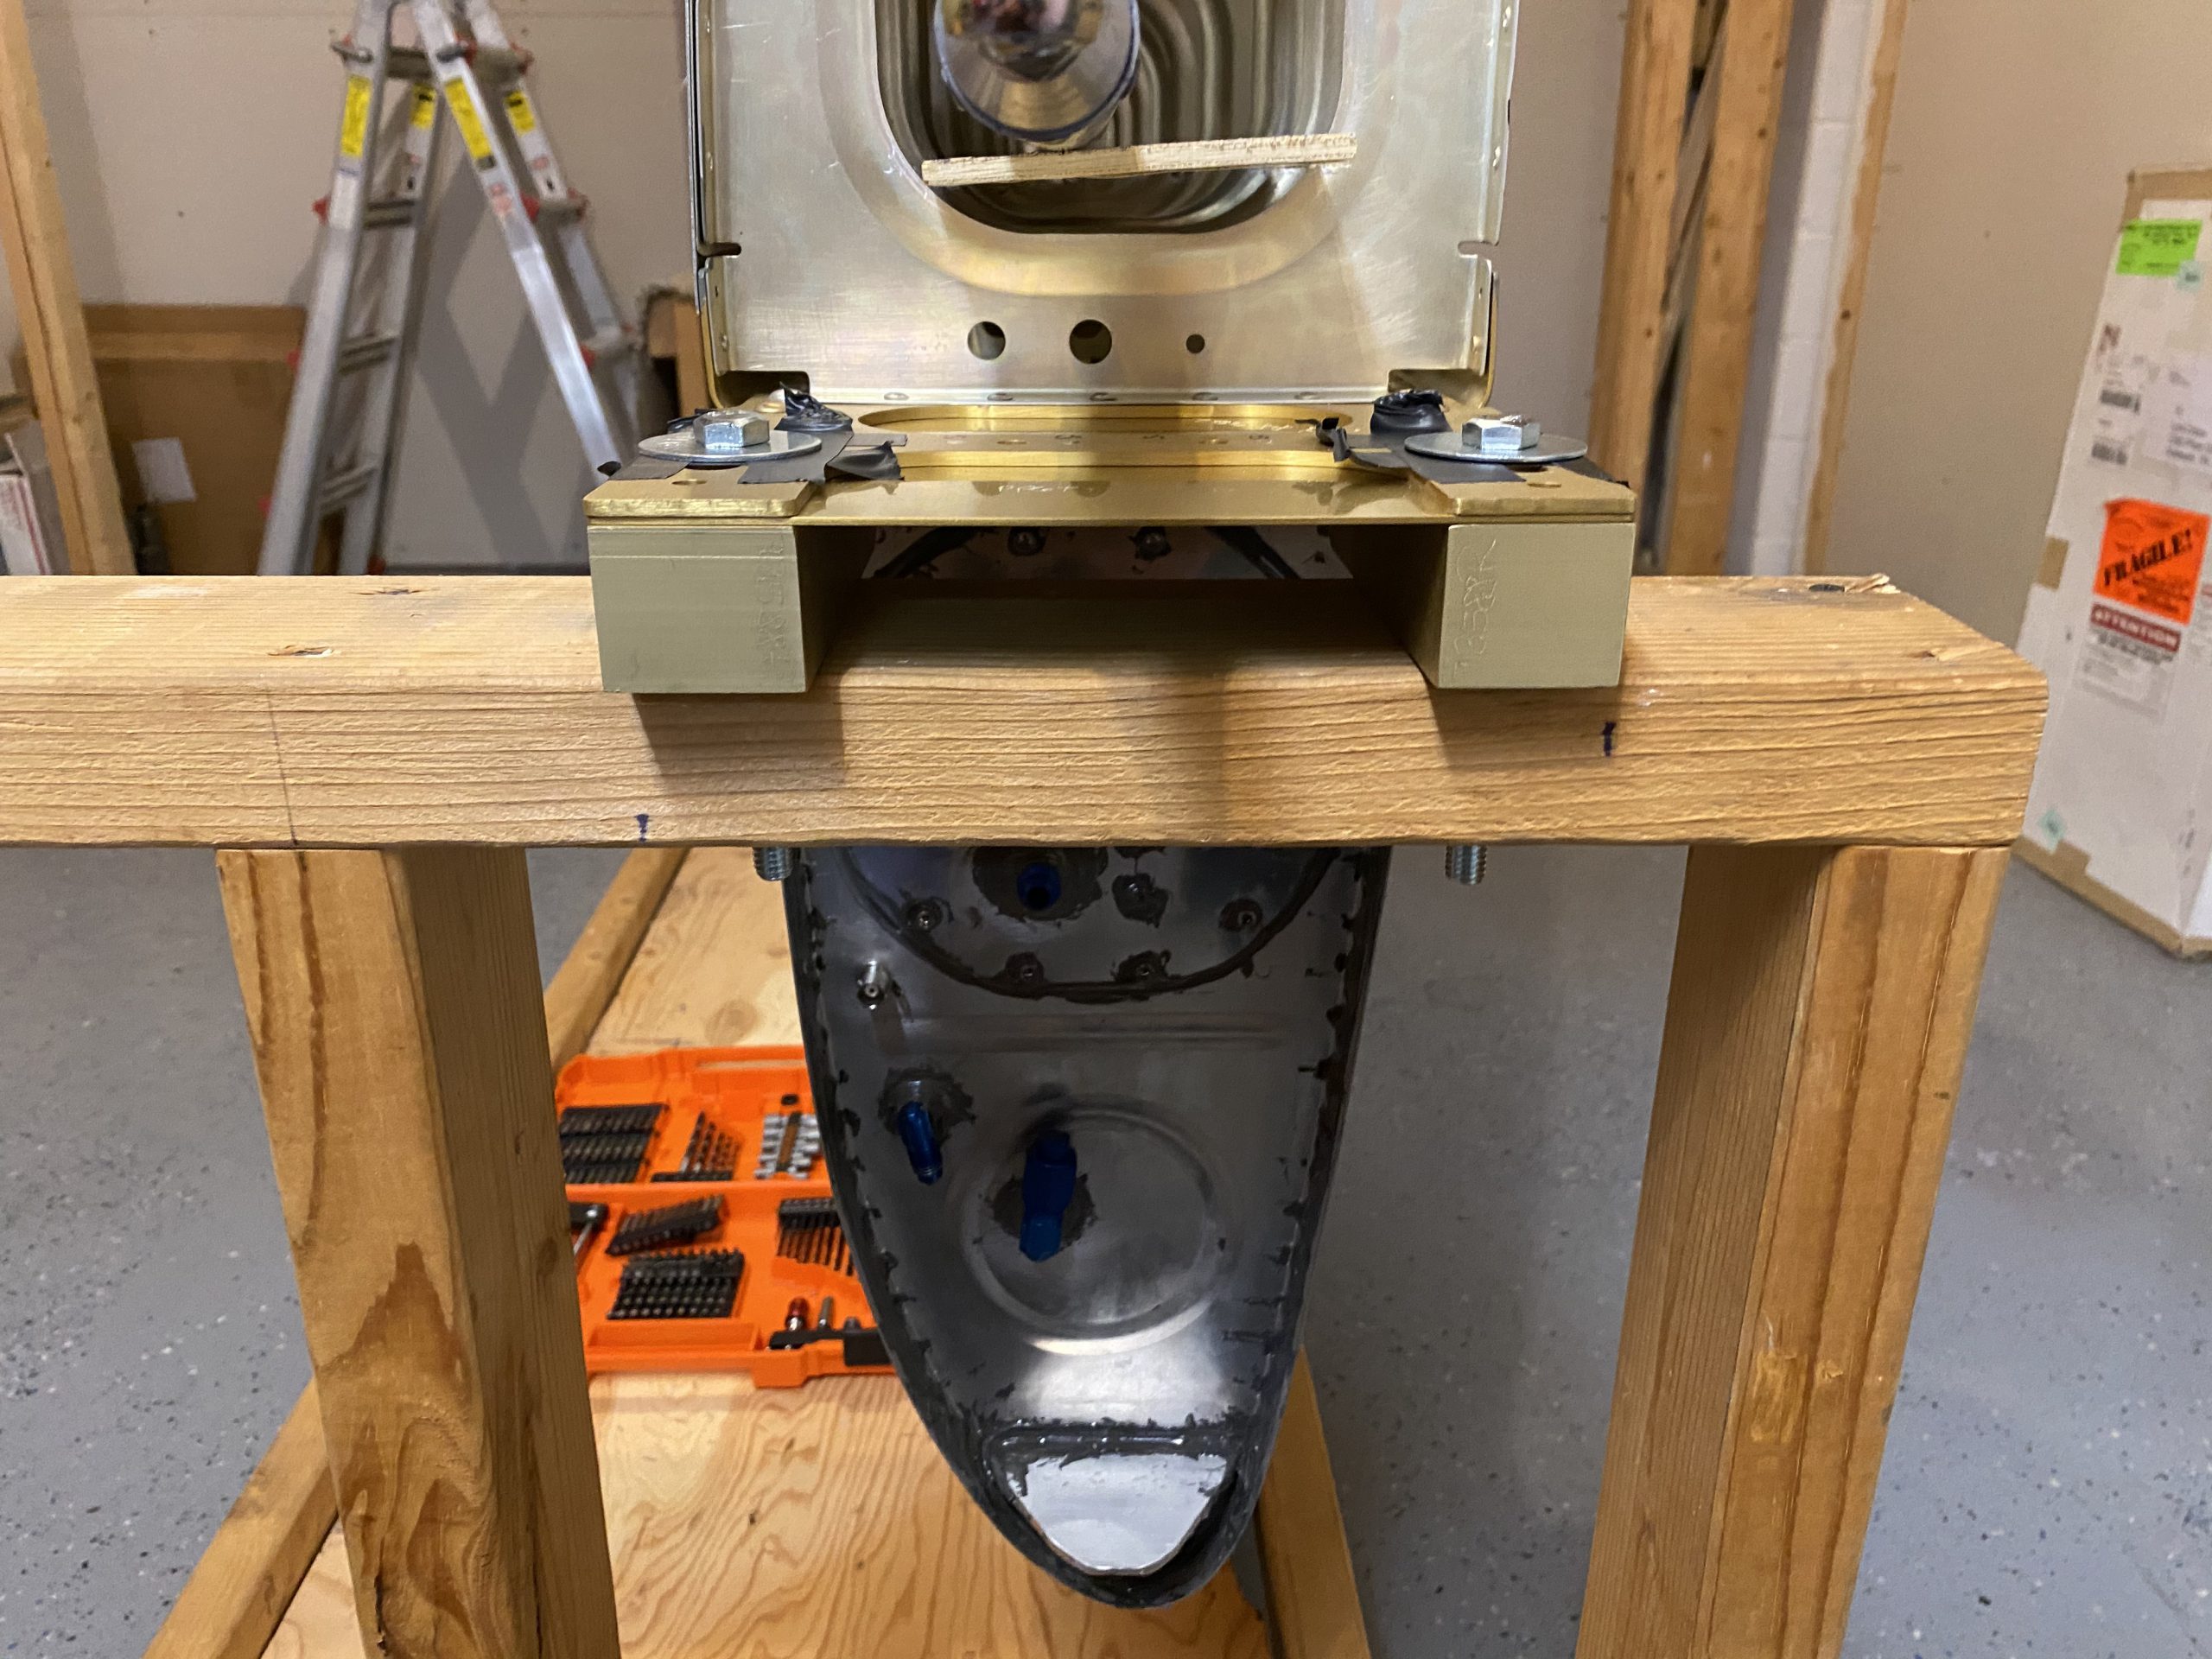
This worked REALLY well to secure the wing to the cradle! This thing isn’t going anywhere, and its fully protected from the bolts and washers. This cradle holds the wing at a perfect height for me to work on it, and I have the bottom exposed to the outside of the cradle so I can get to everything. The tops of the wings will face each other on the inside of the cradle, since they are already riveted. Thats it for tonight. I’ll start on the left wing aileron thats on my benches next, and get the left wing in the cradle next.
Google Photos Link: https://photos.app.goo.gl/jfgqAgb9rJdLaWFk9
-
 IMG_2961
 -
 IMG_2962
 -
 IMG_2963
 -
 IMG_2964
 -
 IMG_2965
 -
IMG_2966
-
IMG_2968
-
 IMG_2969
 -
IMG_2970
-
IMG_2971
-
IMG_2972
-
IMG_2973
-
IMG_2974
-
IMG_2975
-
IMG_2976
-
IMG_2977
-
IMG_2978
-
IMG_2979
-
IMG_2980


Hours Worked: 3.5
Pingback: Mounting the Left Aileron – Lynn’s RV-7 Build