


Time to get the top skins ready for priming. I’m waiting on my pitot mast and some terminal connectors for the left wing, so I decided to go ahead and start prepping the top skins so they’ll be ready for priming then dimpling. I am priming first, THEN dimpling because its SOOOO much easier on my scotchbrite pads, and I am running low on pads. Hopefully these’ll last until I order my fuselage. I got a timelapse of this session:
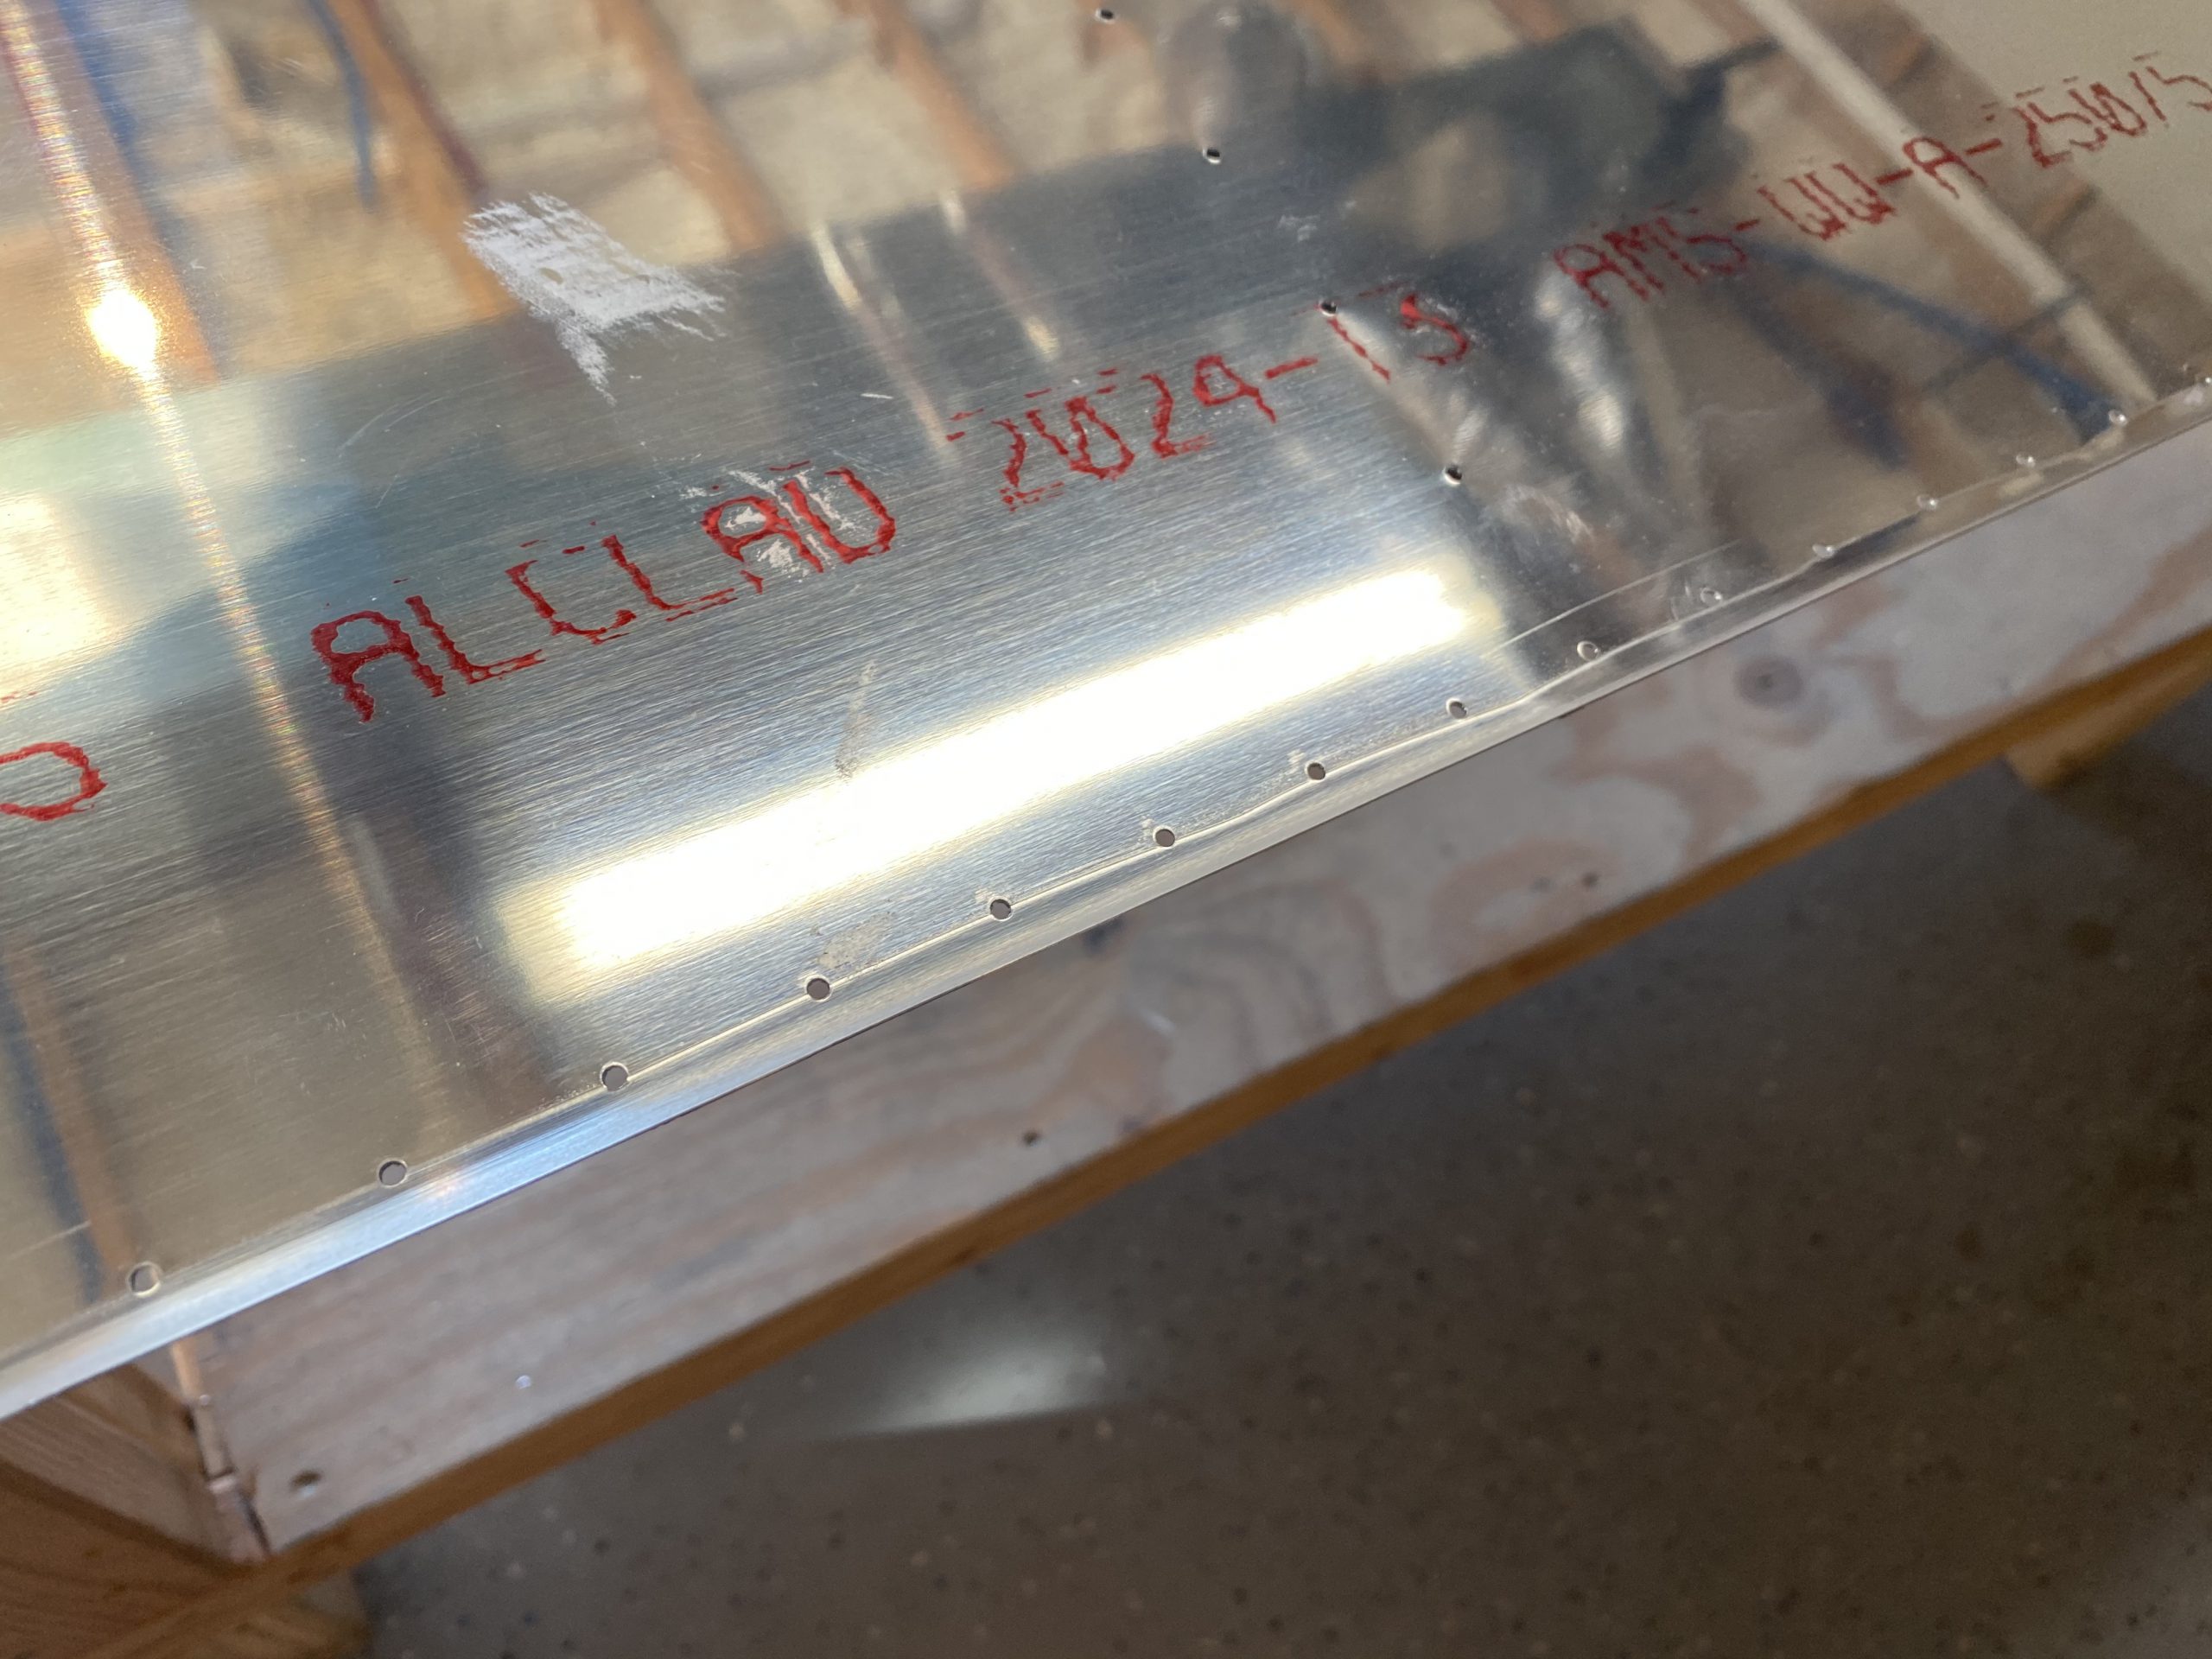
I started out by gathering up all the top wing skins. I first went to work on the W-727 wing walk doublers by rounding all the corners and then deburring all the holes. These holes were backdrilled into this sheet, so they needed conventional deburring. Then I took all the blue plastic off of these doublers. After those, I did the same to the inboard and outboard top skins for the left and right wings. I rounded their corners, and then used a bastard file to knock down all the rough edges from the sheering. After I all the rough high points on the skin edges, I went over the edges with a scotchbrite pad to completely smooth the edges nicely, on all 4 skins.

The next step was to remove all the blue plastic from the inside surface of the skins, since I am planning on priming the insides with AKZO. Once I had the plastic removed from each of the skins, I used the edge break tool to for a nice edge break on the skin edges that will be overlapping either another piece of skin or the main spar and ribs. This will make a nice flush joint.
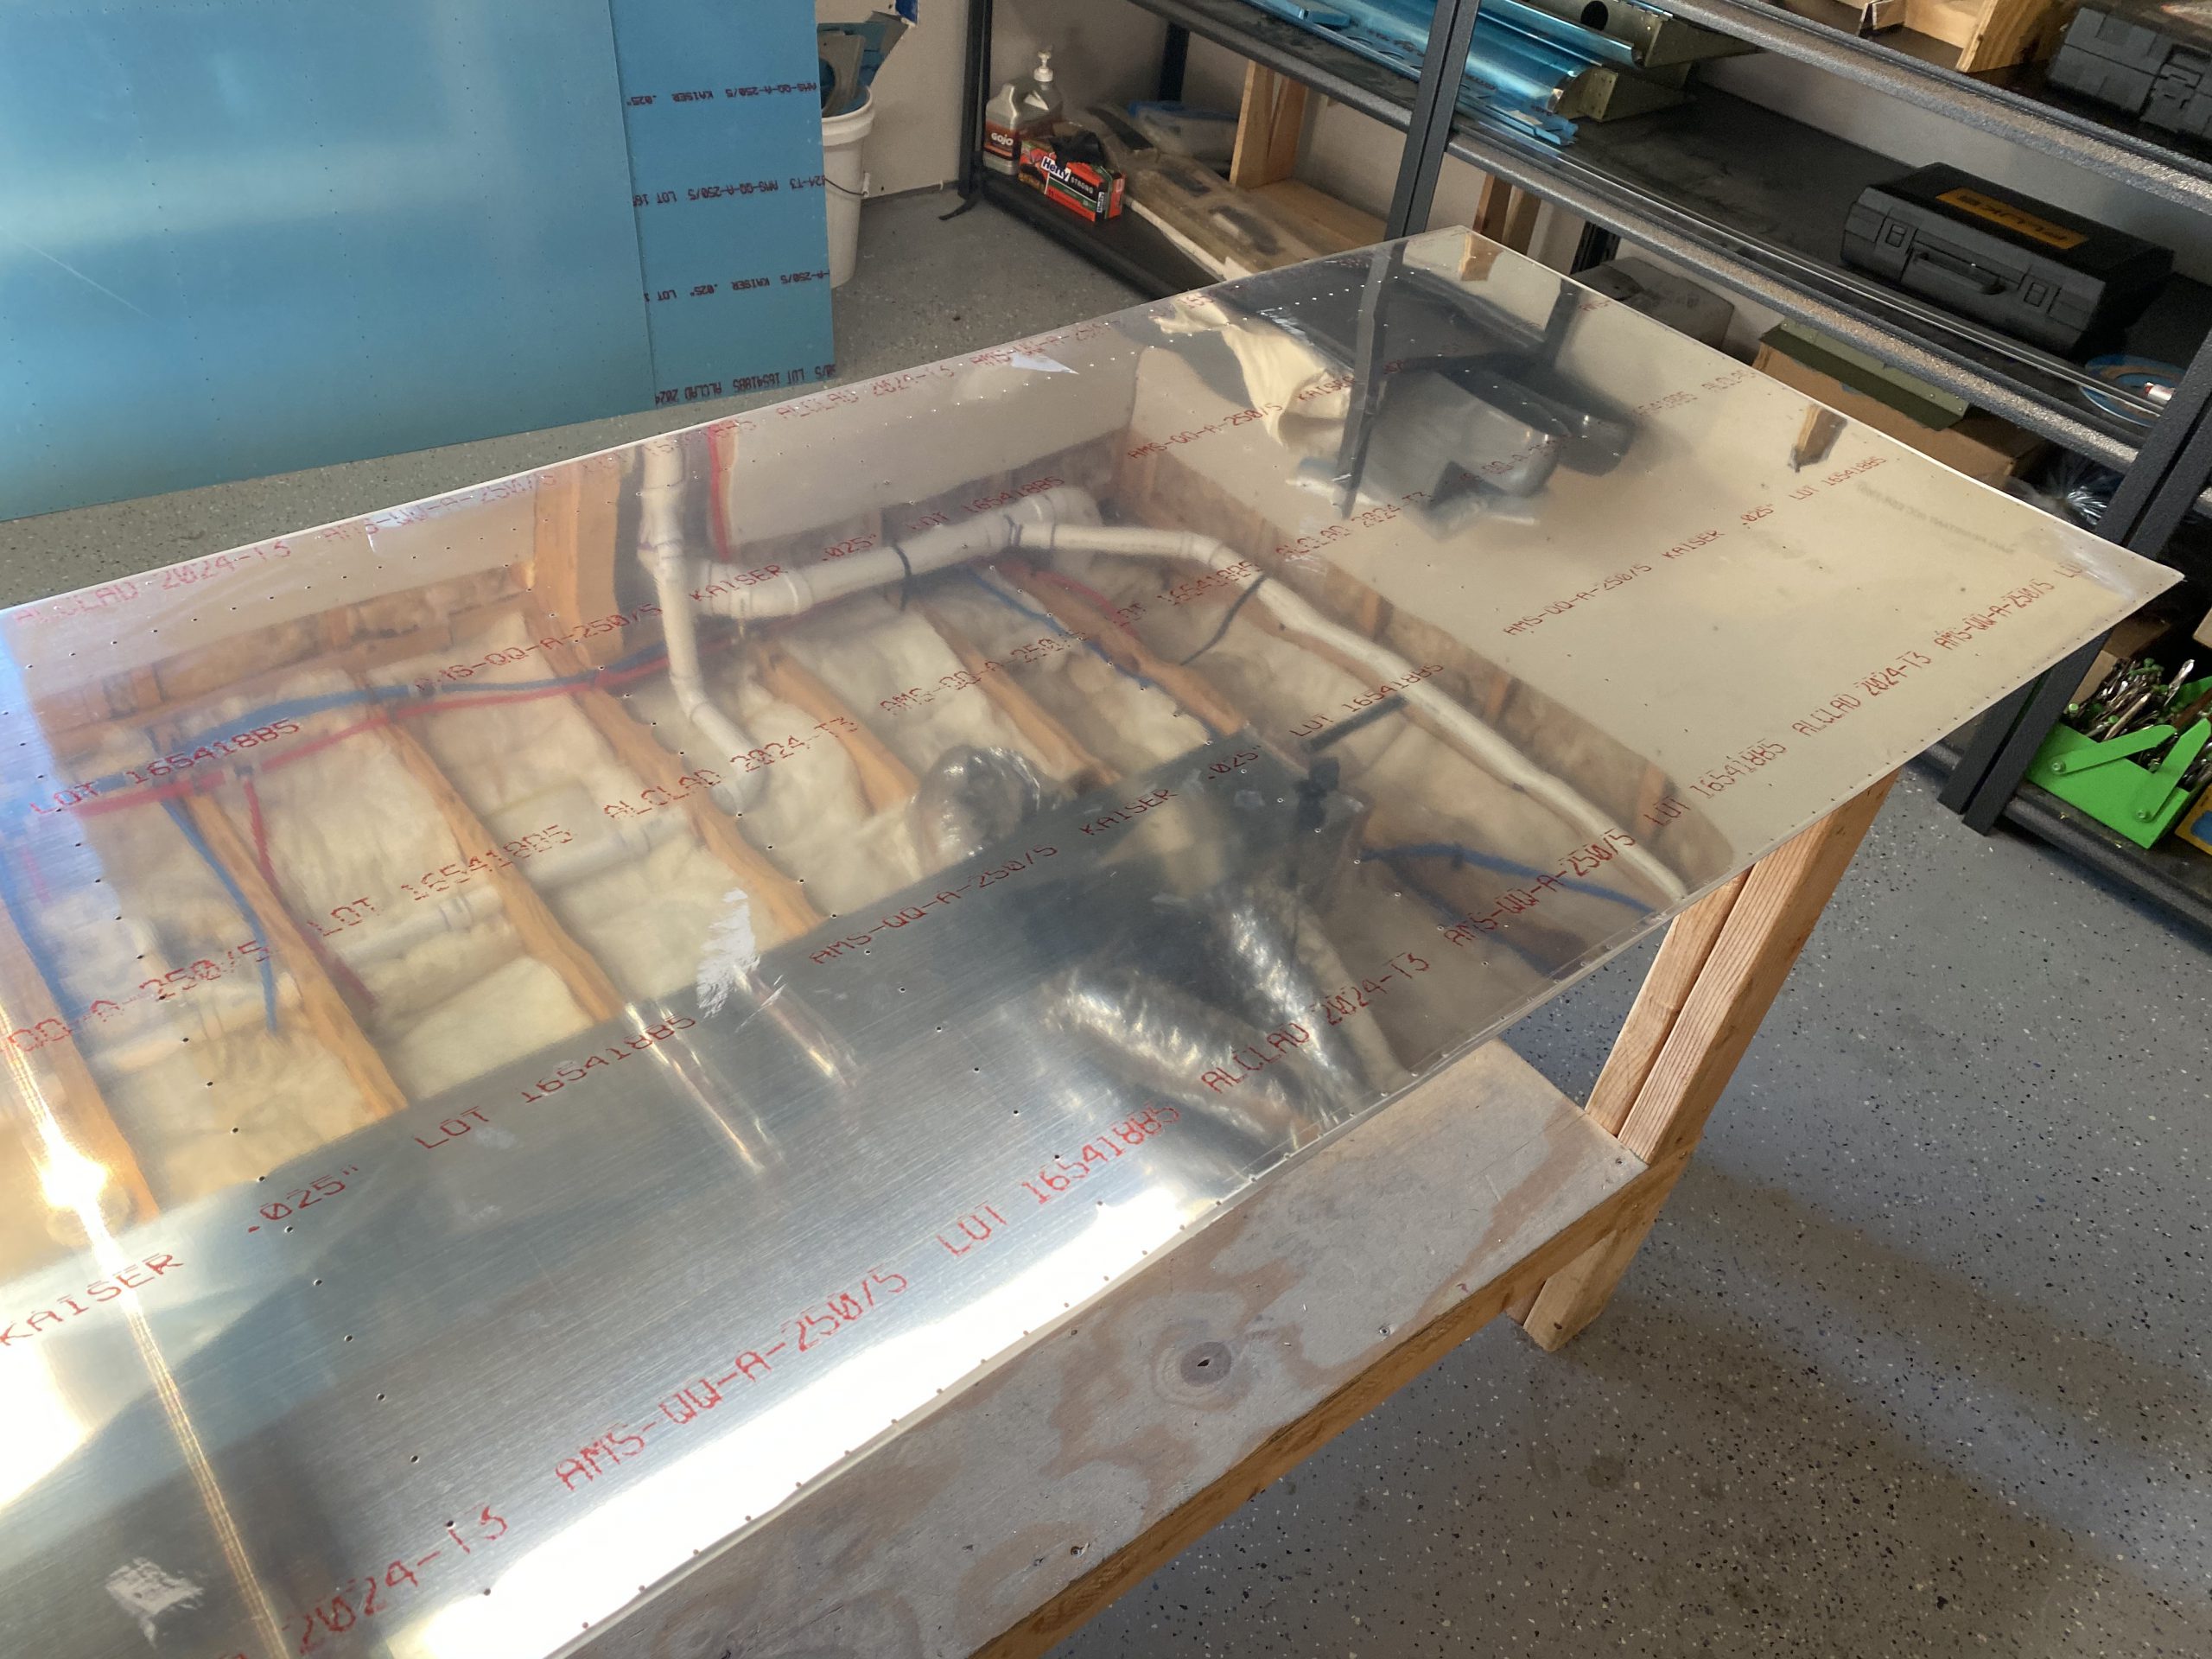
That has all 4 of the large top skins done, so I set them over to the side for now. I’ll be scuffing and priming the inside skin surface in a later build session. For now, I wanted to go ahead and alodine the wing walk doublers. My reasoning is to save some weight, and to provide these doublers a nice layer of corrosion protection. Since they will fit in my alodine baths, it was a no brainer. So, I drug out my alodine equipment and got to work on them.
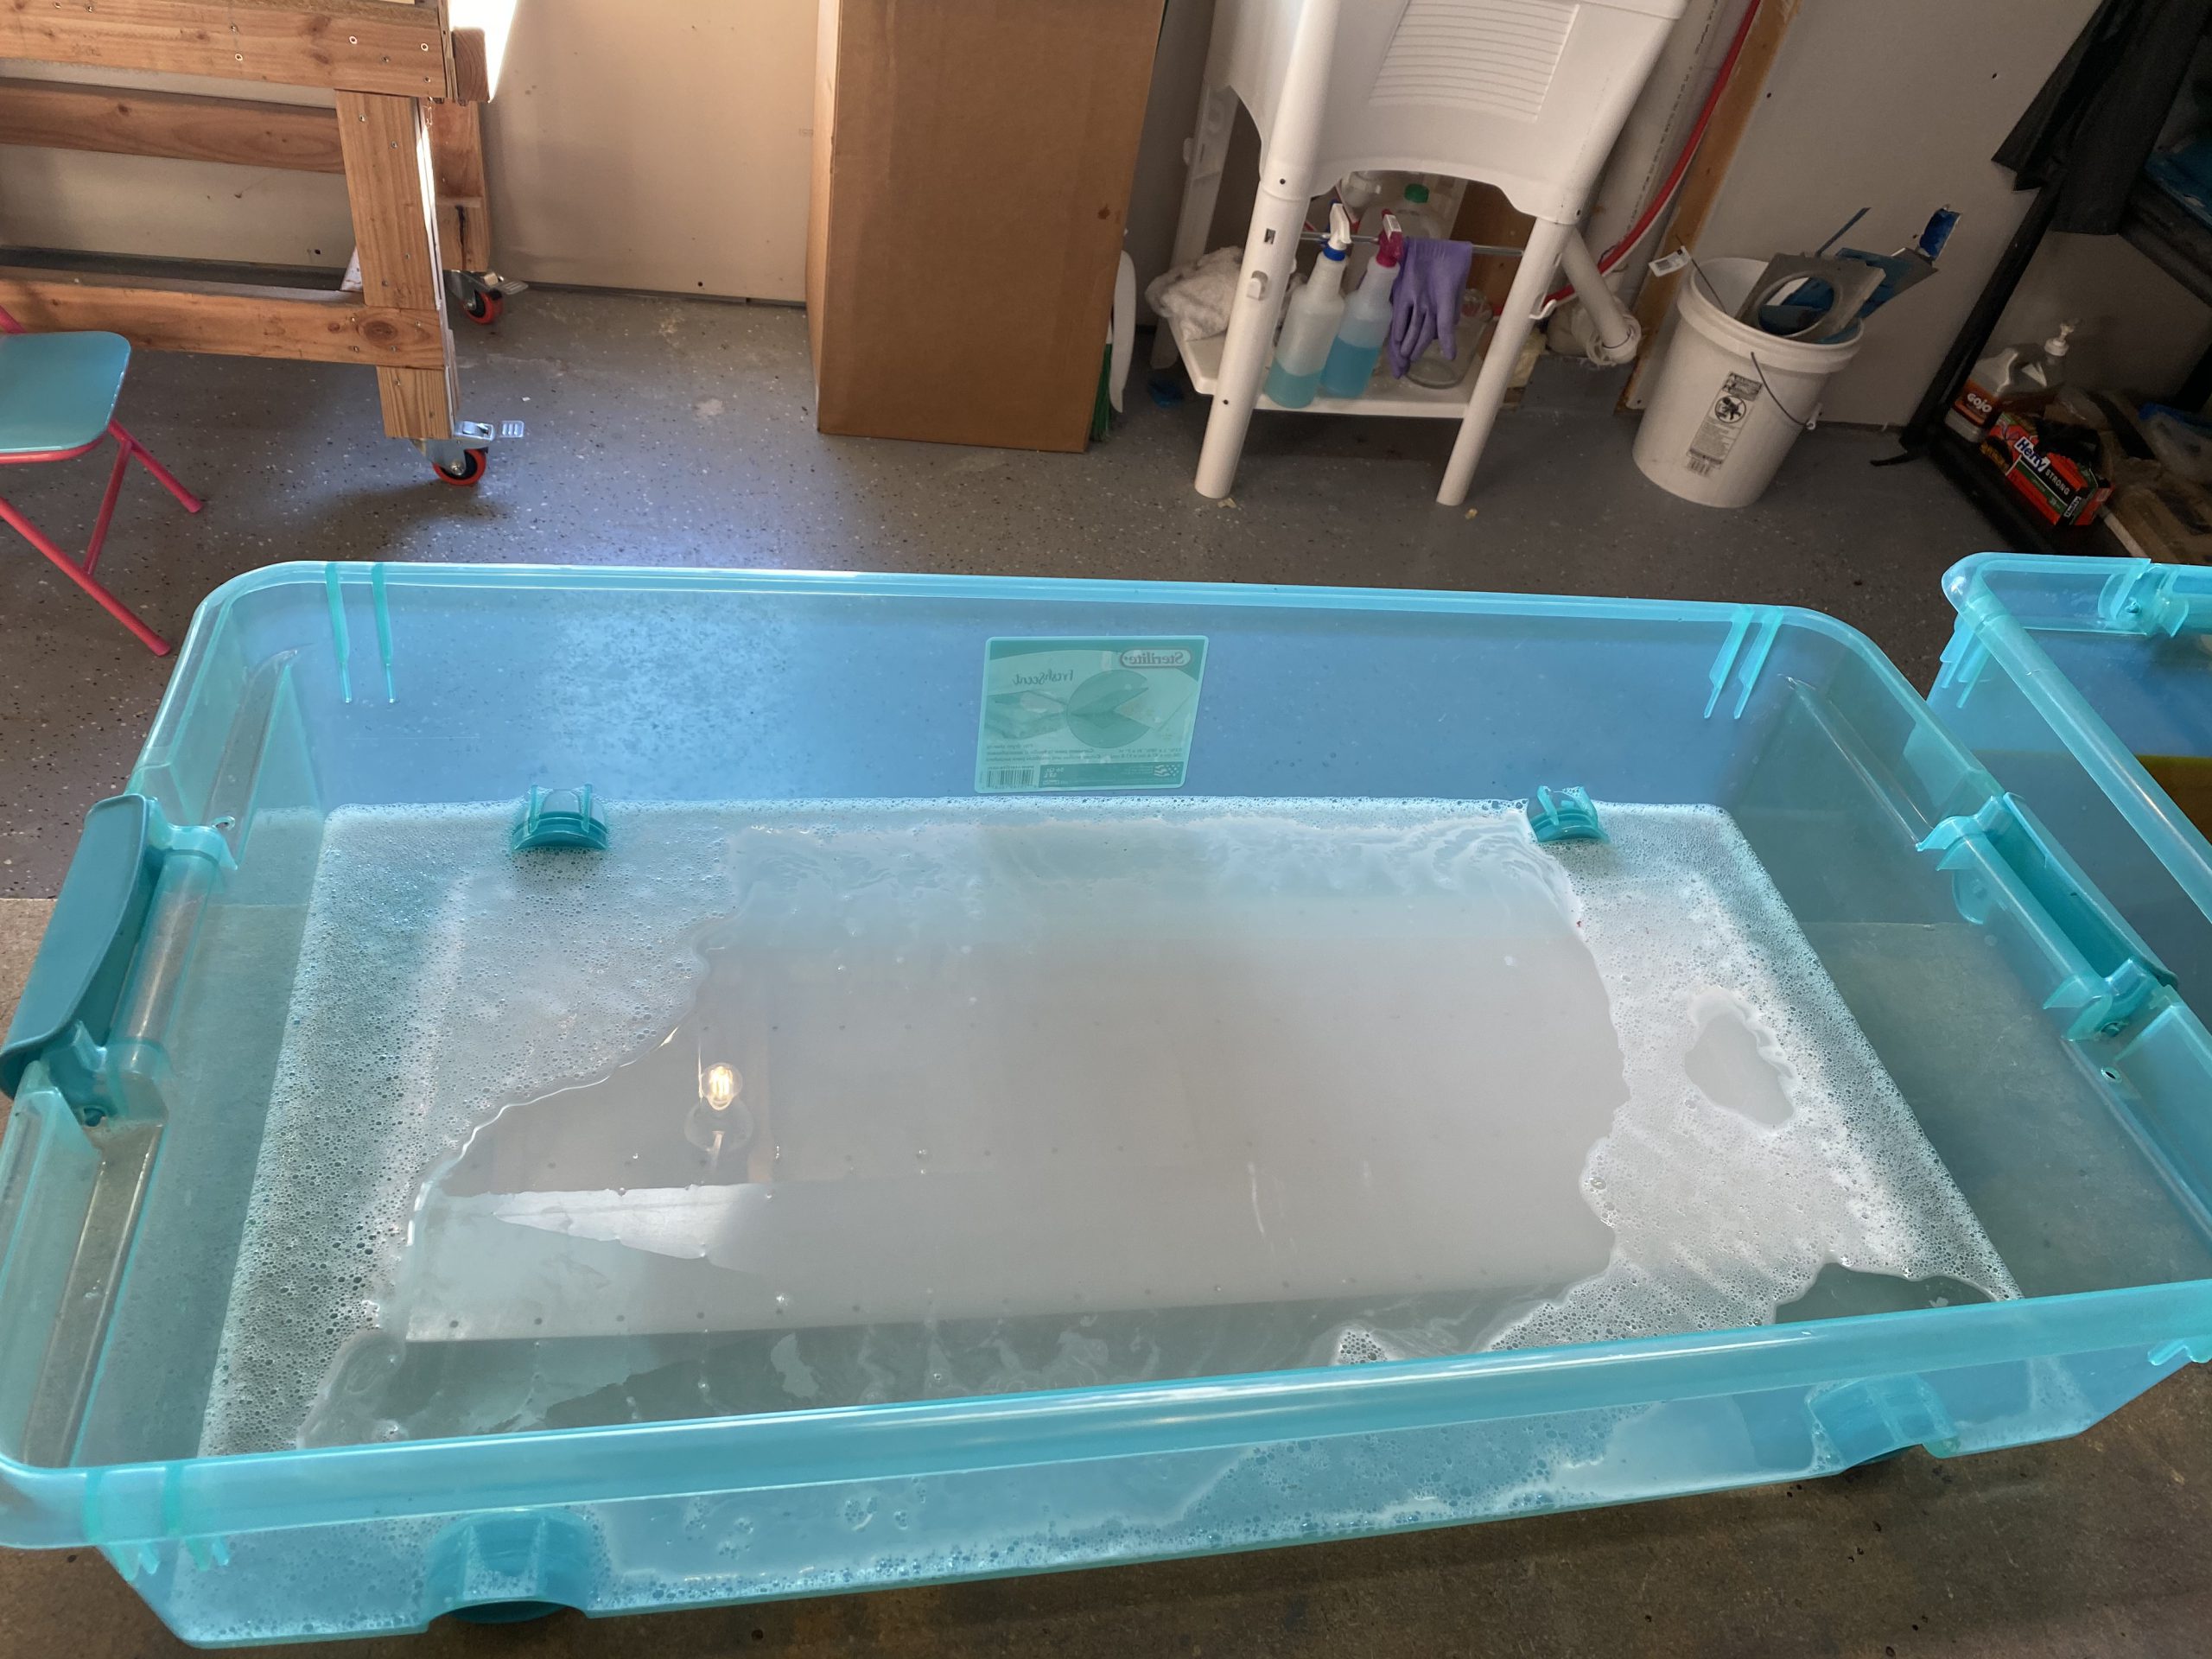
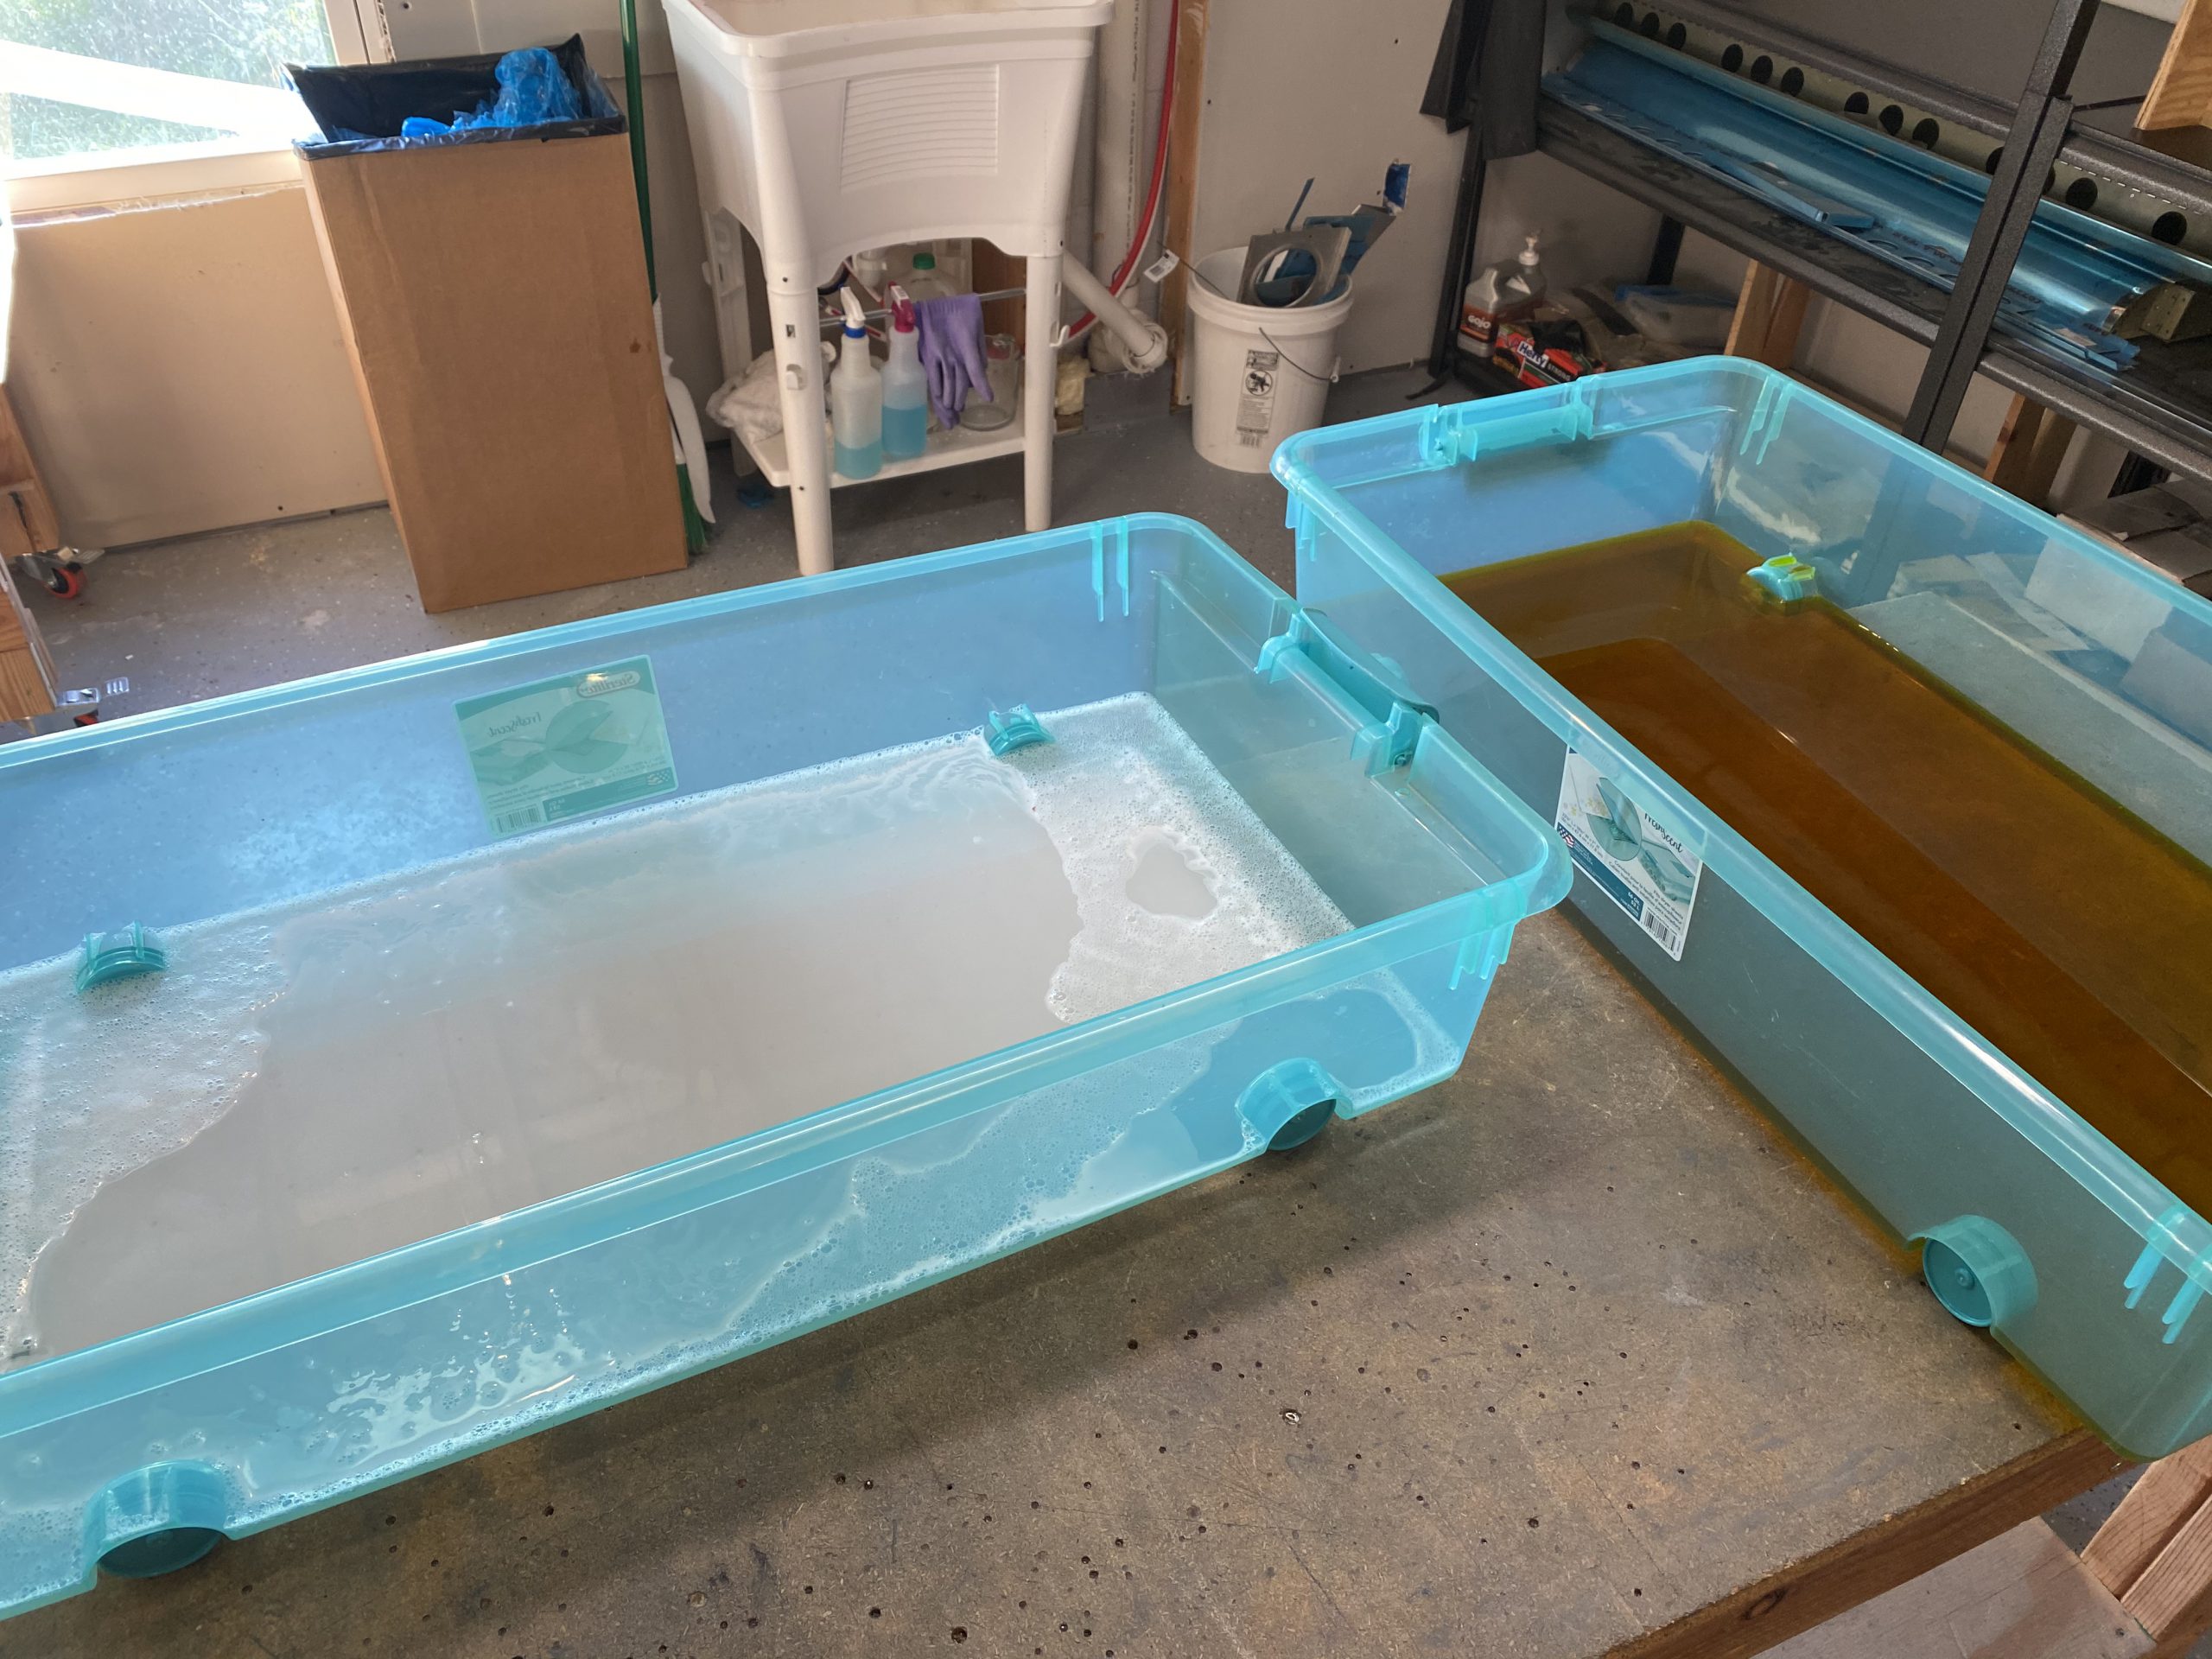
Typical process: Soak the skins in the Alumaprep33 for about 10 to 15 minutes. I lightly scuffed mine while it was in the alumaprep. Then I rinse off the alumaprep and dunk them into the alodine bath for about 15 minutes. Then rinse off the alodine and let dry. A pretty easy process, and during the waiting times, I reviewed my plans and double checked I was where I needed to be and that I hadn’t forgetten any other steps in the build. The wing walk doublers came out looking pretty nice, with their golden hue.
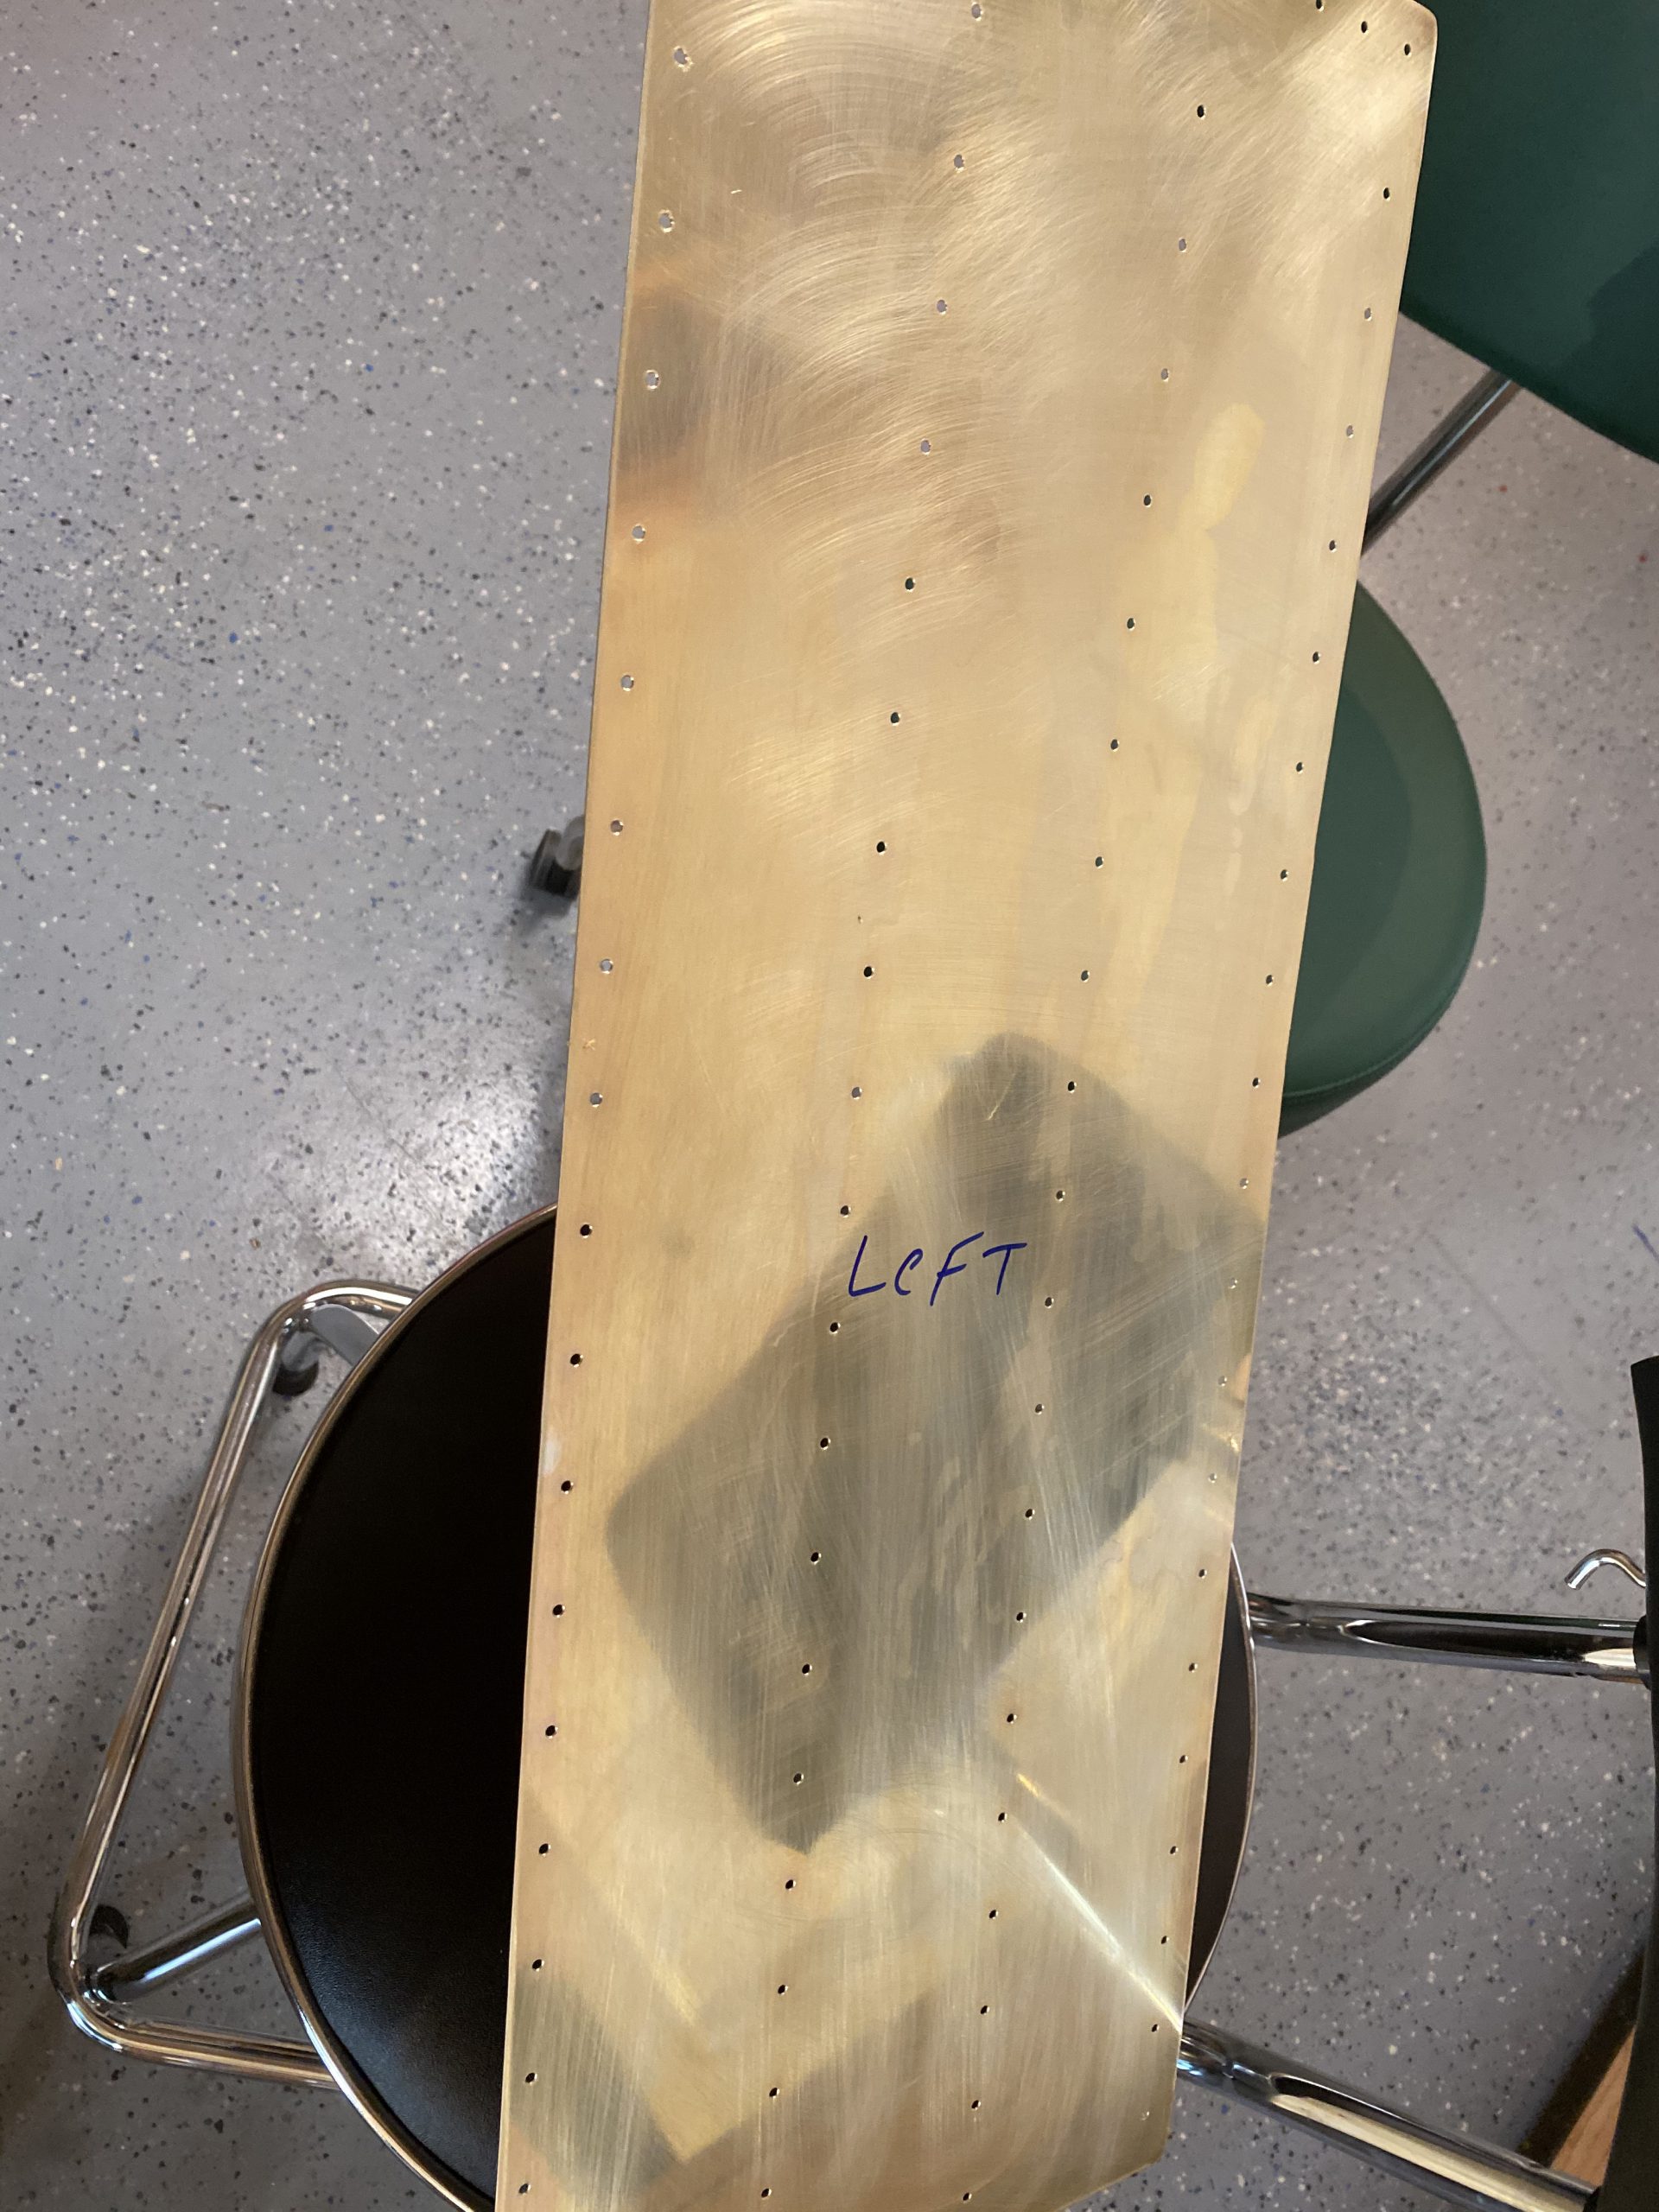

The doubler on the right of that photo is in direct sunlight so it looks “washed” out, but its the same hue as the skin on the left in normal light. These will be good to go! Then I cleaned up my mess and called it a night. The next build session will probably be a priming session, where I’ll scuff, clean and shoor primer on these skins so it can cure a few days before dimpling. Unless my pitot mast gets here before then!
Google Photos Link: https://photos.app.goo.gl/hHsqYXVEXgJLw1HP8
Hours Worked: 3.5