


After resetting the time lapse camera to get a better angle. Here’s that video:
I went ahead and moved on to the next step in the plans. Vans has us remove the skins, and dimple the skeleton for the wing. So I did that, and used my squeezer to dimple the ribs. Worked great!
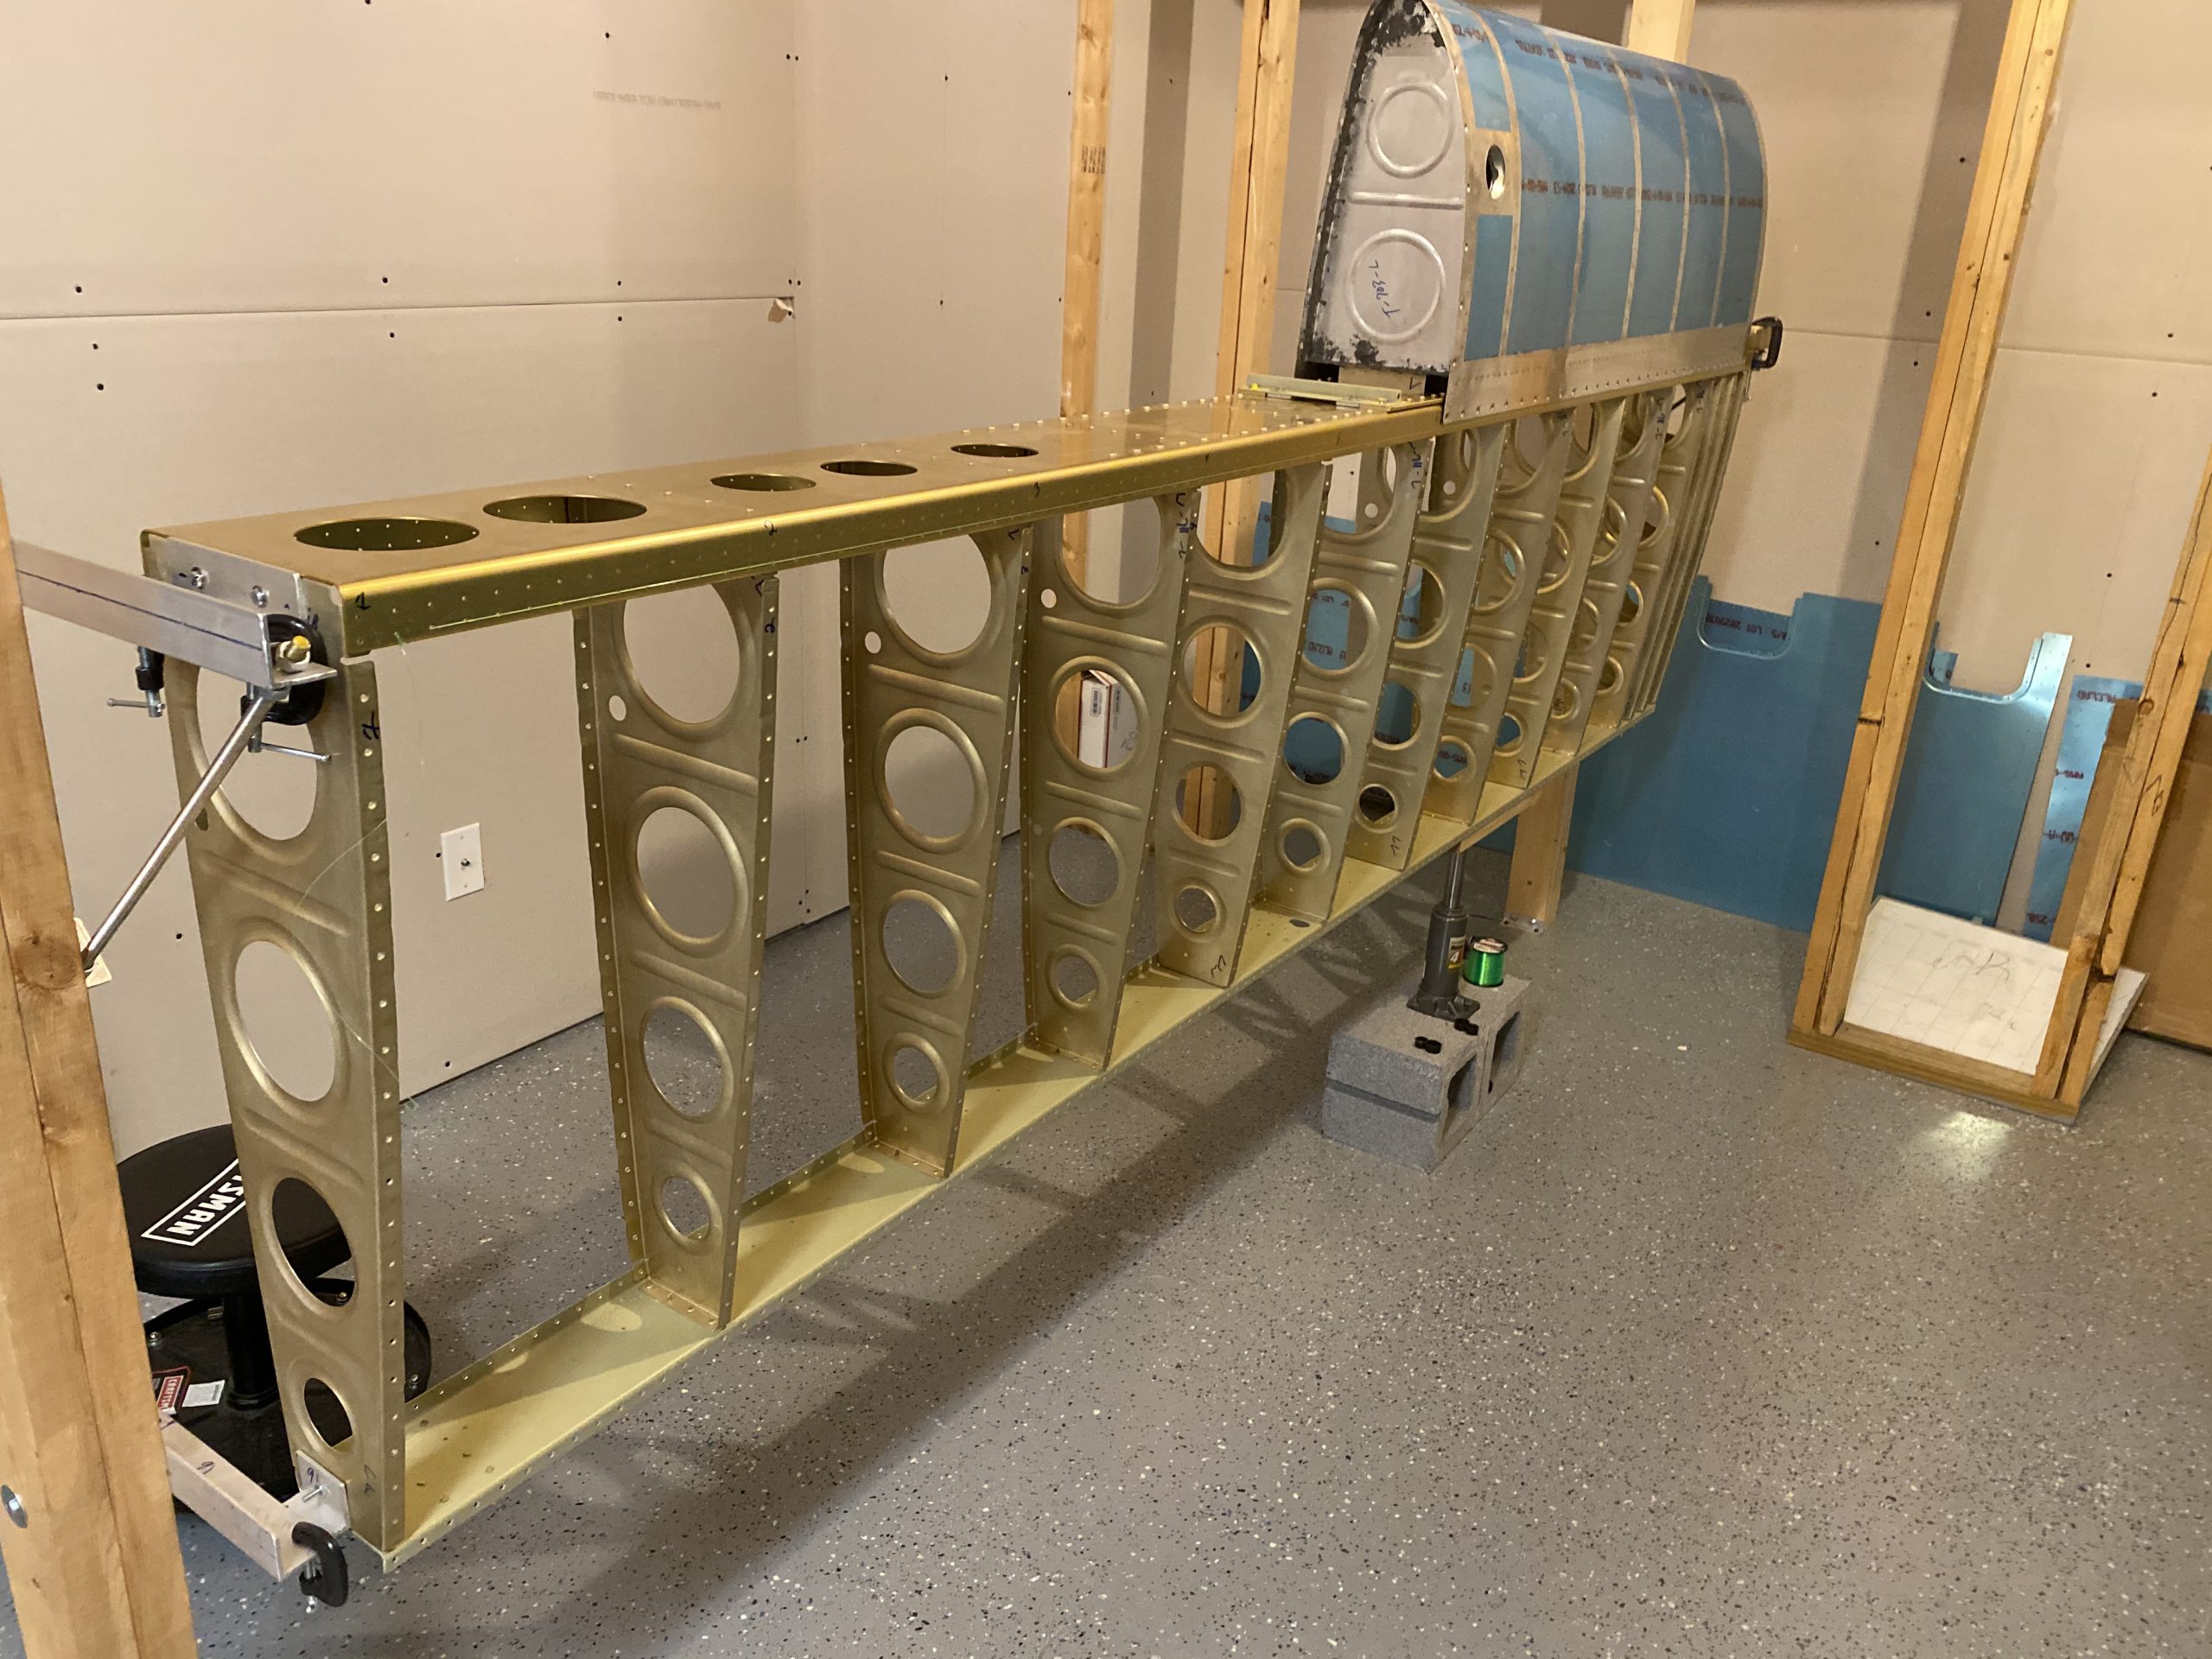

Vans advises that after we dimple the rear spar, we should use a deburring tool to remove a little metal so the skin fits better. So I did that on the rear spar.
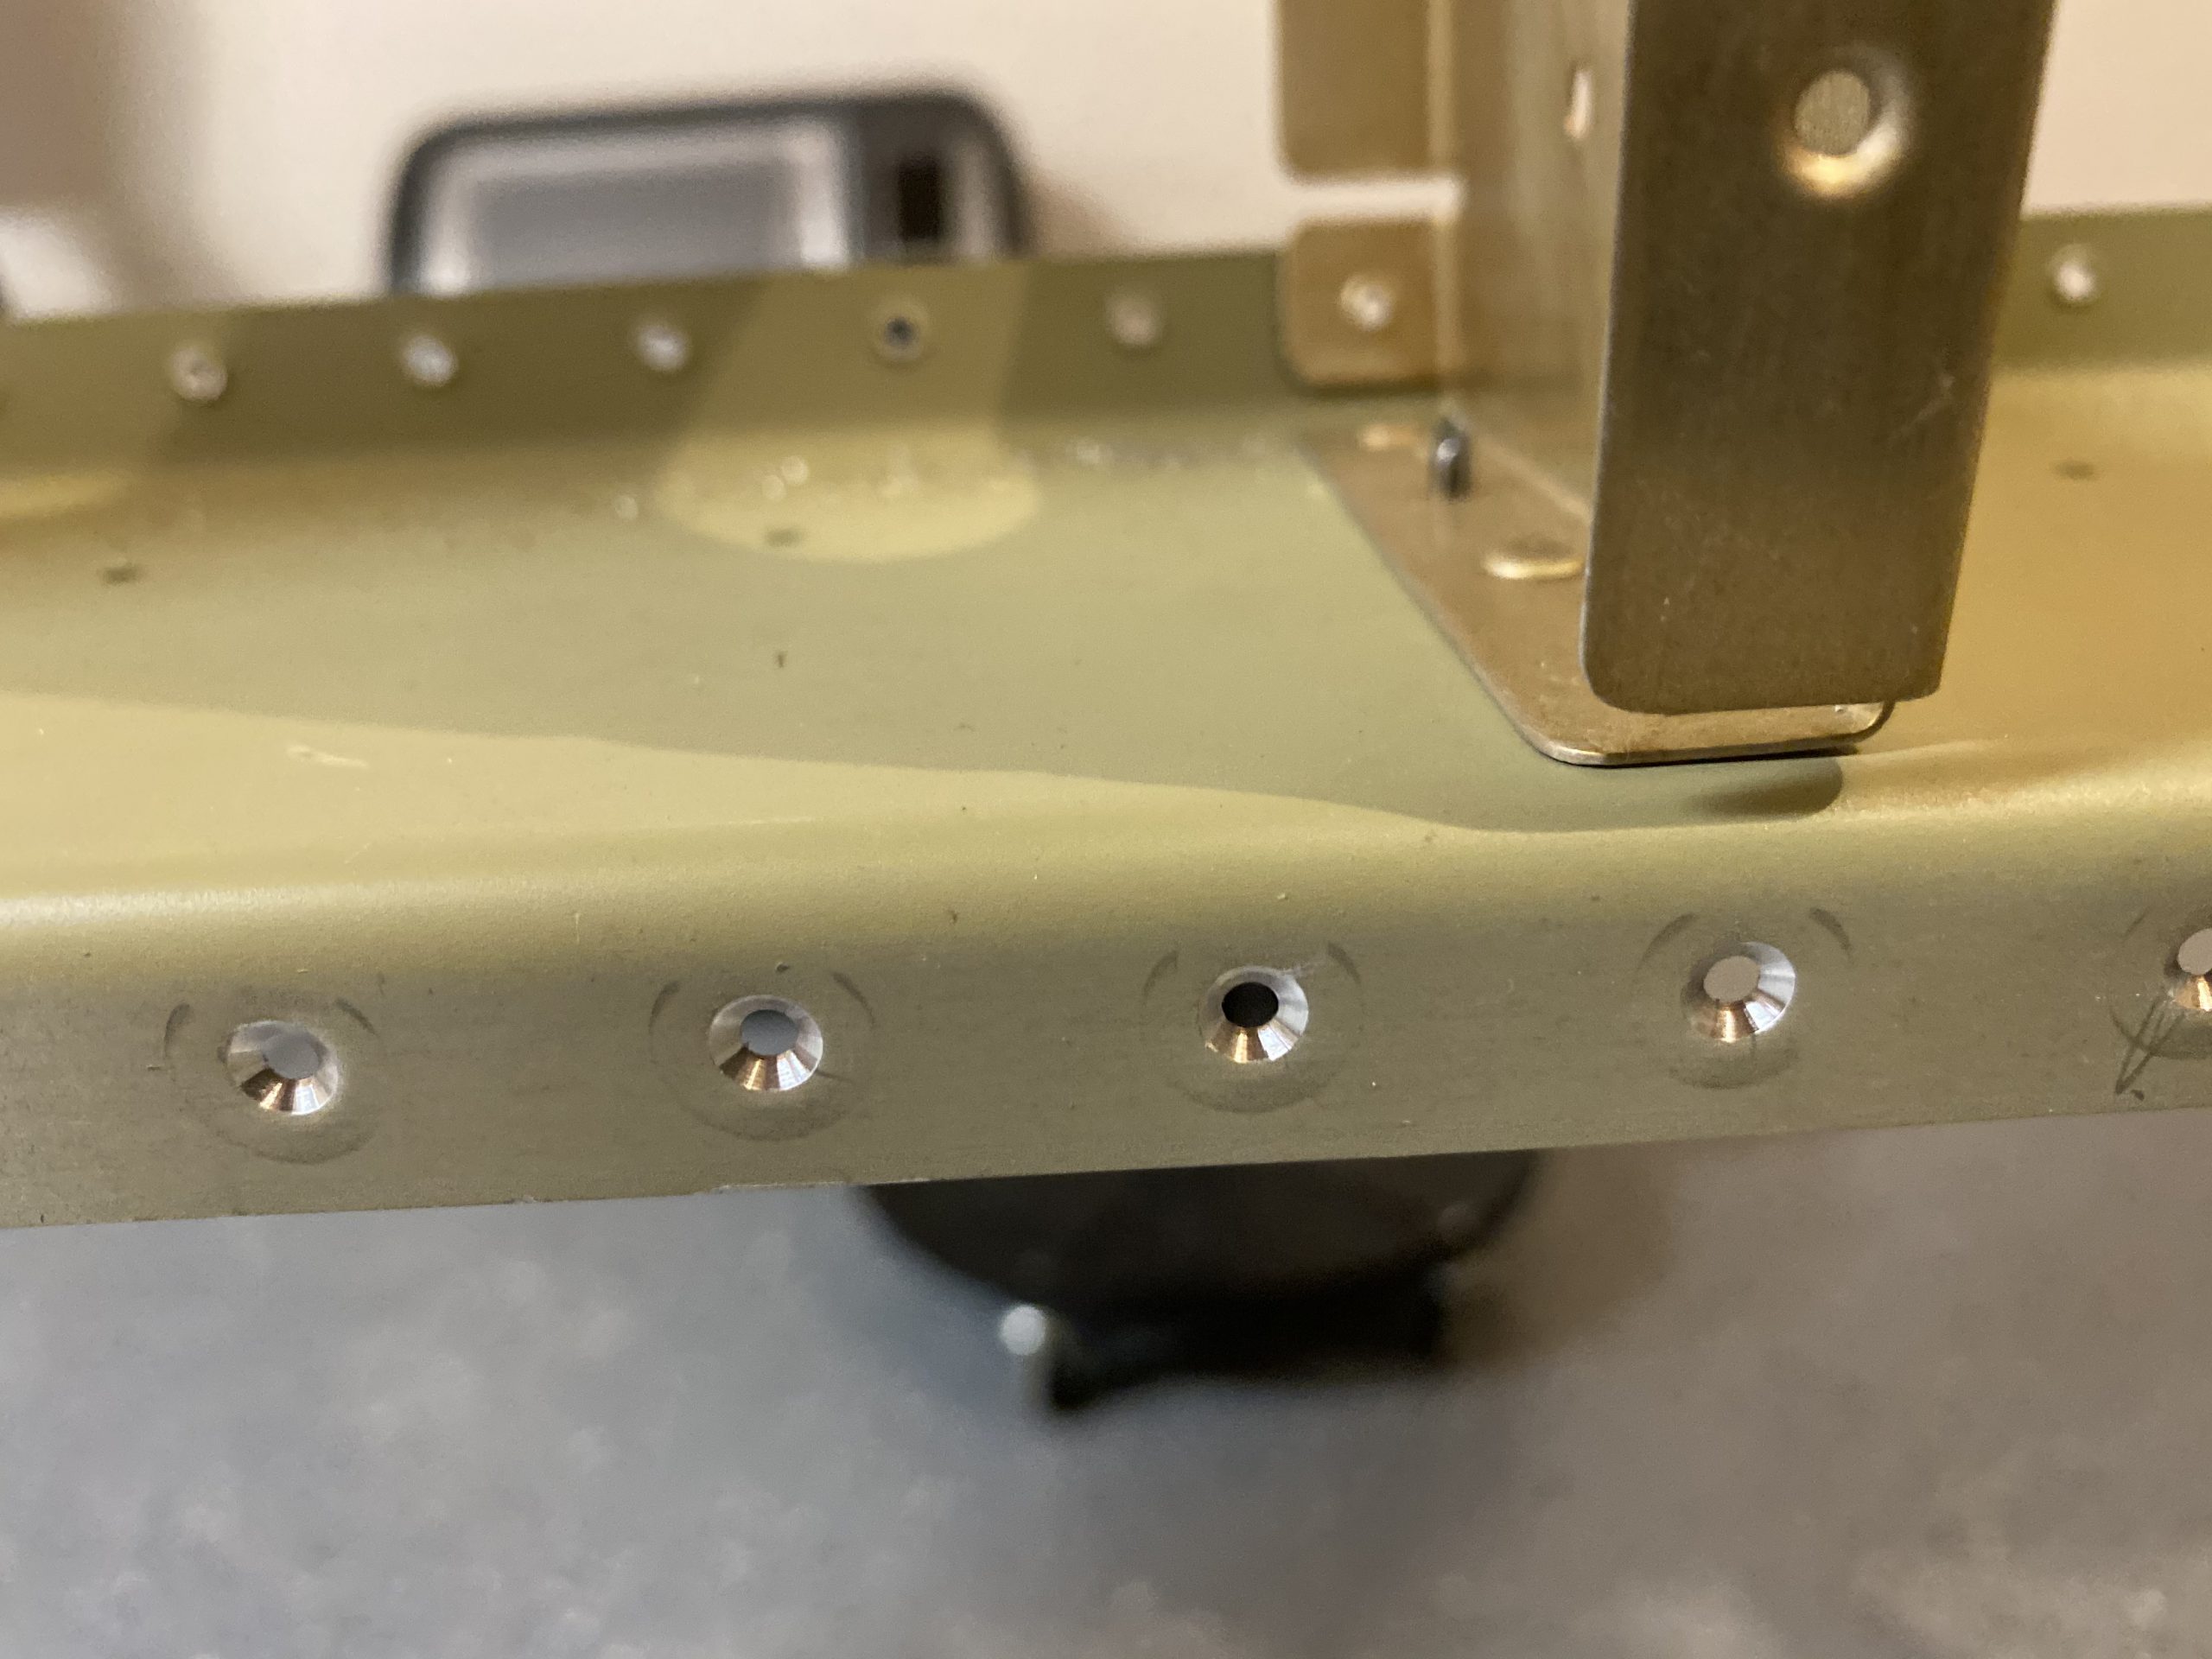
One last little thing I did was to also use the deburring bit in the holes on the reinforcement plate on the leading edge, per the instructions. This makes a nicer fit to the skin, like the rear spar we just did. I did both the left and right leading edge plates since they’ll be primed soon.

That’s all I had steam for tonight. I’ll work on countersinking the holes in the main spar tomorrow, and then I’ll need to do these same steps on the right wing.
Hours Worked; 2.0