


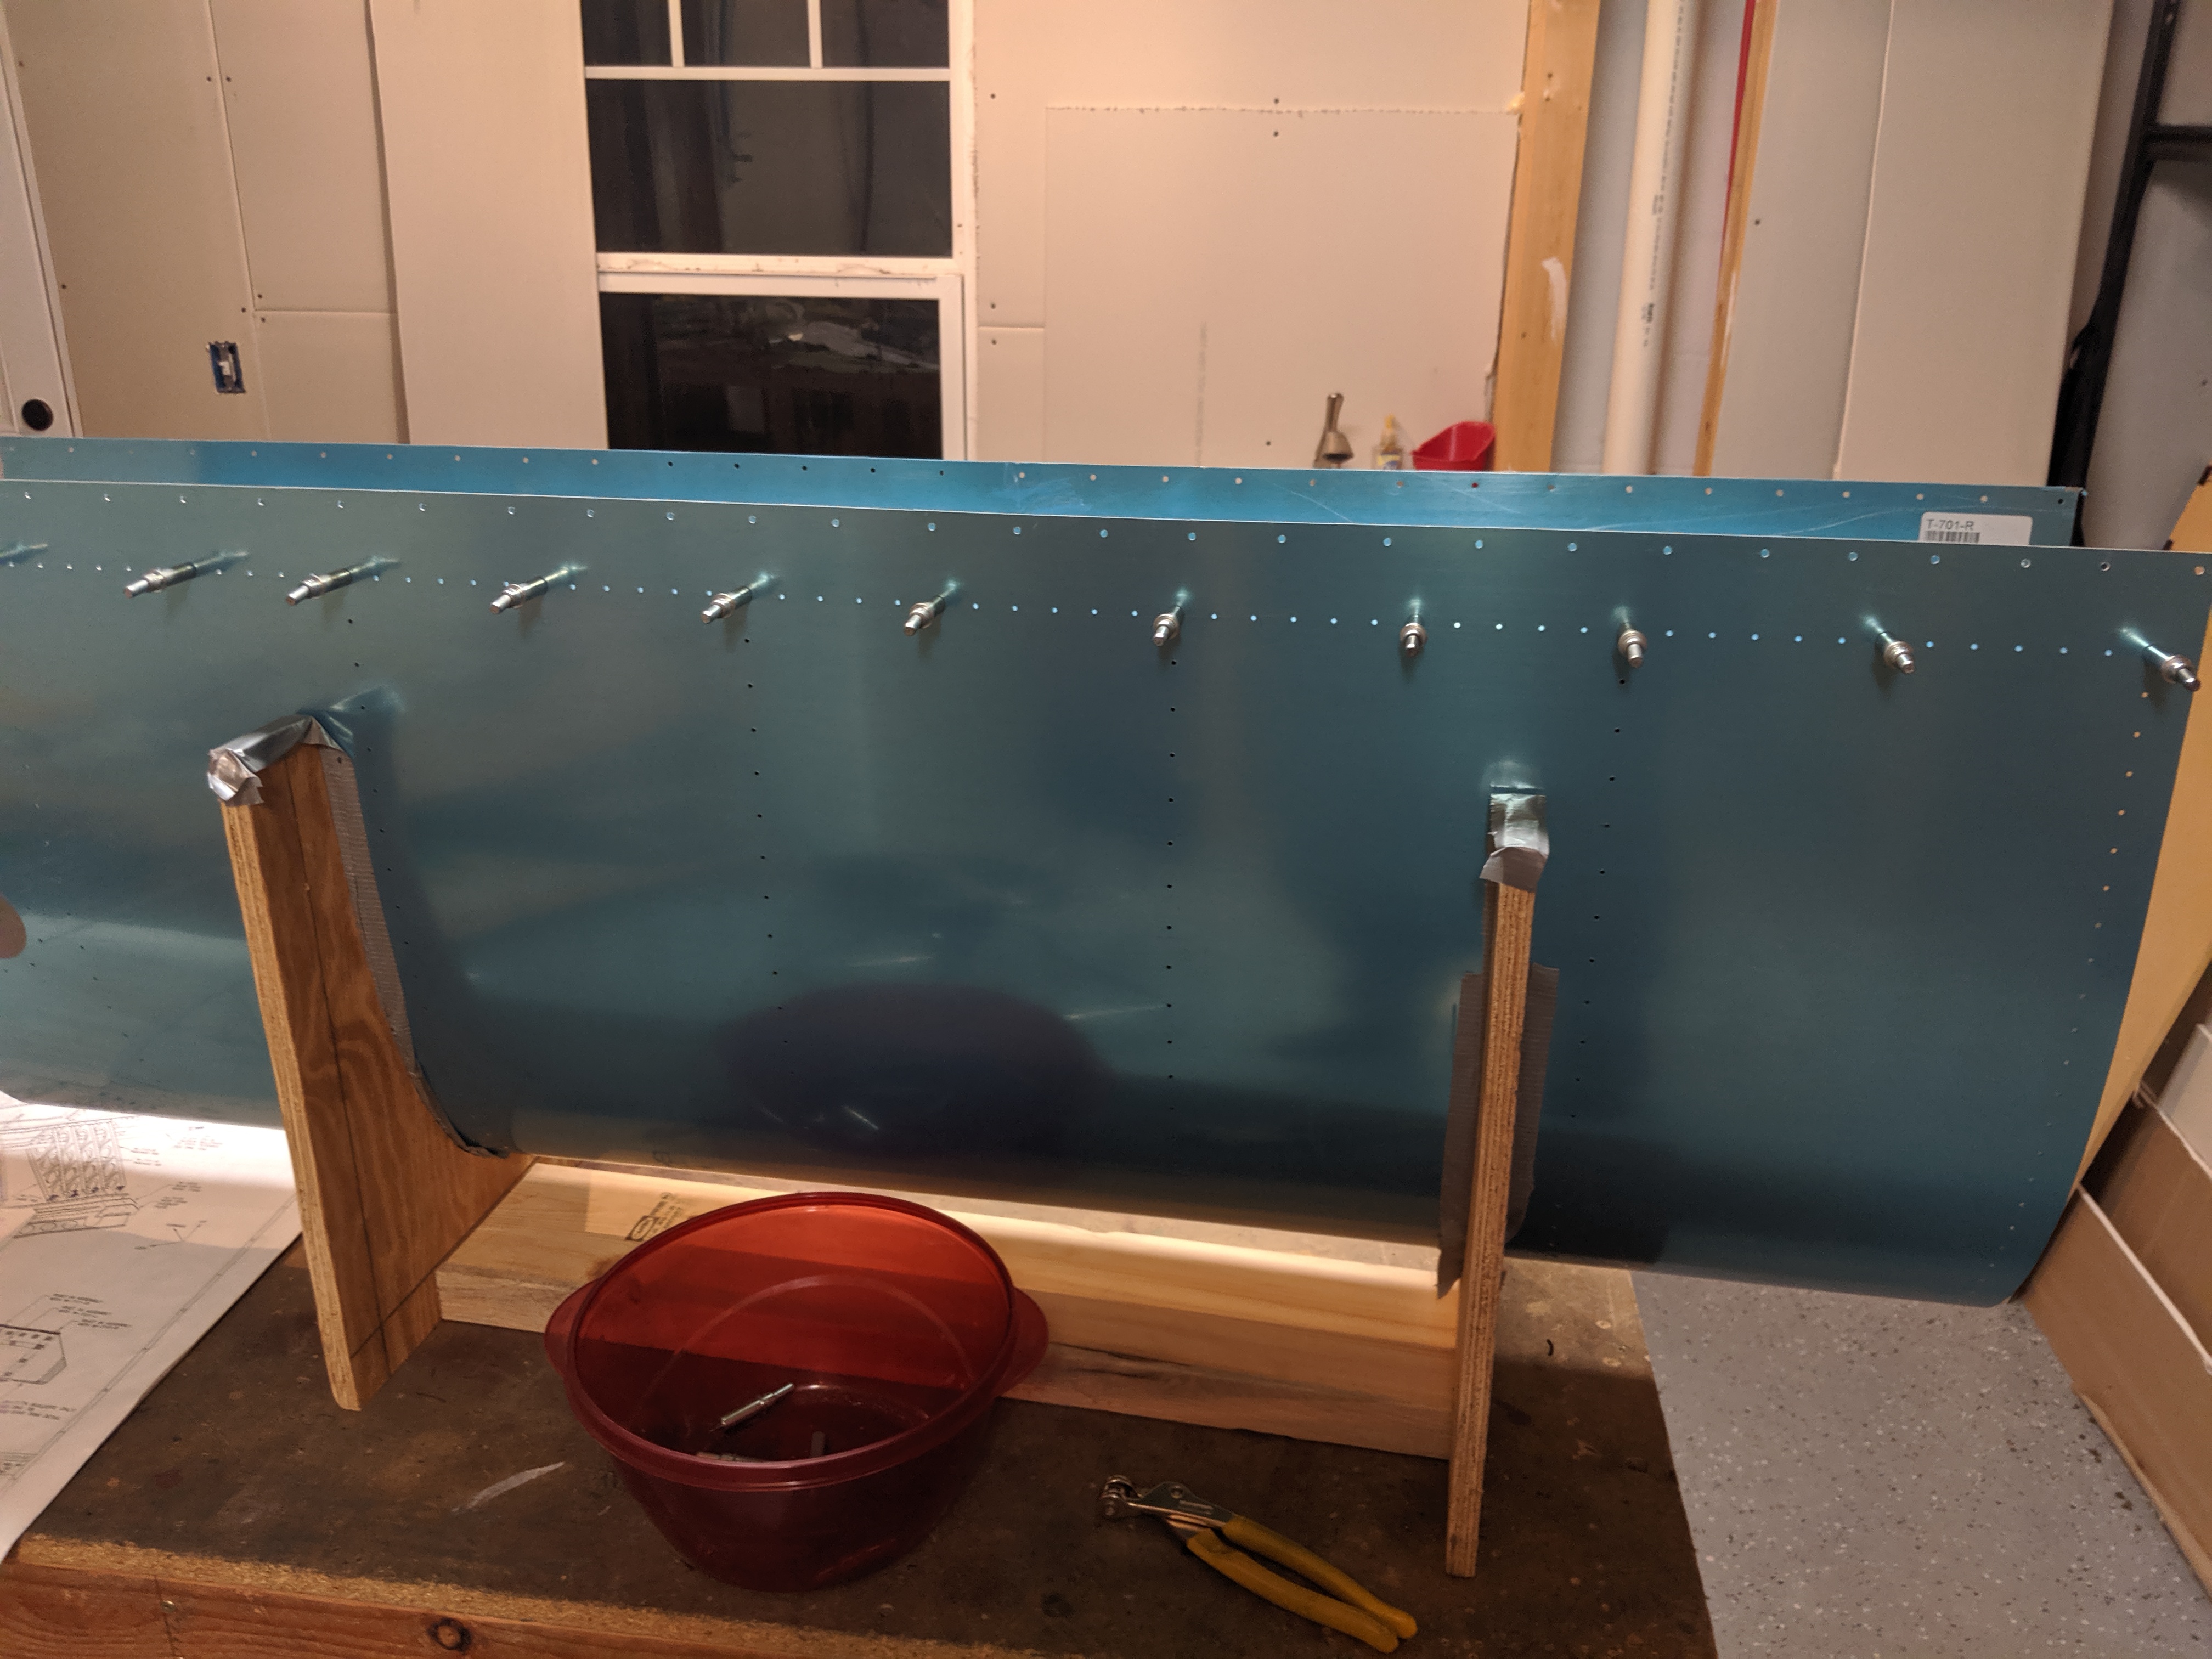
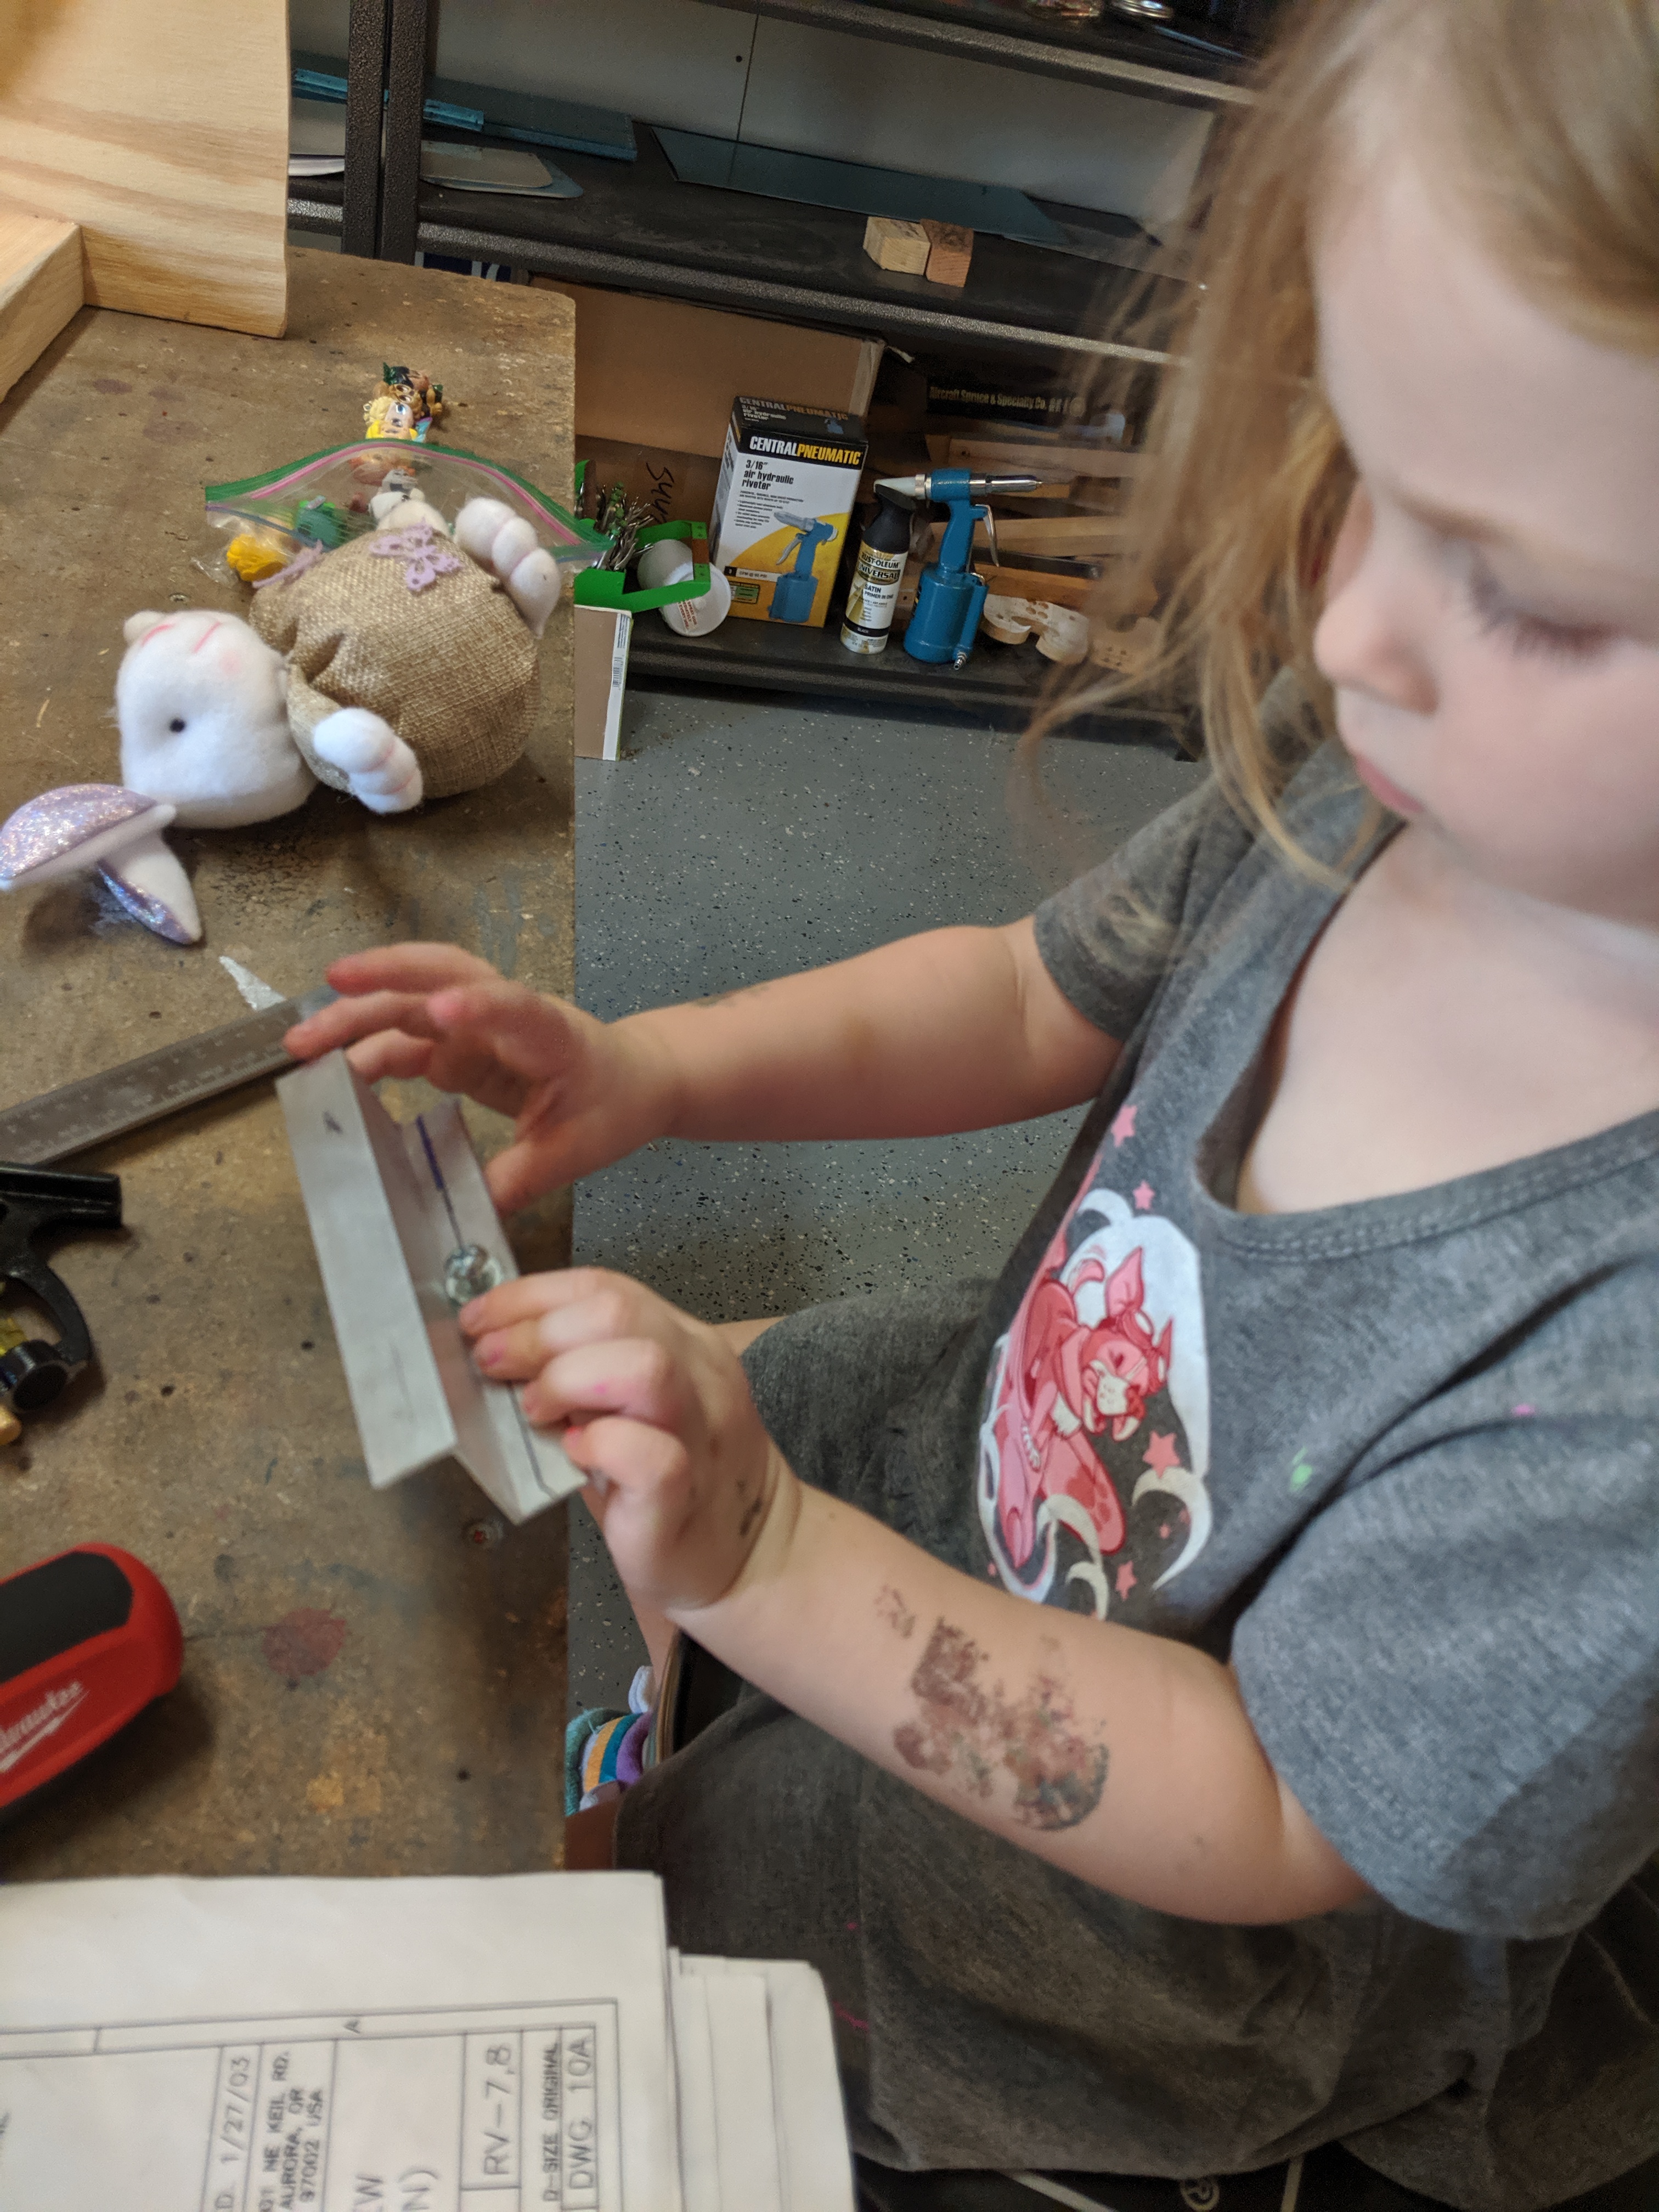
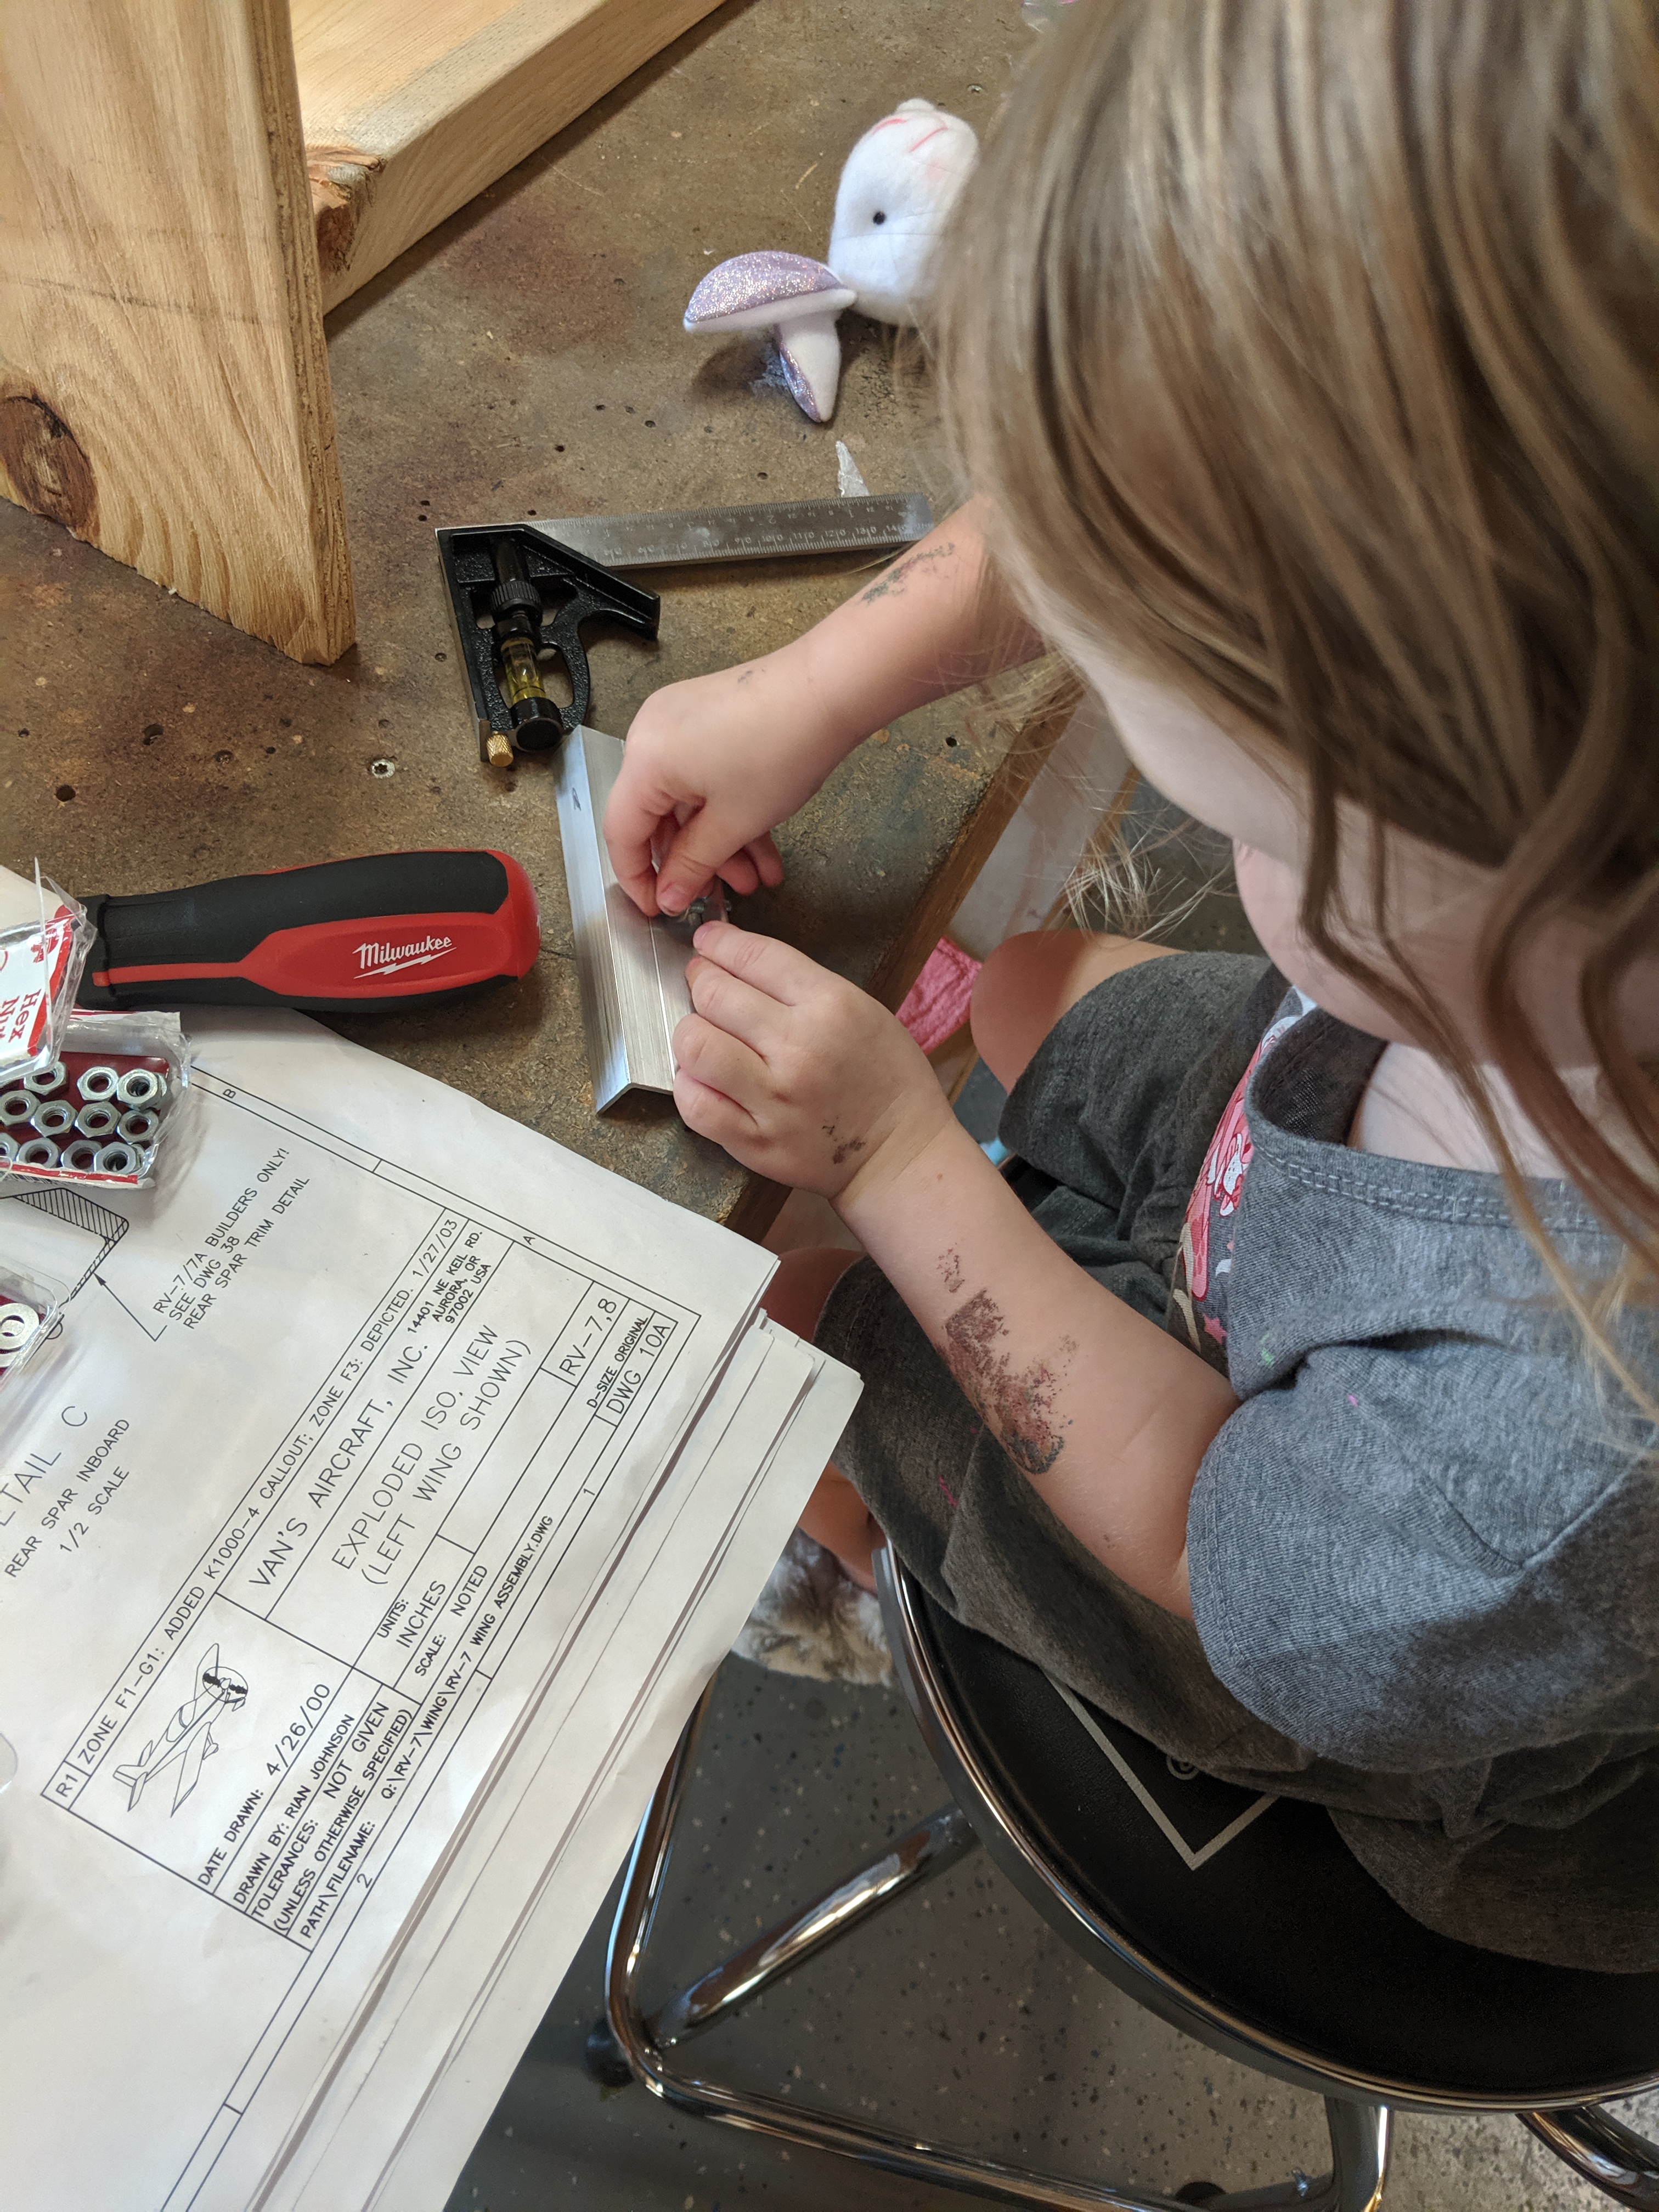
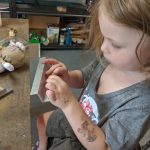
Time to drill the tank attach Z-brackets. I swung by Ace and picked up some cheap 10-32 bolts, nuts and washers to temporarily hold the brackets to the spar for back drilling. These will get tossed for the final assembly, they’re just used to help steady the bracket for precise drilling. I actually had my little helper Acacia tonight for a little while. We stuck a bolt, and washer in each bracket and then put them on the spars.
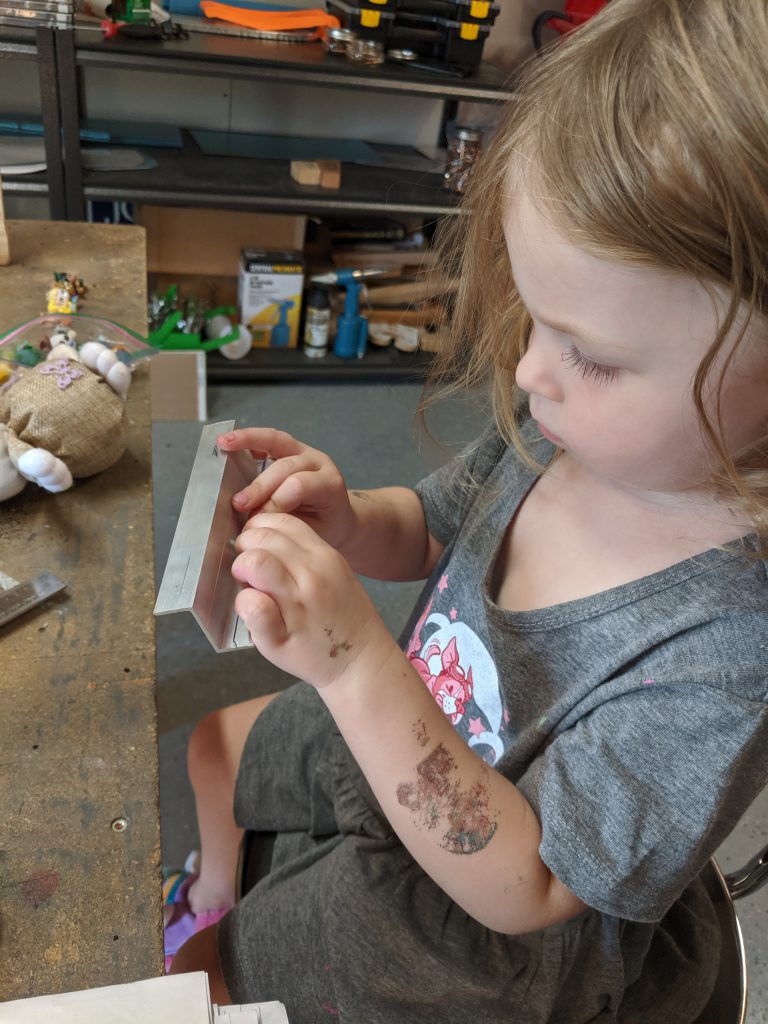
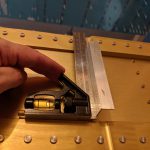
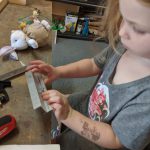
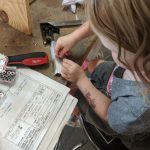
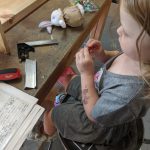
Then I squared up the brackets to the spare to make sure they were perfectly aligned. My little helper gave up and got bored so she went back upstairs to play with her dolls. But I managed fine on my own. HAH. I used the cheap nuts and bolts in the center hole to tightly hold the bracket to the spar so they wouldn’t move when I was back drilling them form the other side of the spar.
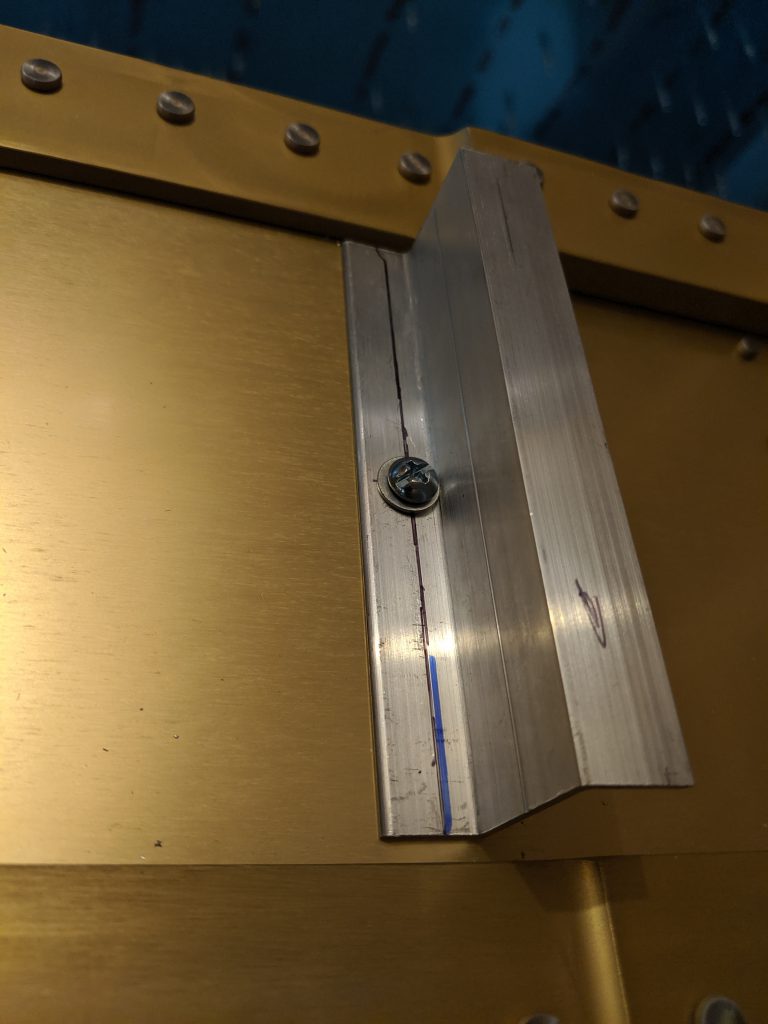
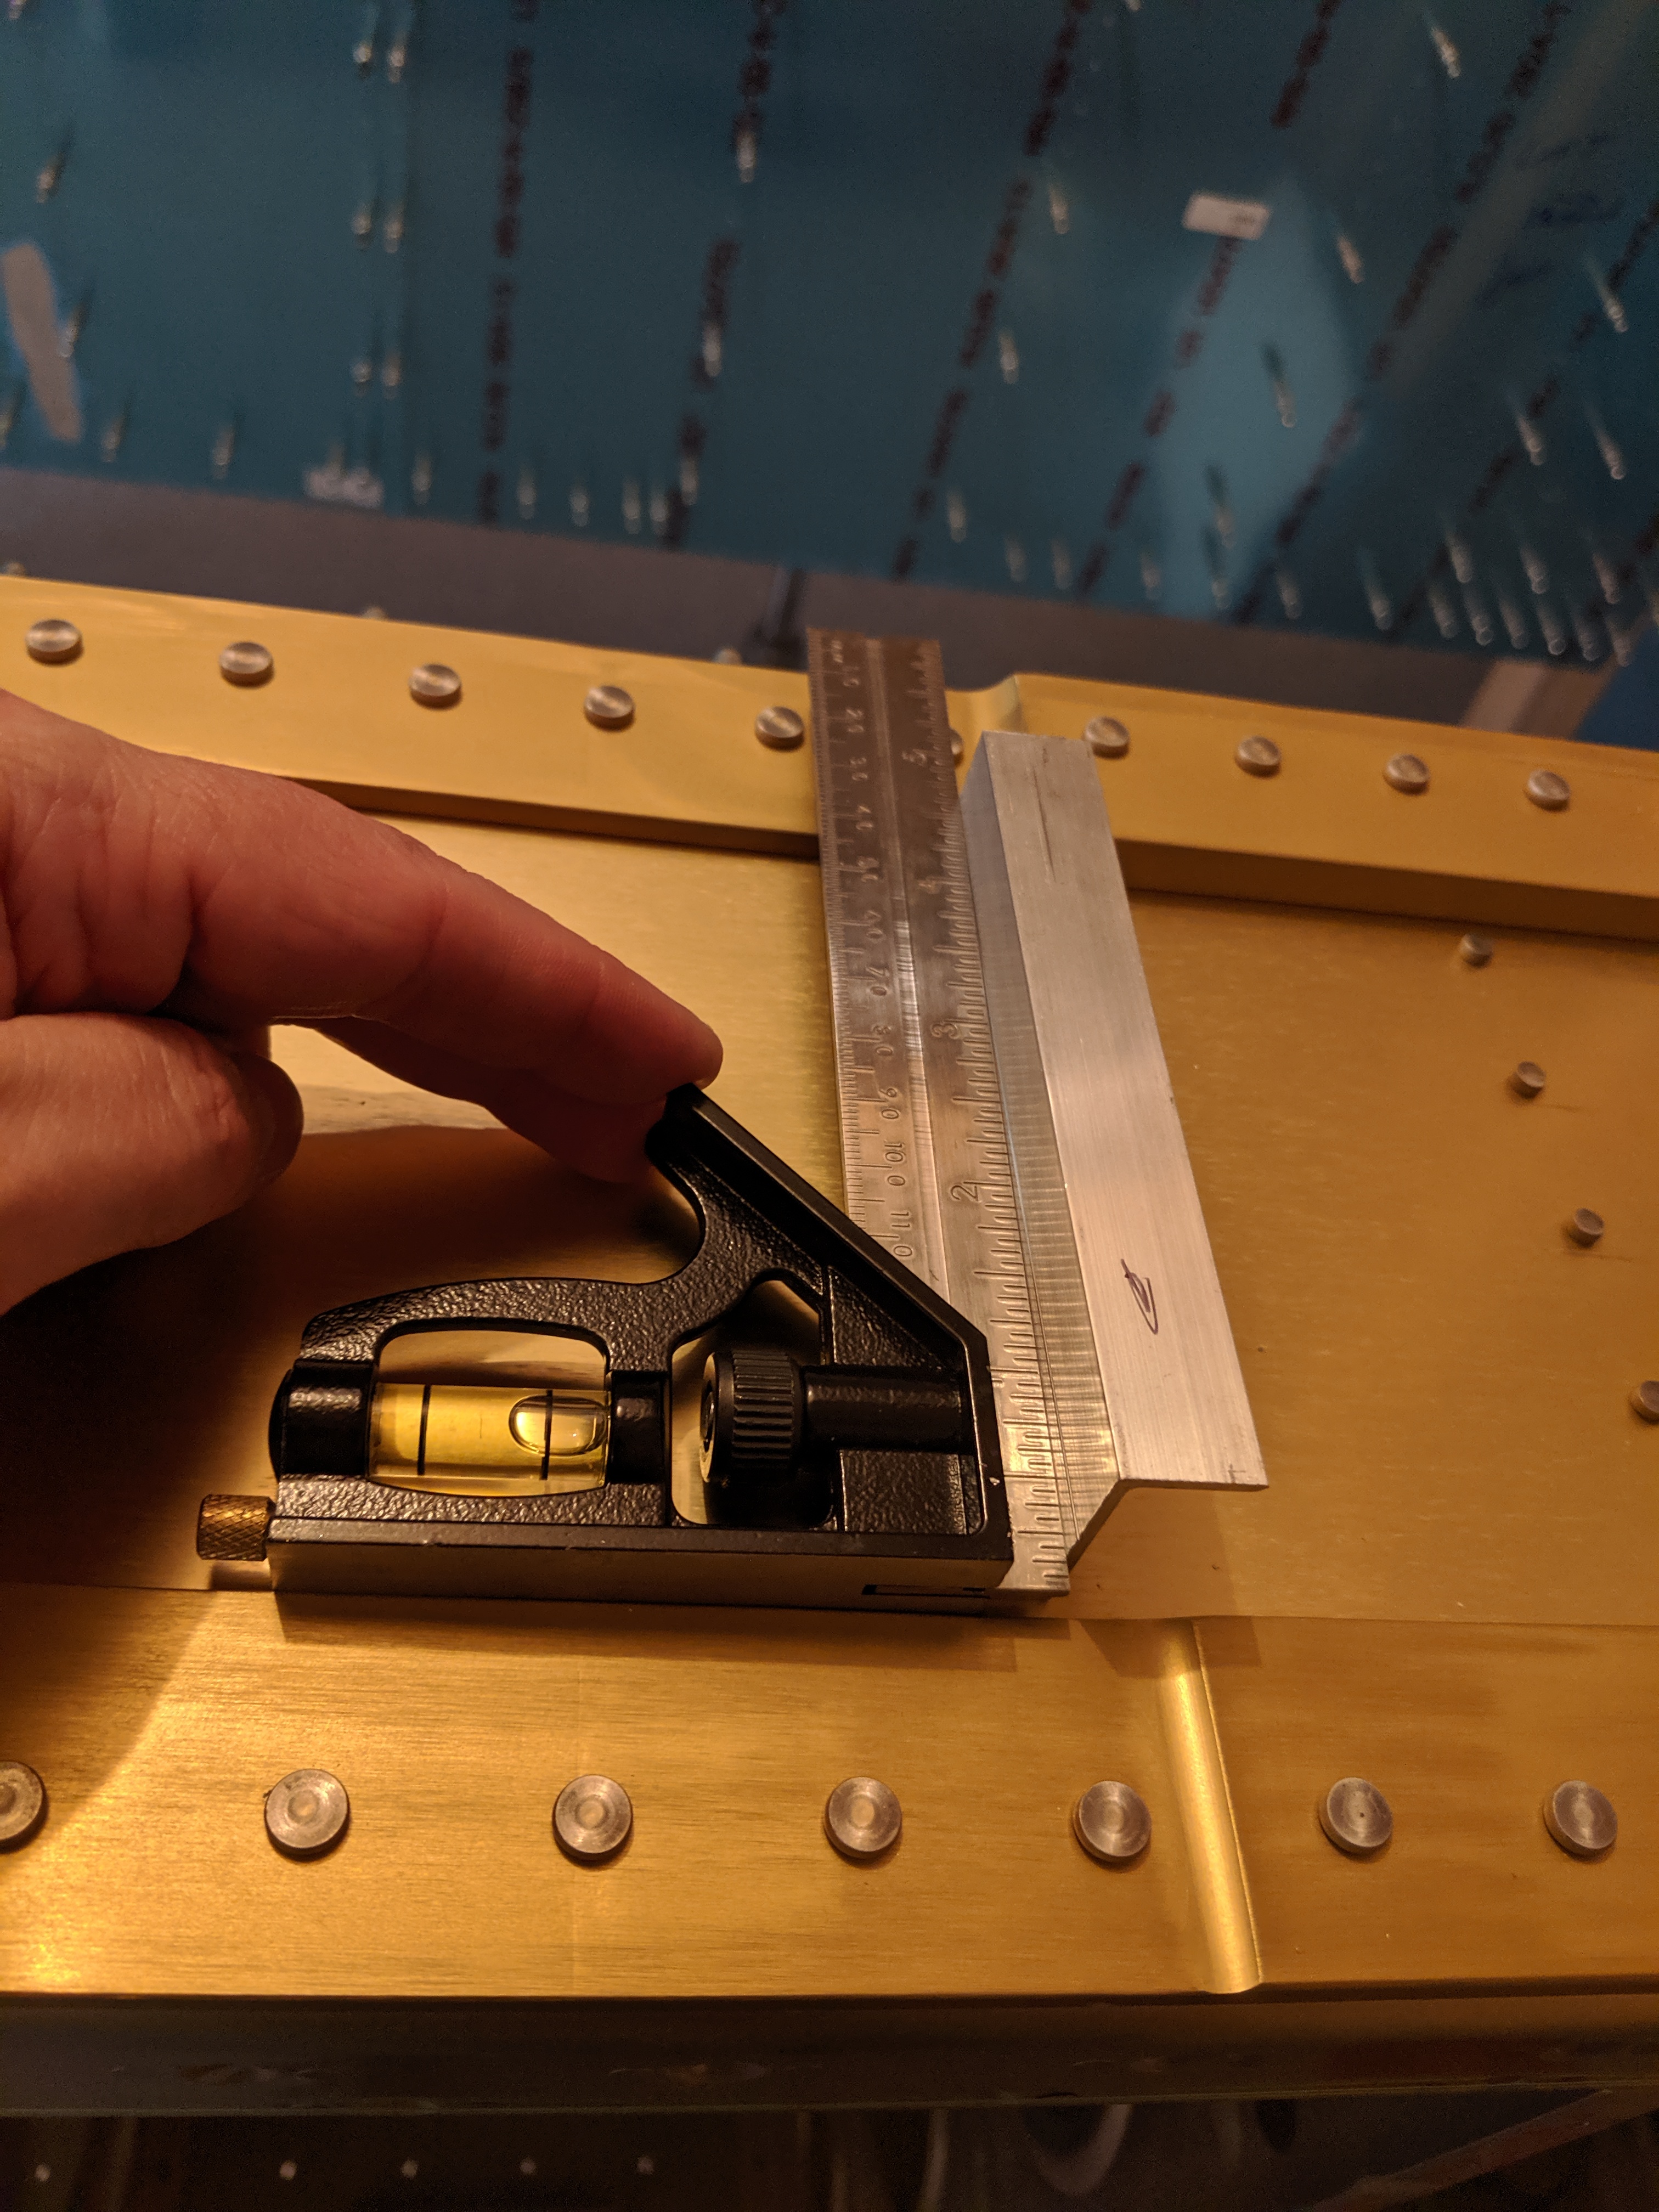
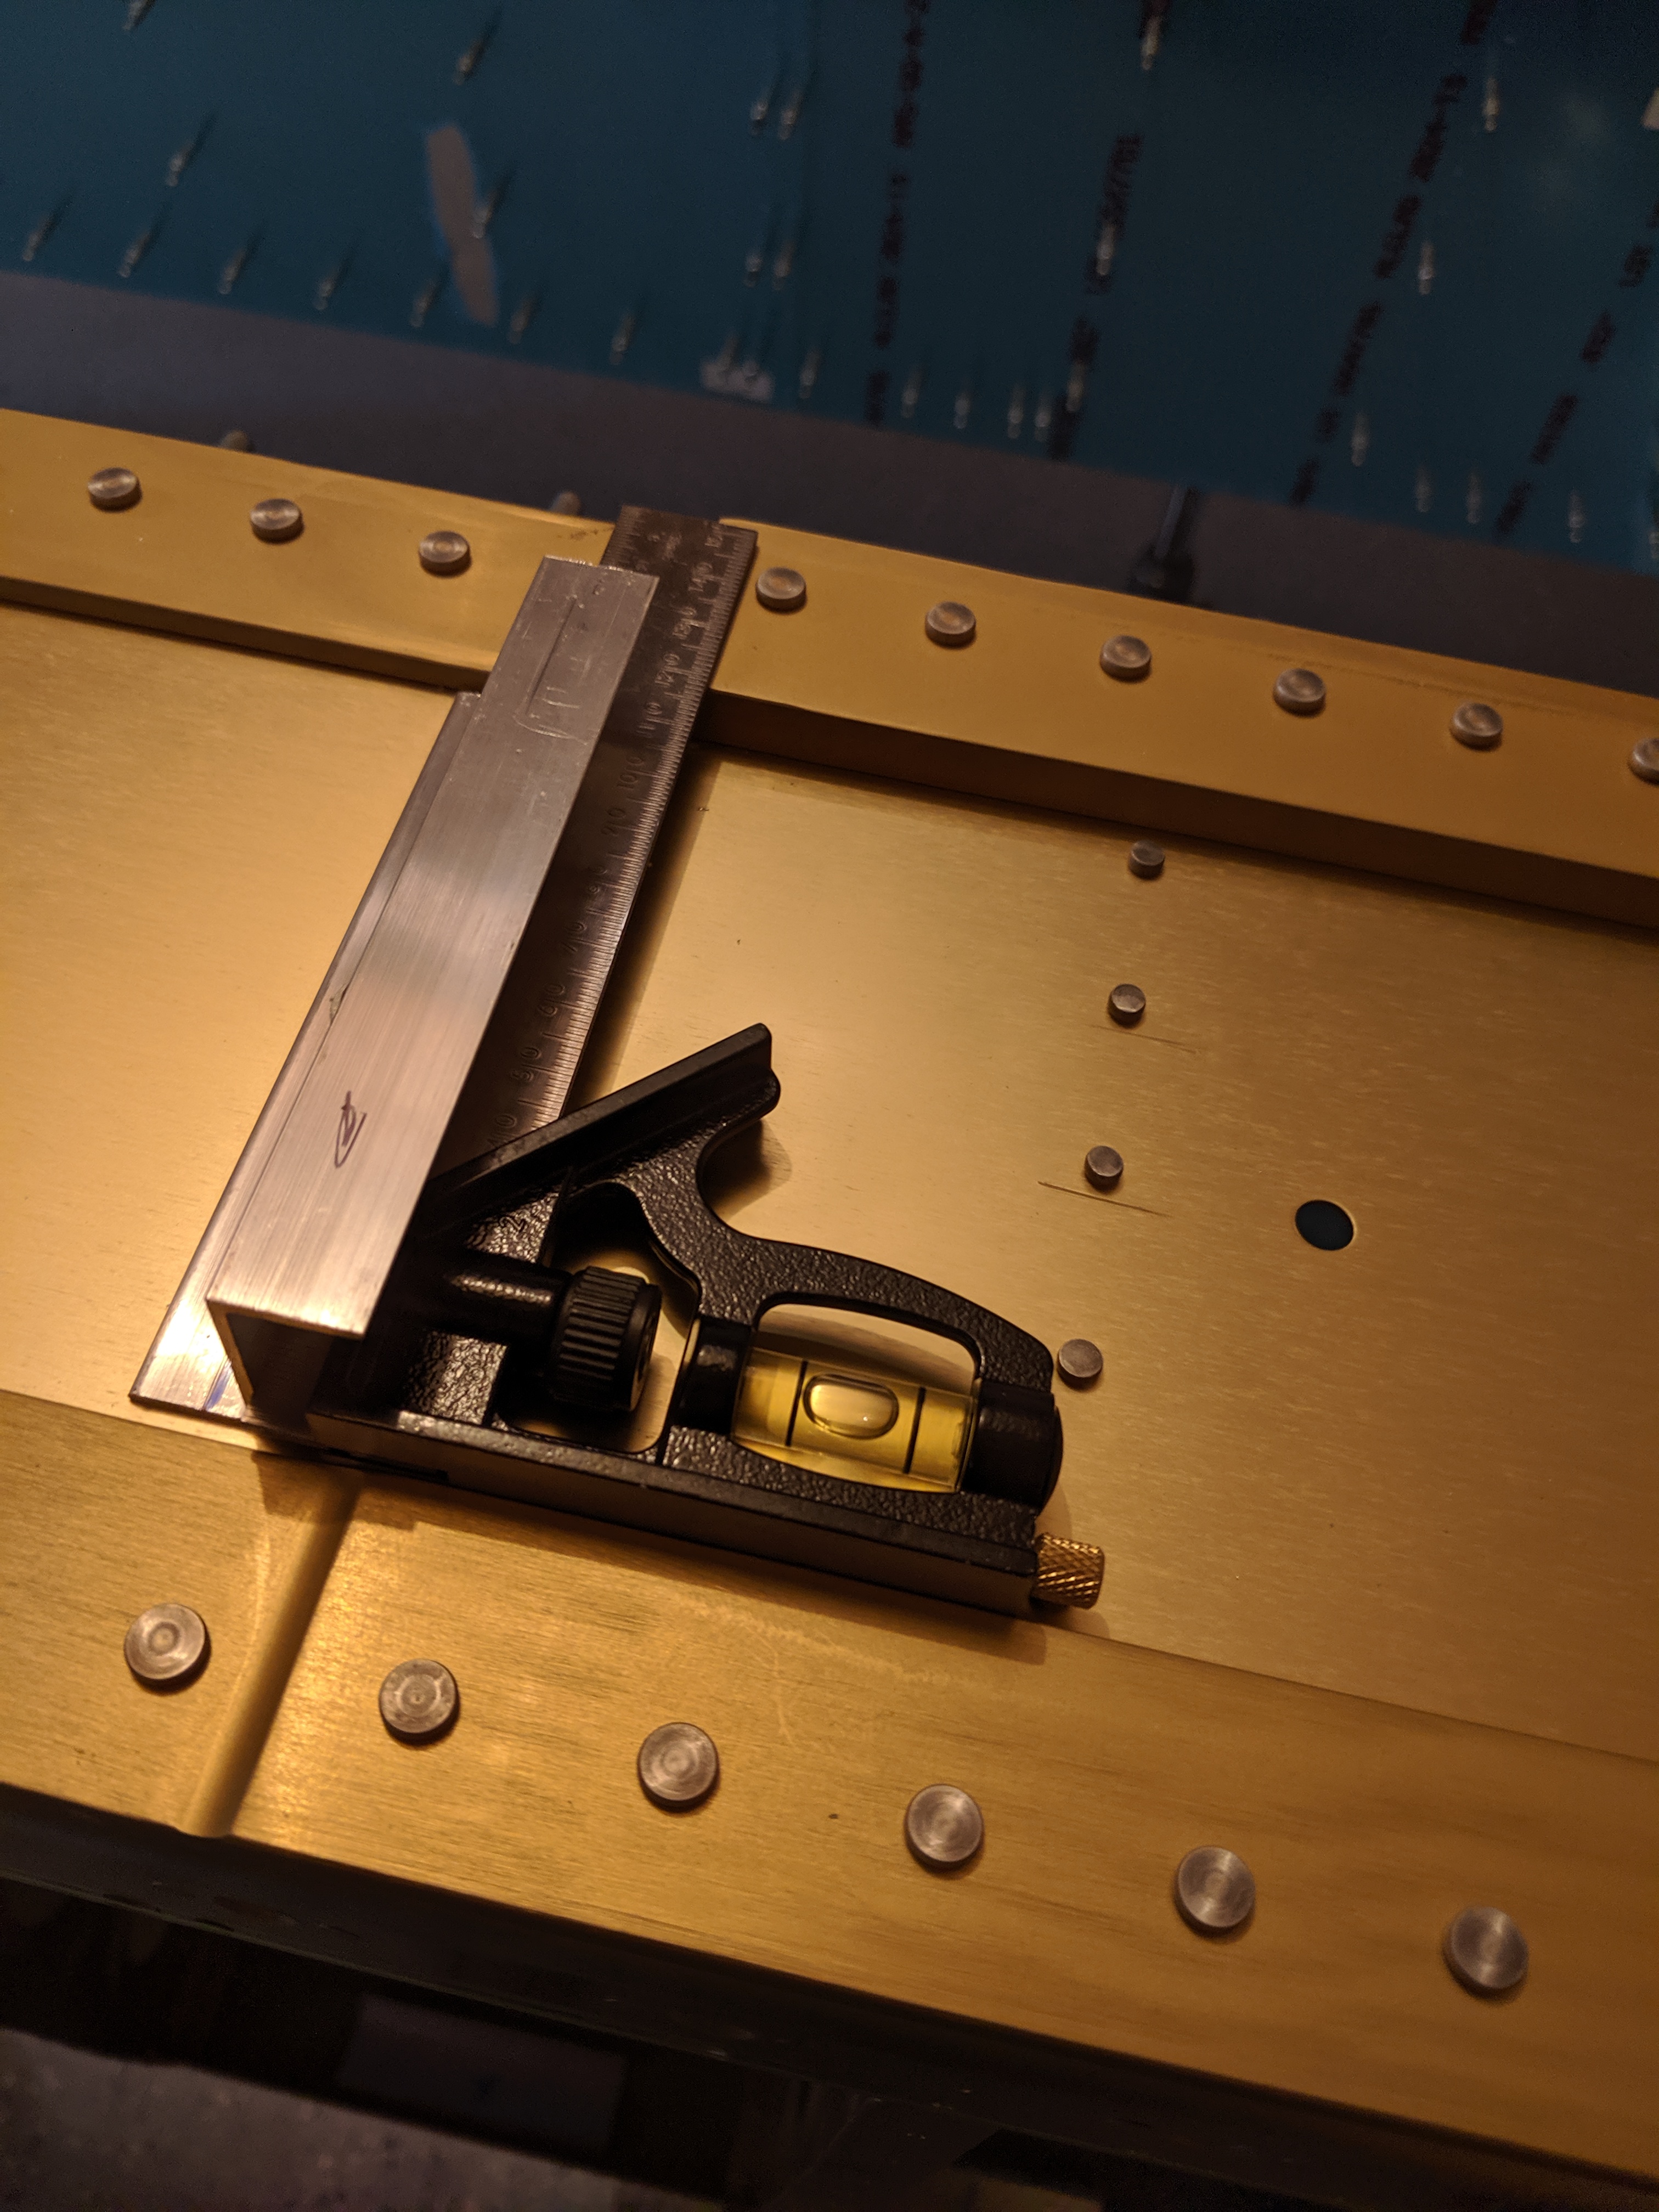
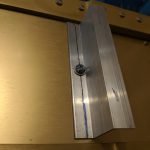
I used a small square to make sure the brackets were lined up perfectly perpendicular with the spar.

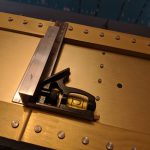
Once I had all of the brackets installed and squared, I tightened the bolts down and then double checked them with my square to be sure they didn’t move. I did the same to both spars. Next up was to back drill the other two holes in the brackets by using the pre-punched holes in the spars as a guide. Unfortunately, I didn’t snap a pic of the back drilling process, nor the final results. I’ll get a photo of them in the next build log.
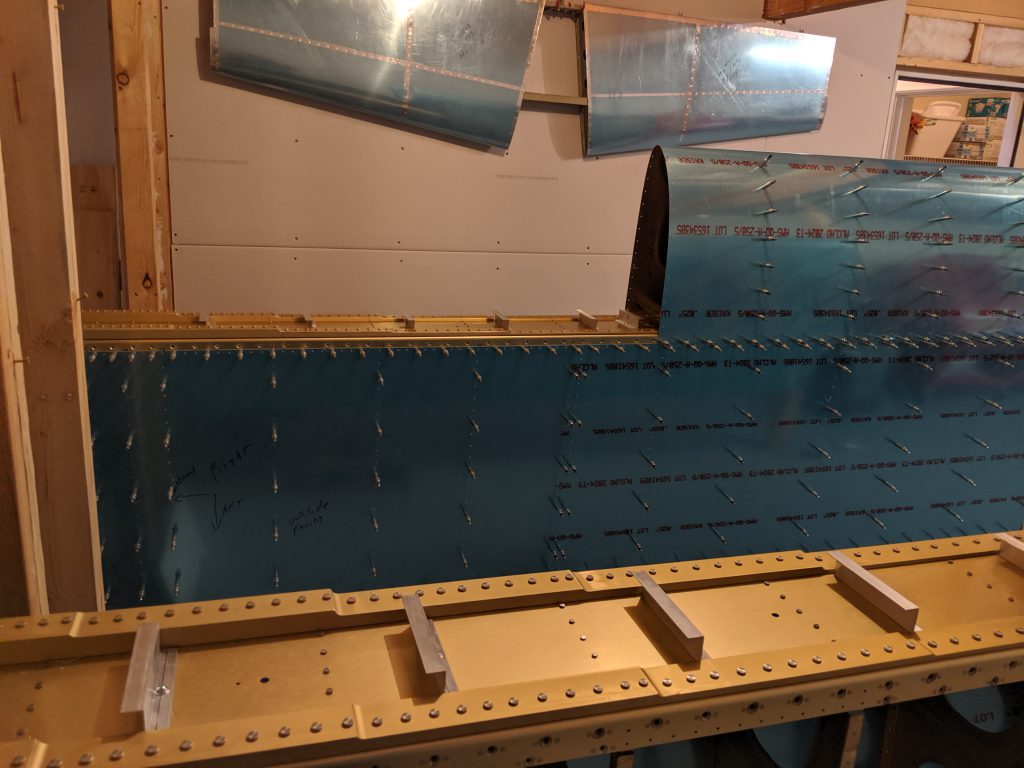
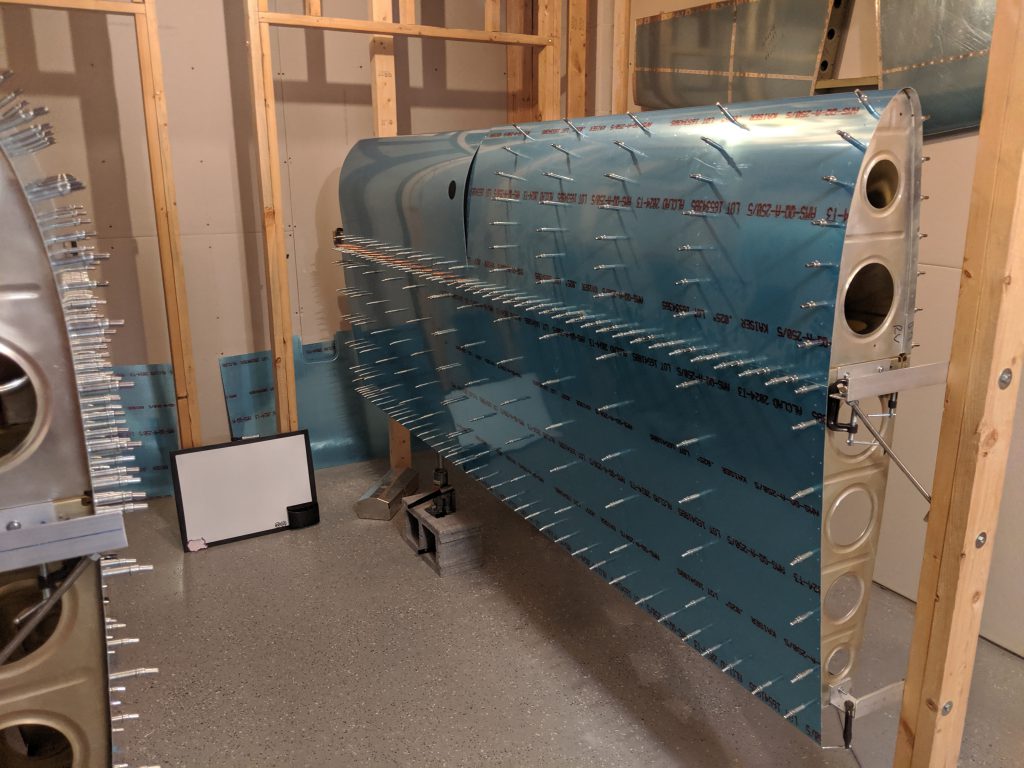
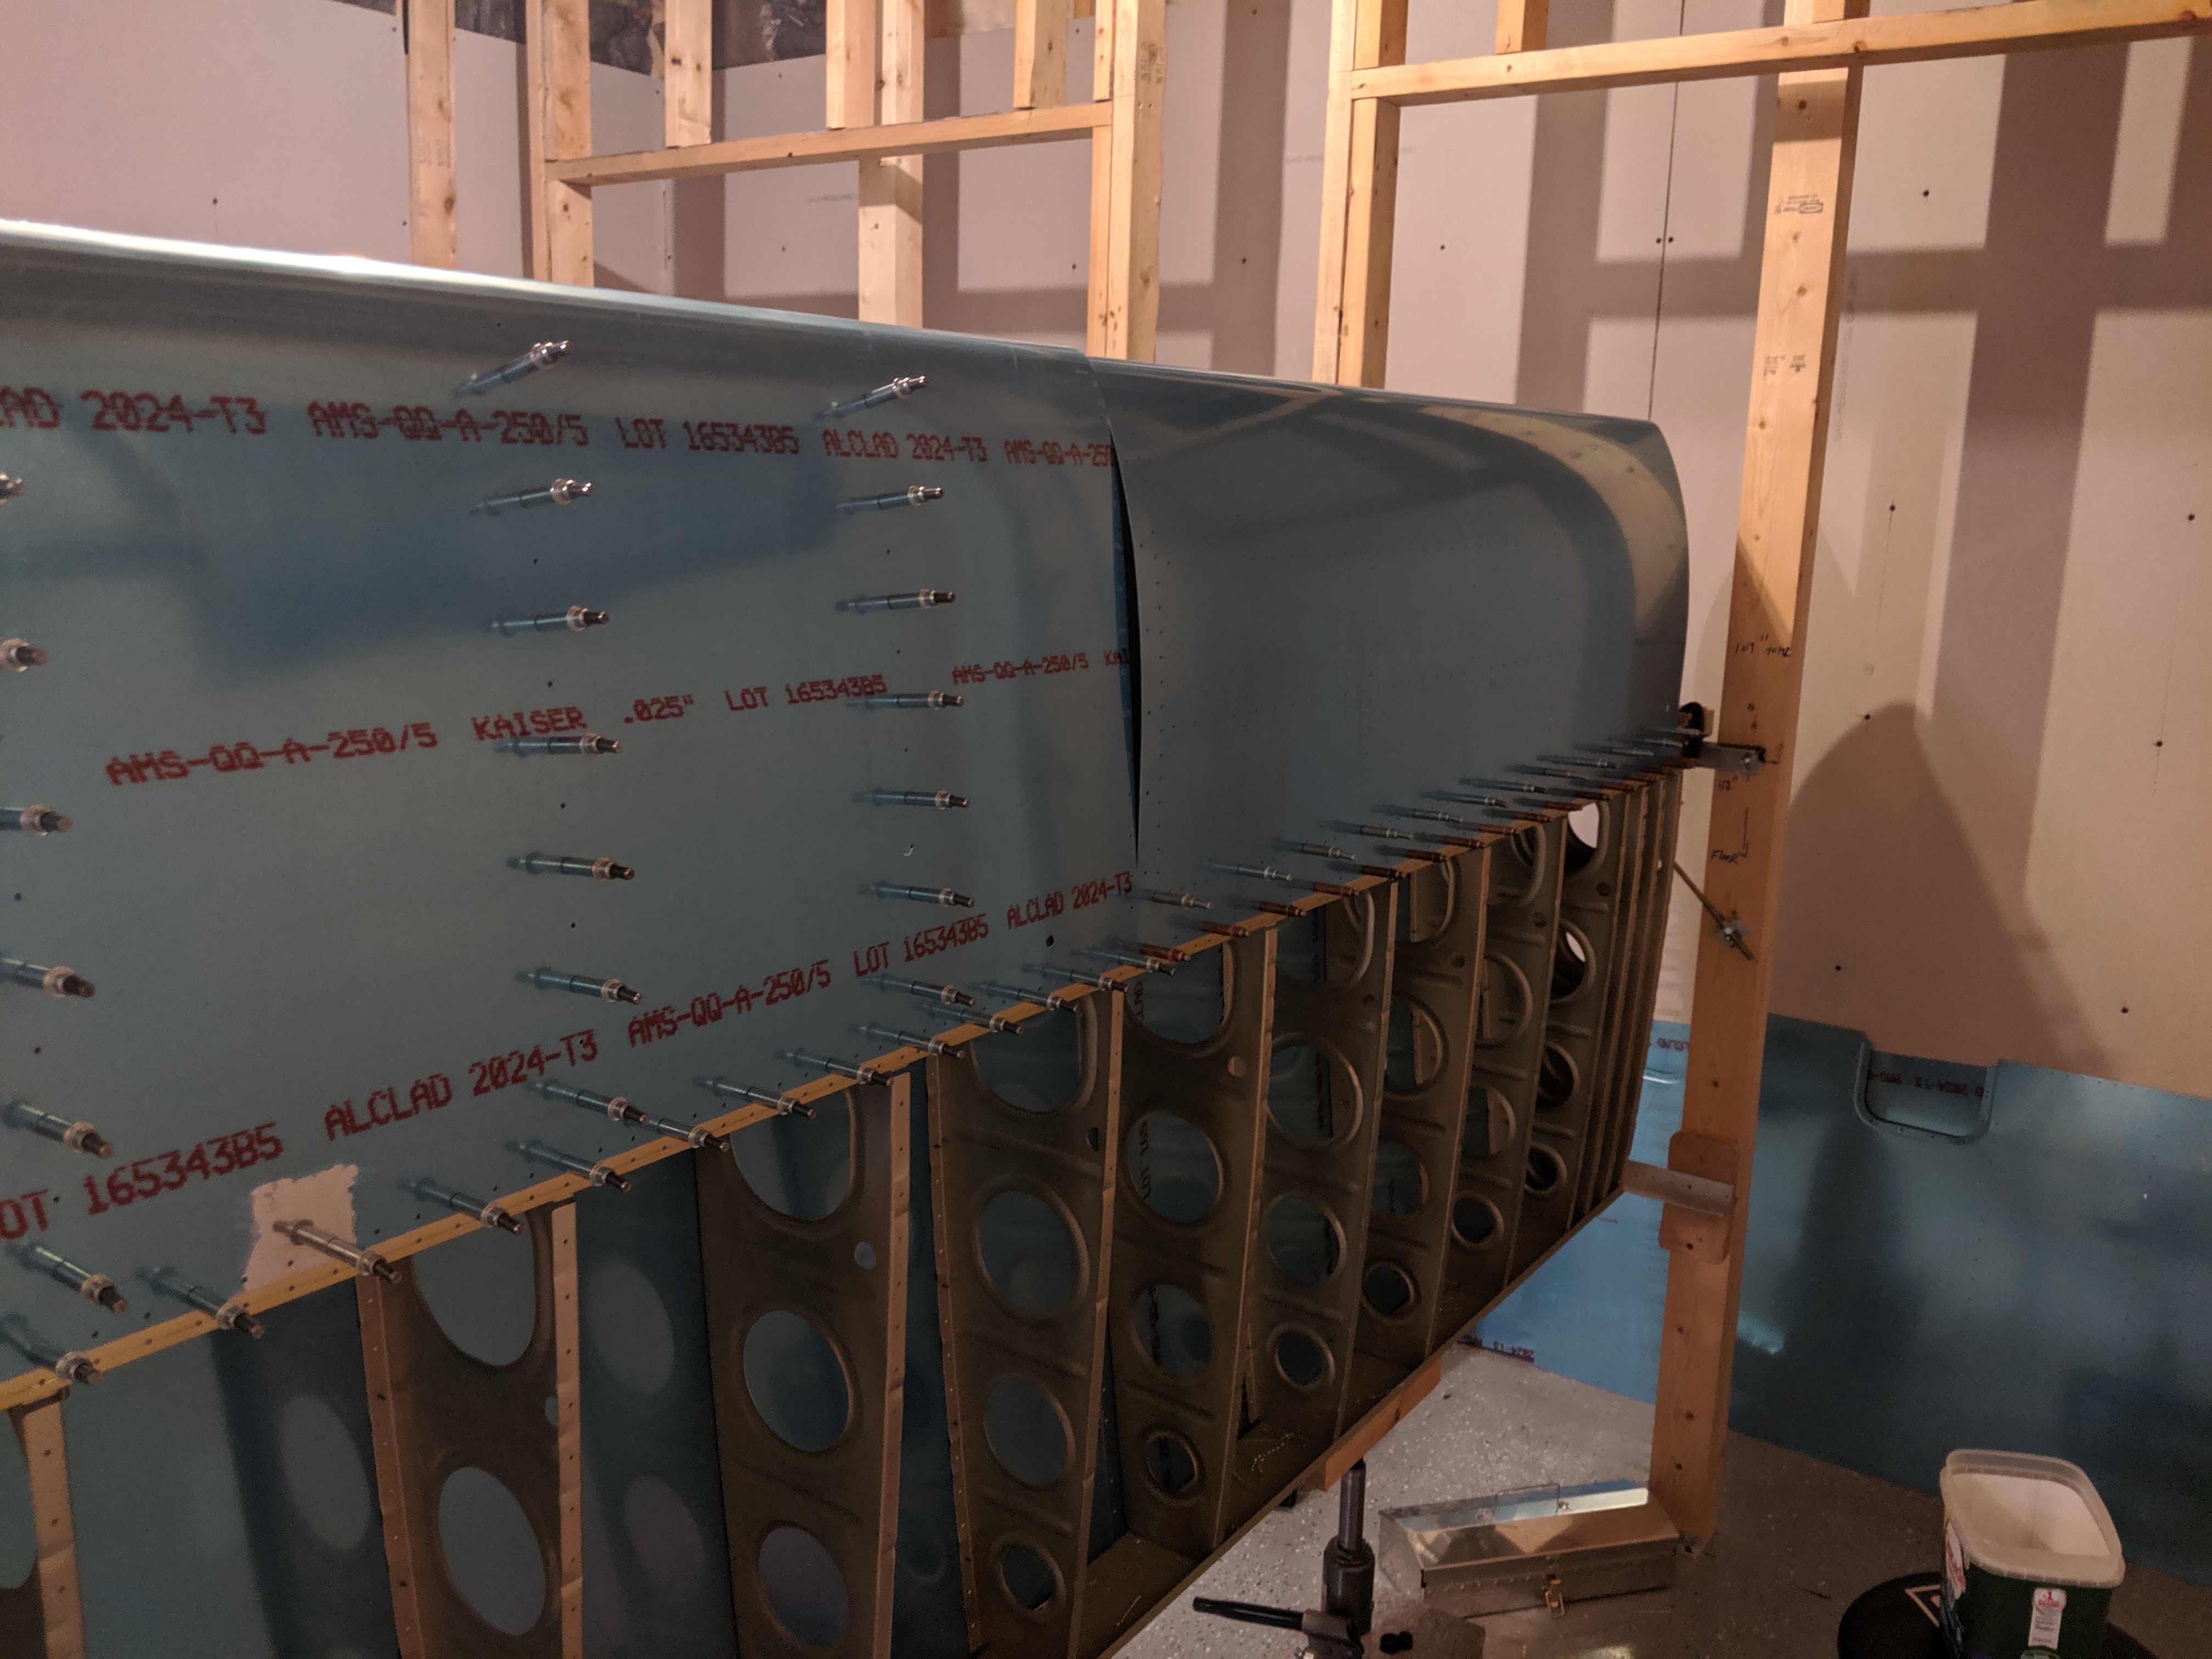
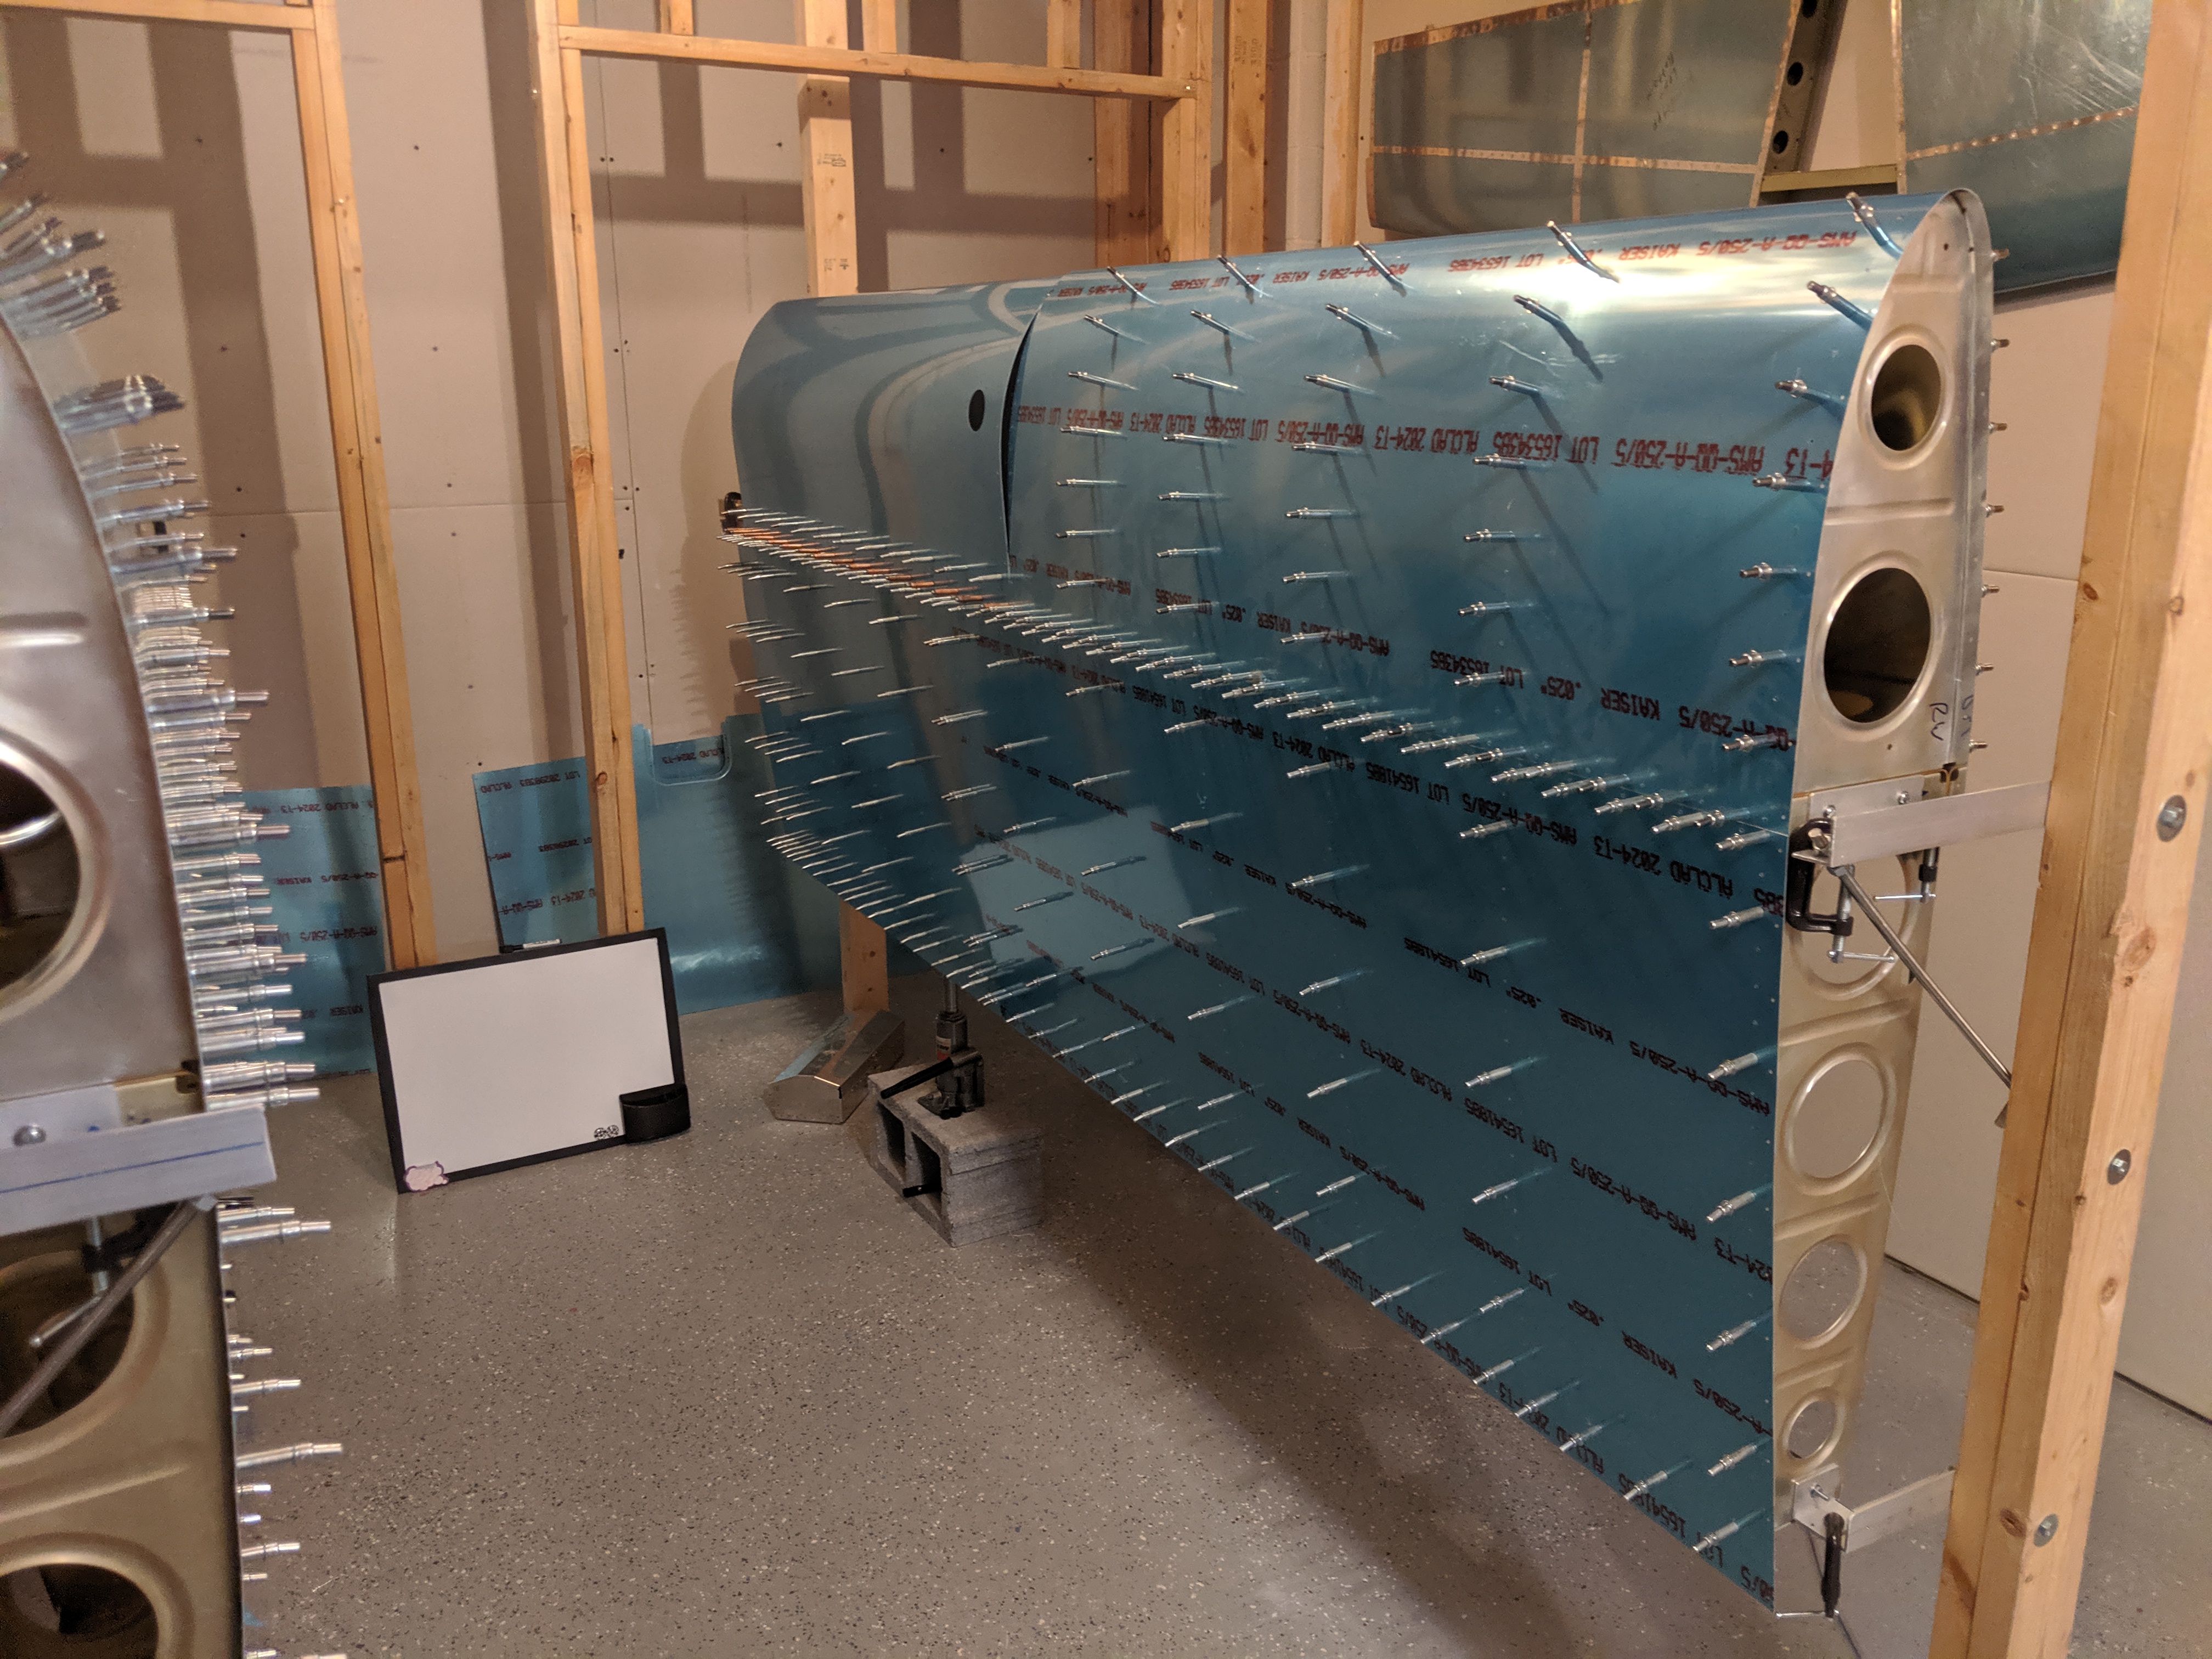
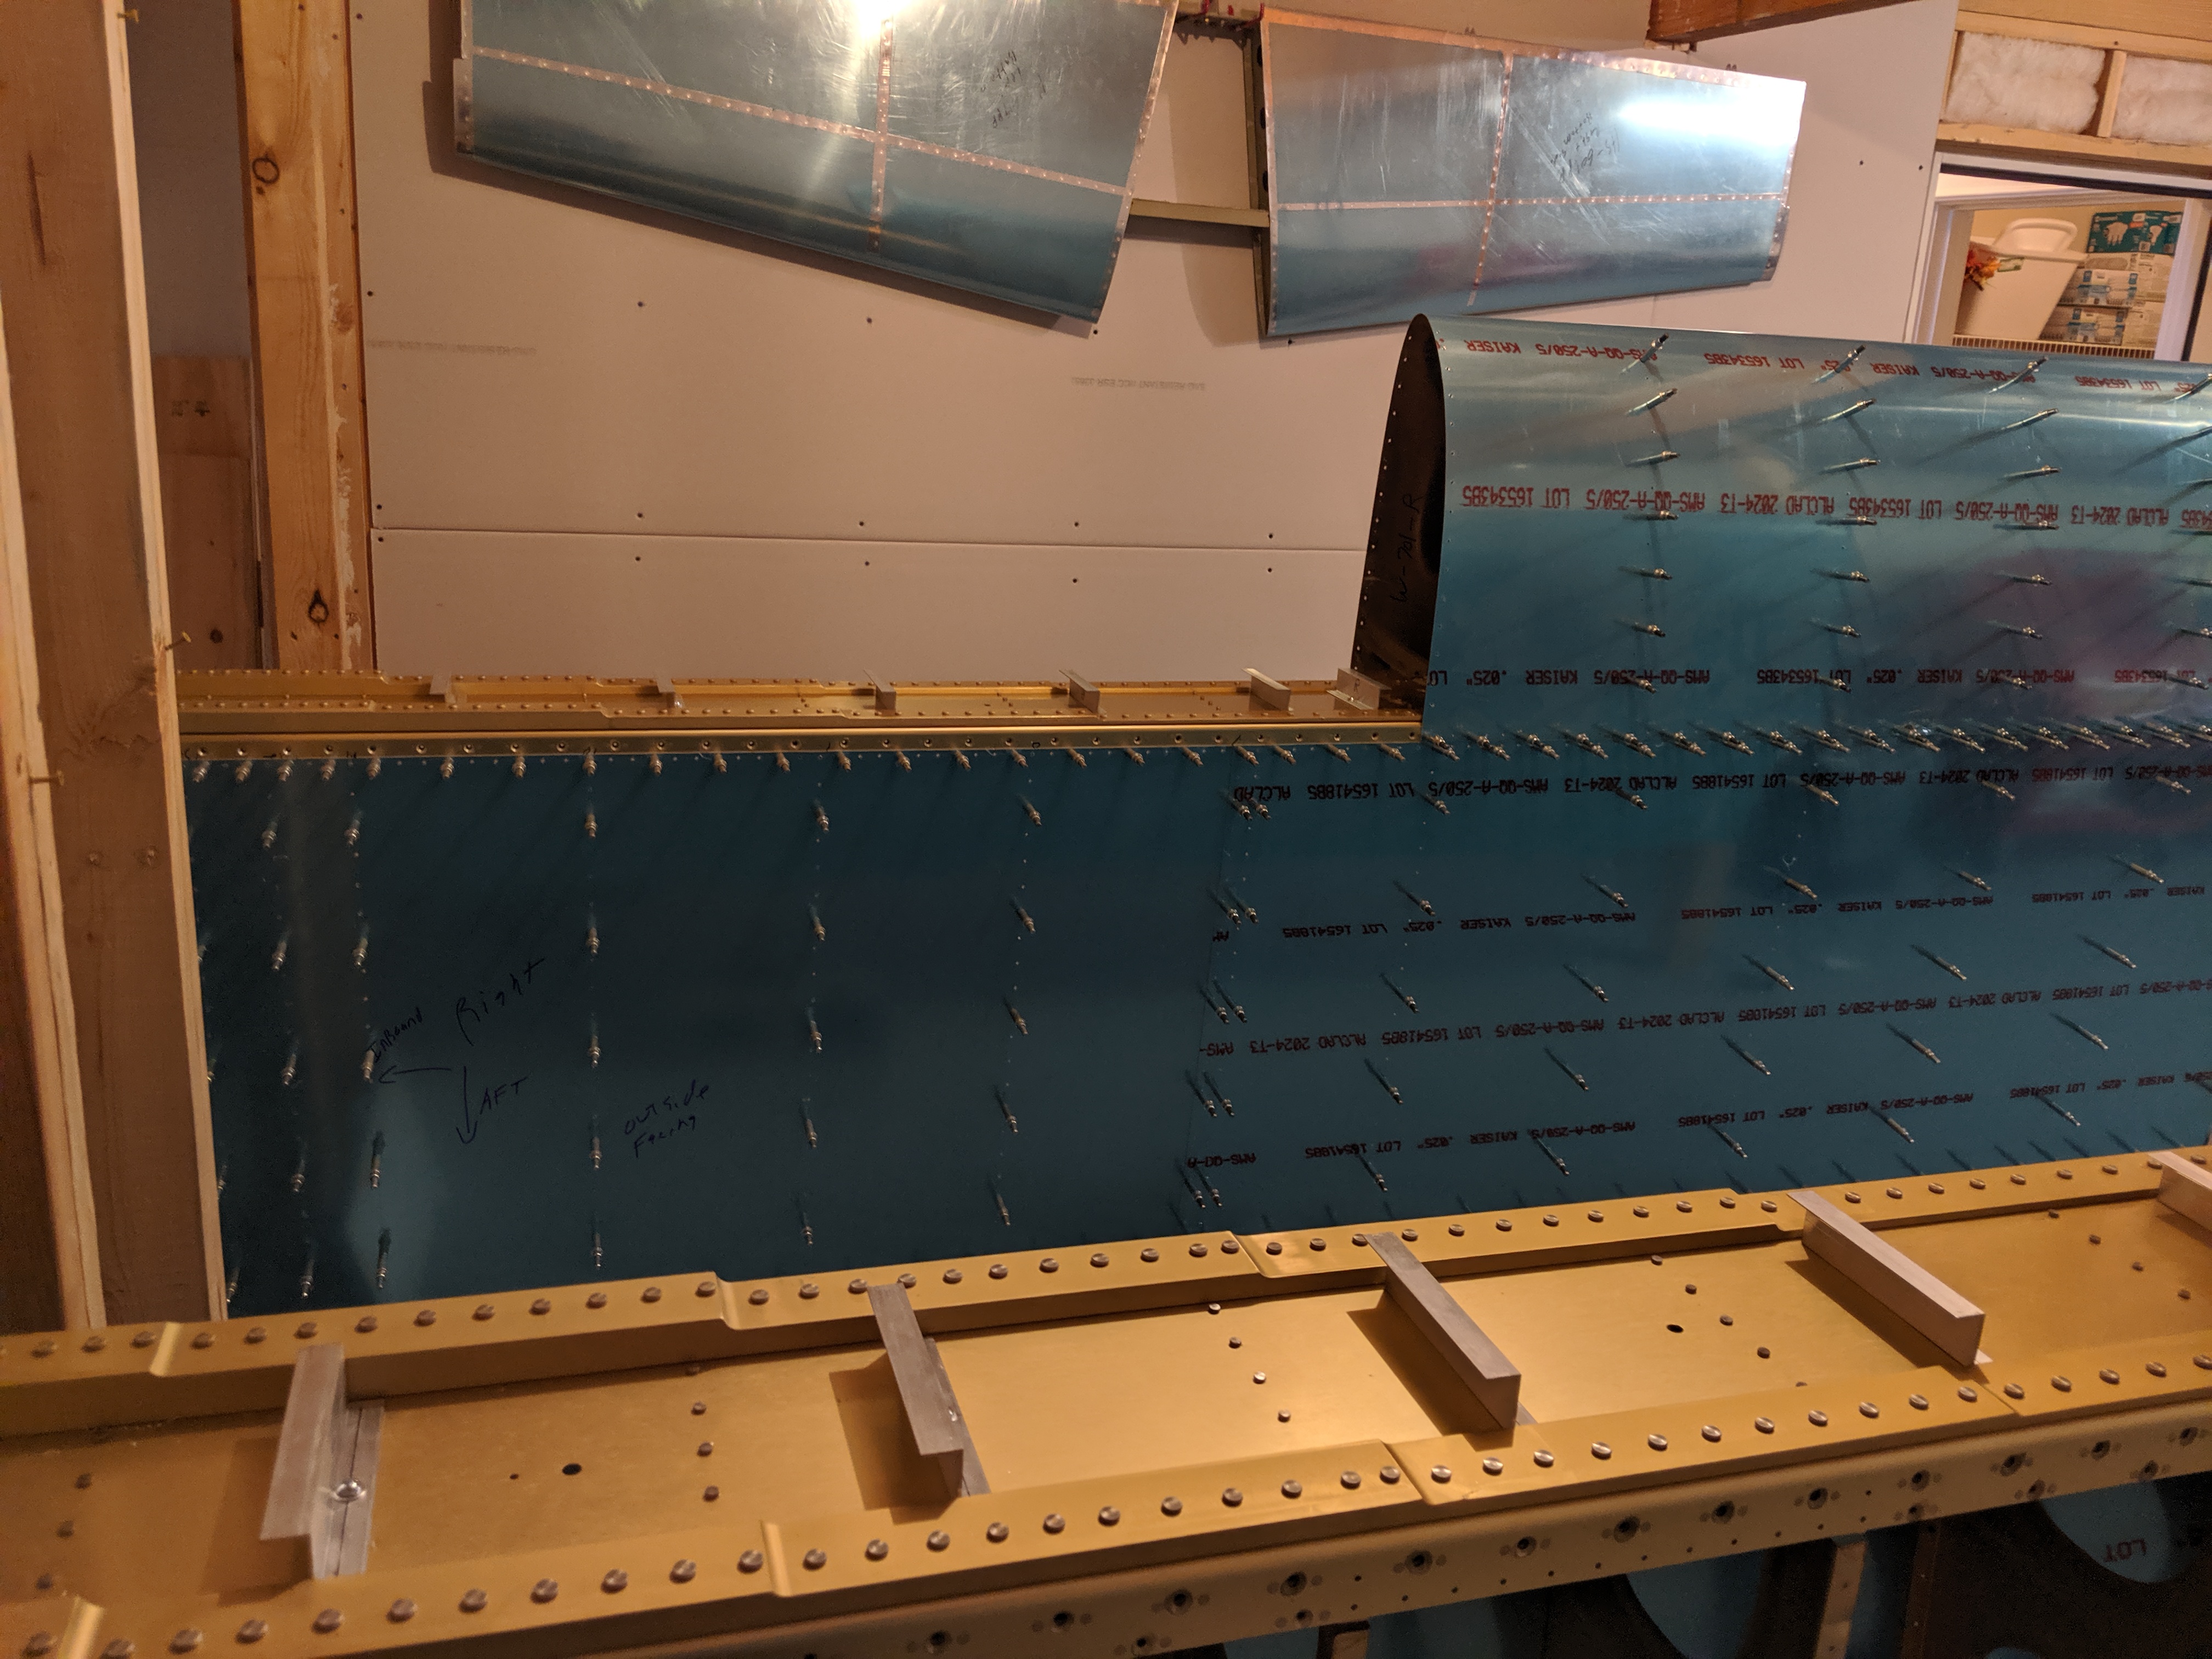
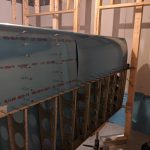
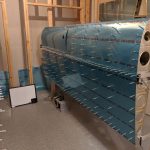
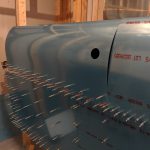
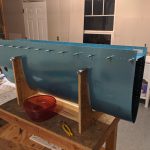
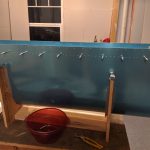
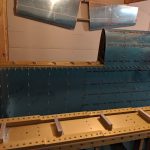
I wanted to make sure I had things correct before moving on to the next step, so I slipped the baffle onto the right tank skin and then placed the assembly onto the wing so I could check that the prepunched holes in the baffler were lining up with the centers of my tank attach brackets. Heres the baffle installed on the skin, in my jig.
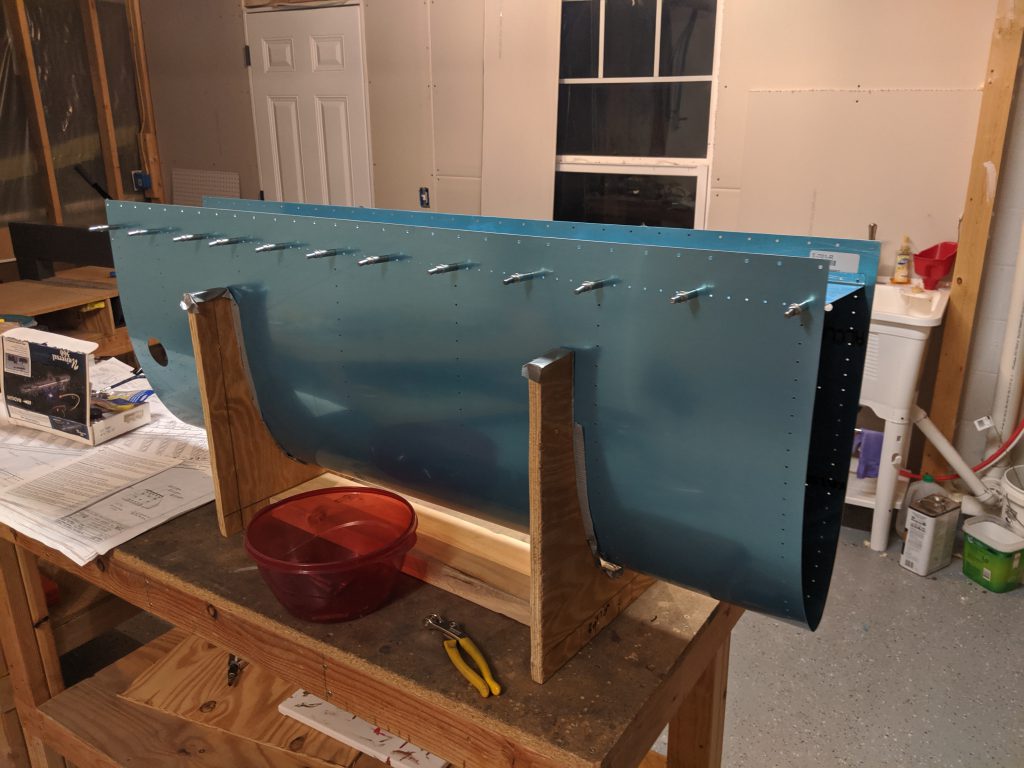
And here’s the assembly cleco’d onto the wing. The alignment was really good, and the prepunched holes were lining up nicely on the center of the tank attach brackets. Its starting to look like a real wing now! Now, you can see the bulging in the skin where the fuel filler is. That is because I do not have the internal ribs installed. This was merely a test fit to see if the baffles lined up on the center of the tank attack brackets. The tanks will come off before I do any more drilling 🙂
I was pretty happy with the results so far, and decided to call it a night. I’ll take the tank assembly off in the next build log, remove the attach brackets and drill their nut plate holes. Once I have all the nut plate holes drilled, I will probably prime them, and then install them onto the spar for the next steps.
Heres the Google Photos album: https://photos.app.goo.gl/8tAeECZ8mQ5VSsi36
And heres all the photos from the build session:
-
 IMG_20190916_205726
 -
 IMG_20190916_205720
 -
 IMG_20190916_205713
 -
 IMG_20190916_204213
 -
 IMG_20190916_204209
 -
 IMG_20190916_204207
 -
 IMG_20190915_191643
 -
 IMG_20190915_190015
 -
 IMG_20190915_190009
 -
 IMG_20190915_190000
 -
 IMG_20190915_183925
 -
 IMG_20190915_183922
 -
 IMG_20190915_183918
 -
 IMG_20190915_183913

Total Time spent: 2.75 hours