


The right tank has had a solid 3-4 days to cure. I took my little family on a short trip up to the mountains of Pigeon Forge for a min-vacation, and the right tank had plenty of time to sit and cure. So, I decided to give it a final leak test! This is a short update, but a milestone! I got a little creative with my spare parts (as all builders do!). I’m not using the supplied pitot tube that Vans has you craft from 1/8″ aluminum tubing and a bulkhead fitting, so I figured I’d make a pressure testing rig out of it!
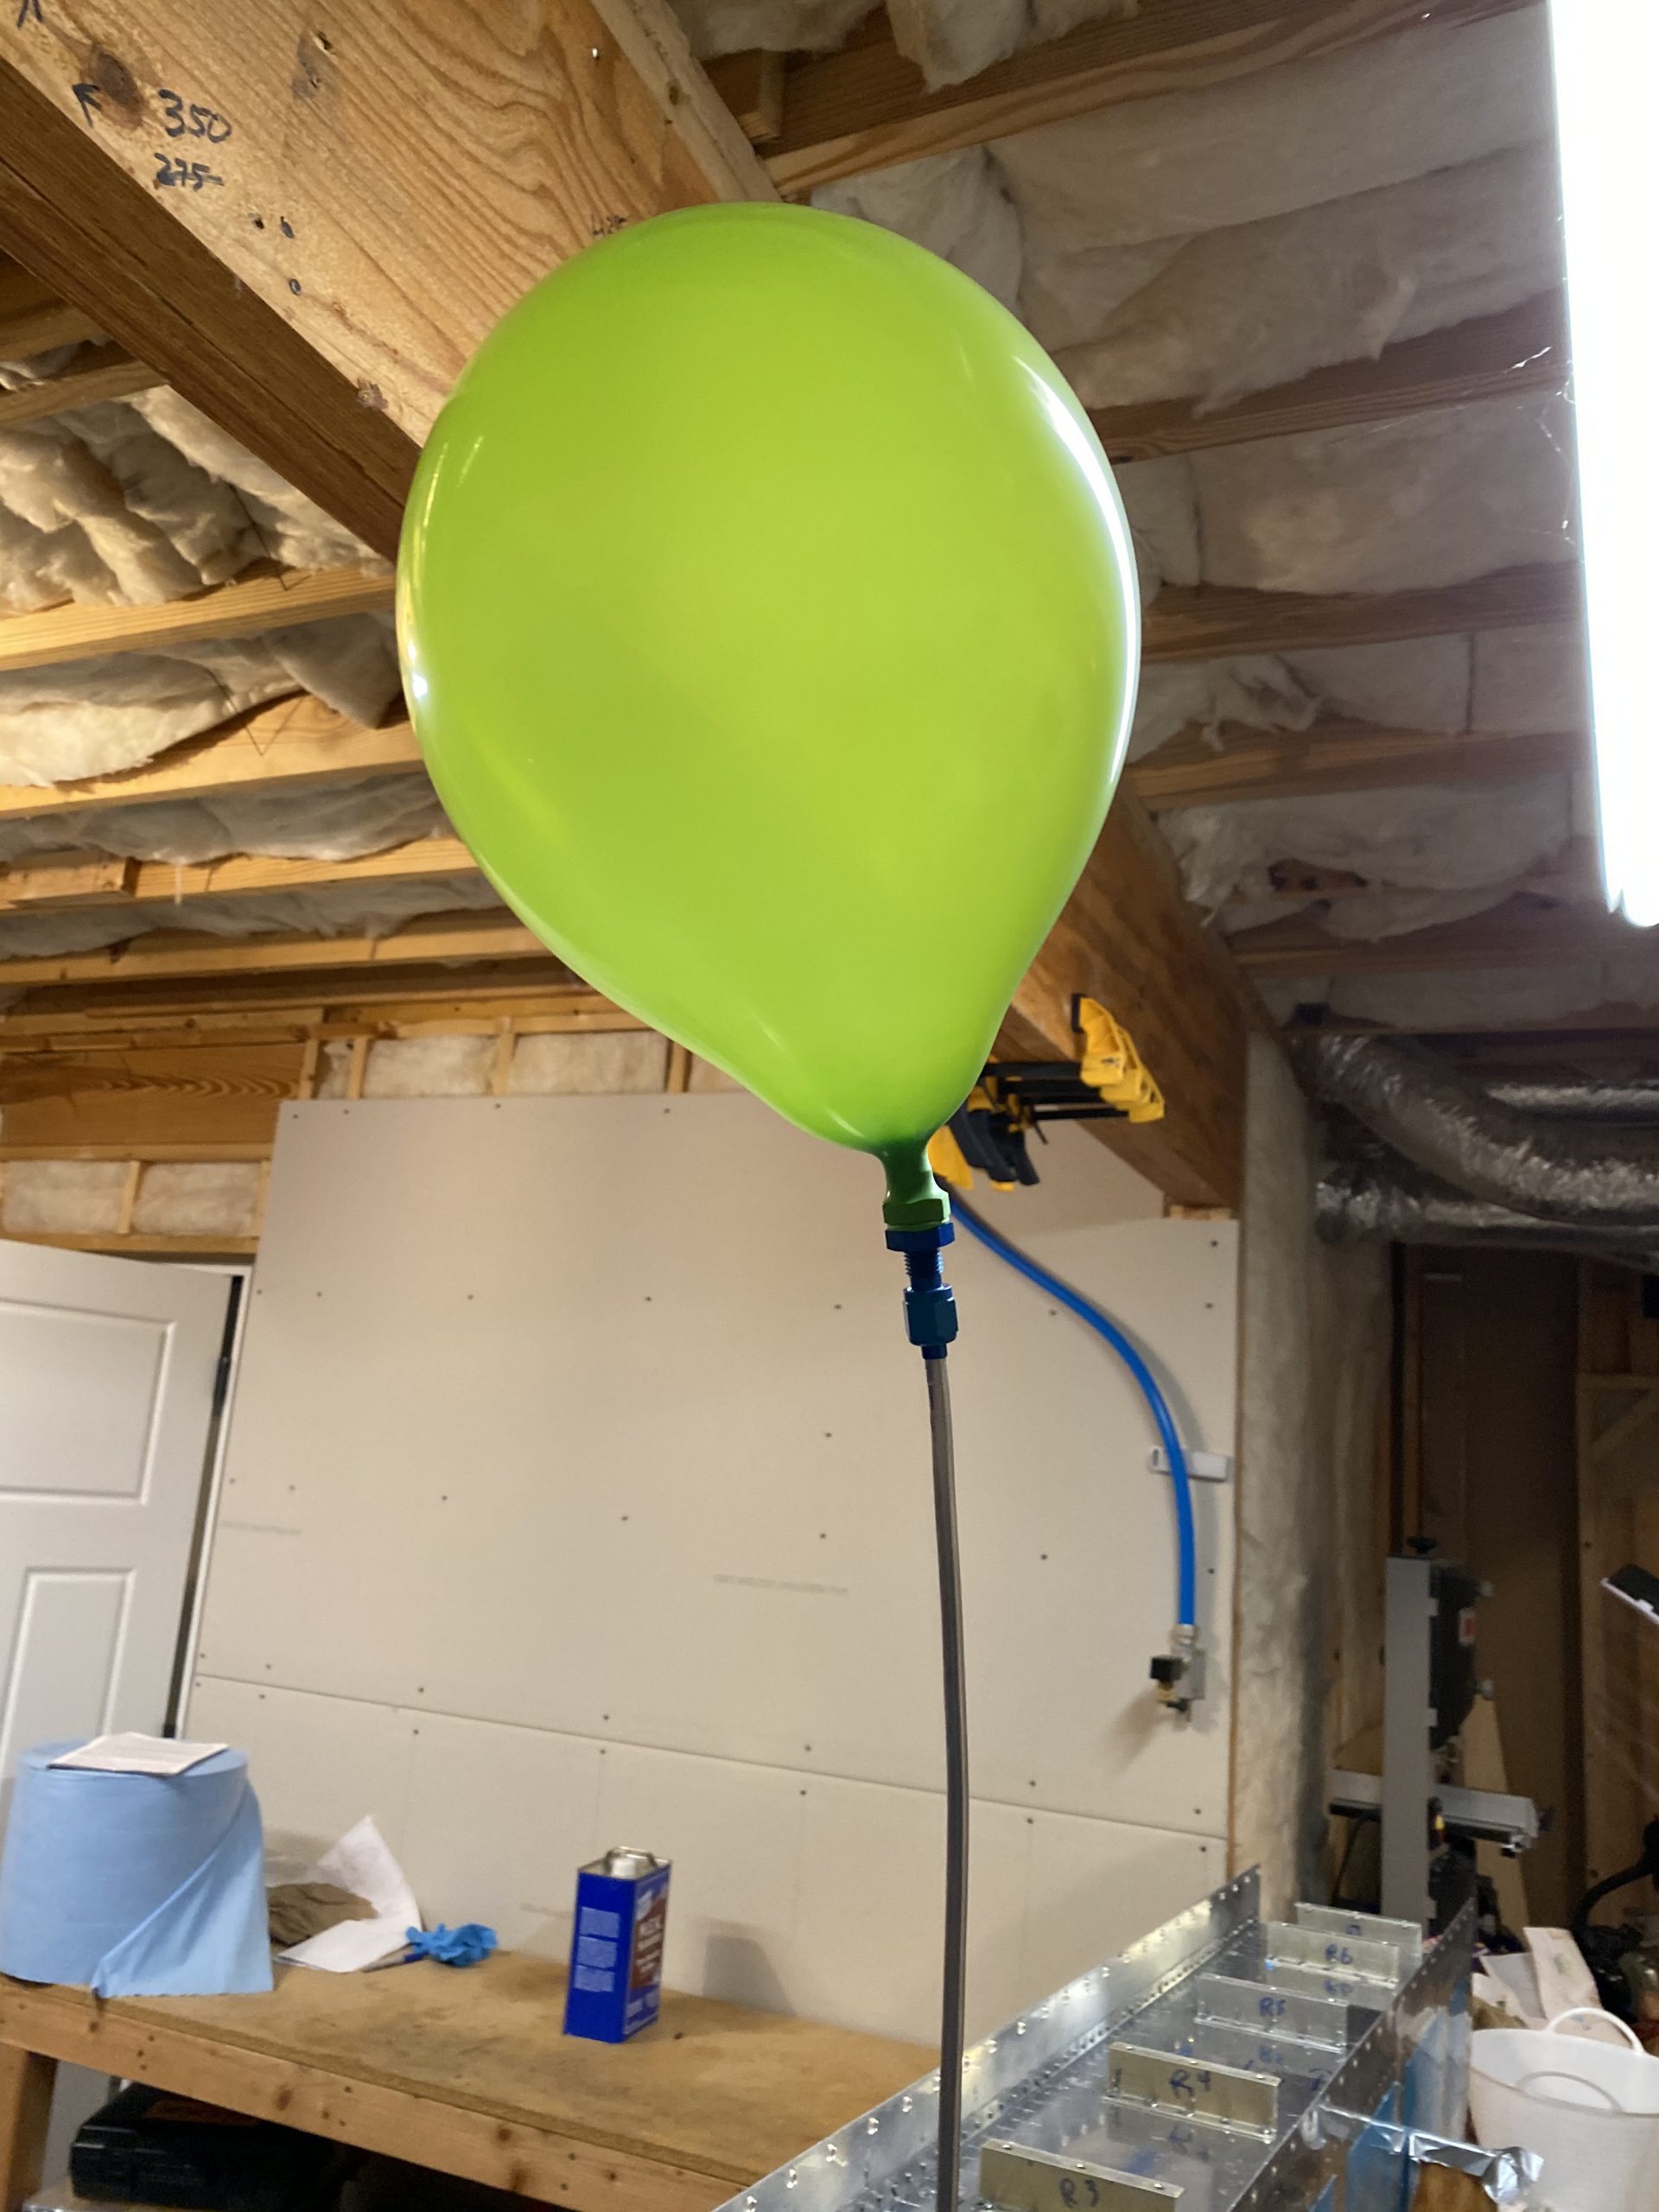
I grabbed one of my daughters balloons, and it seemed to fit perfectly over the nut of the bulkhead fitting for the pitot tube, and I was able to finger tighten the other jam nut up against the lip of the balloon to create a gasket and hold the balloon nicely onto the fitting.

Then I flared a piece of the 1/8″ aluminum tubing that was supposed to be used for the pitot line. Since I am using a nice plastic tubing kit for pitot, static and angle of attack, I didn’t need this tubing. I flared it, stuck the fitting on it and tighteened it down onto the bulkhead / balloon fitting, then attached the other end to the vent line fitting on the fuel tank.
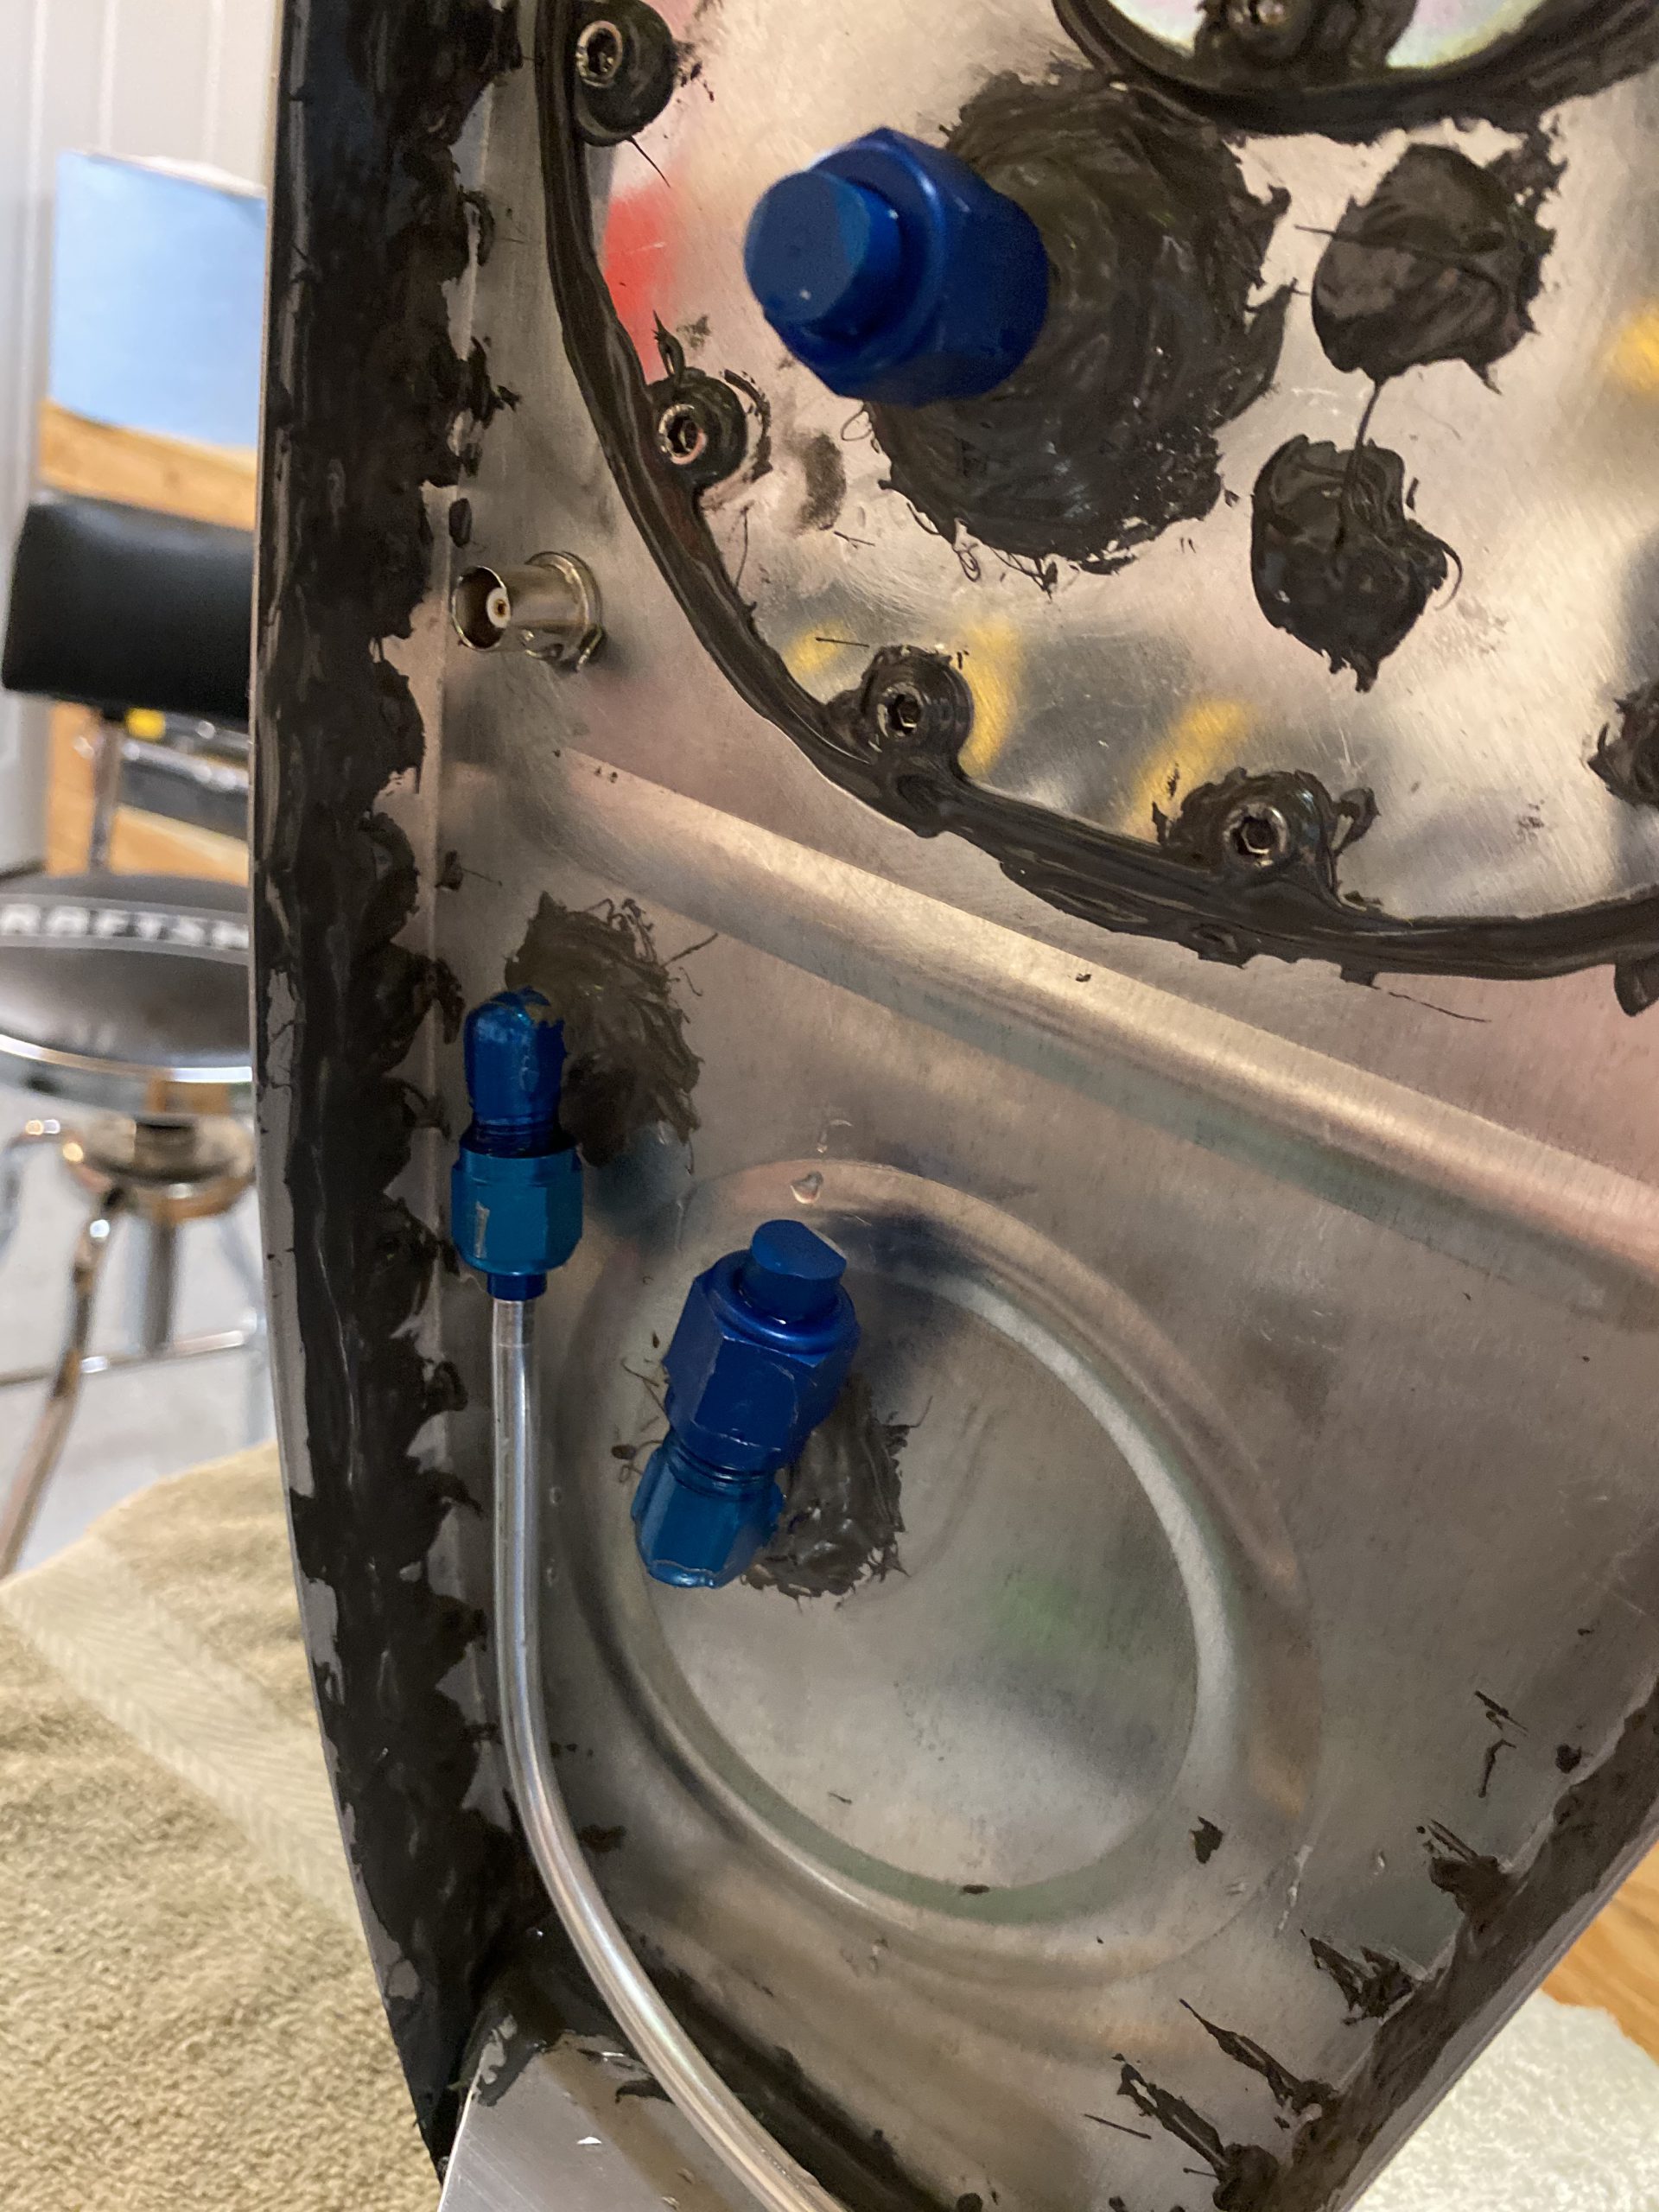
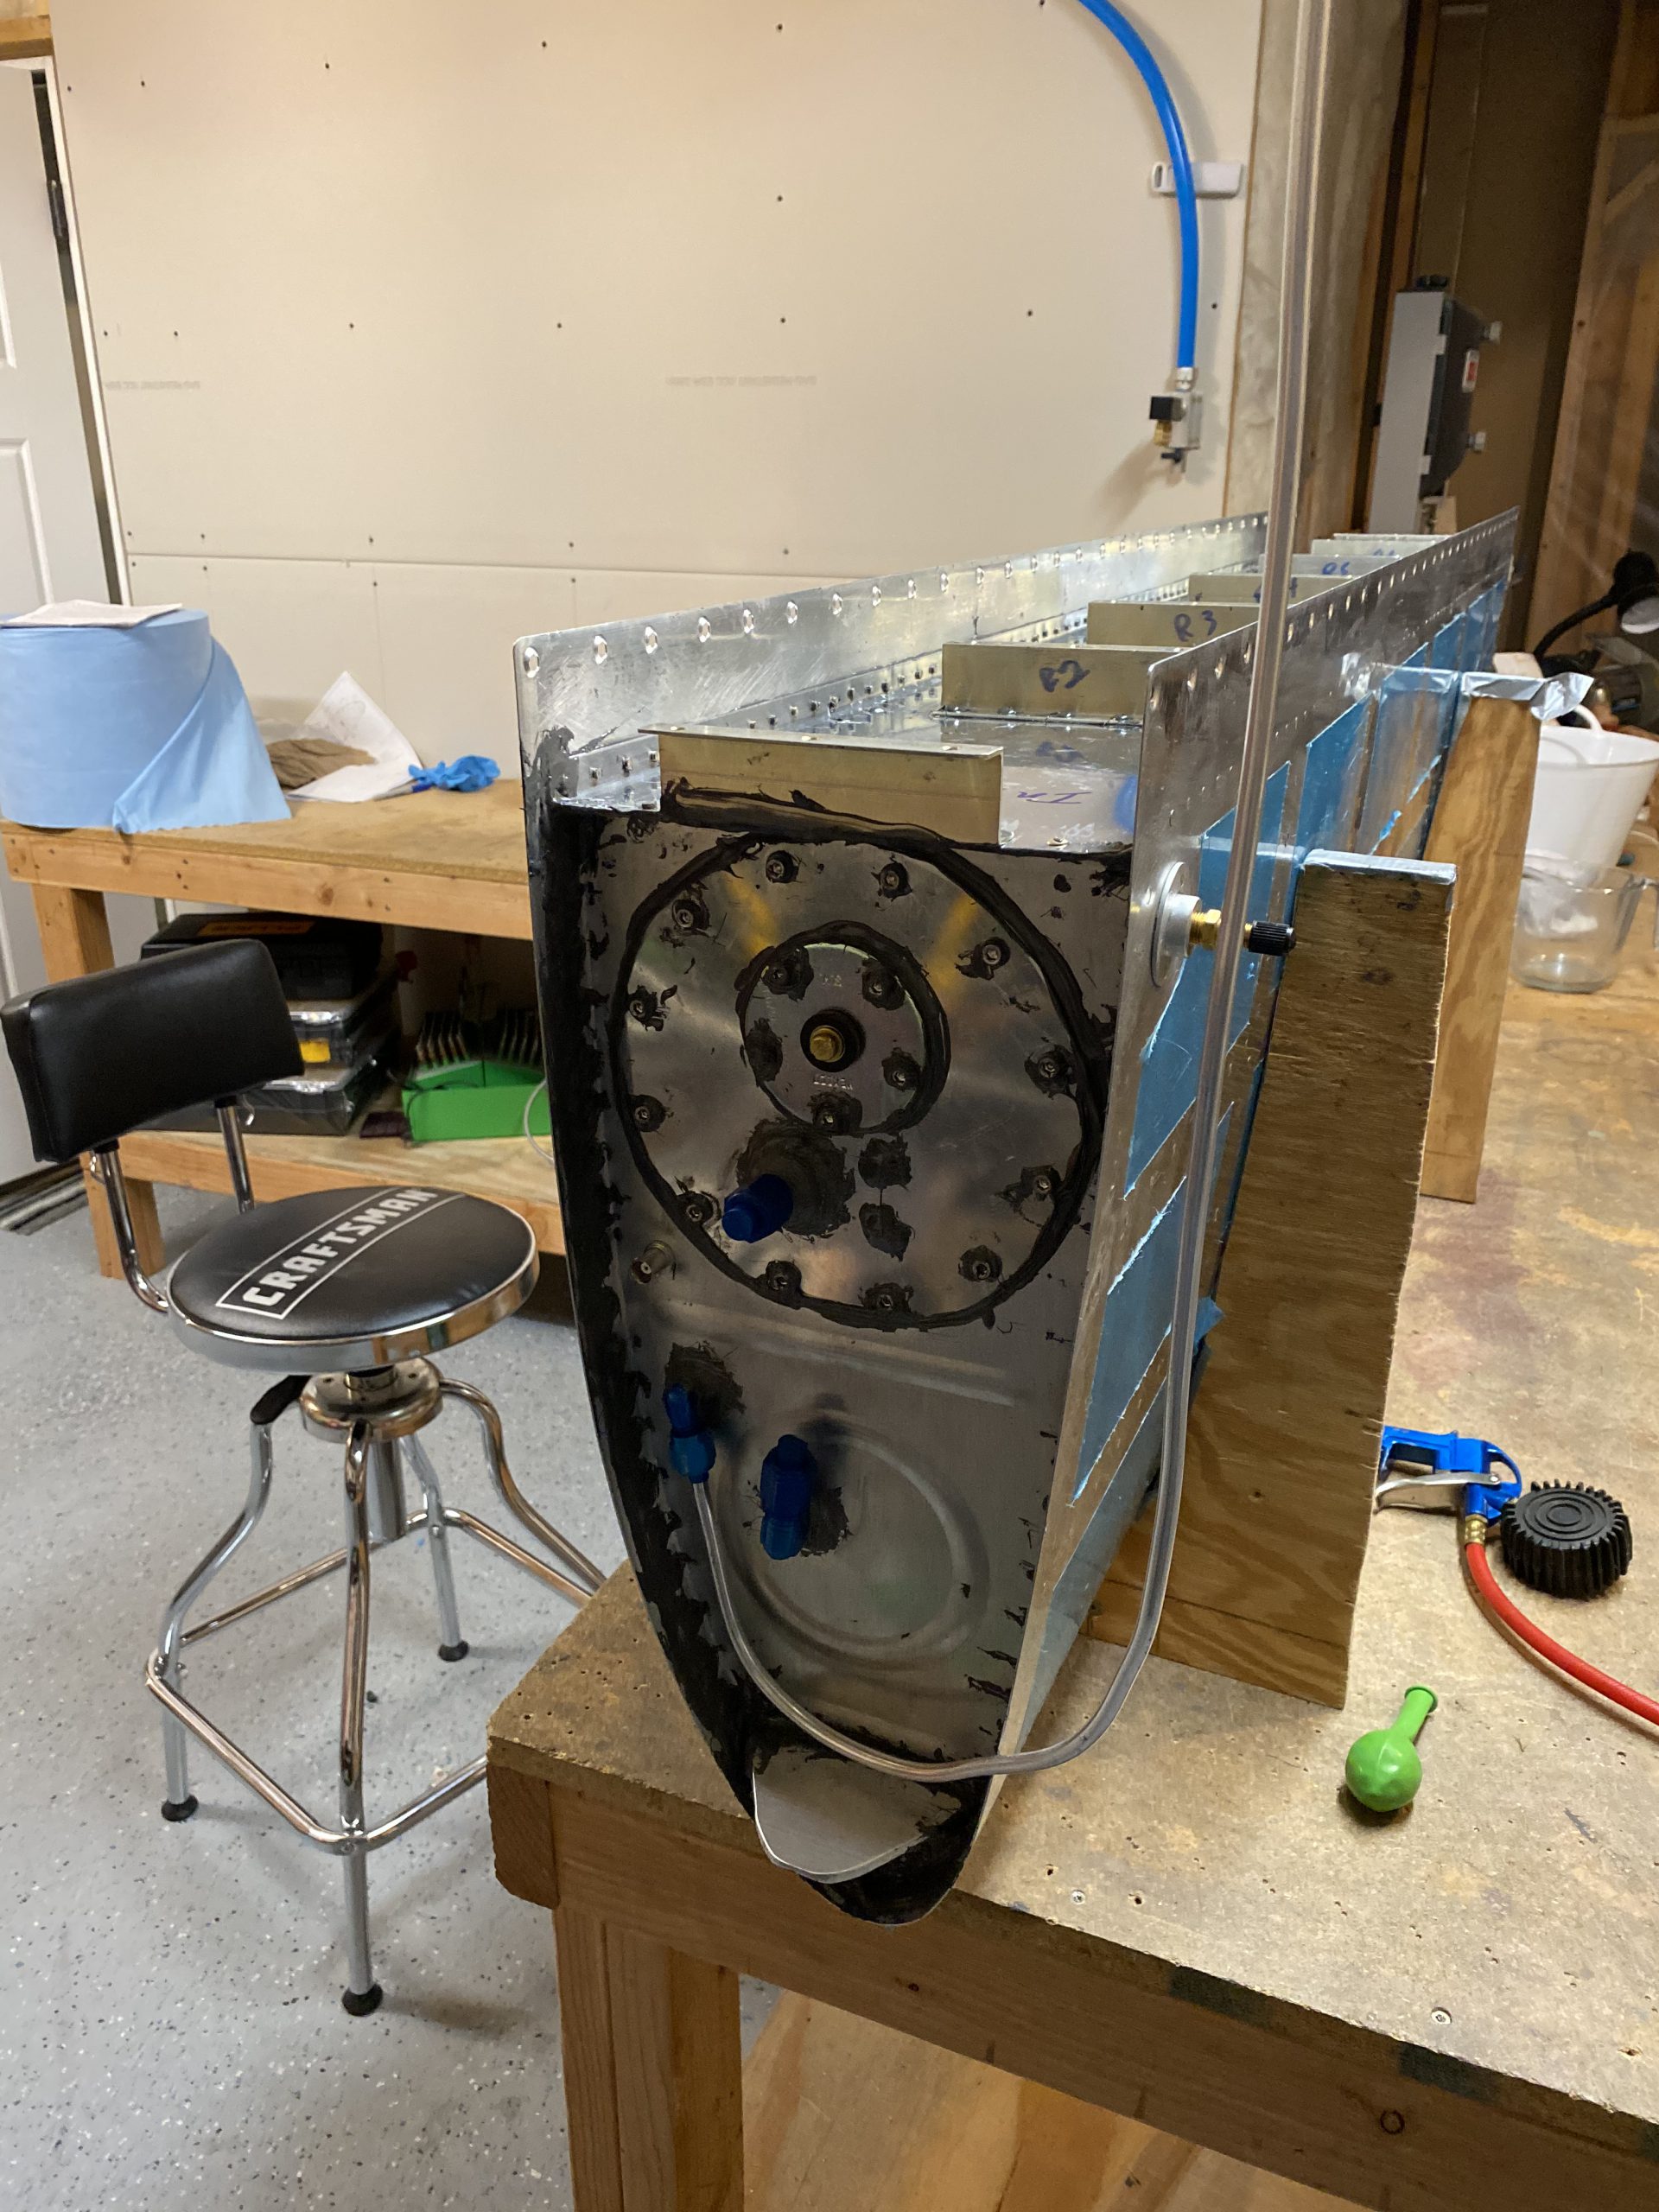
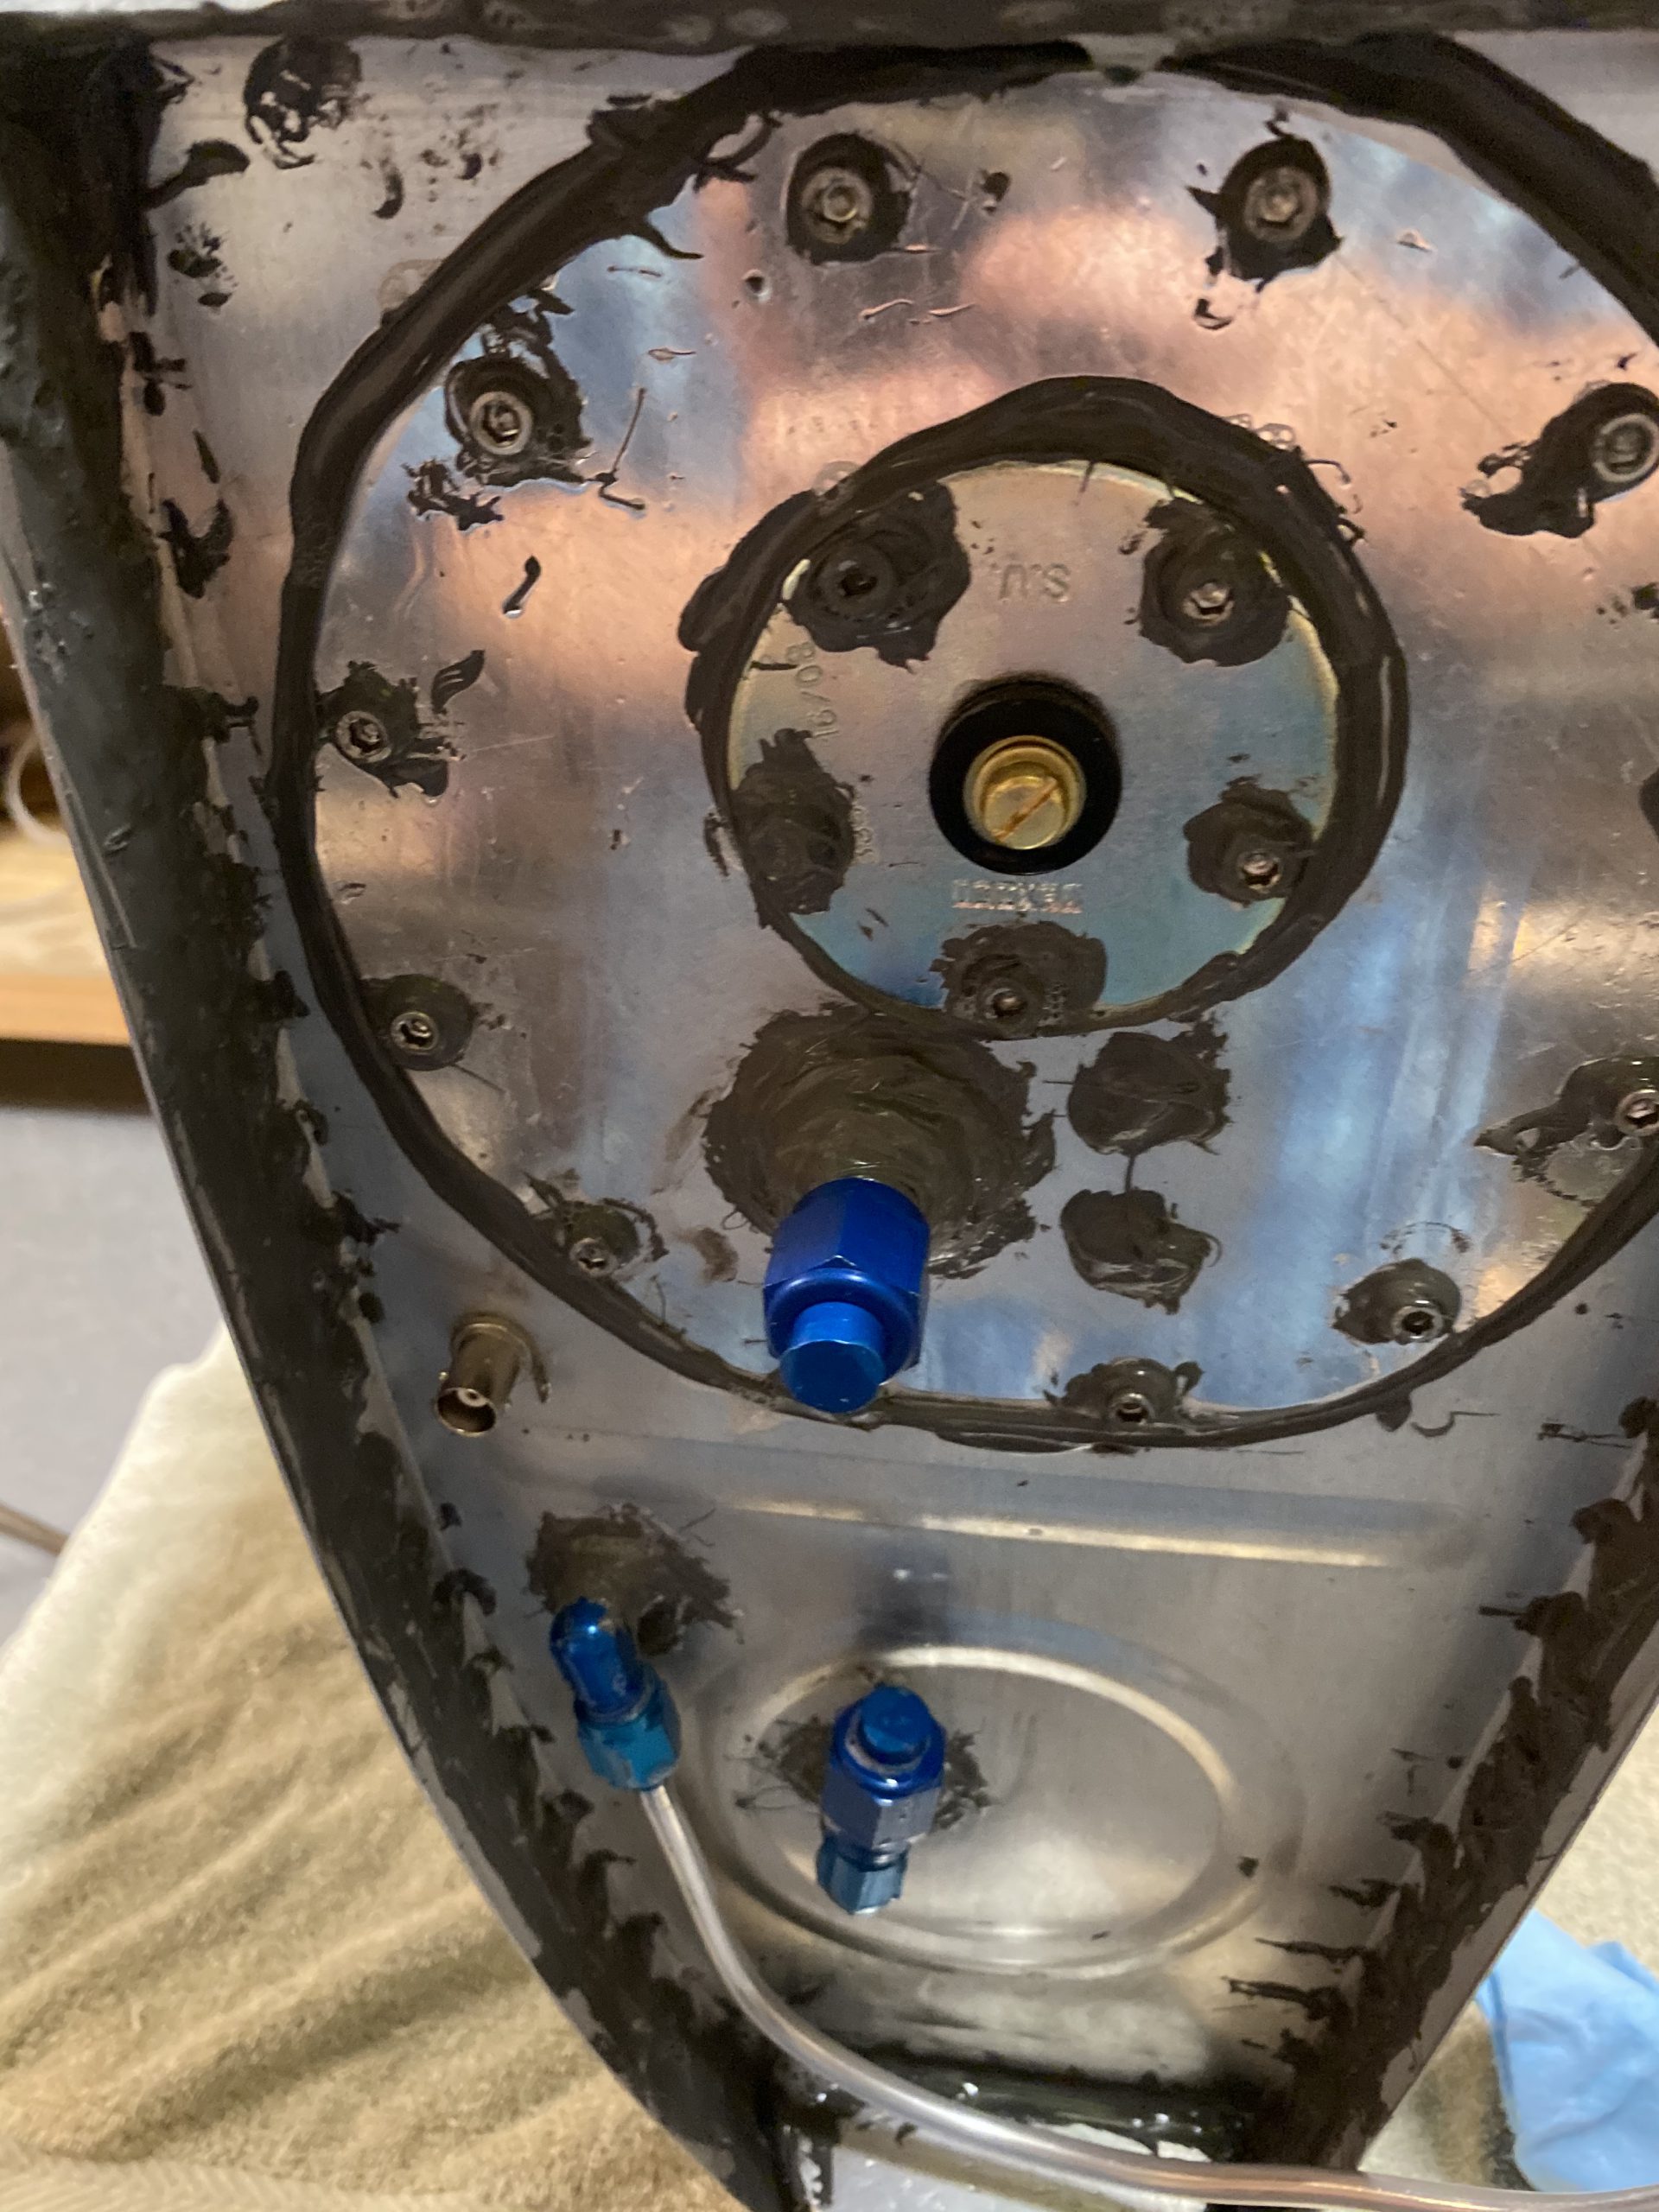
Then, I capped off the fuel tank return lines and pickup fittings with the proper caps, and screwed in the schrader valve fitting that Van’s puts in their tank test kits. I set my pressure regulator on my airline as low as it would go, and attached a tire air chuck to my hose, and used the schrader valve to slowly and gently fill the tank with air, watching the balloon slowly inflate. I like this method as you are safe from over-pressurizing your tank since the balloon will burst long before the tank is damaged. You can also use the balloon to hold pressure in the tank to check for leaks.
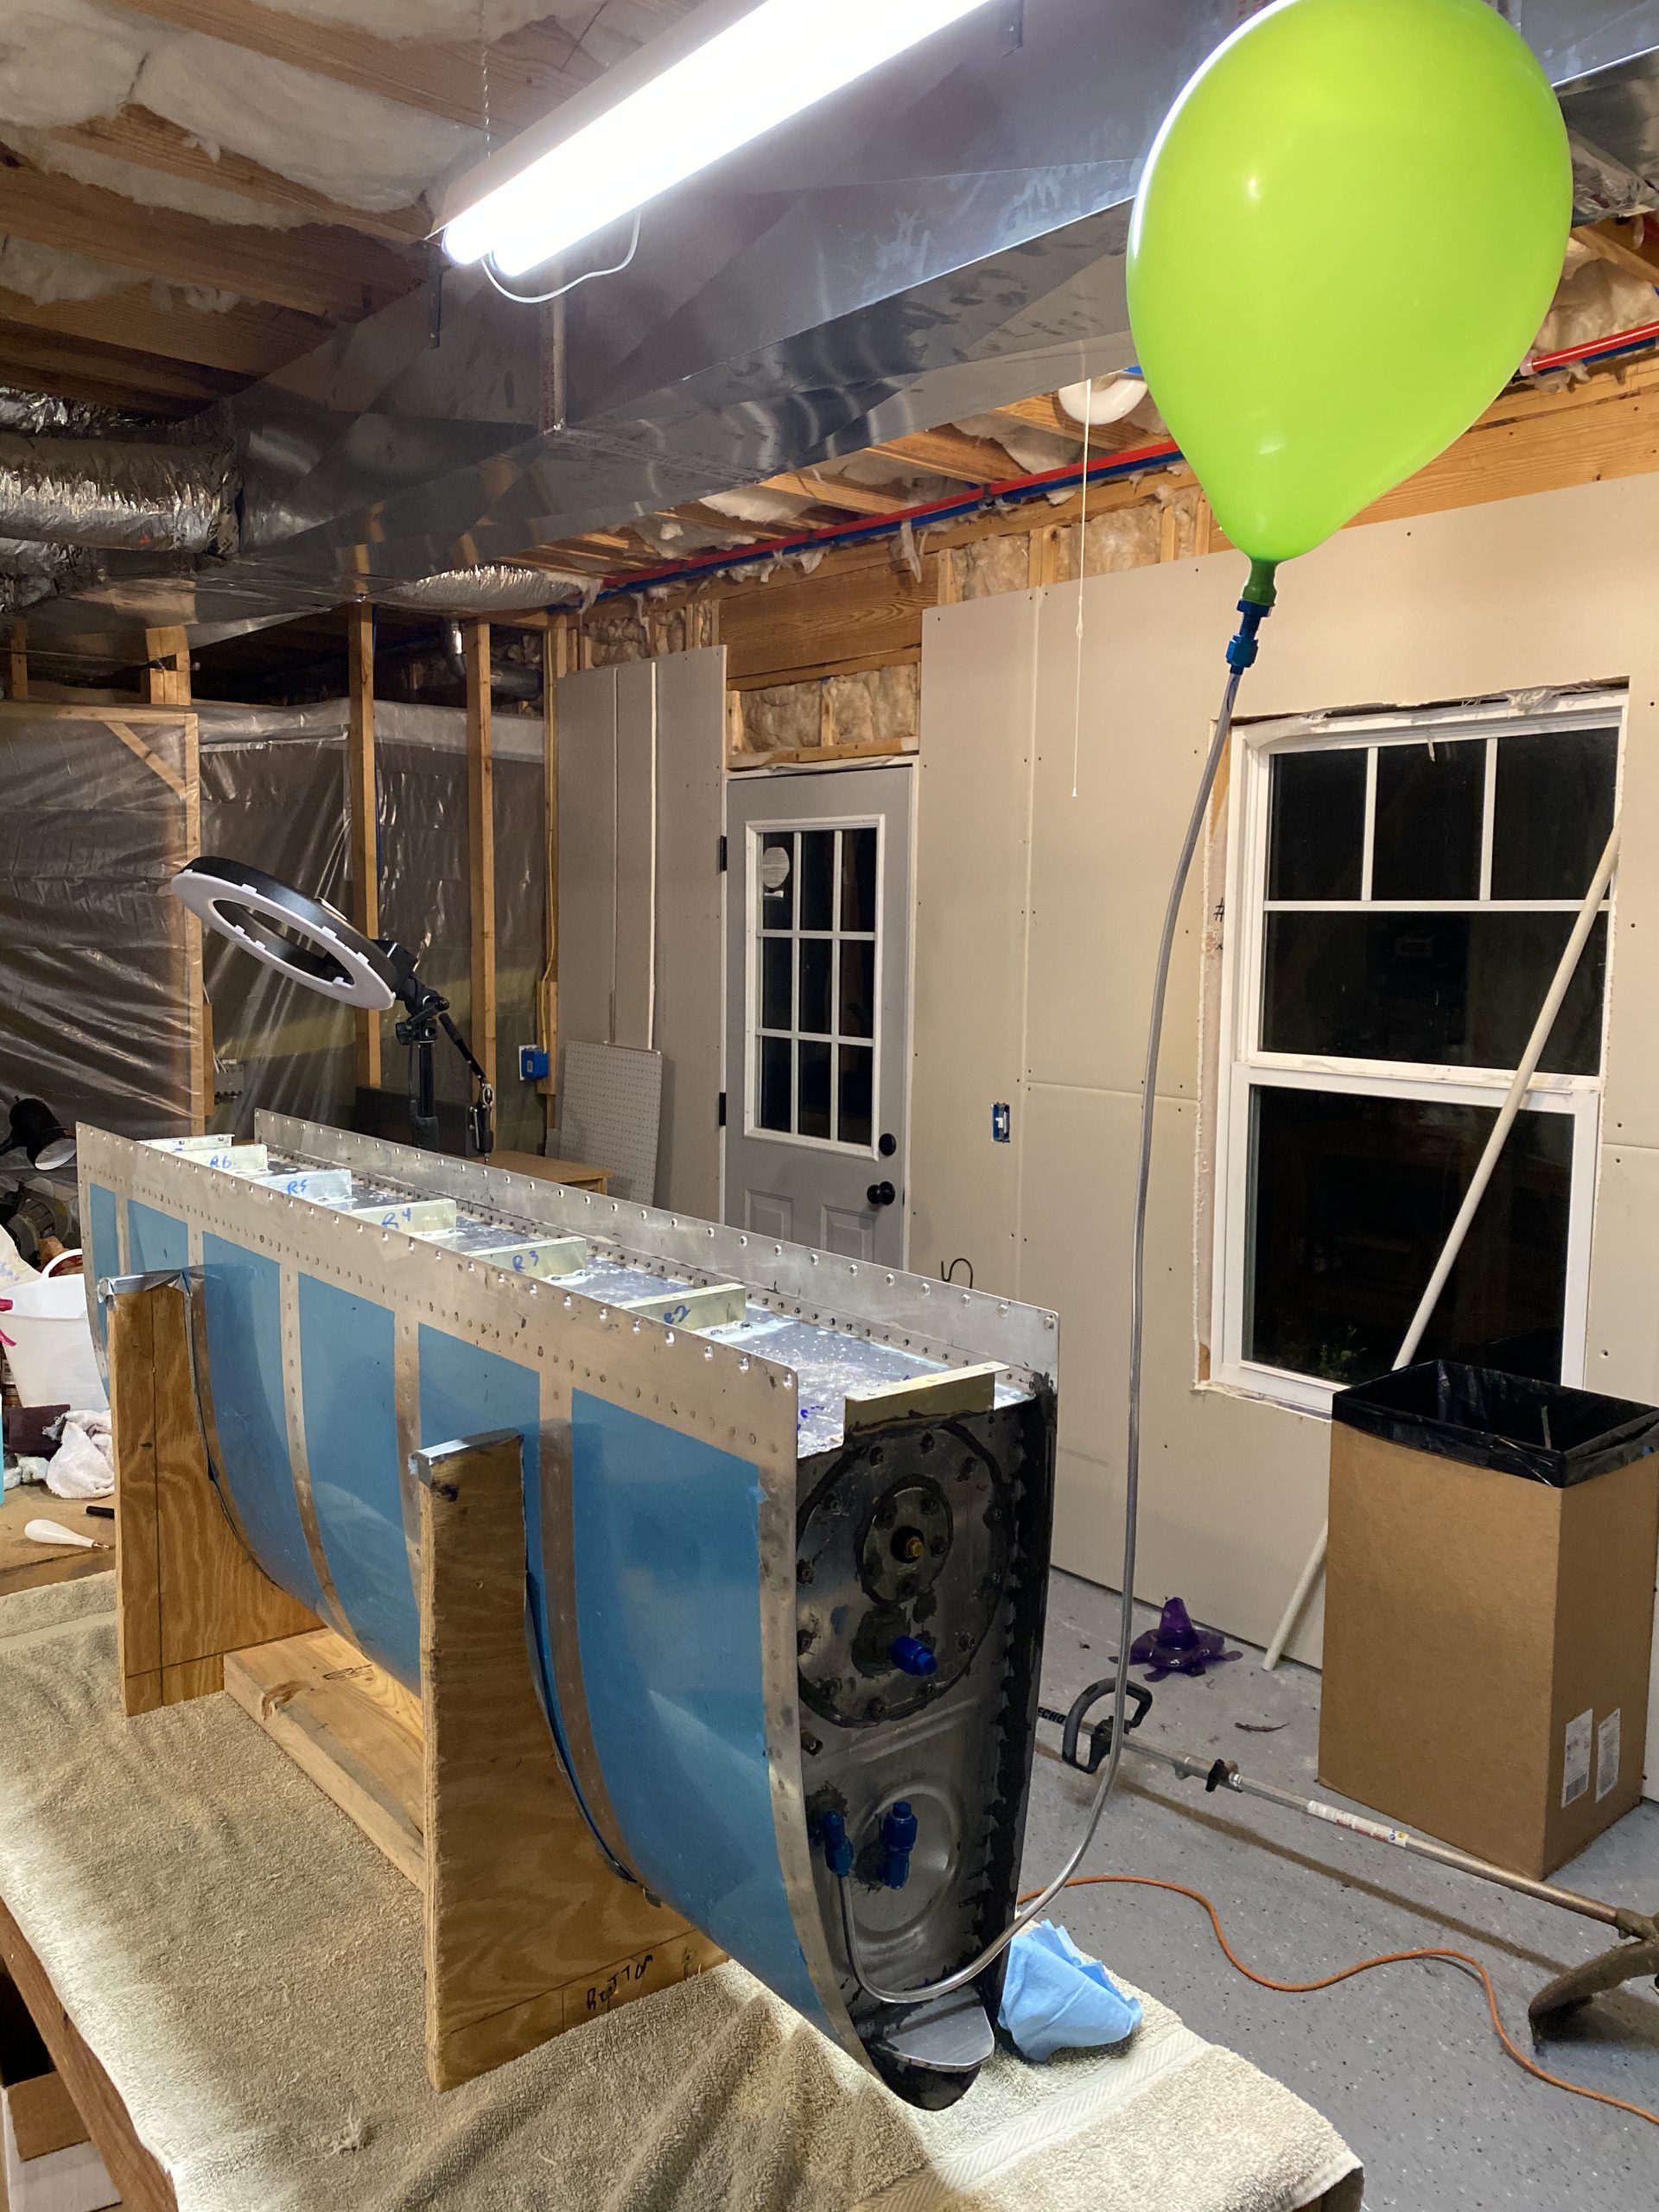

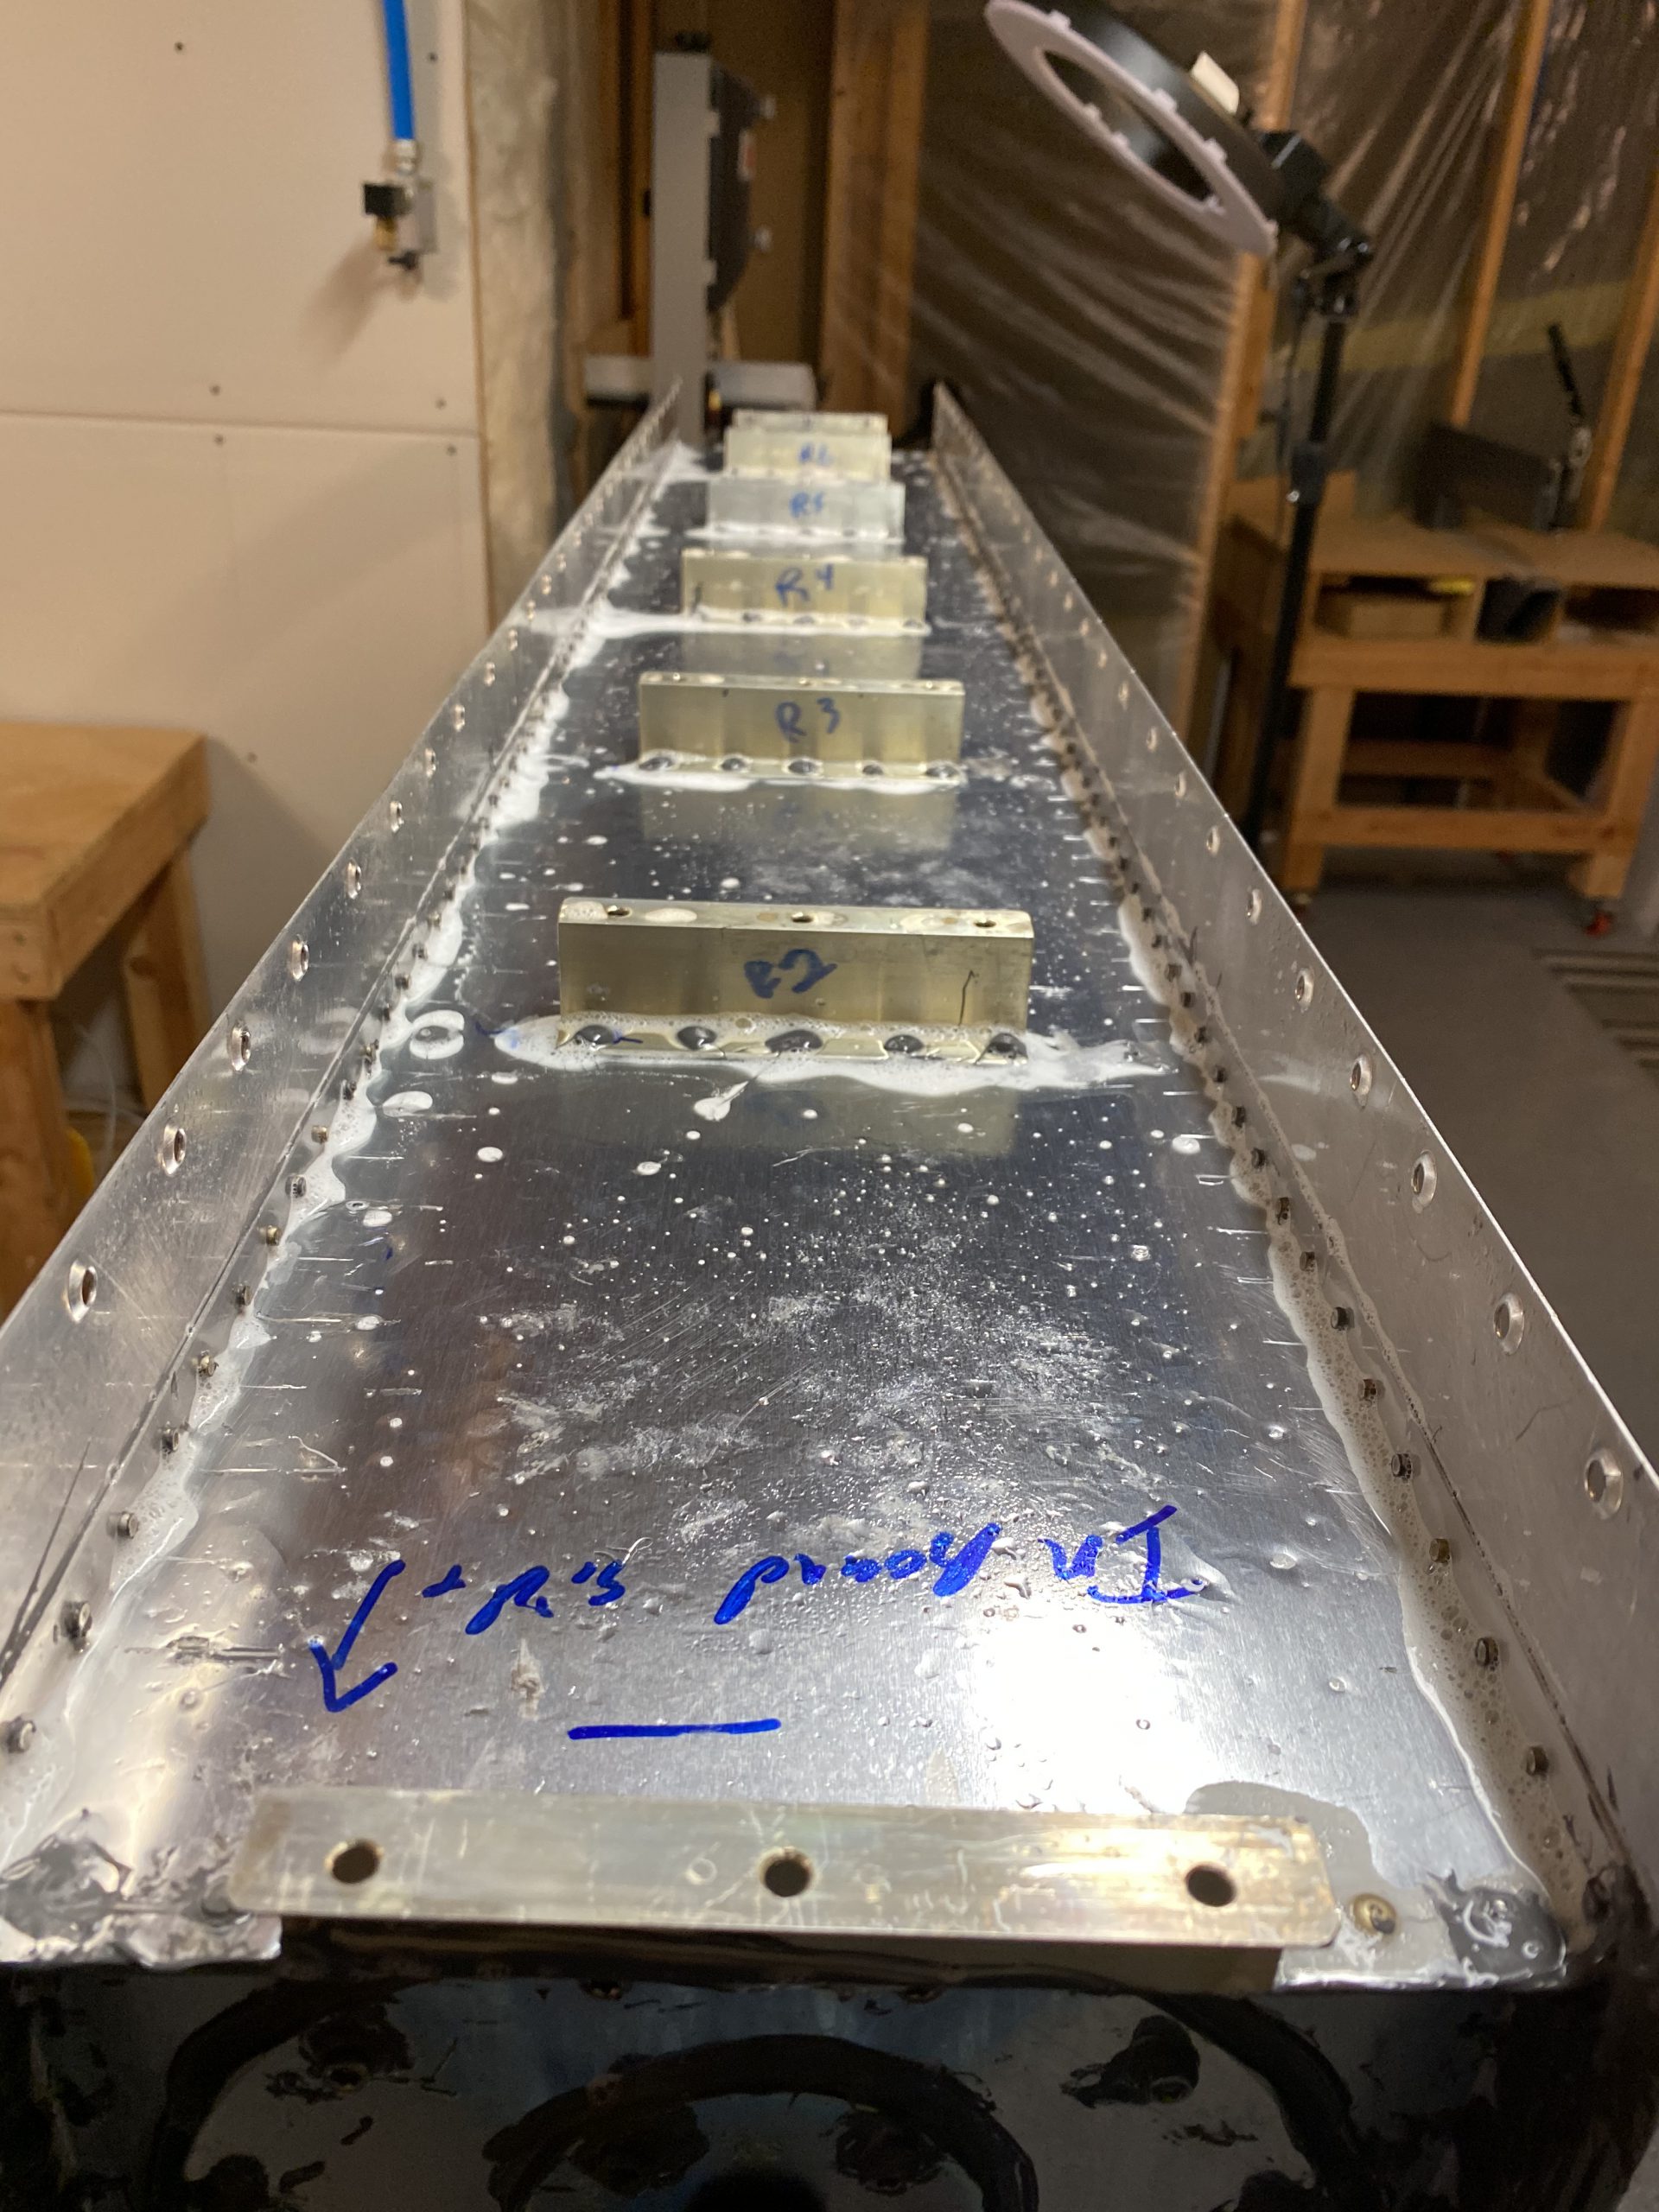
It’s quite festive!!!! Then I used a mixture of Dawn dishwashing liquid and water in. spray bottle and sprayed all over the fittings to check for slow leaks there first. None were found! Then I moved on to spraying the baffle to skin joints, and the Z-brackets and all the rivet holes, checking for any bubbles that may be rising from the soapy water. NONE! I am pretty stoked so far. It doesn’t appear there are any gross or major leaks in the tanks….yet. So I carried the tank outside and sprayed it gently with the garden hose to clean the soap off, brought it back on the bench and dried it off. The balloon still holding air!
I’ll leave it sitting like this for a day or so. I also have my camera focused on the tank and balloon and have it set for a 6 hour time lapse. That will show me if the balloon is deflating, indicating a possible slow leak somewhere. This was a short session at about 30 minutes, but very much needed!
Google Photos Link: https://photos.app.goo.gl/MB4WG3V8gtbRPSHK7

Hours Worked: 0.5