


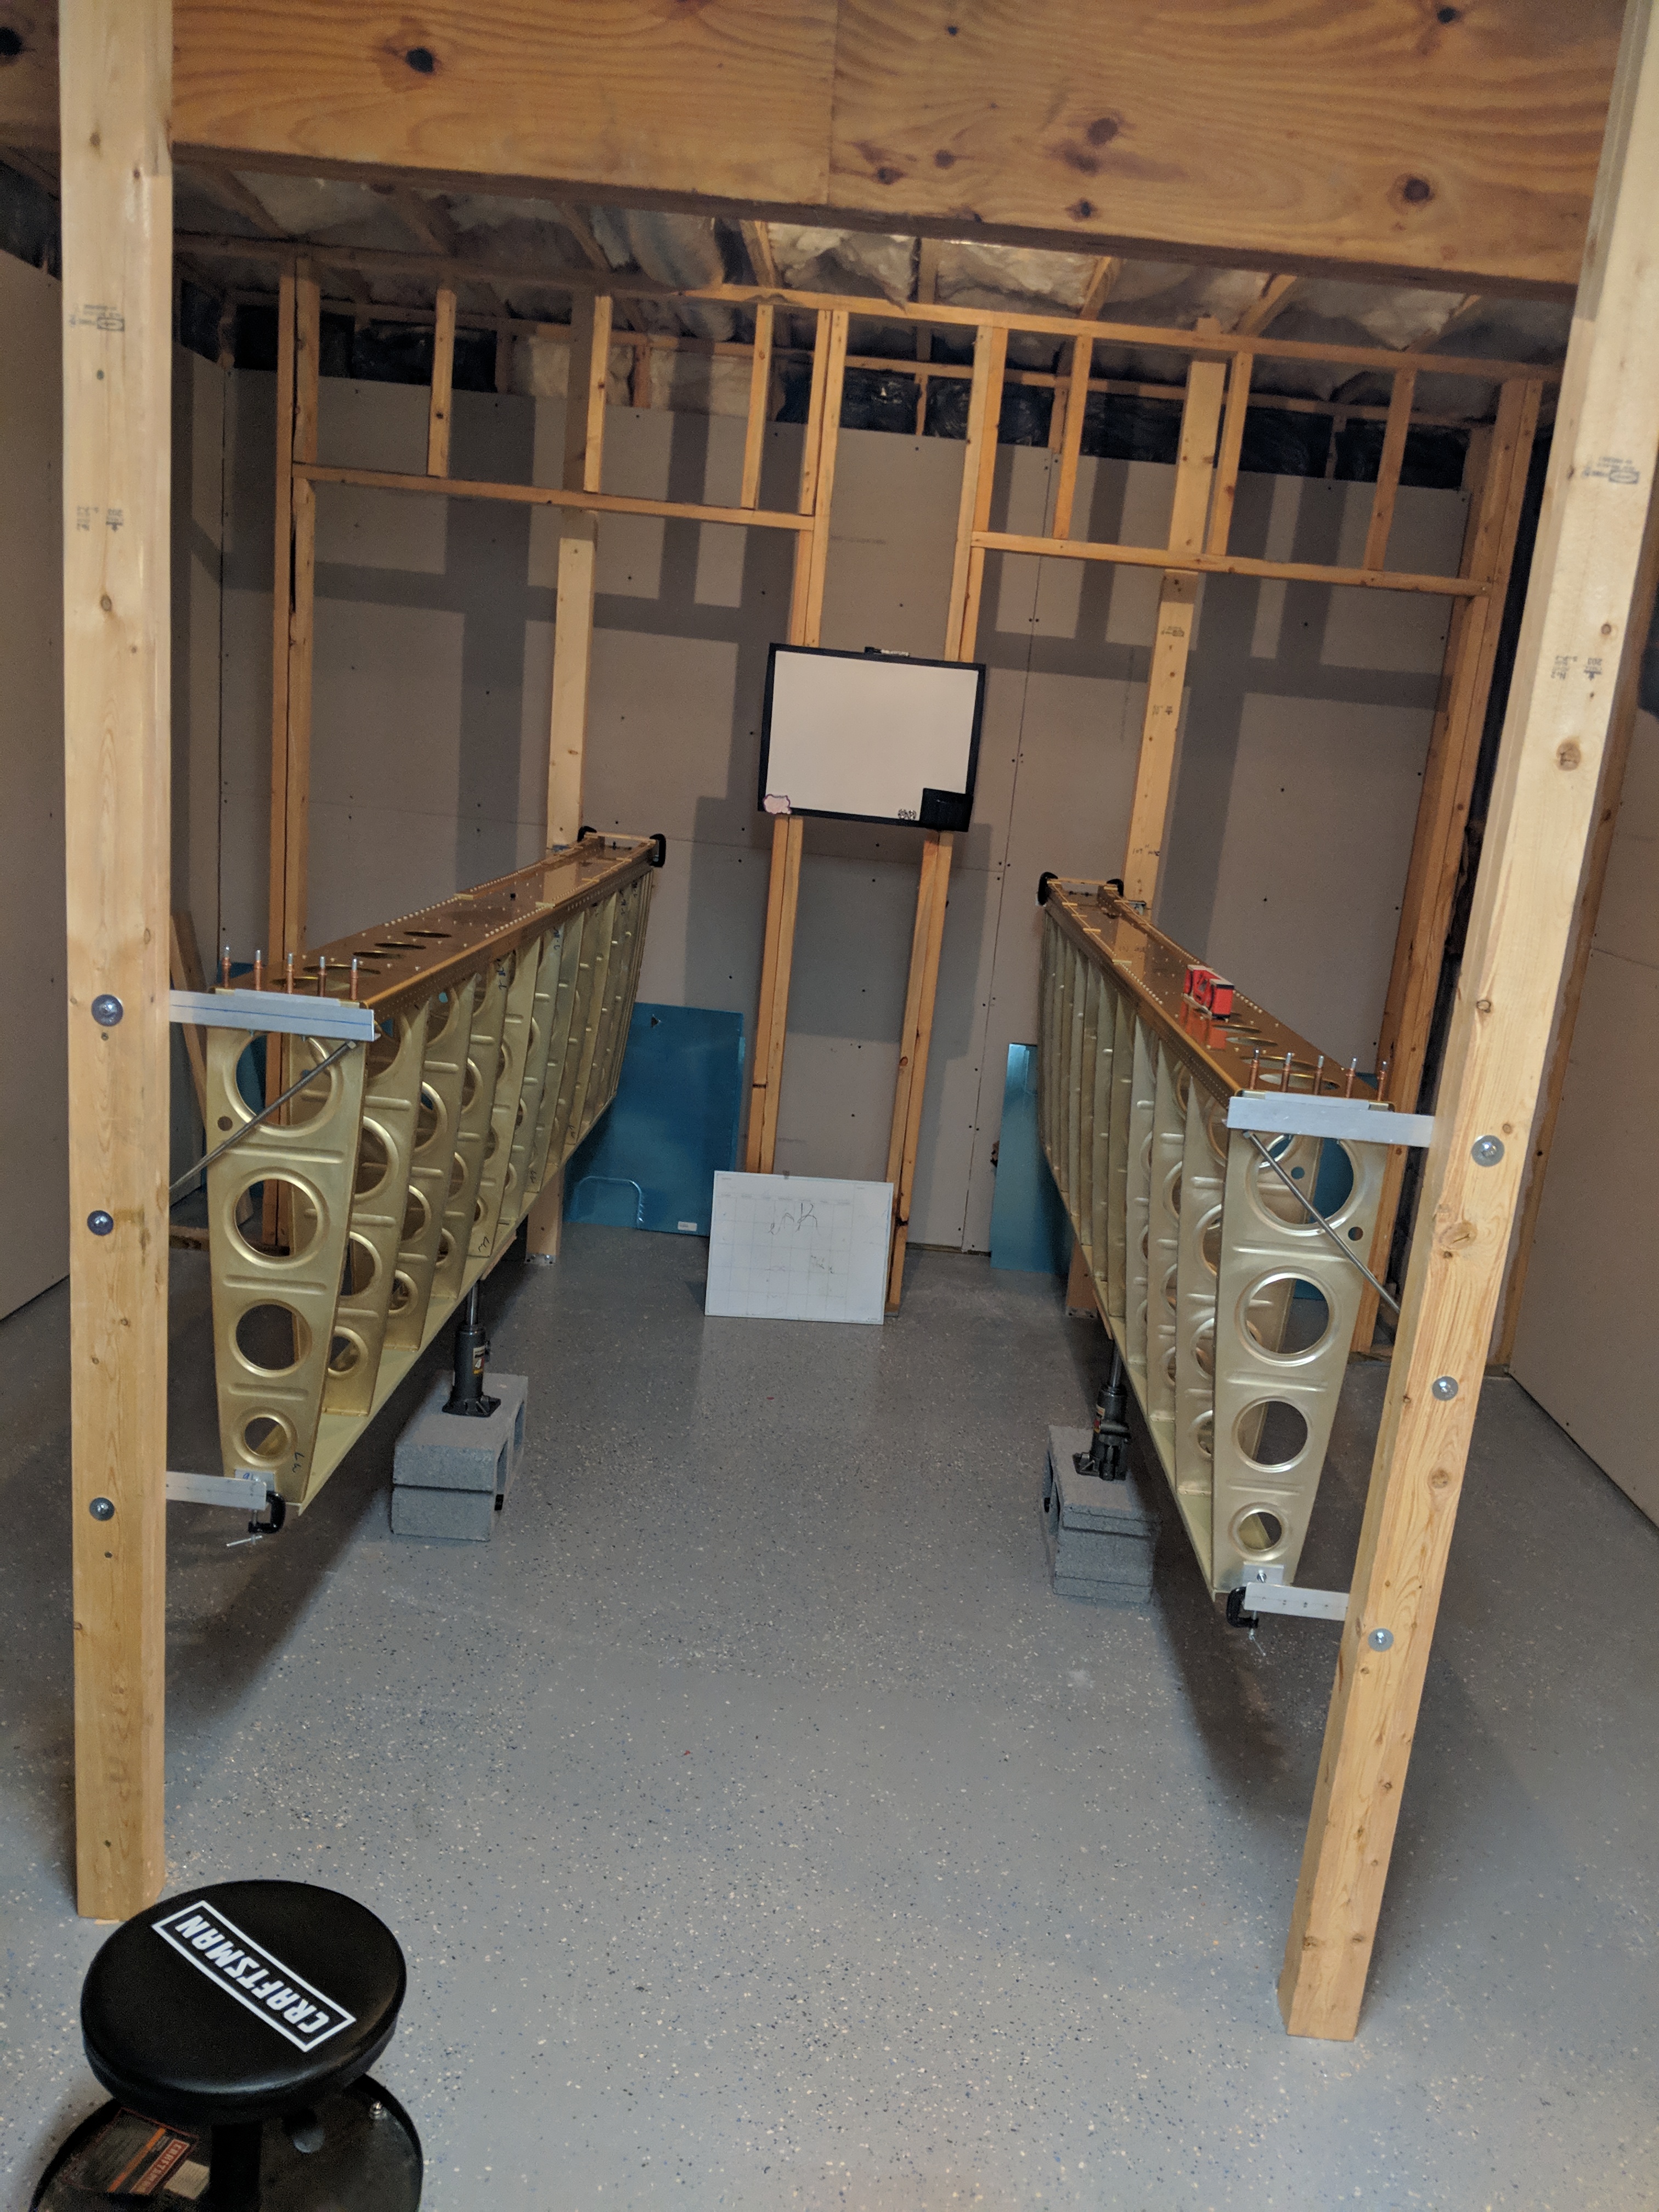
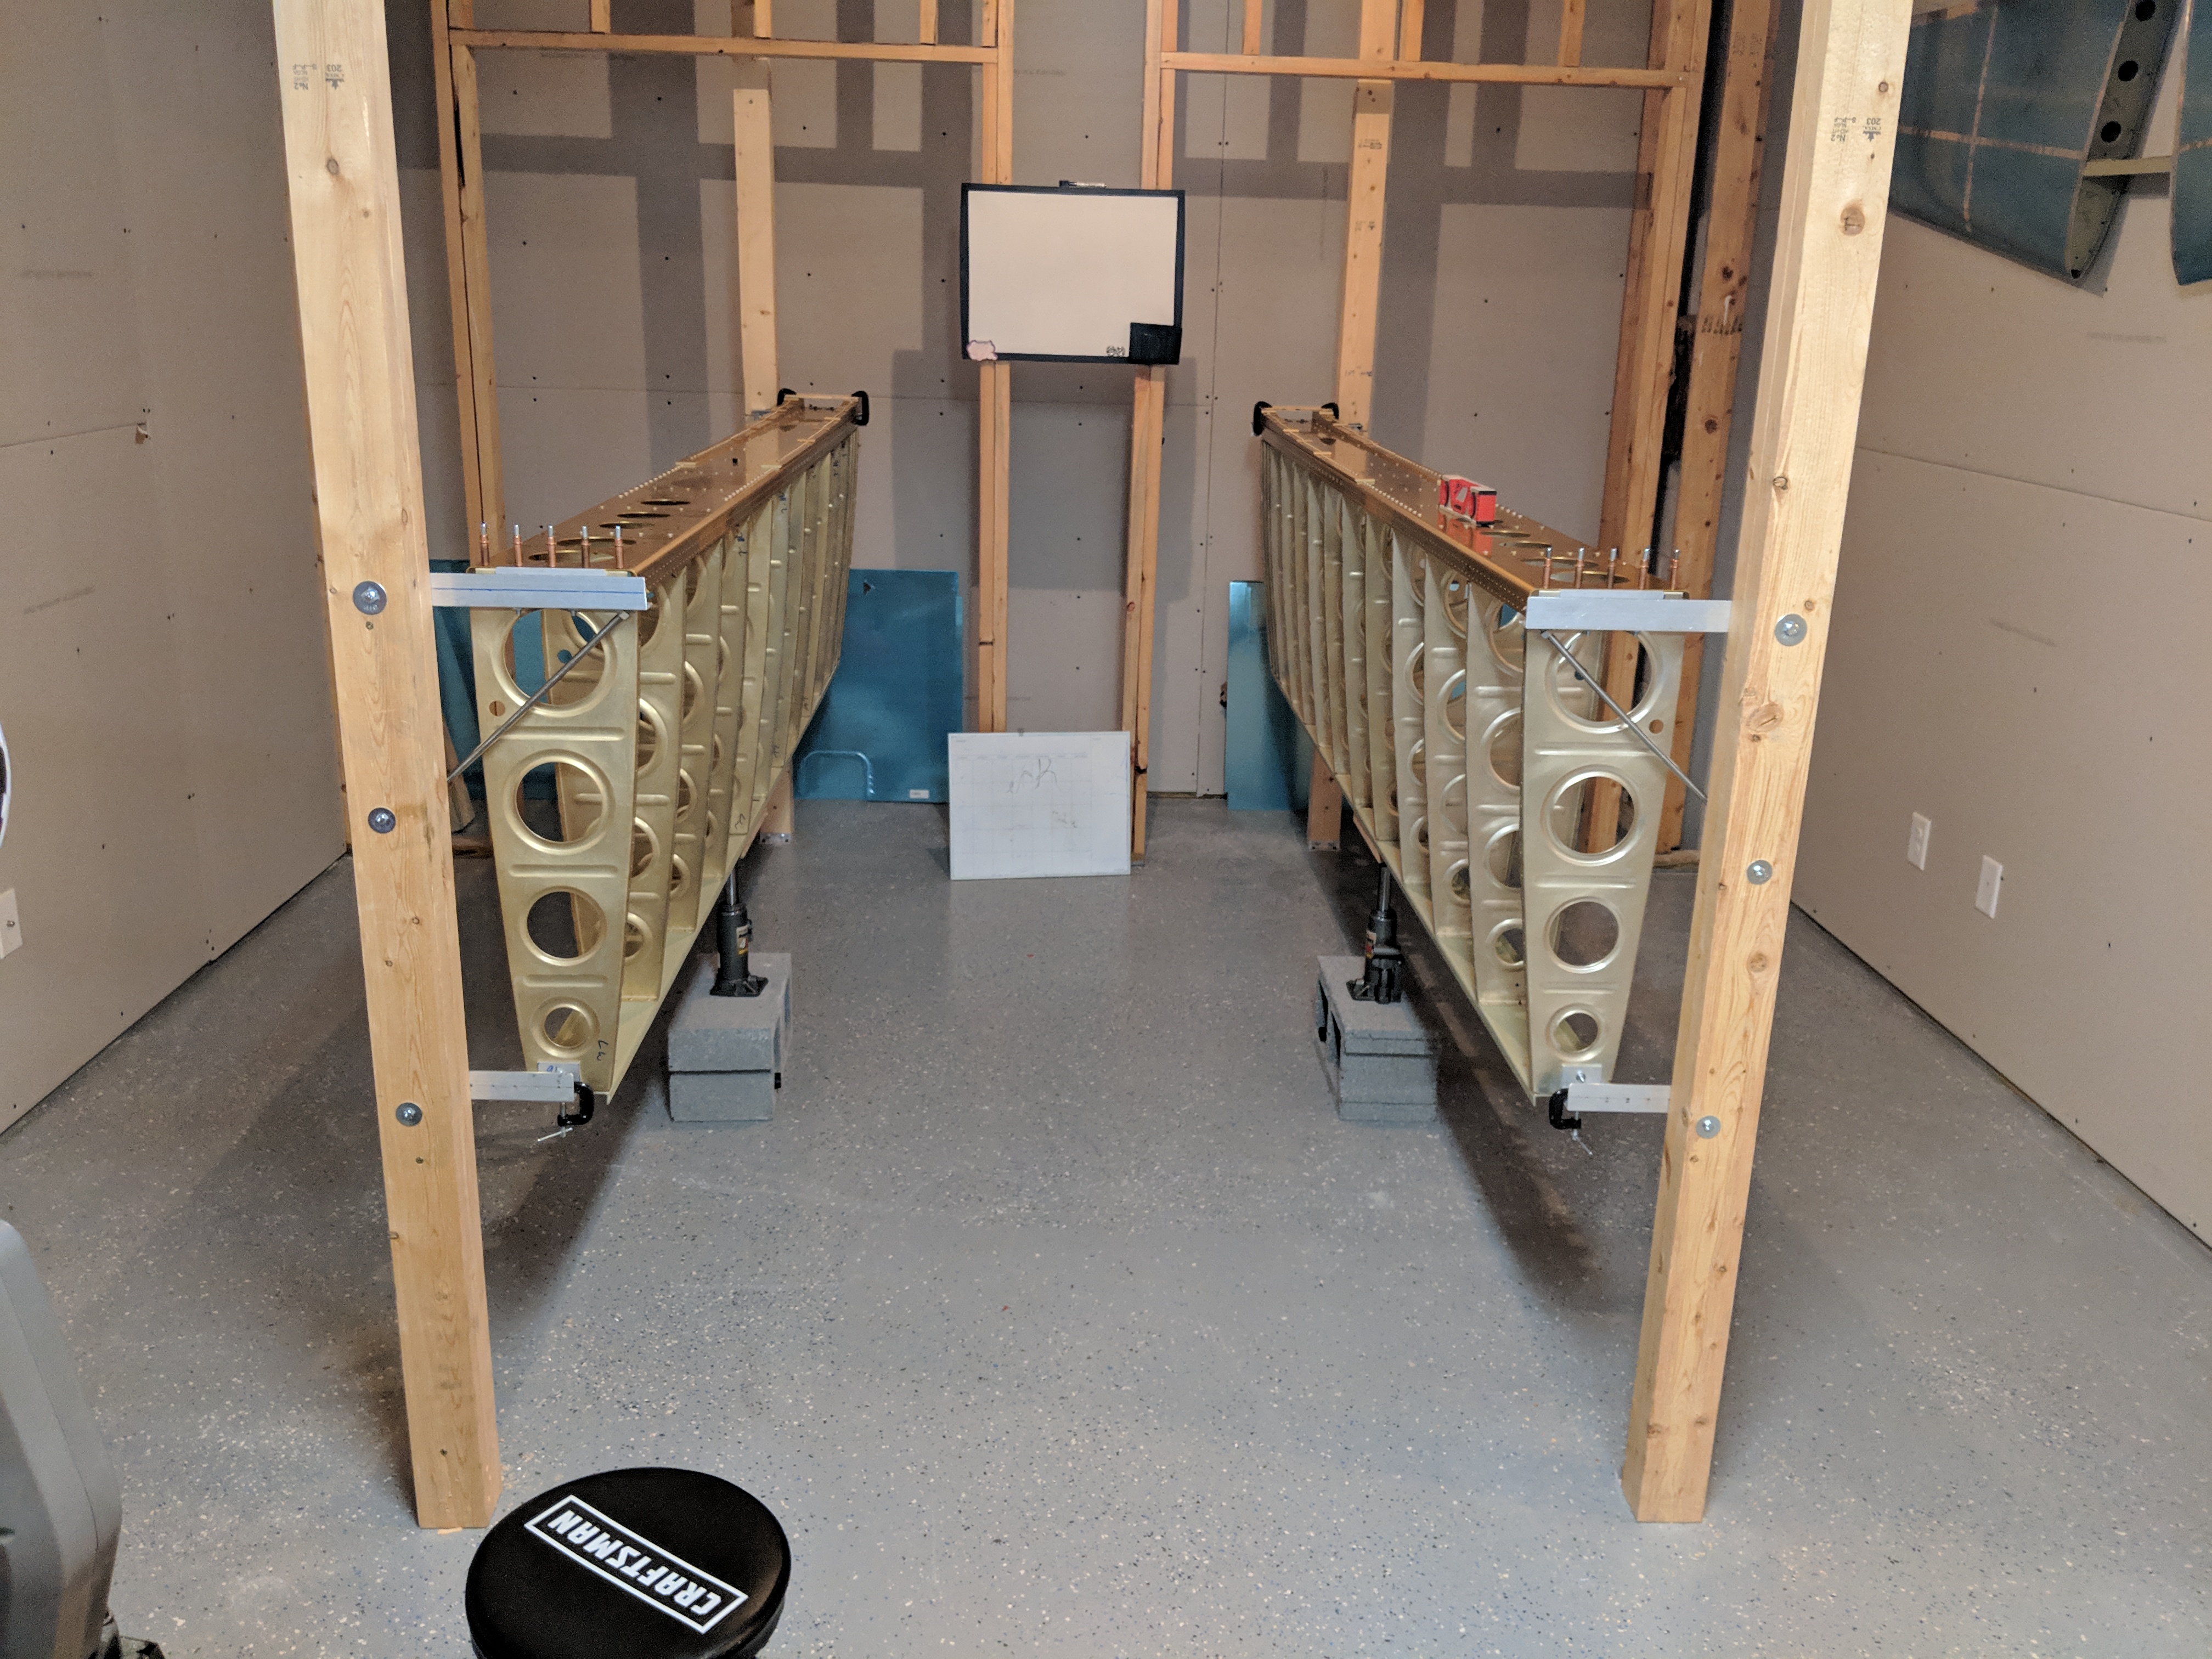
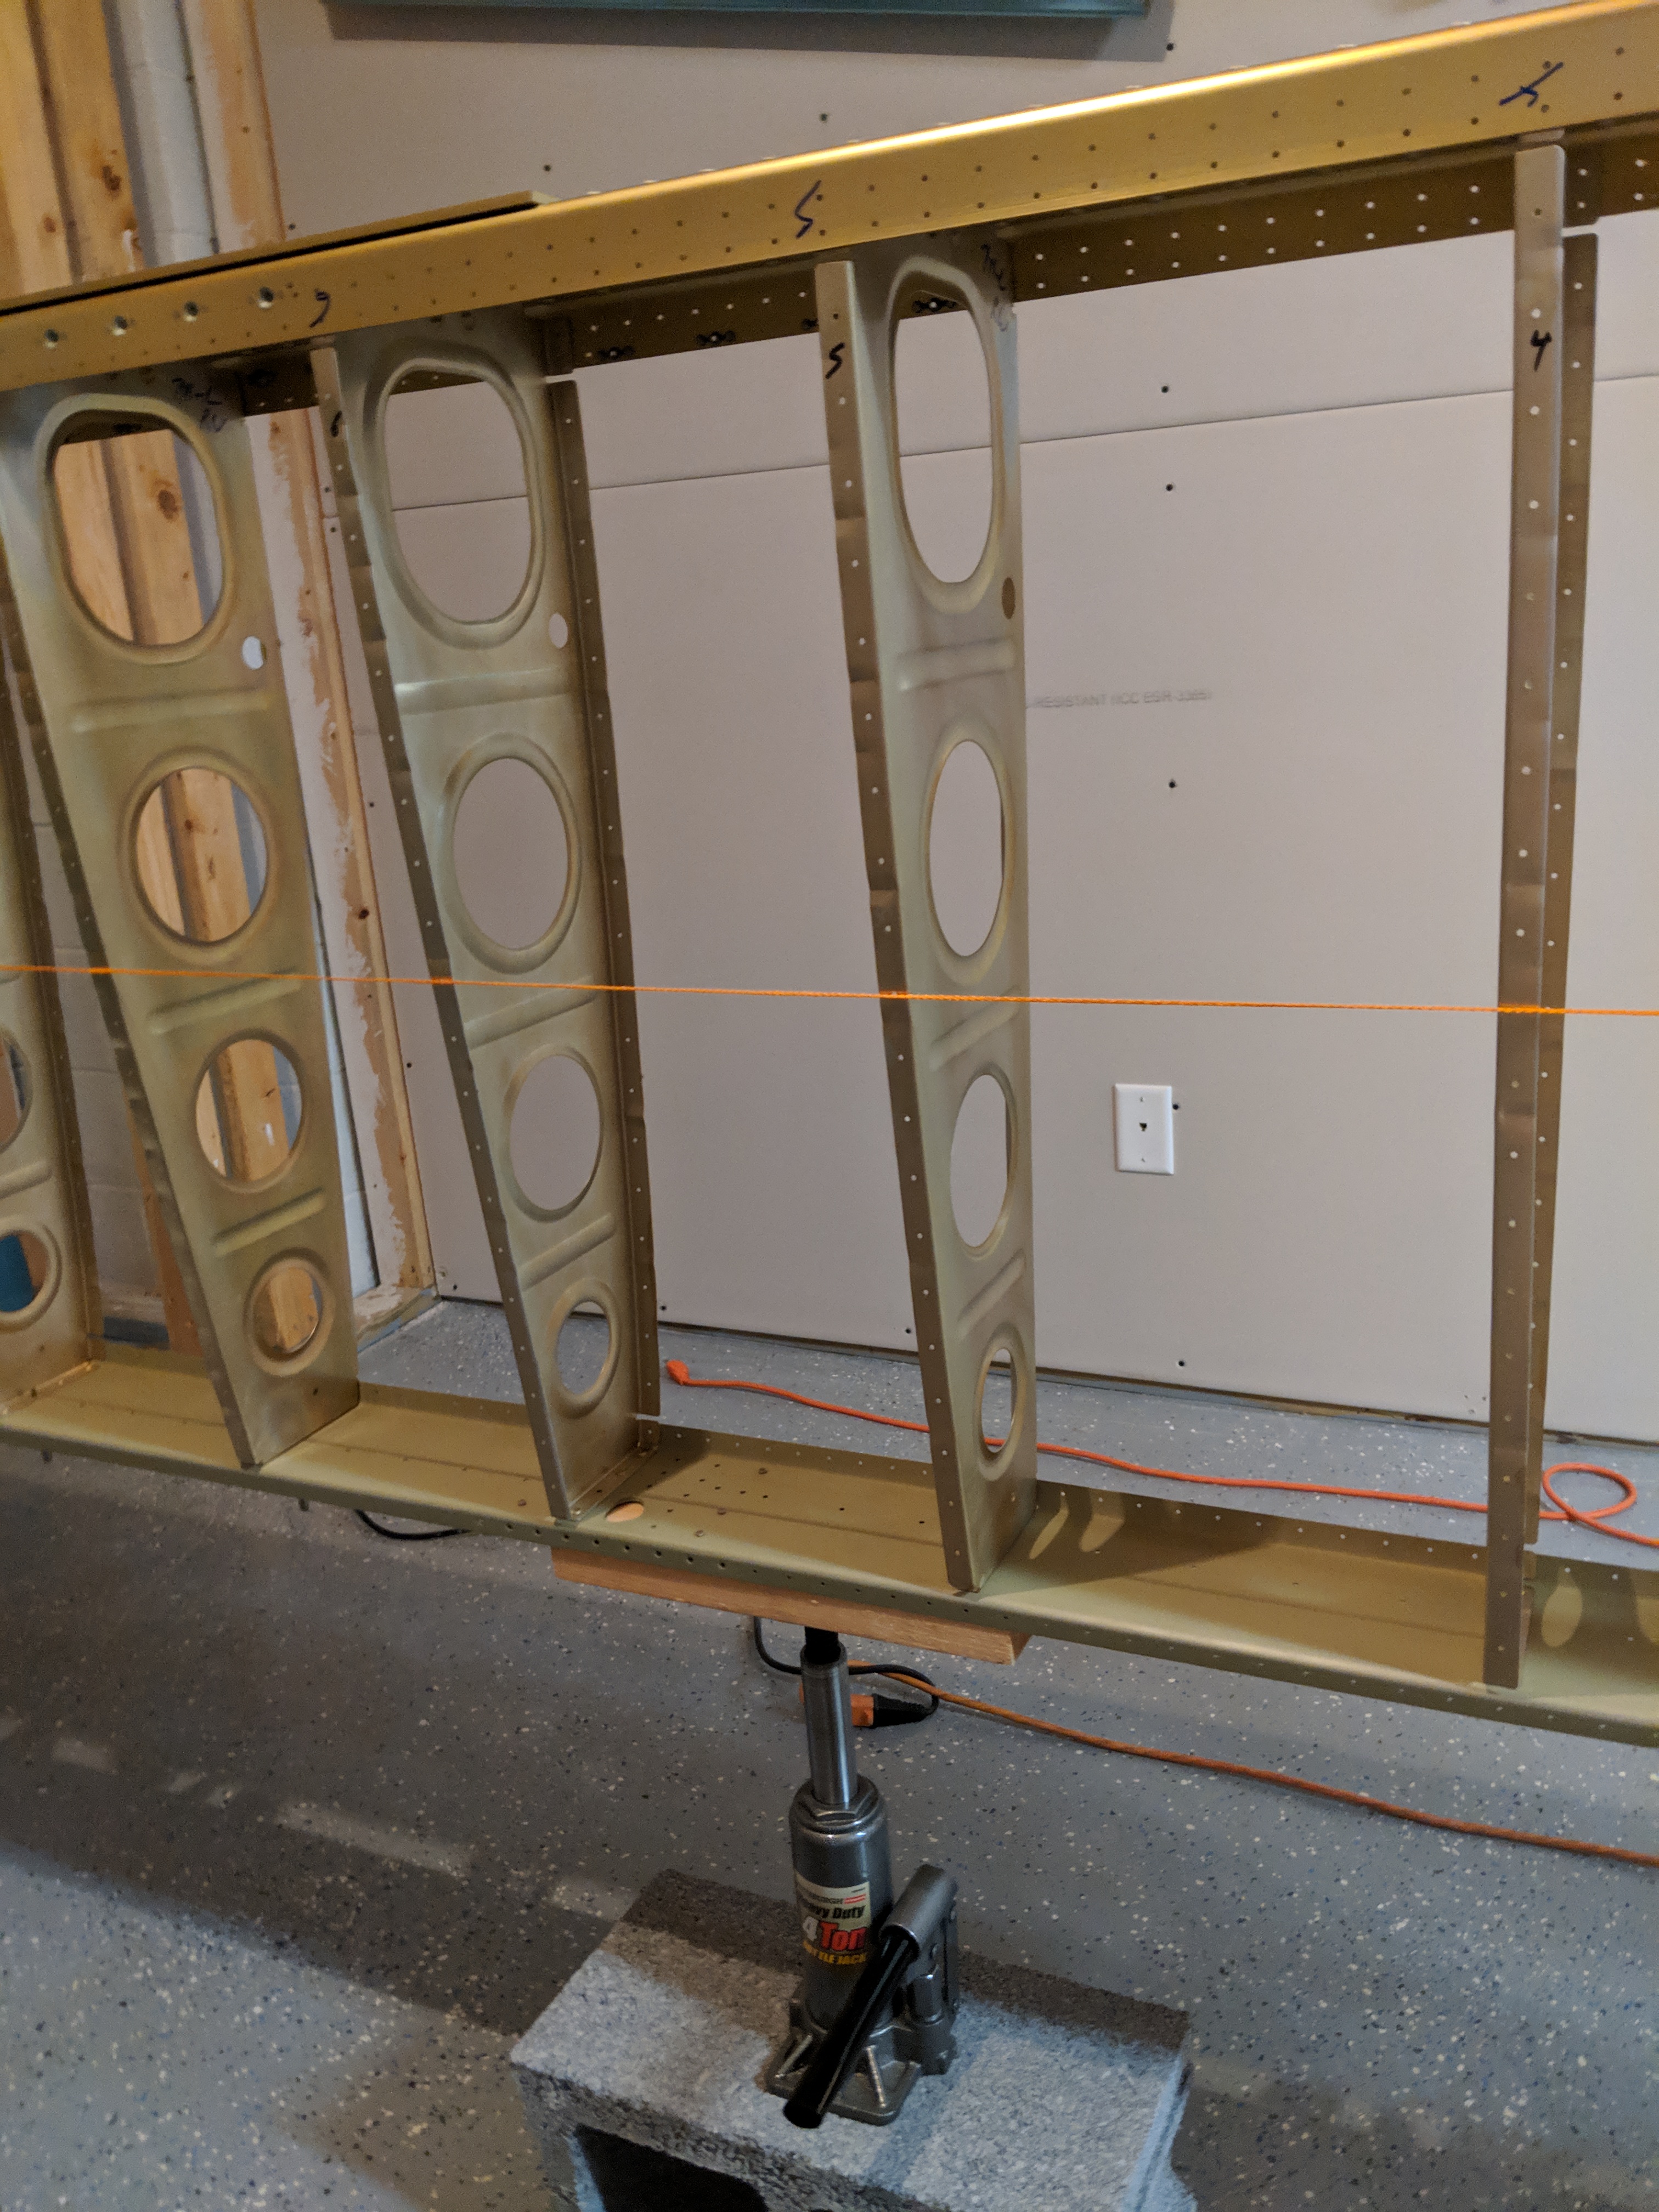
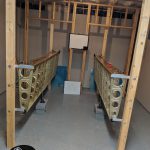
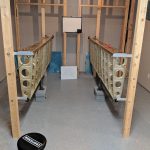
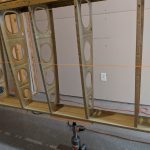
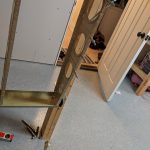
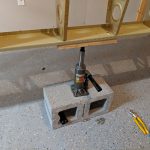
FINALLY! I was able to get BOTH wings secured, leveled and ready for work in their stands tonight. It felt like it took ages to get them to this point, but their finally there. I ran by Harbor Freight and picked up some 2″ and 1″ C-clamps that I’d need to secure the right wing in its stand, and I also picked up 2 4-ton bottle jacks to help get the sag out of the middle of the wings. On the way home I ran by Lowes and picked up 2 cinder blocks that I’d need to get the bottle jacks to the right height and then back home to get these things in the stands. I started out by getting the sag out of the left wing, since it was already clamped down in its stand. I tossed the cinder block in the middle, set the bottle jack on top and then used a short piece of scrap 2×4 lumber to protect the rear spar and help distribute some of the force from the bottle jack.

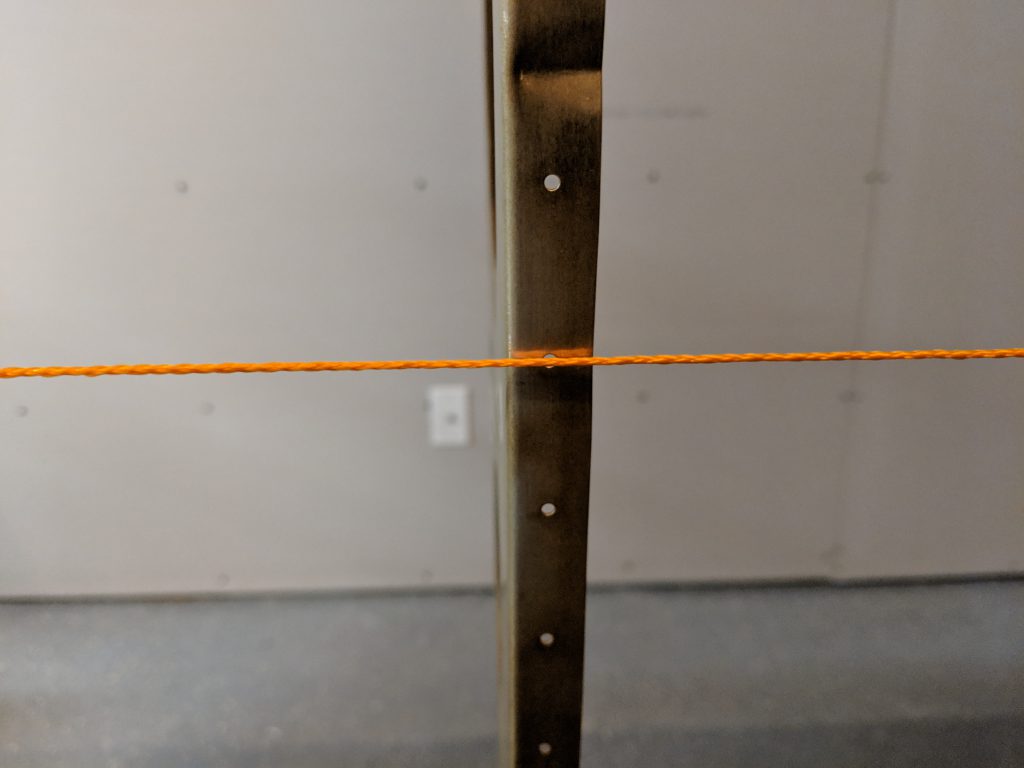
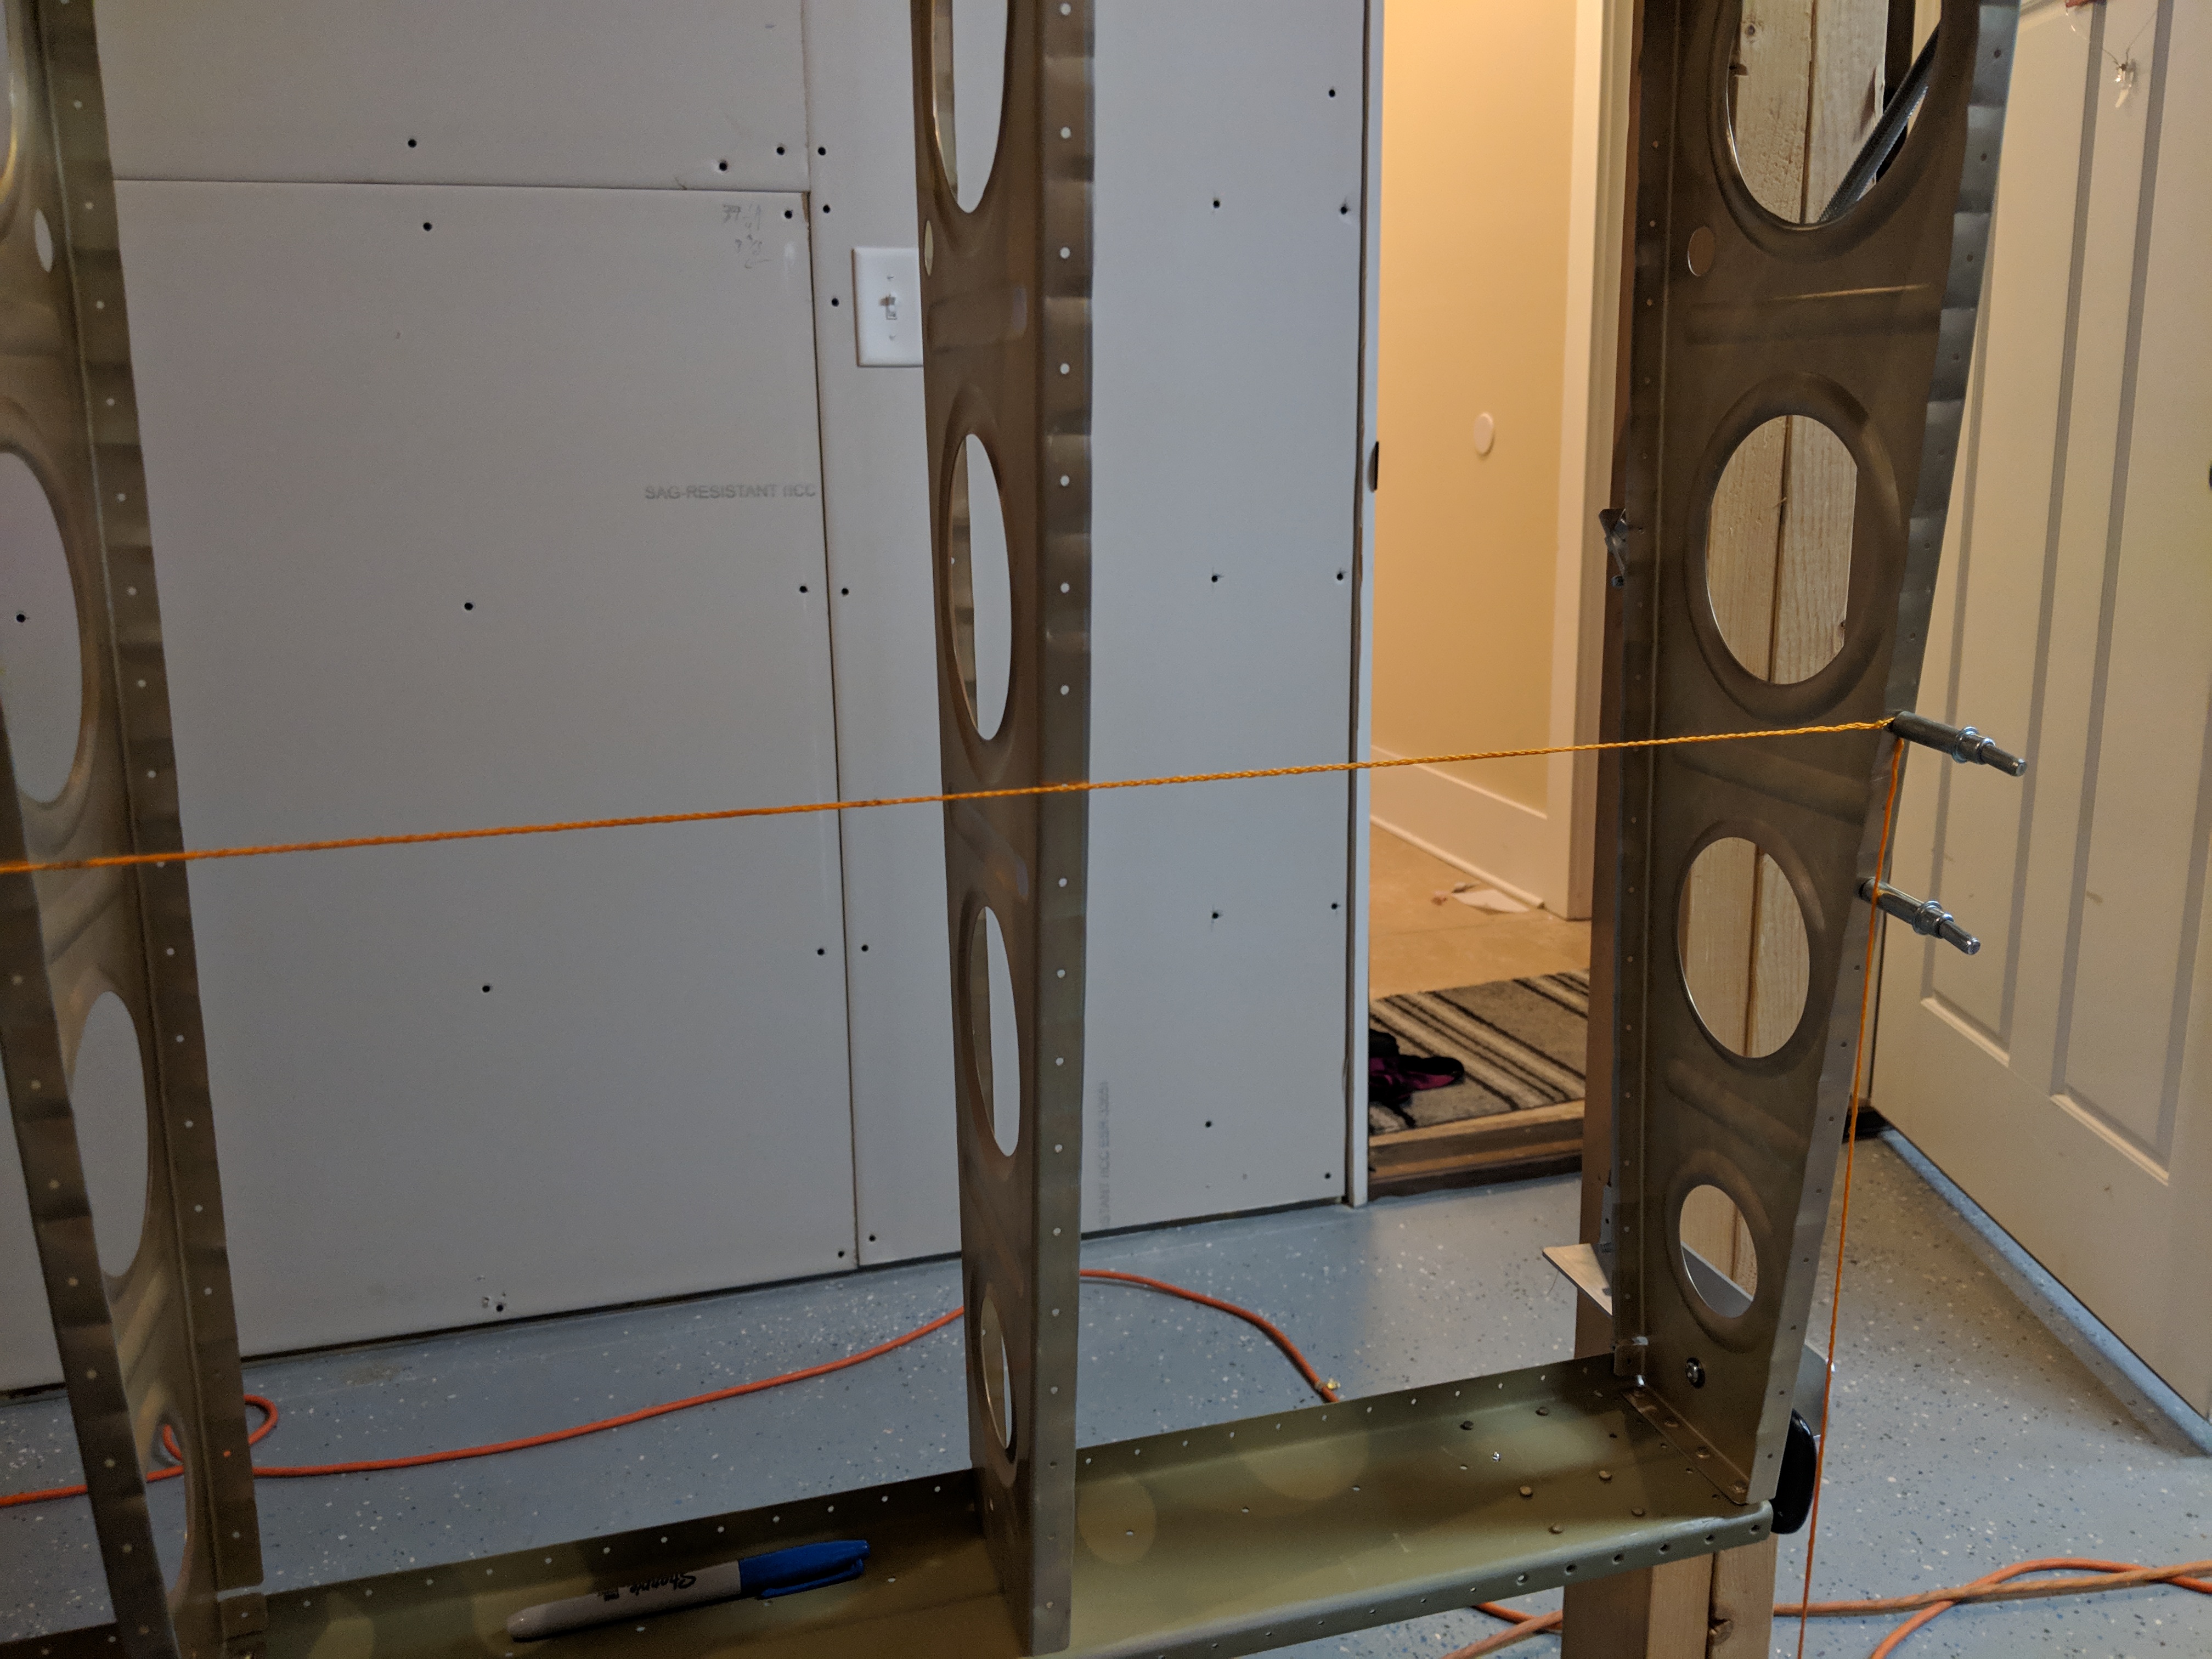
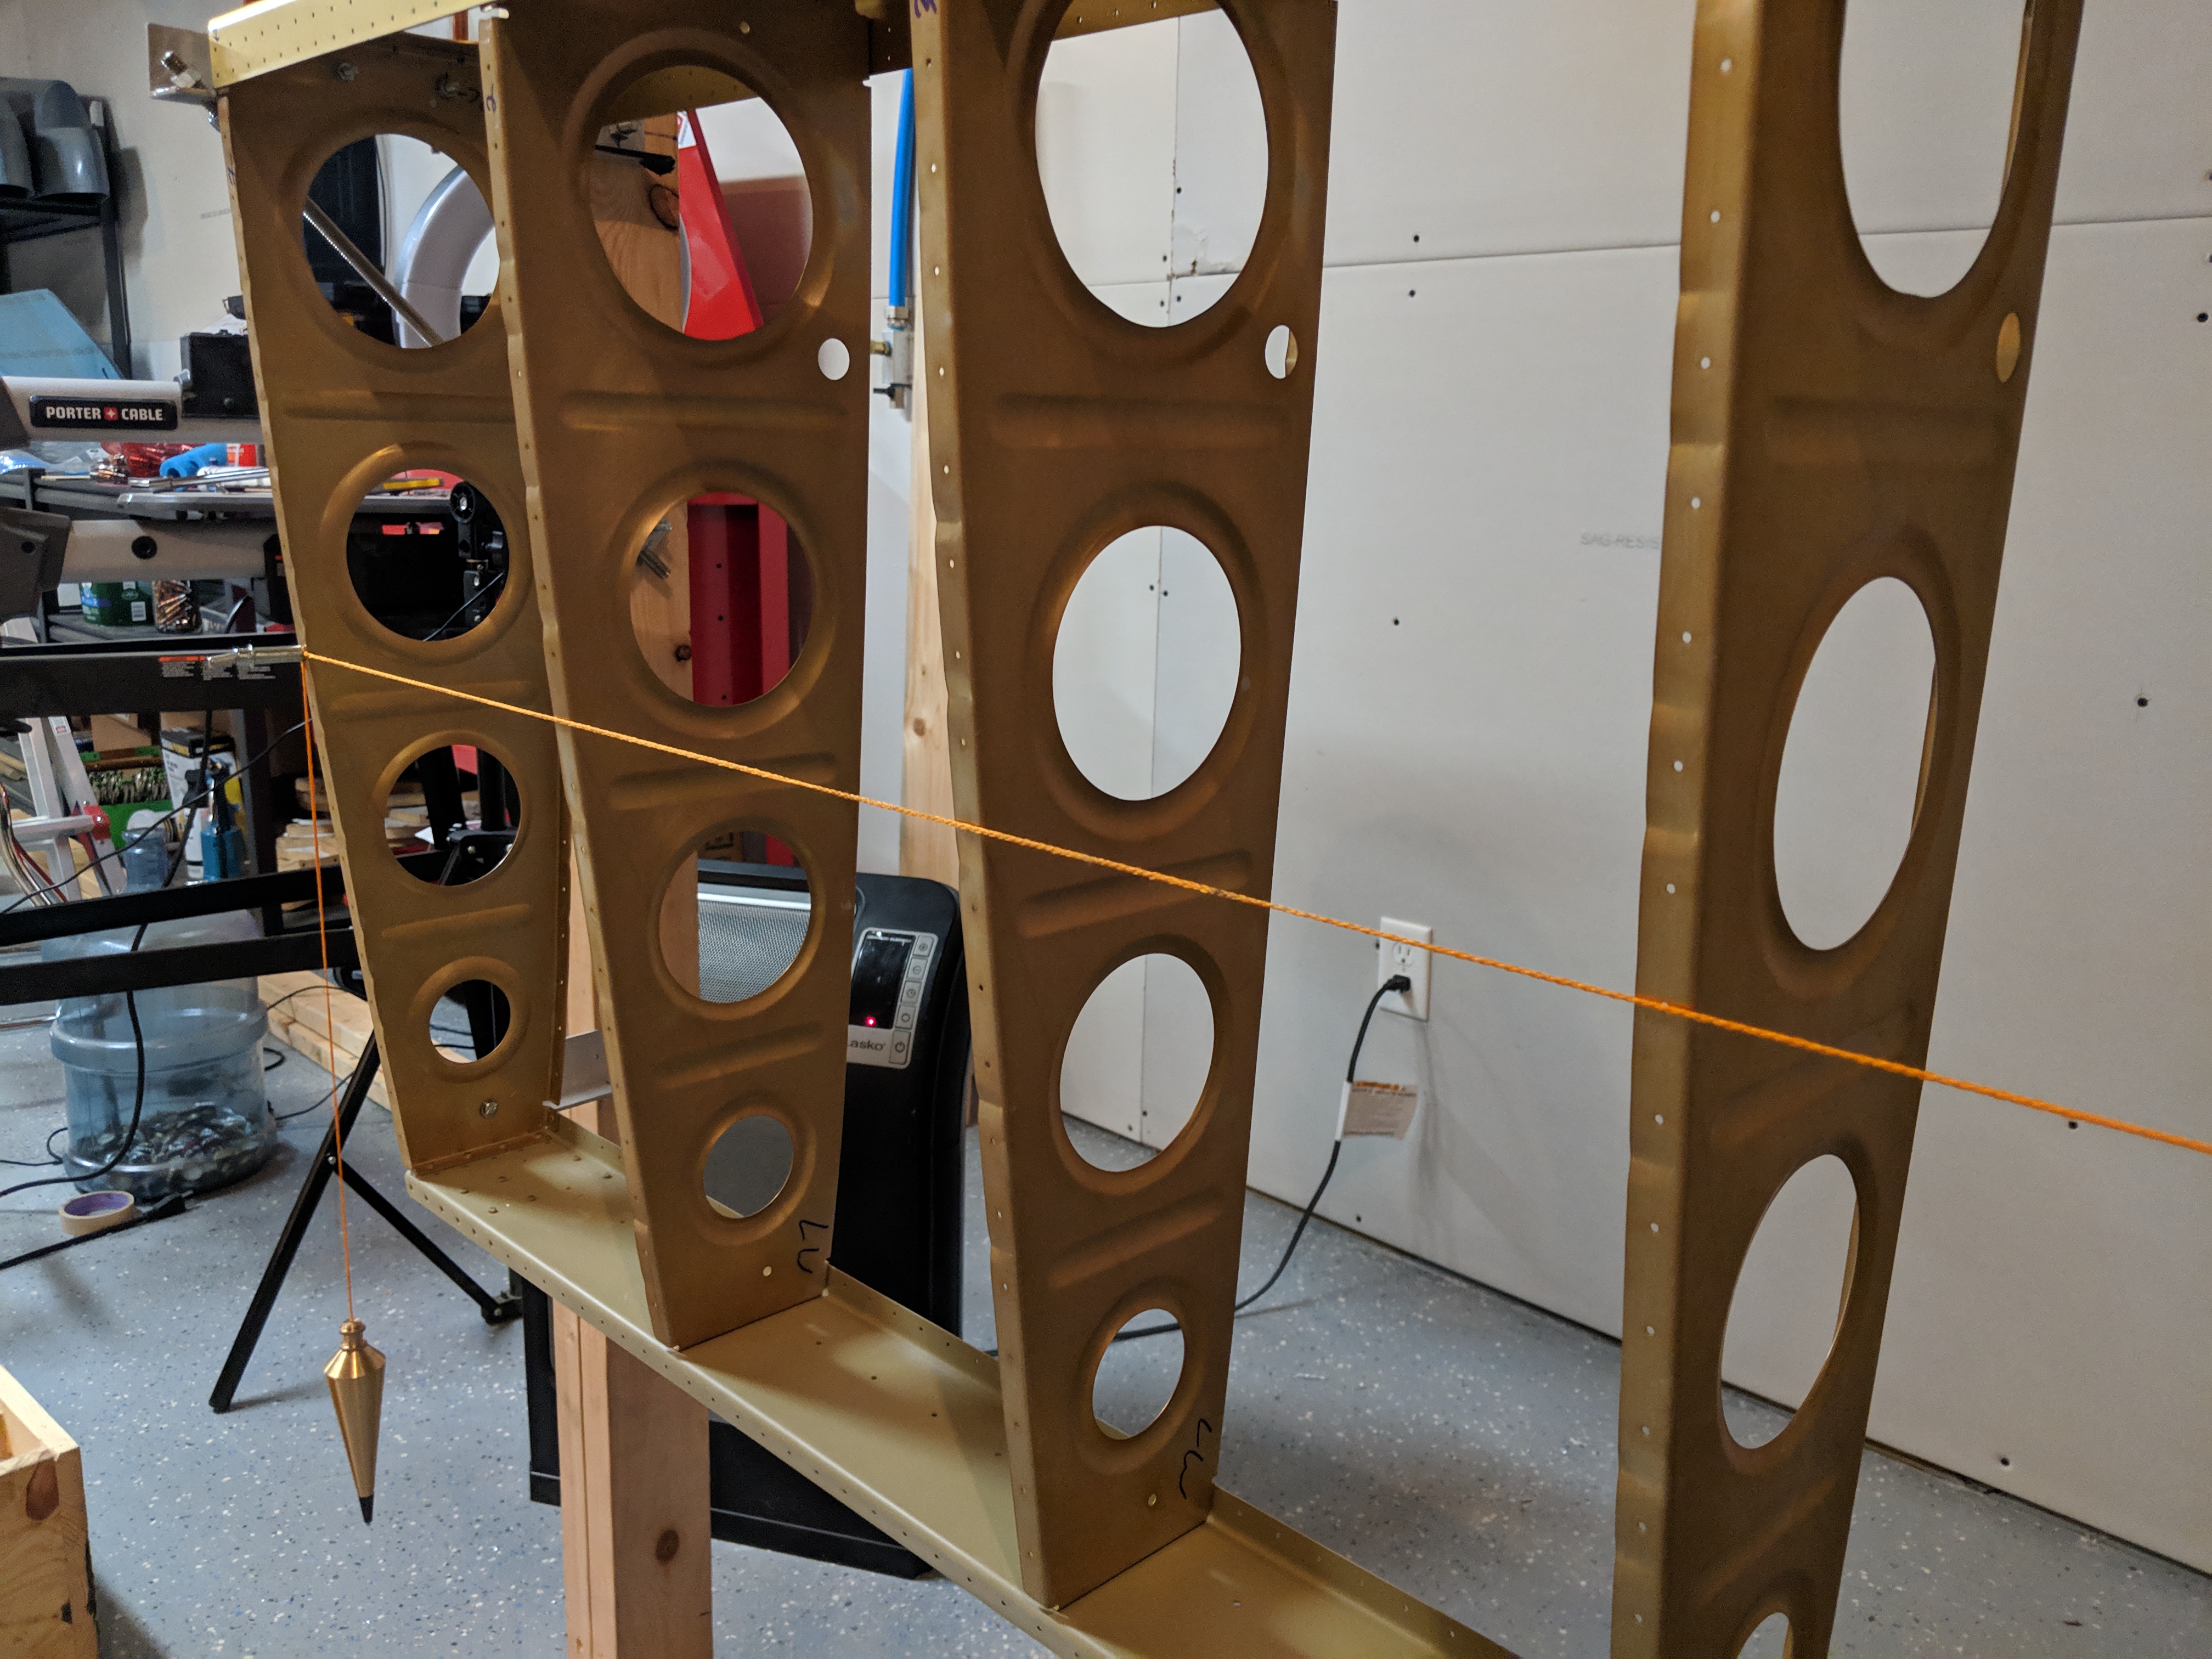
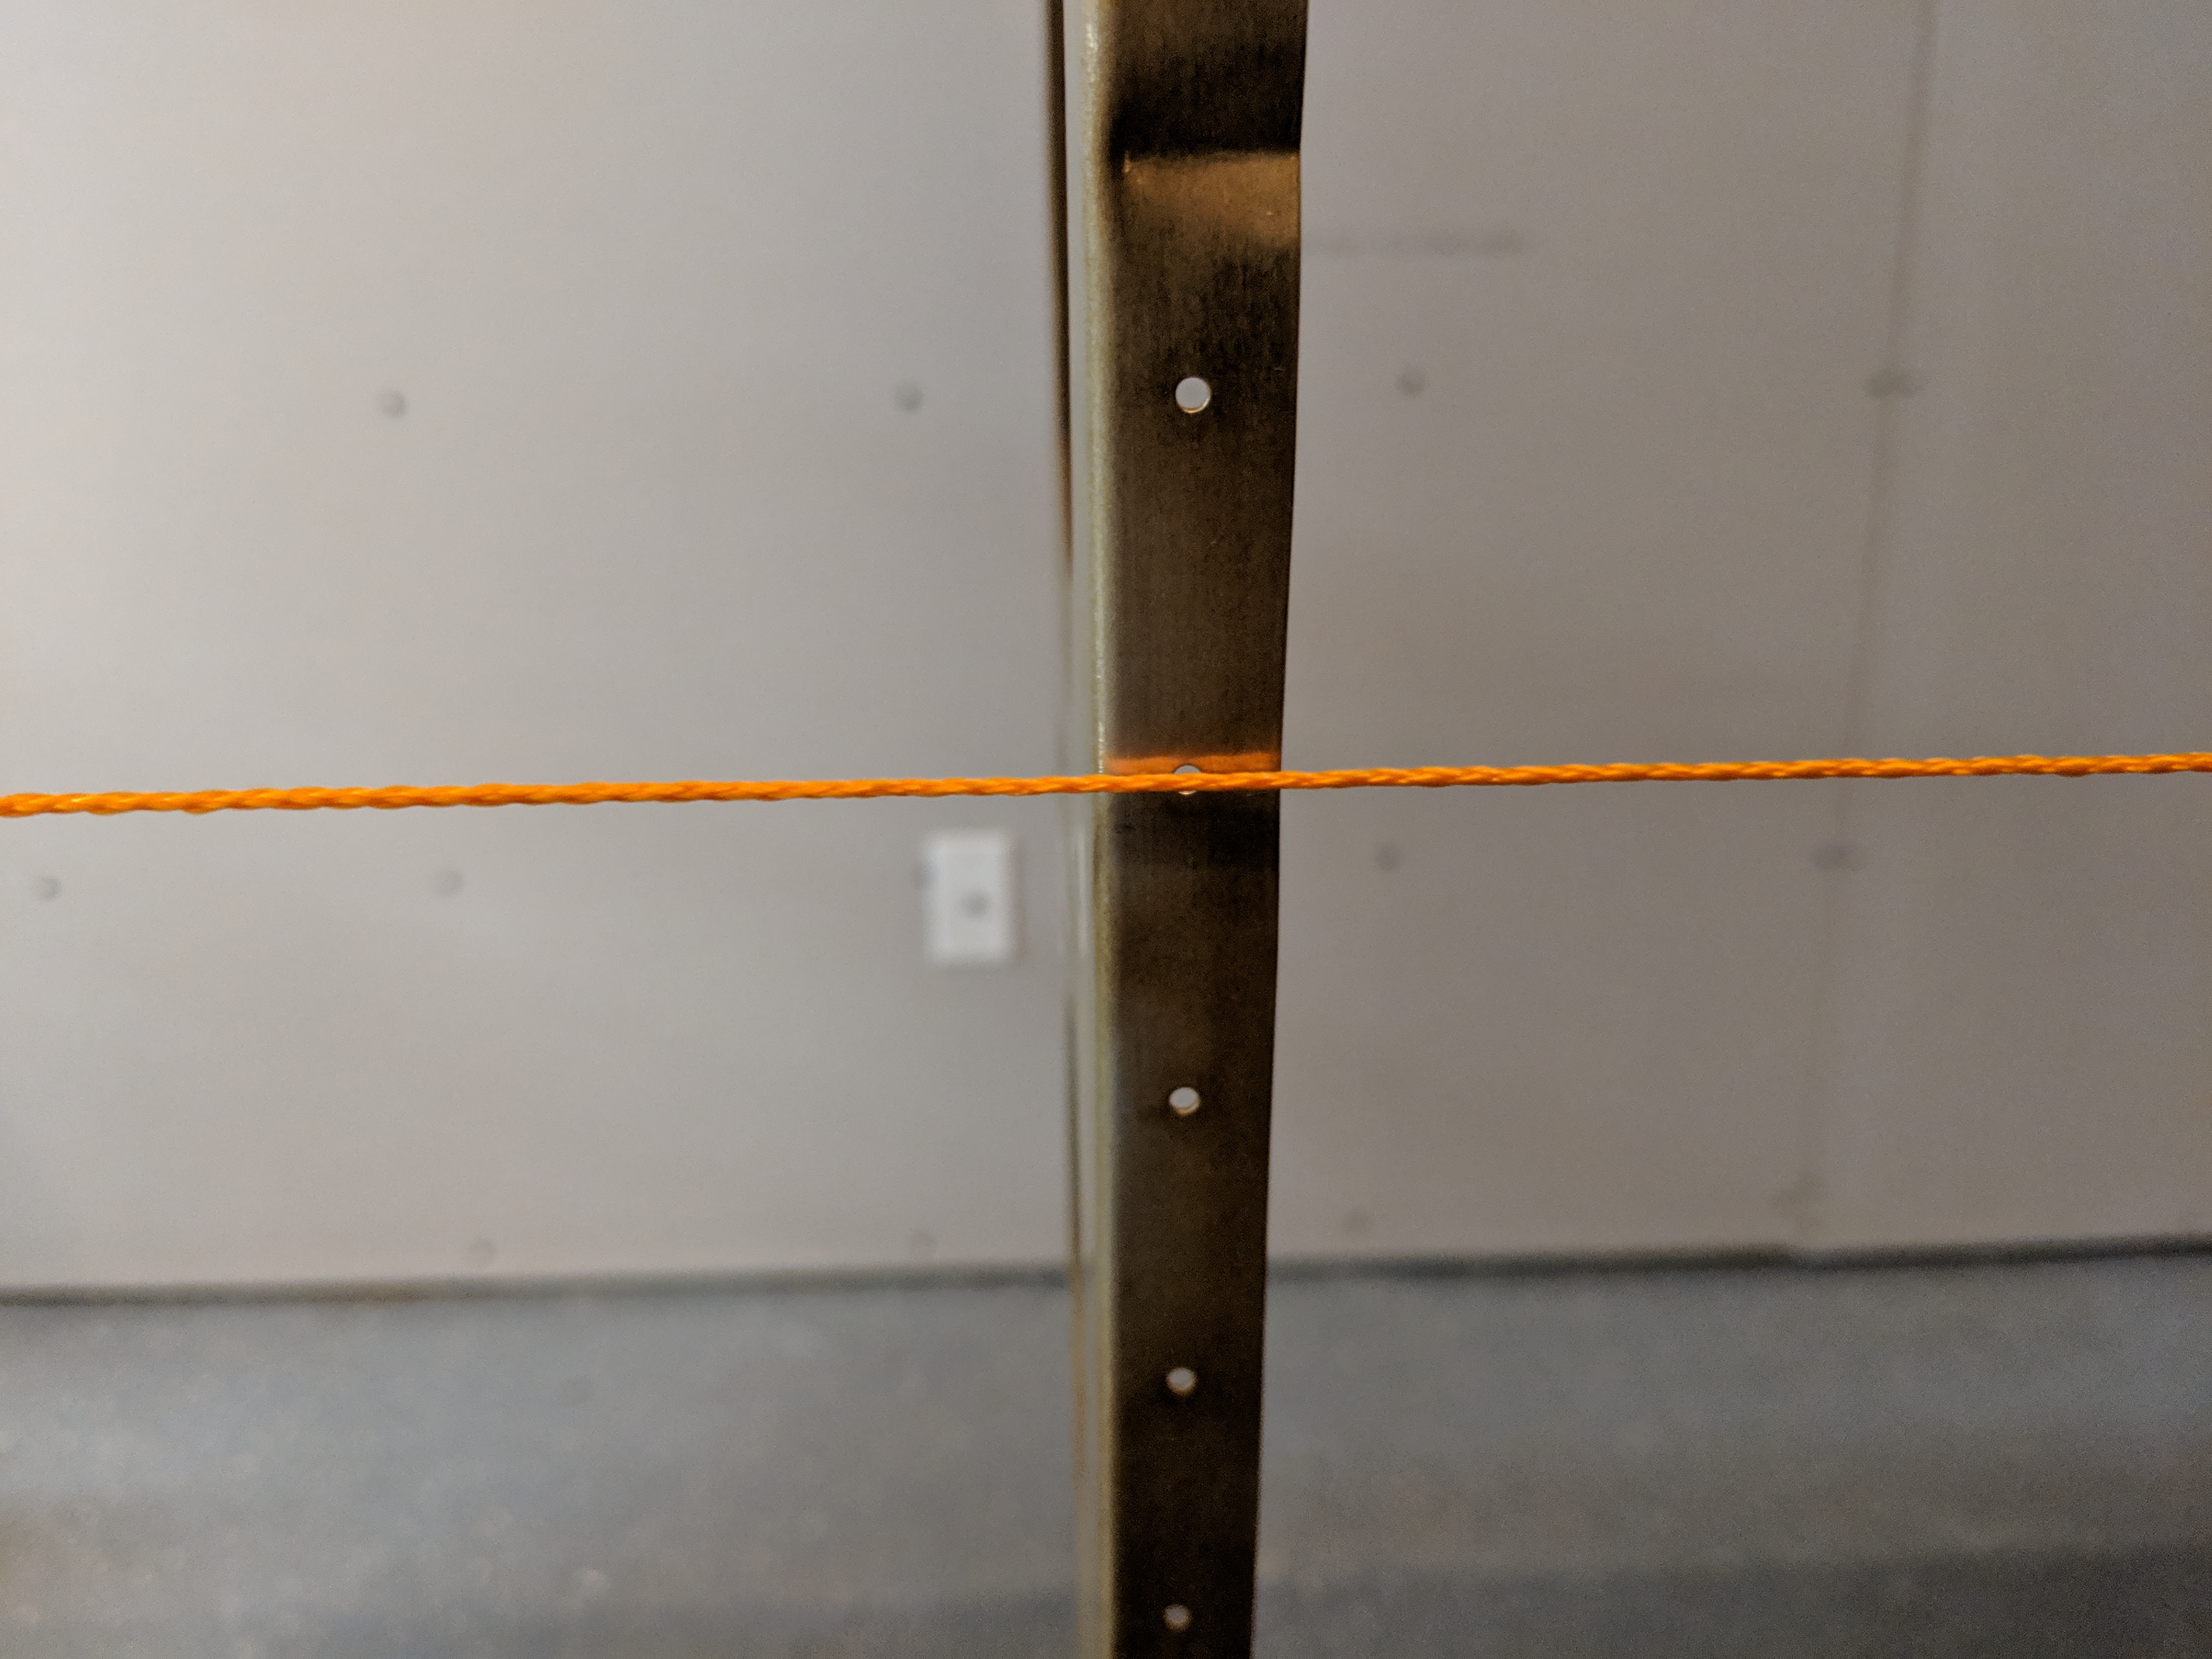
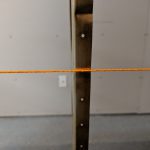
Next up was to use some taught string stretched across the ribs lengthwise to use as a reference to line up the rivet holes. I chose the 10th rivet down since it was around the middle of the rib, and then ran the string from the inboard rib to the outboard rib. I didn’t snap a photo, but right about the middle of the wing, where the jack was, the string as about 1/4″ or so above the 10th rivet hole, which really shows how much sag there is when these things are on the stands. I slowly pumped the jack up until the 10th hole lined up perfectly on the string, double checking all the ribs lined up the same as shown below.

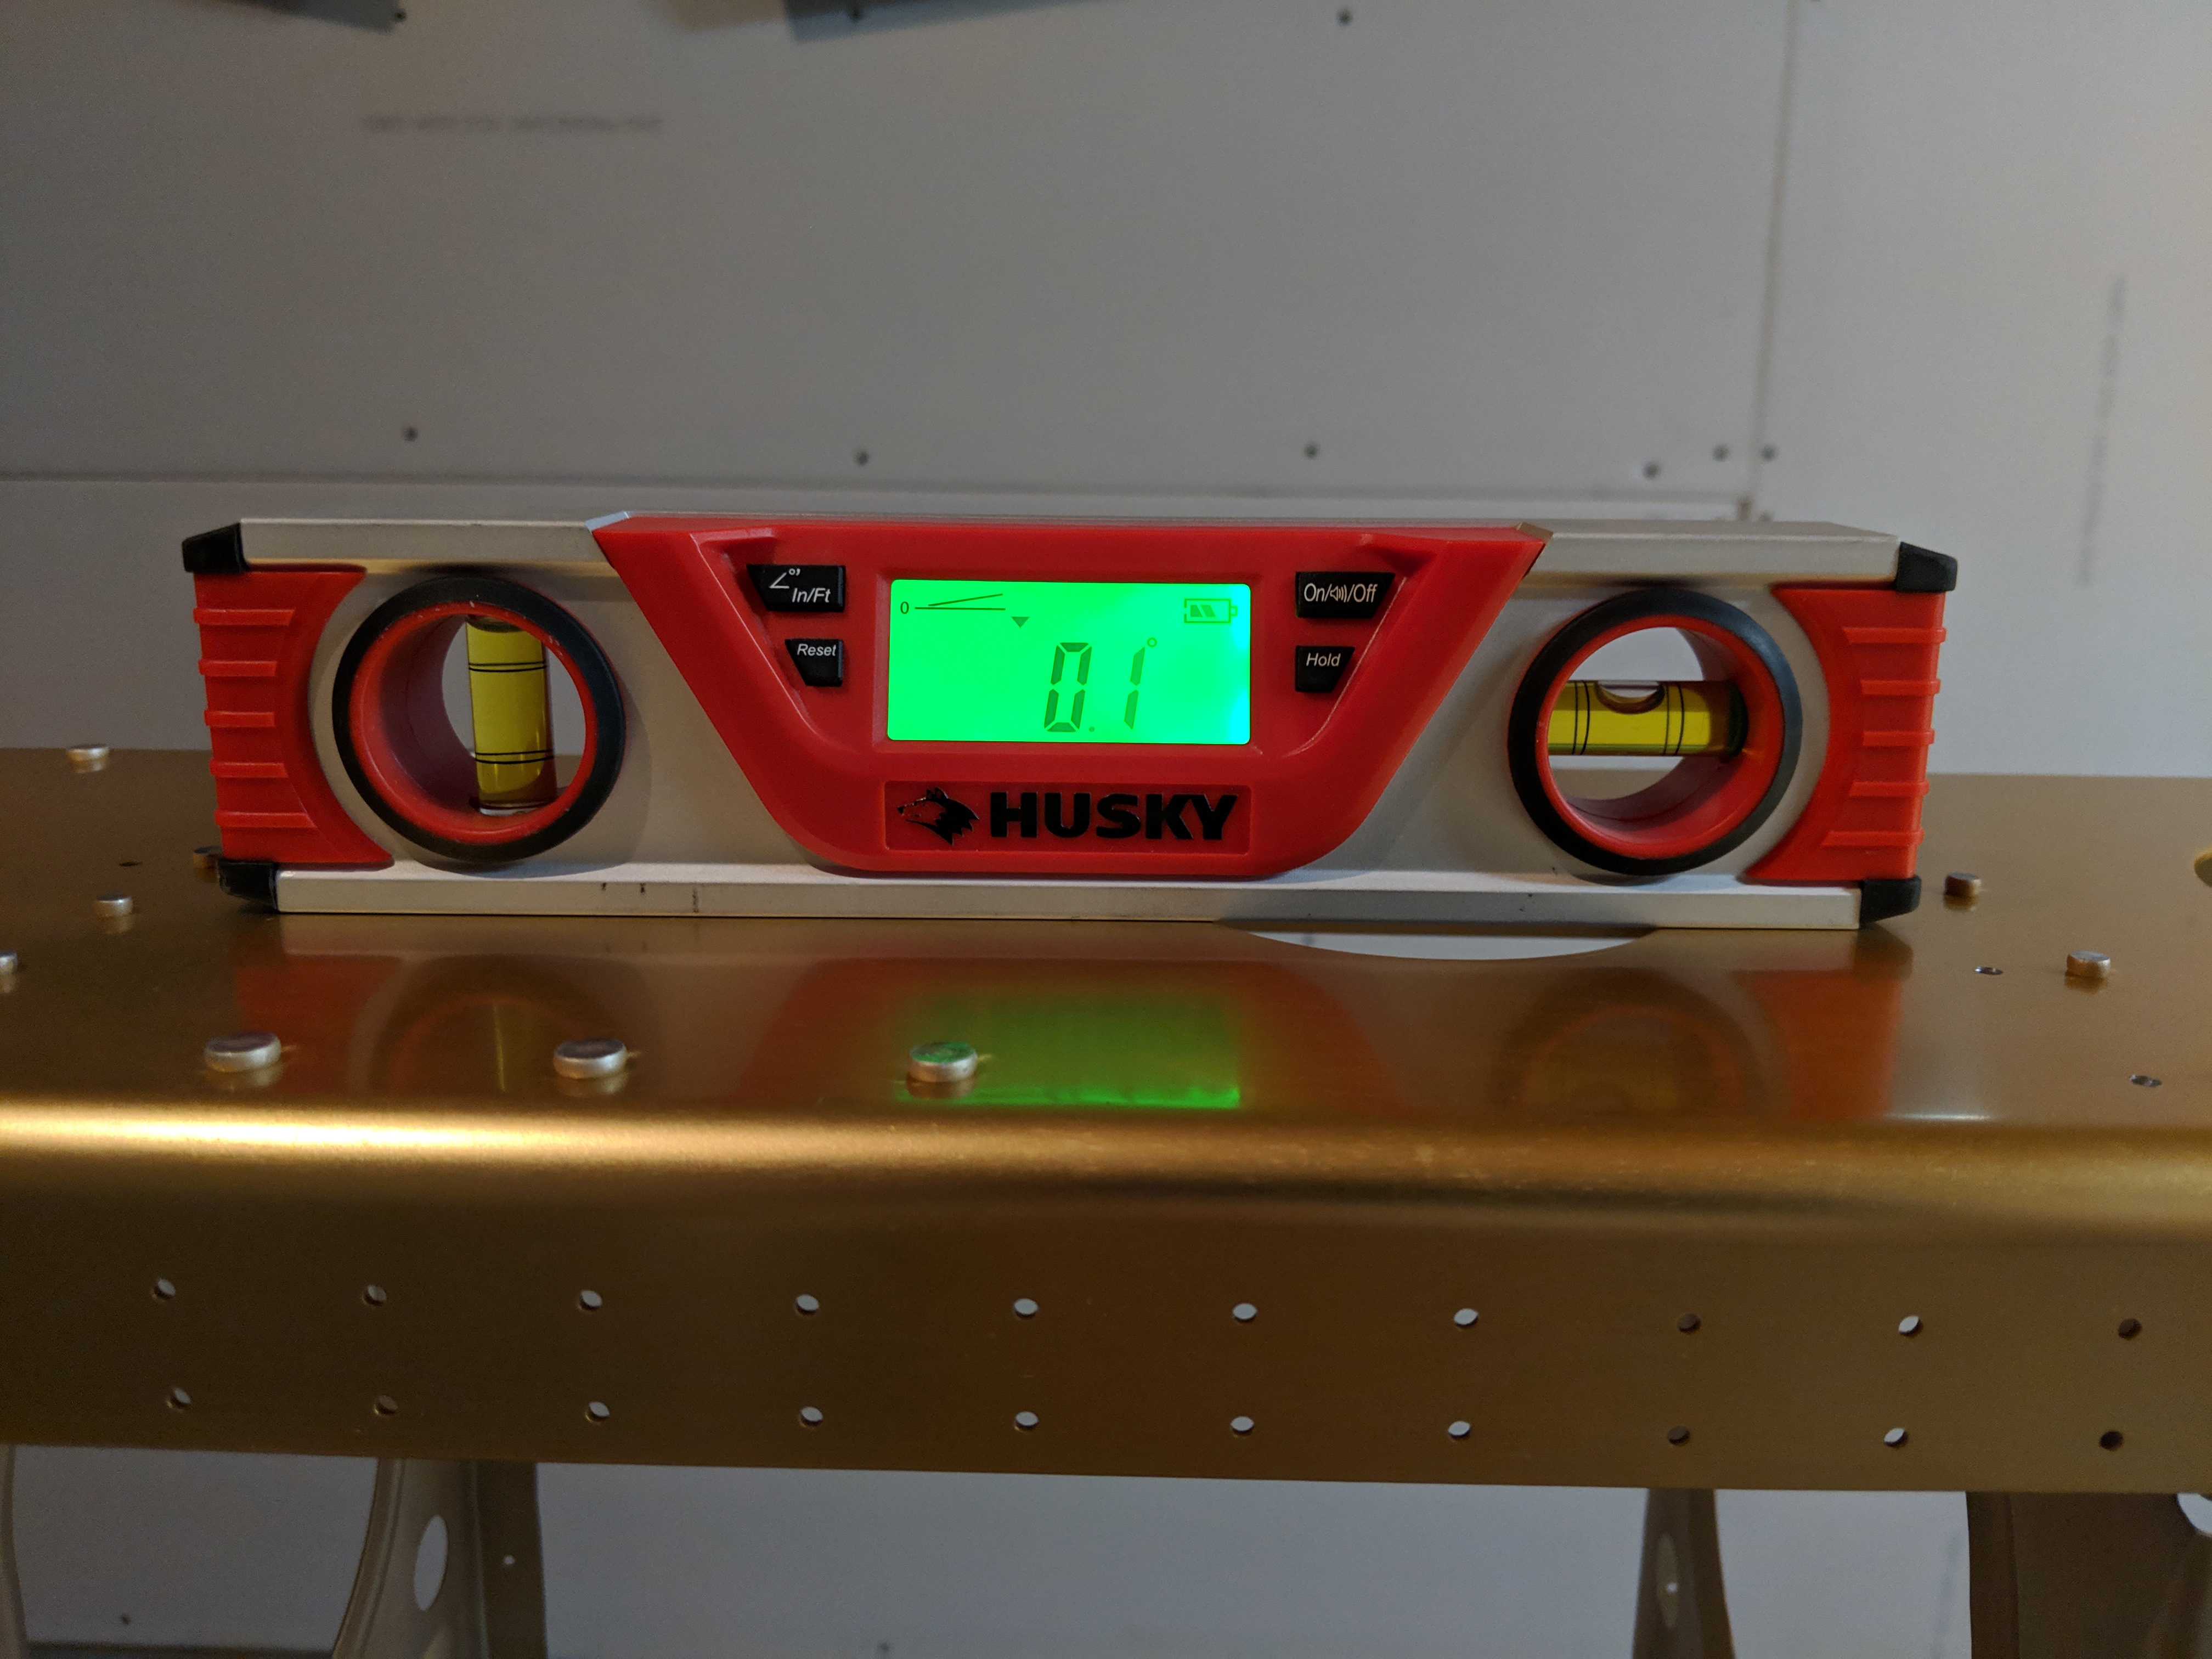
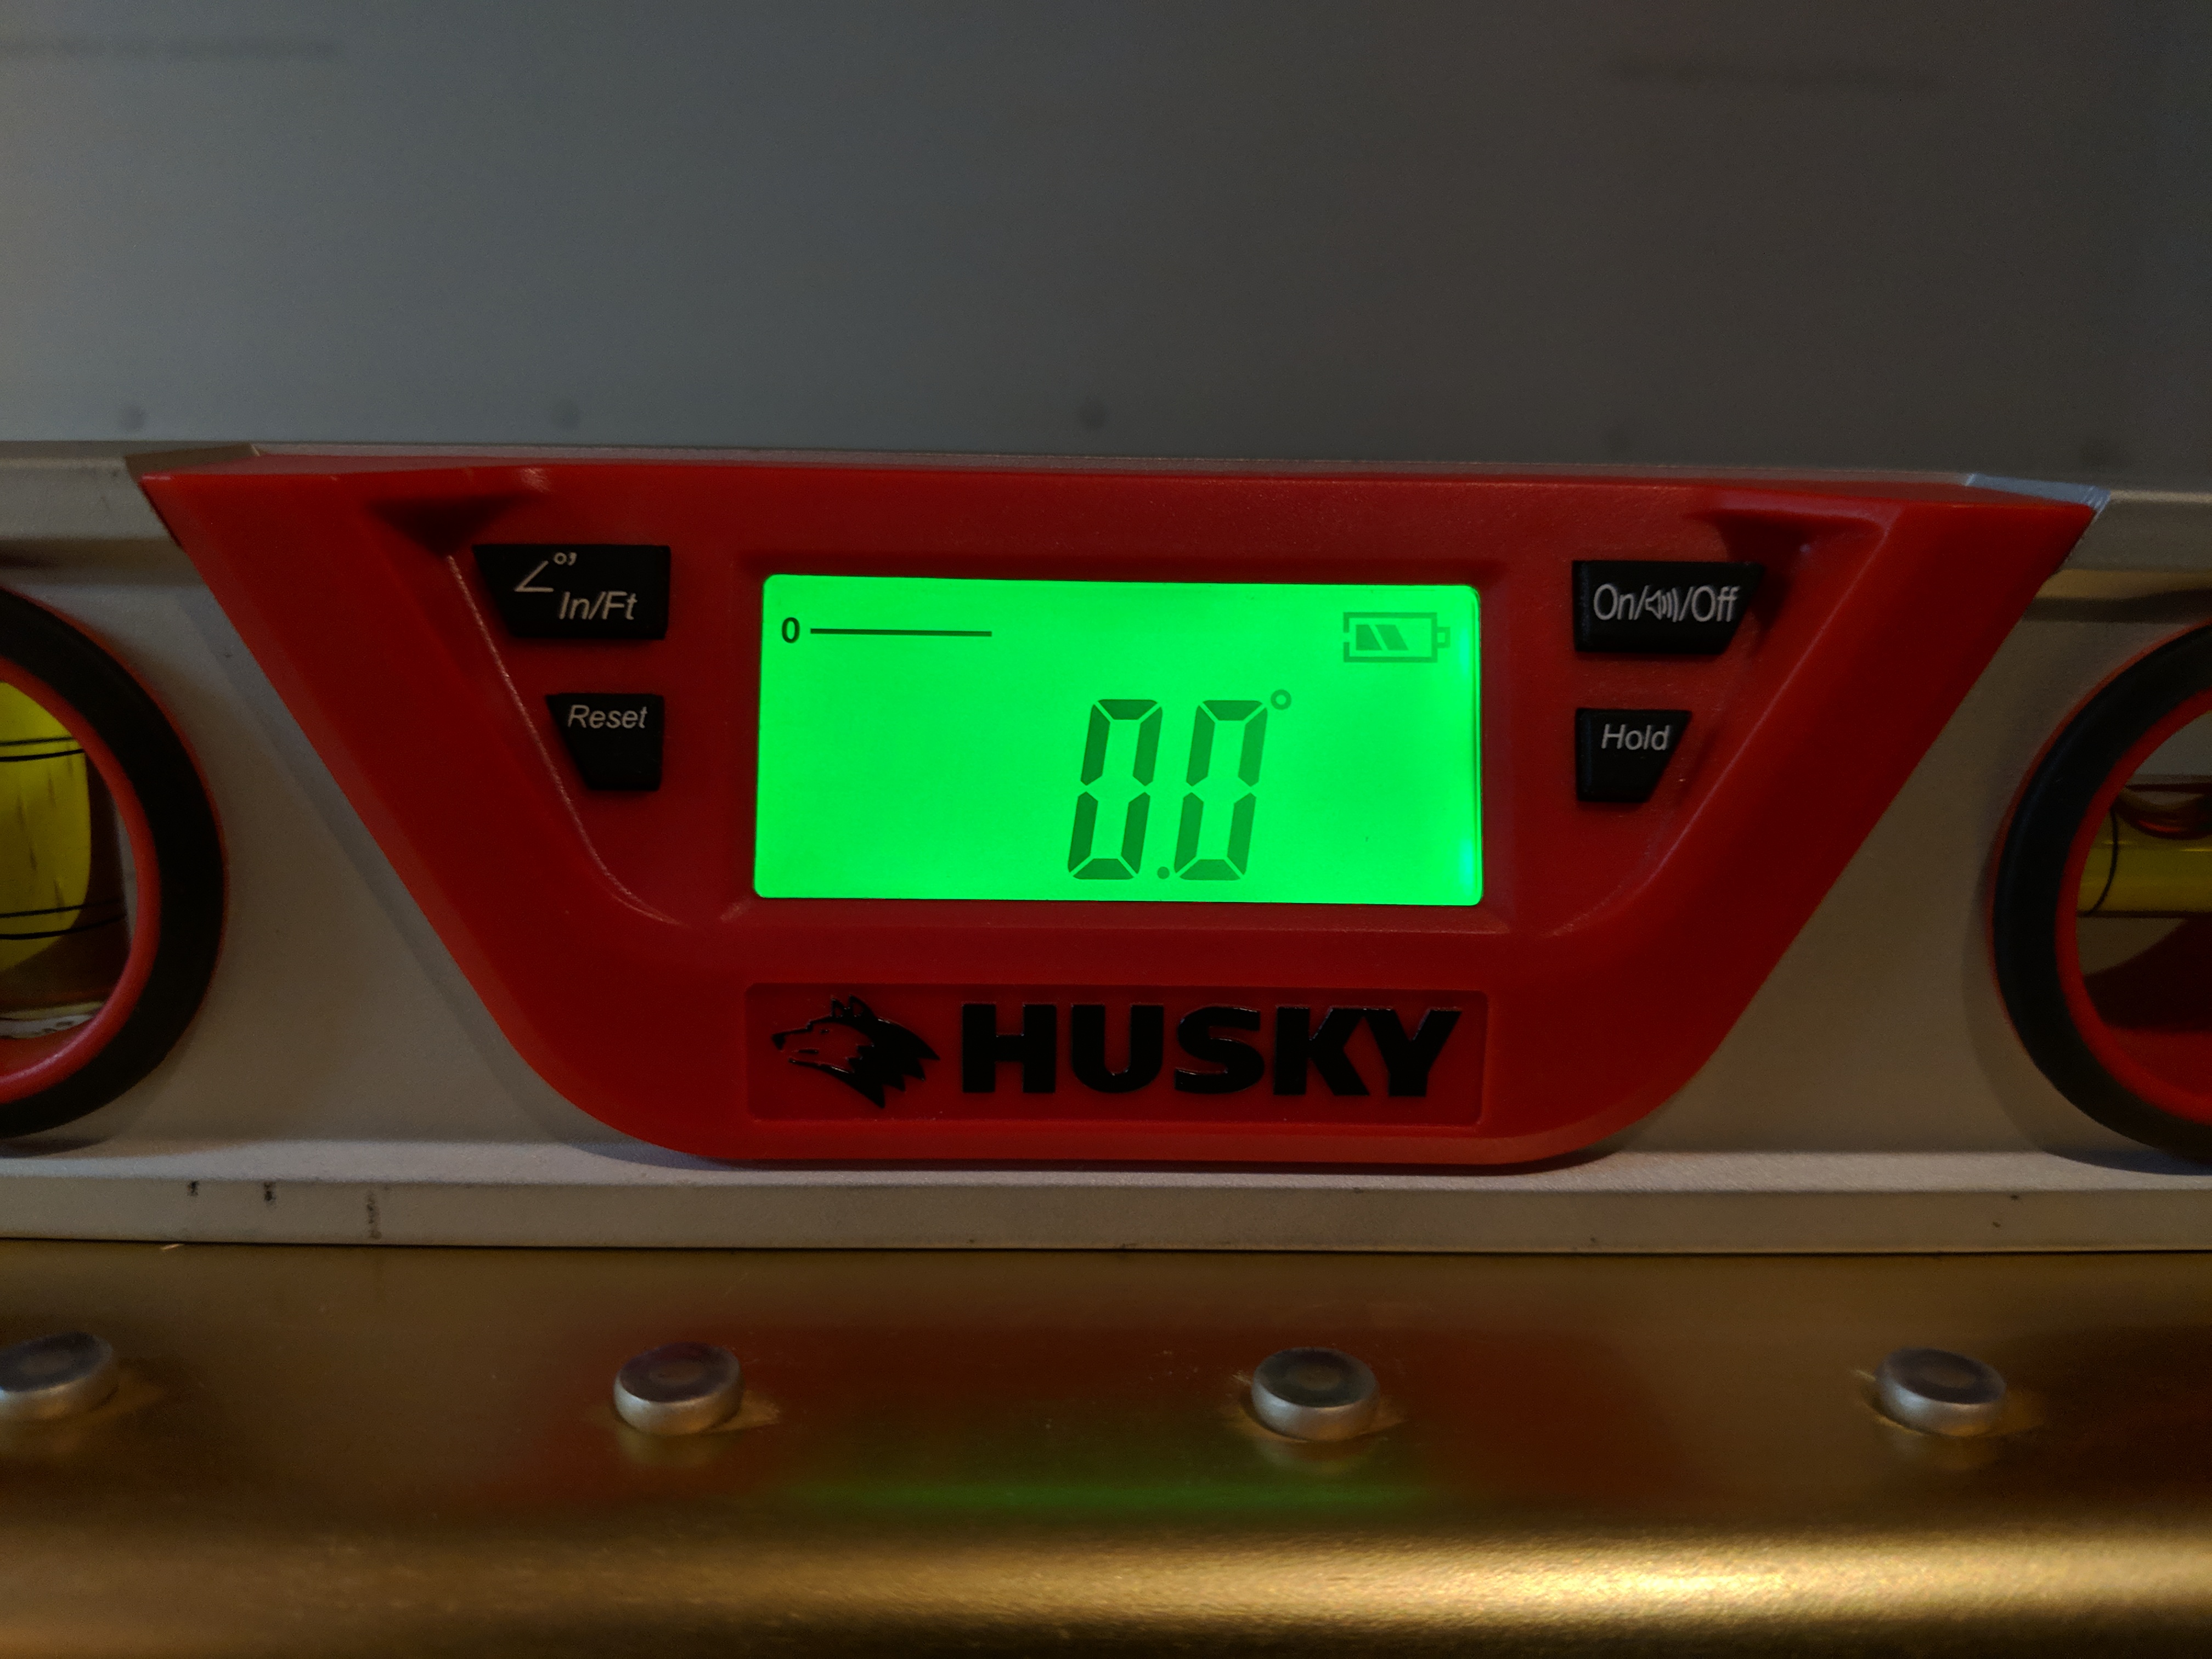
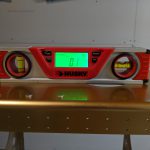
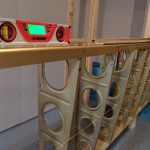
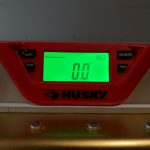
I double checked it with my digital level and the left wing was dead on straight and level.


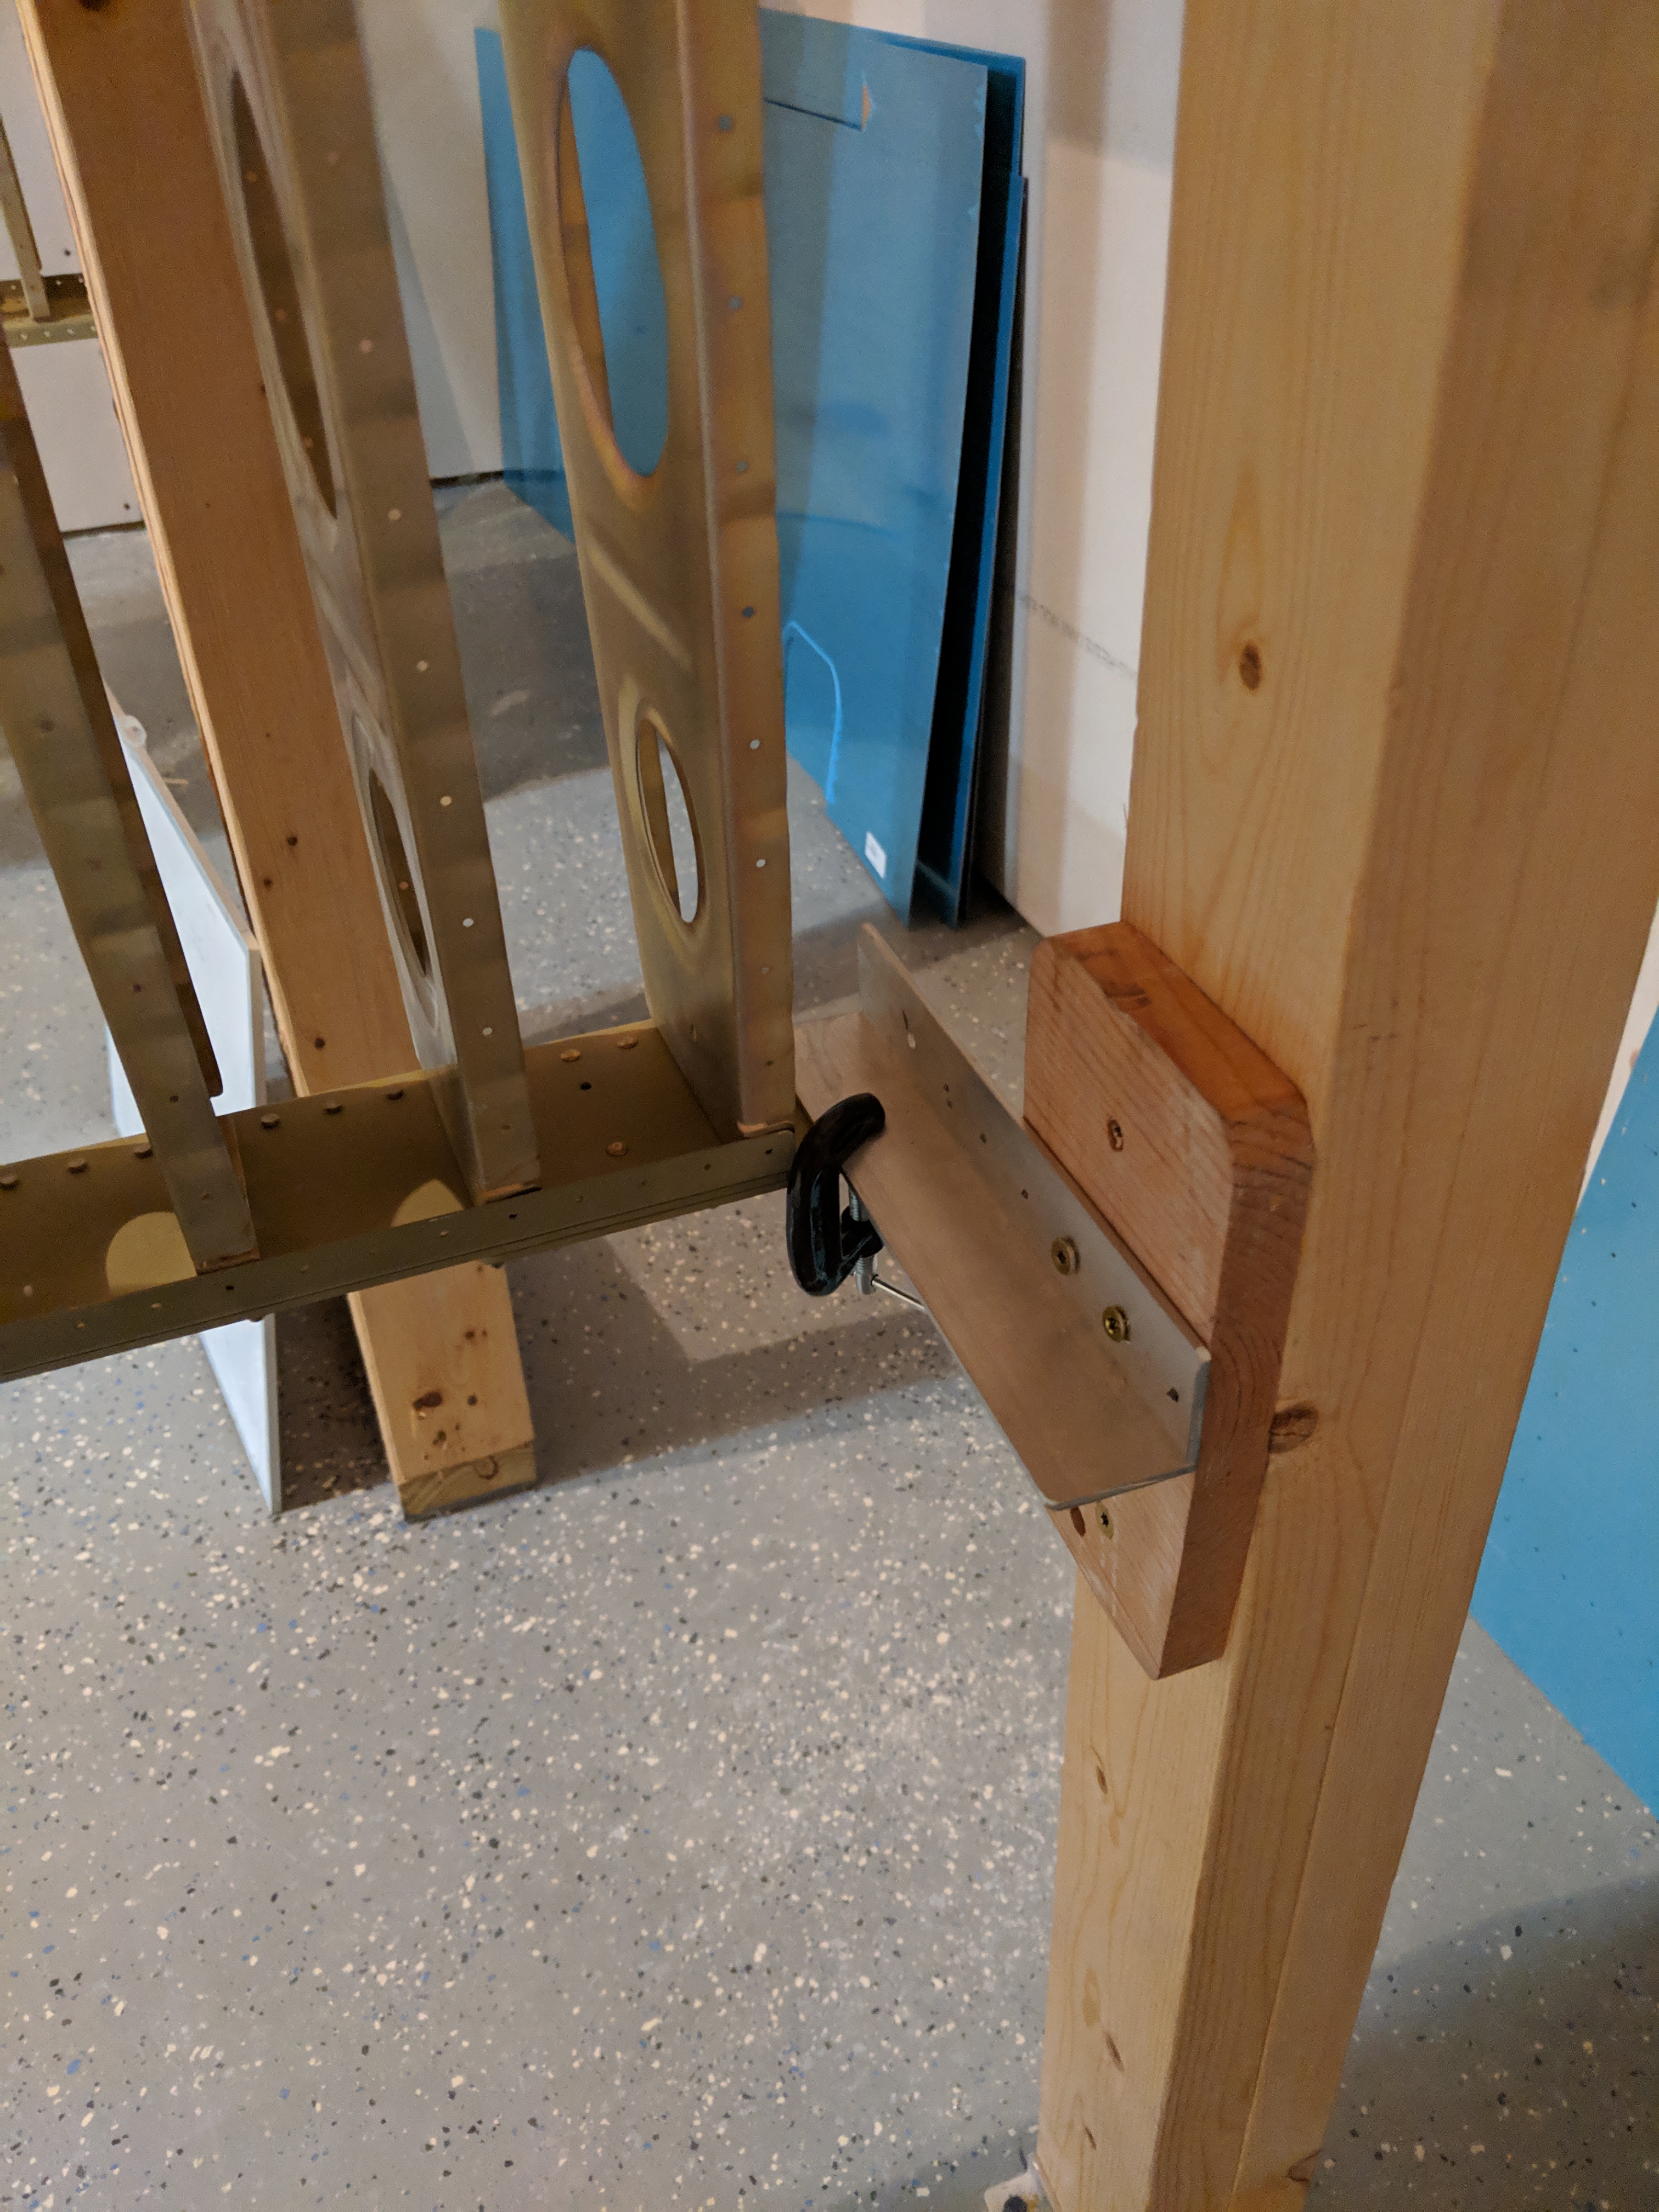
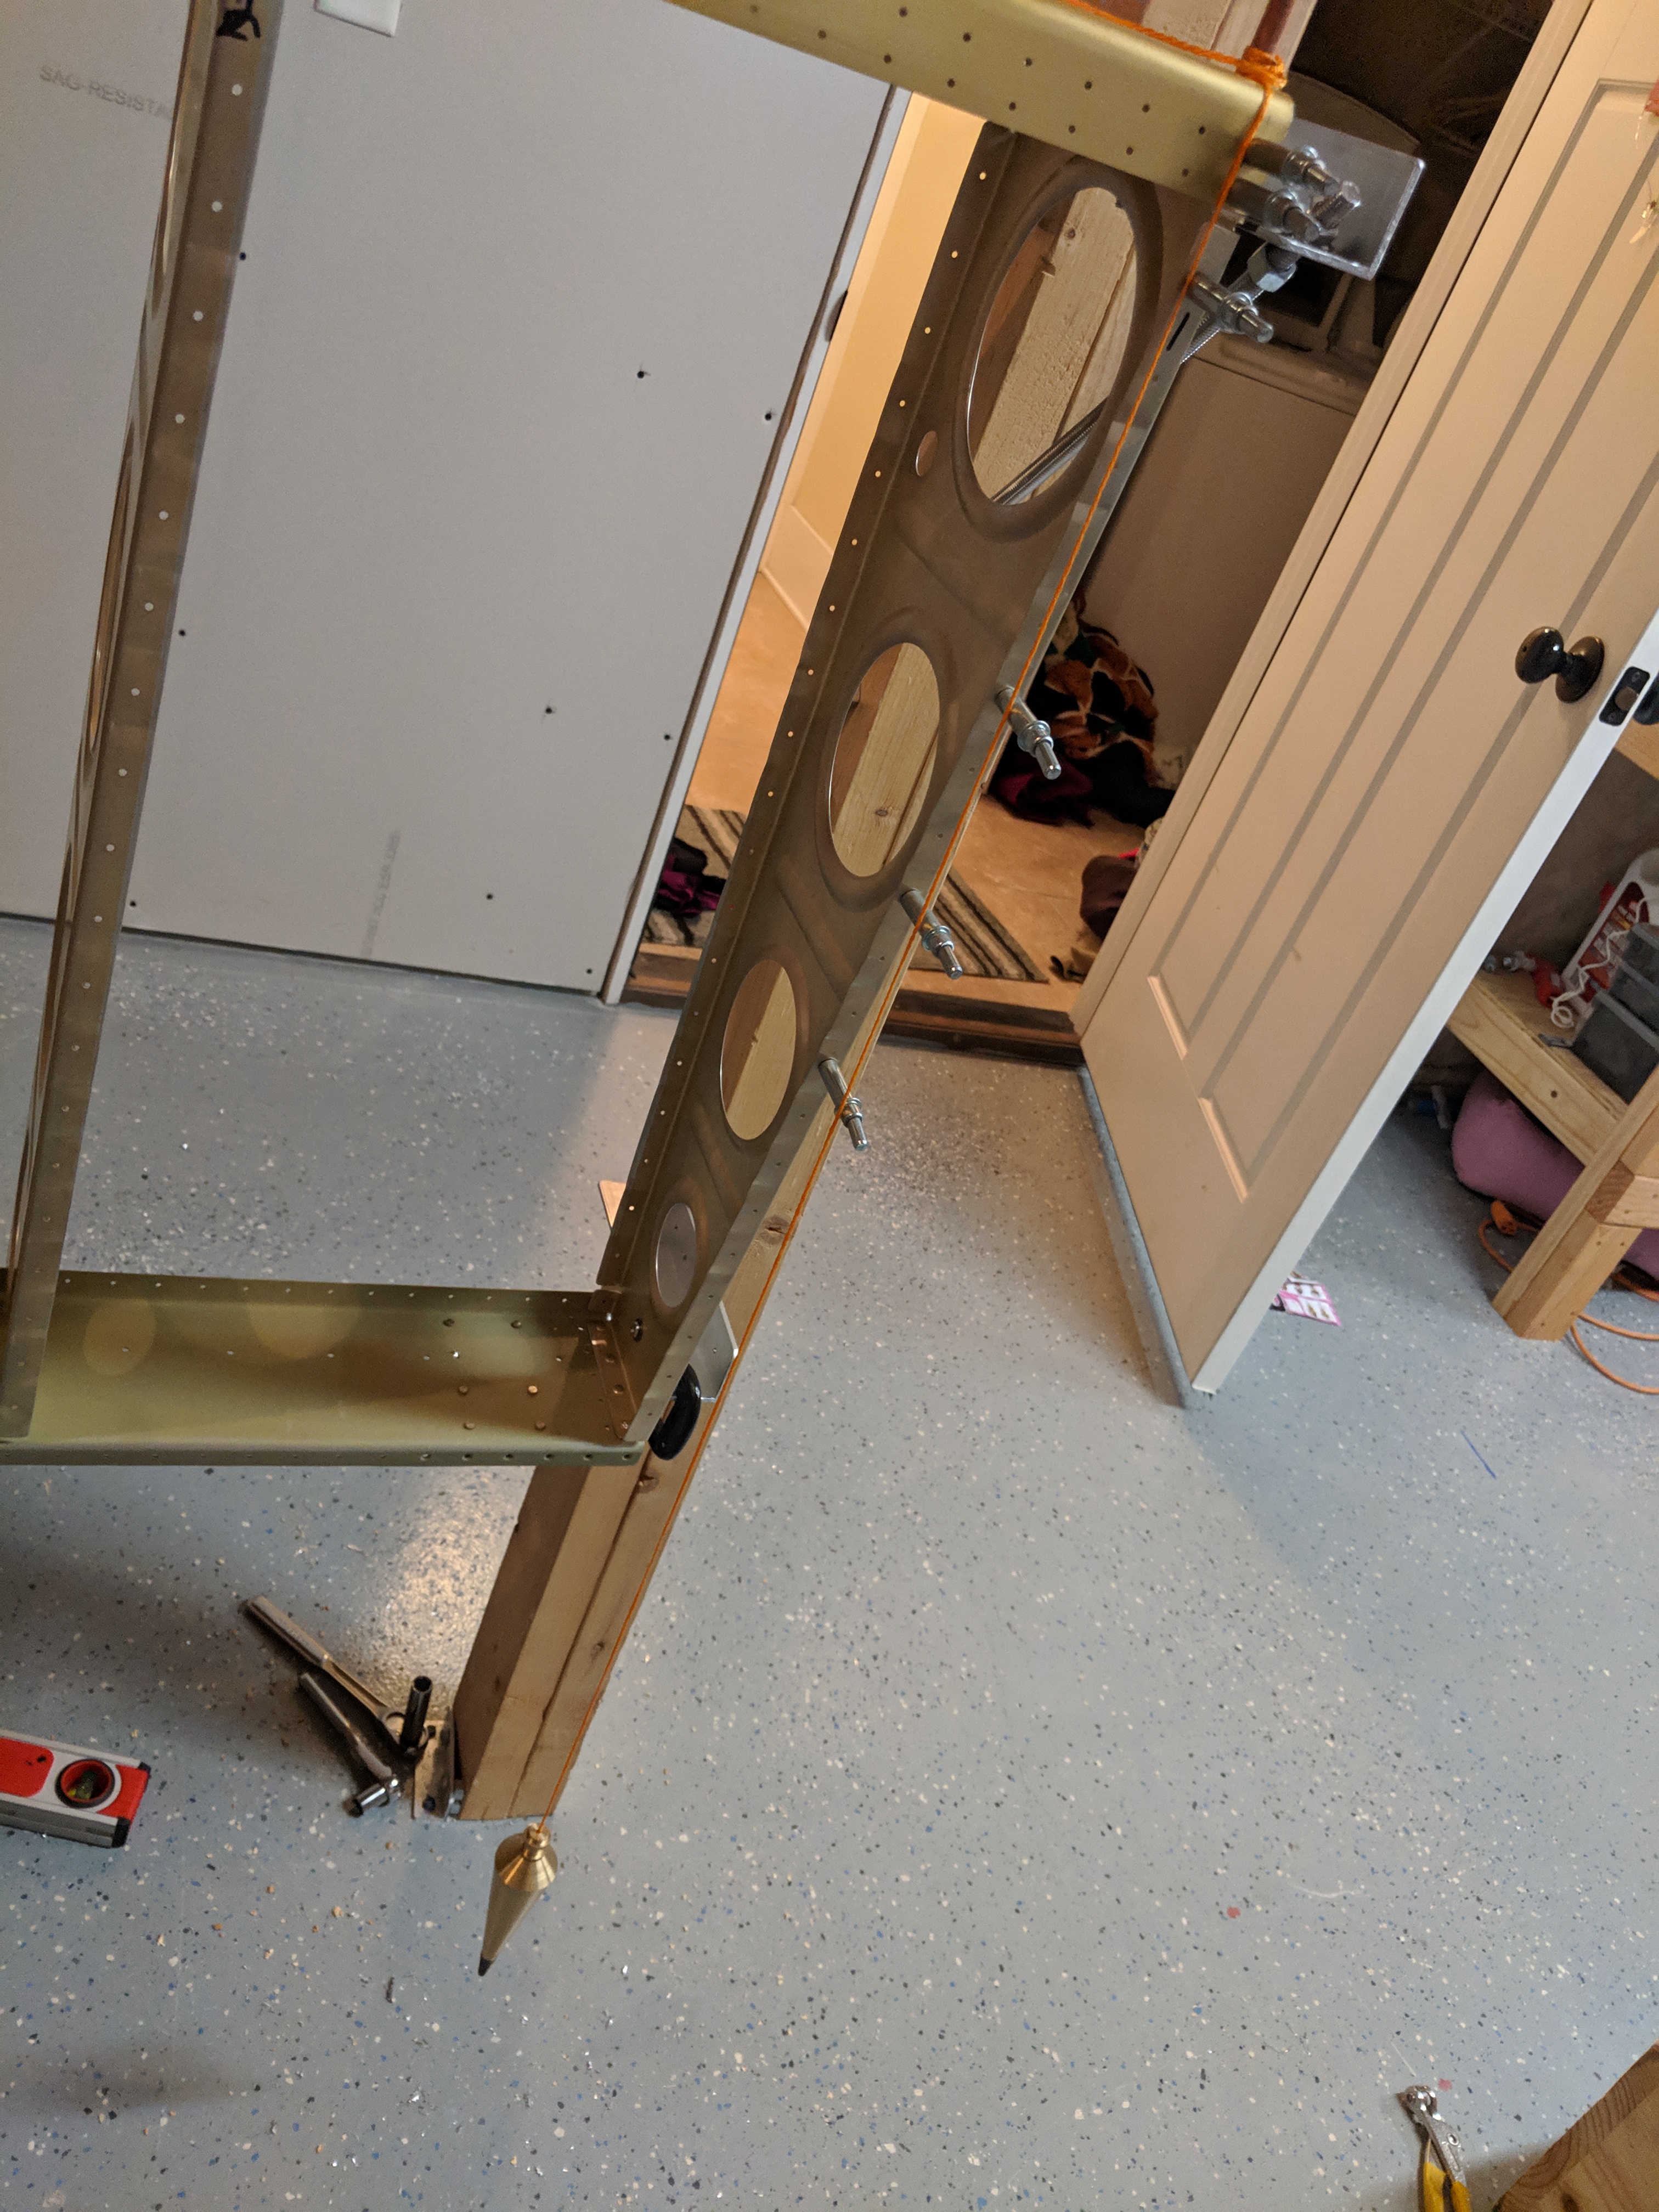
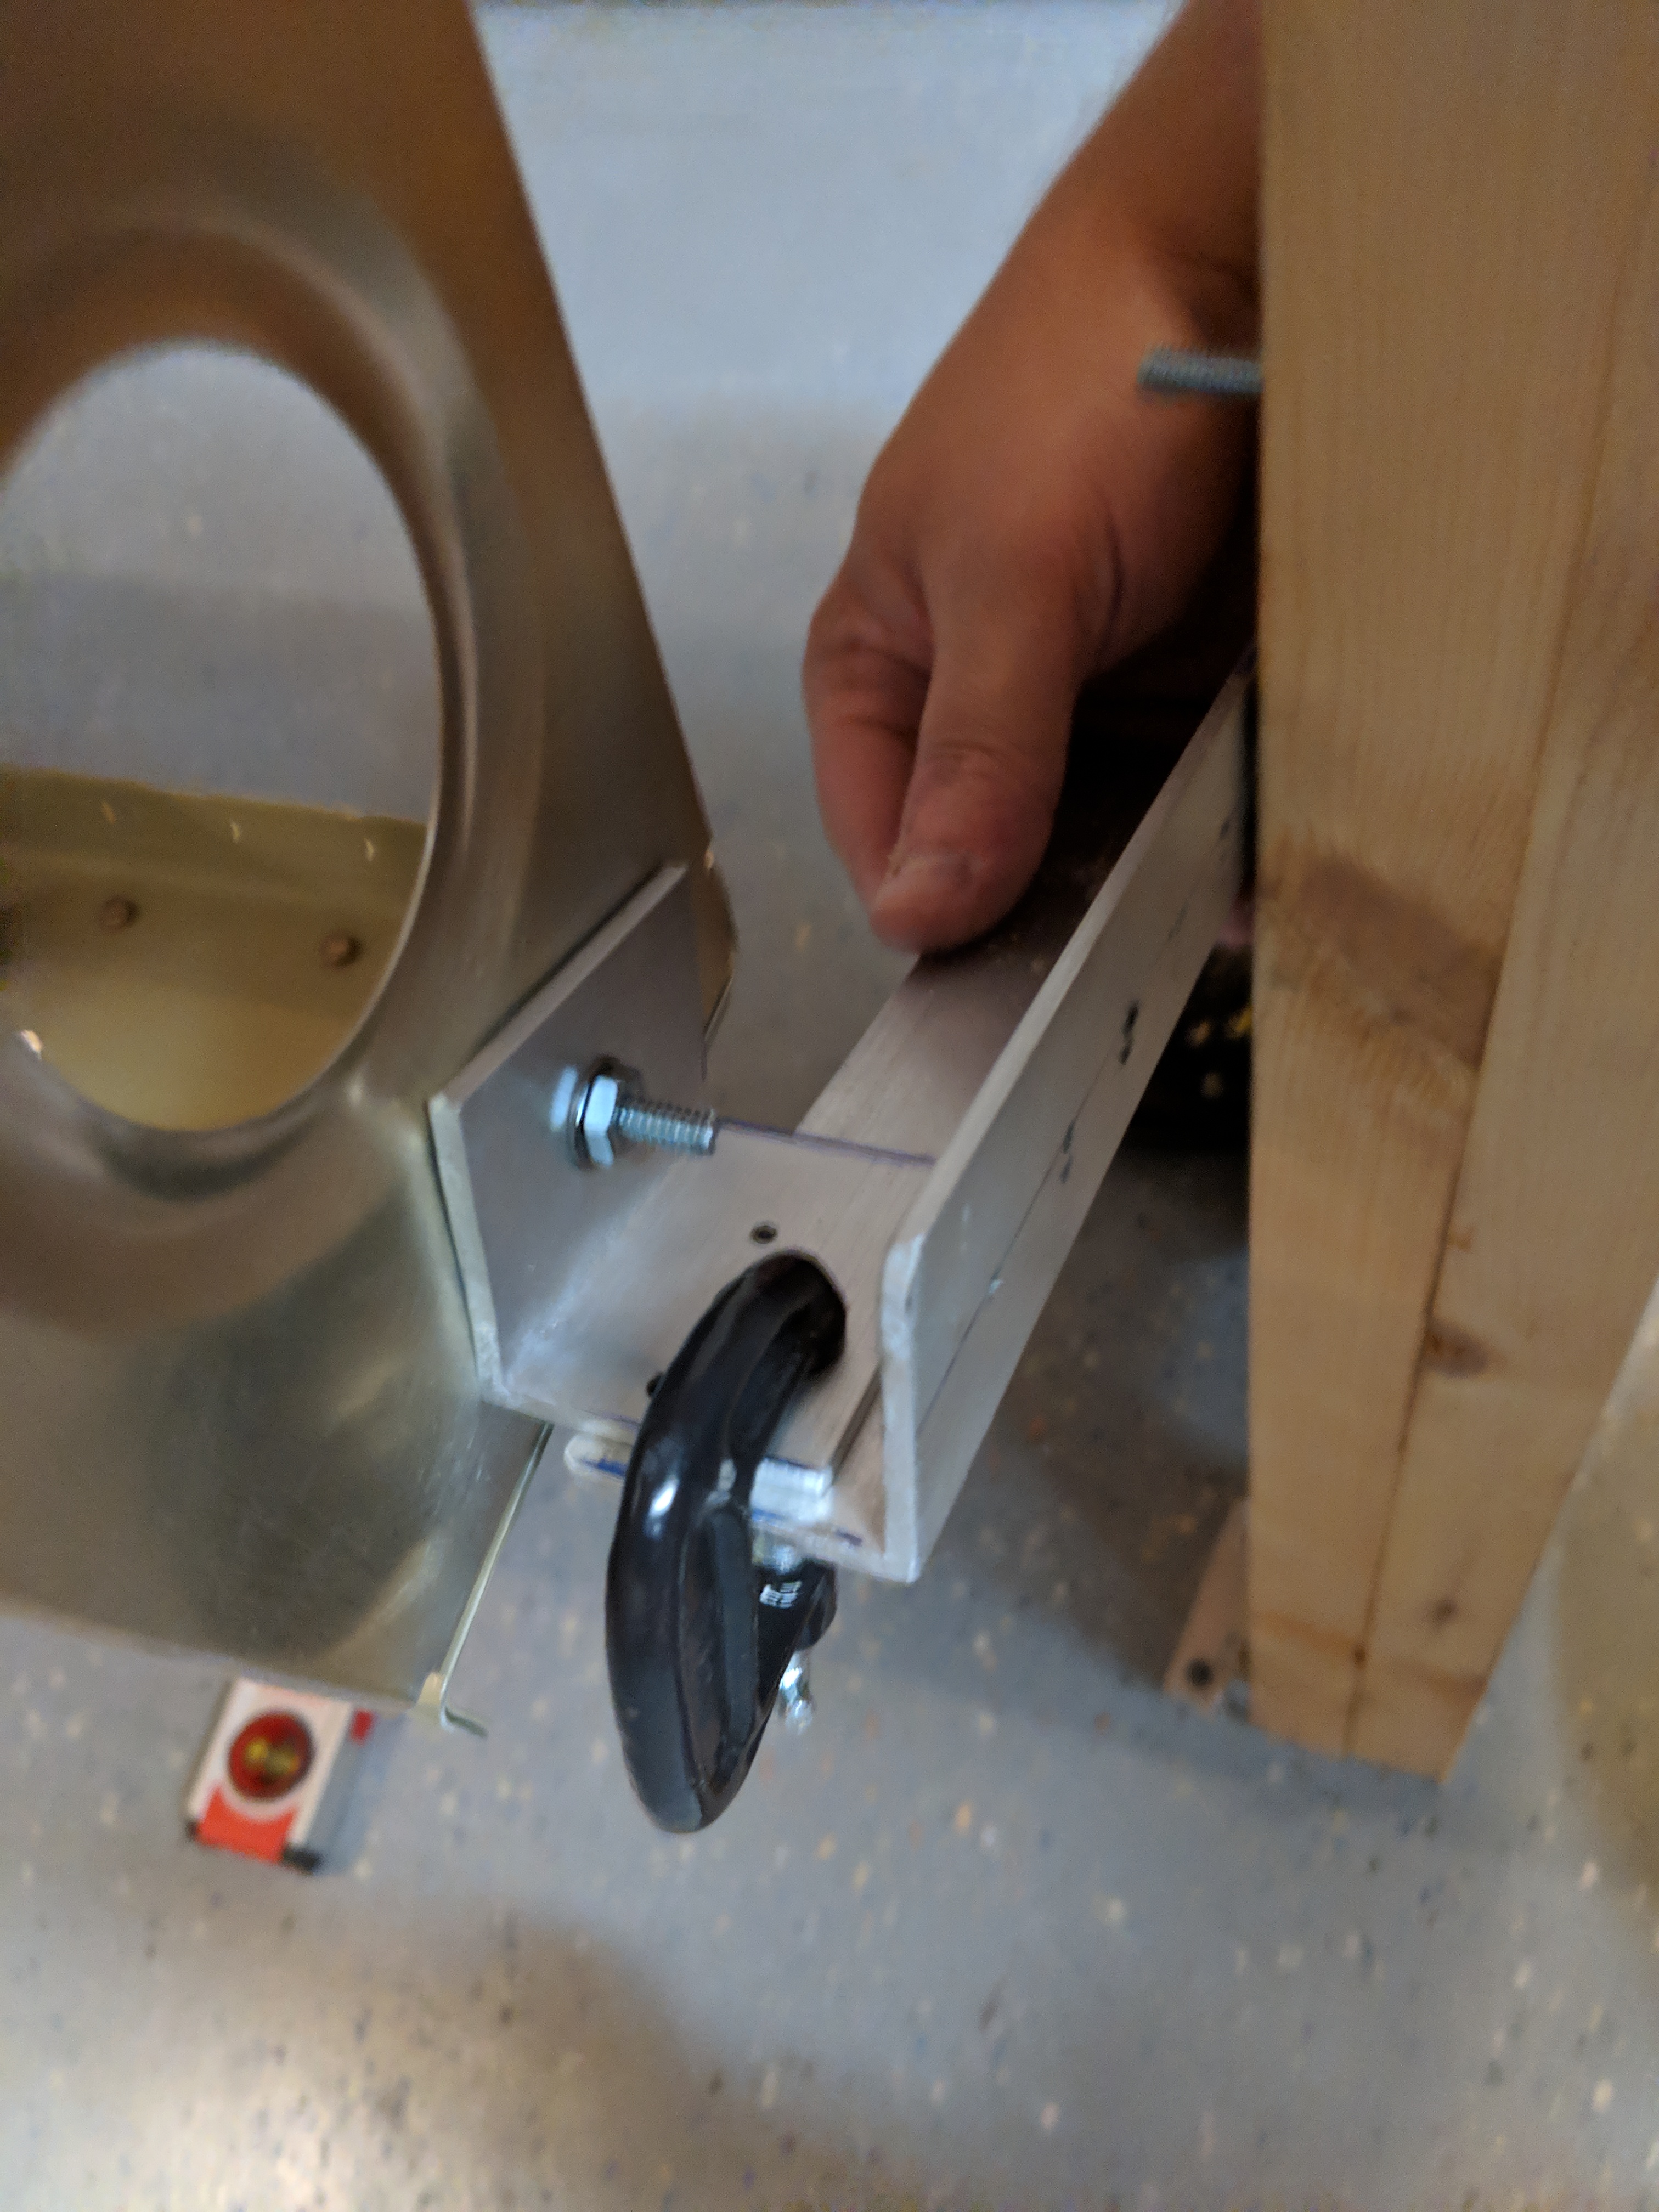
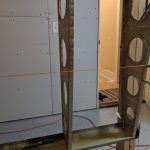
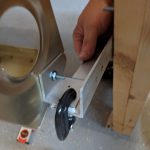
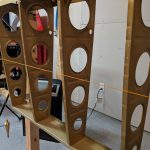
Having knocked the left wing out, it was time to move on to the right wing. I still needed to get it clamped down and then make up the brackets for the rear spar, so I moved on to that next. I did it just like the left wing essentially, I use some scrap angle aluminum and an existing #12 hole in the outboard most rib and bolted a small piece of angle onto the rib. Then I sandwiched the small piece that I bolted to the rib, onto a longer piece of angle that I leveled up and bolted to the wing stand.
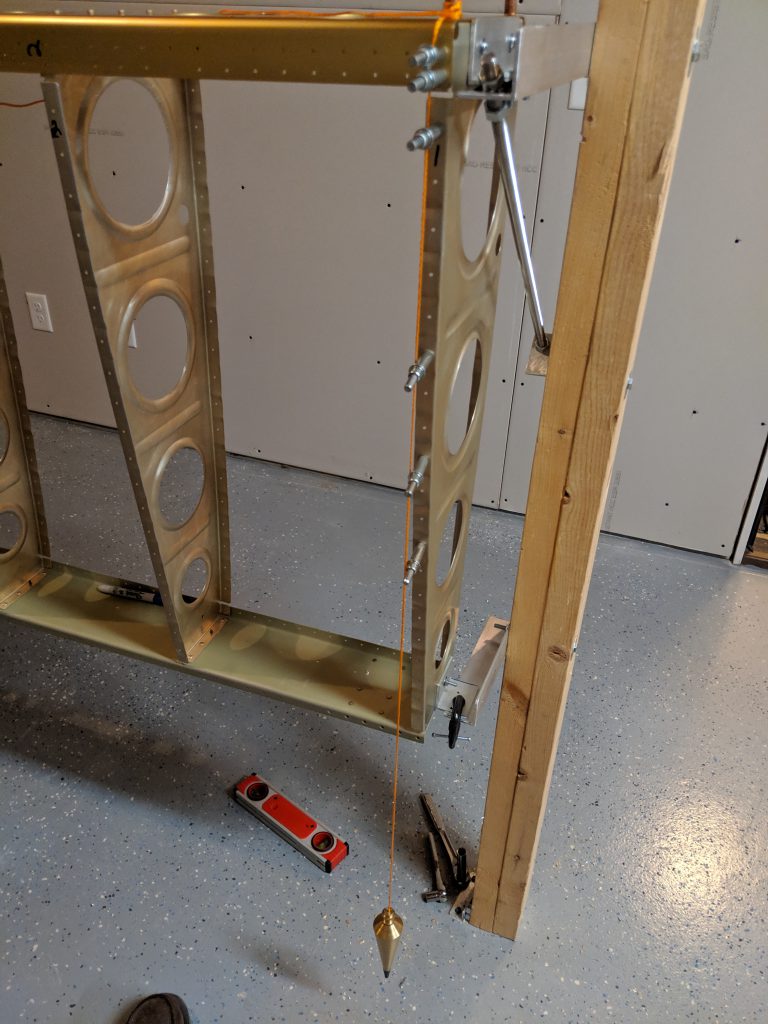

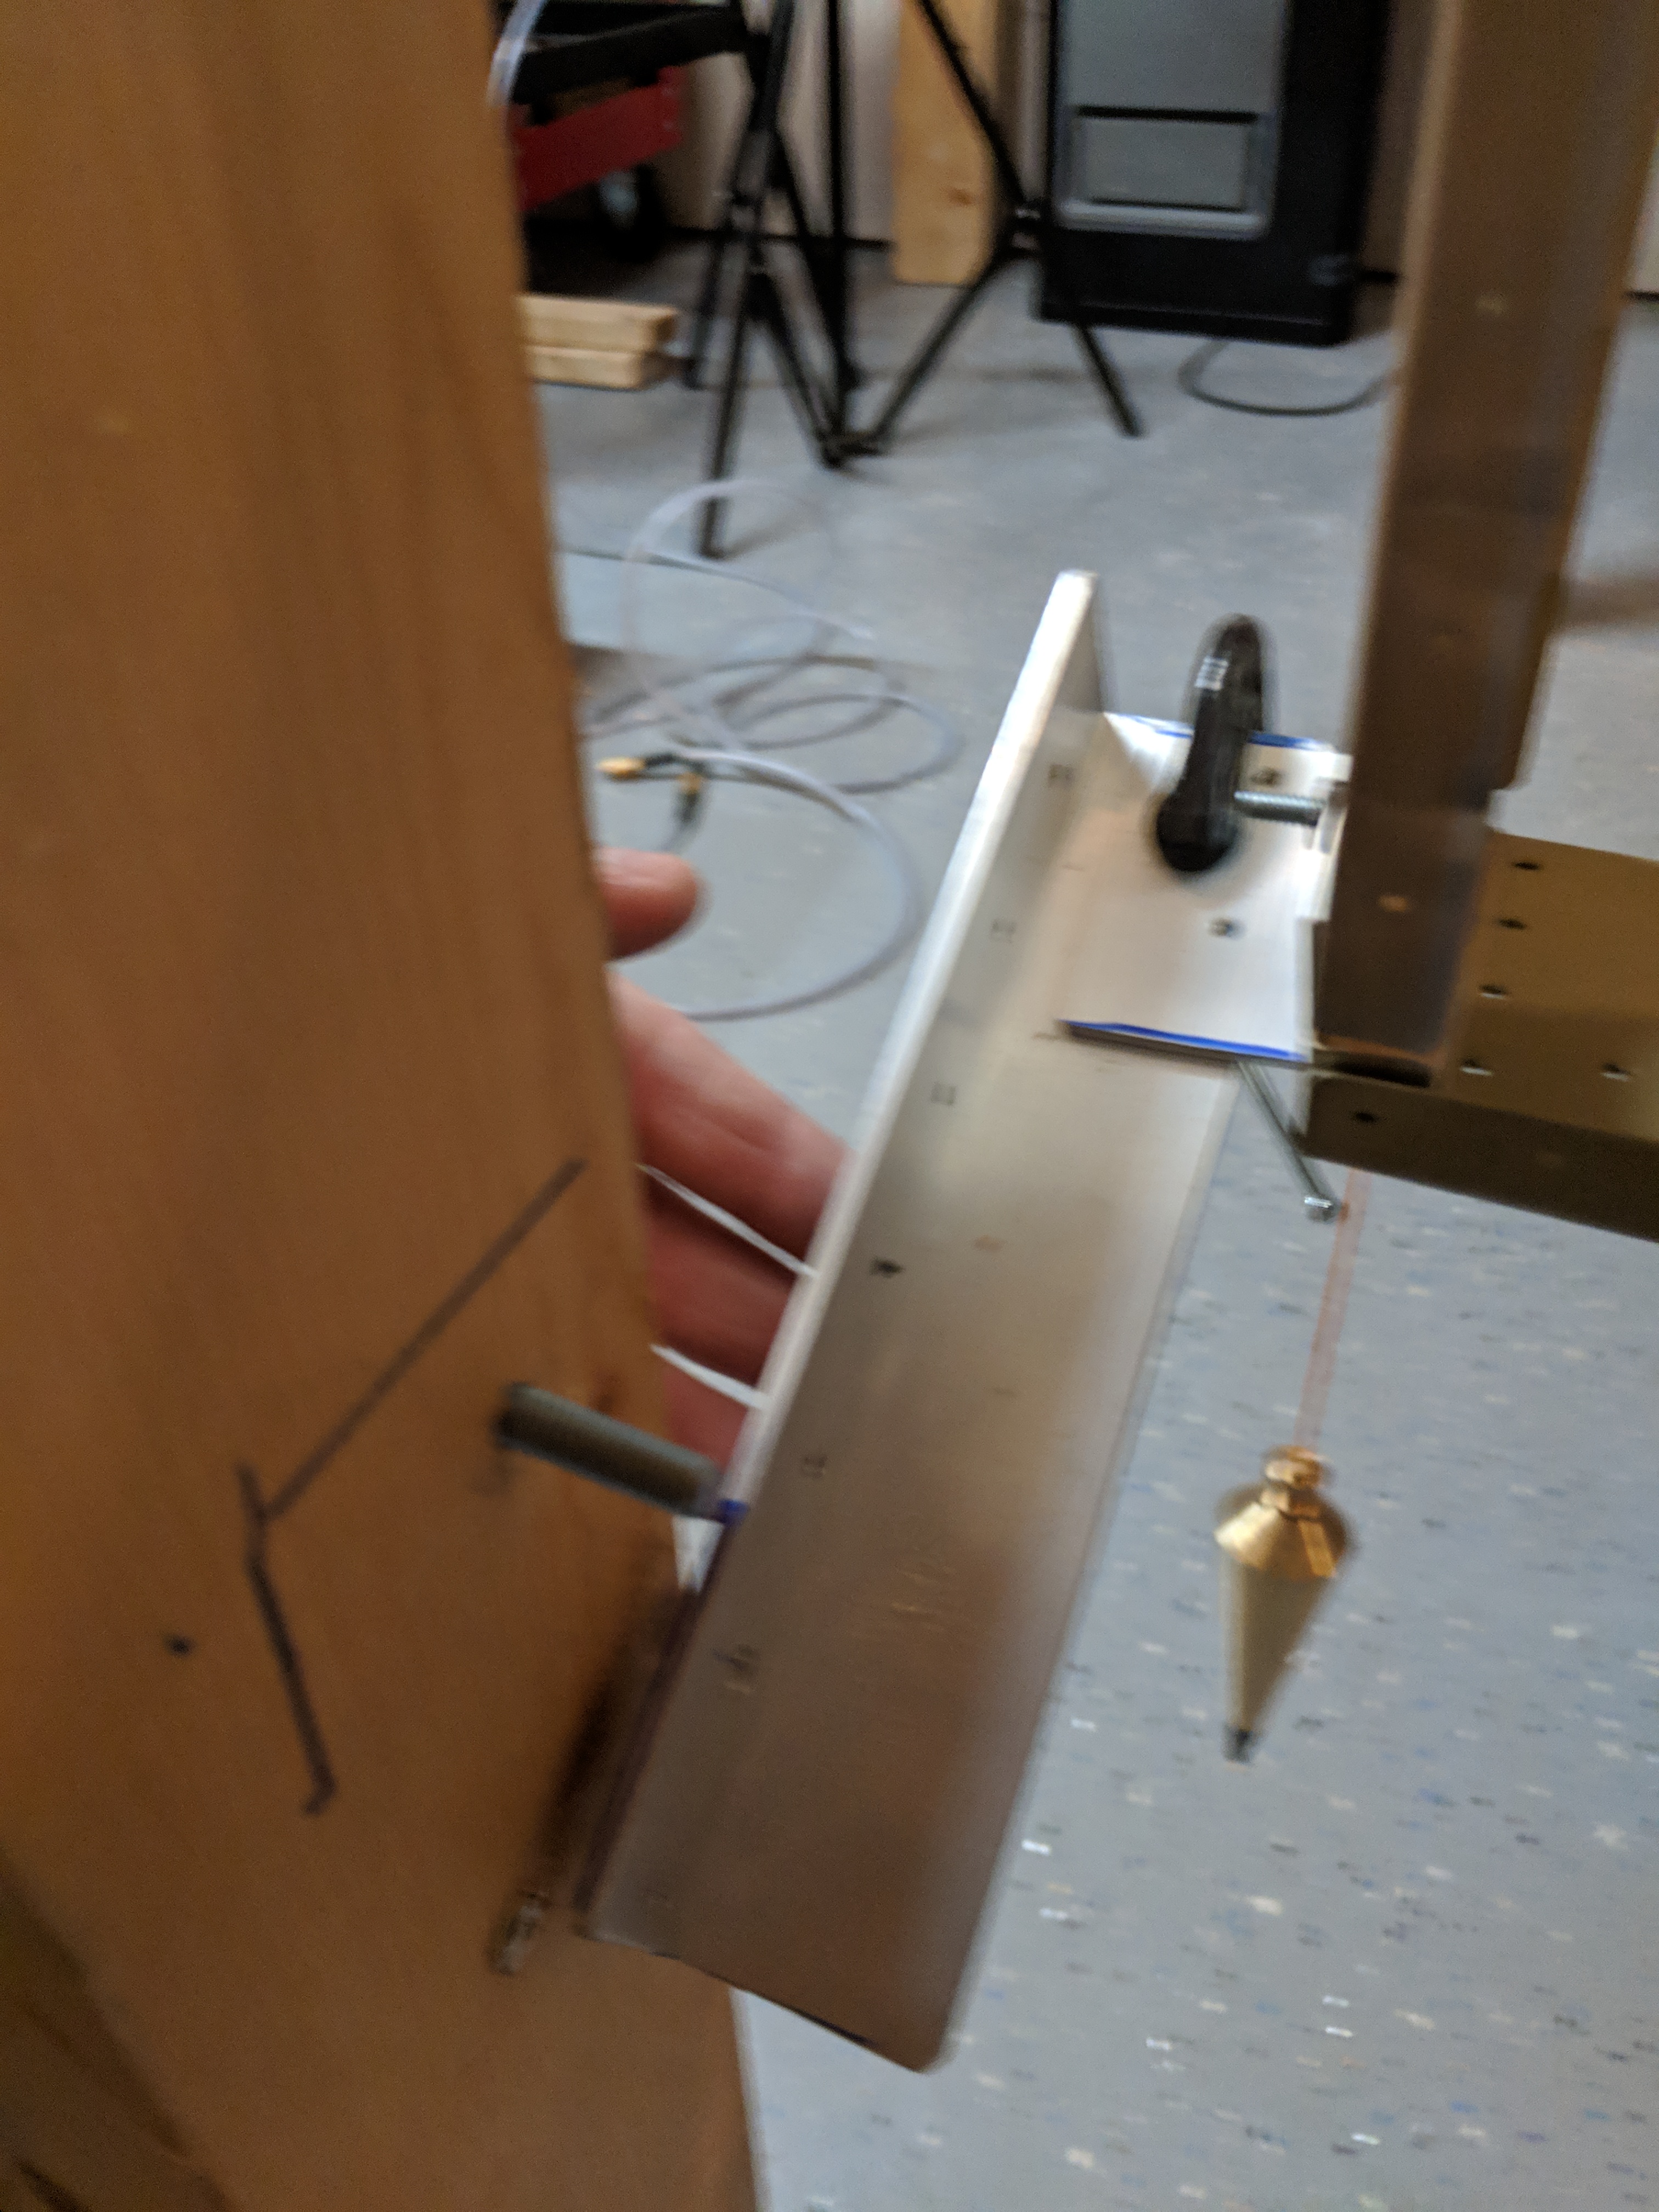
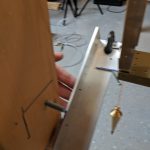
Once I had the long piece bolted to the wing stand, I loosened my C-clamp that was holding the sandwich together so I could make sure the wing and ribs were truly vertical and square. I used my trusty old plumb bob to make sure I had the rivet holes in the outermost rib perfectly vertical and then clamped down the C-clamp on this “sandwich”.
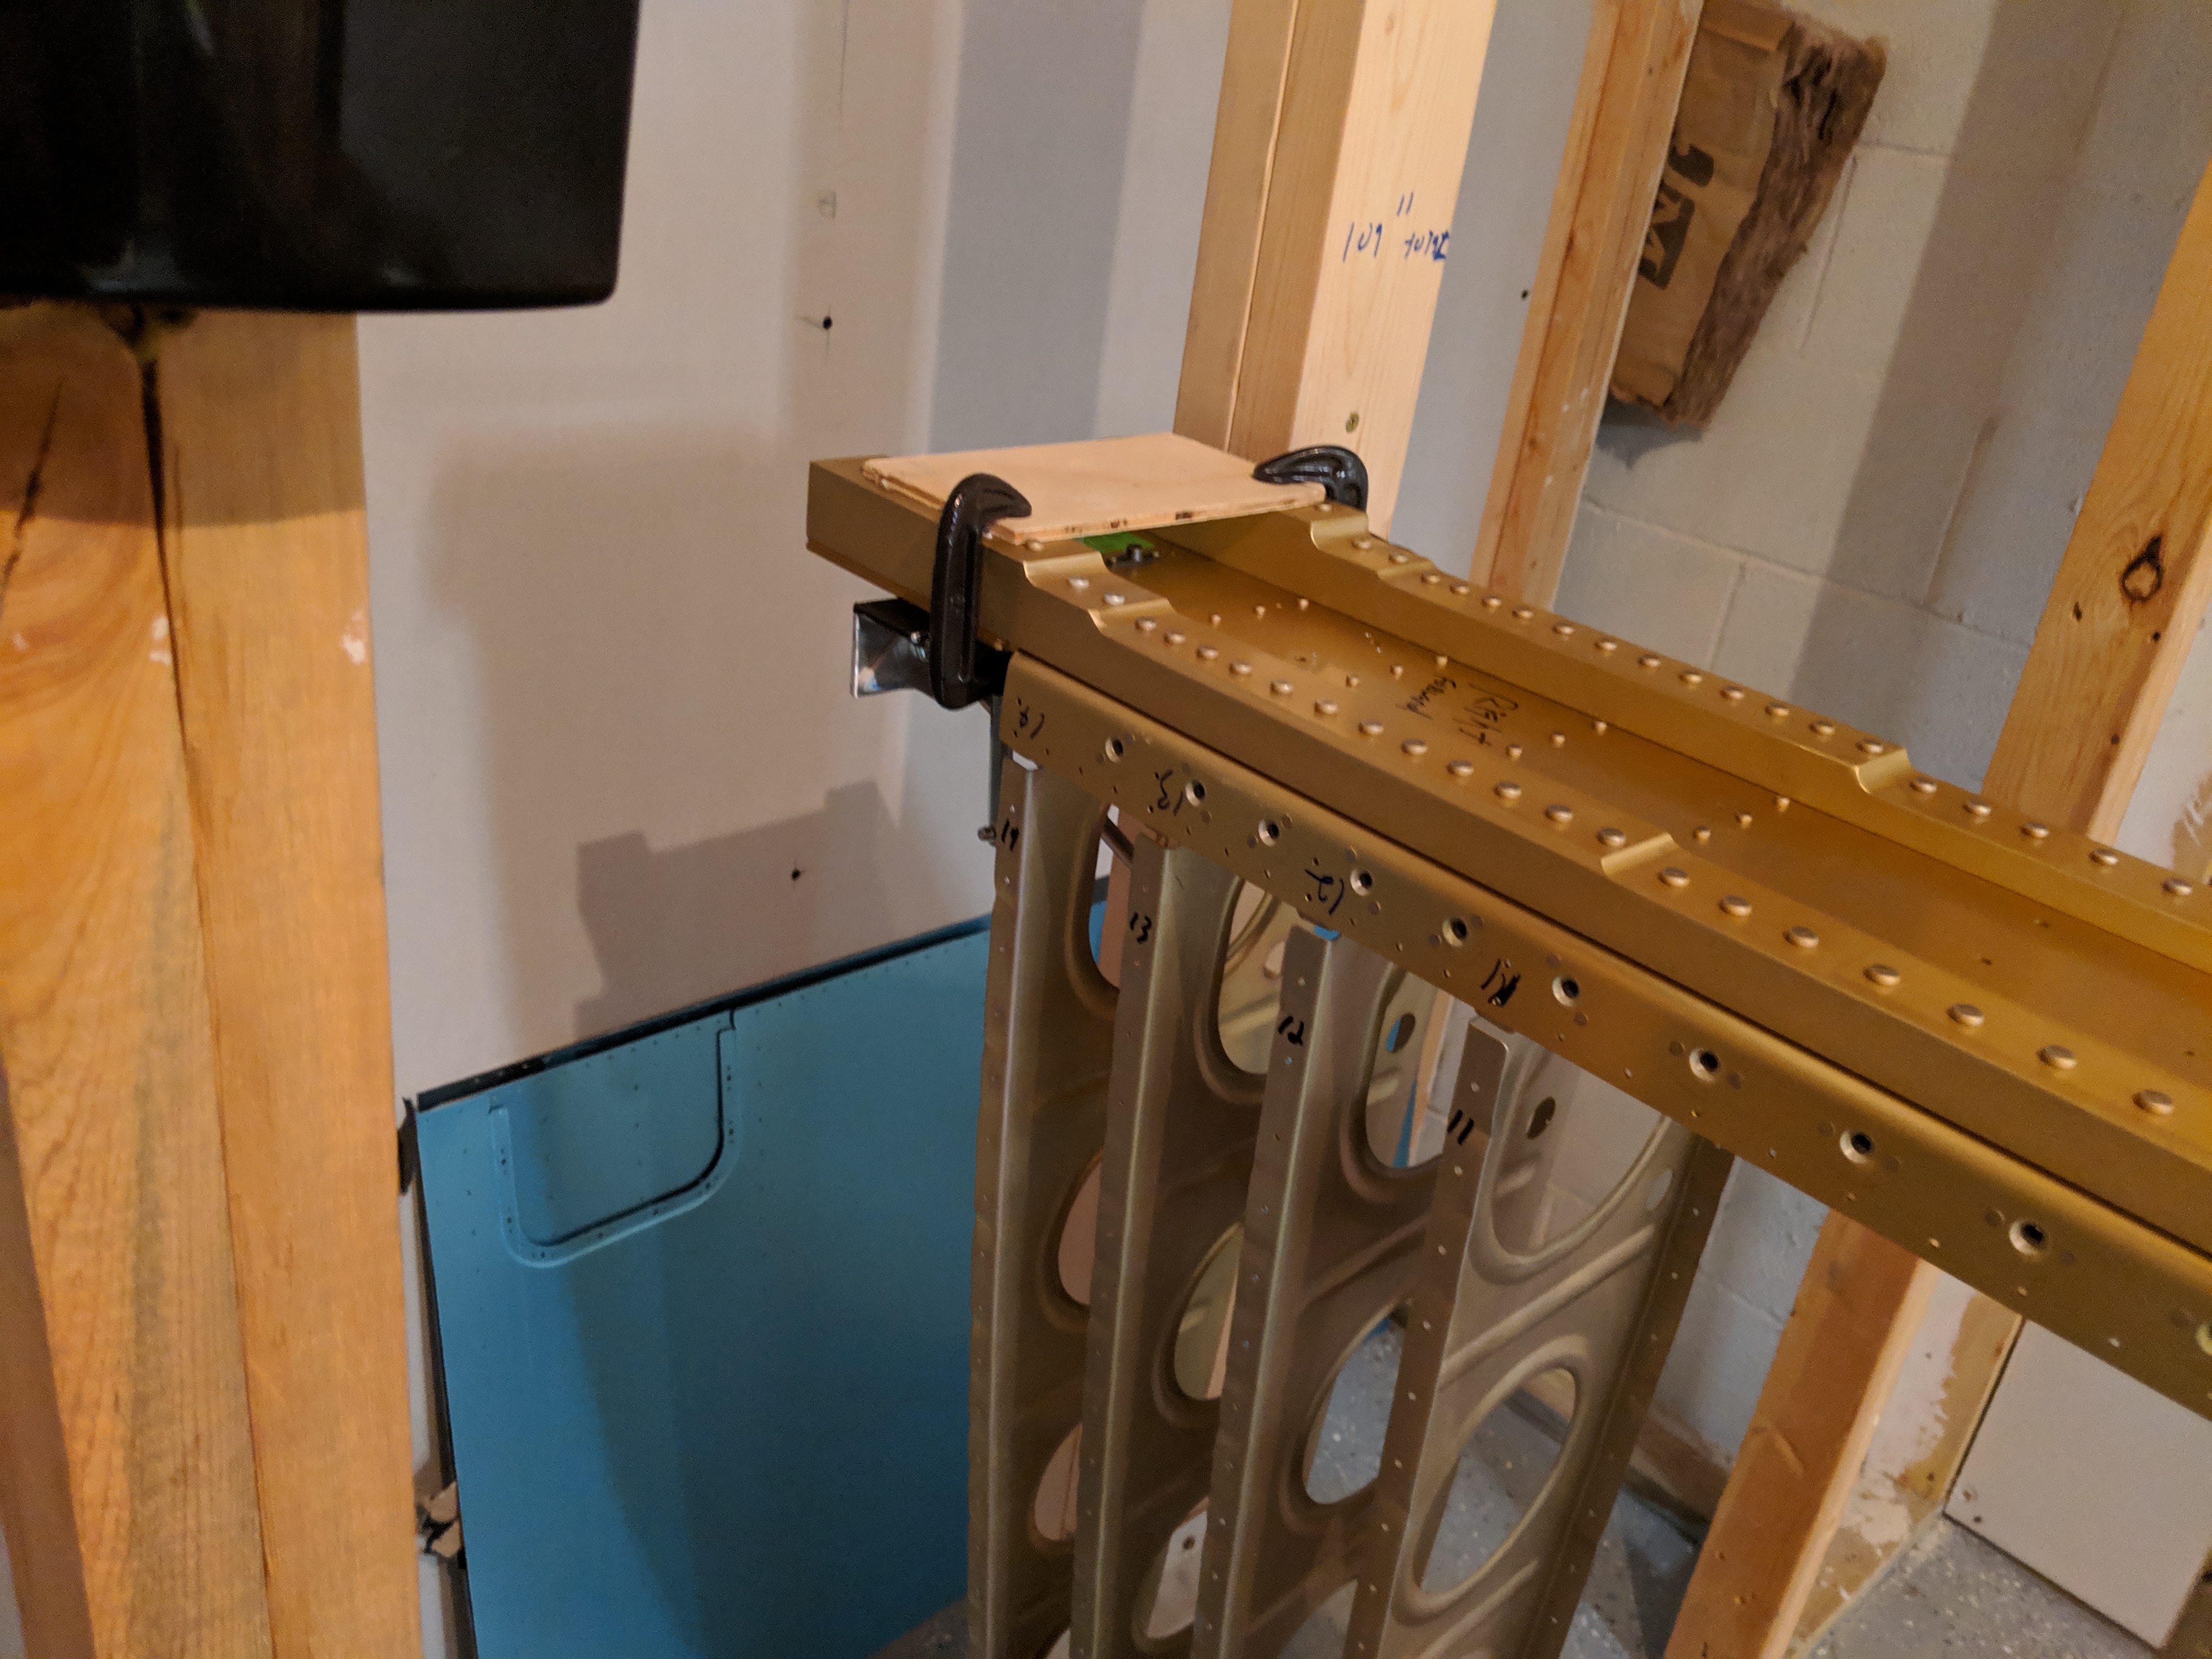
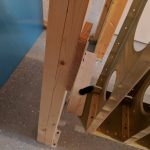
Next up was to move on to the inboard most side of the wing and get the root secured and clamped into its bracket. I used a scrap piece of plywood to help protect the anodizing on the spar from the clamps and measured out from the stand to make sure it was the same distance as the outboard end, and then clamped it down.

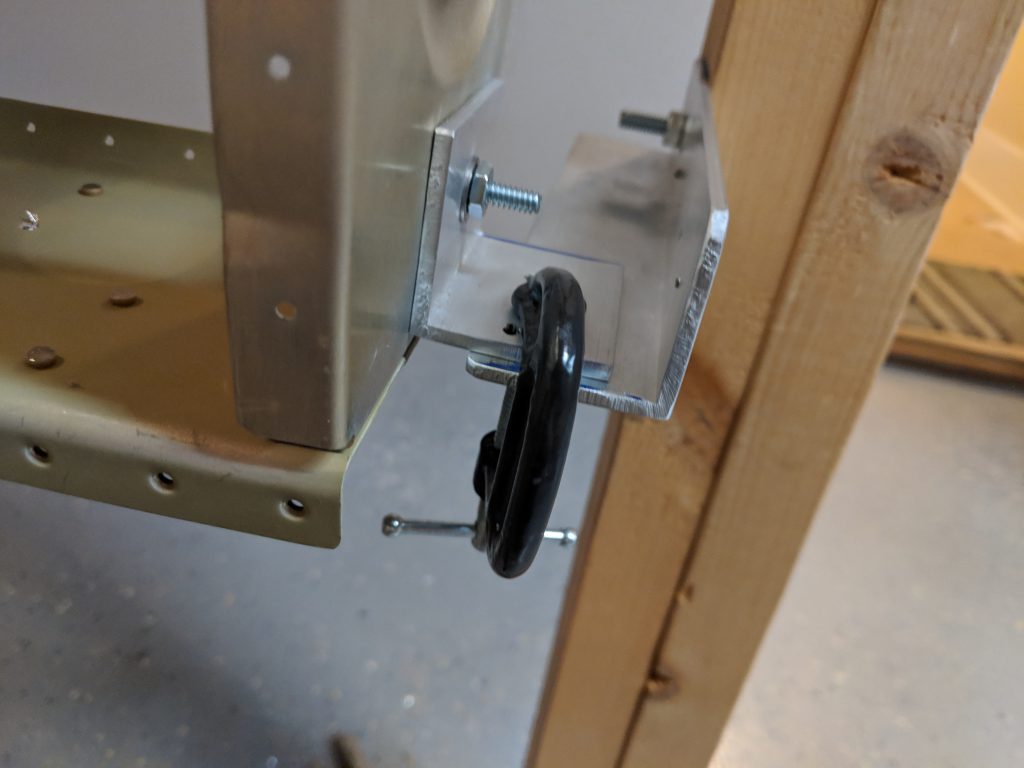
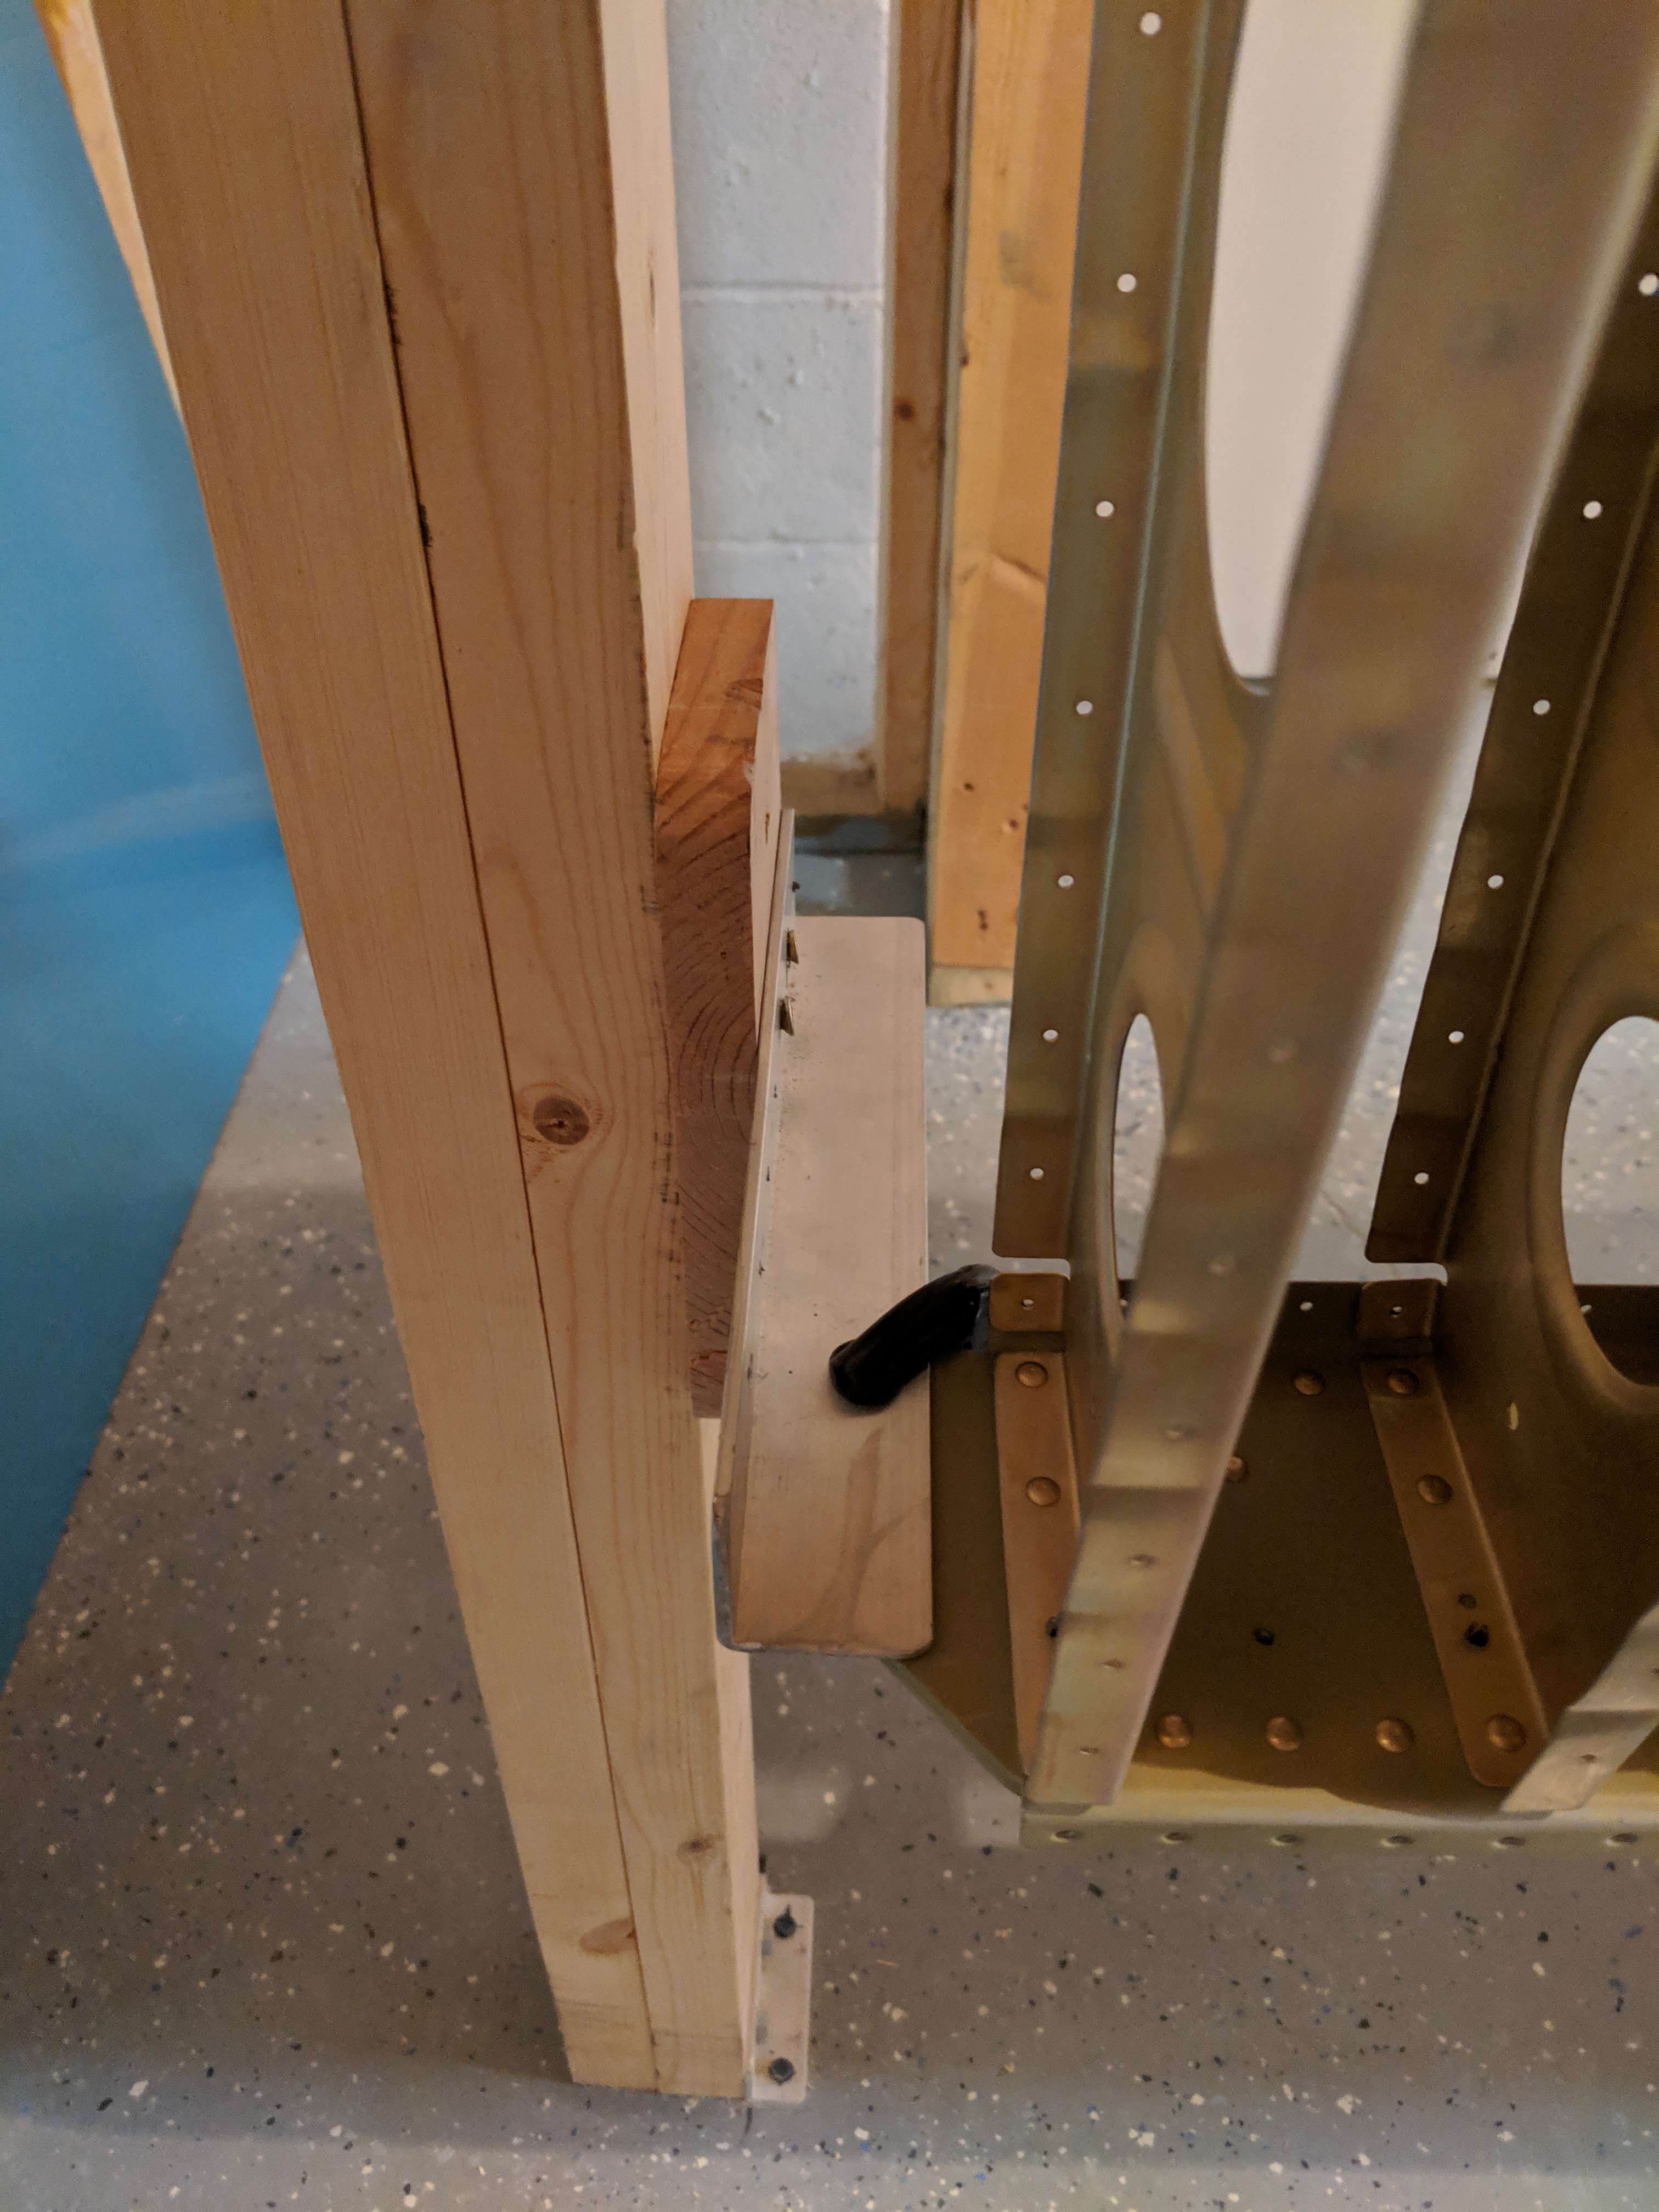
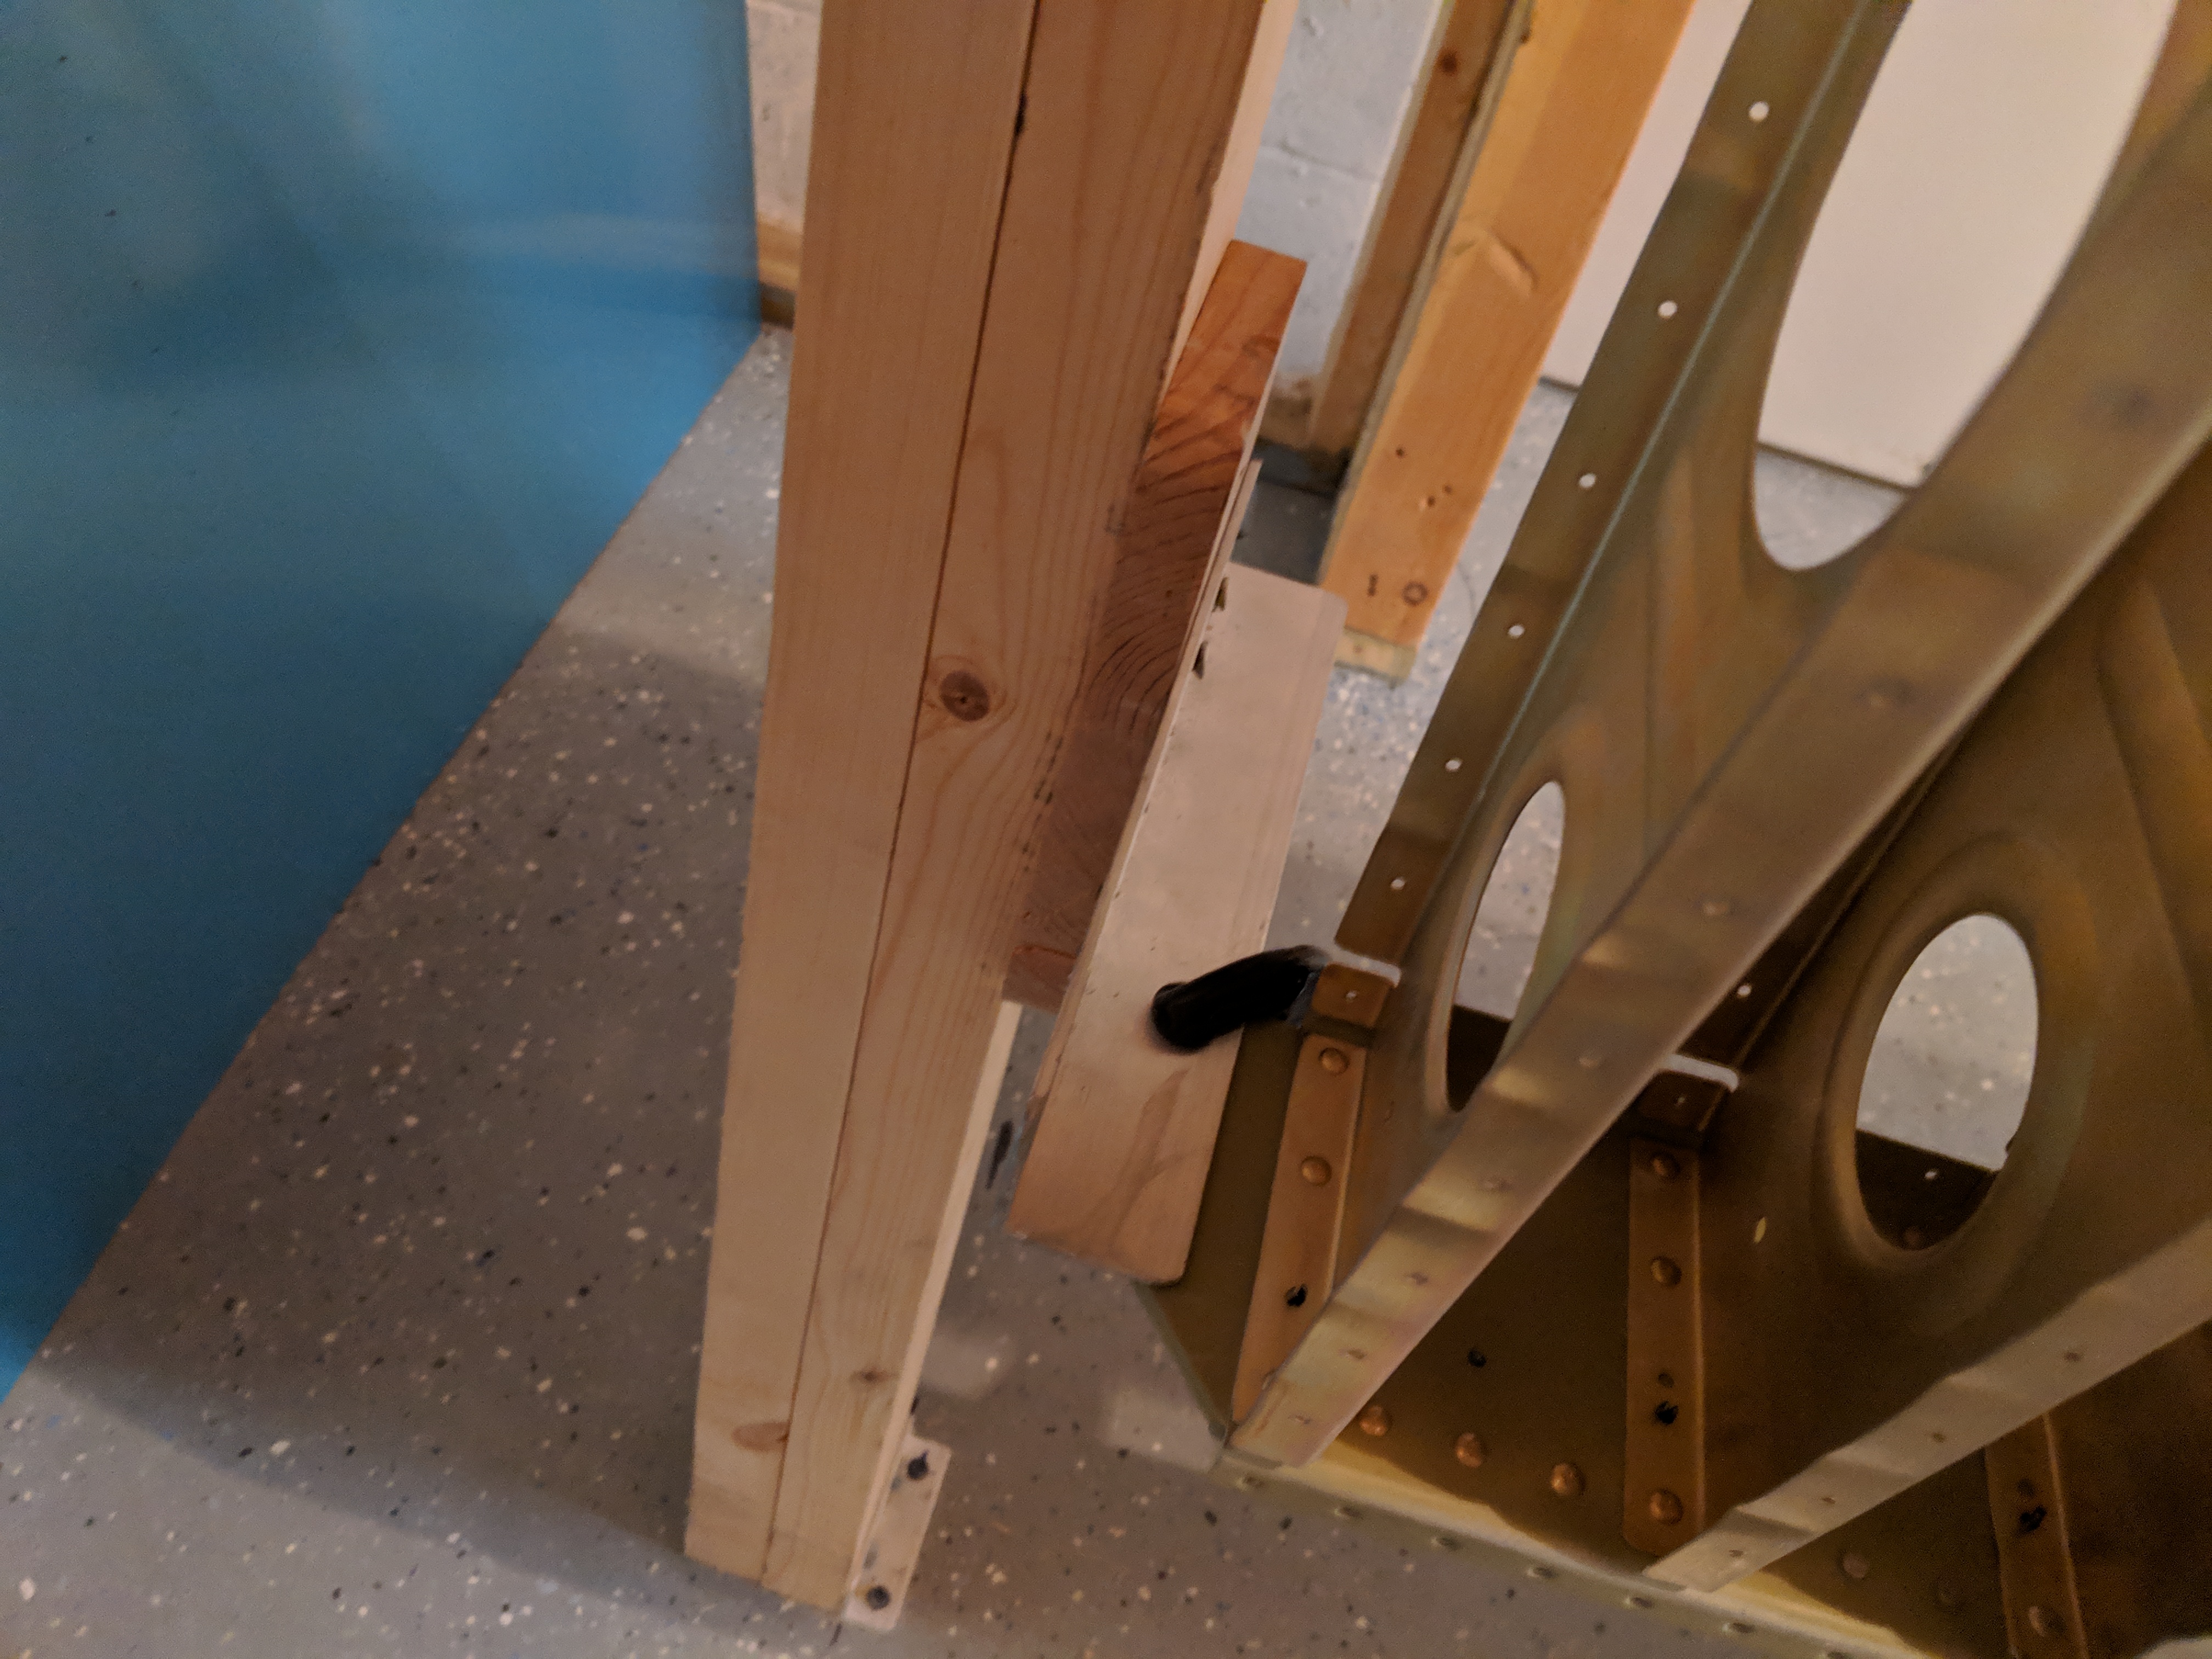
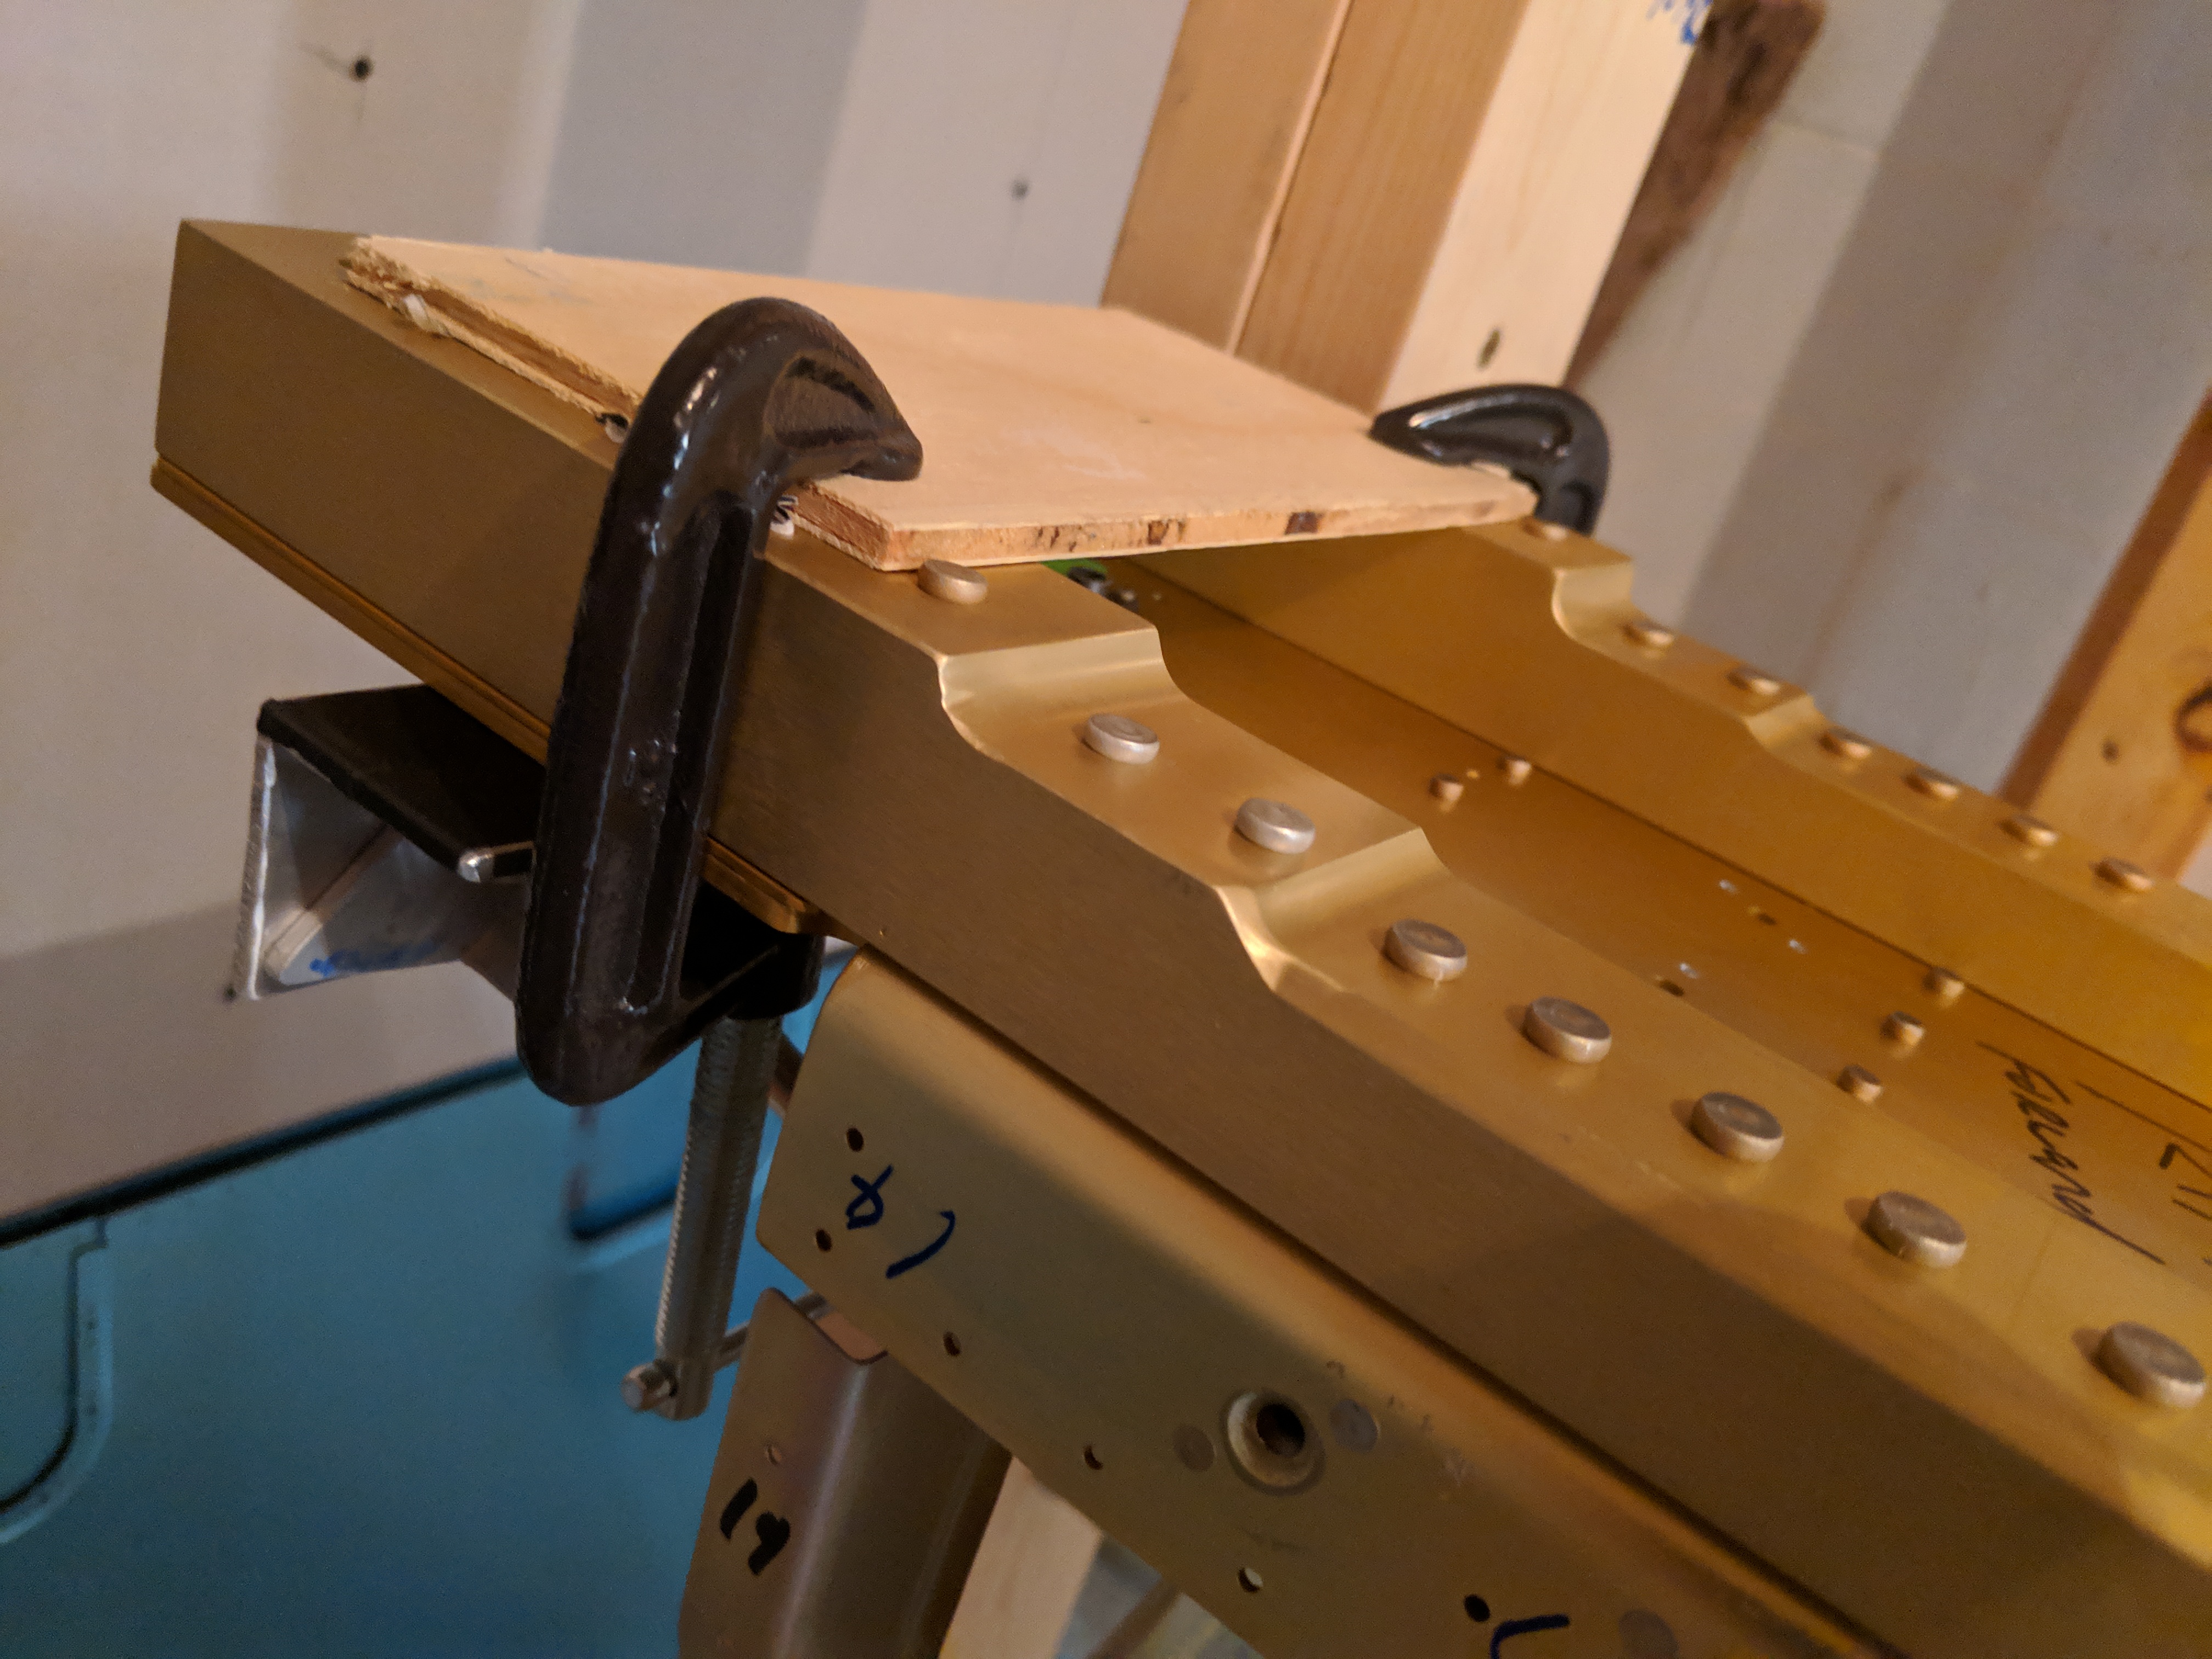
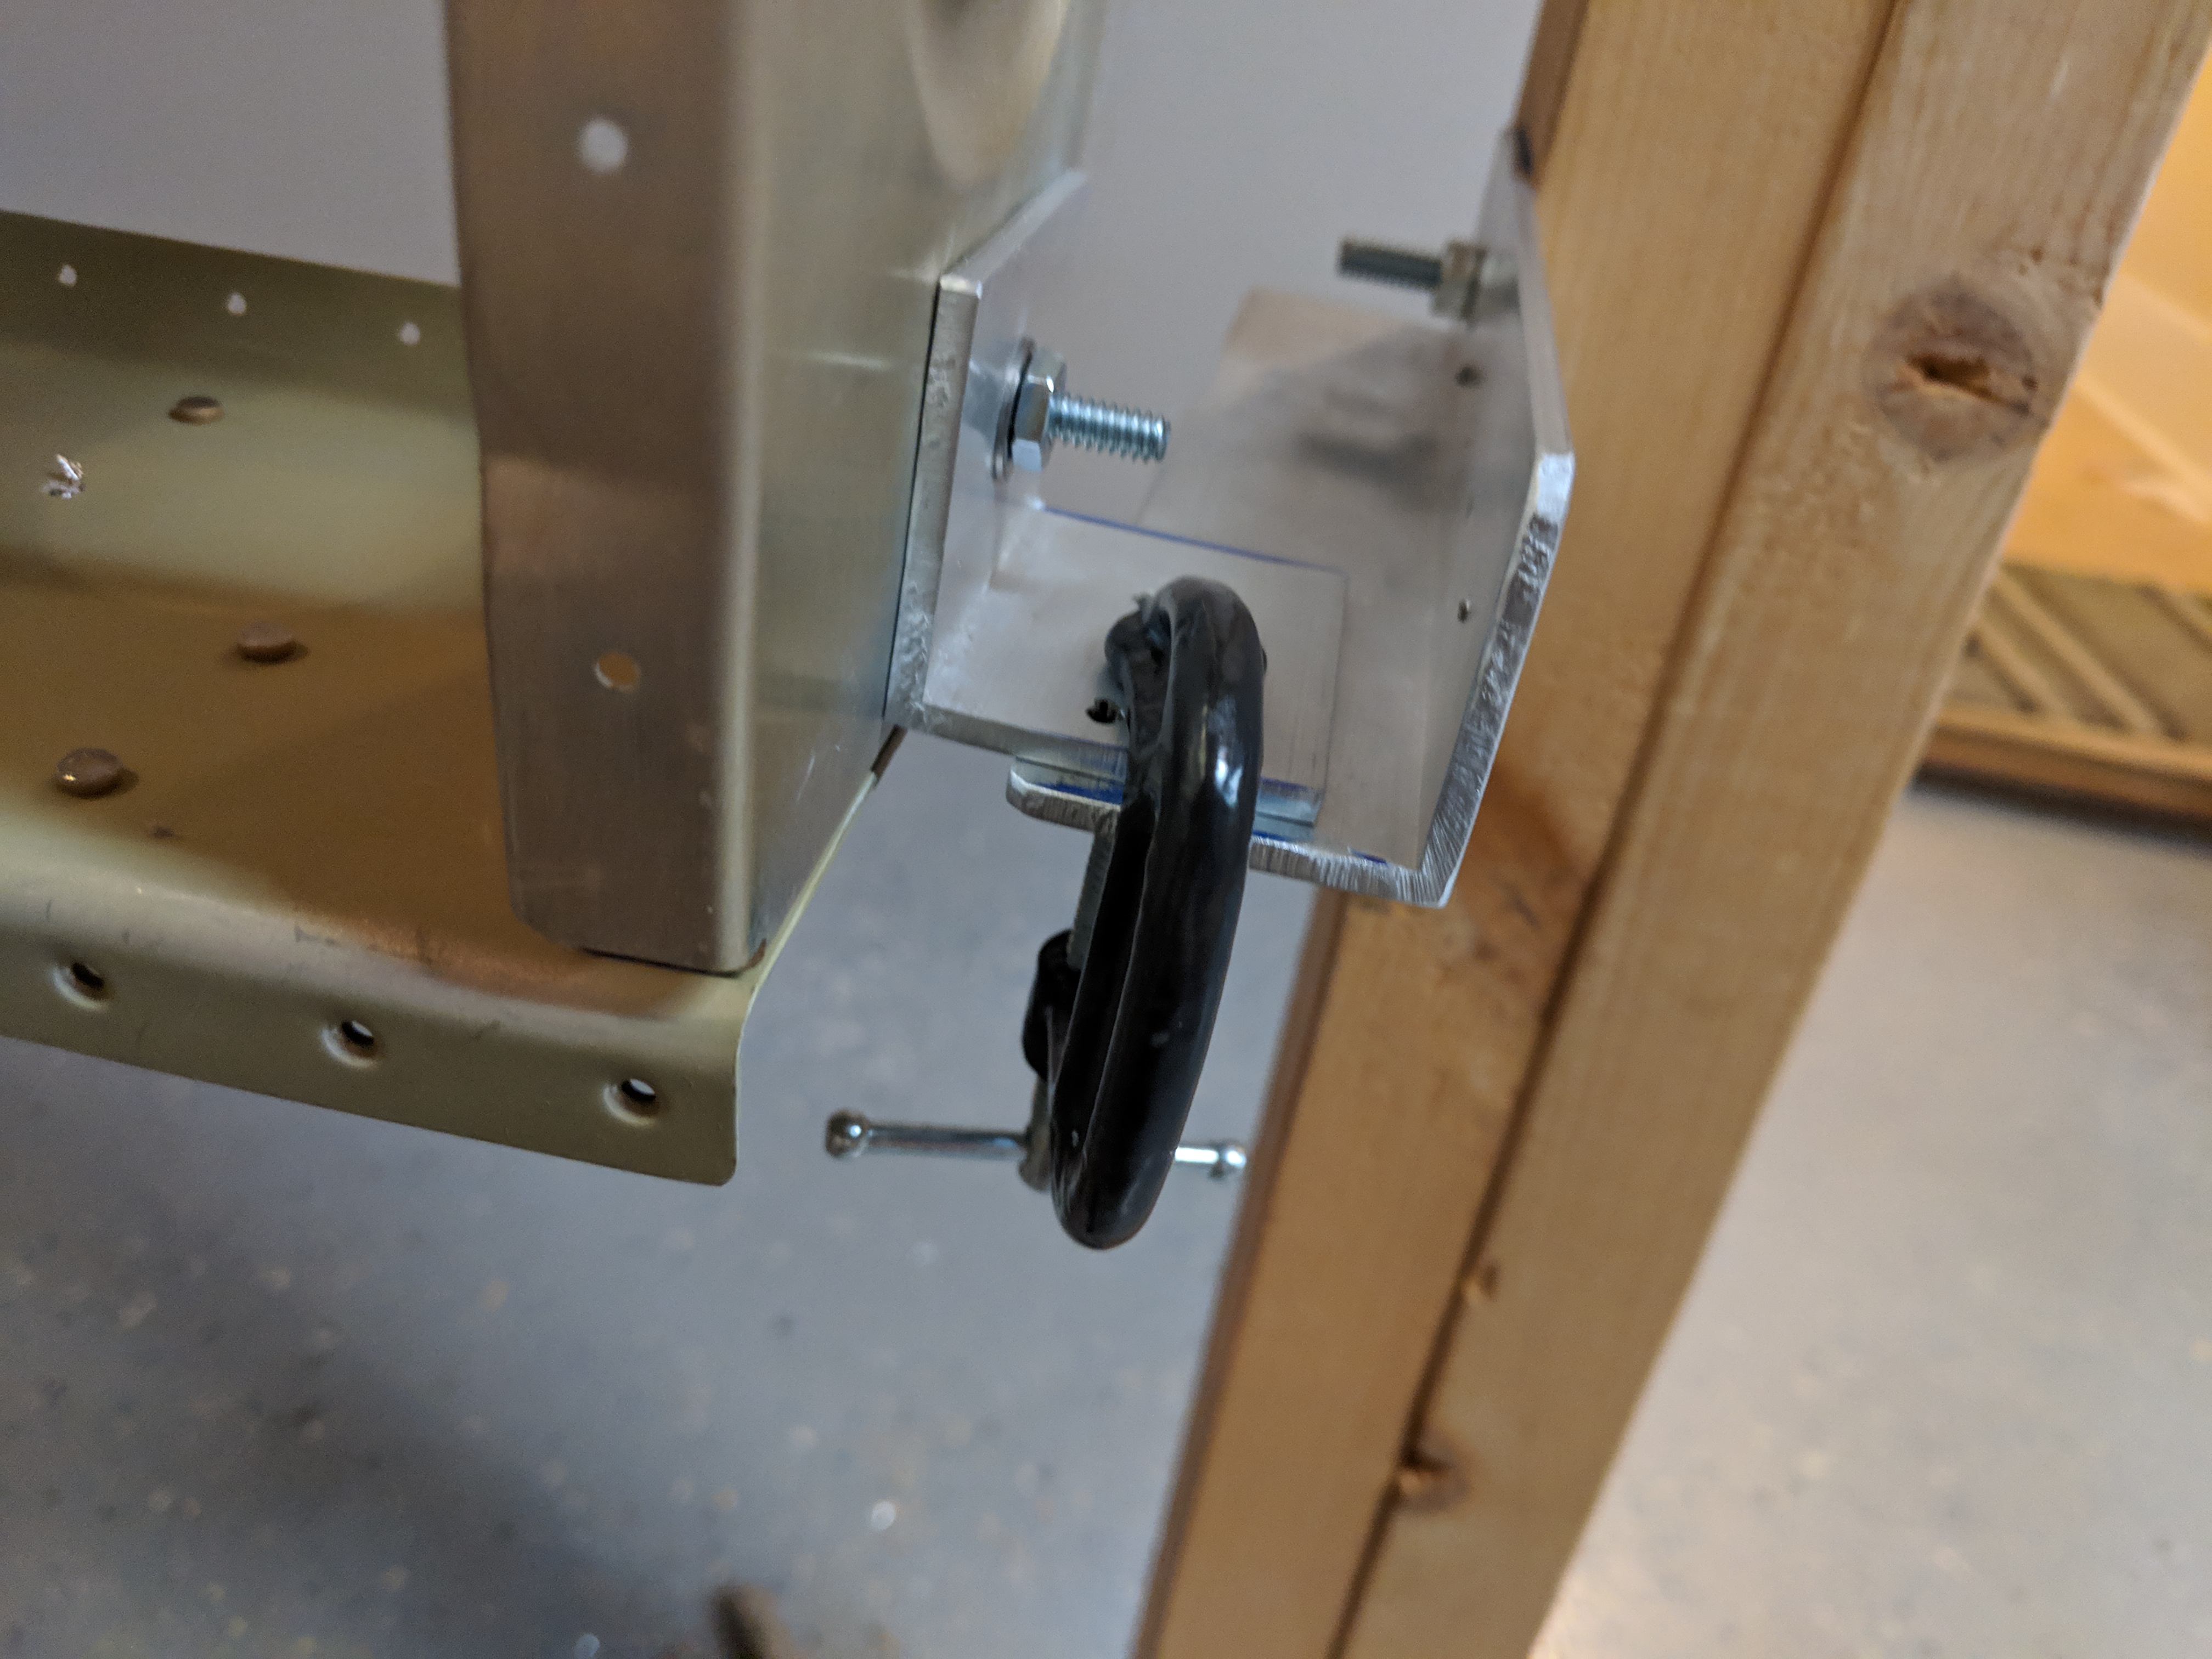
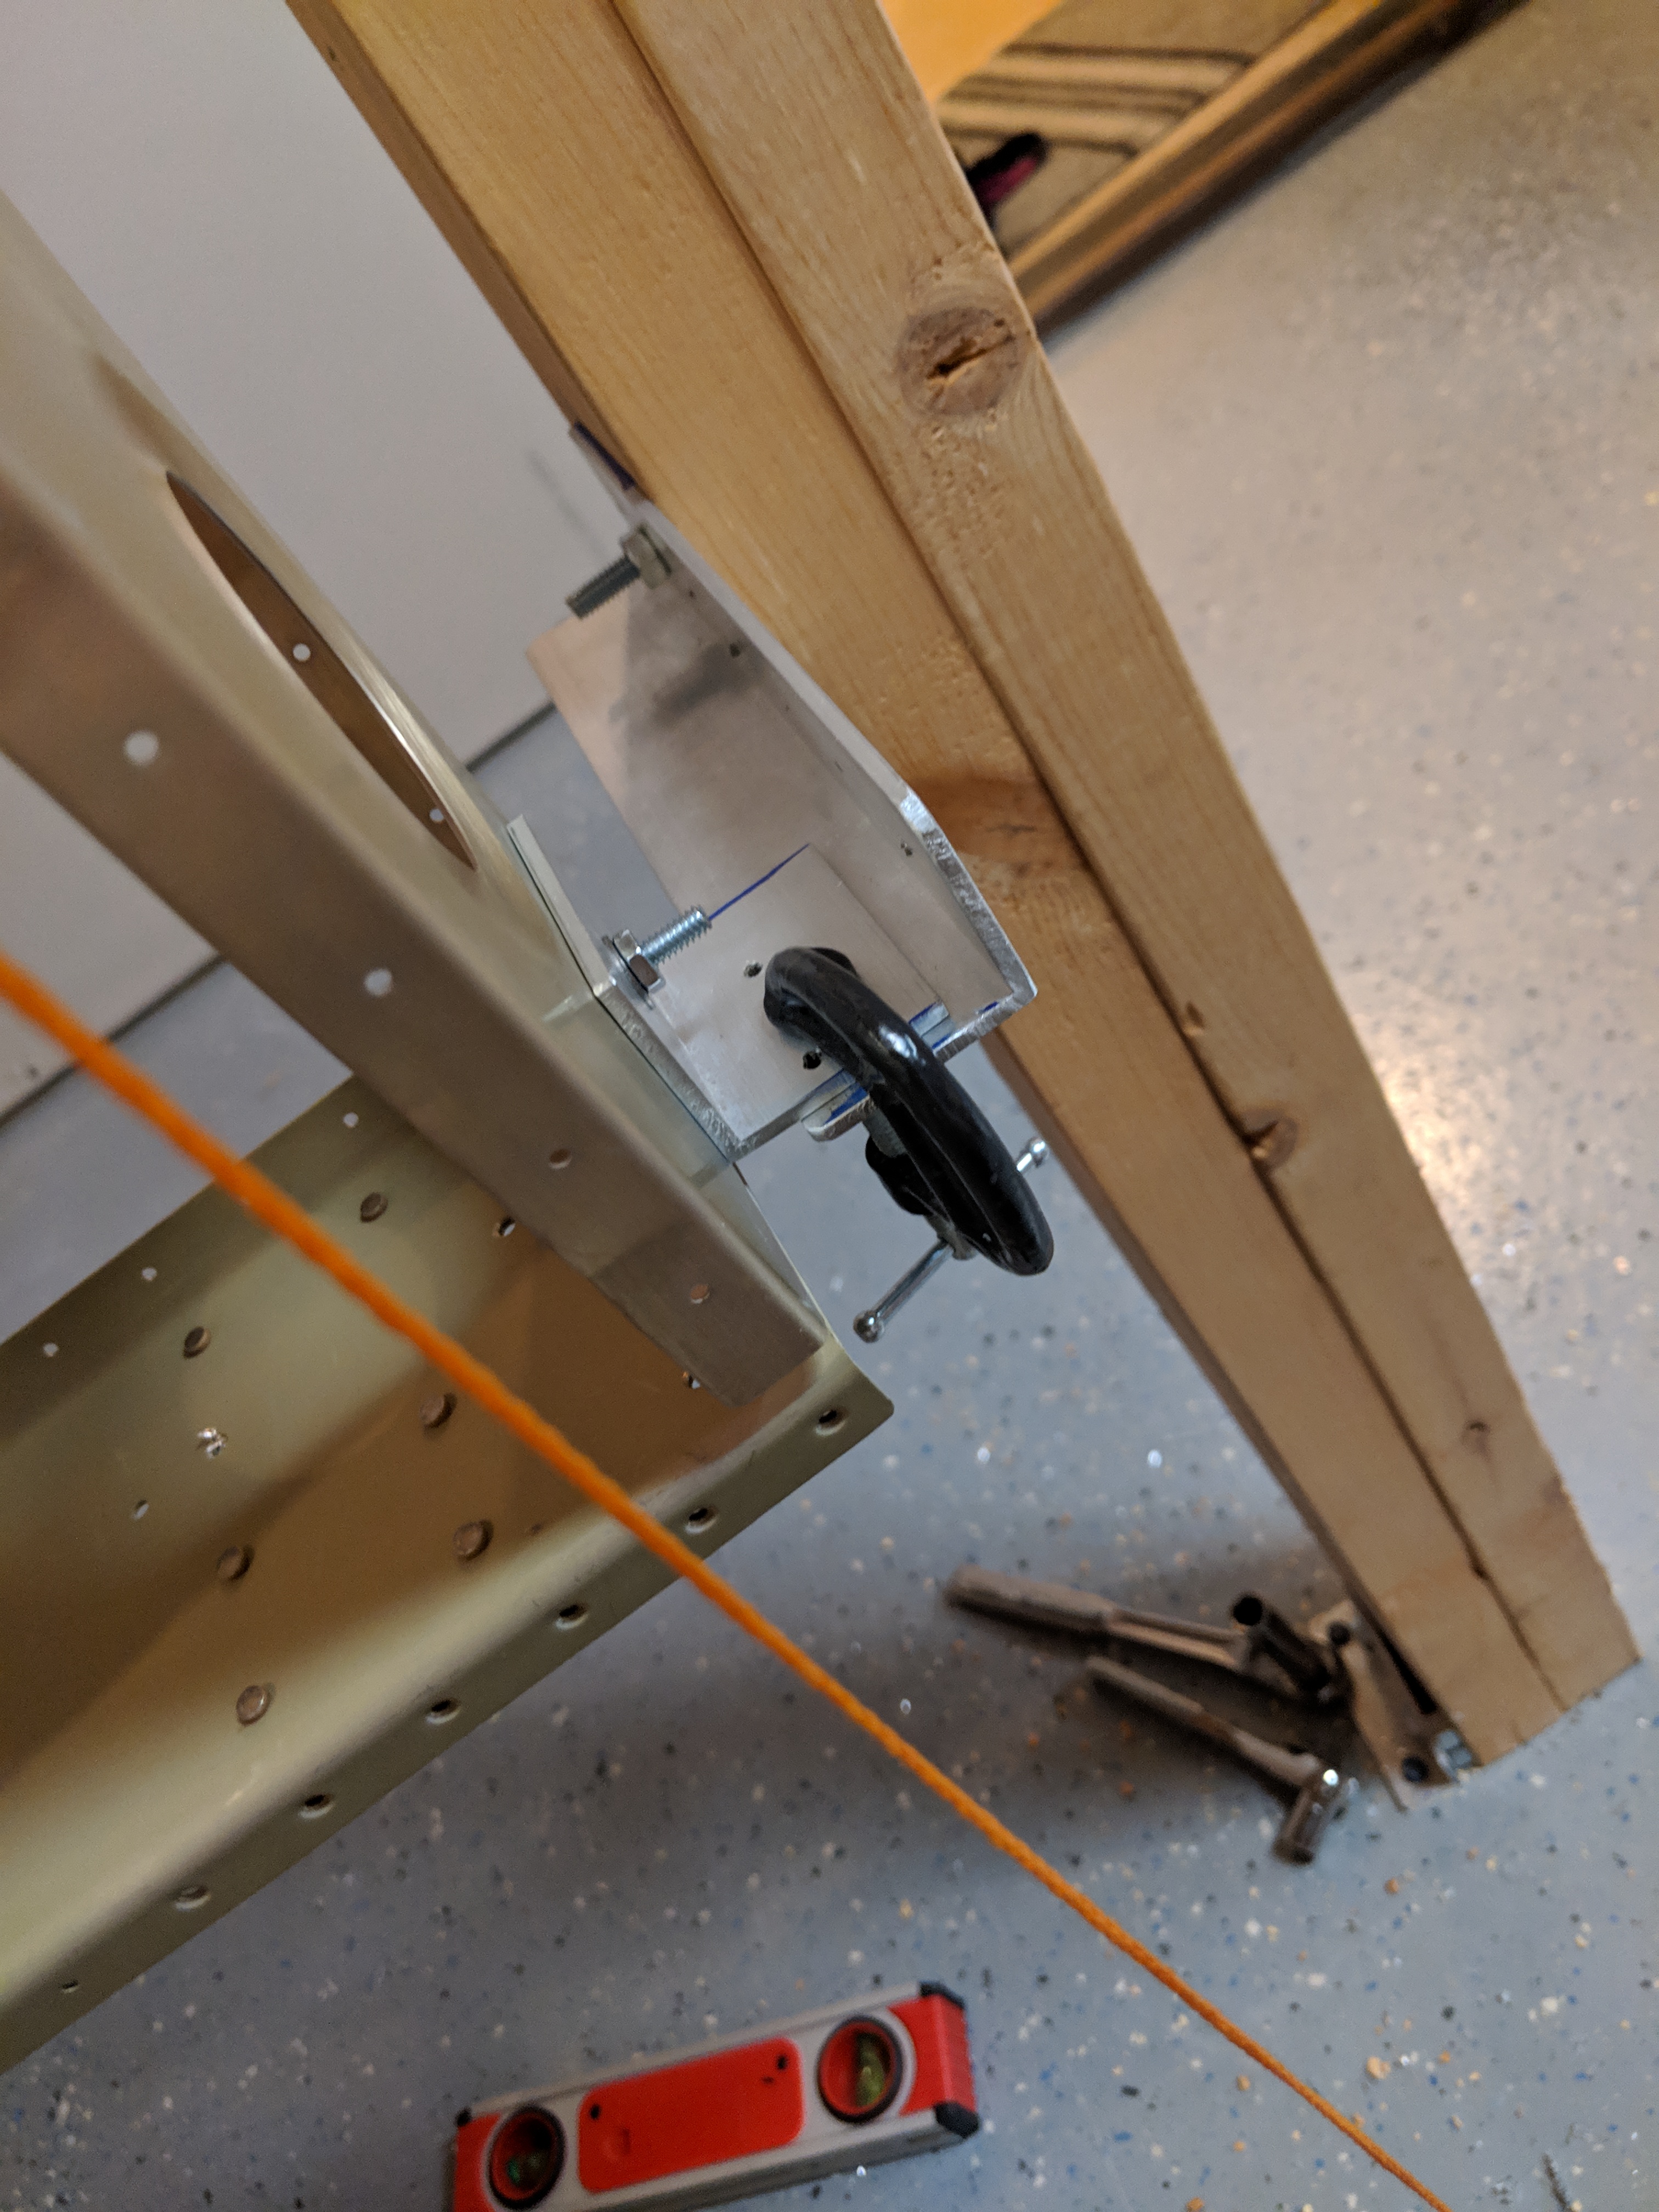
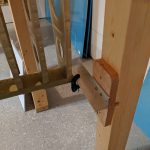
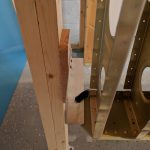
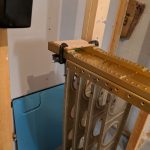
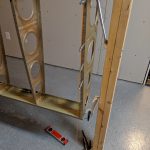
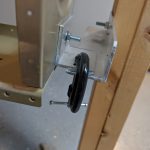
Lastly, I needed to fab up a bracket for the inboard rear spar to hold it secure in the wing stand. I used another scrap piece of 3/4″ wood secured to the wing stand as a spacer, and then another piece of angle aluminum screwed into it that would reach over to the rear spar so I could clamp down on it.


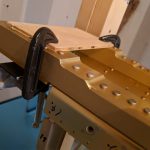
The C-clamp is clamping the angle down on top of the rear spar doubler to get a nice solid and flush fit together. This will help make sure I do not have any jiggling or shifting of the wing on either side of the stand while I am working, but still allow me to easily adjust it to make sure its squared up any time I need to. Finally, it was time to stick the bottle jack underneath the right wing and get the sag out of it like we did on the left wing. I did this pretty much exactly the same, using the string on the 10th rivet to help get everything lined up. It was pretty dang close to zero! The digital level kept bouncing from 0.1 to 0.0 so I am pretty confident I got it where I want it after spending several minutes adjusting the bottle jack up and down.

That ends tonights build session! I finally have both wings in the stands, secured, squared, and leveled; ready for the next bit of work, which will probably be skins! Here’s a photo album from all of tonights photos.
-
 IMG_20190206_223033
 -
 IMG_20190206_223027
 -
 IMG_20190206_222852
 -
 IMG_20190206_222836
 -
 IMG_20190206_222830
 -
 IMG_20190206_222826
 -
 IMG_20190206_222821
 -
 IMG_20190206_222128
 -
 IMG_20190206_222123
 -
 IMG_20190206_222117
 -
 IMG_20190206_220109
 -
 IMG_20190206_220102
 -
 IMG_20190206_220058
 -
 IMG_20190206_220050
 -
 IMG_20190206_215514
 -
 IMG_20190206_215509
 -
 IMG_20190206_212120
 -
 IMG_20190206_212114
 -
 IMG_20190206_212109
 -
 IMG_20190206_212102
 -
 IMG_20190206_212057

Google Photos Link: https://photos.app.goo.gl/uaiDwxcTLupawHaF8
Hours Worked: 2.25 hours