


It’s time to get the left aileron mounted! I’ll save all the details on this post, as those are all covered in the right wing mounting. I’ll do a brief synopsis, and let the time lapse speak for itself.
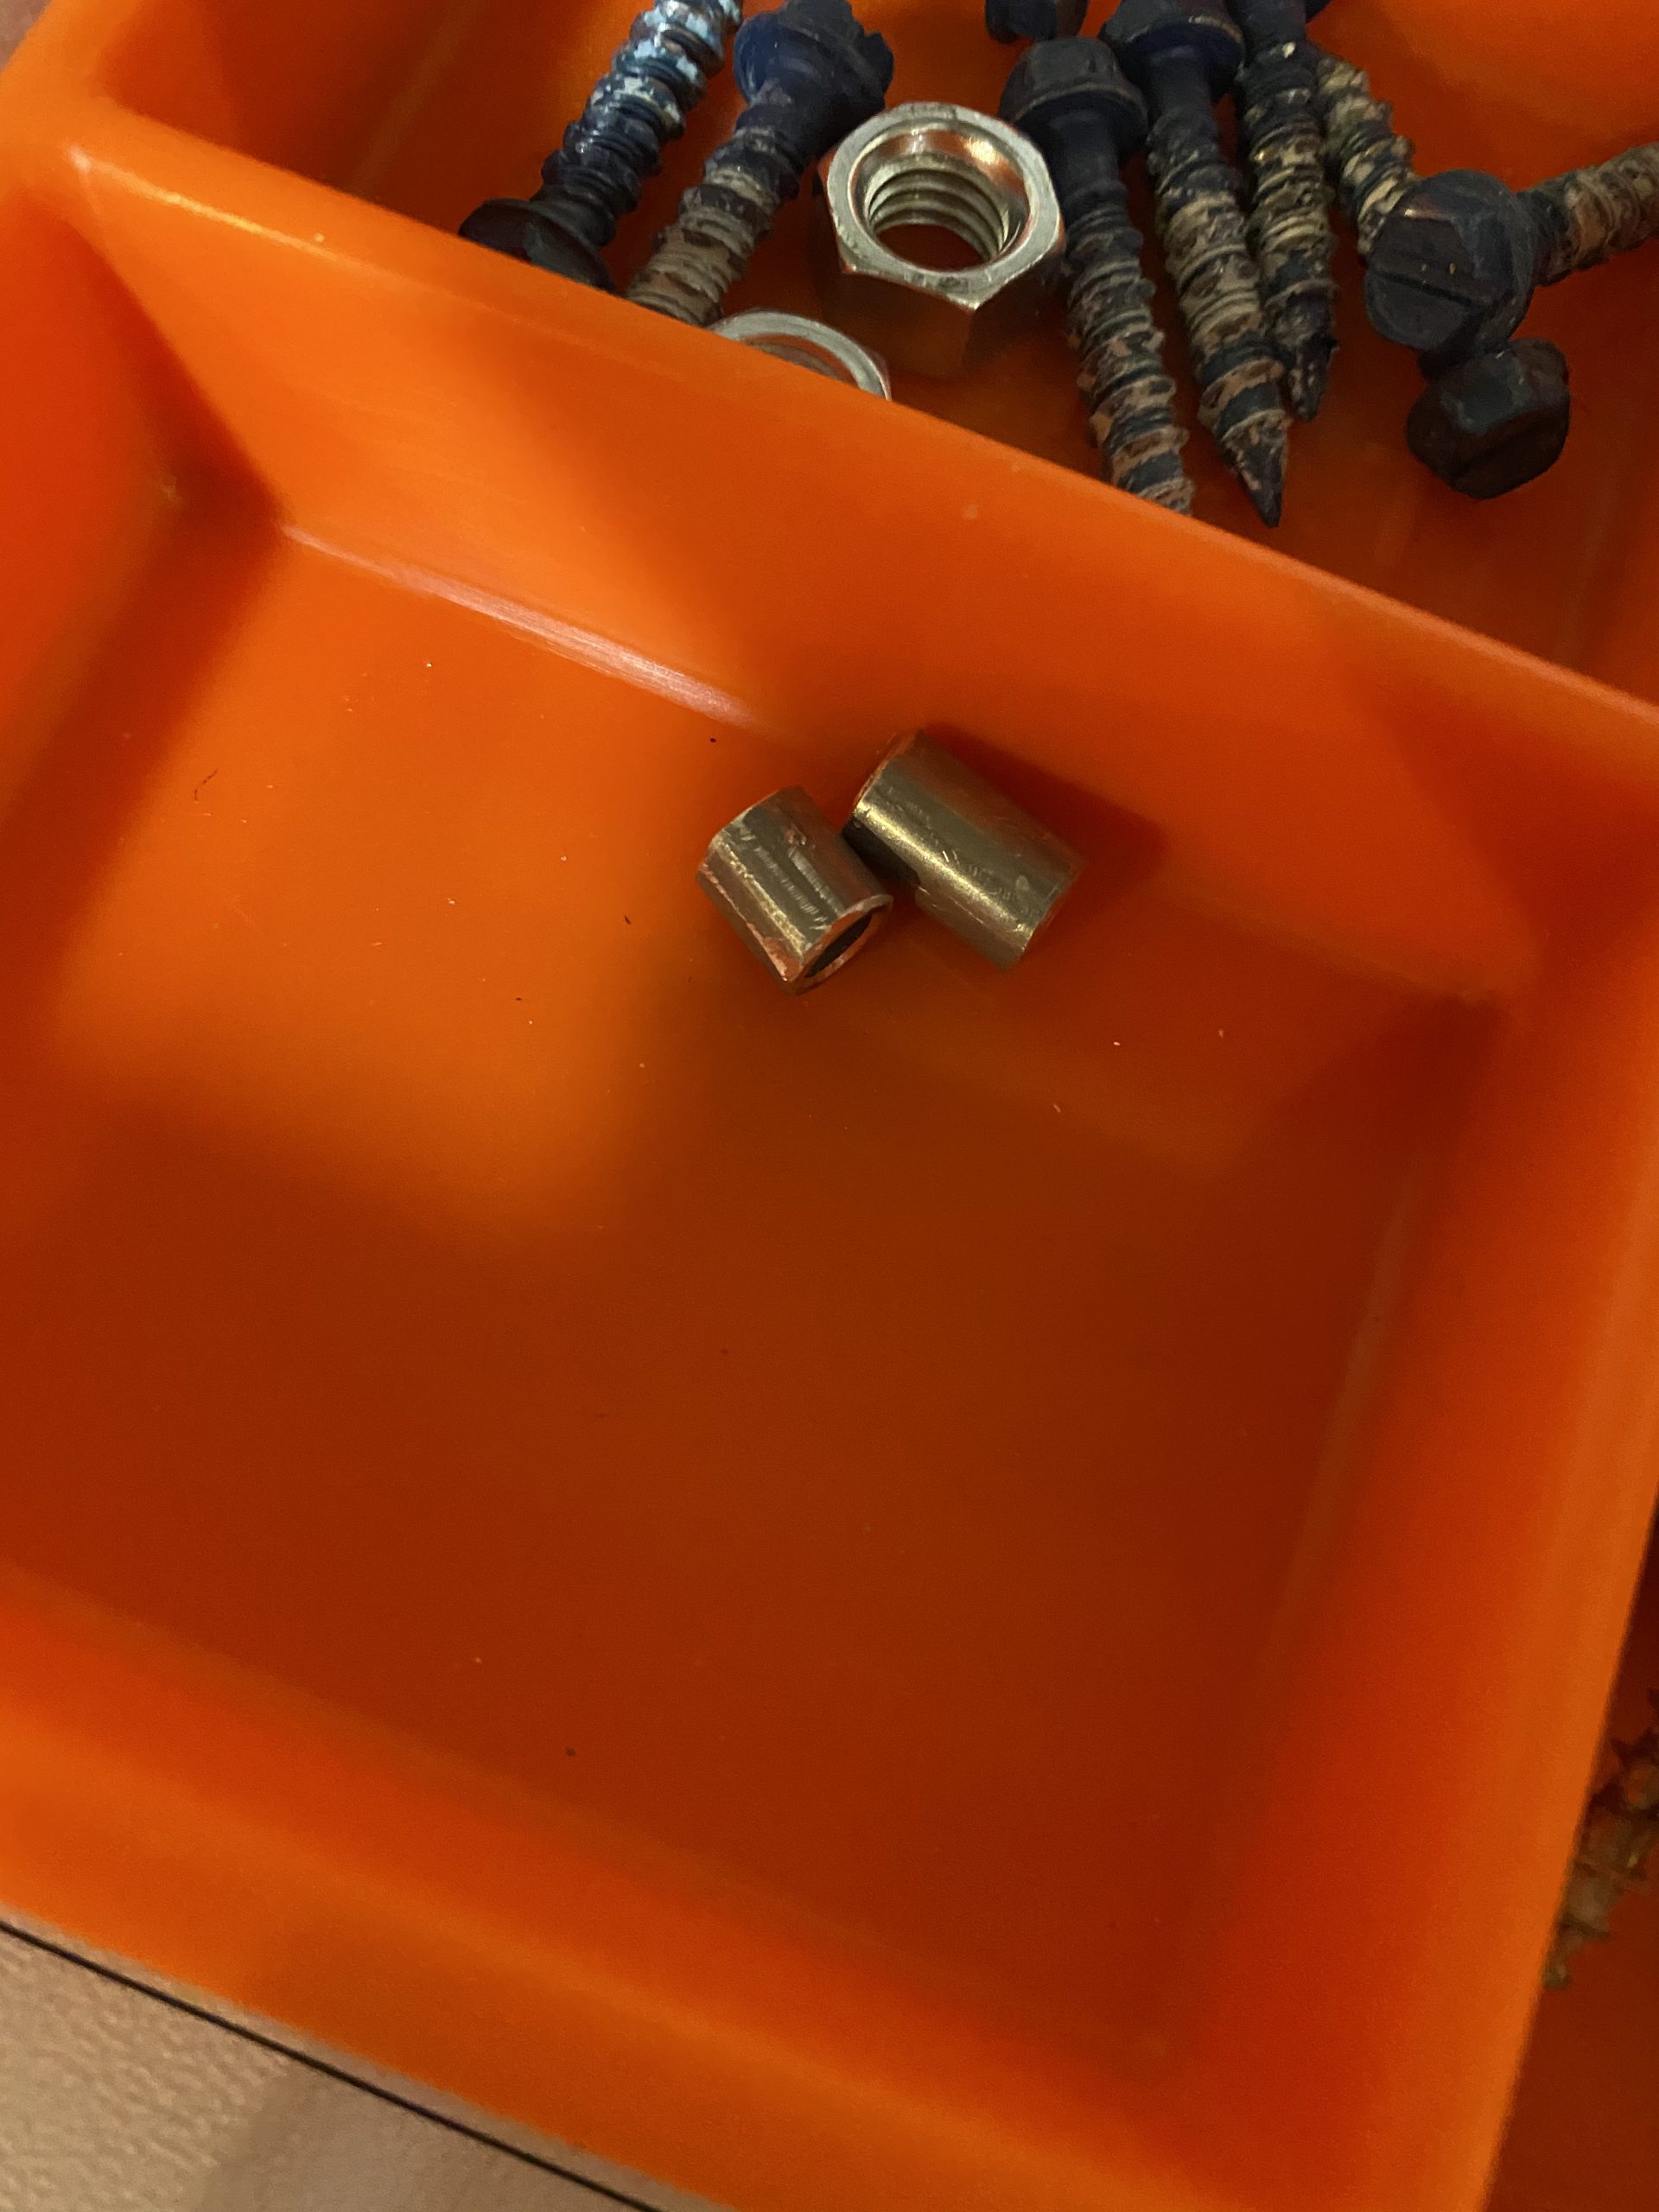
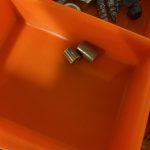
I started by cutting both of the spacers for the inboard bracket using the stock. I managed to get them all cut from the 4″ piece of stock shipped by Vans.
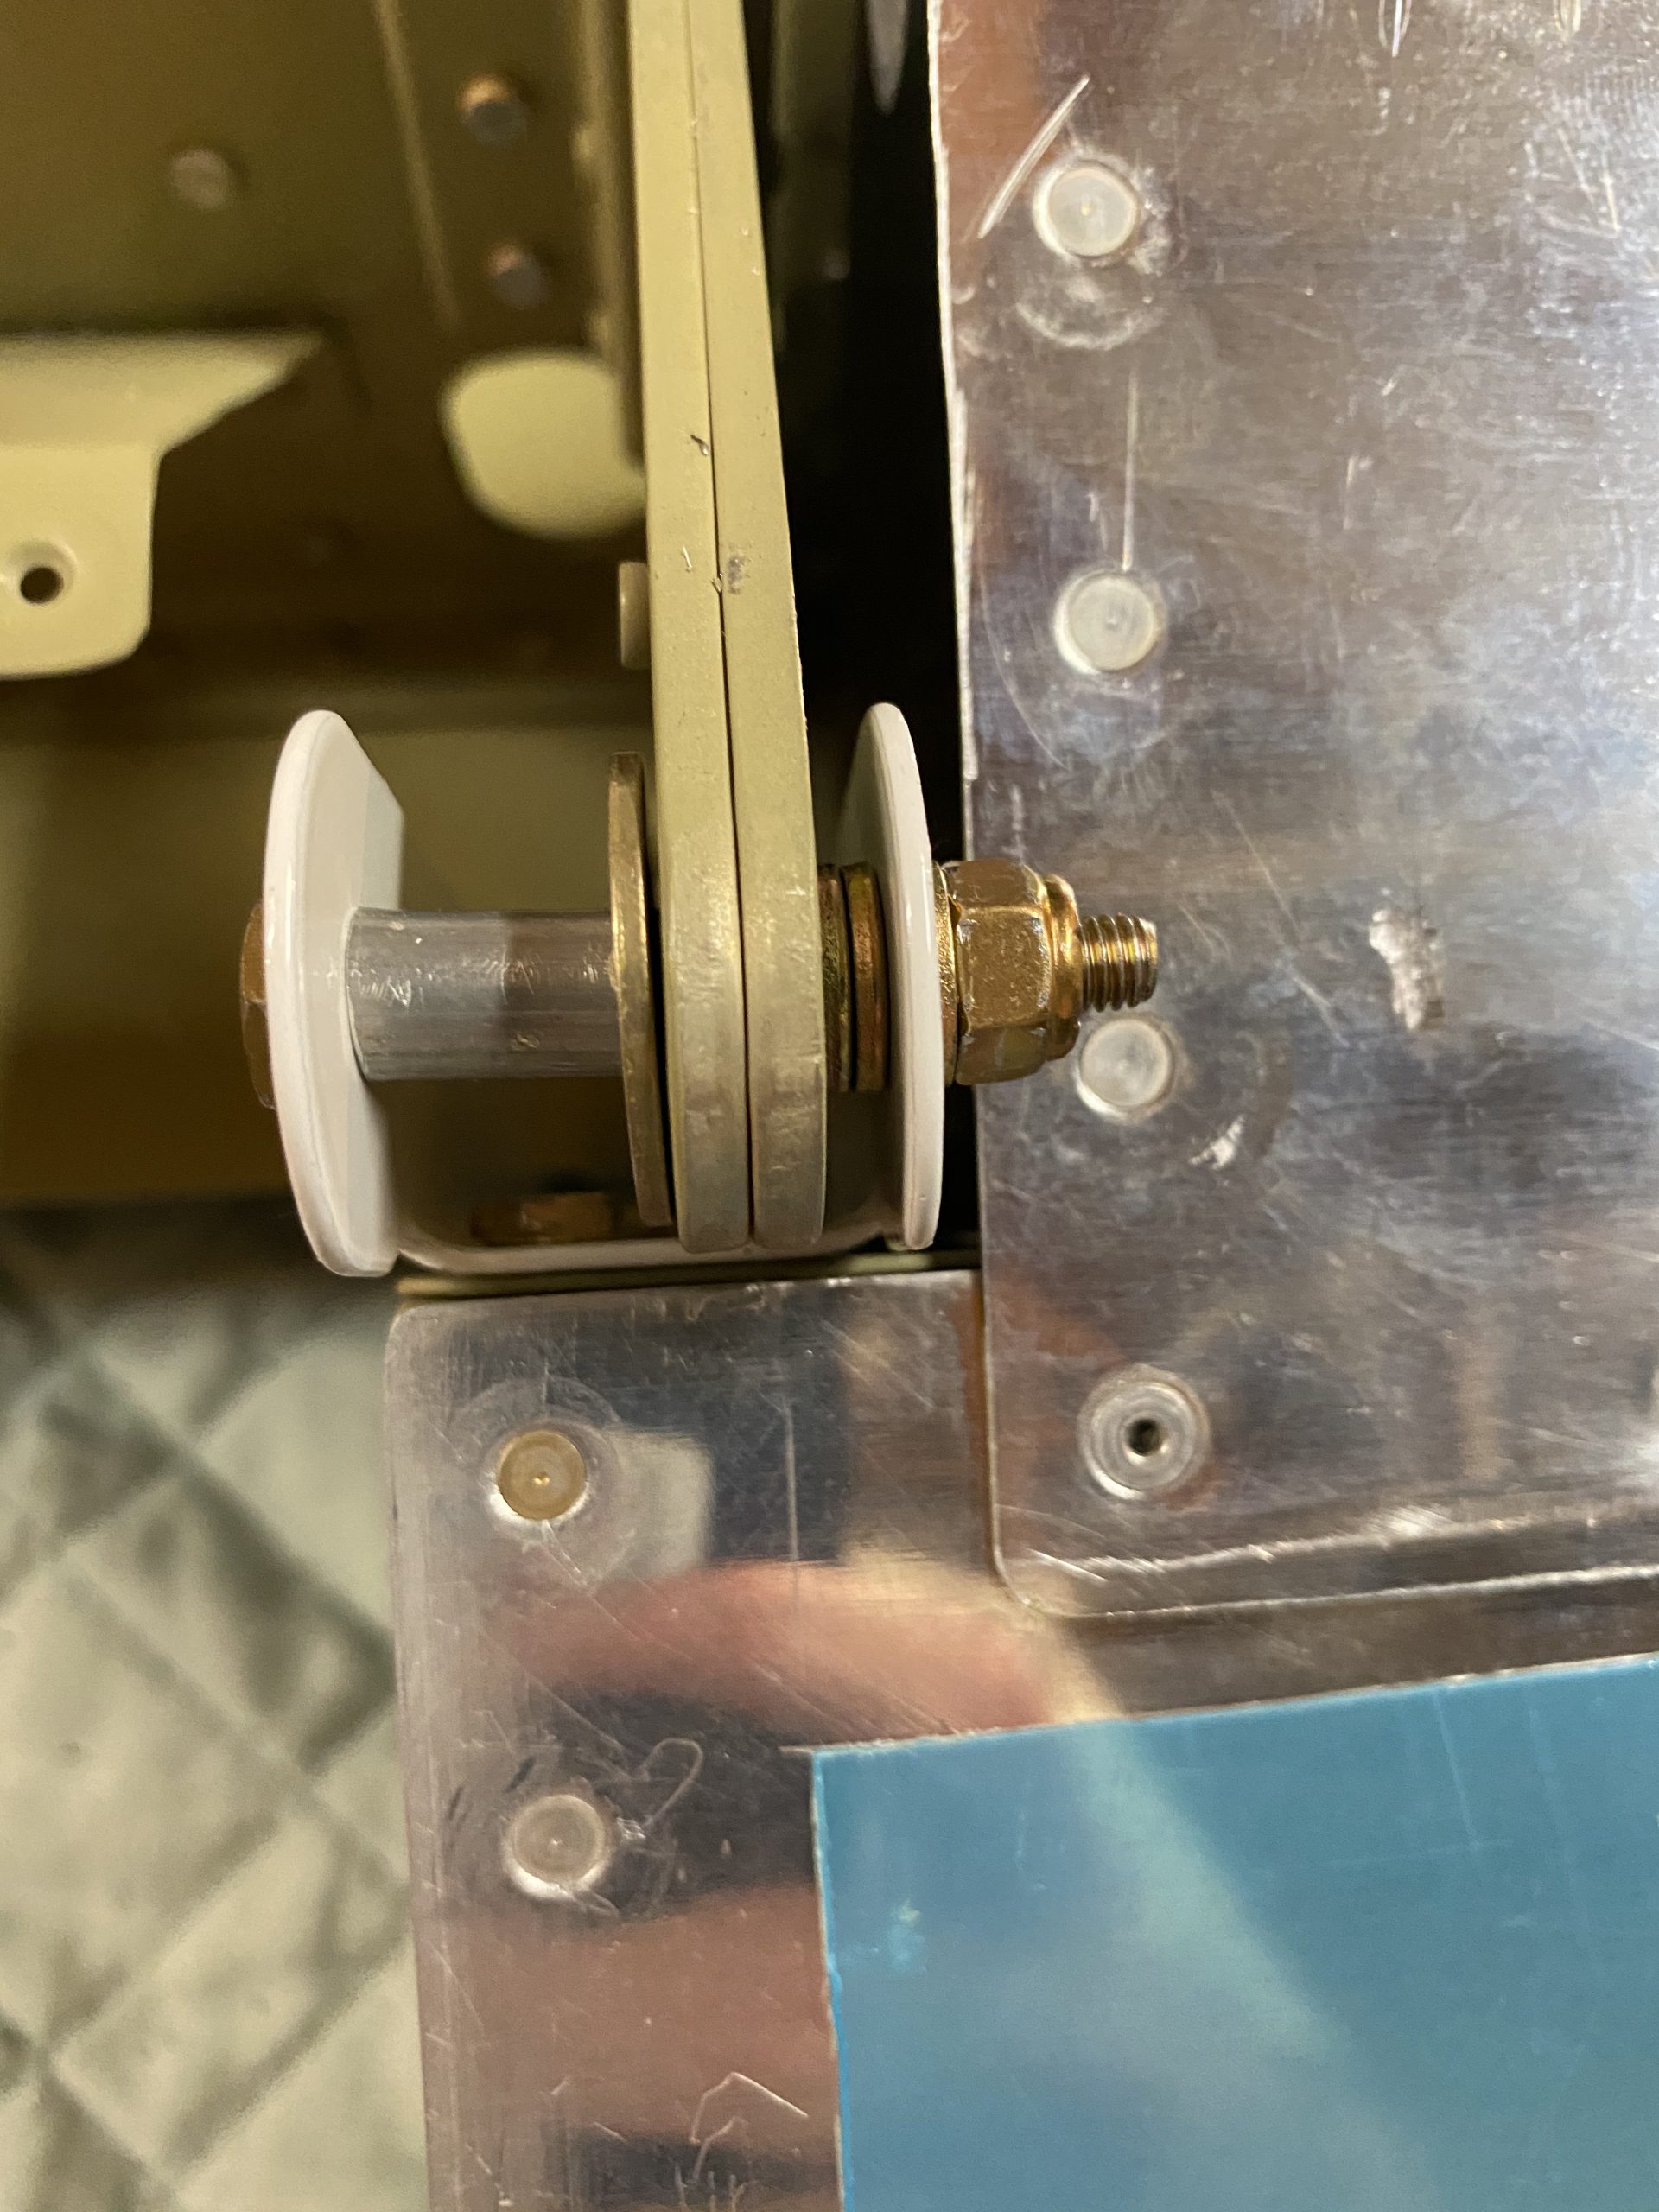
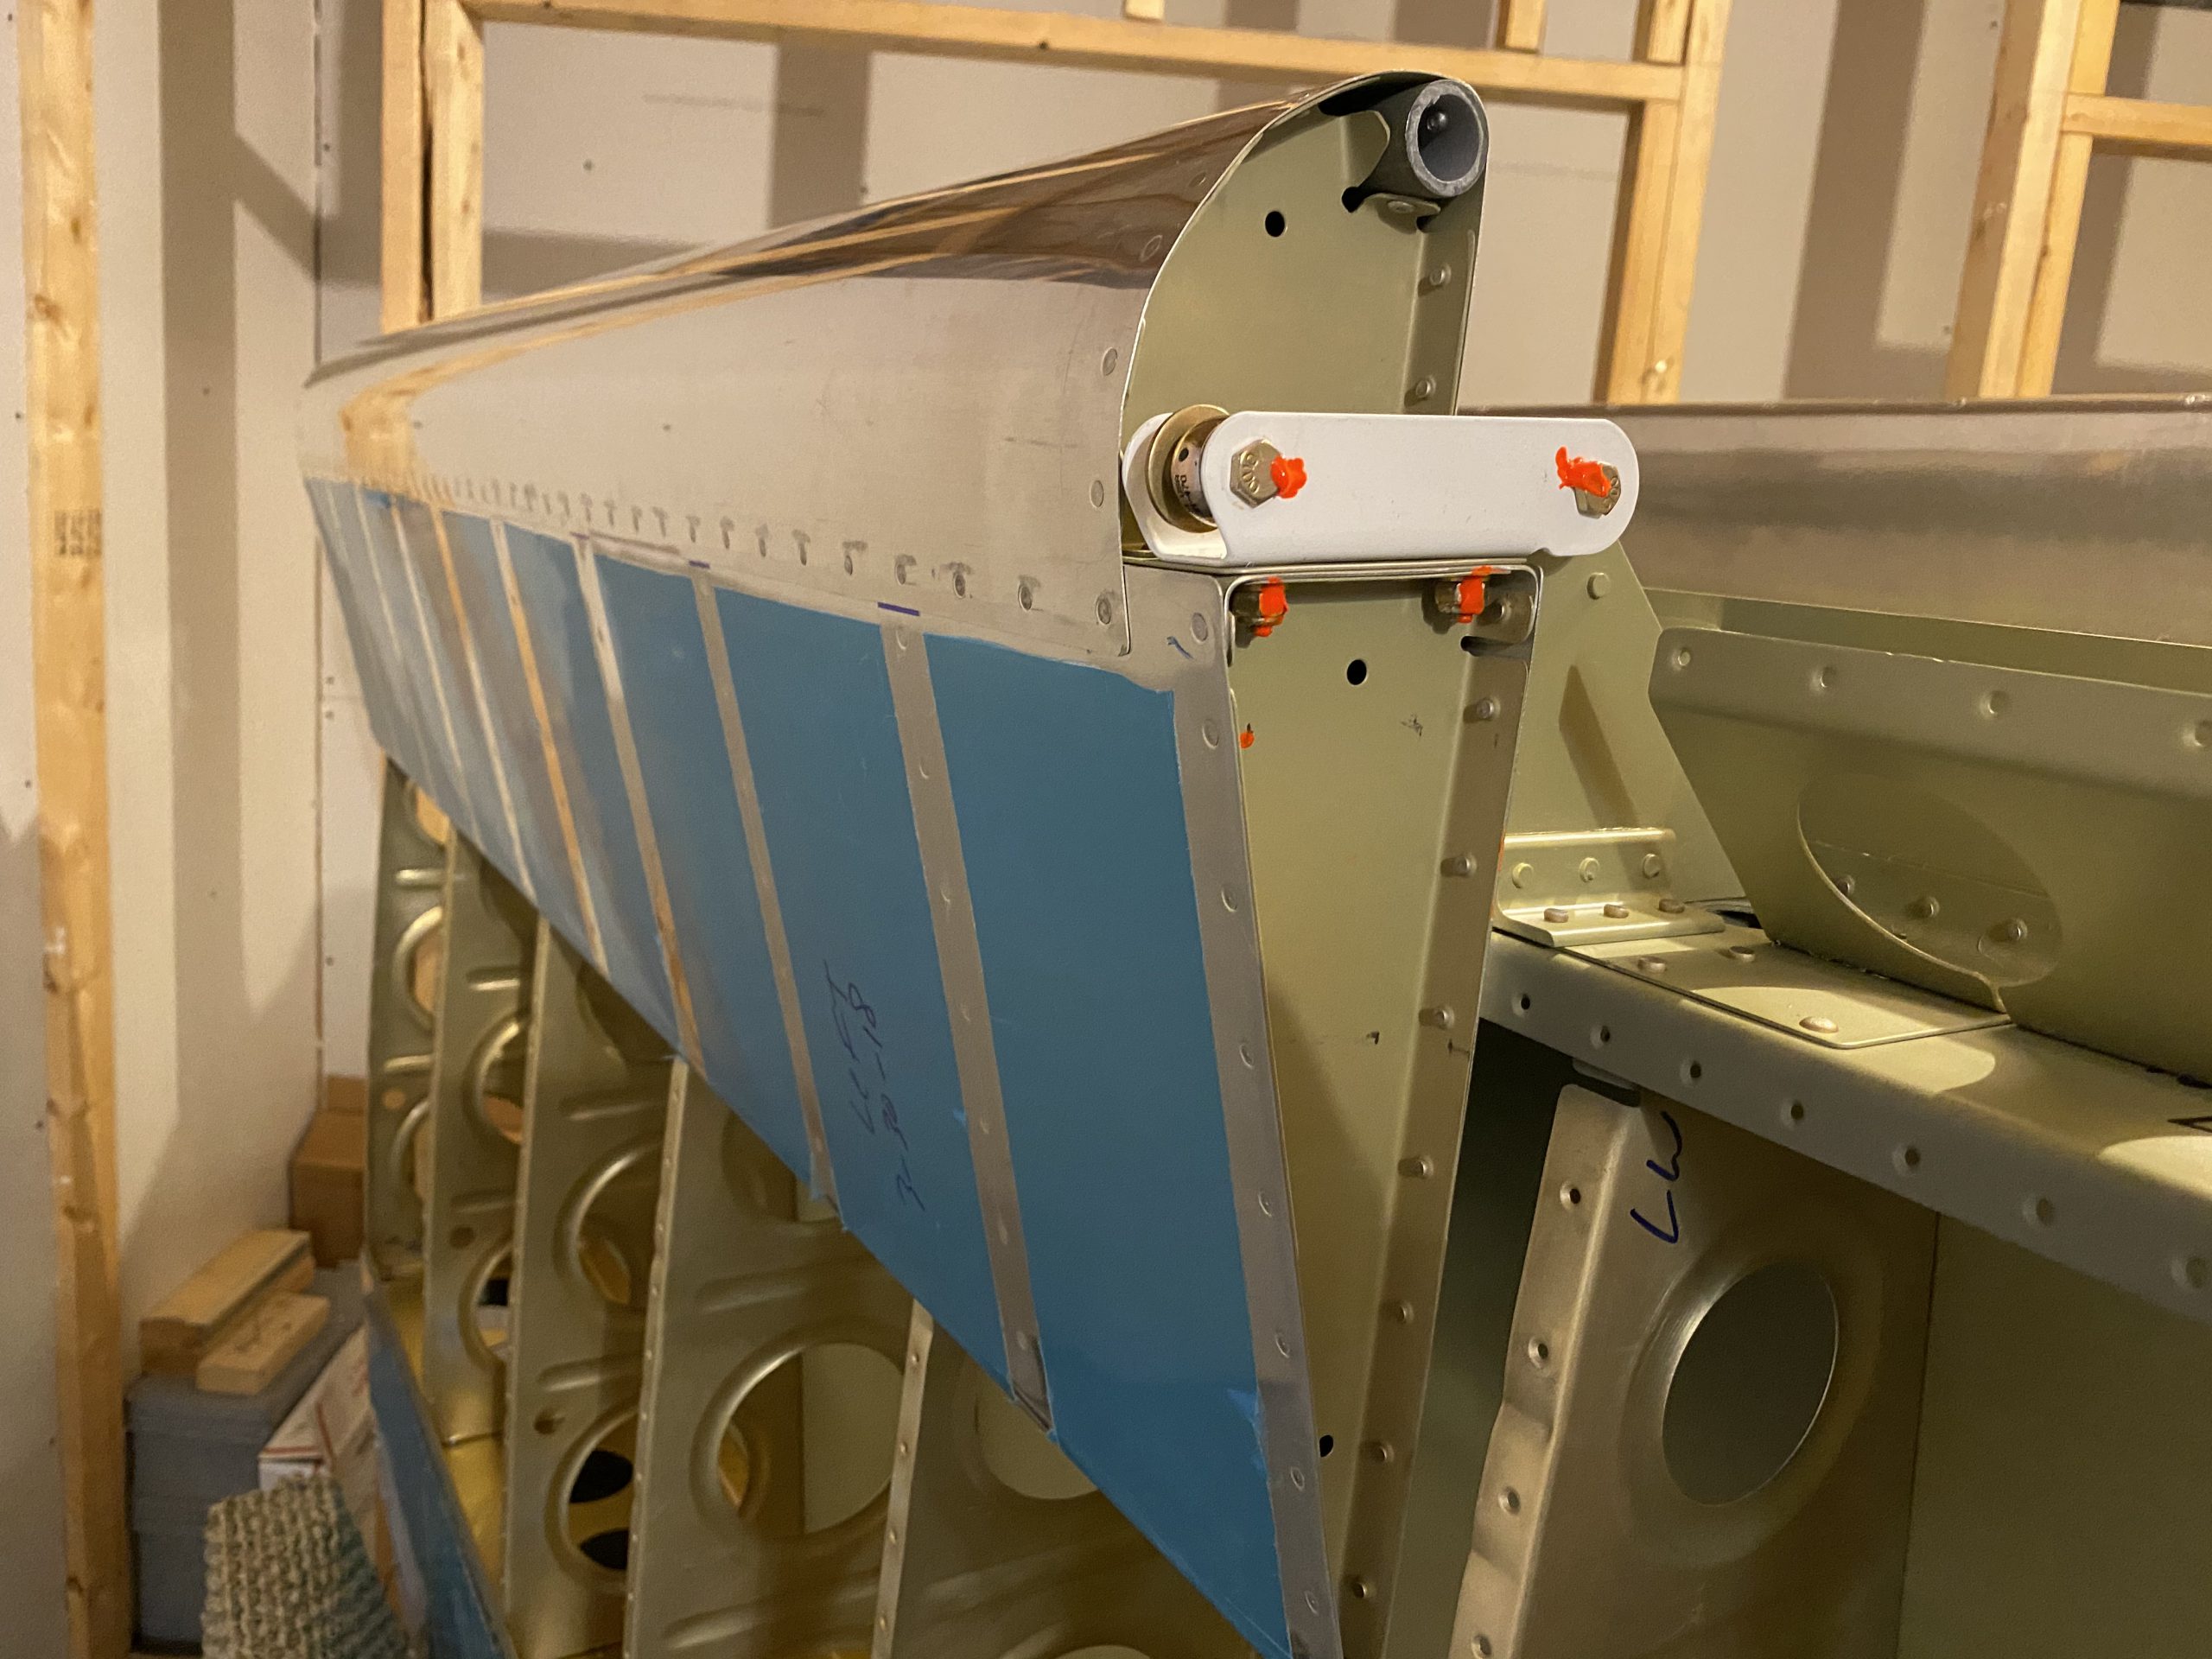
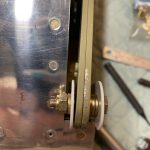
Then I grabbed the aileron, and mounted the mounting brackets to it. Once I had them mounted and torqued down, I marked them with torque seal, and got the aileron in position using some pin punches through the bolt holes for now. After a bit of wiggling I got the bolt through the inboard bracket, its spacer, and all the associated washers, and finally its nut. It was torqued down to spec. The photo below looks like its warped… its not. Its some sort of aberation with the iPhone camera this close up. Its perfectly straight in real life.
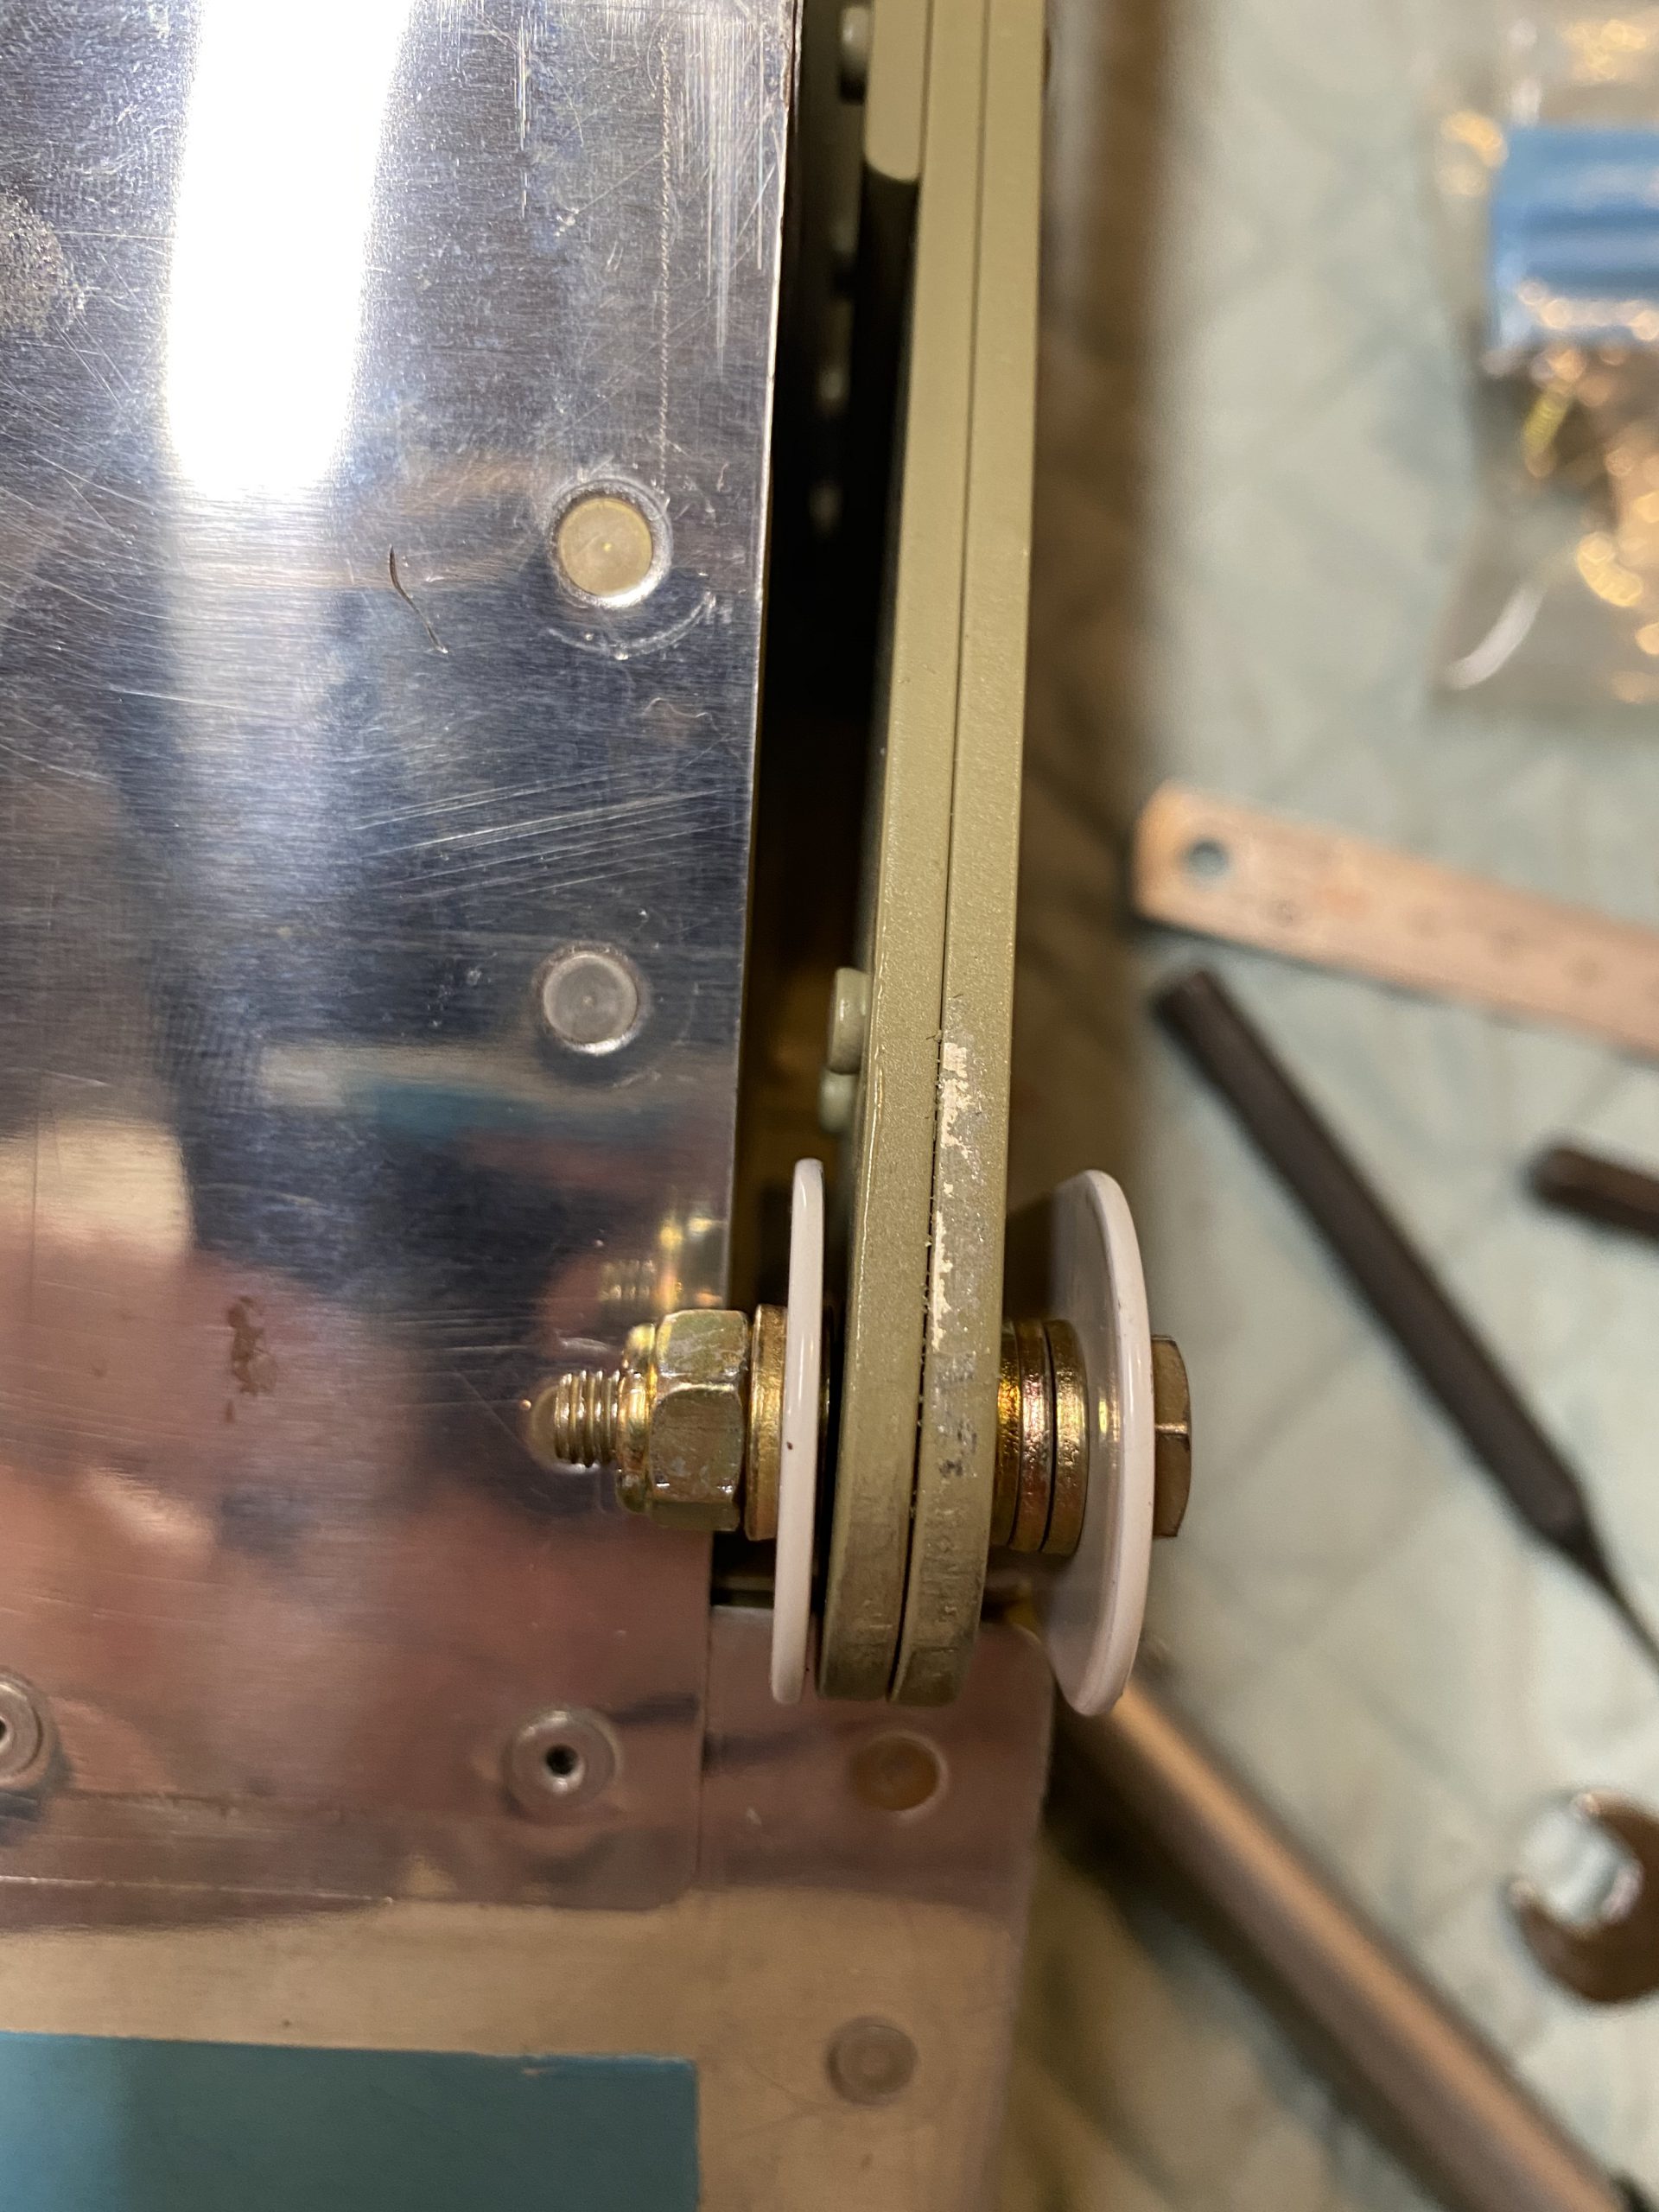
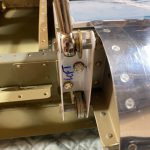
After that it was on to the outboard mounting bracket, where I did the same. Lined up the bolt, used some center punches to help and then torqued it down to spec. The aileron is hanging on its brackets and swinging very very smoothly!
Next up was to get the bolts in for the push rod connection. I’m waiting on my replacement parts for the pushrods, but the heim joints are still totally fine. They did not go to the welders, and were not damaged by those buffoons. I decided to go ahead and mount the heim joint in place since I have easy access to it now. I’ll thread the new pushrods into place since I’ll be using the jig to make sure everything is lined up anyways.

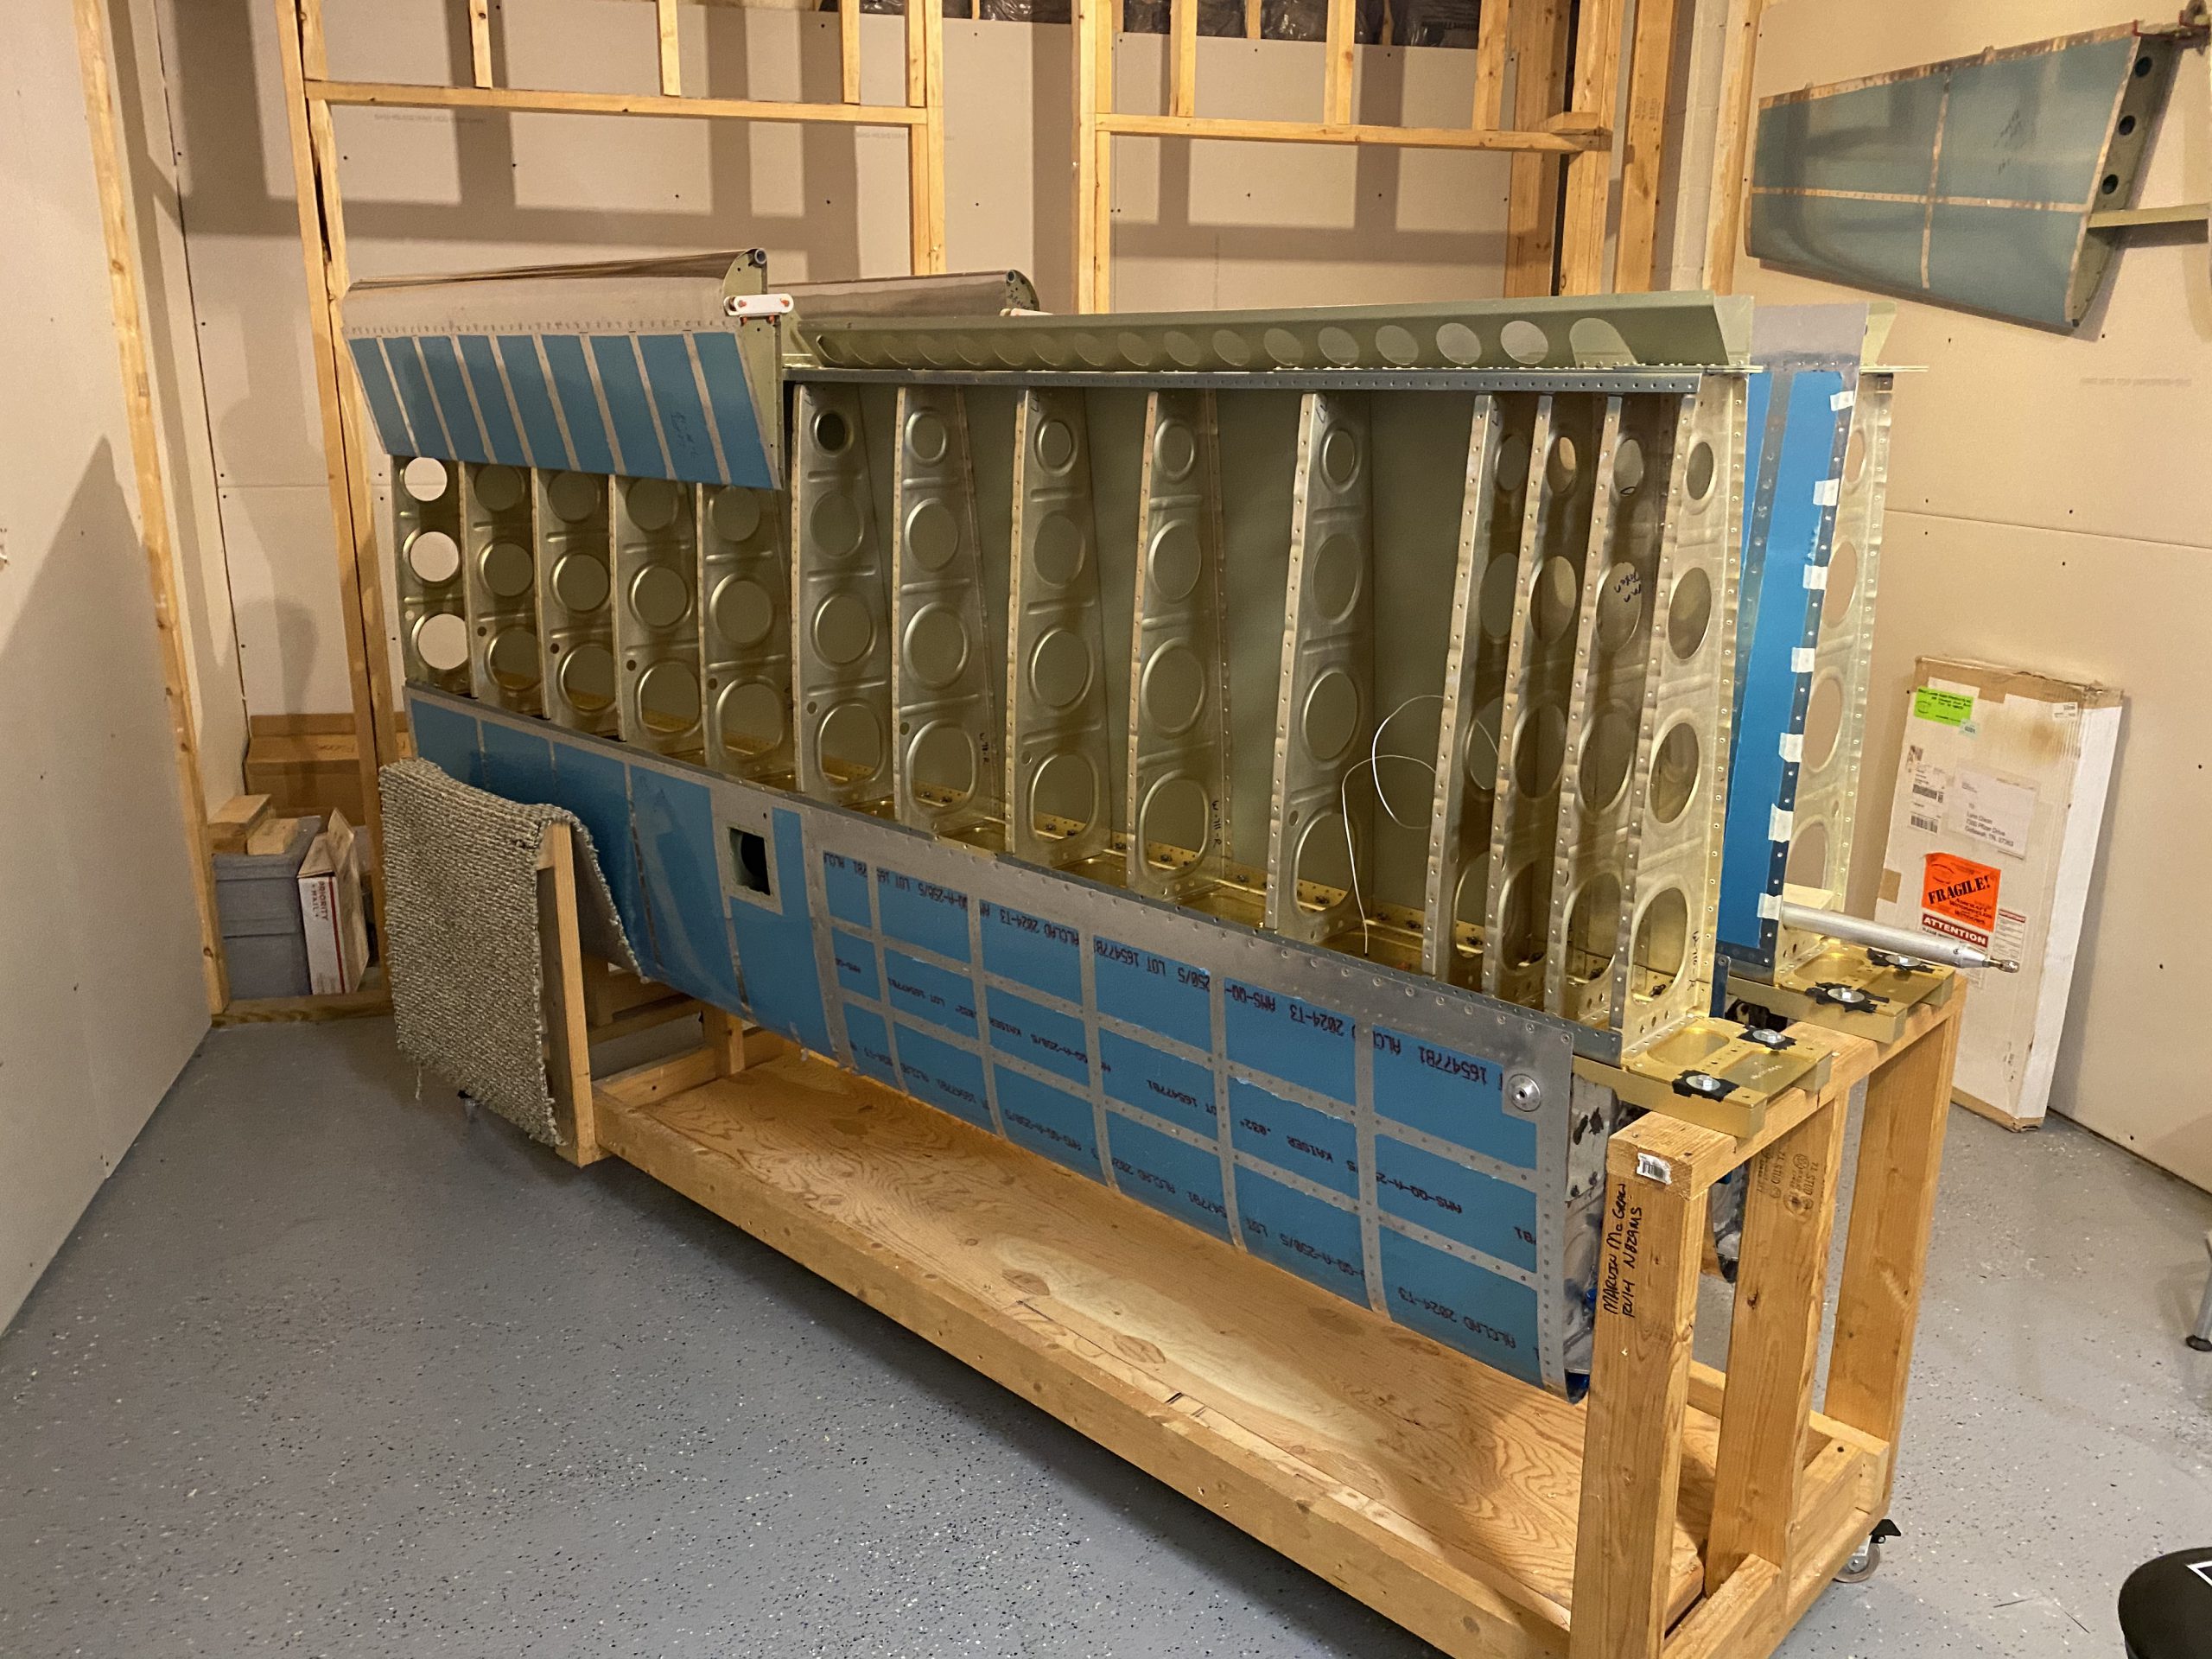
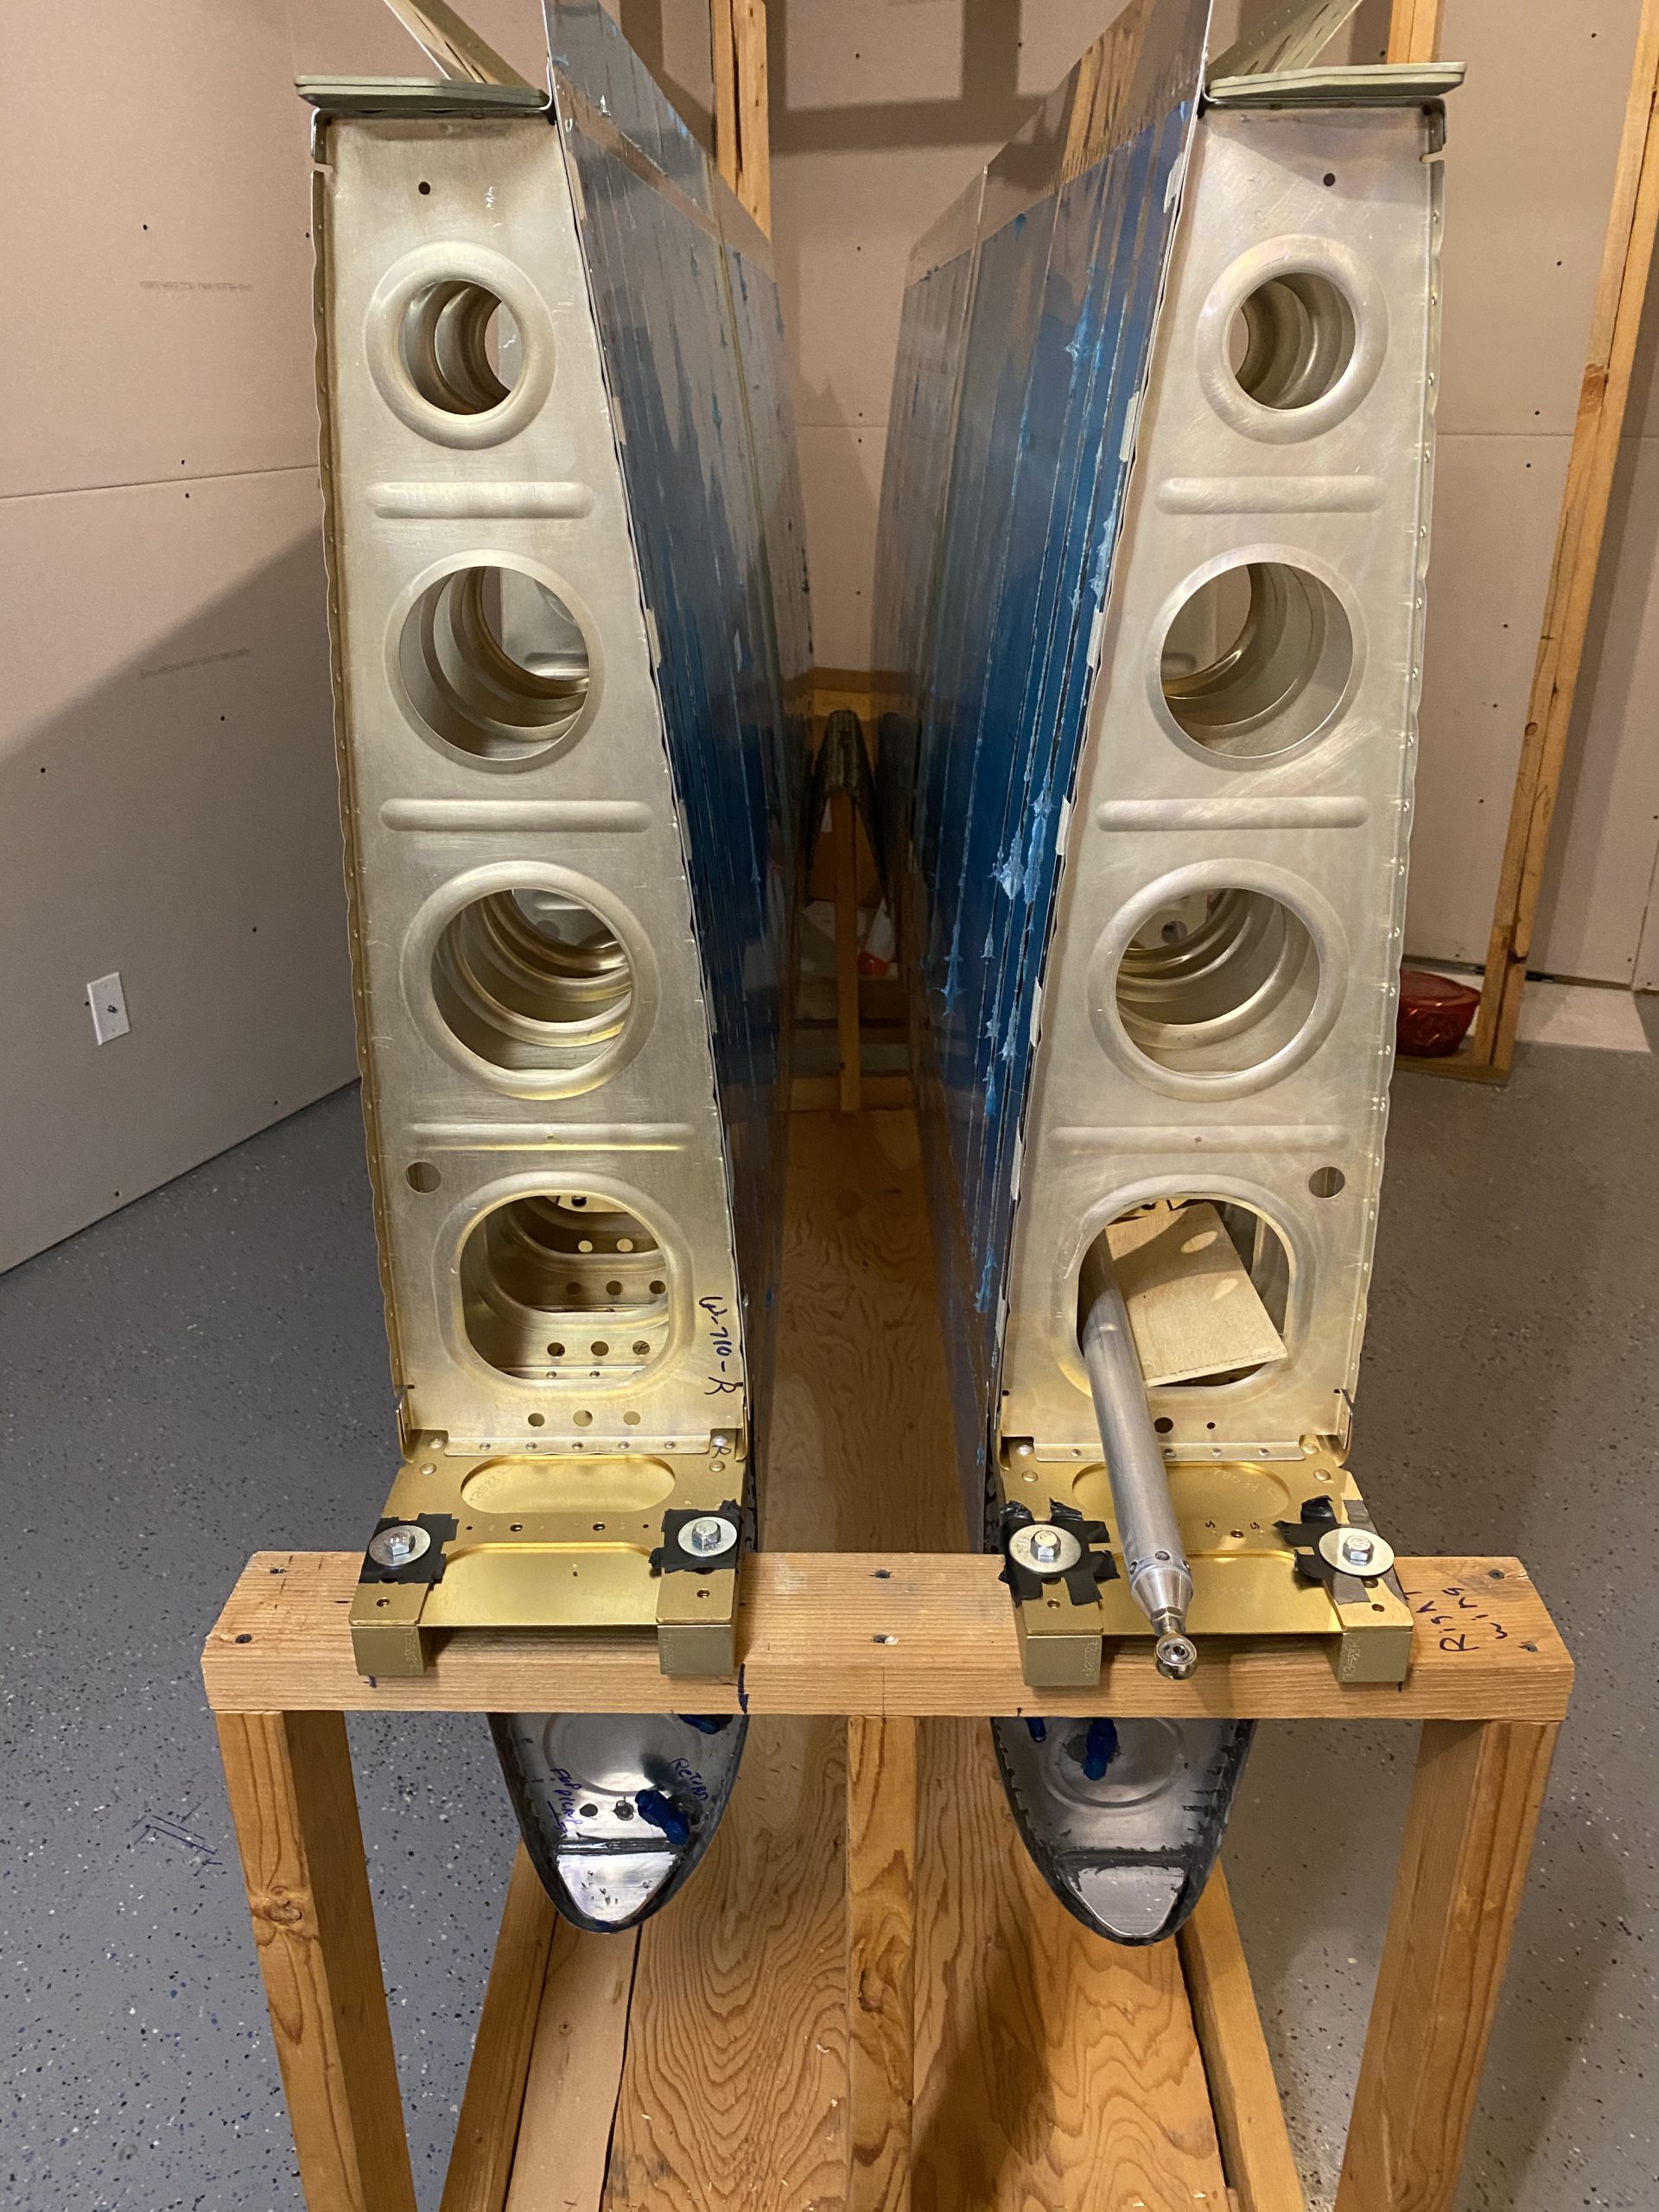
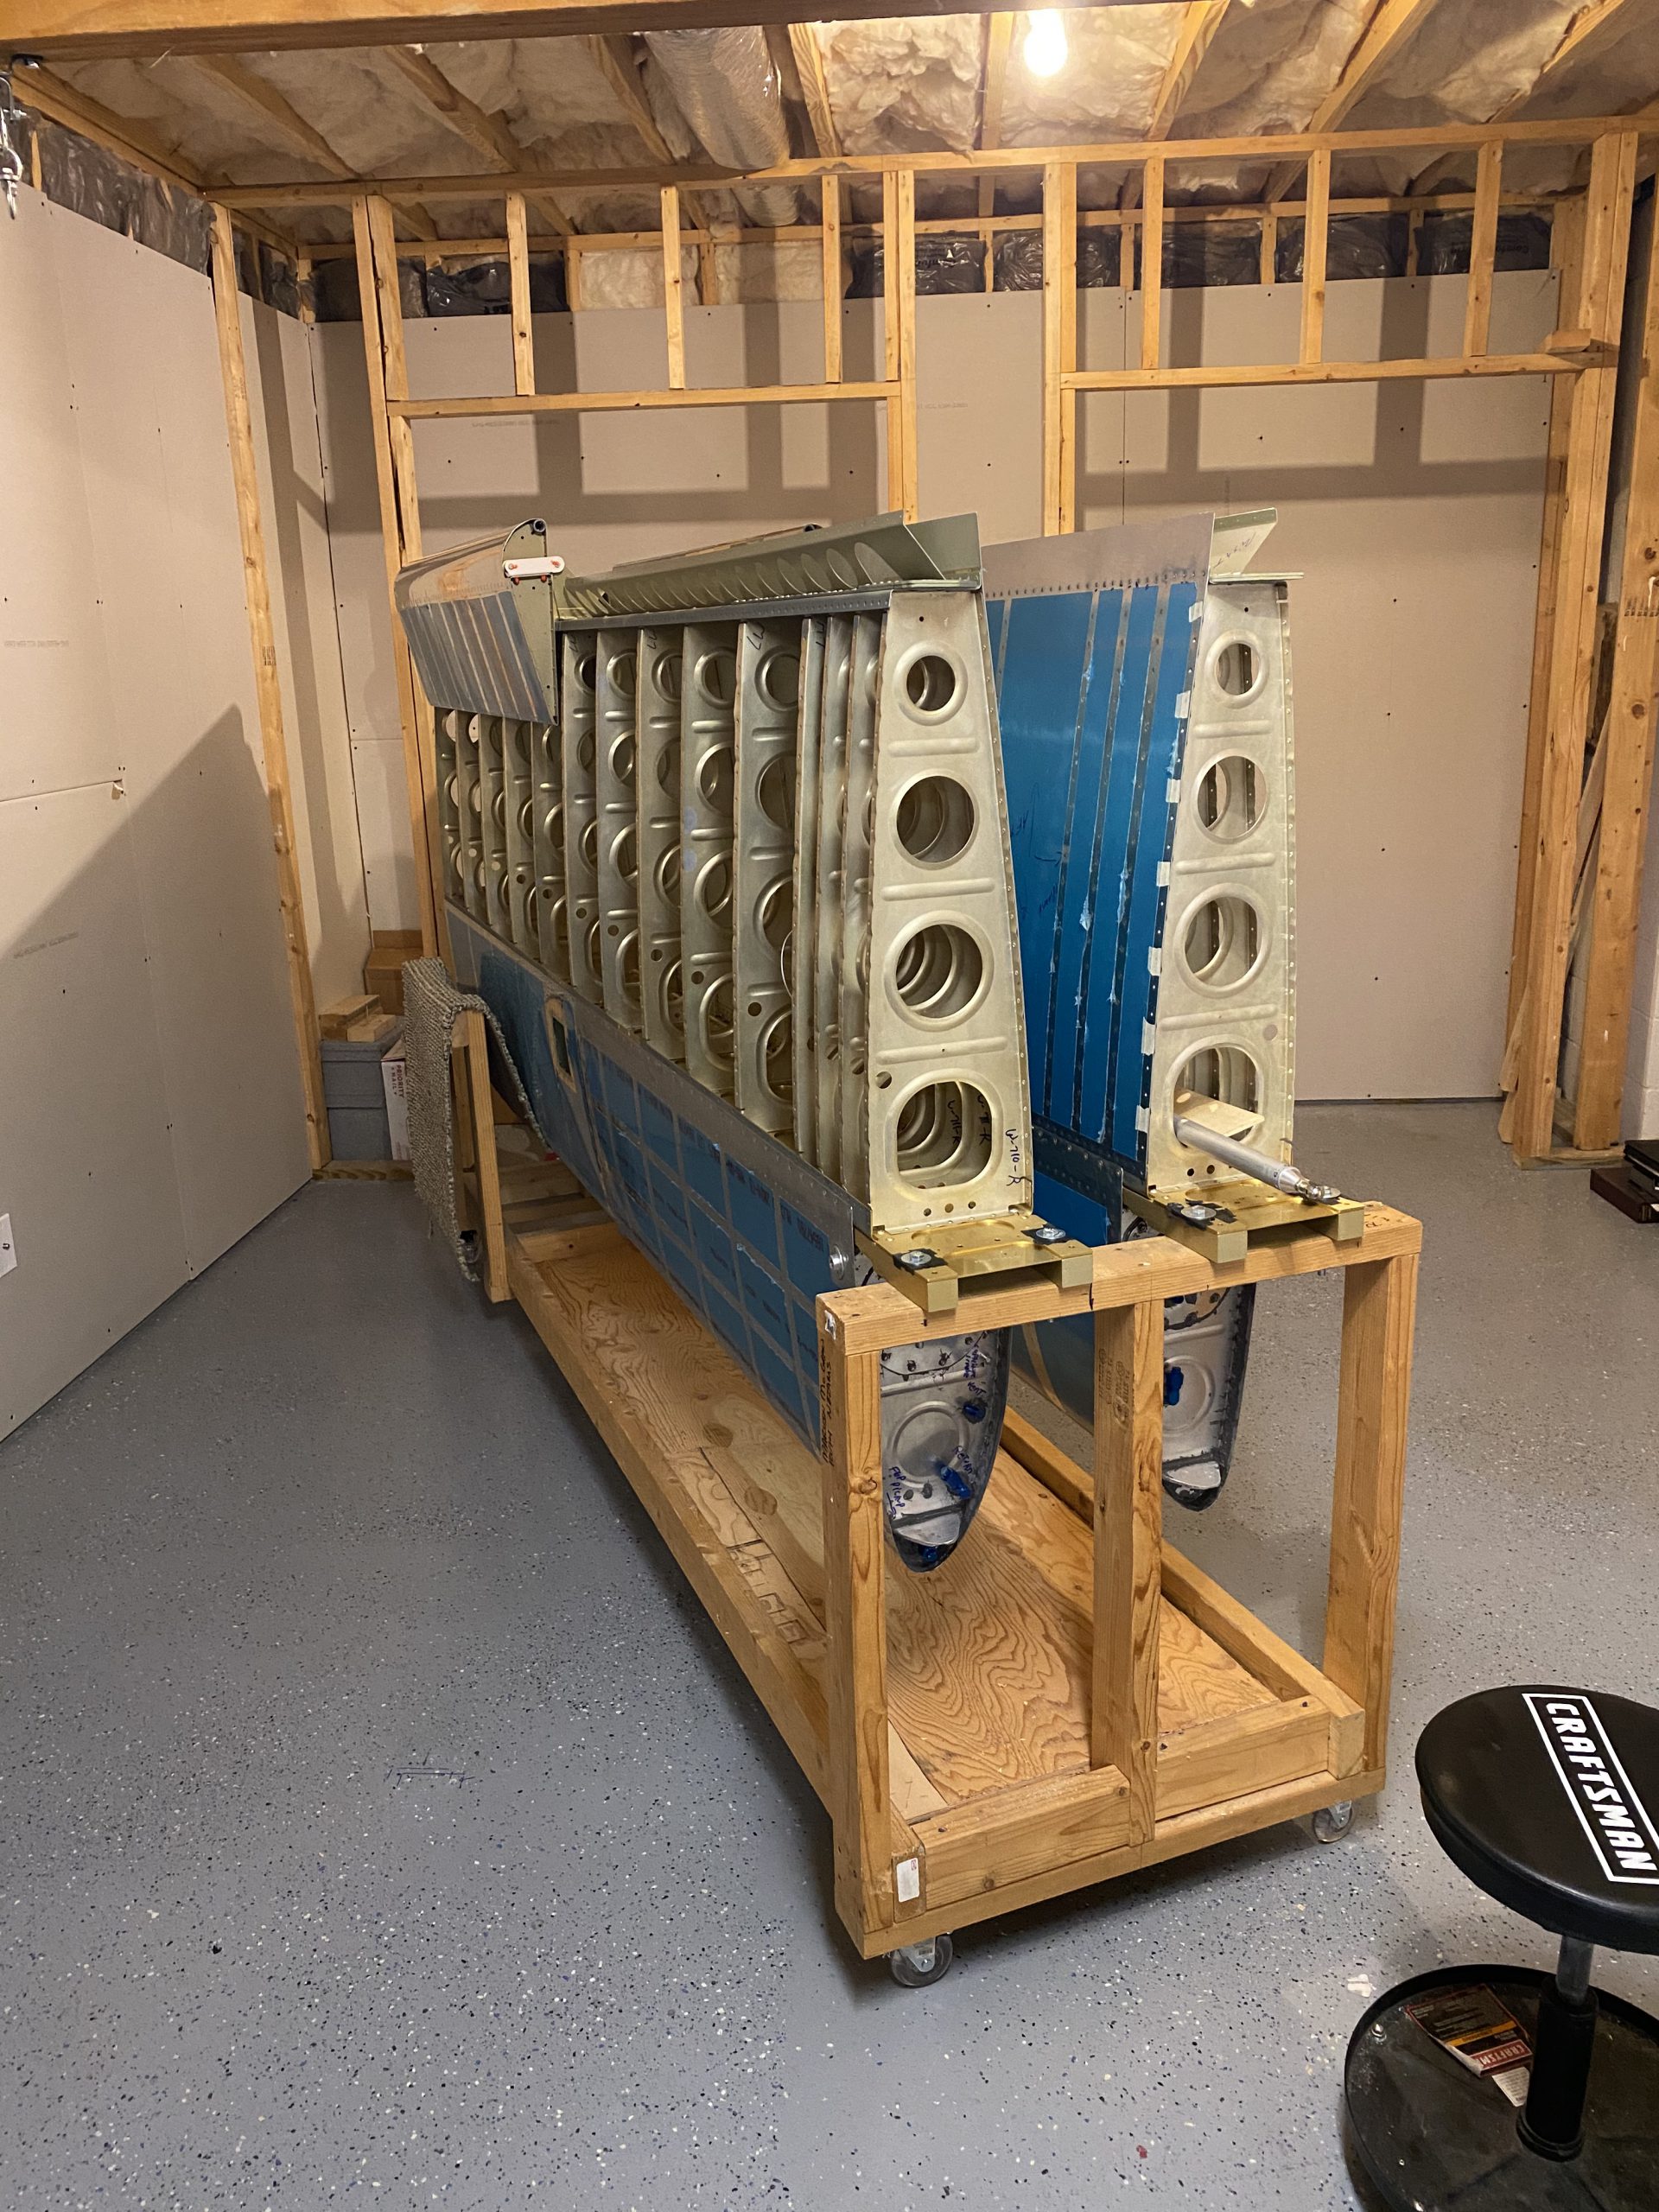
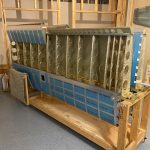
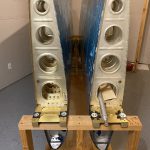
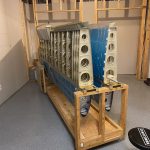
Finally, I decided to move the left wing into its spot on the cradle! The cradle will give me easy access to work on the bell crank, where I have something special planned for the pitot lines. So, Tammy came down and helped me lift the wing into the cradle. Then I drilled some holes into the cradle’s wooden beam so that I could bolt it down securely, like I did for the right wing. See this post for the details on how I did it for the right wing.
Lastly, I went over and checked all the torque values on all the bolts, then marked them with some torque seal.

I like the orange color better than the yellow I used previously. I think I will keep using this color, its easier to see probably a good thing during inspection (conditional inspection) annually. Thats it for this session. I’ll work on the bellcrank next time, and then the brackets for the pitot and AOA tubes. I’ll need to do some fabricating on that, so it’ll be fun!
Google Photos Link: https://photos.app.goo.gl/3BTecFkSdhhH7Gcy6
-
IMG_2981
-
IMG_2982
-
IMG_2983
-
IMG_2984
-
IMG_2985
-
IMG_2986
-
IMG_2987
-
IMG_2988
-
 IMG_2989


Hours Worked: 2.0