


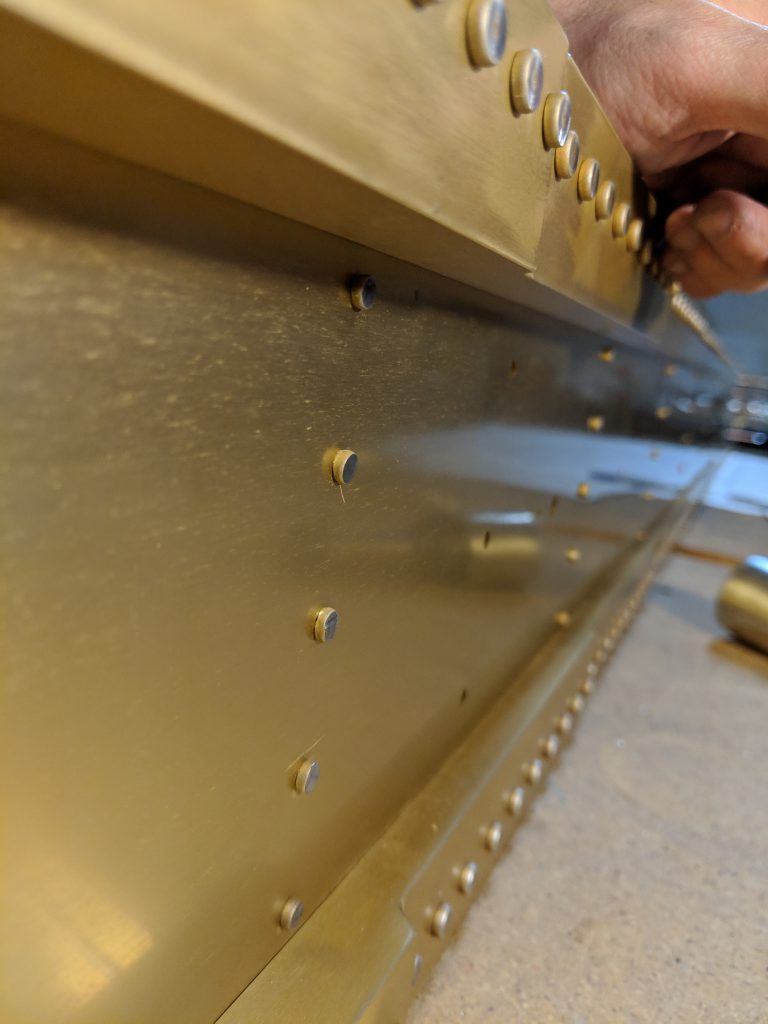
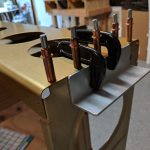
Since the left wing stand is anchored and ready for the wing, I decided to go ahead and get the left wing prepared to go on the stand to free up some space in the shop so I can work on the right wing stand. The plans tells us we can cut a 5″ piece of angle and use on the outboard end rib on the wing to create a mounting tab for the wing, and even tells us its OK to use 3/16″ bolts and drill holes into the rib as it won’t compromise strength. So, I cut some scrap angle aluminum down to 5″ and made the bracket flush with the spar web which worked out perfectly to hold the wing level on the stand while my wife Tammy helped hold it.
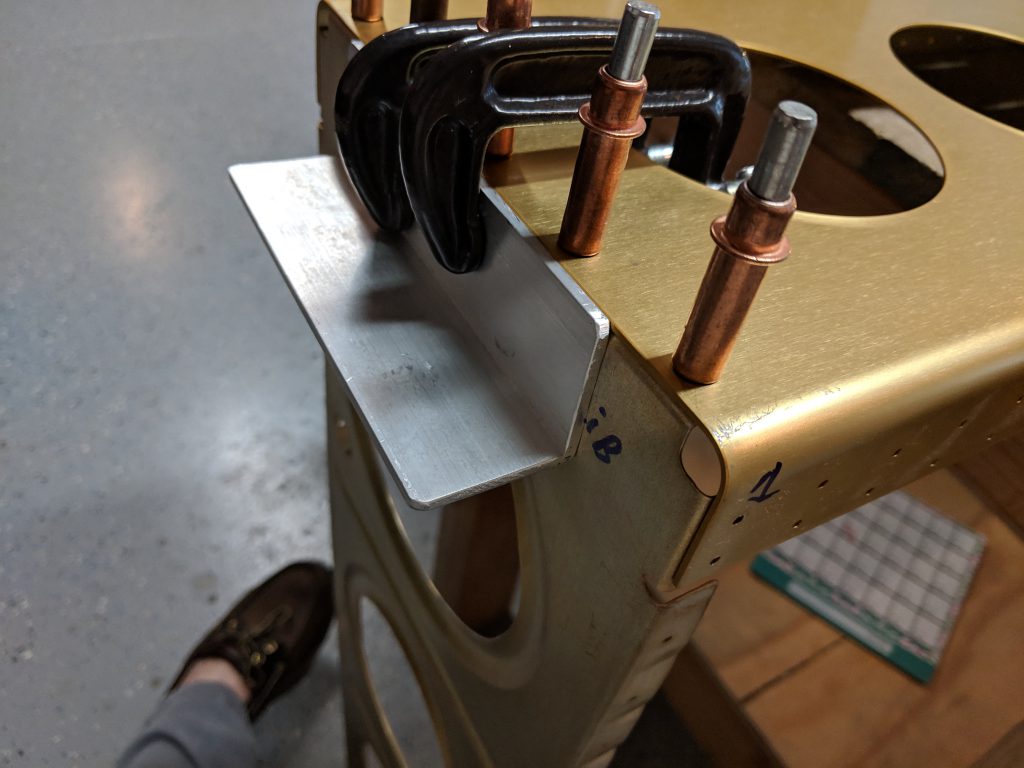
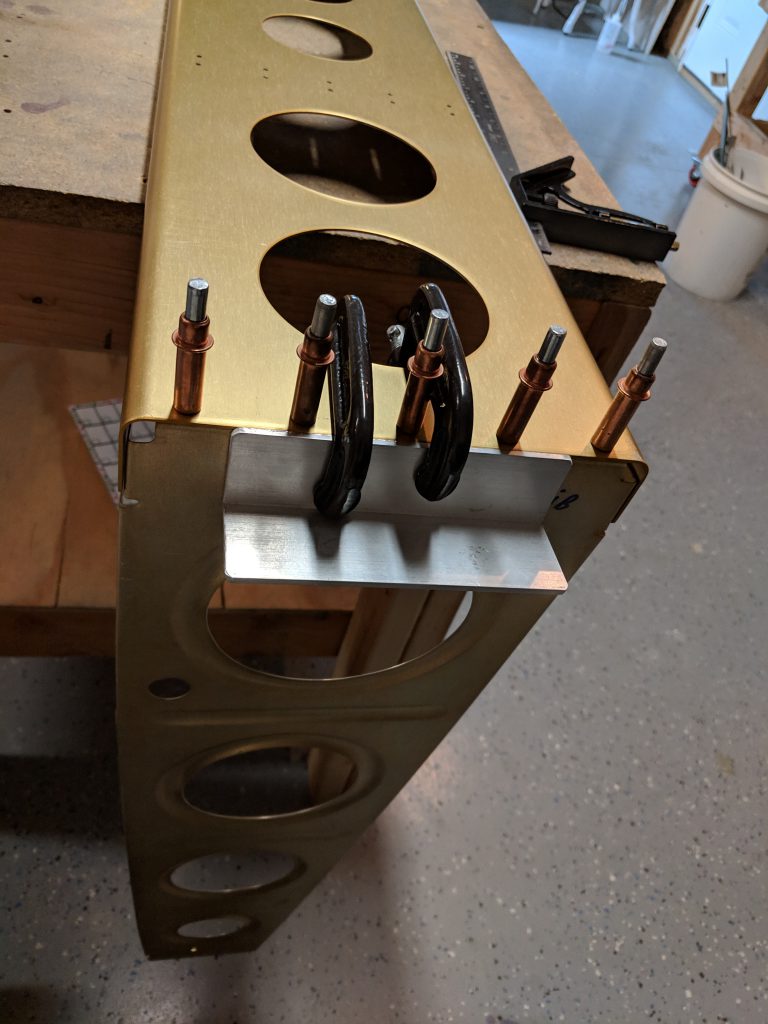
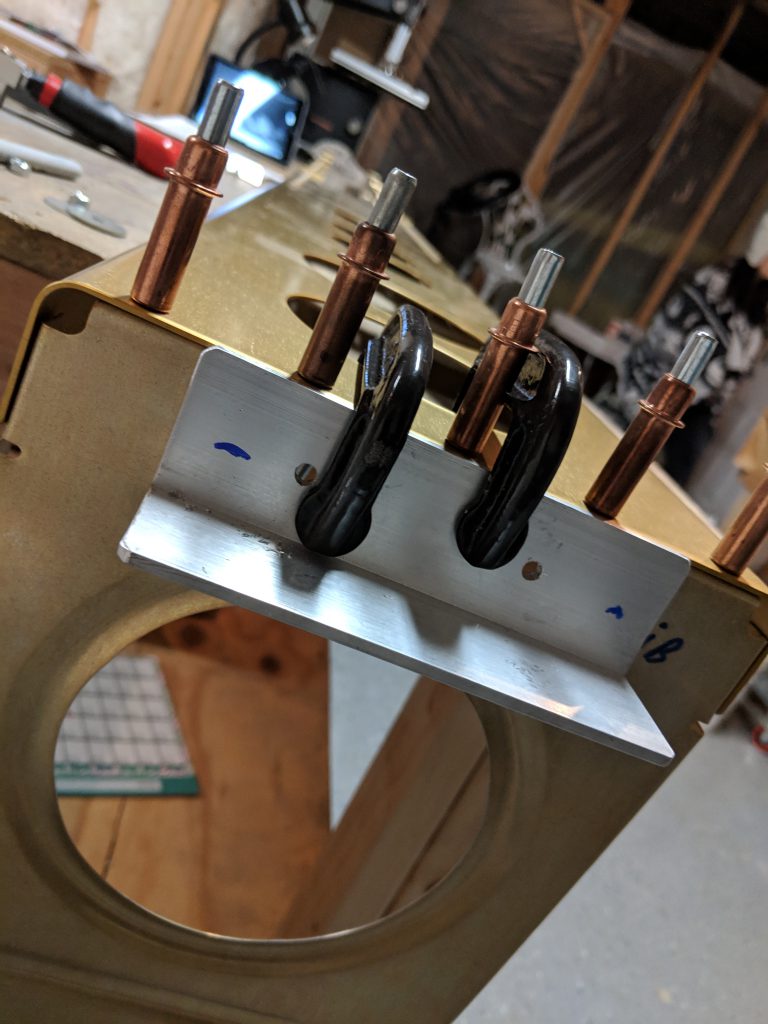
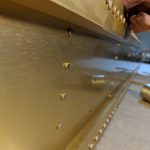
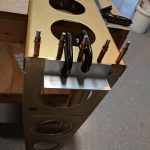
I just clamped the angle to the outboard rib to check that it was at the right height to hold the spar nice and level. Once I was happy with the placement, I drilled two new holes into the angle and through the outboard spar sized to a 3/16″ hole. You can see the new holes below.
Now that I have the bracket drilled and ready to be bolted, it’s time to go ahead and assemble the wing skeleton per the plans. I gathered up all my ribs, and double checked their placement and clecoed them all to the wing. There are a few towards the wing root that have extra holes for the rear spar, so I made sure they lined by cleco’ing on the rear spar temporarily.
The DRDT-2 table worked good to help hold the spar from twisting with the weight of the rear spar. I simply have the main spar clamped down to the bench to hold it up for riveting. The alodining on the ribs, really match up nicely with the anodizing of the main spar. I have decided to not prime the ribs, and just to leave them alodined.
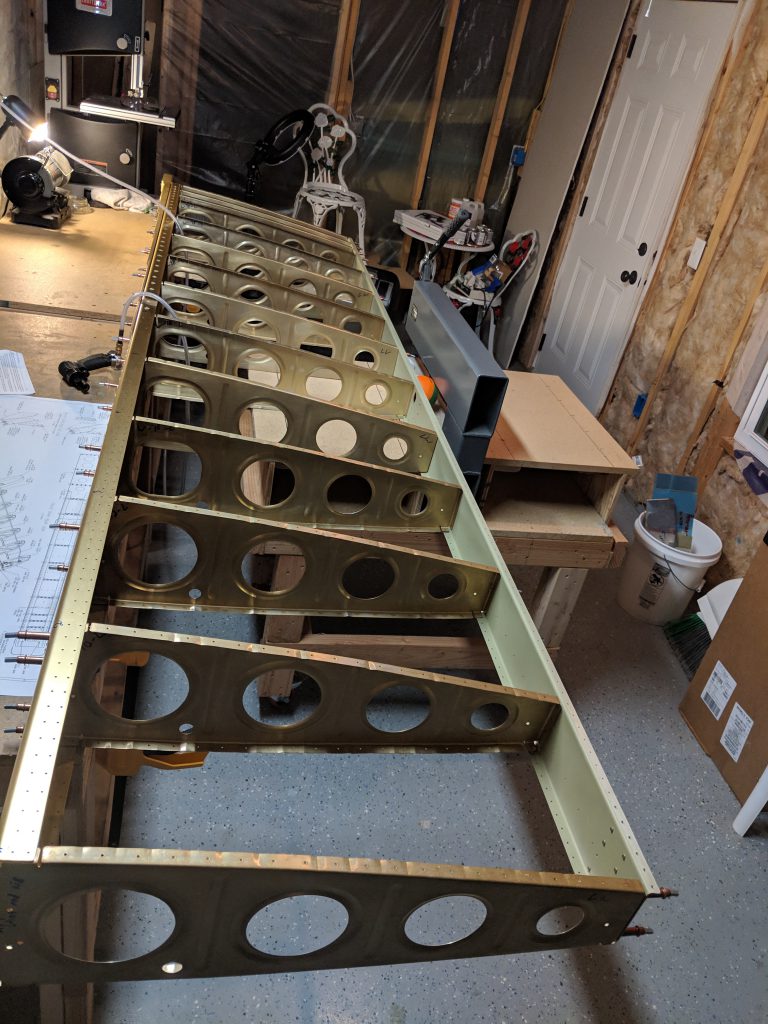
Once I had verified all the ribs were in the proper place by double checking against the plans, and making sure it all assembled nicely, I labeled the station number on each rib for easier identification when I rivet. I am way to “round” to fit in between the ribs to rivet, so I’ll have to remove several at a time as I move down from the outboard end to the wing root. As a side note, the plans tell us to NOT rivet the w-712 outboard rib to the main spar, and to ONLY rivet it to the rear spar. This is because we need to also attach the nose rib to the main spar AND to the main outboard rib, essentially sandwhiching the main spar between the nose rib and main rib using the same rivet line. So, I left it clecoed in place for now.
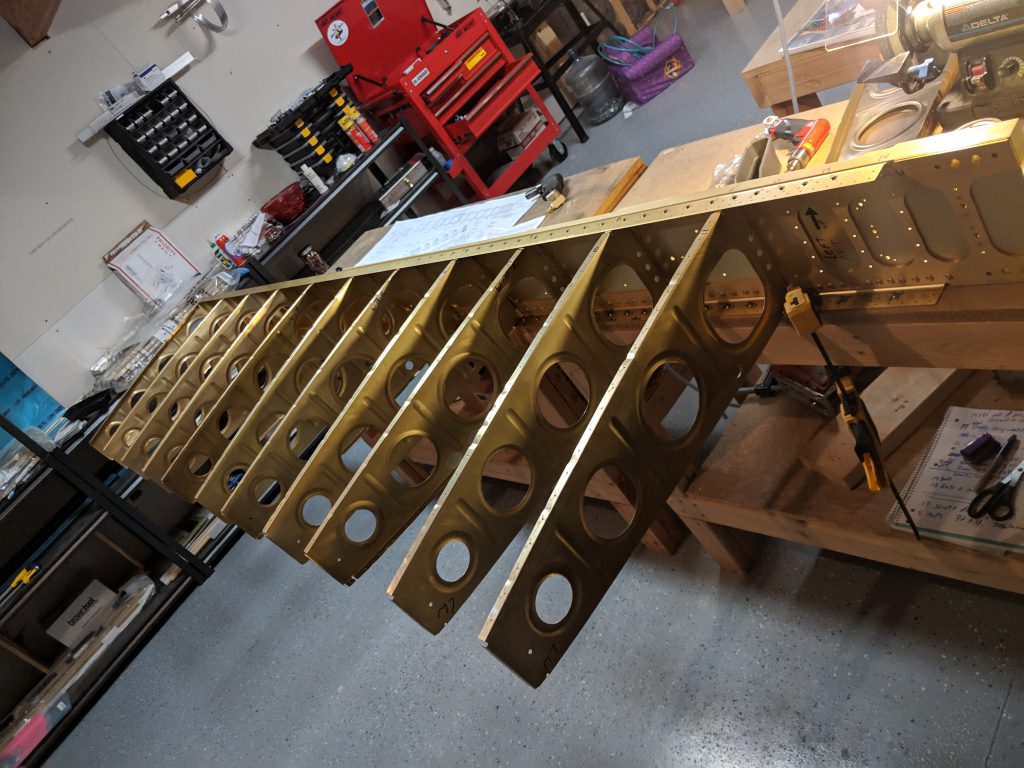
I started with the outboard, and worked my way inb0ard riveting the ribs as I went, double checking the rivet sizing as we change sizes (lengths) a few times due to the thickening spar web. Thankfully I was able to flex the rib just enough to get the rivet gun and set to line up with the rivet and drive the AN470AD4-7 rivets. They came out pretty good considering I haven’t done any riveting in about 7 months!
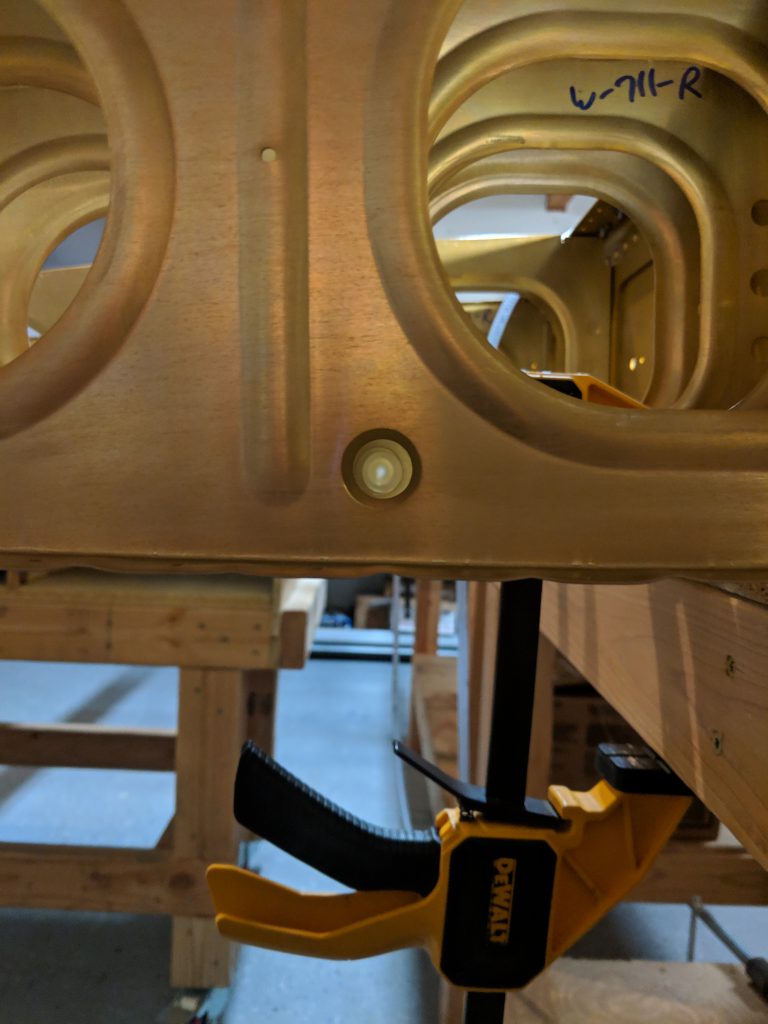
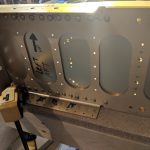
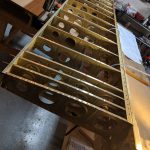
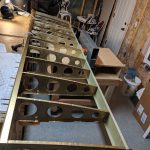
There are 14 total ribs, but I was only able to get 11 done. The last three are pretty close together and there are three holes that look like nutplates go into. I didn’t want to cramp up all the space to set any nutplates, so I decided to just call it a night for now, and I’ll look into the plans to see if these can be done now, before I cramp up the space with ribs. I think they are for the fuel tank? See the photo below.

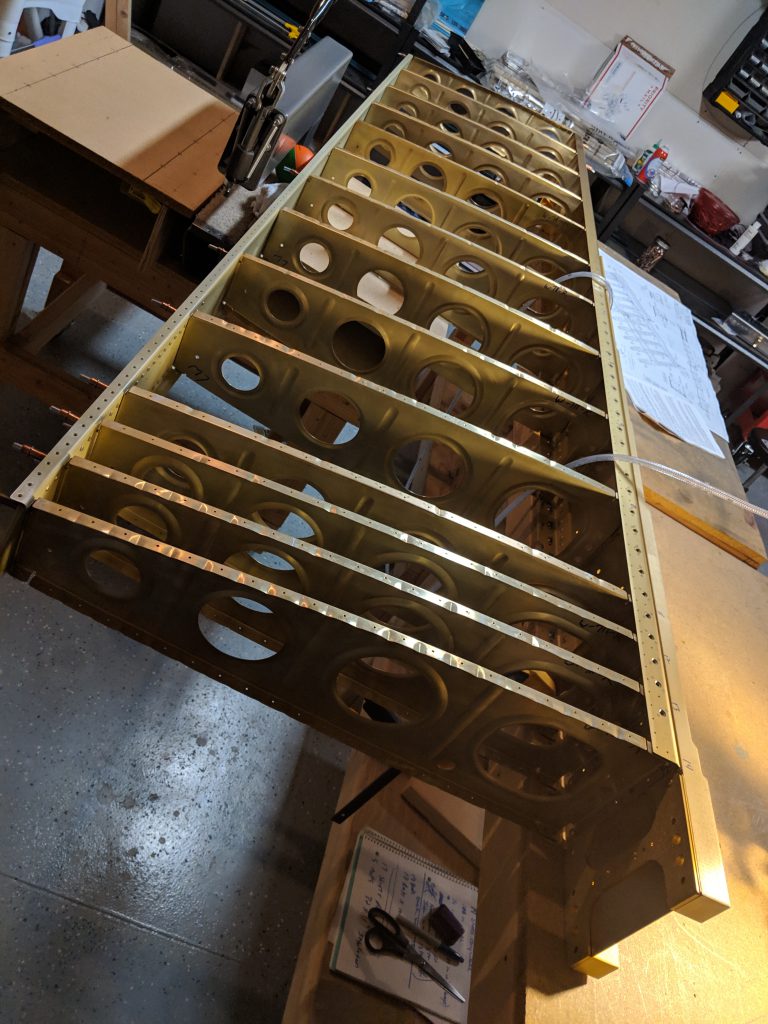
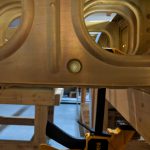
And here’s a shot looking down the hole I am planning on using for the conduit. All the ribs line up nice and neat, and you can see straight down the line!
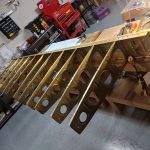
And here is a shot of tonights work:
Thats it for tonight. I’ll check the plans for those nutplates, and decide if I need to go ahead and set them now to make it easier. Heres a link to the google Photos album: https://photos.app.goo.gl/aeVr2bpDVVjMt2DZ7
And heres all the photos from tonight:


Hours Worked: 3.25