


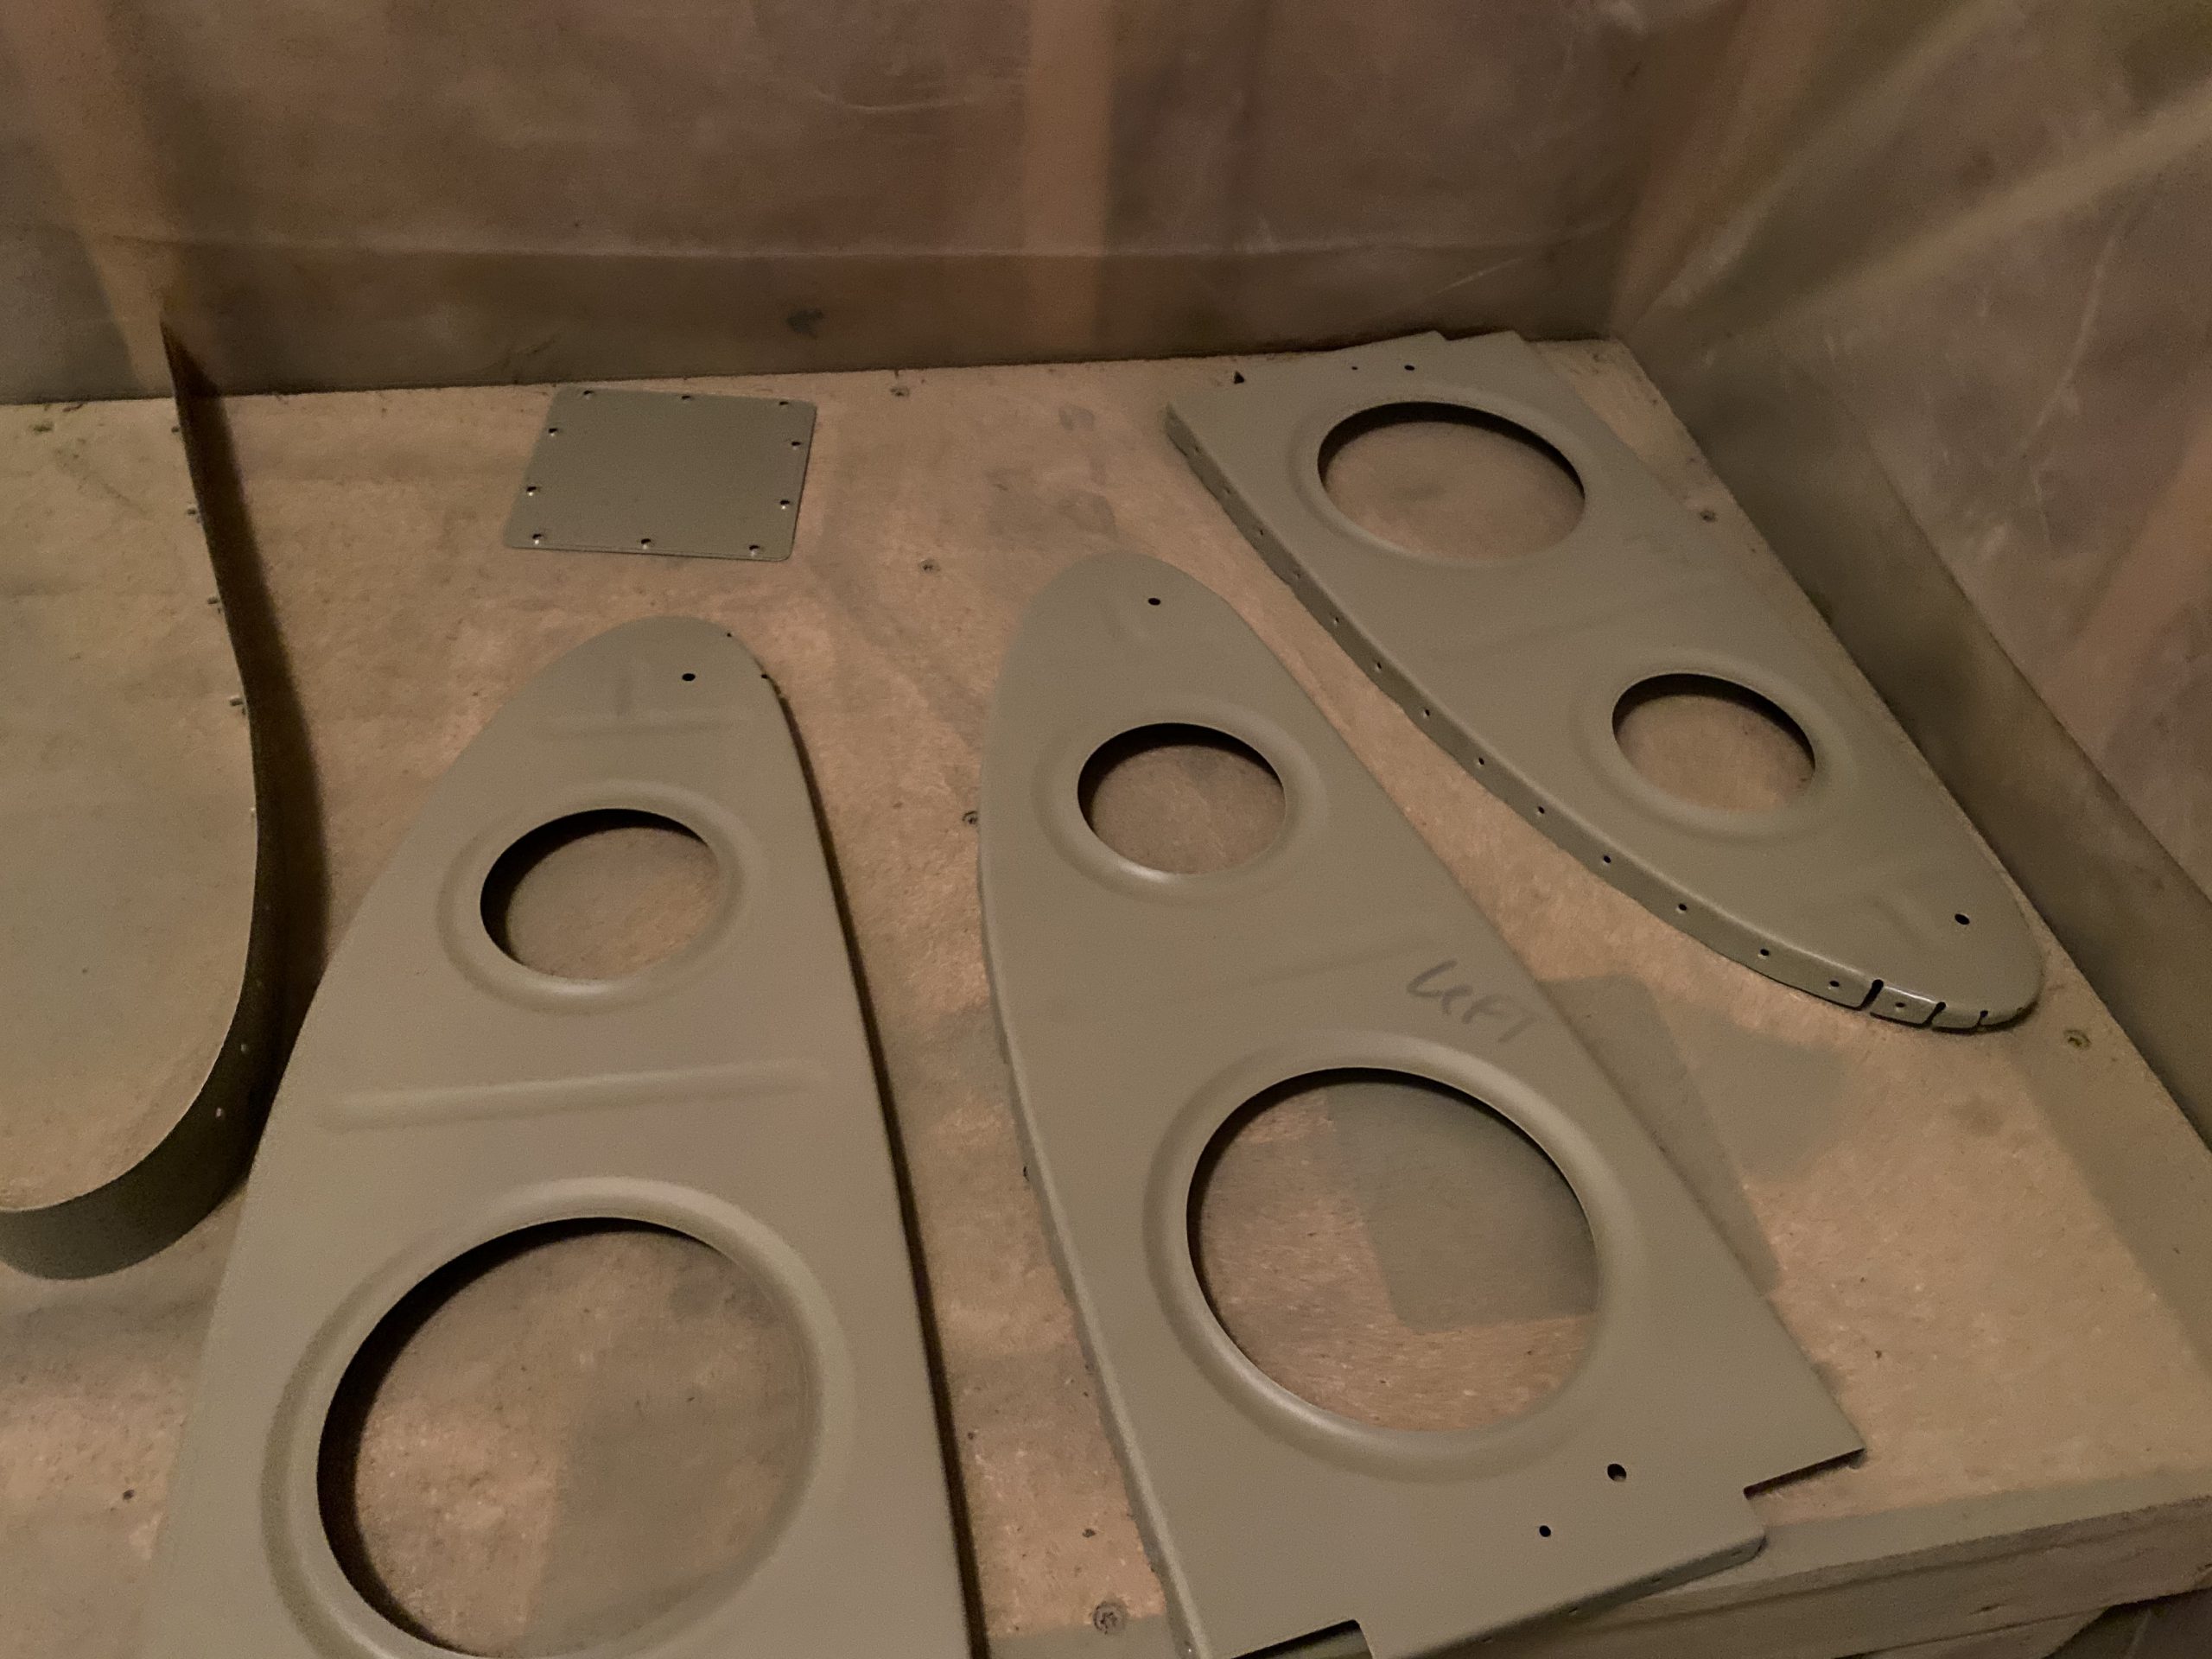
Time to prime! I was able to completely prime all of the leading edge parts for both wings in this session, including the access cover and plate for the stall horn. I also realize my AKZO is past its shelf life, but it seemed to spray just fine and I think it will cure OK as well. This will be a good test I guess. Recall from some past posts, that the leading edge ribs were alumapreped and alodined WAAAYYYY back. If you also recall, the two outboard ribs on the leading edge I had to re-order and re-drill because I wasn’t happy with the edge distance on those holes, so these new ribs were not alodined. Same goes for the splice plates. So, I’ll do them the old fashioned way. Here is the timelapse for this session:
Notice a few things in that video:
- I am using the orange vent tube connected to a blower / ventilator thats outside to help vent some of the acetone and MEK fumes. This worked pretty good!
- Towards the end of my spraying session, you’ll see some overspray coming from the top of my spray booth. I noticed the makeshift airfilter I am using on the booth clogged up, reducing the negative pressure from the blower. I’ll change this before the next session!
- Theres some time where I am sitting, waiting on the AKZO to kick-off. It has a 30 minute induction time after mixing, before spraying.
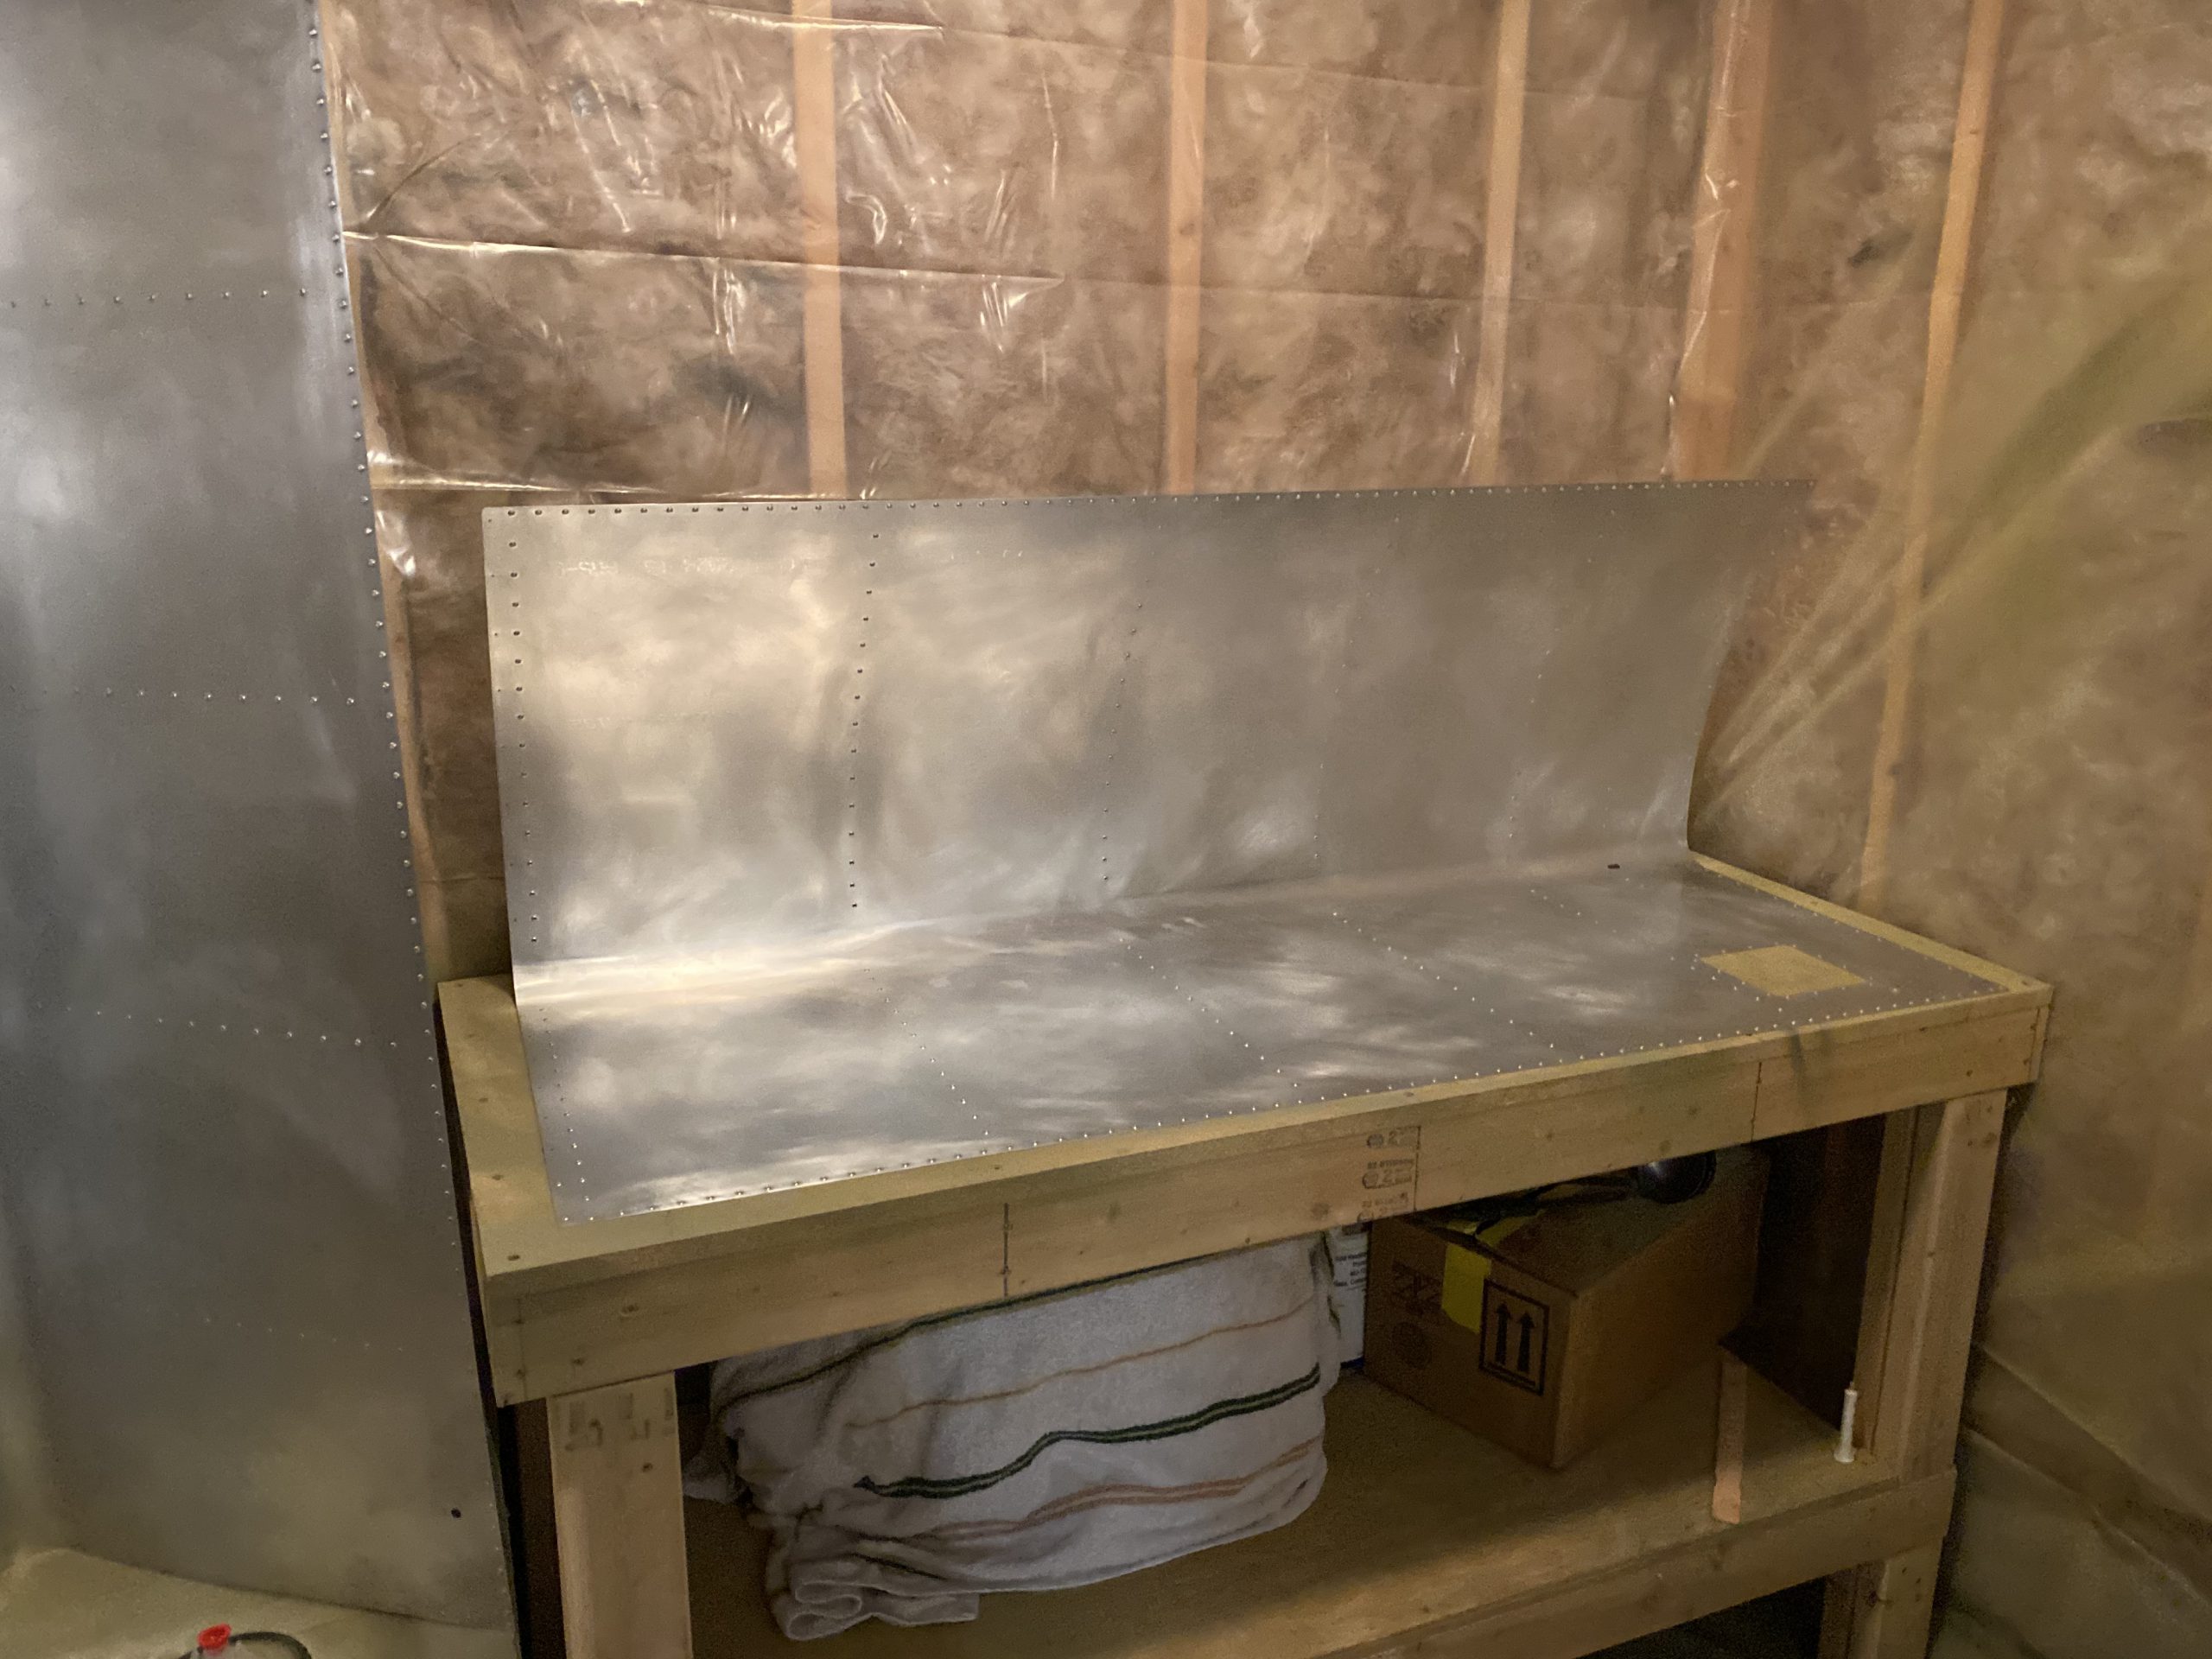
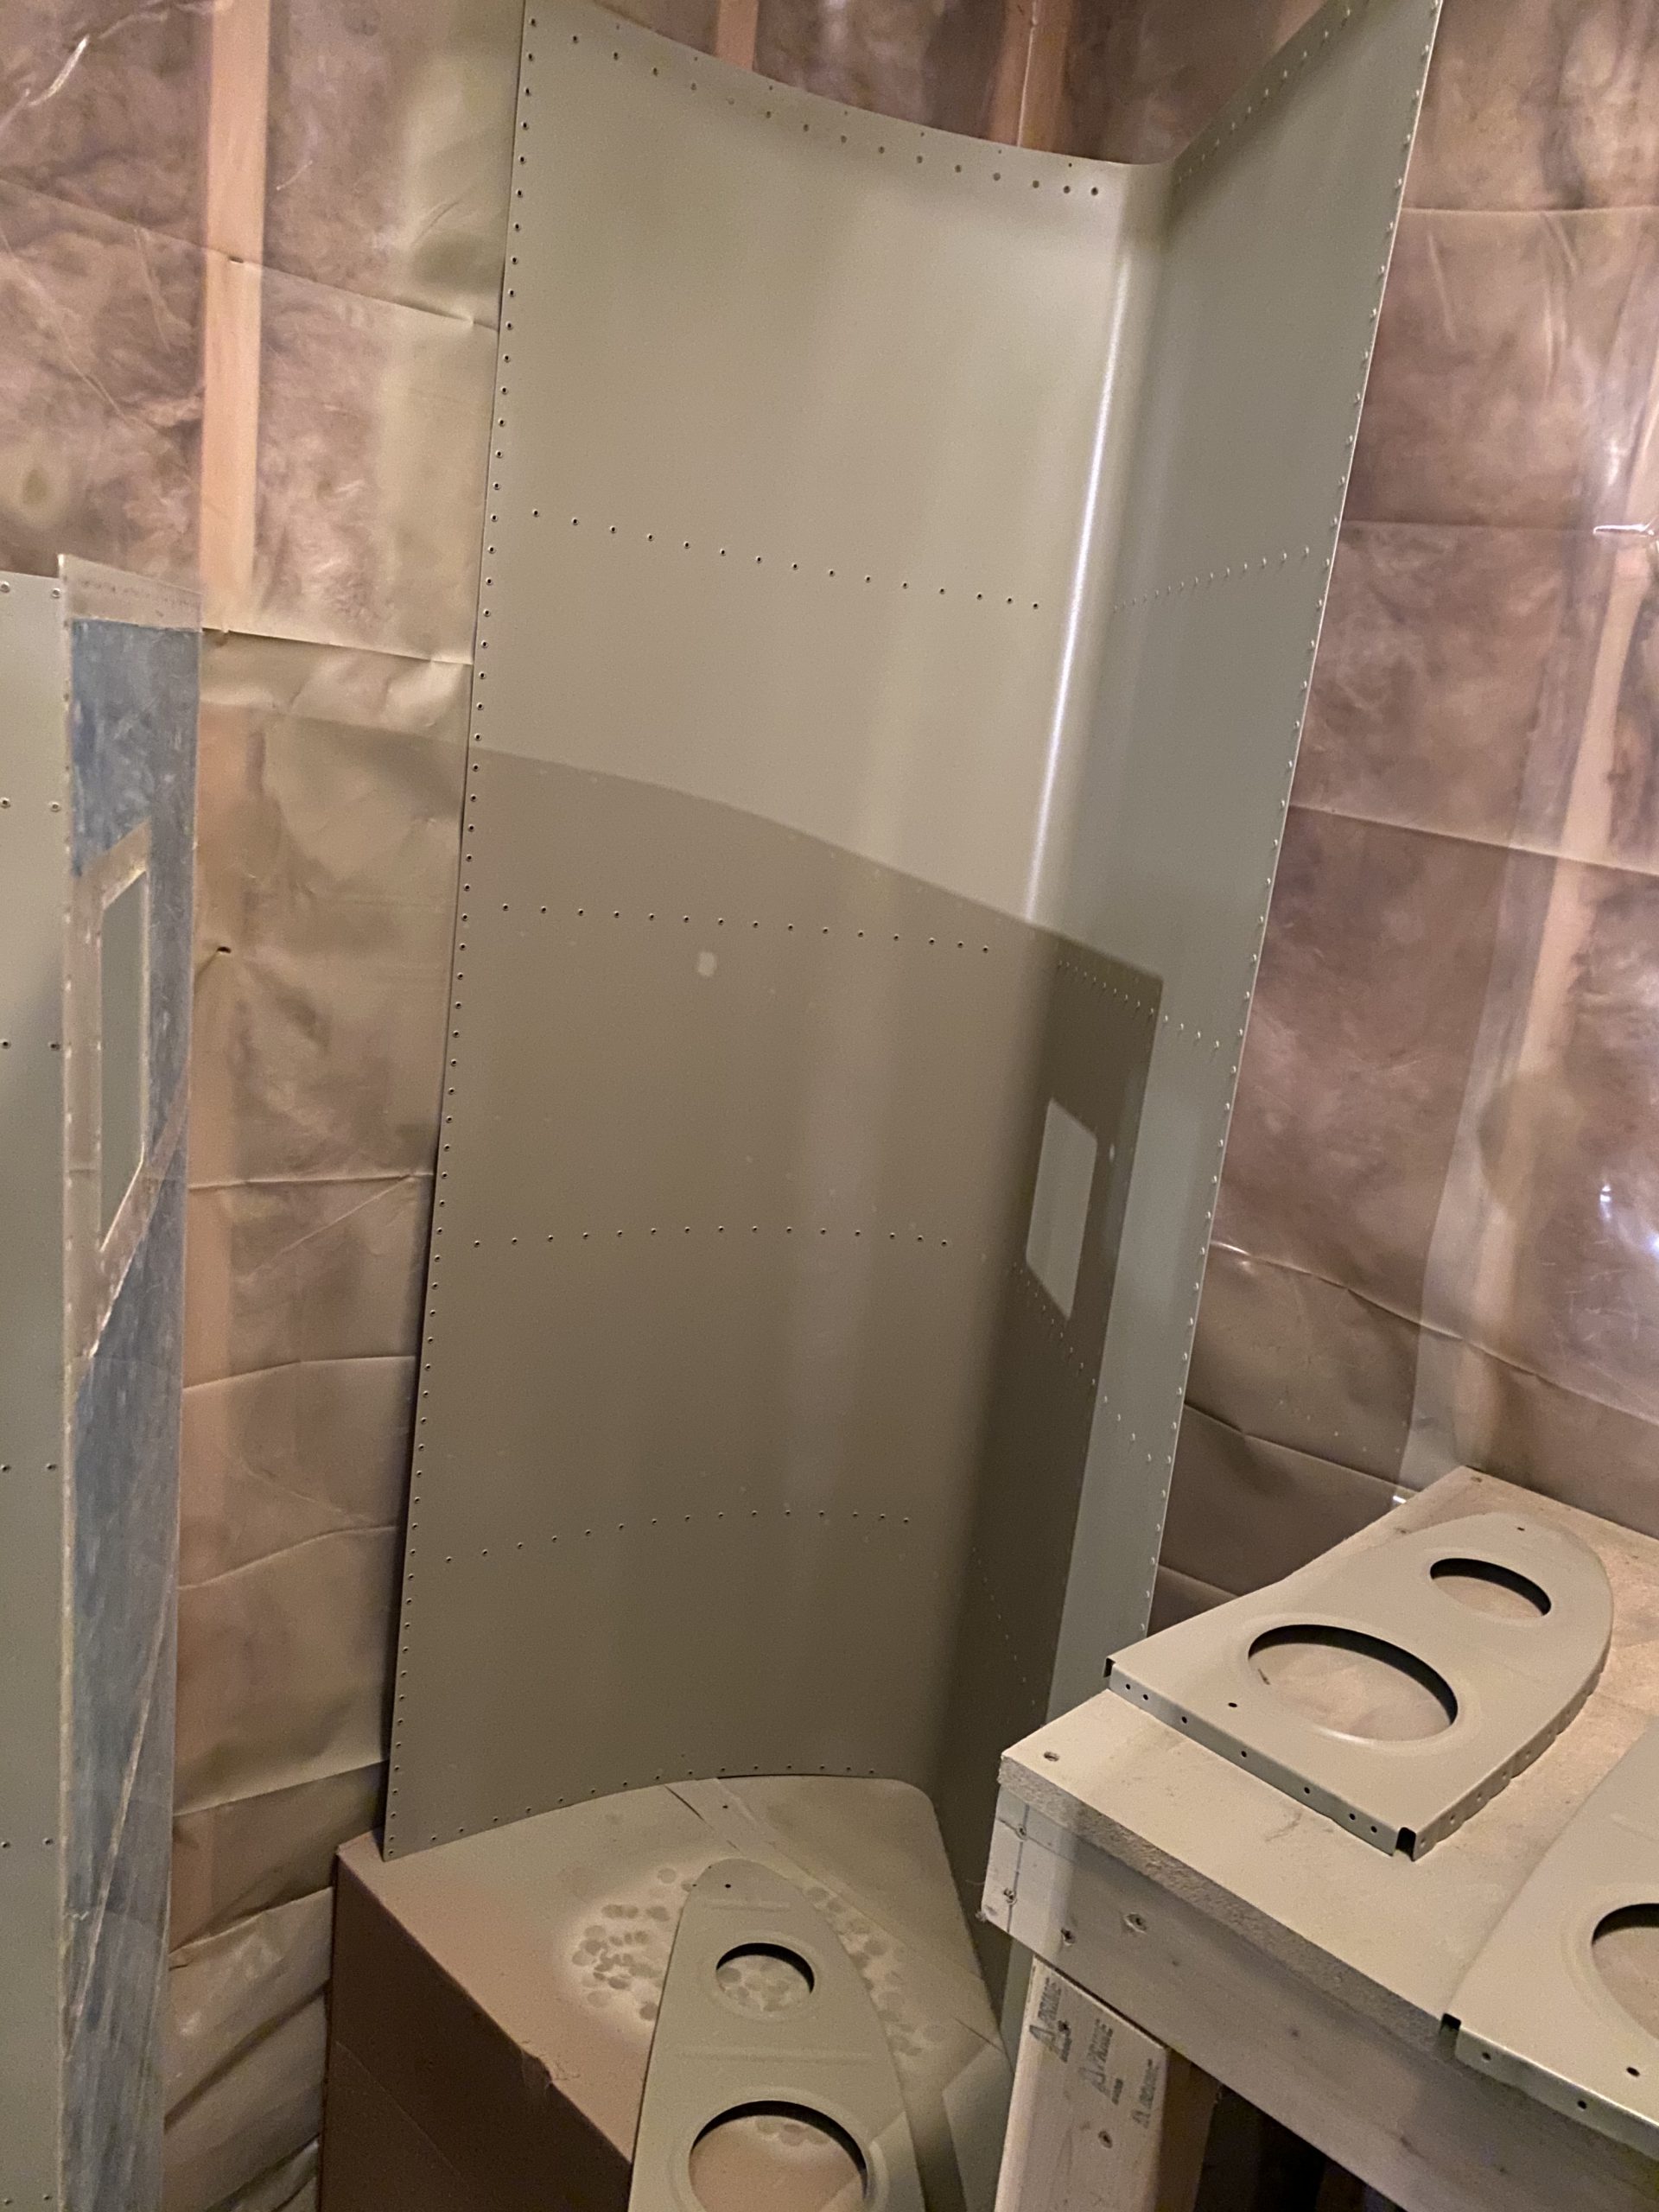
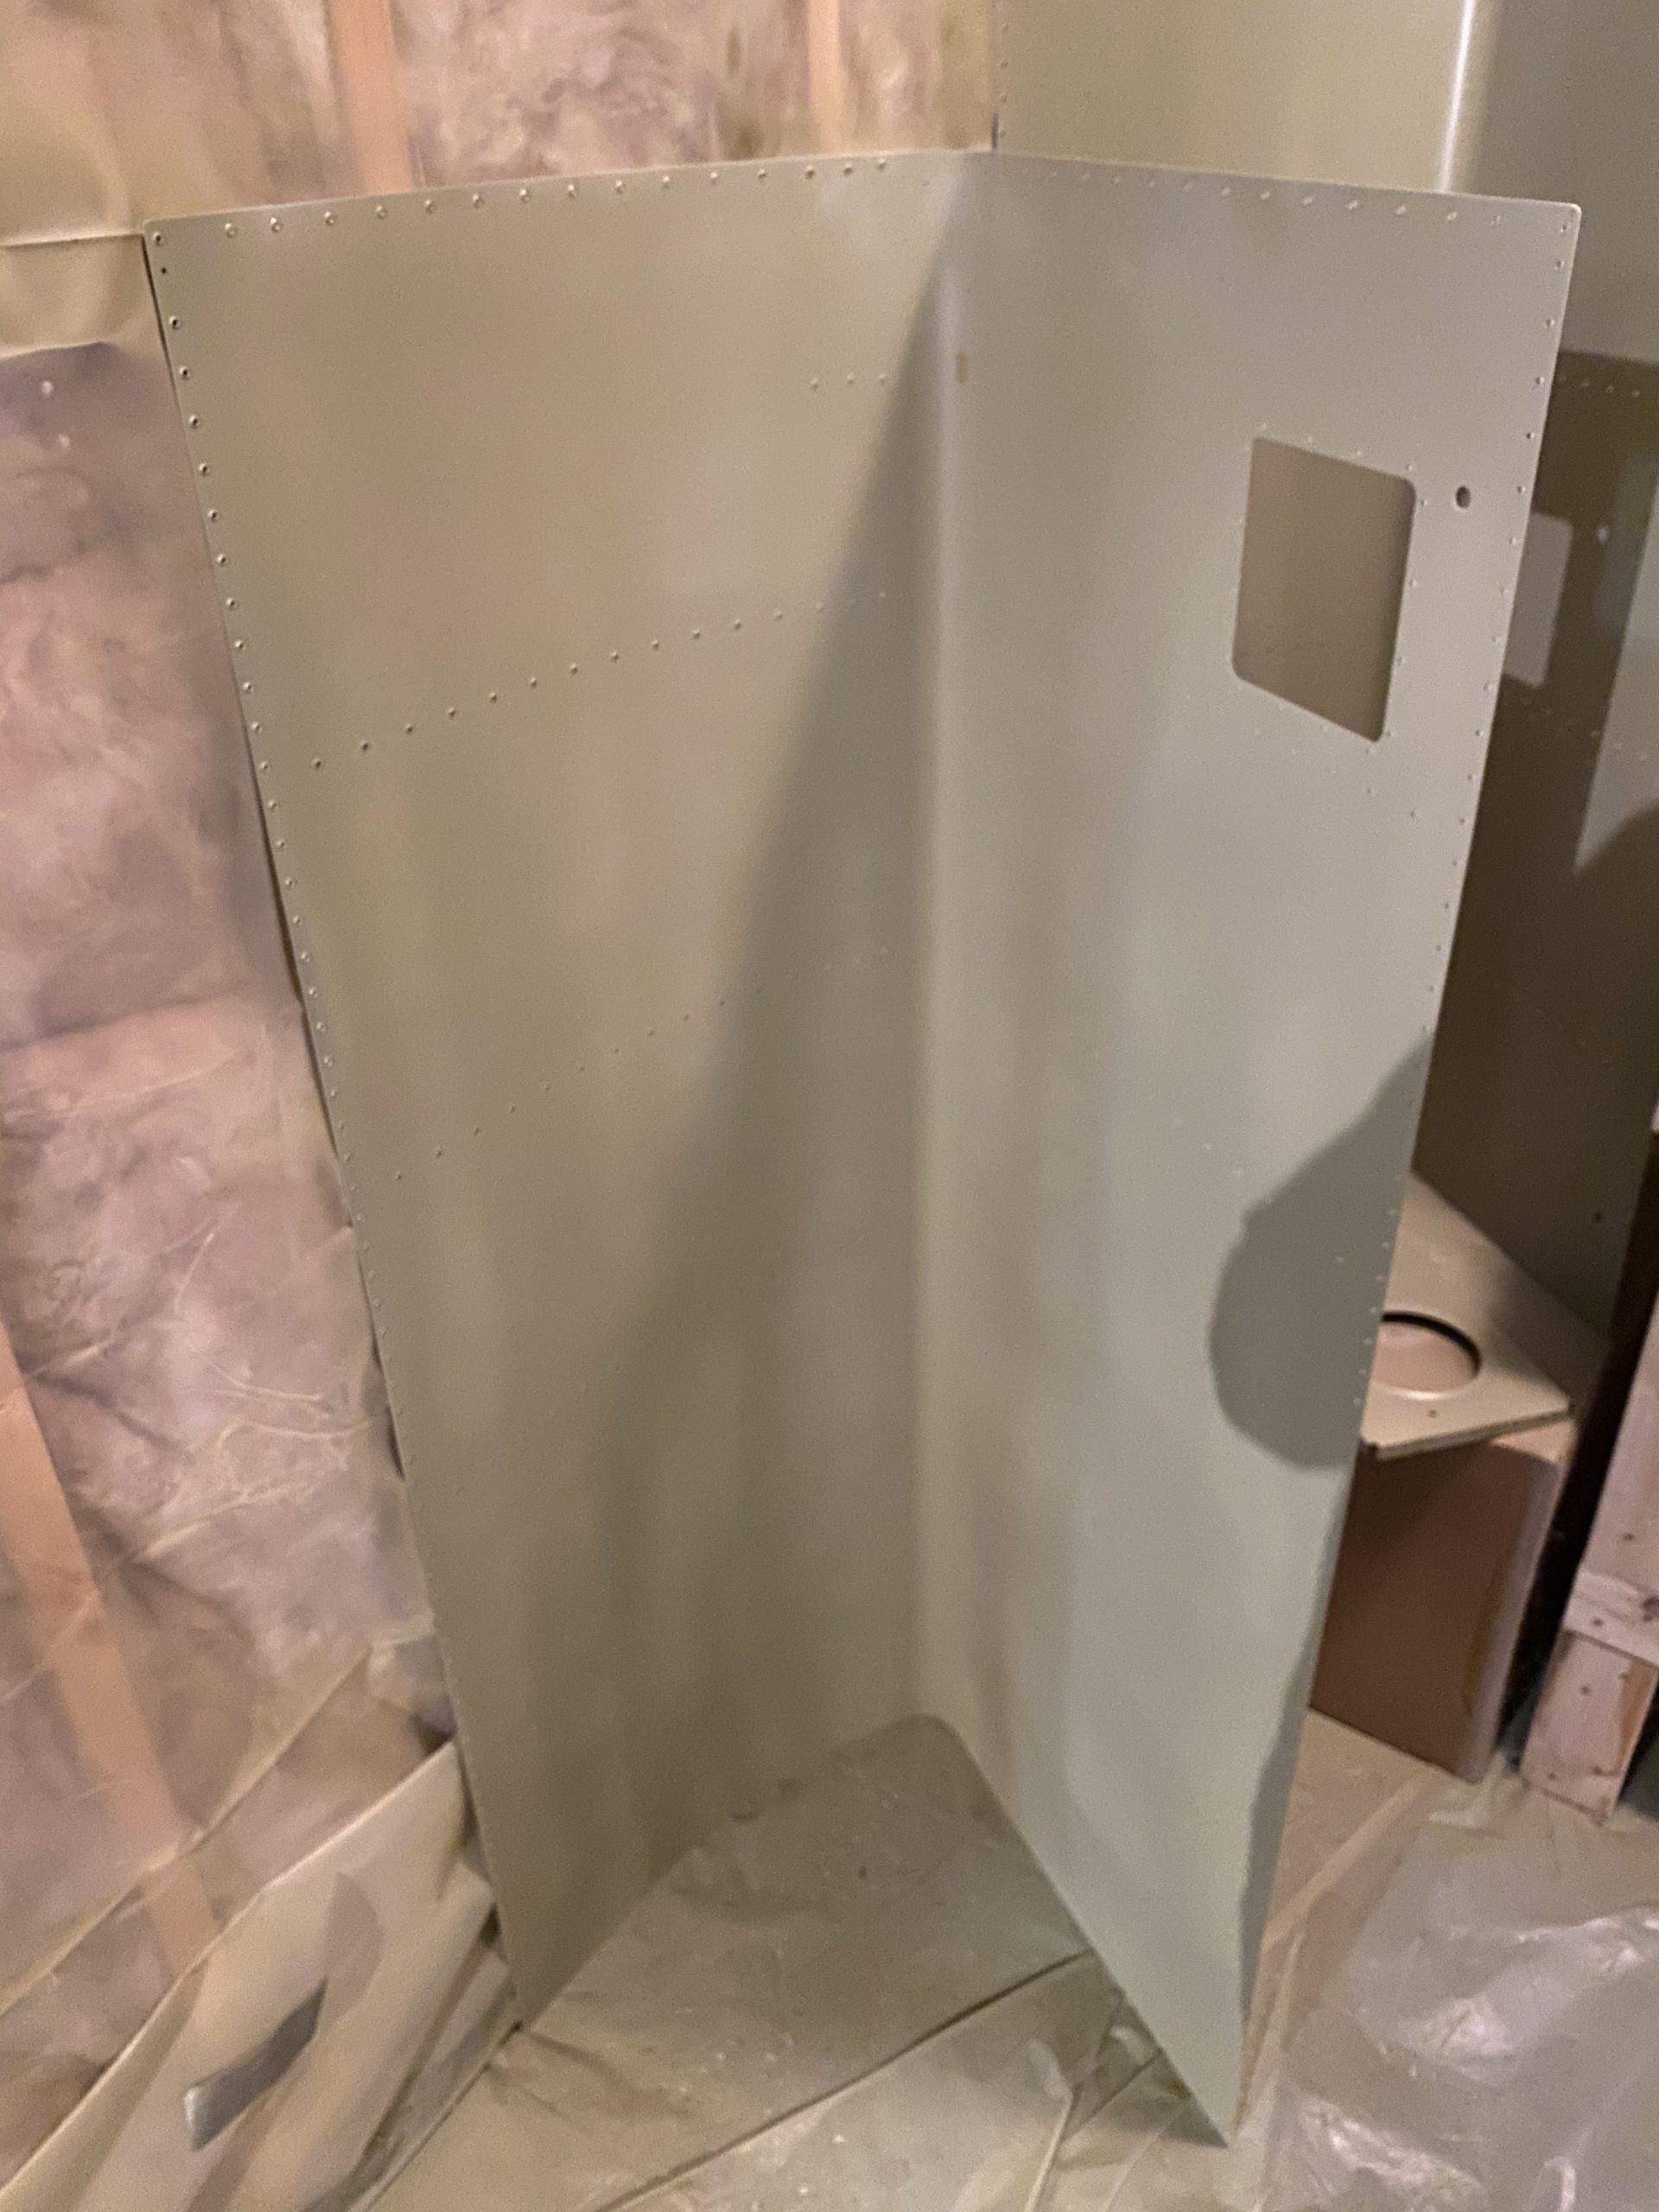
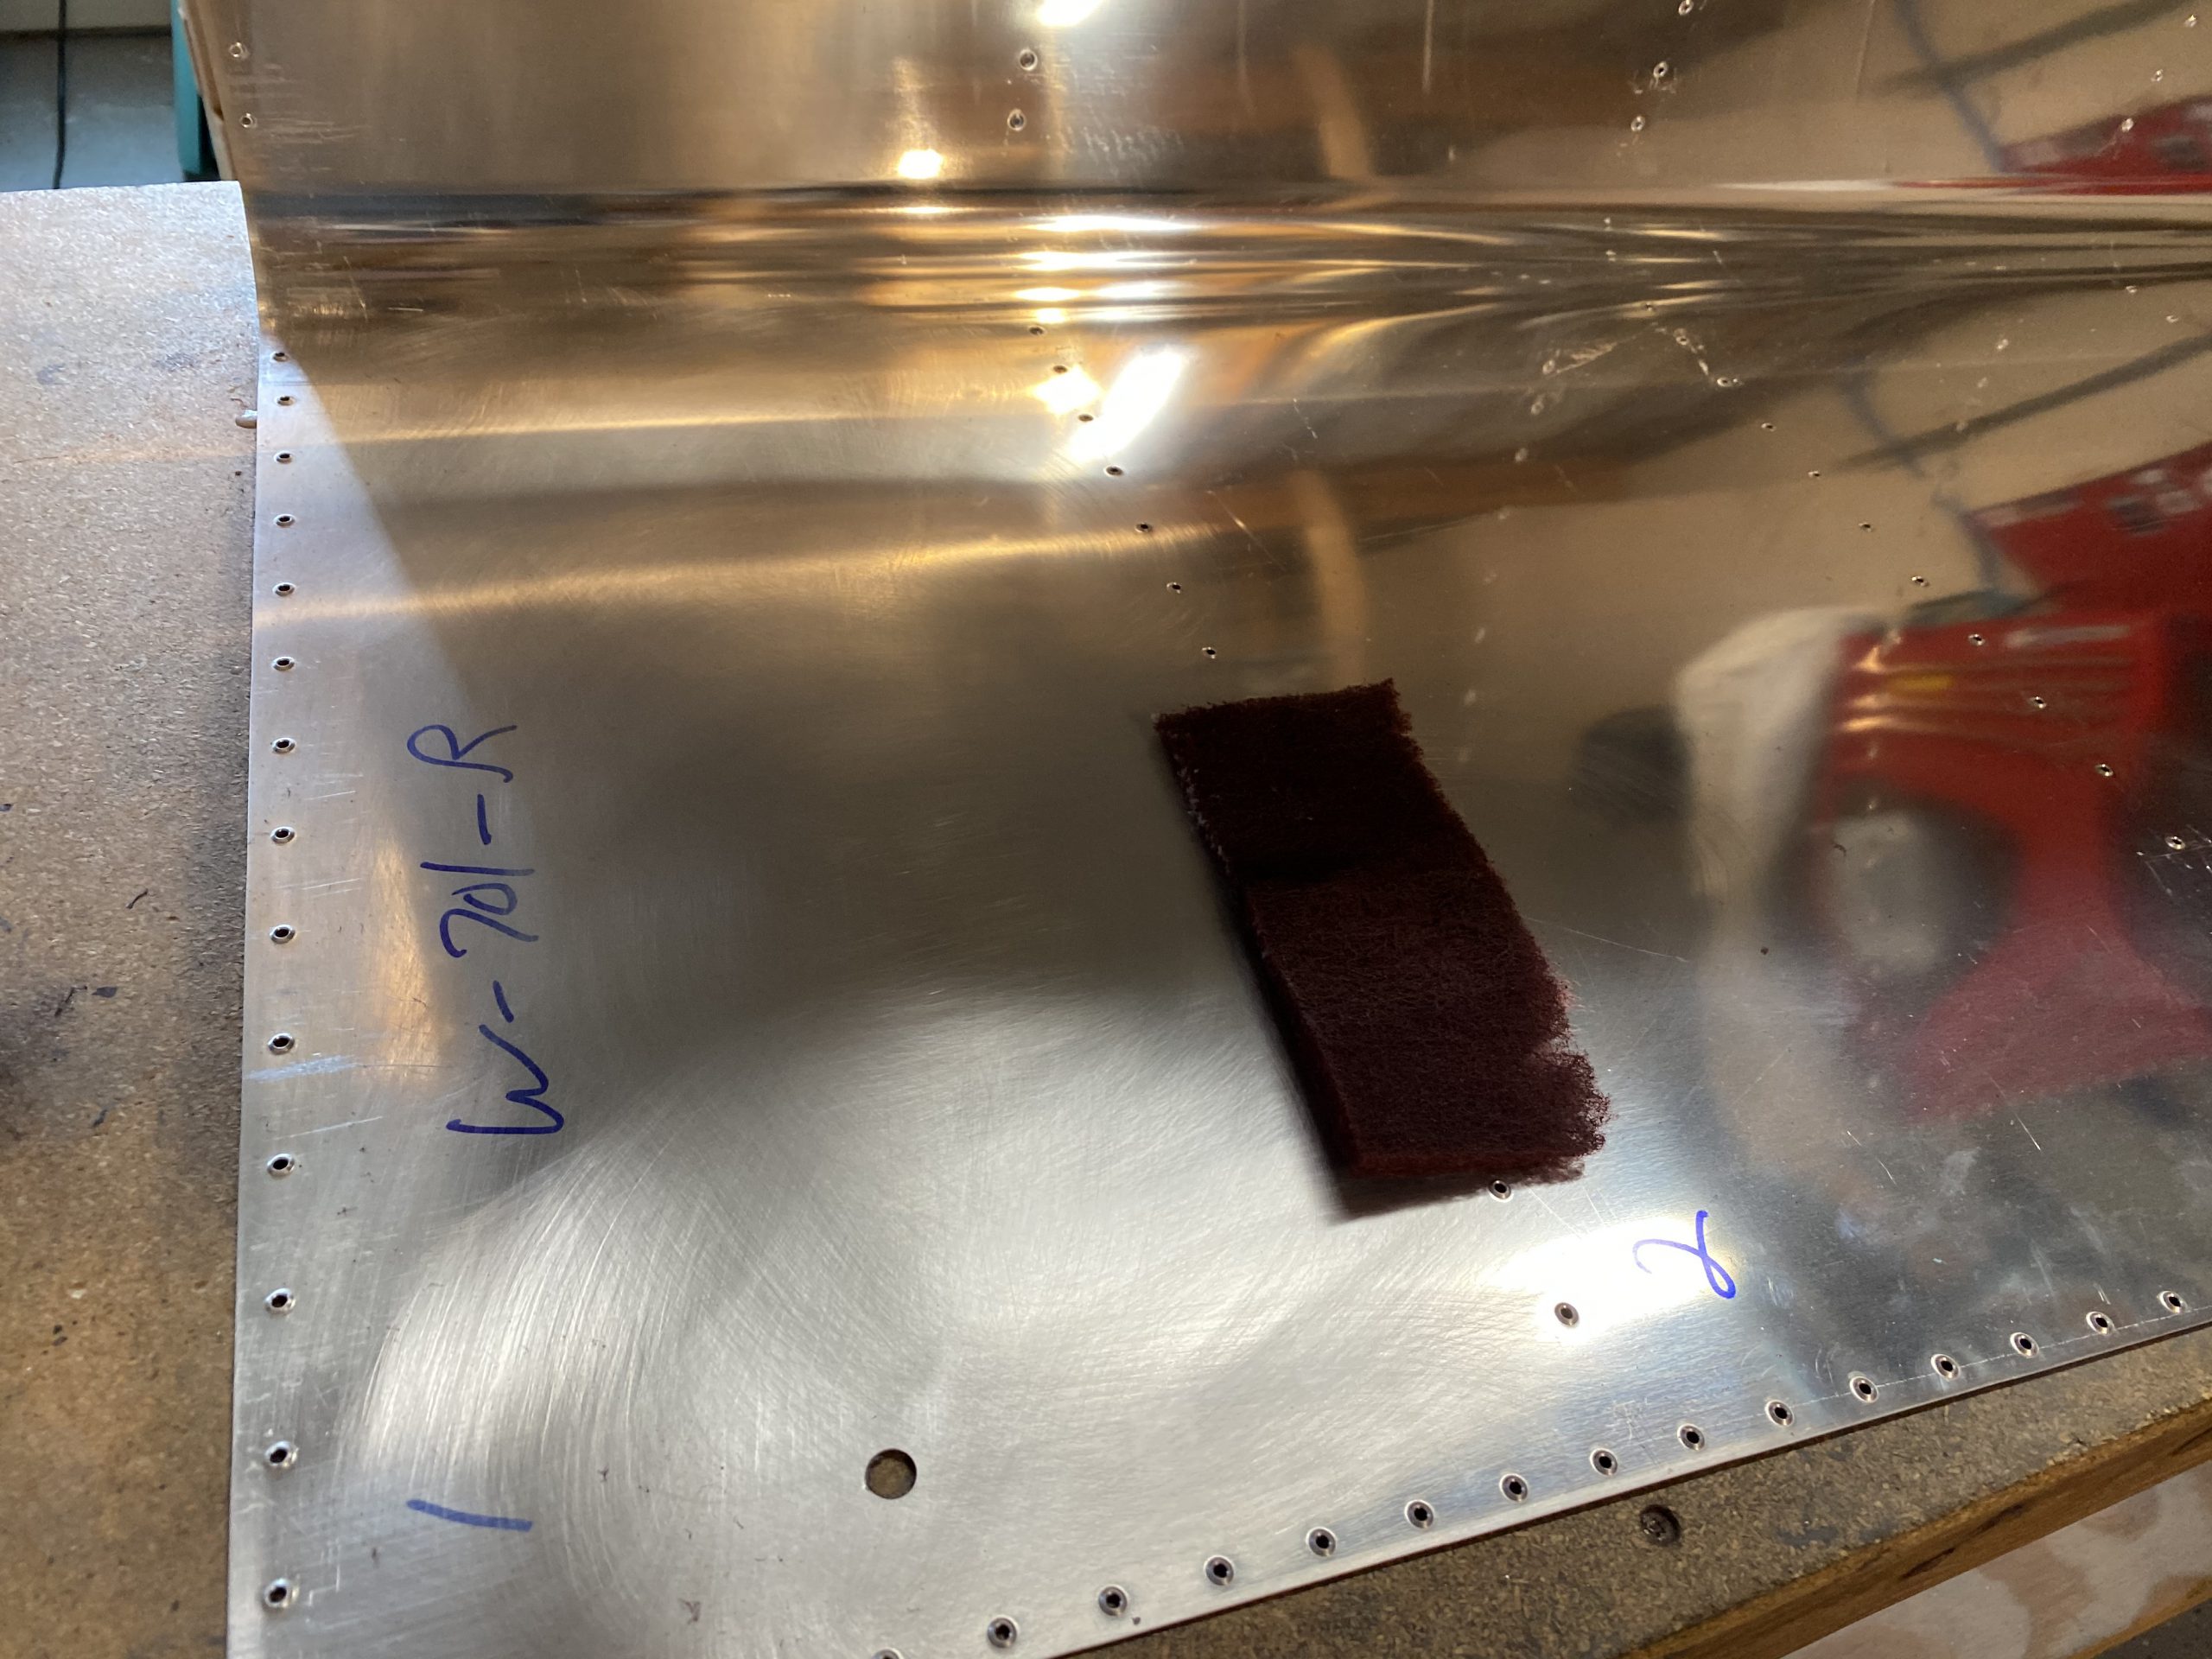
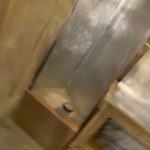
The first step was to get my skins scuffed up good for the primer. I used scotchbrite pads and elbow grease to get them all scuffed up. I also realize I made a decision a long time ago to prime THEN dimple. I forgot to do that this time, so the dimples were chewing up my scotchbrite pads. I’ll remember next time! I scuffed up both skins.
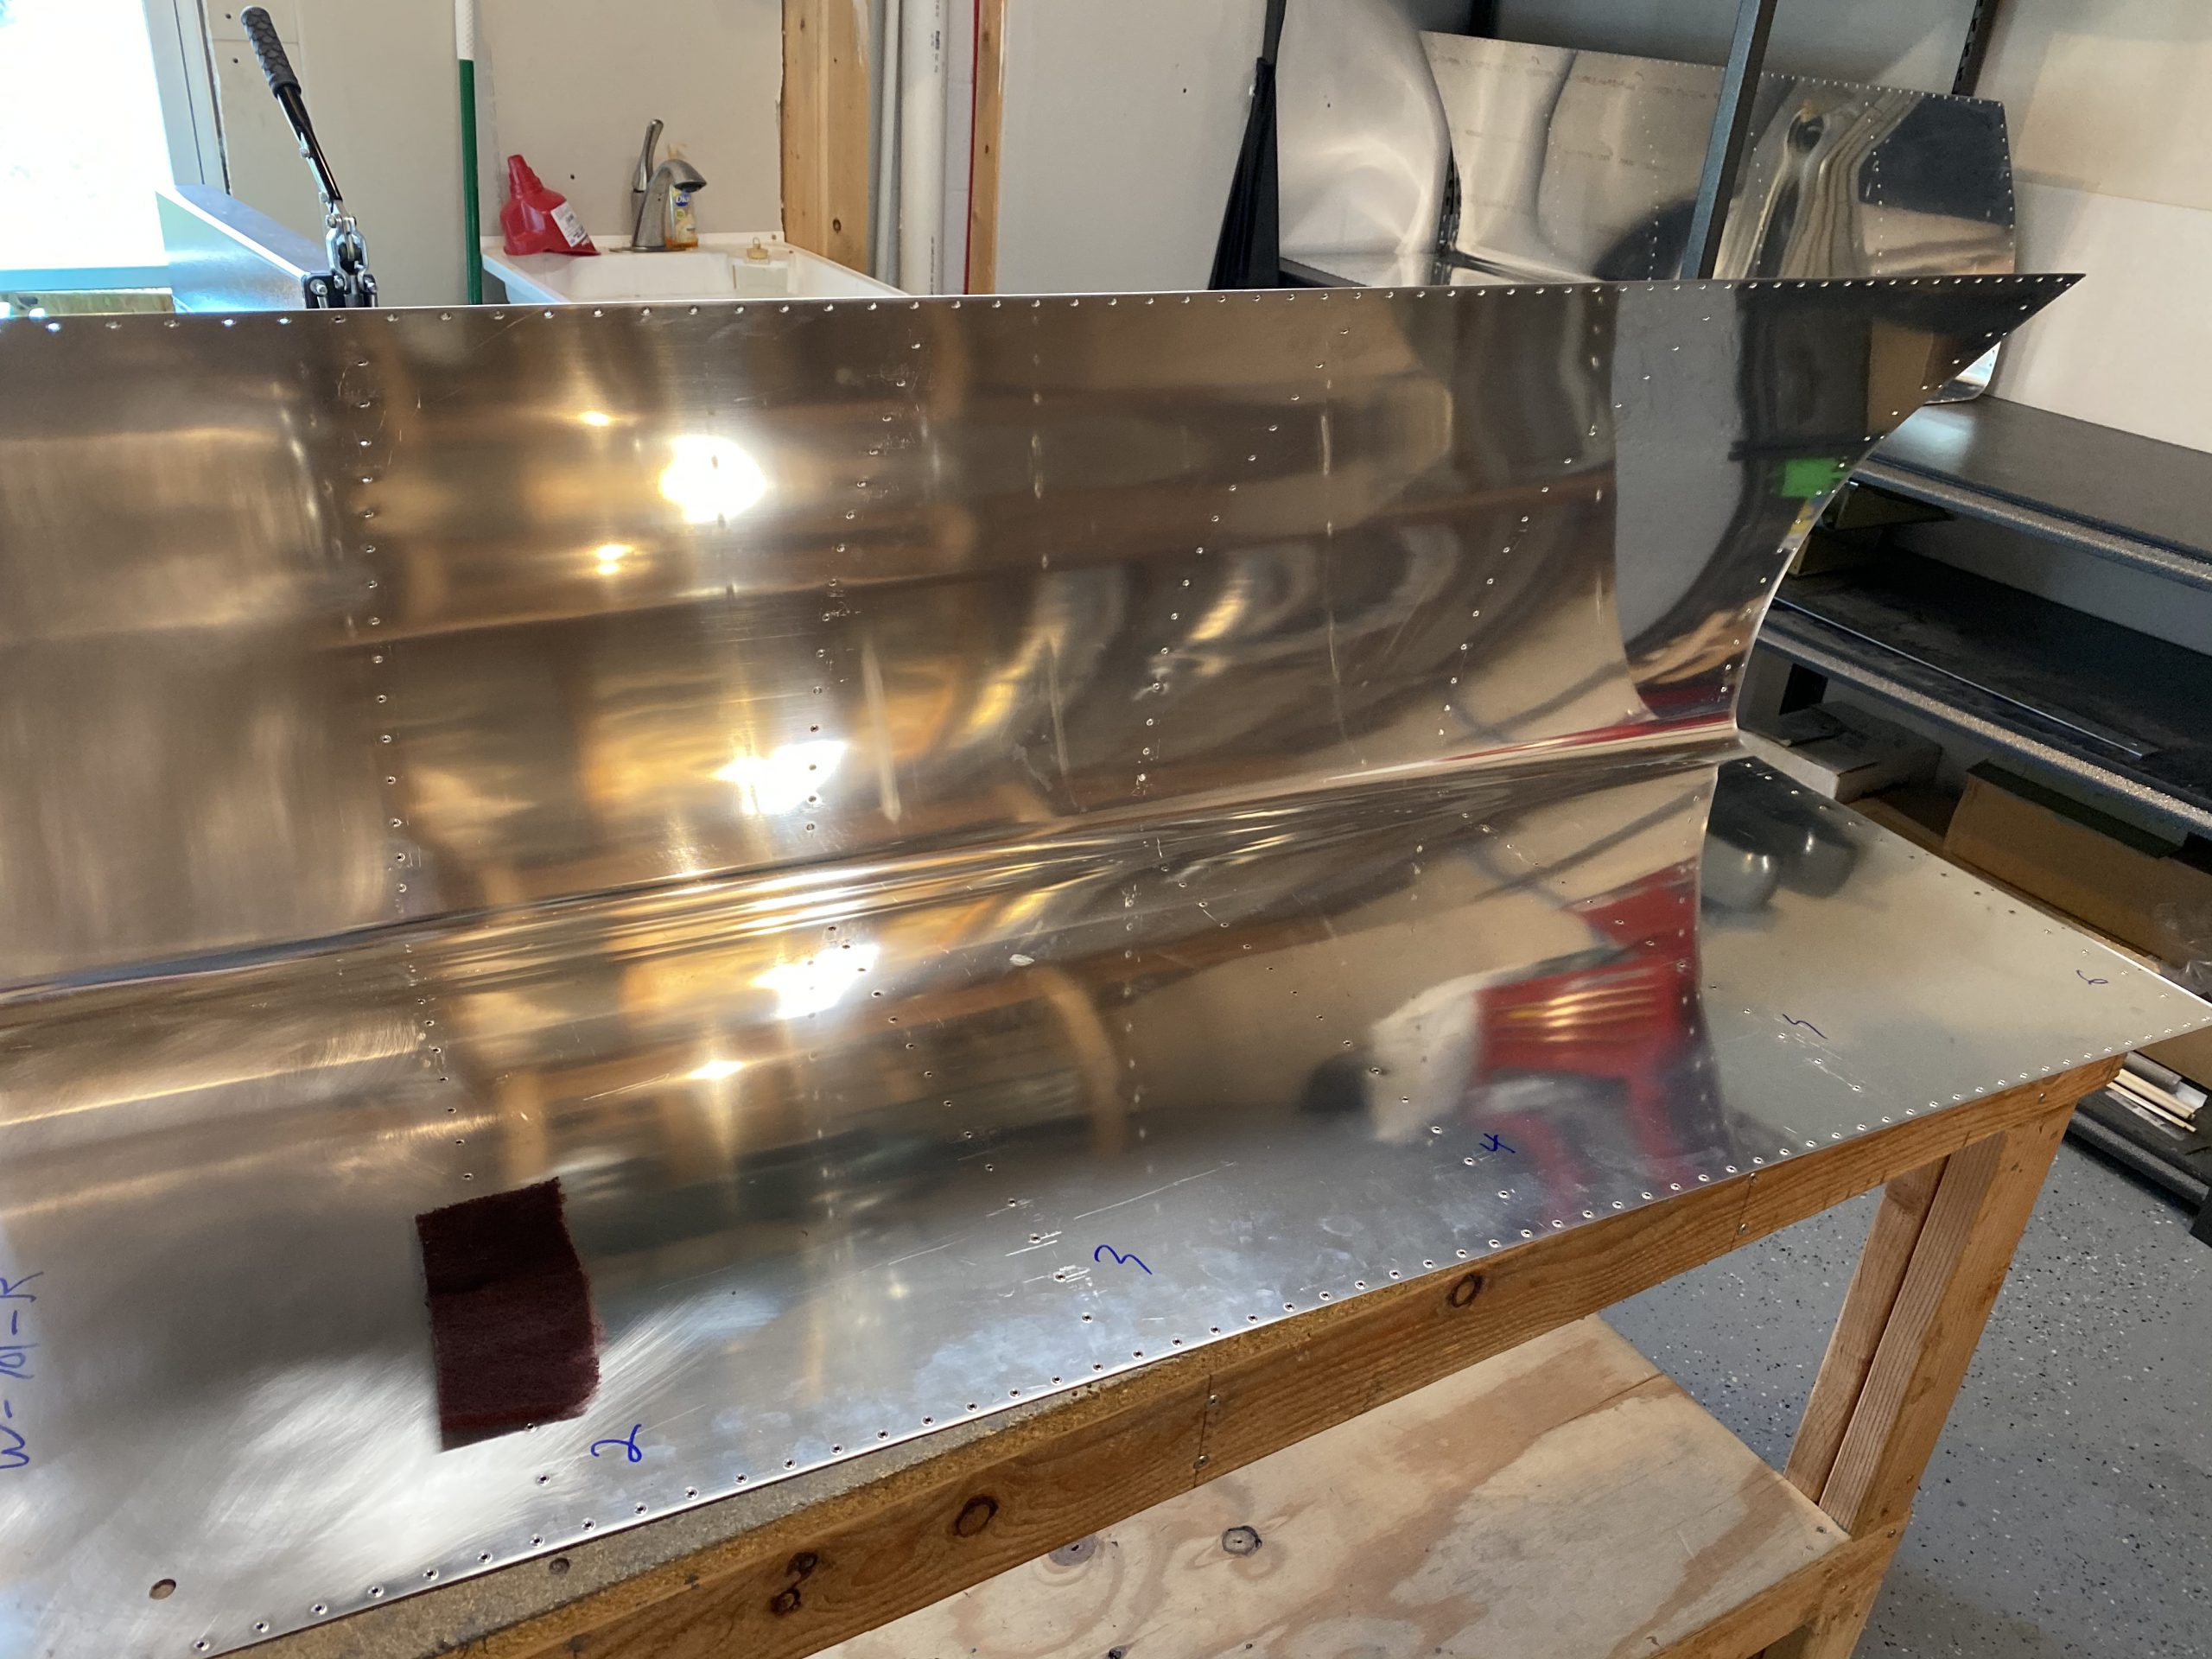
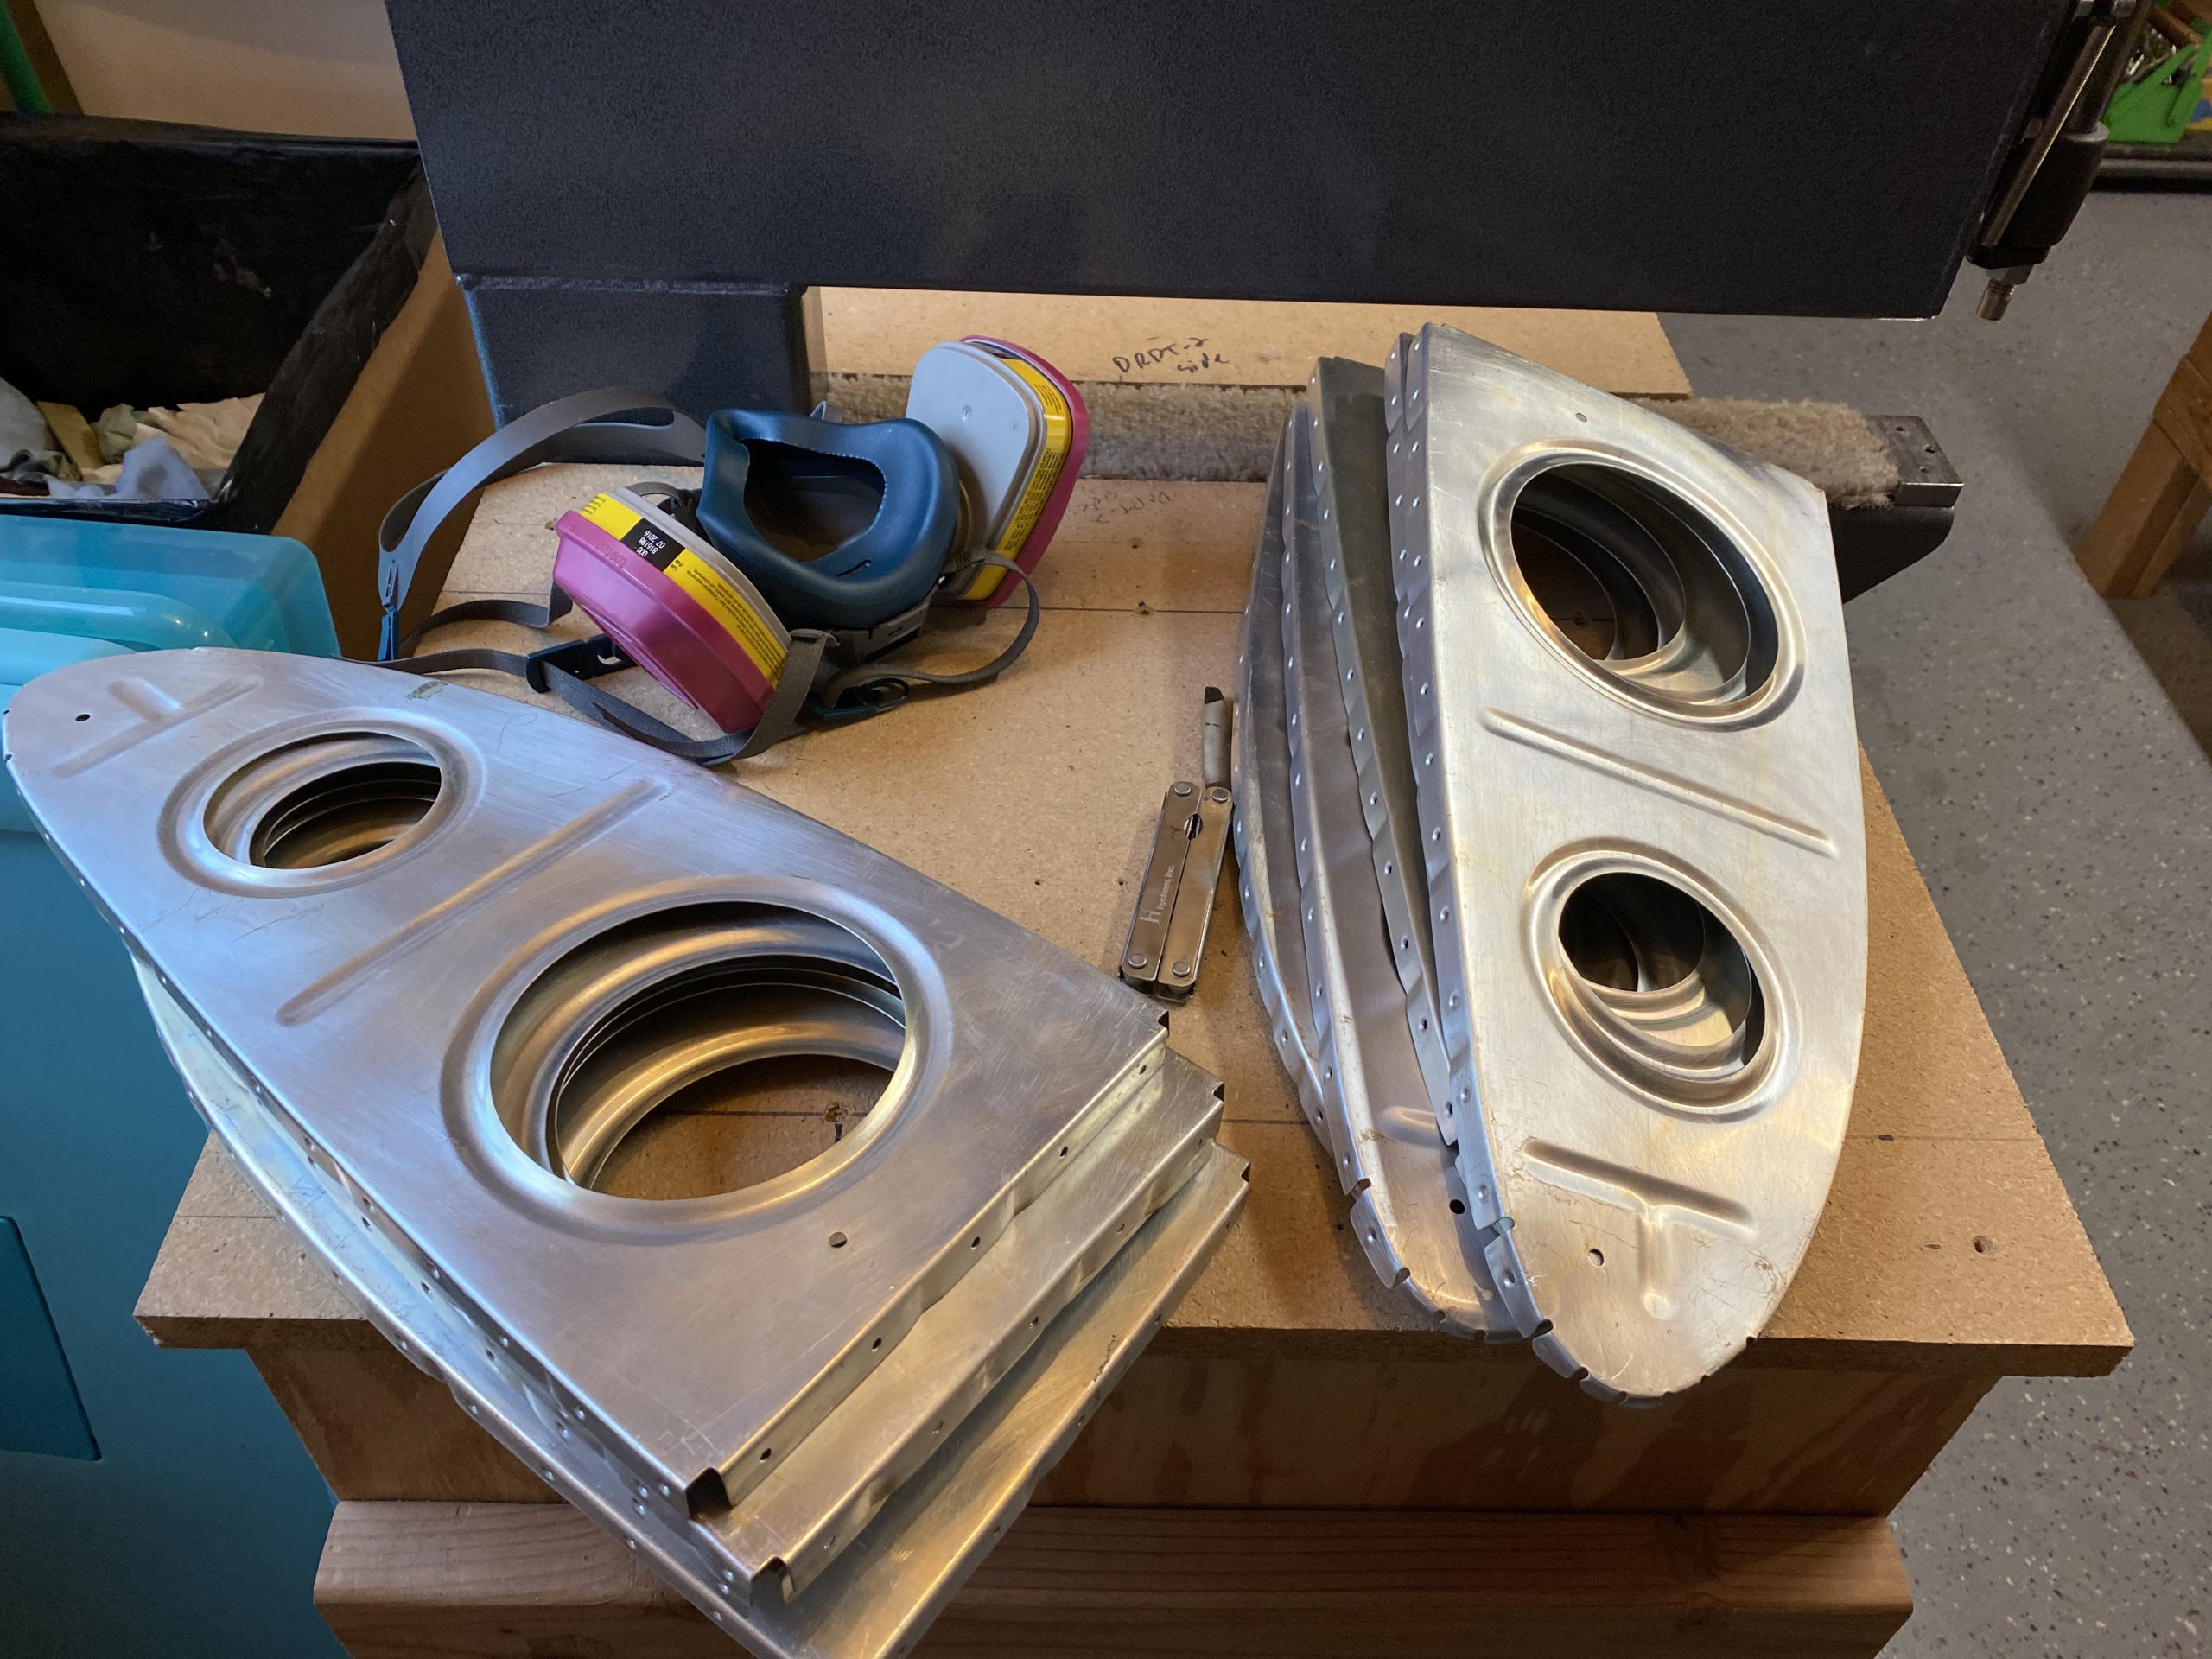
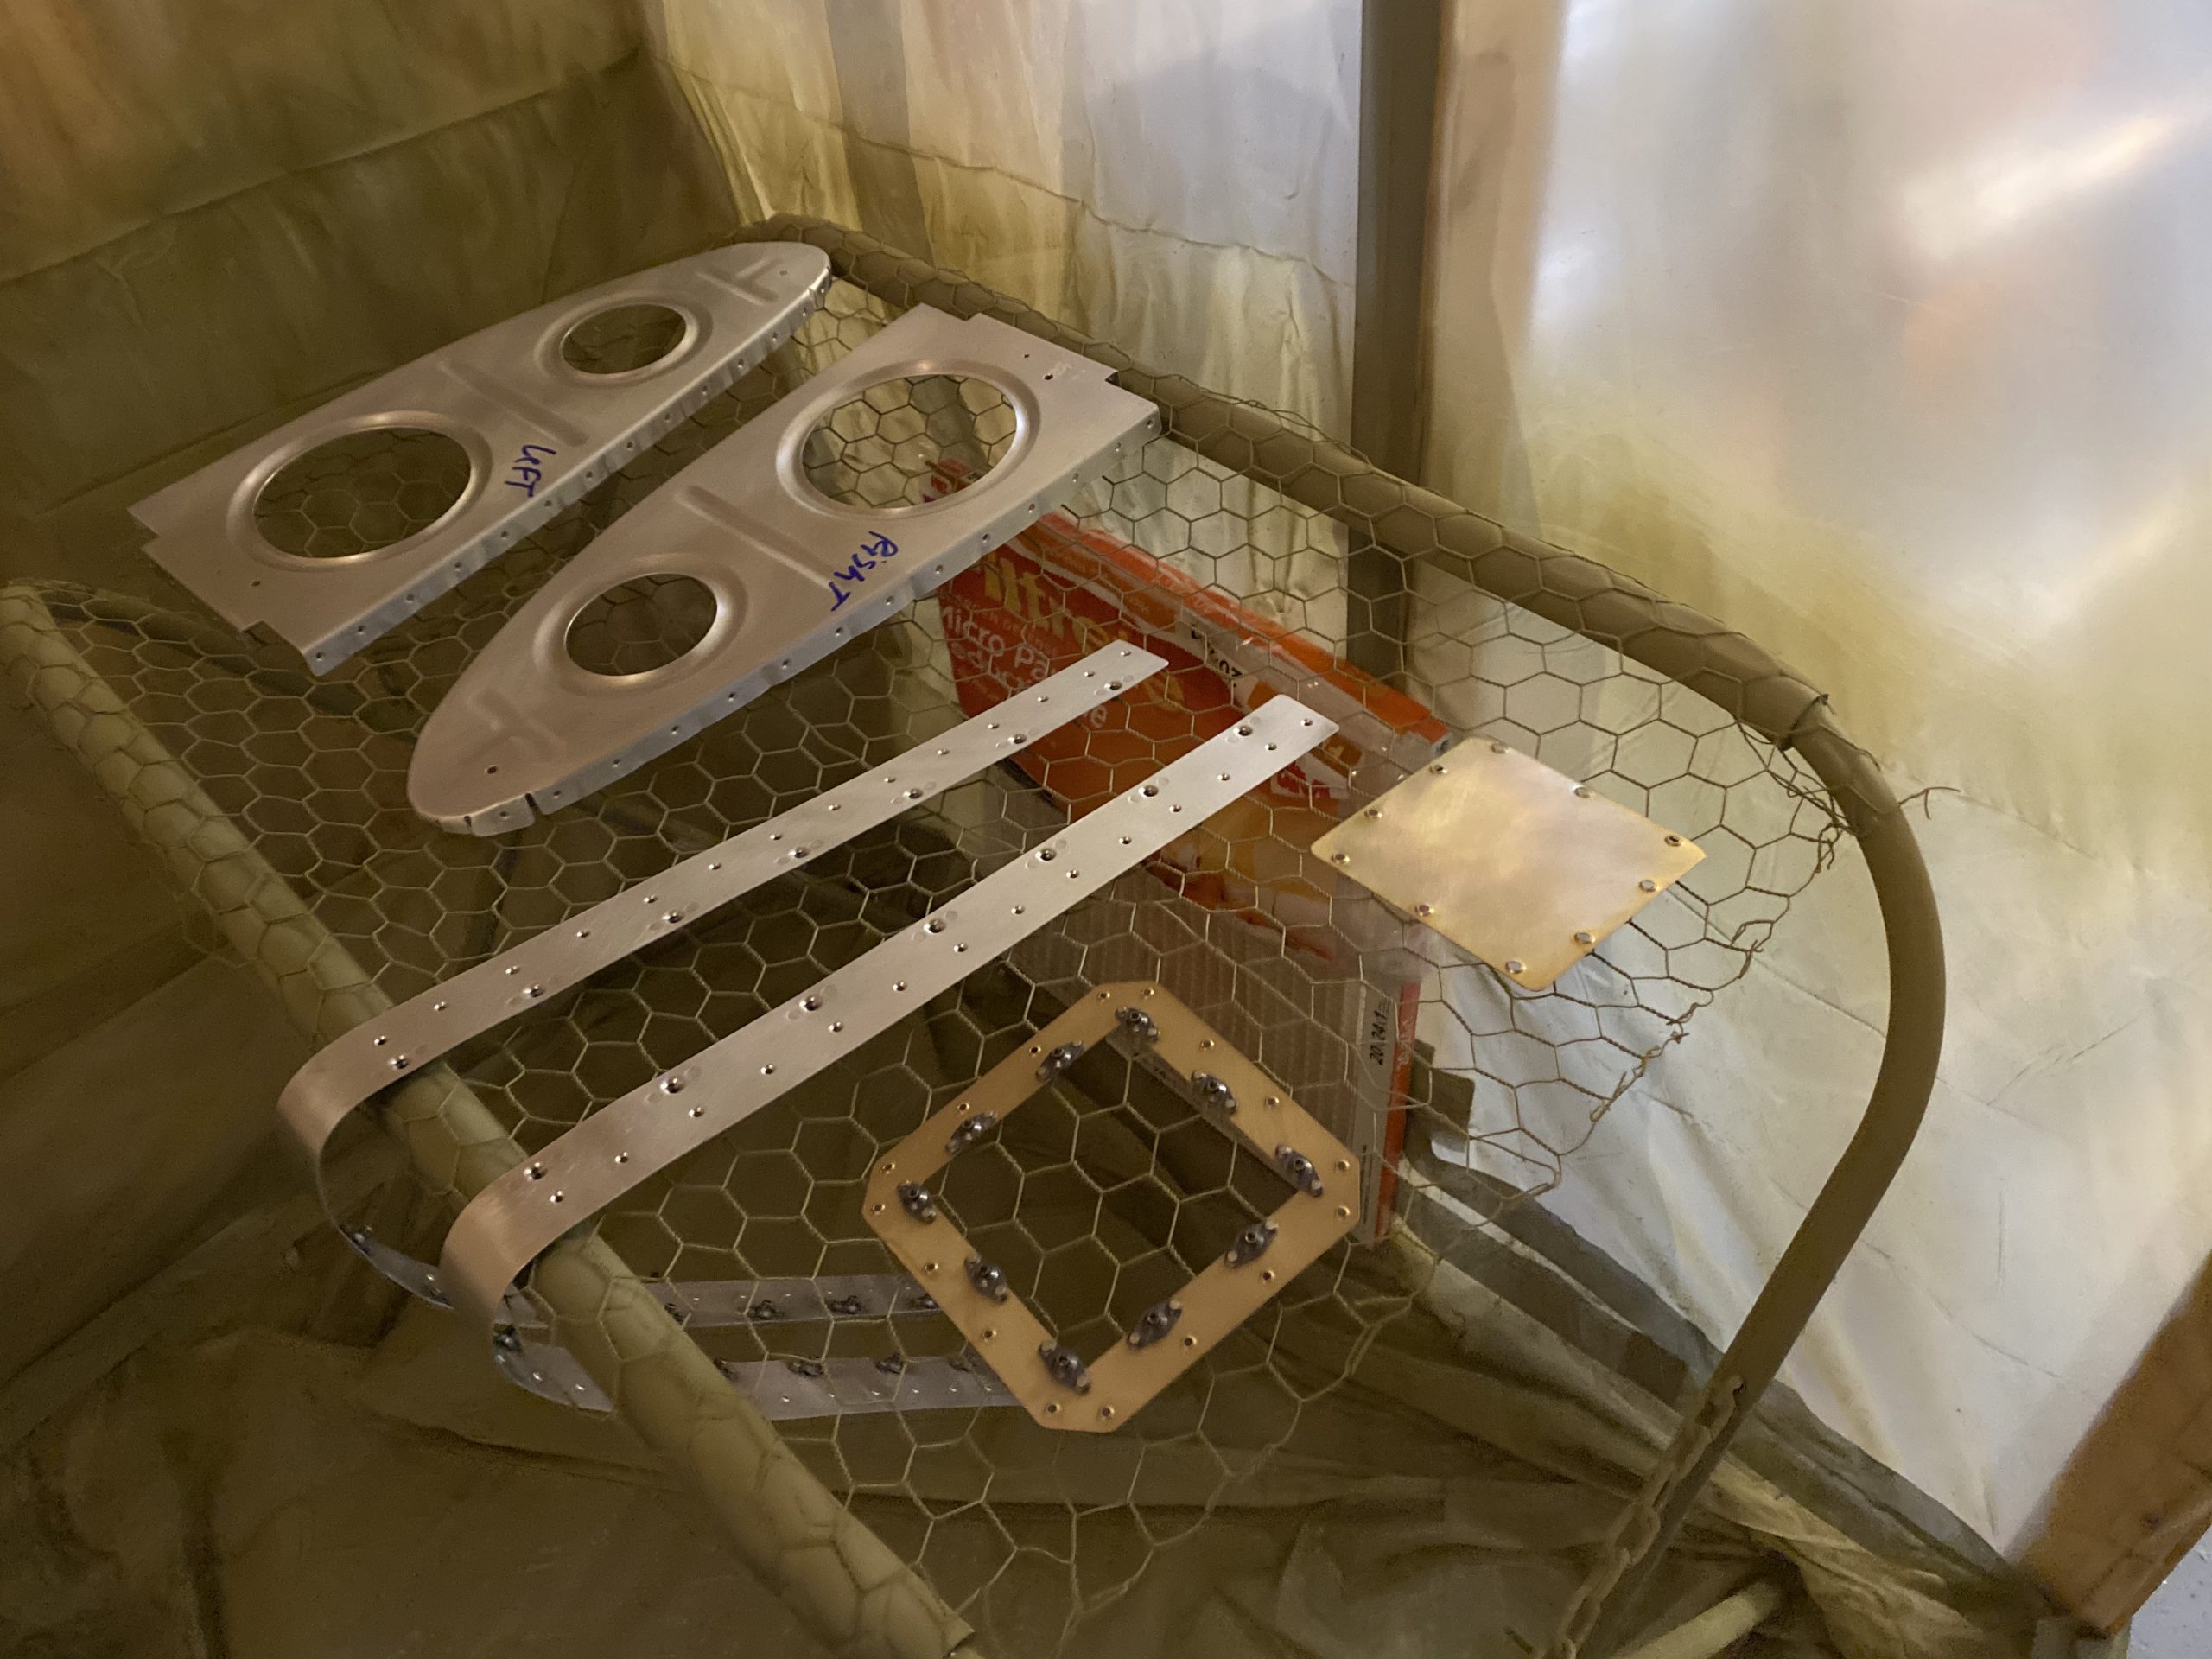
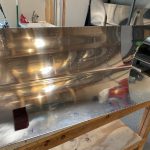
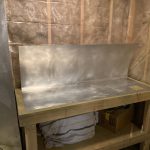
The bottom pic is the shiny “before” scuffing pic. The top is after scuffing. Then I moved on to do the same to the splice plates and end ribs, since they were not alodined. These went pretty quick since theres only 4 total pieces to scuff. After I had all my parts scuffed, I cleaned them very good, starting with MEK soaked paper towels, followed by another clean paper towel soaked with acetone. These need to be very clean for good adhesion. Once I got all the parts clean, I set them up in my booth. For the parts that were alodined a while back, I simply had to wipe them down with acetone, no scuffing needed. The acetone cleaned away any finger oils and dust that may have accumulated on them since they were alodined. Easy to knock them out quickly. I did the same acetone cleaning for the access plate and reinforcement ring since they were also alodined.
Next was to mix up some AKZO. I mixed up 10 ounces of the stuff, and let it sit for the 30 minute induction time. I noticed my AKZO is now out of date by a year or so :-/. Oh well, I will shoot it anyways and see what happens. 10 ounces was a good amount, as I had plenty left over to go back over the parts for a second coat to really offer protection. It also gave me plenty of extra to work with on the touch ups.
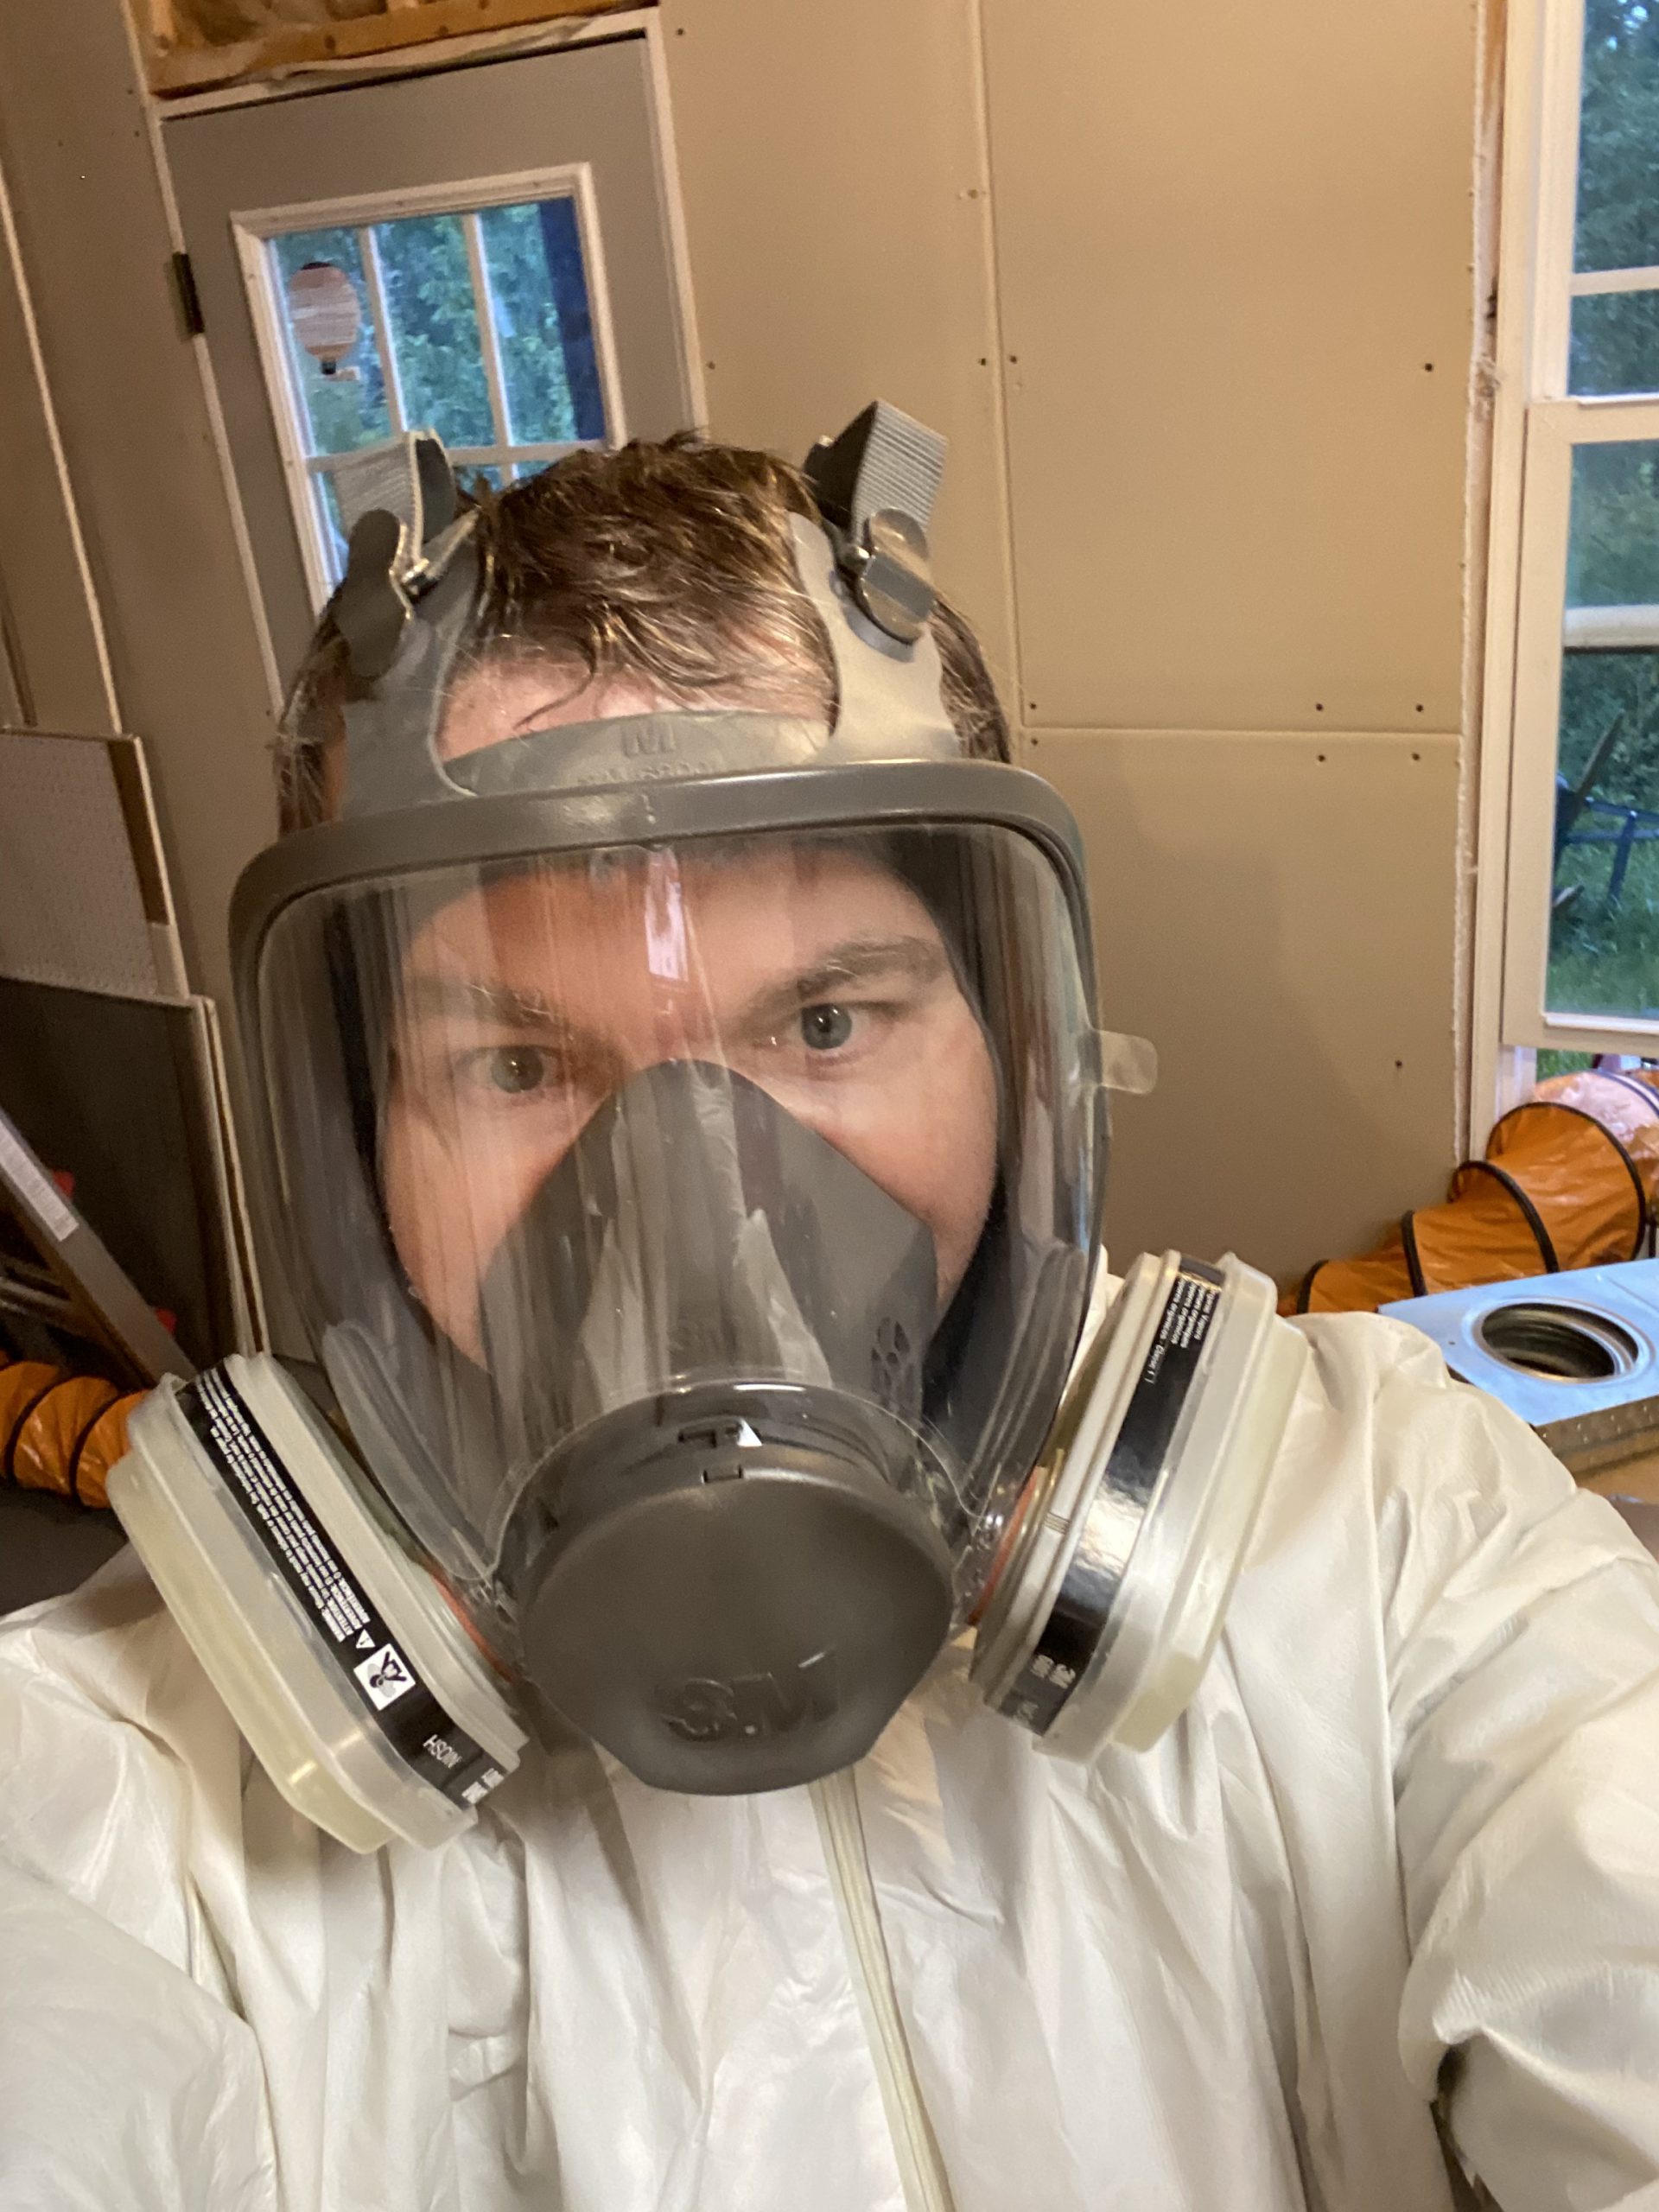
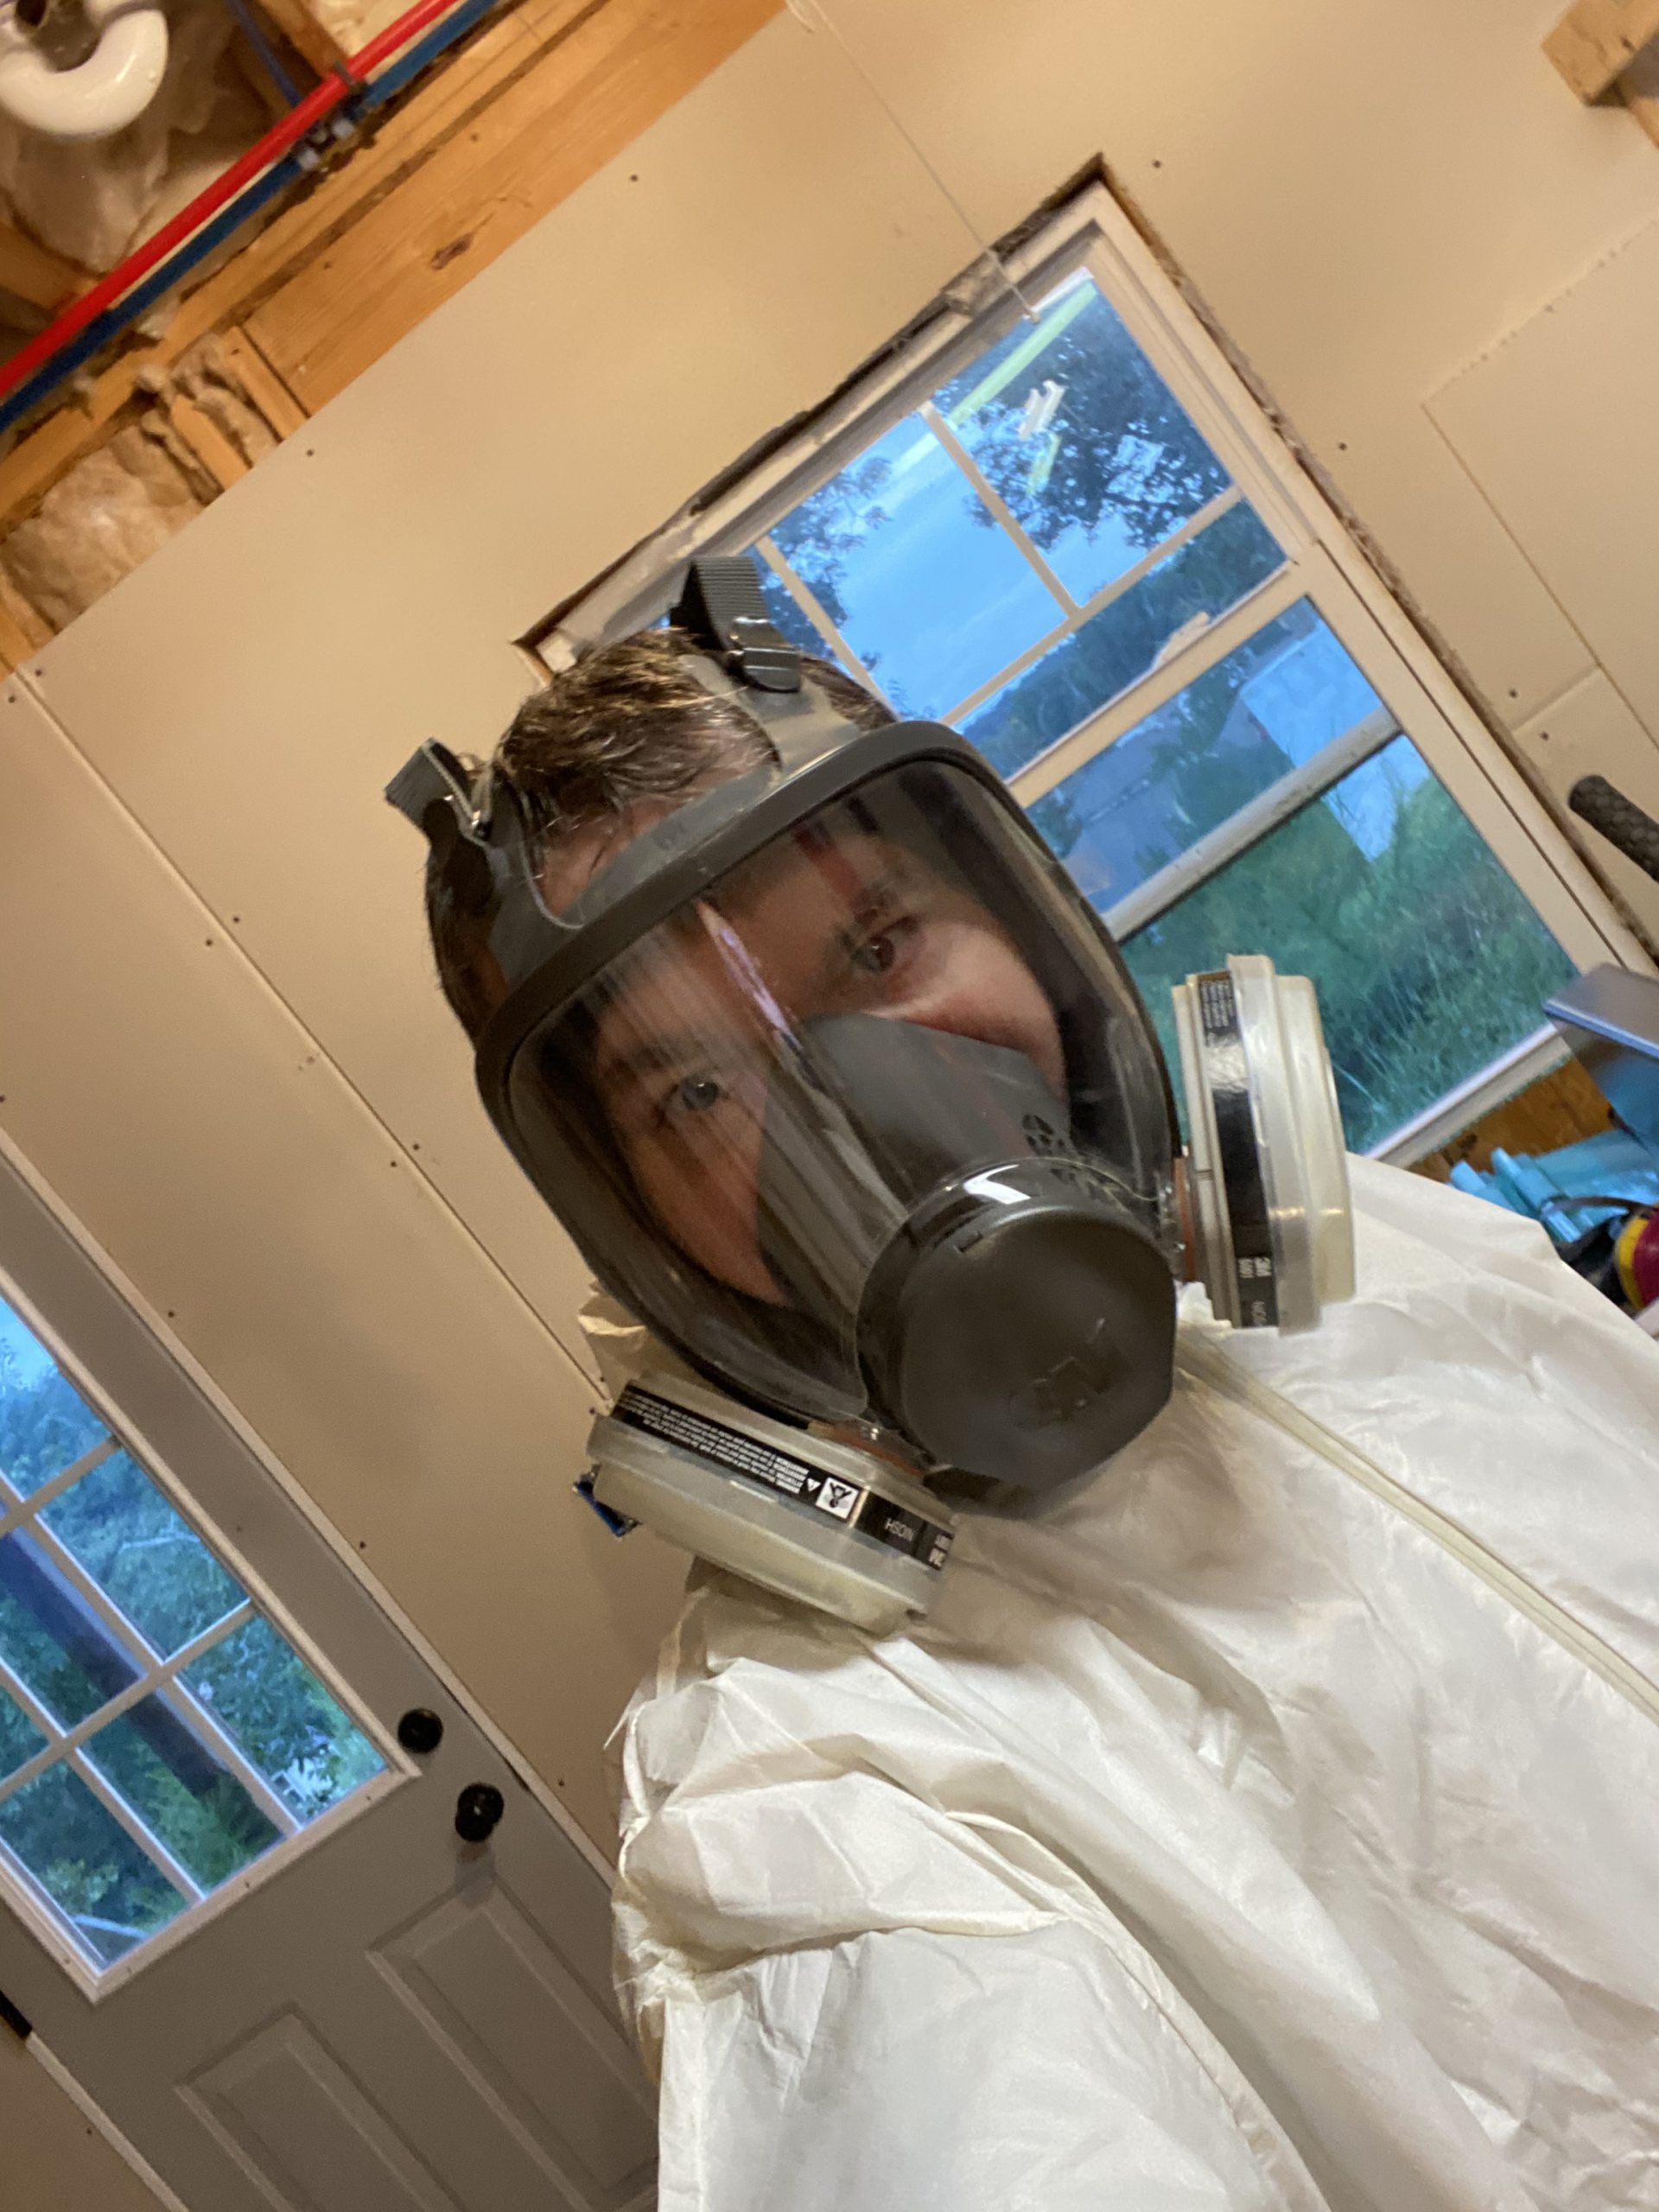
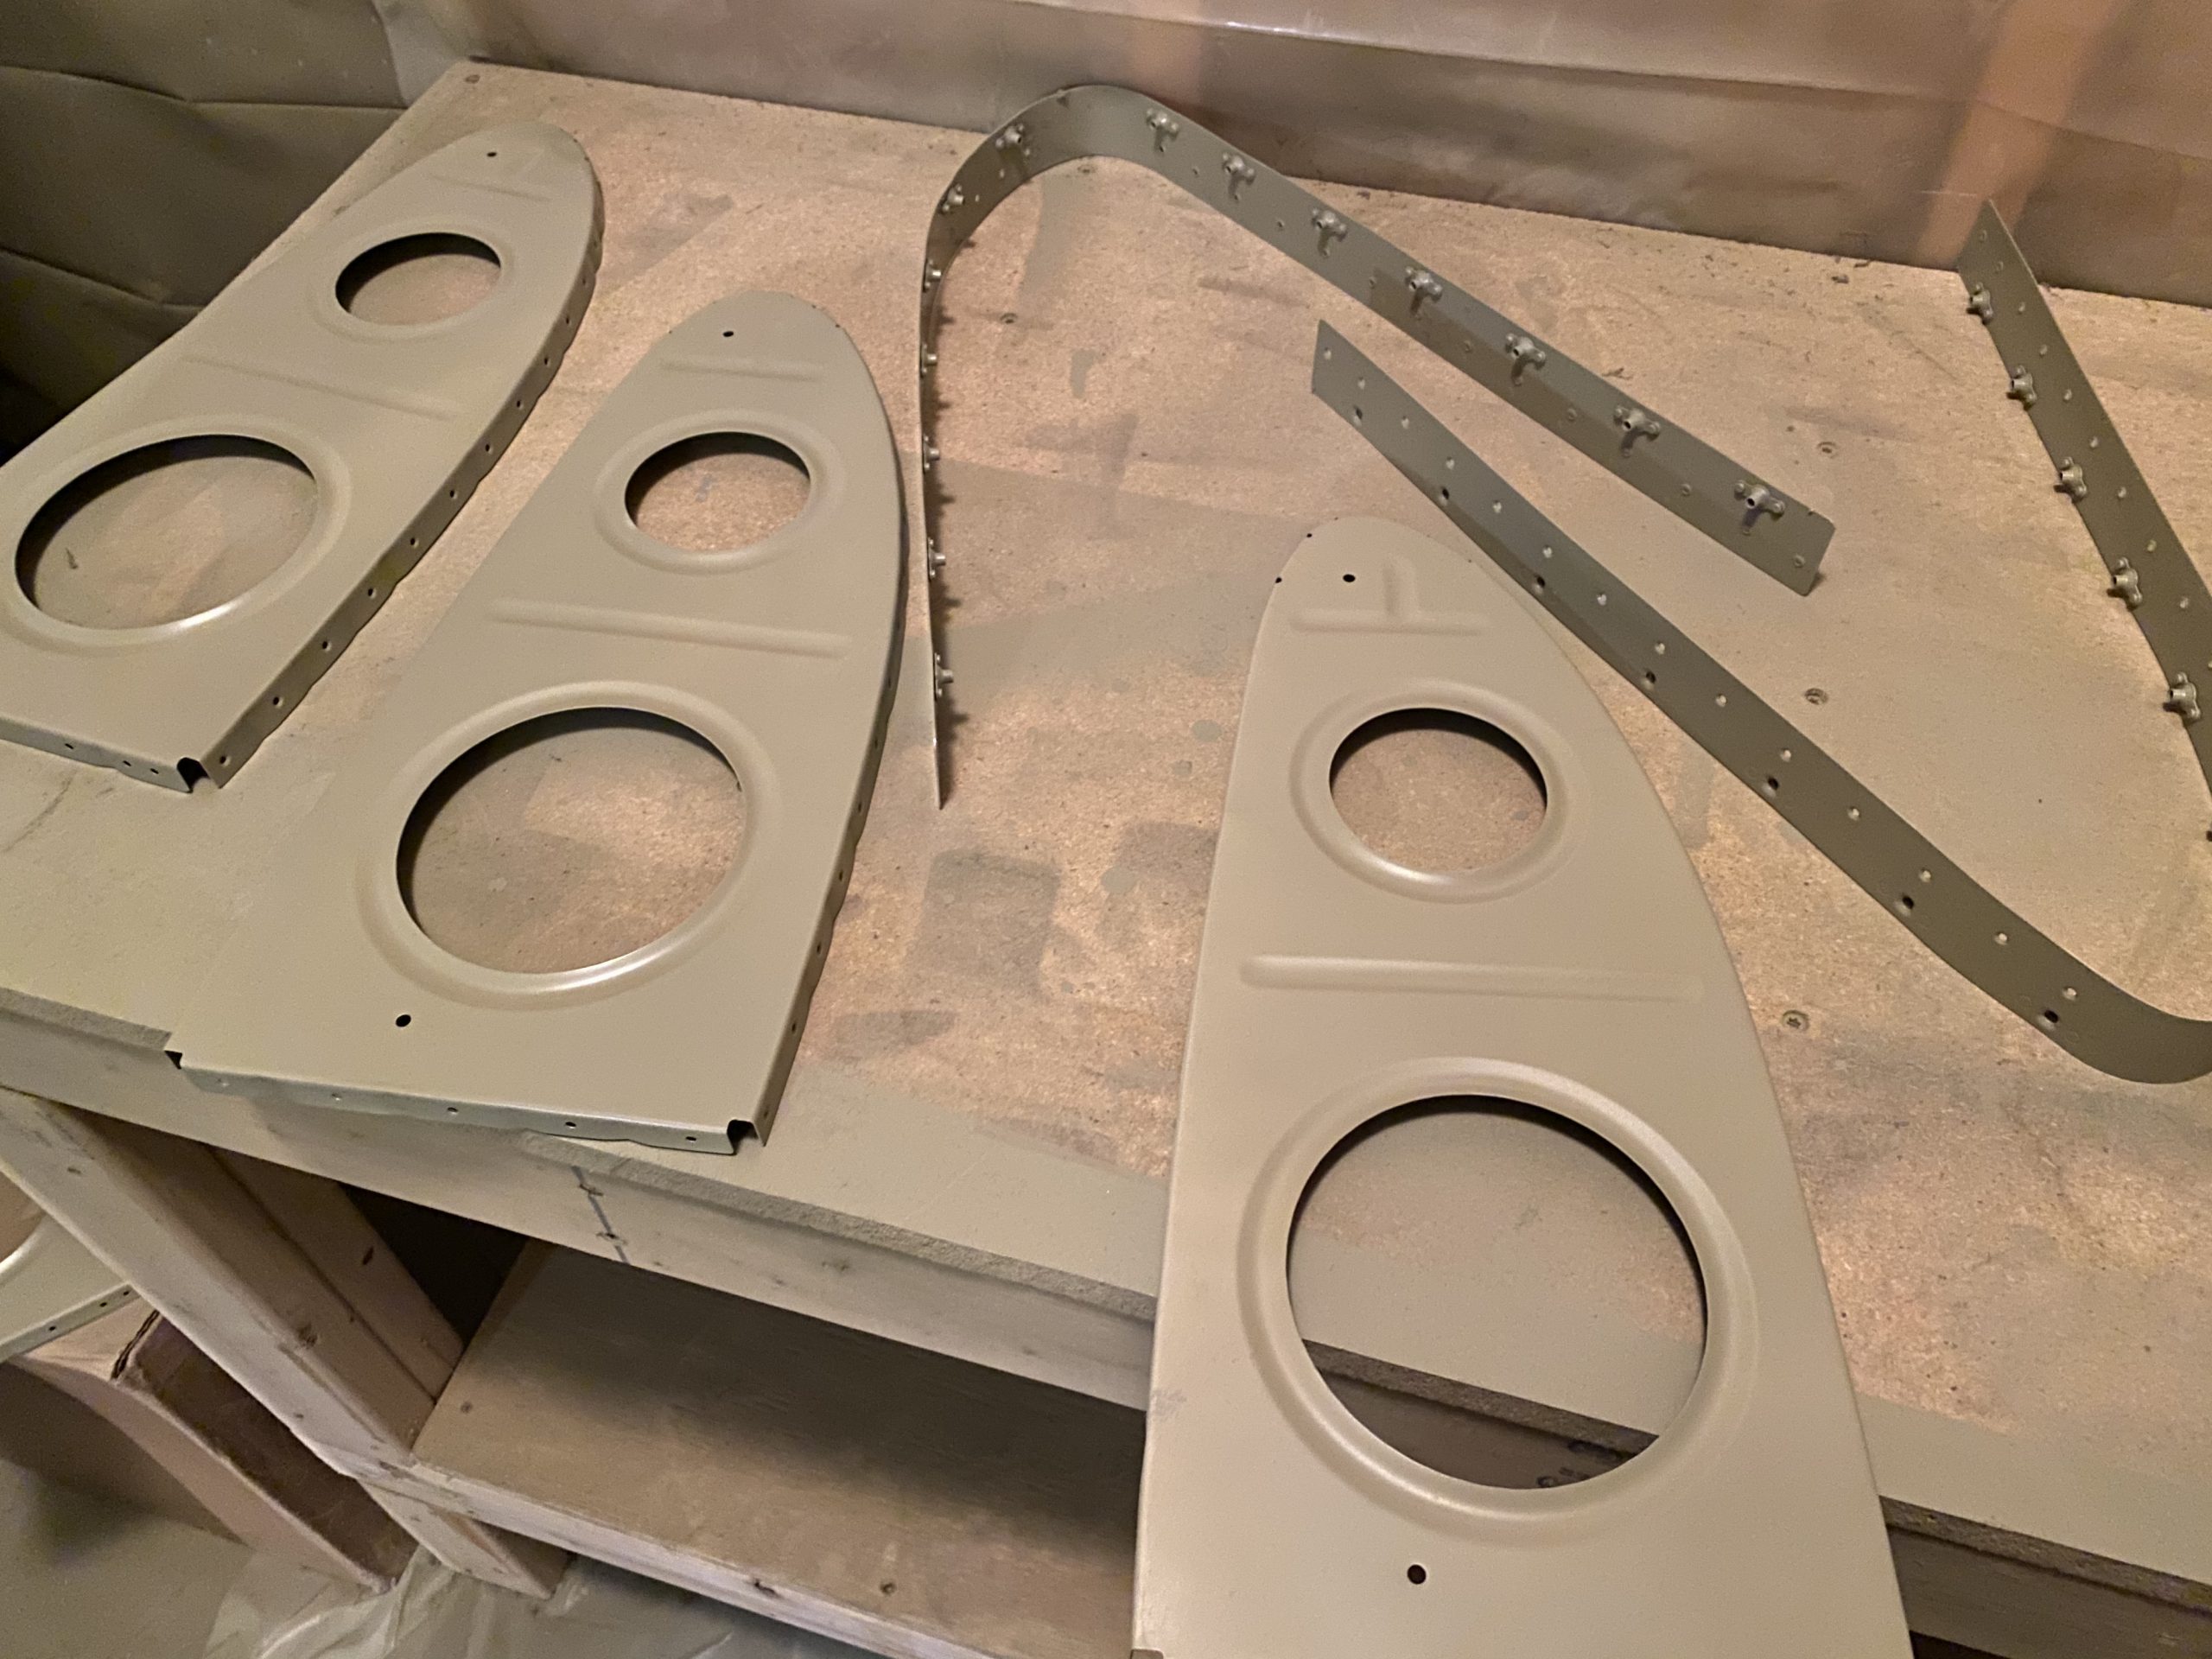
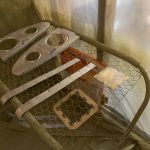
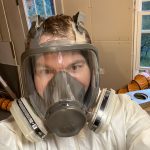
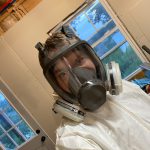
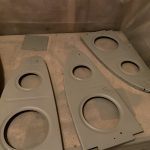
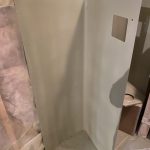
After the induction, I suited up in my tyvek suit, full face respirator and got to work spraying the parts. The old cheap Harbor Freight spray gun is still doing GREAT! Well worth the 10 bucks I paid for it years ago. Spraying goes pretty quickly, and all leading edge parts were completely done in no time. I REALLY need to change out the air filter in the spray booth, as its getting clogged with overspray, and not letting enough negative pressure in my booth. The parts look pretty good so far:
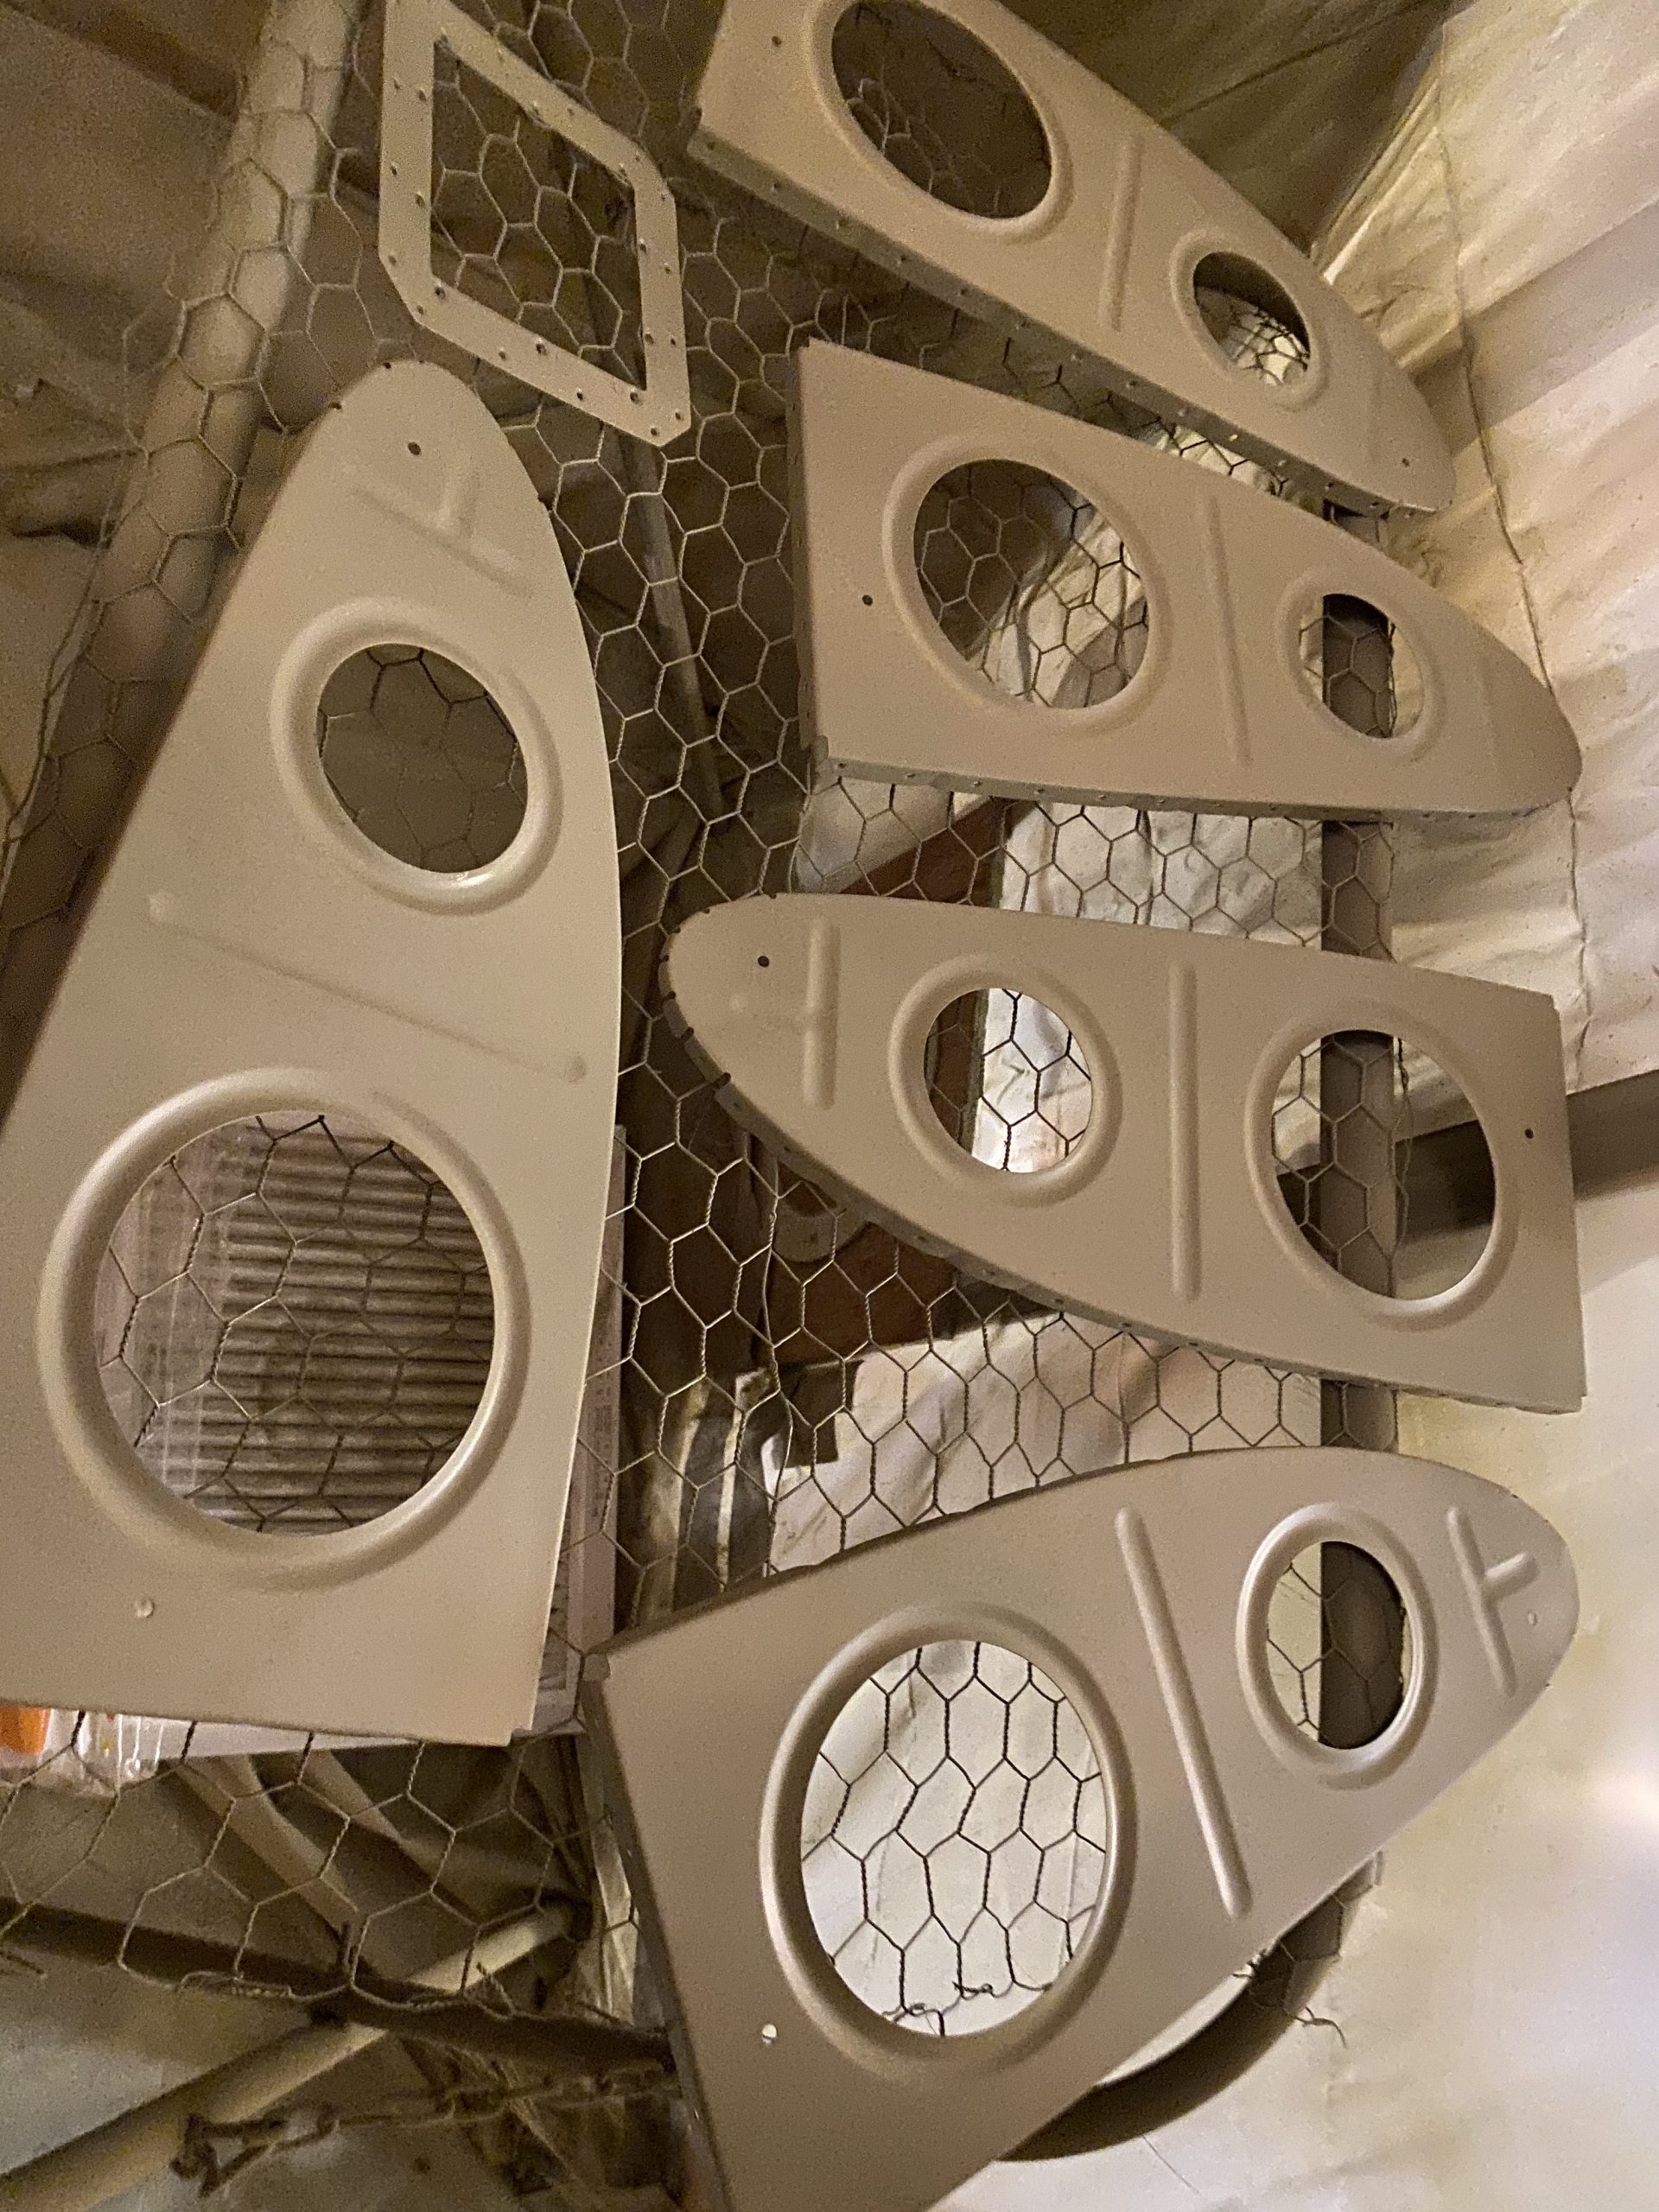
The lighting in the spray booth isn’t great, and its hard to tell the coverage with all the shadows, and my camera doesn’t play nice with it. But, so far they look pretty good. Good enough to prevent corrosion and thats all I care about since these parts are internal, and will rarely ever get seen. I’ll let them cure for a day or so, and then start assembling the leading edge! After I was done, I cleaned up my gun and shop and called it a night. This cleanup was SOOOO much easier than the fuel tank sealant cleanup.
Google Photos Link: https://photos.app.goo.gl/L38fLuQkVwM12NKb6
-
 IMG_2292
 -
IMG_2293
-
 IMG_2294
 -
IMG_2295
-
IMG_2296
-
IMG_2297
-
 IMG_2298
 -
 IMG_2299
 -
IMG_2300
-
IMG_2301
-
 IMG_2302
 -
IMG_2303
-
IMG_2304


Hours Worked: 2.75