


I managed to sneak in a couple hours of work this afternoon. Tammy was getting Acacia ready to go to “Nanas” house so we could have a date night. So, I figured I would try to get a little work done while she was dropping the baby off. Tonight is pretty much a repeat of last night, except on the right wing. I managed to complete this wing a little faster than last night since I was familiar with what to do. It seems like this will be par for the course on building the wings: Learn from one side, and then you can do the other side a little faster/better.
I started out by clecoing all the ribs the right main spar, being sure I transposed the handed-ness of the ribs. Van’s only gives us the left side view of the wings, so they leave it up to the builder to be smart enough to “transpose” the layout for the right side. For example, a W-709-R (RIGHT handed inboard main rib) shown on the plans for the LEFT wing, actually would be a W-709-L (LEFT handed inboard main rib) for the RIGHT wing. Once you look over the plans and see how it goes together, its actually not as hard as it seems (trying to read from a blog post and do the figuring in your head makes it…weird. heh.).
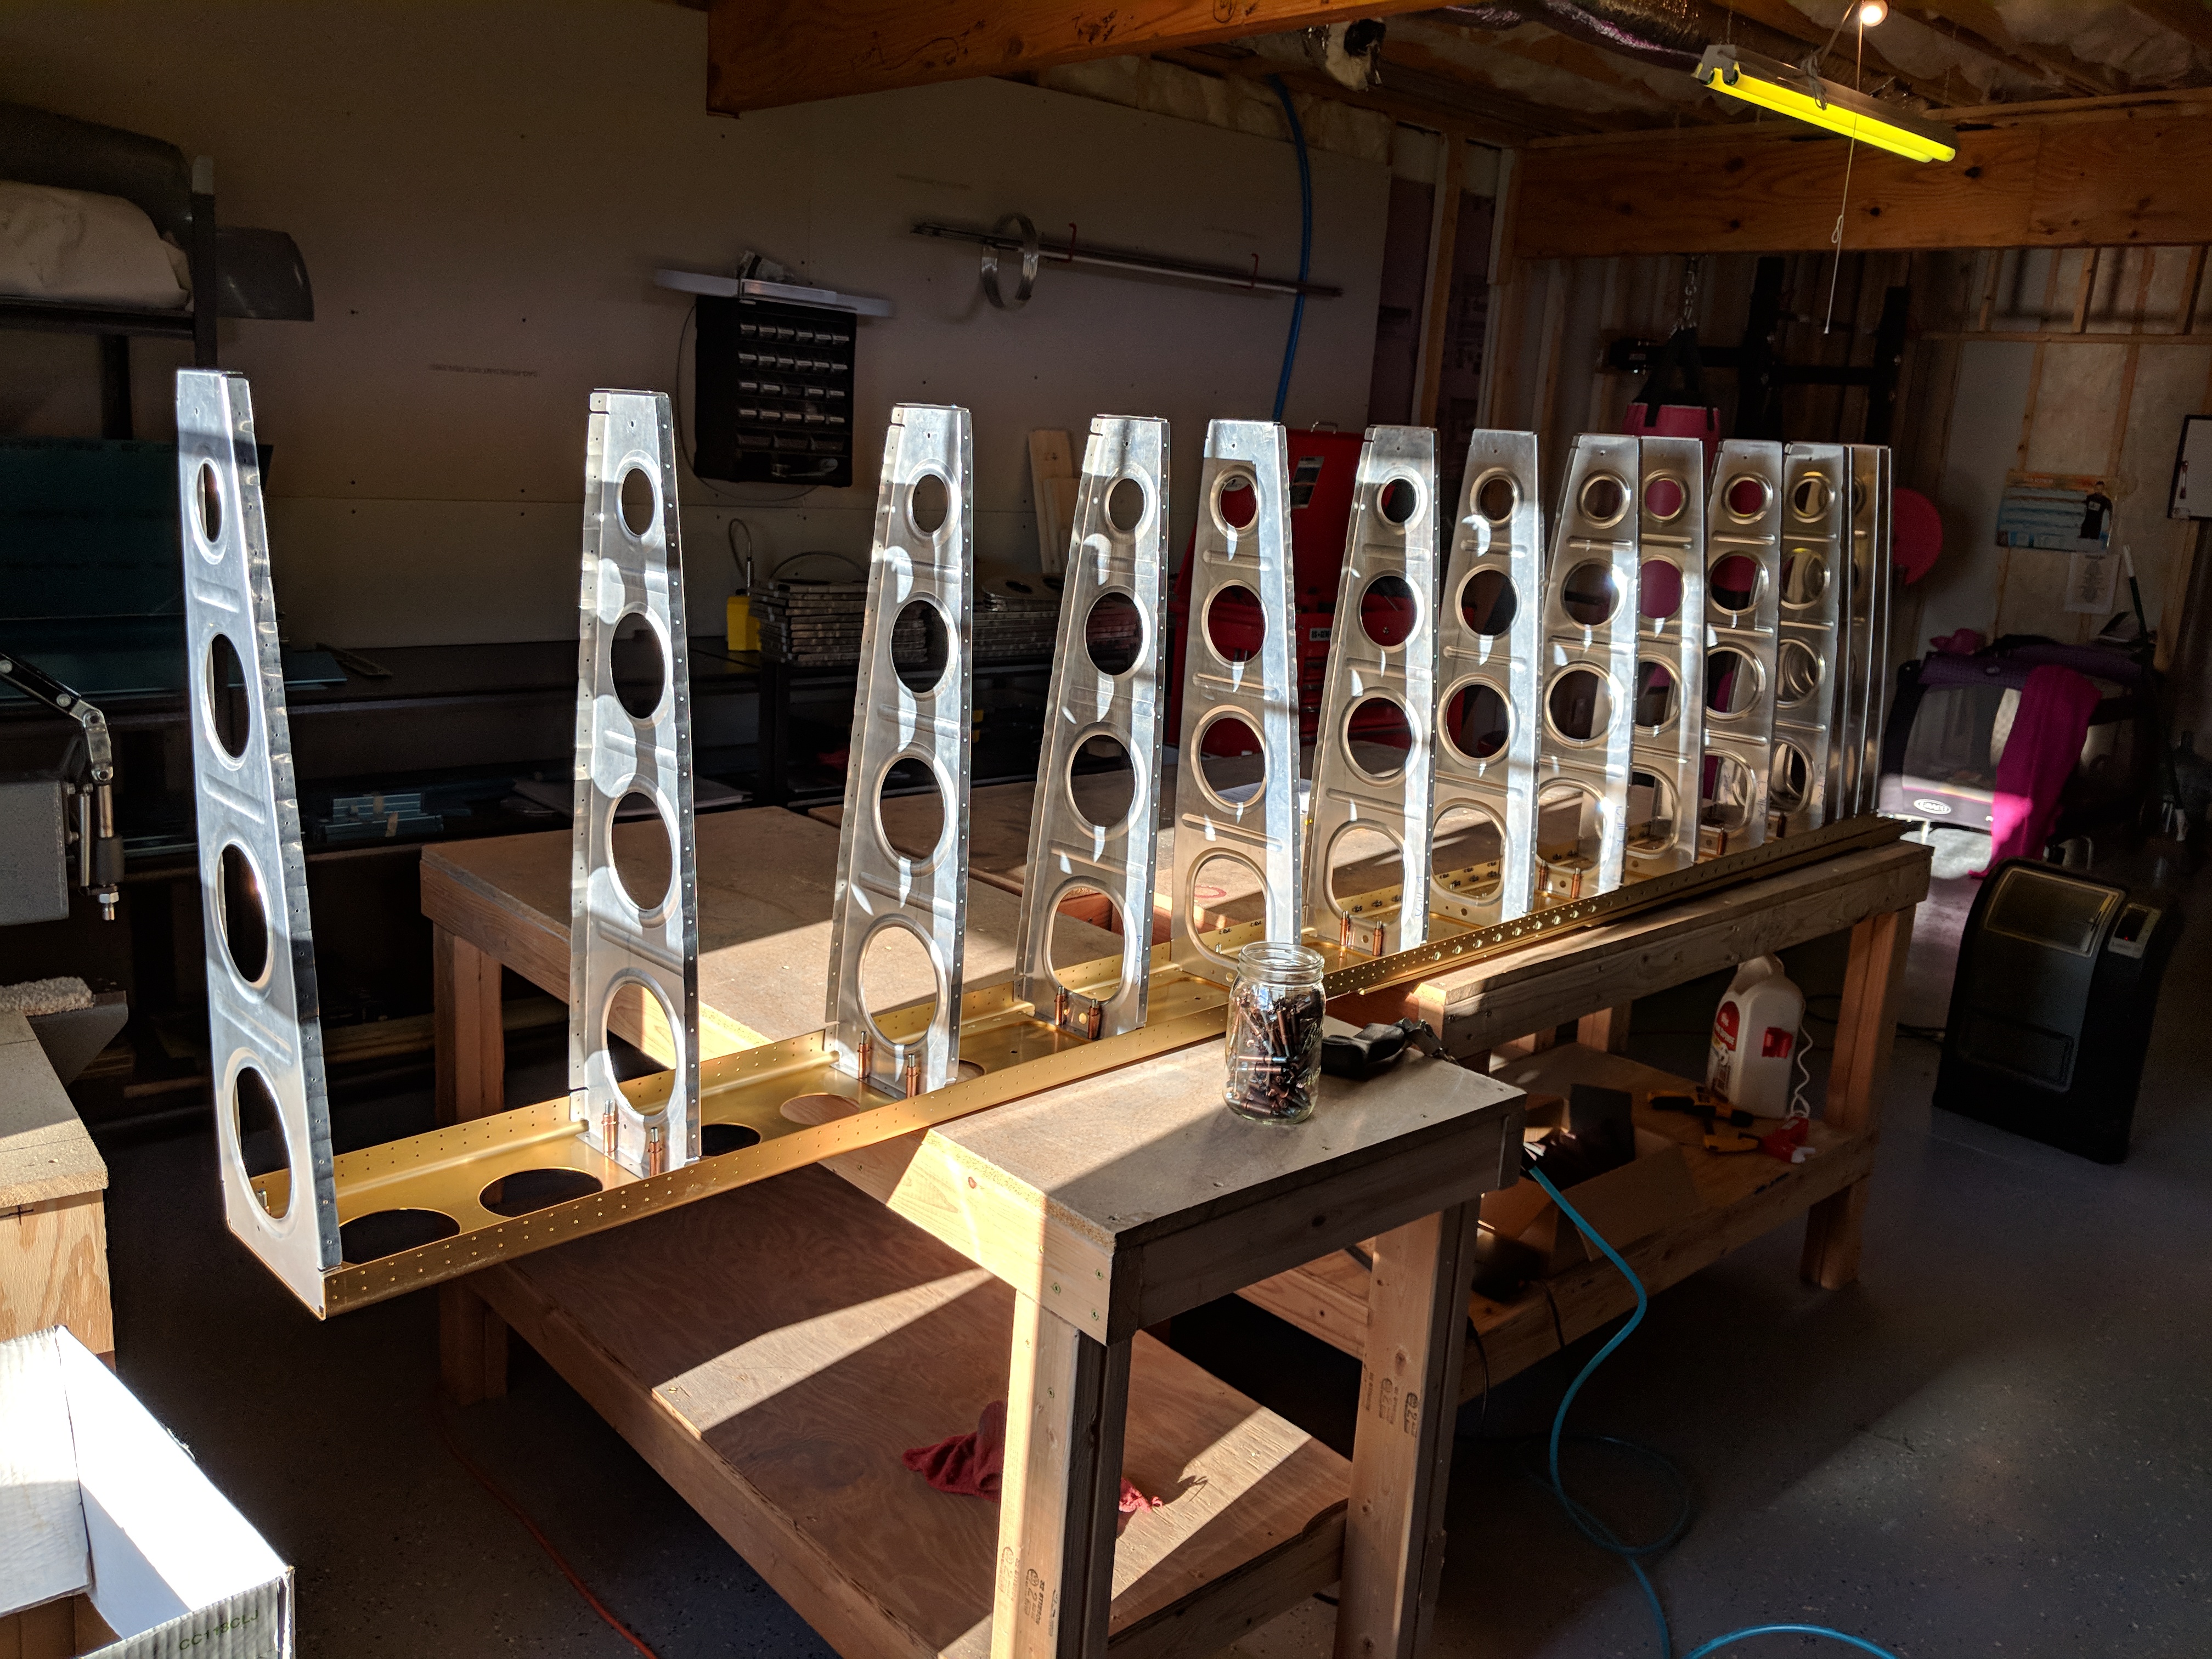
Once I had all the ribs cleco’d to the main spar, I clecoed on the rear spar, double checking its orientation.
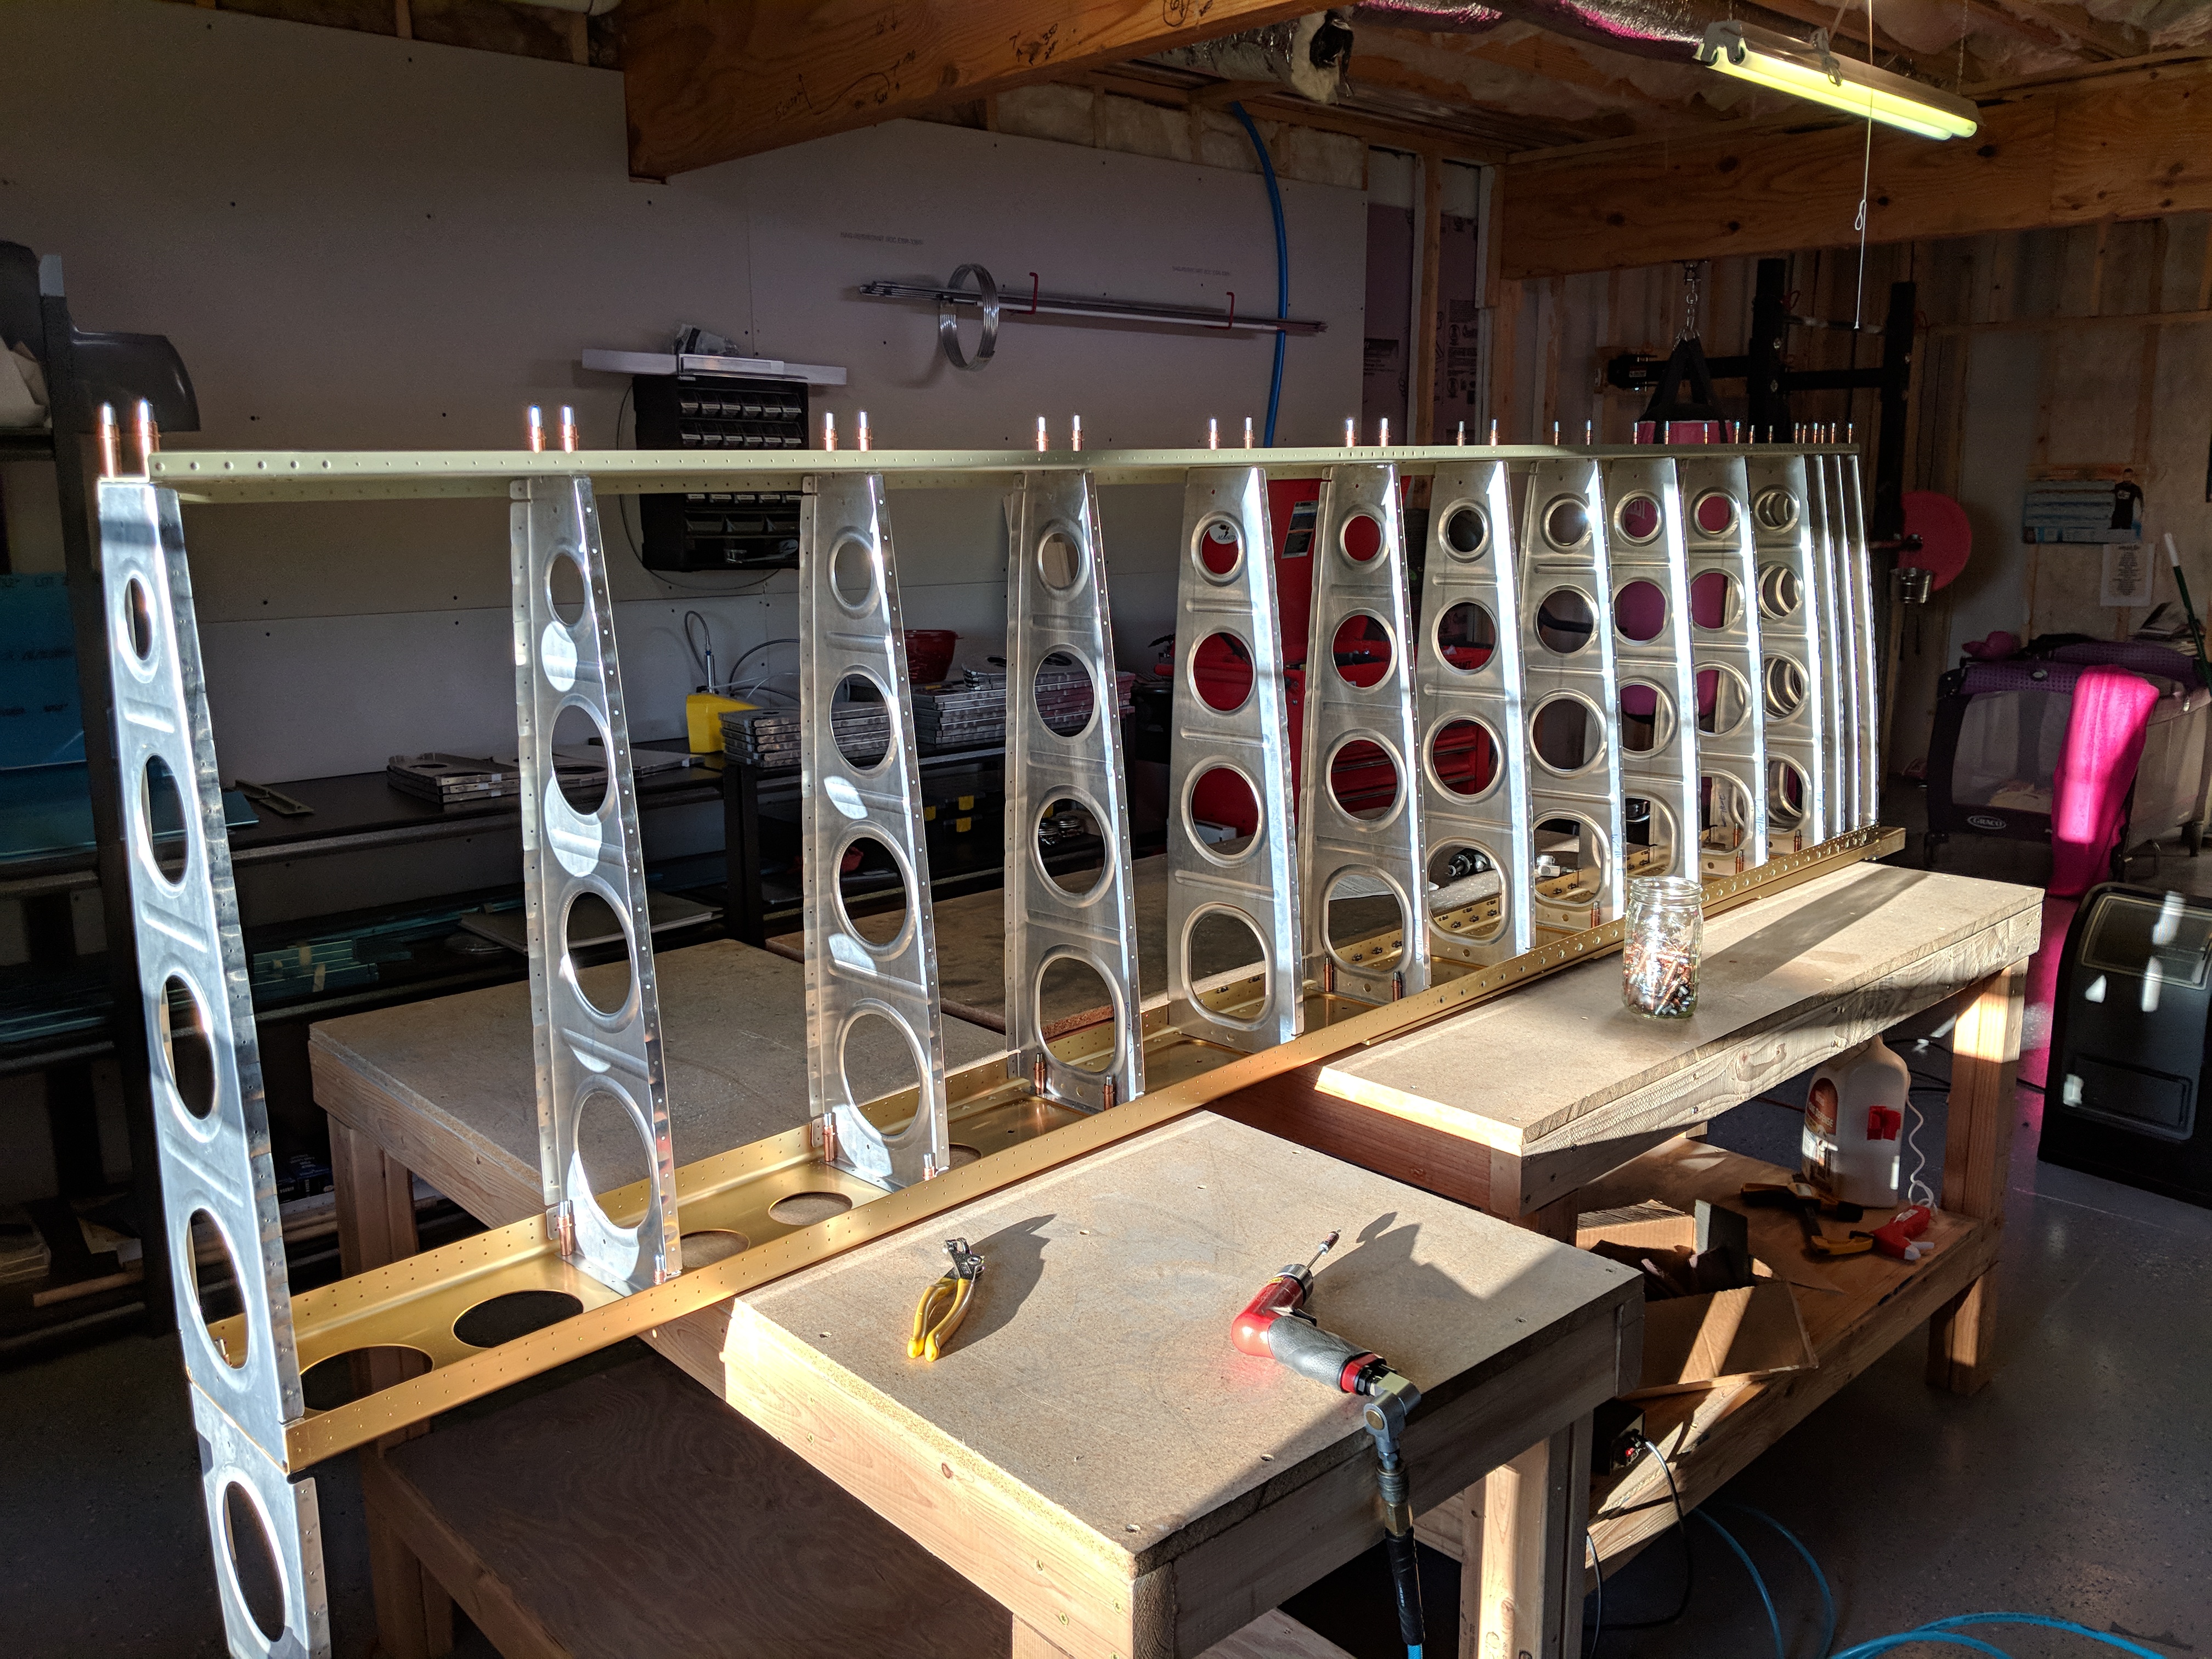
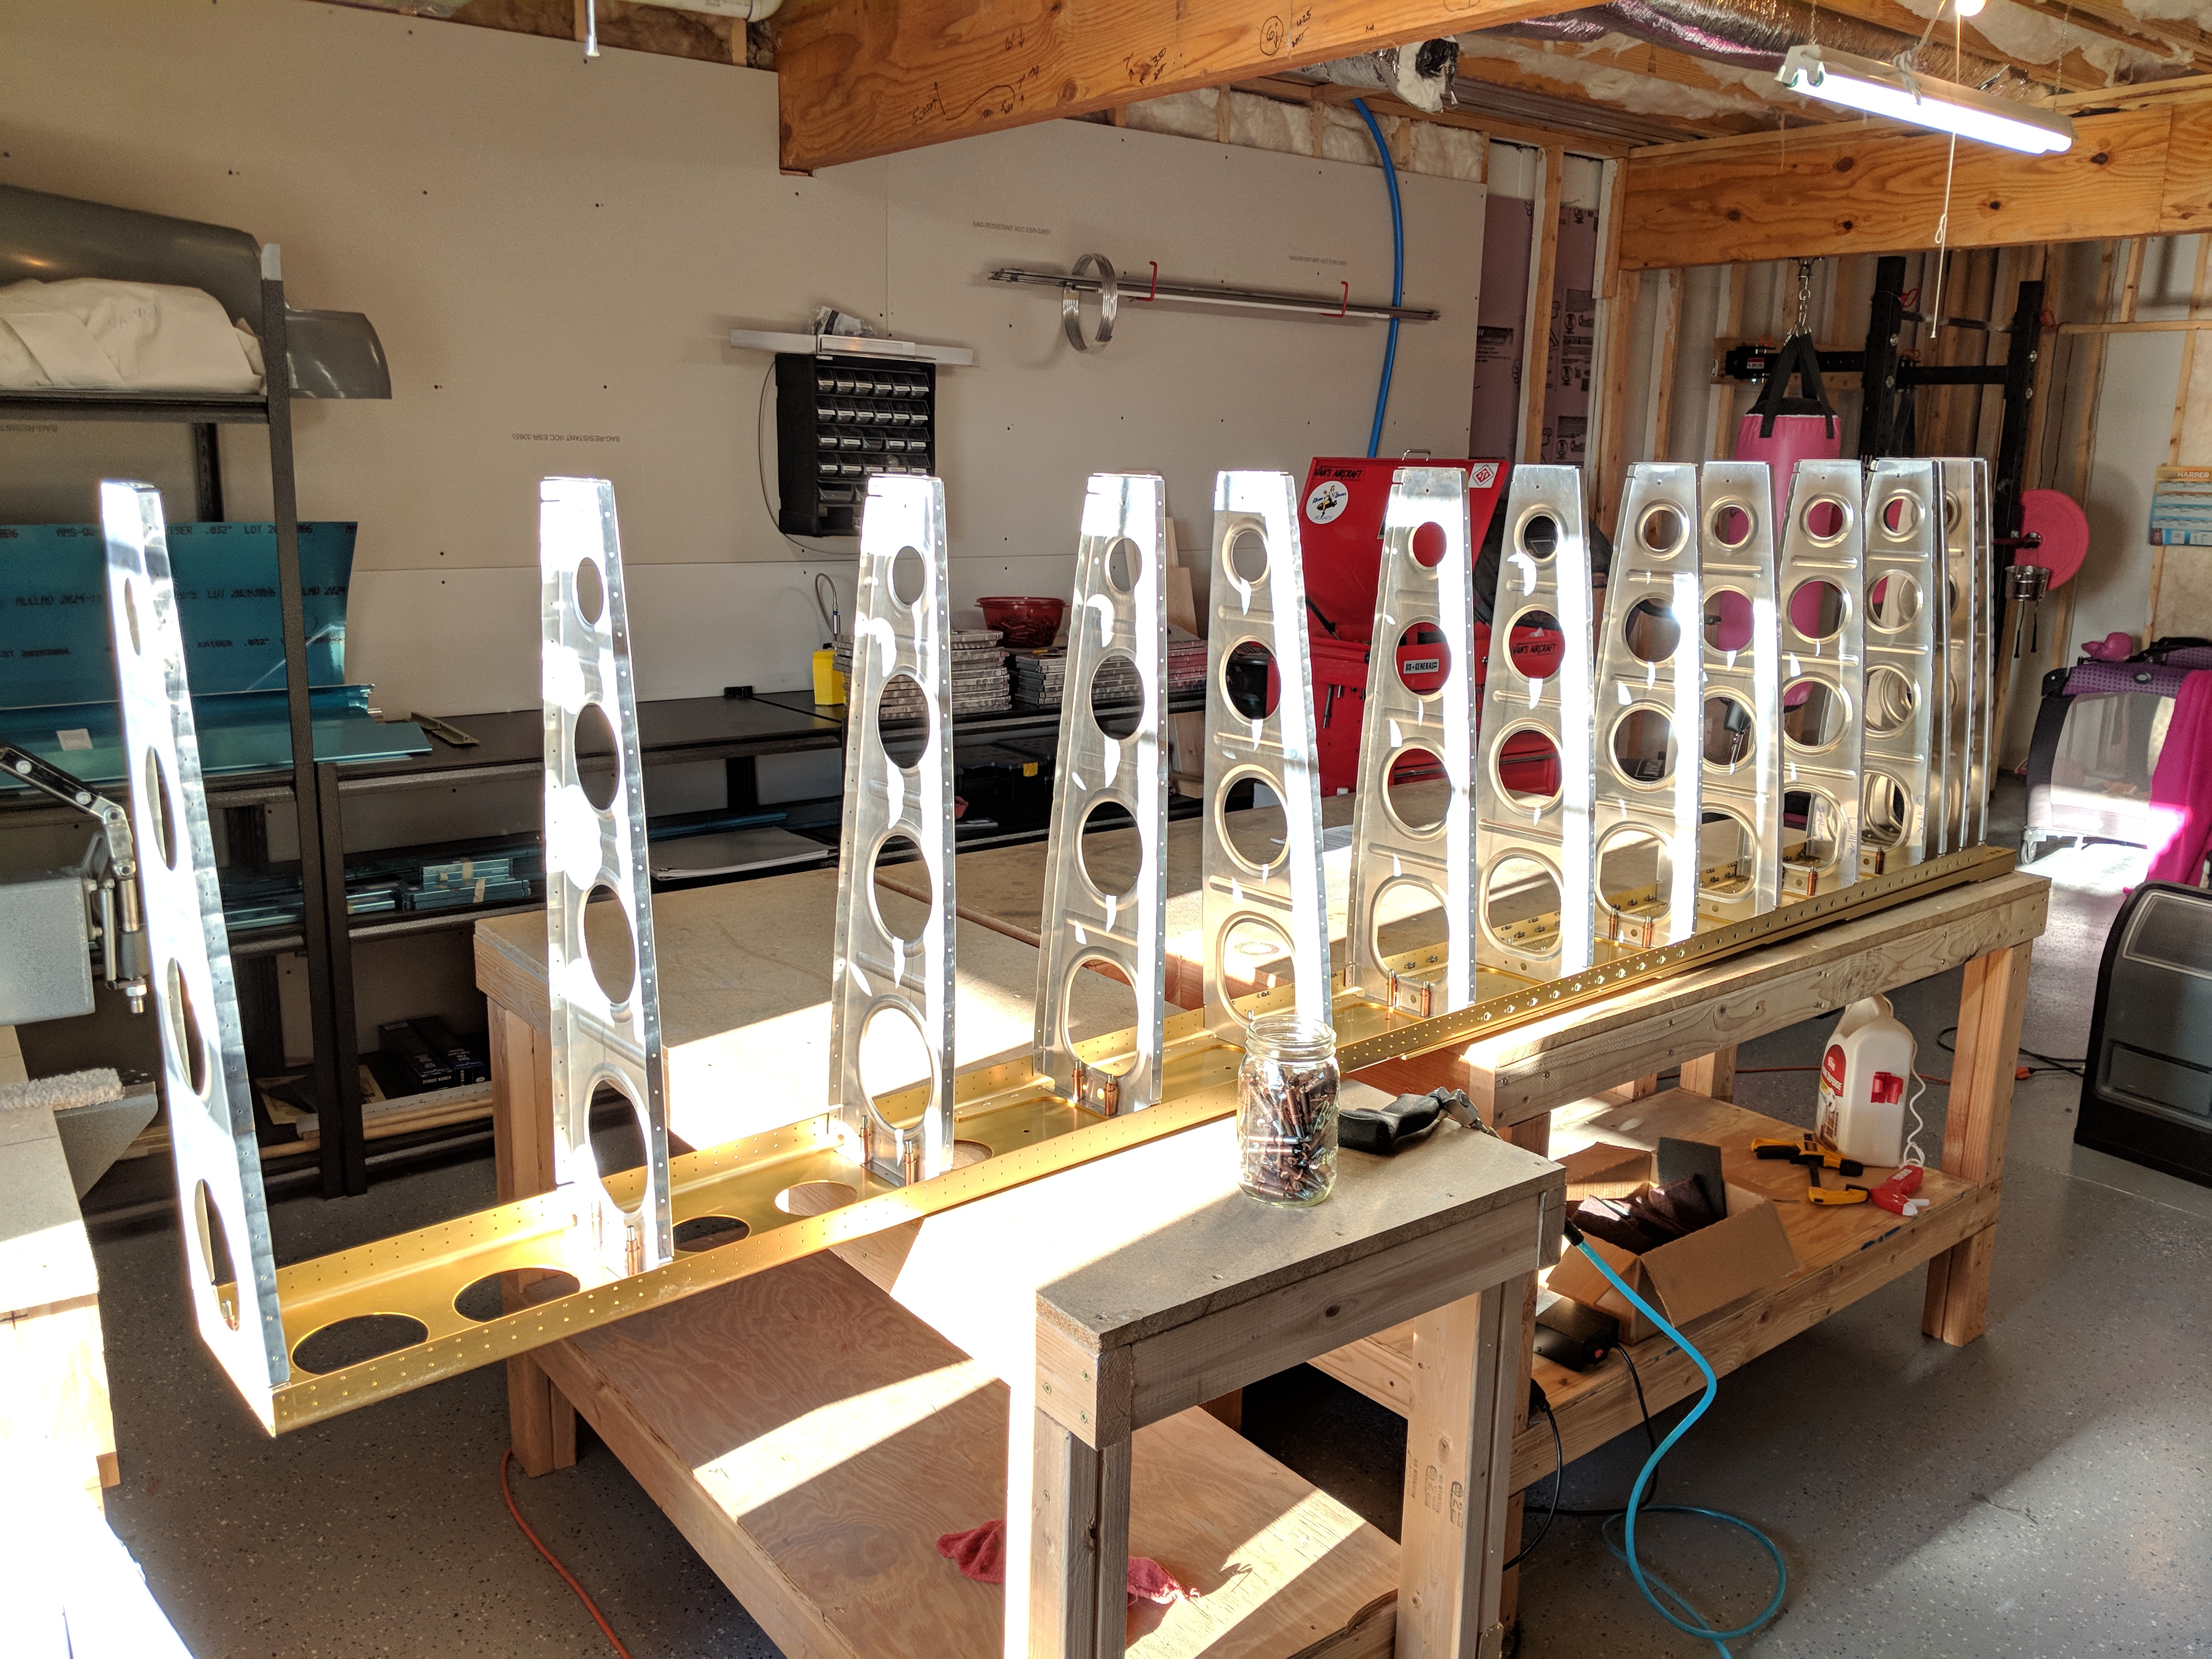
Now, it was time to match drill the main ribs to both the main spar and rear spar. That was simple enough, and didn’t take too much time. The last thing left to do was to cleco on the leading edge ribs, again, double checking the orientation and proper handed-ness and then match drill them as well.
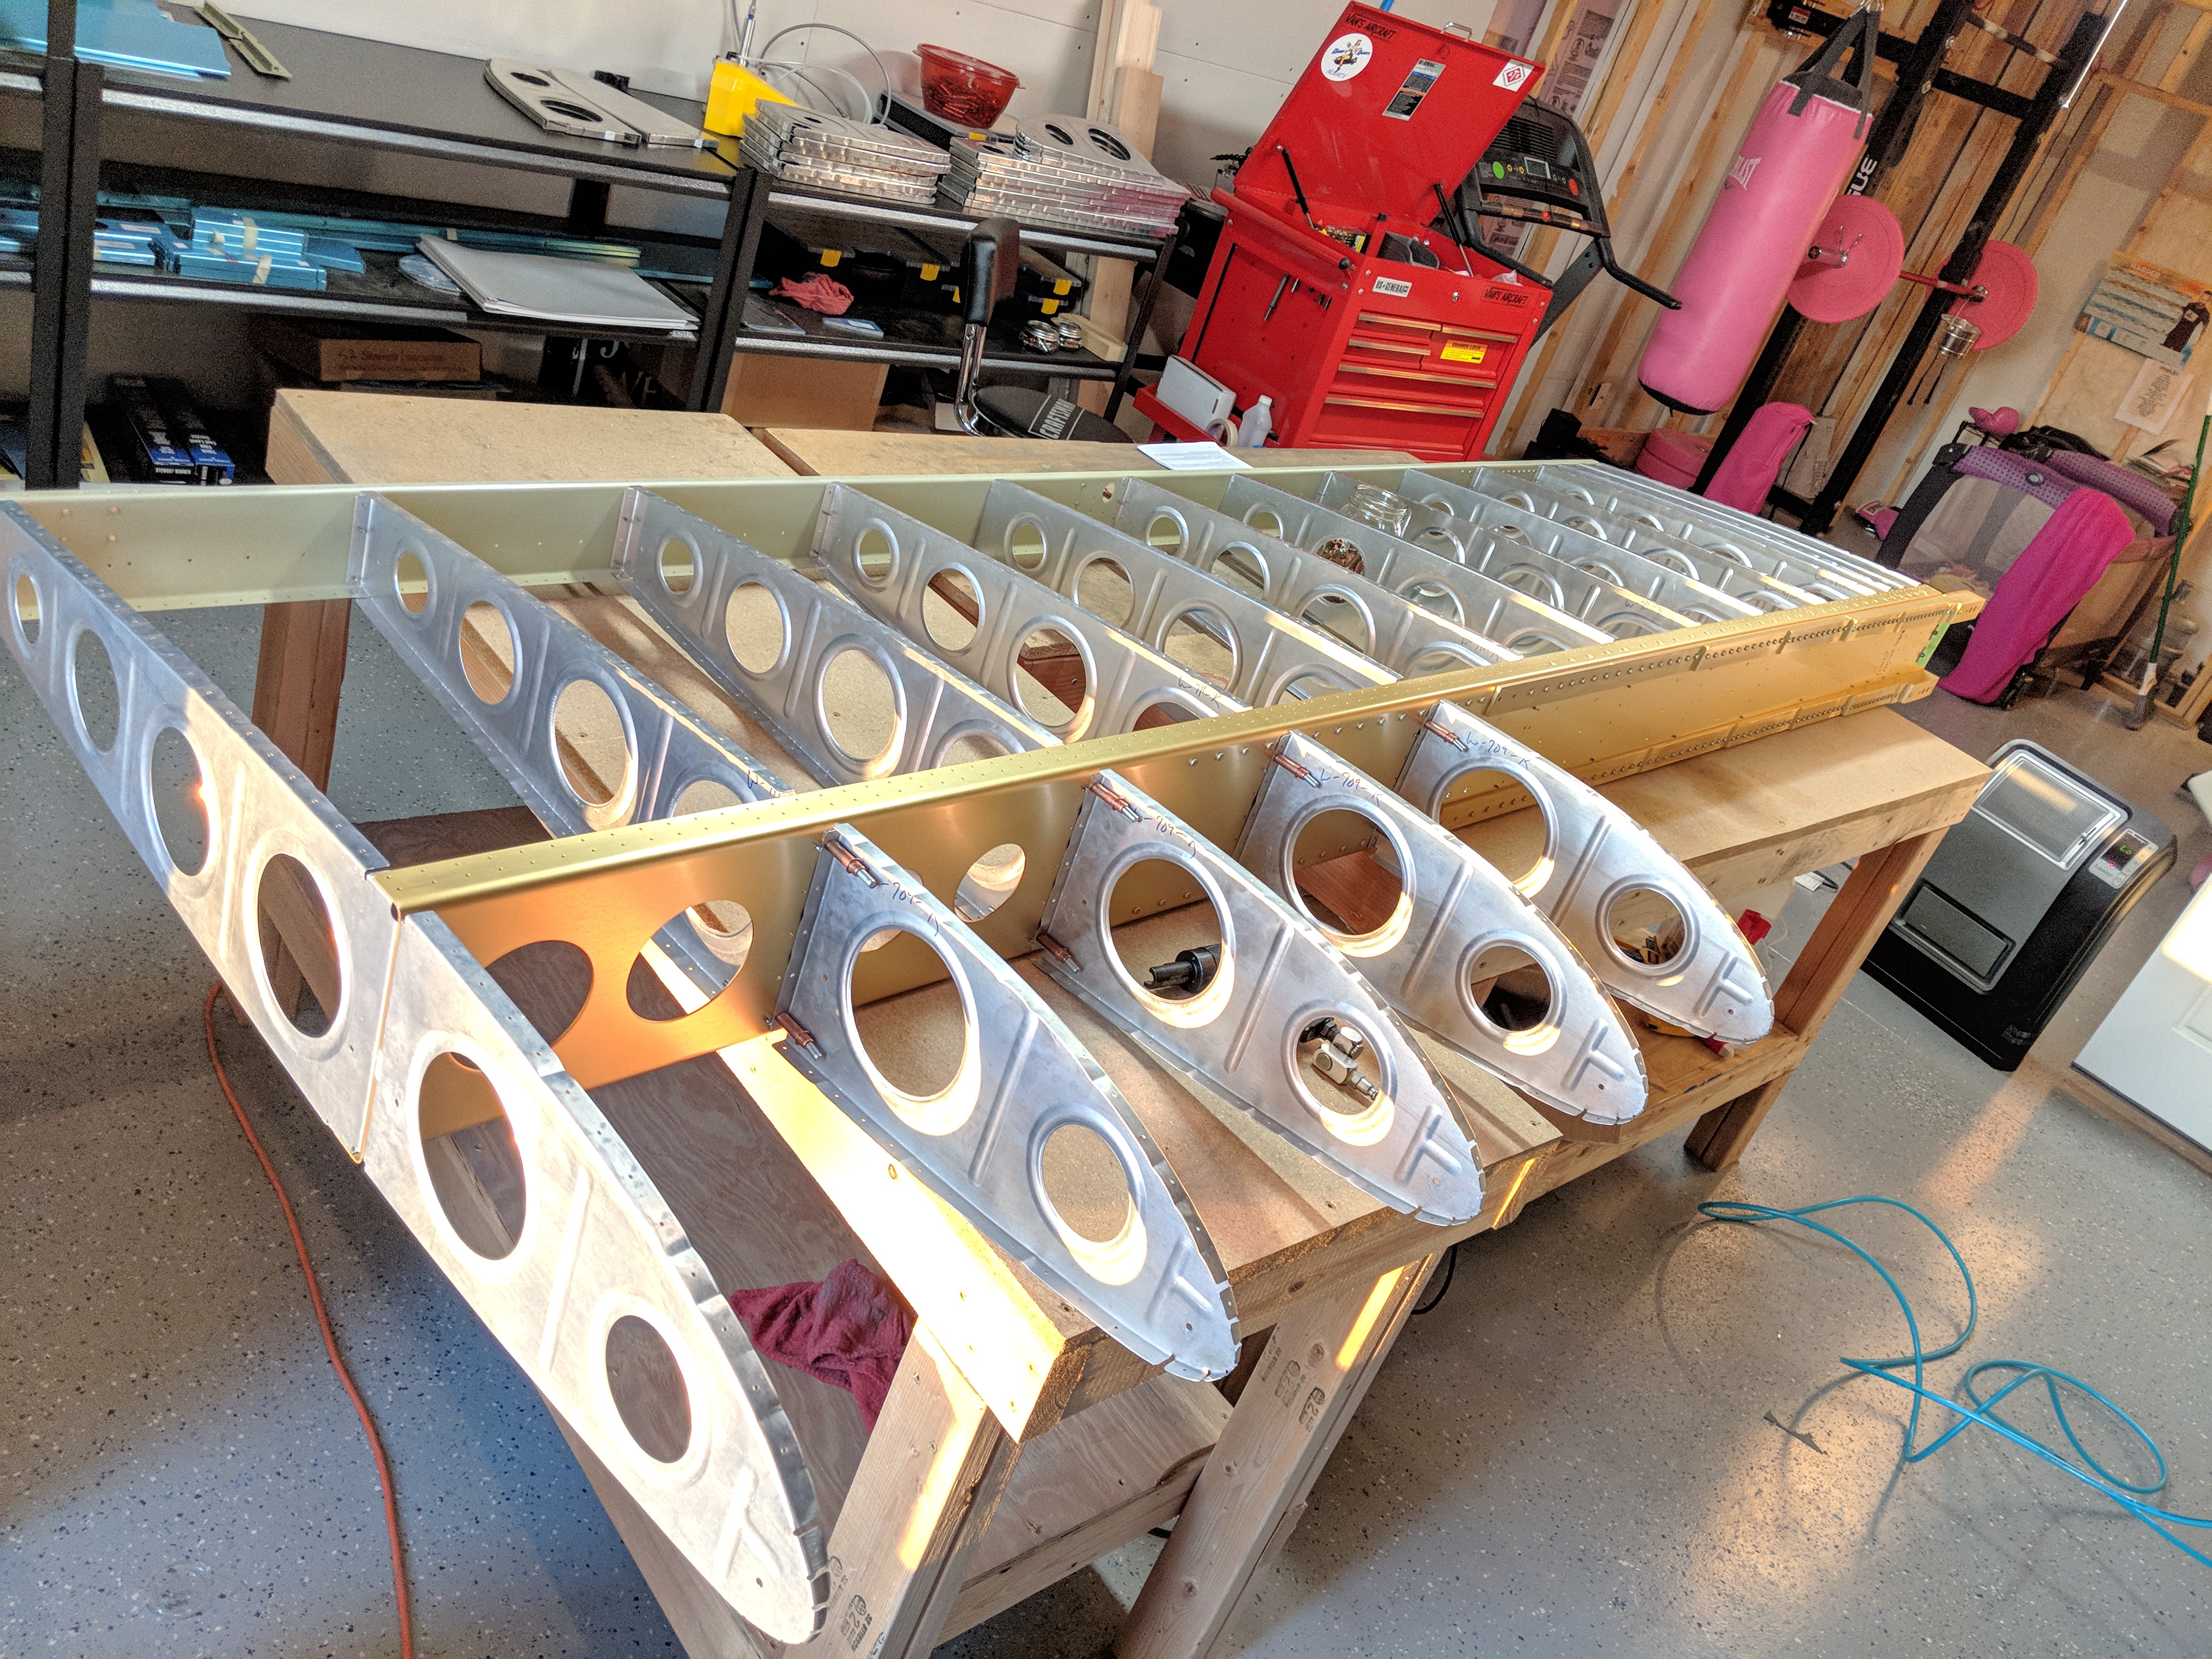
VOILA! I have another piece of kit that looks like a wing should look! I still haven’t fully decided on what to do for wiring, but I still have some time. However, I think I may actually move on for now and start building the flaps and ailerons and leading edge skins. Its currently winter time in Tennessee, so my workshop is hovering around 60 degrees, which can making working with ProSeal (for the fuel tanks) and bit challenging. Spring and summer are only a few months away, so I will hold off on my fuel tanks until warmer weather. I am also considering doing the same for the wing stands. I think I would like to build the control surfaces while I have plenty of room in the shop. If I build the wing stands, I will loose a good bit of working area in the shop, so I will ask the experts on Vans Airforce if there are any gotchas to skipping ahead and building the control surfaces ahead of the stand and tanks. At any rate, here is all the photos from todays build session:


Google Photos Link: https://photos.app.goo.gl/Bx5tJyDEThlWKNPu1
Hours Worked: 2.5