


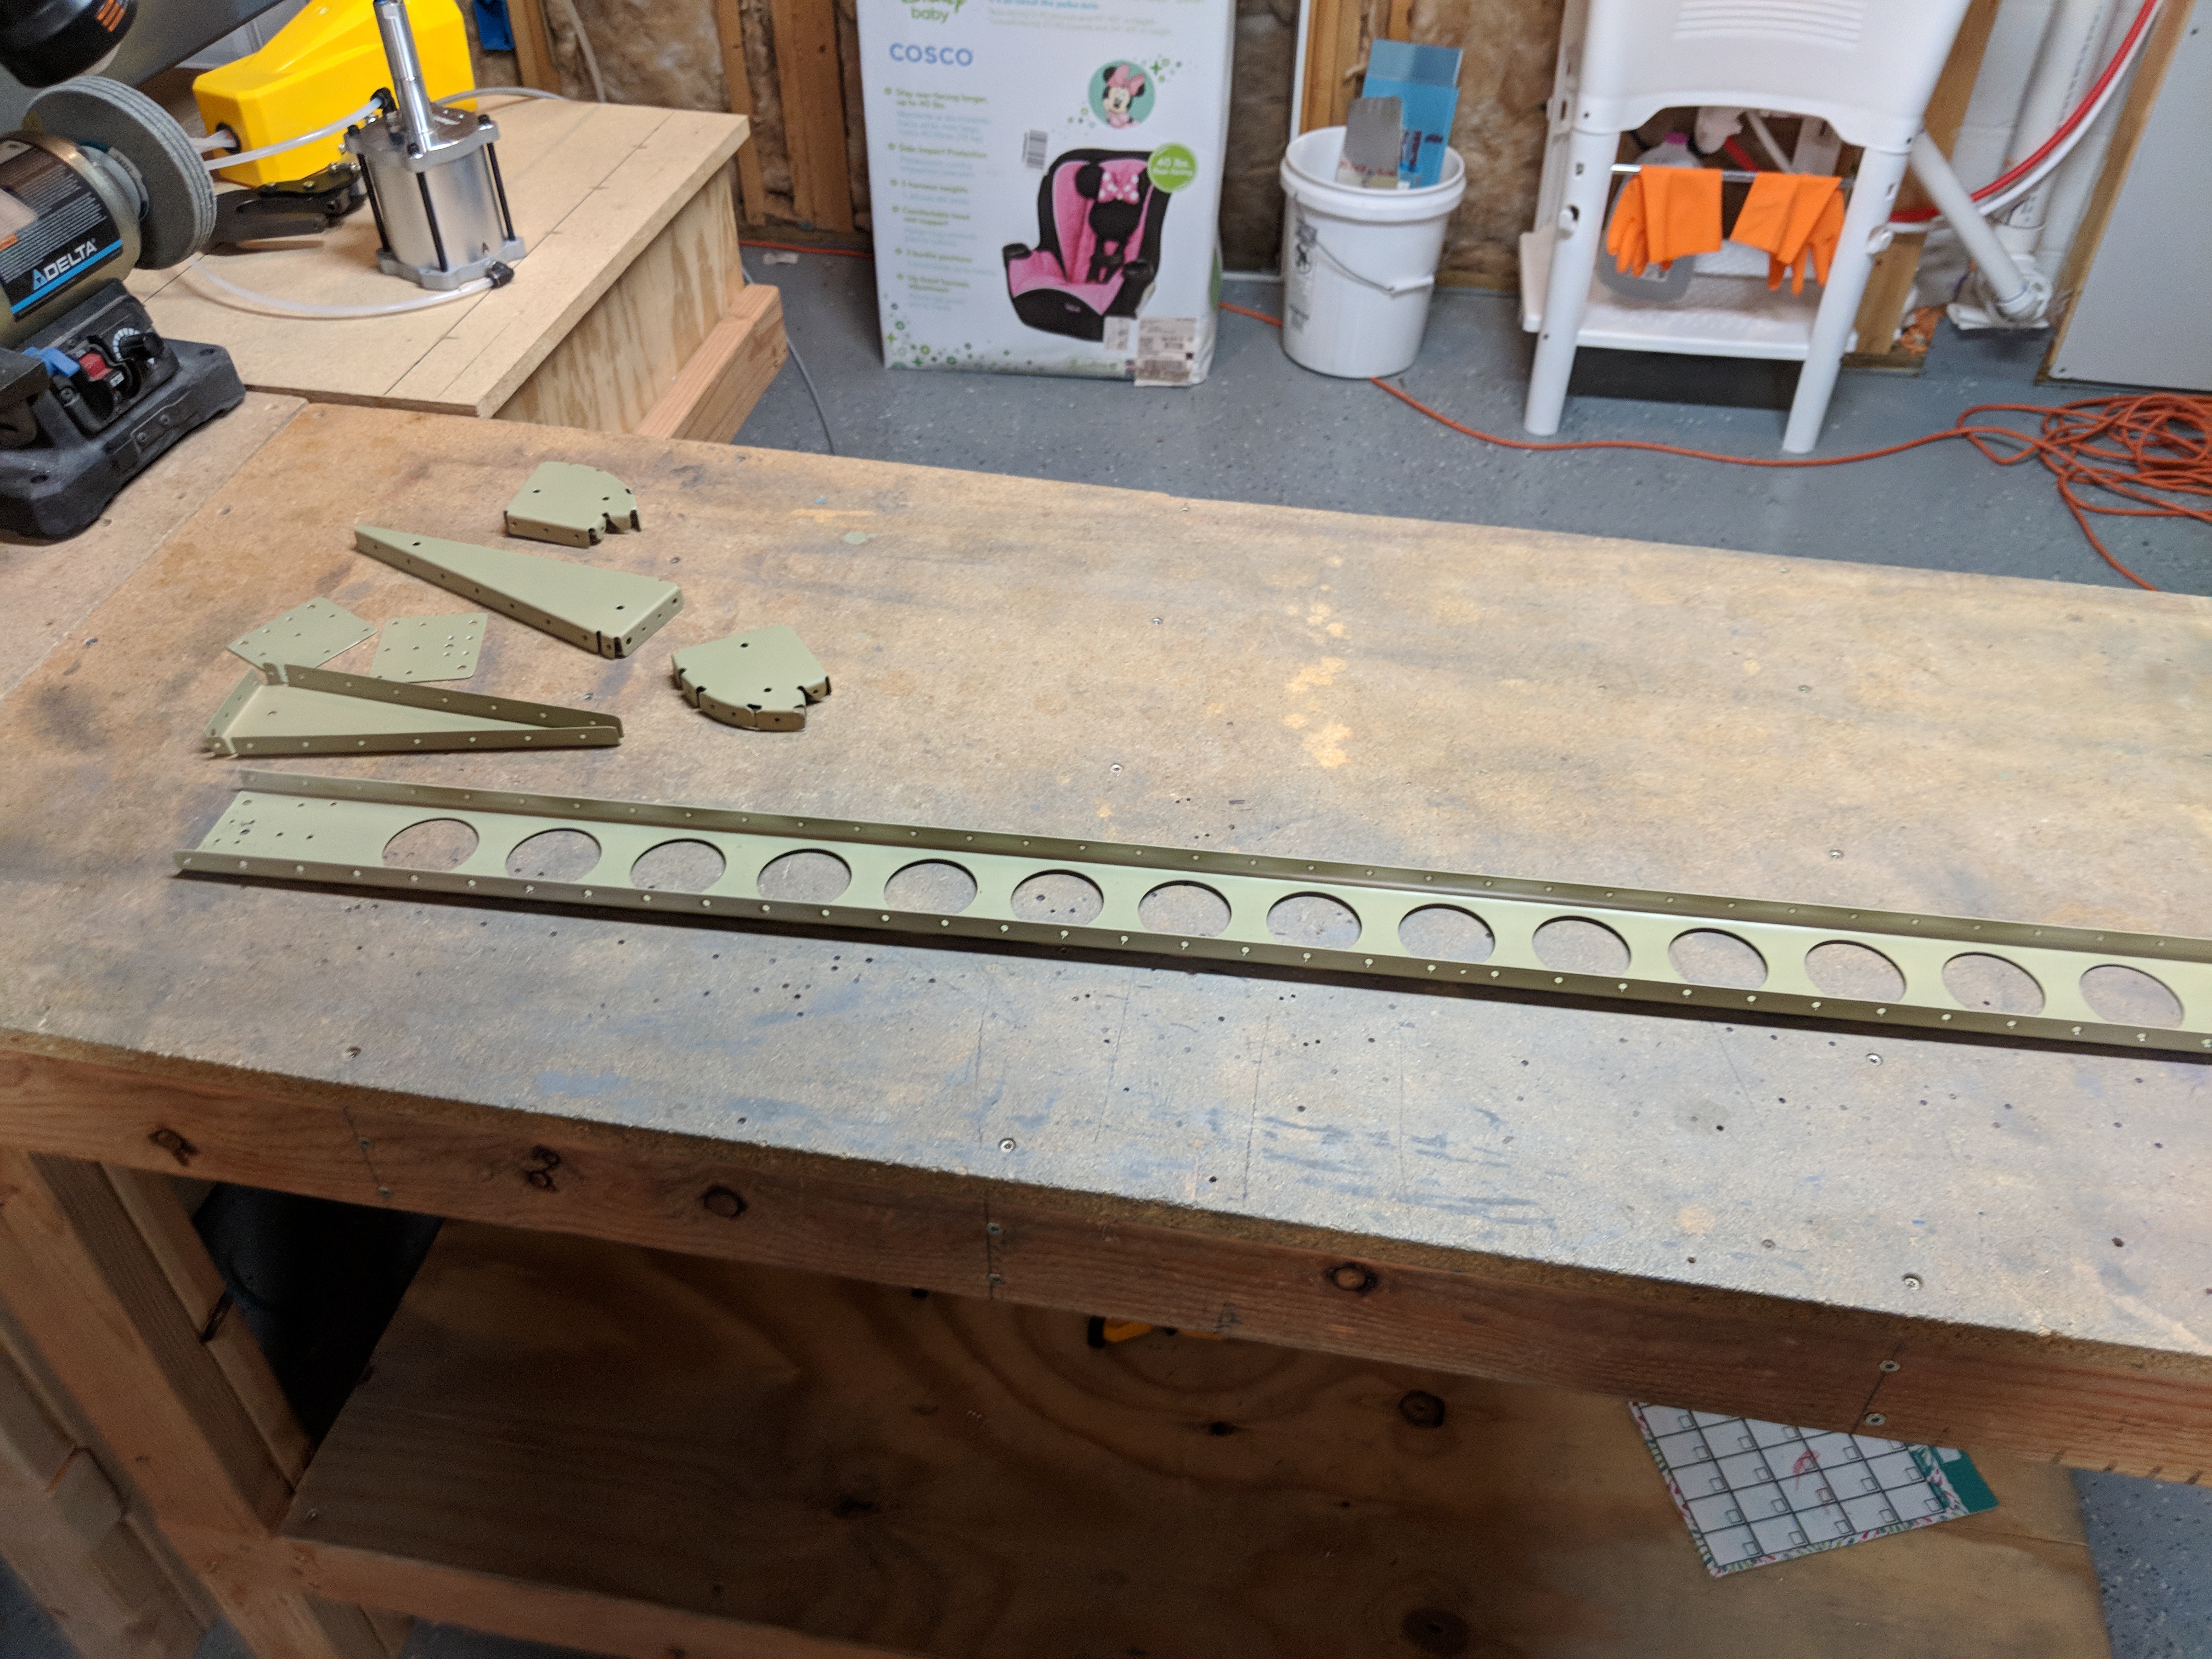
I didn’t get much accomplished tonight. What has gotten me stuck is just how to deburr the inside of the A-409 counterbalance pipe for the aileron leading edge. But I did get a little progress made, I’ll detail that below. I started out by pulling all the parts out of the booth, and wiping any overspray off them. Then I marked the parts and reading over the instructions and plans. I was going to attempt to get the entire right aileron almost fully done, but after looking over the counterbalance pipe, I decided to do as much as I could on the parts. right up to needing to work with the A-409.
I grabbed the A-408 reinforcement plates for the right aileron and clecoed them in their proper spots, checking the alignments. Then I clecoe’d on the K1000-3 nutplate into position. I also marked which holes I needed to rivet, as some of these holes need to be left open for the ribs when we assemble the skeleton.
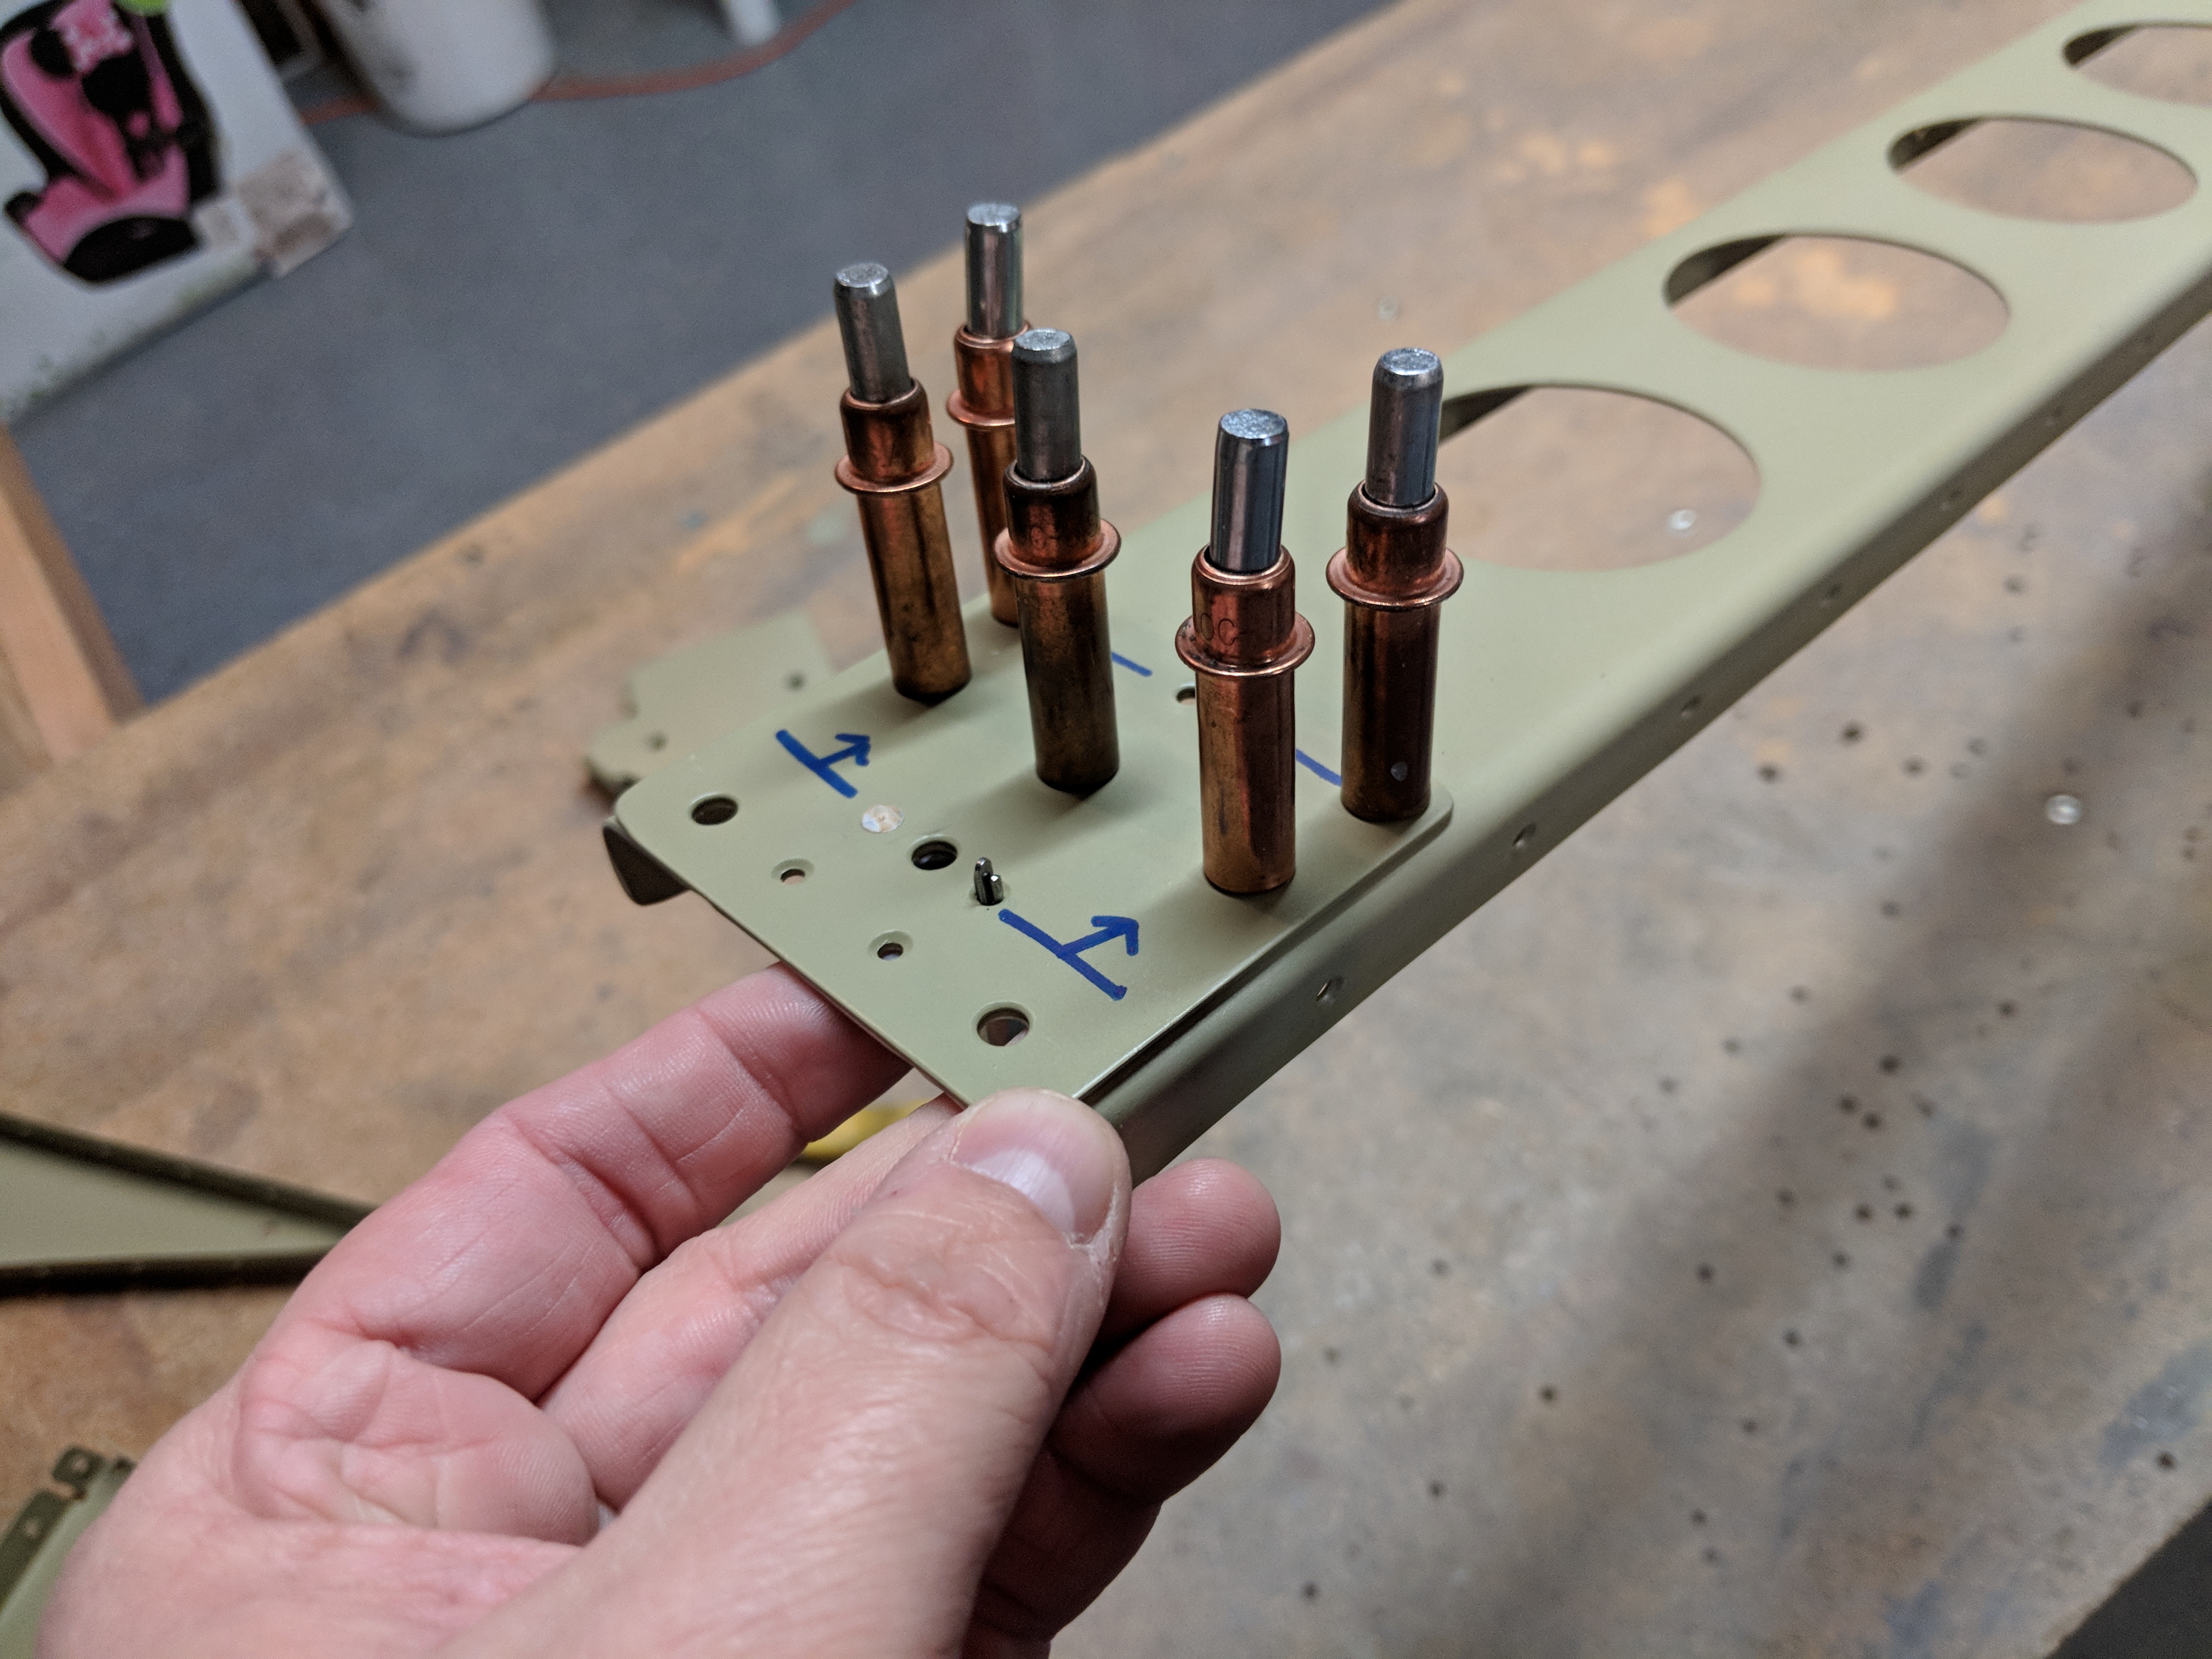
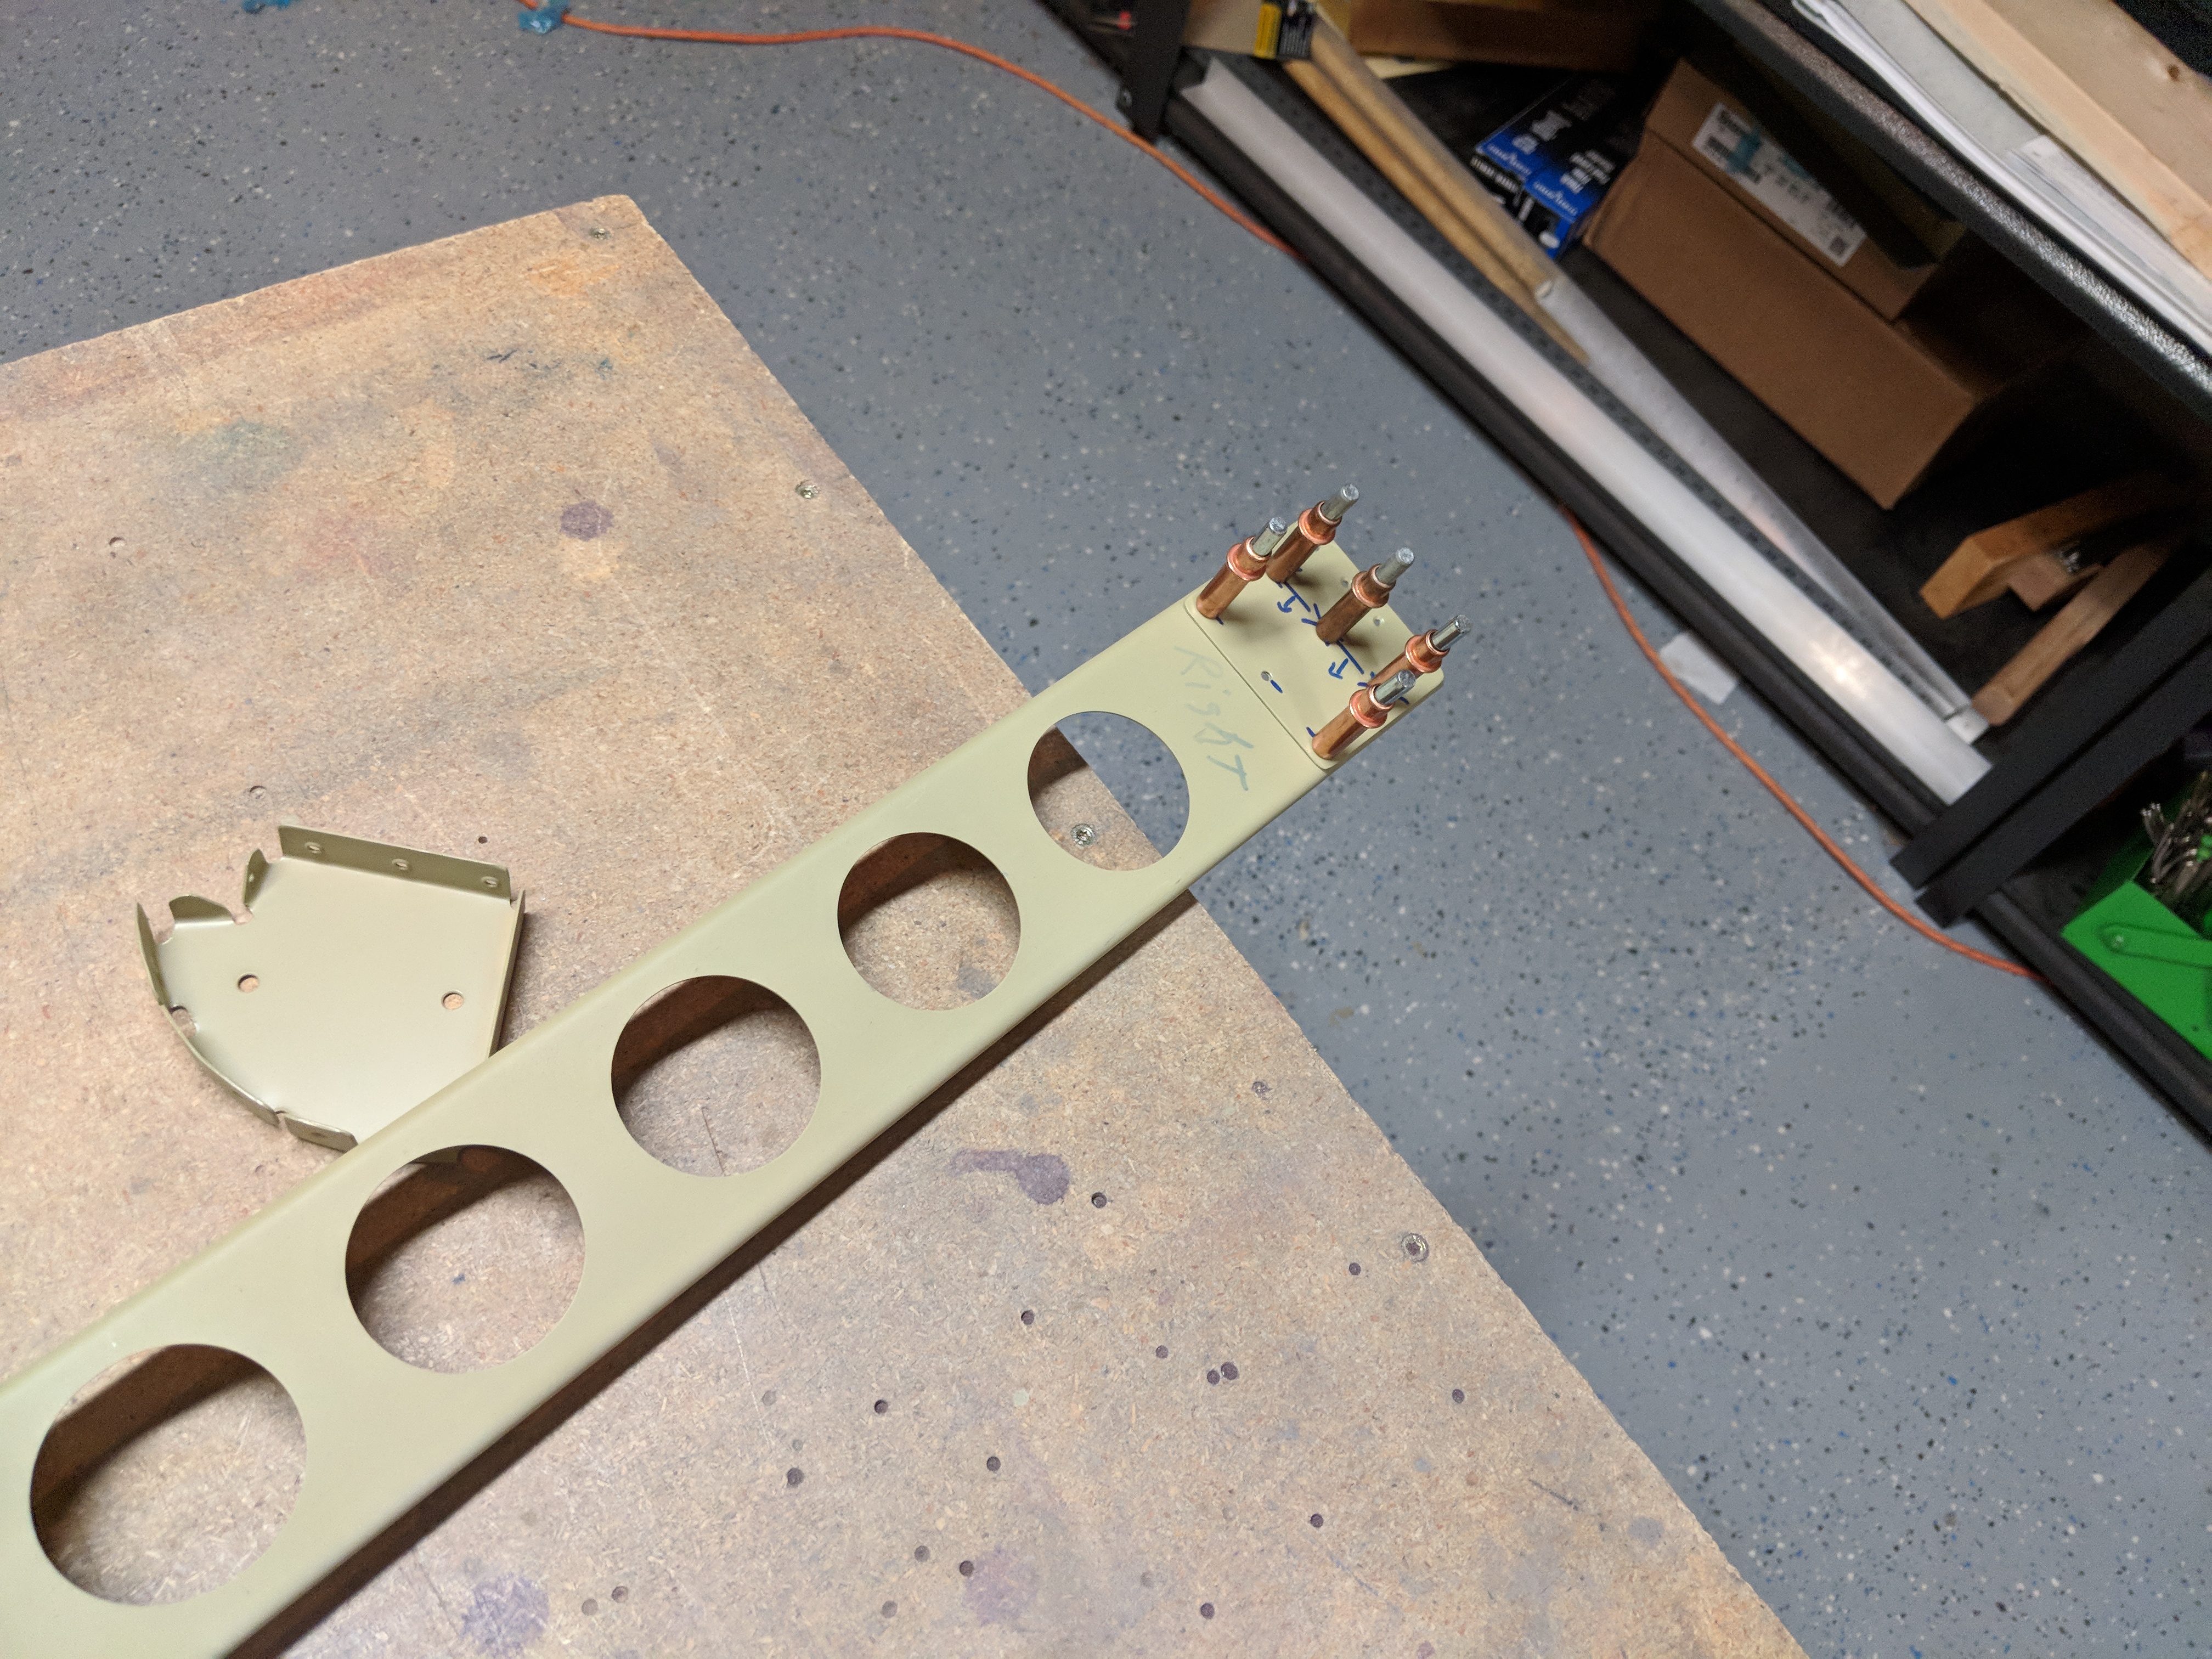
I set the small -3 rivets in the nutplate first, using my squeezer and checking each rivet. Then I followed that up with the larger -4 AN470 rivets that attach the A-408 plate to the spar.

Once I had all the rivets set for the right aileron spar plates, I decided to go ahead and do the left. These went pretty quick, and didn’t require any complex work, and they came out nice since I was using the squeezer.


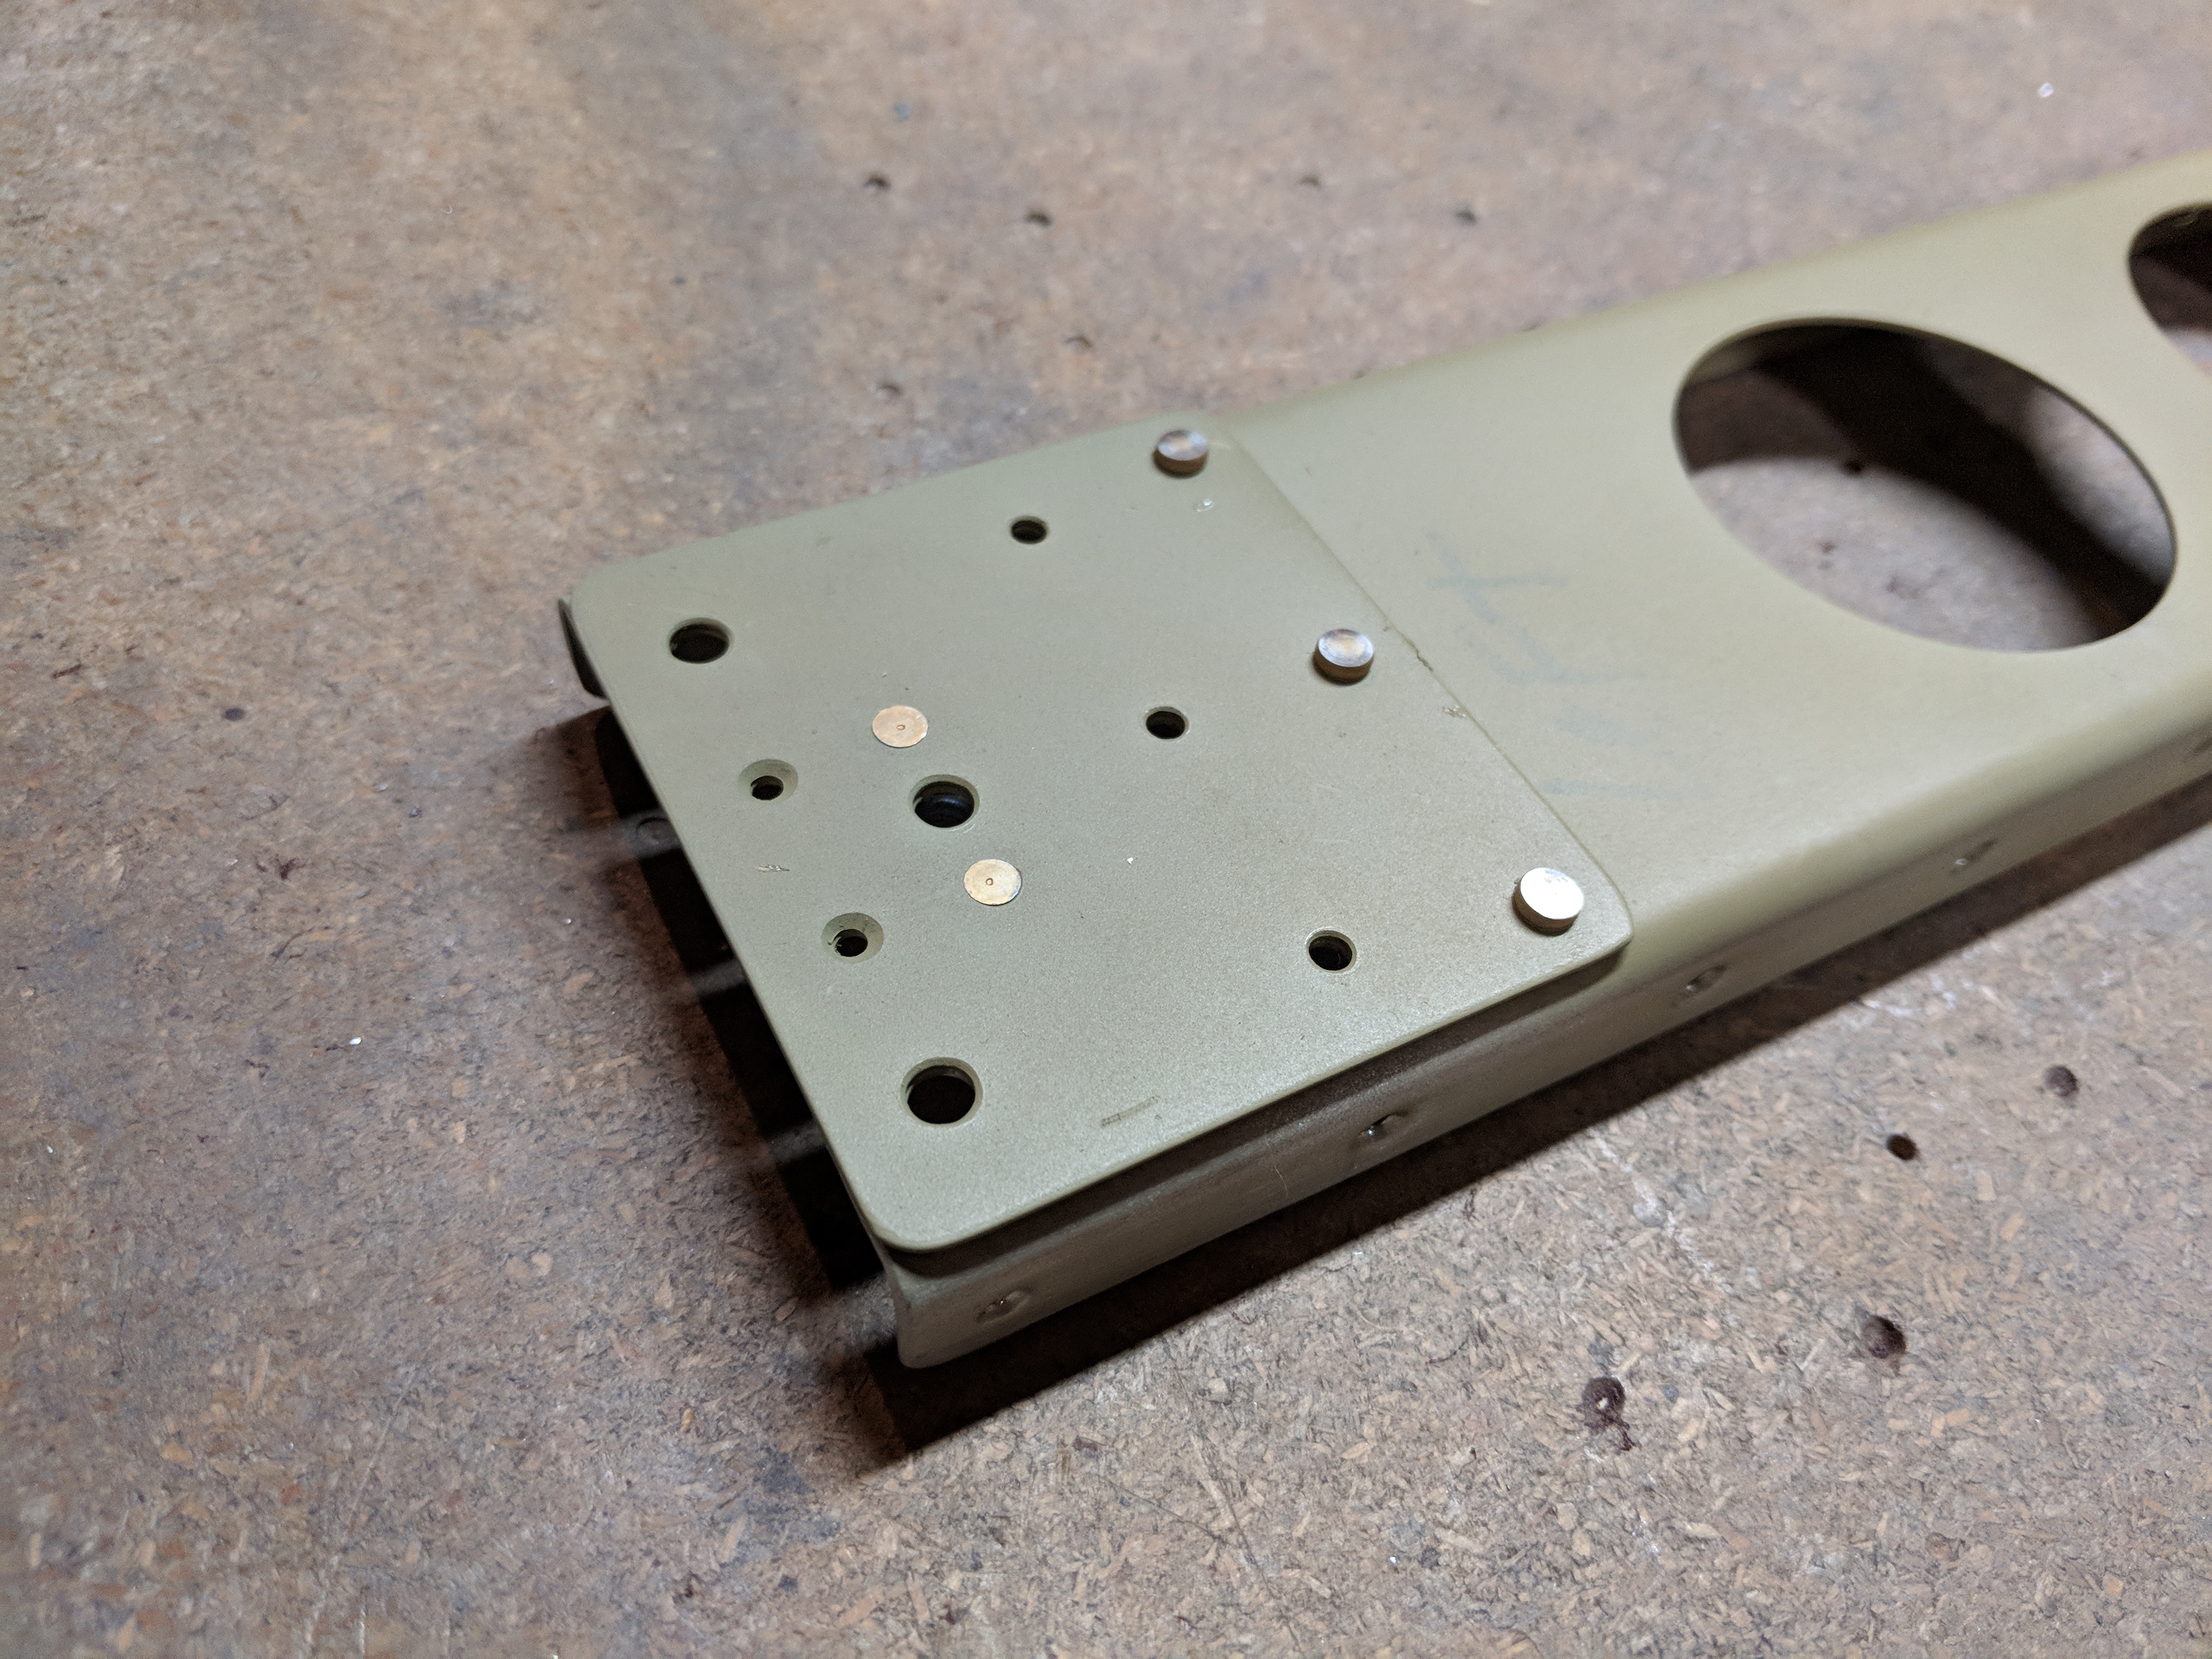
I put the shop head on the A-408 plate, Conventional wisdom says to put the shop head on the side with the thickest metal. The spar and the reinforcement plate are pretty close in thickness, but with the plate being .040″ I figured it best to put the shop head on that side. Plus, it will make inspecting the rivets much easier since this side is the outside of the aileron.
Once I had that done, I took a look at the A-409 counterbalance pipe. I still haven’t deburred the inside and primed, so I was going to tackle that tonight. The priming will be the easy part: Mix up a couple ounces of AKZO, tape up the holes in the pipe and pour some in and roll it around. The deburring is where I am challenged. I rumaged through the shop and my garage in hopes of finding a long, thin rod that I could poke down the tube and force some scotchbrite through, but no luck. The only wooden dowel or wire I had were either too big or too small. I think I can pick up some smaller wooden dowel rod and put some sandpaper or scotchbrite on the end and twist it through the pipe deburring and scuffing the surface at the same time. I’ll visit Ace Hardware tomorrow after work and see what I can come up with. Here’s all the photos from tonights work:


Google Photos Link: https://photos.app.goo.gl/pi6YAmc0WJbrjQ573
Hours Worked: 1.0