


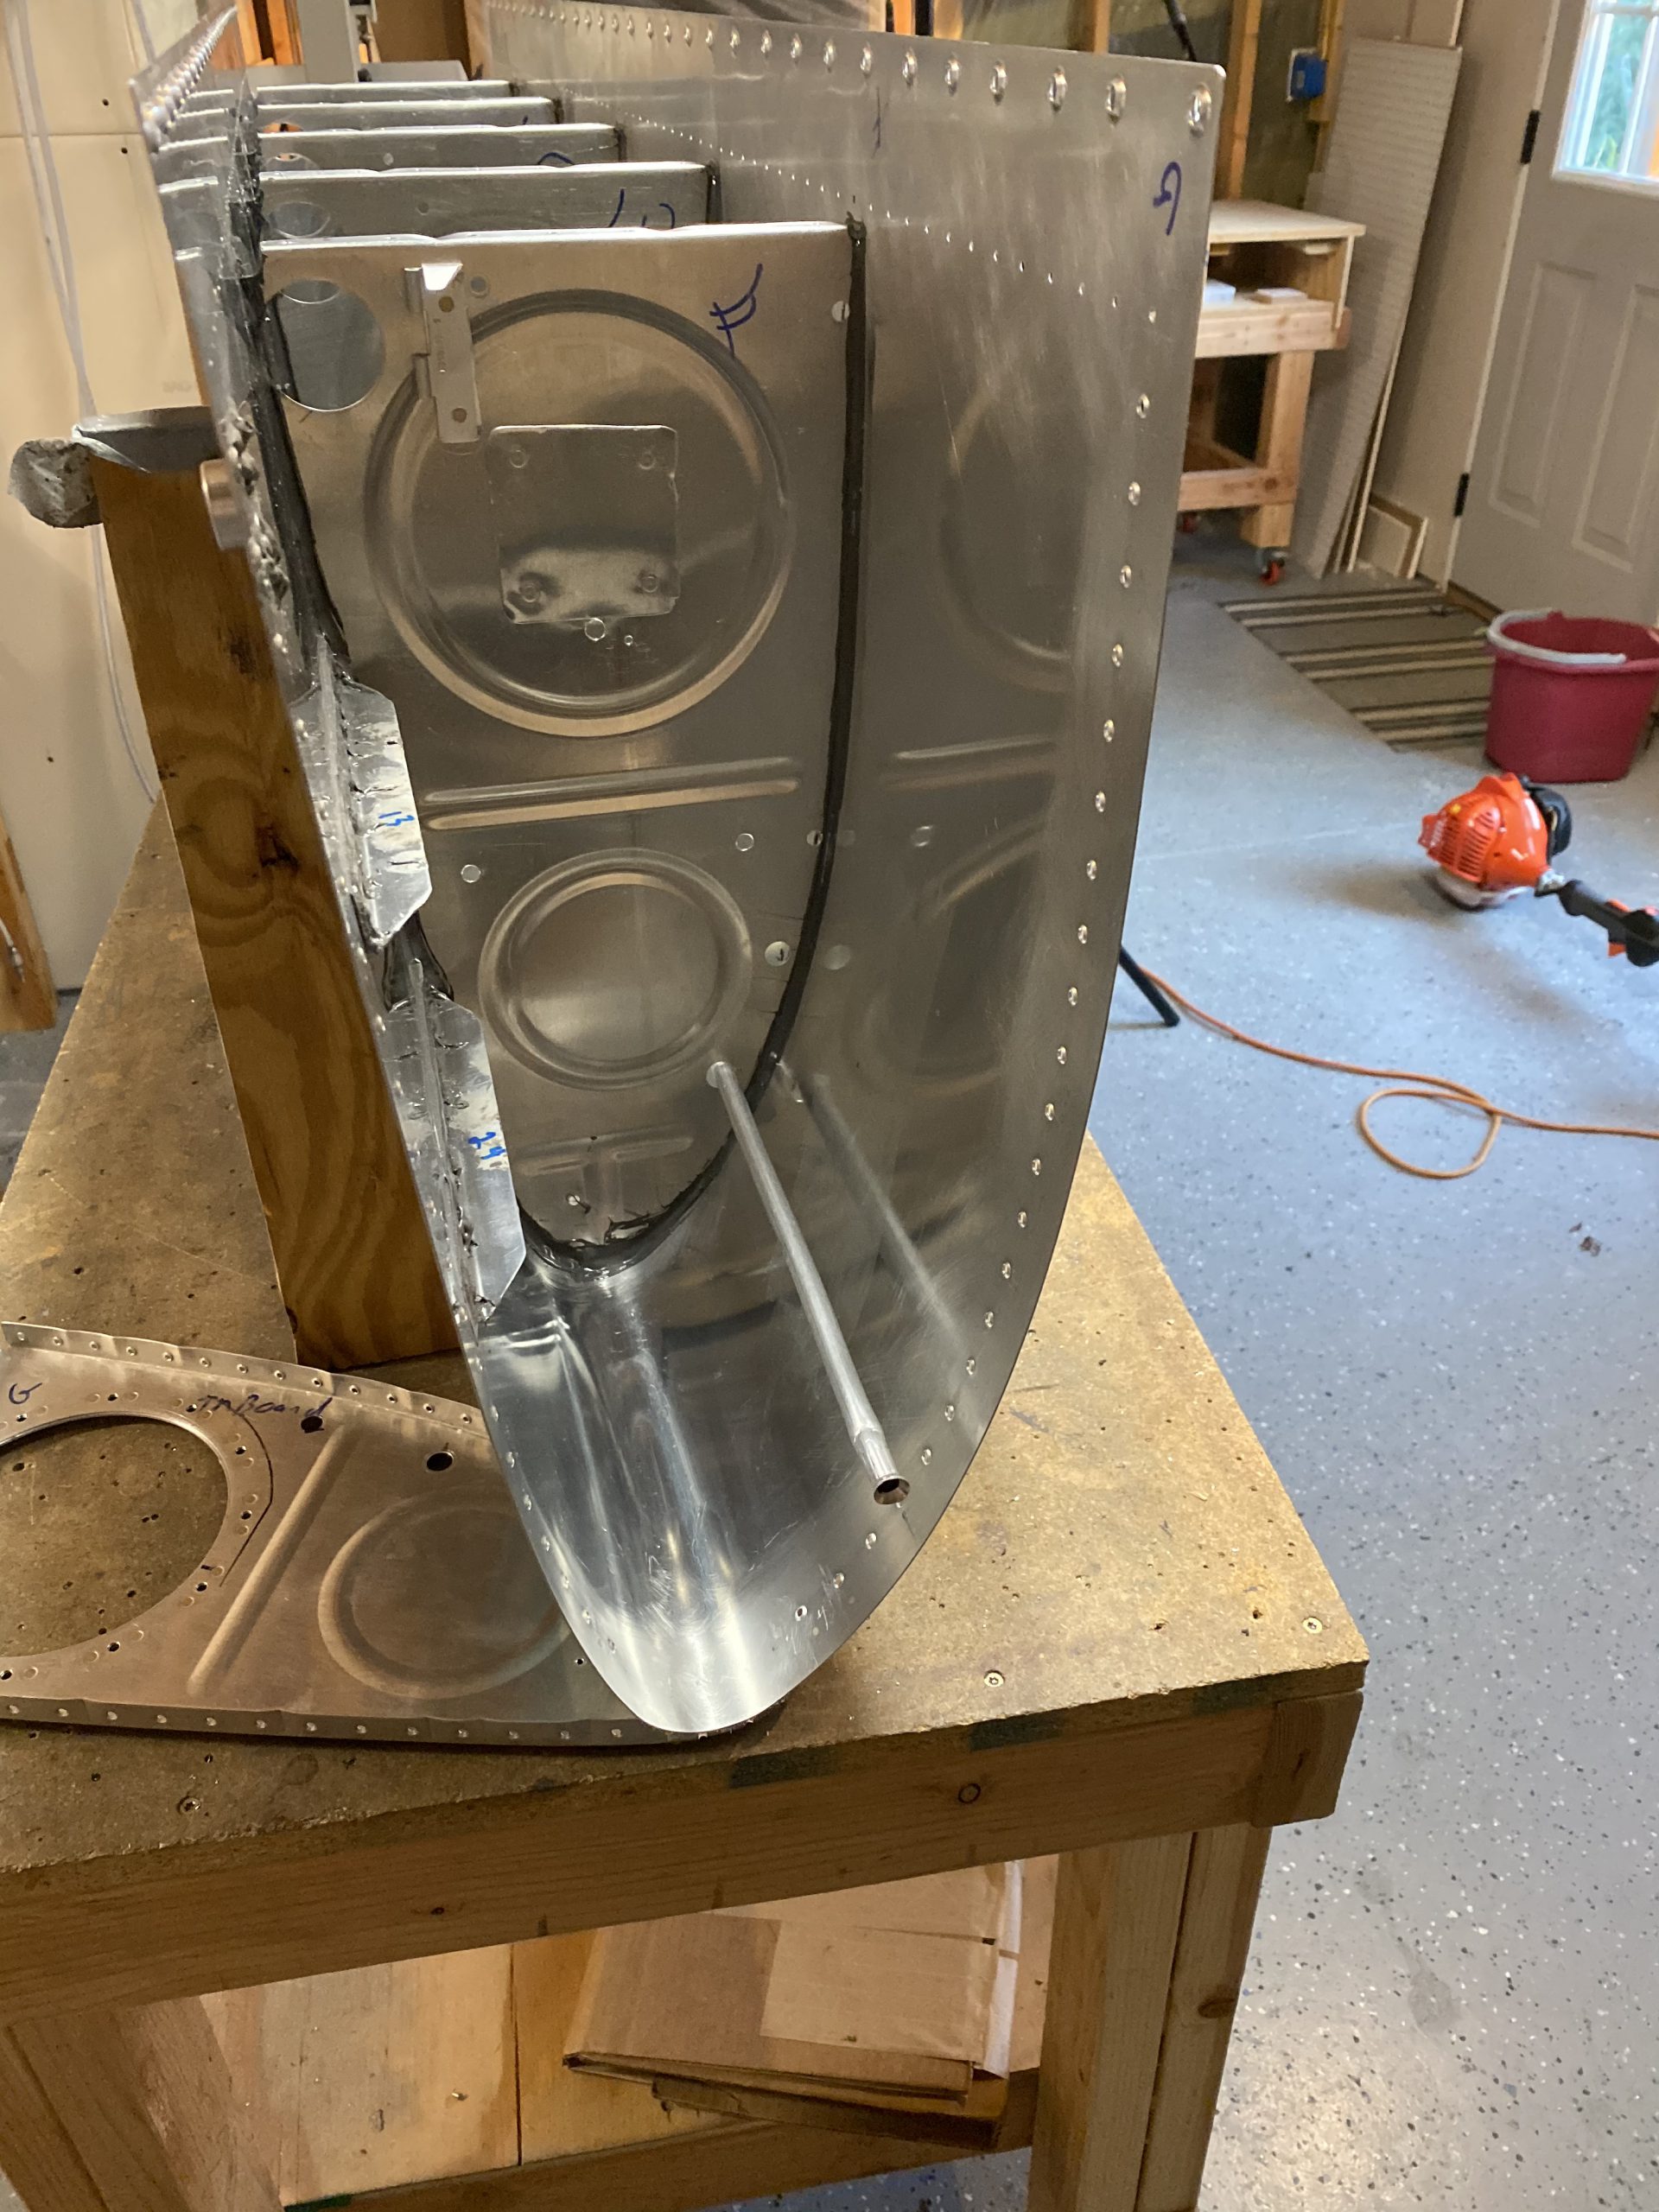
The goal for tonight was to get the outboard rib sealed and riveted. I started out with a bit of miscellaneous work first though. I did capture another time lapse, and heres that video:
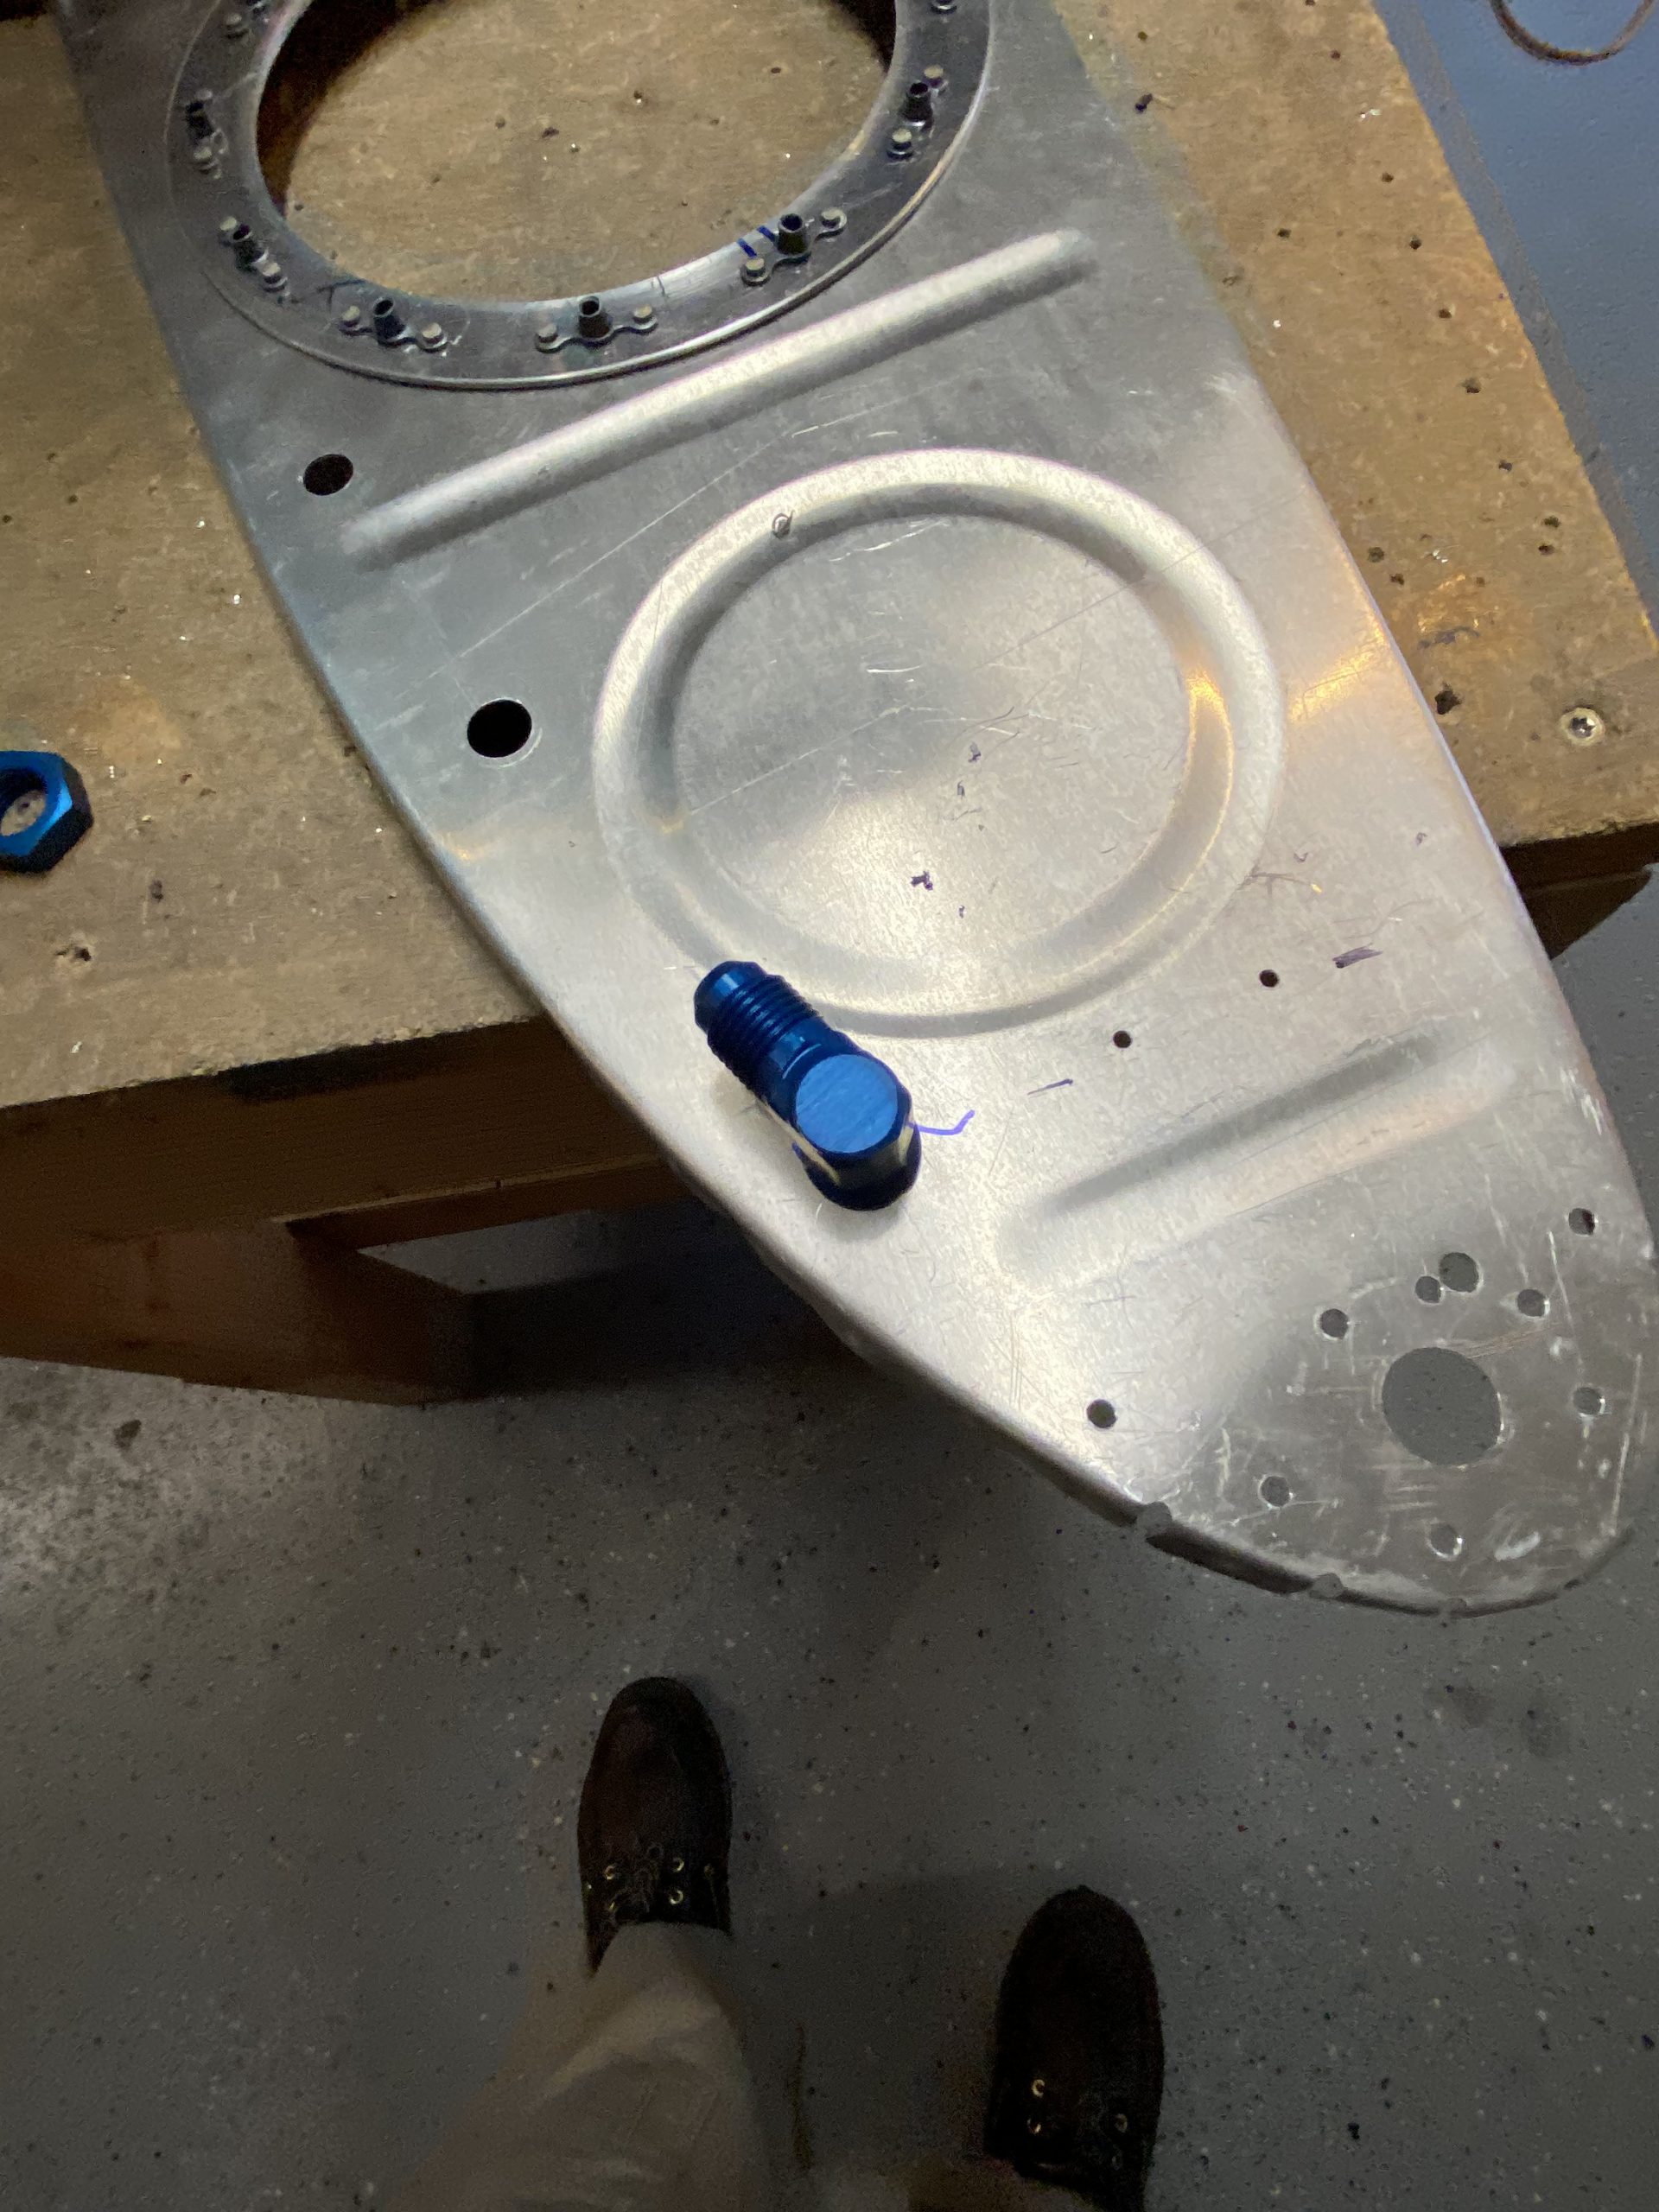
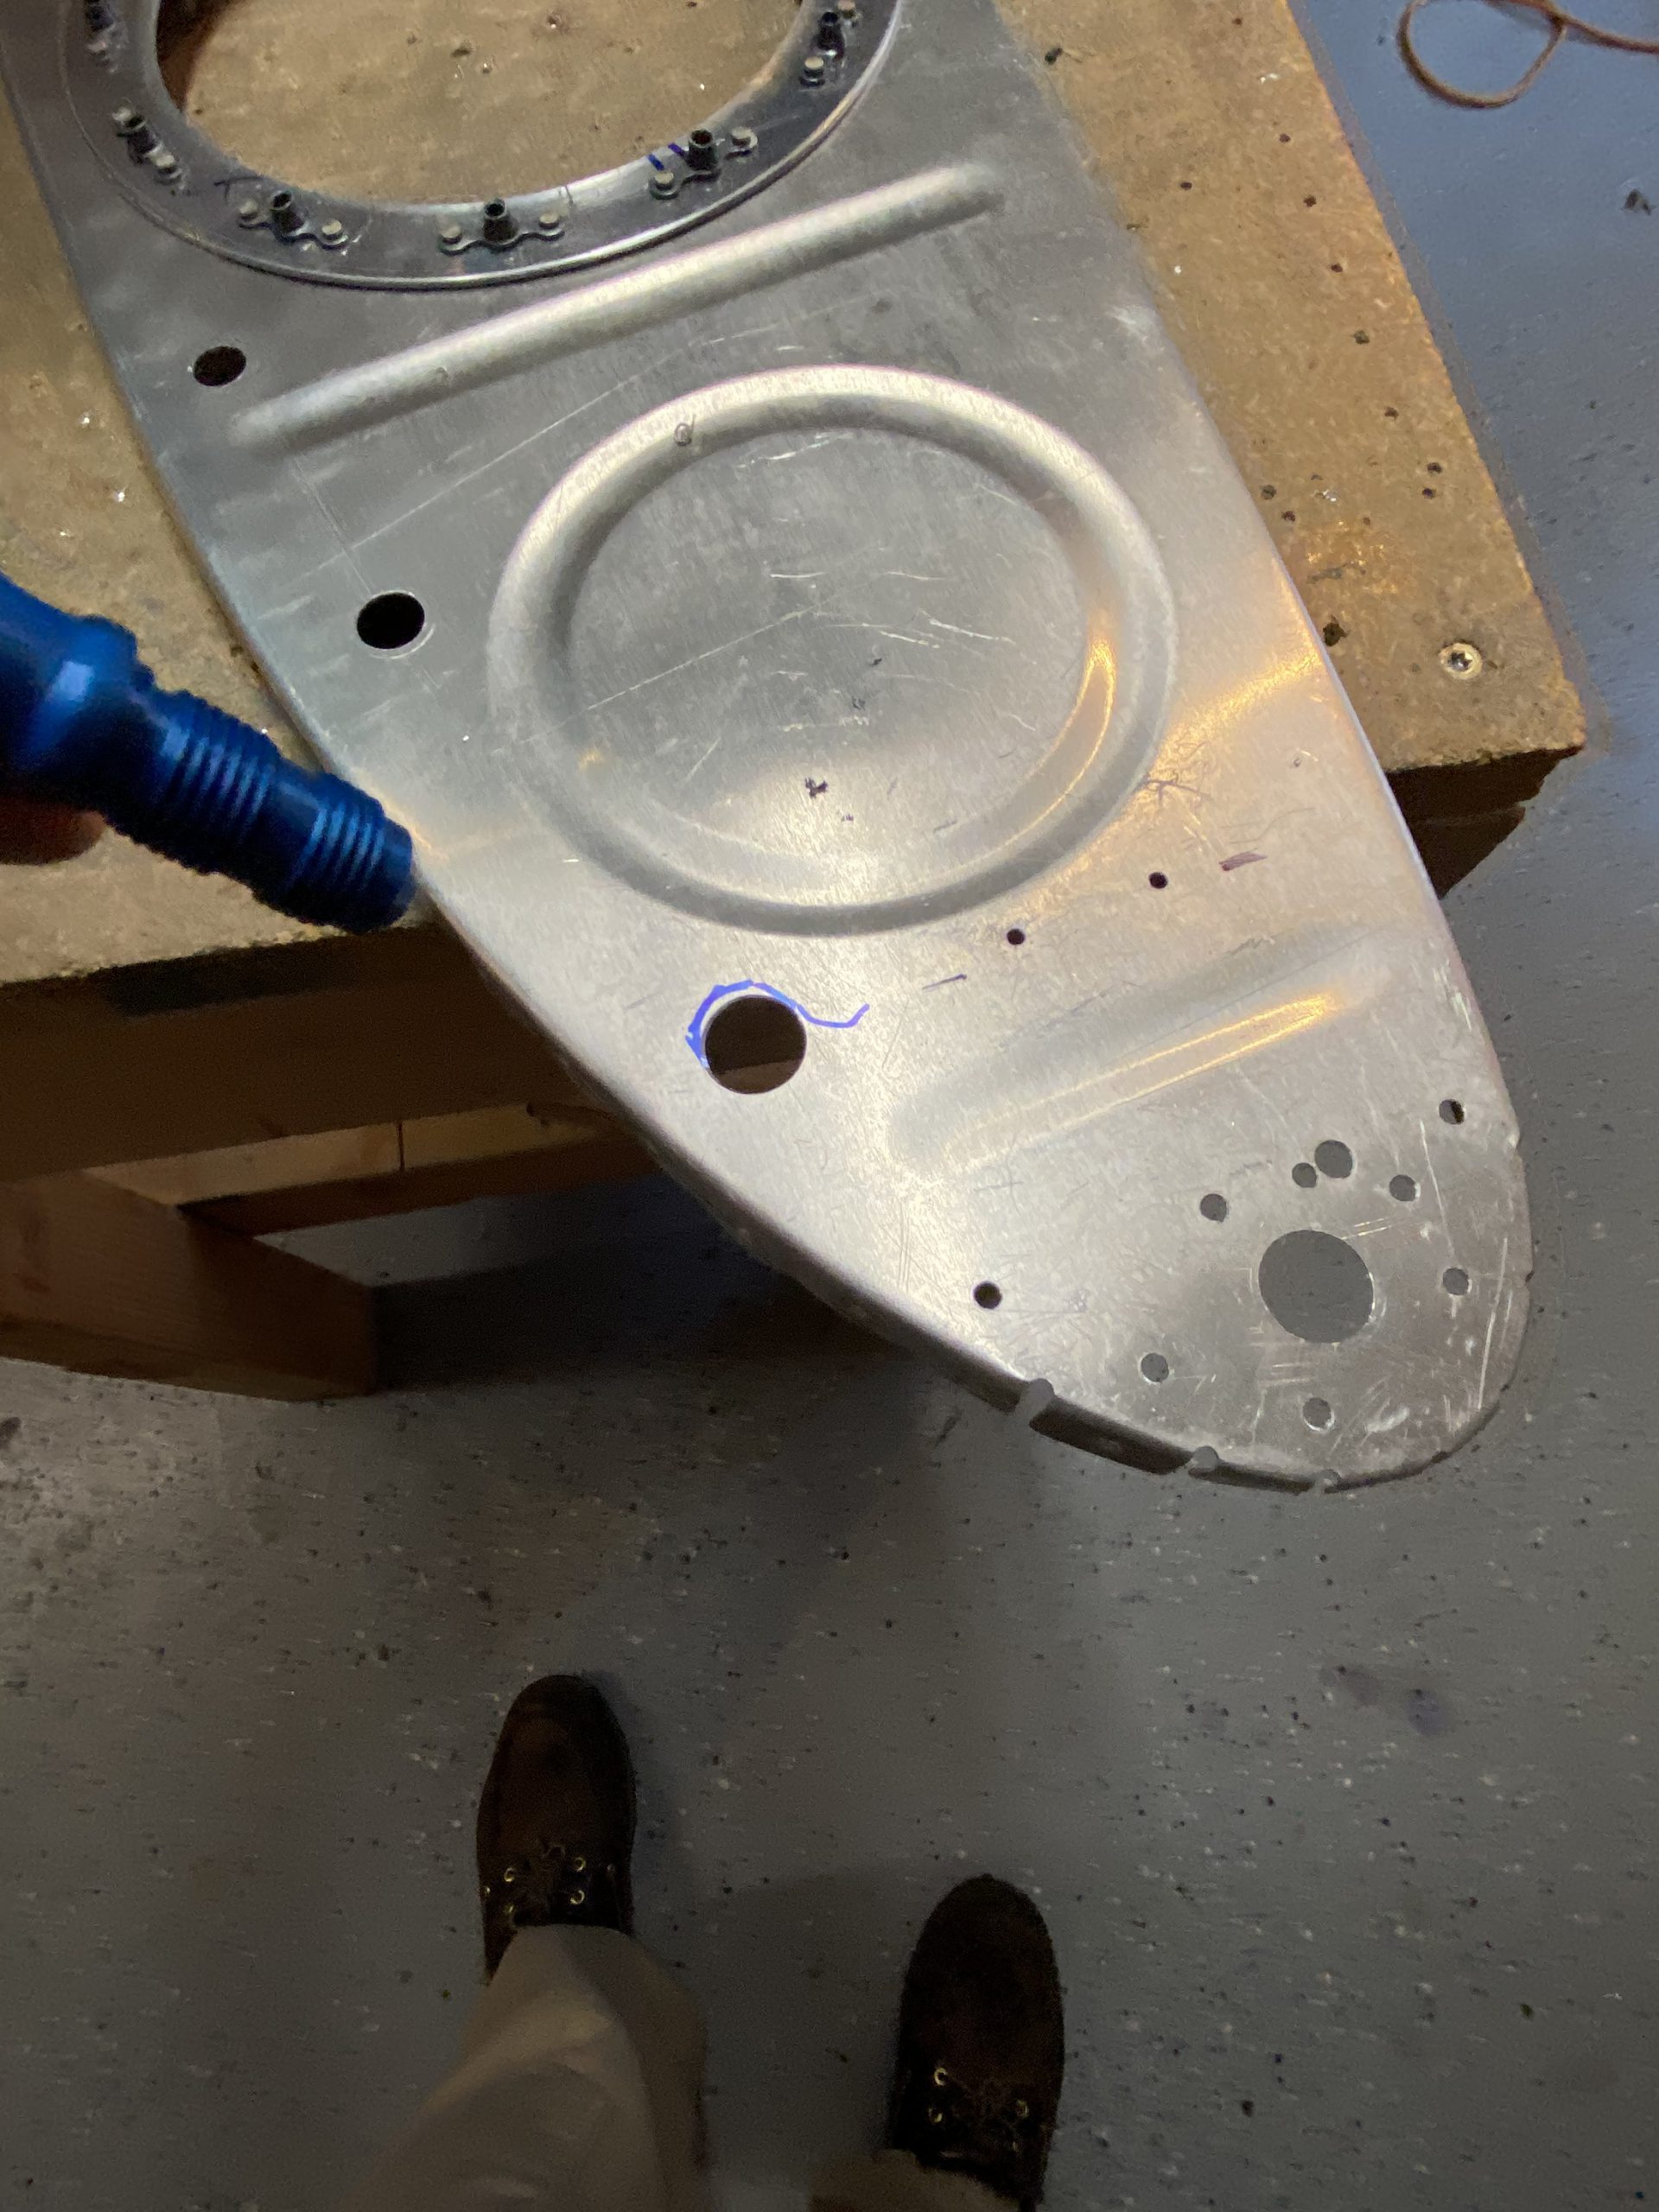
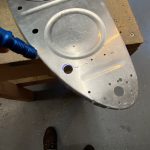
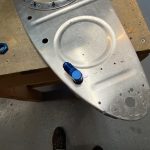
I fixed up the fuel return line, and cut it to the right length, and then measured, marked and drilled the hole in the inboard rib for the return line fitting. A step bit made quick work of this!
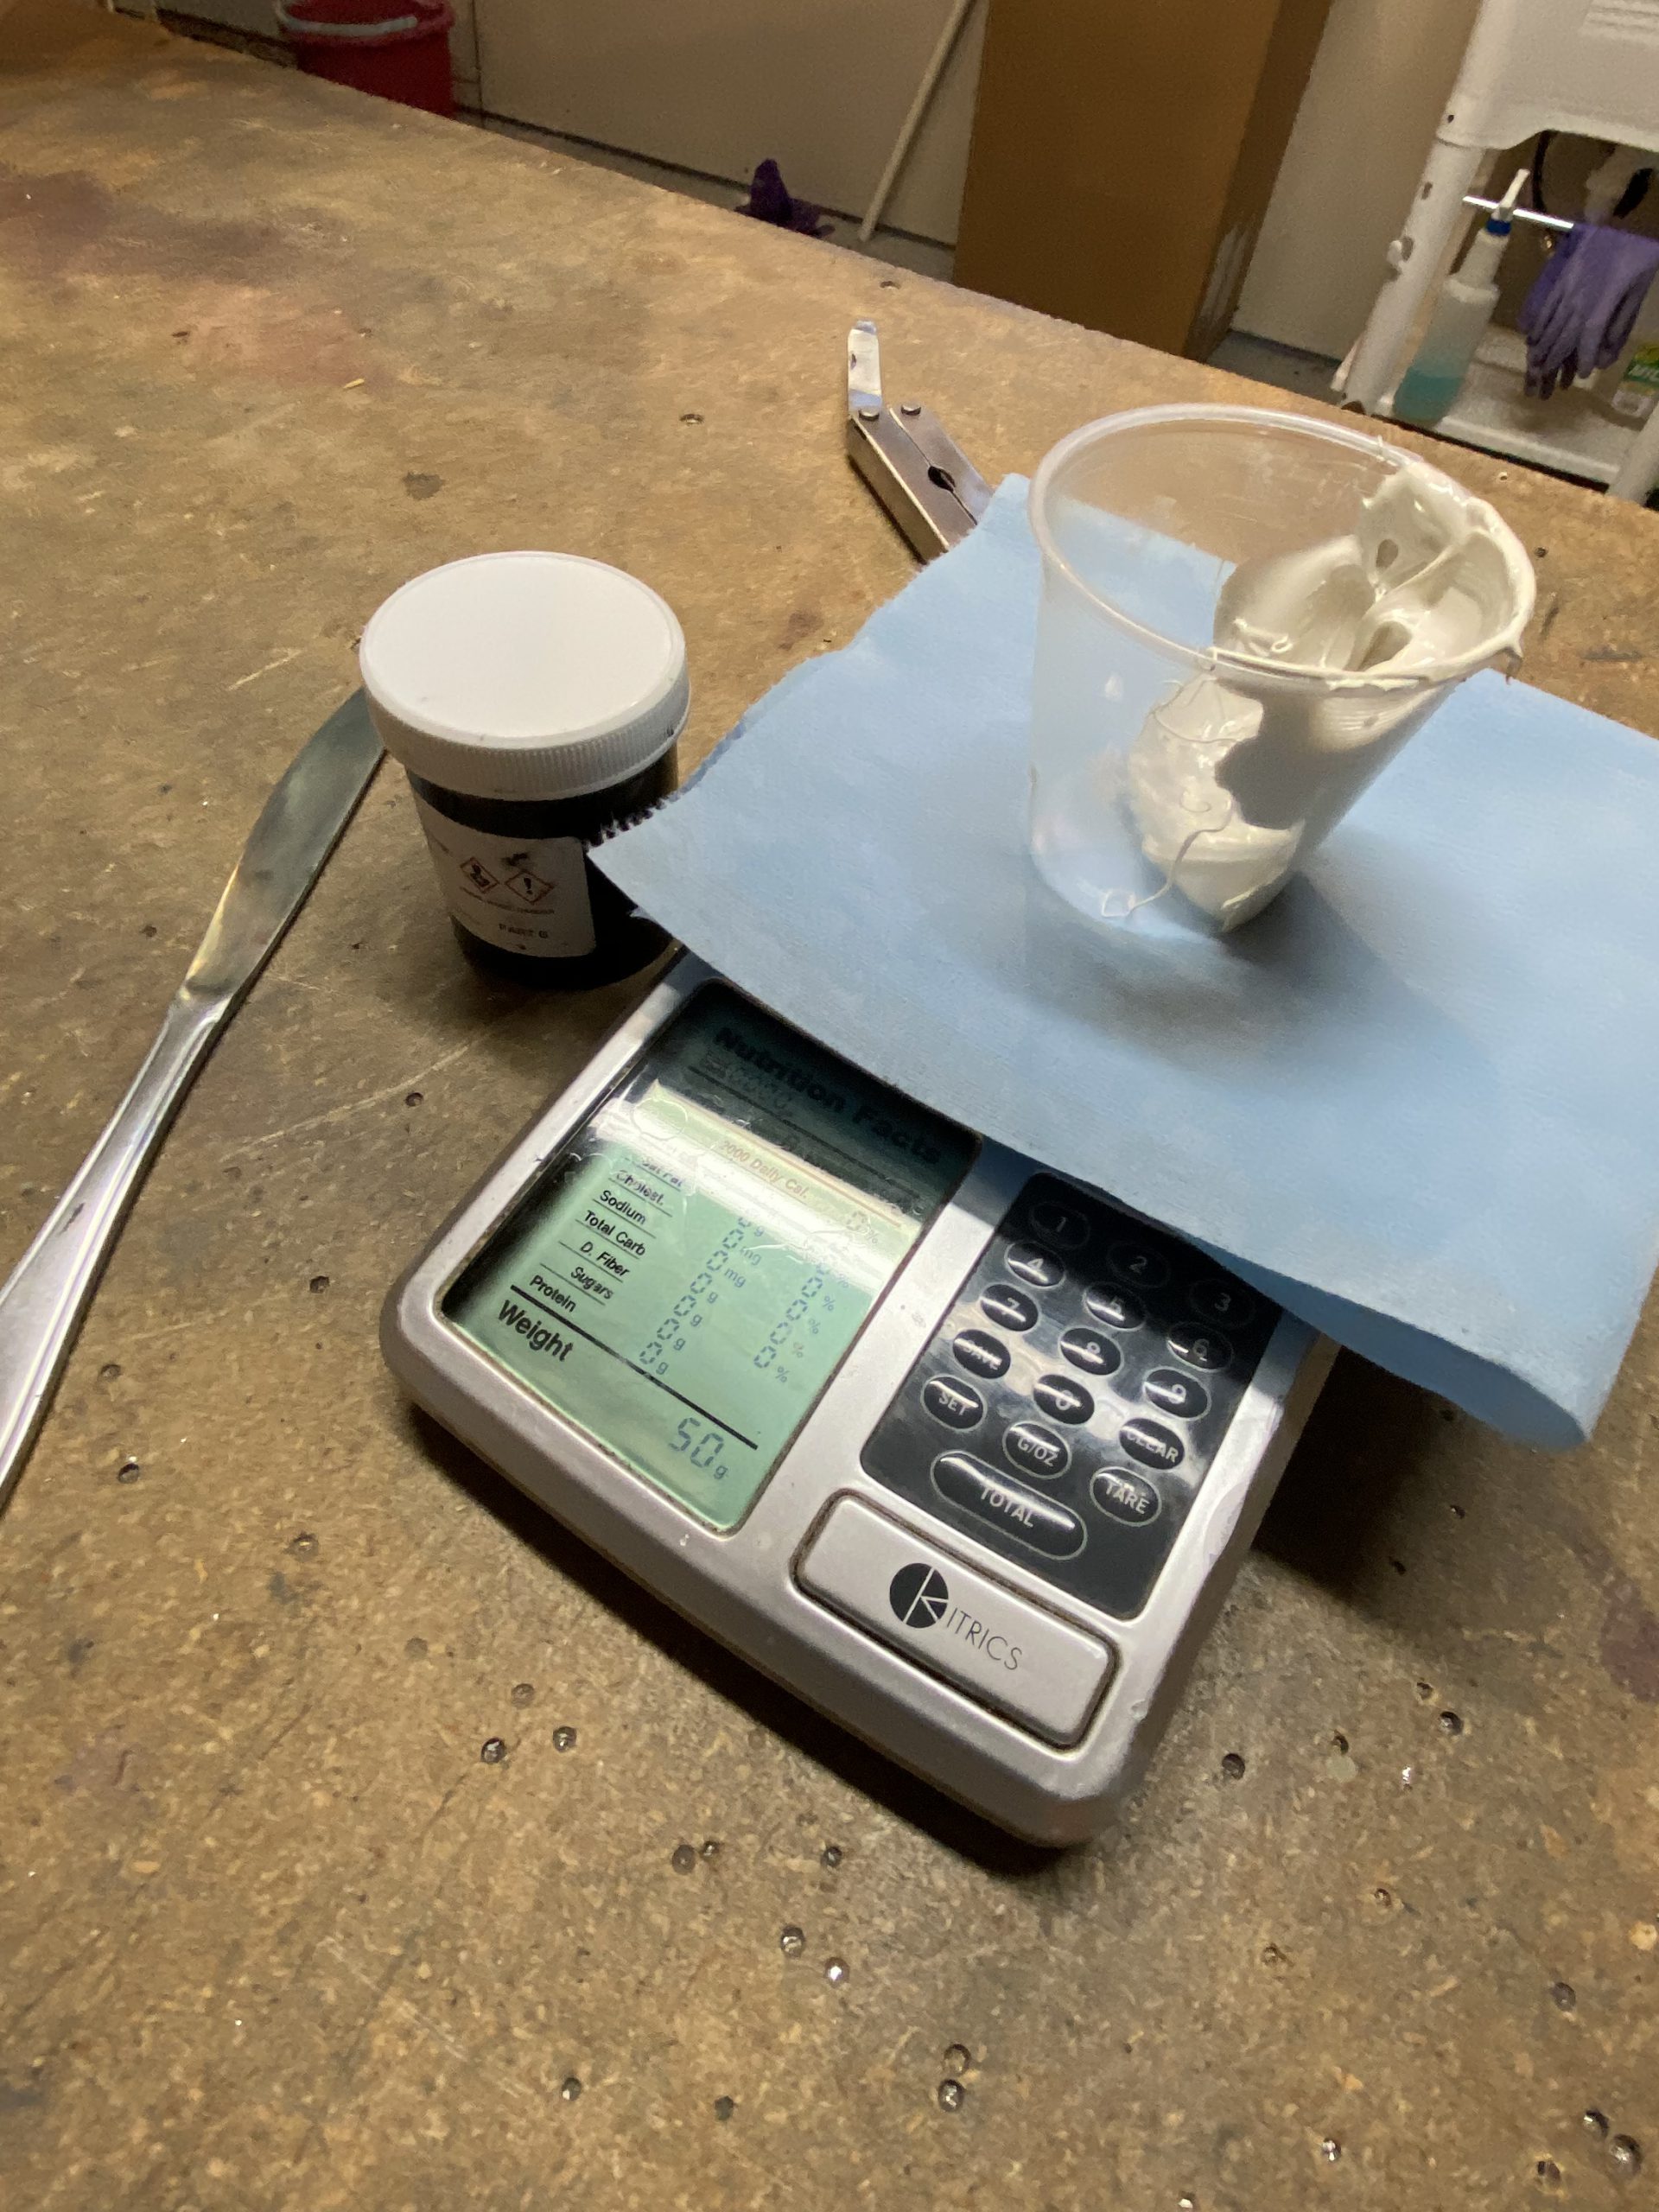
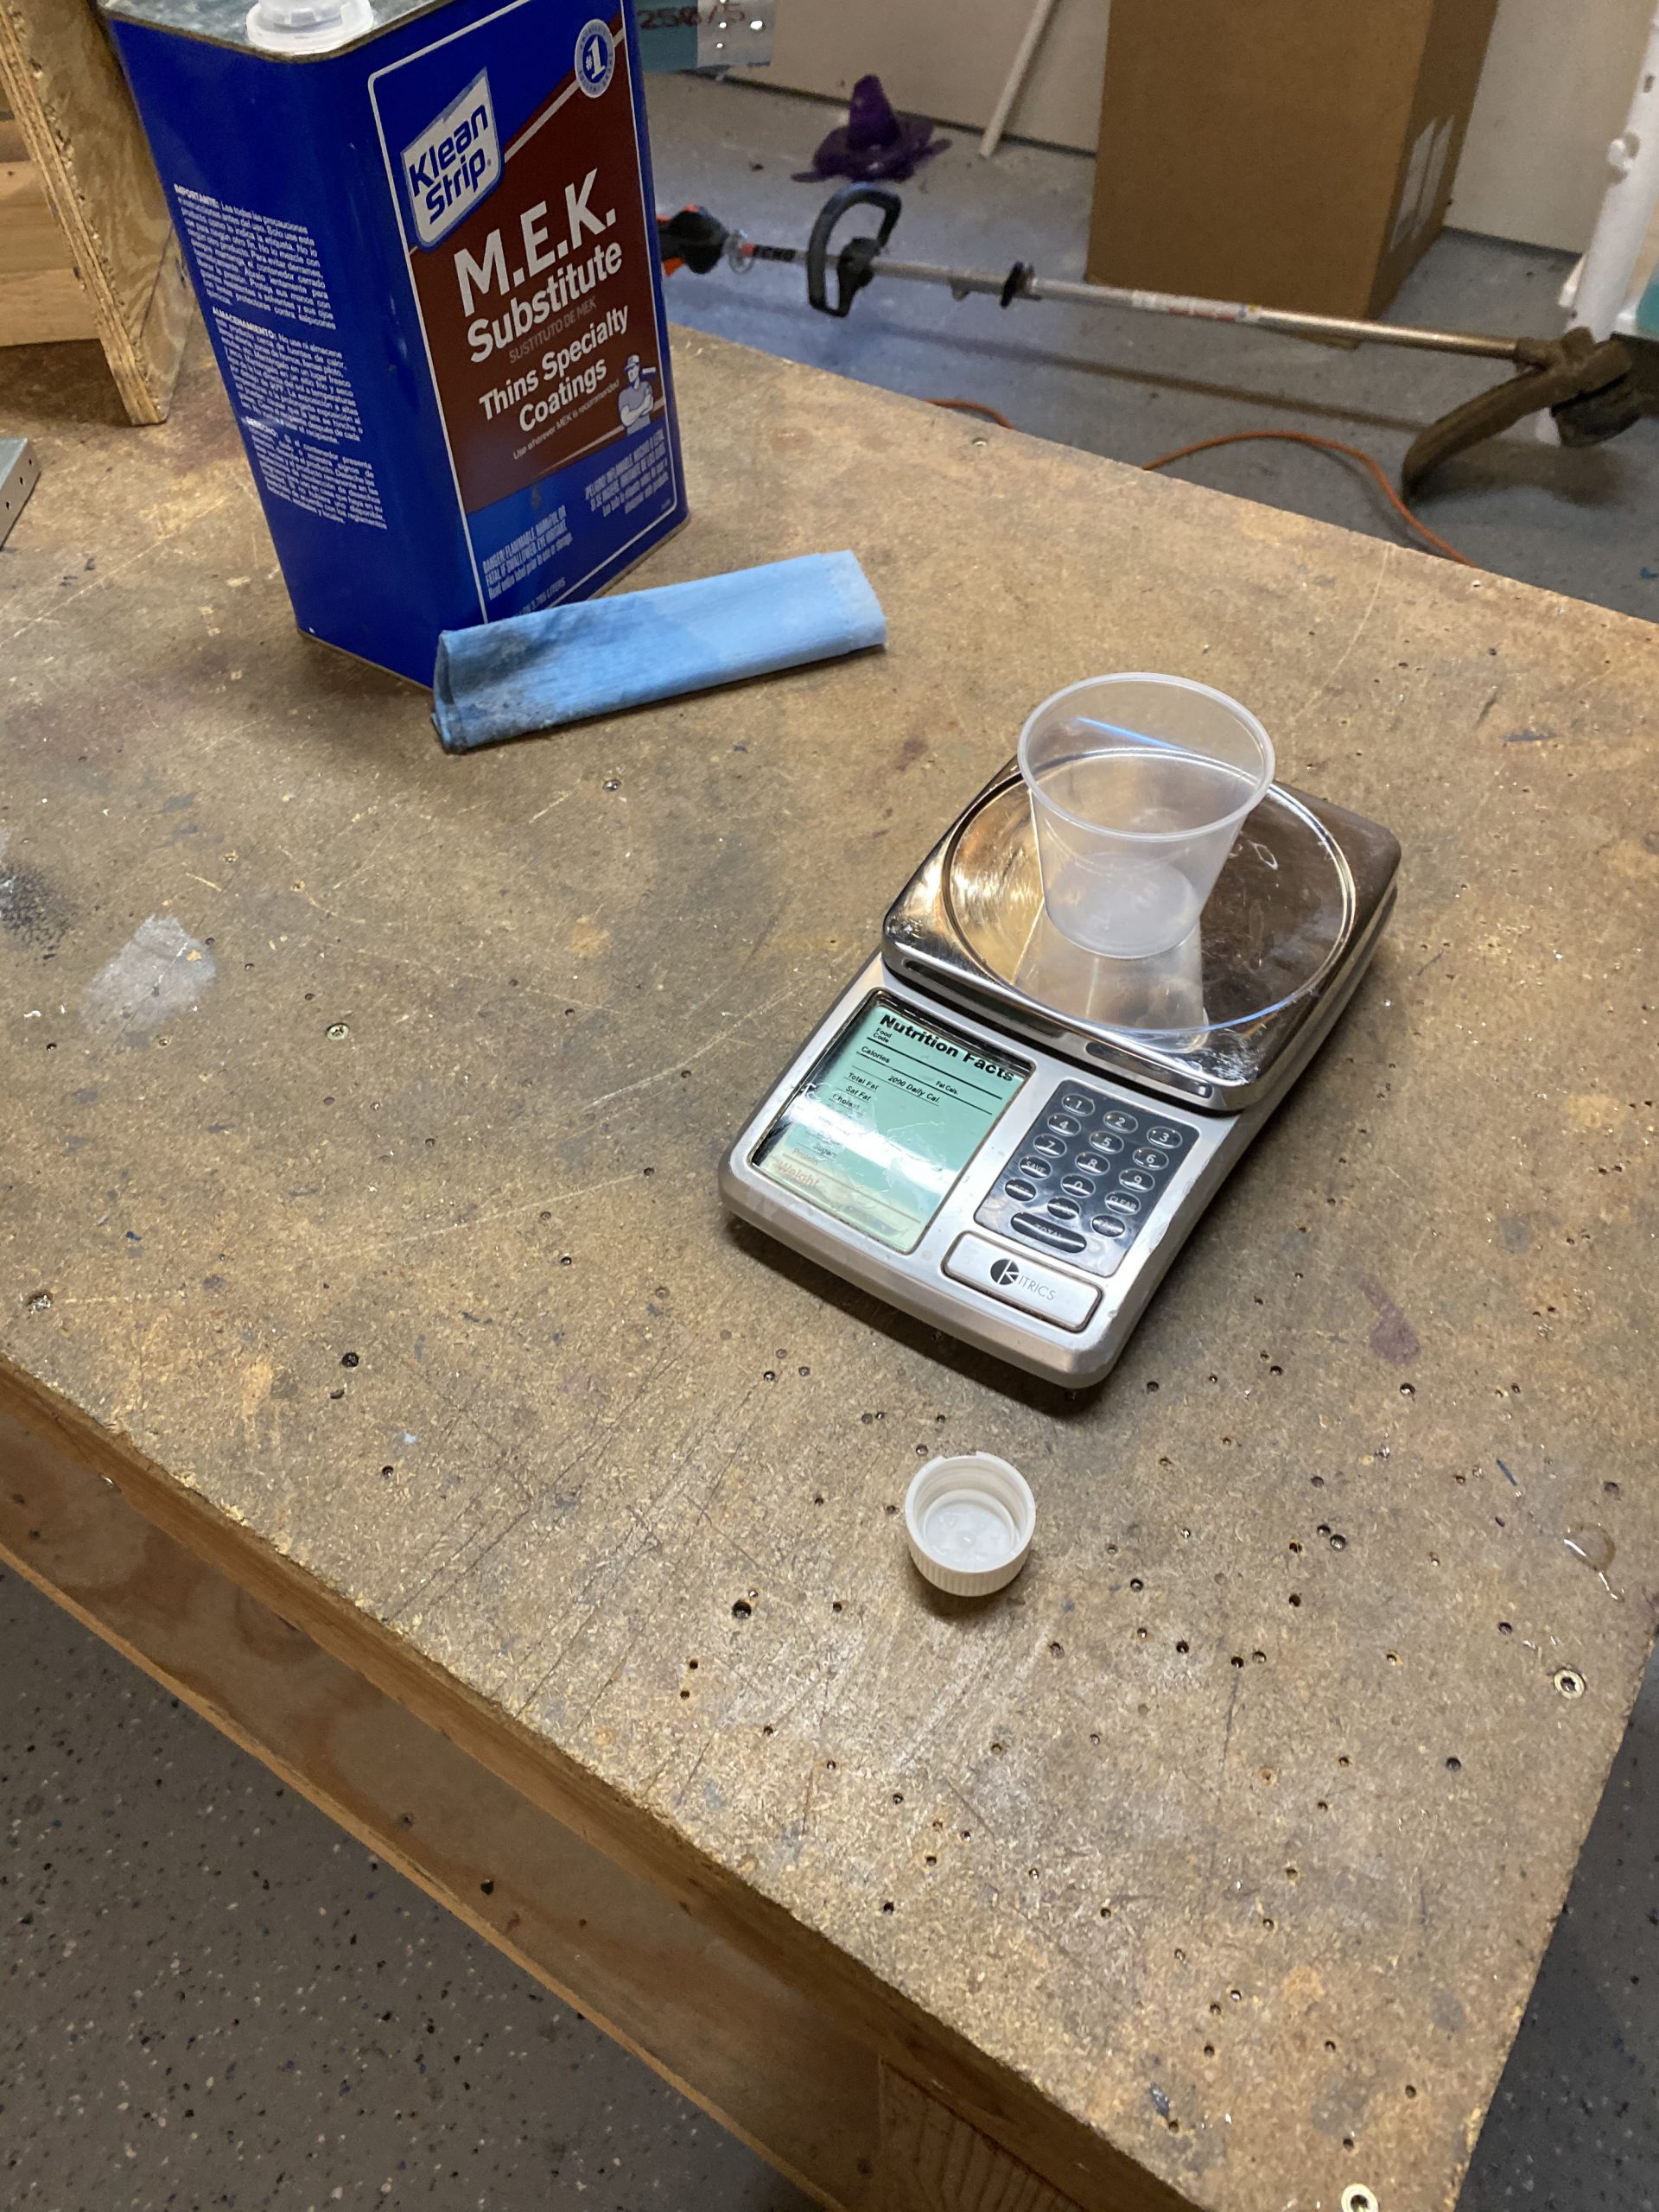
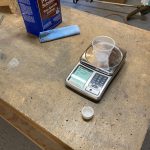
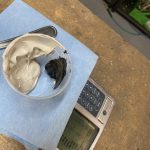
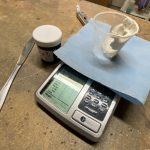
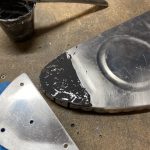
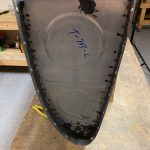
Then I put those inboard parts back on the shelf and grabbed the inboard rib, and T-410 stiffener so I could get them scuffed up with some scotchbrite, along with the inboard edge of the skin. Then I cleaned everything with some MEK, and started mixing up the sealant. I went with 50 grams, which seemed to be about the right amount in the end.
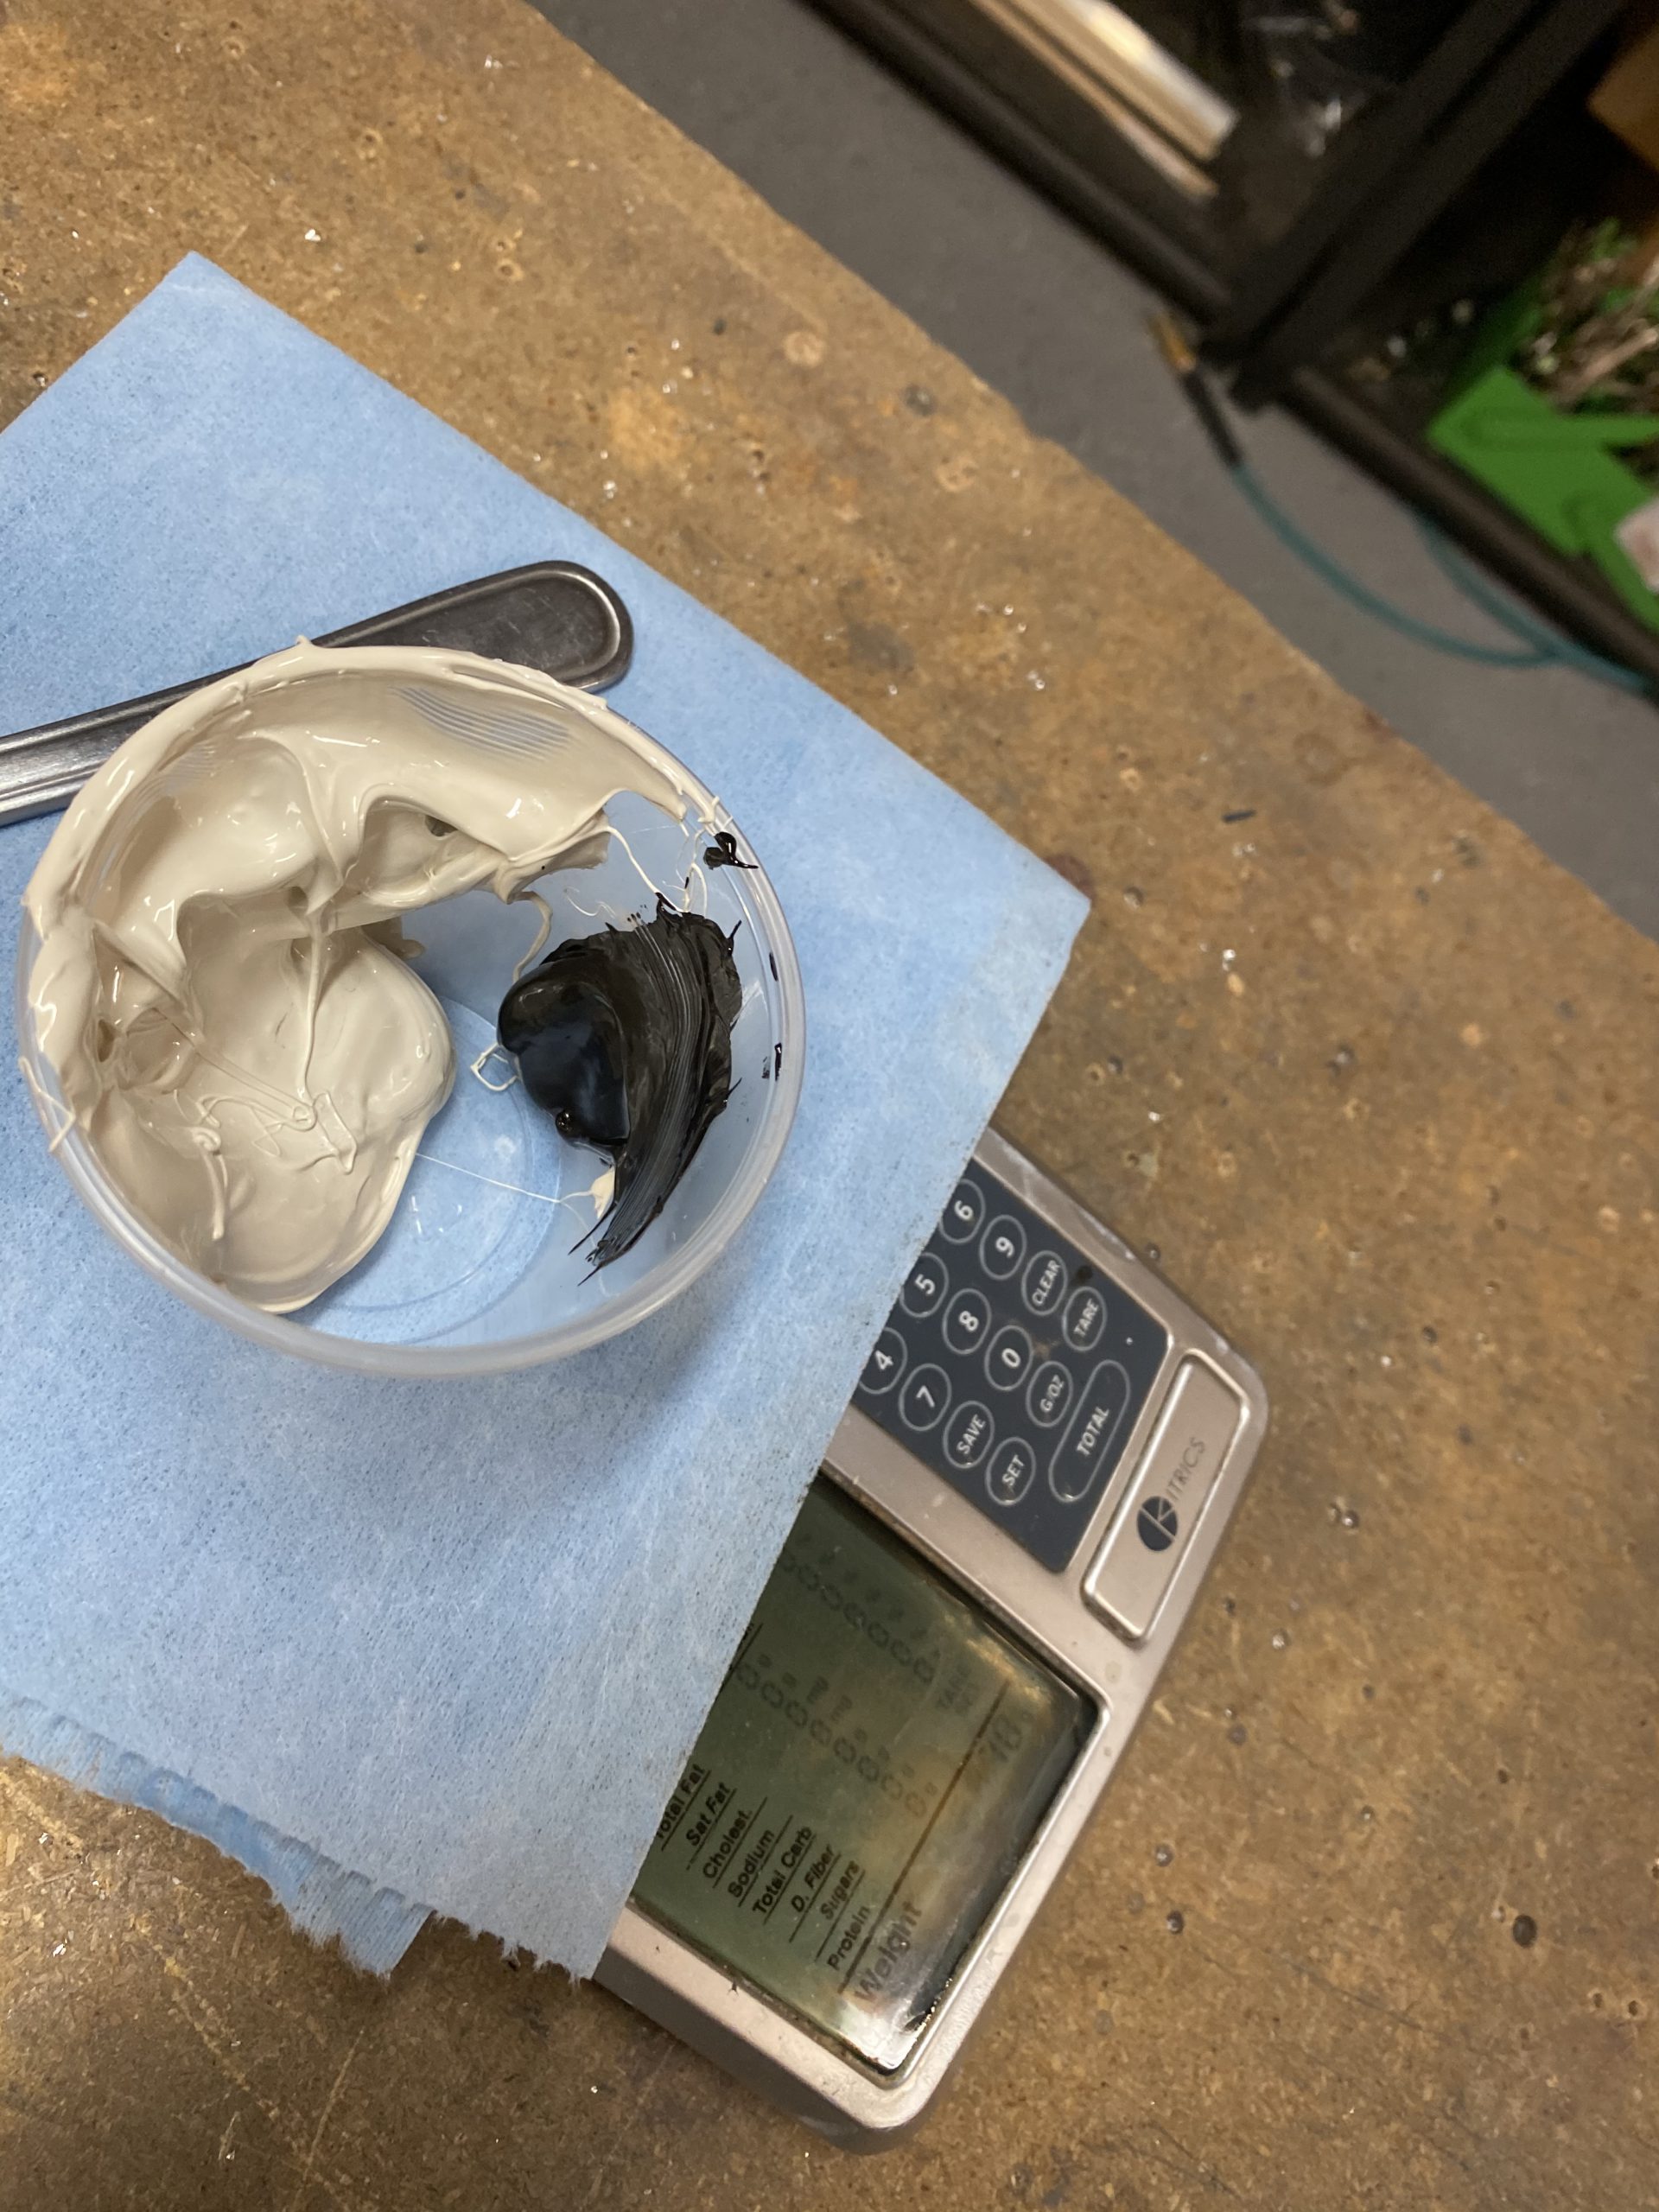
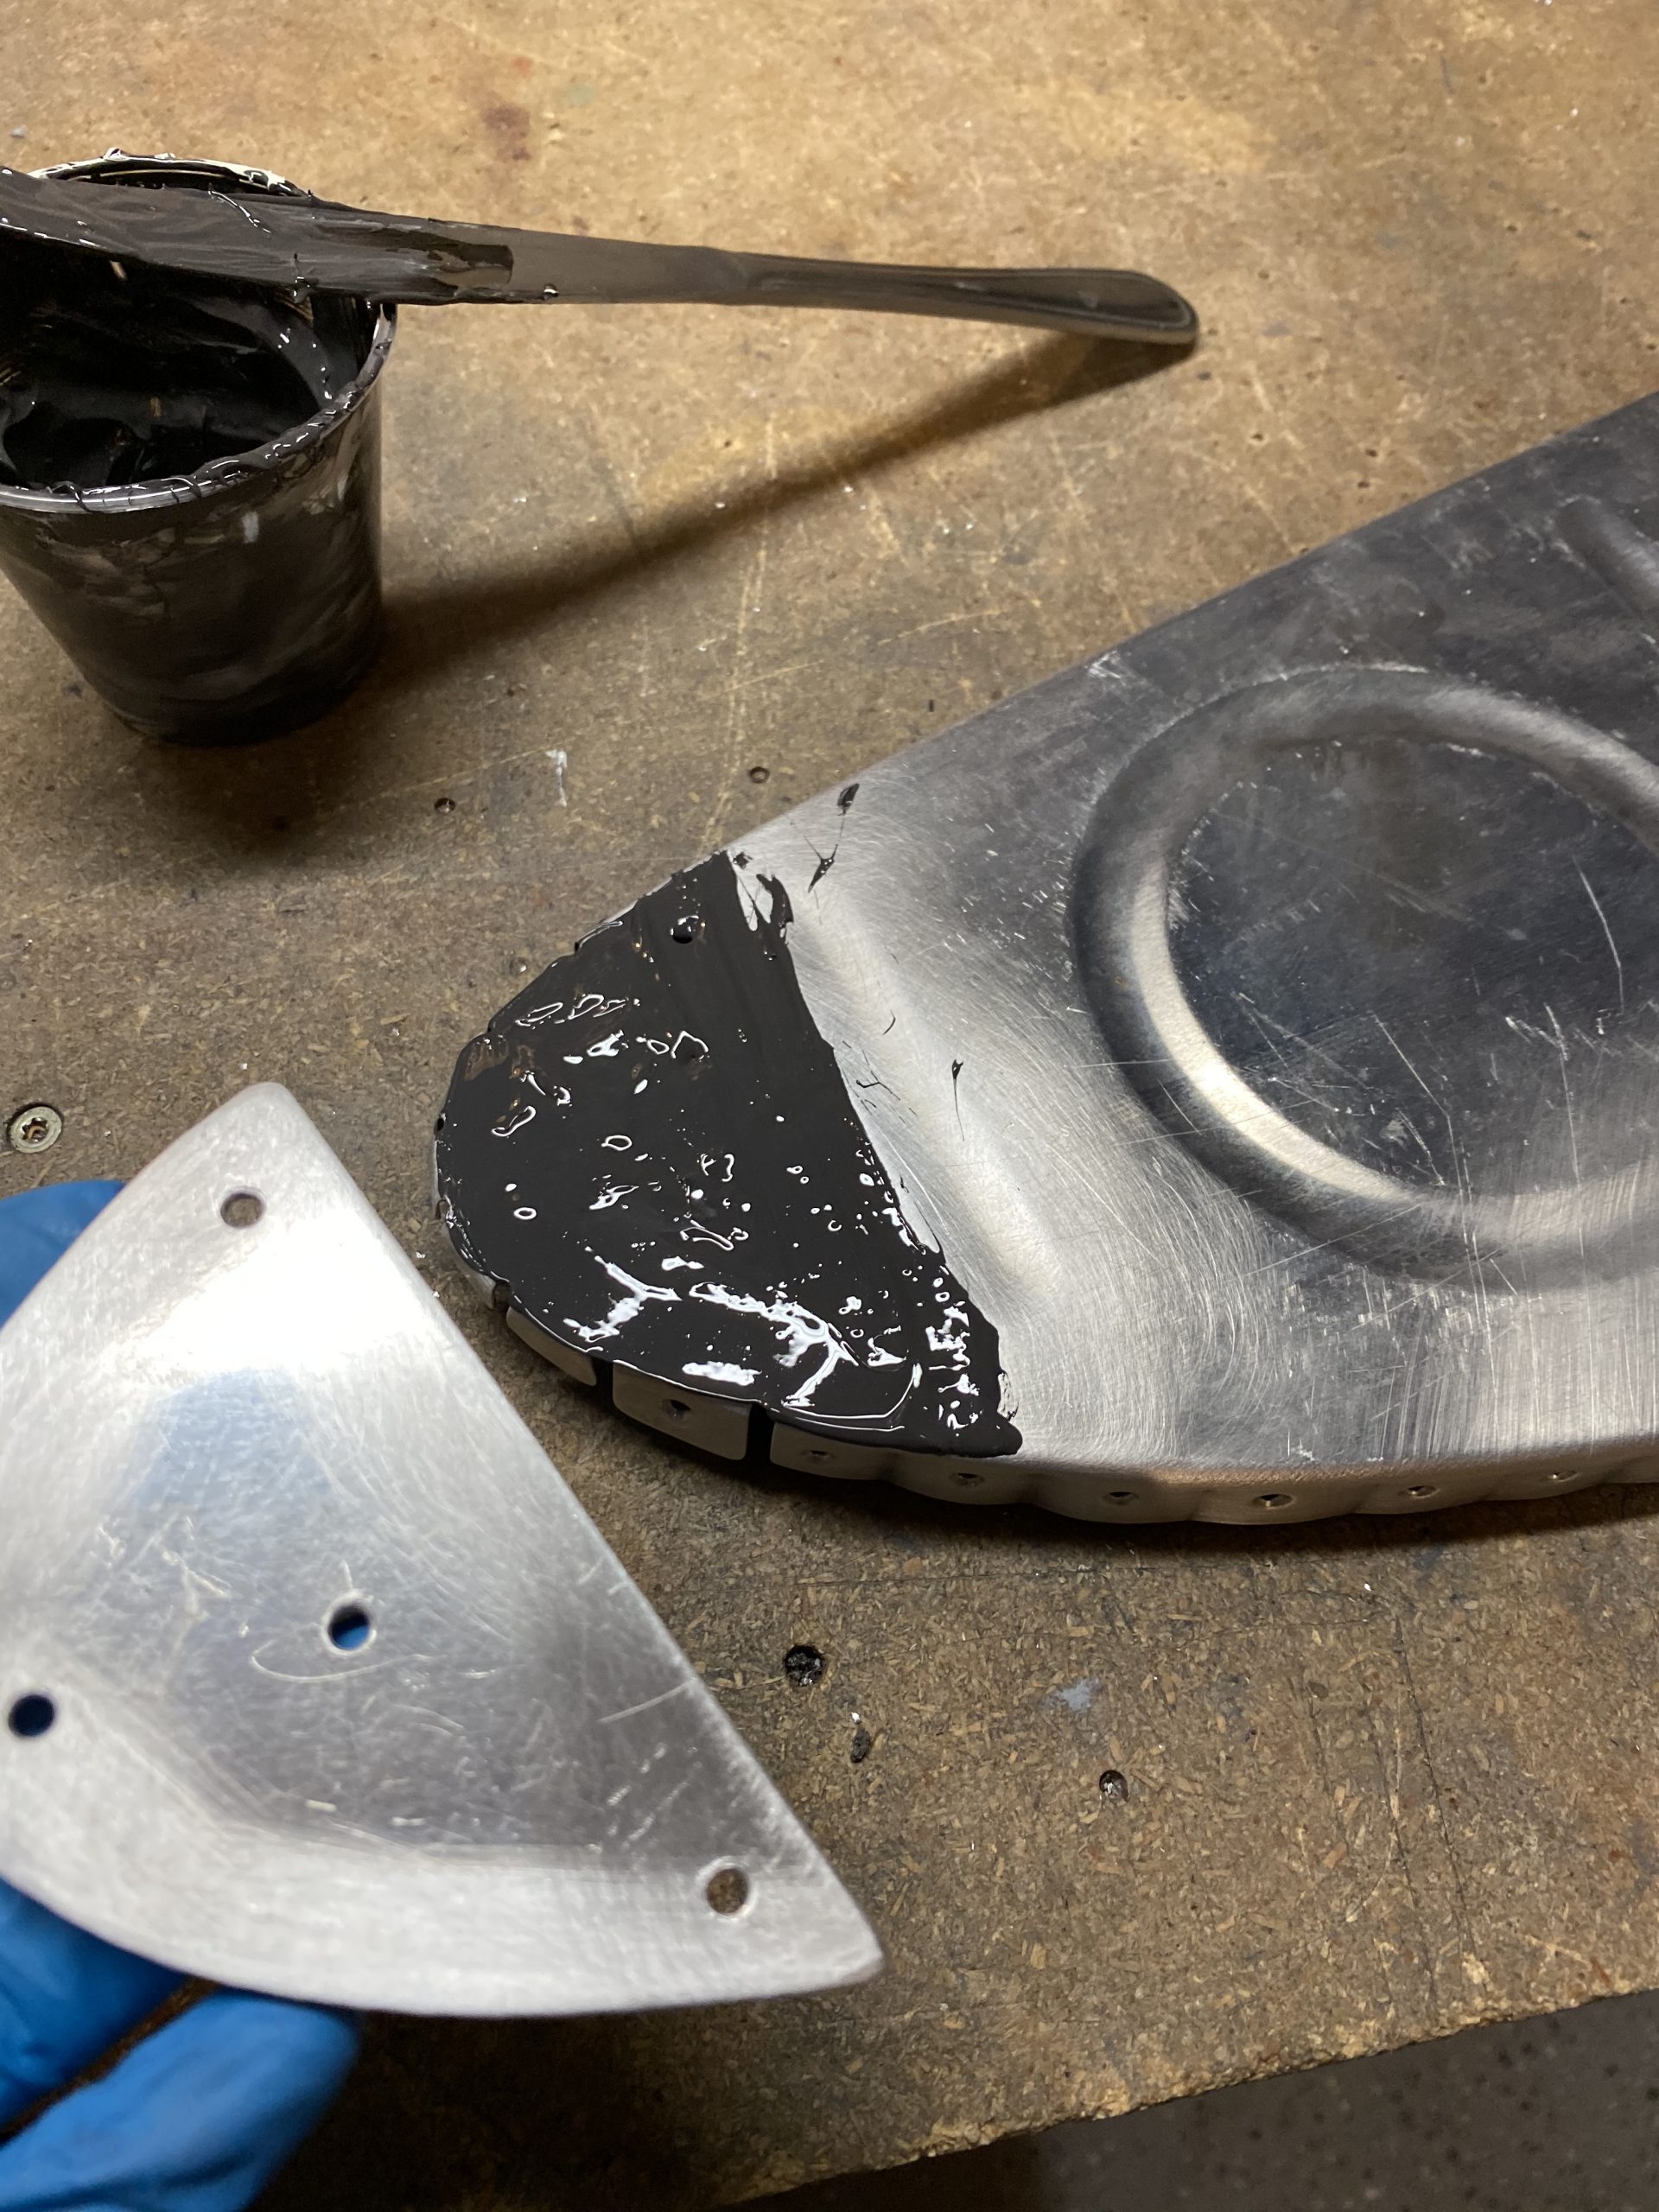
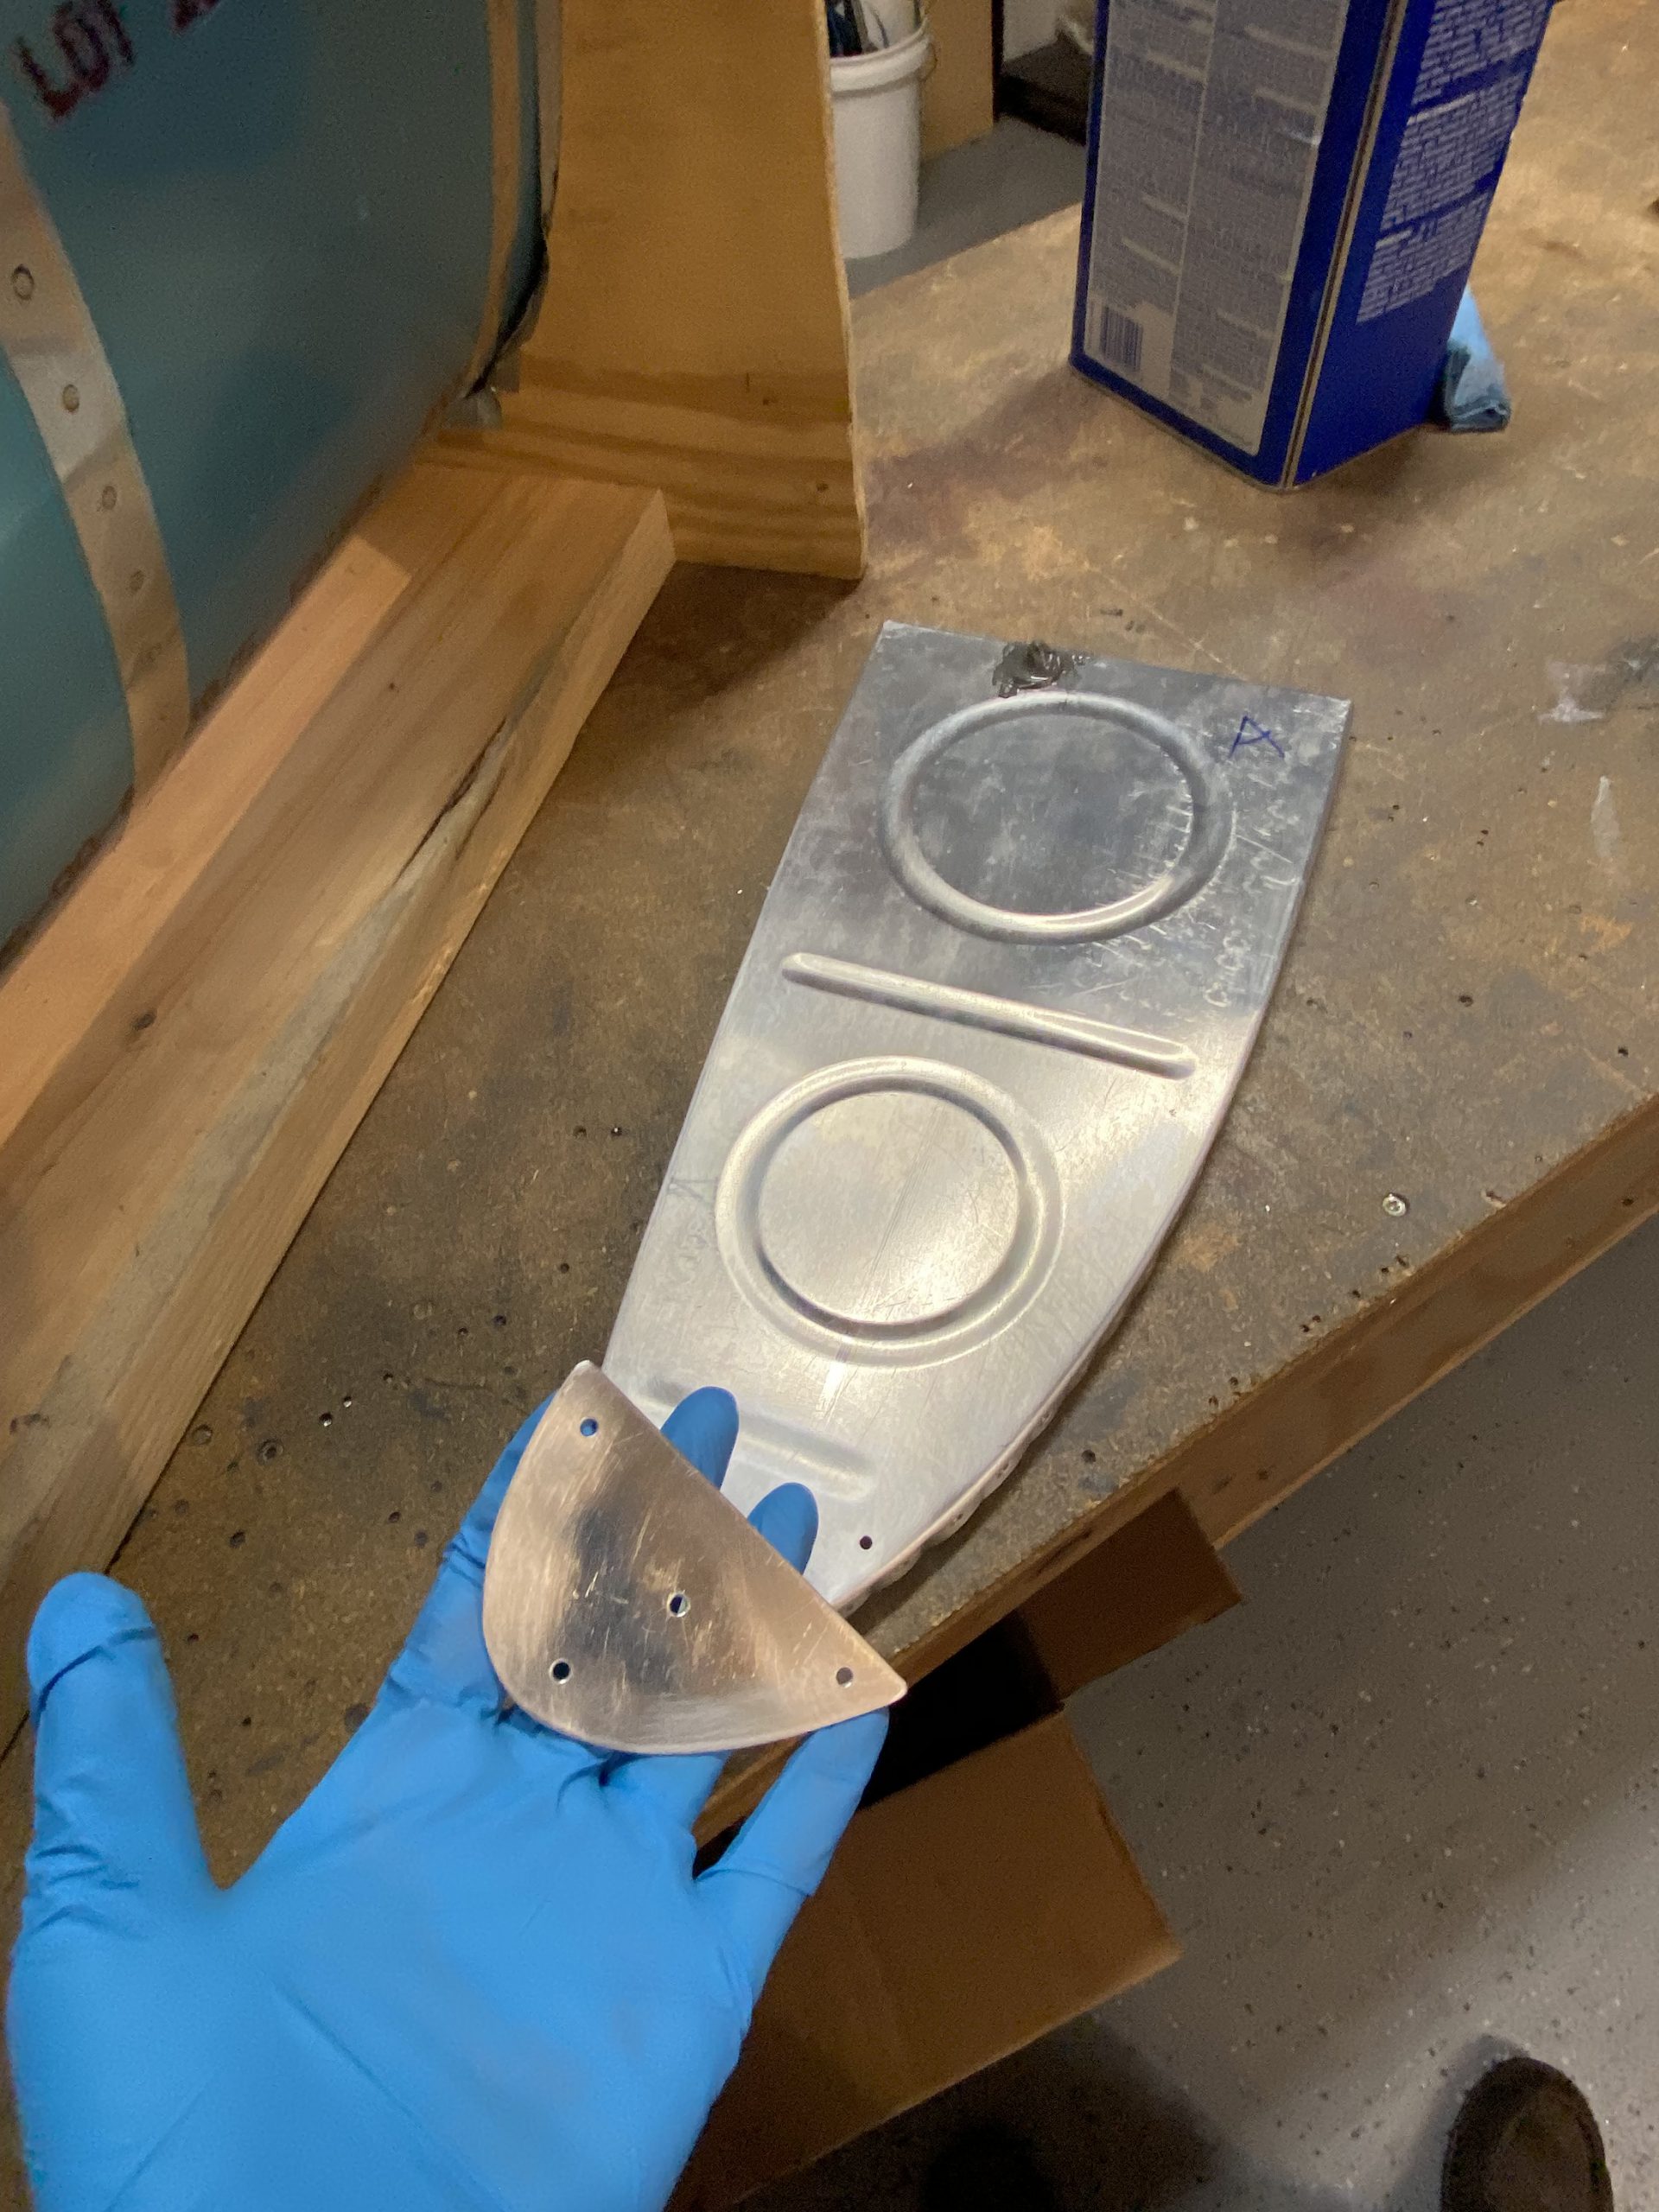
After giving it a good mixing, I used an old butter knife to slather on a thin layer where the T-410 stiffener attaches to the nose of the rib. A butter knife works really well for this, since its designed to….spread things. Once I had a coating done, I used some AN570AD4-5 rivets that had been cleaned in some MEK. the 4-5 size worked out about right, after checking them with my rivet length gauge to be sure. I used my pneumatic squeezer to set them.
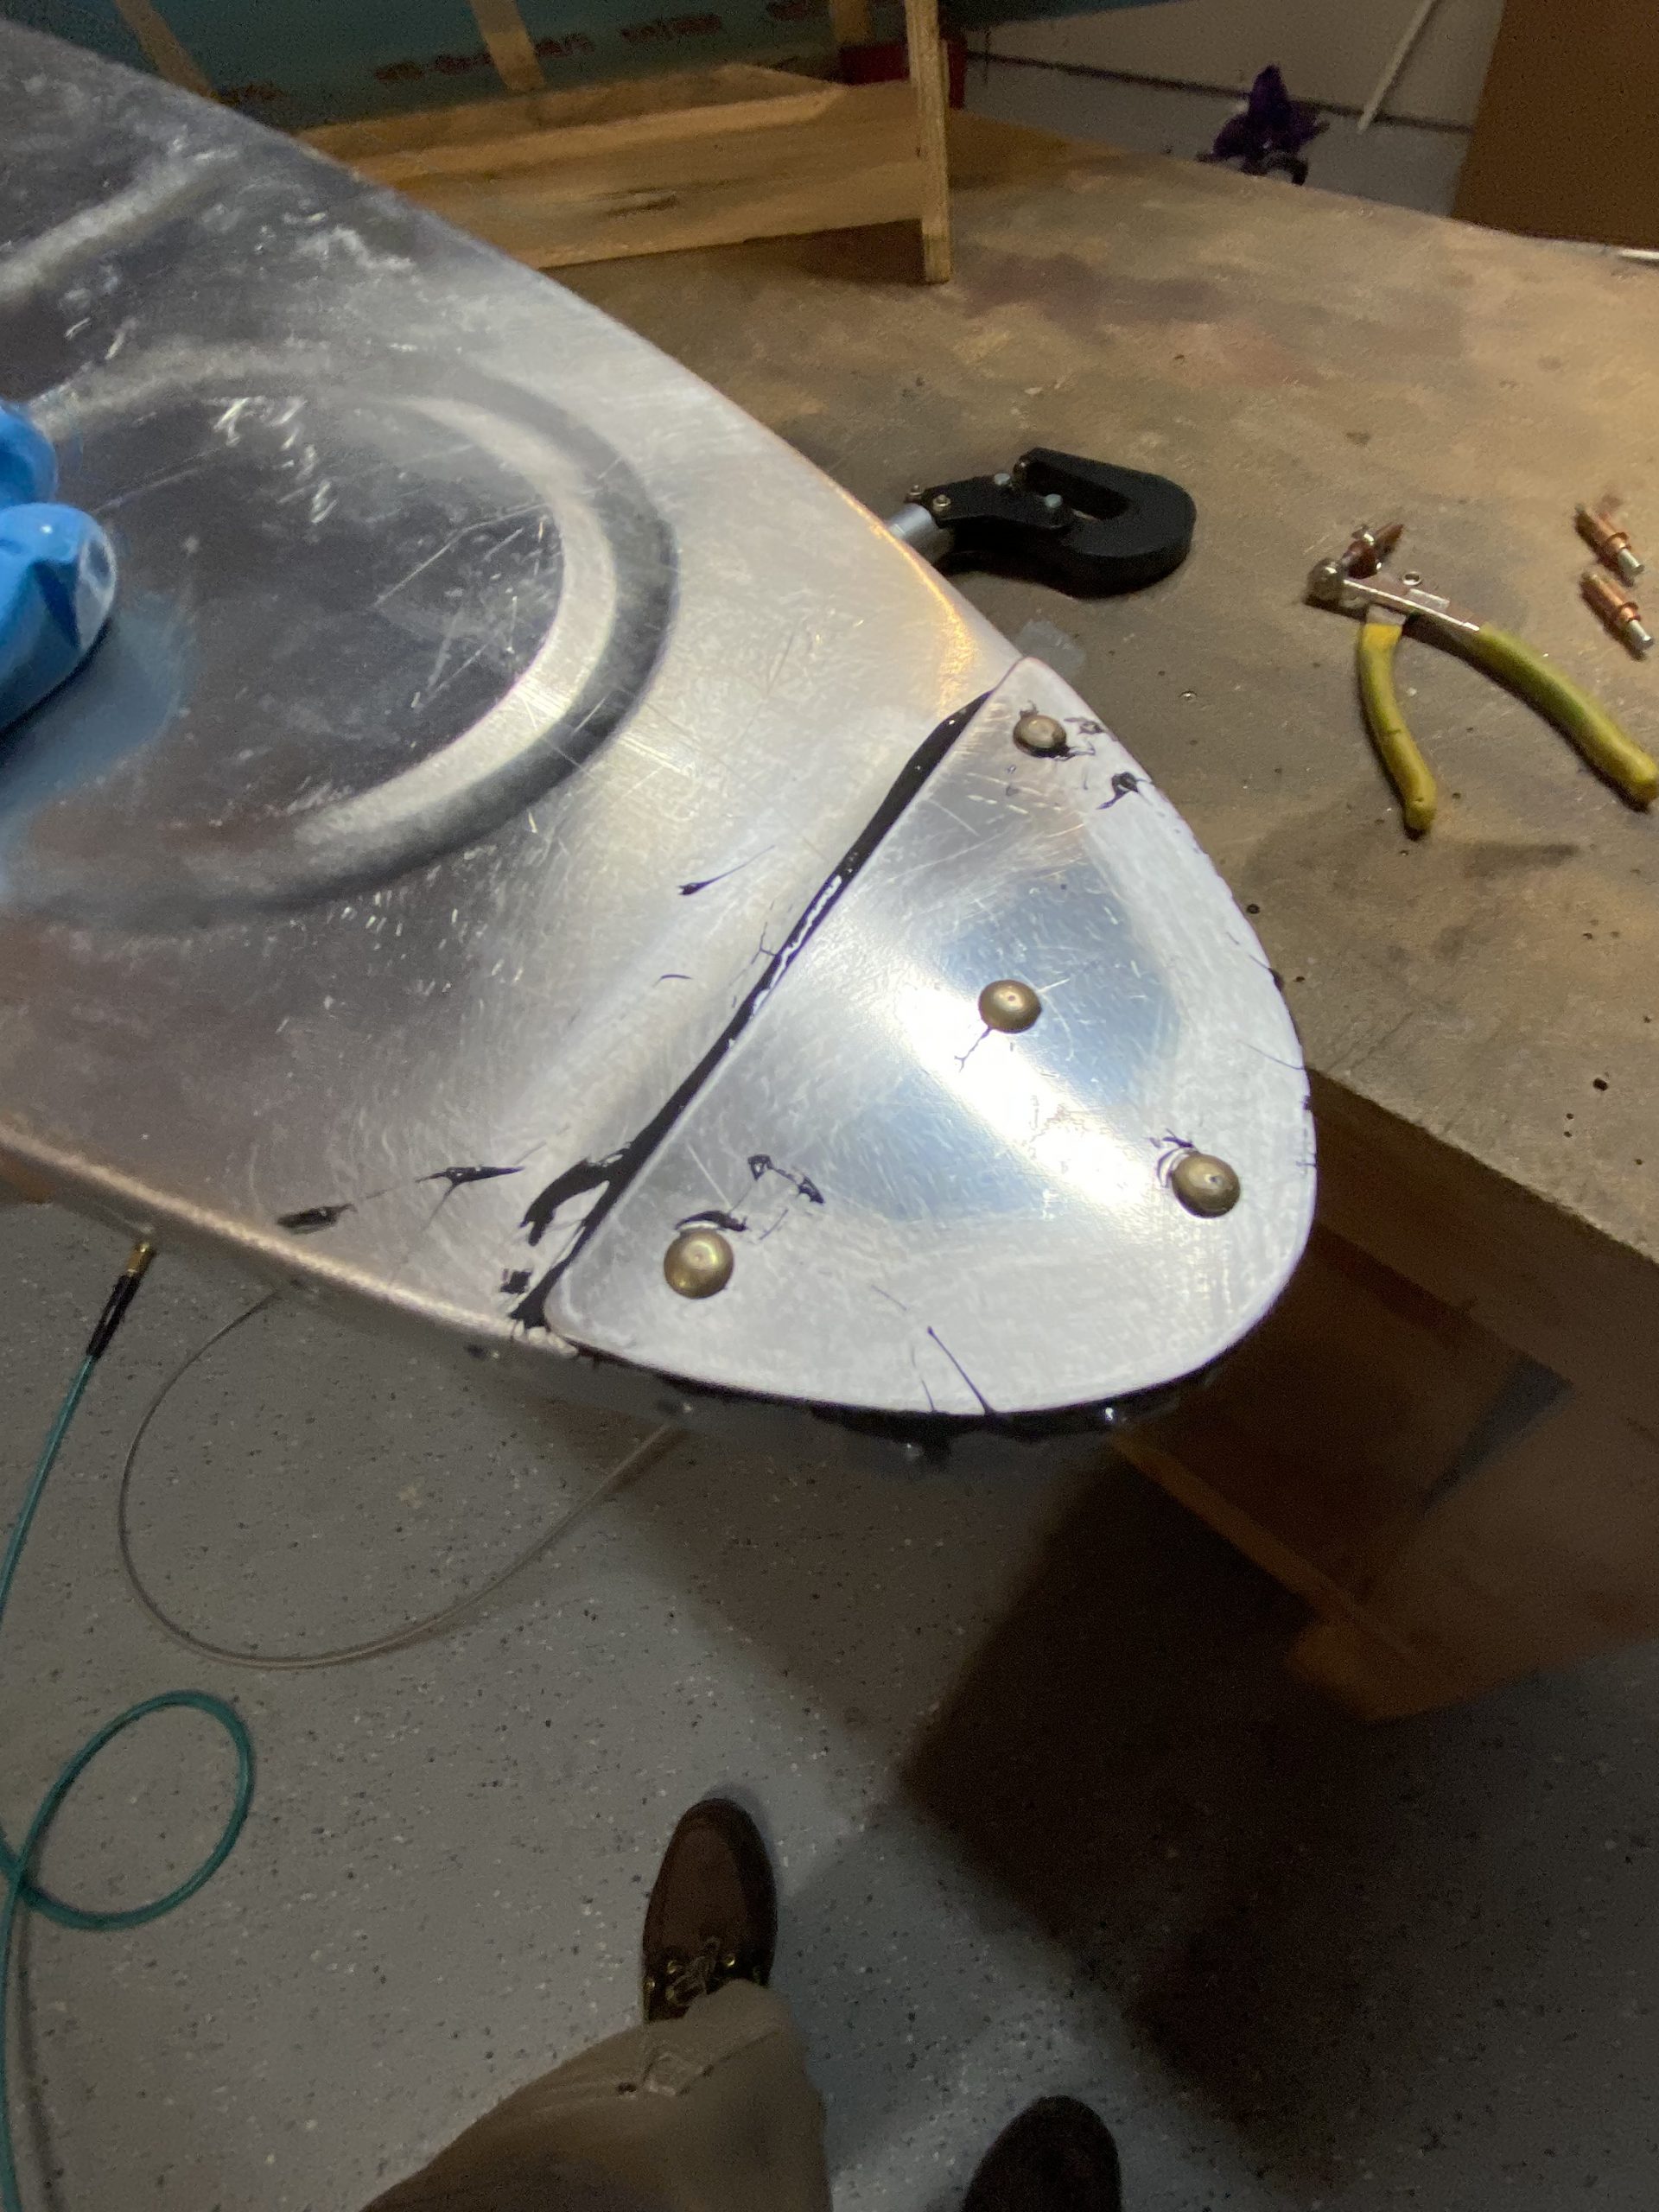
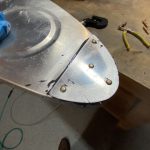
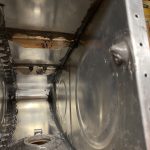
Now its time to slather up the flanges of the rib with sealant, and gently cleco it in place for riveting. I clecoed every other hole, since I planned on setting these rivets immediately, and not leaving them overnight. Since these are the outboard rib, I was able to use my squeezer to make very nice rivets with almost zero mess. I riveted all the holes with the squeezer.
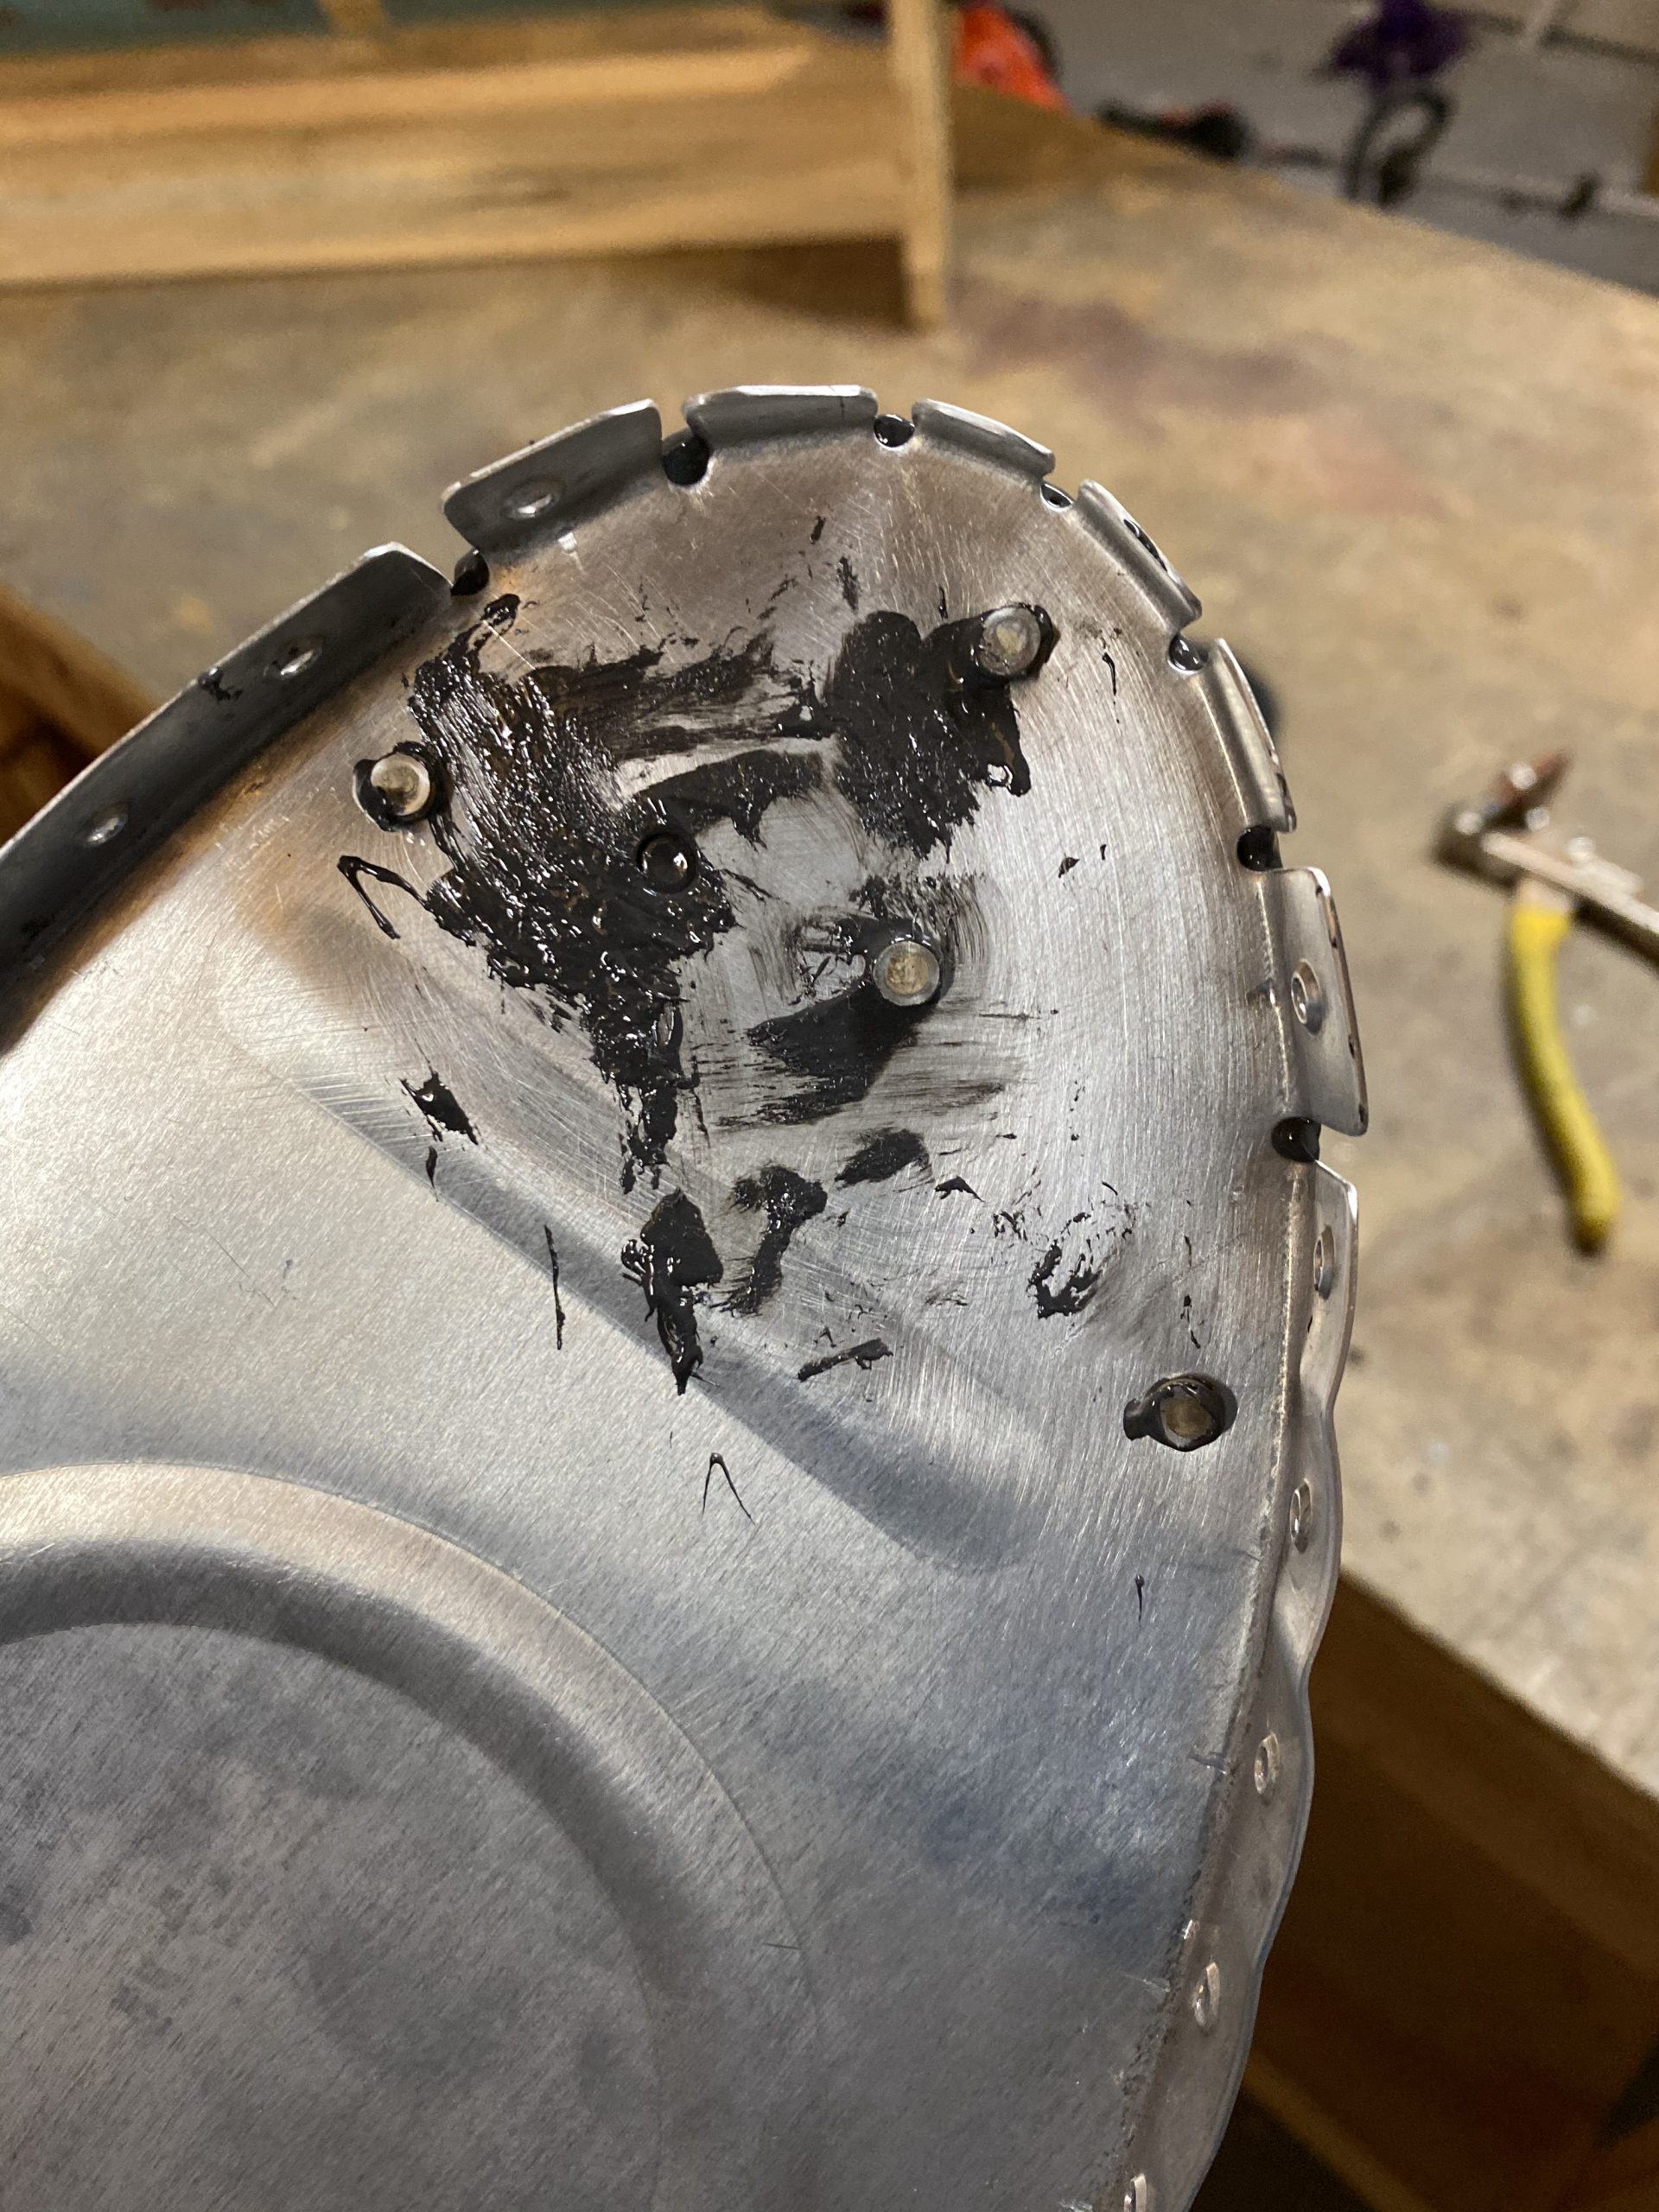
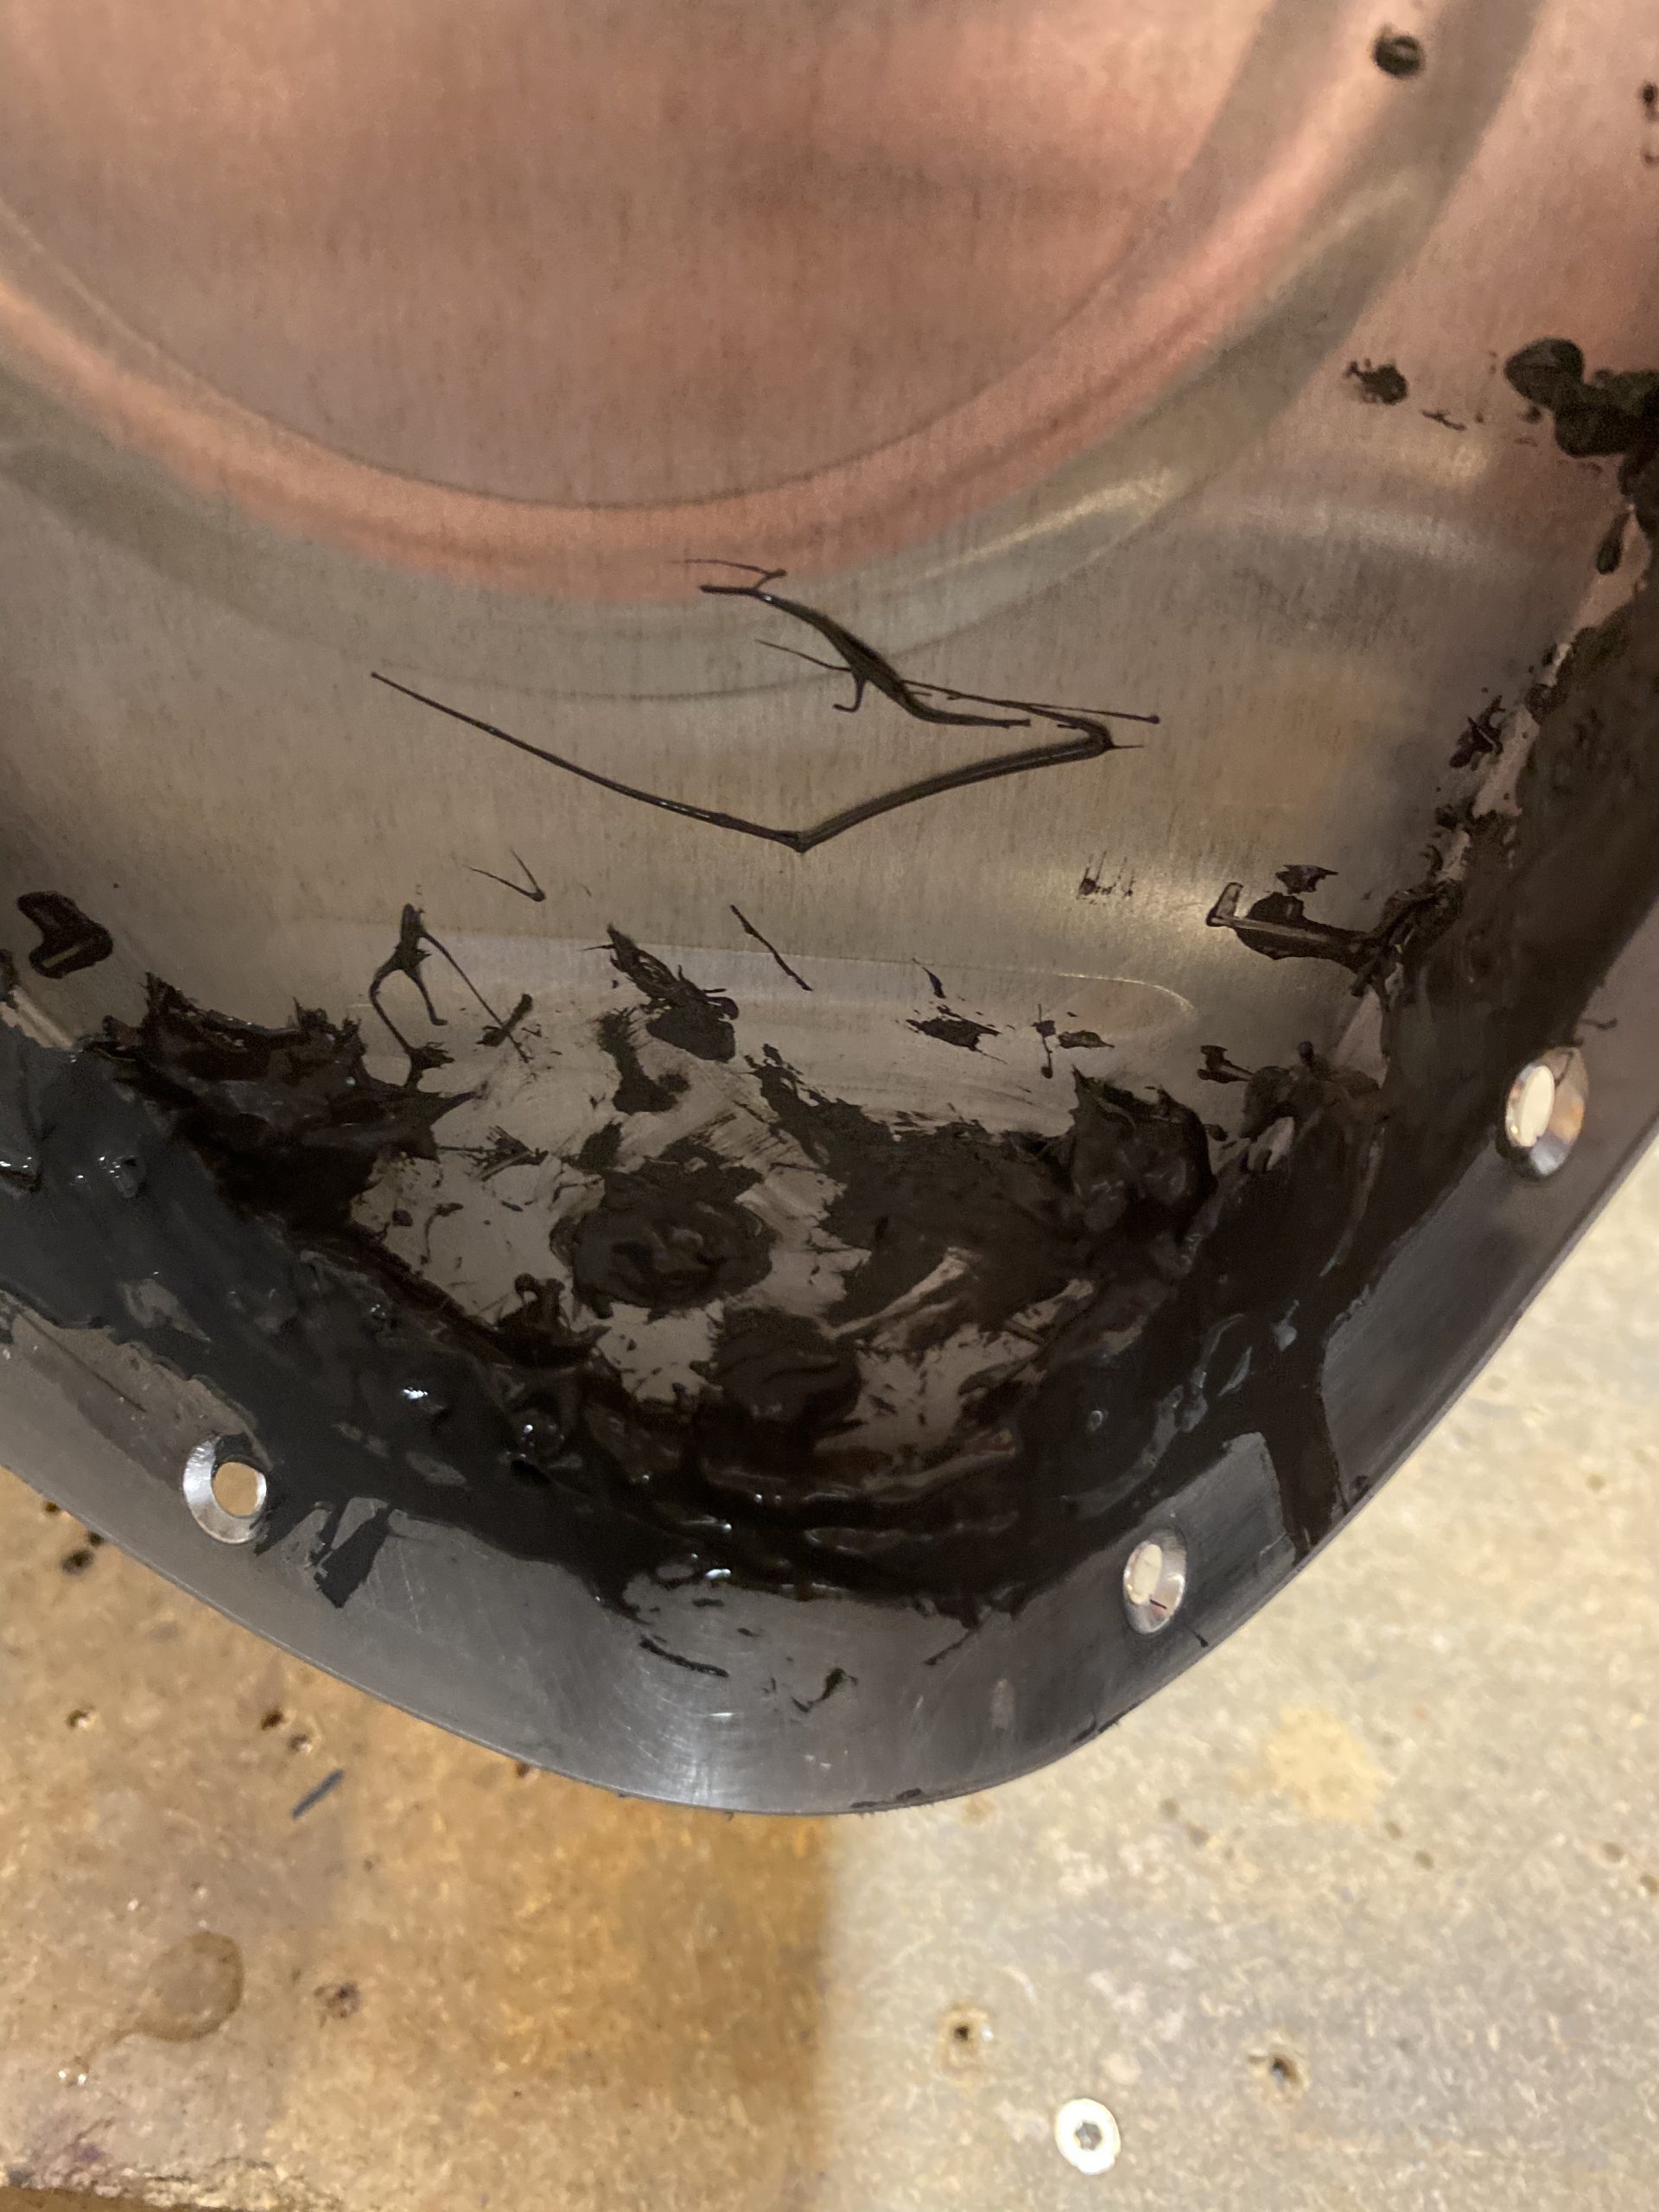
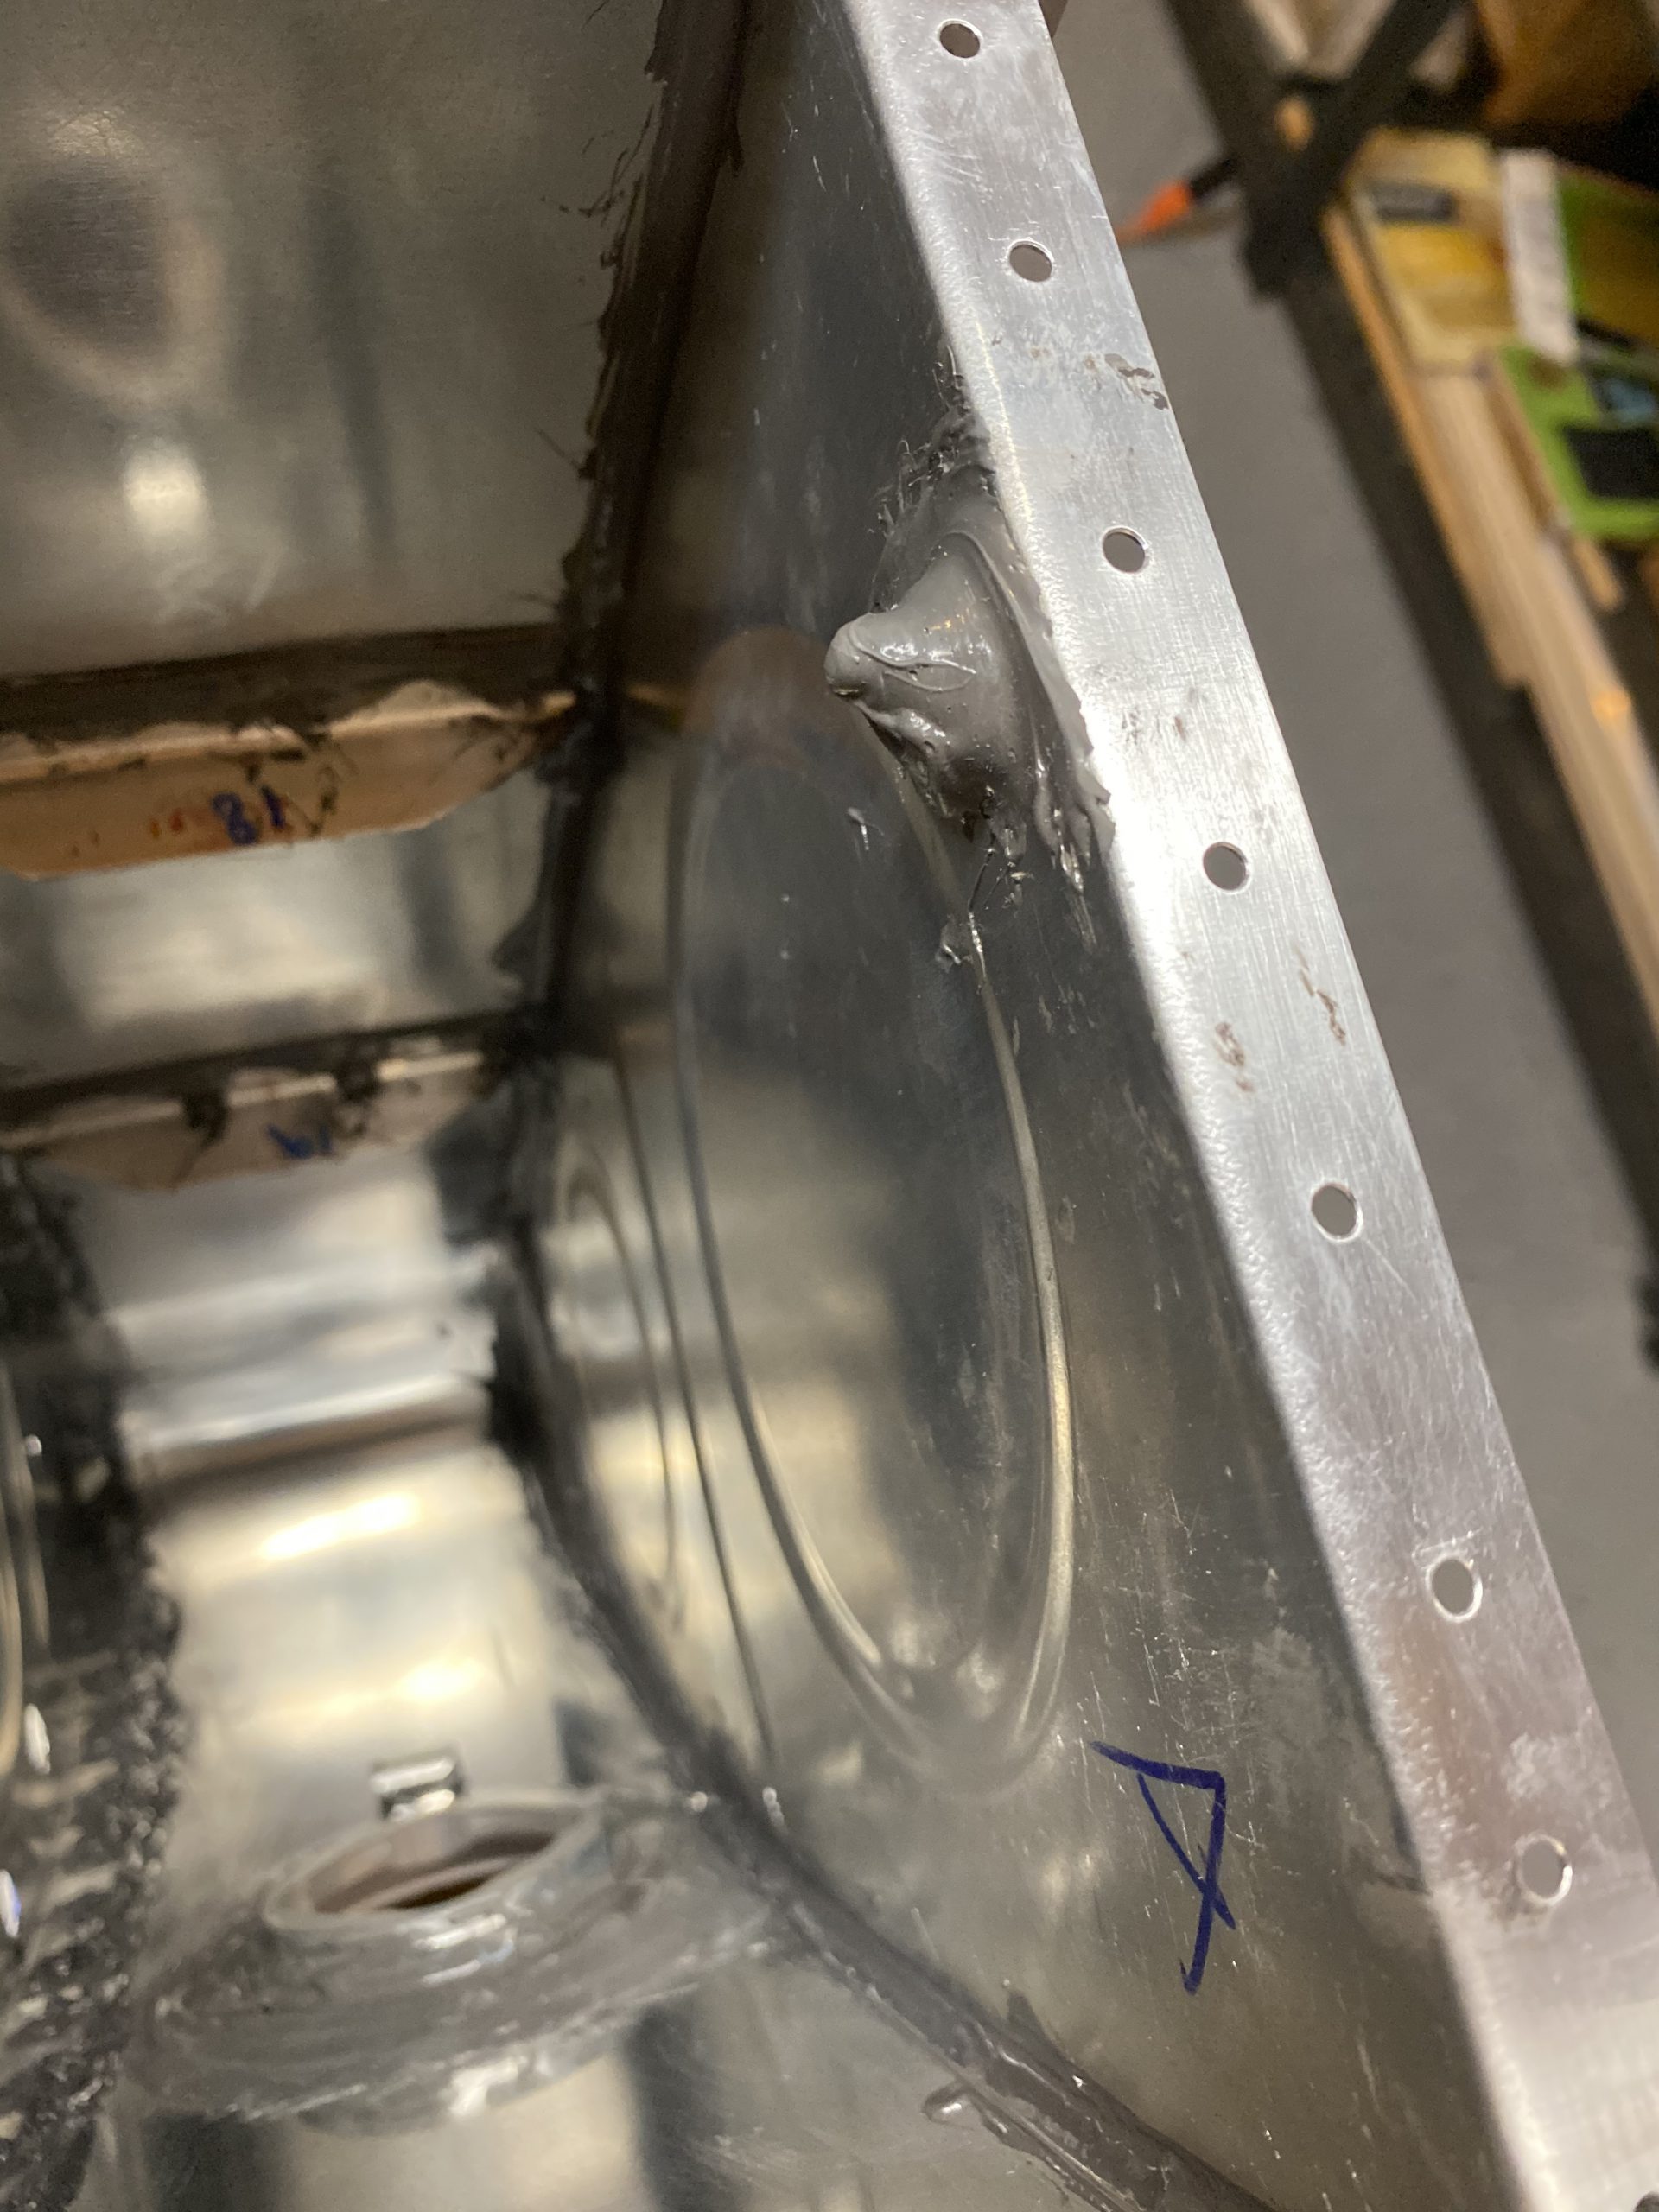
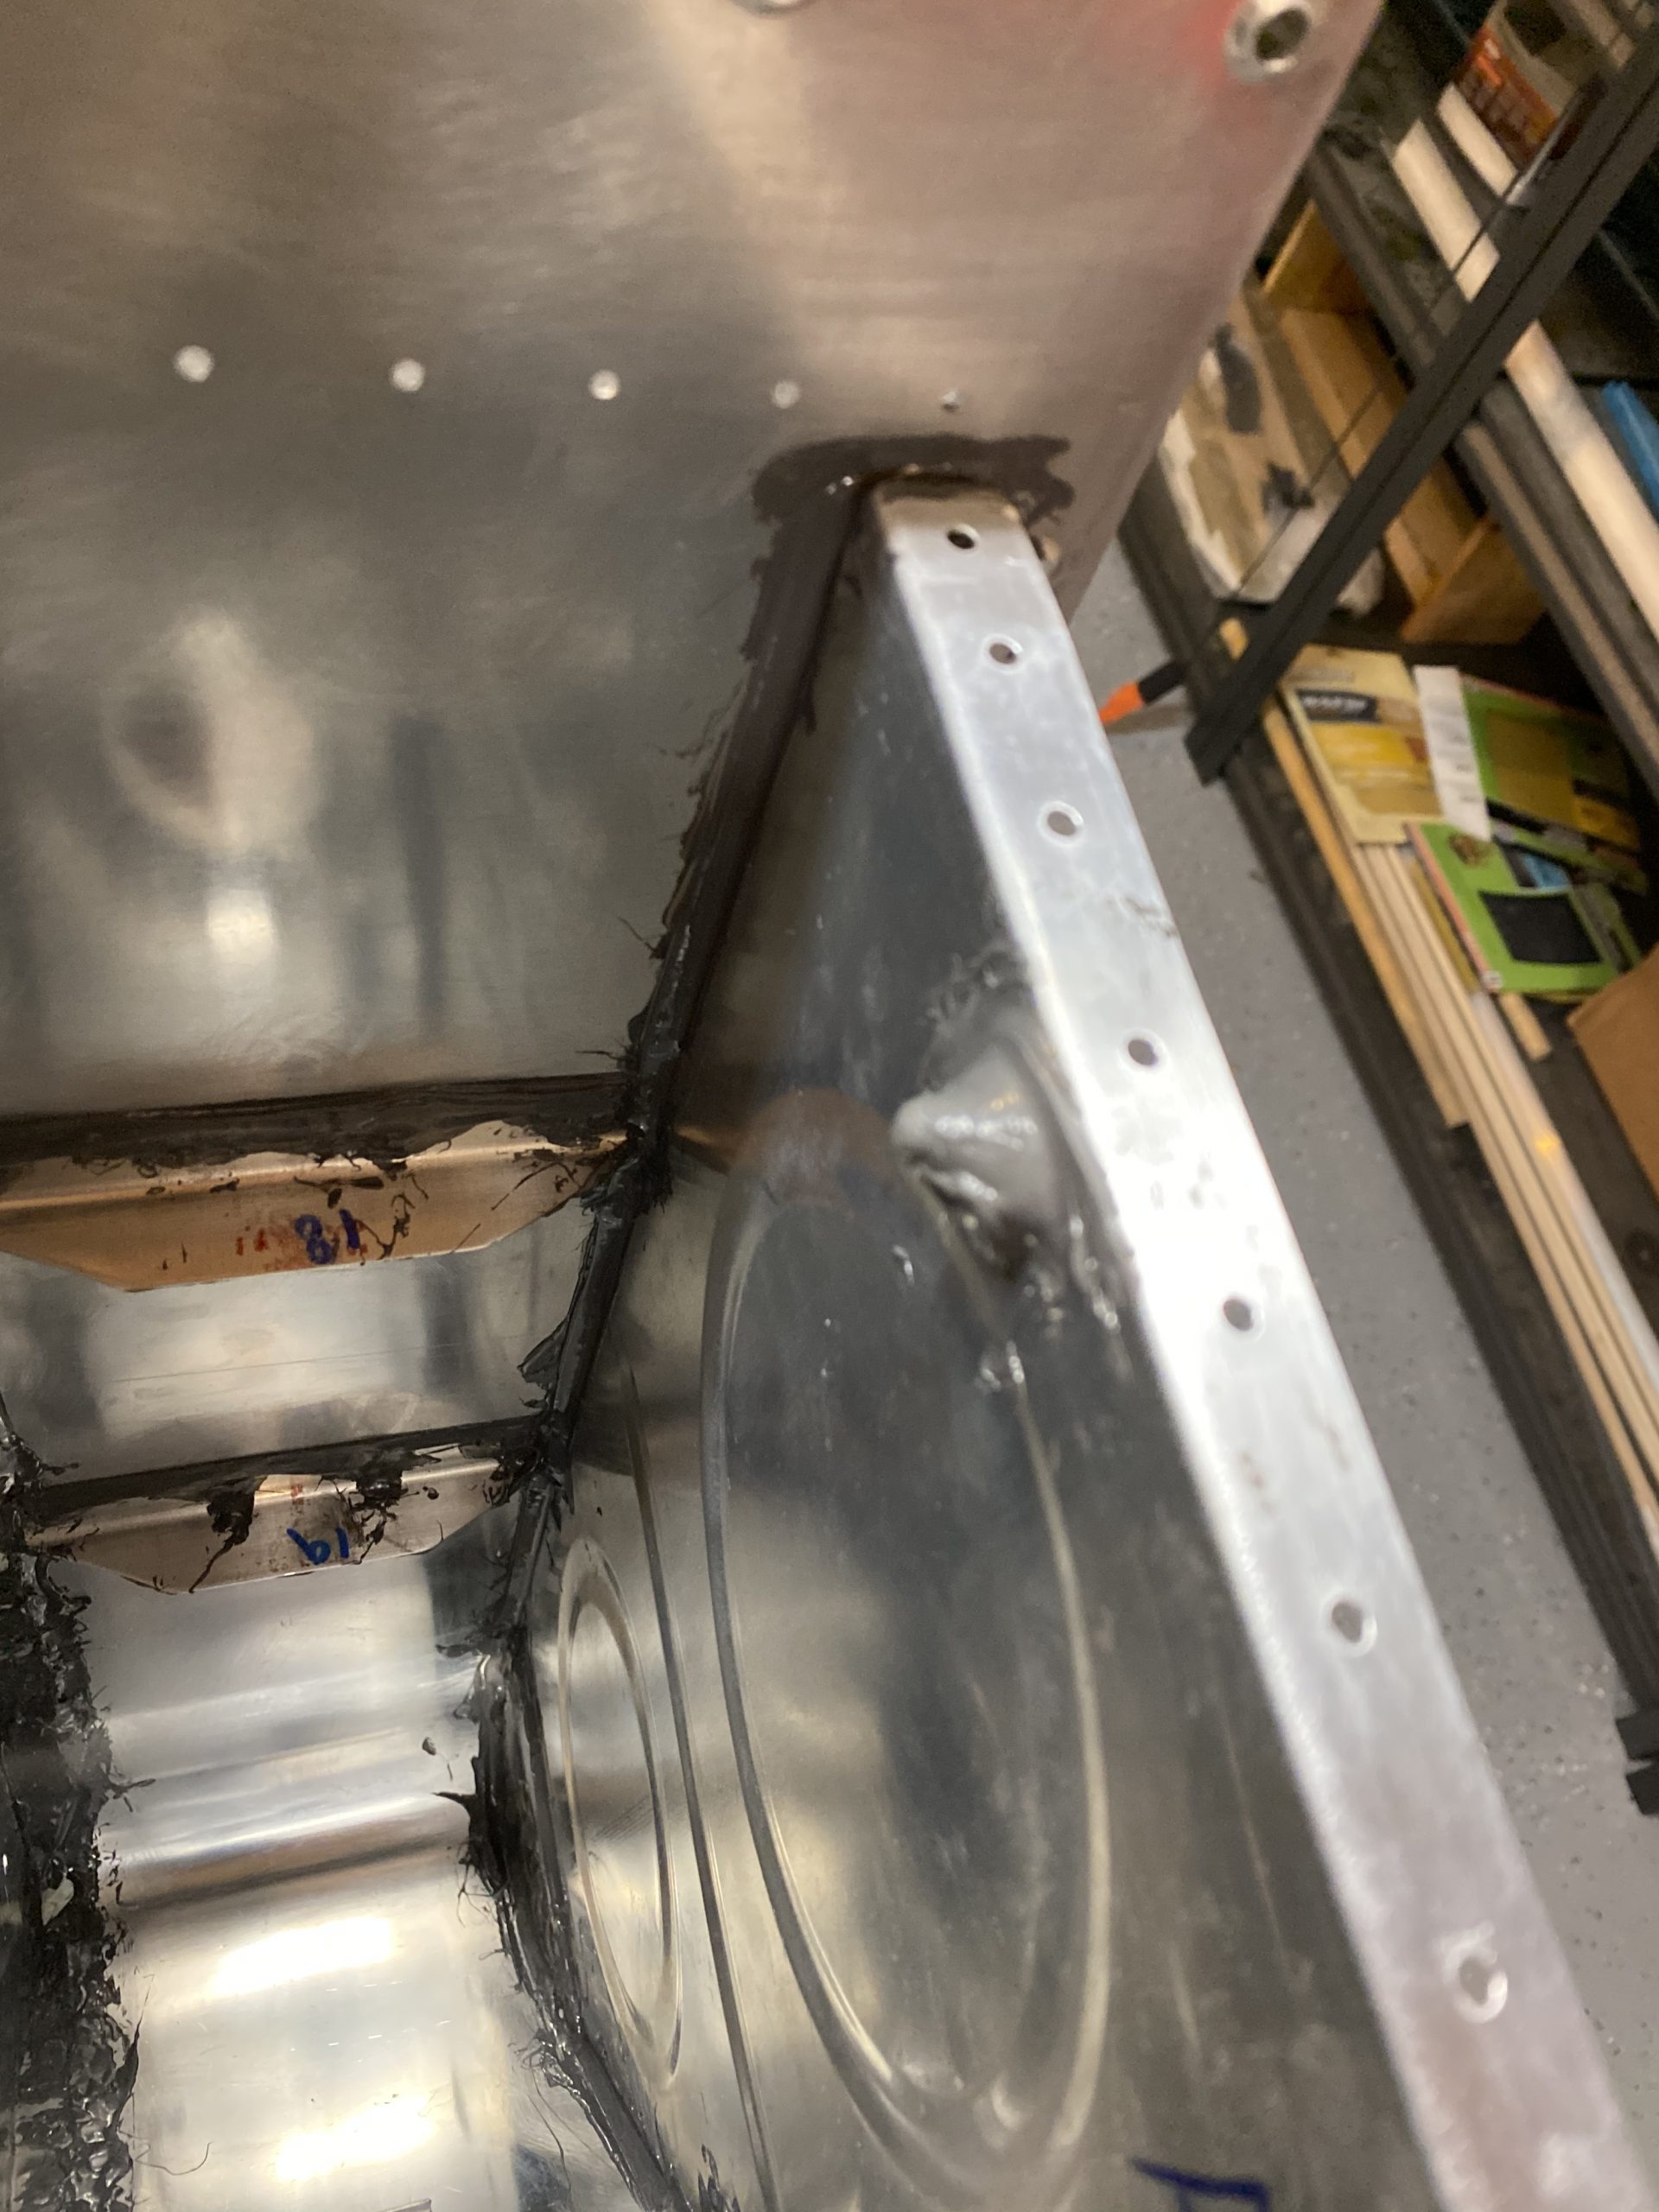
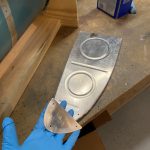
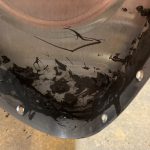
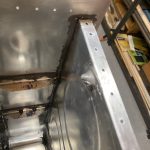
Next up all that was left to do was to make my filets around the flanges and dollop on sealant onto the rivets. I still had plenty left in my cup of 50 grams I mixed up, and I used the filet spoon to create nice smooth filets on the inside and outside flanges. I thankfully had enough sealant to dollop on the rivet shop heads and cover them nicely with the filet spoon.
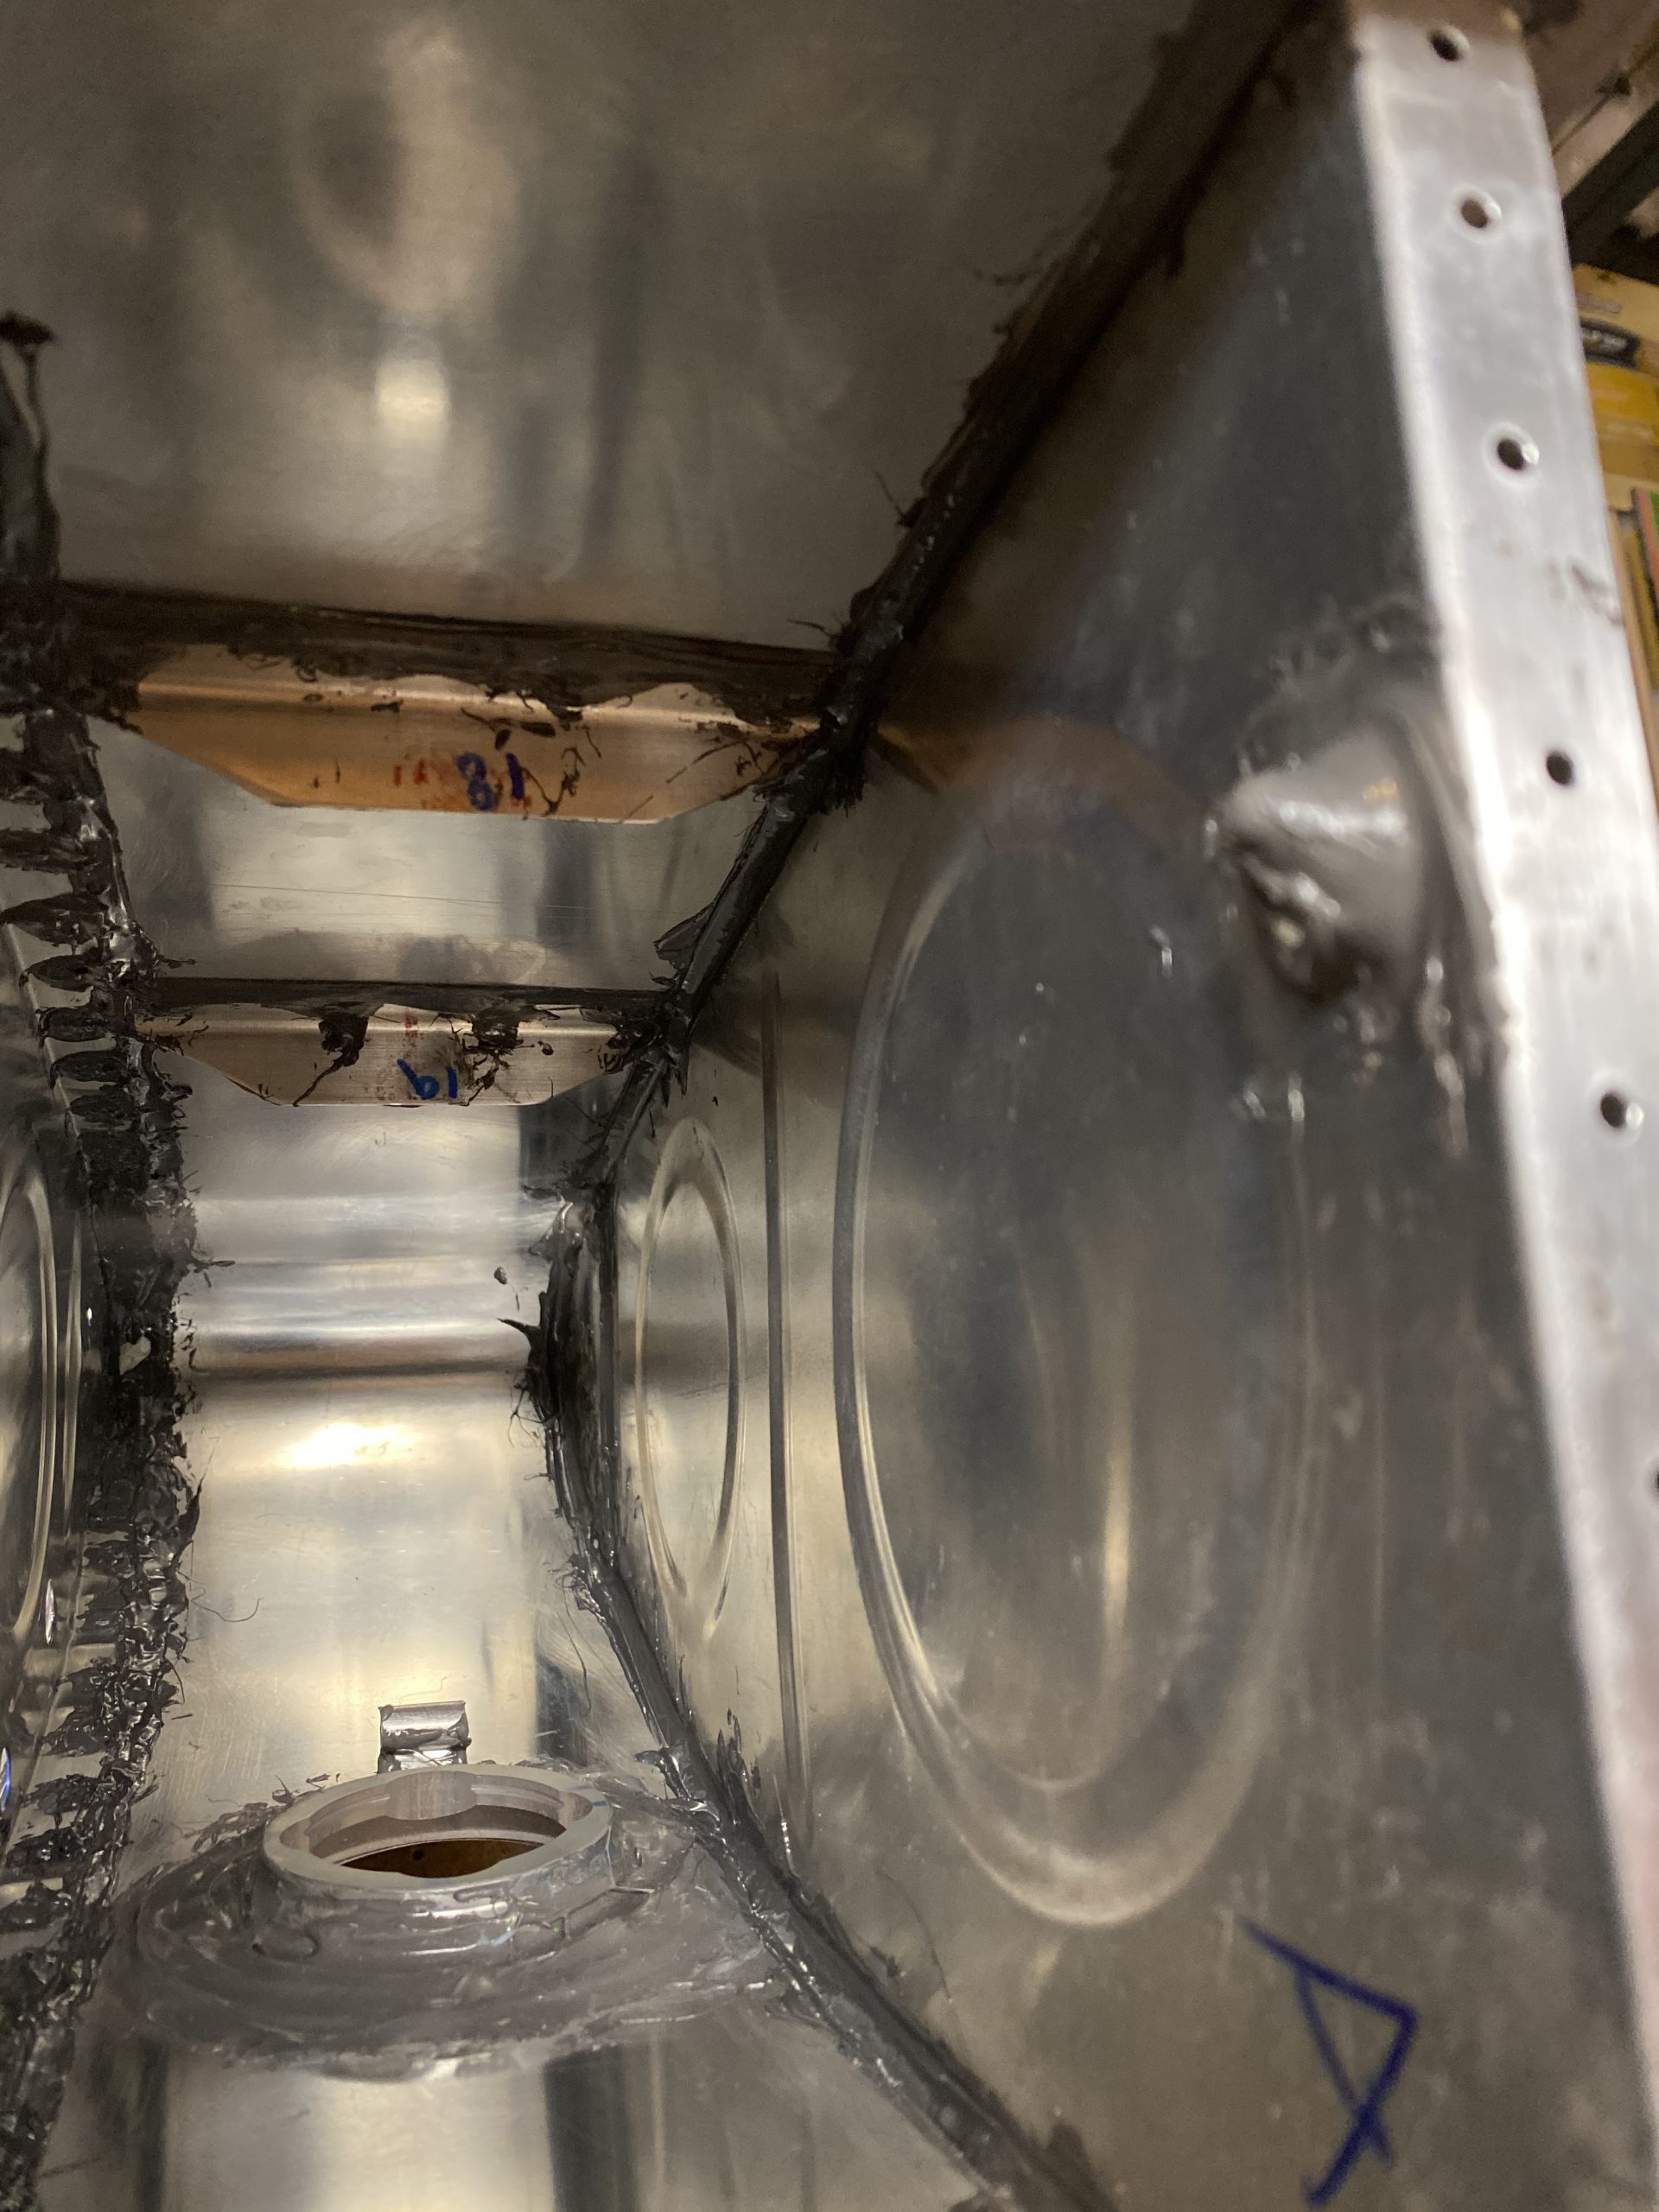
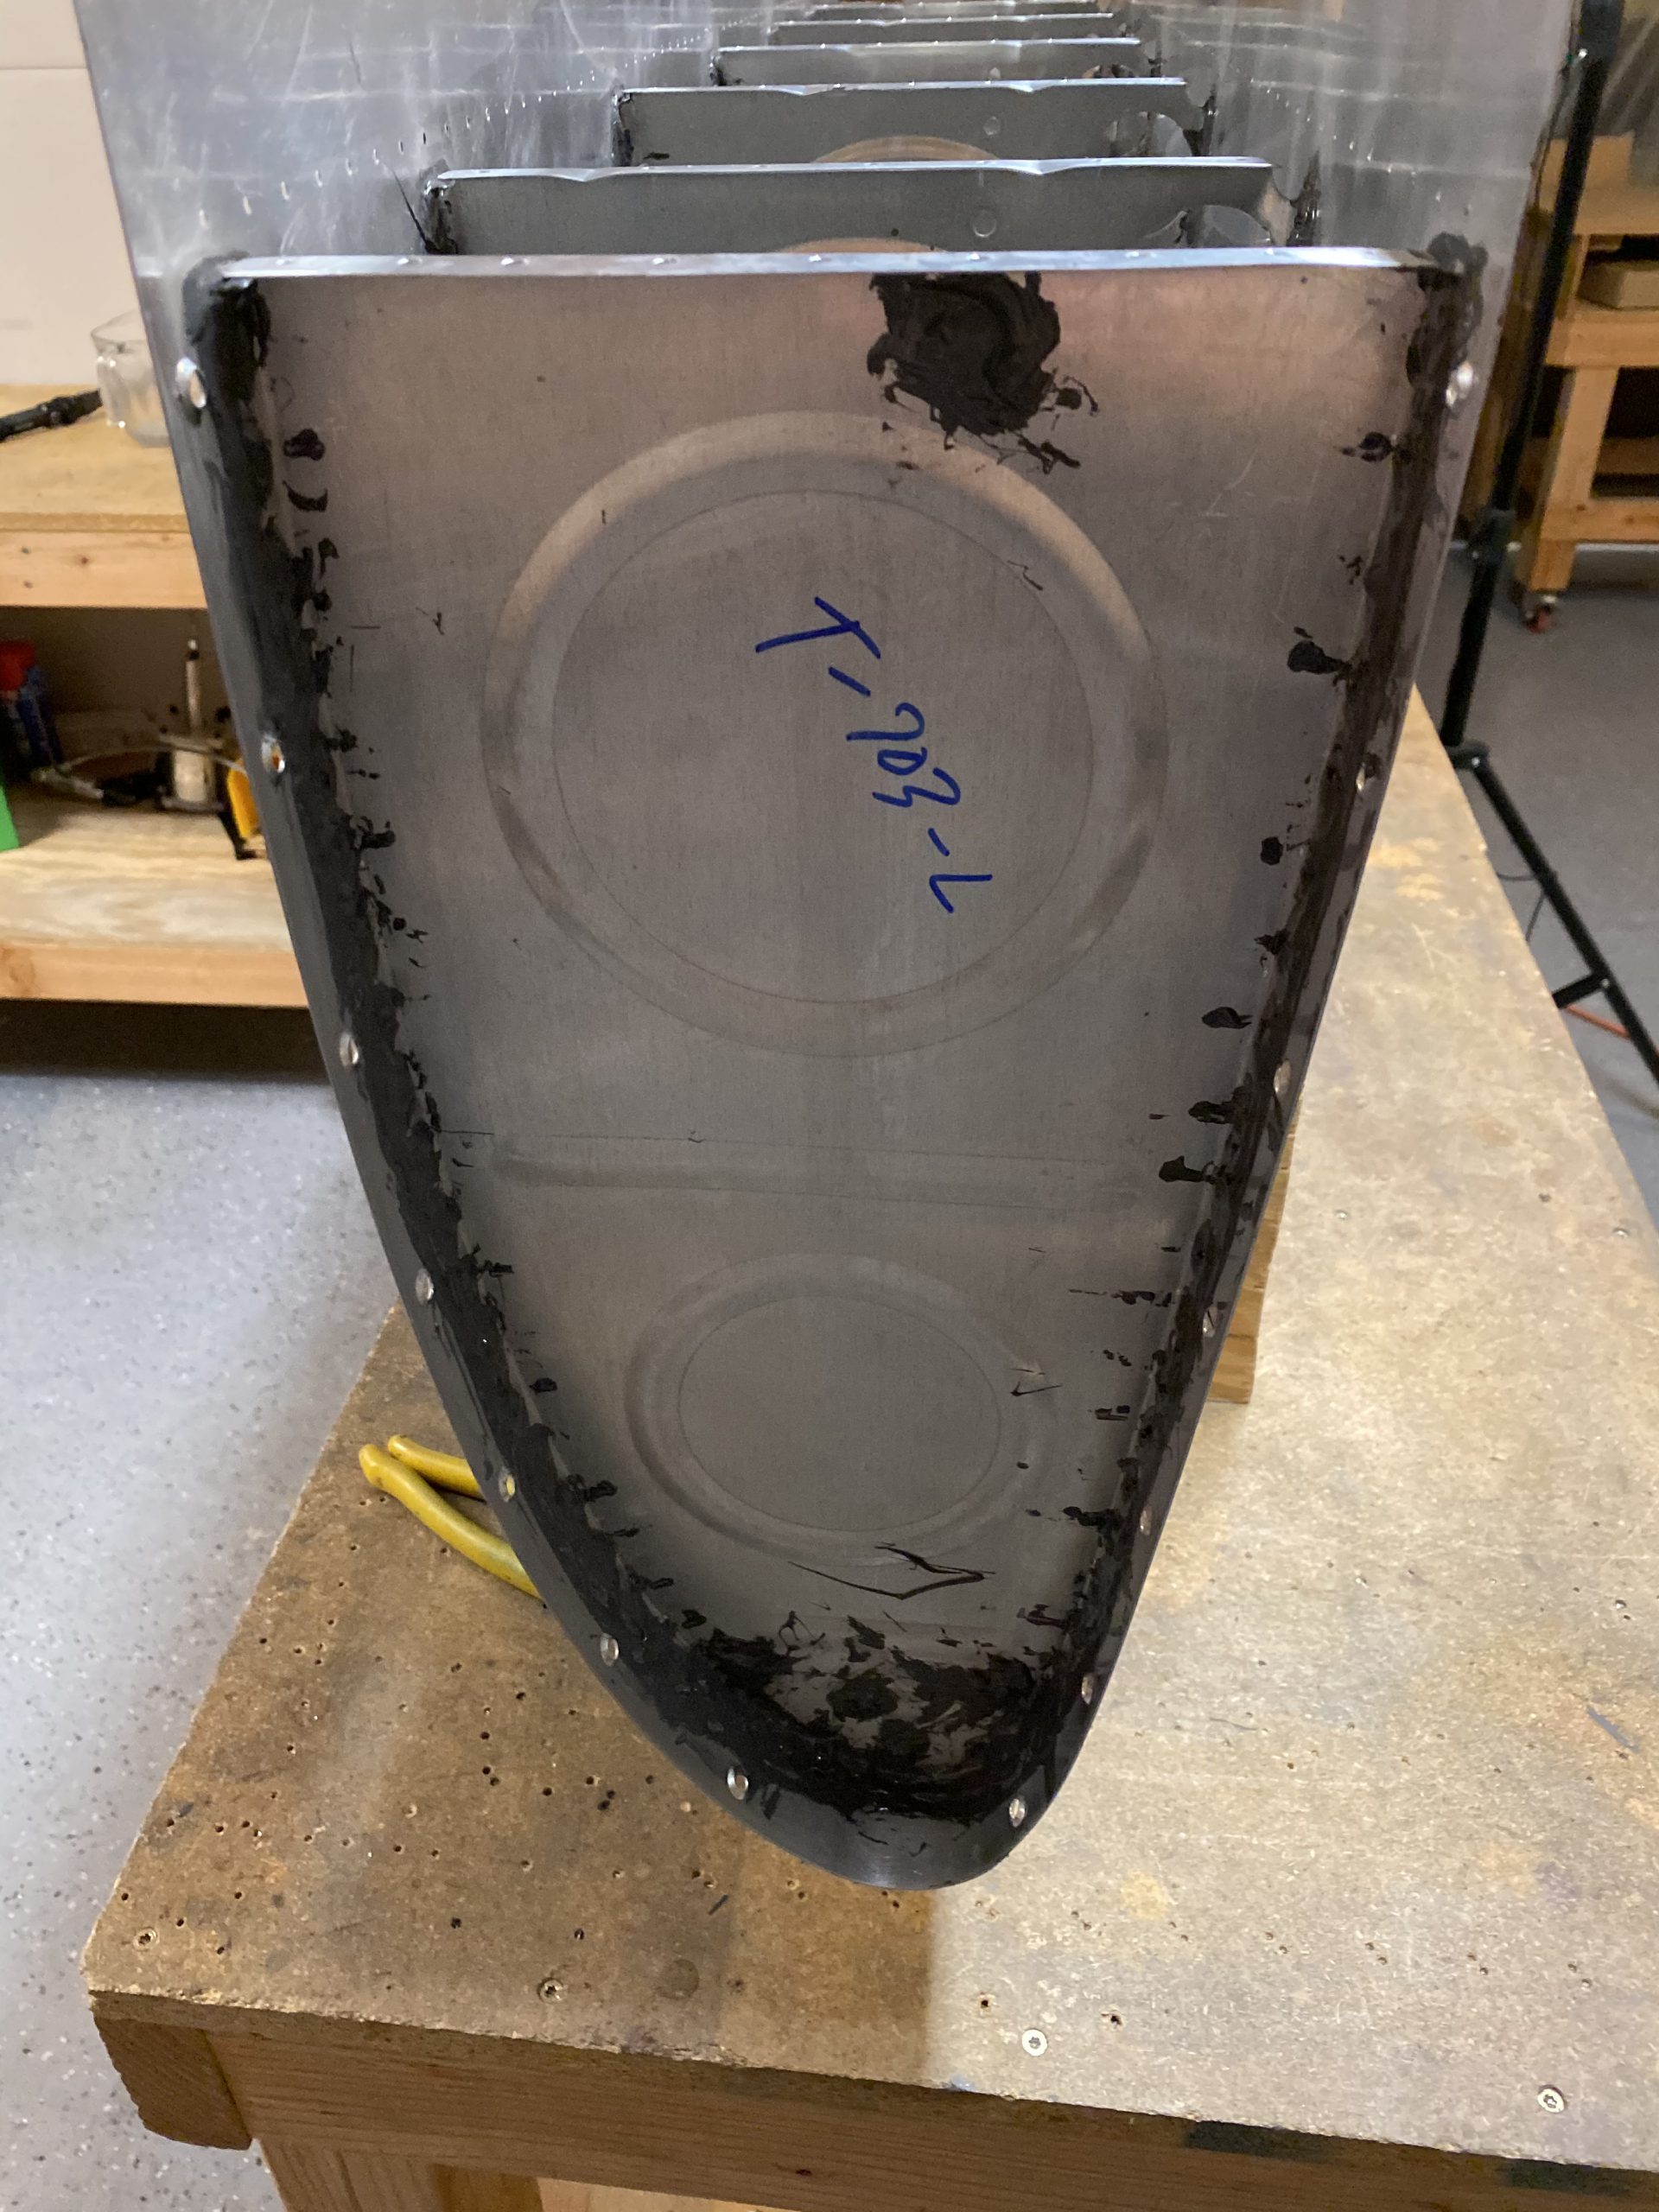
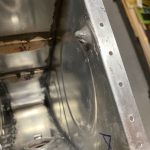
I also made sure to get a nice thick covering around the nose area of the rib to prevent any leaks in this critical area, making sure to get a nice filet around the T-410 stiffener as well. I then dolloped a covering of sealant on both sides of the AN470AD4-5 rivets that were used to attach the stiffener plate. All that was left was to clean up the excess sealant with an MEK soaked paper towel, and then clean up my tools for the night. In my next session I plan on some miscellaneous work on the capacitive senders and the inboard rib fittings since its a little more complex with the flop tube.
Google Photos Link: https://photos.app.goo.gl/kHz1dsxVXkXePVWT9
-
CACBBBAF-61A9-43AE-AA42-81D724B973E3
-
2A6E2AE4-A703-48DA-AE27-438B5407B37C
-
8A9A4BA2-7039-43DD-98E9-D9ADC5678C54
-
 F38C2BB8-80FD-4E35-A826-FD1C69F56603
 -
AEE83F1D-D55B-4B80-8308-3E7F12850131
-
 B5F55EBD-097B-43E3-9AF4-319DFEB7CFE1
 -
A75DF075-68BE-46E6-A53F-51B98BCC29C1
-
507F60D2-1FB9-4A02-87DE-43A6765D088D
-
39DED6DF-ADA4-4C8D-8F12-0B89DBD6C6C4
-
2F390C90-A4D4-4495-821A-0F428585A1B9
-
 DCF56F88-2A6F-4C2B-9885-A9376BC36F5A
 -
 E69A7D63-C859-40A6-8326-AB67CD860F15
 -
7FC2959A-4866-4E2E-9D7E-0530B603A31C
-
 4AB4B797-1A35-4ED1-83F6-680AC4C12C5F
 -
 EE878EBA-8DEE-491D-87E0-F272DAB4544E

Hours Worked: 1.75