


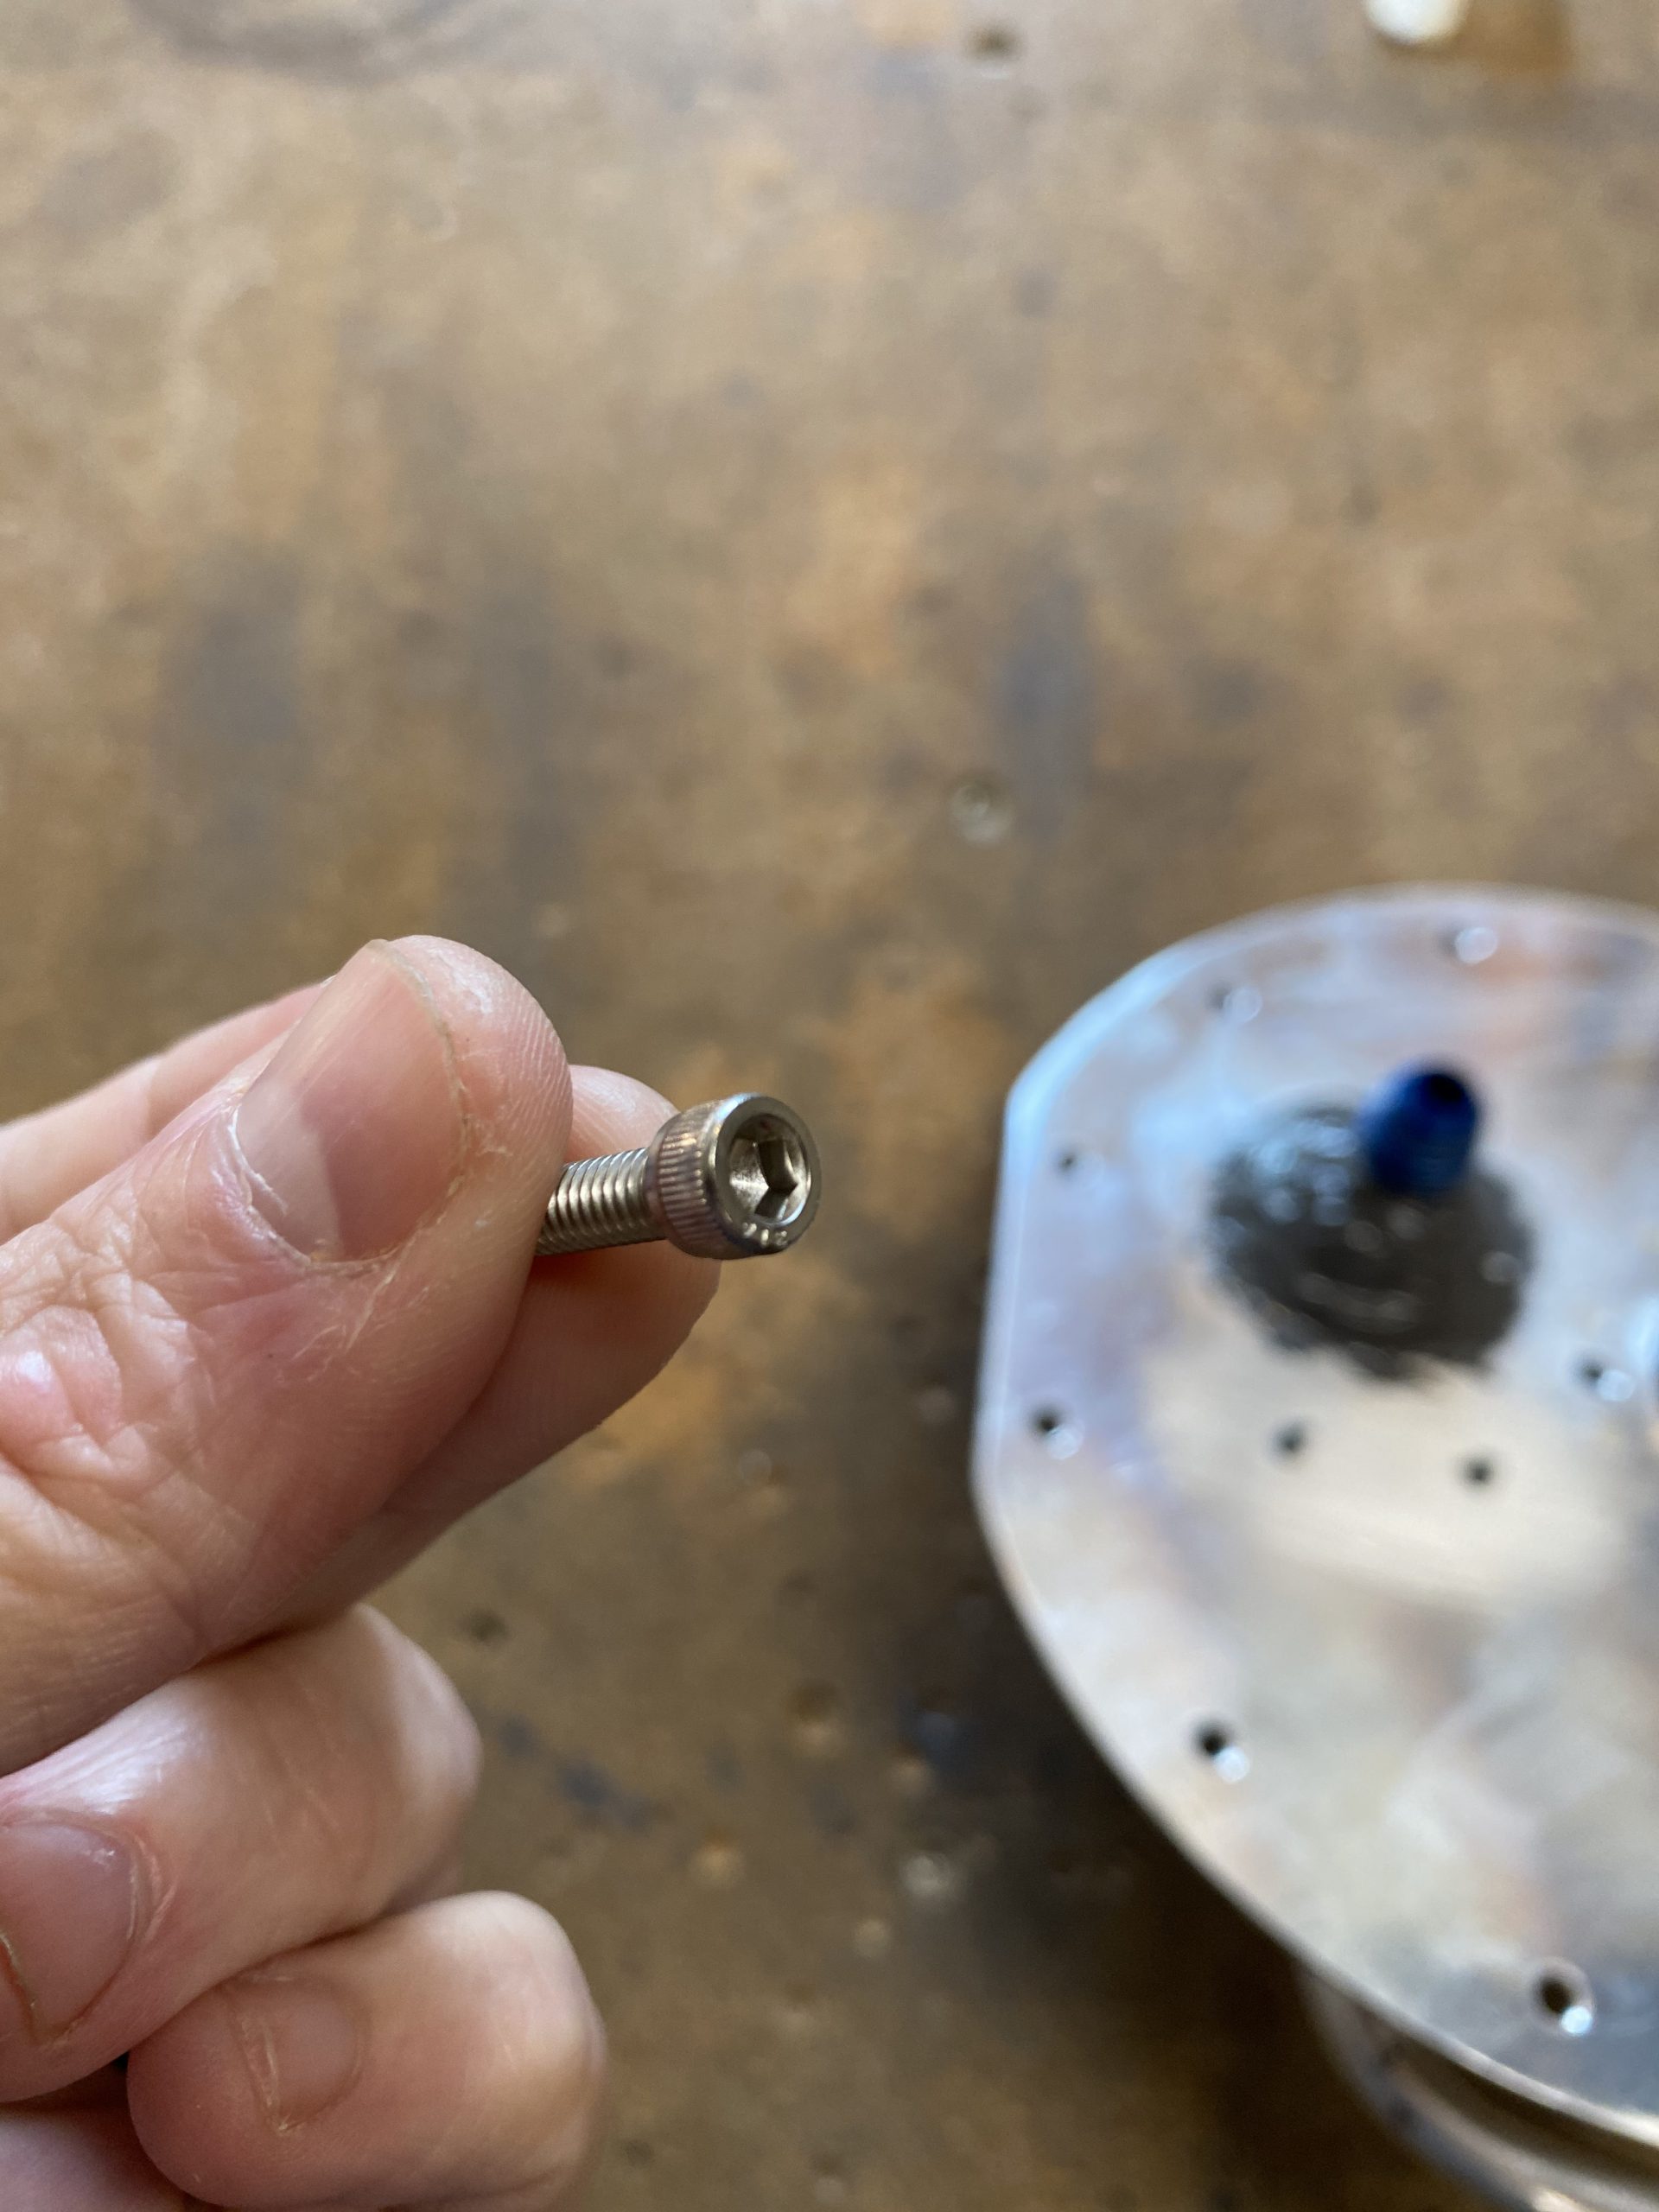
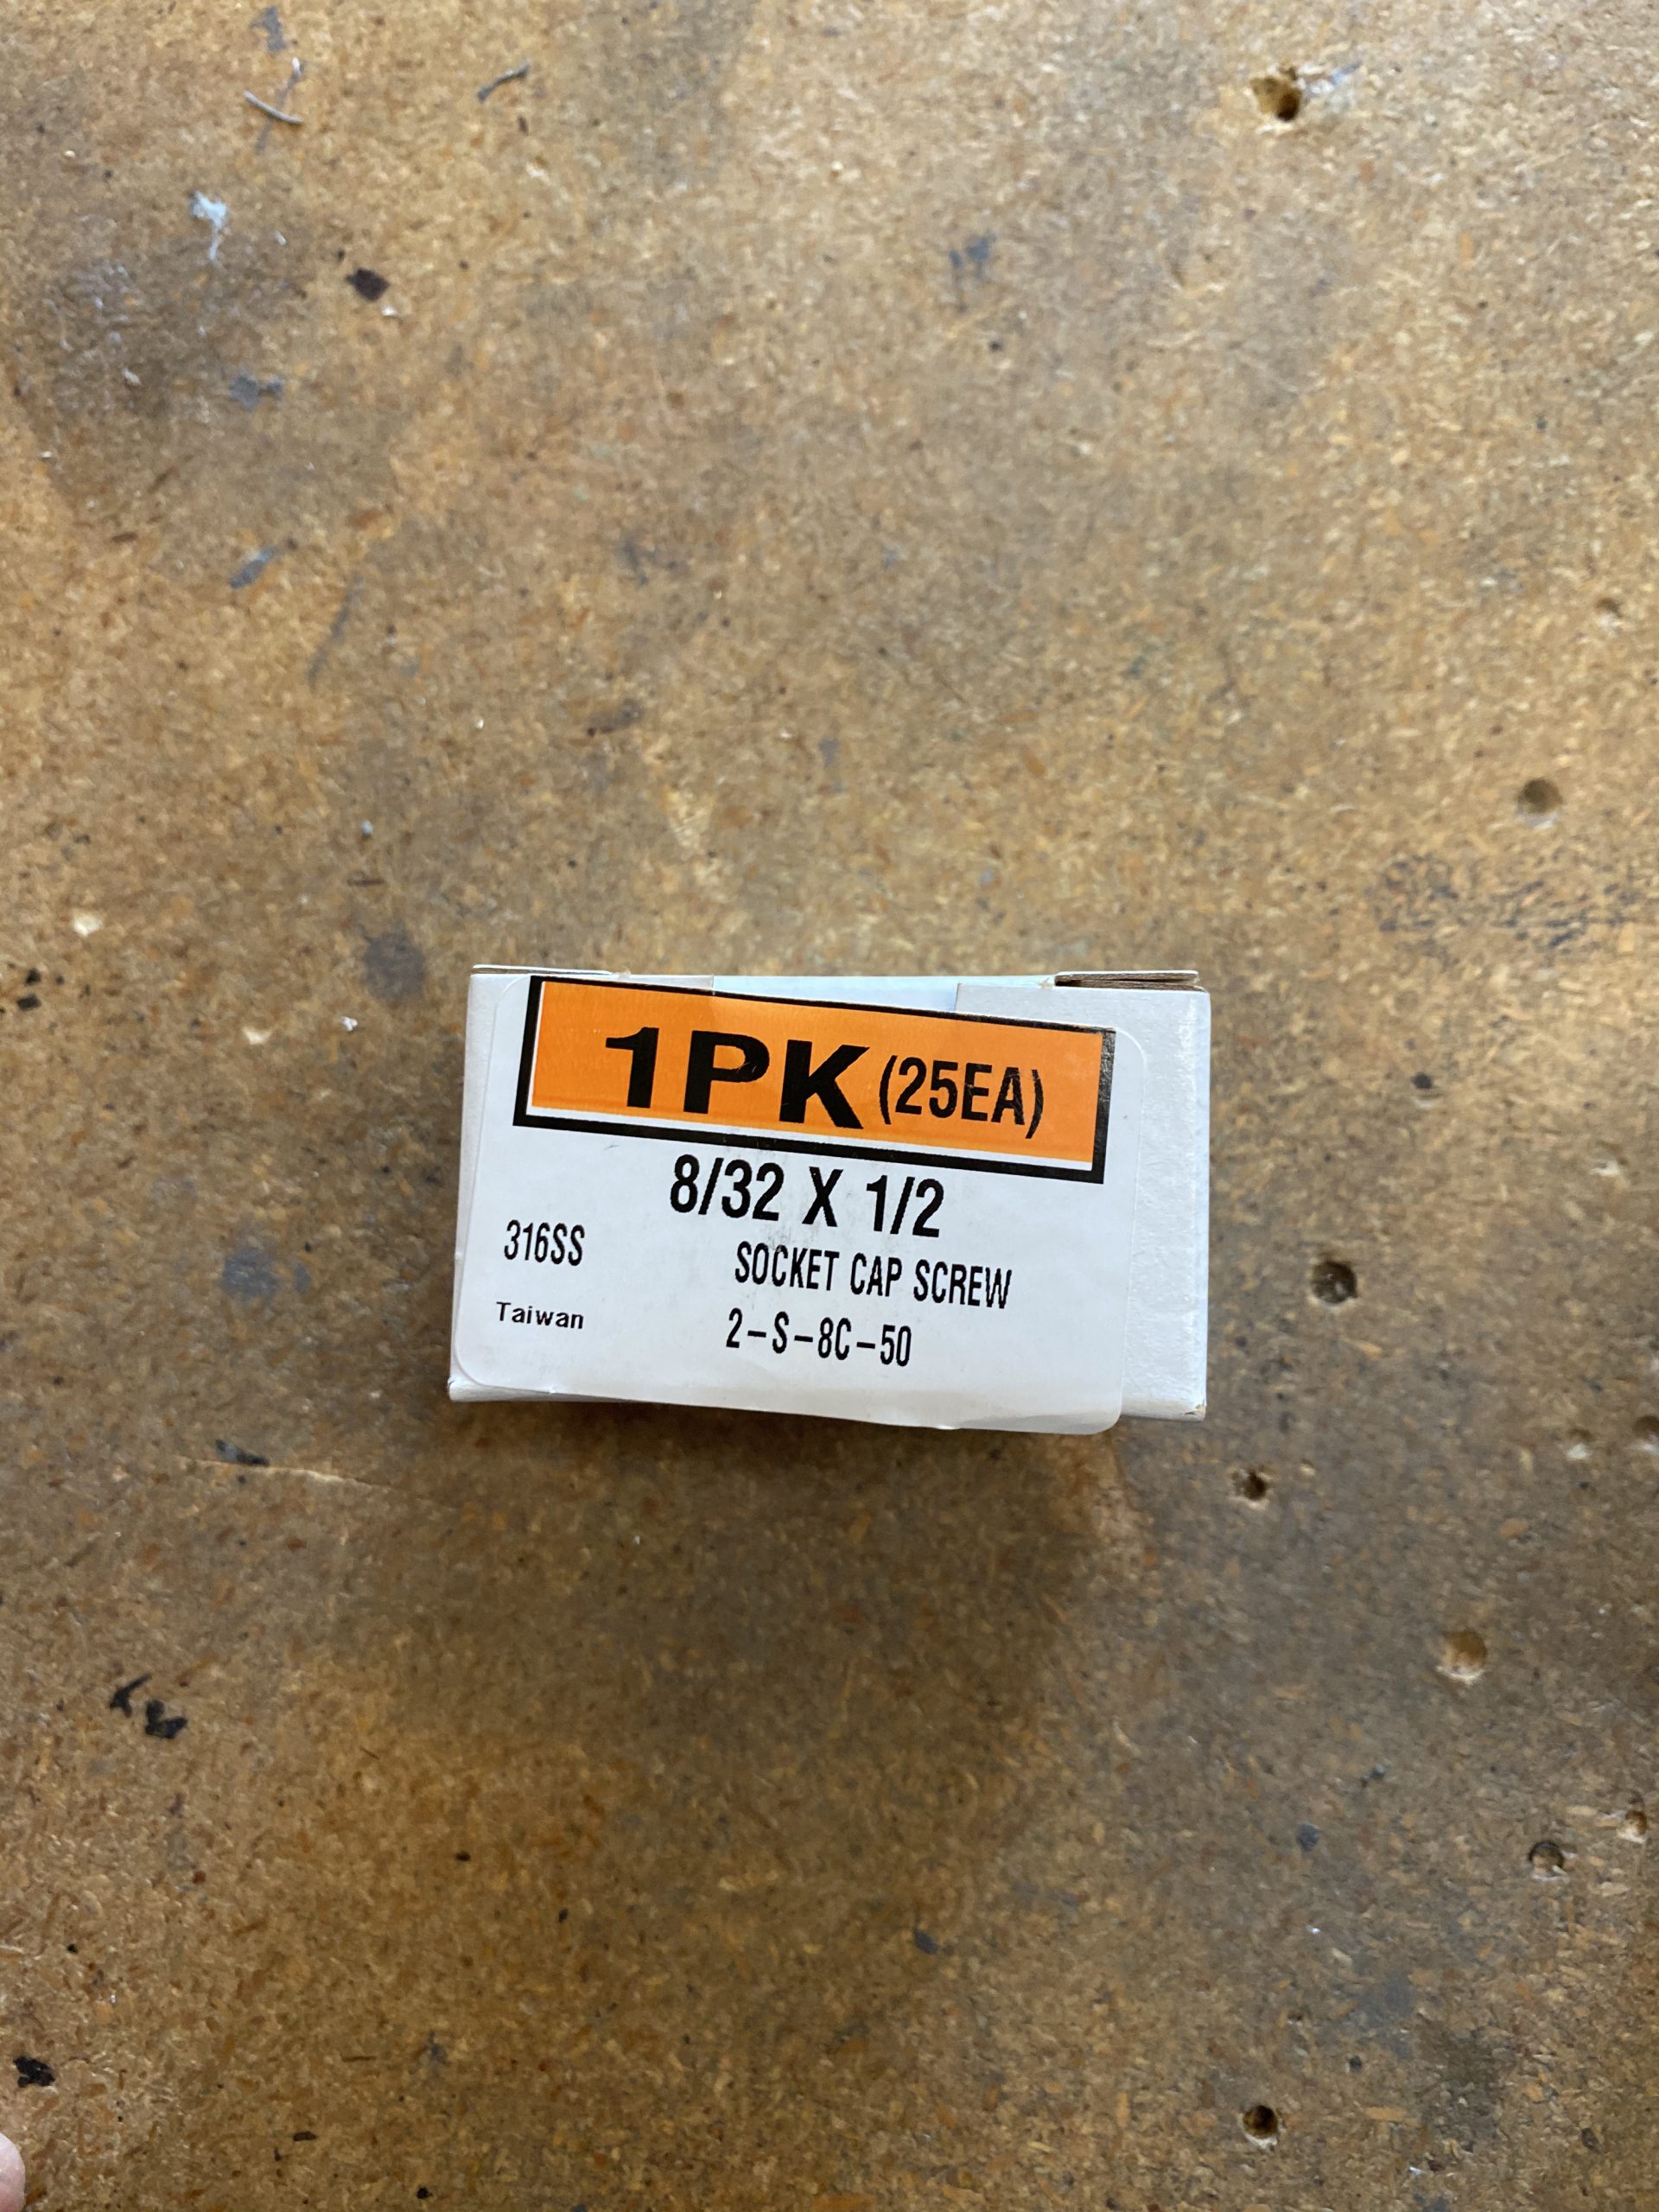
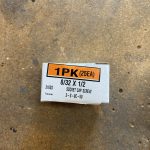
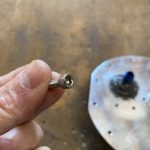
I had some more parts arrive yesterday for the build. The 8/32 x 1/2″ socket head stainless screws that I’ll use for the access plates and float senders. I’ve heard these screws make it MUCH easier to remove and install the access plate, as compared to the stock phillips head screws that Vans supplies in the kit. They were cheap from McMaster Carr (around $6 bucks), check out my “Links and Other Interesting Things” page for a link to order them and the details.
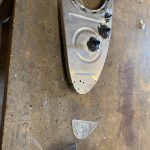
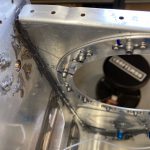
I needed to scuff and clean with MEK, the T-703-R inboard exterior rib, the T-410 reinforcement plate and the T-405 tank mount. So, I grabbed some scotchbrite and scuffed up and then cleaned them really well with MEK. Making sure I also got the flanges of the rib done on both sides. They’re ready for sealant!
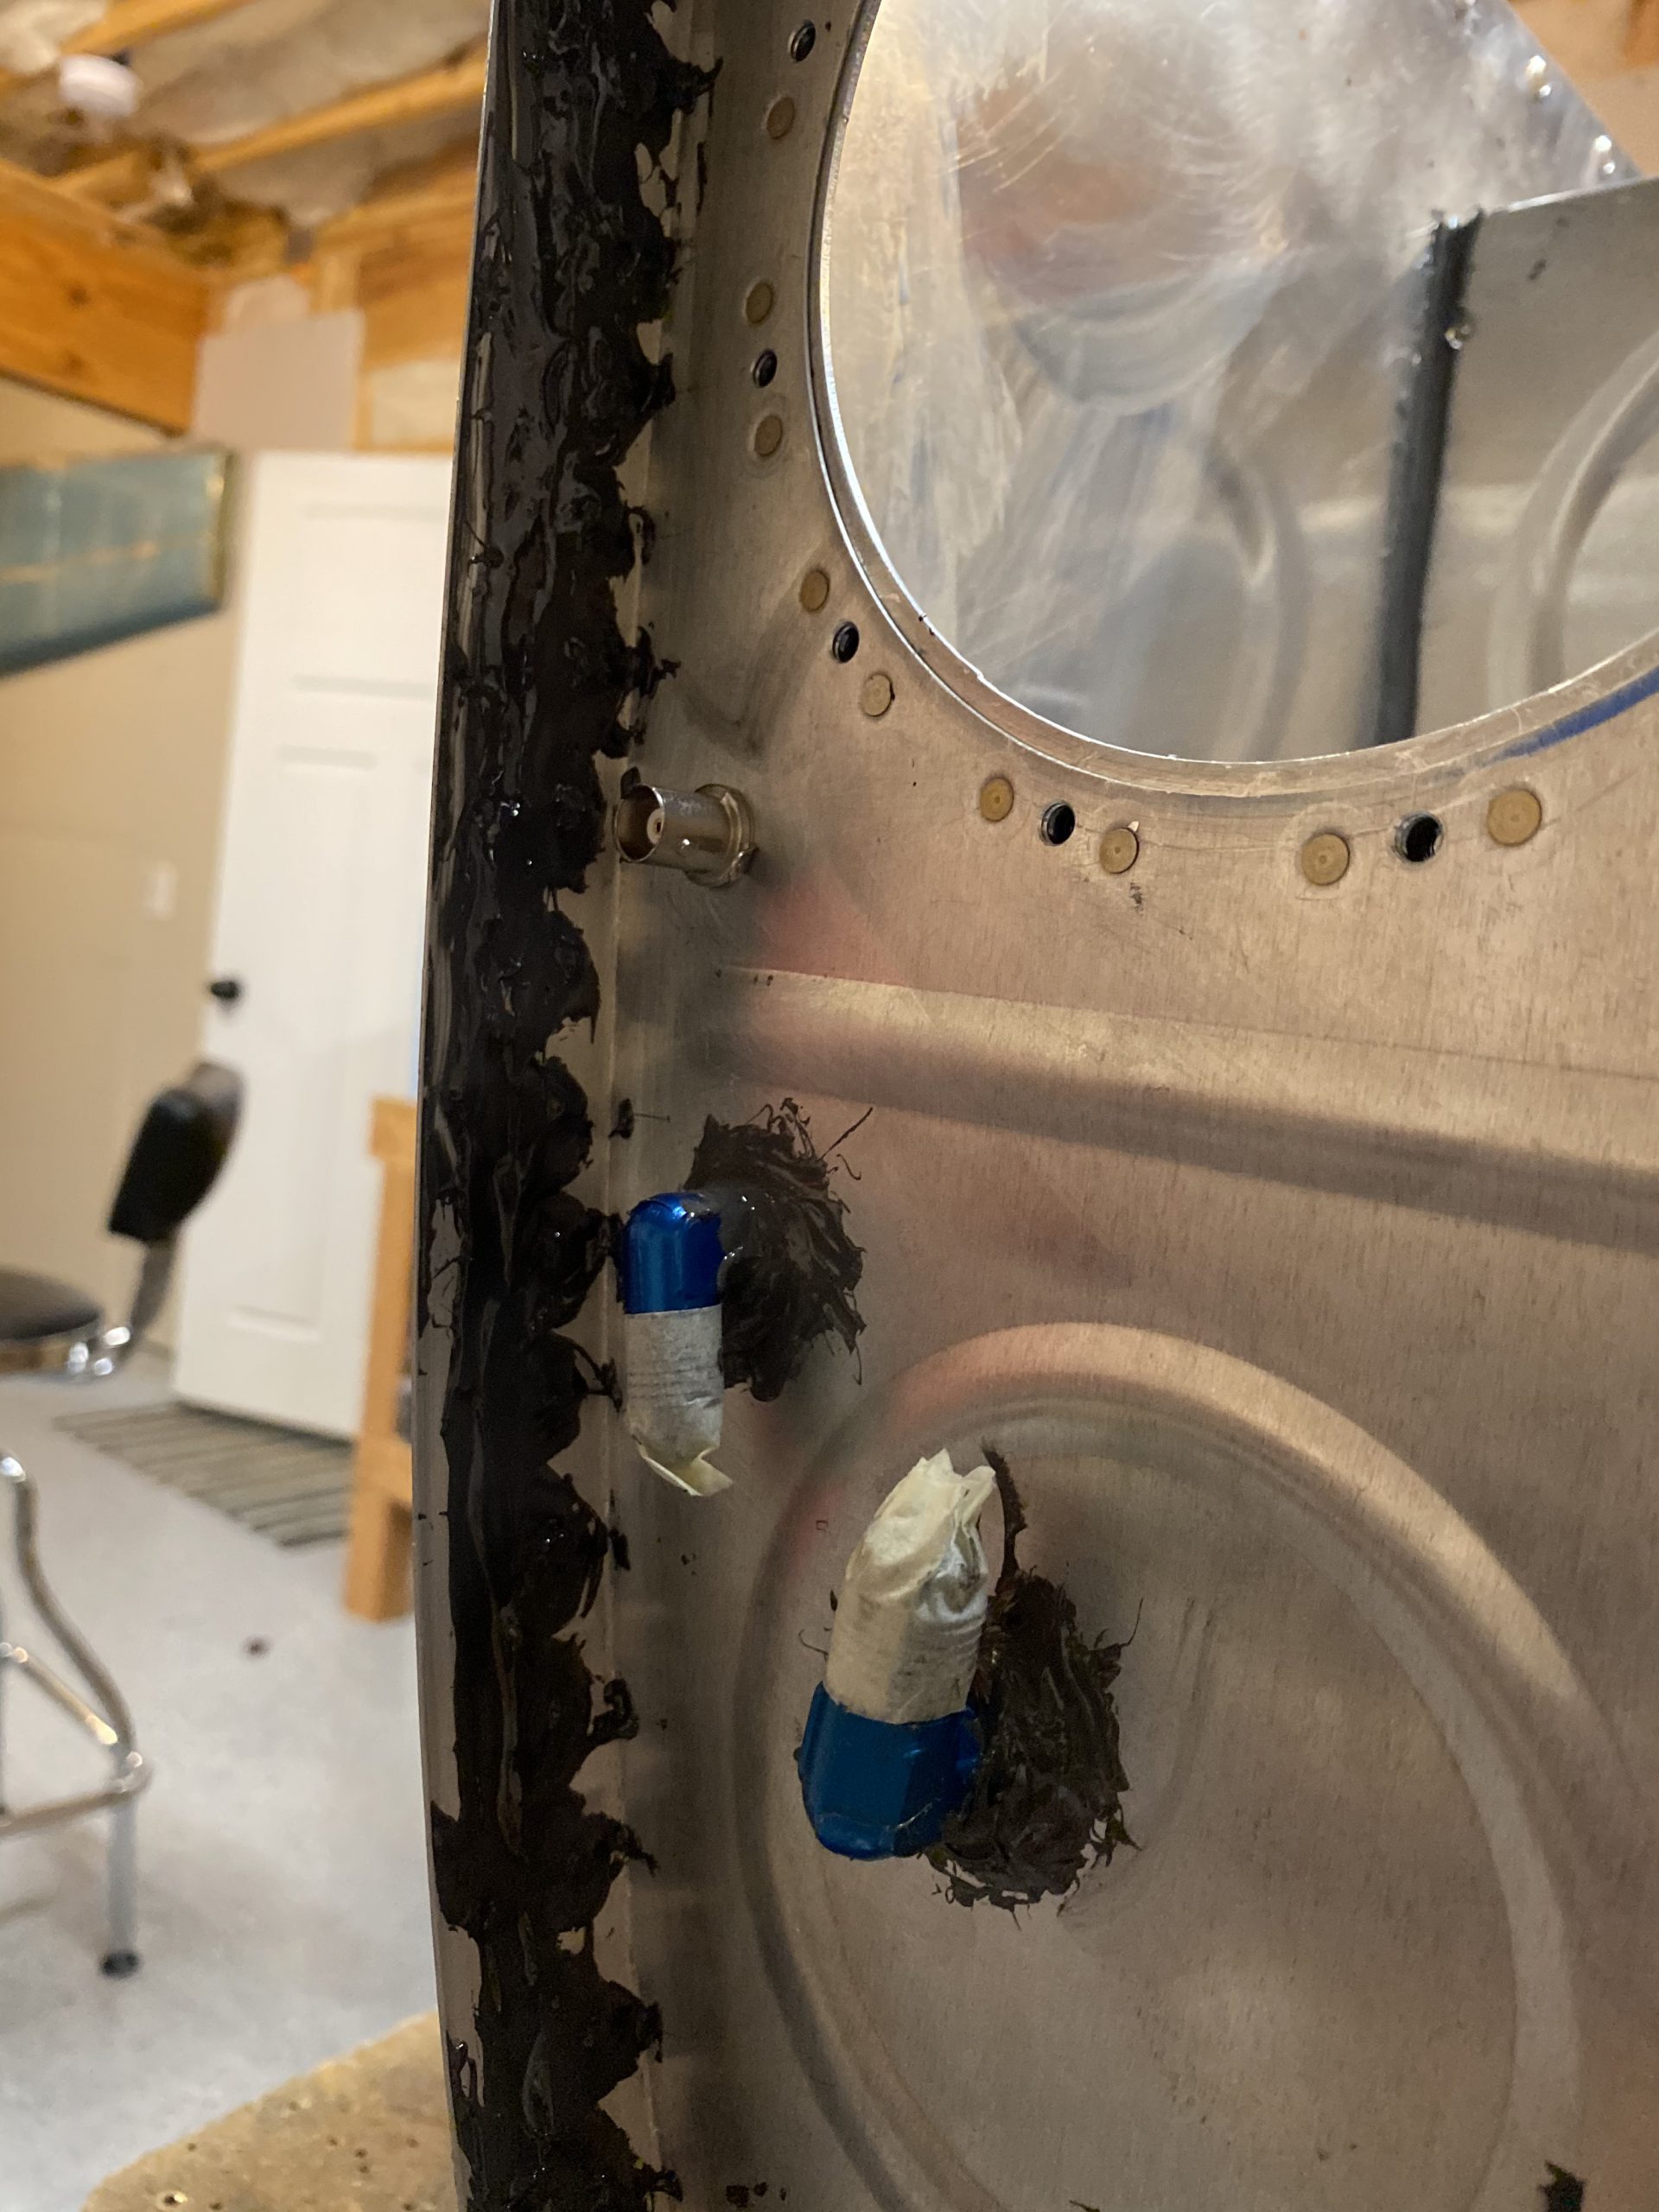
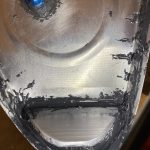
I am also running VERY low on sealant. I bought the quart kit, but I barely have any left! I know I am overusing this stuff, but I’d much rather have a leak free tank. I ordered another quart from Van’s, hopefully it will be here this week. However, I thought I might have enough to get the inboard rib sealed and riveted, and maybe enough to install the access plate. So, I grabbed the can and was able to scrape out enough sealant from both containers for about 80 grams worth, which should give me plenty for the rib, filets, dollops and access plate. After getting it all mixed up, I buttered the flanges of the rib, making sure to put some extra sealant around the nose, and slipped the rib into place, clecoing every hole.
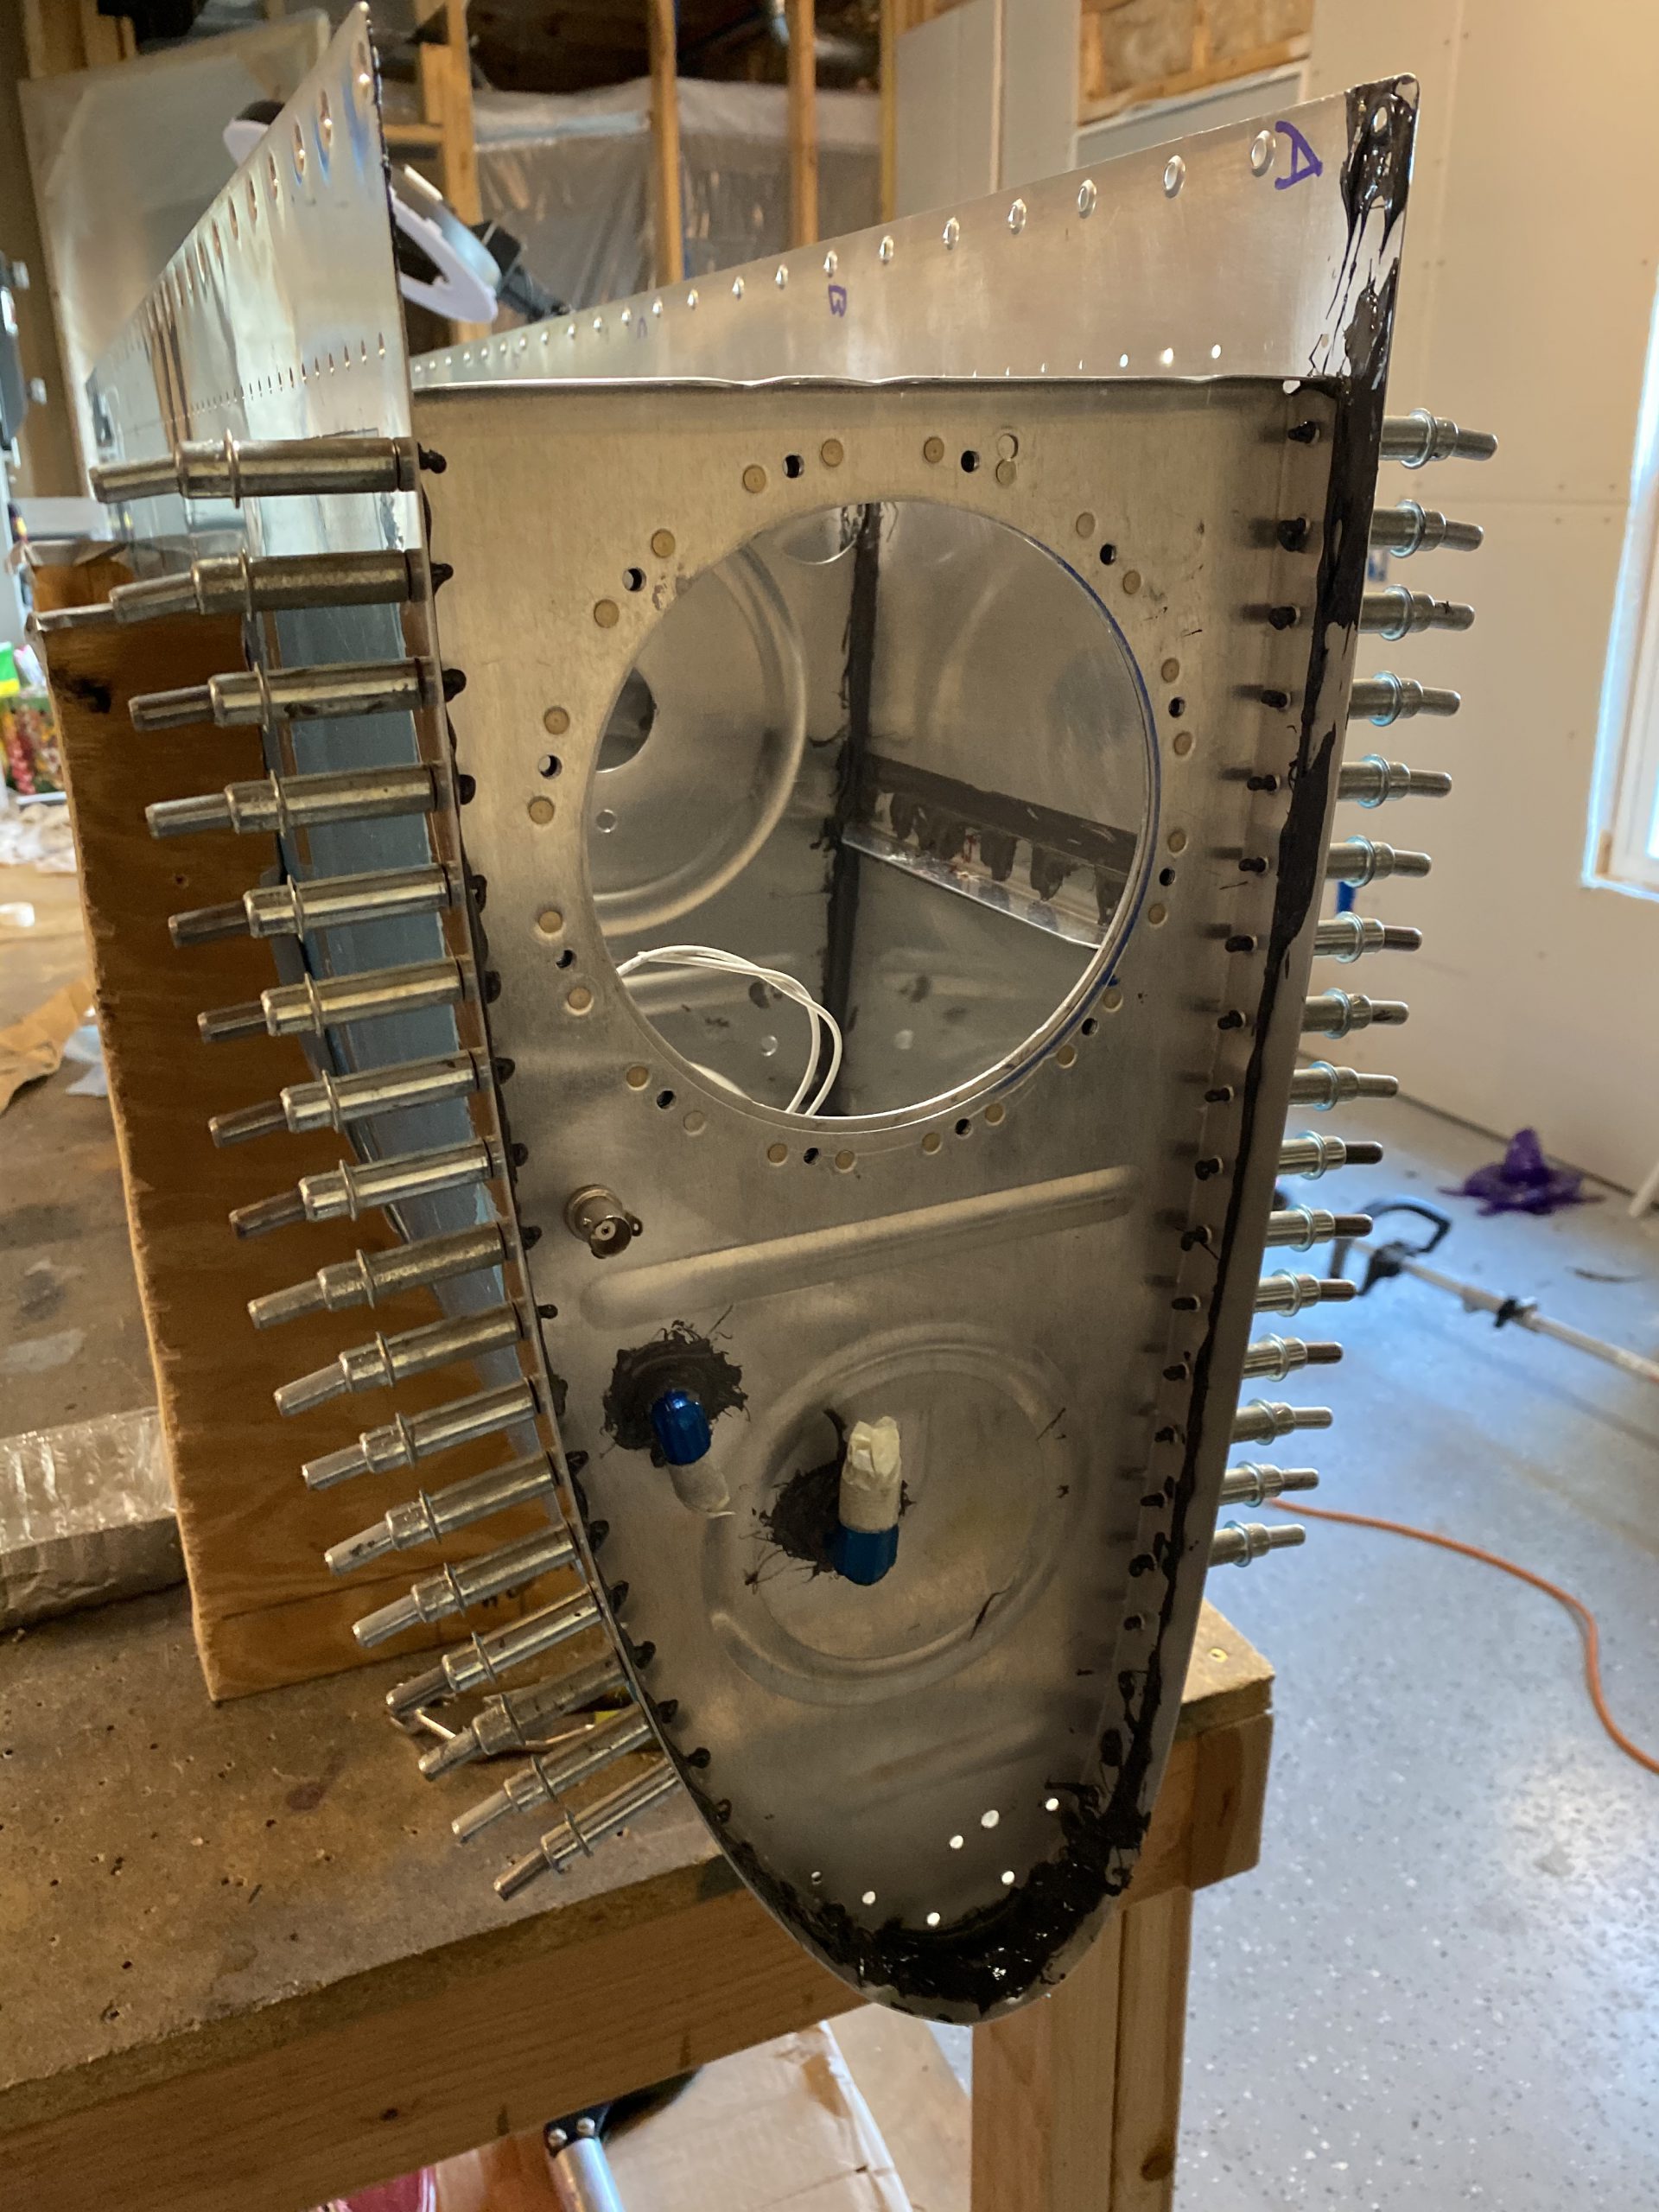
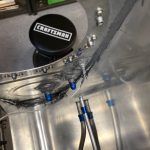
After I had all the holes clecoed, and the rib fully secured, I needed to fit the T-410 and T-405 to the nose of the rib and get it riveted. But first, I have to squeeze the few rivets around the ribs nose / leading edge. Once I put the T-405 mounting bracket angle on, I won’t be able to get to the rivets around the nose, there won’t be enough clearance. So, I got my squeezer and set the first half-dozen or so rivets on both the top and bottom of the leading edge. You can see below the missing clecos where I set the rivets.
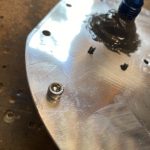
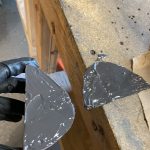
Next up was to butter up the T-405 and T-410 with some sealant and cleco them in place on the nose of the rib for riveting. This was a messy, sticky job, and I actually needed to run a 1/8″ drill bit in the holes to clean the holes a little bit more. It didn’t take much, but it did need it. Possibly too much sealant squished into the holes making it hard to get the clecos and rivets in?
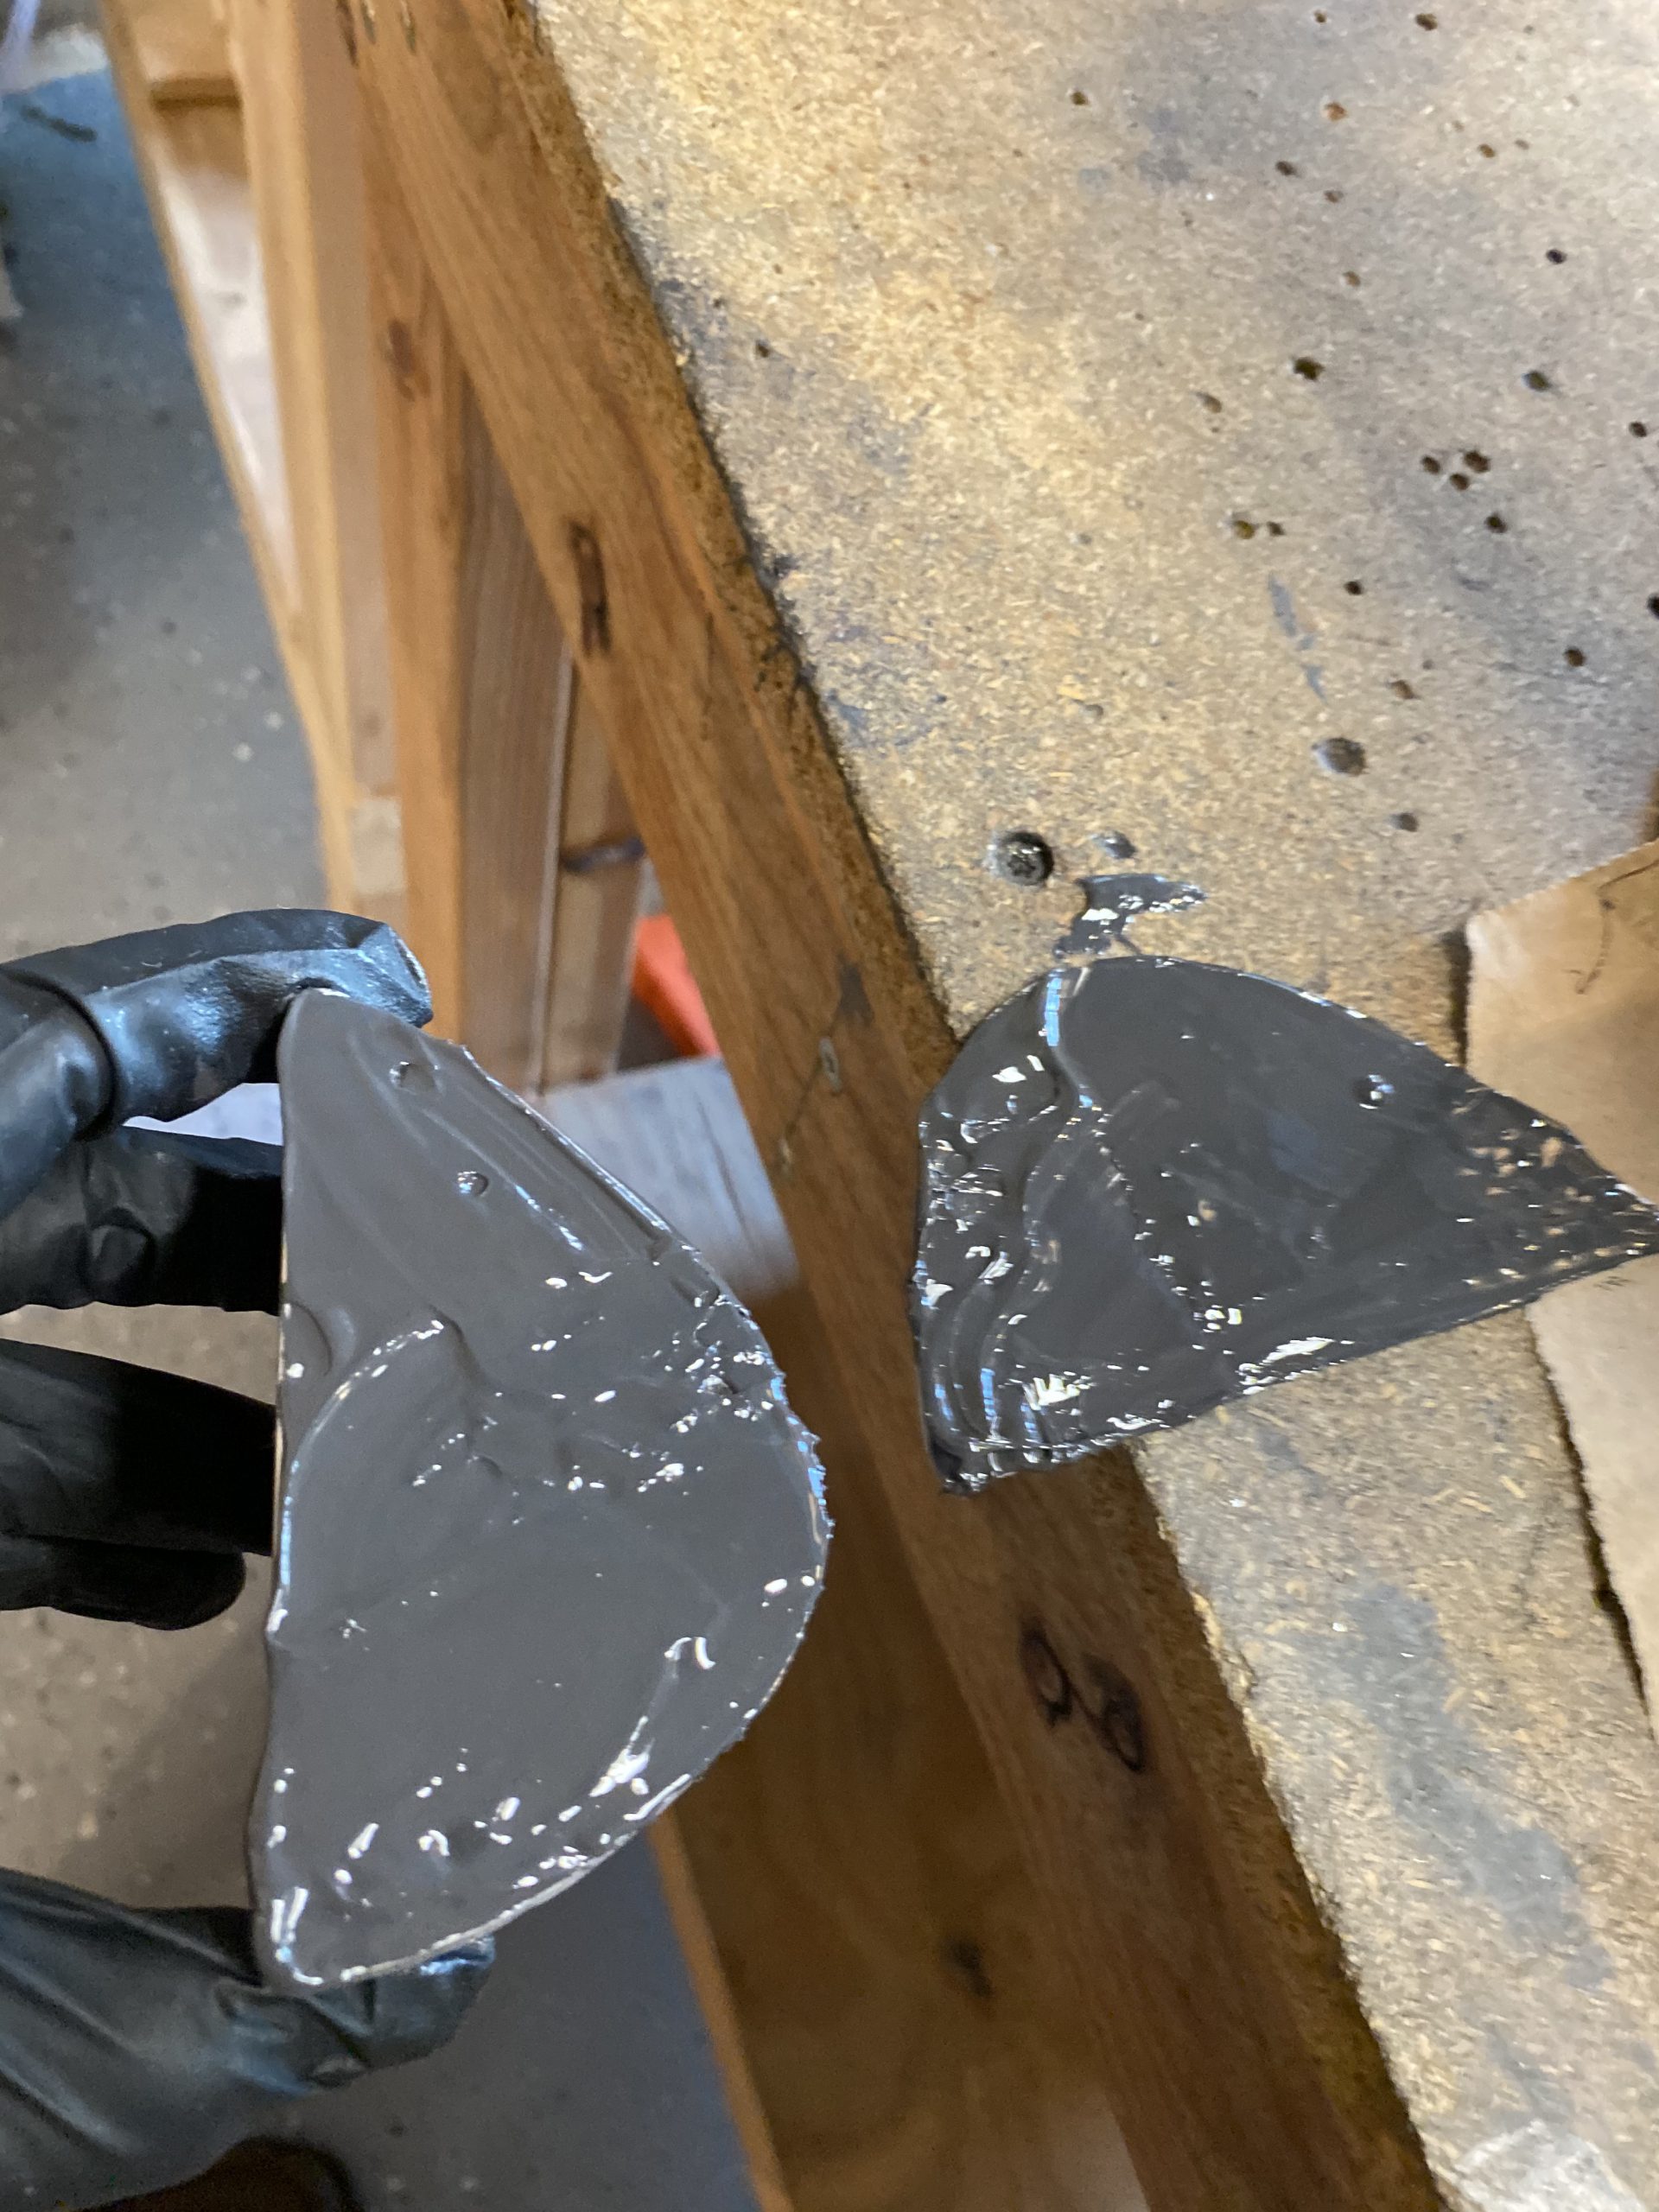
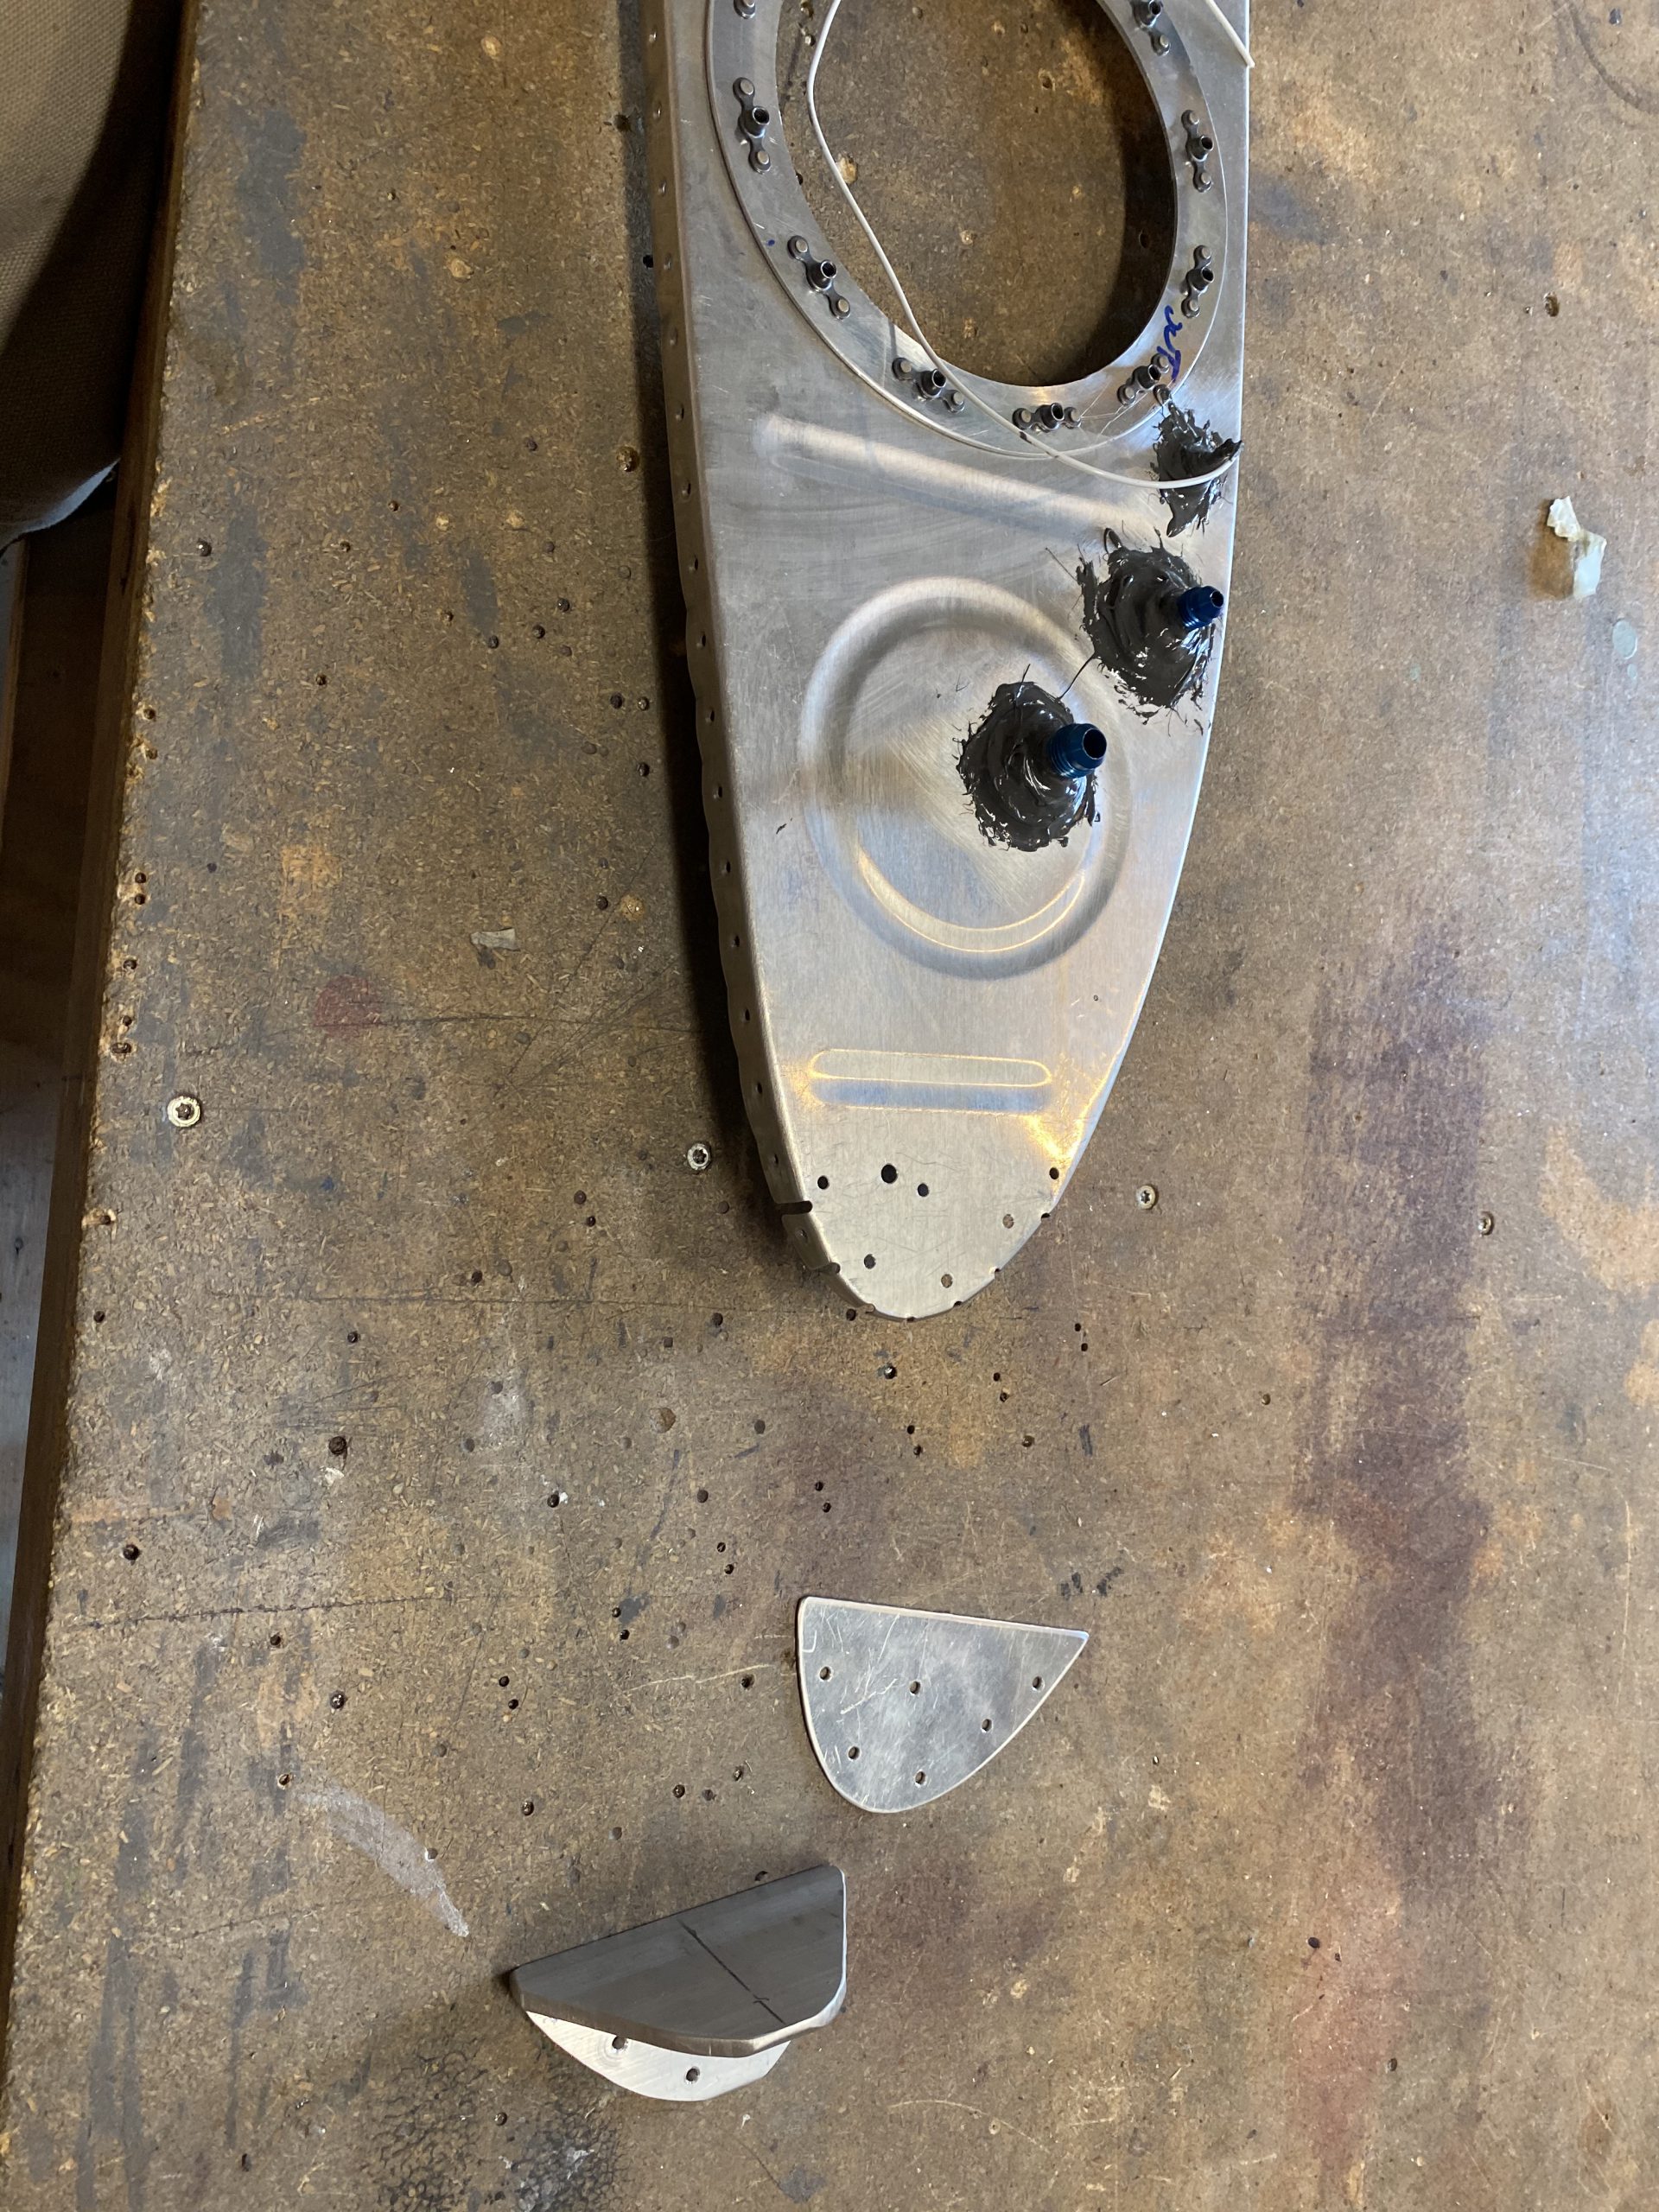
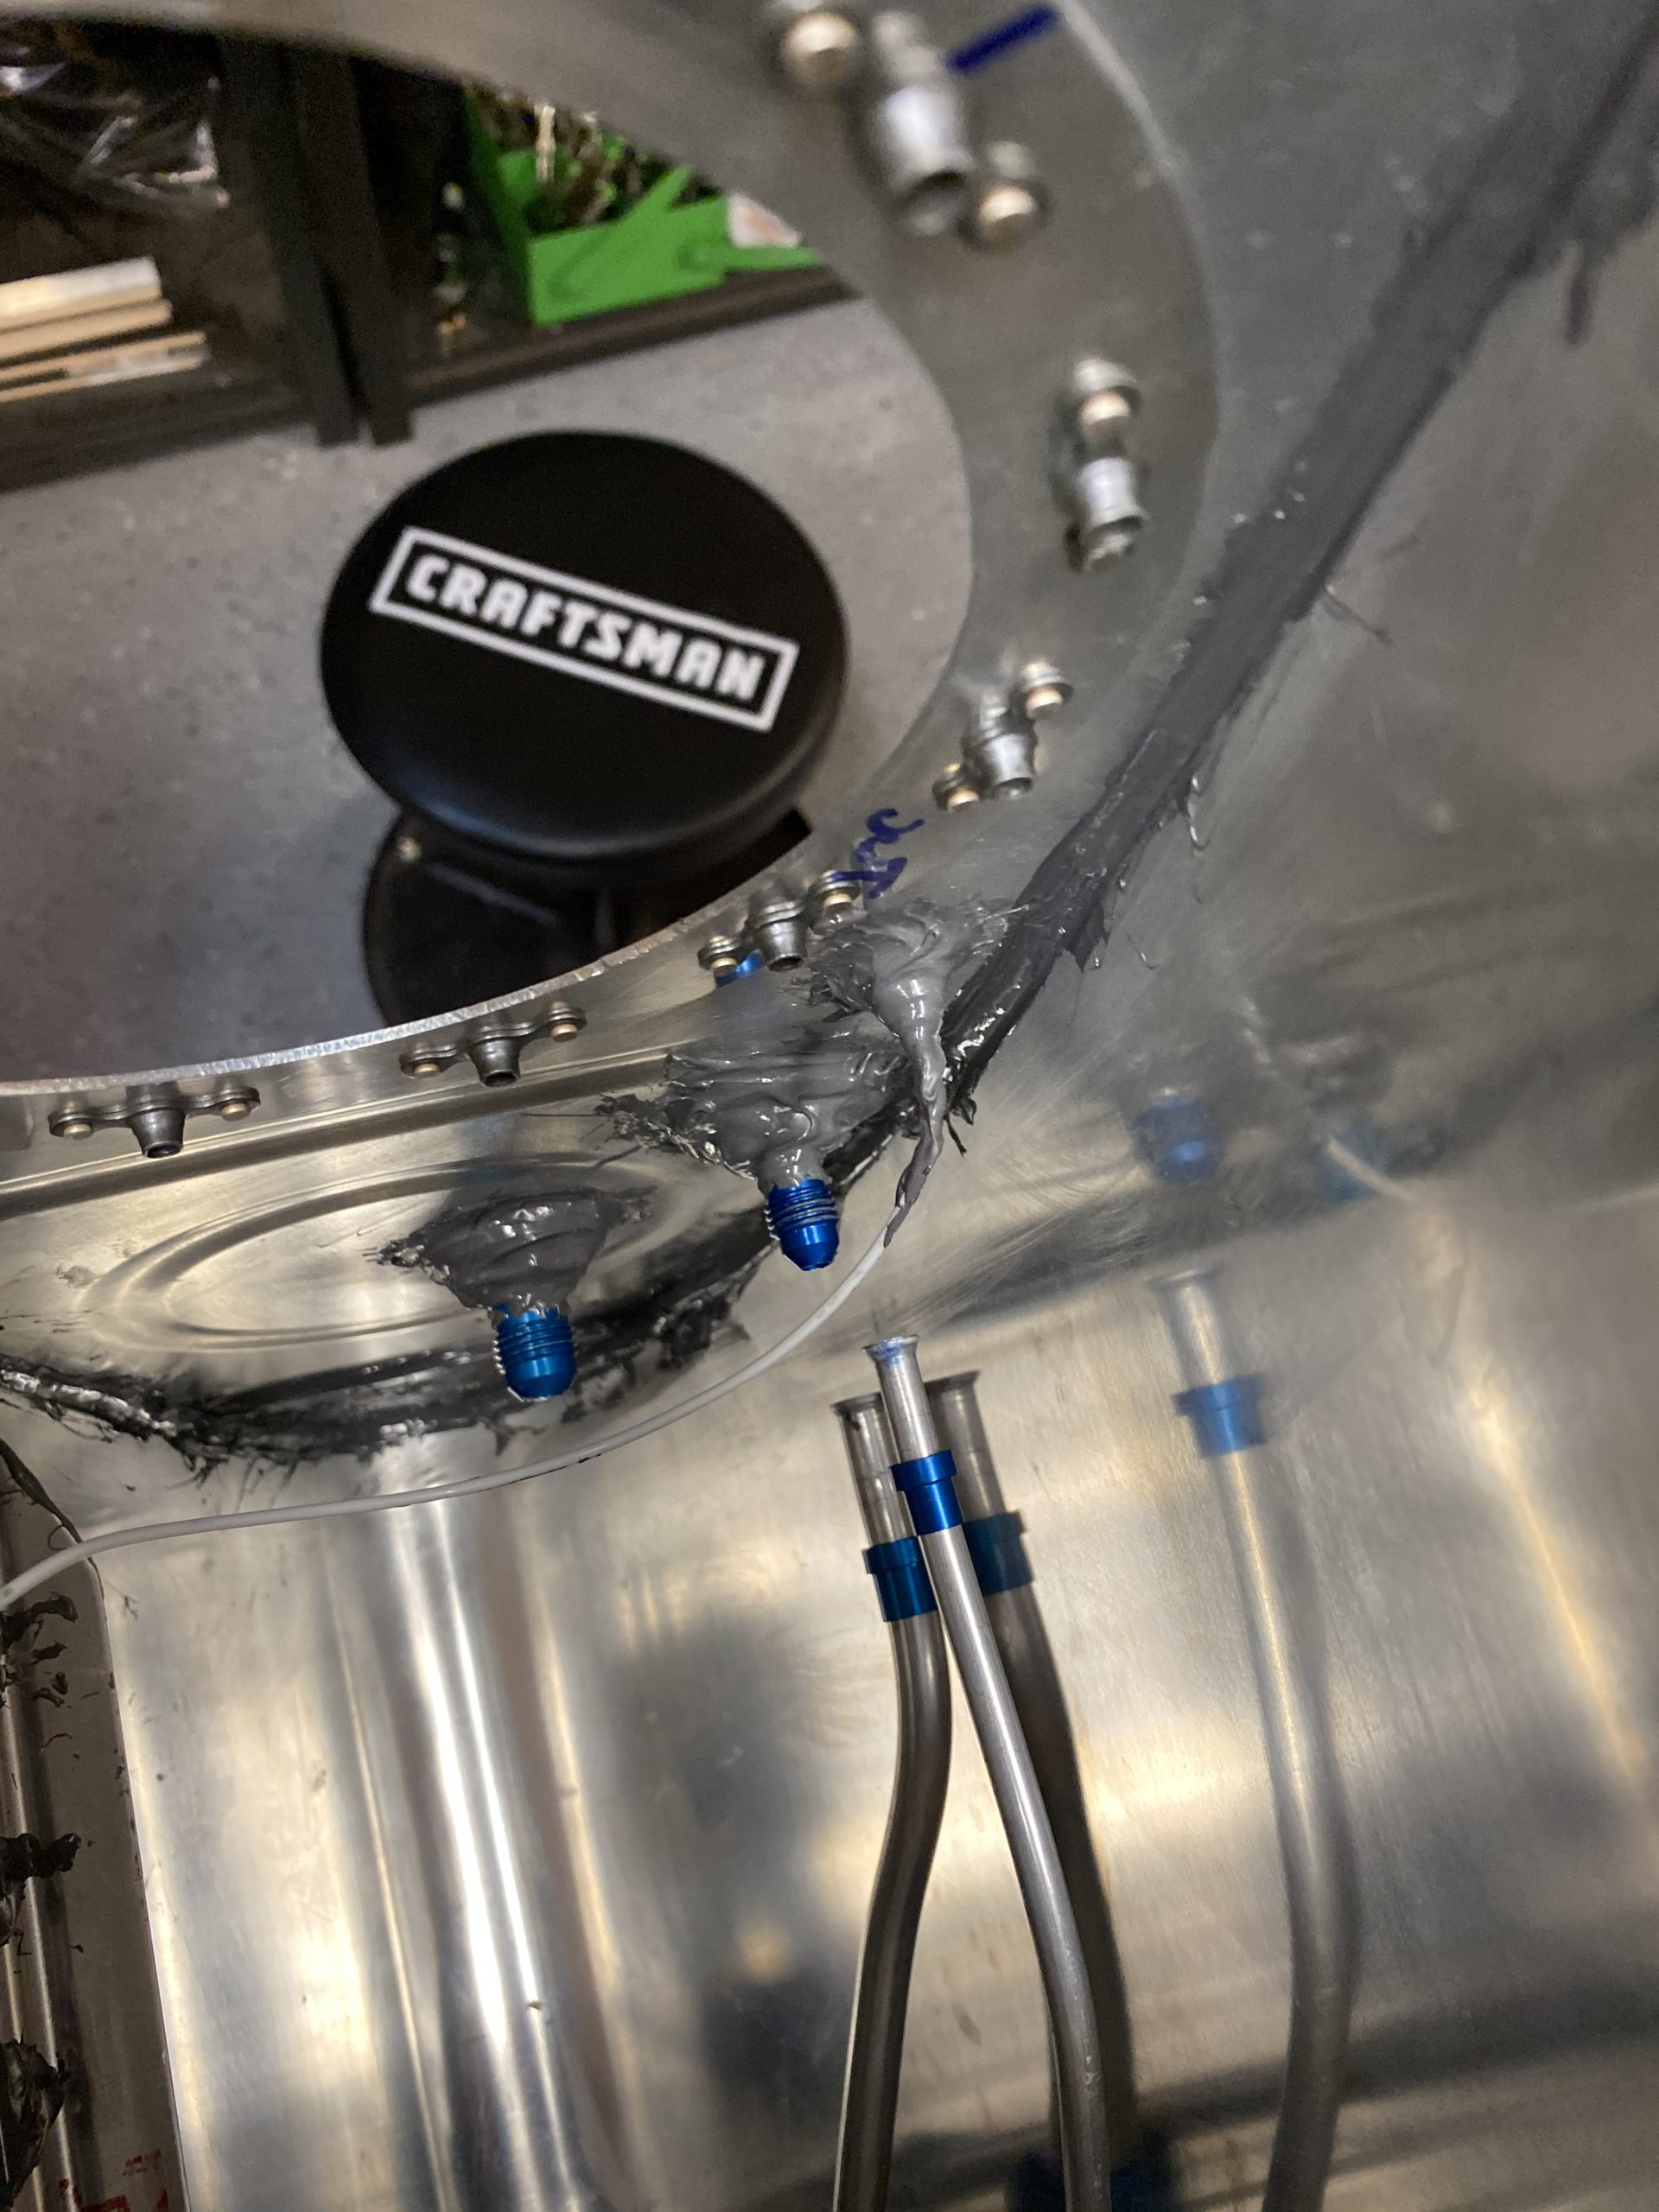
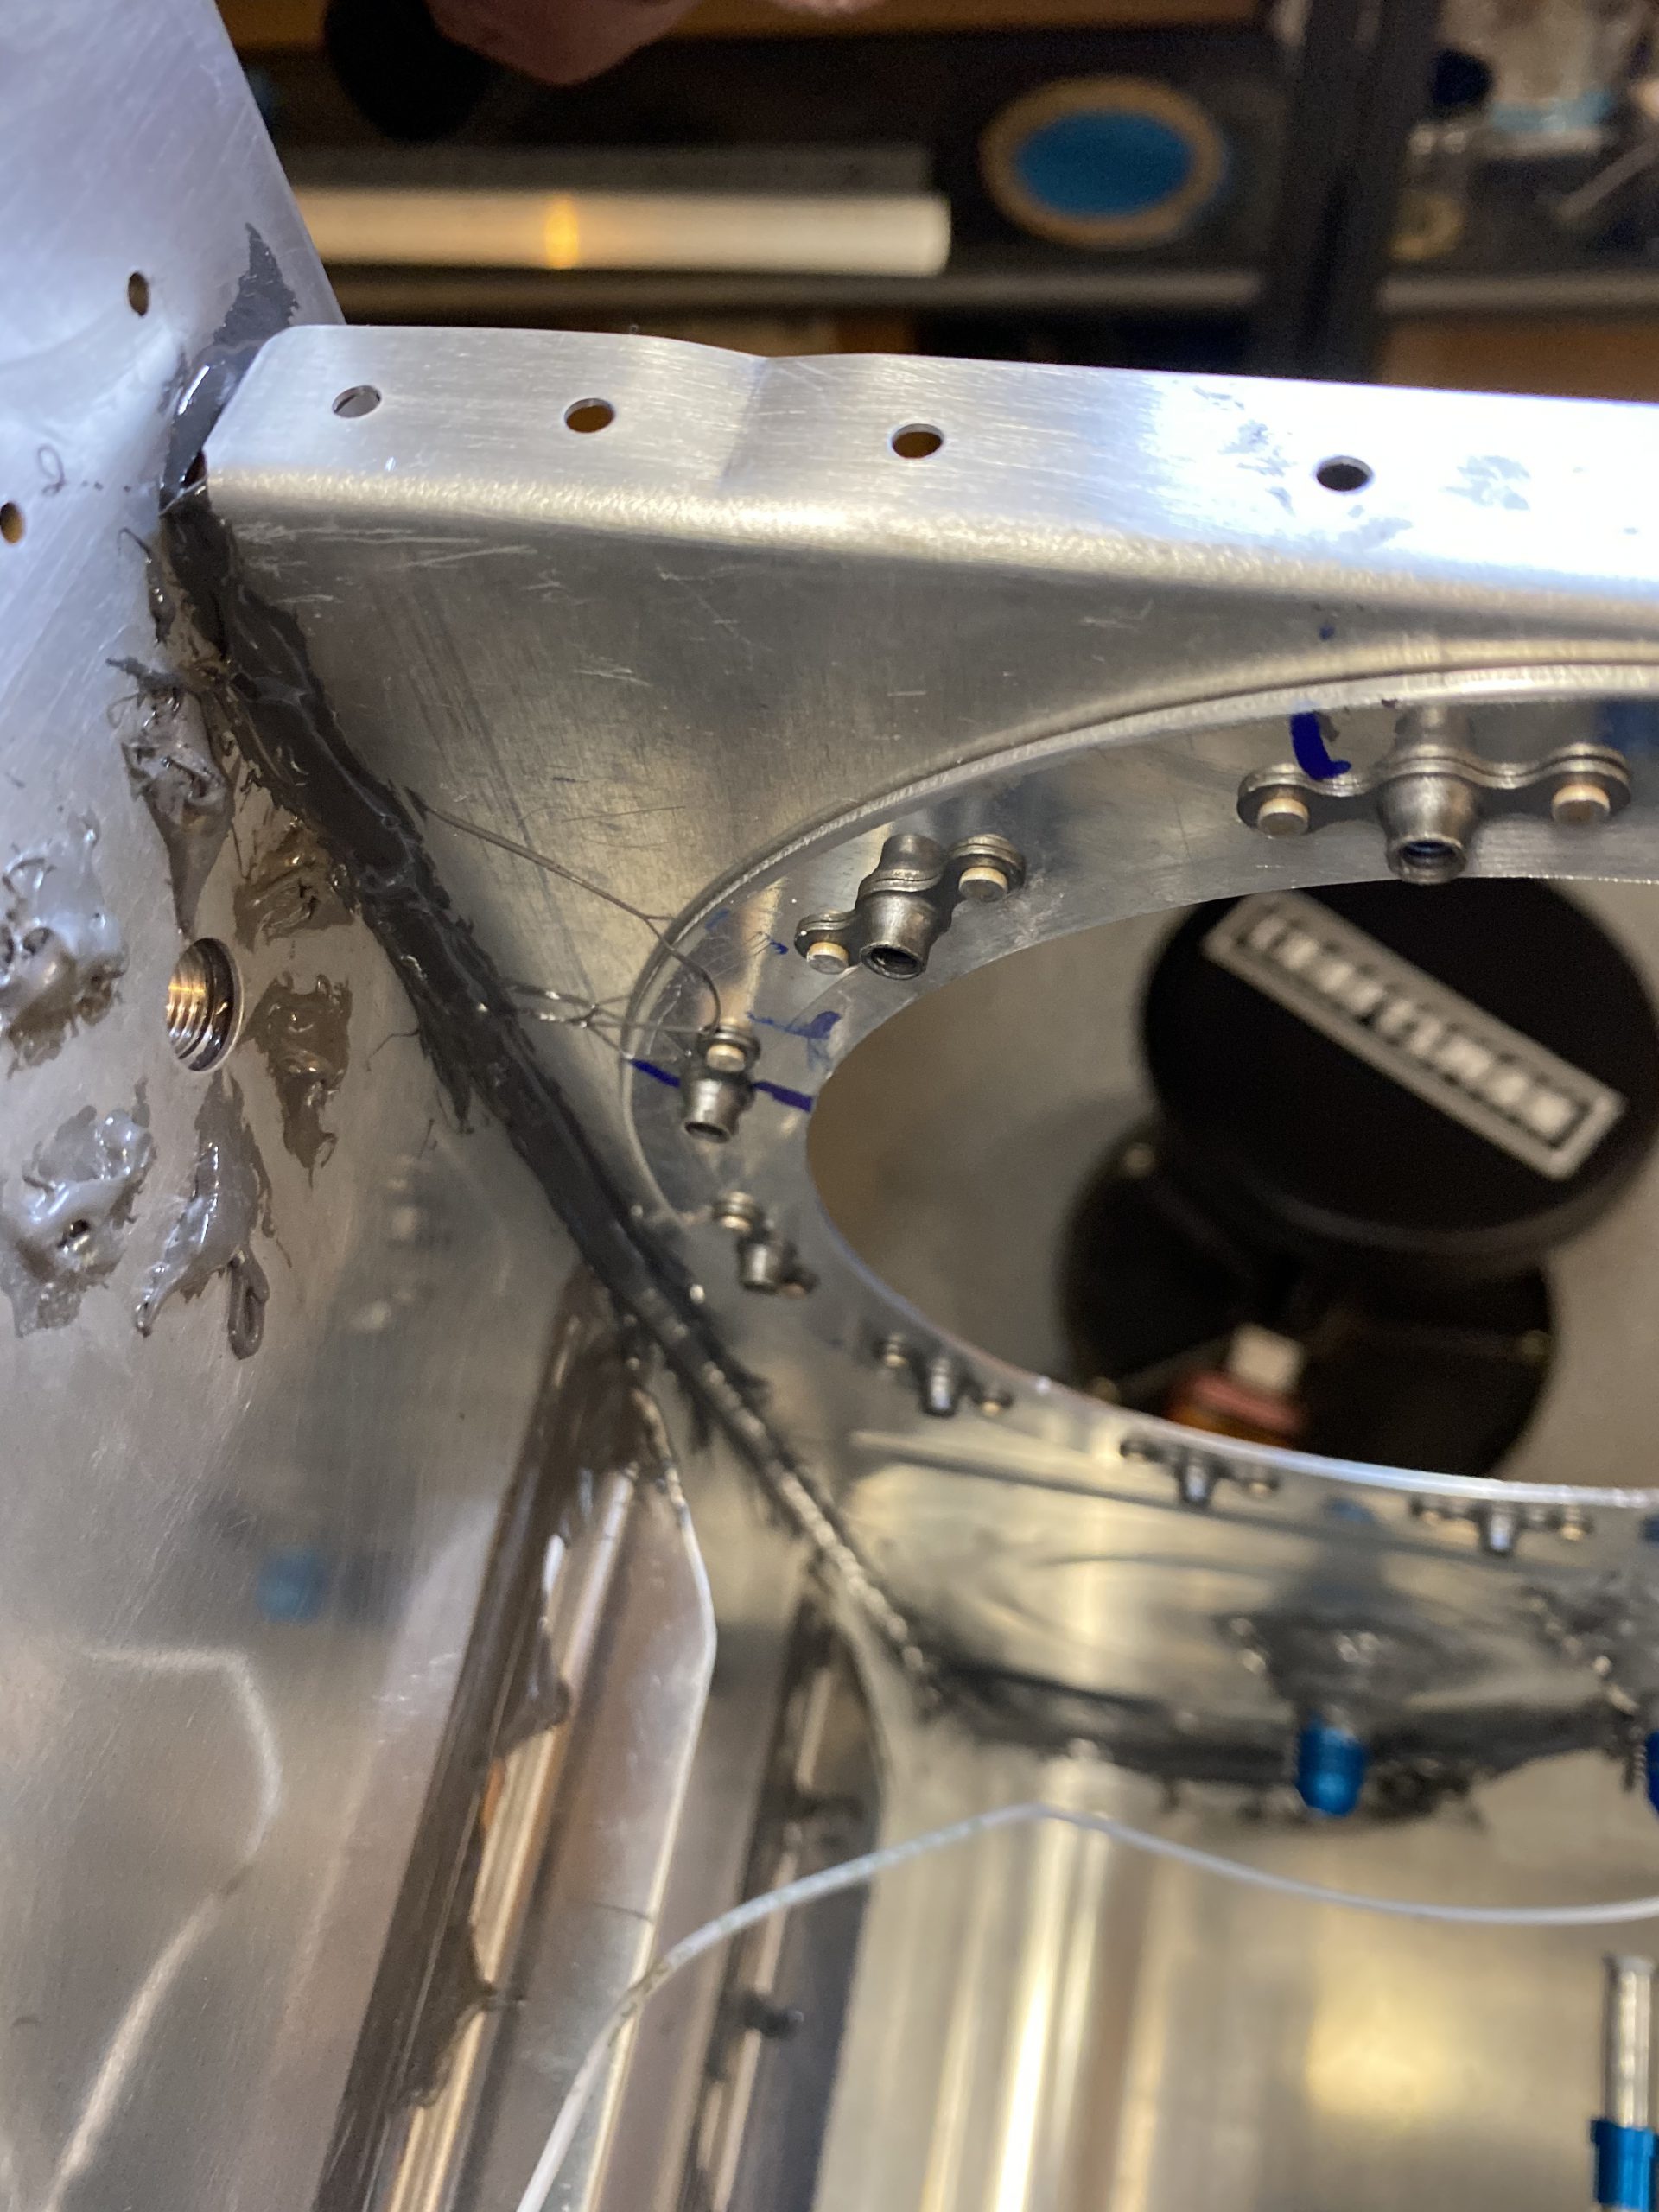
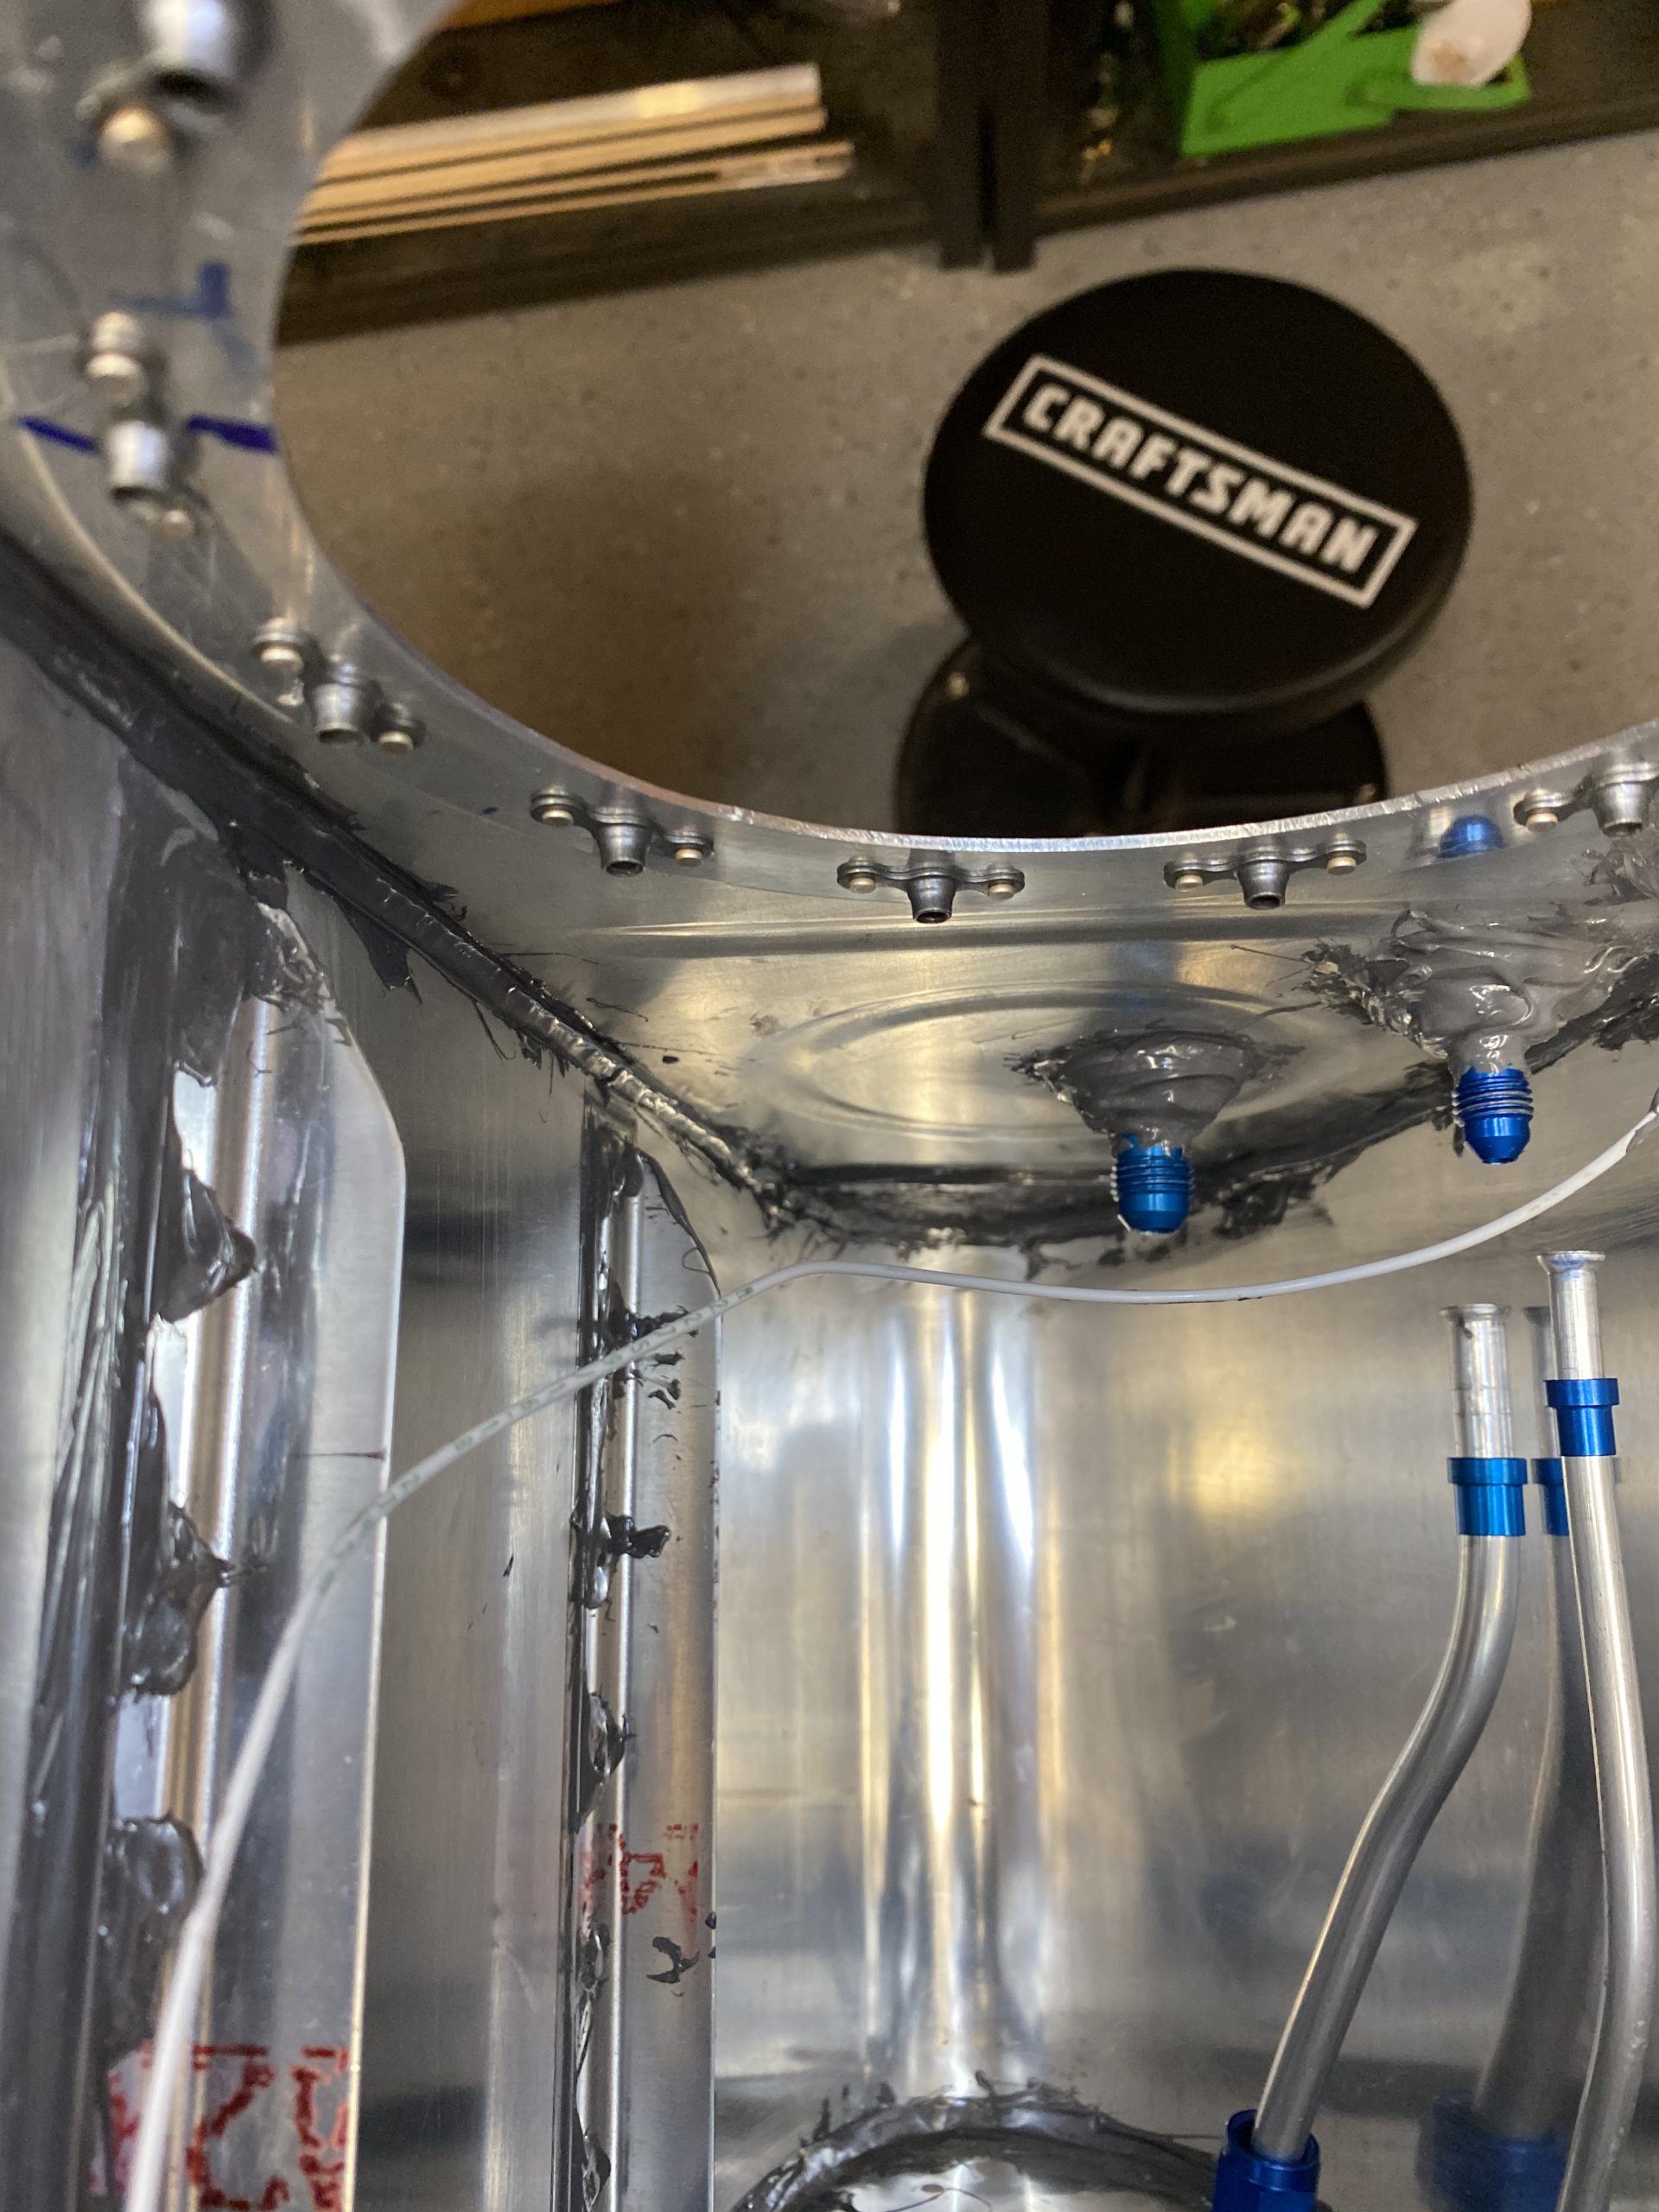
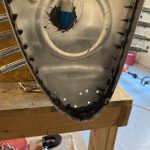
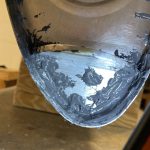
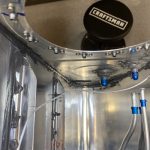
I didn’t get many more photos of the work at this point, my gloves were covered in sealant. But it went pretty easy. I clecoed on the T-410 and T-405 into place, then used the called for AN470AD4-7 rivets. I had to buck these rivets with a gun and bucking bar, but they actually set really easily. You can see in the time lapse video in this post, I had to get creative with some clamps to hold the jig down to the bench to make it easy to rivet. Once I had those riveted, I made nice thick filets all around the nose on both inside and outside of the tank to get a really good seal. I also dolloped some sealant on the rivet heads and tails.

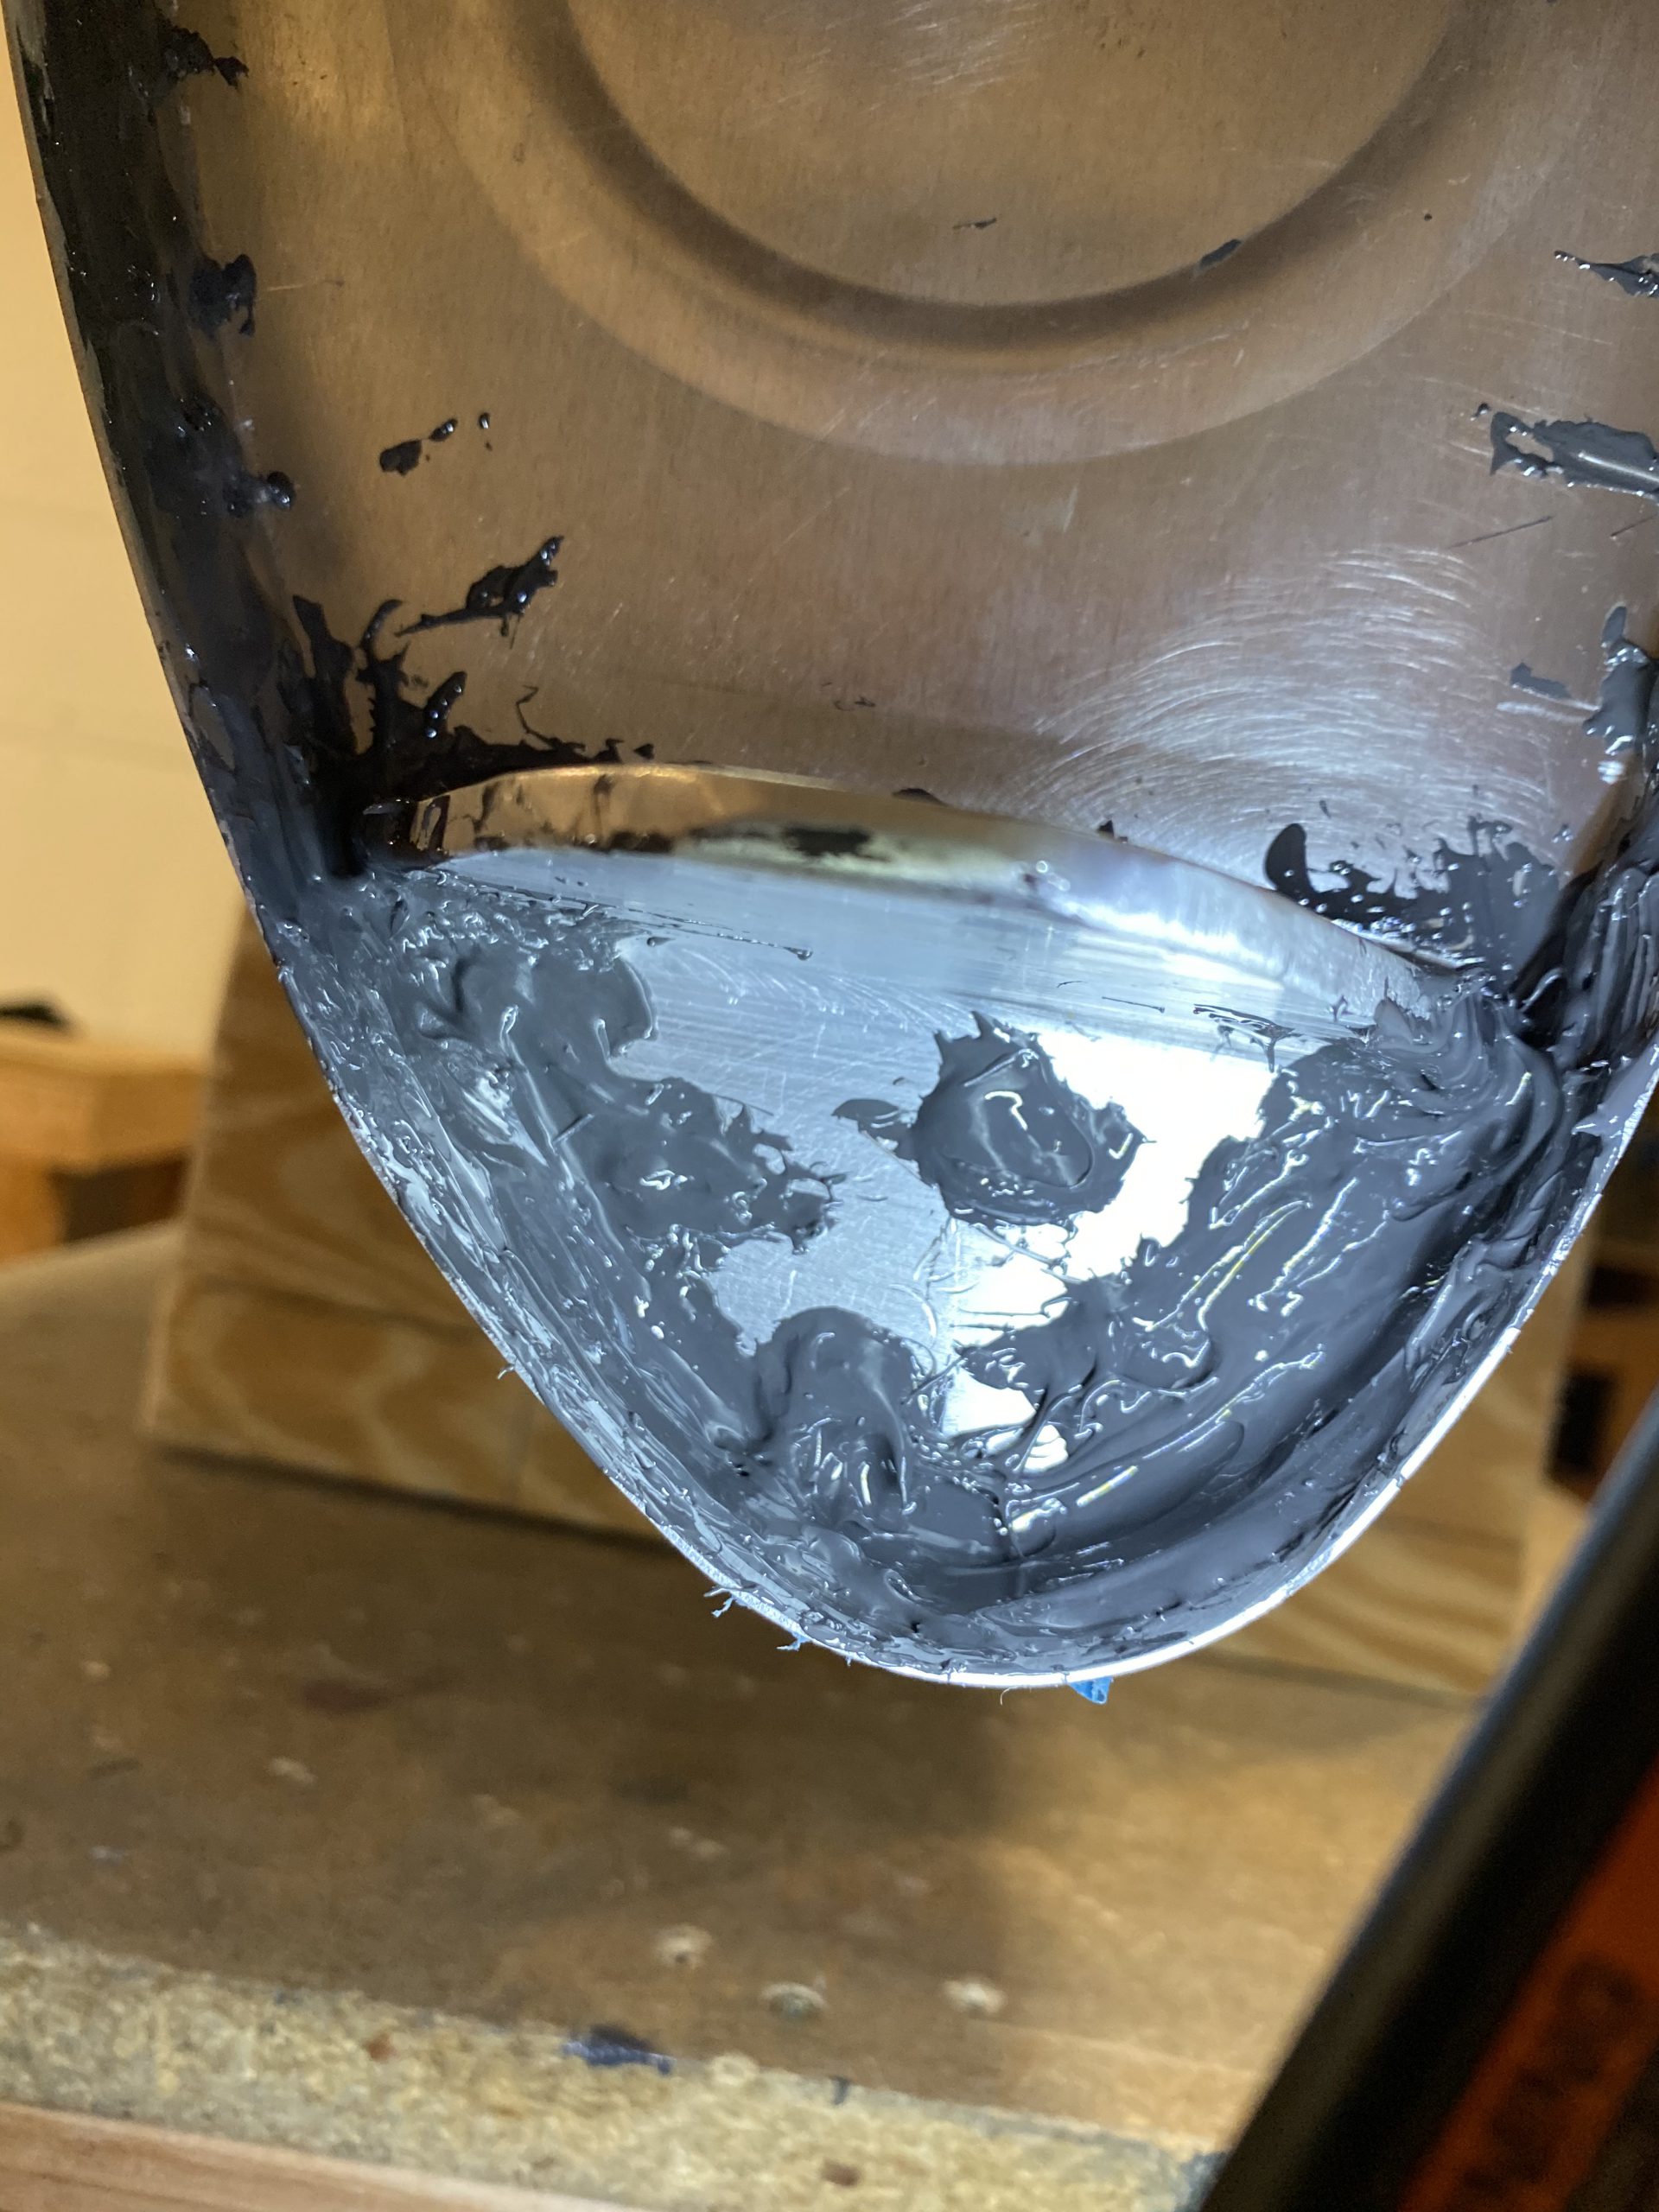

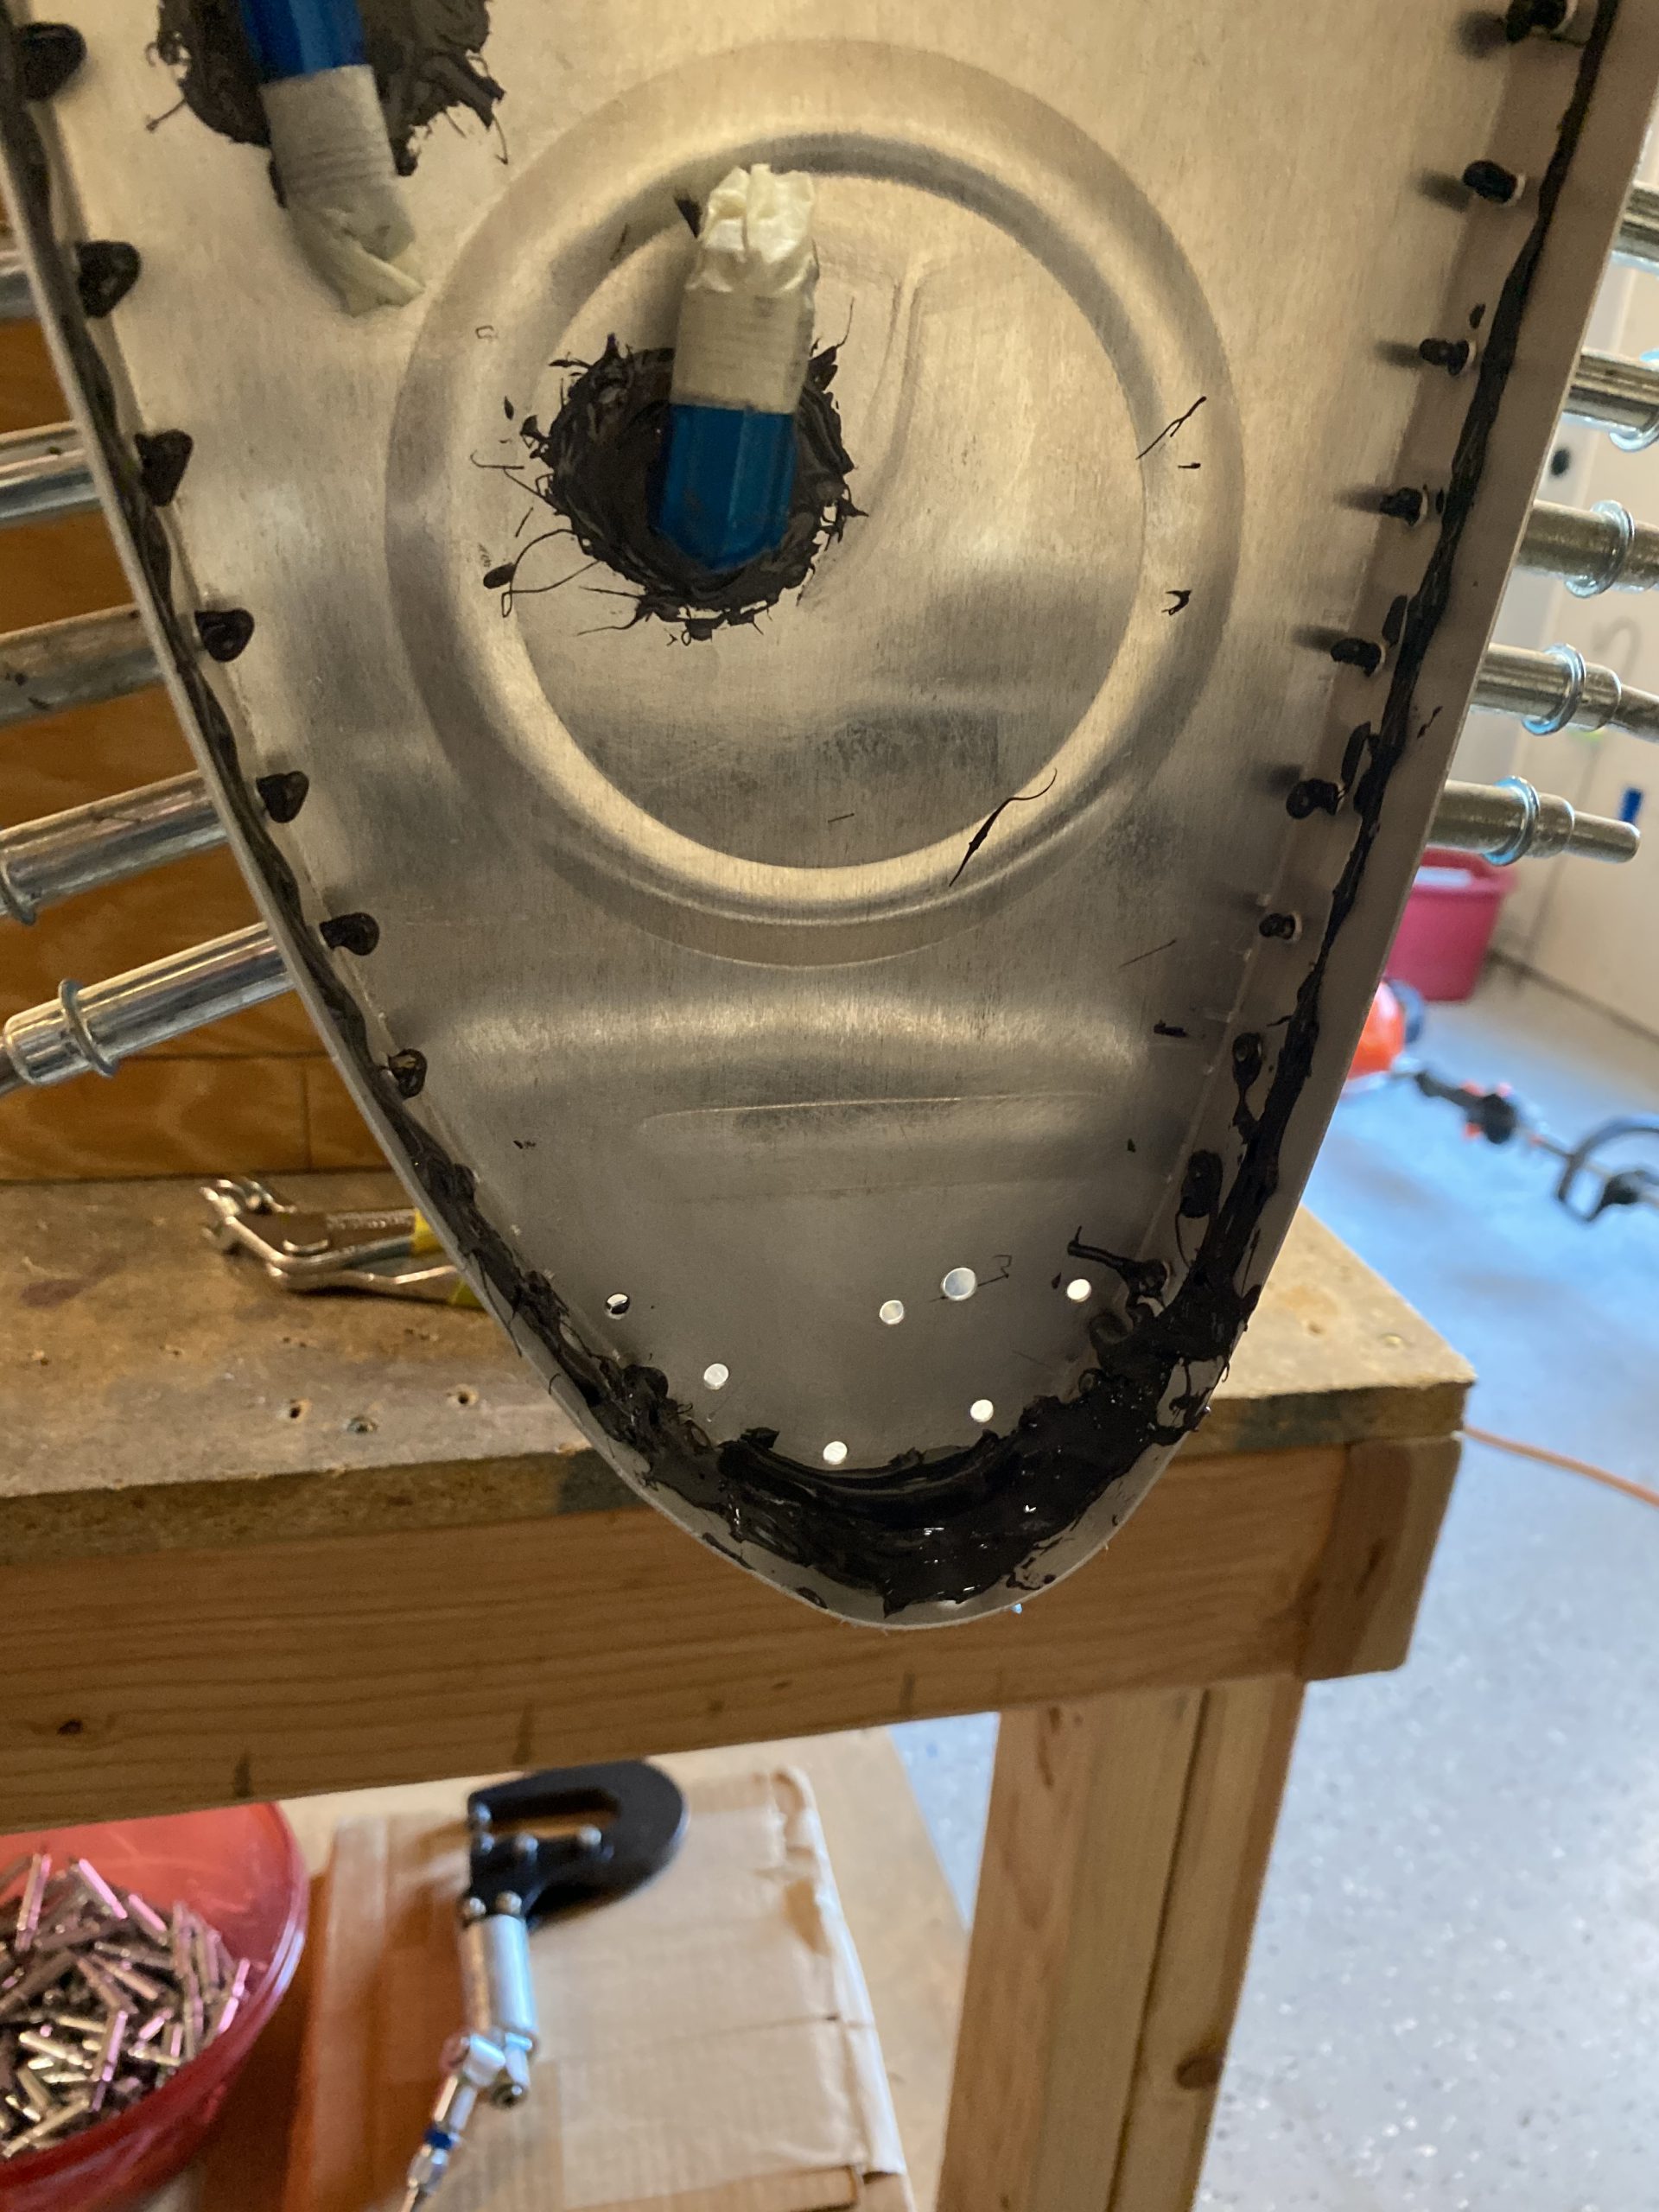
Finally, all that was left was to make some really nice filets on the inside and outside edges of the flanges, and then dollop on some sealant on the rivets. I used my sealant spoon to make really nice filets. I only had to add a few tiny blobs here and there, as I had a really decent amount of smoosh-out. After I had made the filets, I used a popsicle stick to swirl sealant on the shop head of the rivets.

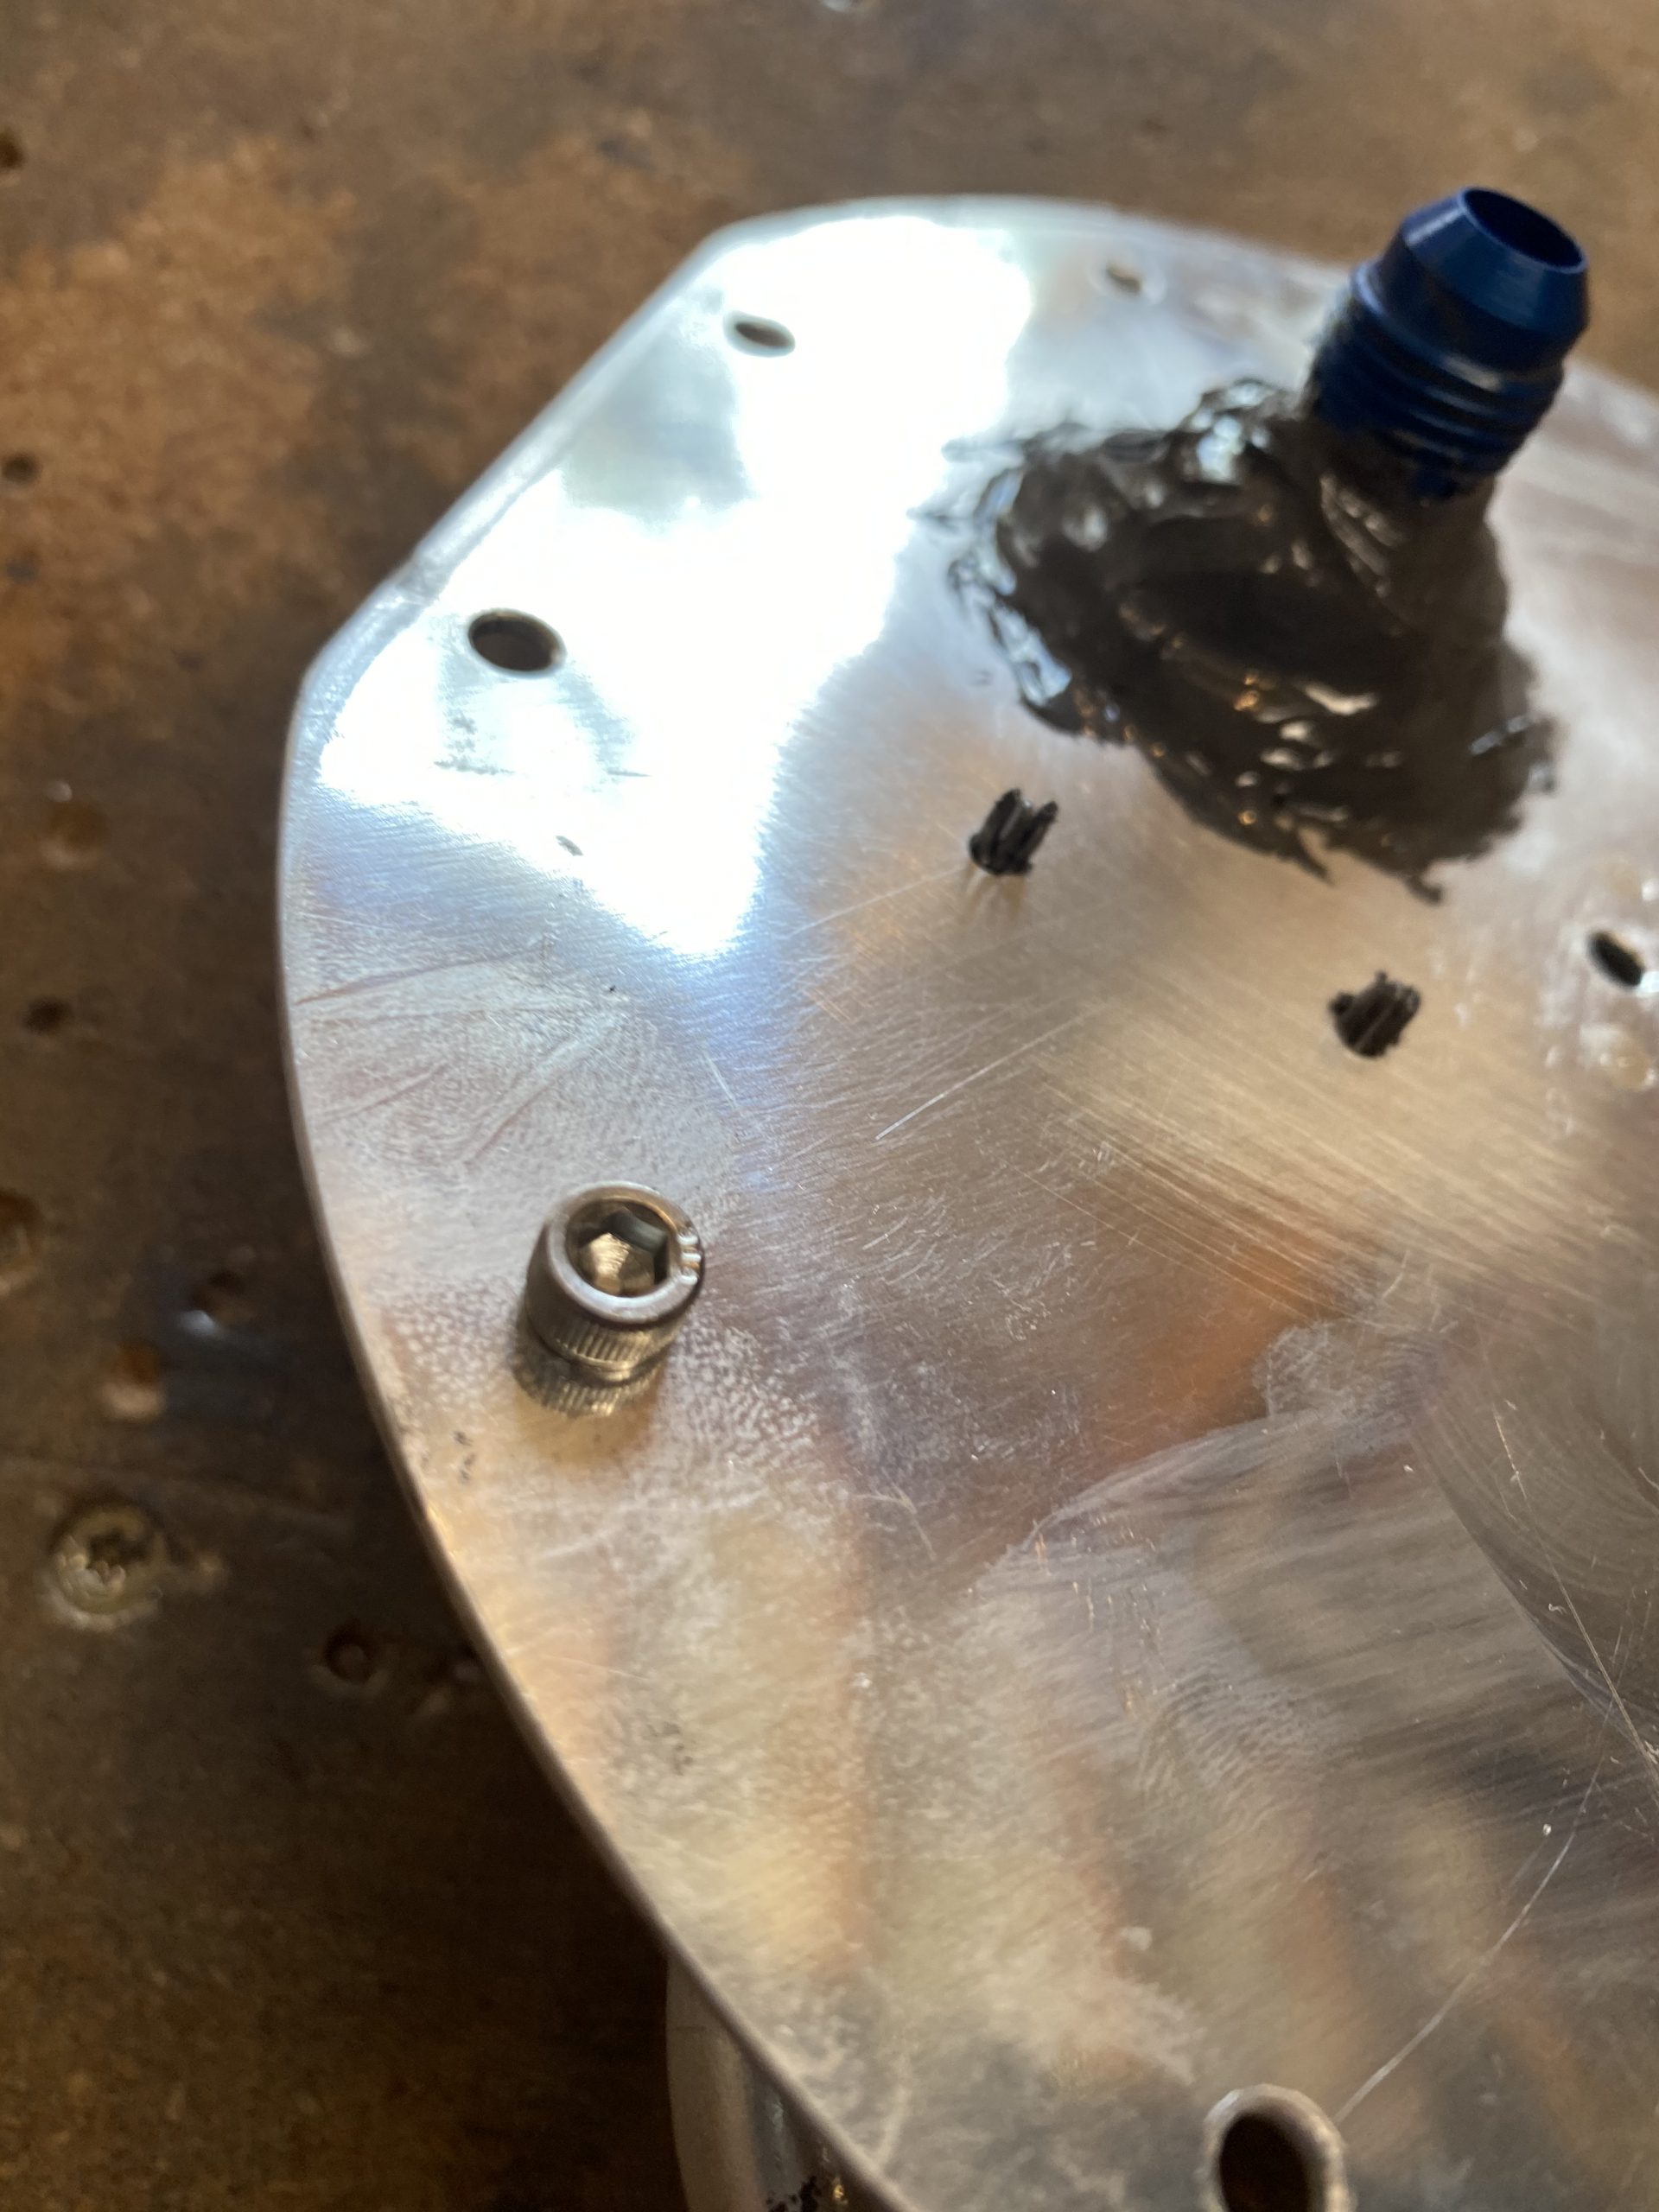
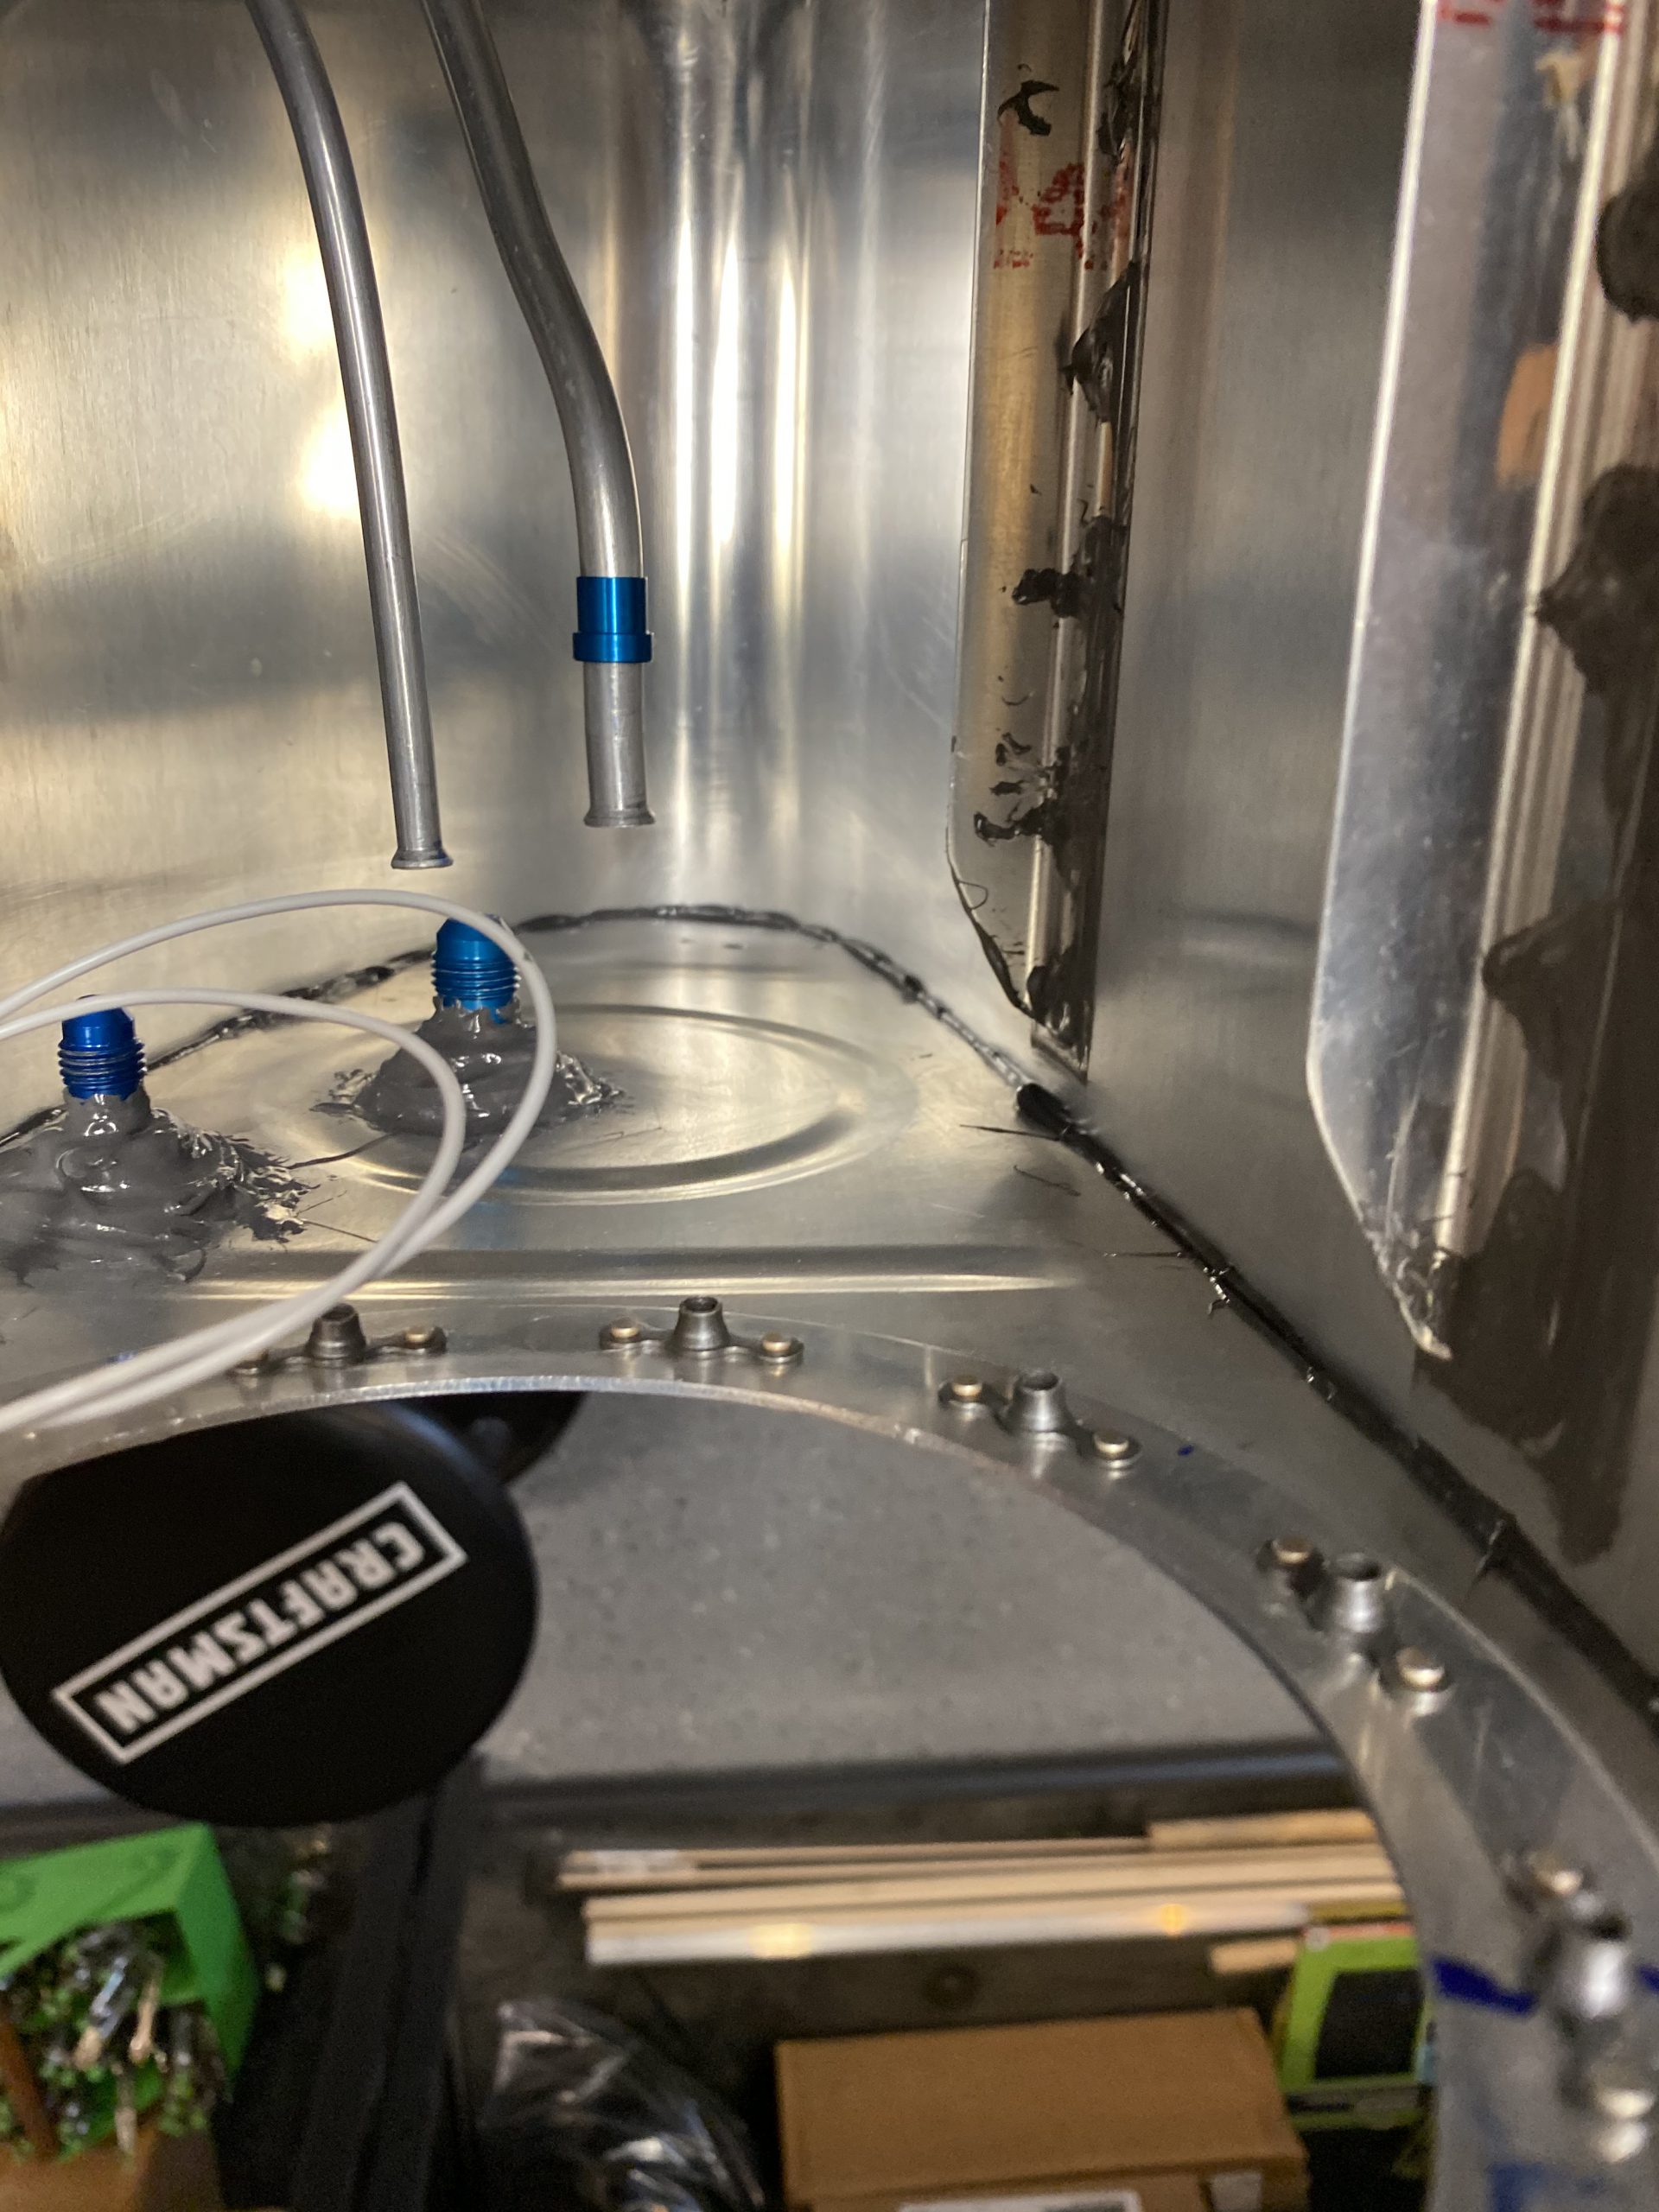
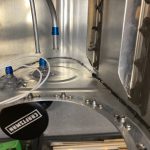
I still had a small of sealant left from my 80 grams, but I didn’t think it was enough to install and seal the access plate, and I didn’t want to come up short since I had zero sealant left. So, I used what I had left to do some “touch ups” around the inside of the tank to get a few places that looked like it needed some more. I ended up tossing a couple of grams in the trash. Oh well. Then it was time for the cleanup. I used MEK to clean up the outside of the tank skin and also get any spots where I had smeared sealant or didn’t want sealant. I am very messy with any sort of goops! I’ll let this cure overnight, and then finish up installing the other capacitive sender plate, and then install the vent and return lines to their bulkhead fittings on the tank. I’ll probably do the access plate during that session as well.
I recorded a time-lapse for this session again. I think I like doing these as they really show the build, and also help to prove that I did the work when I apply for the repairman certificate:
Google Photos Link: https://photos.app.goo.gl/2f5FHgkrVZUGduTa6
-
IMG_1894
-
IMG_1895
-
IMG_1896
-
IMG_1897
-
IMG_1898
-
IMG_1899
-
IMG_1900
-
 IMG_1901
 -
IMG_1902
-
IMG_1903
-
IMG_1904
-
IMG_1905
-
IMG_1906
-
IMG_1907
-
 IMG_1908
 -
IMG_1909


Hours Worked: 2.5