


Another quick build session. I first wanted to do a initial water leak test, but that proved to be a bad idea. Well, using the cork gasket as a temporary seal instead of sealant on the access plate proved to be a bad idea. I filled the tank up with water, and things were looking good……right to the point of the access cover. The cork gasket leaked pretty dang bad.
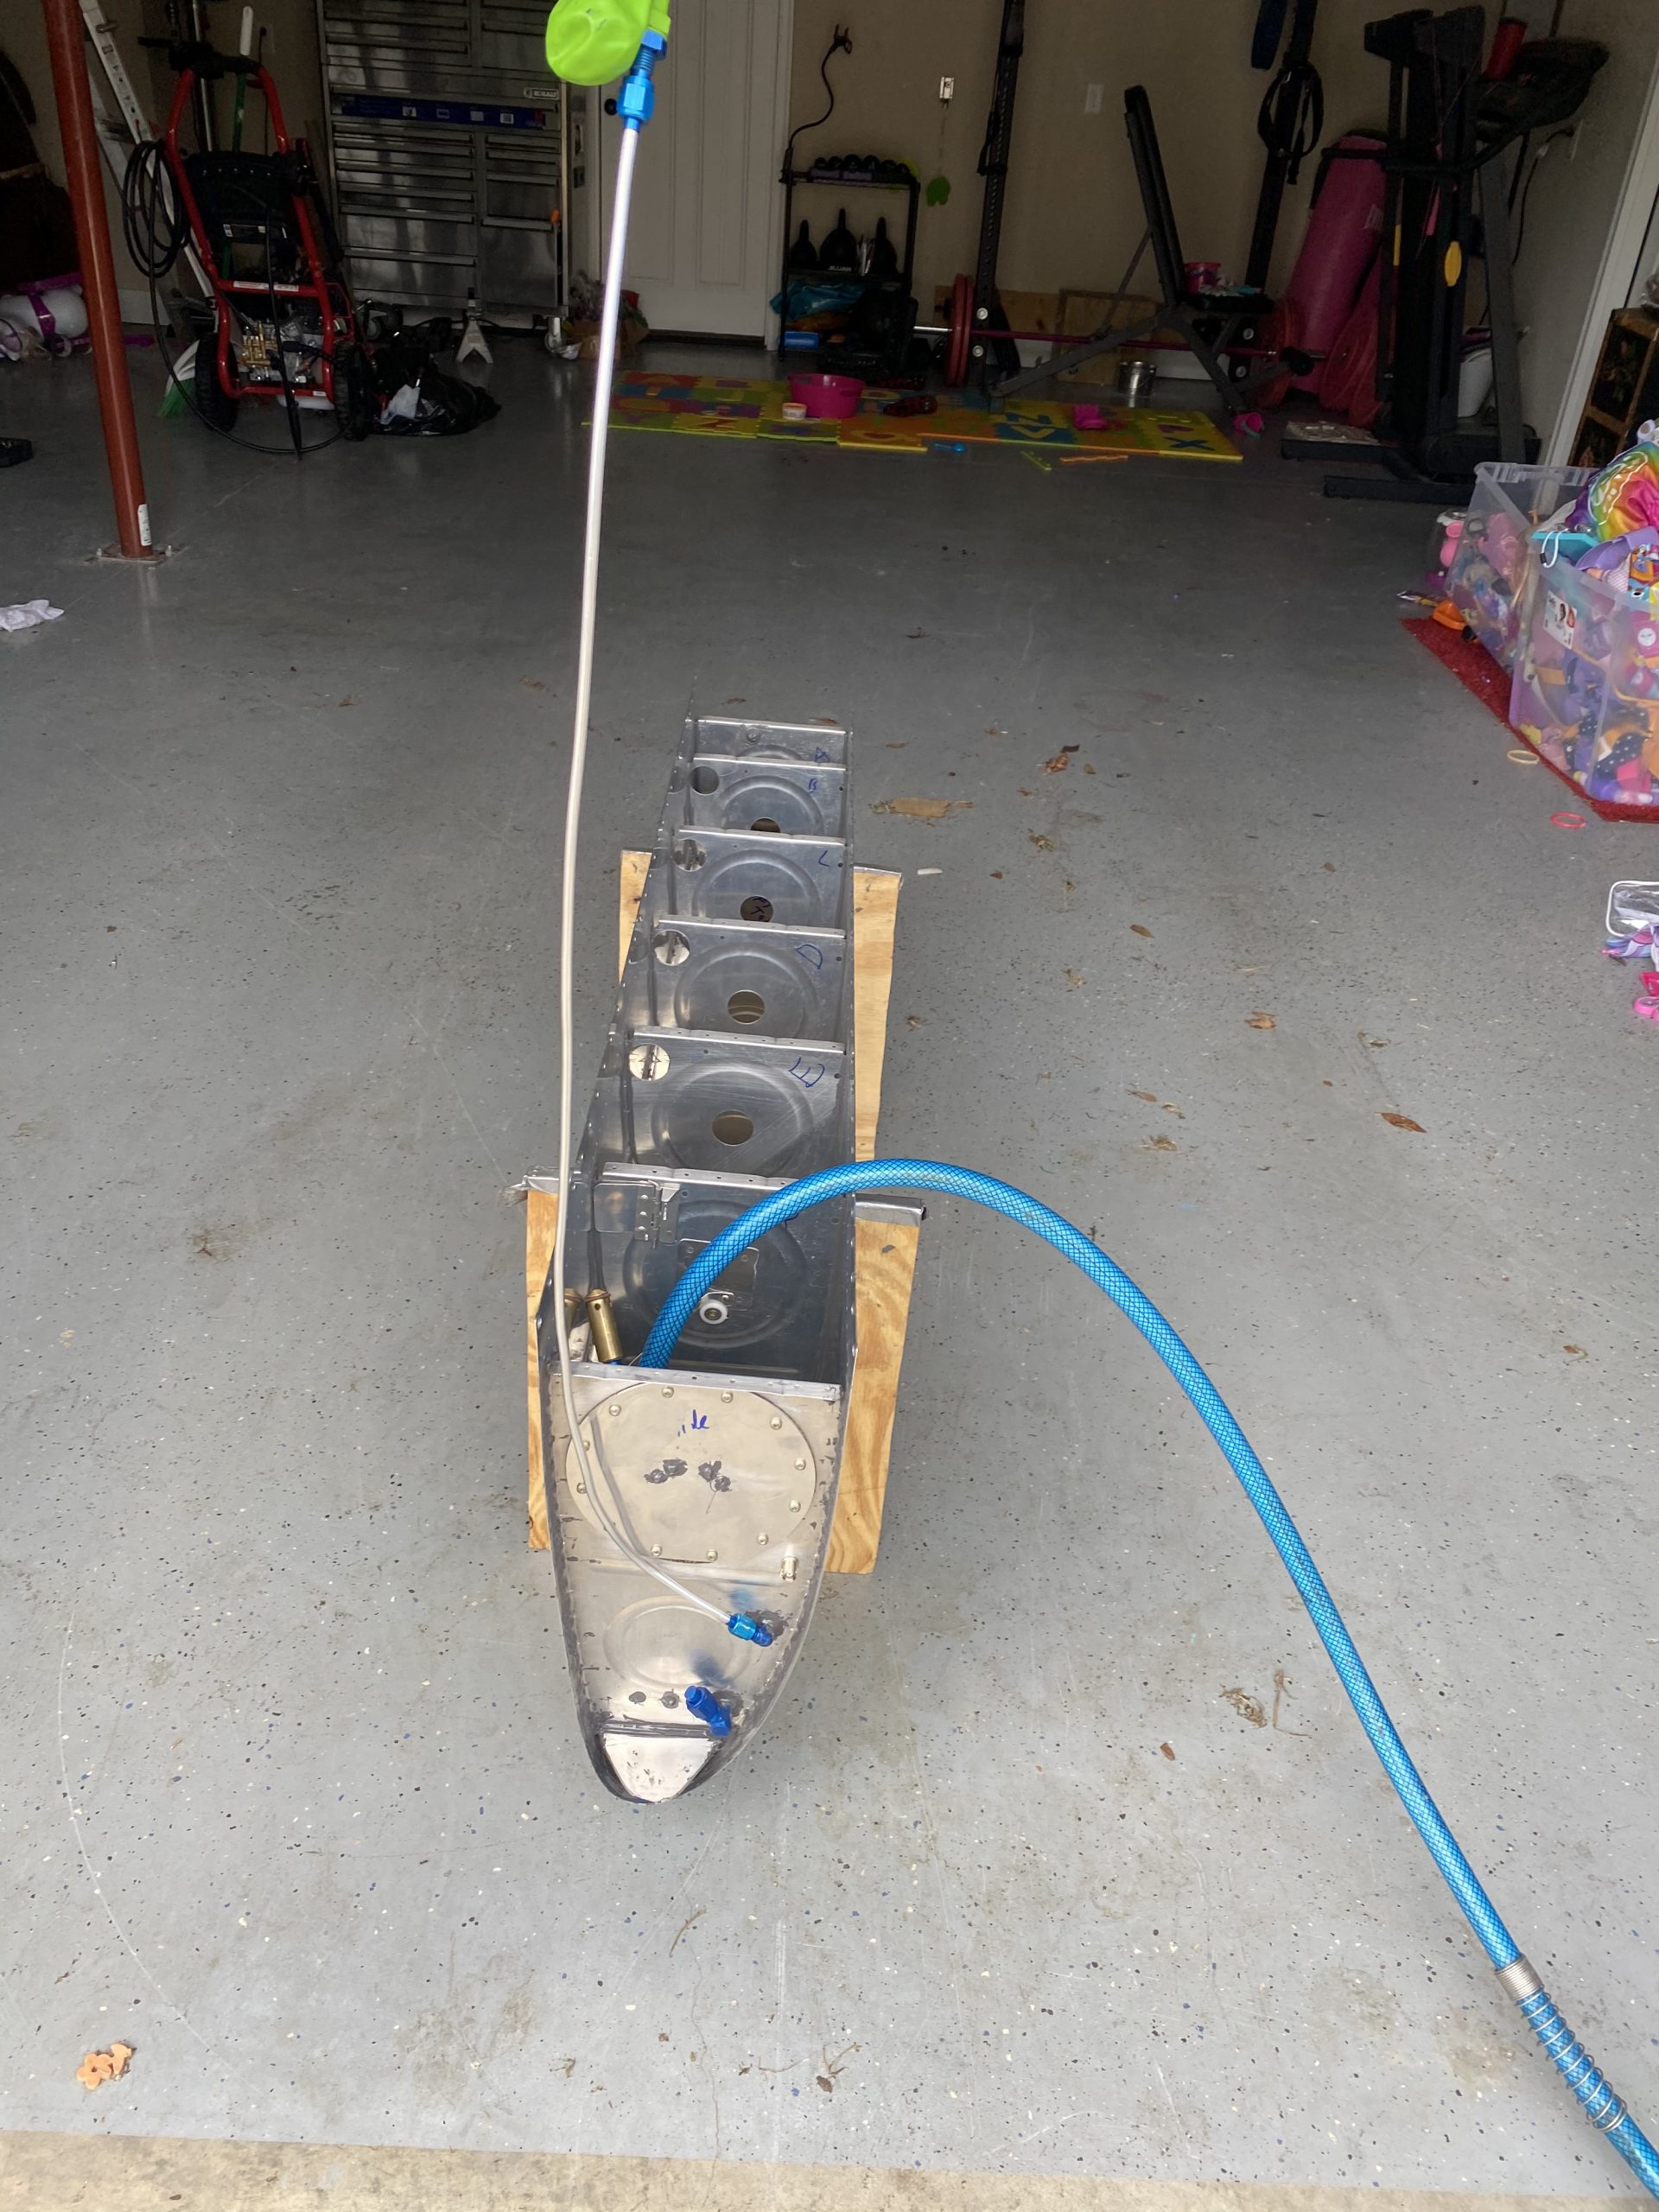
So I scrapped the water test idea for now, and I’ll permanently seal the access plate with sealant, and THEN test with water. I was hoping the gasket would hold so that I could do this test, then remove the access cover for the final baffle seal so I could check the inner bay before sealing it up for good. Oh well. So, I brought the tank back in, dried it up, and then mixed up 20 grams of sealant for this access plate. Then I scuffed up the access plate, and the rib and then cleaned it with MEK.
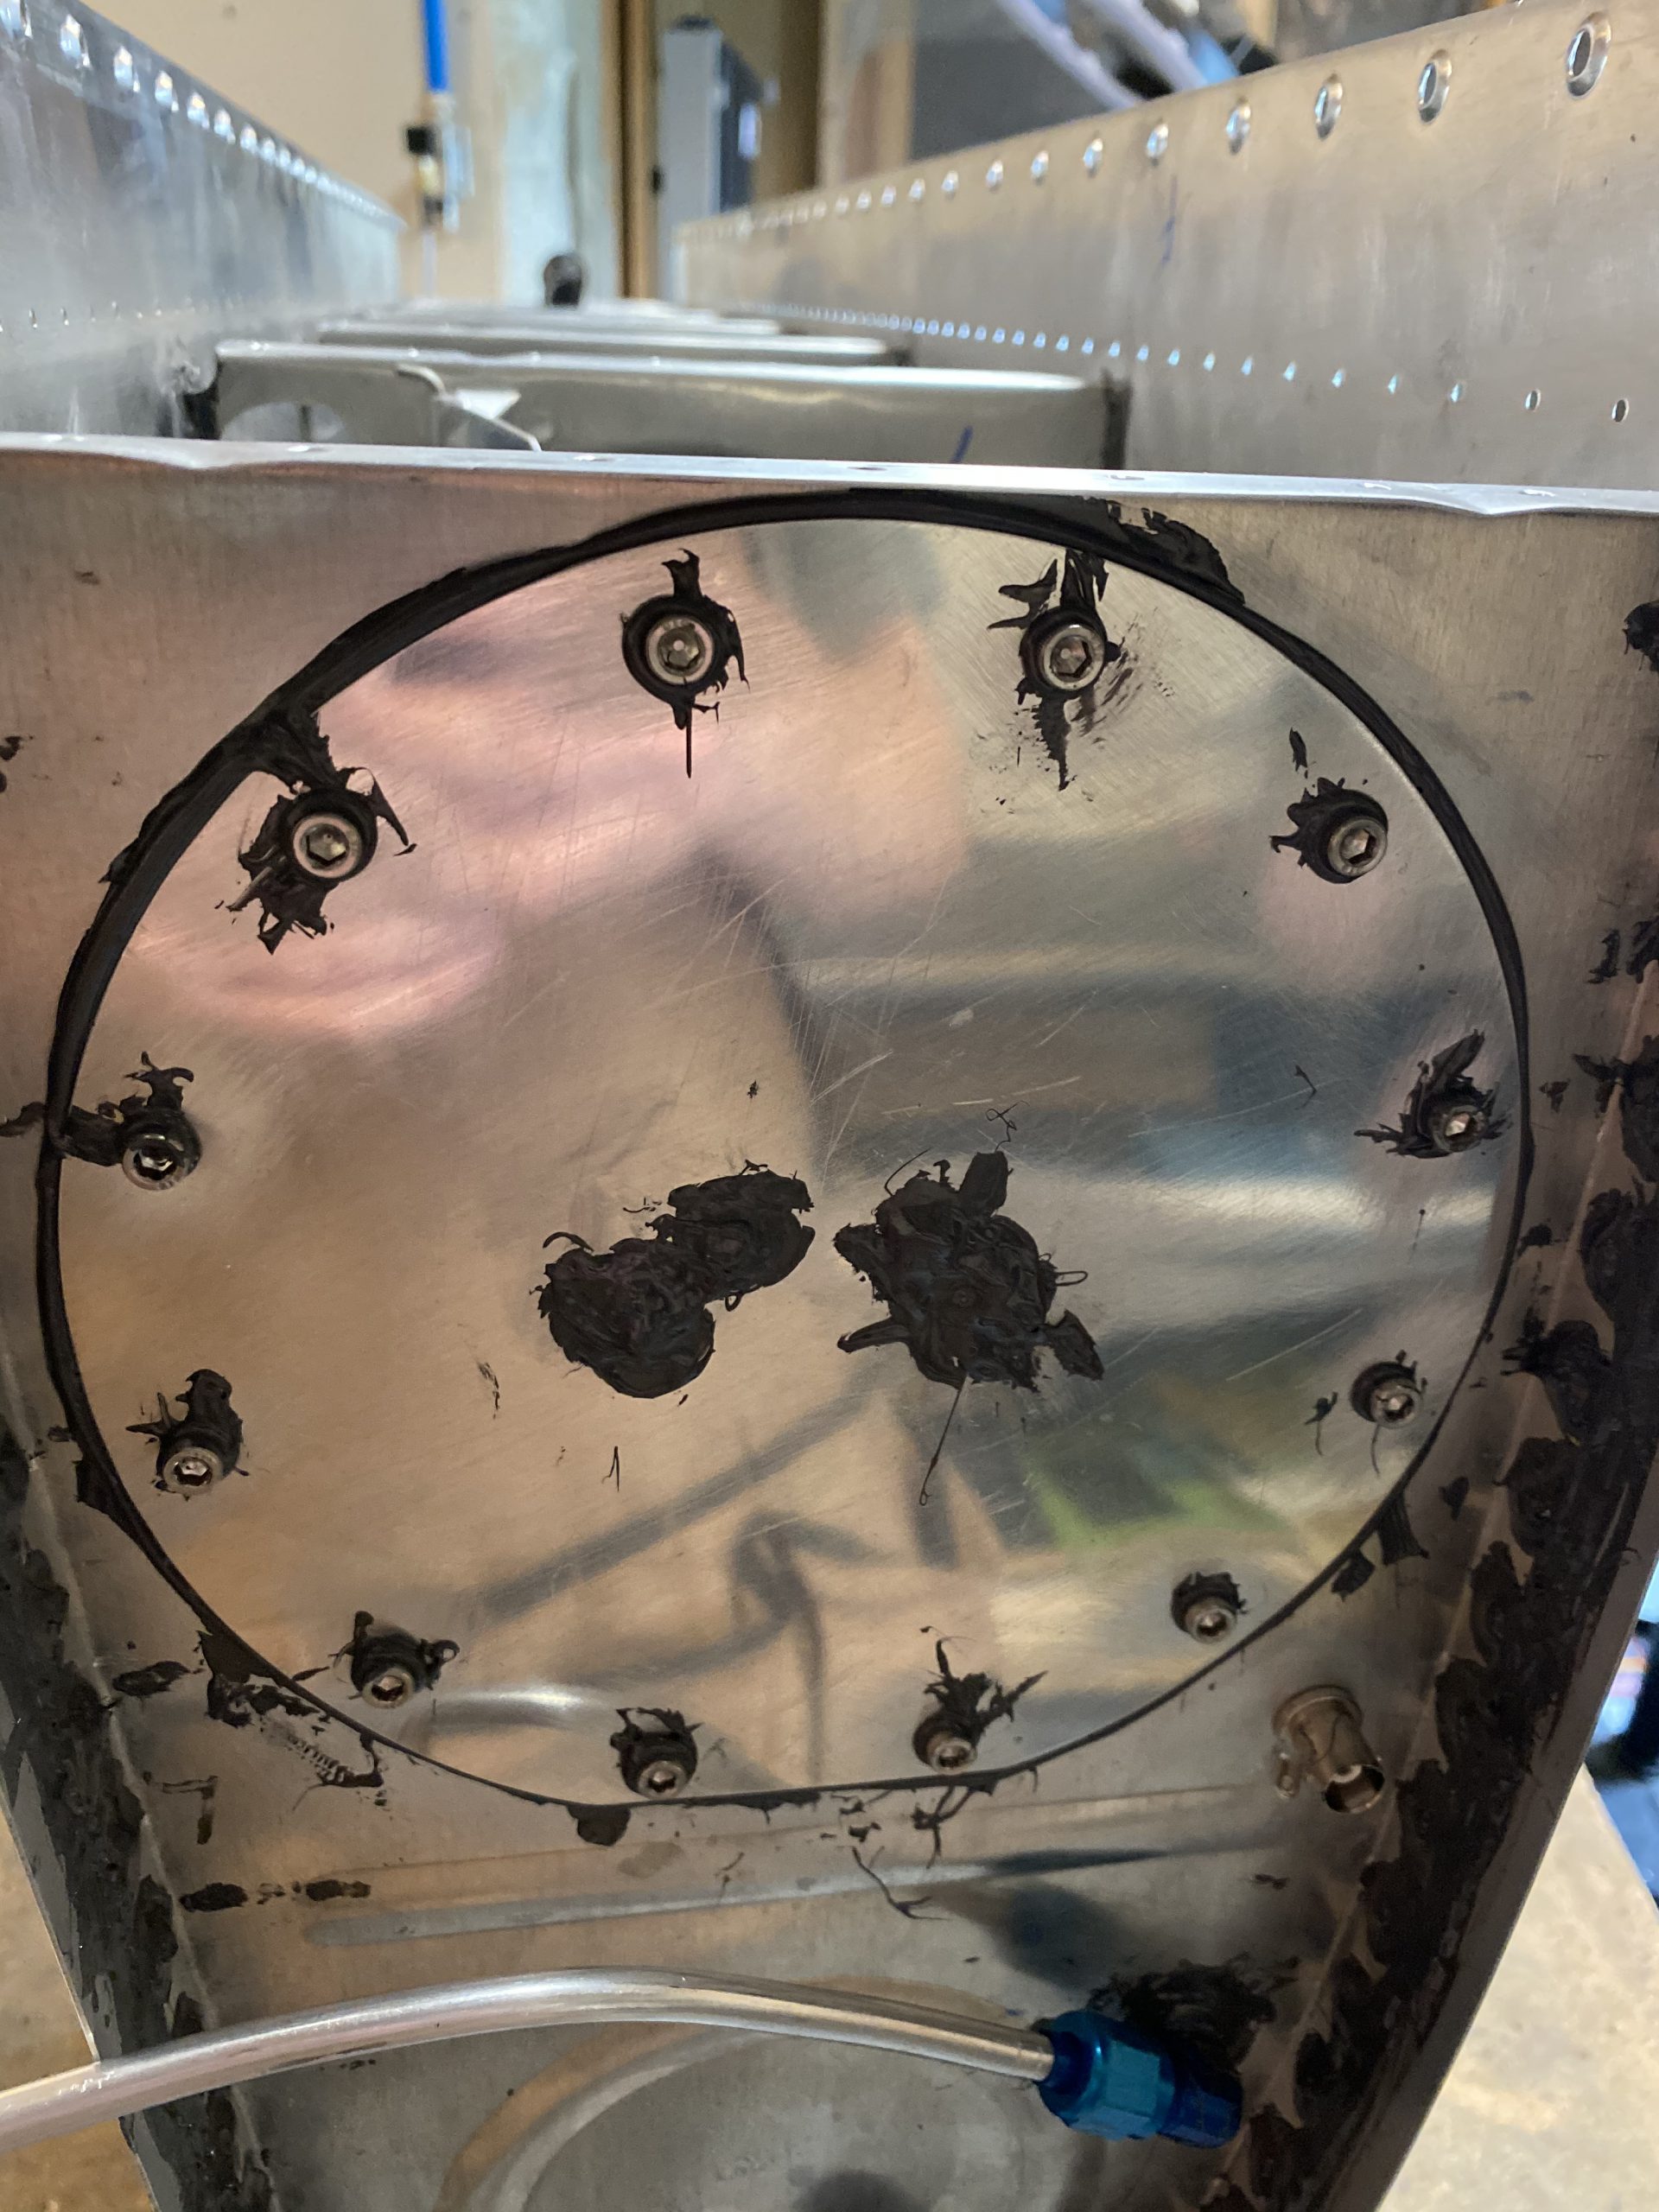
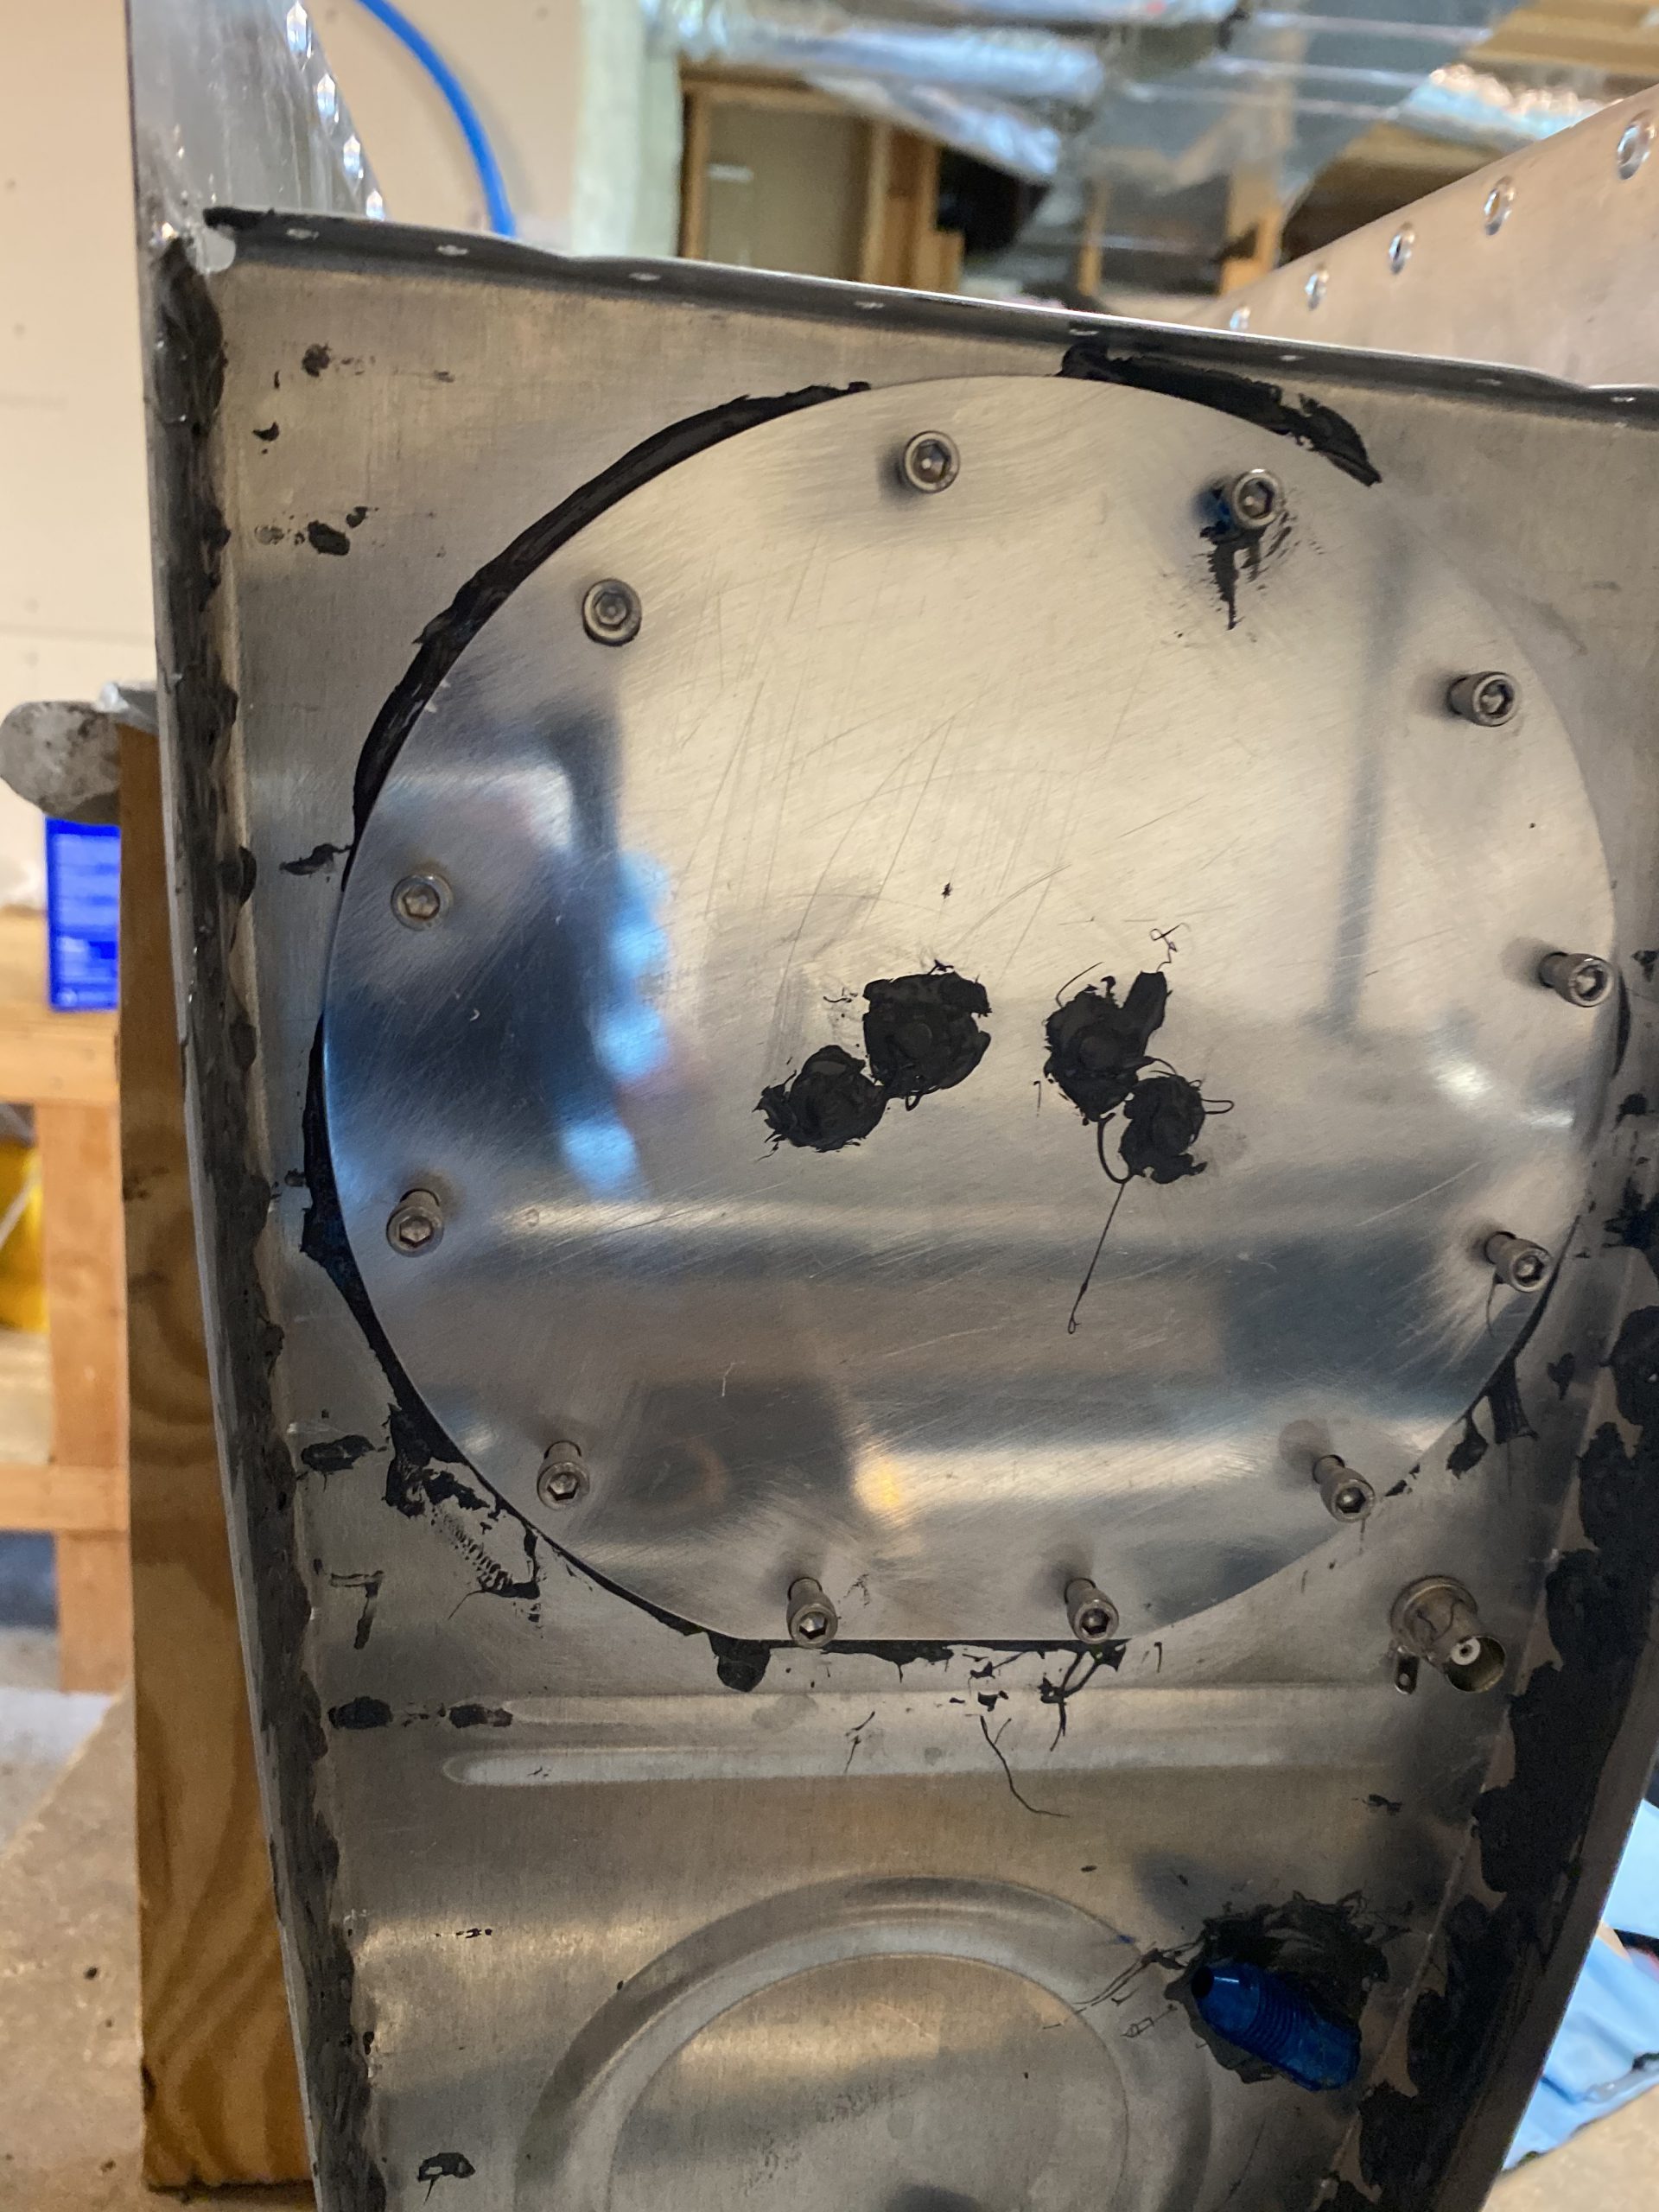
Then I slathered on a decent covering of sealant around the edge of the access hole making sure I got it nice and covered for the cover plate. After that, I gently slide the access plate into place, and threaded in the stainless steel hex cap screws. Before I let the screws bottom out, I smeared on some sealant using a toothpick on the bottom of the screw head / shoulders that way it would get a decent seal around the plate and prevent any seepage while keeping the screw accessible for easy removal in the future. Here’s how it turned out. In some of these photos you can see the screws are not fully seated, thats where I dobbed on the sealant.
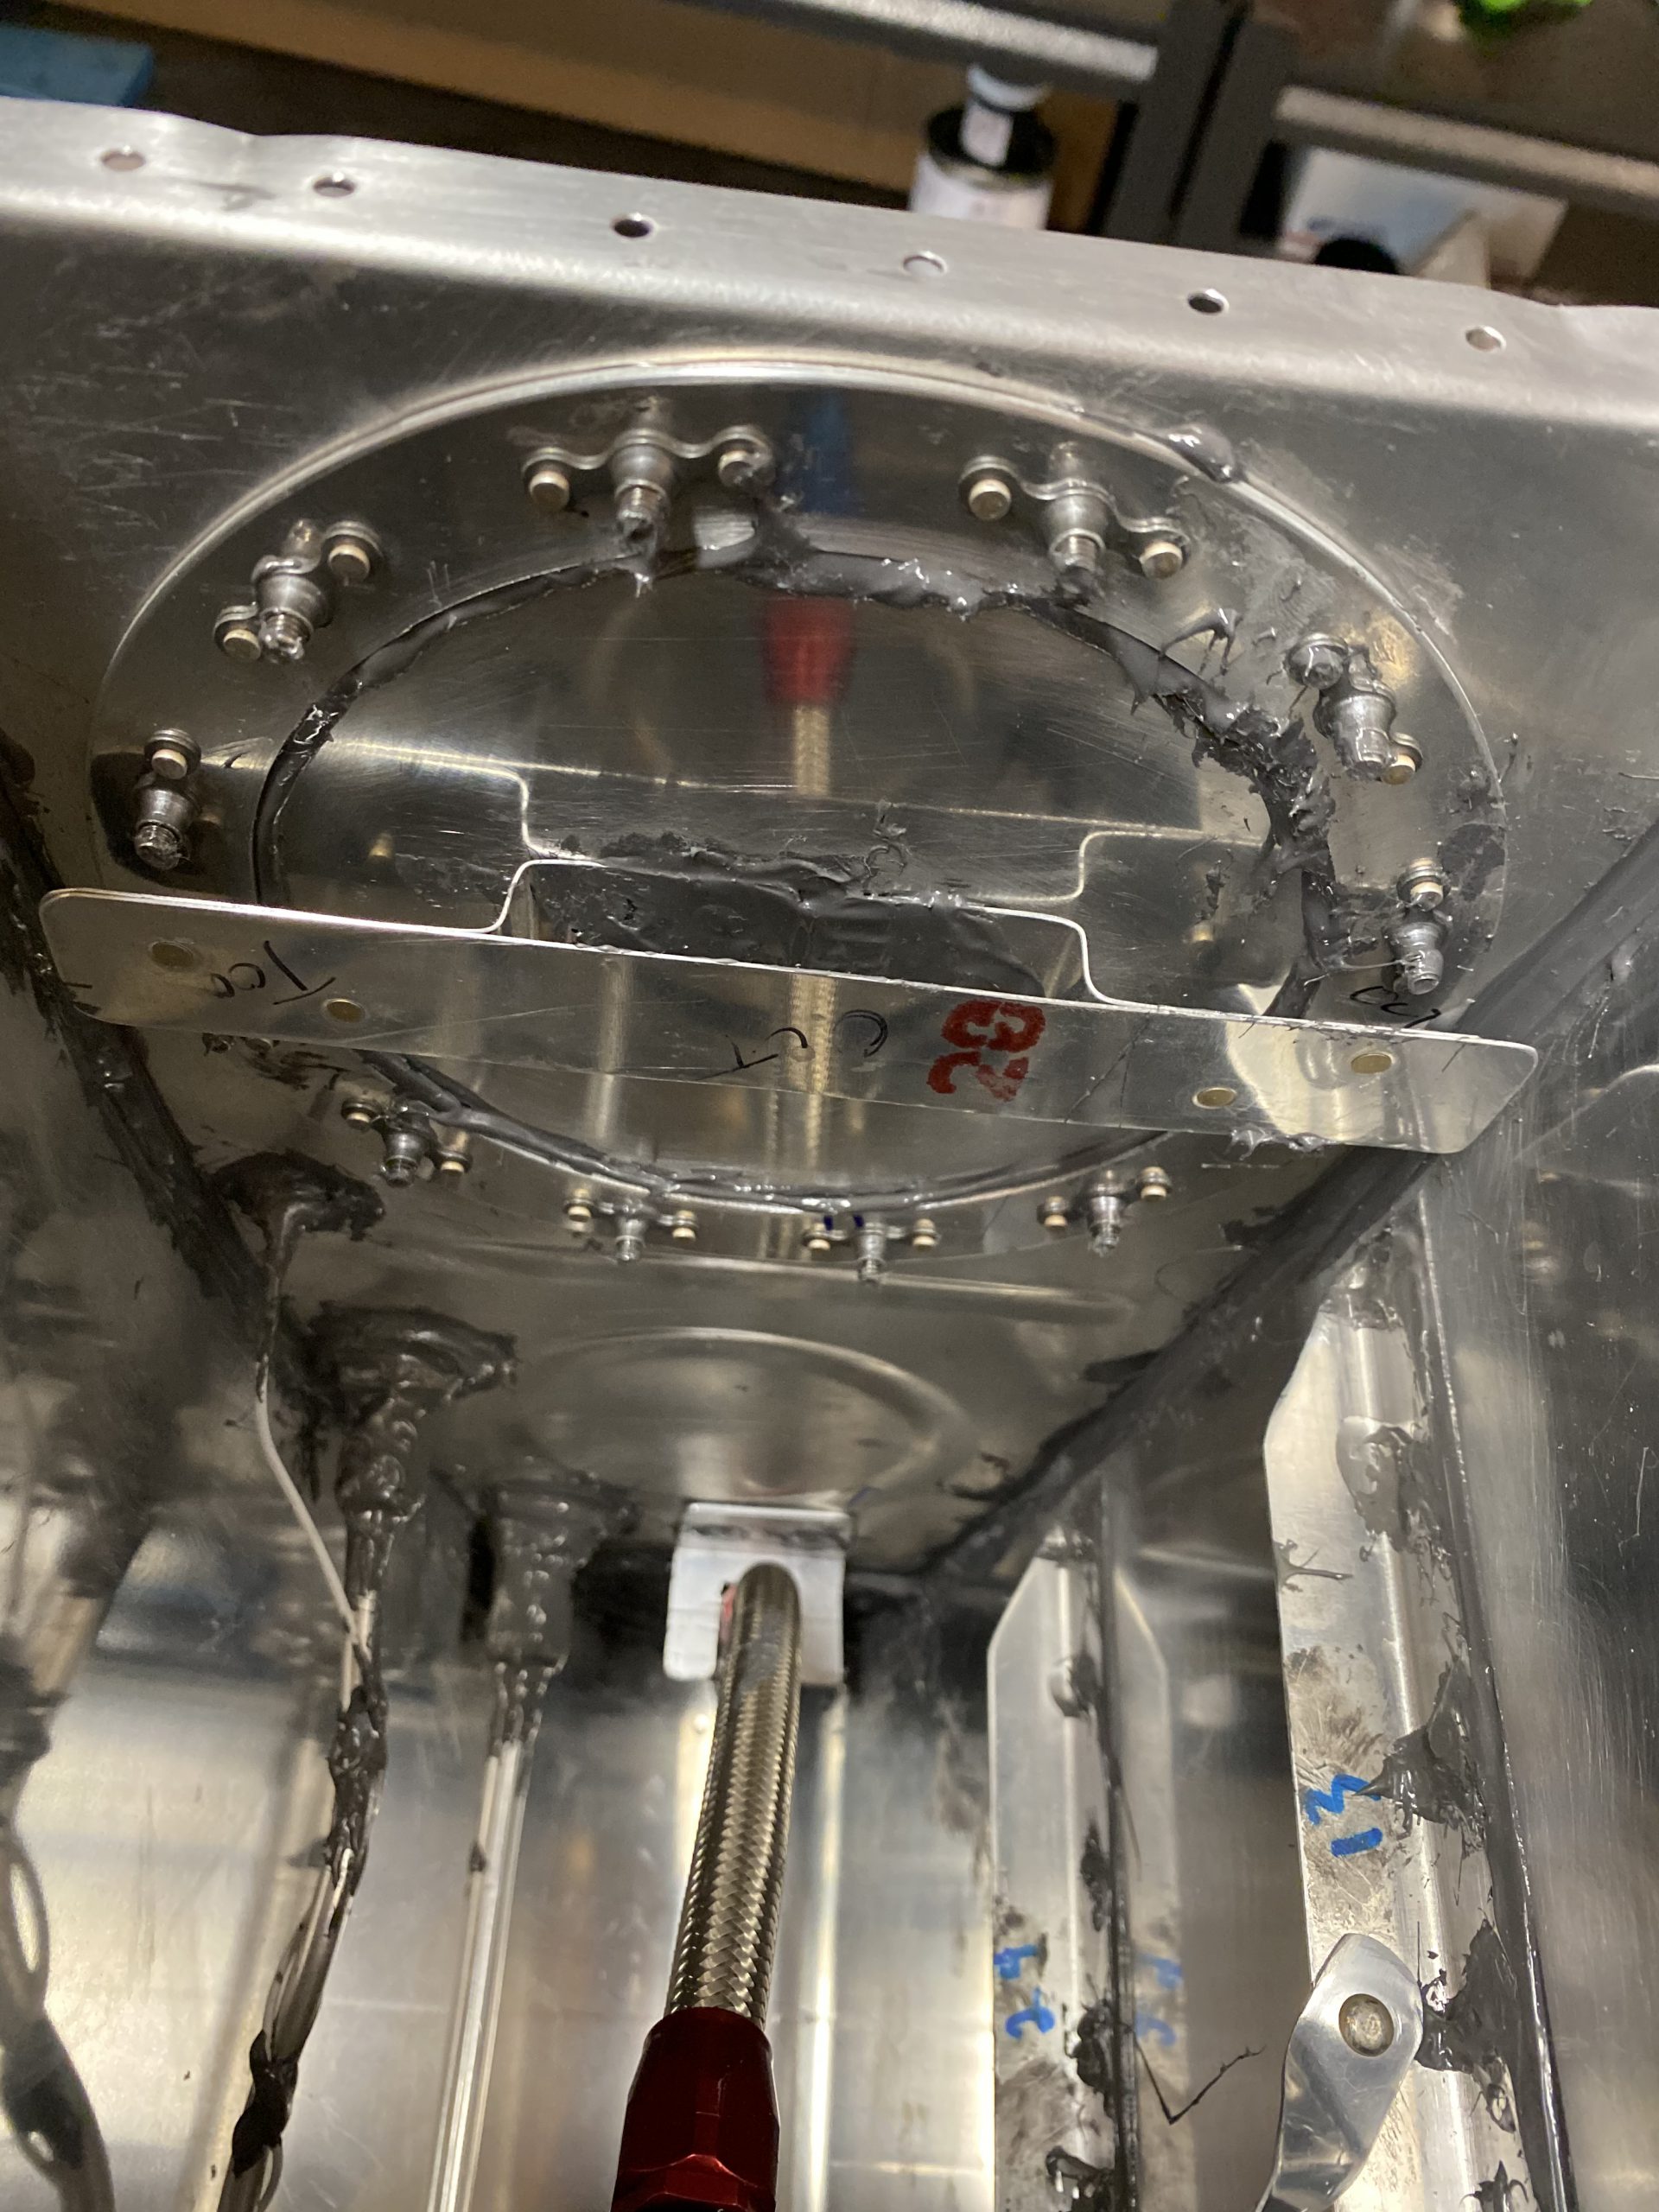

Once that was done, I used the remainder of the sealant I had to do some touch ups elsewhere on the tank. I had probably 8 grams or so of excess, and I didn’t really use all of it doing the touch ups. I’ll let this cure and then do my water leak test. One step closer at least. Heres the time lapse:
Google Photos Link: https://photos.app.goo.gl/kKCQfhRiRXU8nHSq5
Hours worked: 0.75