After a short break from the previous build session today, I came back down to get the inner ribs sealed and cleco’ed in the left tank. This will set me pretty good to do some riveting on them tomorrow and Monday. I would love to have this left tank ready for an initial leak test by this coming weekend! I did capture a timelapse of this build, which is nice, because I couldn’t get many photos due to the sticky mess that is Proseal. Heres the video:
I started out by mixing up 100 grams of sealant, and putting it into the semco sealant gun. I love how this thing dispenses sealant. Then I grabbed my inner ribs and squirted a bead of sealant from the semco on the flanges, and smoothed it out with a butter knife. I am using the same procedure that I did on the right tank in this build log: https://theskunkwerx.com/rv7/sealing-the-right-tank-ribs/
I first slathered on sealant on the bottom flange, curling it around the leading edge and back a few inches onto the top flange. I am cleco’ing the bottom in first and then once I have all the ribs clecoed to the bottom, I buttered up the top flanges . Once the top flanges are buttered with sealant, I took the skin, and gently slid it down into the cradle cleco’ing the ribs in place. This worked really nicely to getting the ribs clecoed without smearing the sealant off the flanges. Check the video for a better picture of how I did this.
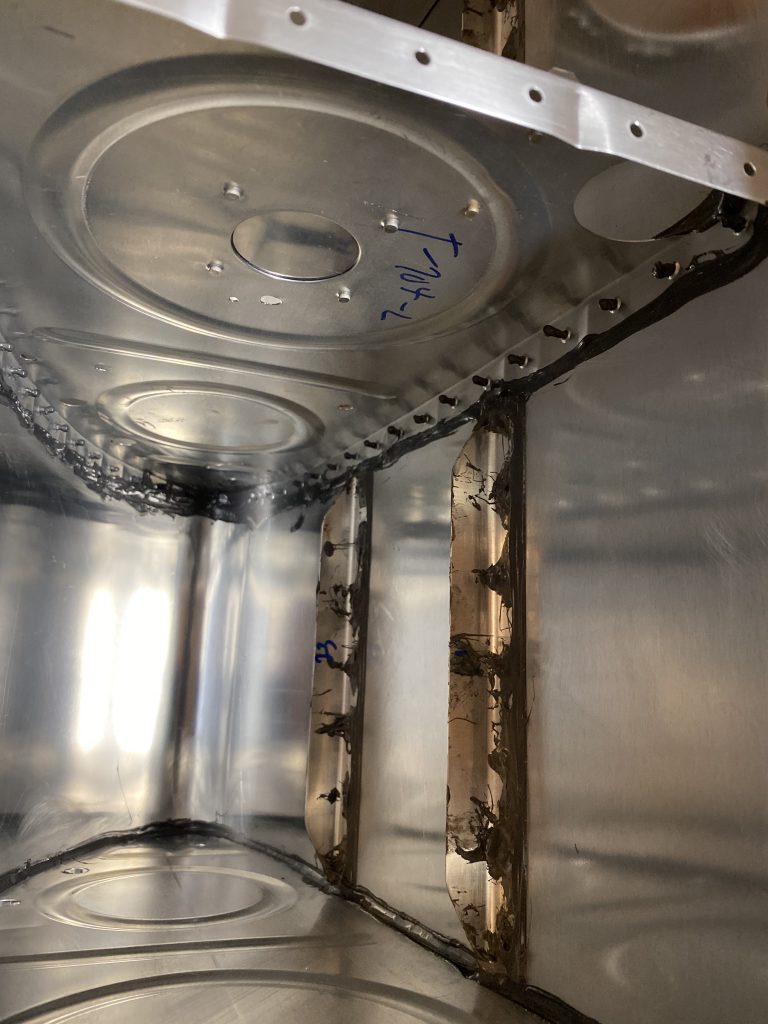
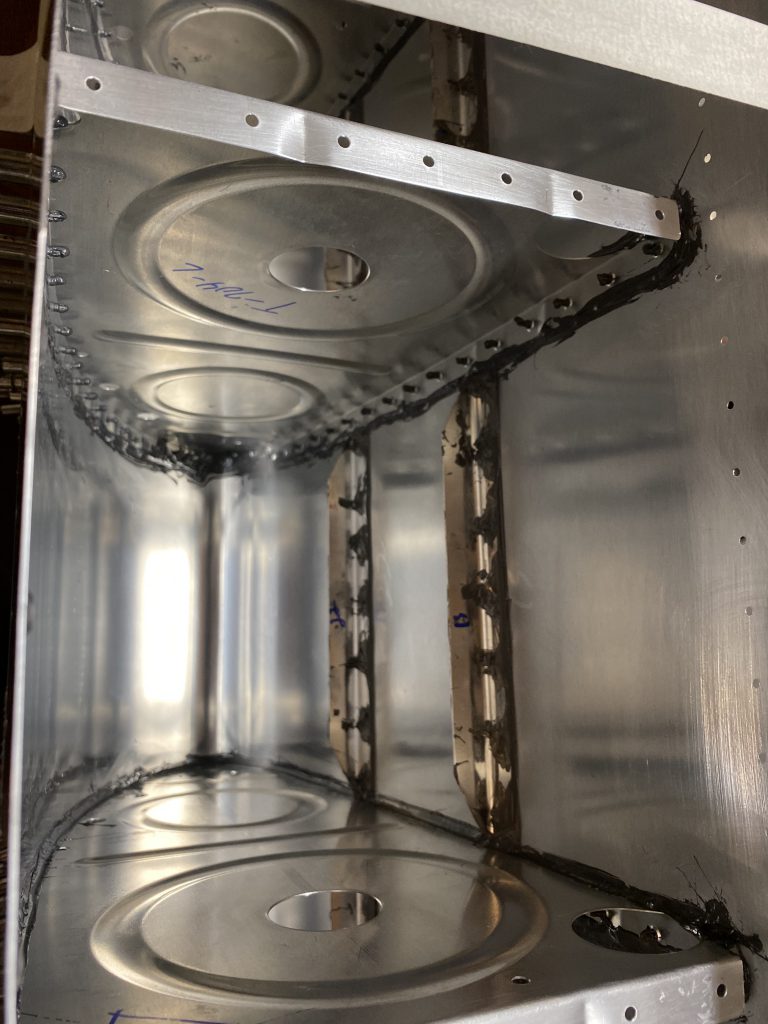
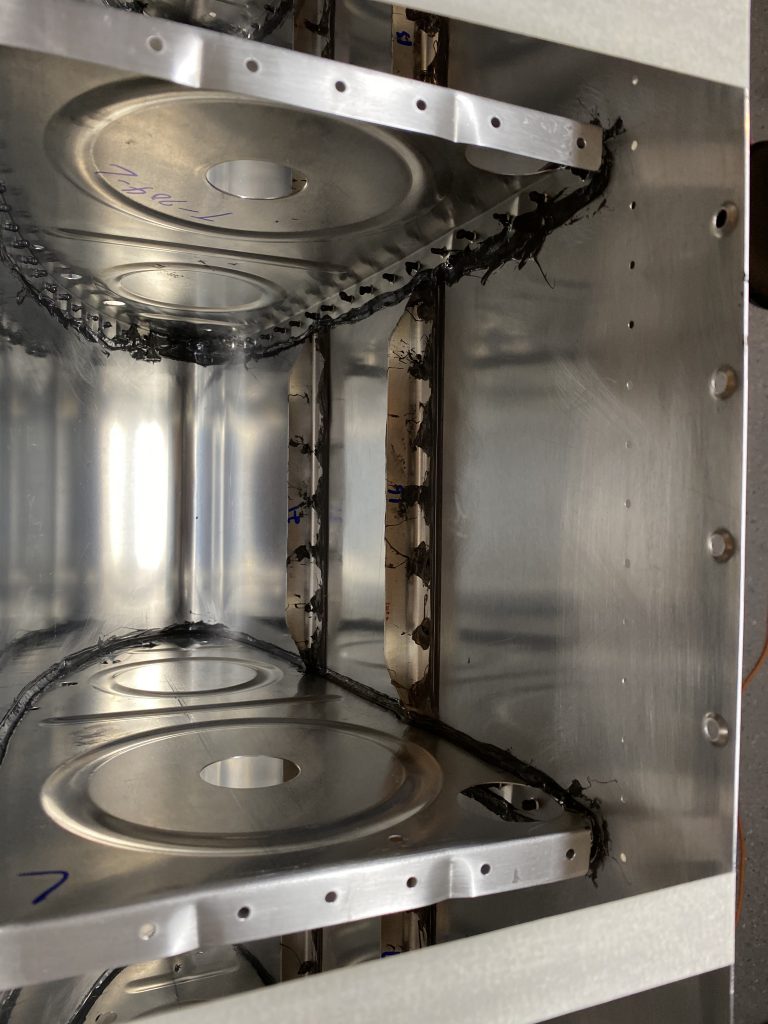
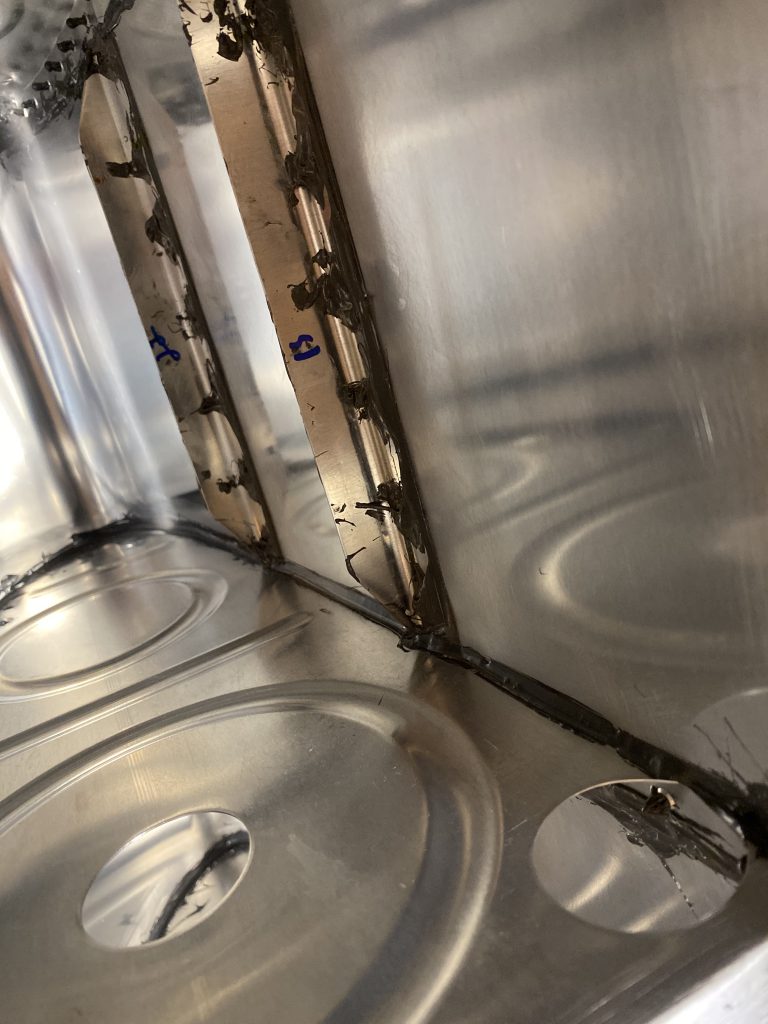
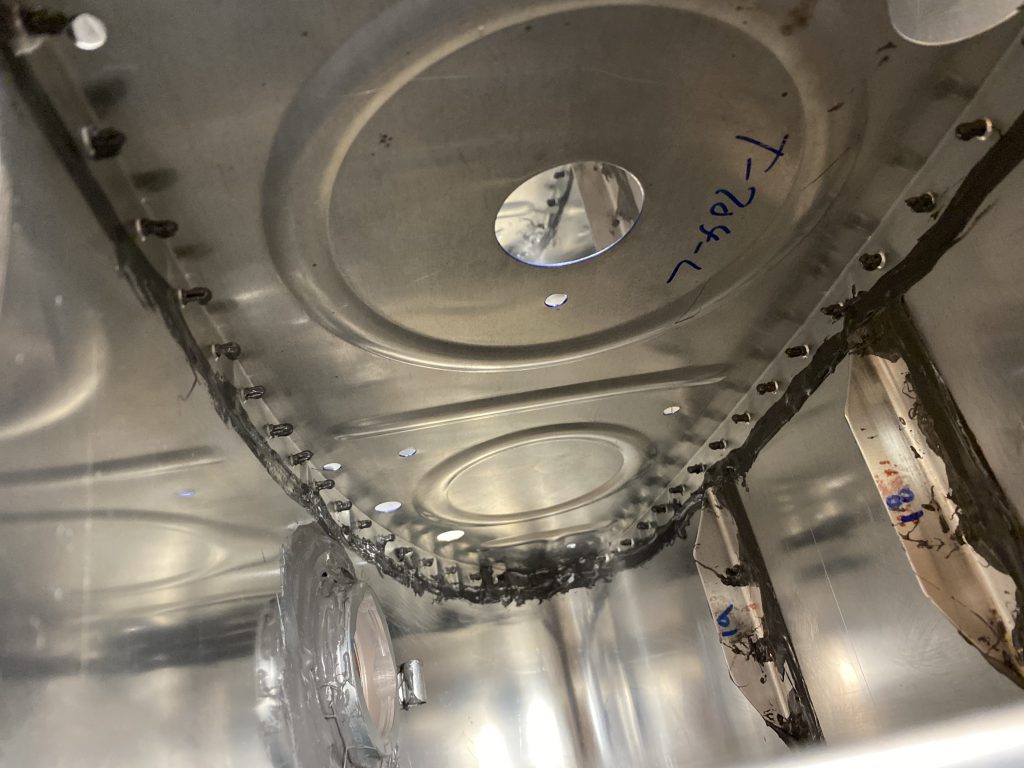
After I had all the ribs clecoed 100%, I used the semco to squirt a nice bead on the edge of the flanges that I used to make the filets with a filet spoon. Around the second rib, I ran out, so I had to mix up another 50 grams of sealant which was just about right, leaving me with about 10 grams extra that I squirted into the leading edge of the ribs for extra reinforcement. Here’s how the filets came out:
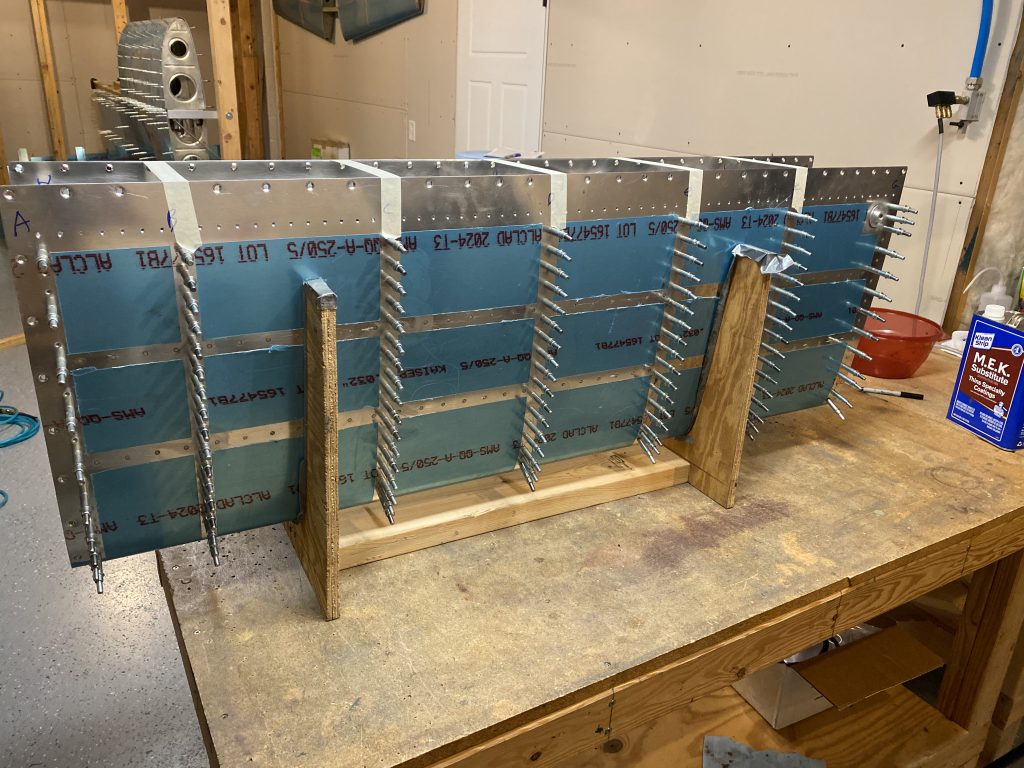
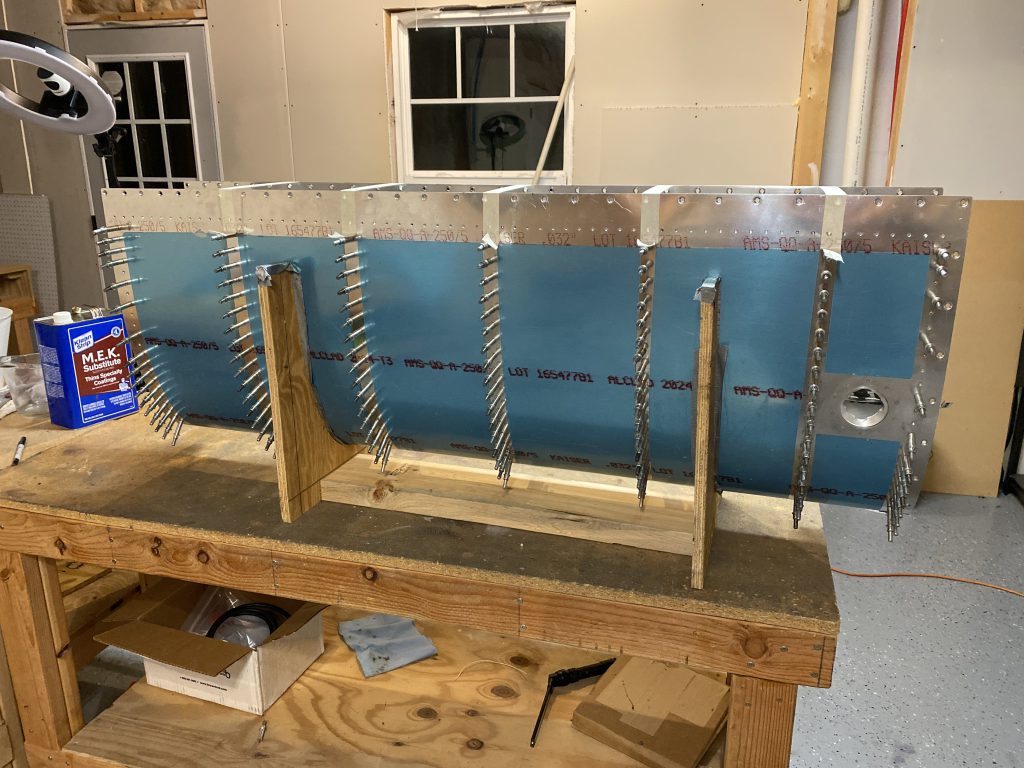
Then I clecoed on (without sealant for now) the end ribs just to help the skin hold its shape while the inner ribs sealed. I also strapped some masking tape across the skin at the ribs to help squeeze the skin together to assure a good bond of sealant at the aft edge of the ribs. After that, it was cleanup time! I’ll let these sit overnight, and then rivet them tomorrow and Monday.
Google Photos Link: https://photos.app.goo.gl/jUSa1nX14A2bcixf7
Hours Worked: 2.0


