


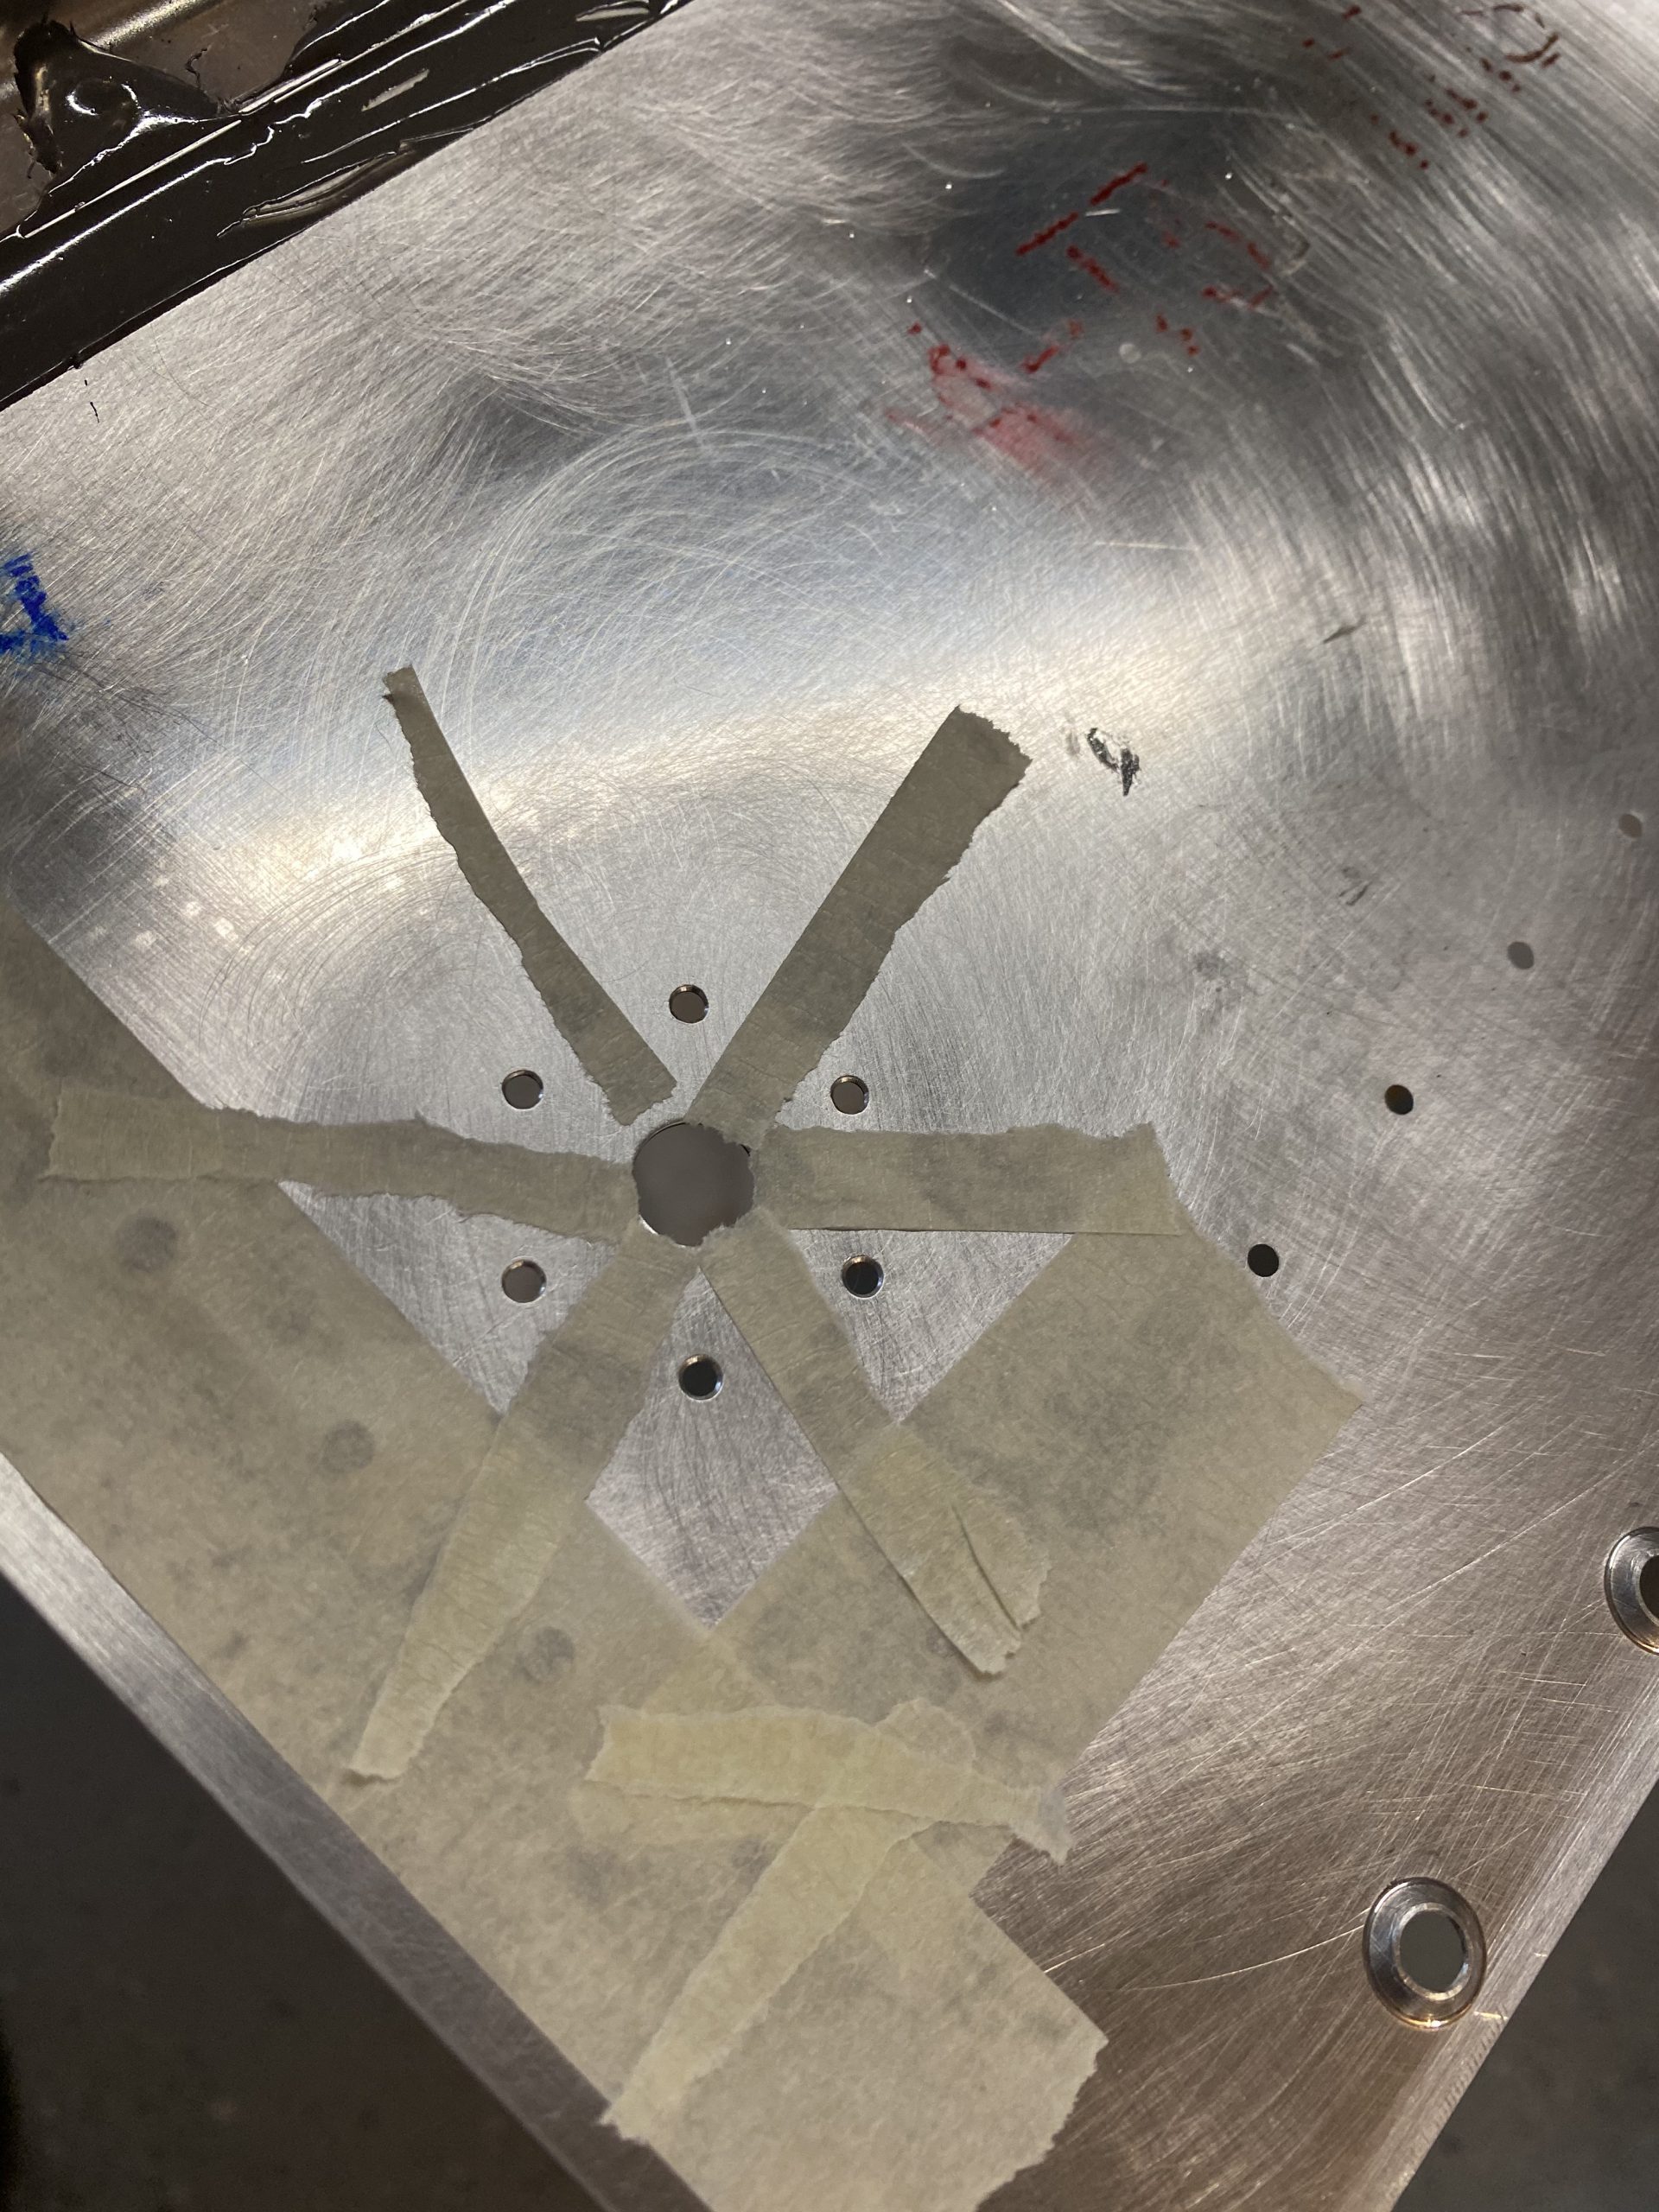
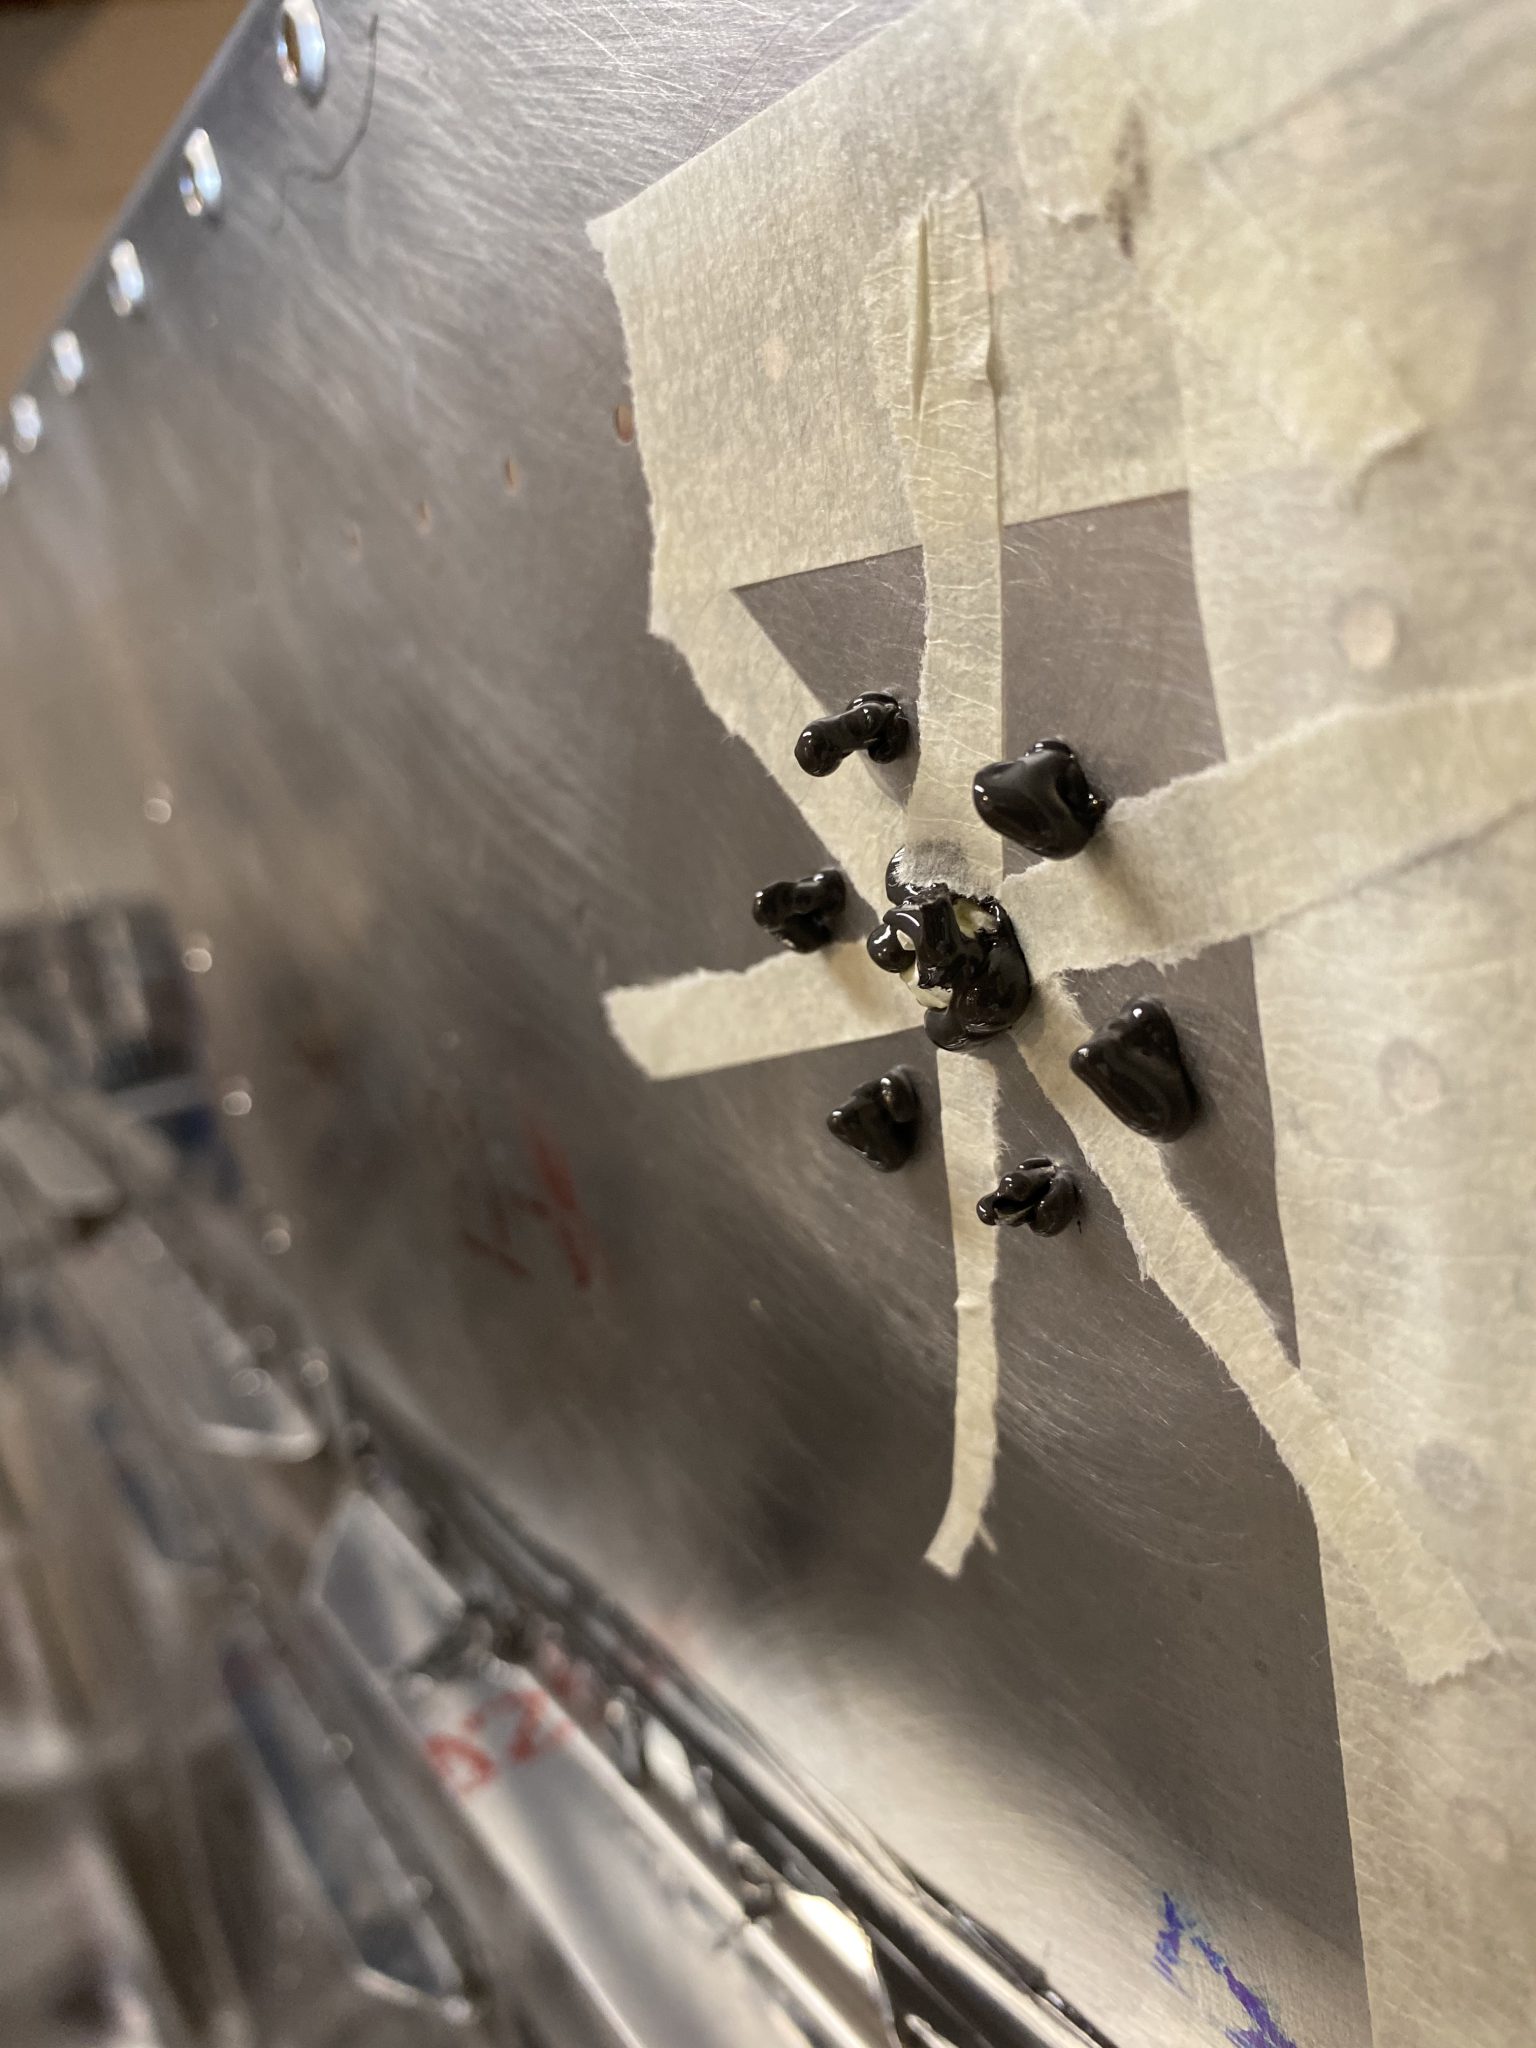
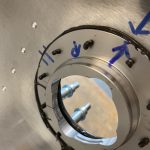
Another proseal session tonight, but this was a pretty short one. This stuff is still messy, and I still have a hard time dealing with it, because I am not good with messy stuff! I wanted to get the tank drain, and the fuel filler sealed and ready to go, since the next steps after this will be installing the ribs. I started off by scuffing up the areas I wanted to seal, and then cleaning those surfaces REALLY good with acetone and MEK. After that, I used some masking tape to prevent me making a mess in places I didn’t want sealant. More specifically, I wanted to mask off the interior part of the tank around the tank drain to leave little draining channels clear so that water can get to the tank drain with no obstruction. Here is how I did that:
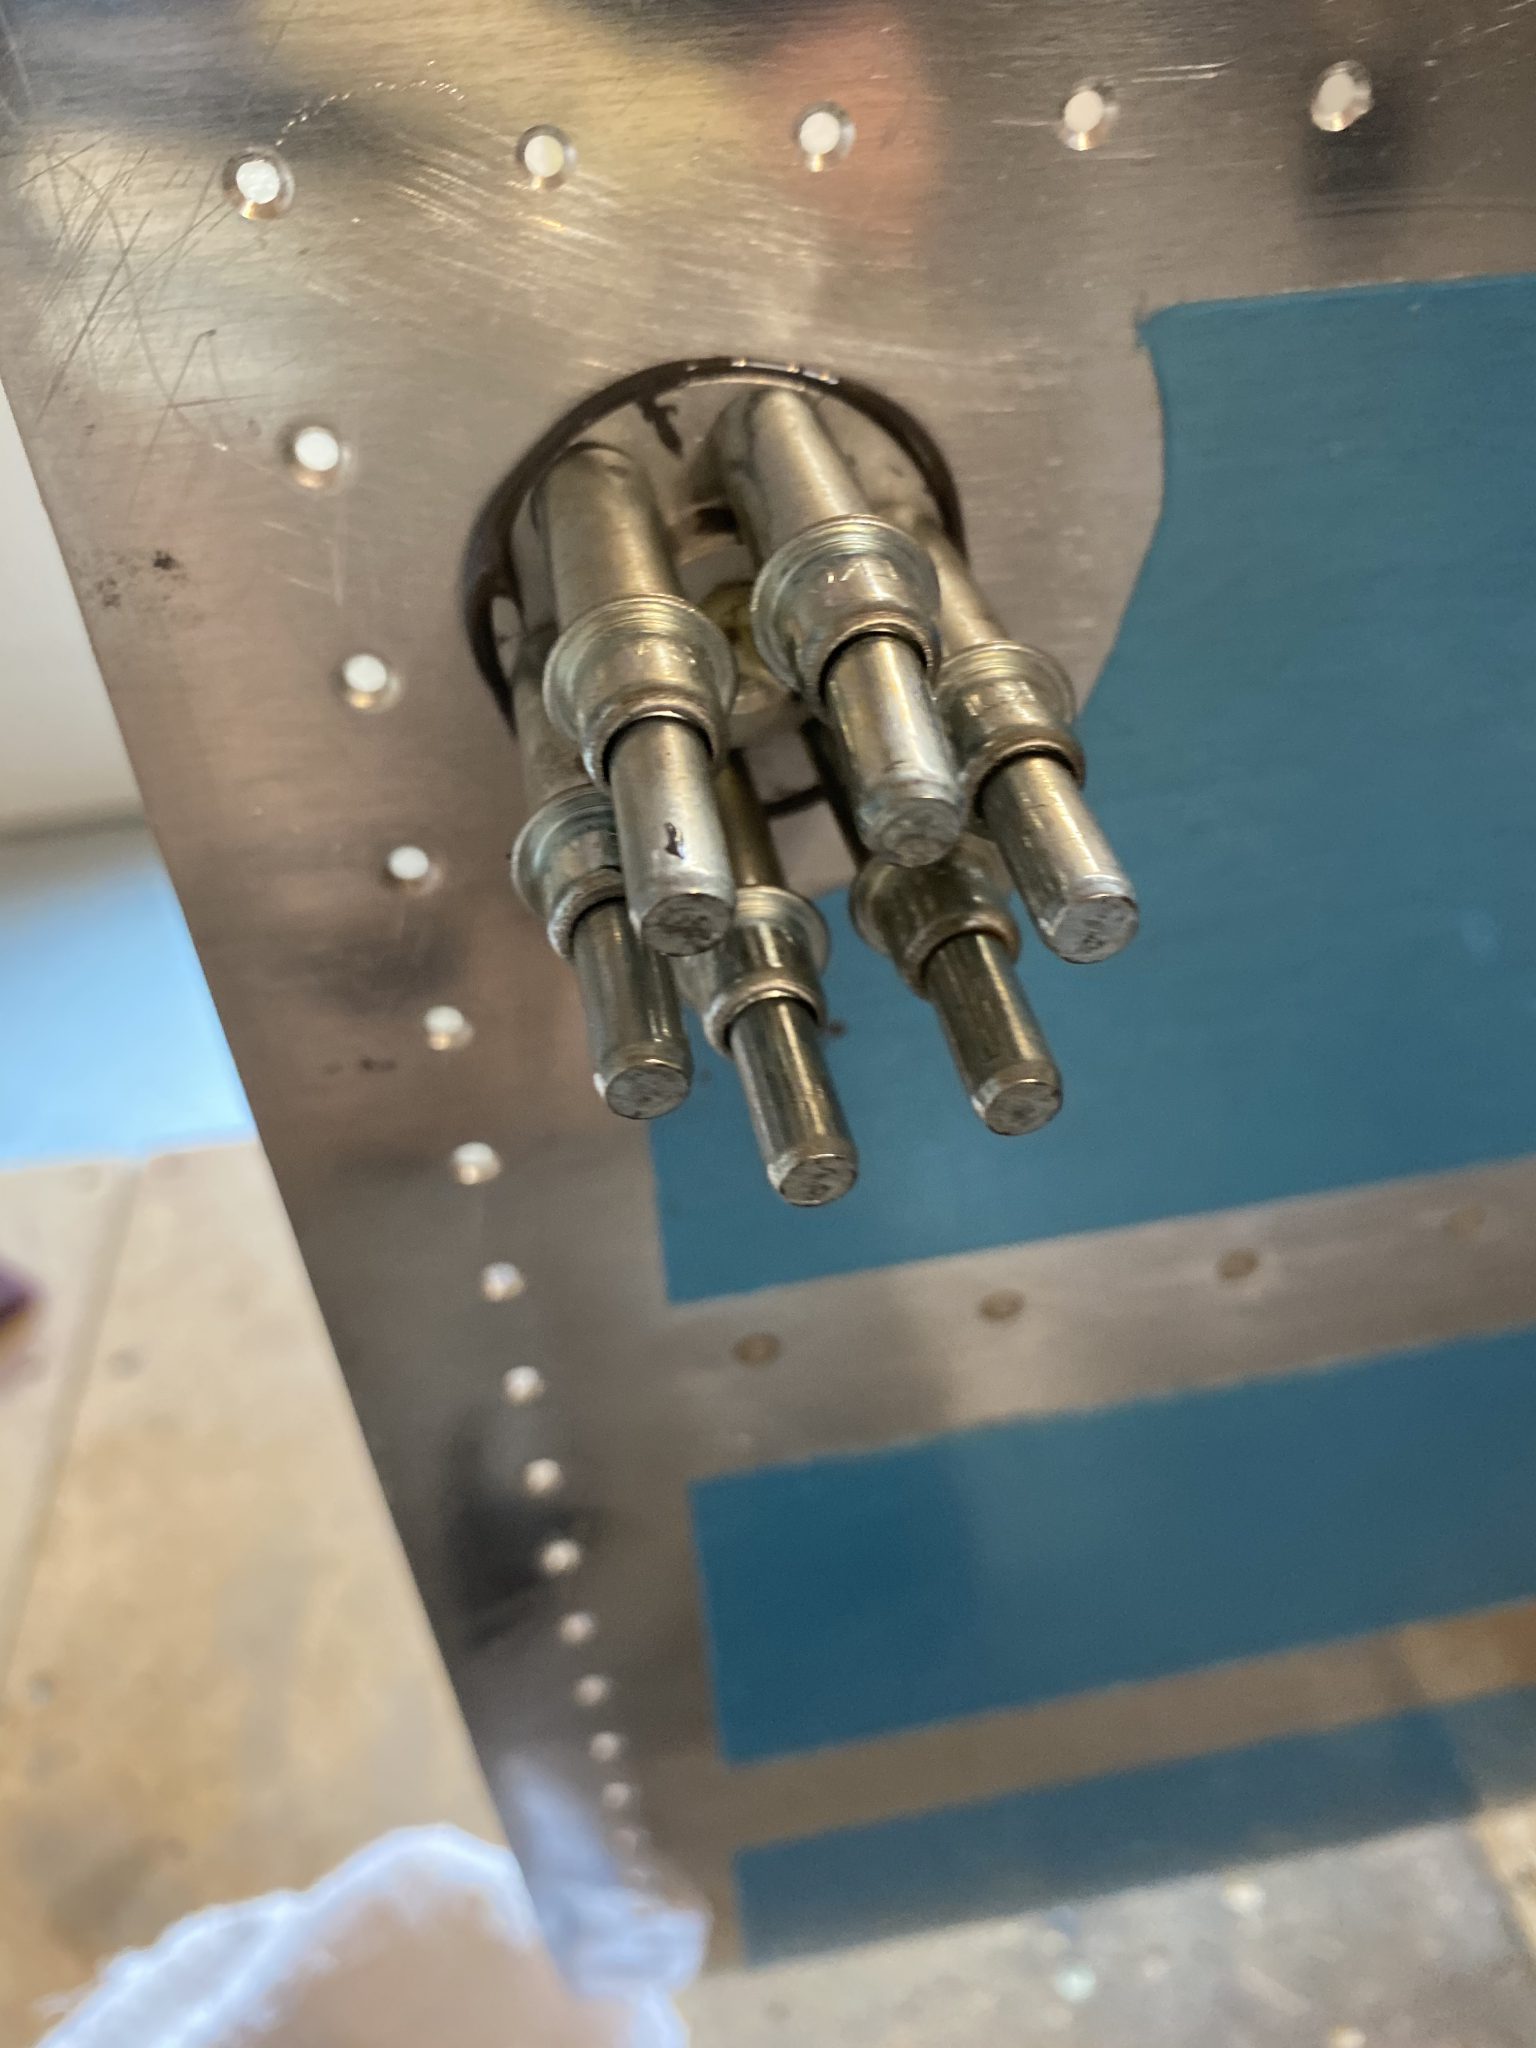
Then I suited up with some gloves, and mixed up about 2 ounces of proseal. I decided to get the tank drain done first since it was small and easy to get to. So, I applied a decent layer of proseal onto the tank drain fitting itself, and then cleco’d it onto the skin. This made things less messy, with only a little squeezing out the sides.
 .
. 
After I got the tank drain clecod on with its sealant I decided to do the same for the fuel filler, and then move on to riveting. This way I had at least got the sealant applied and clamped down to both parts. So, I did the same, applied the sealant to the top of the fuel filler flange (the part that mates with the skin), and clecoed it on. Granted, these parts were also scuffed and cleaned earlier in this sesison.
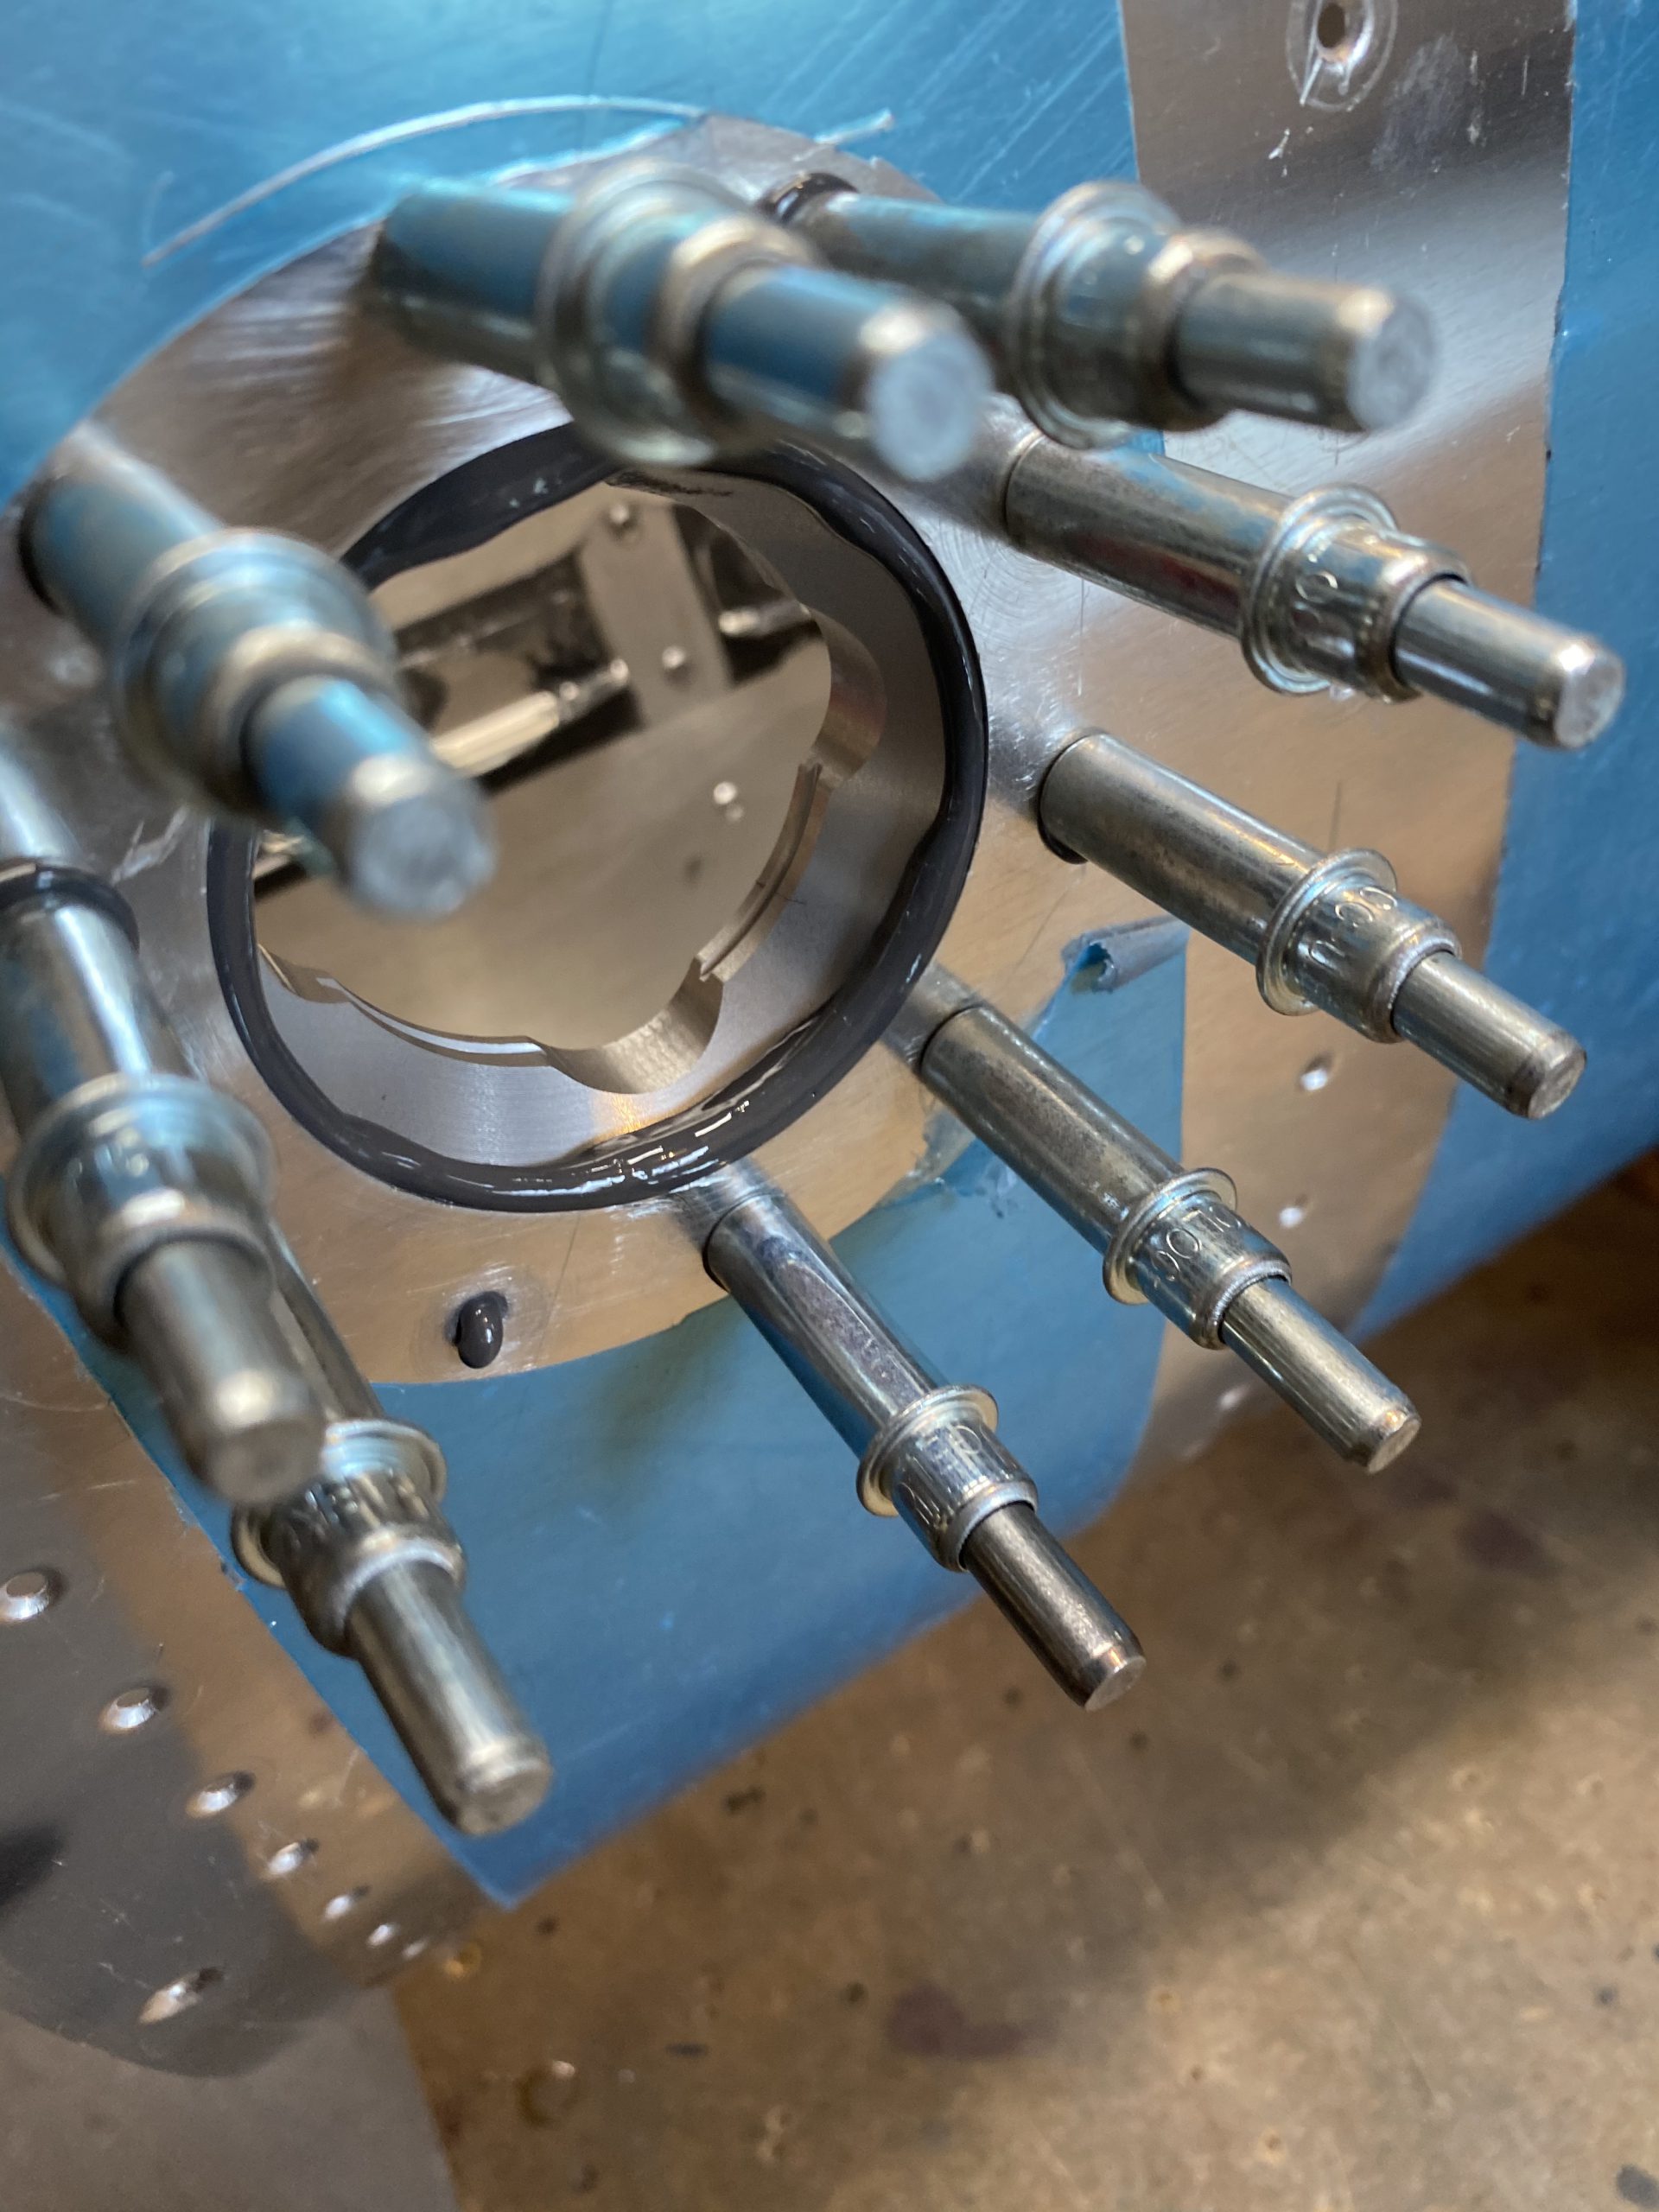
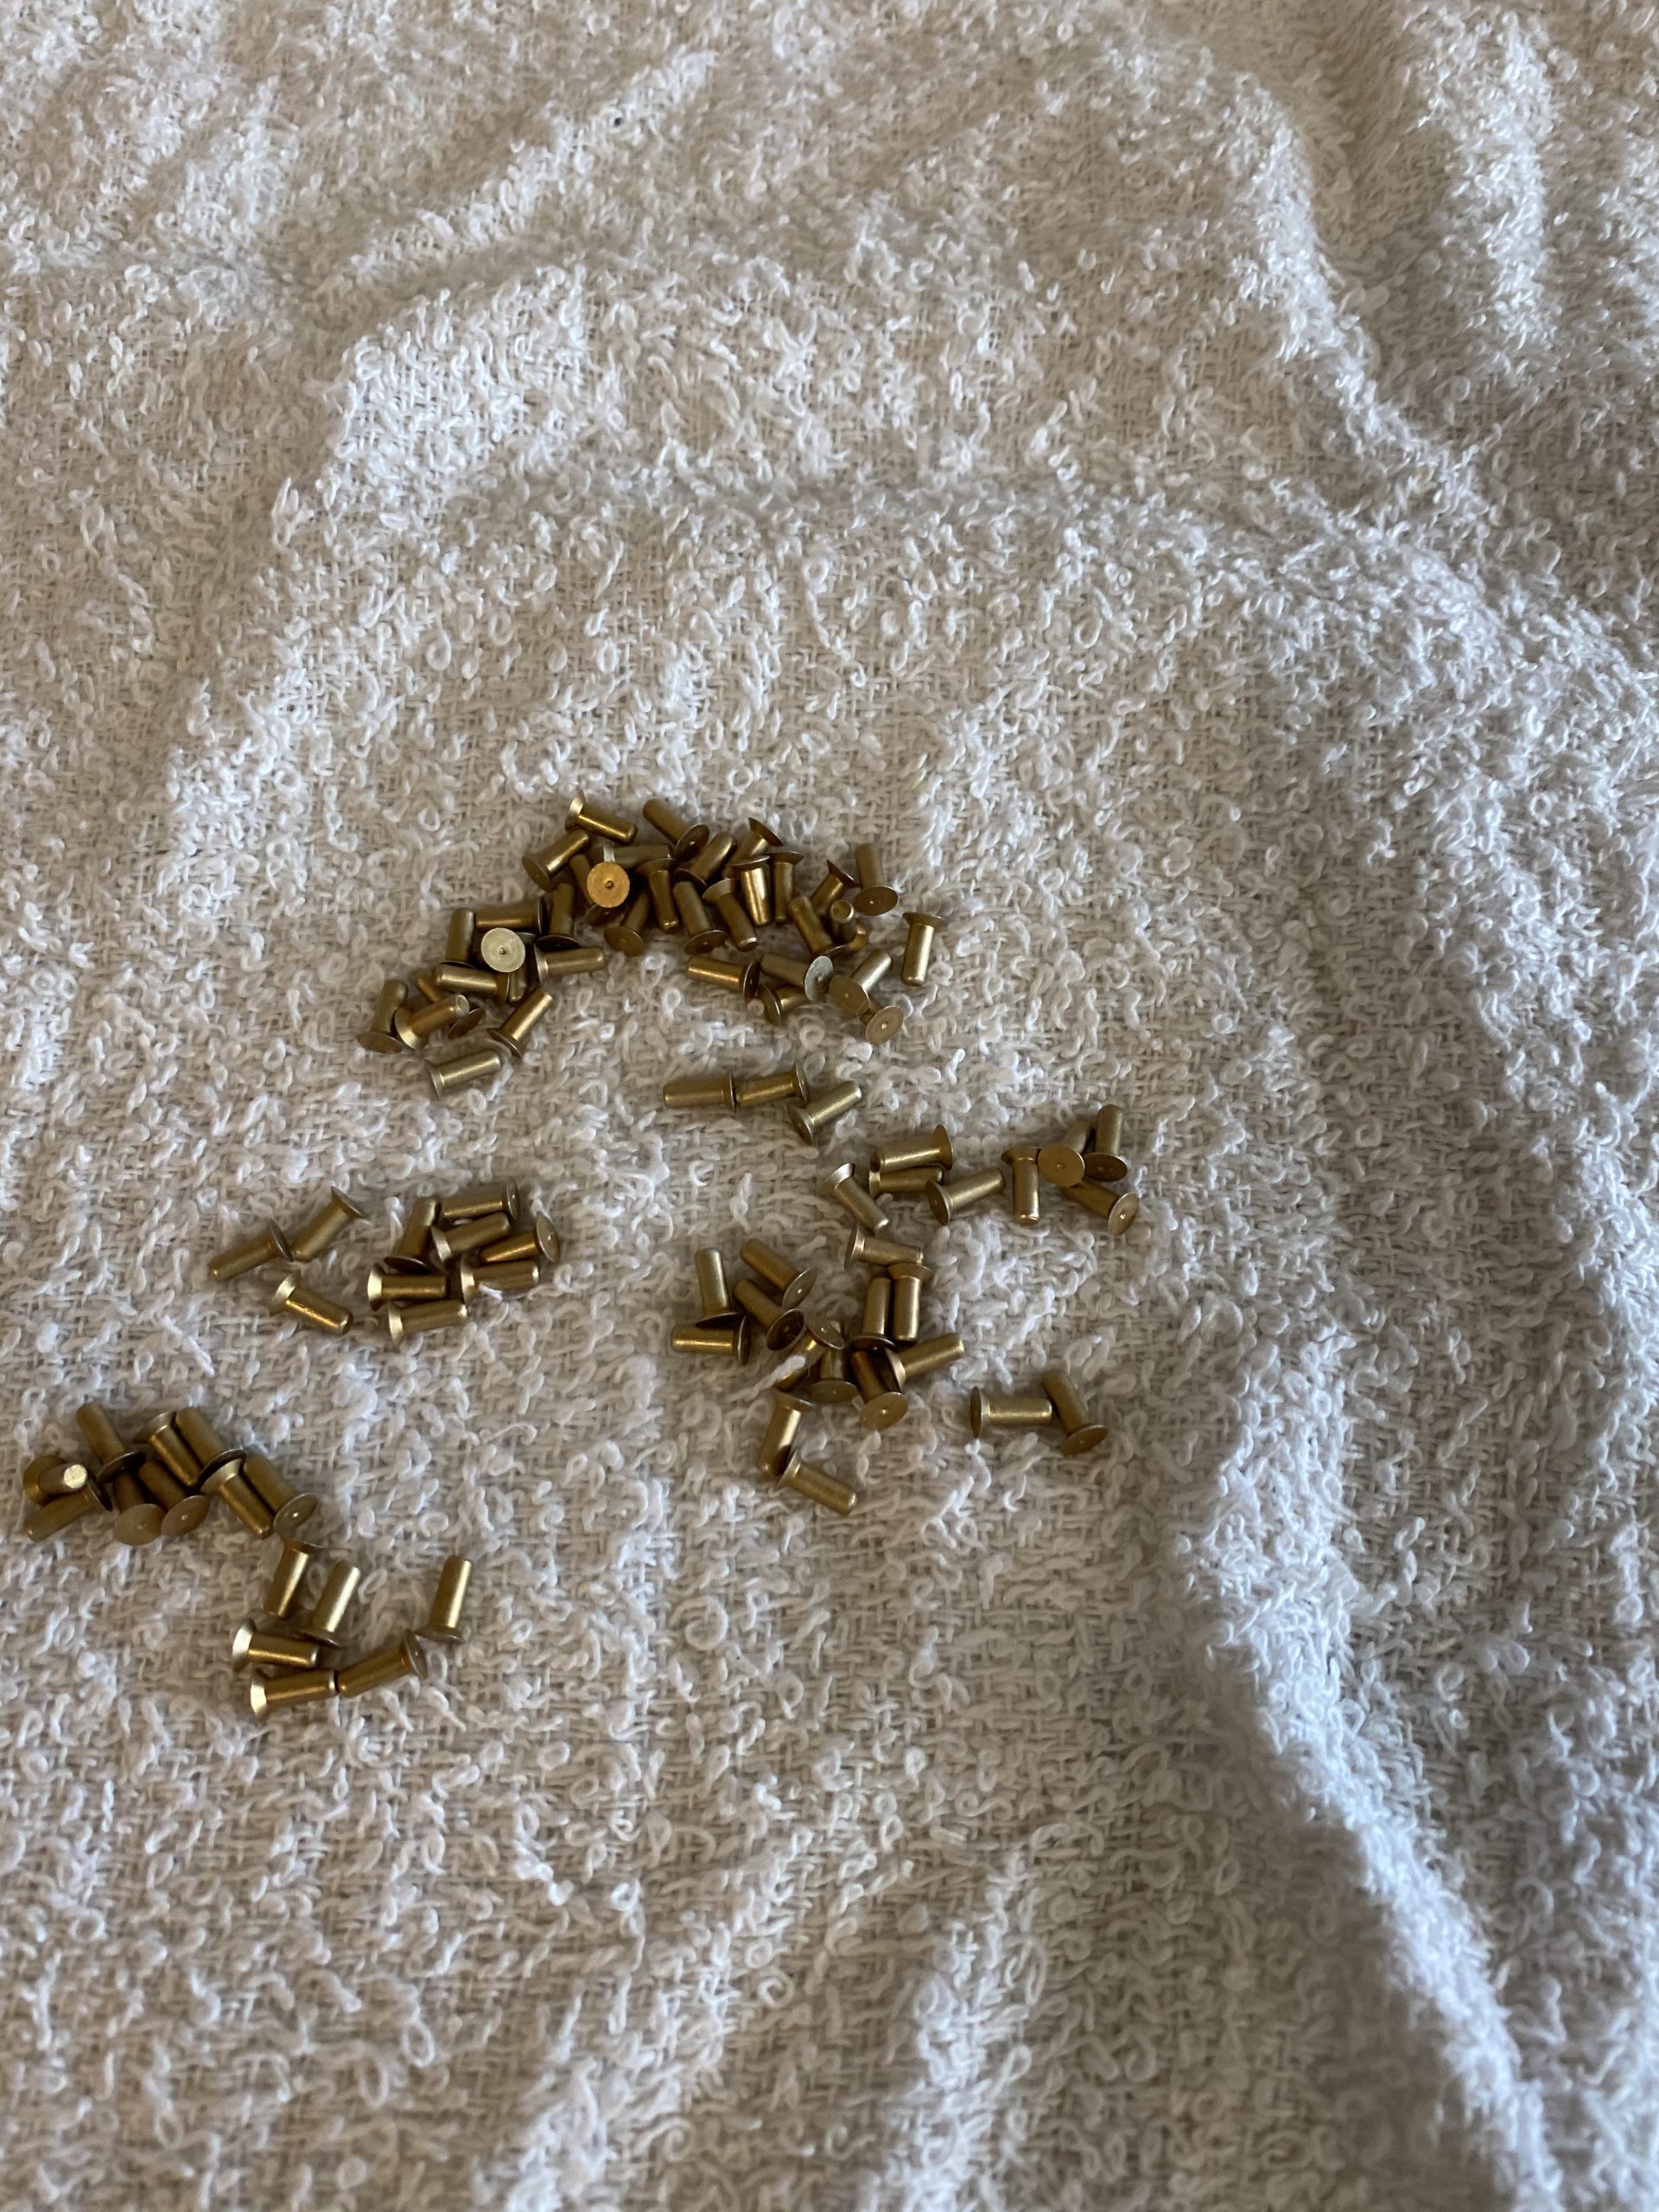
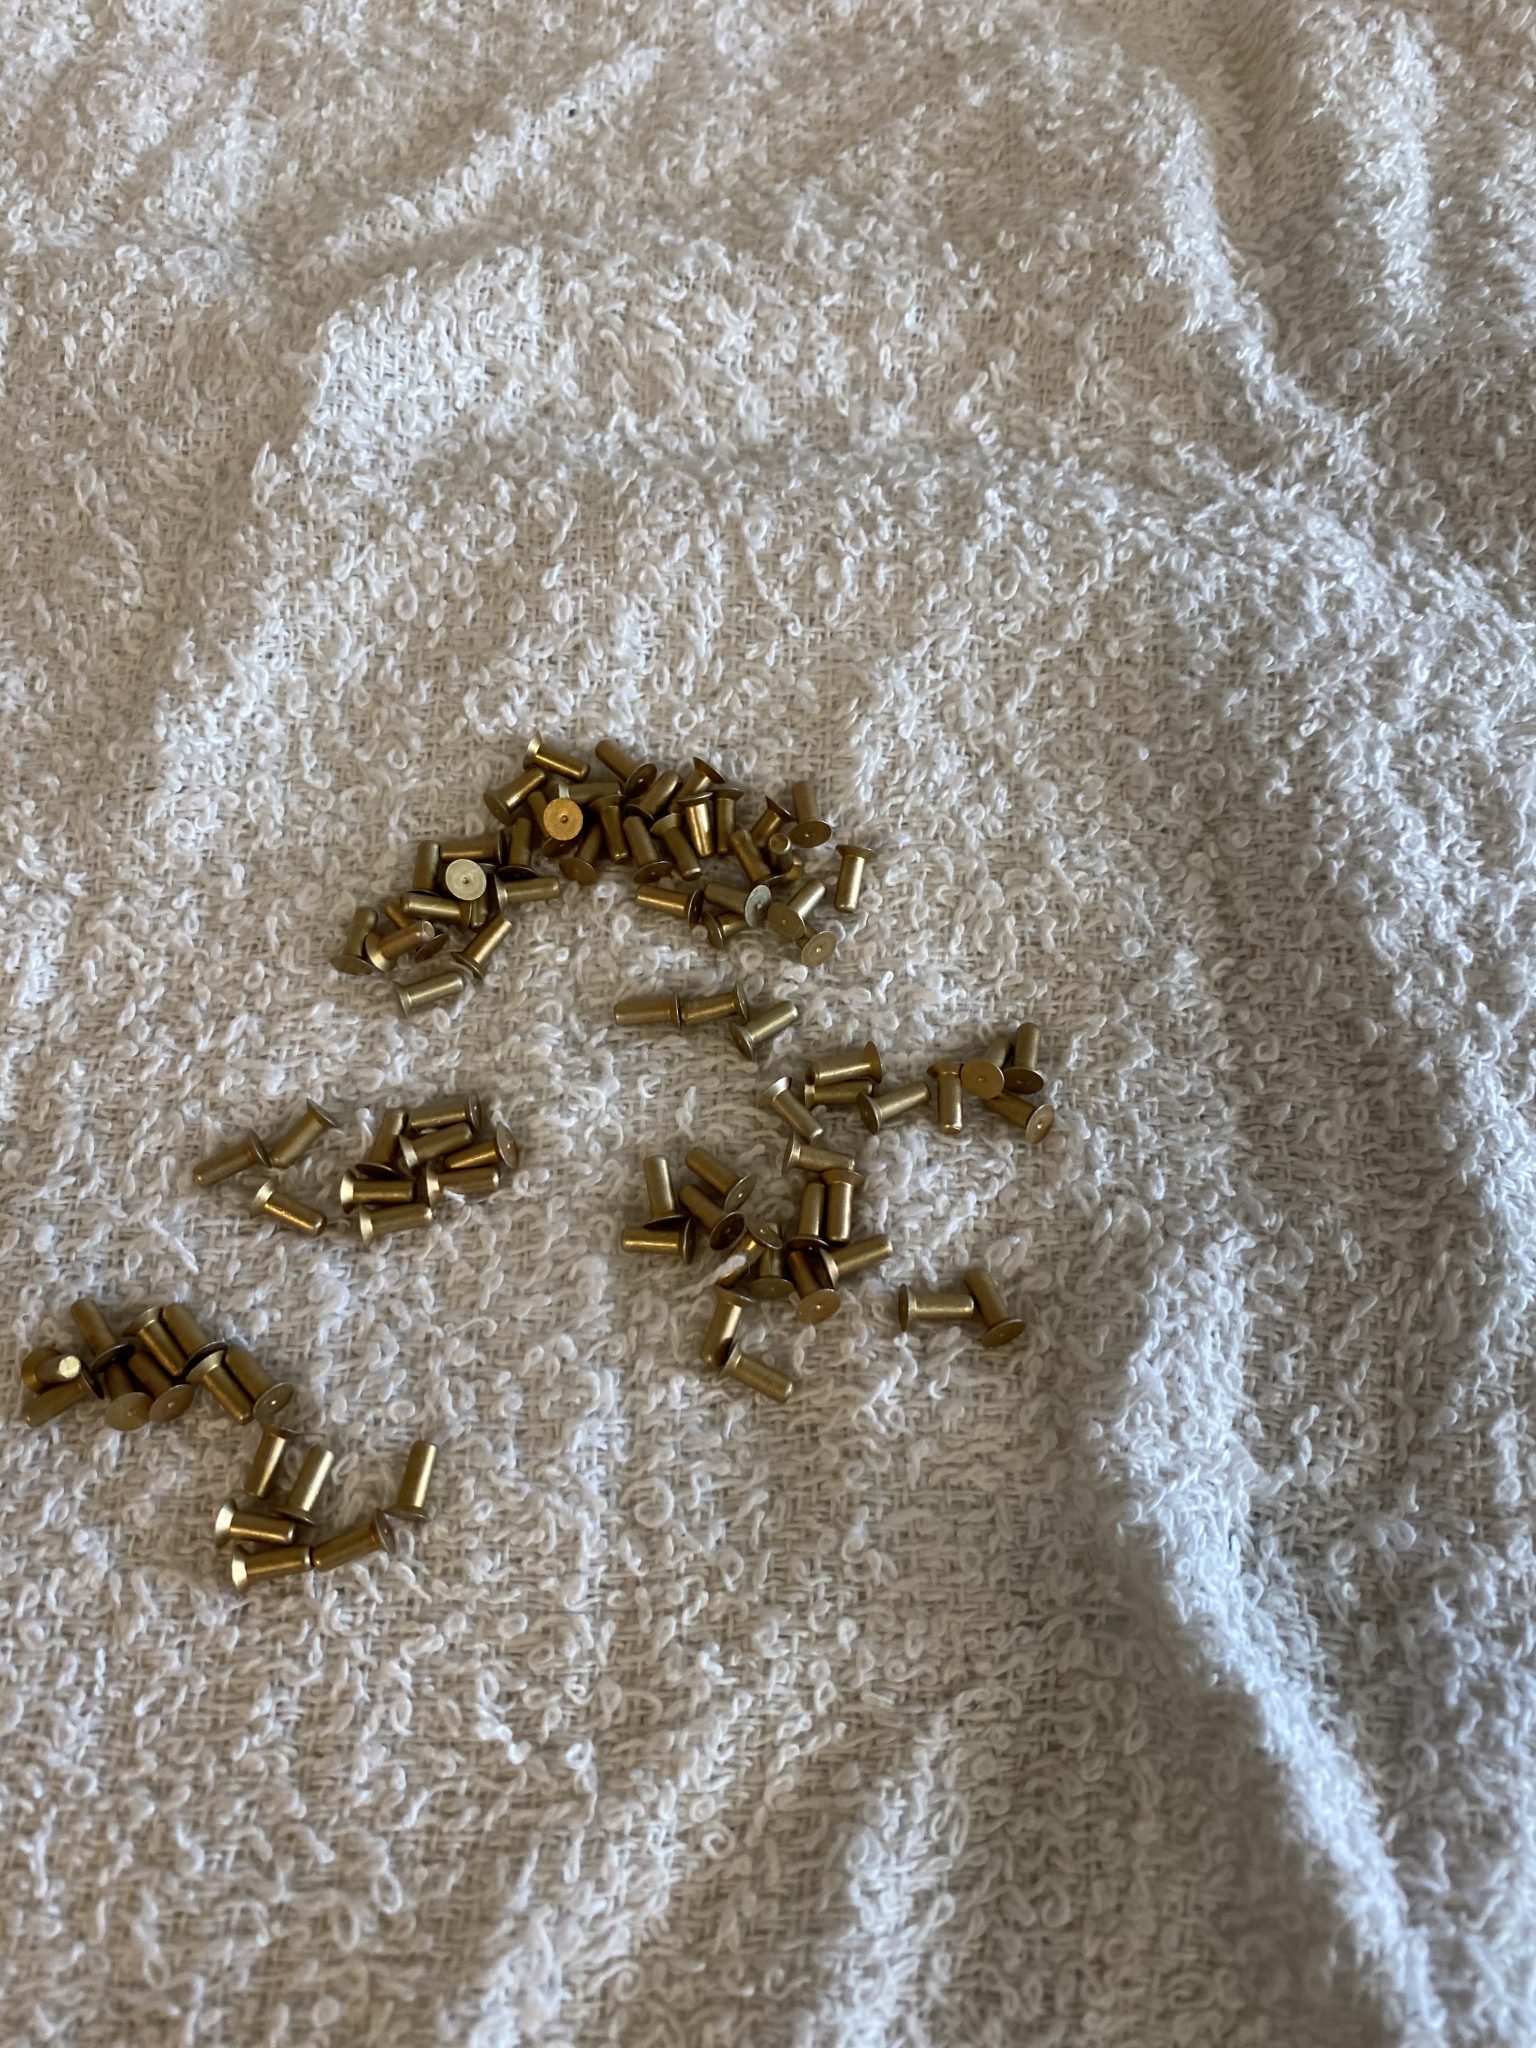
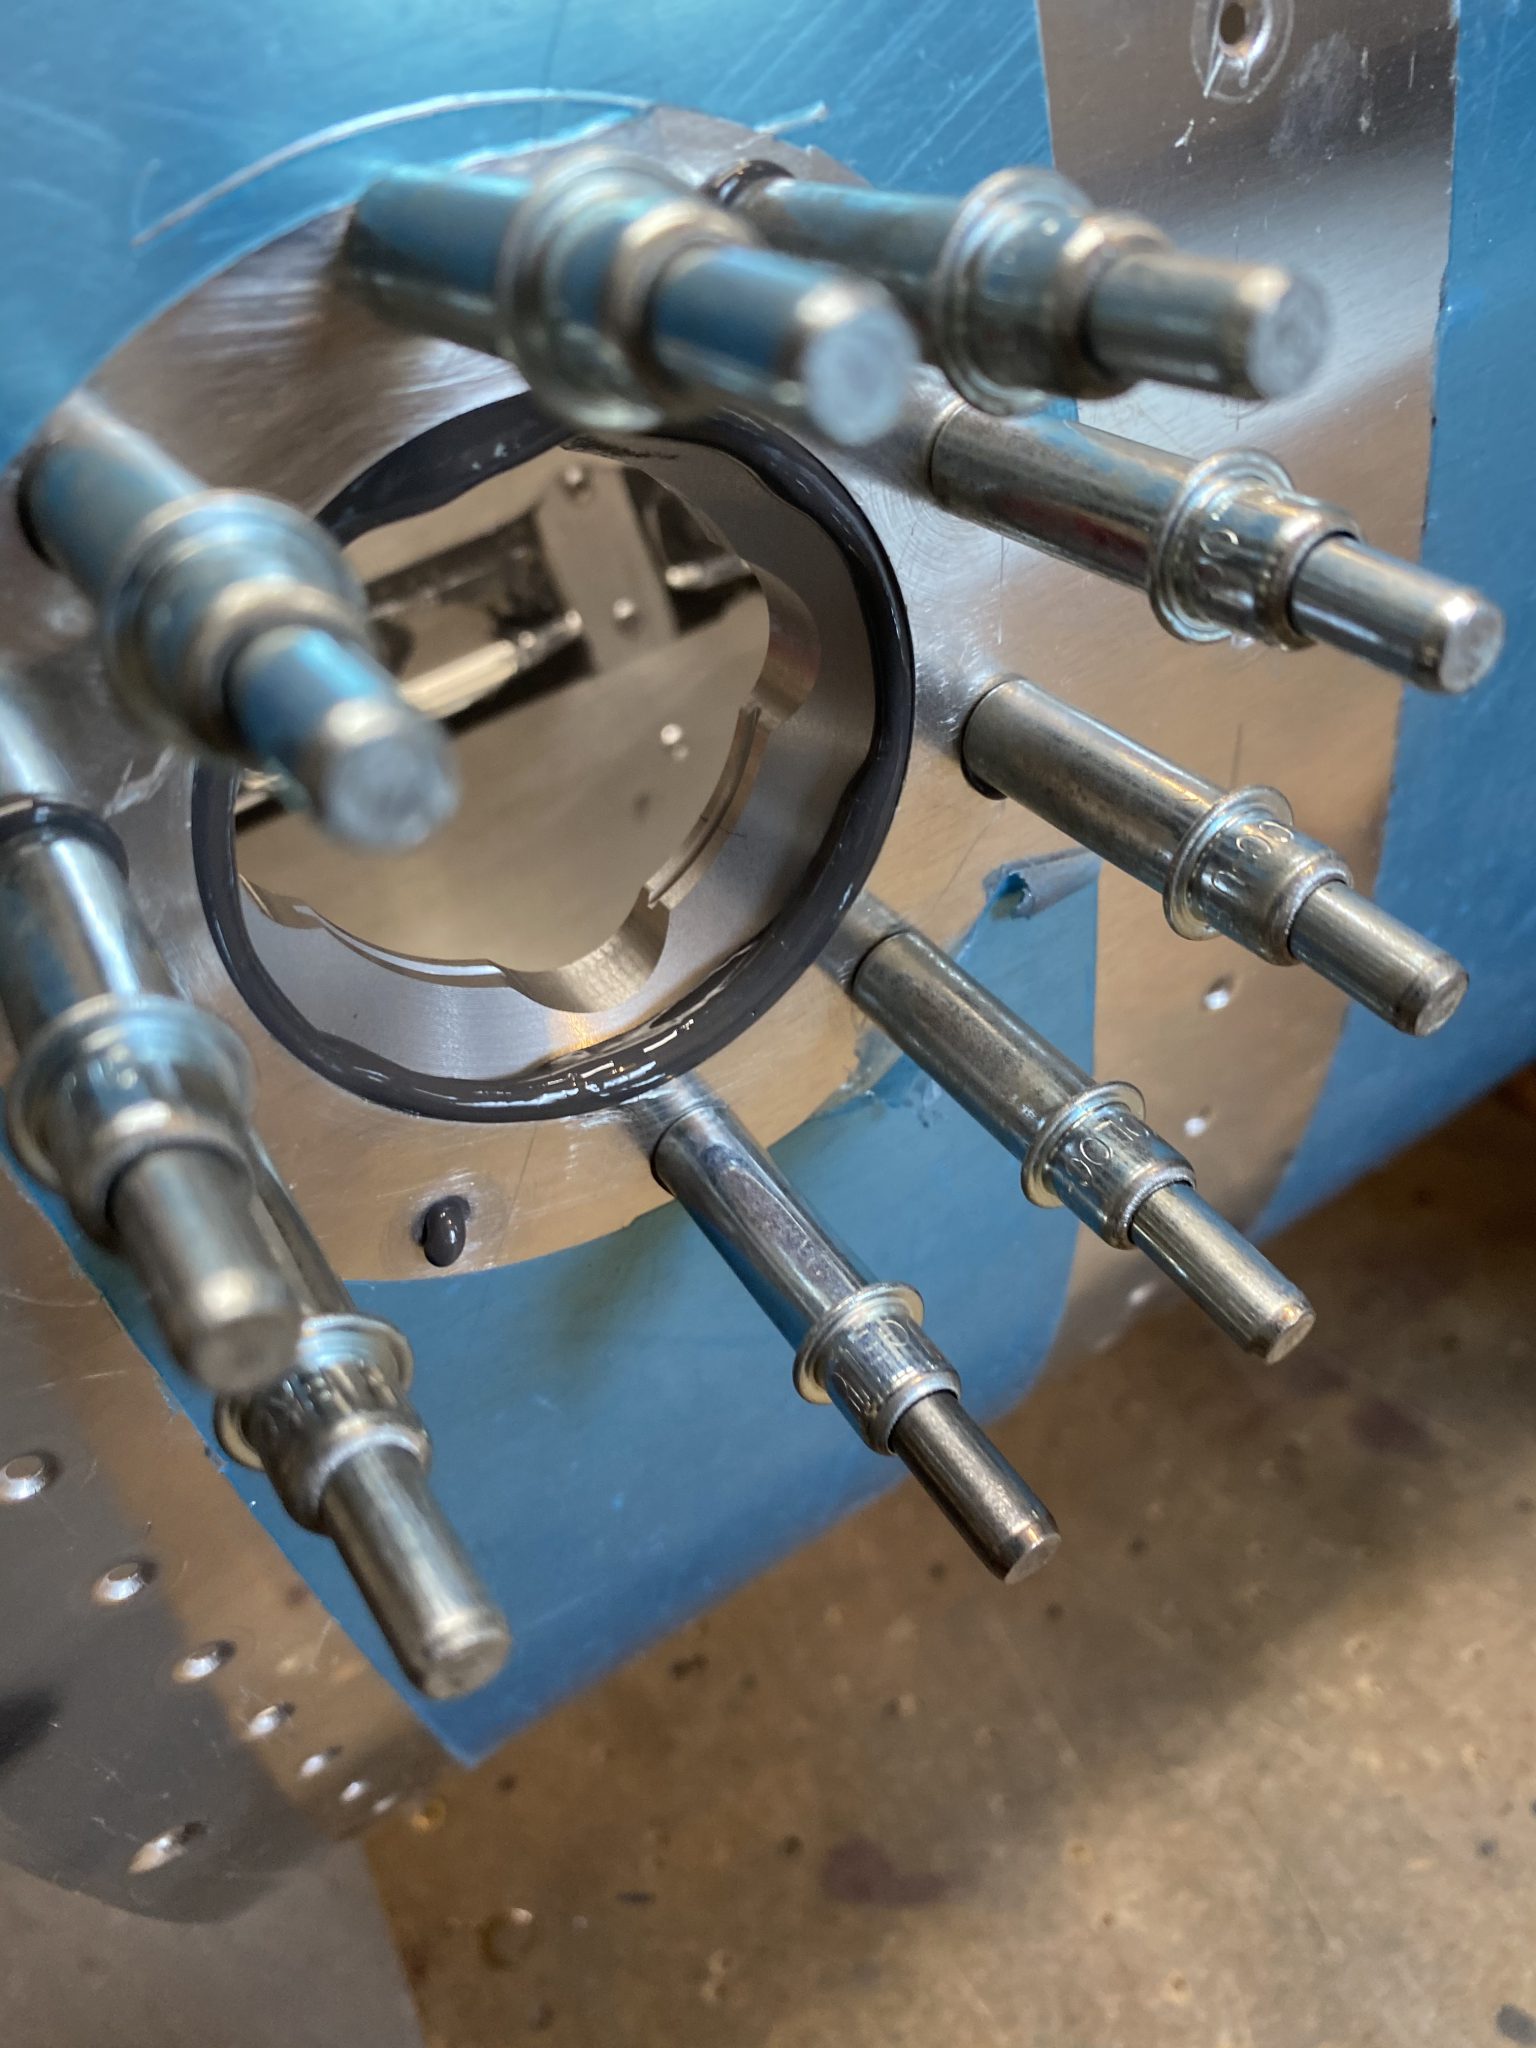
I sloshed some rivets around in a jar of MEK to get them nice and clean and then dried them on a clean towel, and squeezed them all into the tank drain first.. I was able to use my squeezer on all of the rivets on the tank drain pretty easily.
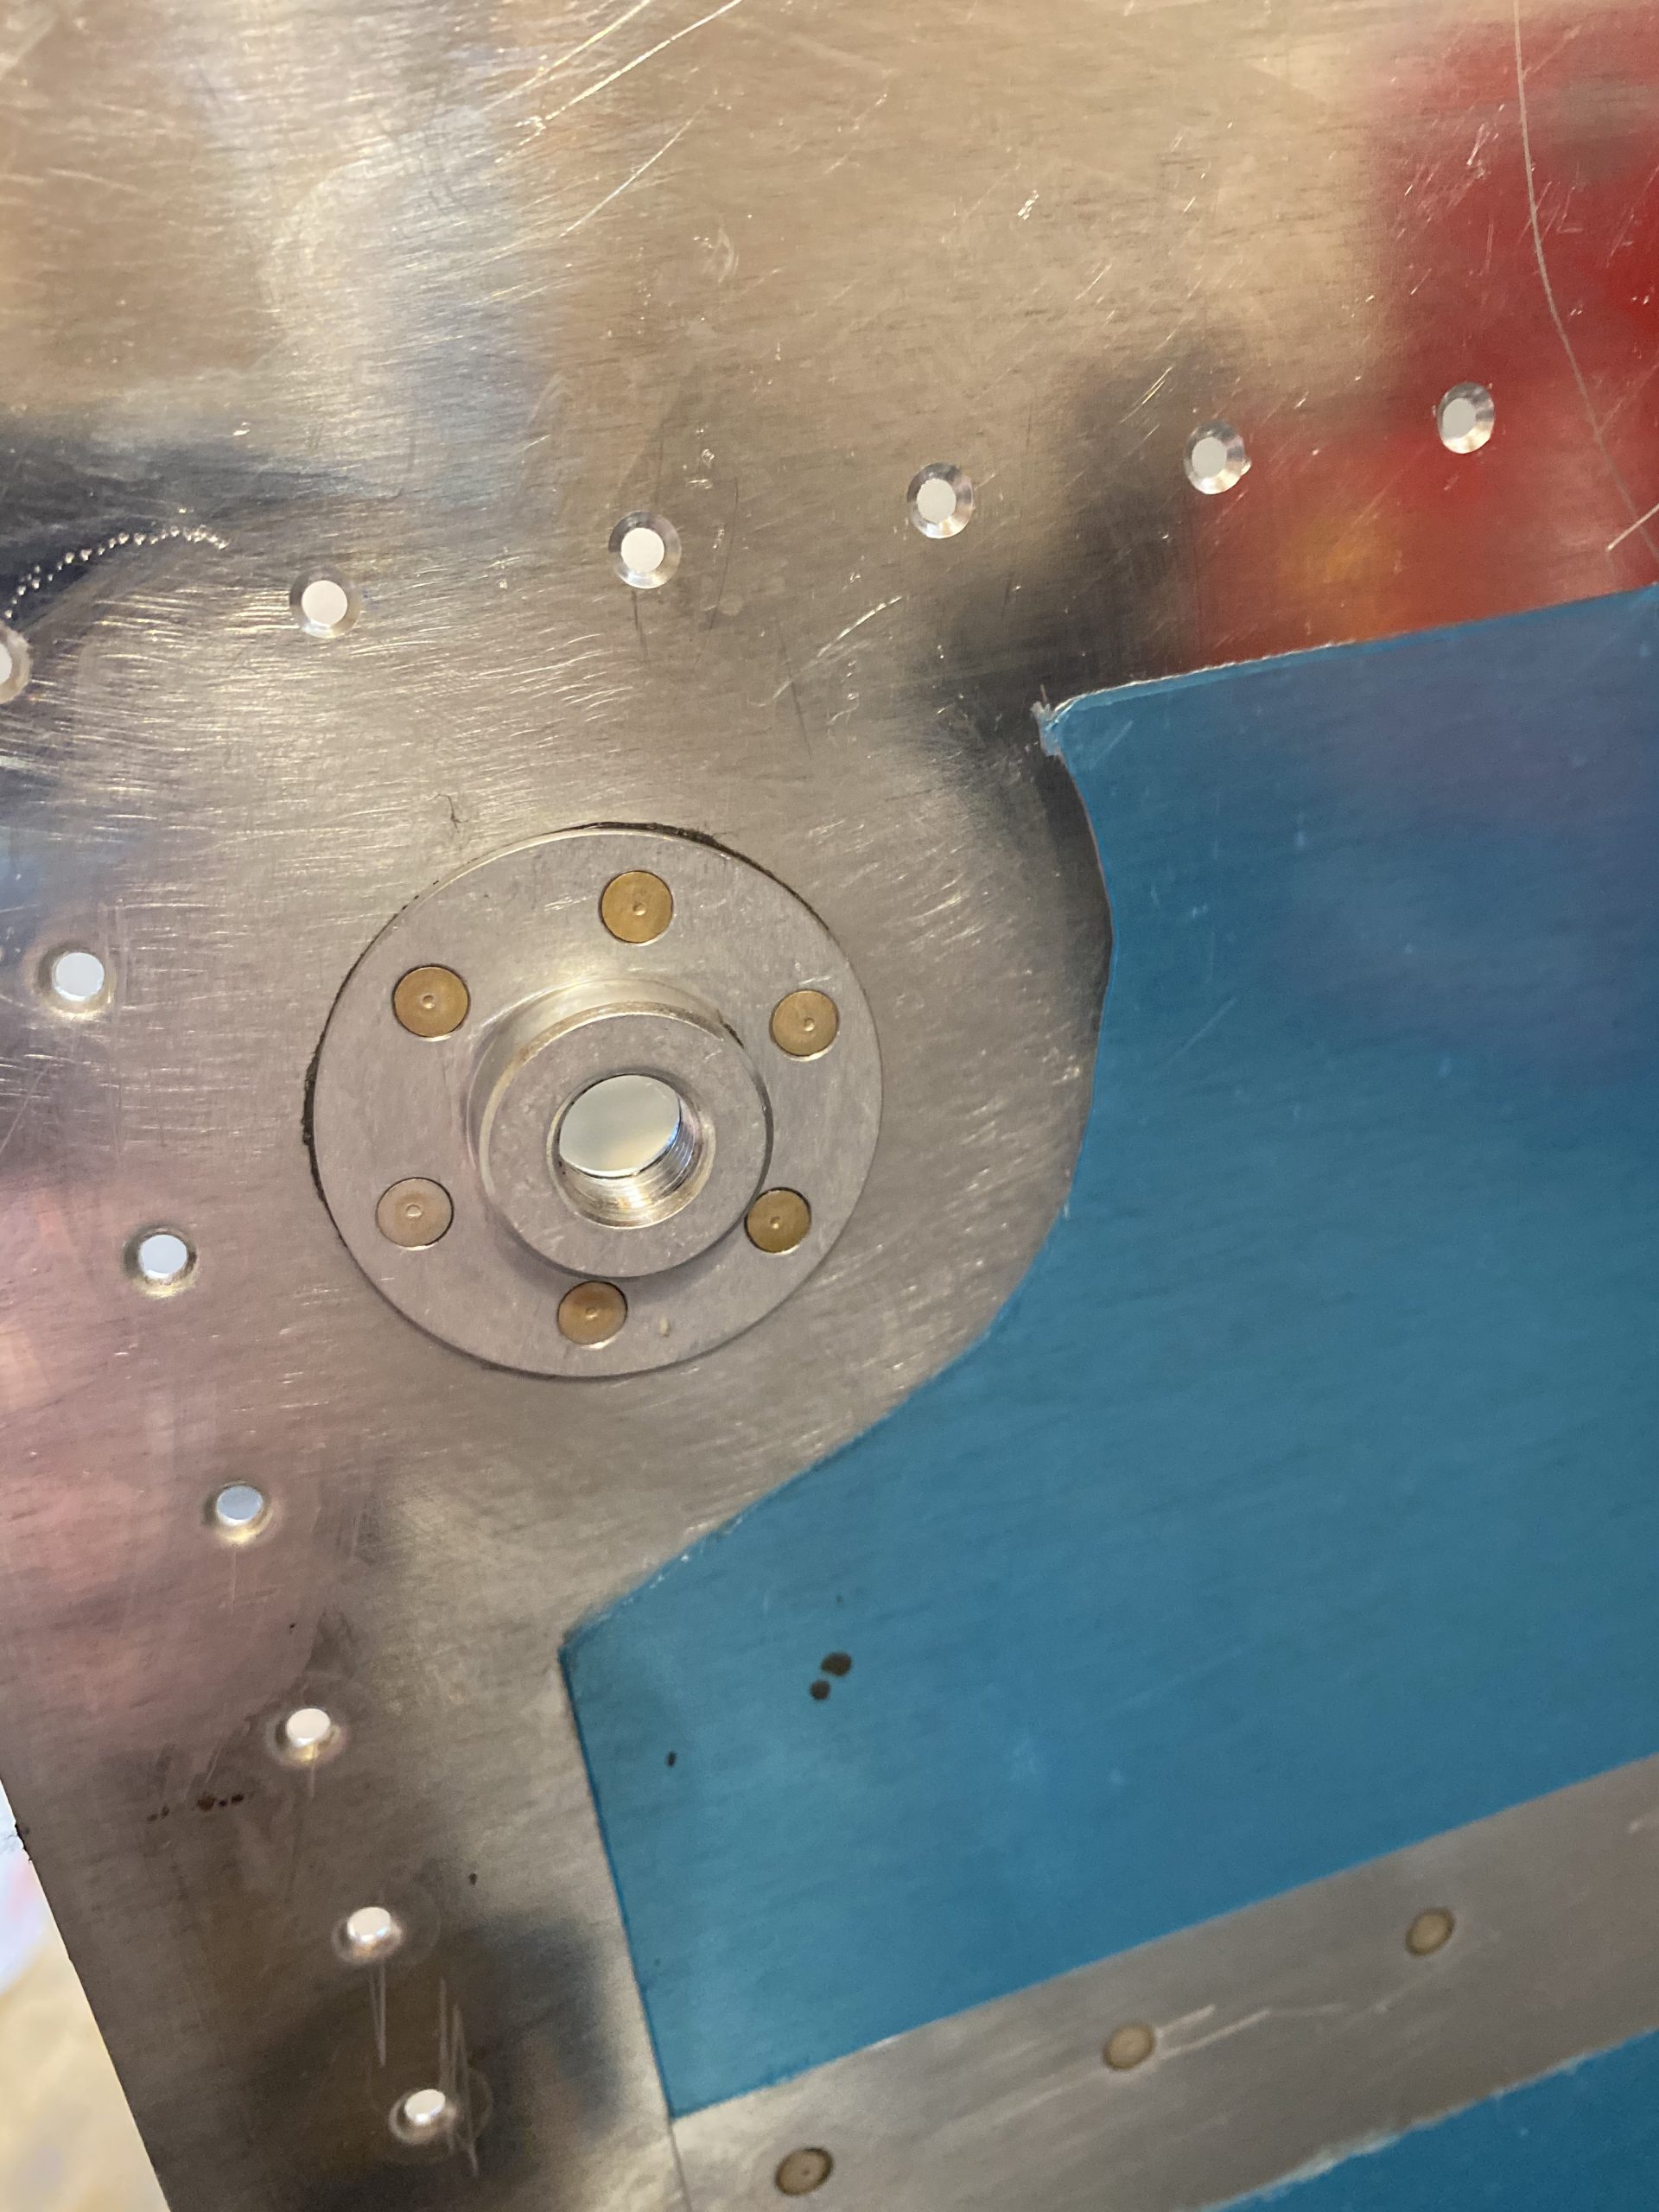
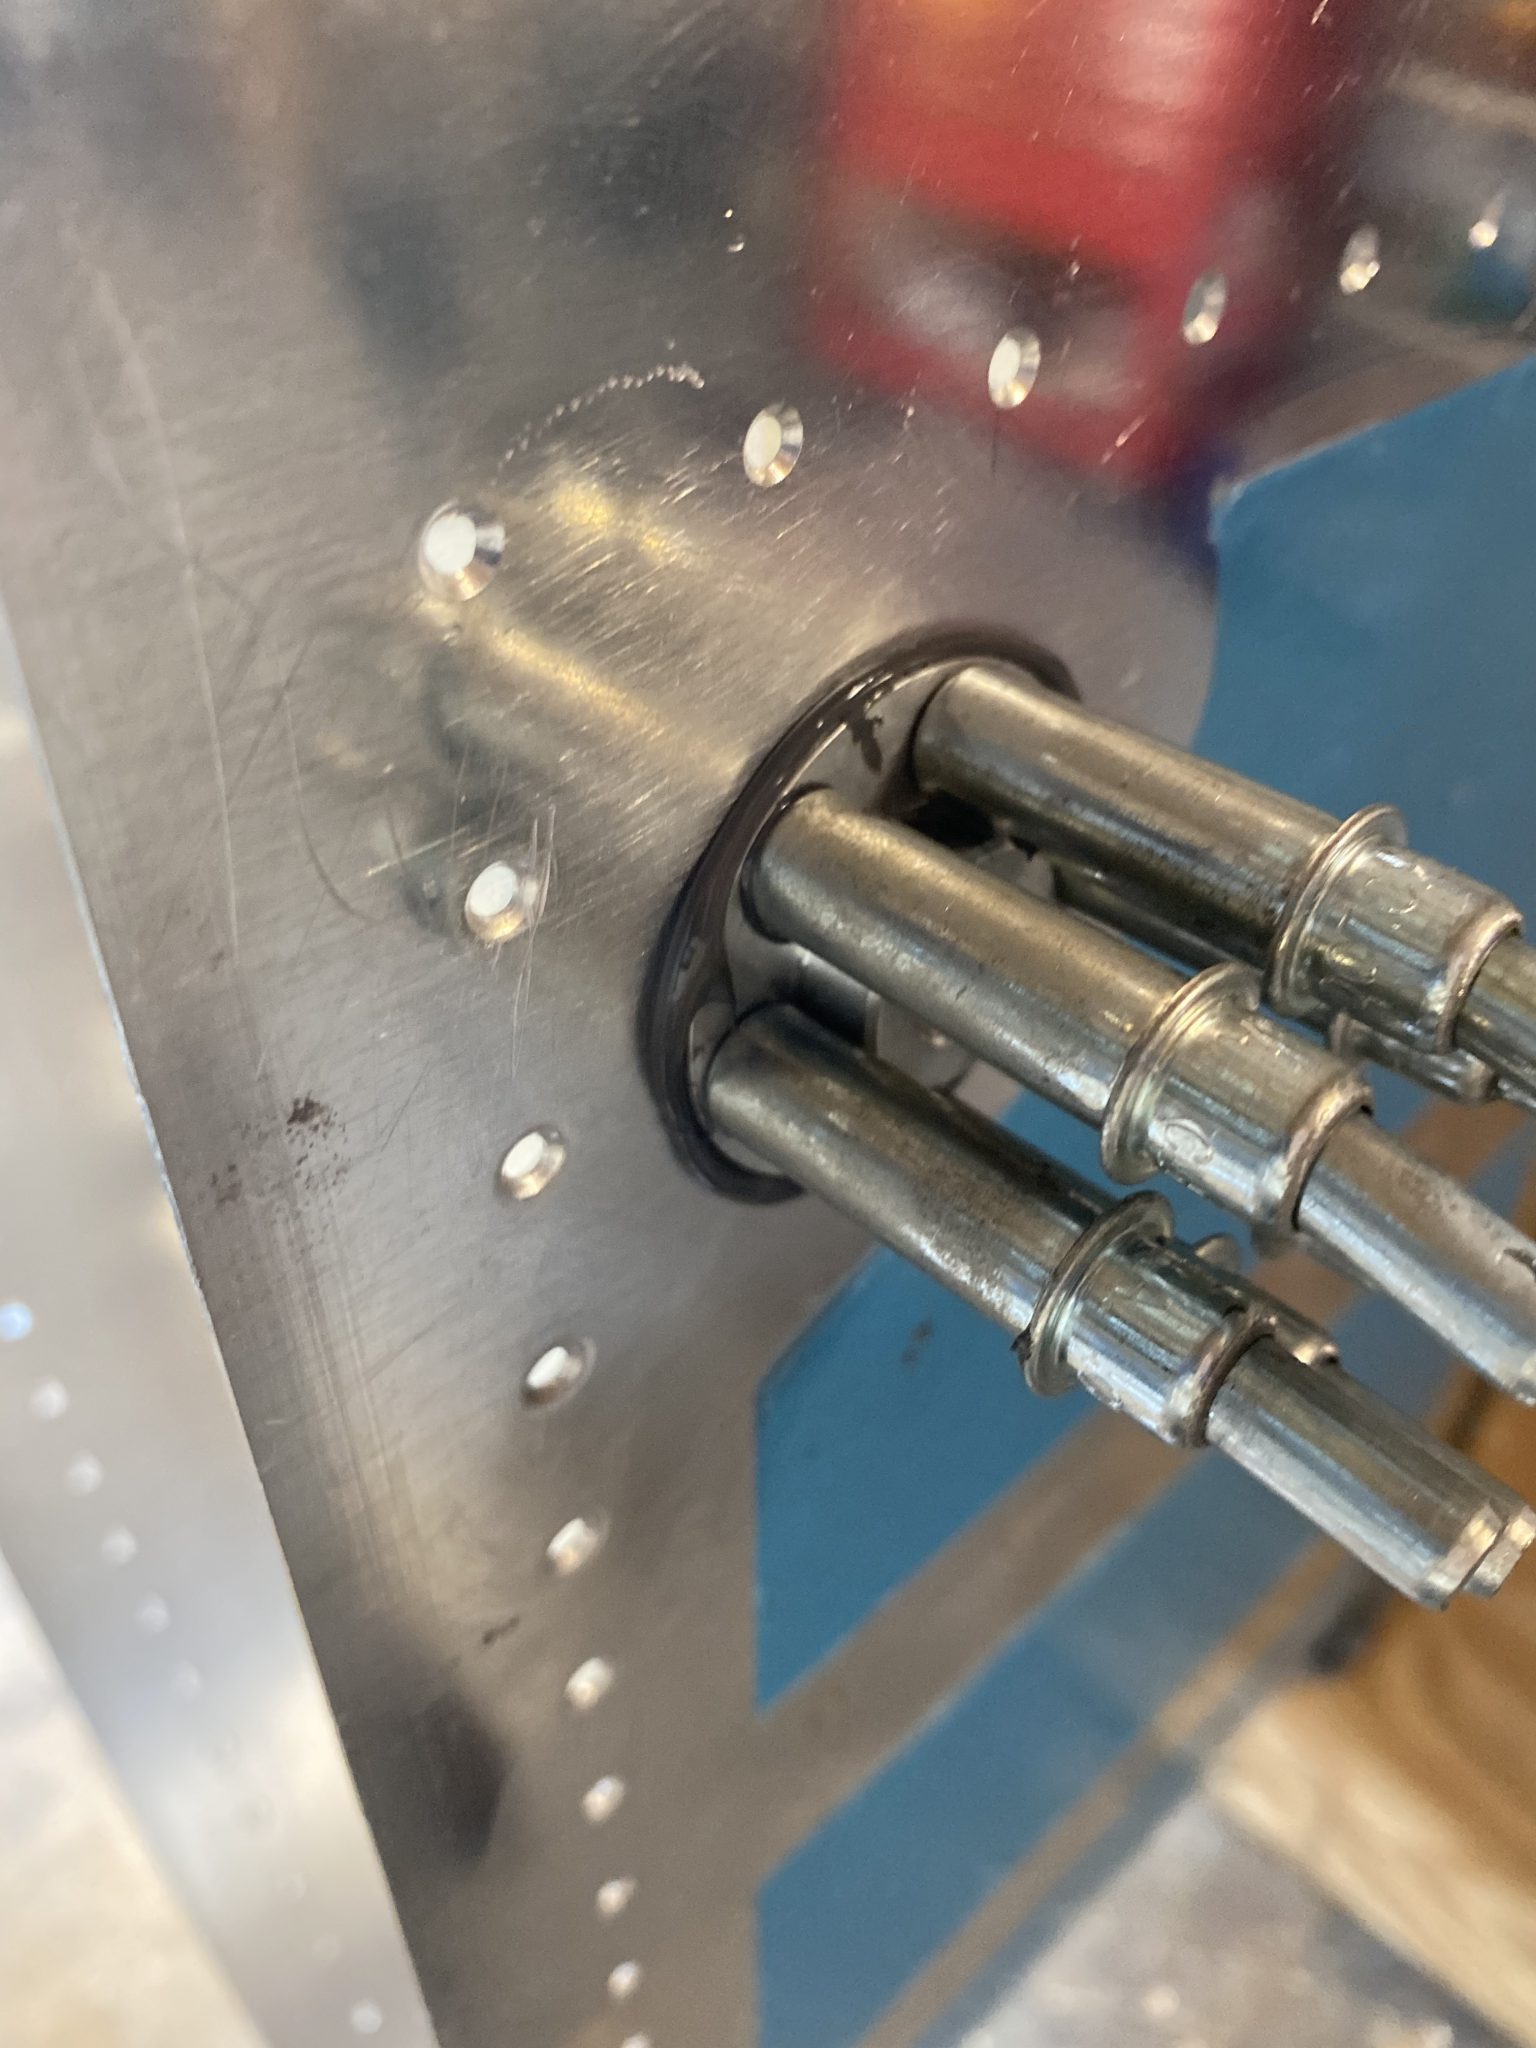
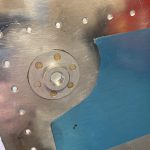
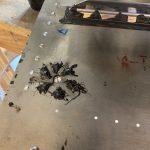
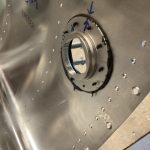
This was a messy job, as proseal was getting all over my squeezer and clecos. But thankfully, it cleans up really easily with MEK. Here is the exterior of the tank drain, after I riveted it, and cleaned up all the proseal.
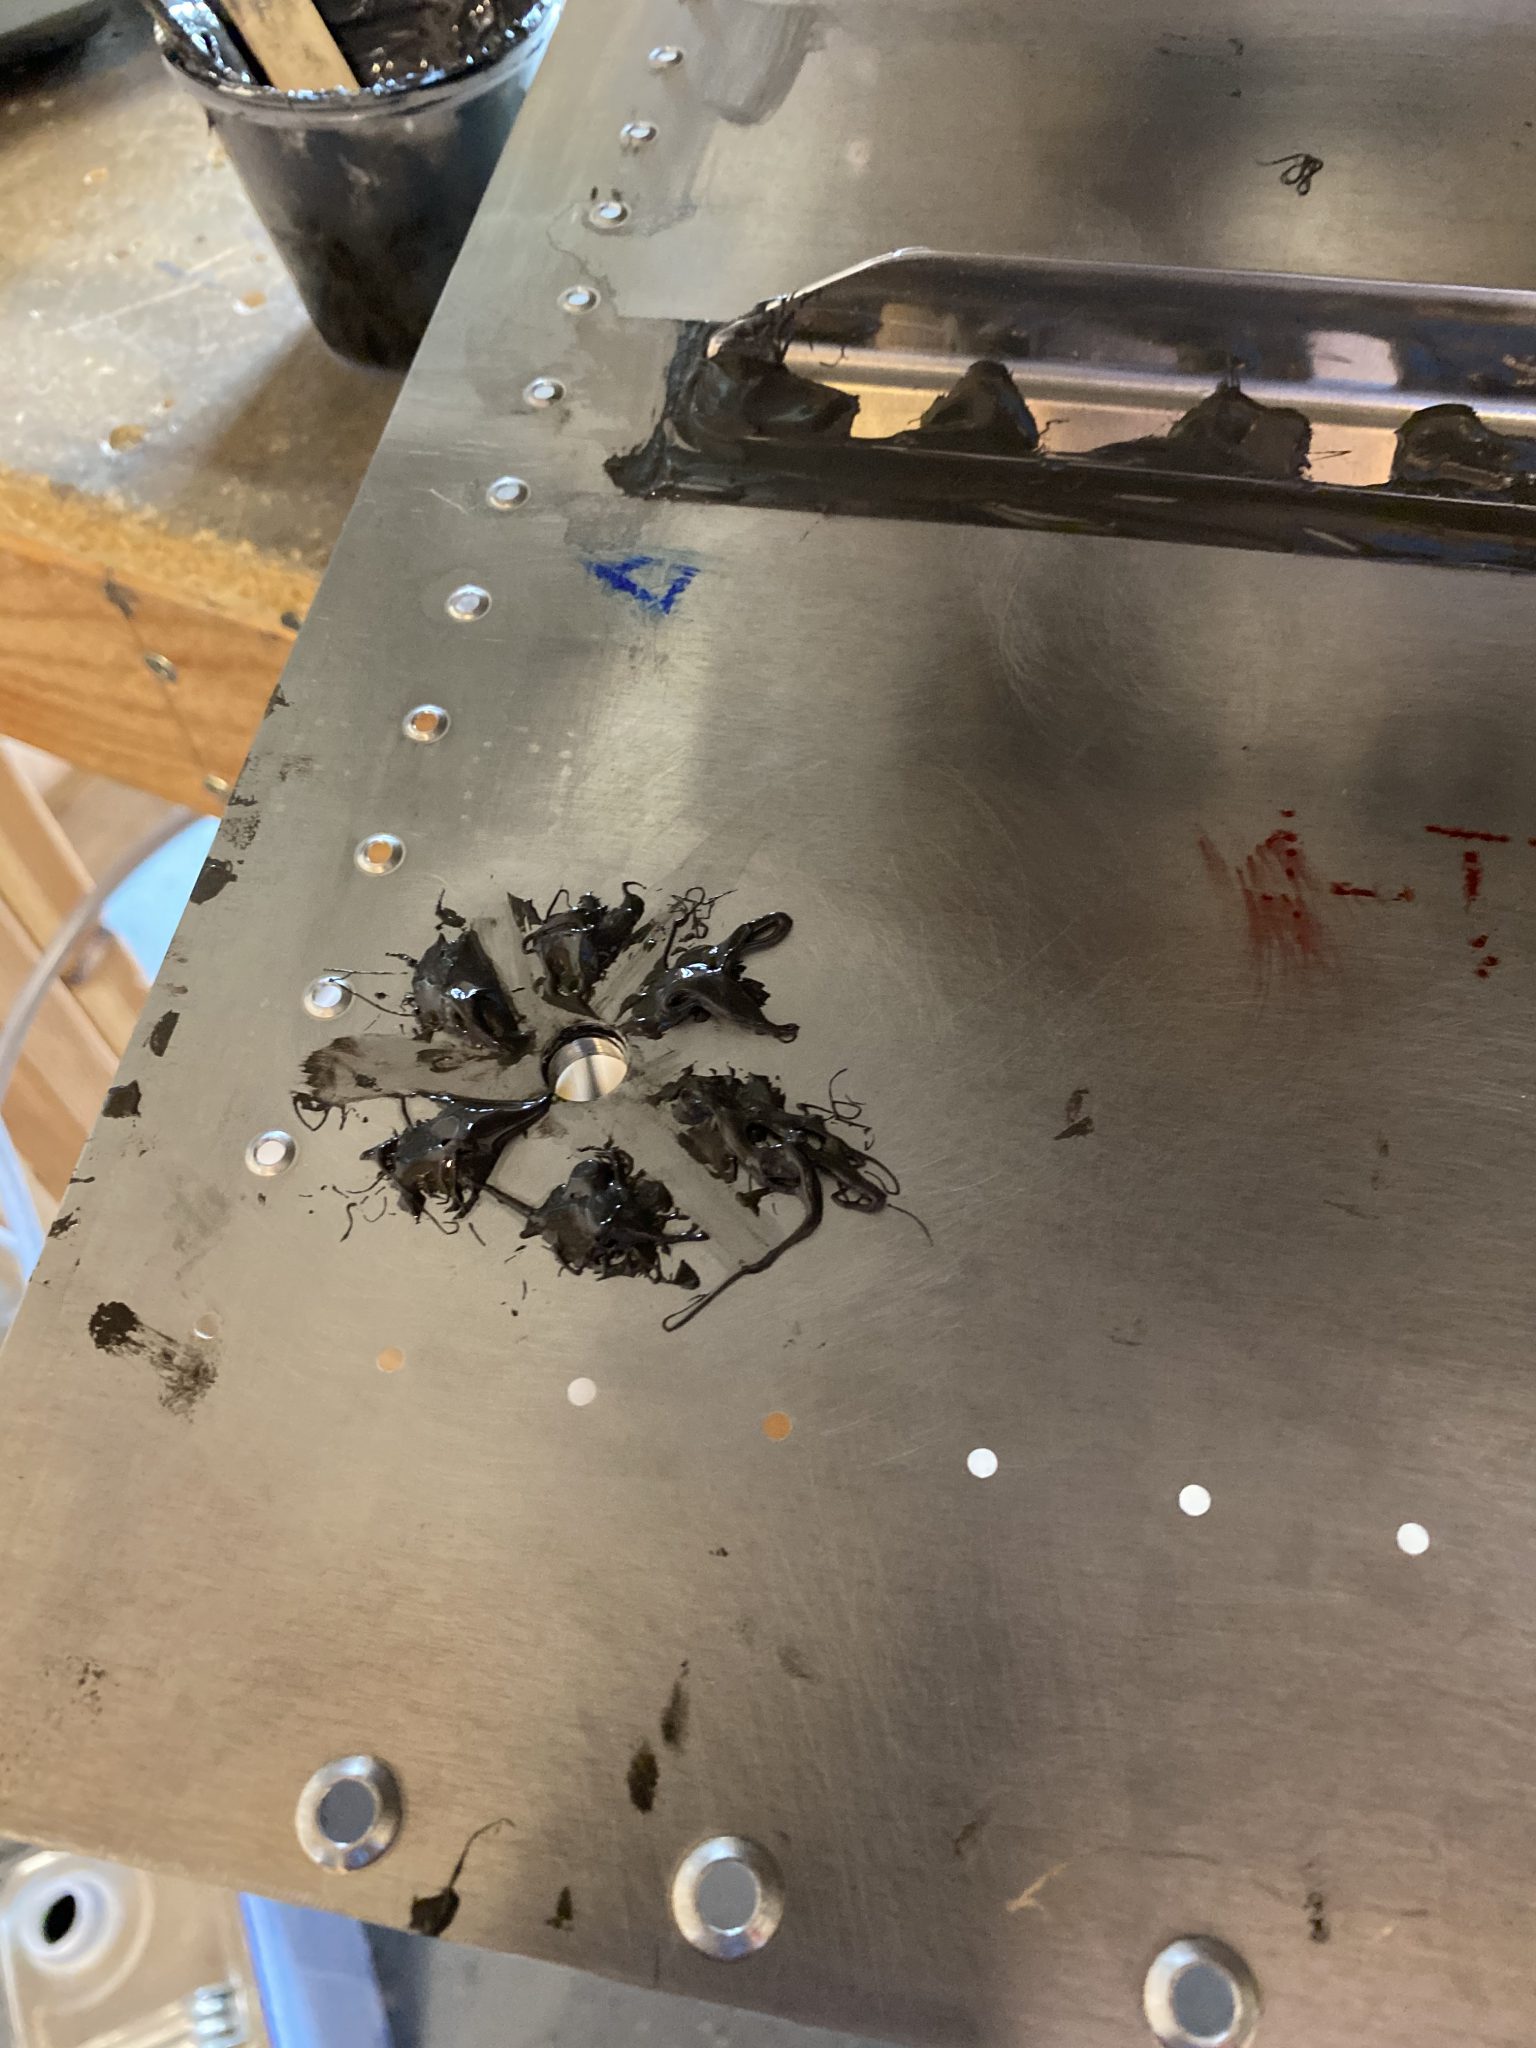
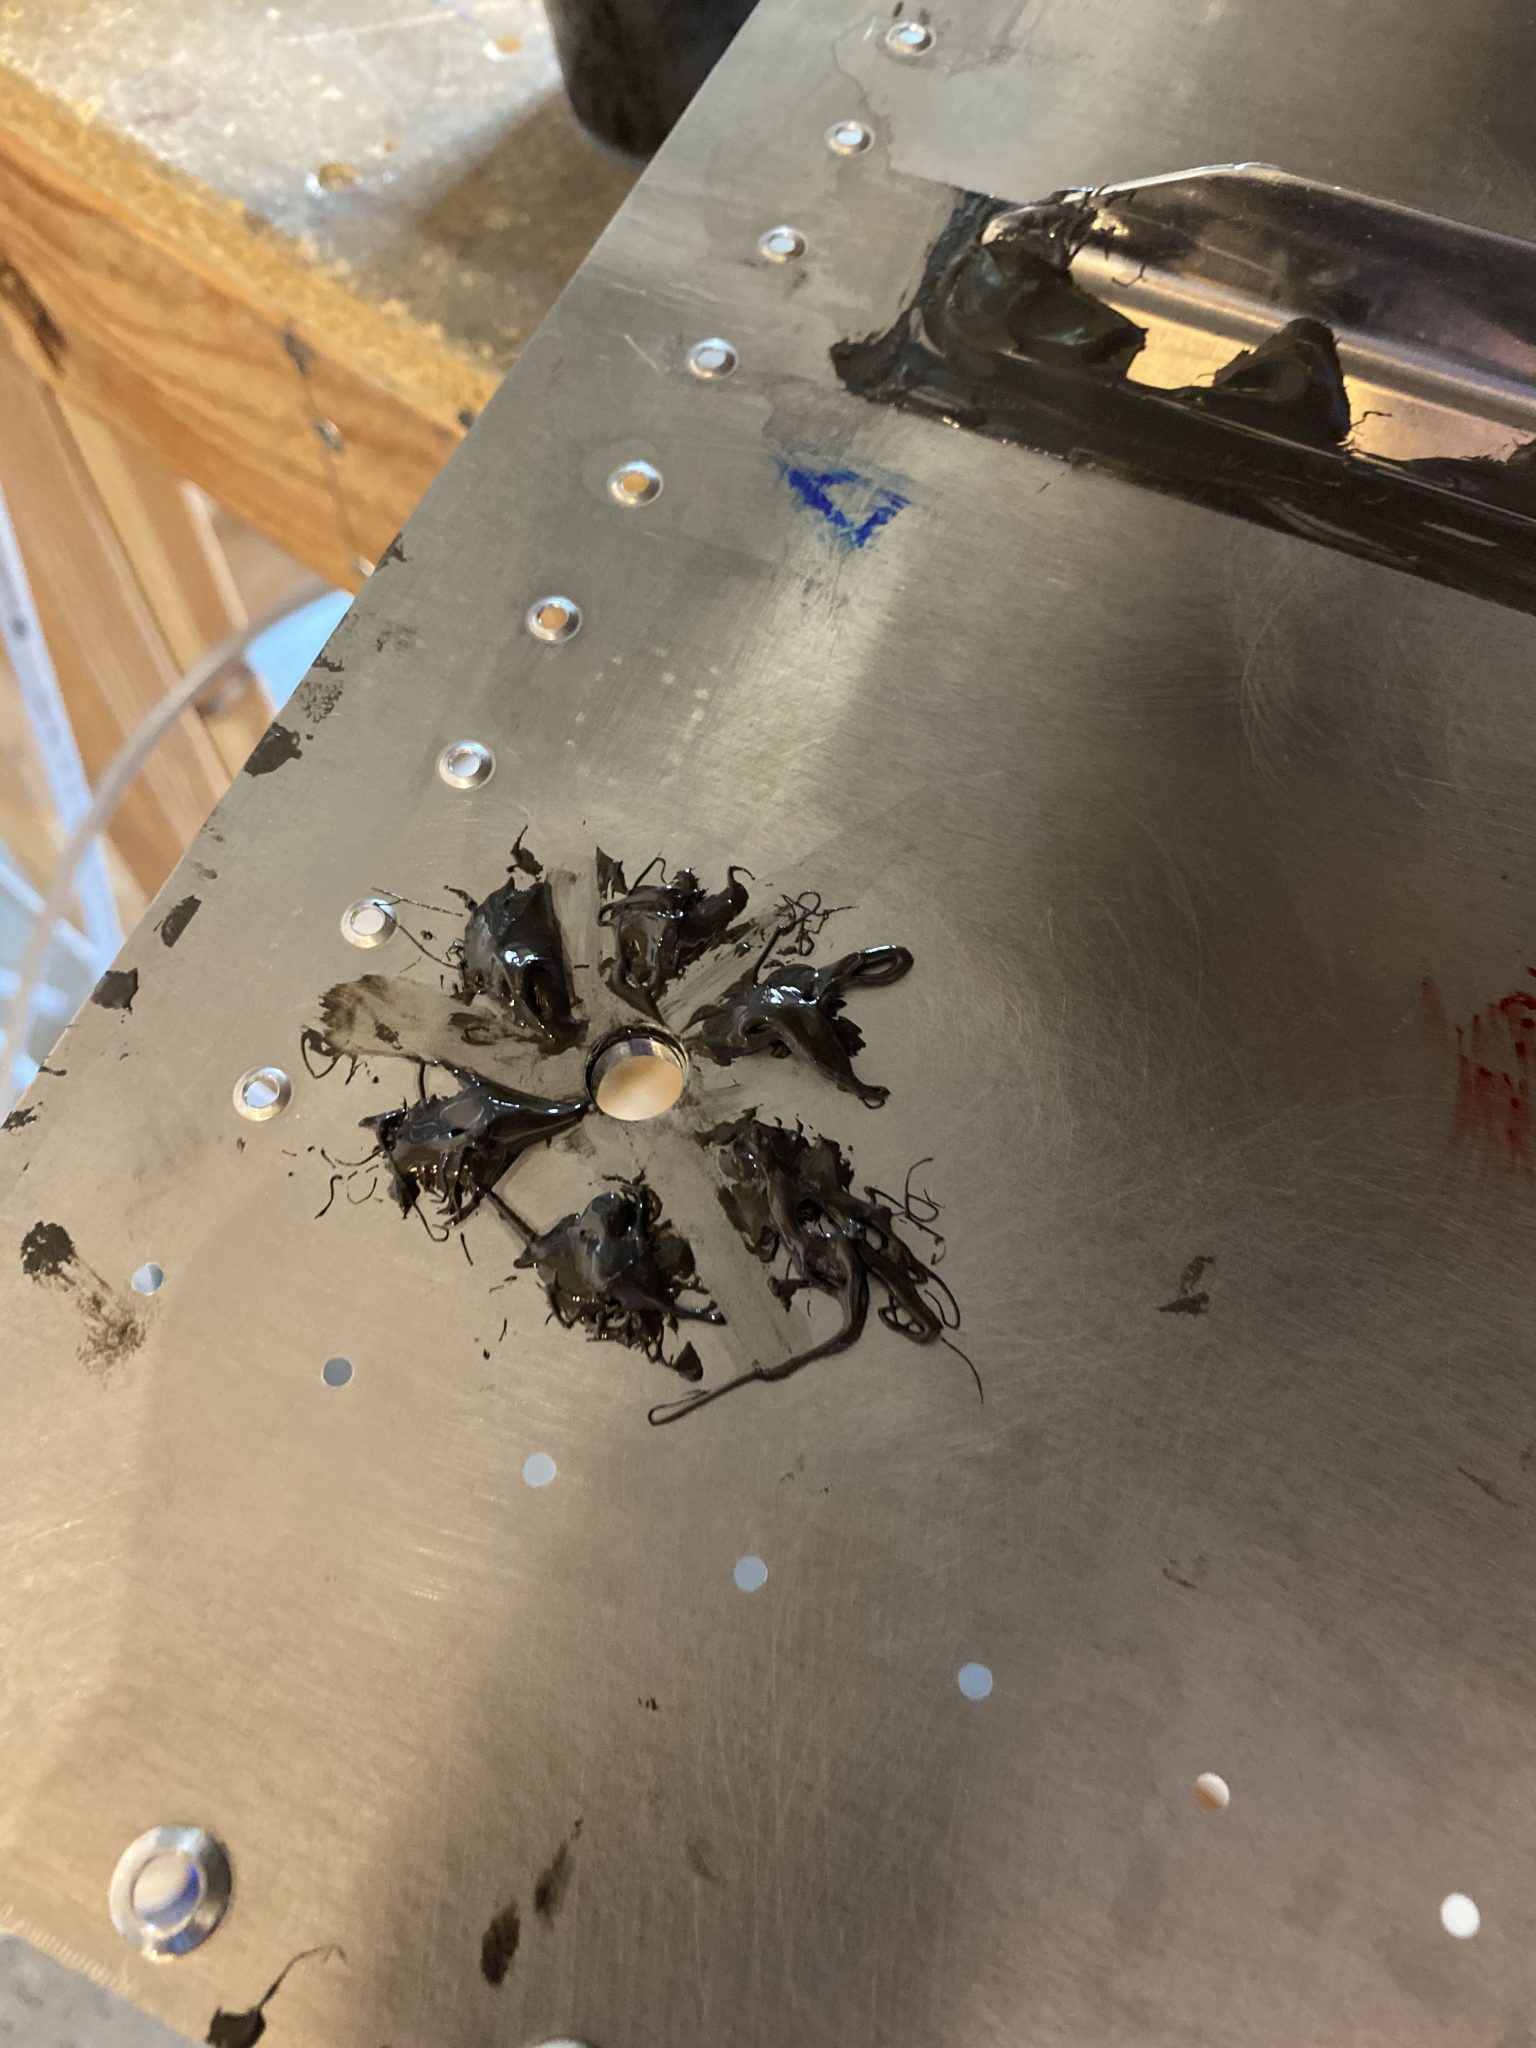
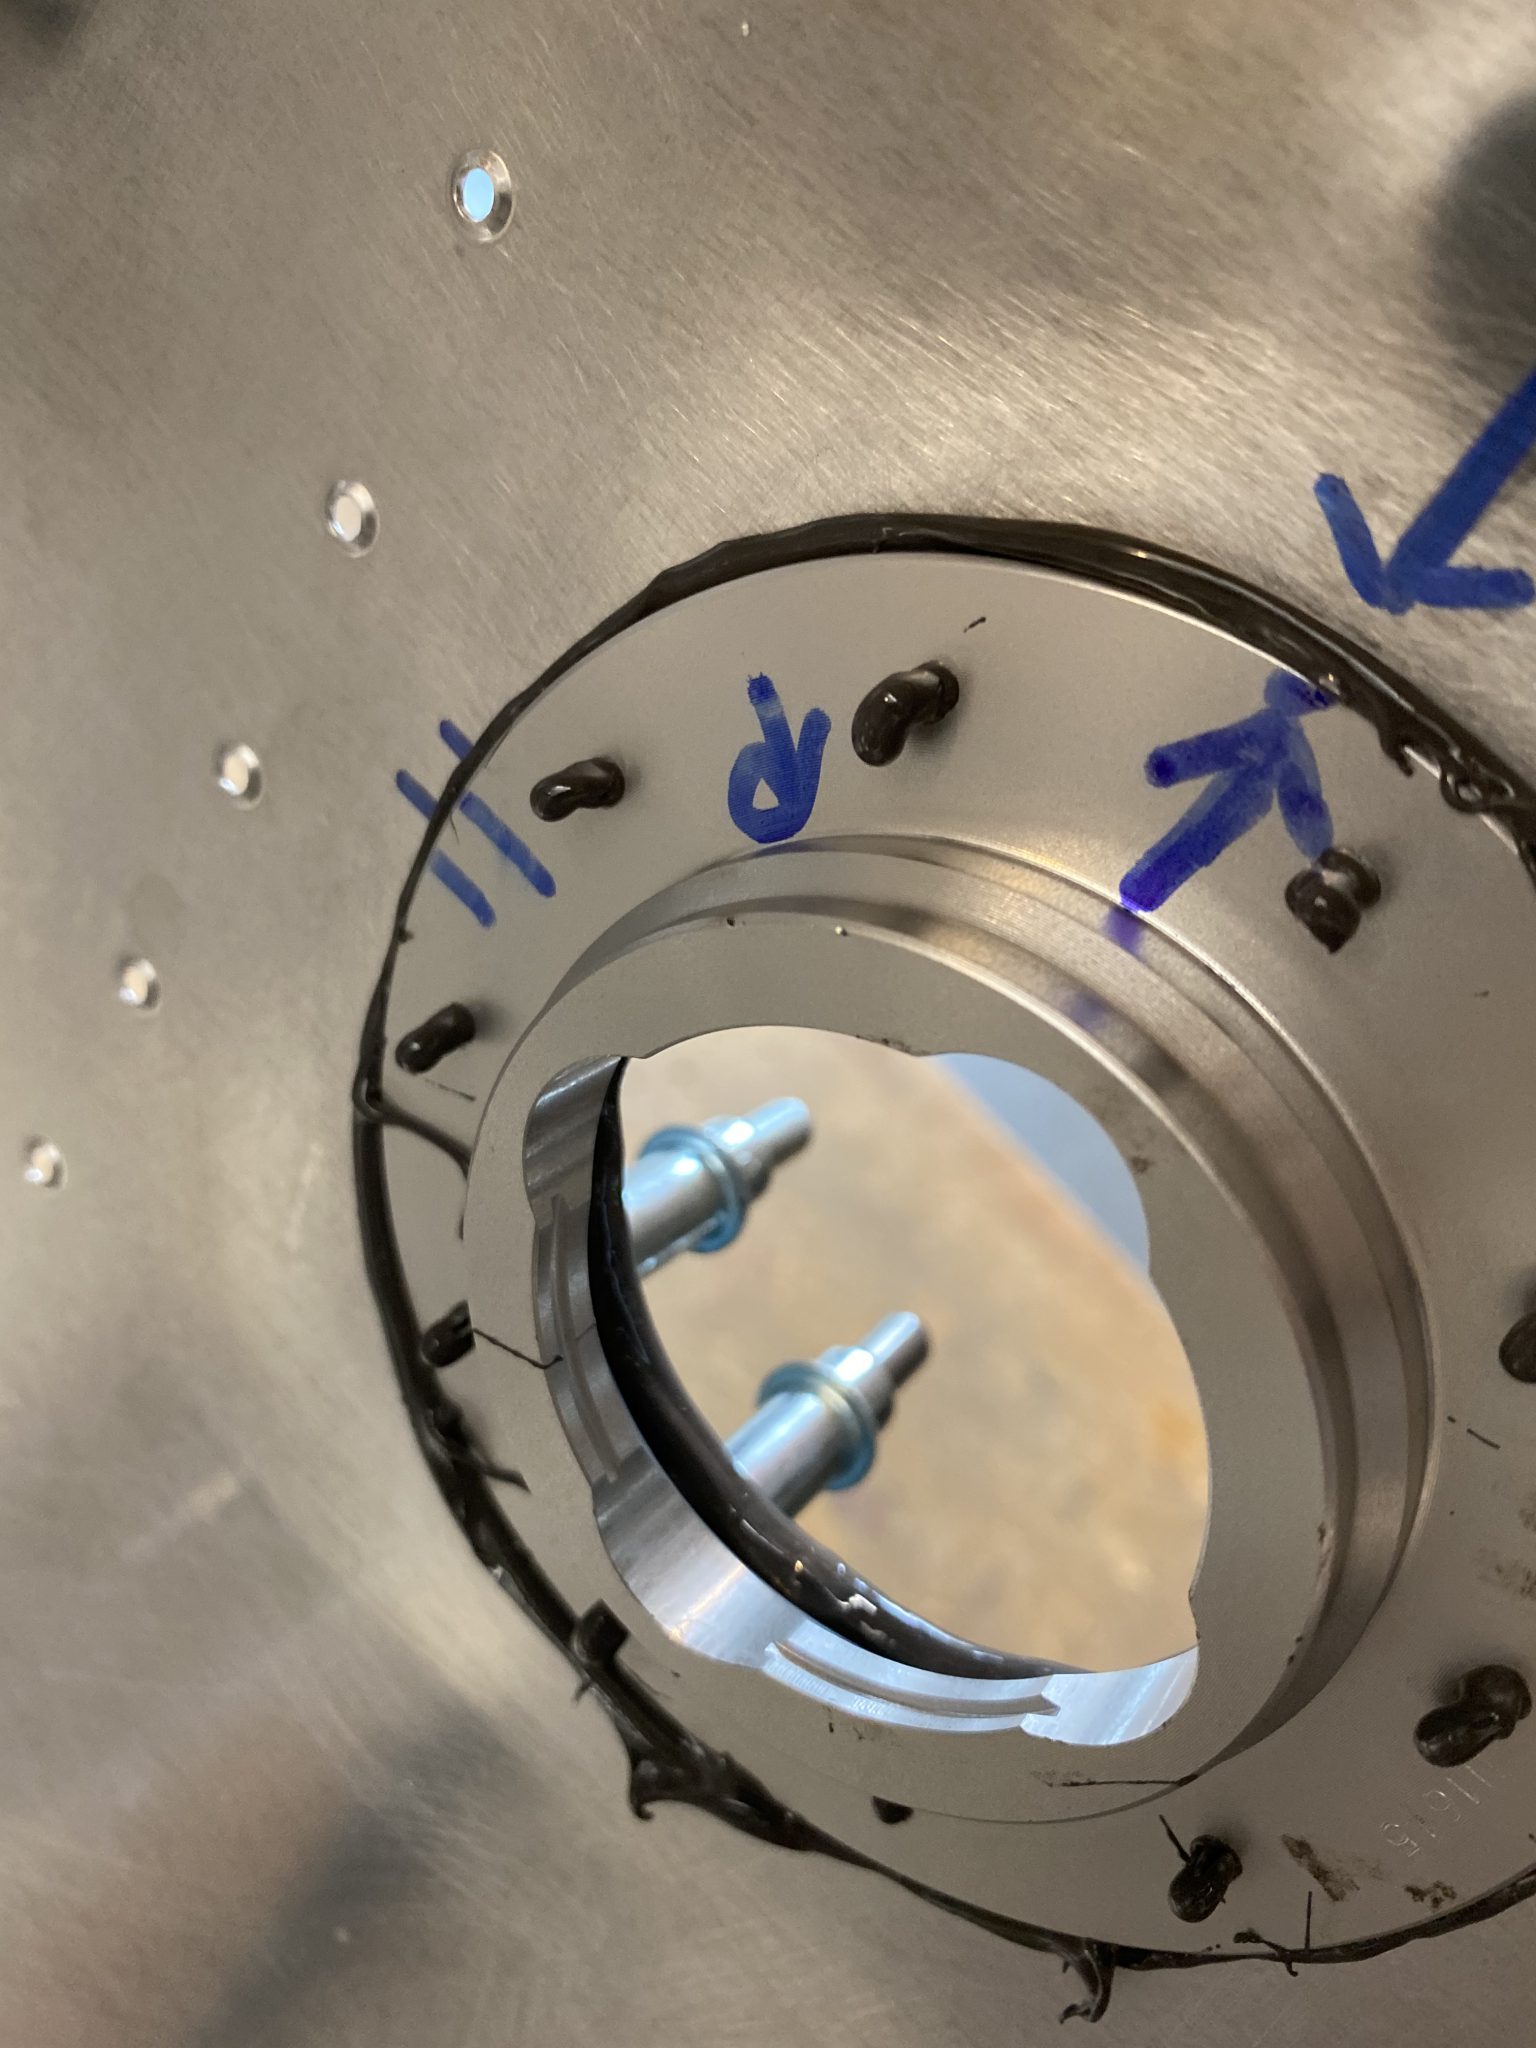
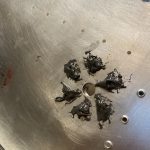
Next up, I put a dollop of proseal on the backside of each rivet on the inside of the tank to help them seal. Once I was happy with the dollops, I removed the masking tape, and cleaned up the area to provide the water drainage channels for the tank drain. I used some q-tips soaked with MEK to make this process easier. I also made sure to fully clean all the goop out of the threads of the drain.

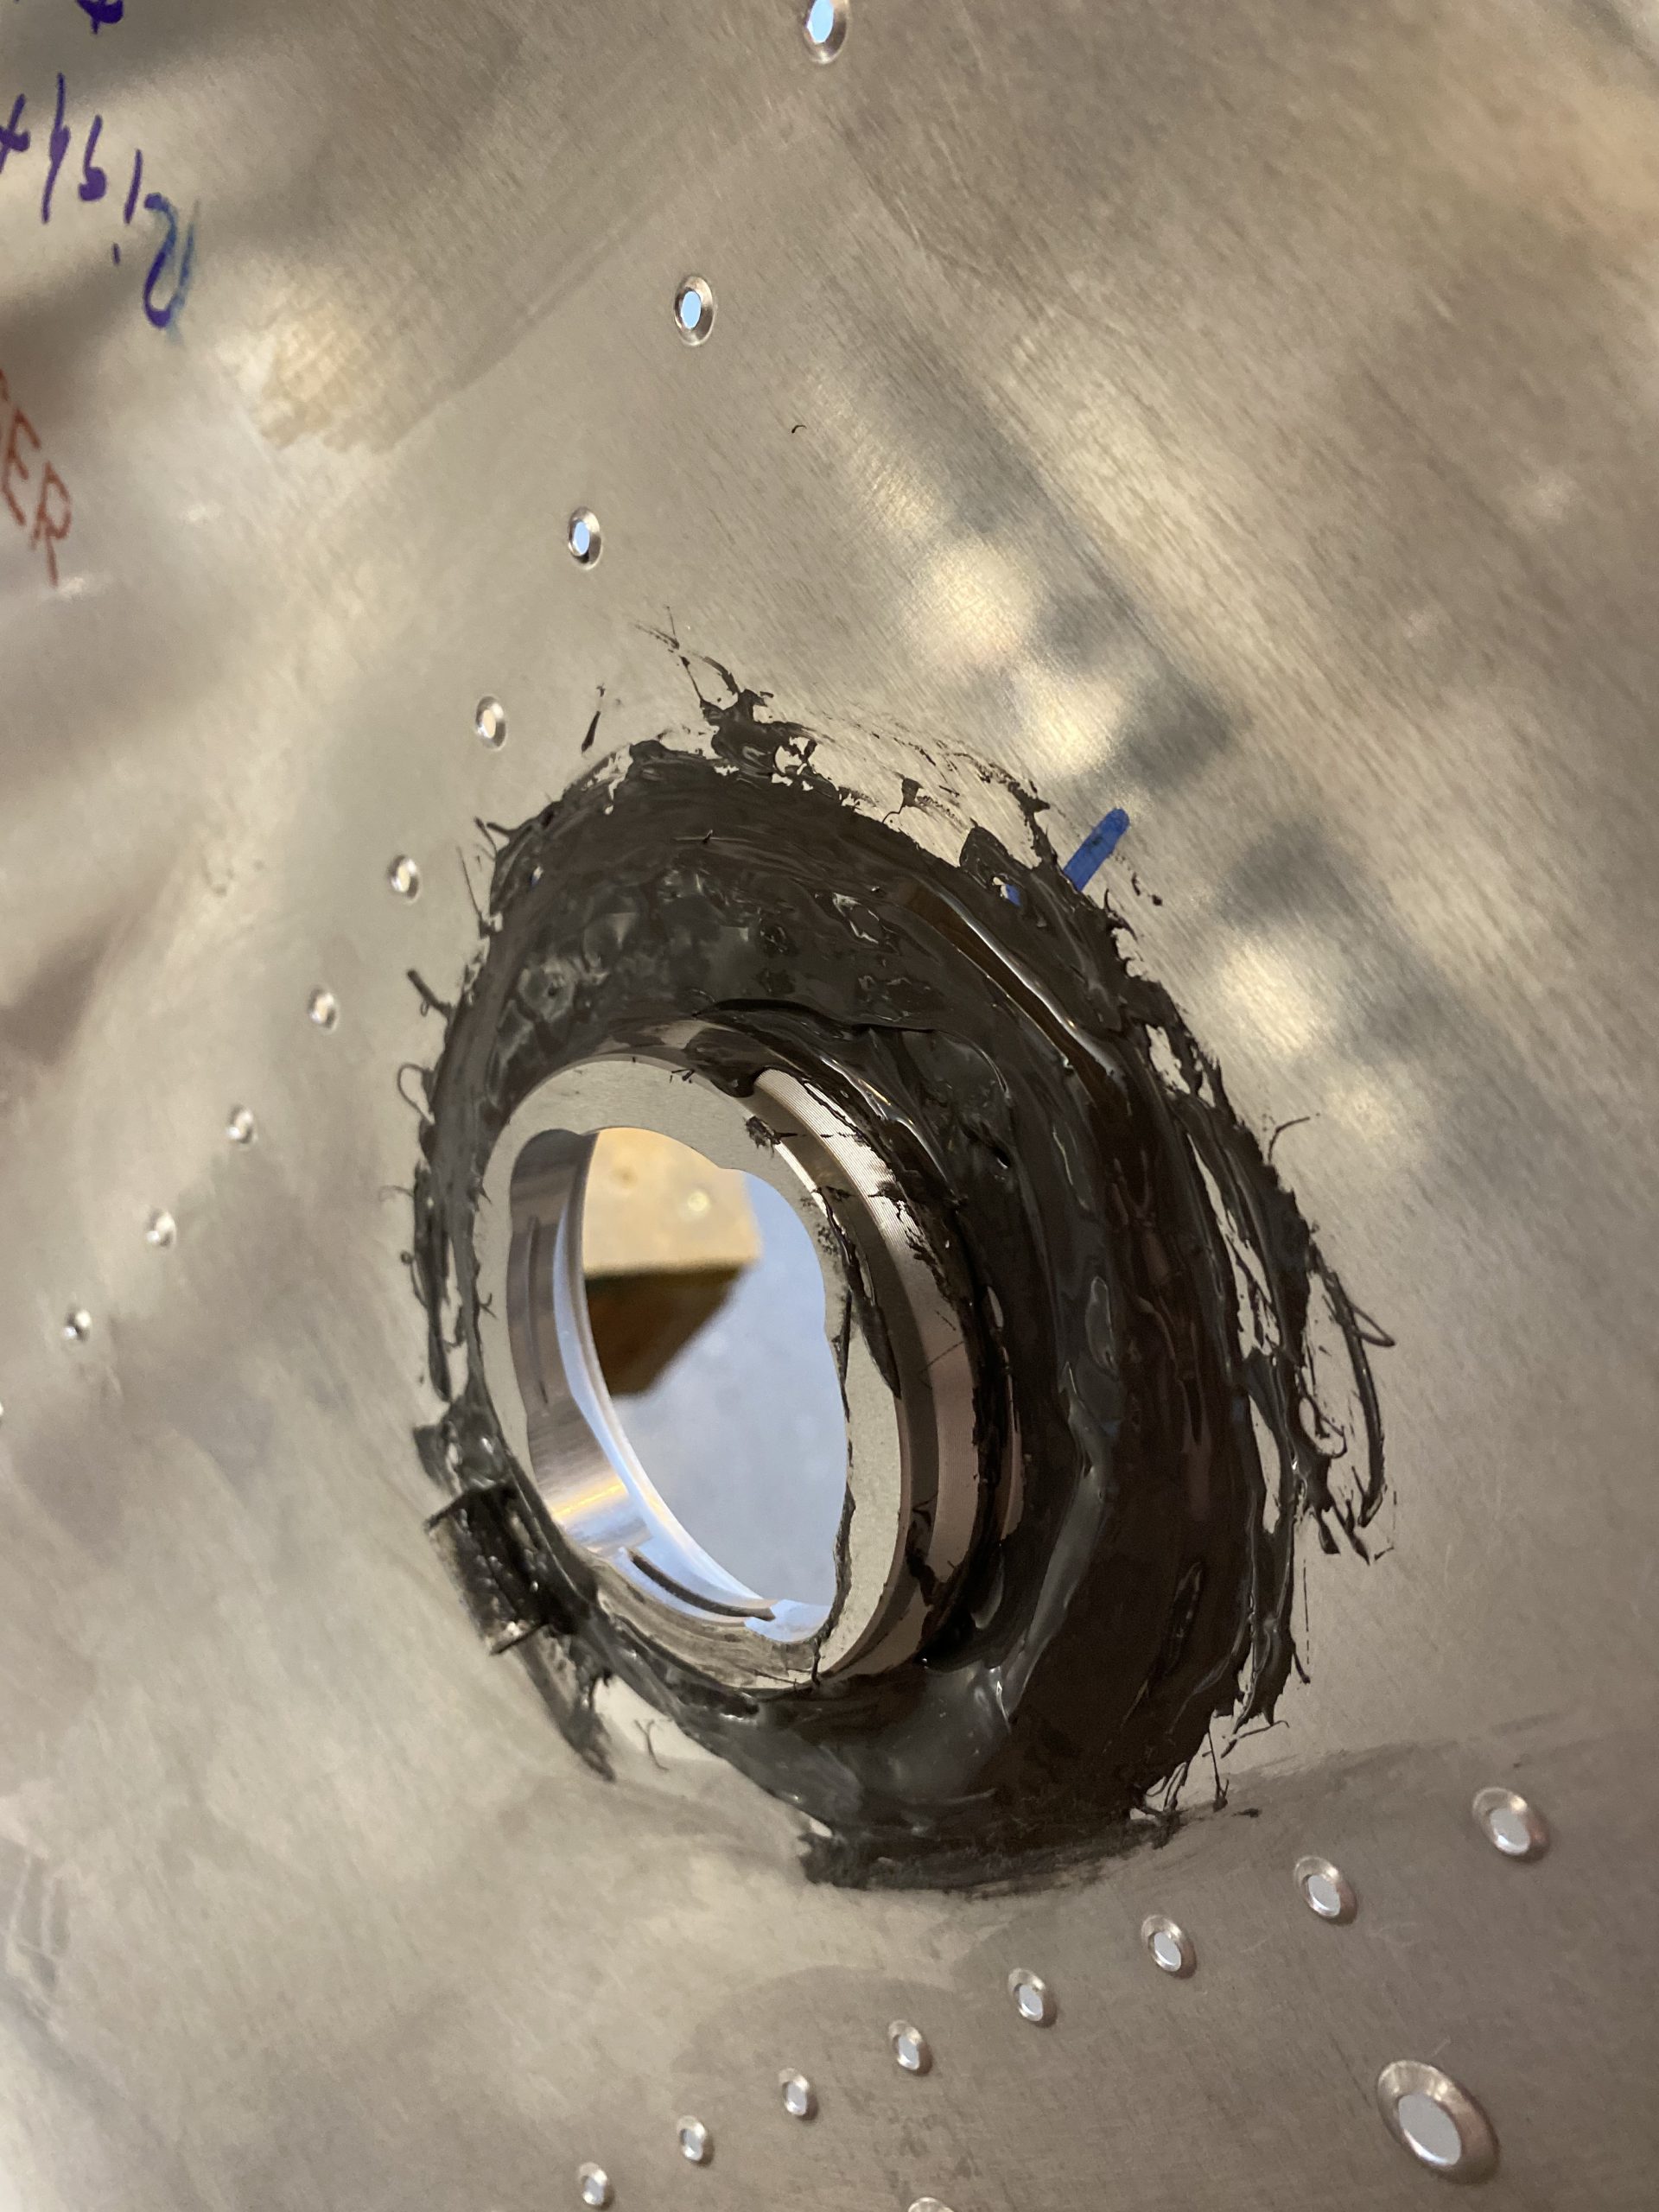
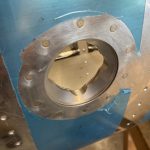
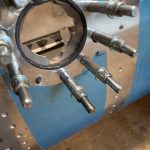
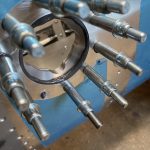
This isn’t the most neatest of jobs, but its very functional. I am just hoping I am getting these things sealed good! Next up I moved on to riveting the fuel filler flange. This was TOTALLY messy, and I did not get any photos of me during the process because my hands were essentially covered in proseal. I was able to squeeze maybe 6 out of all these rivets, I had to use a bucking bar and rivet gun on the last few because my squeezer wouldn’t reach them. Then, after I had the rivets set, I smeared a good coat of proseal over the entire inner surface of the filler flange. This was probably overkill, but I figured why not? Might as well be sure that this thing is gonna be sealed up nice and tight. This is how it looked all messy, before I cleaned it up with some MEK and paper towels
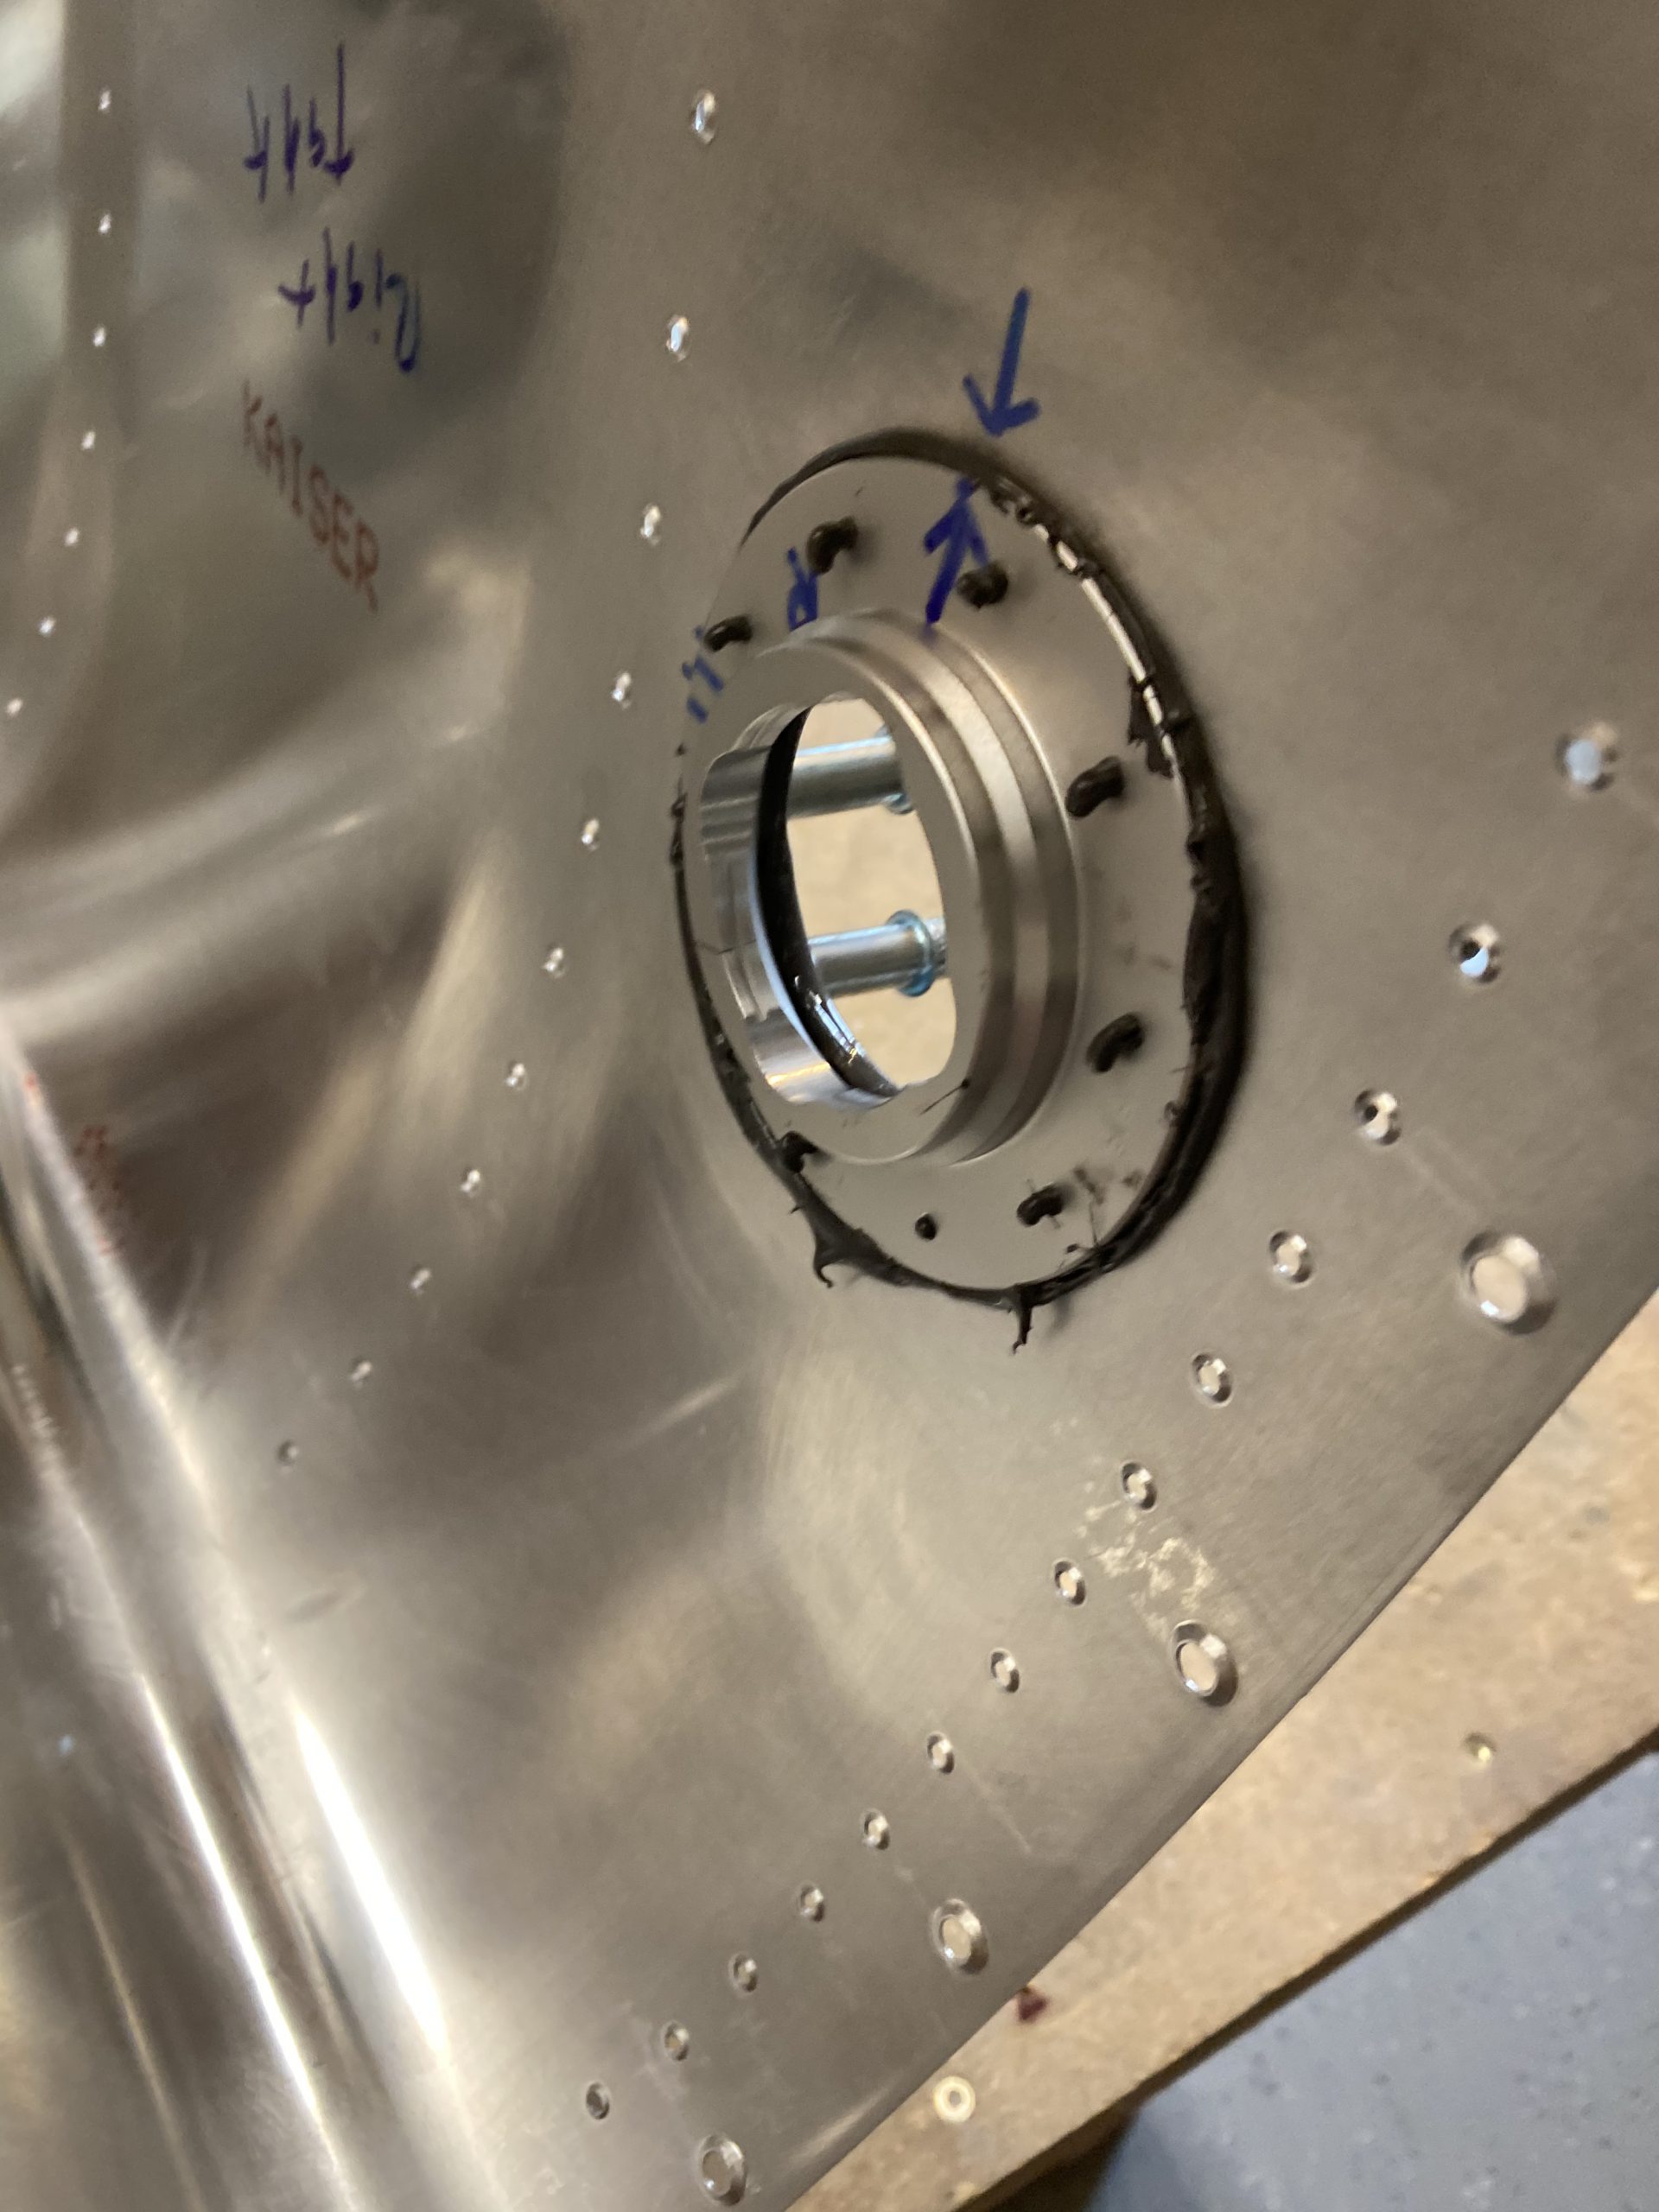
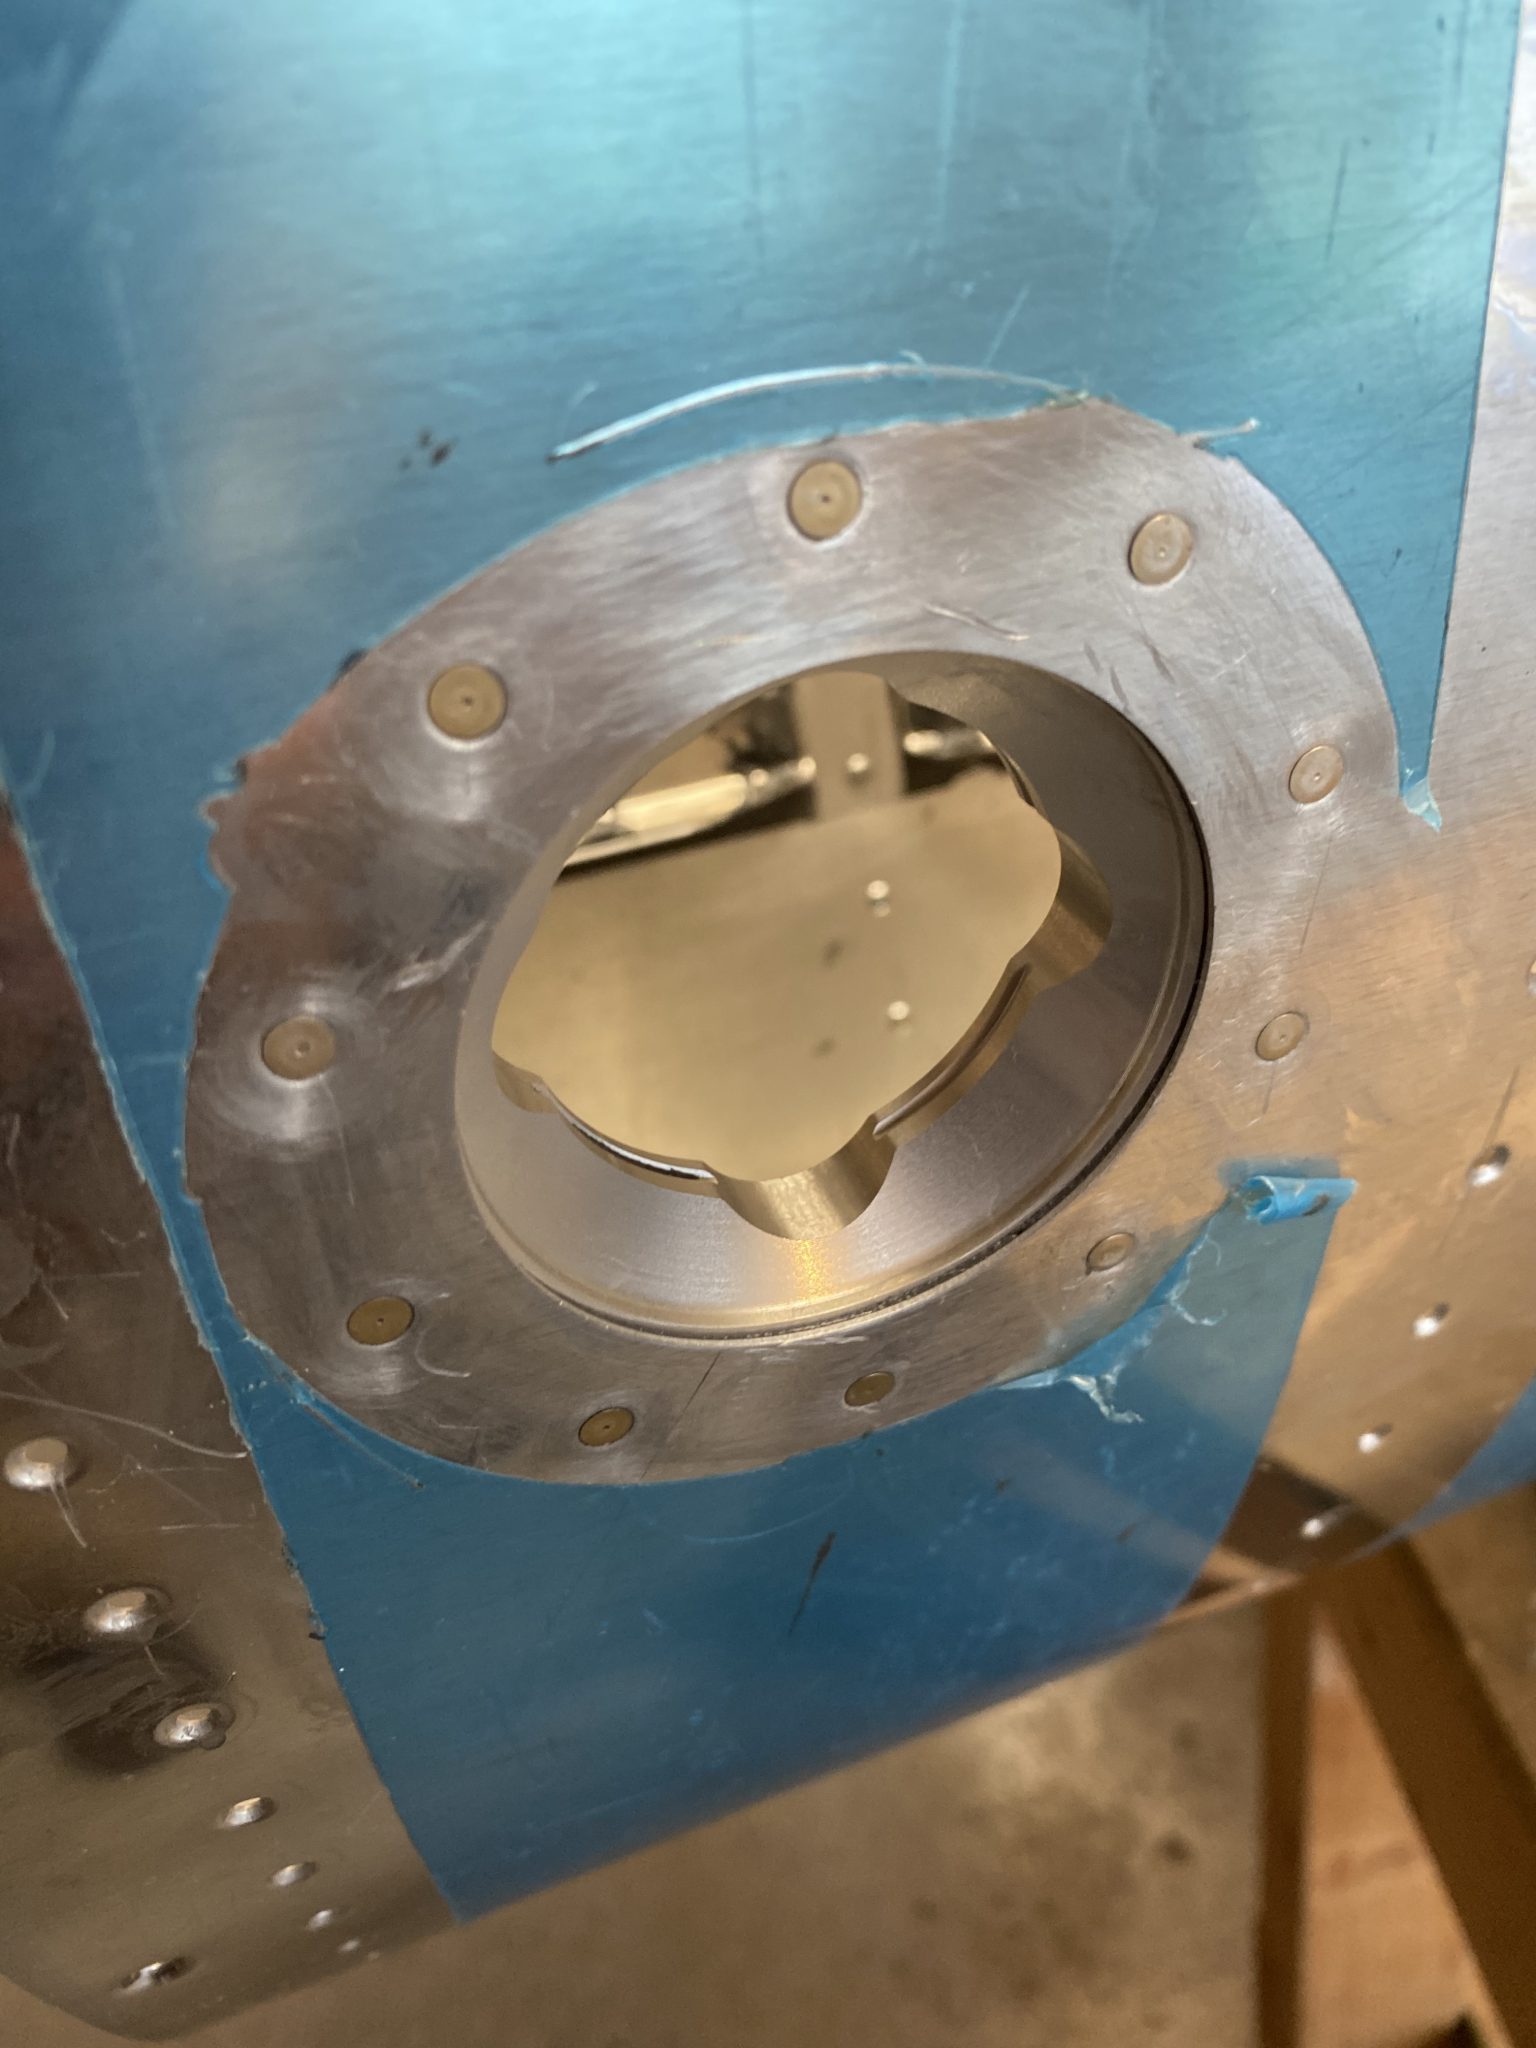
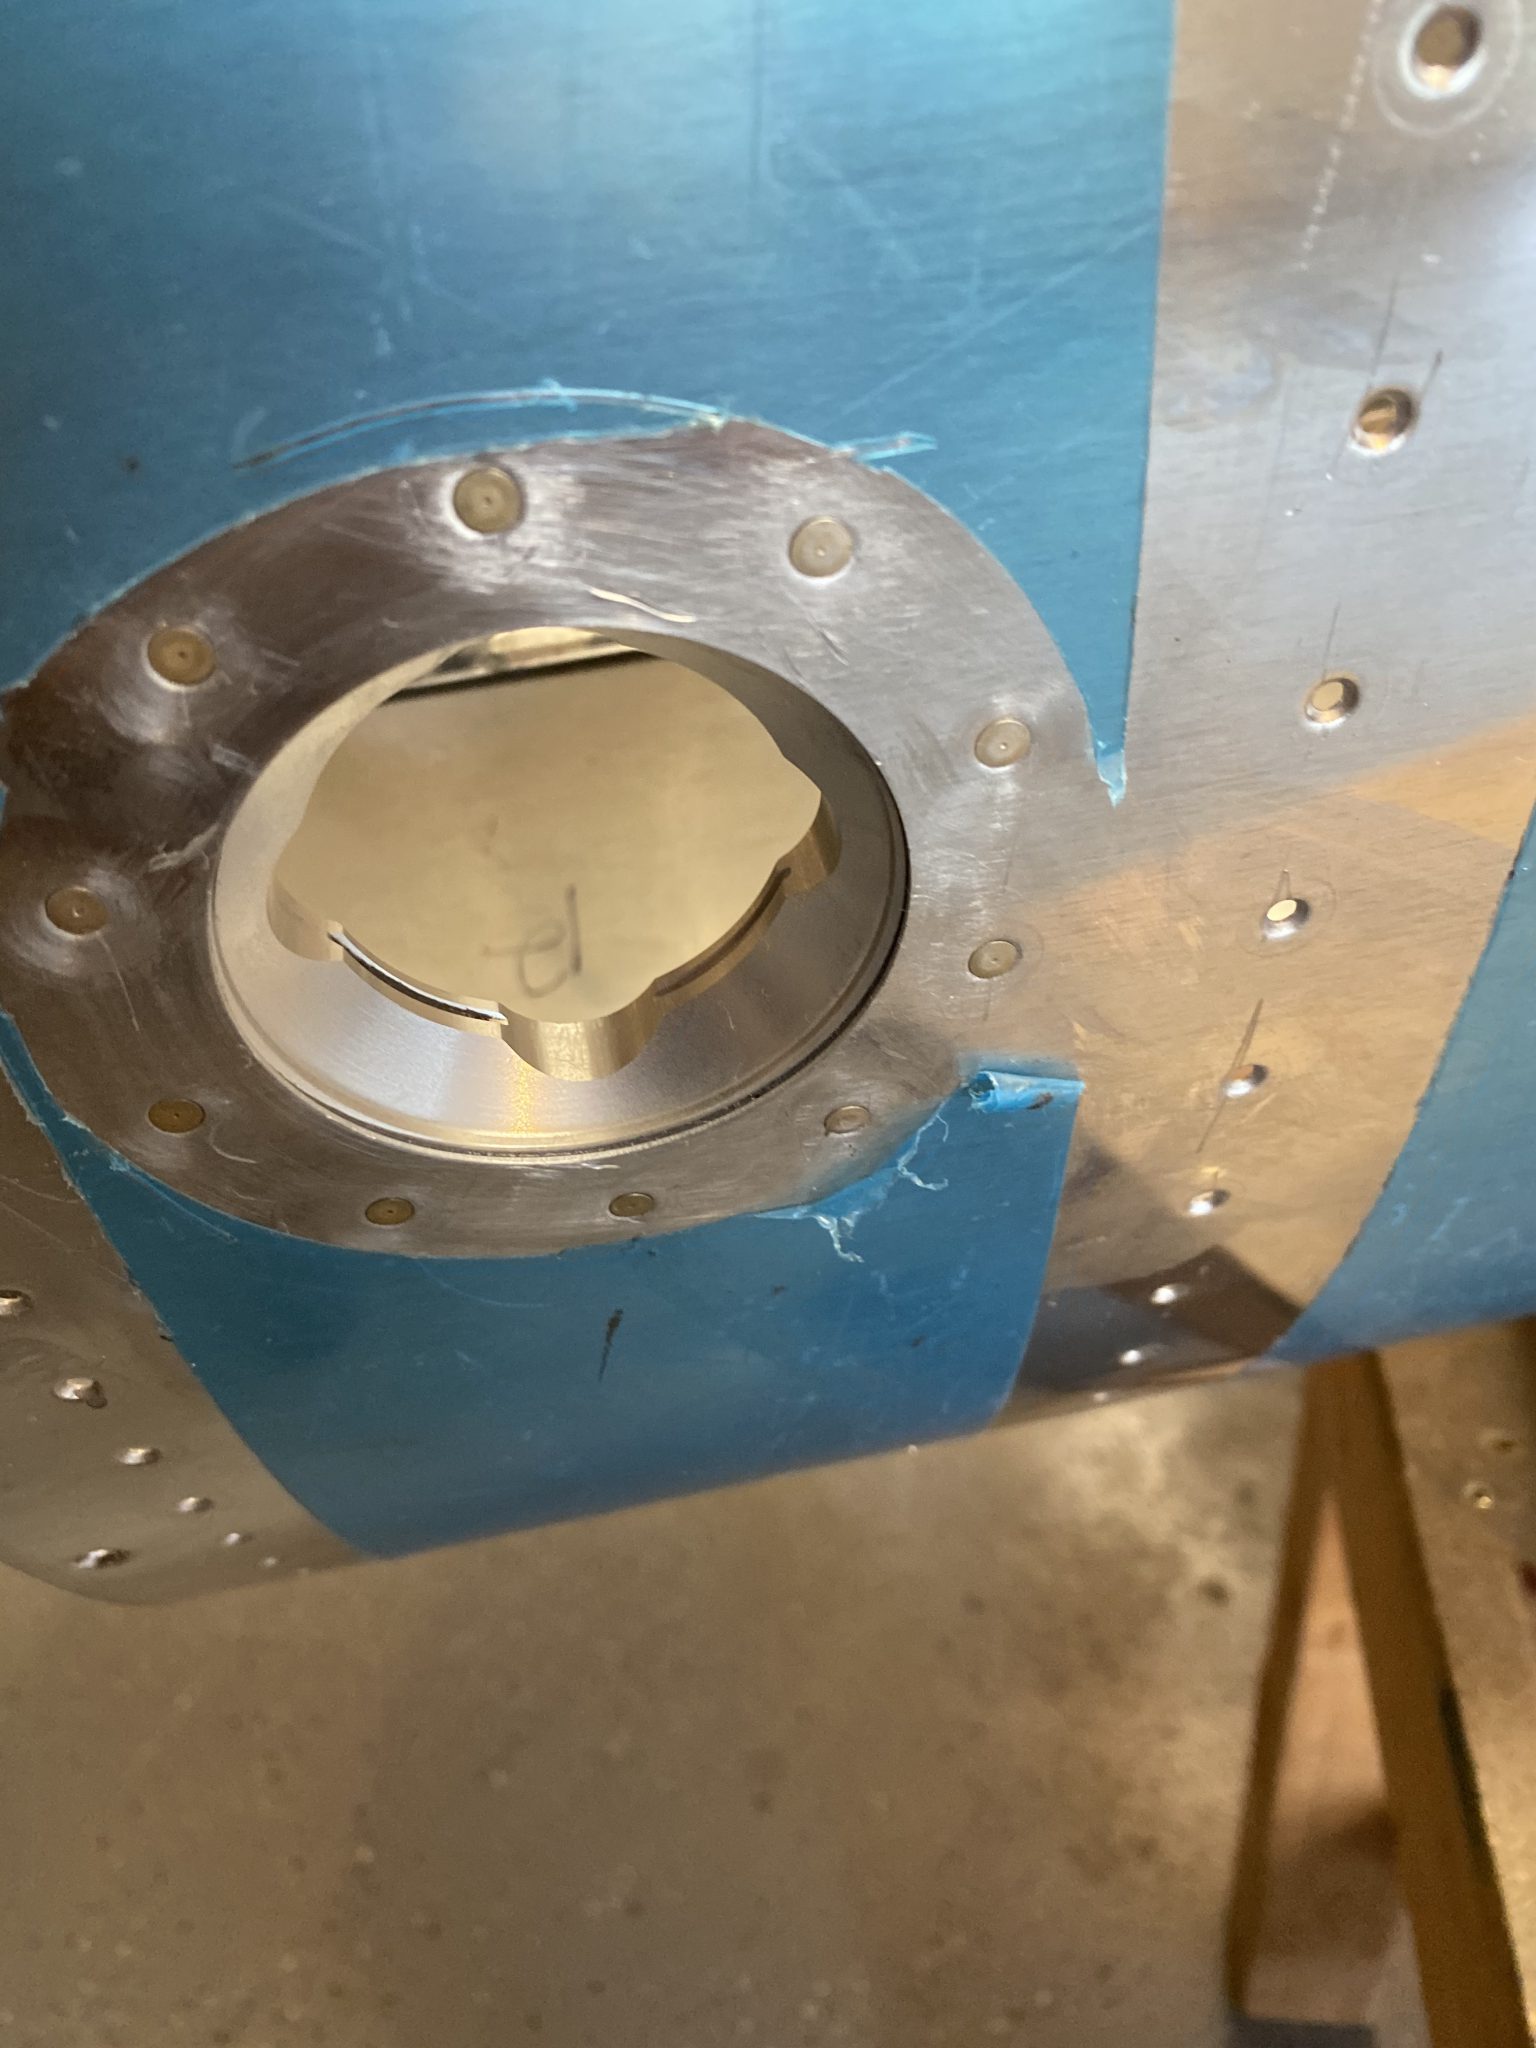
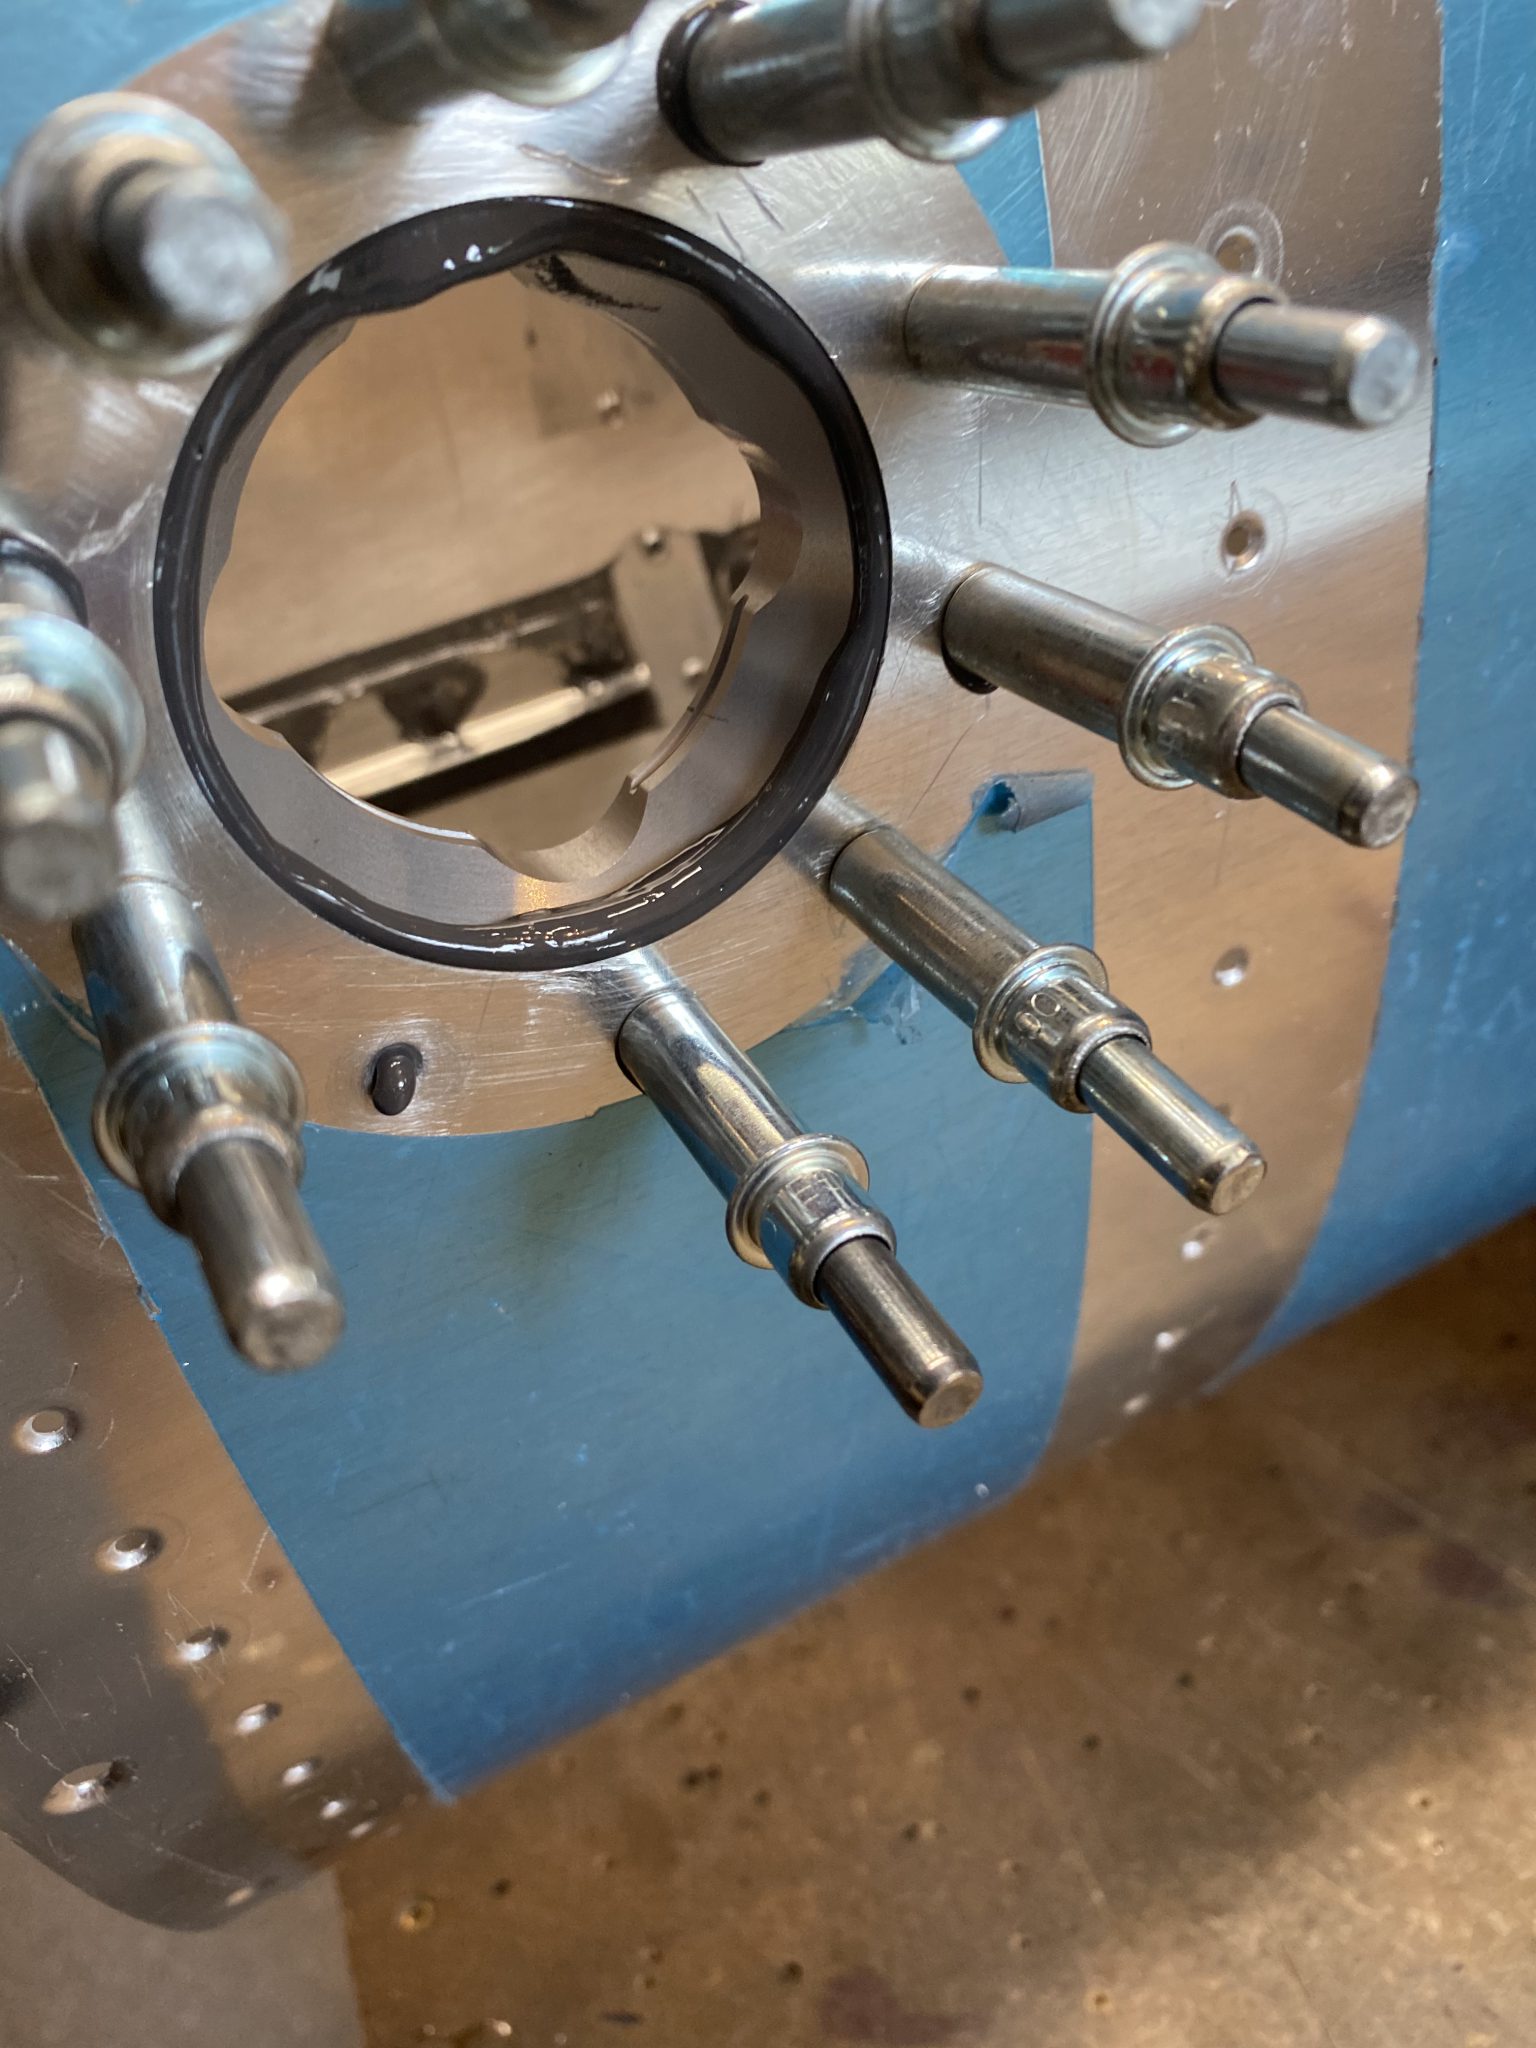
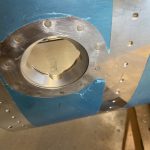
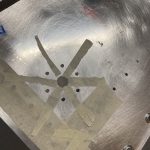
And here is the outside view AFTER I cleaned up all the excess proseal. You can see the faint black line on the inner side of the filler flange that is helping keep this sealed. The rivets look nice and flush and what you are seeing is the scuff marks from where I scuffed the dimples. These will get buffed out when its finished for painting.

That wraps up this proseal session. I had some excess left, so I would say 1 or 1.5 ounces would be plenty to do the filler flange and tank drain. I’ll keep this in mind when I do the left tank. I left the tank in the tank stand / jig to help it hold shape while the filler flange dries, since its formed around the leading edge curve a bit. I’ll leave this as is for a few days to cure and dry, I still need to prep the left tank and get it ready for sealing.
-
 IMG_1117
 -
 IMG_1116
 -
 IMG_1115
 -
 IMG_1114
 -
 IMG_1113
 -
 IMG_1112
 -
 IMG_1111
 -
 IMG_1110
 -
 IMG_1109
 -
 IMG_1108
 -
 IMG_1107
 -
 IMG_1106
 -
 IMG_1105
 -
 IMG_1104
 -
 IMG_1103
 -
 IMG_1102
 -
 IMG_1101
 -
 IMG_1100


Google Photos Link: https://photos.app.goo.gl/PeBtsgKAZdjoCTBM7
Hours Worked: 1.75
Pingback: Sealing the Left Tank Drain and Fuel Cap – Lynn’s RV-7 Build