


After finishing up a previous build session on the fuel tanks, I decided to change gears a bit, since I got some new tools/toys! I FINALLY bought a proper set of crimpers ands strippers from SteinAir! I was needing these to finish up some wiring on the stall warner. So, picking up from this previous post I opened my fresh tools and put them to work. SteinAir has a really good video on how to use these crimpers, so I gave it a watch, and went to work. I needed to cut a 3.5″ piece of 18 gauge wire and crimp two ends on it to serve as the ground point for the stall warner. Easy enough with the new tools. Heres the before and after:
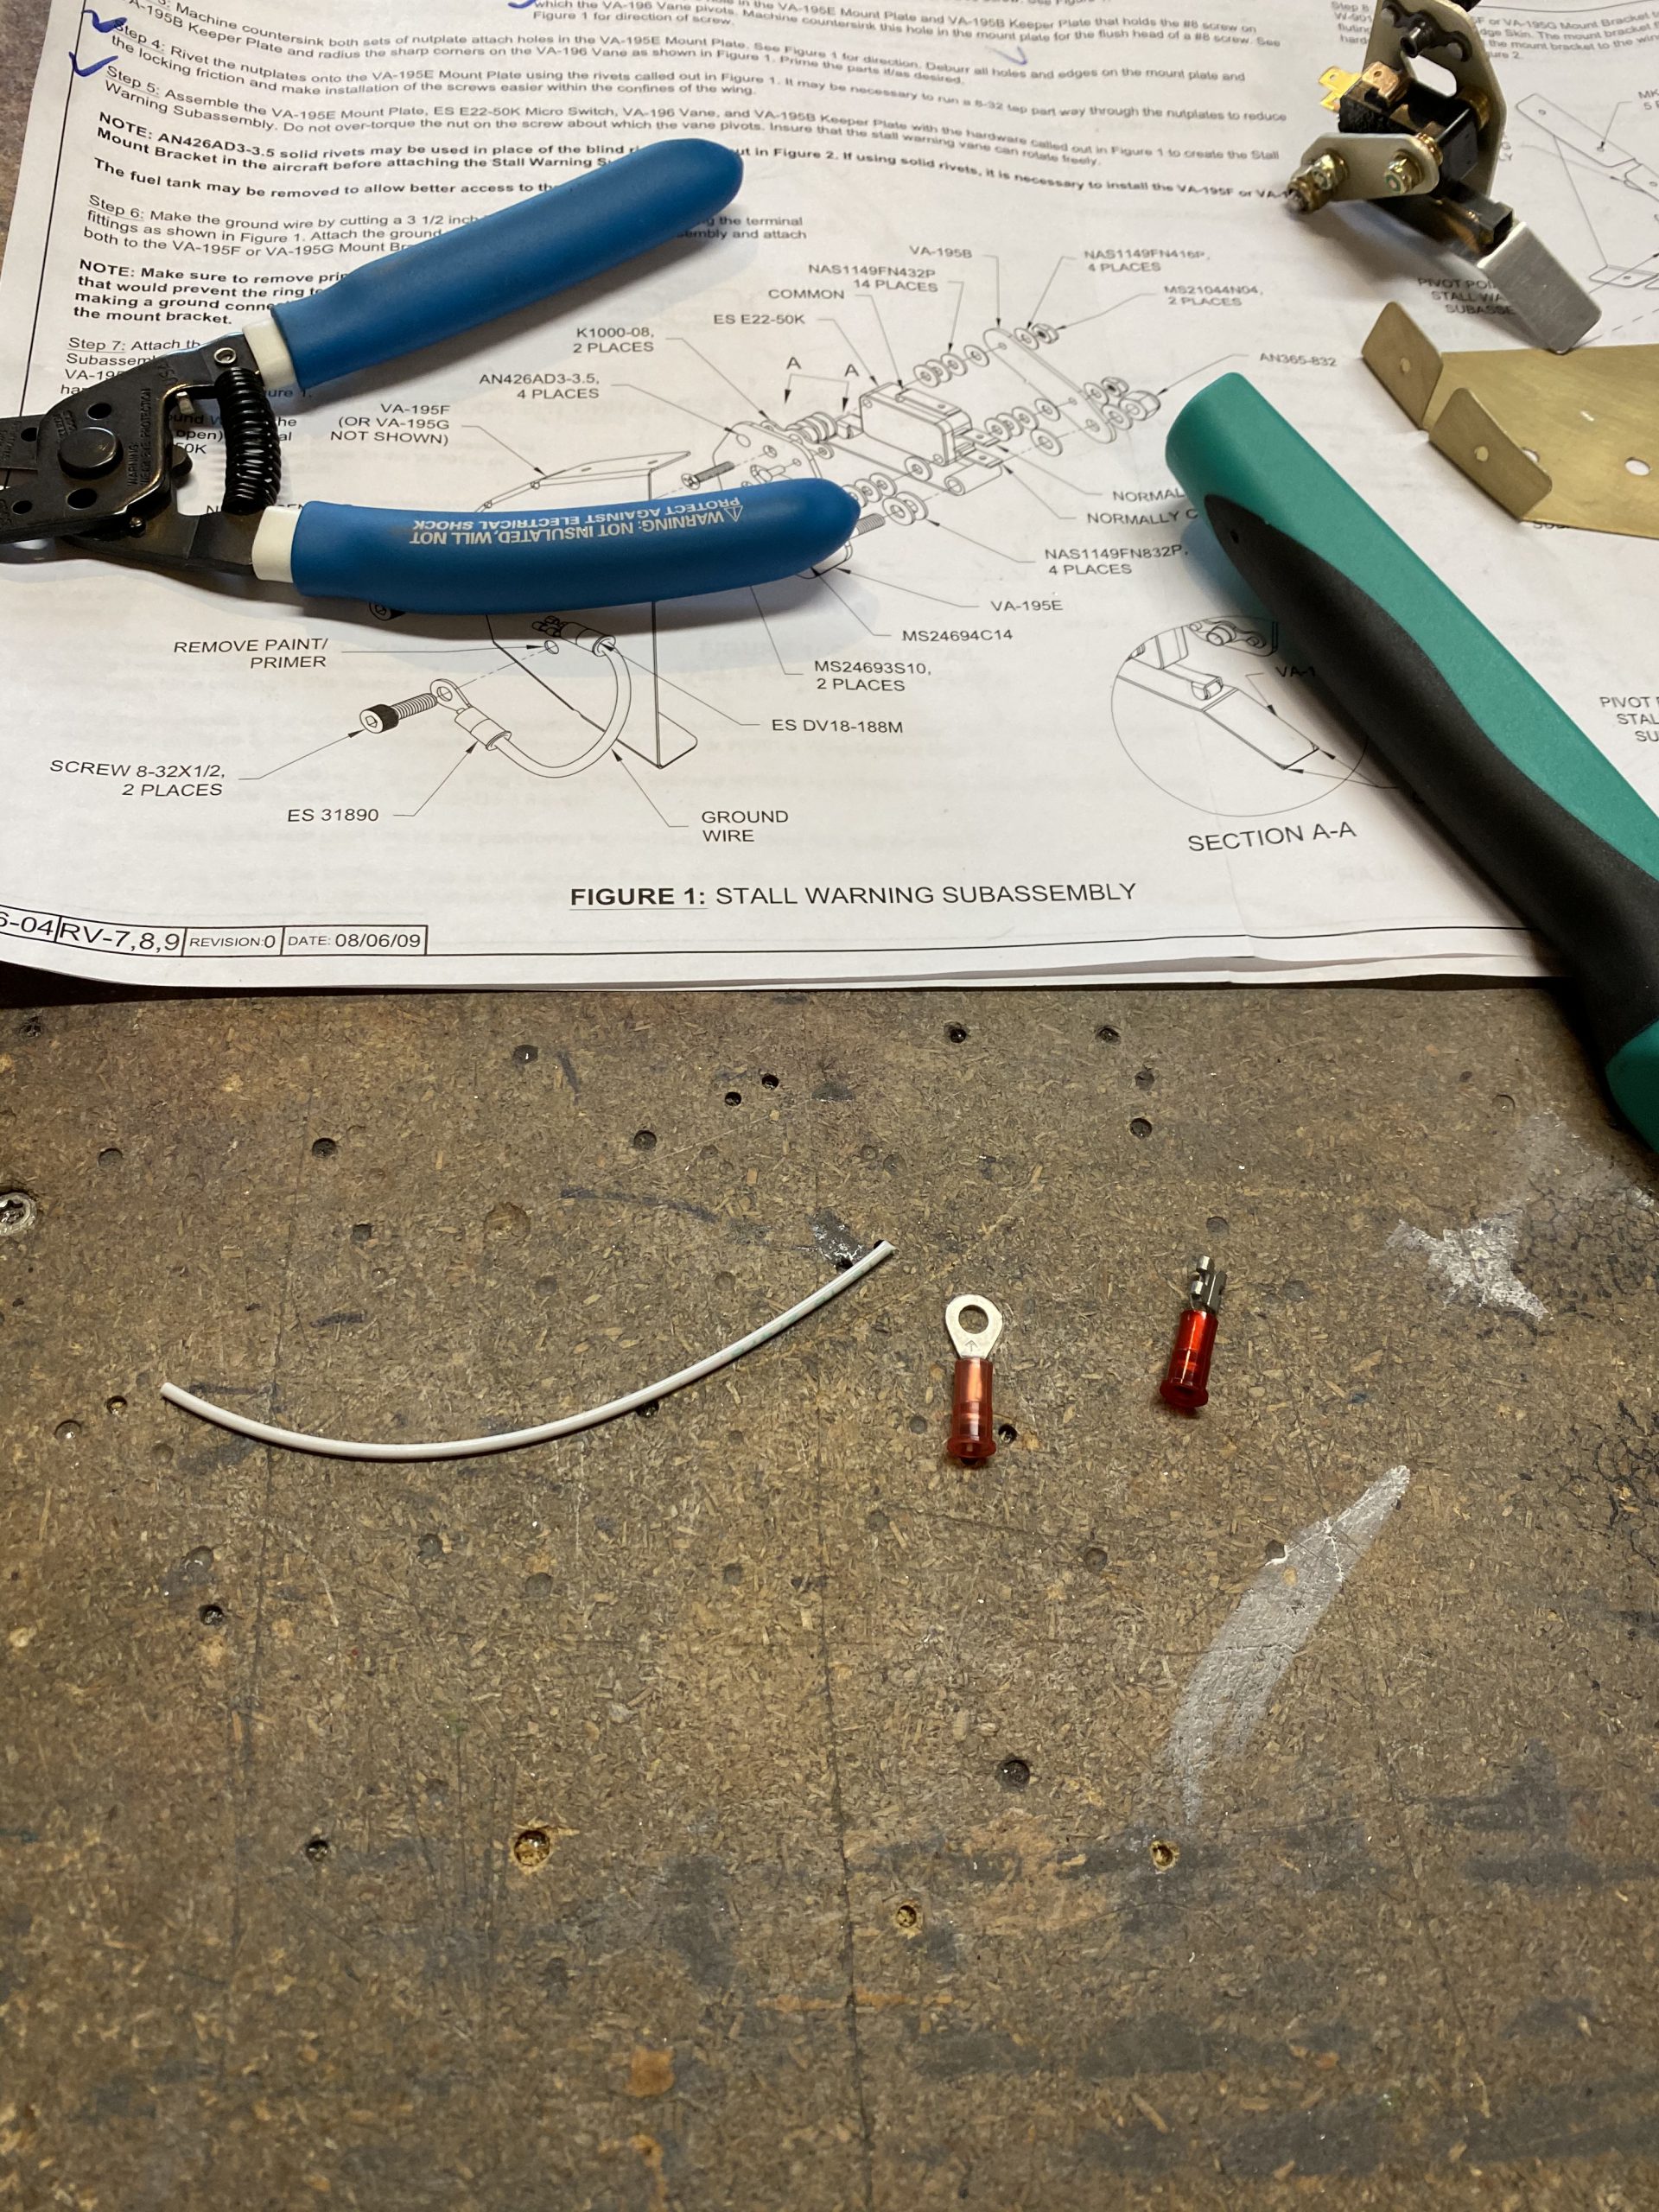
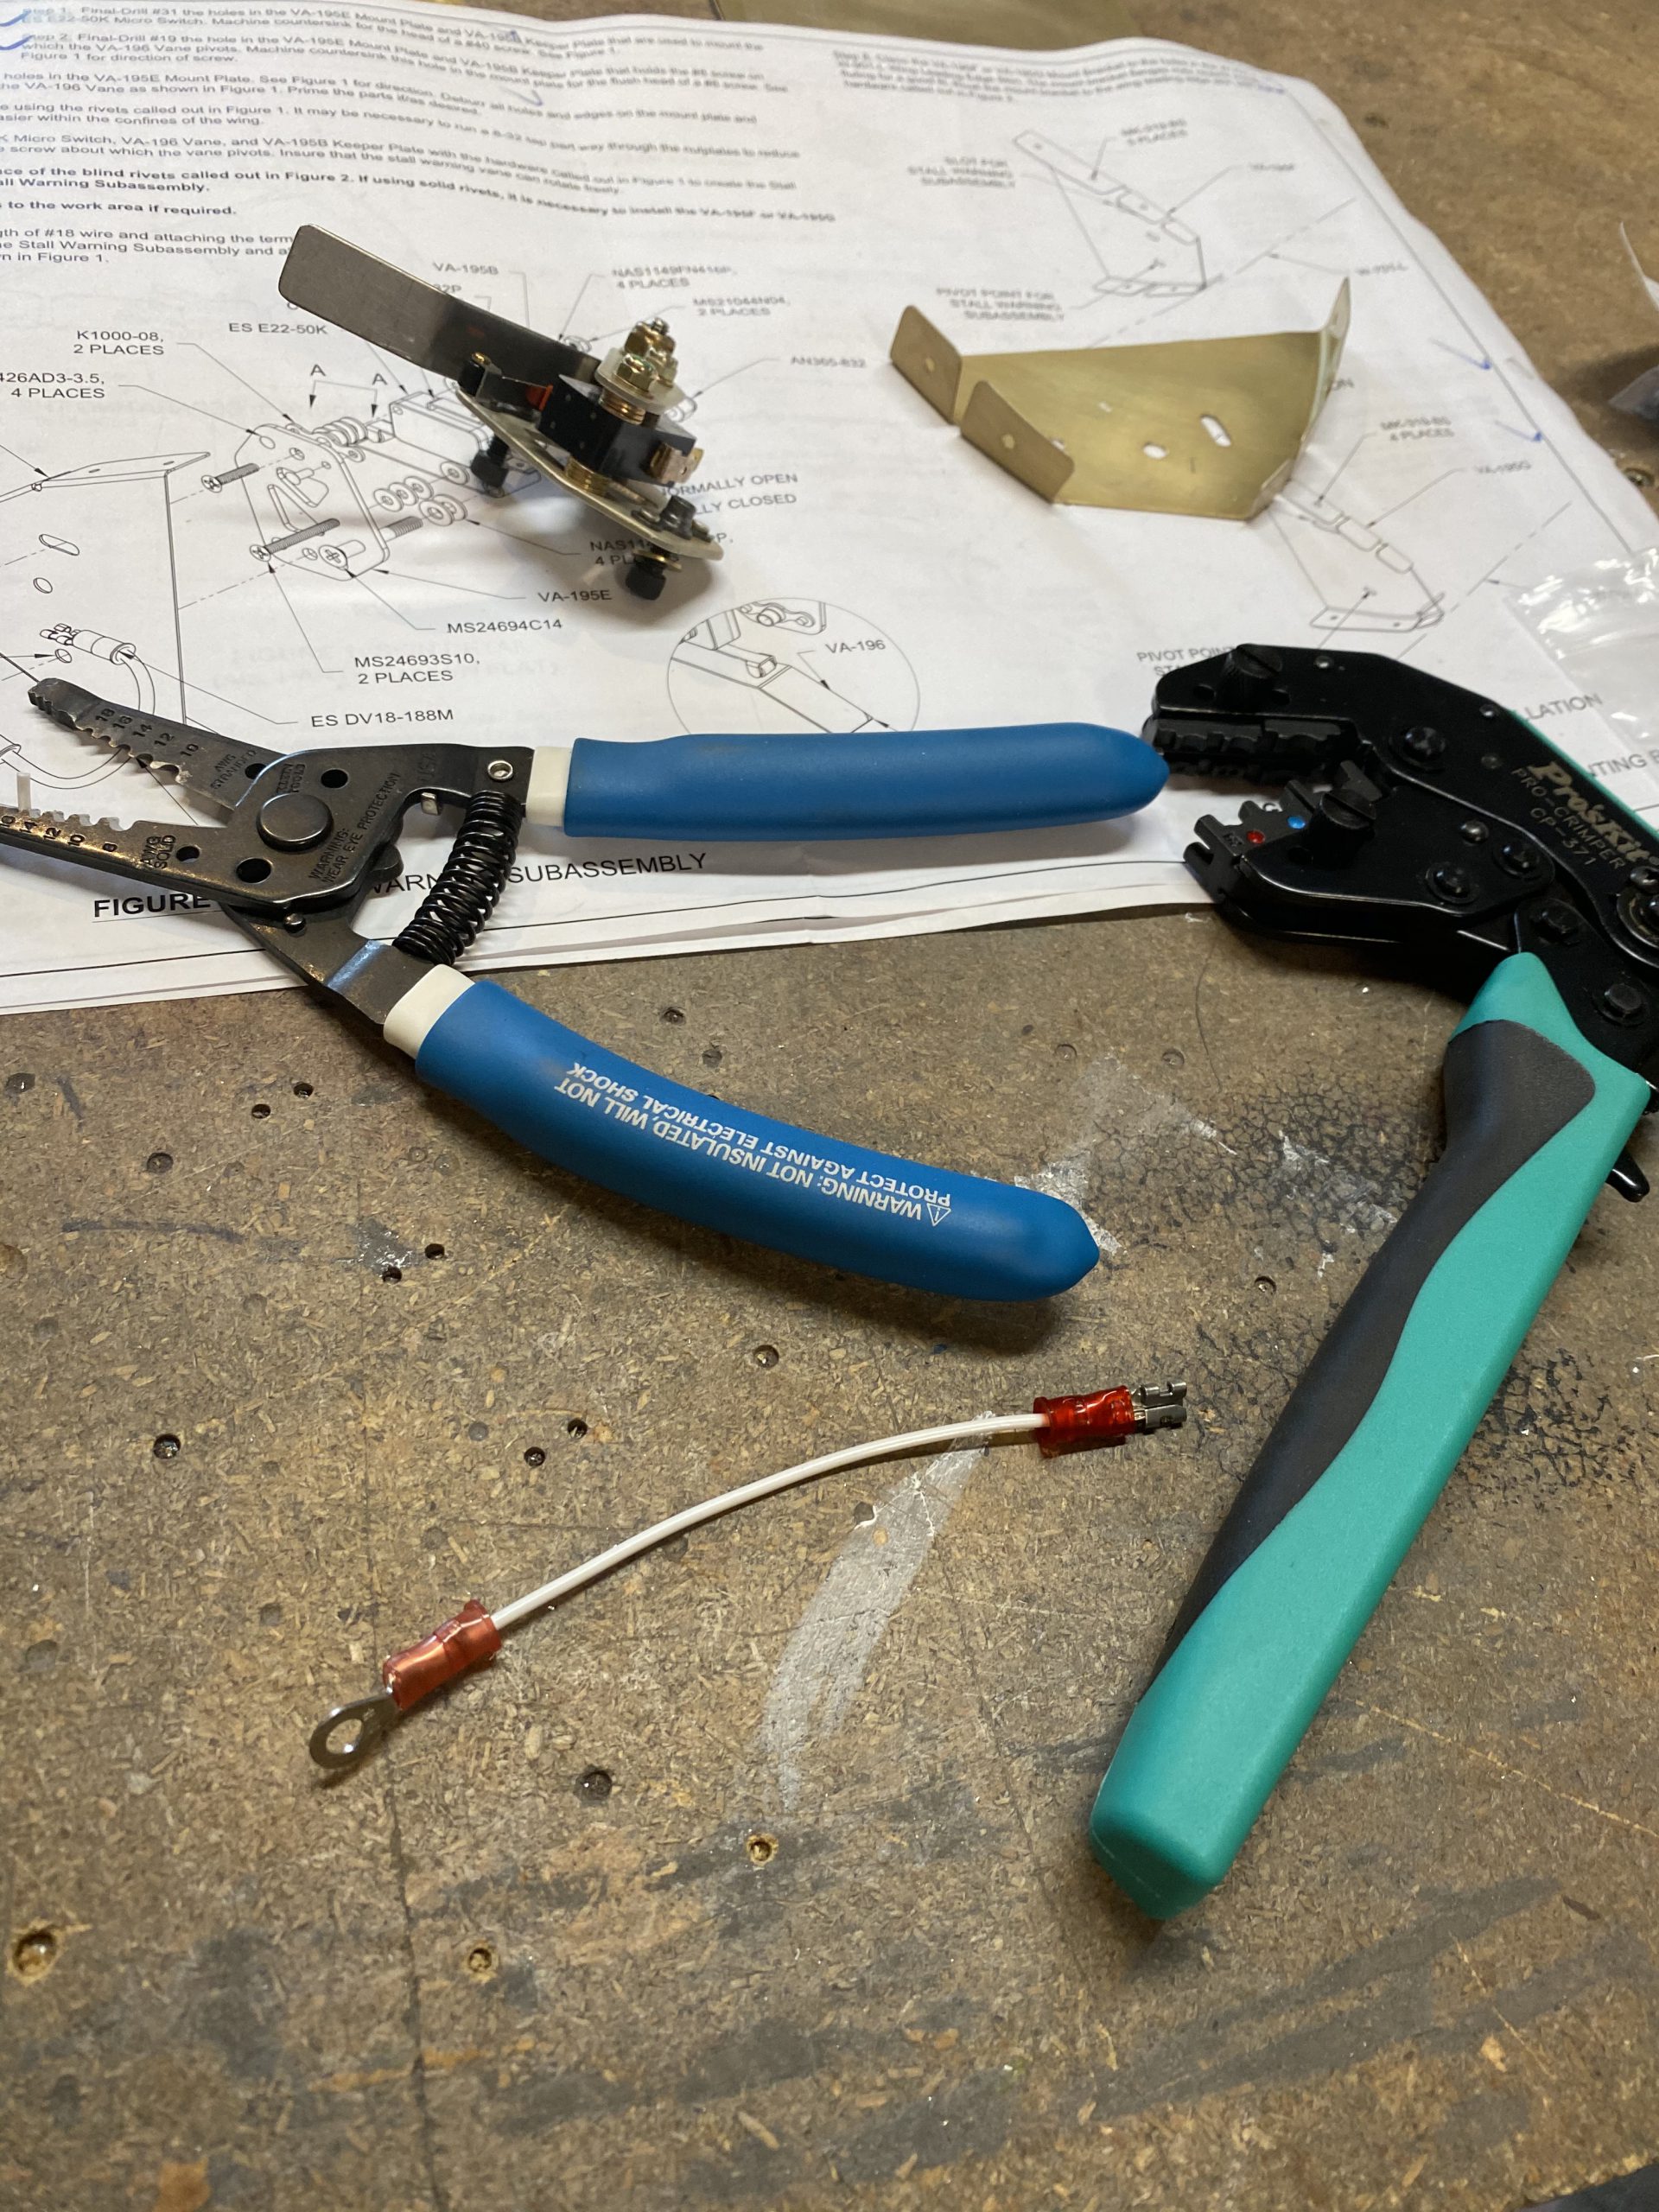
These crimpers are well worth their money! They make a very nice, professional looking crimp, that has excellent strain relief and makes super tight connections. I highly recommend them if you are looking for a good set! I had already assembled the stall warner in a previous session, so its pretty much ready to bolt in, now that I have this electrical connection made up. Next up was to rivet on the nut plates for the access plate doubler. I’d already dimpled them a long time ago, now it was time to fix them onto the doubler.
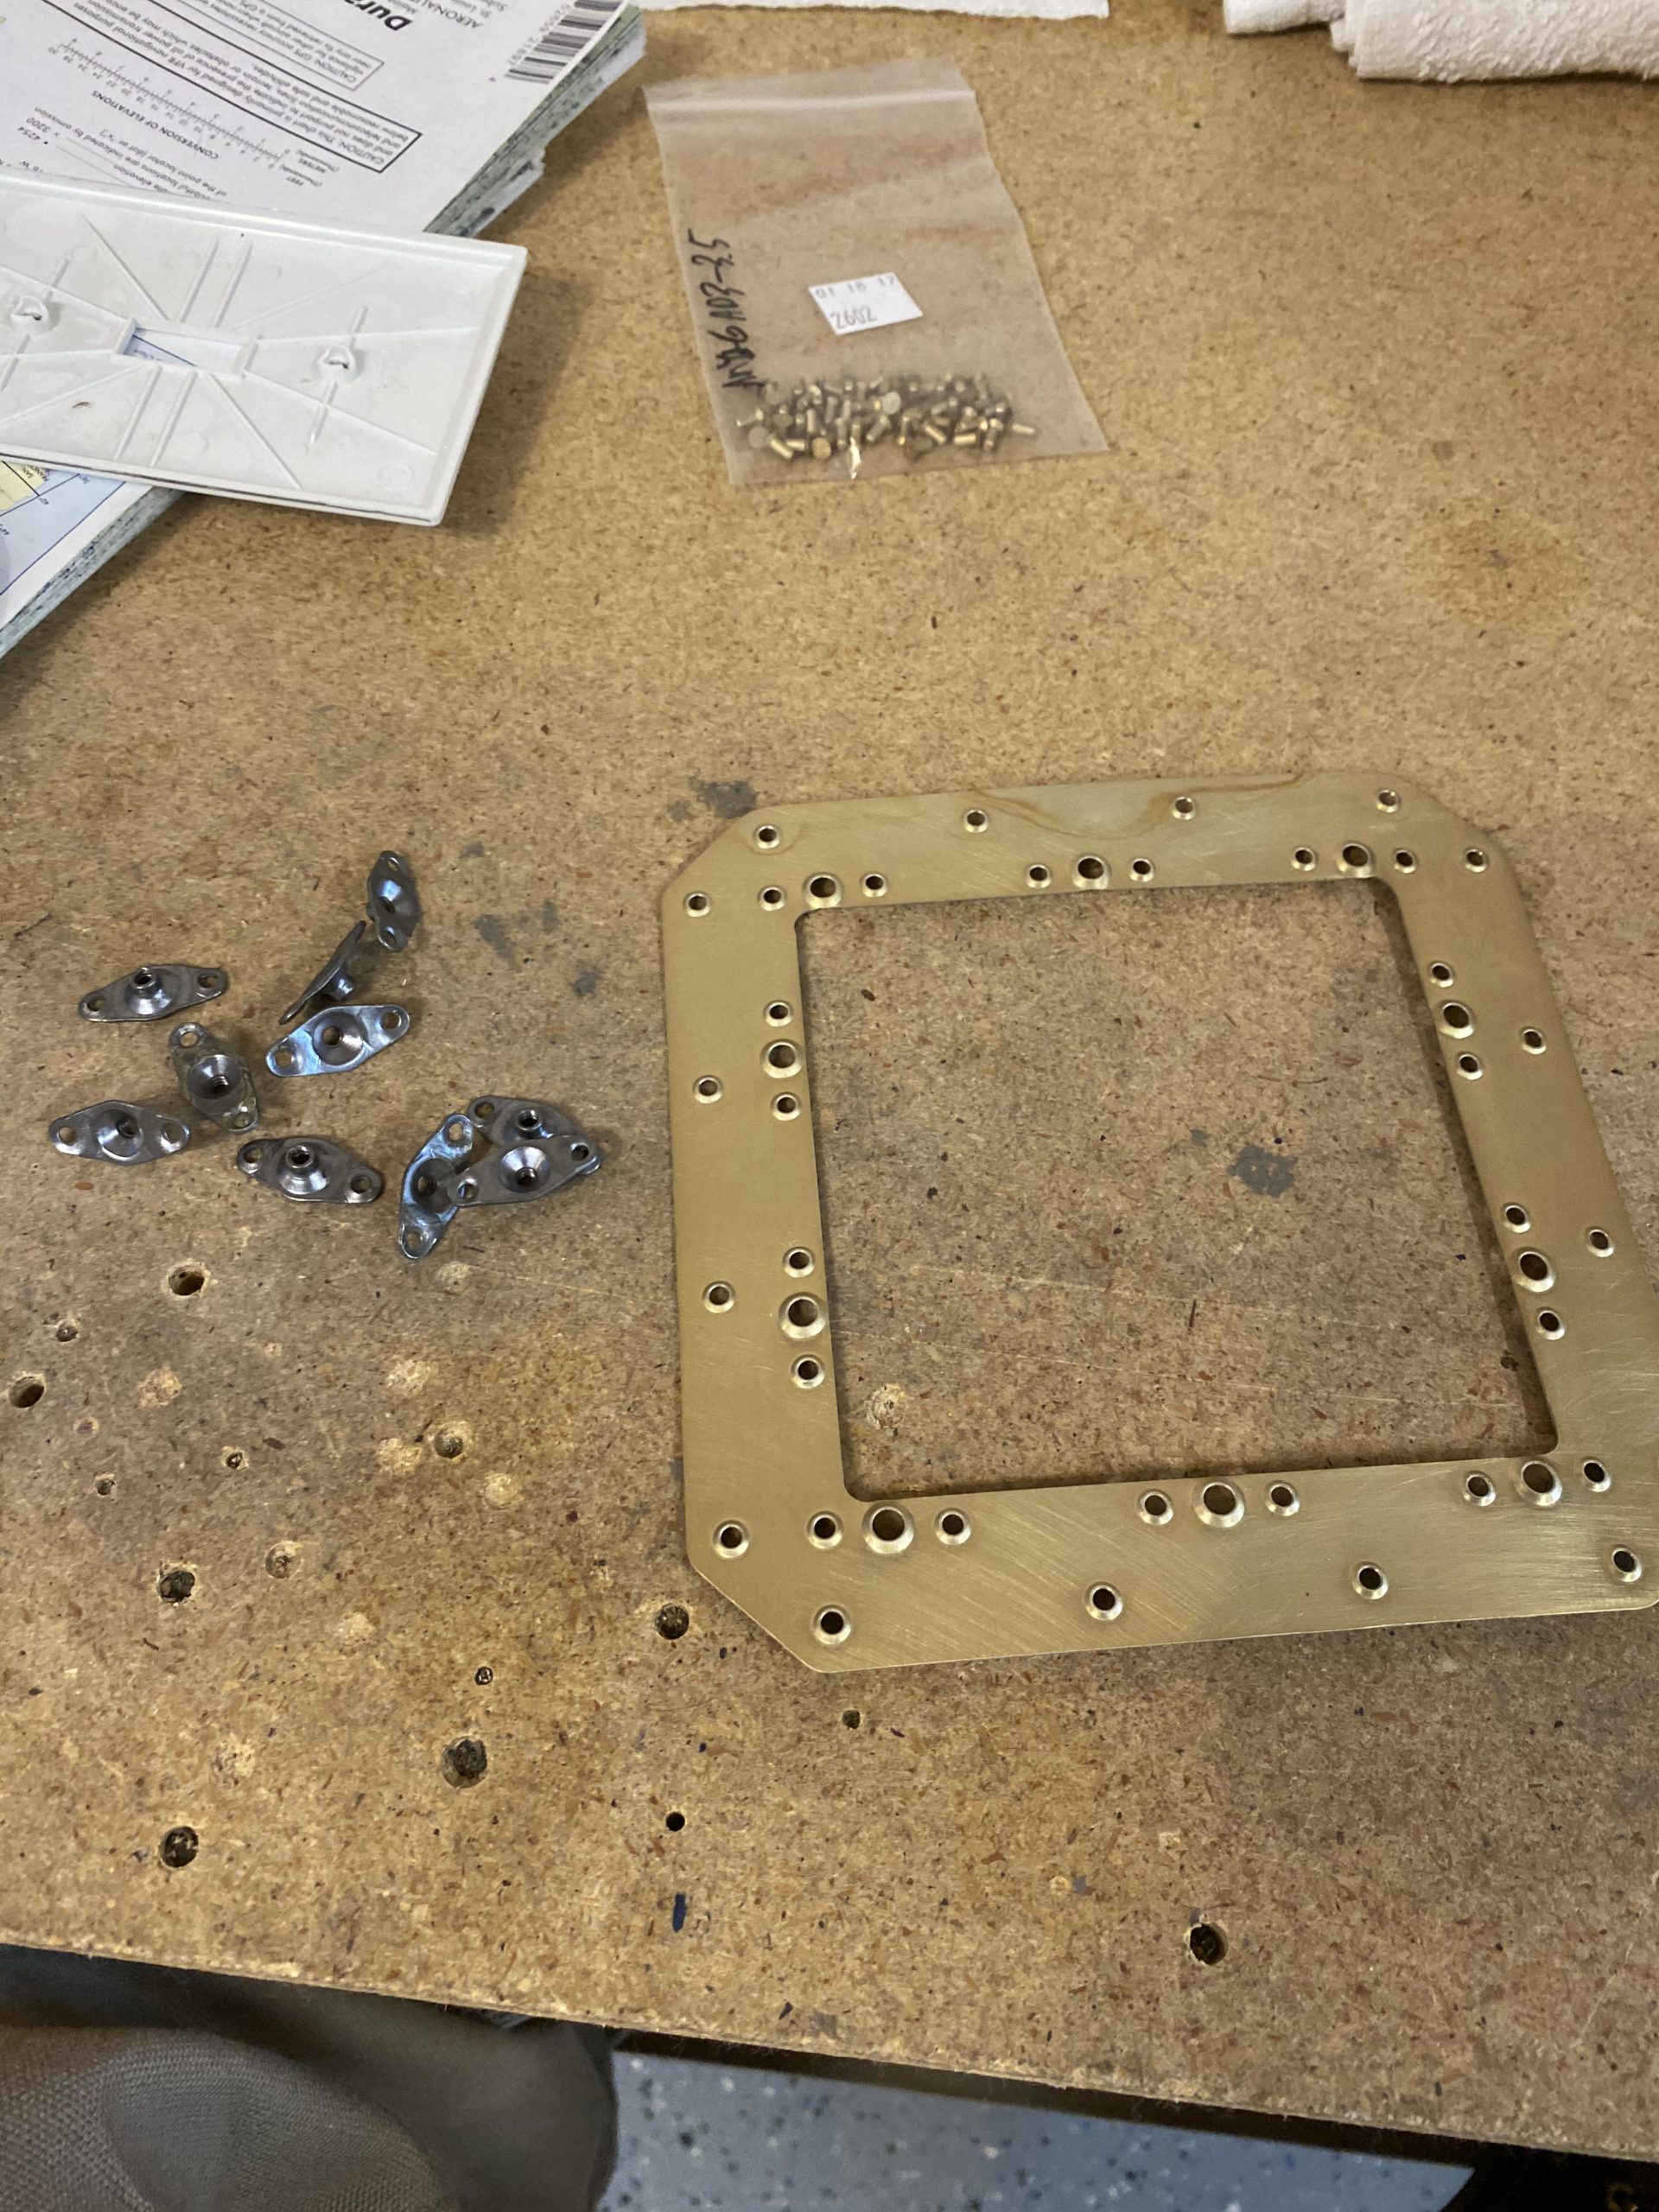
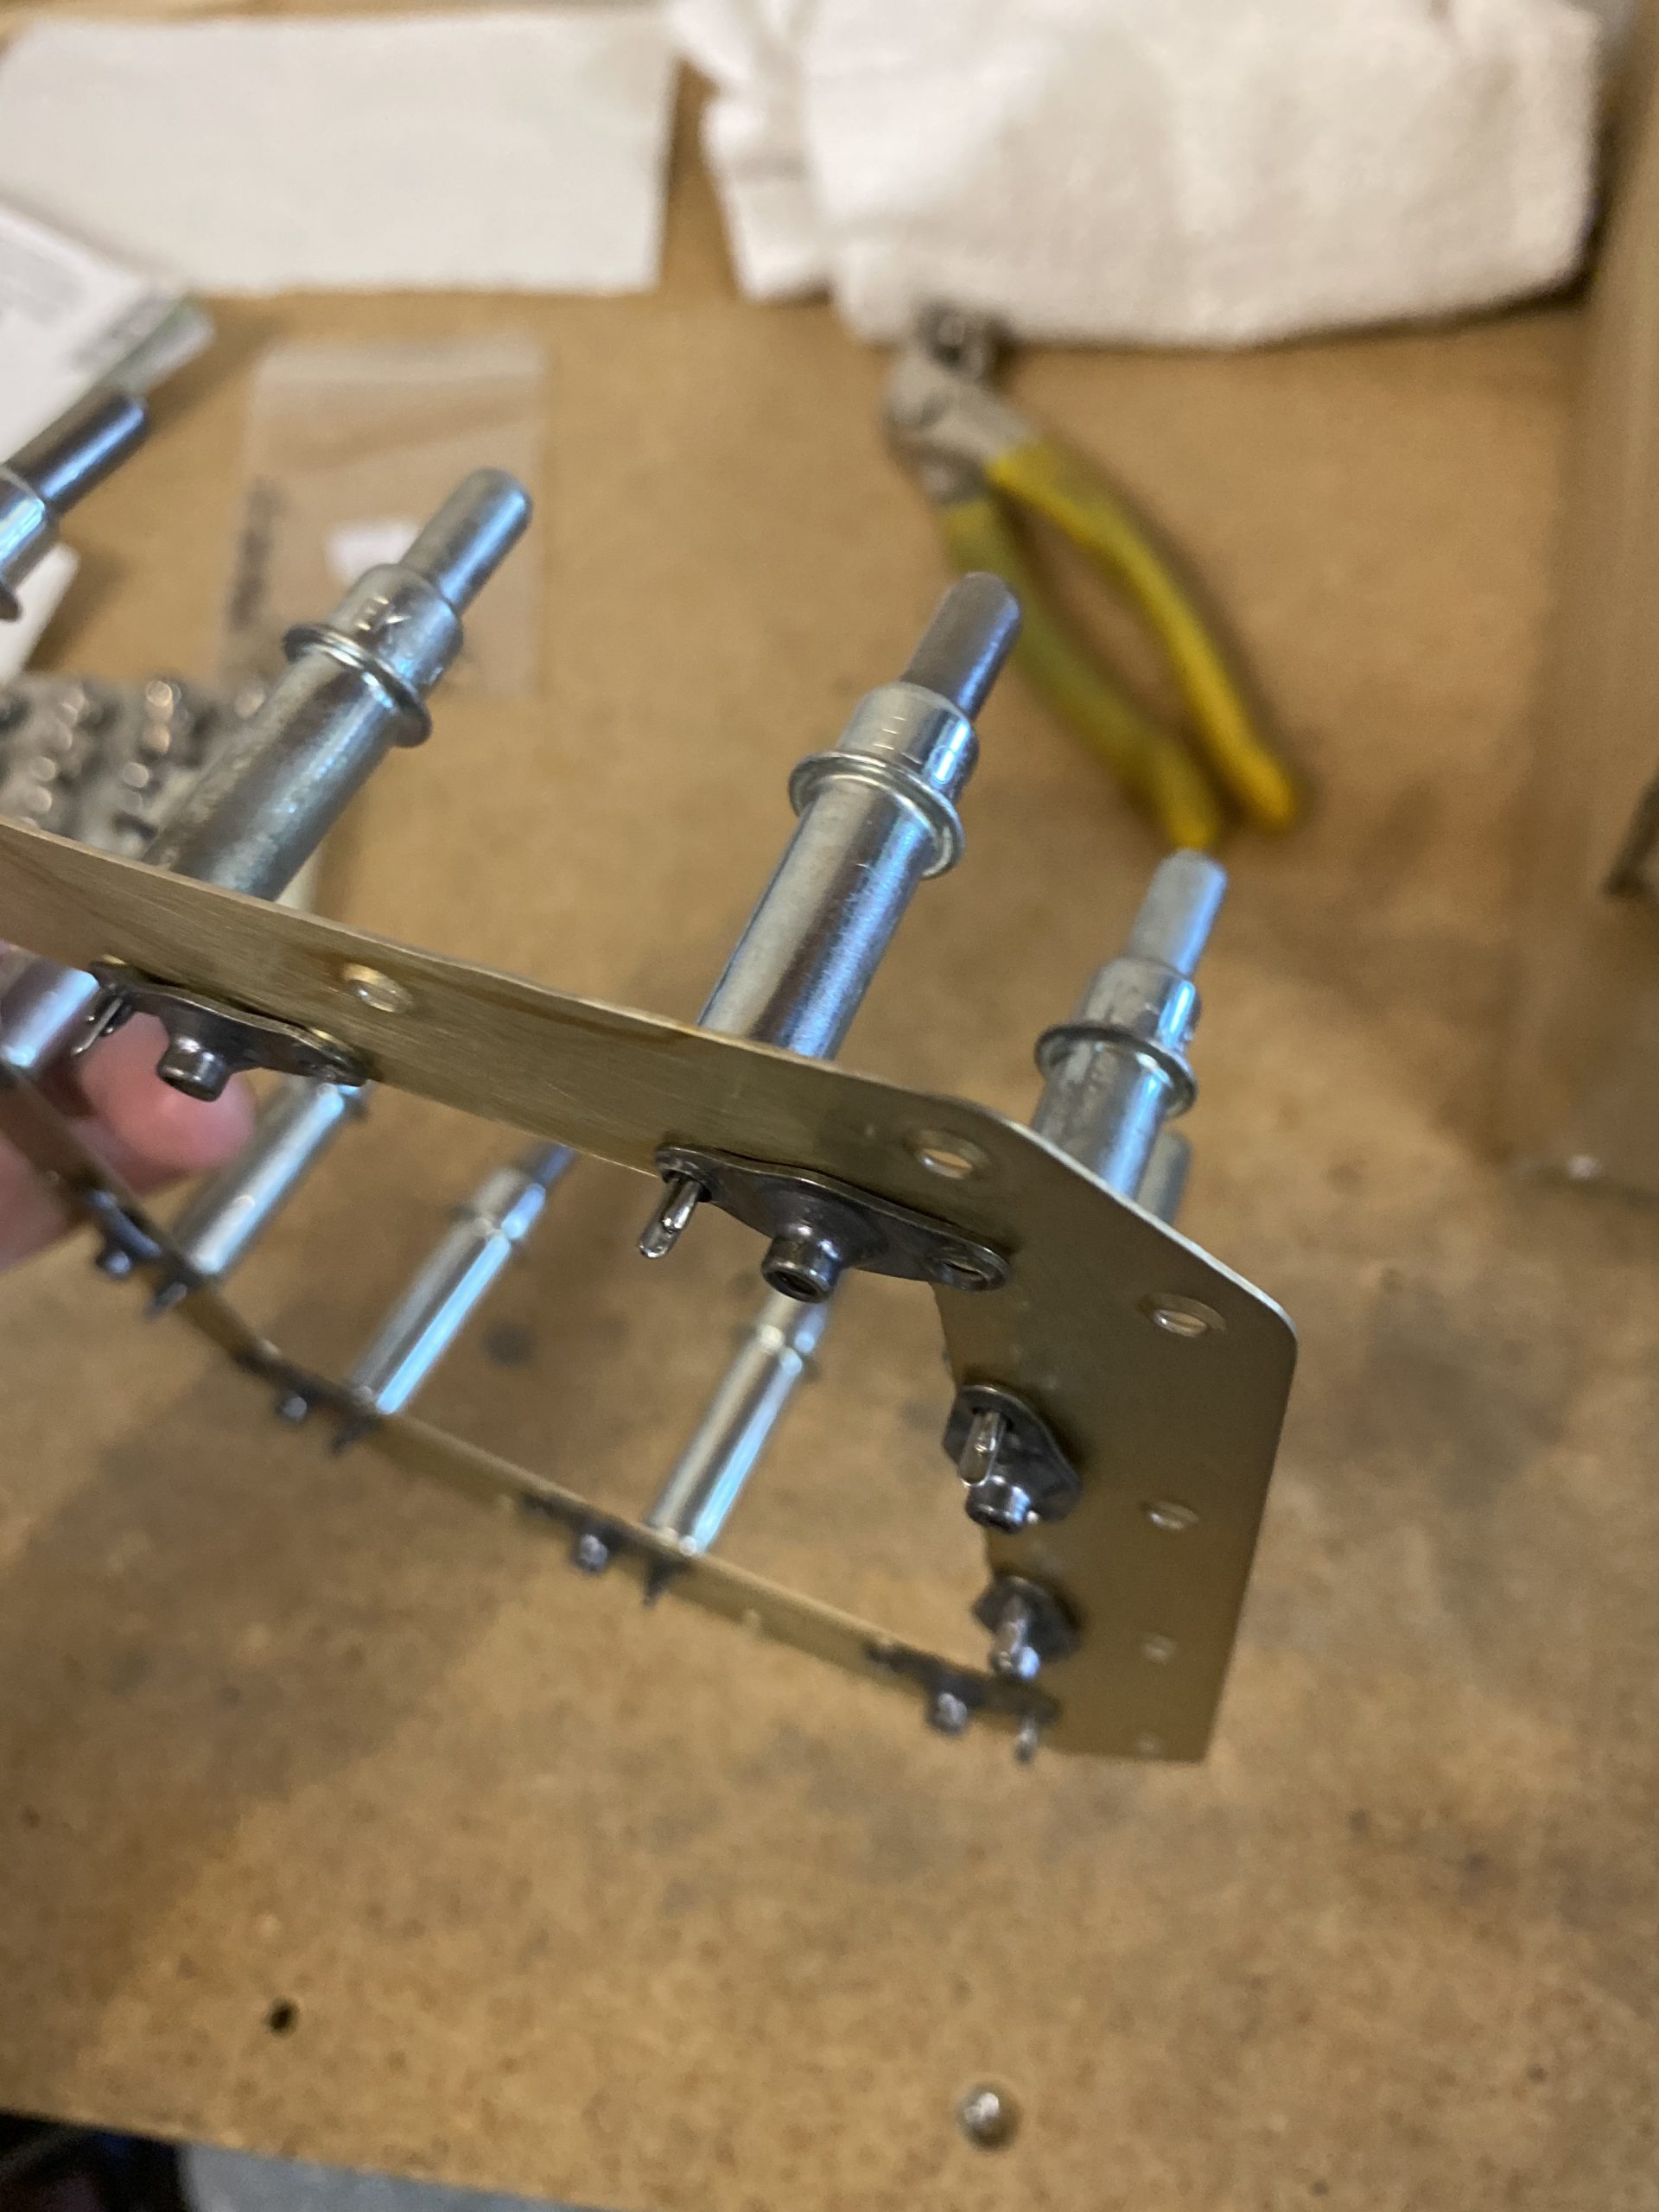
I clecoed on the nut plates lining up the holes, then I inserted an AD426AD3-3.5 rivet and squeezed it with my squeezer. After I had all the initial holes squeezed, I pulled the clecos out, and then squeezed the other holes in the nut plates. I had already dimpled all the holes in the doubler, so now it’s completely ready to go into the leading edge.
I ALMOST decided to go ahead and install the entire stall warner assembly, the doubler and access plate onto the leading edge, but I decided to shelve the parts for now, since I am planning on shooting the leading edge skins in primer before final assembly. I plan on passing this thing down to my daughter when I get too old to fly it, so priming will only help to preserve it. So, the doubler, access plate, stall warner, and stall warner mounting plates and all the hardware for these pieces went back into their bag, and on the shelf for a little while. I’ll get the tanks almost done (with only the baffles remaining), so they can cure, then I’ll start priming the leading edge and wing skins for final assembly.
Hours worked: 0.5