


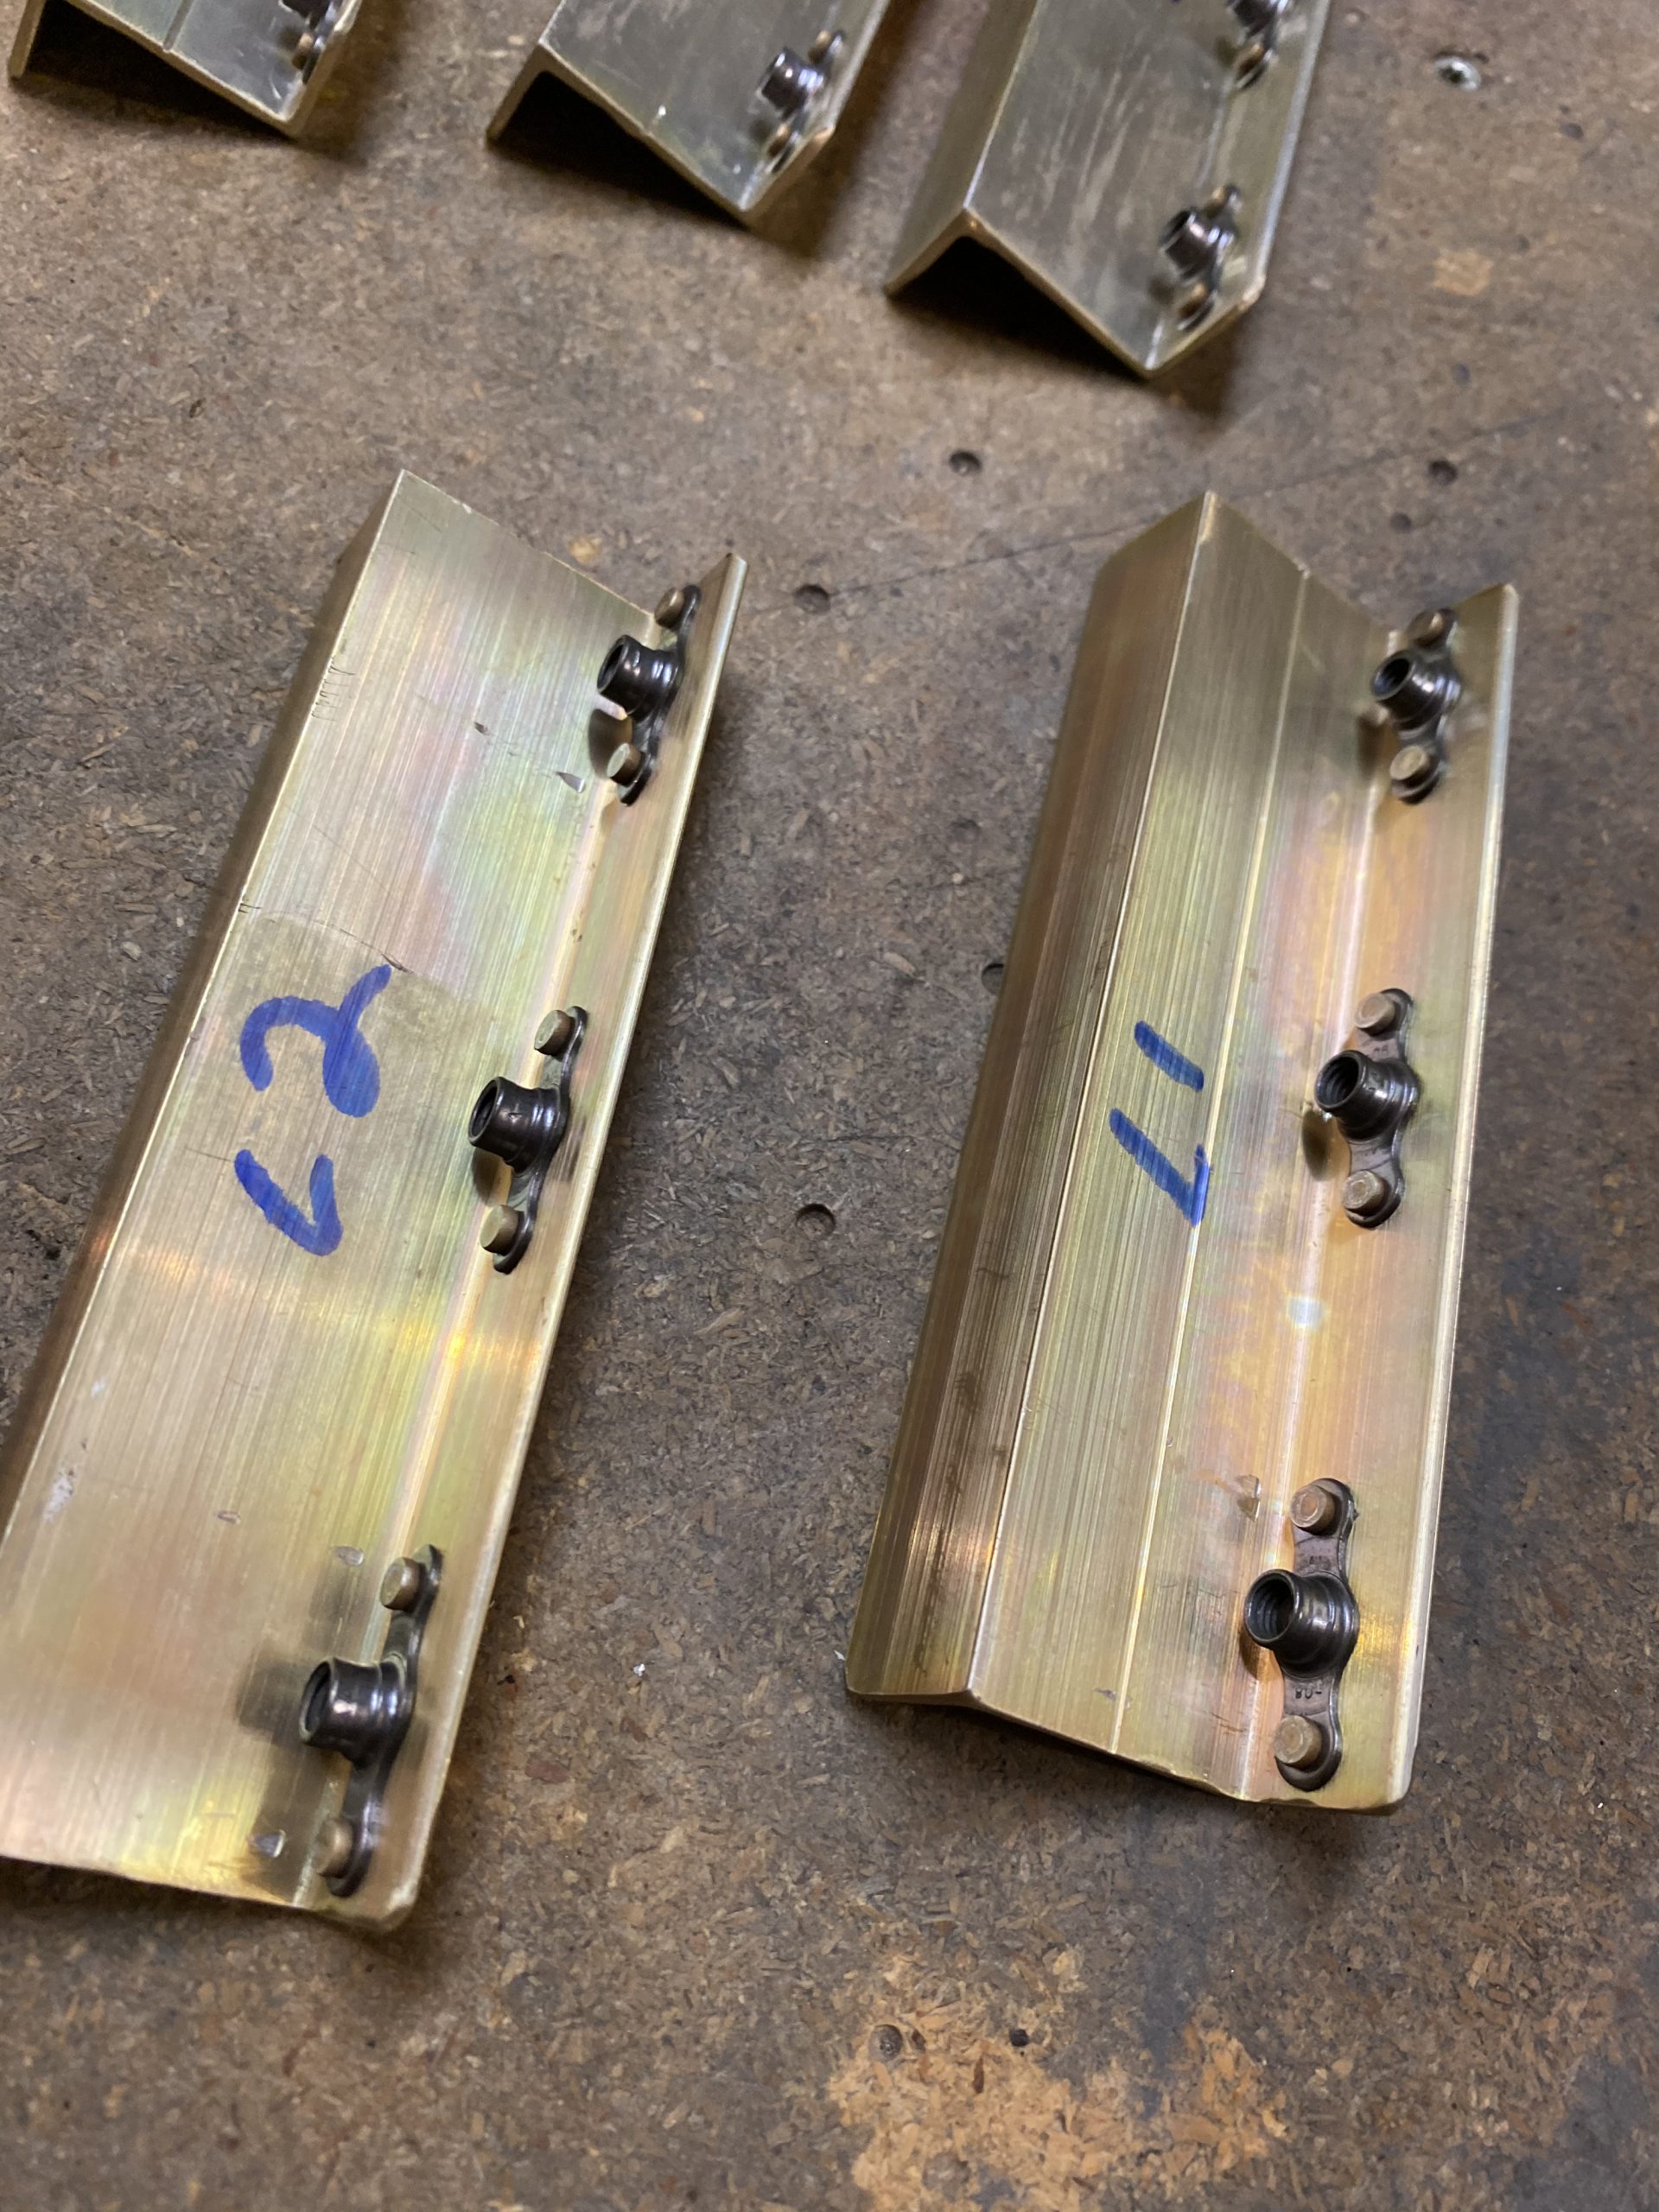
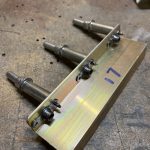
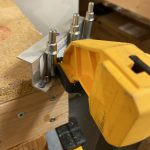
WHAT? I’m actually getting something done on the RV-7? Yep. Thats right, I found some more time to work on the airplane tonight. This new position at work has been keeping me busy, but I think I am going to have more time to work on the airplane since I will be traveling a lot less. I have been briefing up where I left off this past week, so I am not adding those hours into the build. I need to get these tank attach brackets finished up so I can continue with the tanks. So, I pulled the brackets off the wings so I can drill the nut plates and deburr them. I marked the locations so I could get them exactly returned to where they came from, and then started on the nut plates. I don’t have a nutplate jig, so I had to make do with my tools on hand. I used an AN3 bolt to thread into the K1000-3 nutplates so I could line up the “ears” on the nutplates with the centerlines I had drawn on the brackets. Then, while holding the nutplate in this position, I drilled one of the holes. After the first hole was drilled, I stuck a cleco in to help hold it all squared up for the last hole to be back drilled.

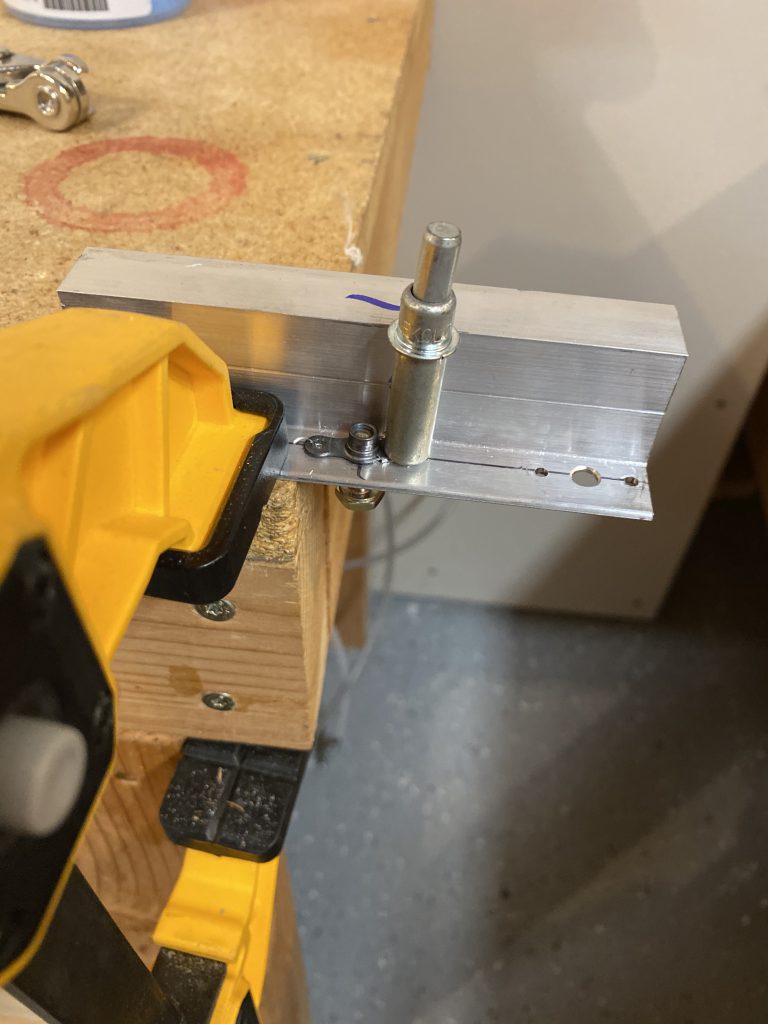
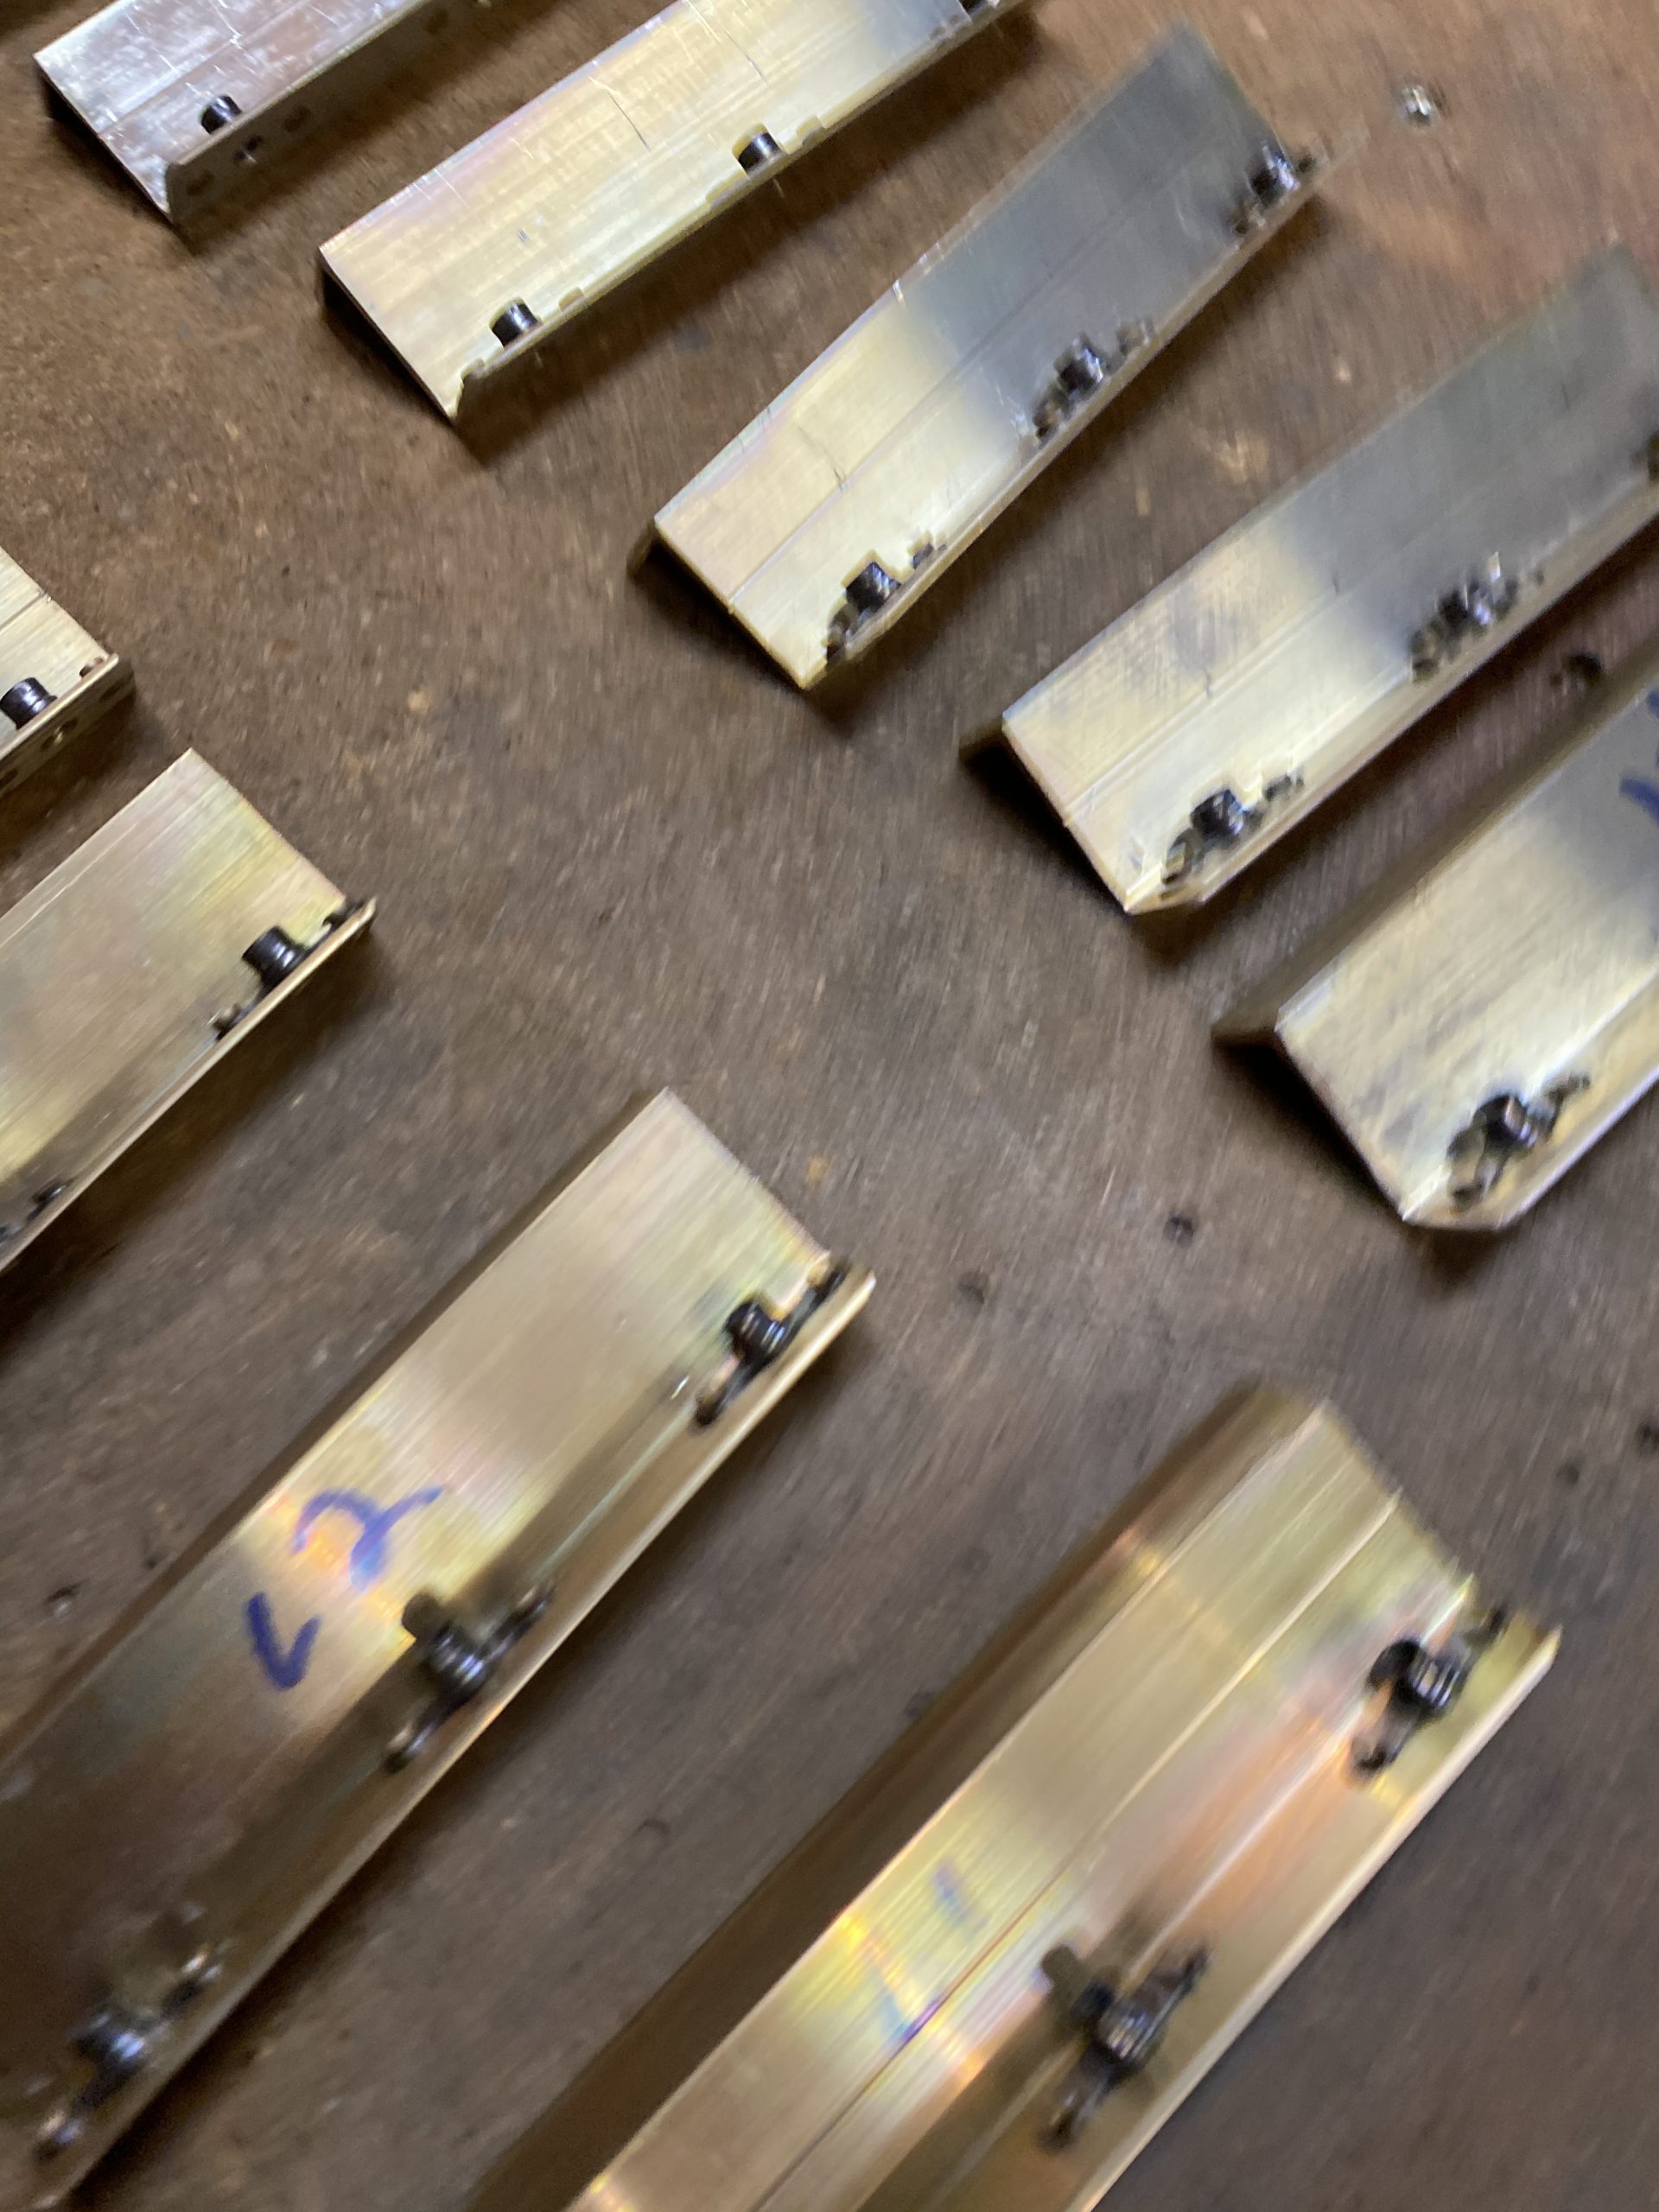
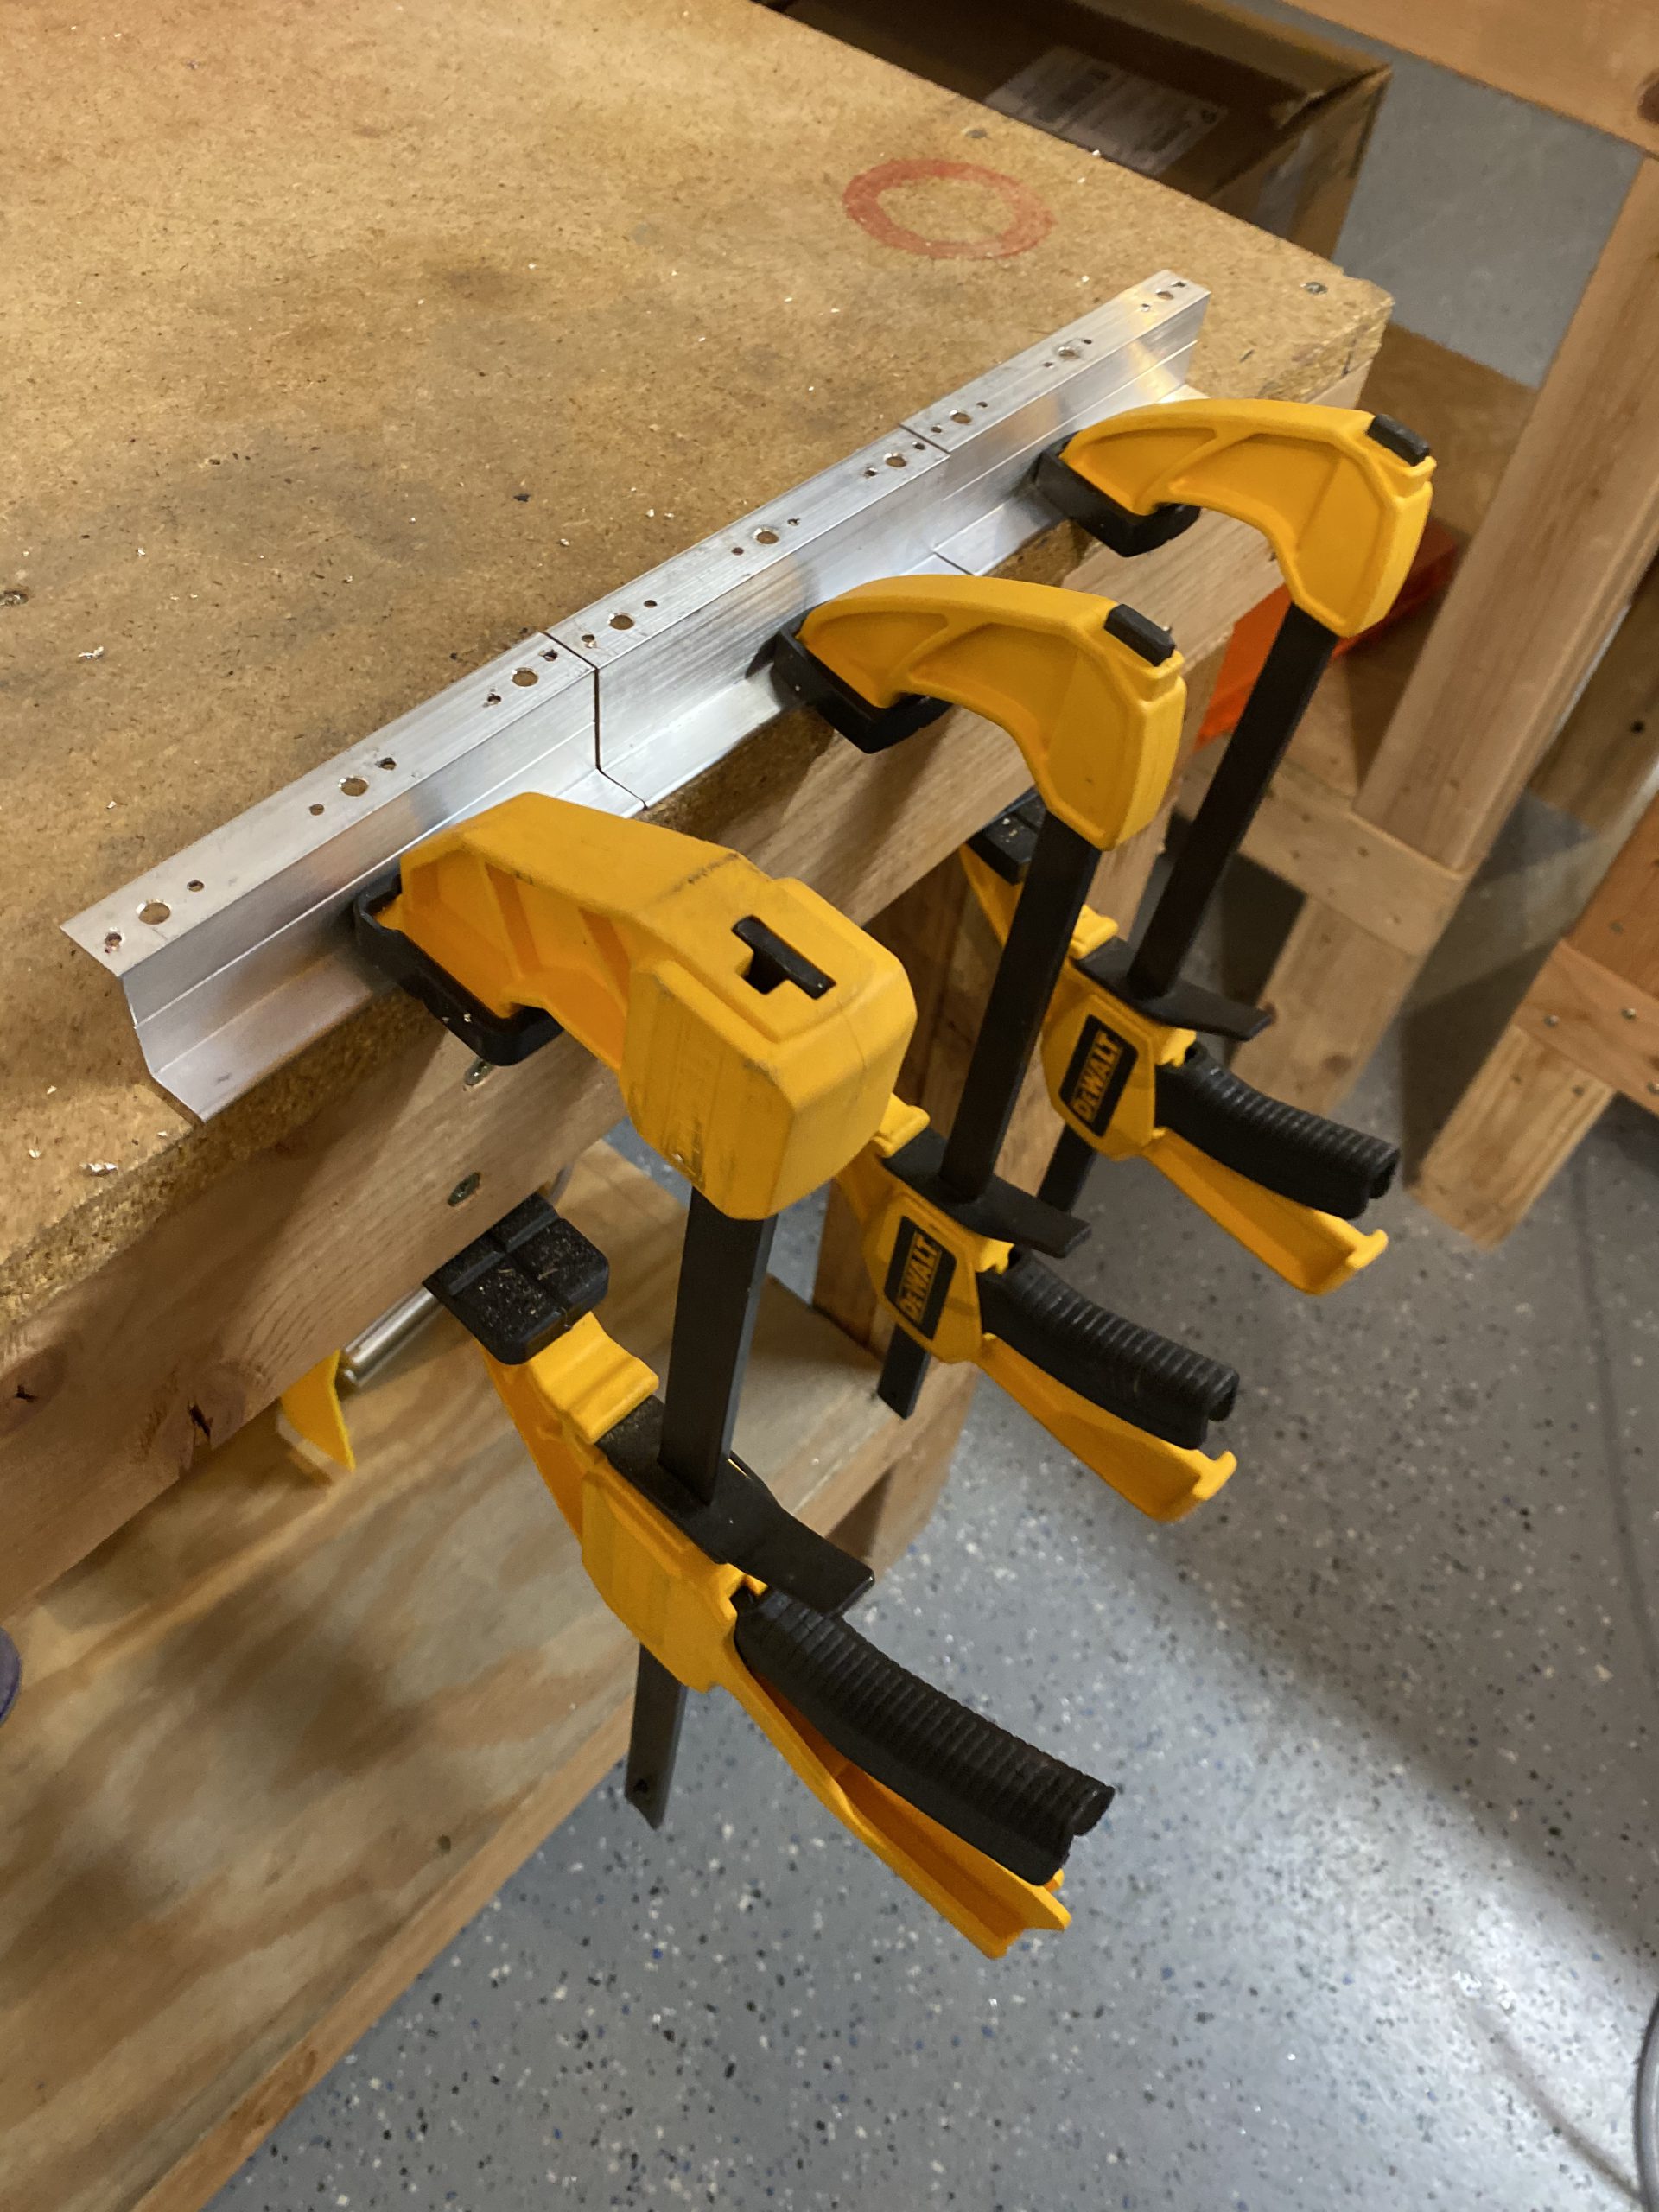
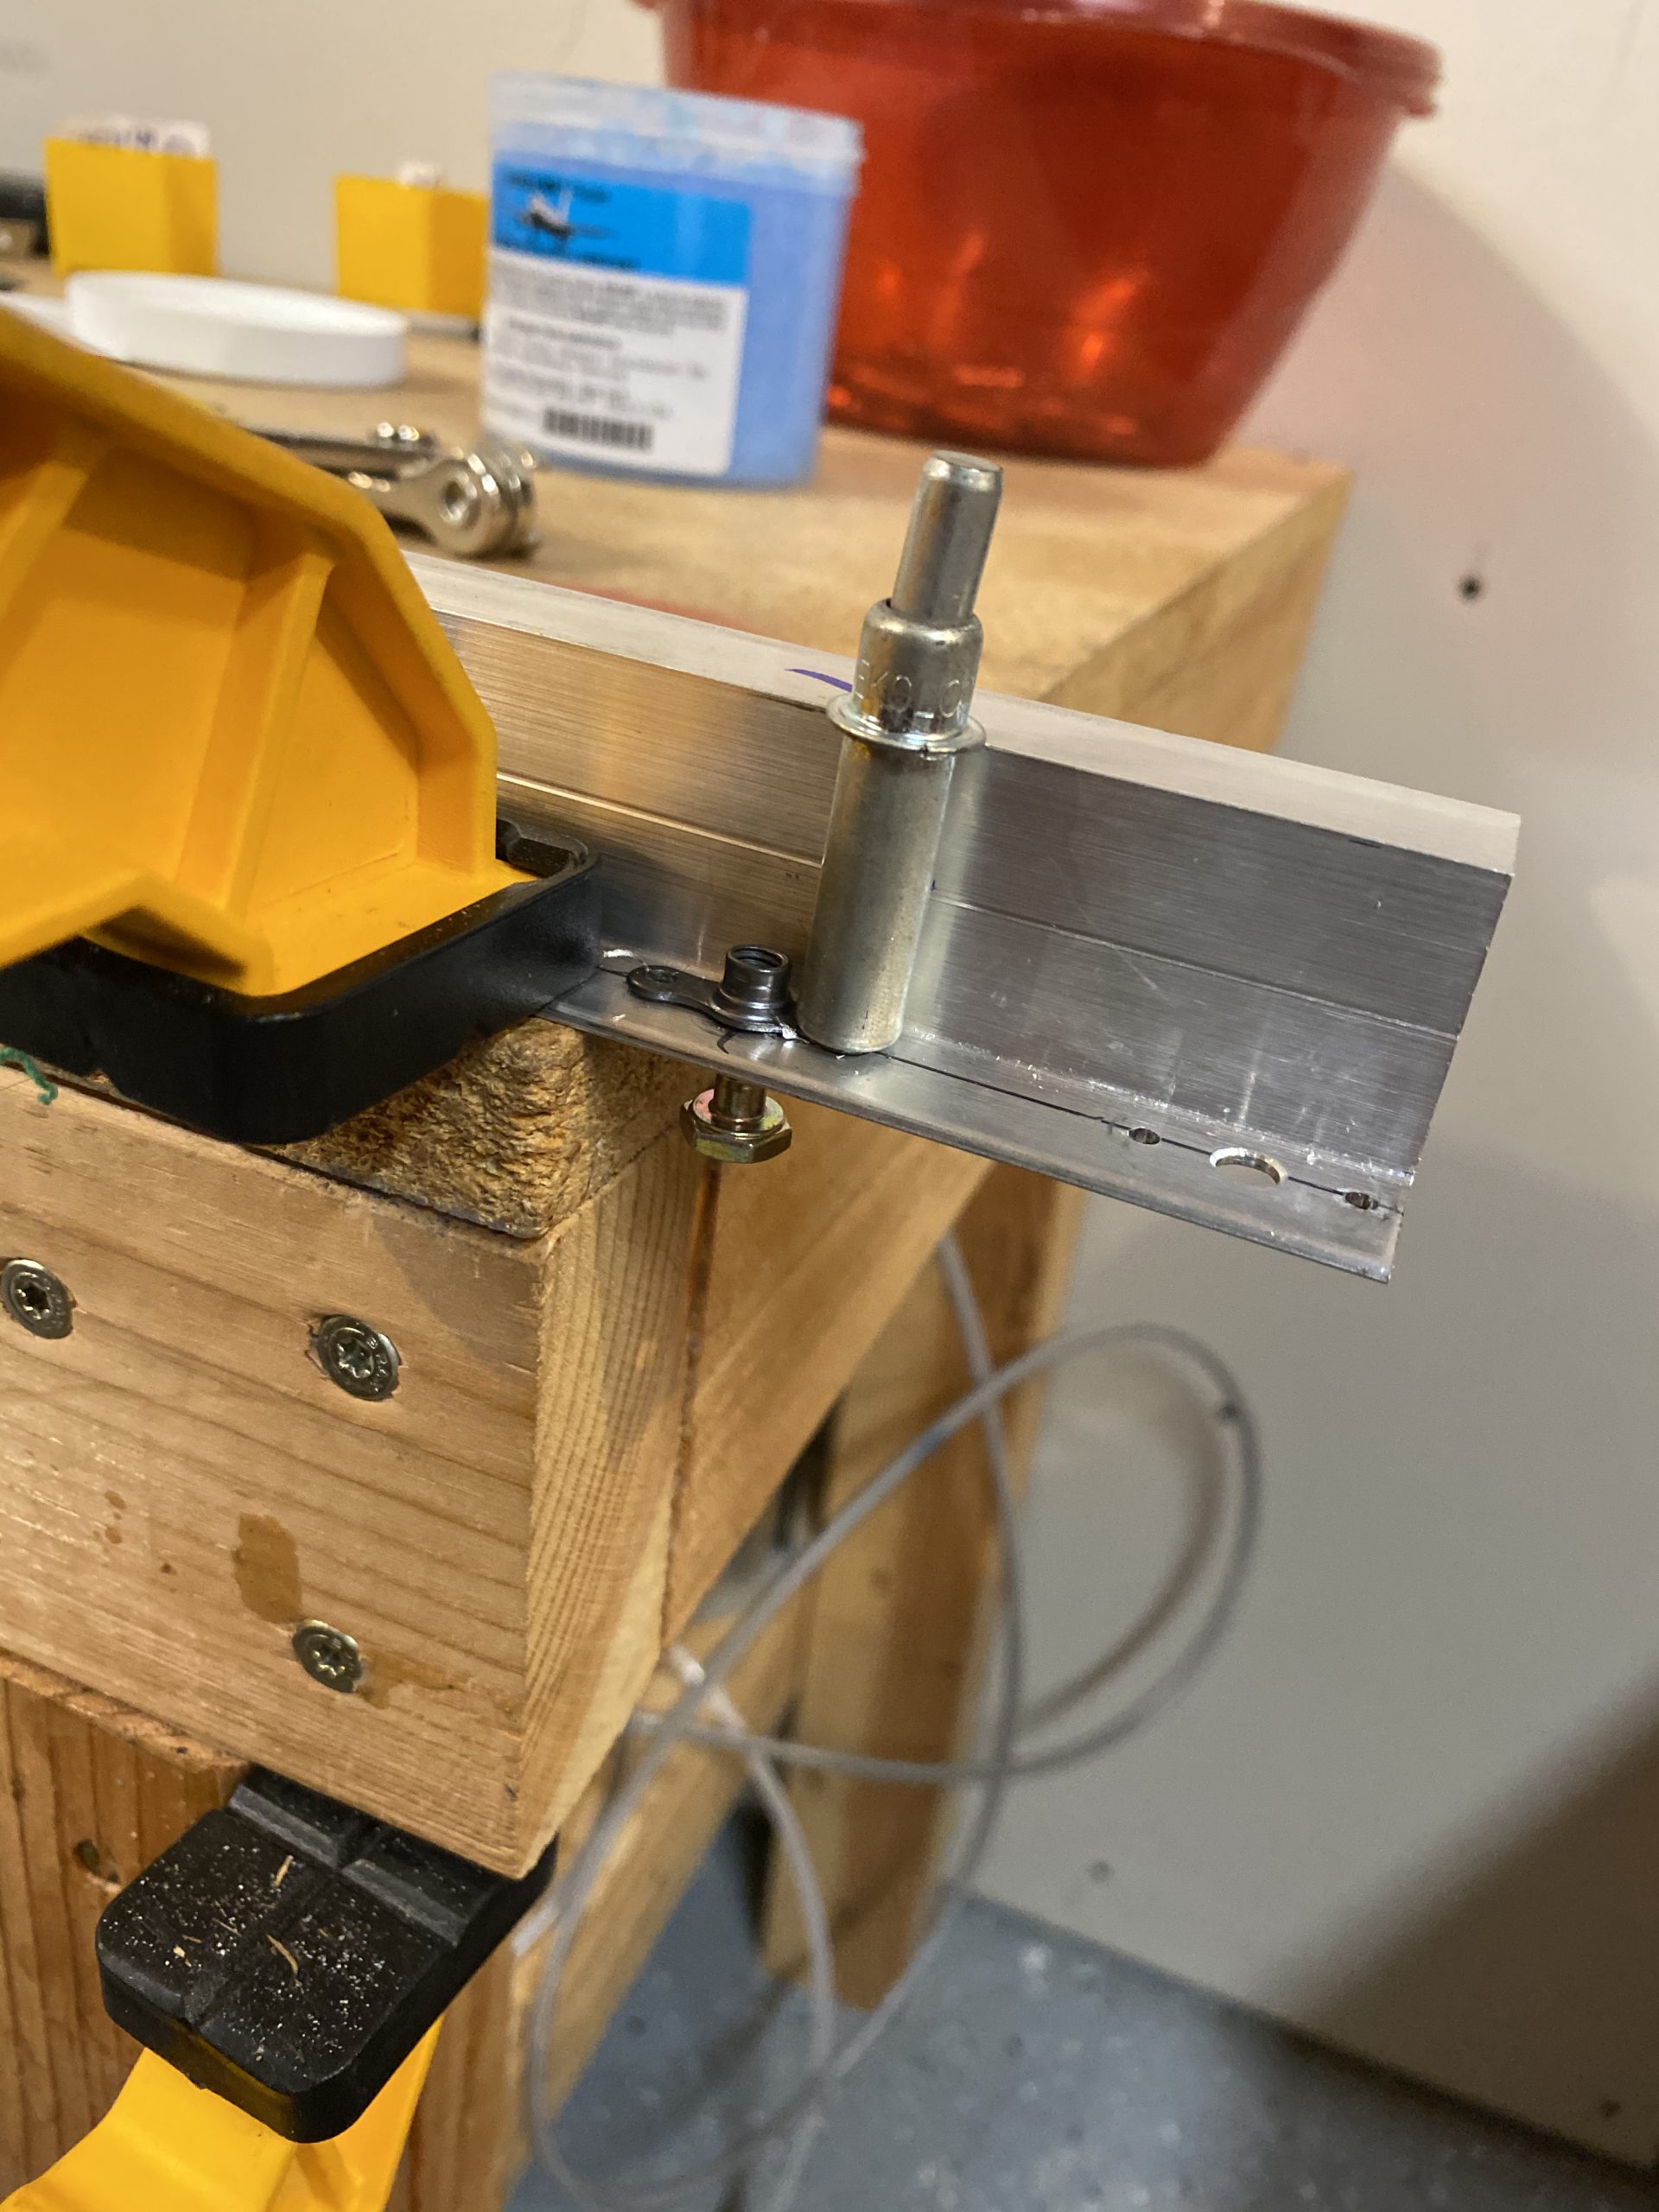
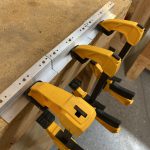
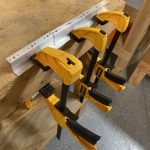
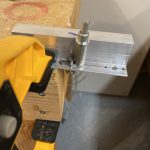
I used some clamps to help hold the bracket on my table as I drilled. Eventually I turned this into an assembly line:
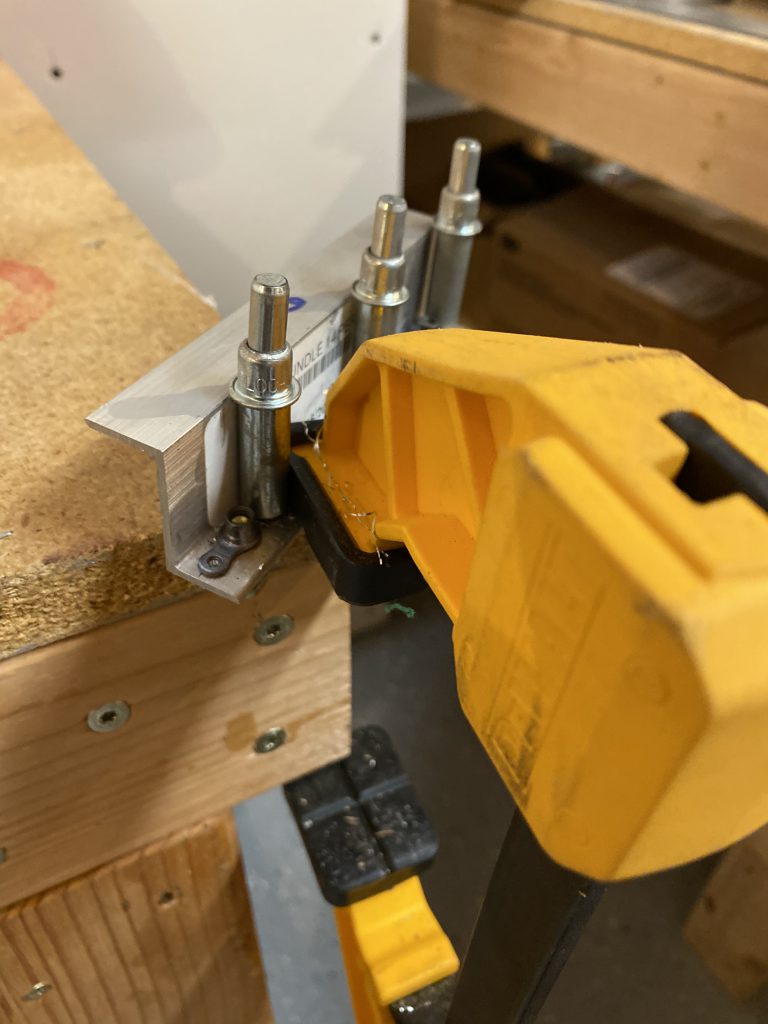
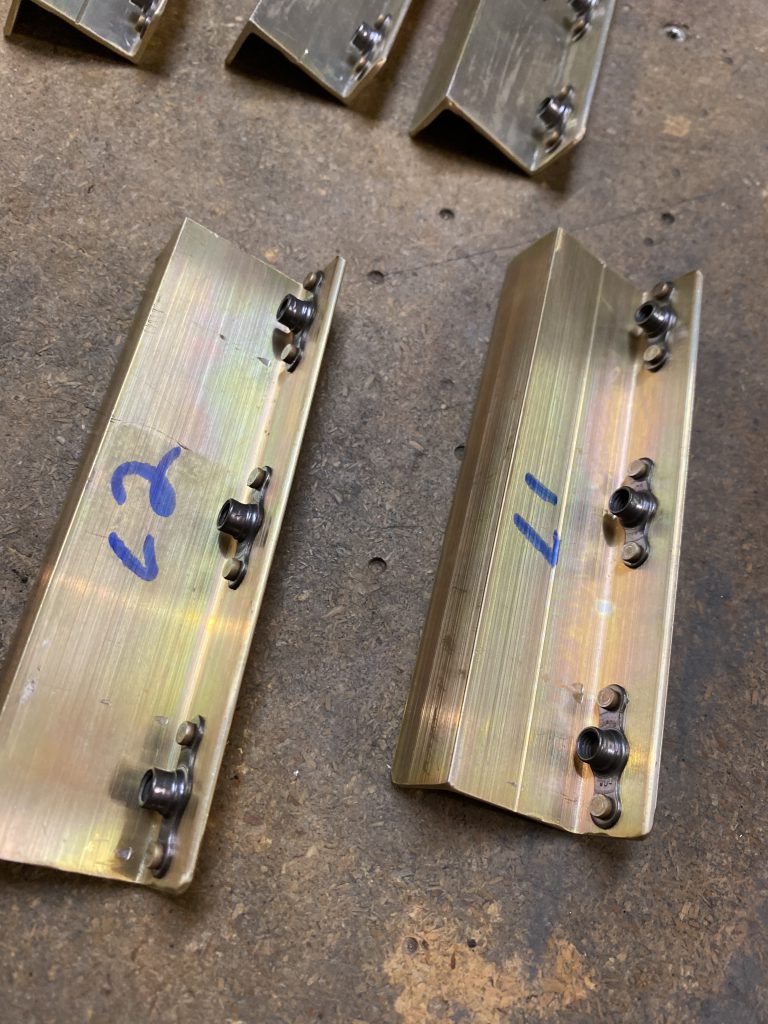
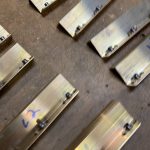
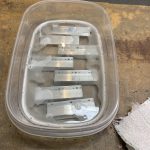
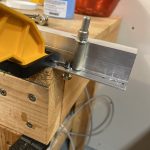
Once I had all 12 (6 on each side) of the tank attach brackets drilled for the nutplates I moved on to deburring all the holes, as well as all the corners and edges to make them nice and smooth. On the front side of the nutplates, they are attached with AN426 flush rivets, so I needed to countersink the holes for a nice smooth fit on the side of the tank attach brackets that gets bolted to the main spar web. I used my clamps again to hold the brackets to the table, and then fired up the micro-stop countersink and adjusted the depth so the rivets would sit nice and flush.
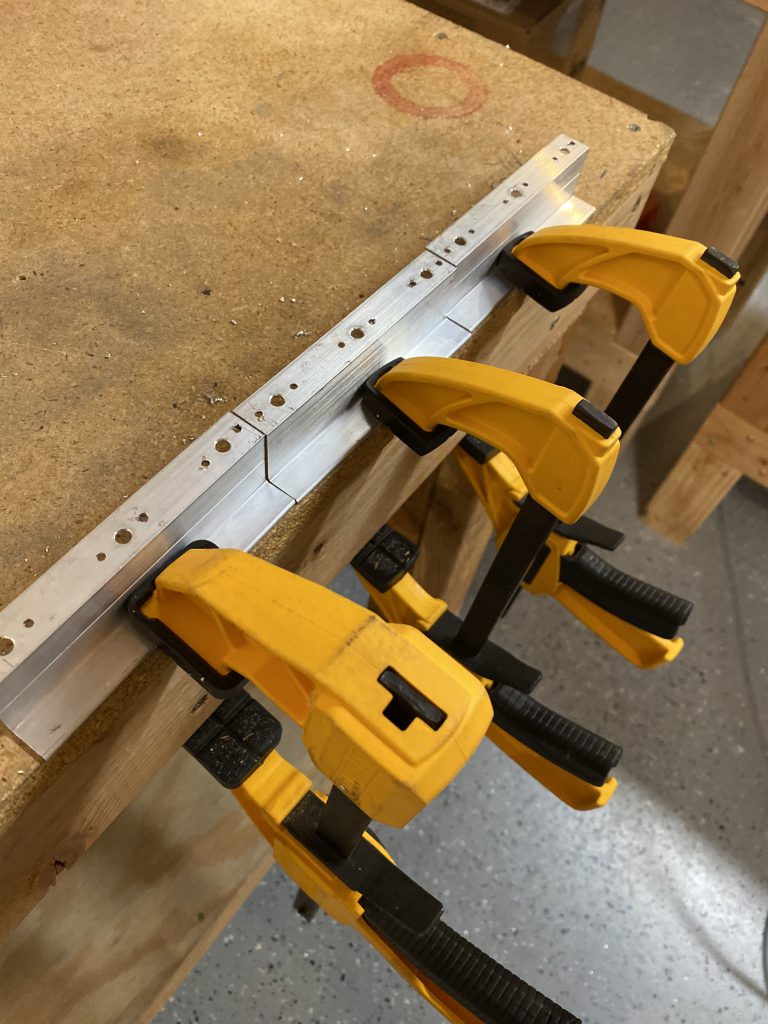
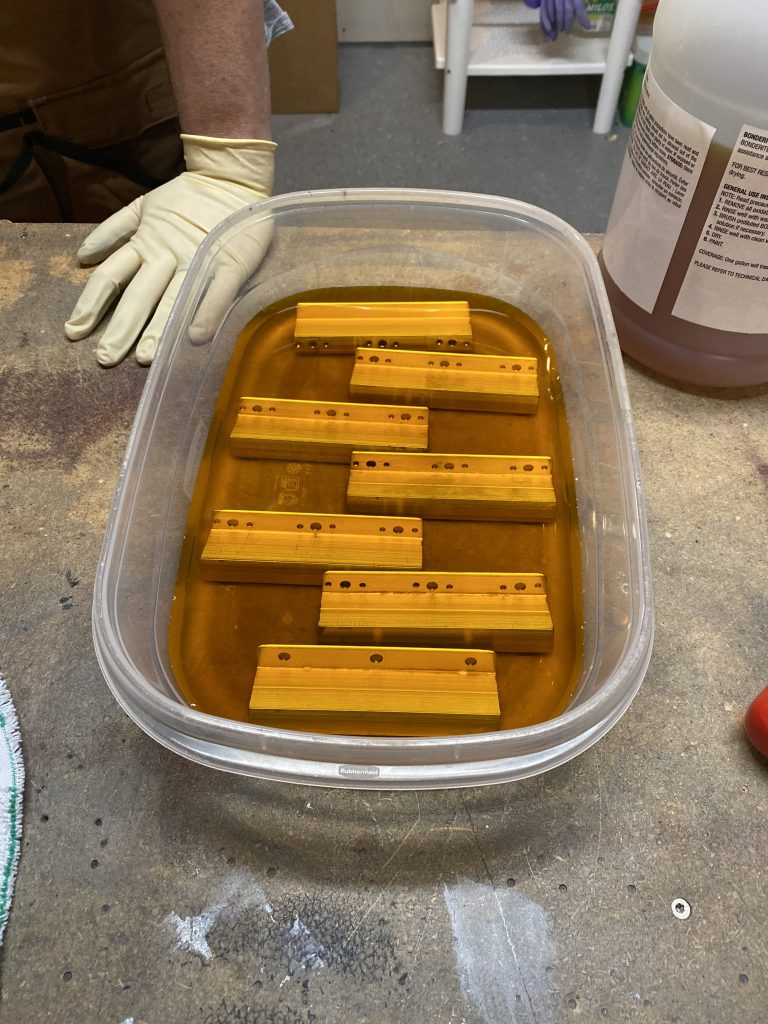
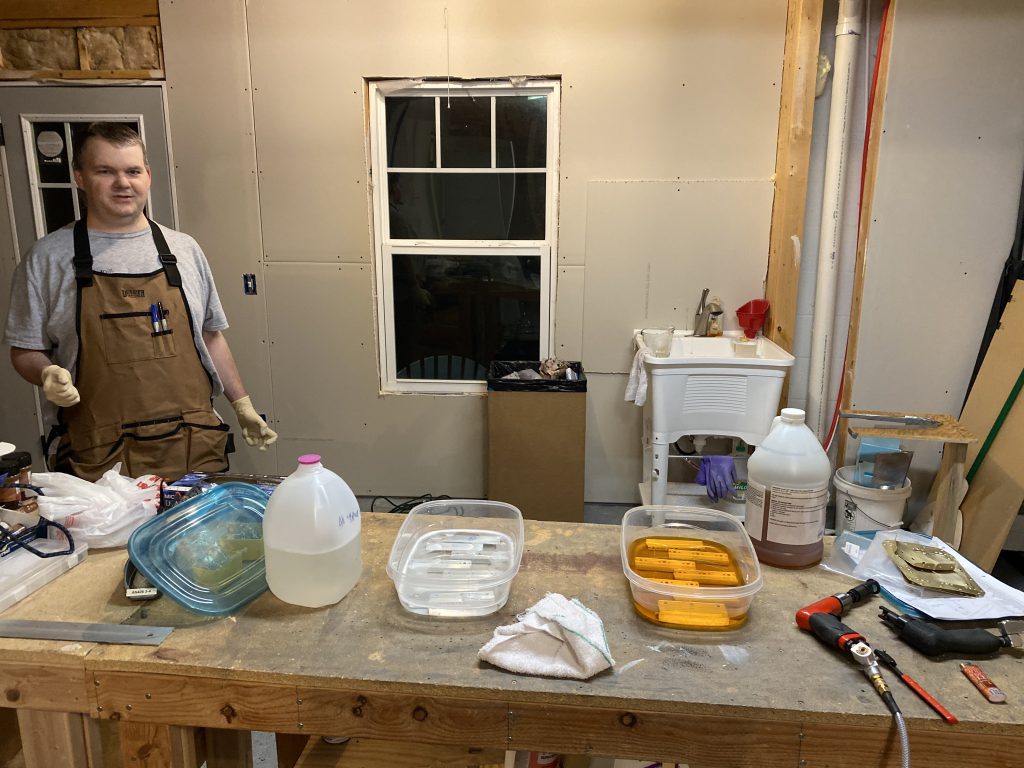
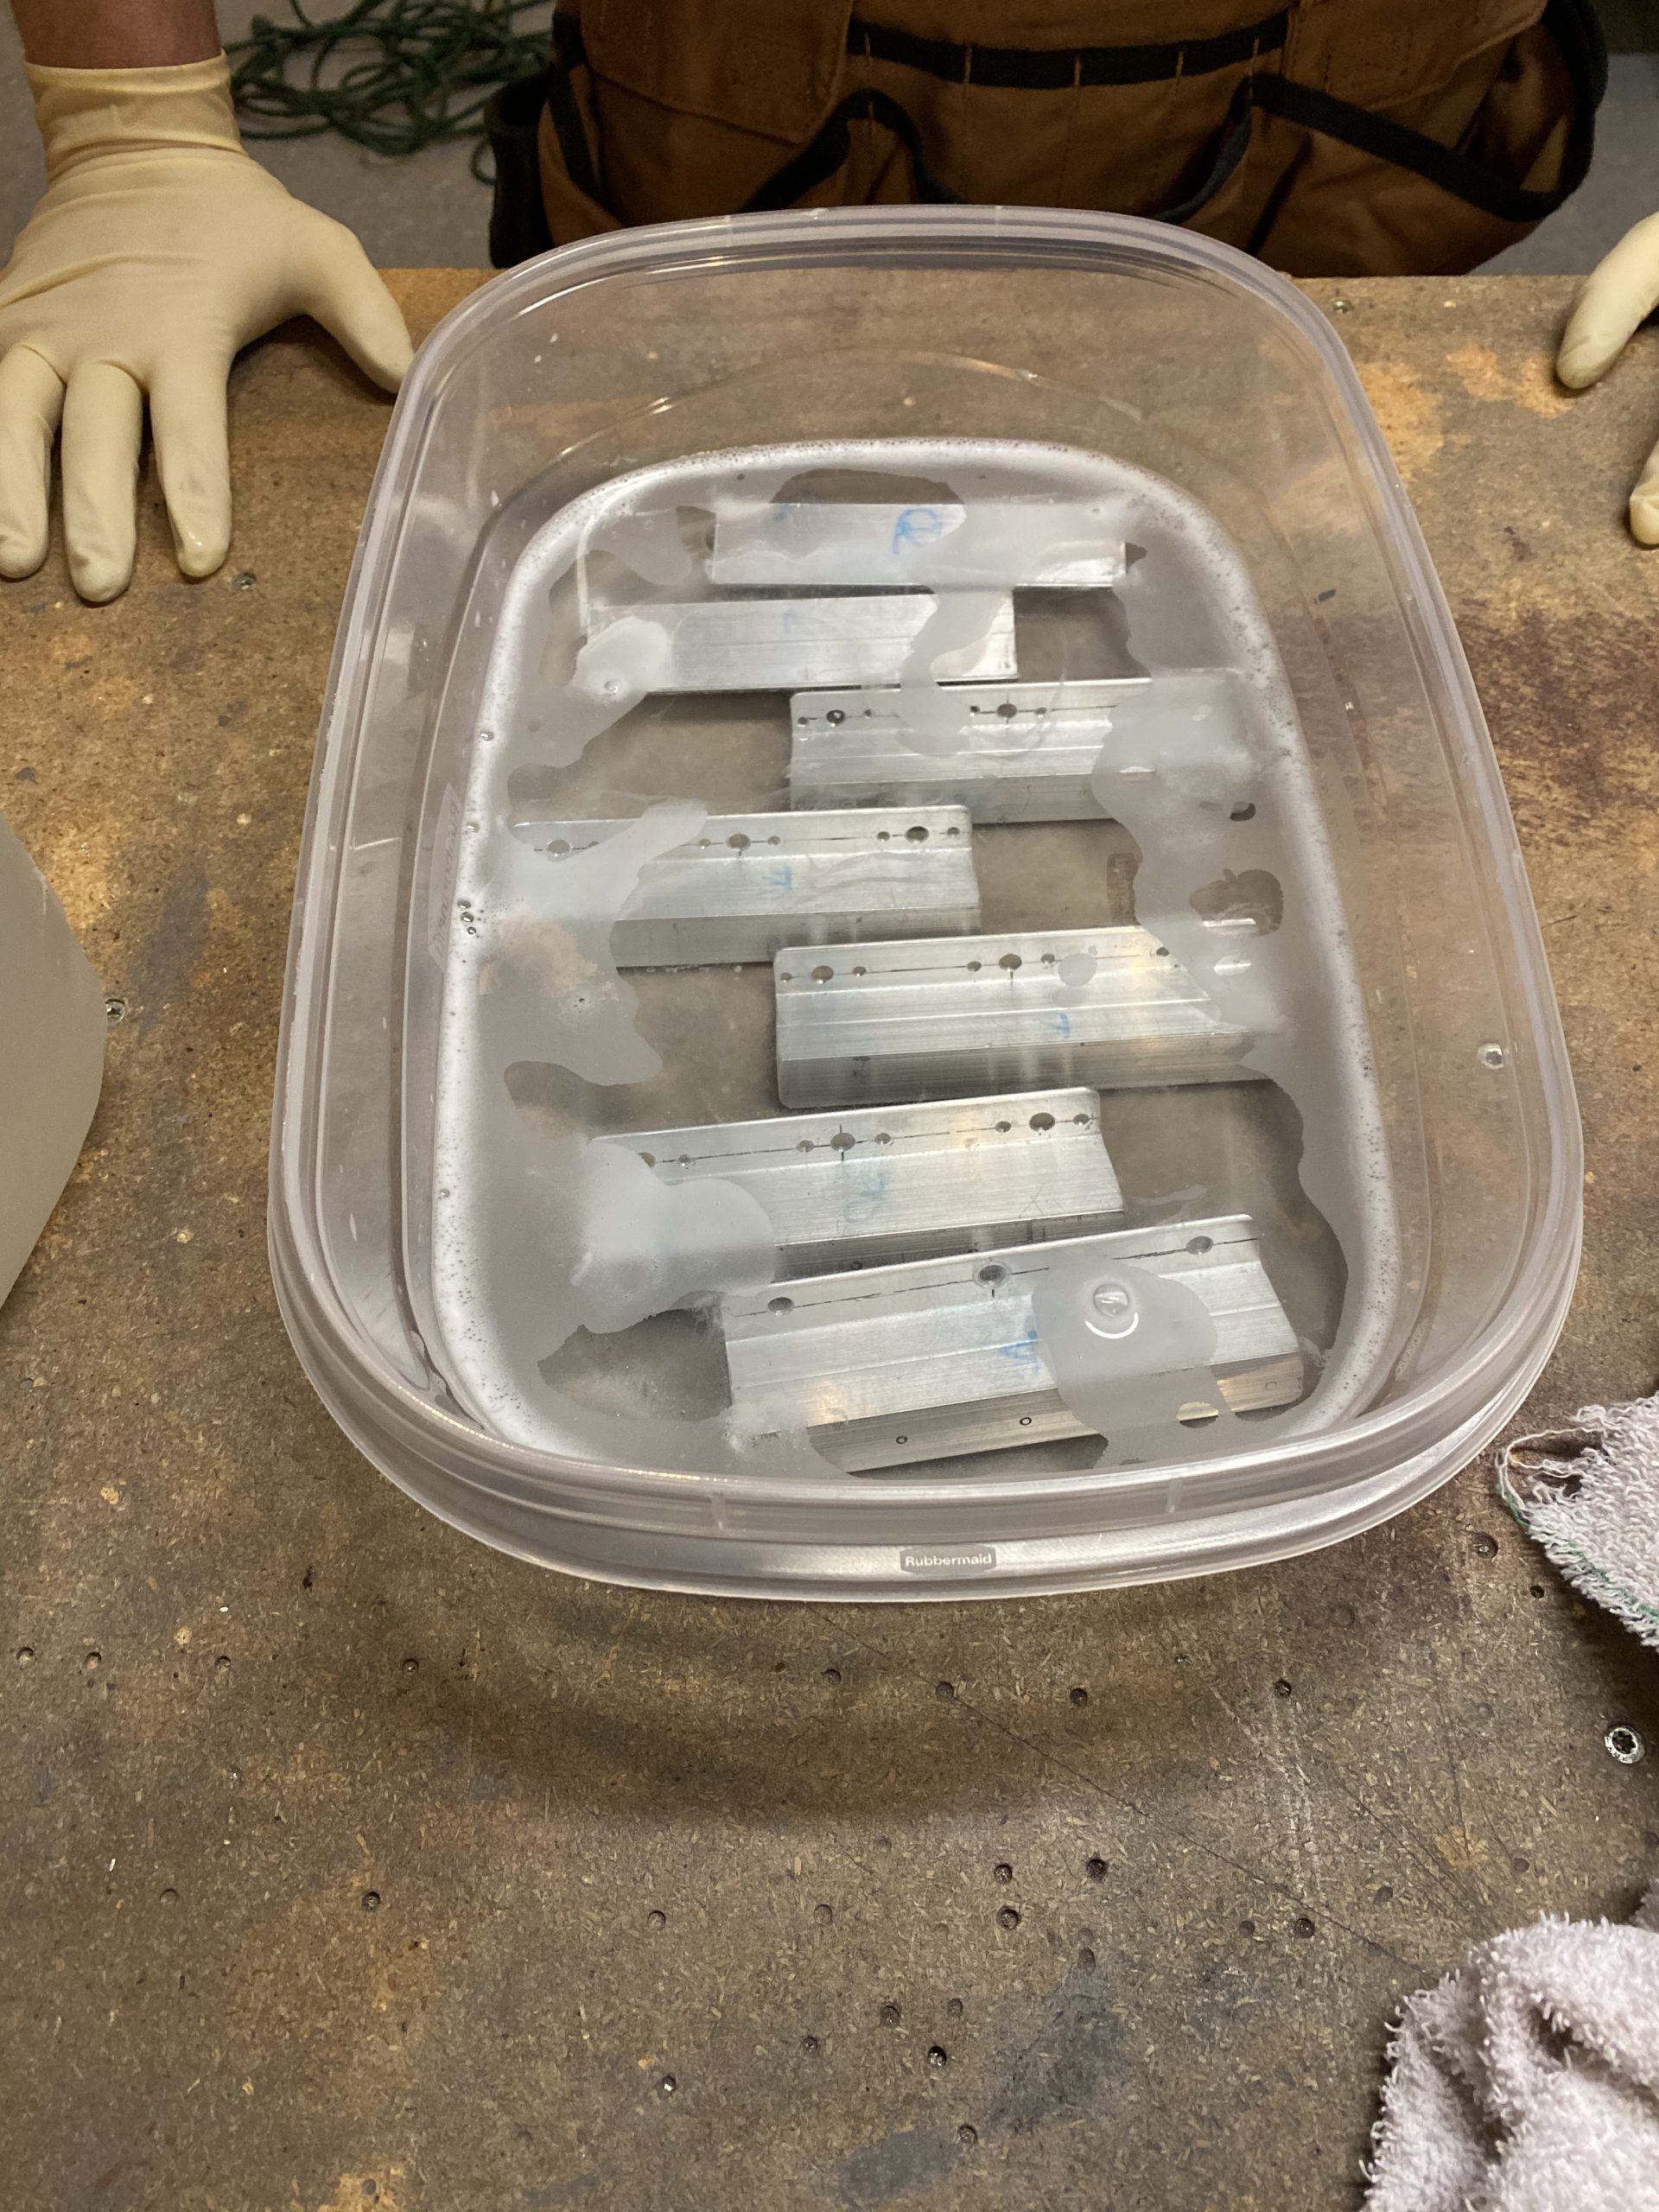
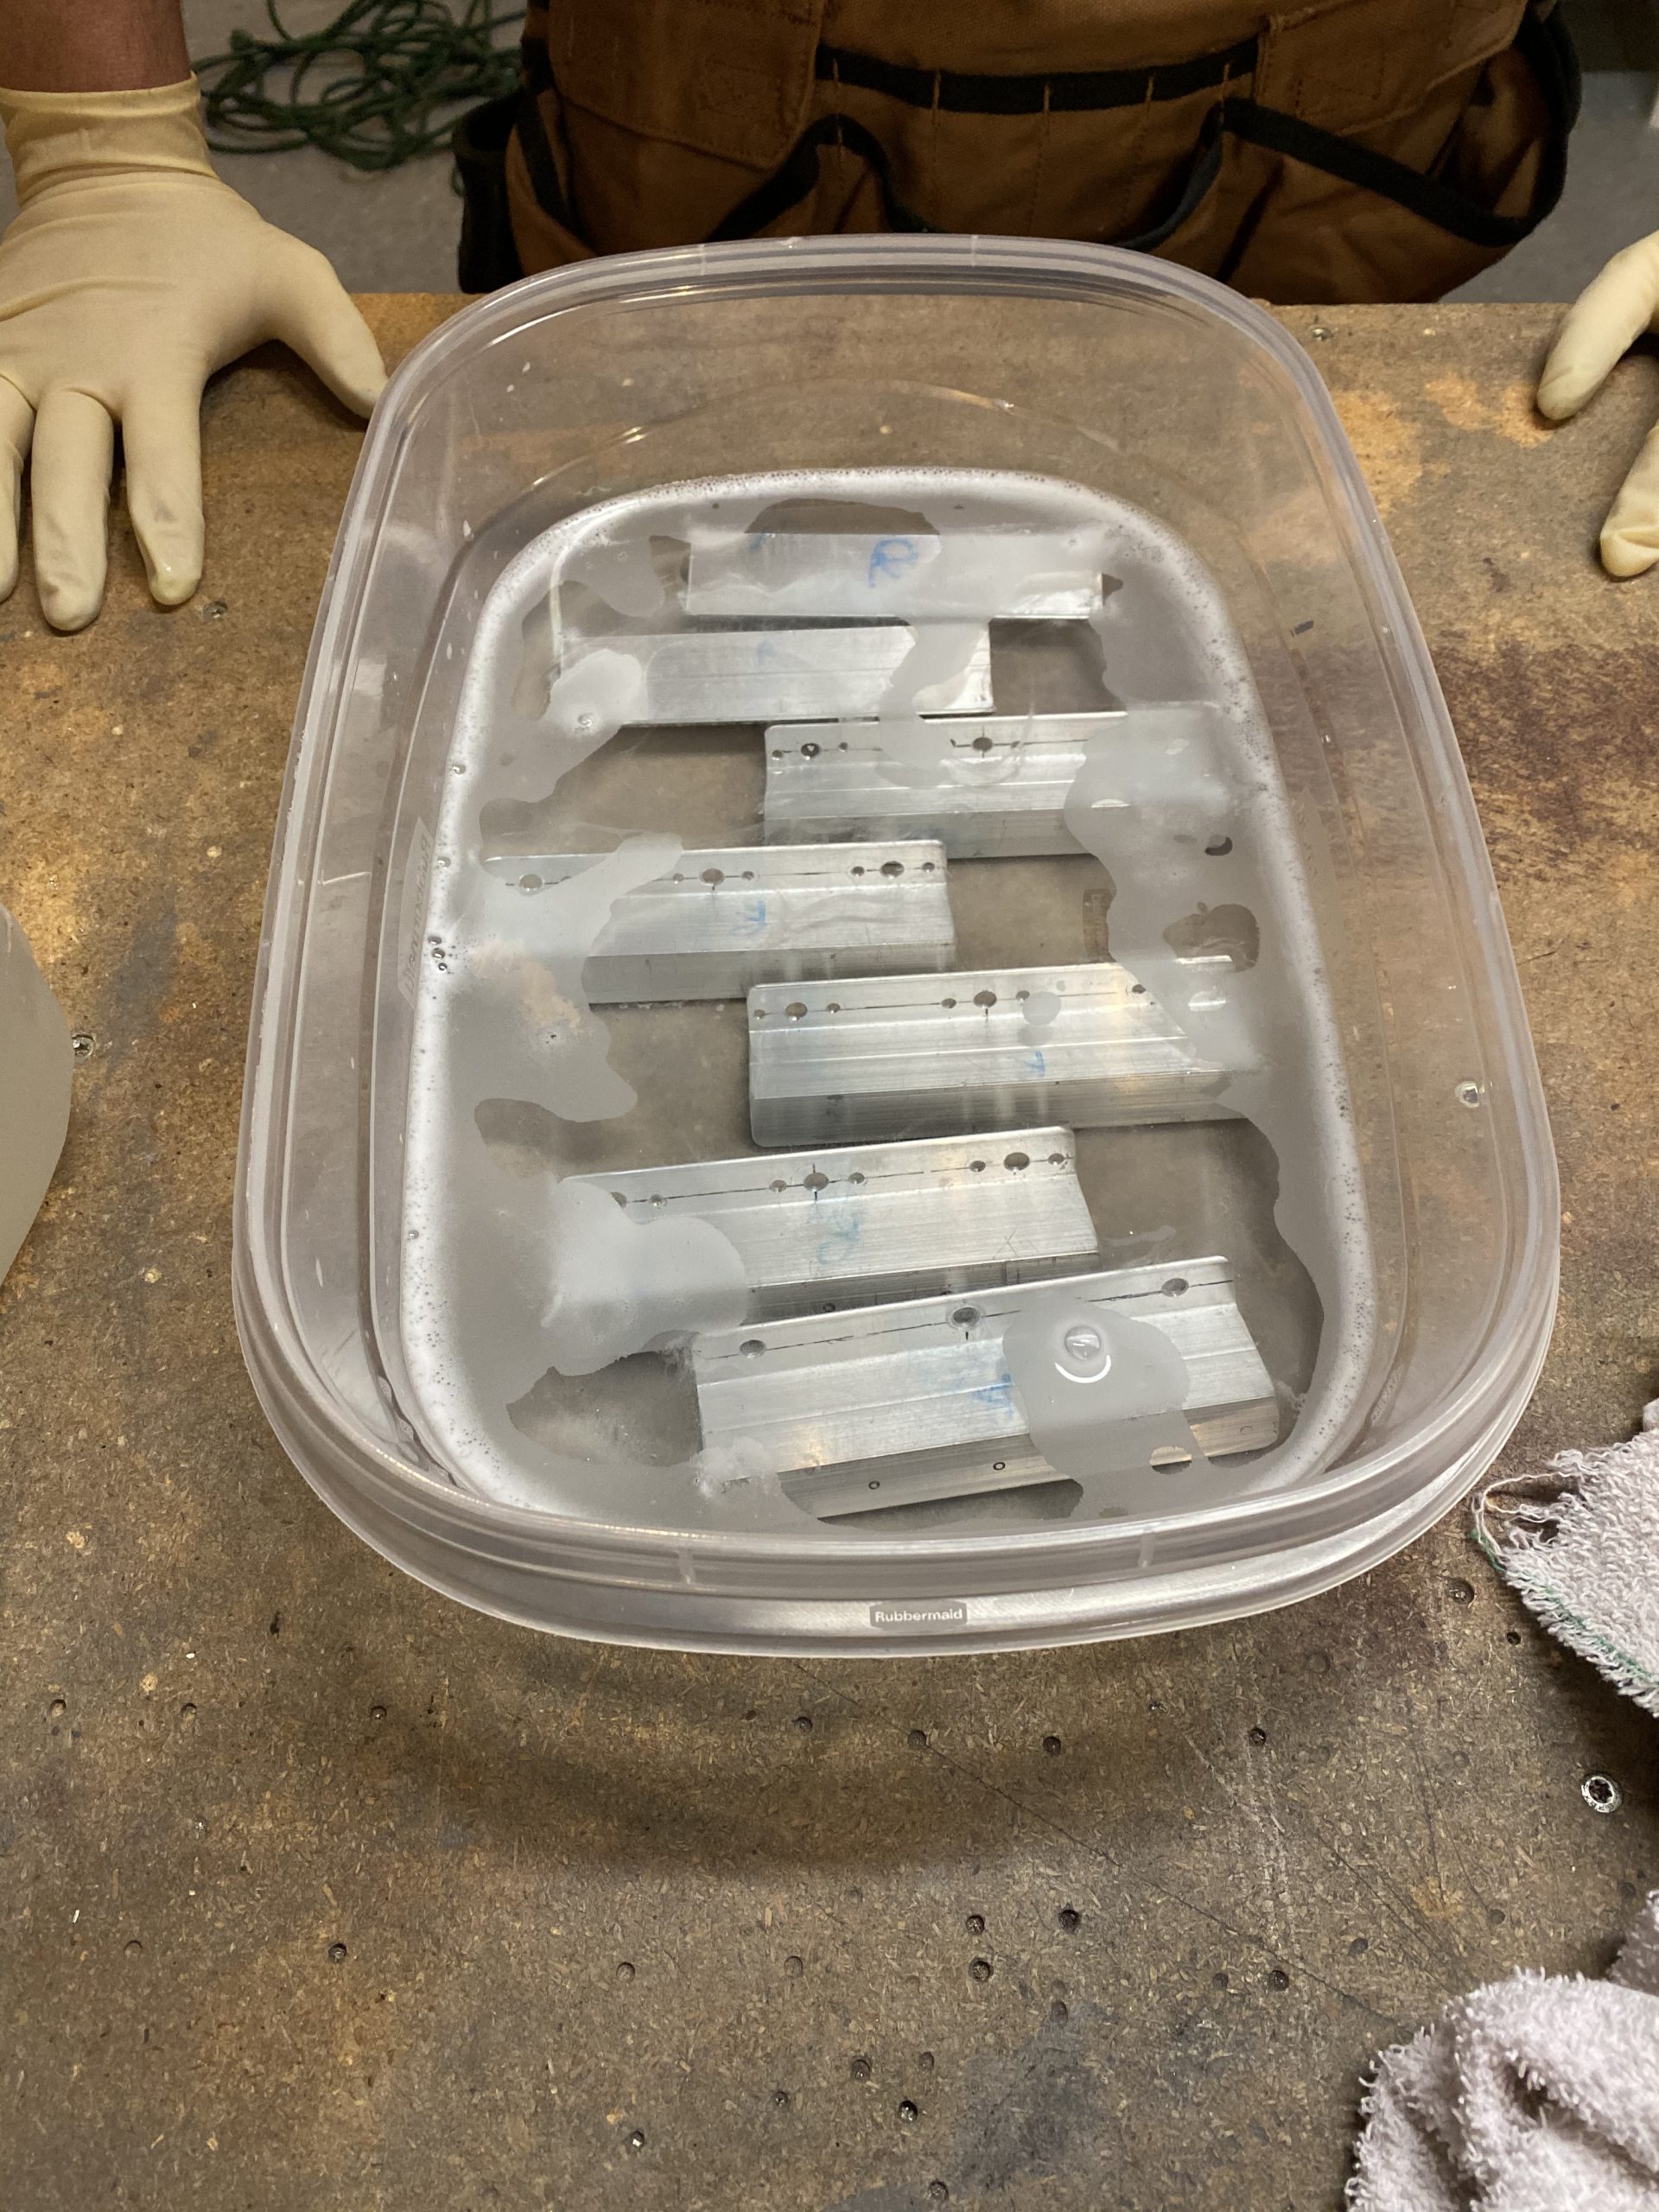
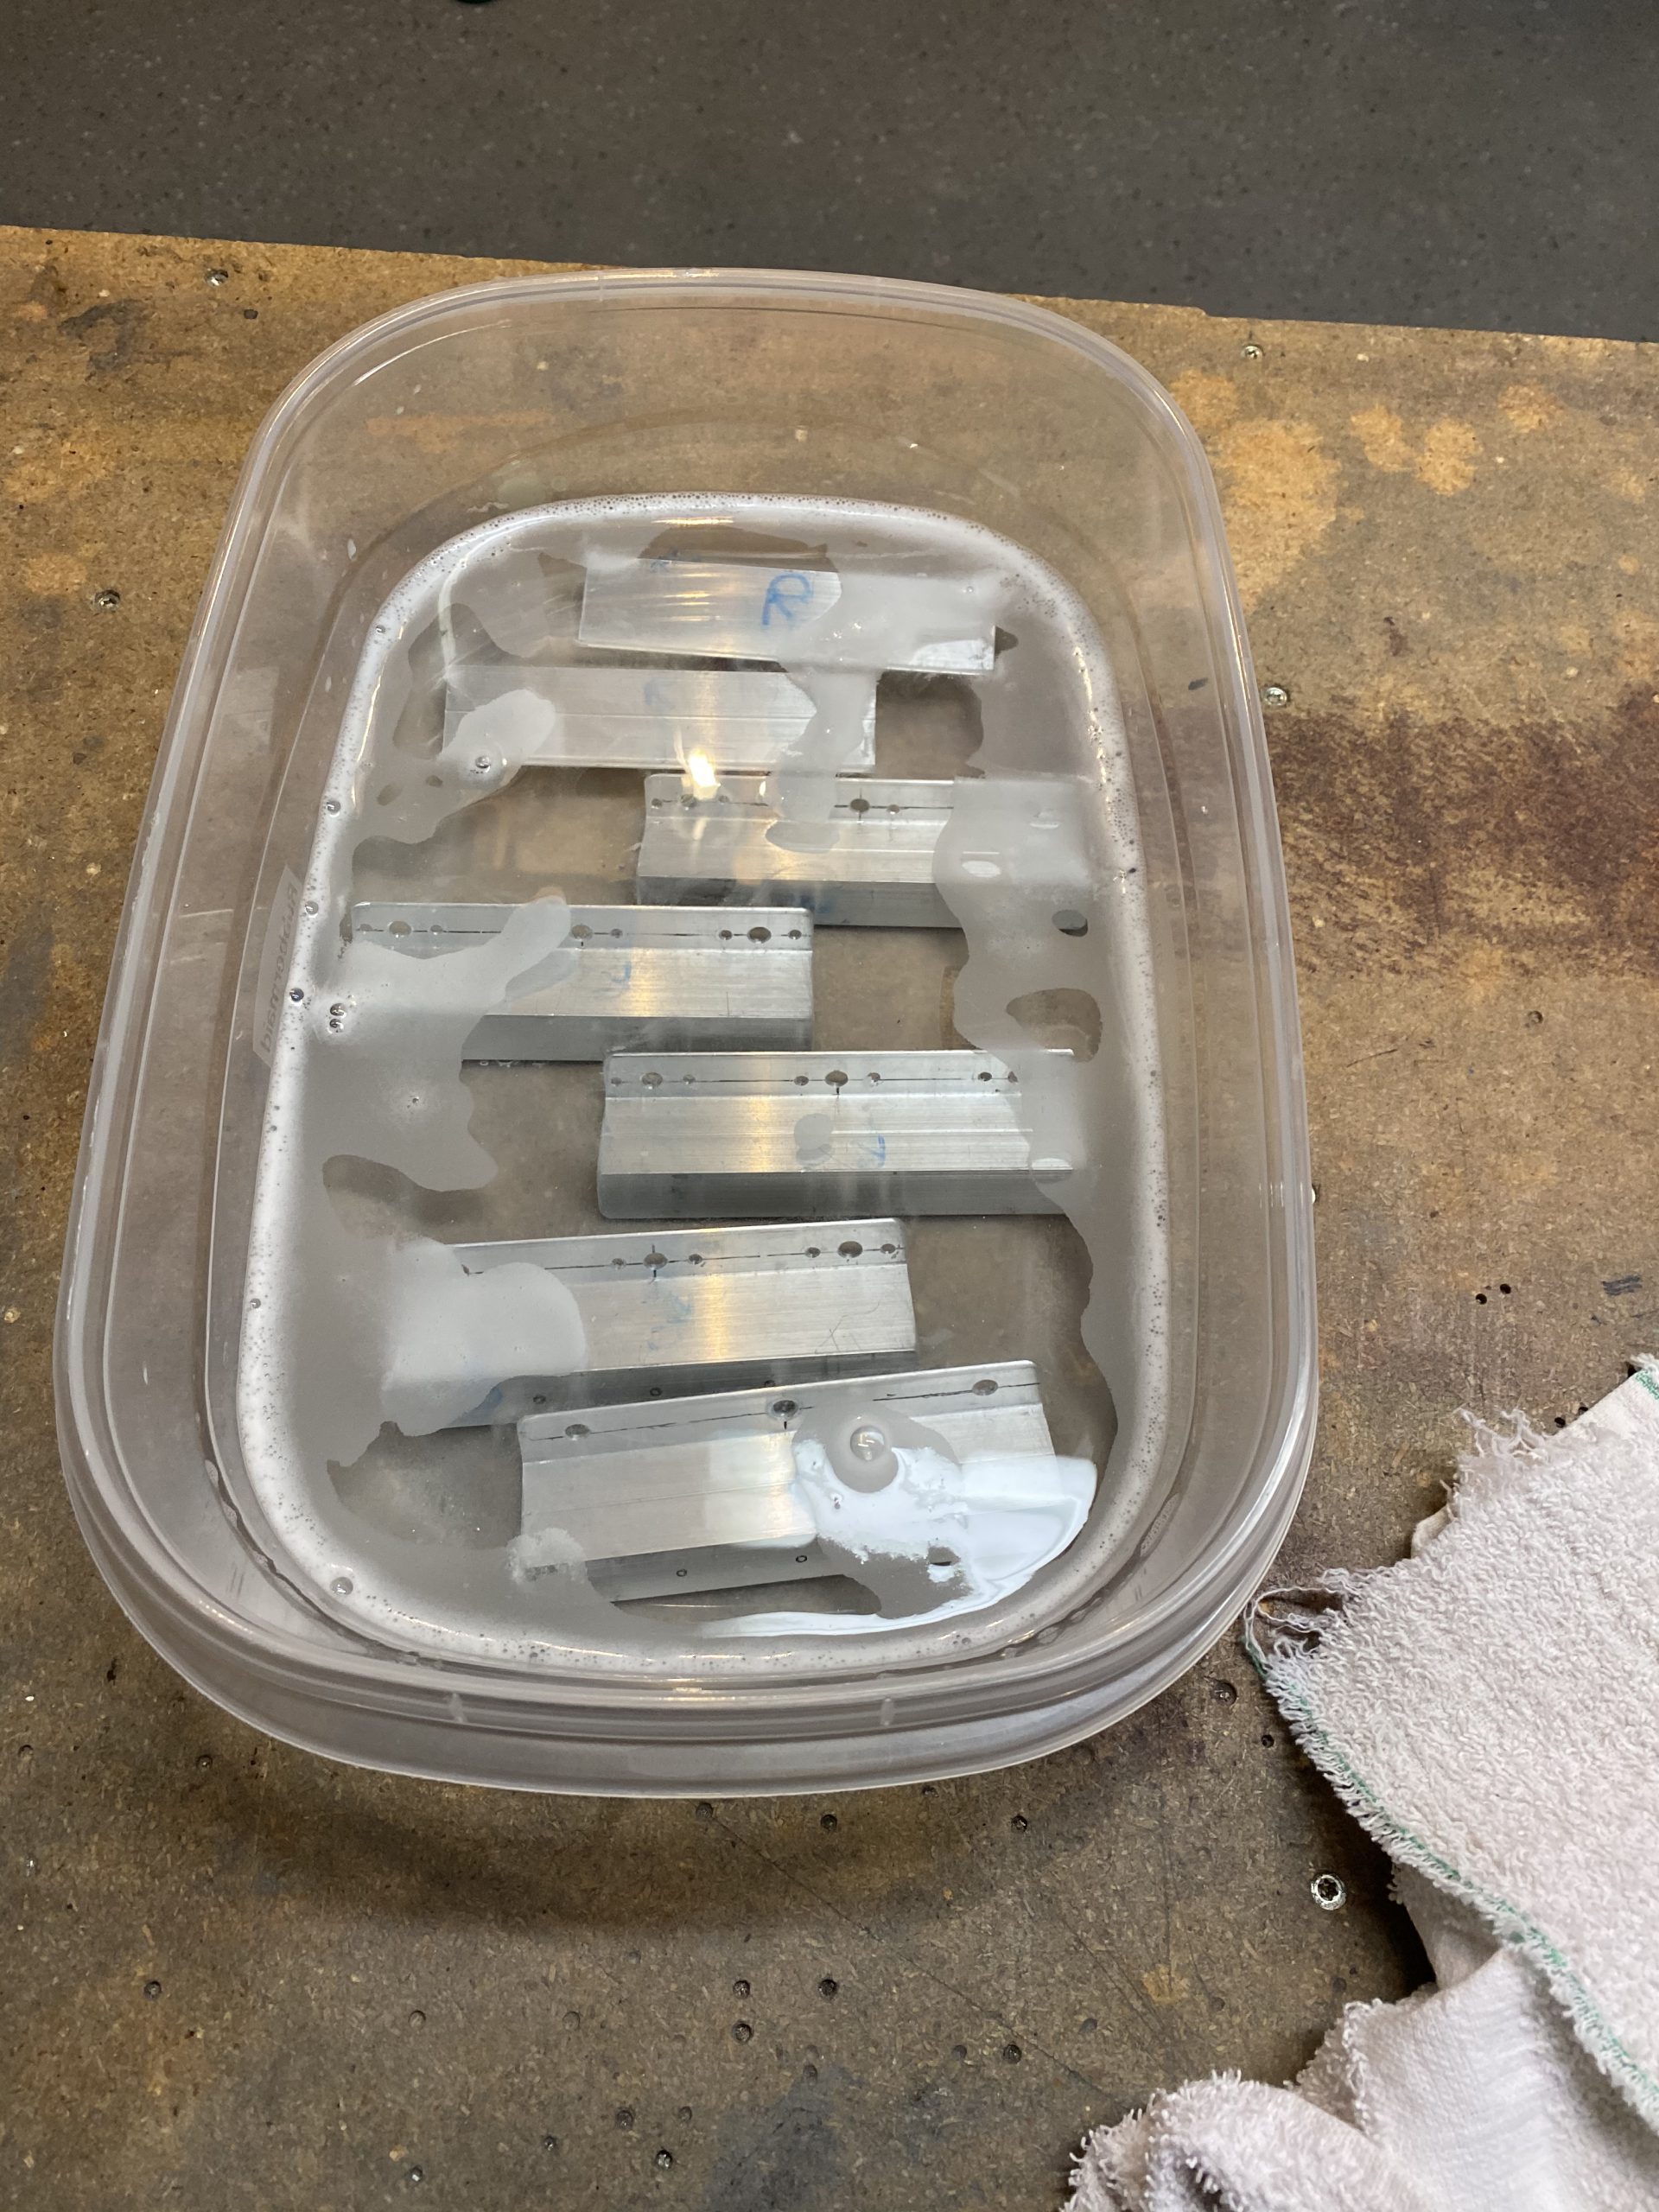
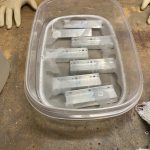
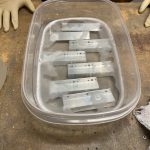
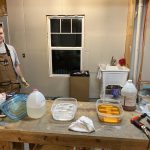
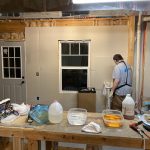
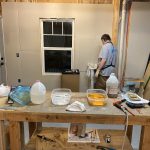
I again, turned this into an assembly line, by clamping several brackets to the table and doing the countersinks all in one run 🙂 Once I had all the countersink done, I decided to go ahead and Alodine these parts. I’m not going to prime them, since a good Alodine coating will be plenty of protection. I got my dunking tanks out and started the process. First up, cleaning them with Alumaprep 33:

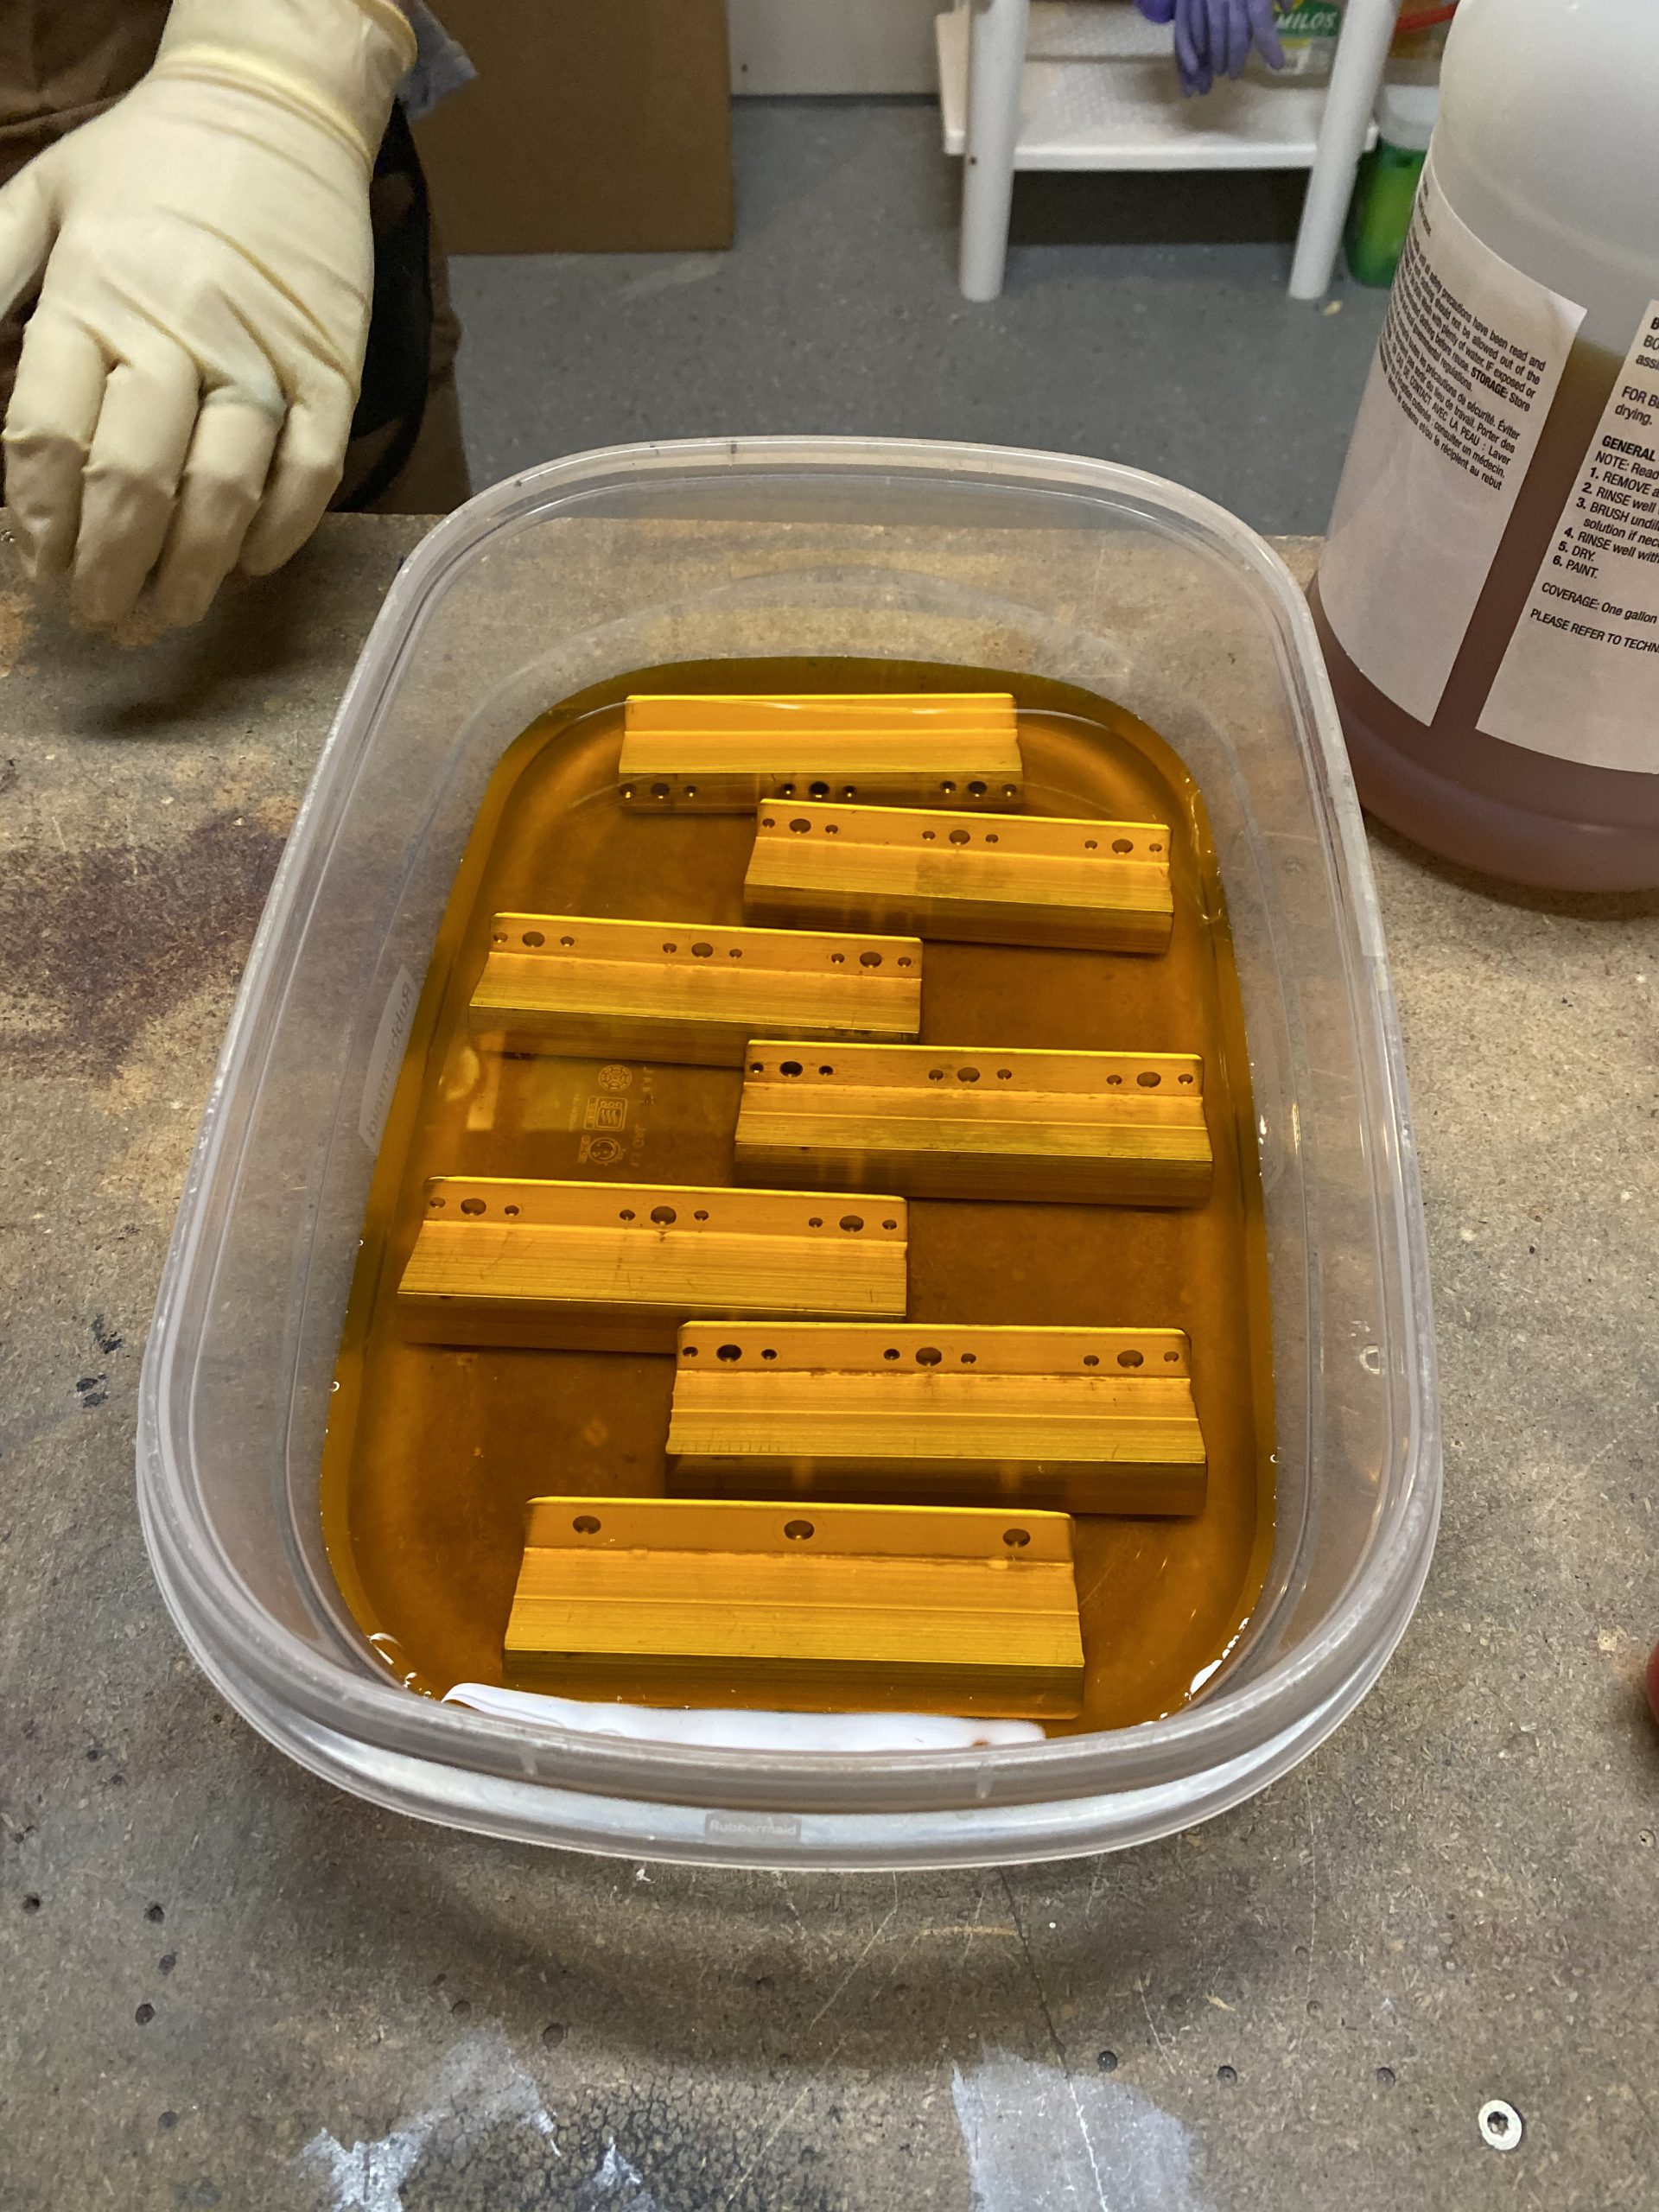
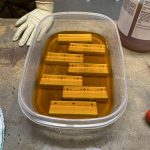
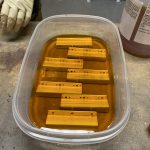
Then after a quick rinse to rid then of the Alumaprep, I dunked the in the Alodine bath for about 10 minutes:
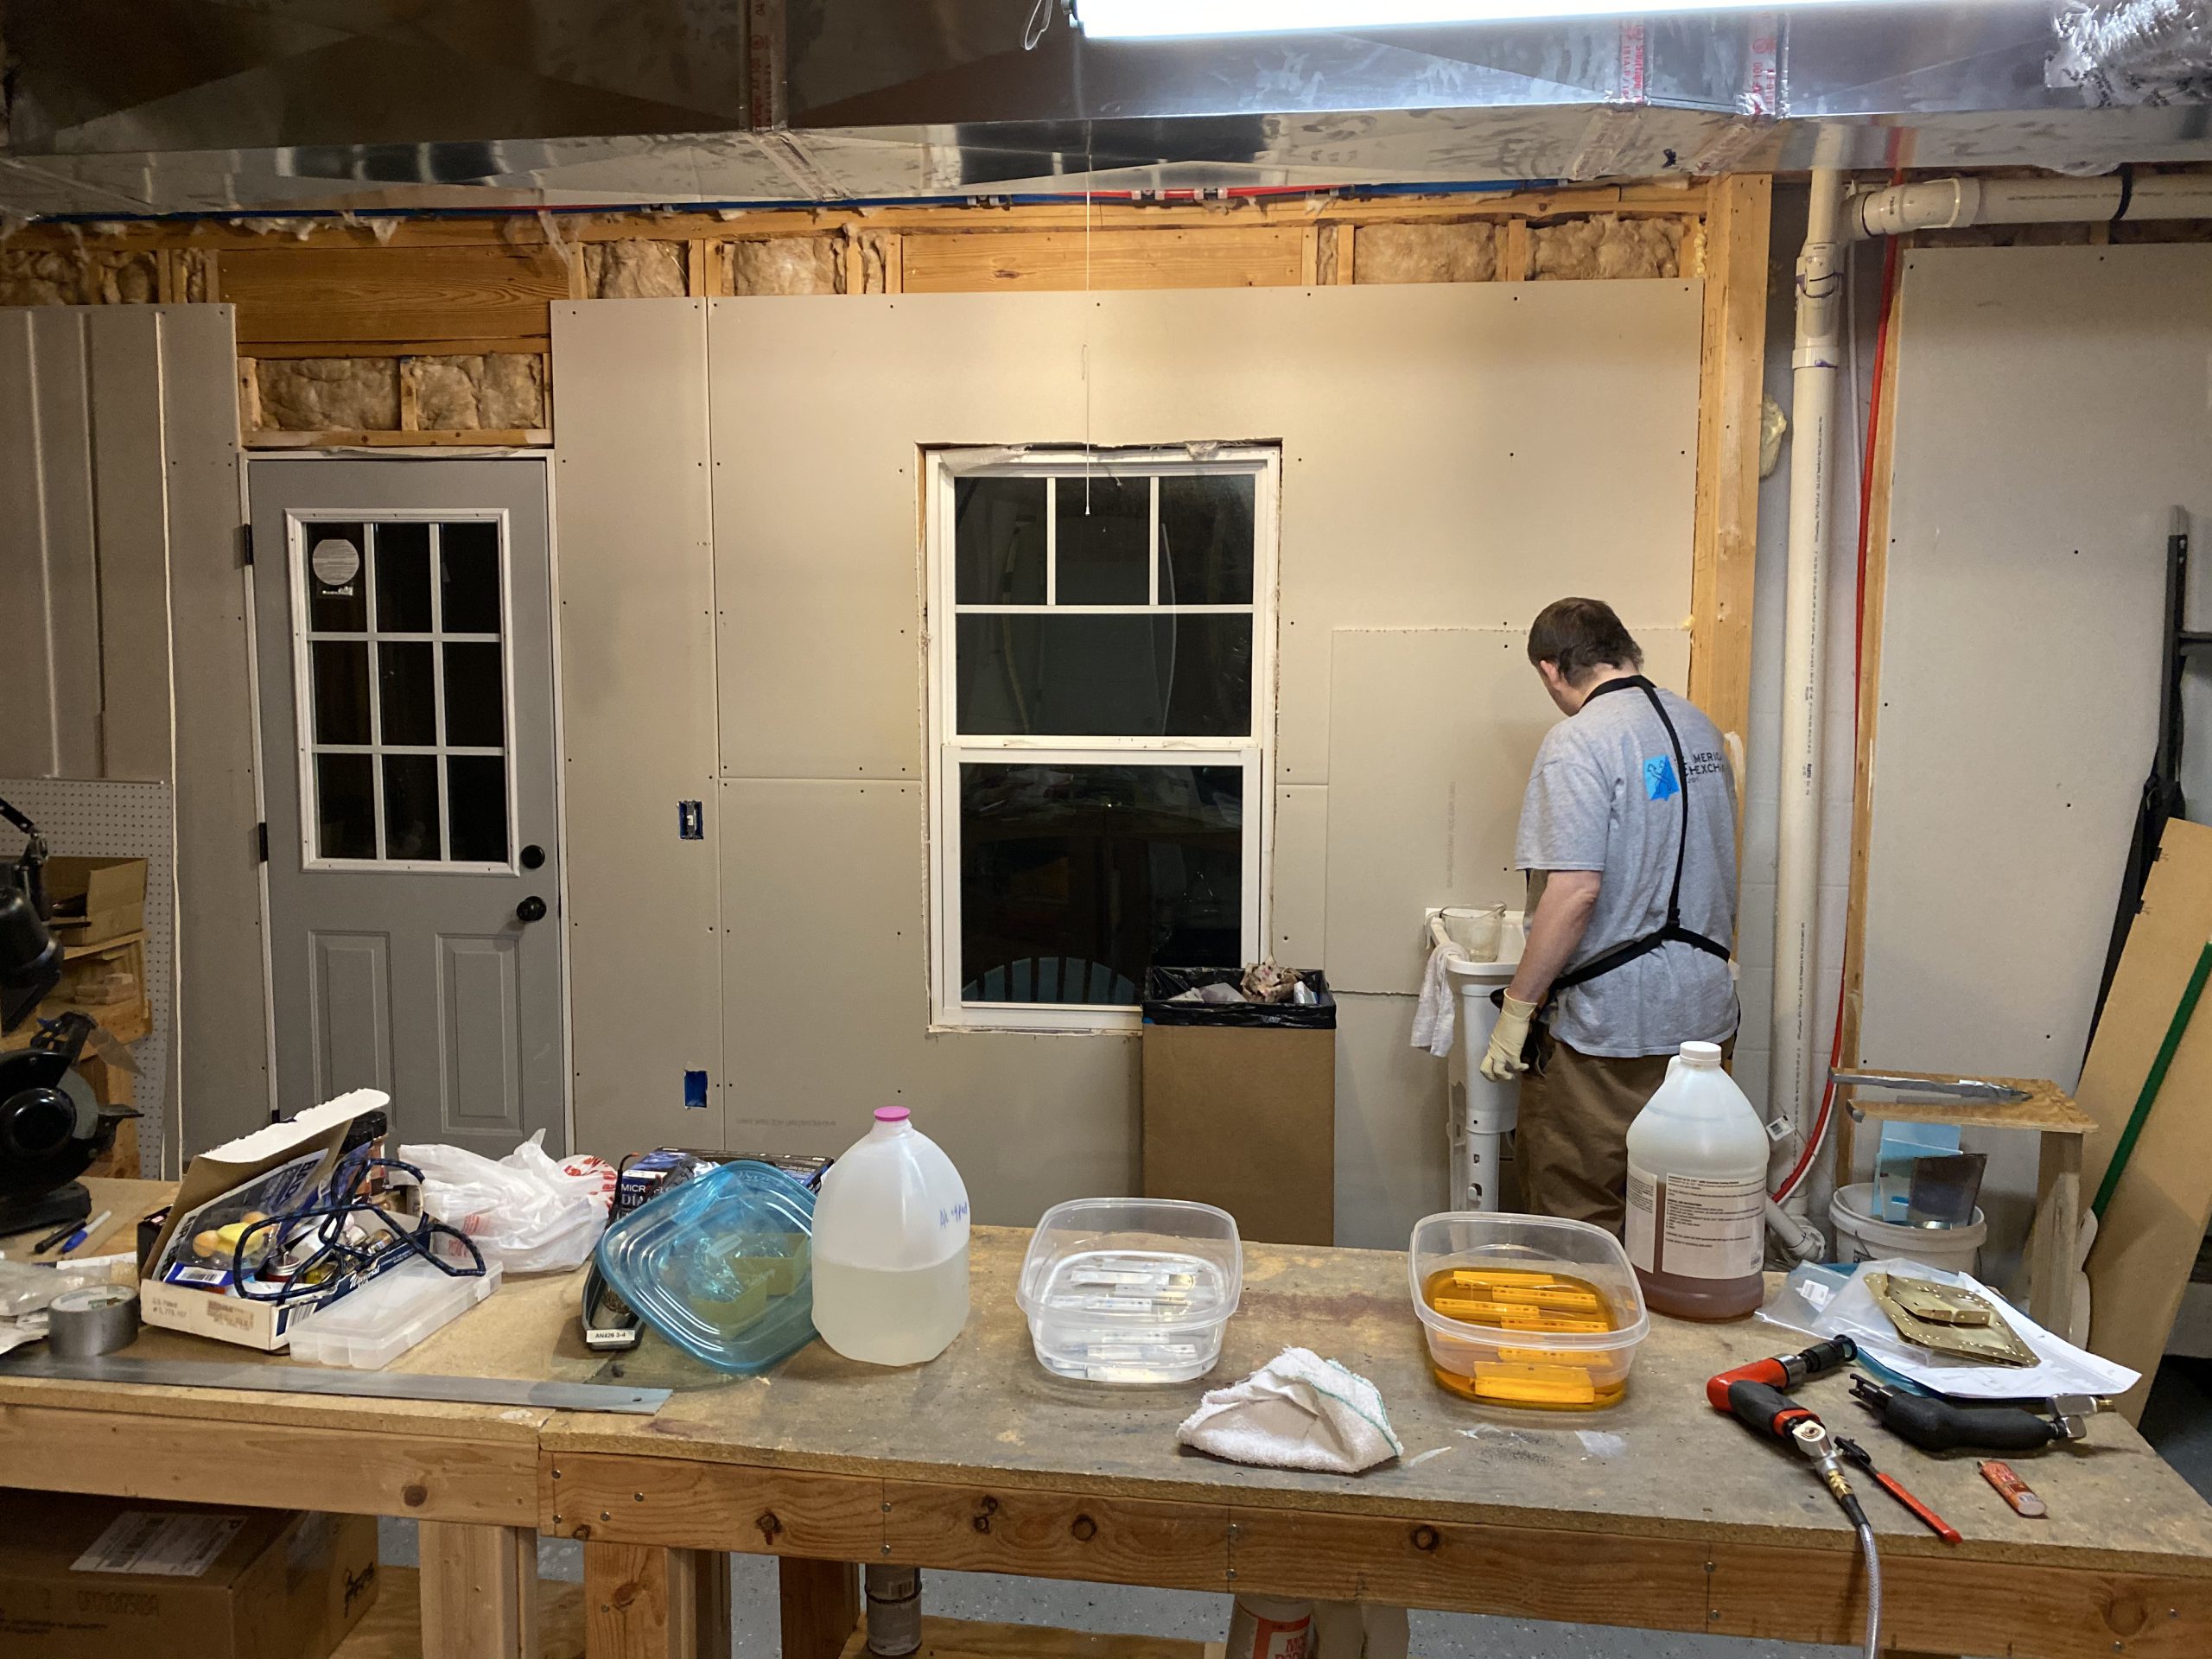
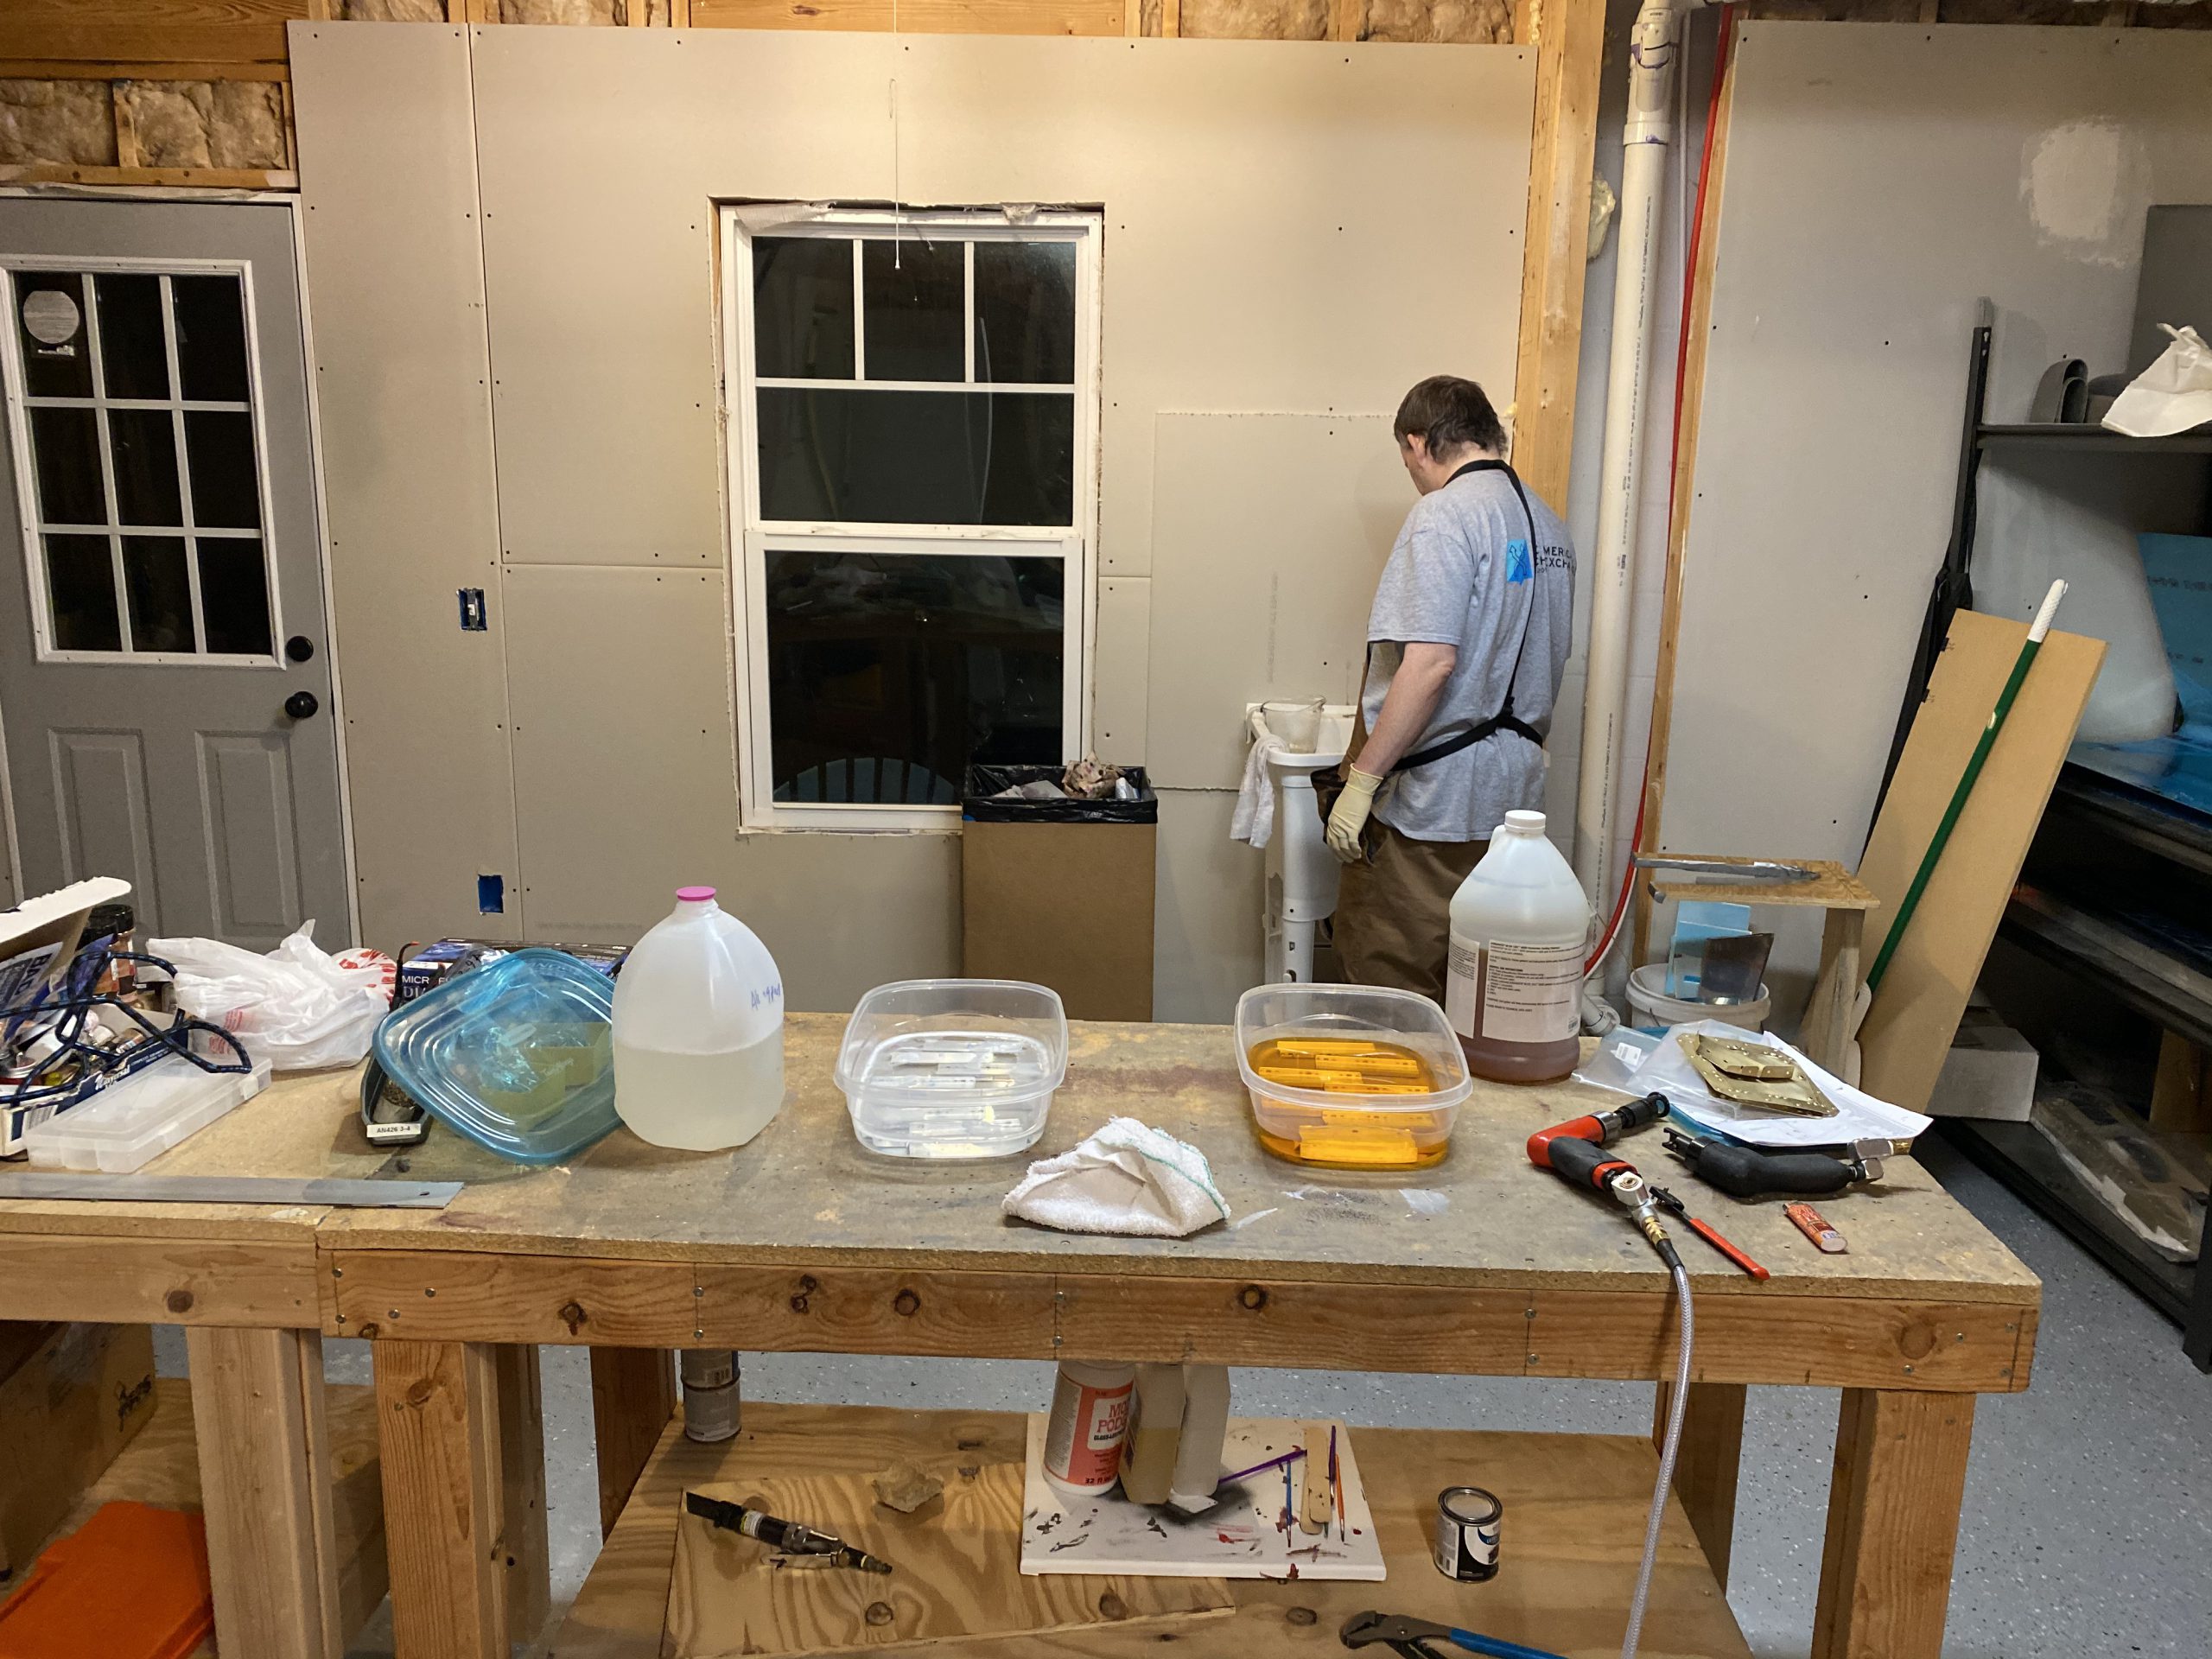
Heres a shot of me doing the work to prove I am the dude building the plane. You might notice that I have lost a good bit of weight! Nearly 83 pounds to date, all from eating 1800 calories per day and doing a ketogenic diet. It feels pretty amazing, but this blog isn’t the place to discuss dieting, unless we are measuring the gain in useful load 🙂
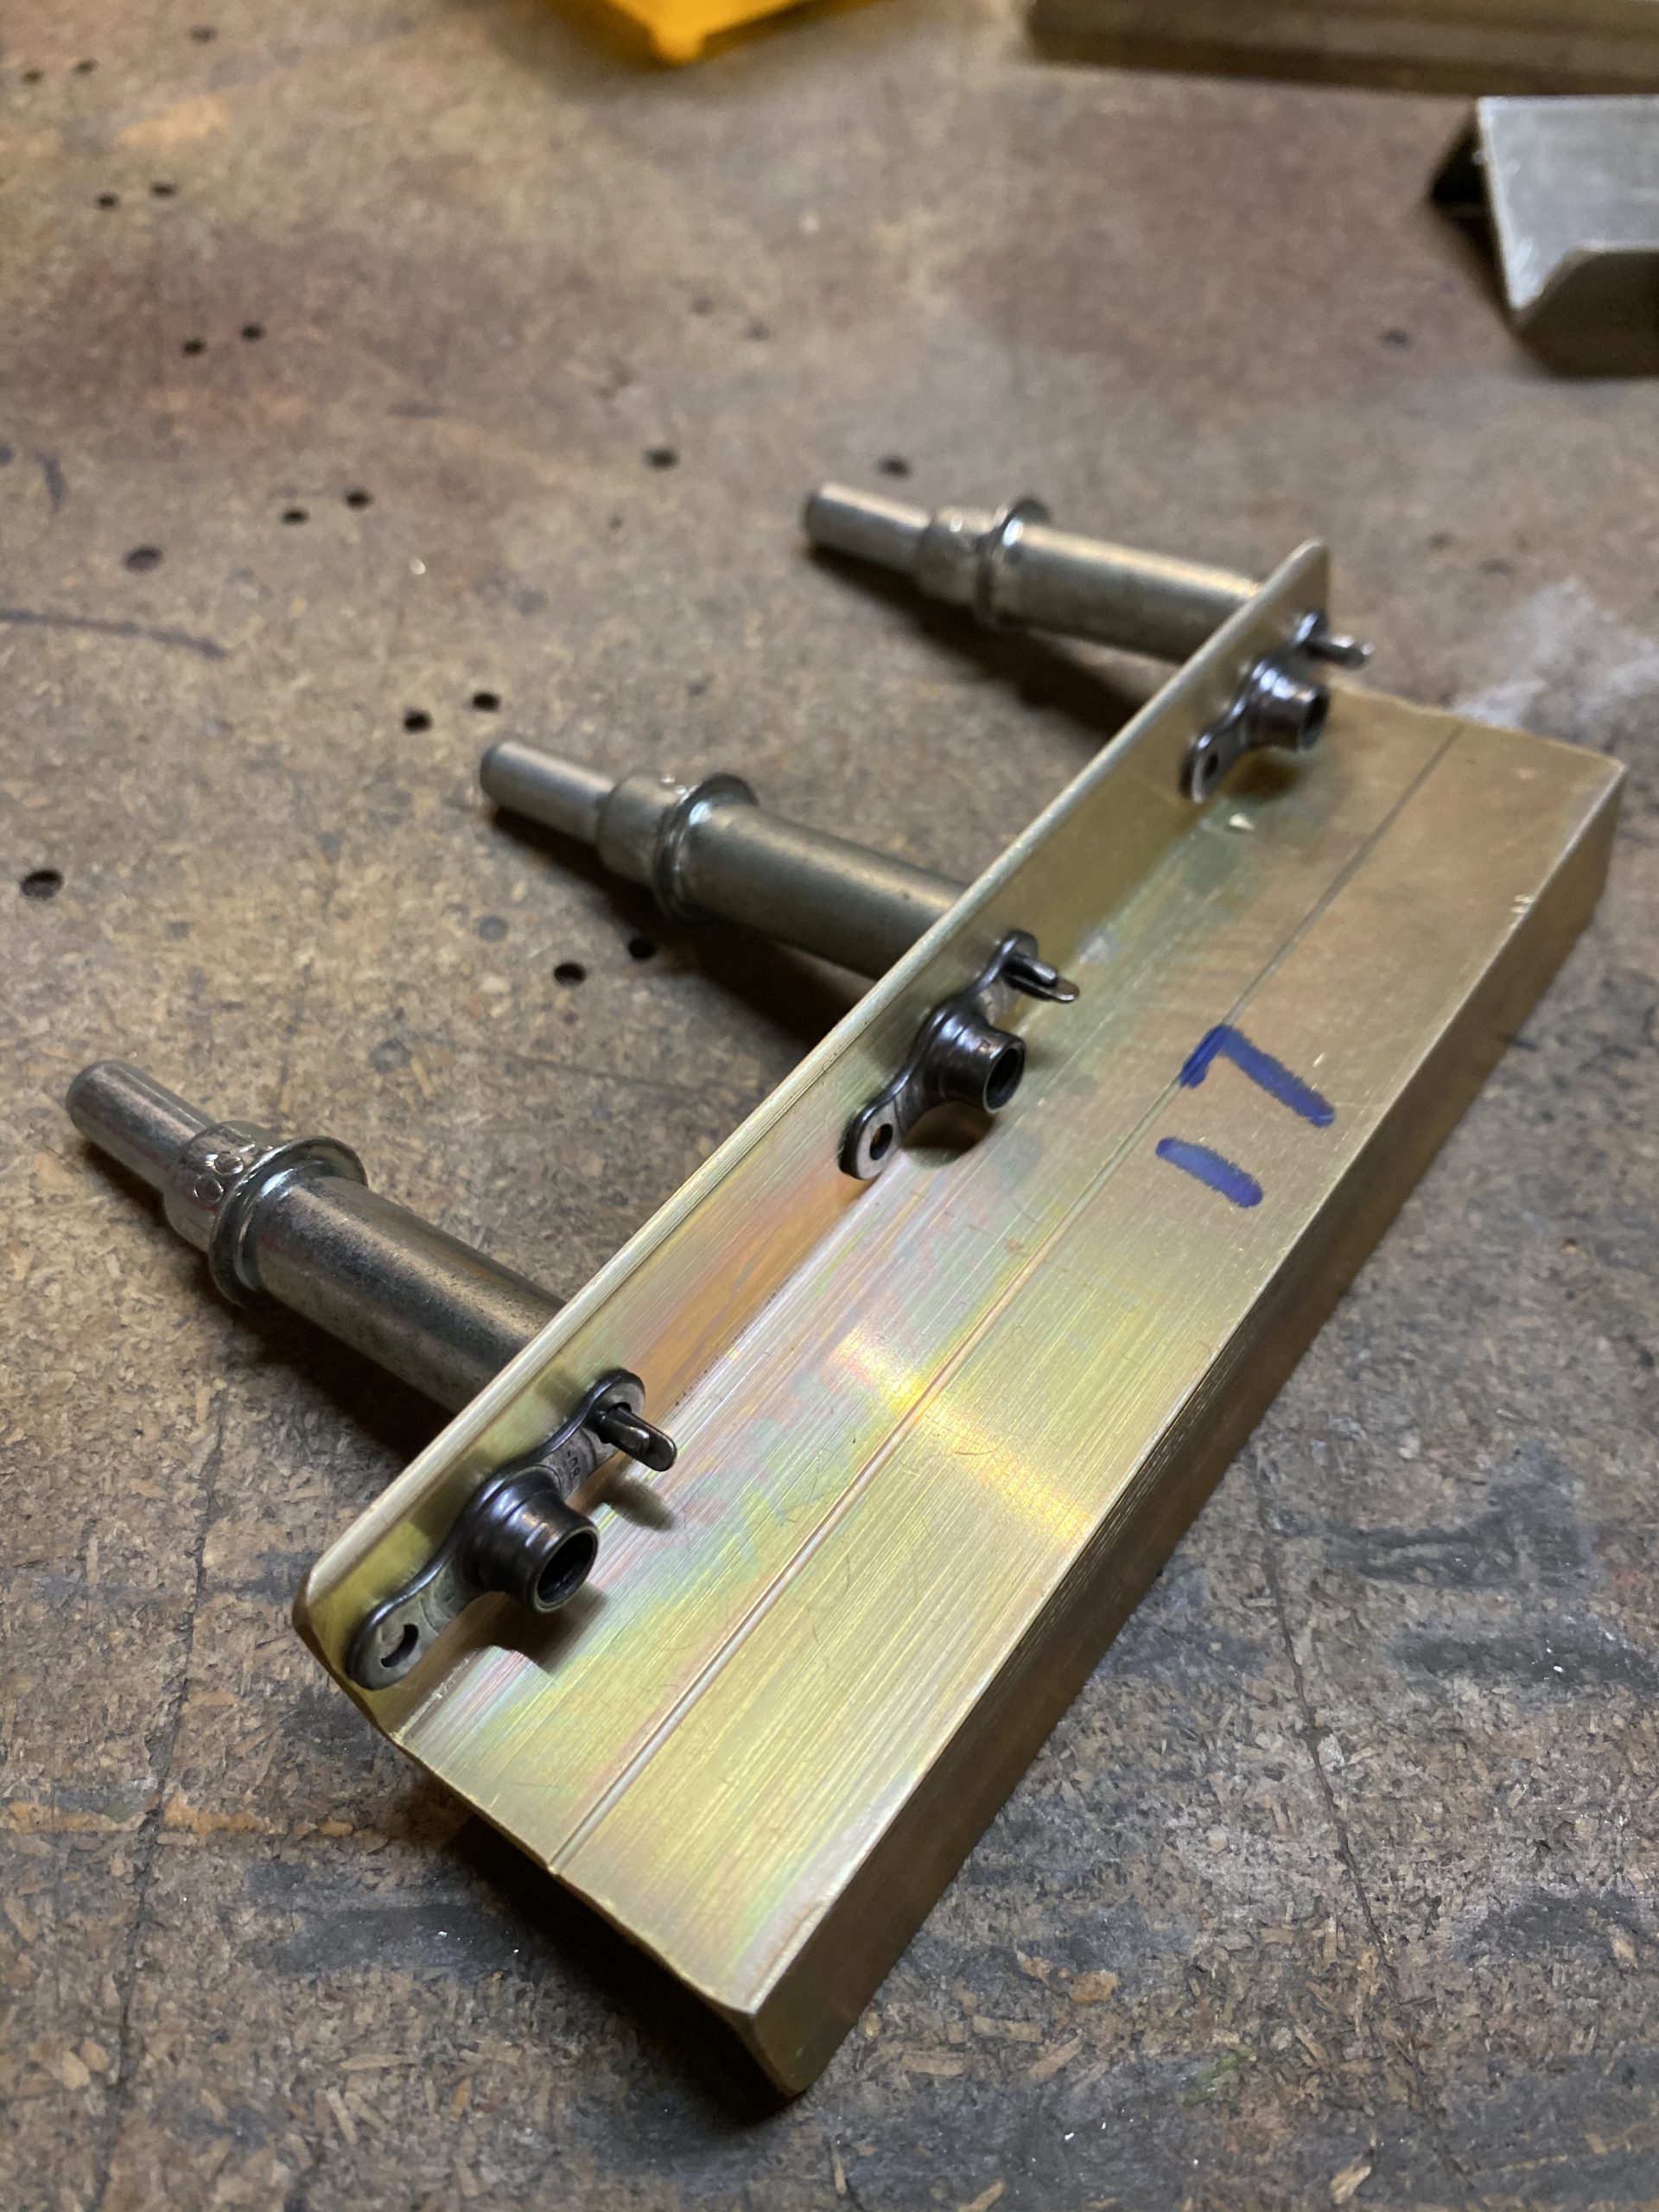
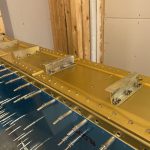
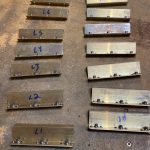
Now that the parts are Alodined, i went ahead and riveted on the nutplates. I clecoed one hole of the nutplate to hold it, while I used the Numatix rivet squeezer on the rivets. This made quick easy work of them, and in not time, I had 12 tank attach brackets all ready to go!

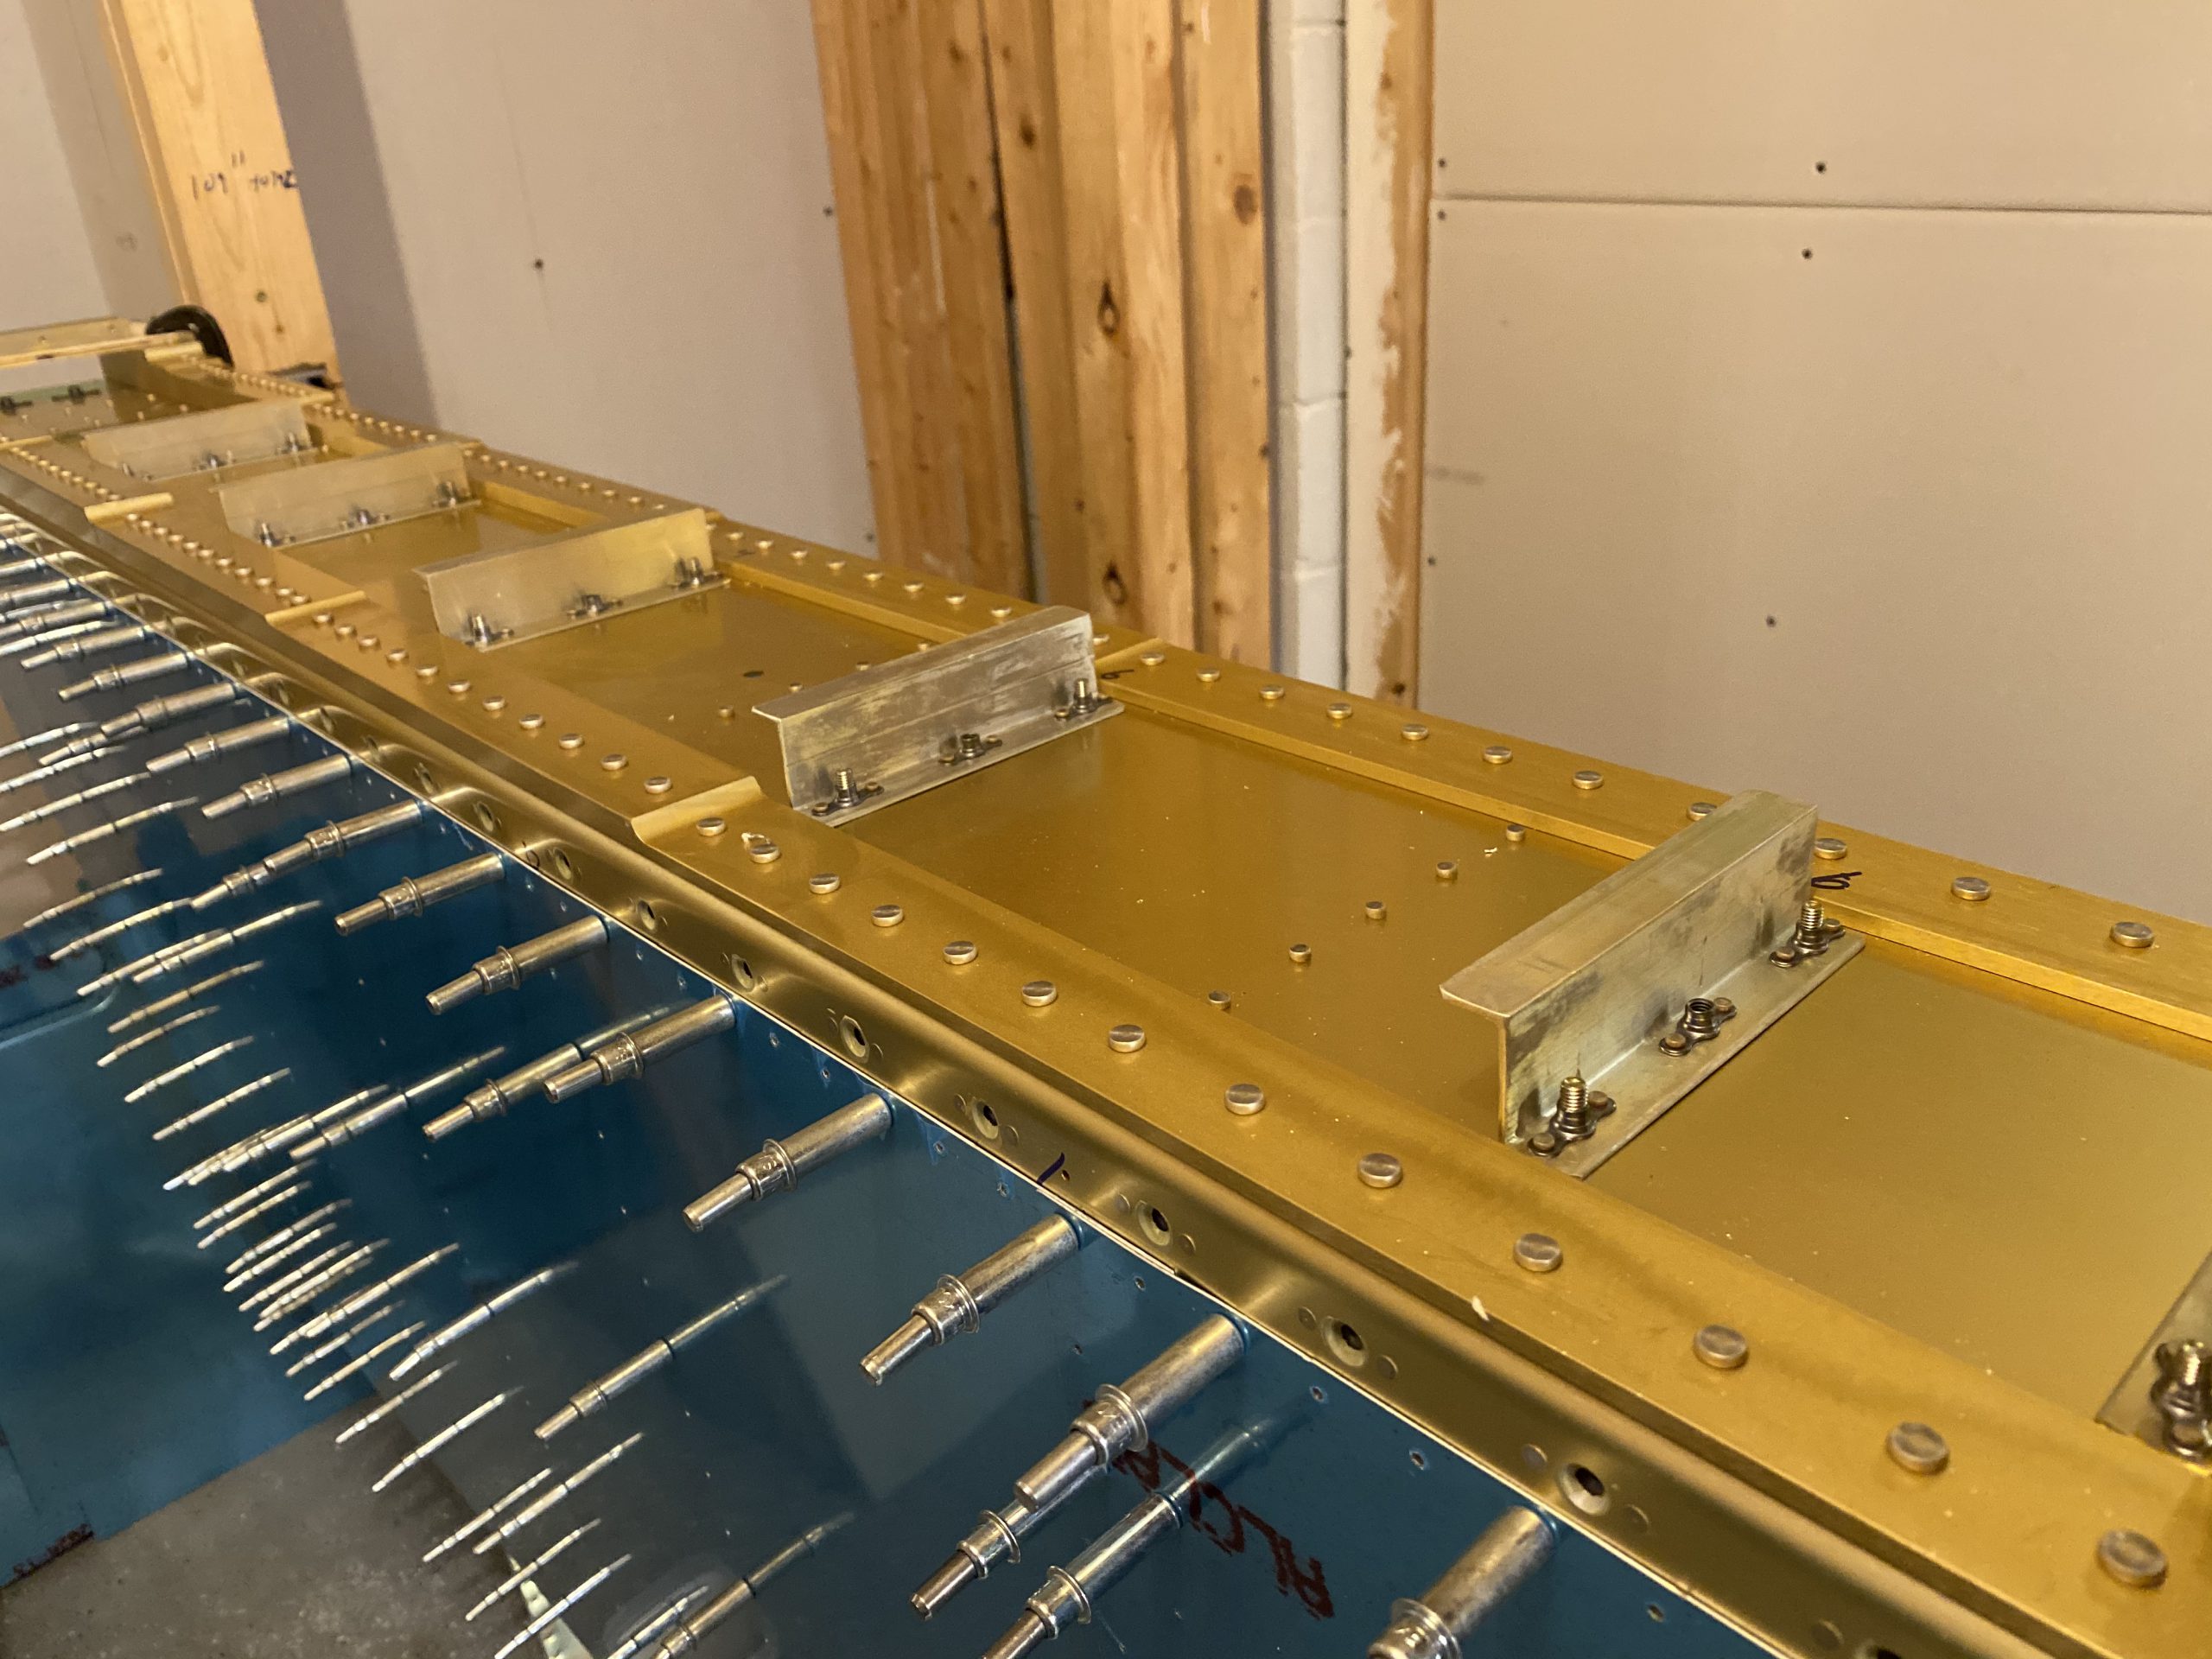
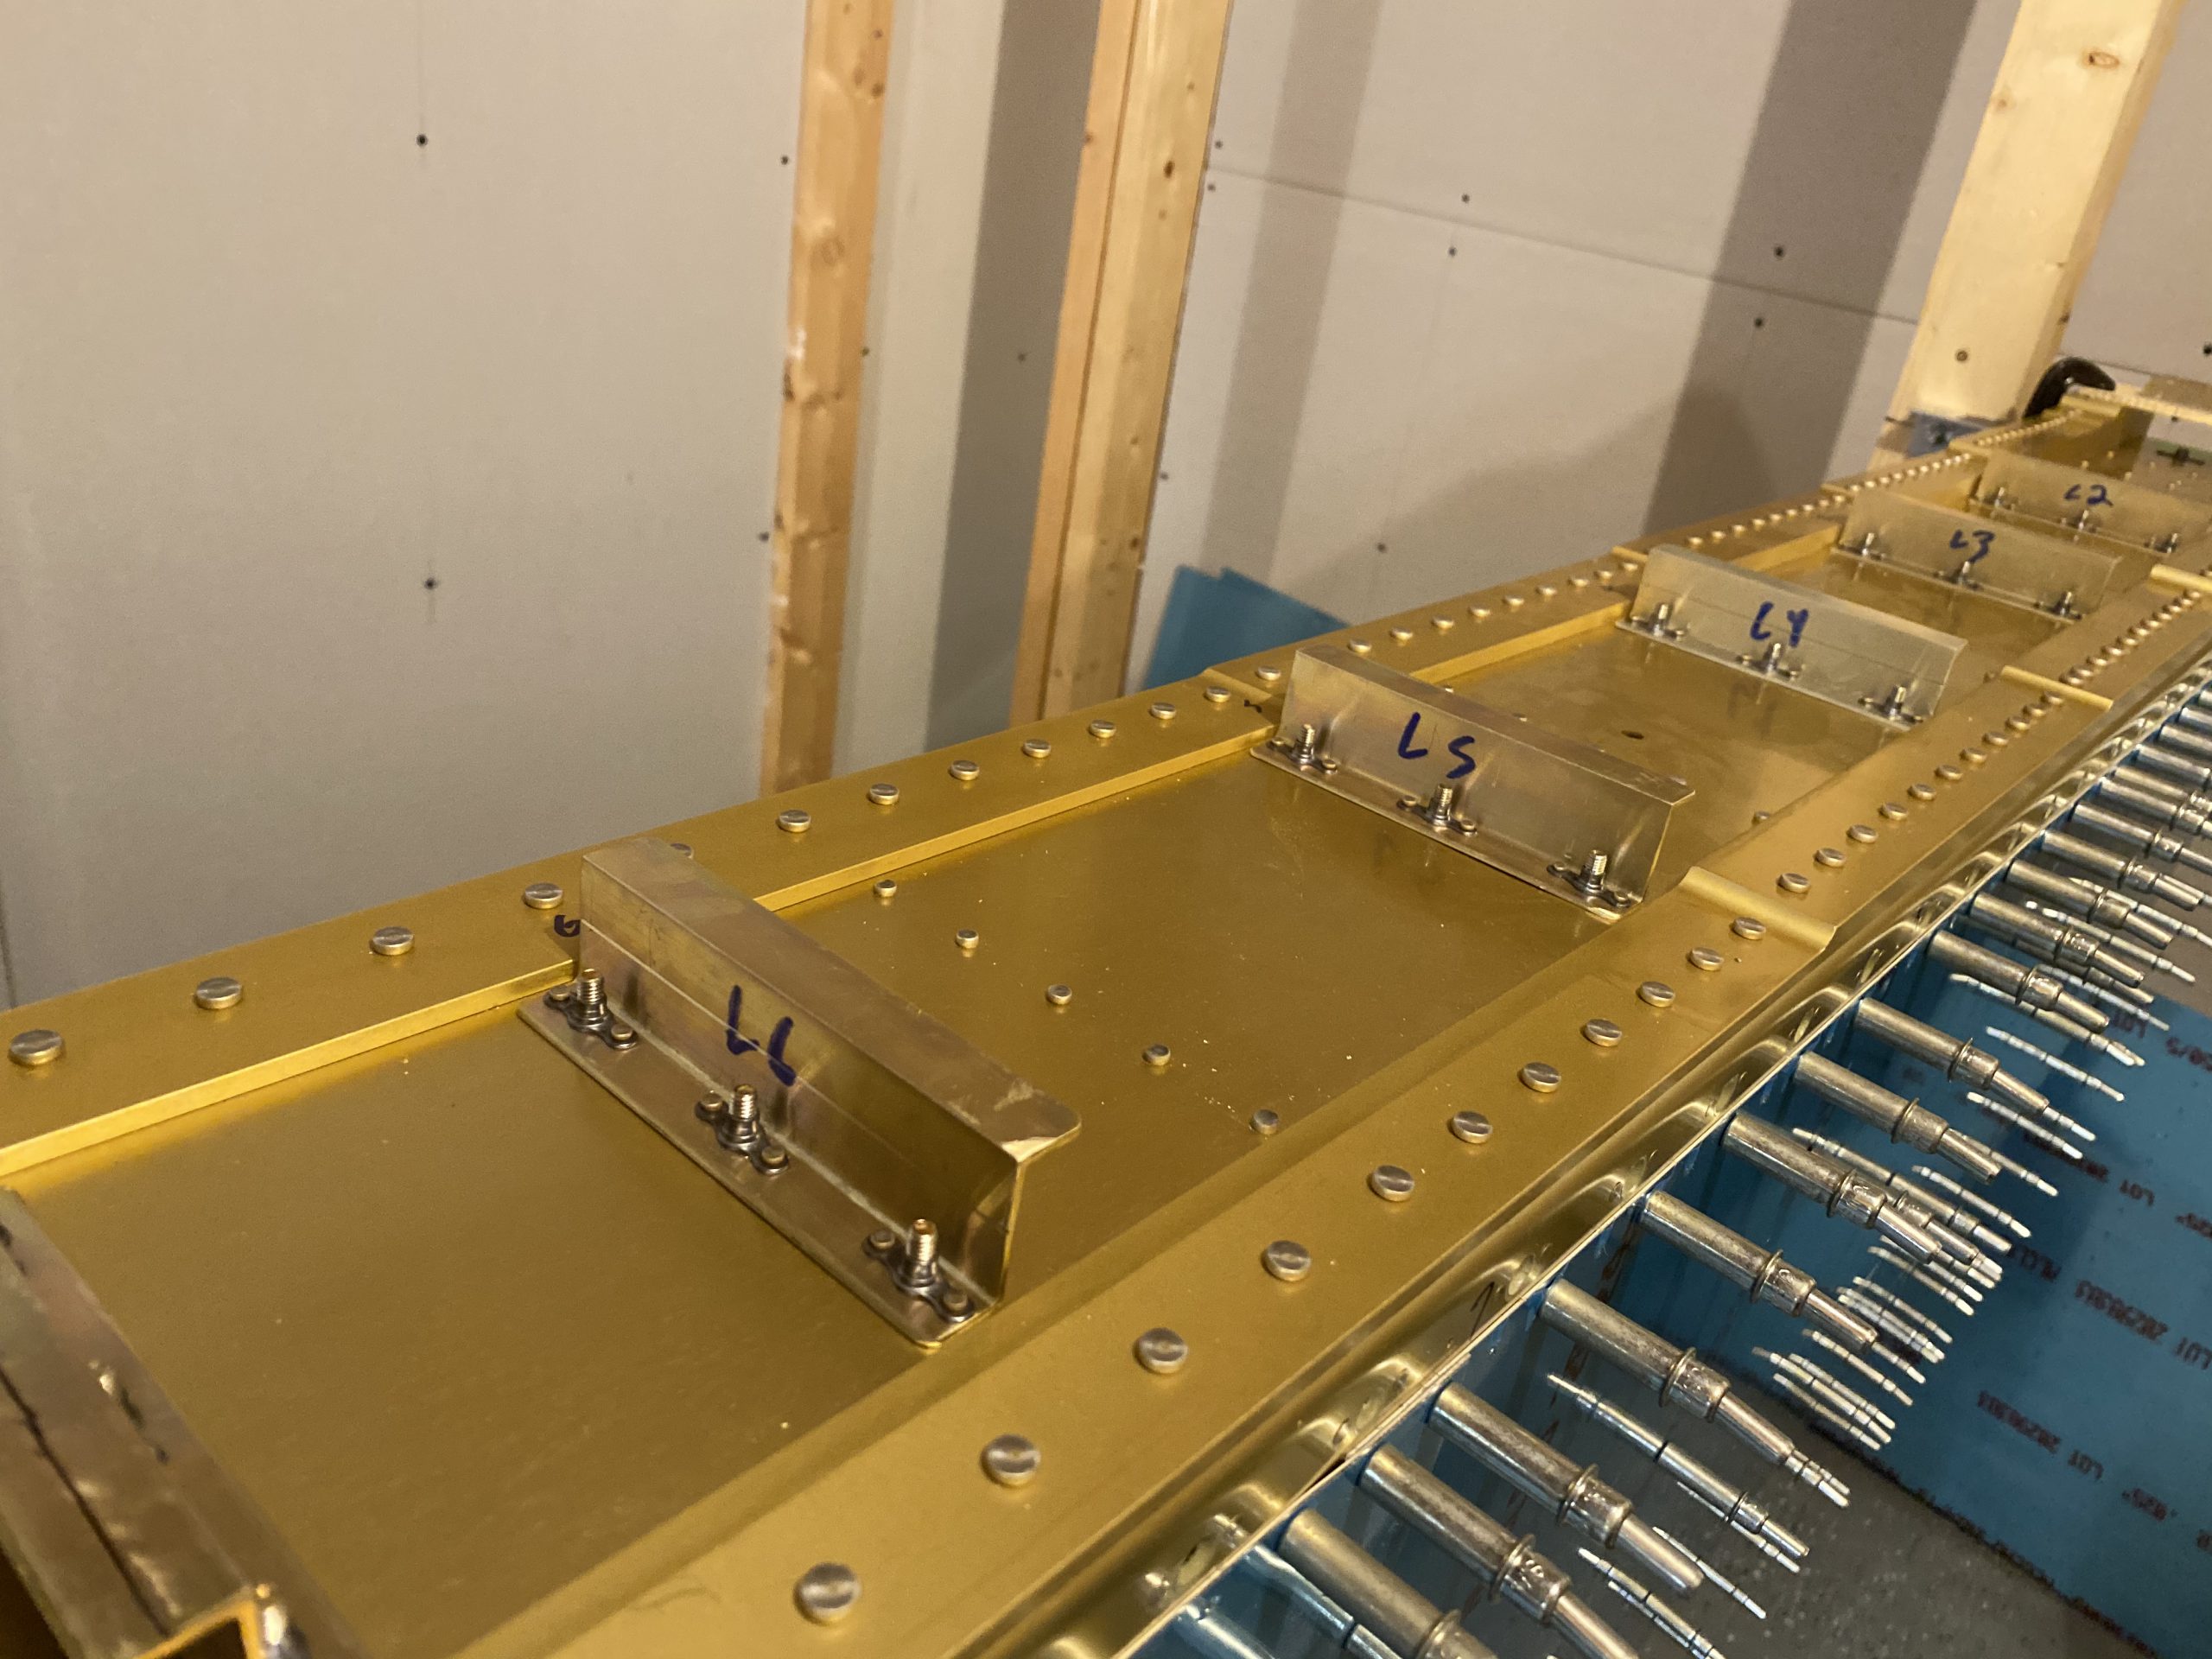
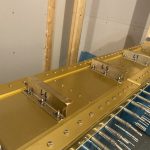
The plans tells us to go ahead and bolt these onto the main spar web using the AN304 bolts, and a washer (the size escapes me currently, but I did find the correct size on the plans). I am not sure why we bolt all three bolts for each bracket, as they’ll need to come off again to rivet them onto the baffle. So, I just used two bolts per bracket and got them snugged up onto the spar web for alignment purposes in the next step, These will be coming off in the near future when we seal up the tanks. I’ll reinstall them with all the bolts and apply proper torque values and then some paint some torque seal on them. Here’s how they look for now:


This was a long working session! Even though it doesn’t look like much was done, there was a lot of work in those nutplates! From here I’ll fit the baffle and the tank skins. Heres all the photos from tonight:
-
 IMG_0464
 -
 IMG_0463
 -
 IMG_0462
 -
 IMG_0461
 -
 IMG_0460
 -
 IMG_0459
 -
 IMG_0458
 -
 IMG_0457
 -
 IMG_0456
 -
 IMG_0455
 -
 IMG_0454
 -
 IMG_0453
 -
 IMG_0452
 -
 IMG_0451
 -
 IMG_0450
 -
 IMG_0449
 -
 IMG_0448
 -
 IMG_0447
 -
 IMG_0446

Google Photos Link: https://photos.app.goo.gl/ccsAmu7qk7K5dn8k6
Hours Worked: 4.75