


Buy Clonazepam Without Prescription A long working session tonight with the help of my wife. We managed to get all the aileron control pushrods and control tubes made up, except for one last little bit of priming, since we ran out of primer. I did manage to capture the first three hours of the build session in timelapse, but my timelapse stopped at three hours, and we actually worked 4.25 hours. Oh well. Here’s those videos:
Buy Valium Online Without Prescription
https://northernstacksevents.com/facility/ And heres’ the bench-view:
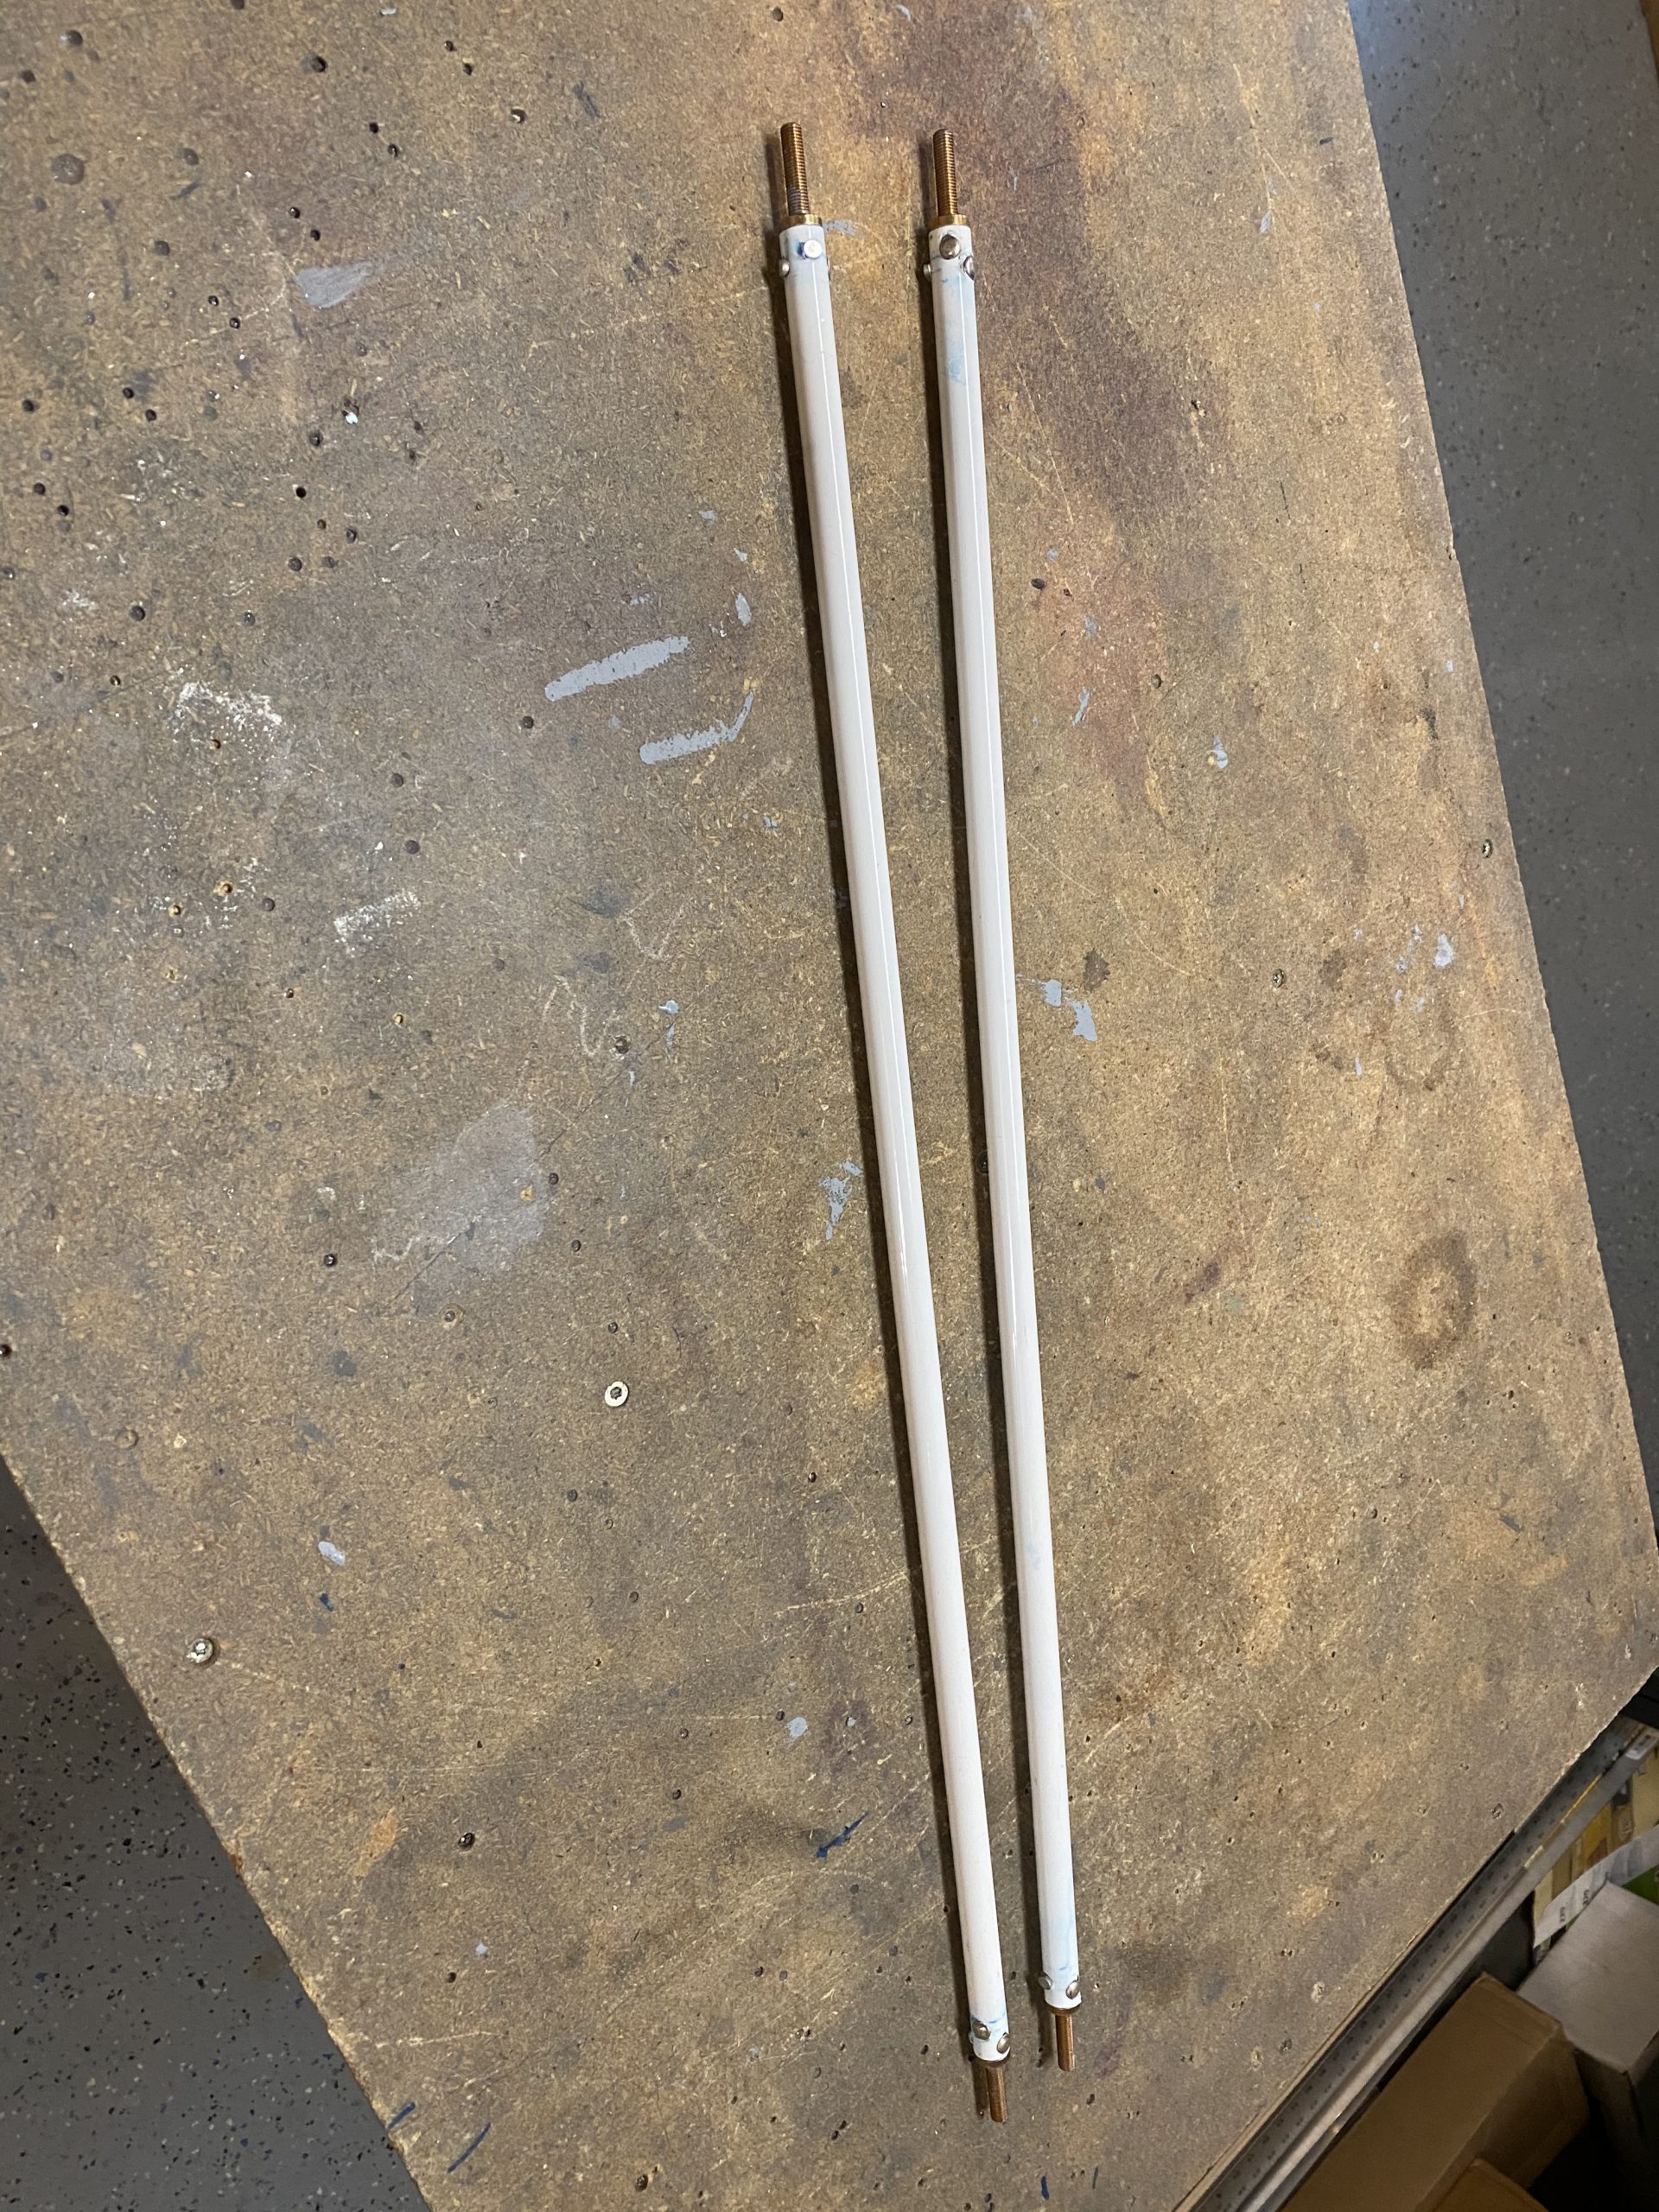
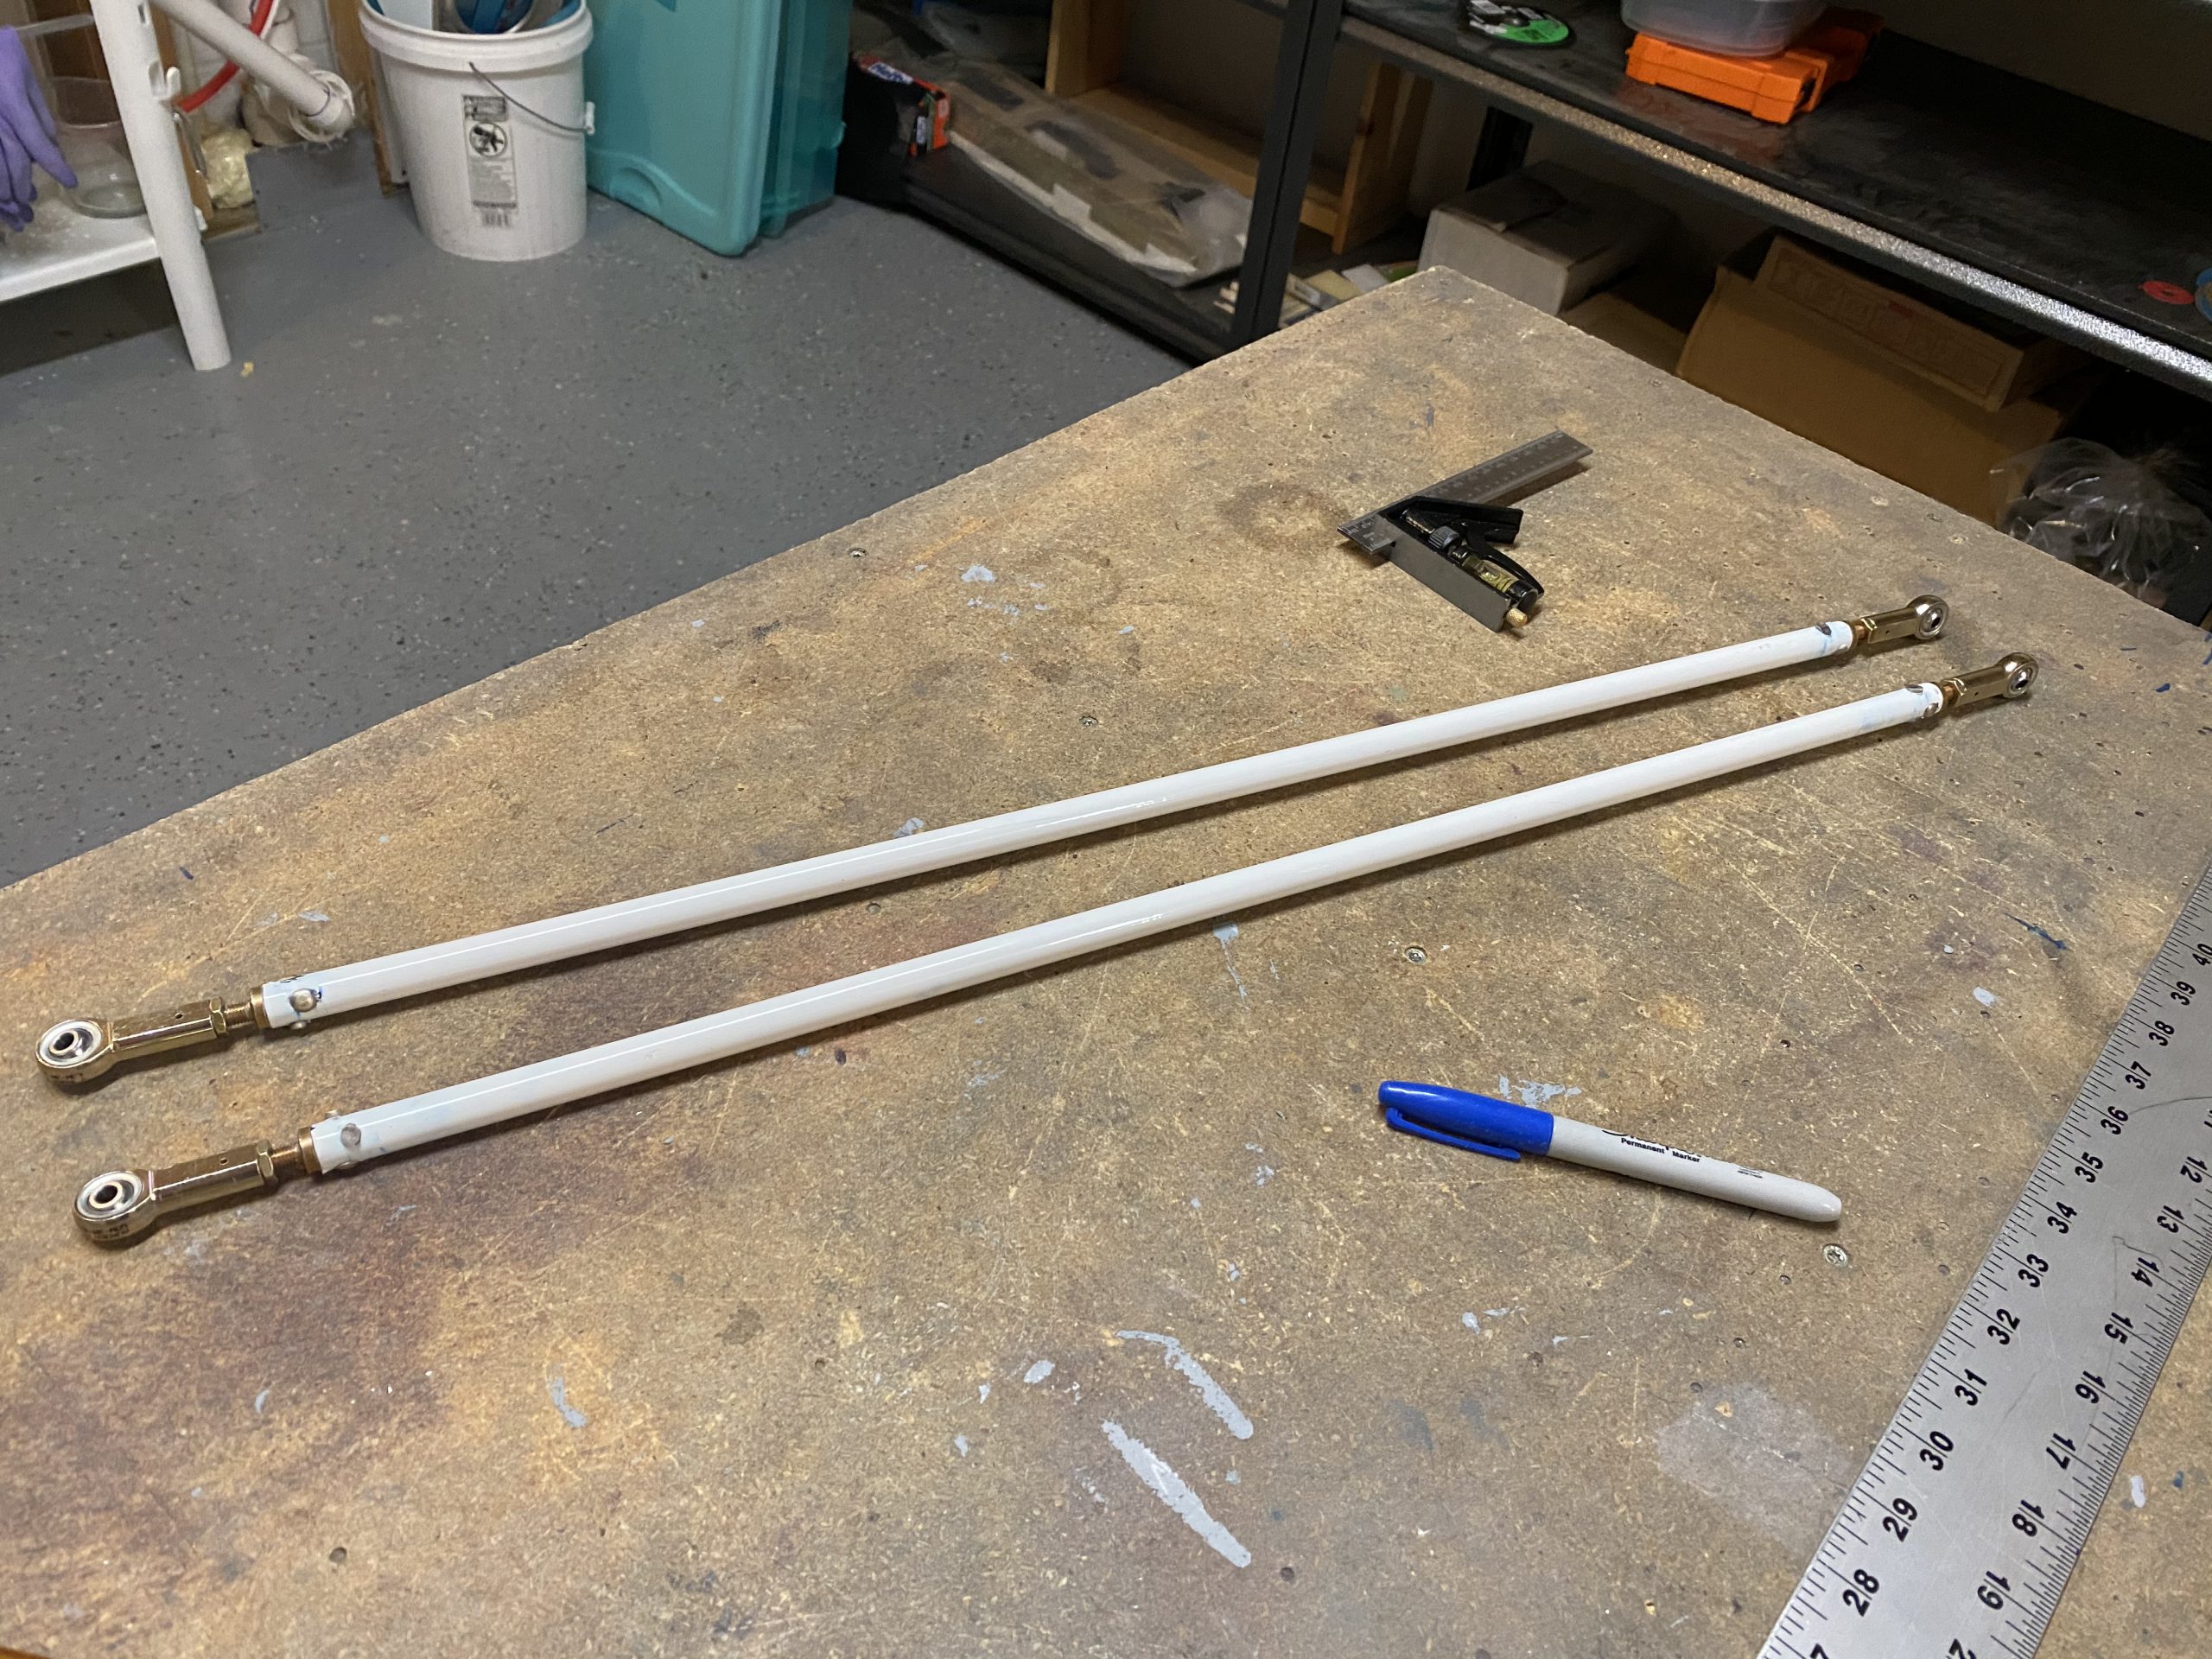
enter I started out by finishing up the W-818 bellcrank pushrods. They were left drying overnight from having the inside primed. I grabbed them from the bench, and smeared primer on the AN490-HT8P threaded rod ends, then inserted them and bucked the rivets for them.
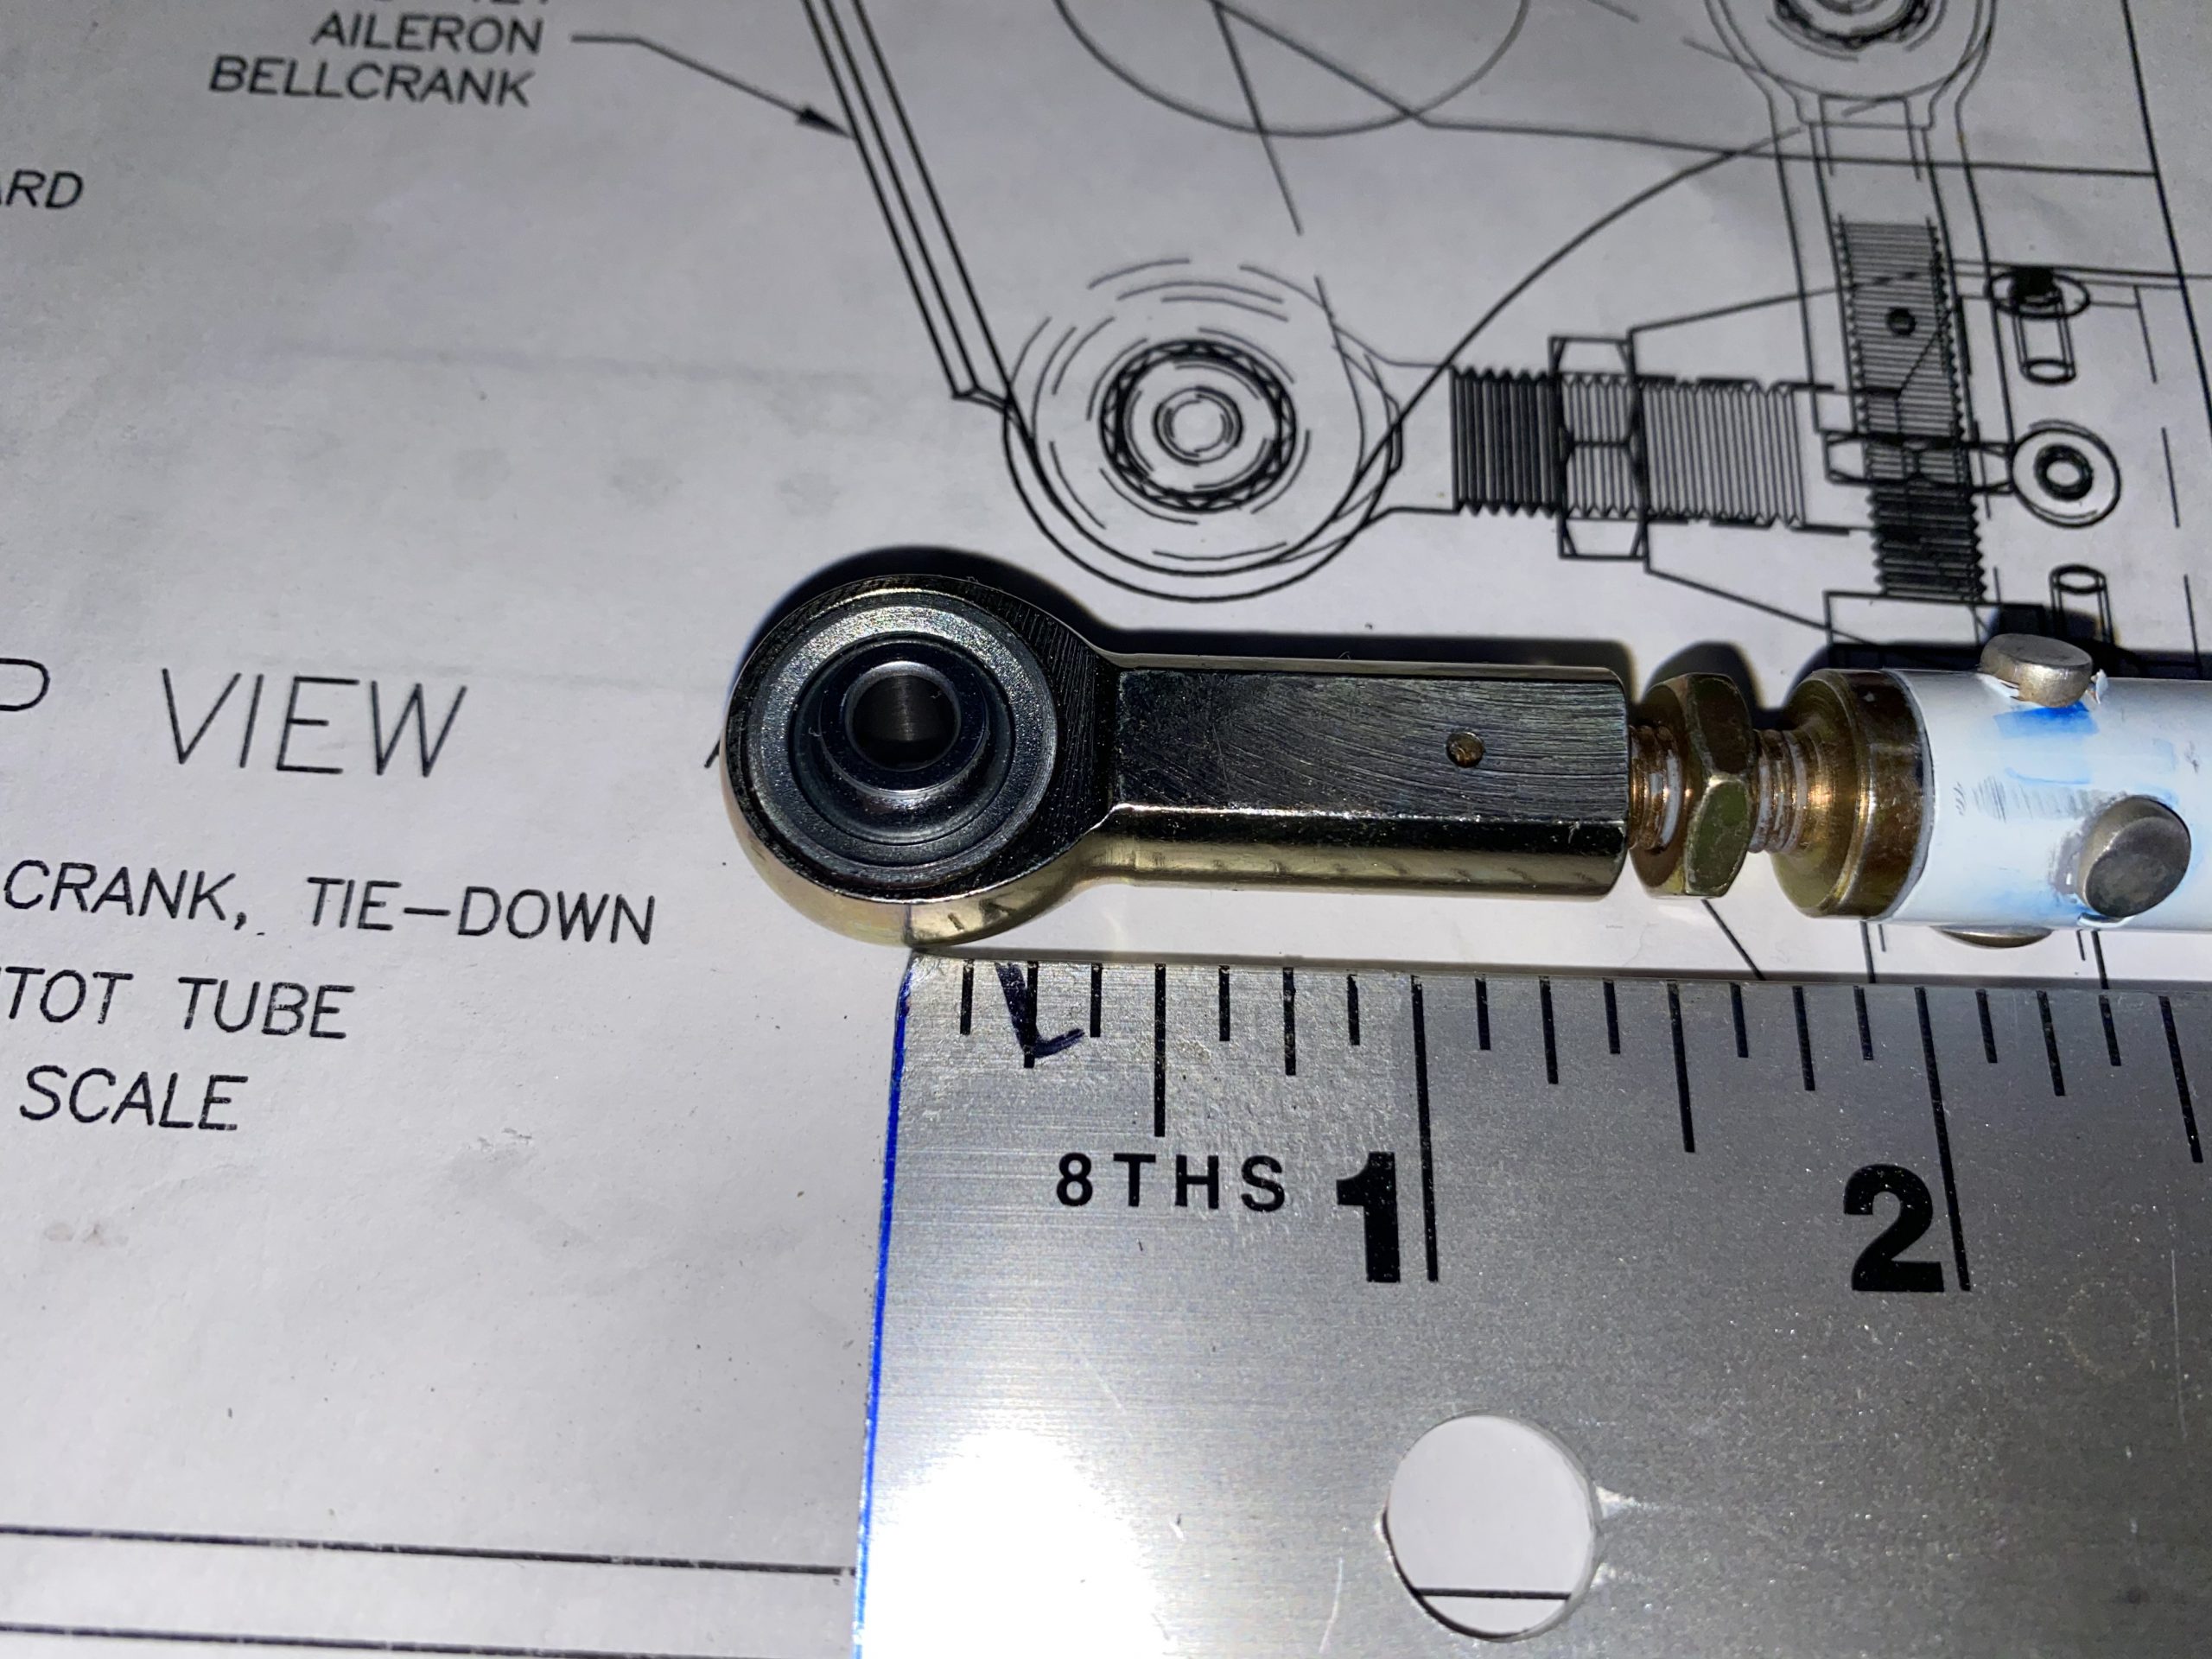
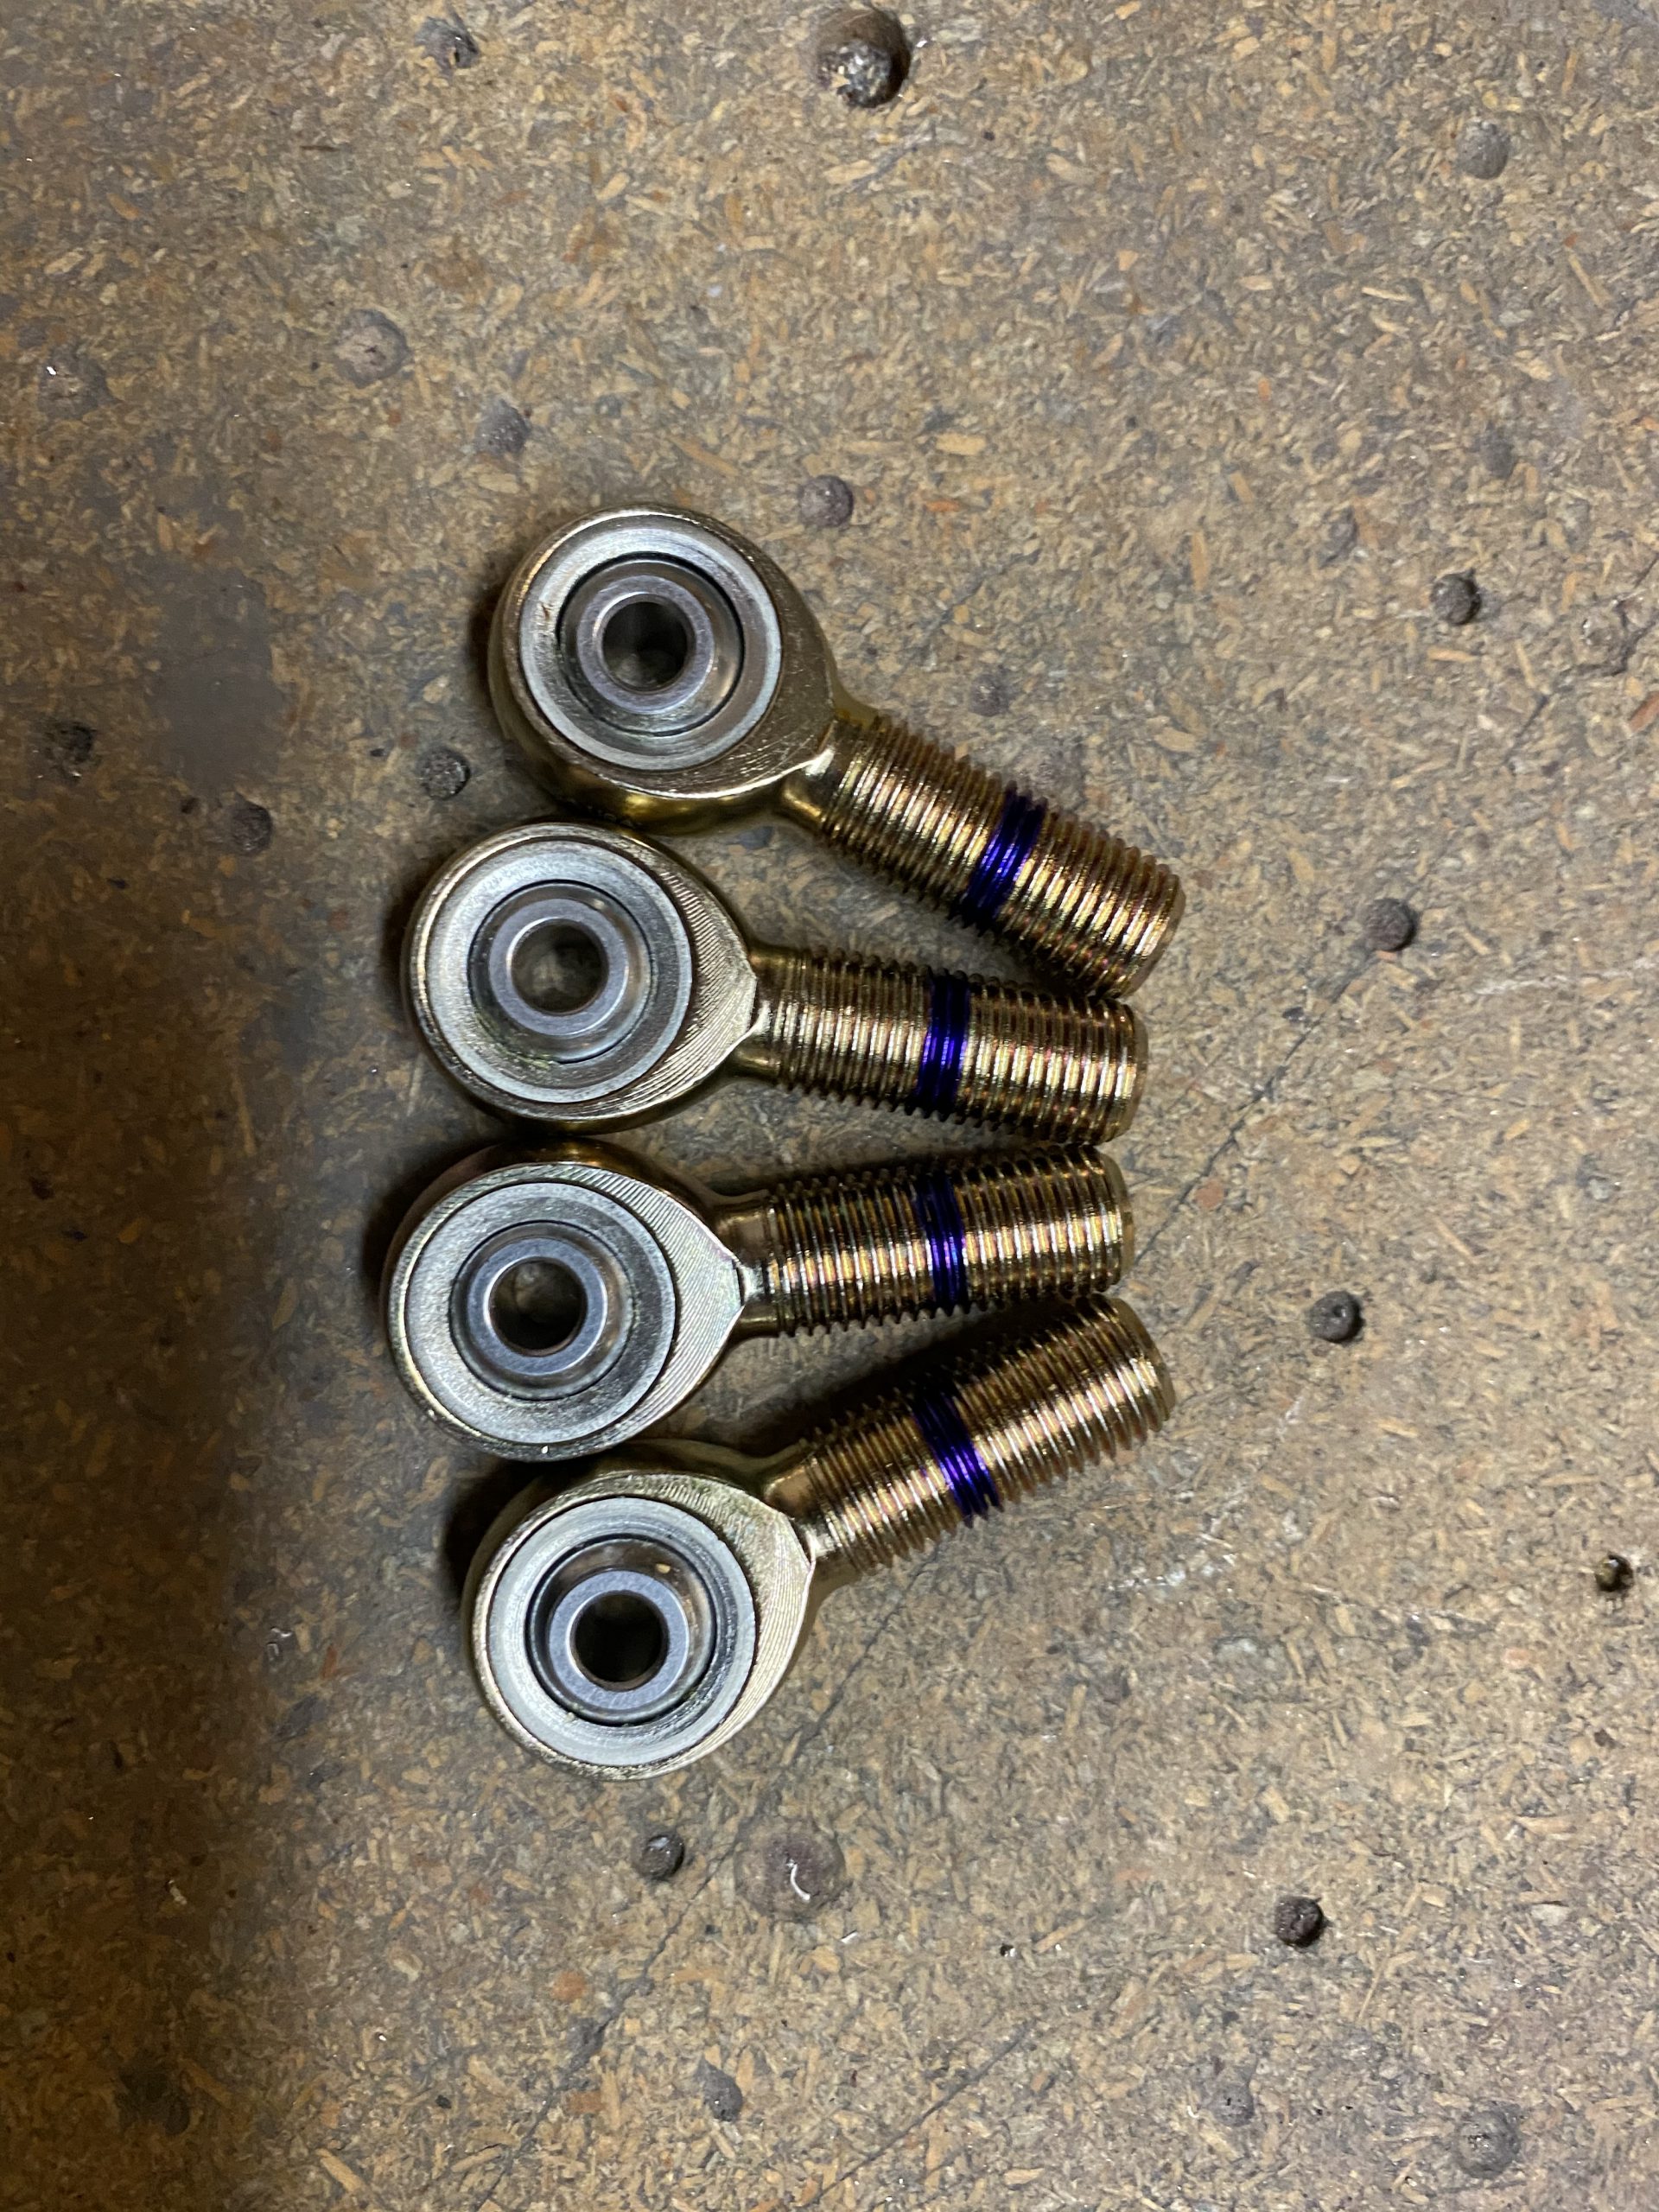
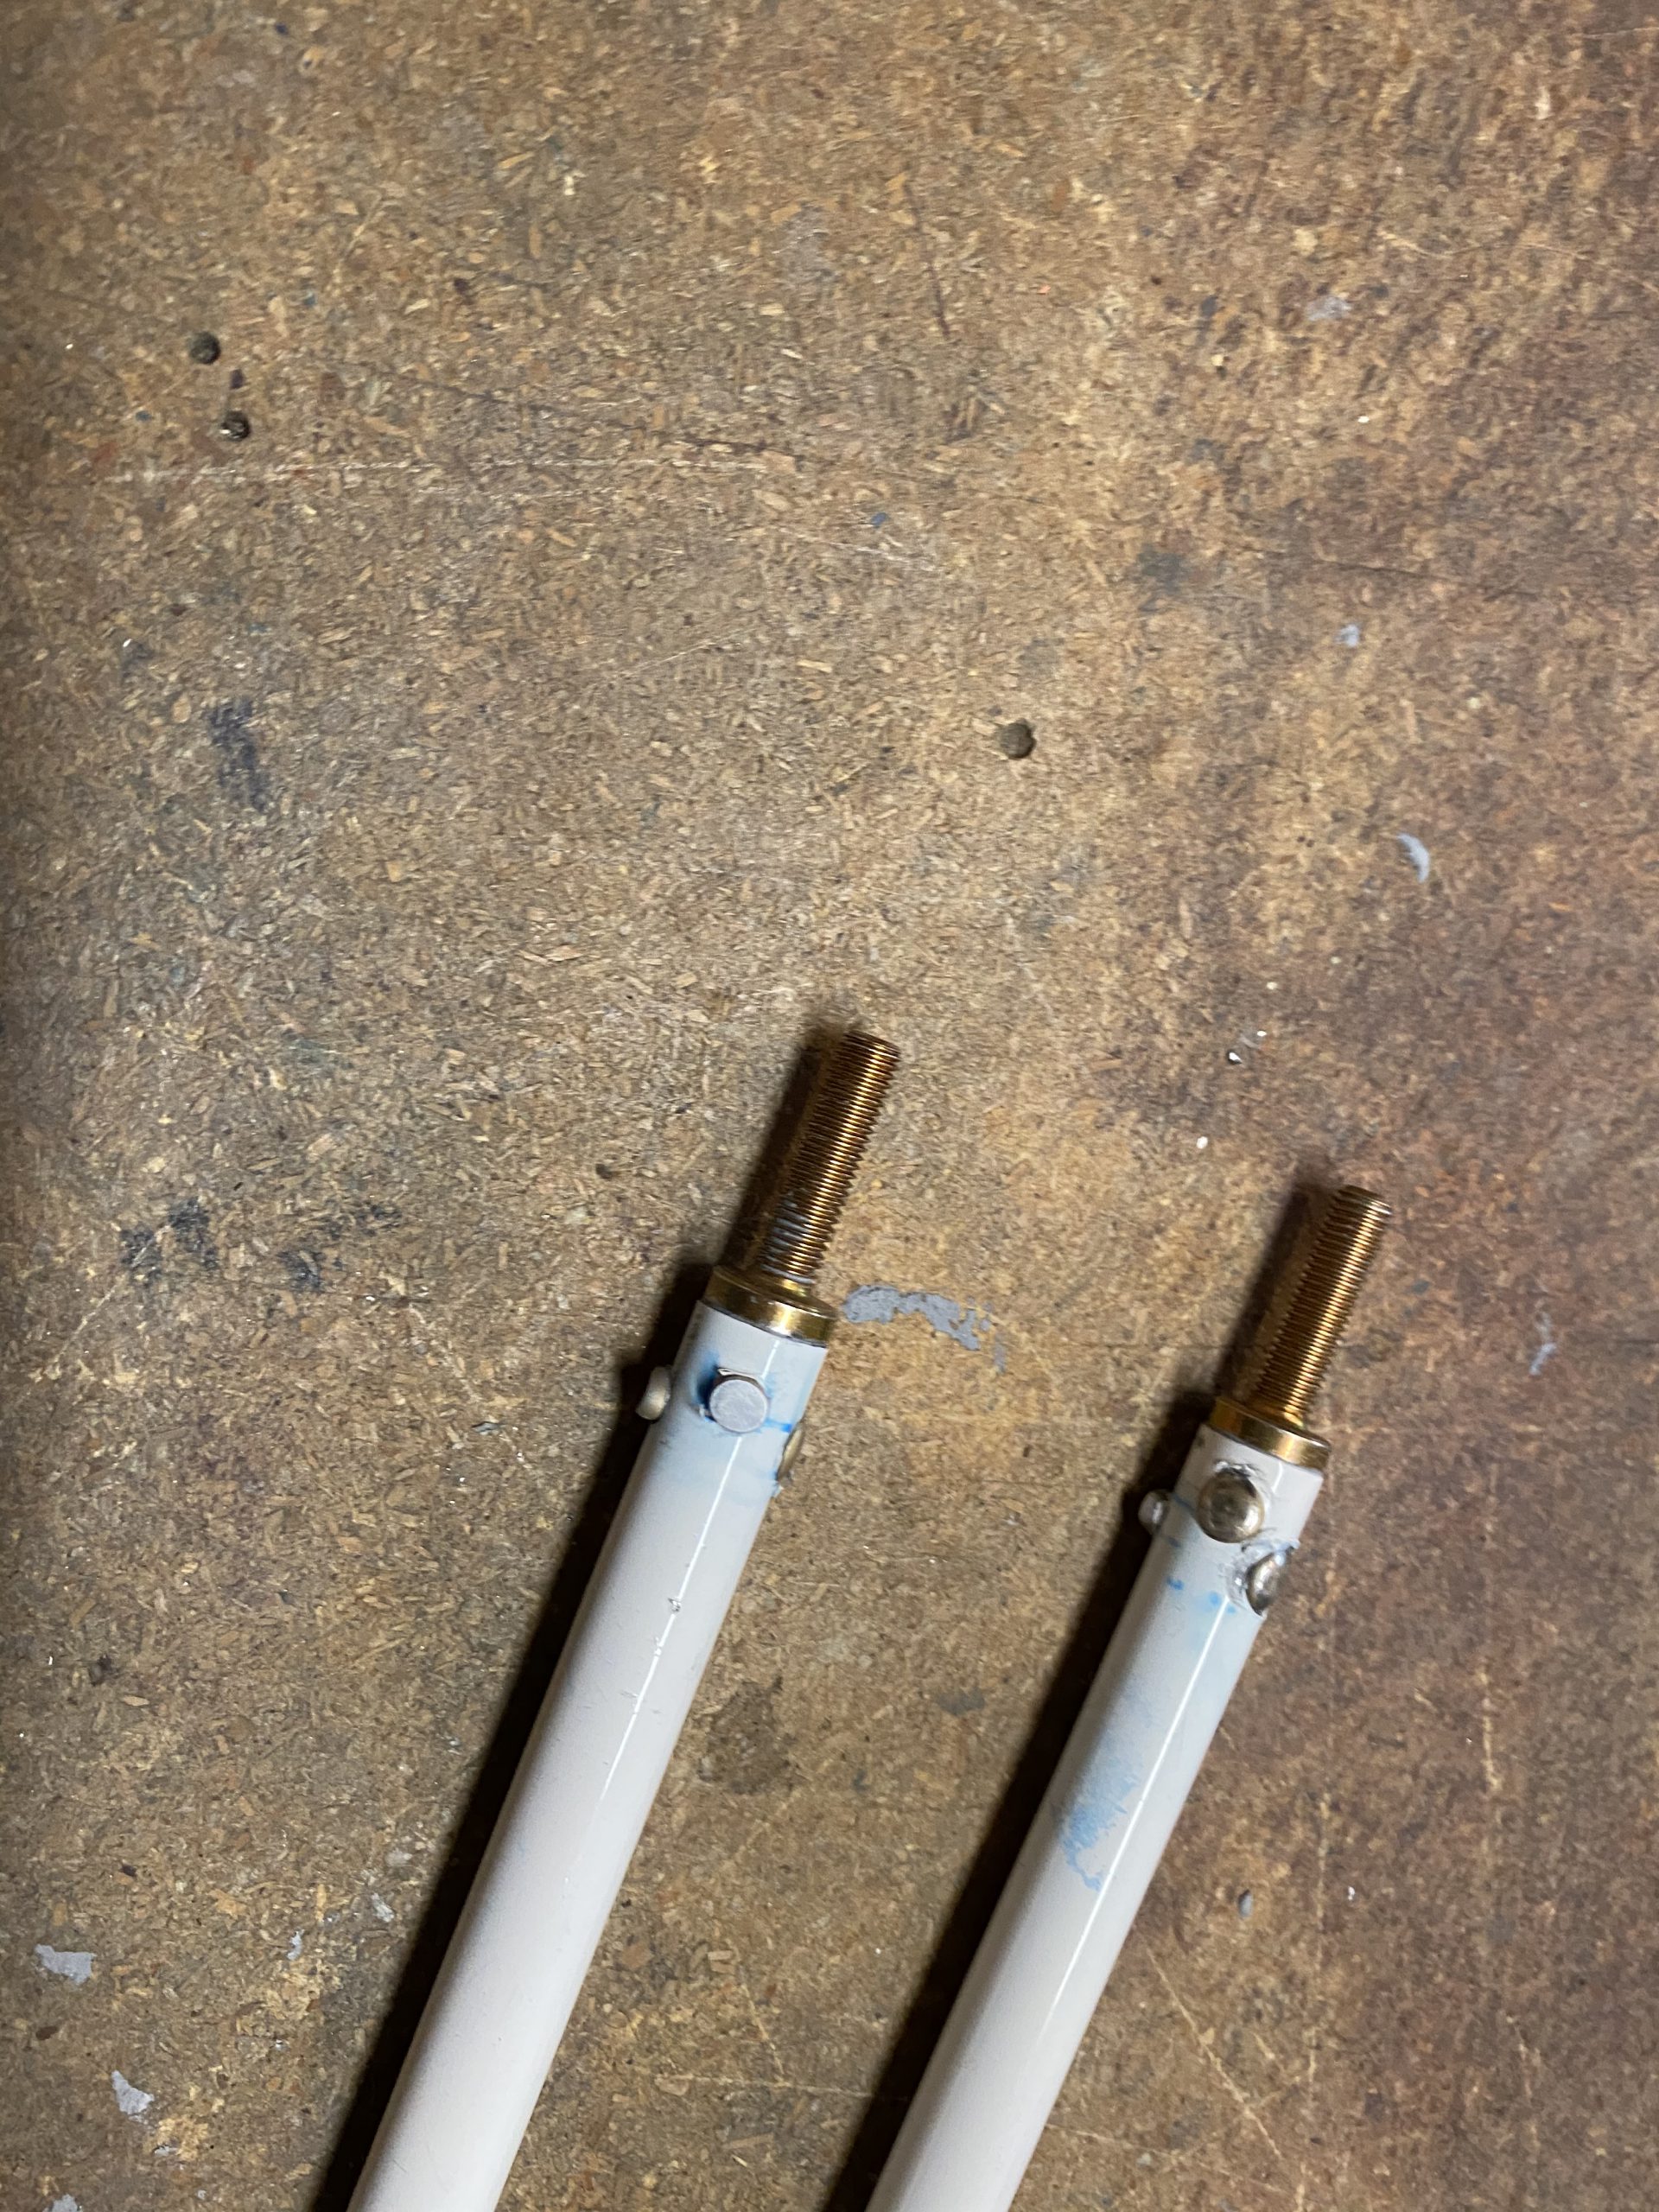
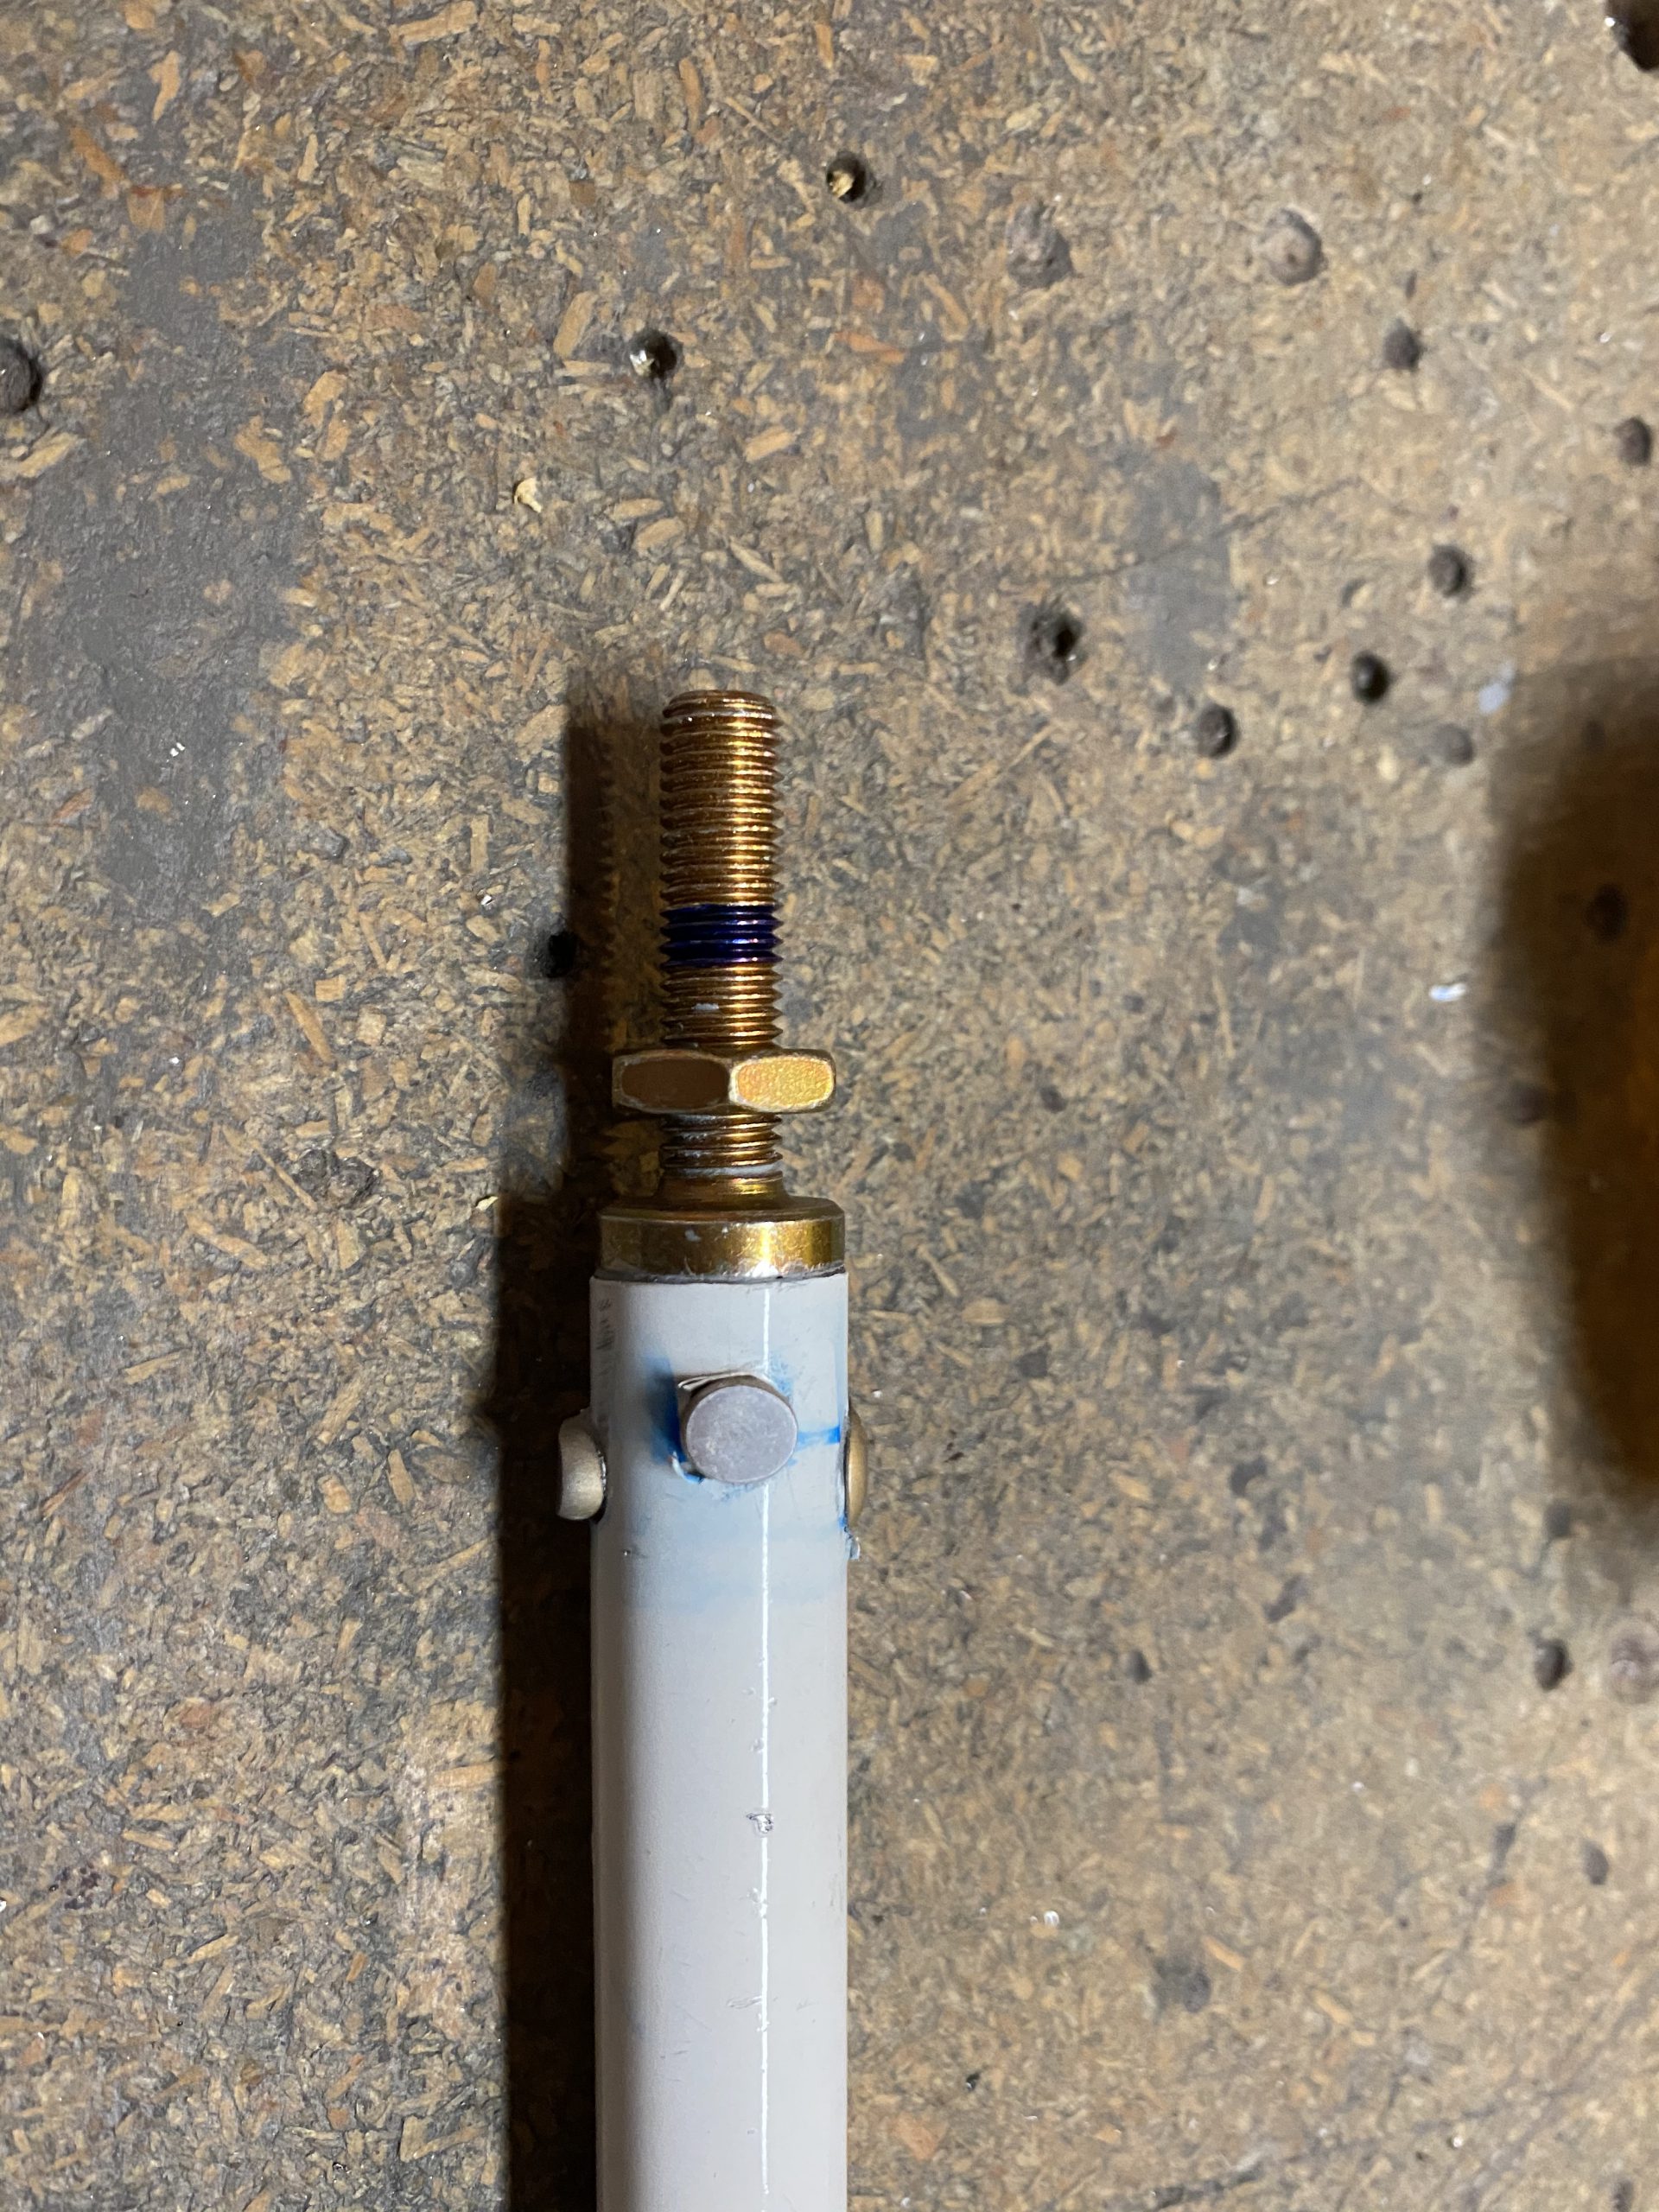
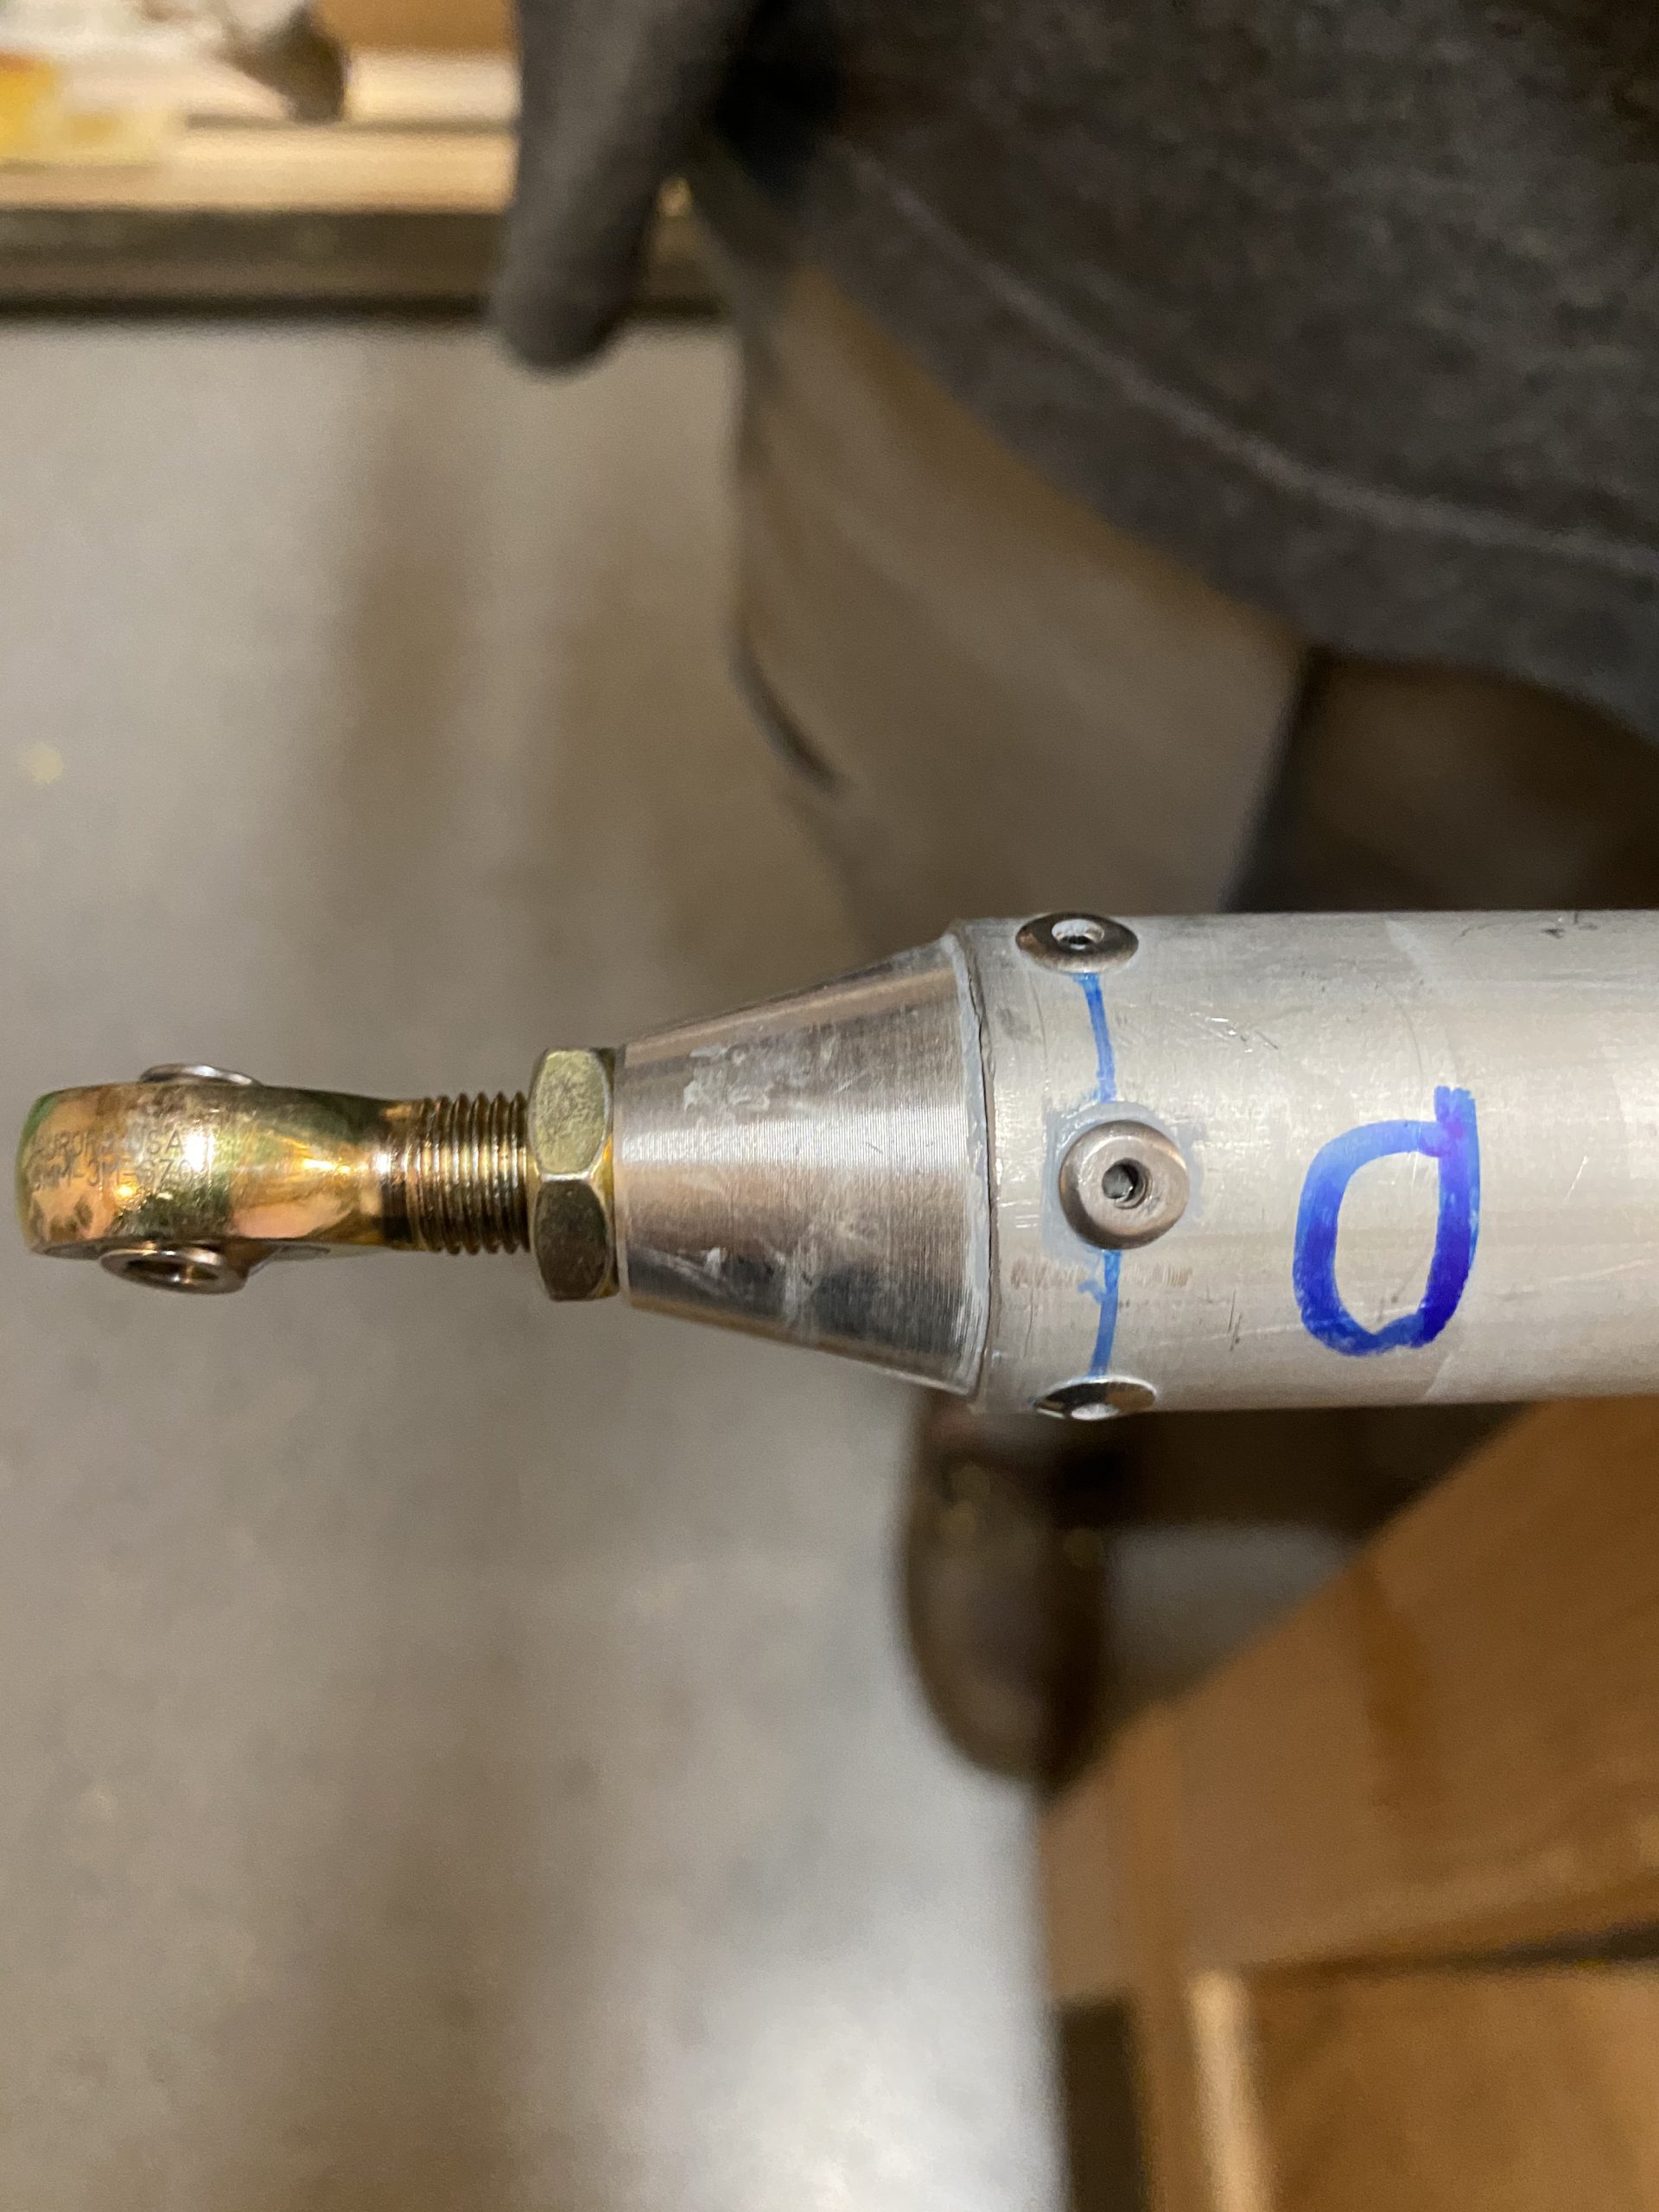
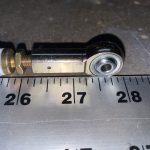
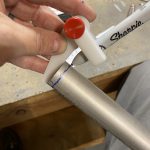
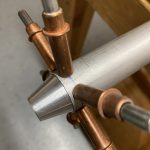
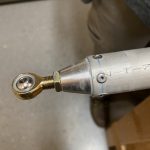
https://ottawaphotographer.com/temples-sugar-bush-wedding/ Once I had that done, I went ahead and threaded on the F341M heim joint, and the AN316-4 jam nuts on each end. I marked a half-way mark on the threads of the insert with a blue sharpie so I’d know about where the halfway mark was when threading the heim joints on.
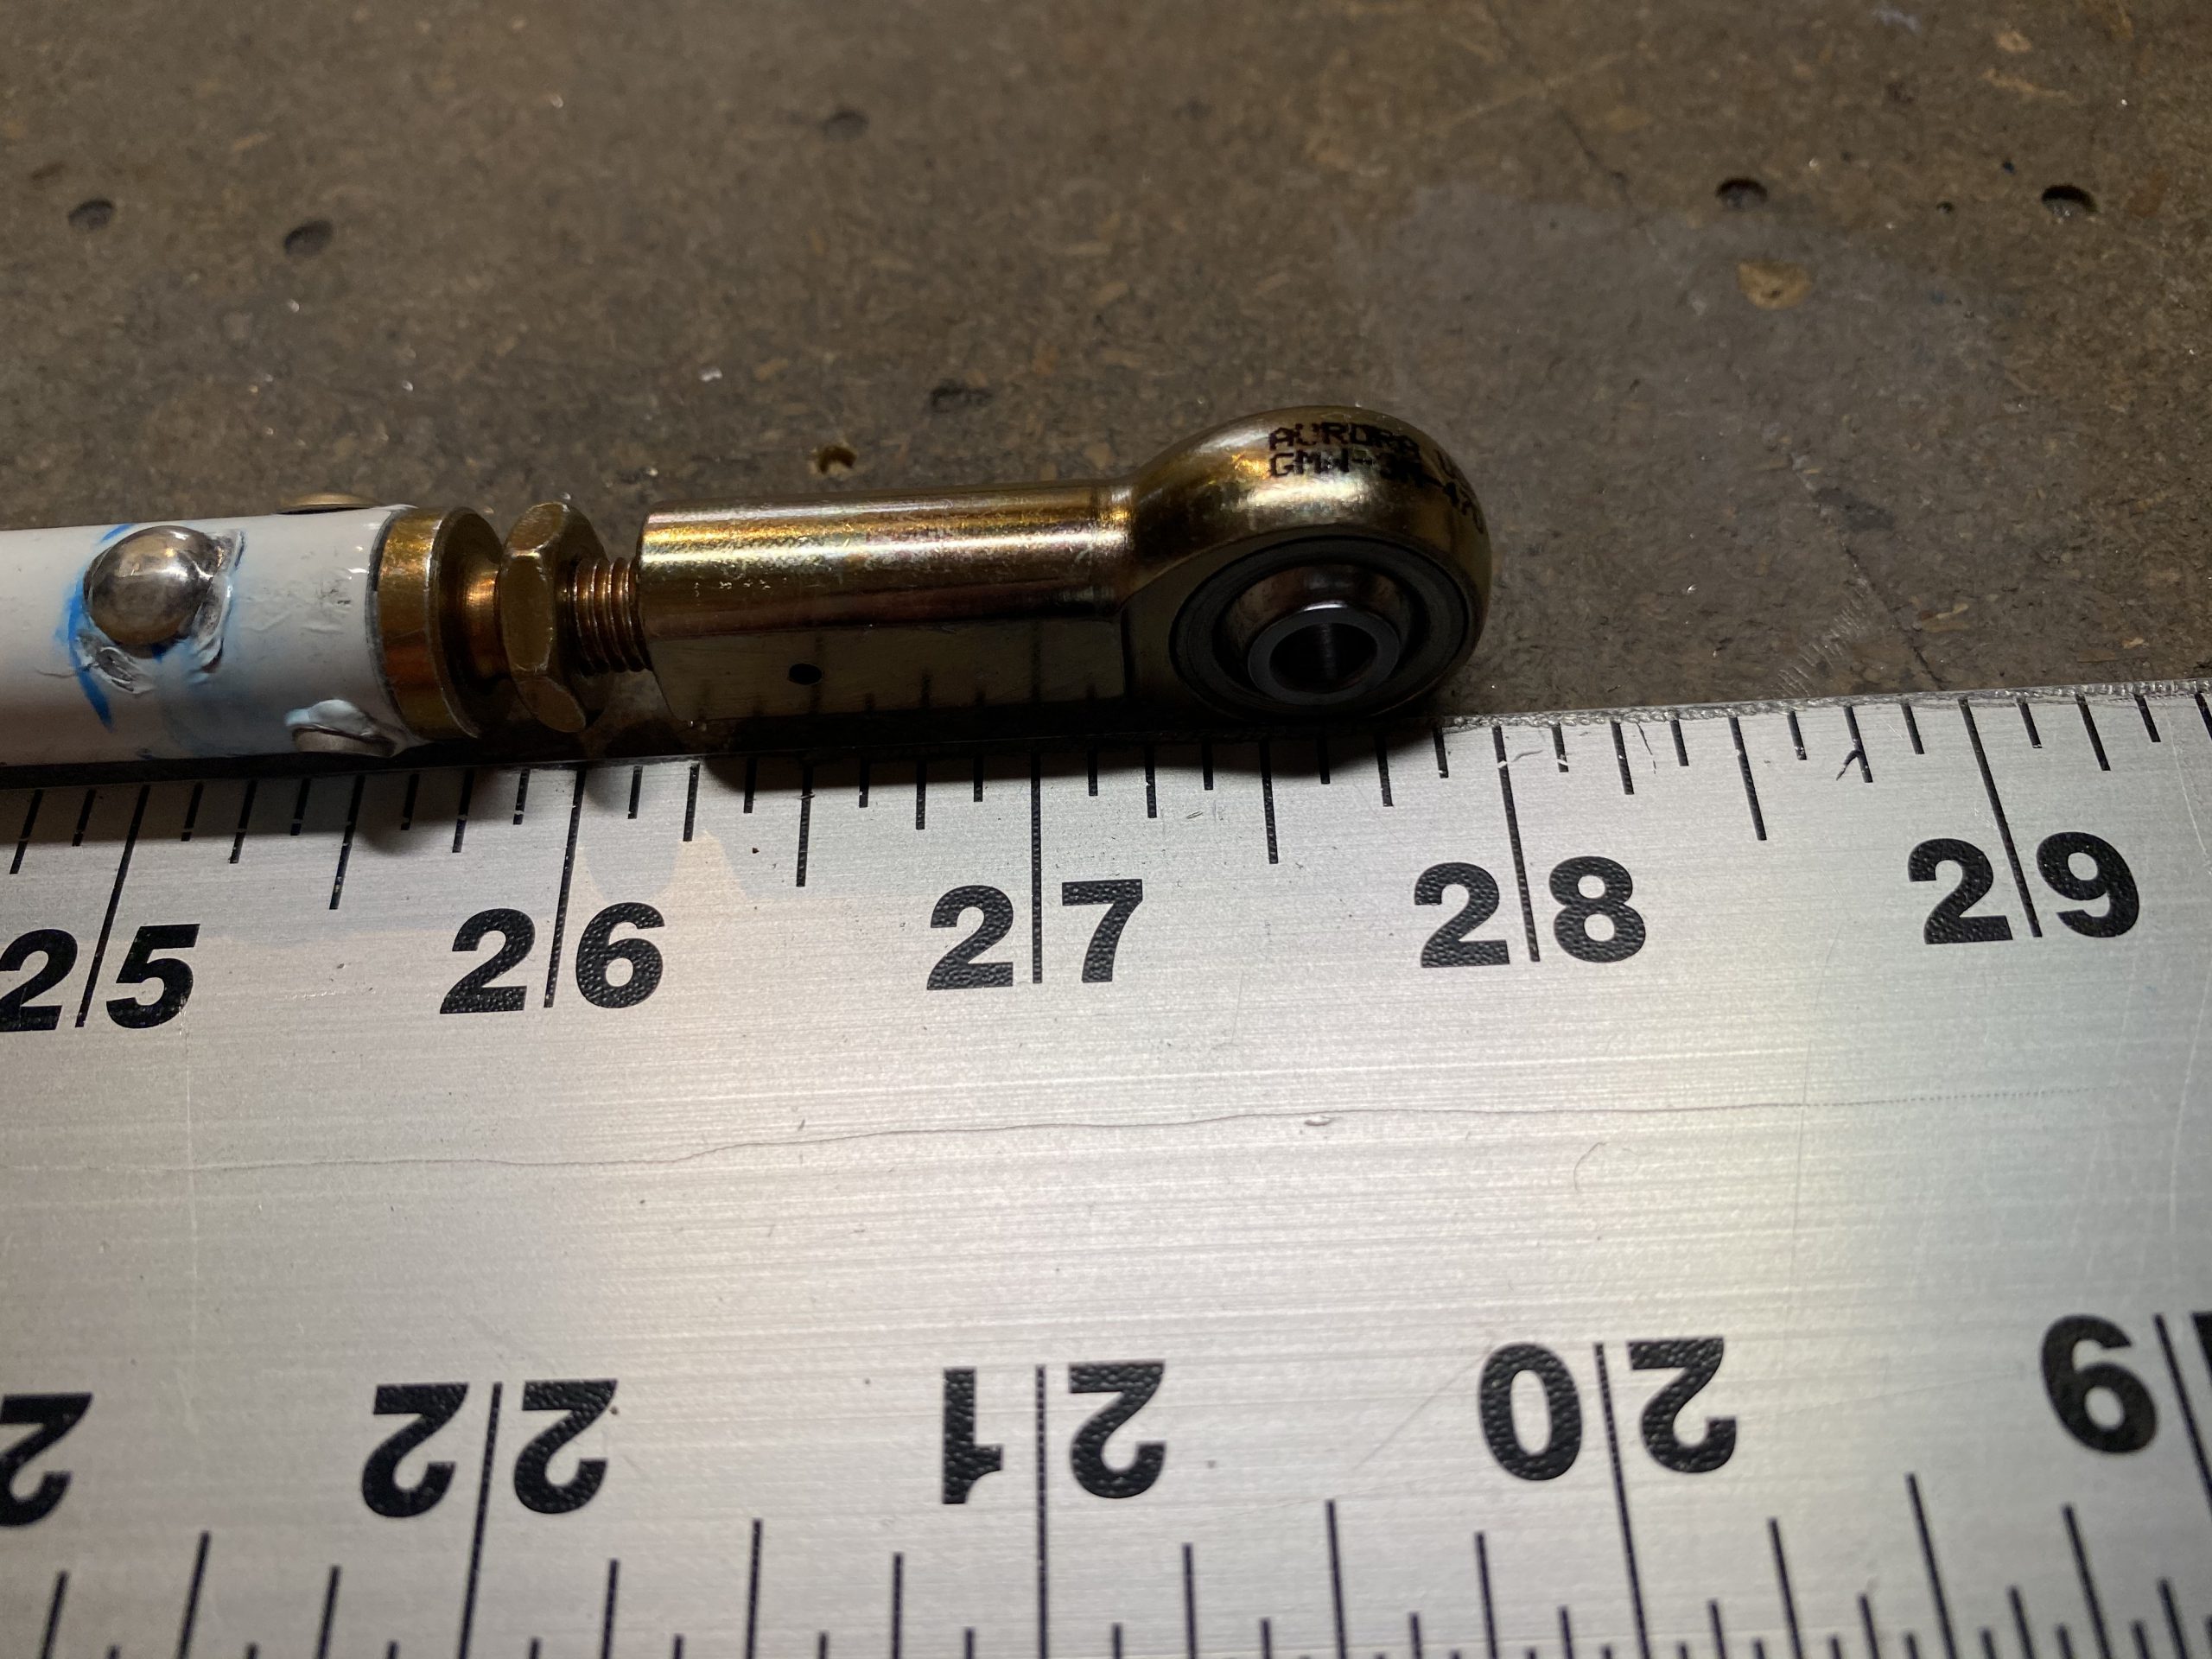
Zolpidem 5Mg Order Online Then I used my 48″ steel ruler to adjust the heim joints on each end equally, until I had the proper 27 58″ of distance from the center of each bolt hole. Then I torqued the jam nut down to hold them in place. I did this for both of the pushrods.
https://www.infoturismiamoci.com/2015/11/corvara-in-badia-cosa-vedere/ 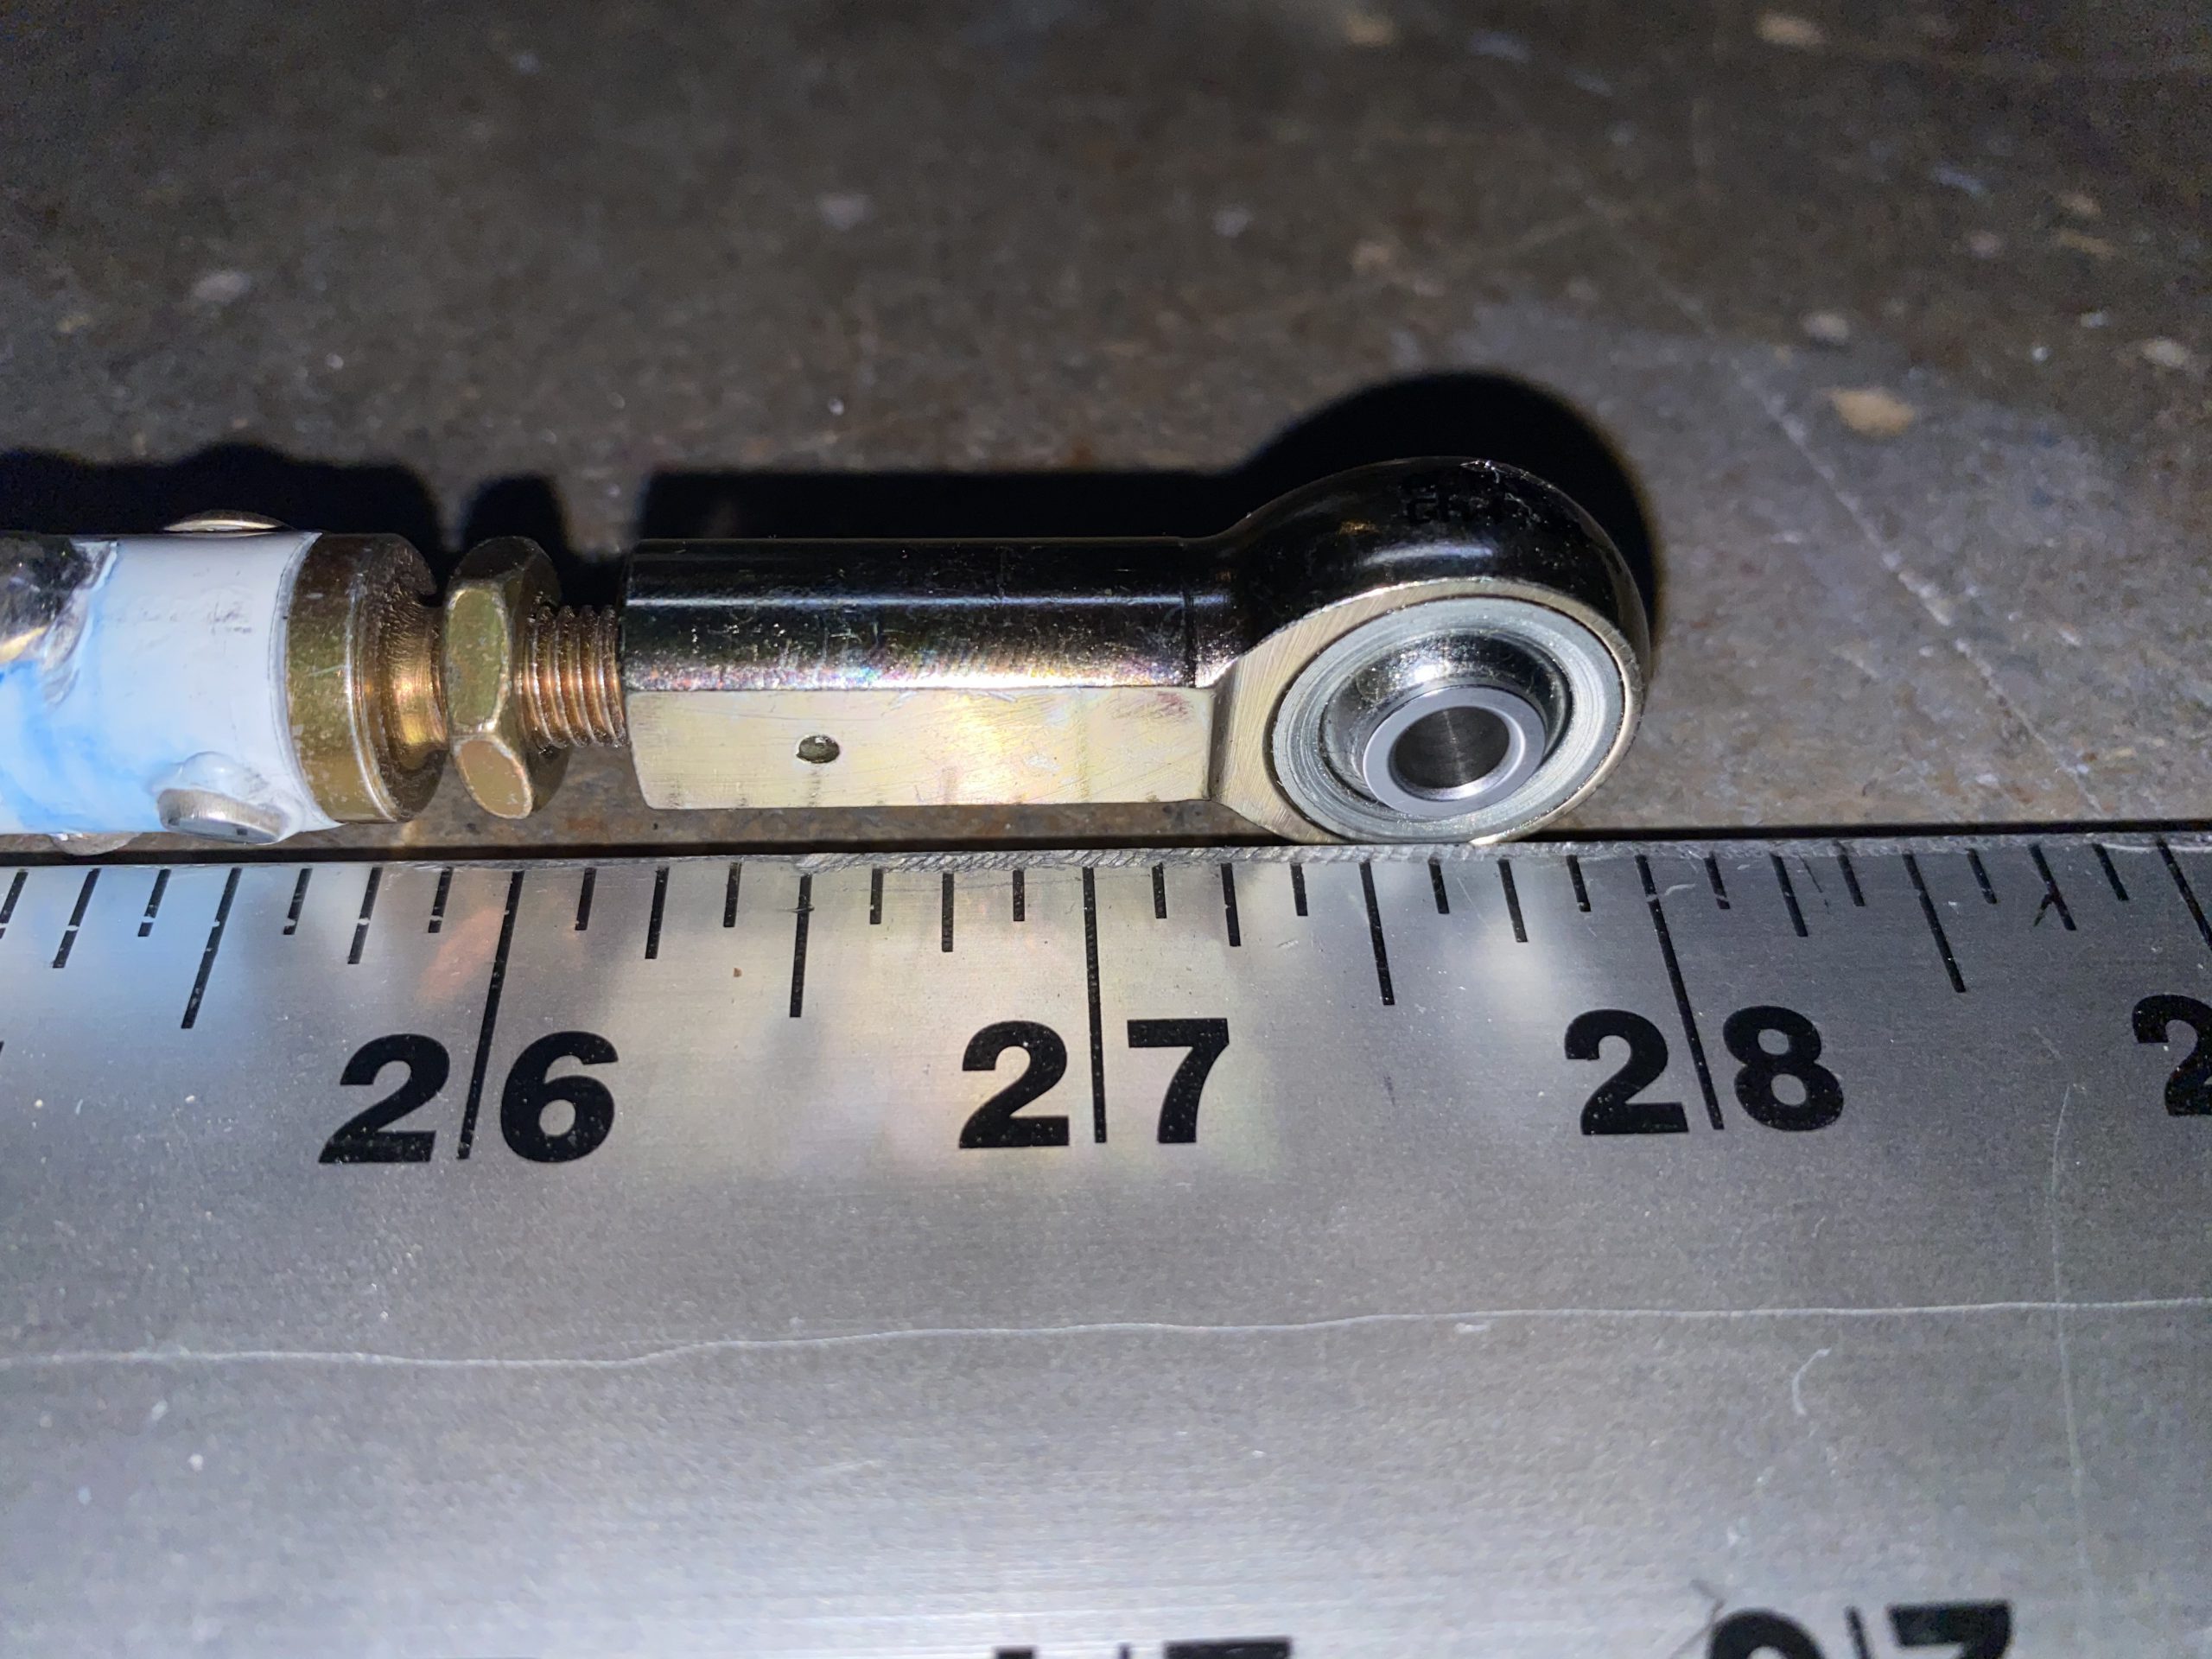
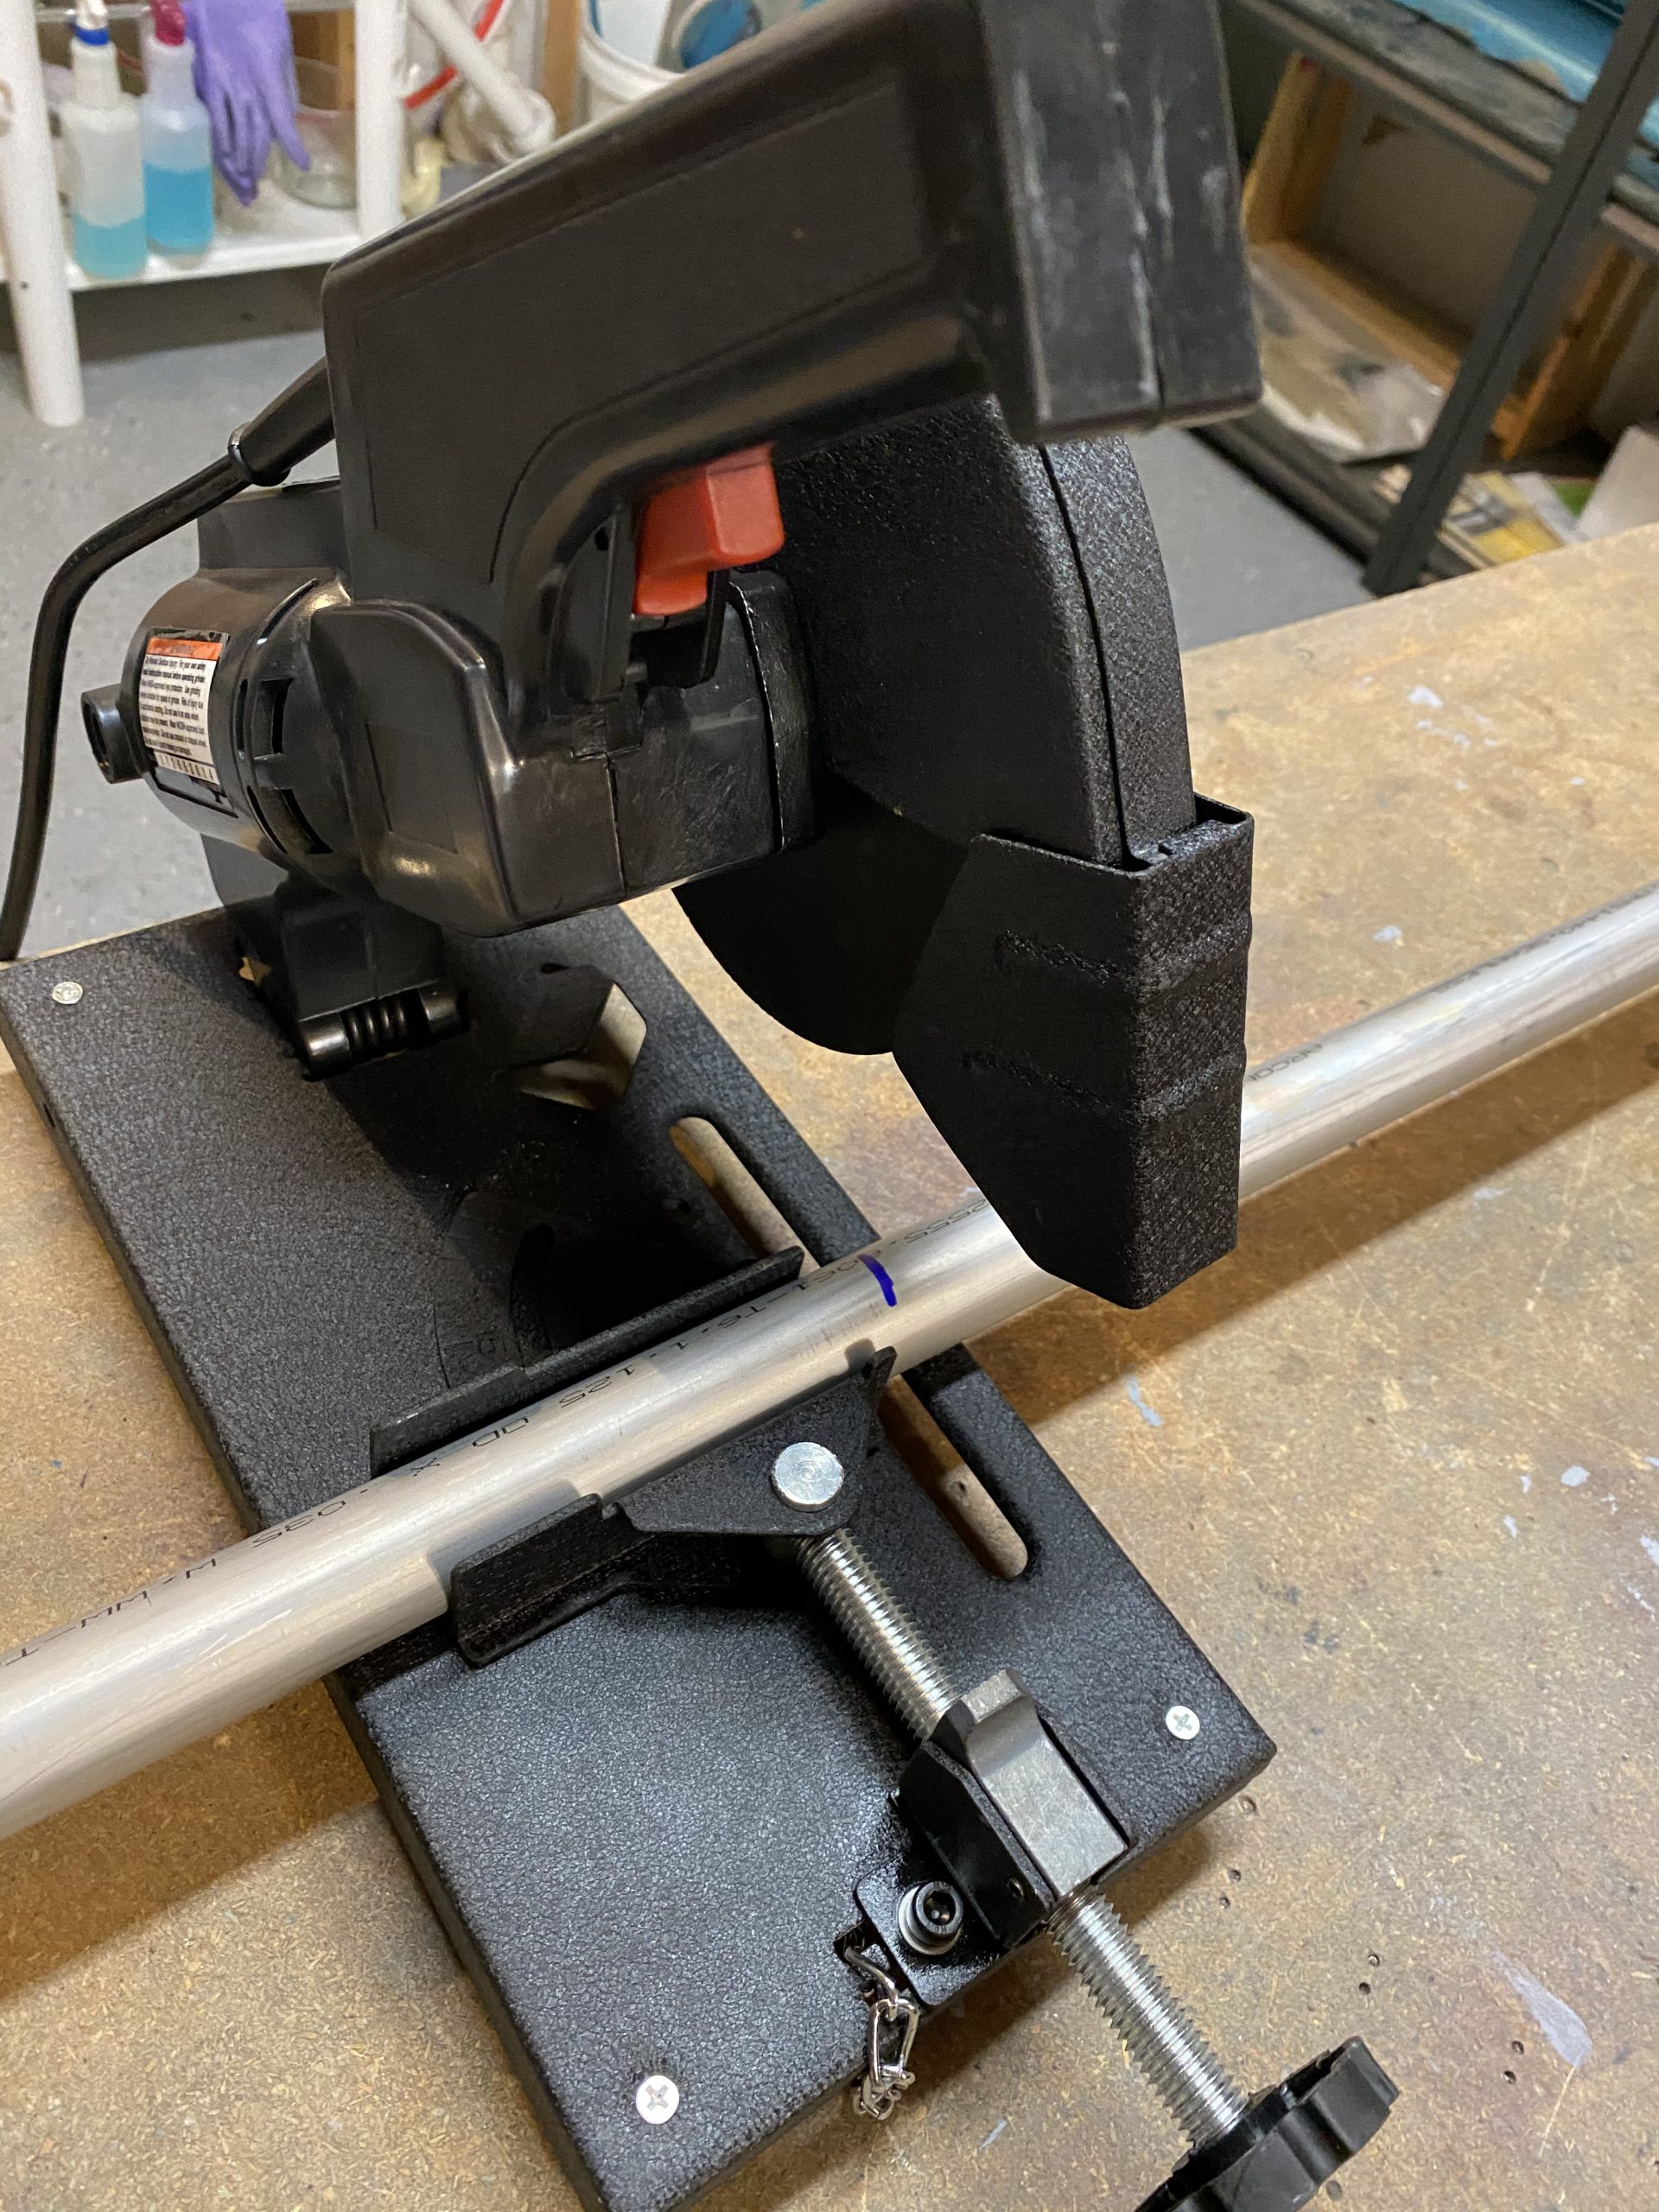
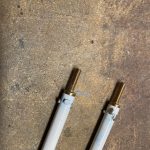
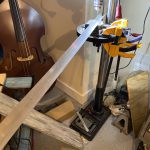
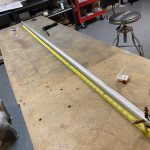
get link These are done! I’ll probably paint some primer on the riveted portion as it got a bit scratched up from riveting. Next up was to make the W-717 push-pull tubes. I pulled the AT5-035×1.125 stock tube, and decided to cut it in half. Its exactly 12 feet long that would give me plenty of working room for each tube since this stock is only used for these control rods. I used the little cut off saw to make this initial cut.
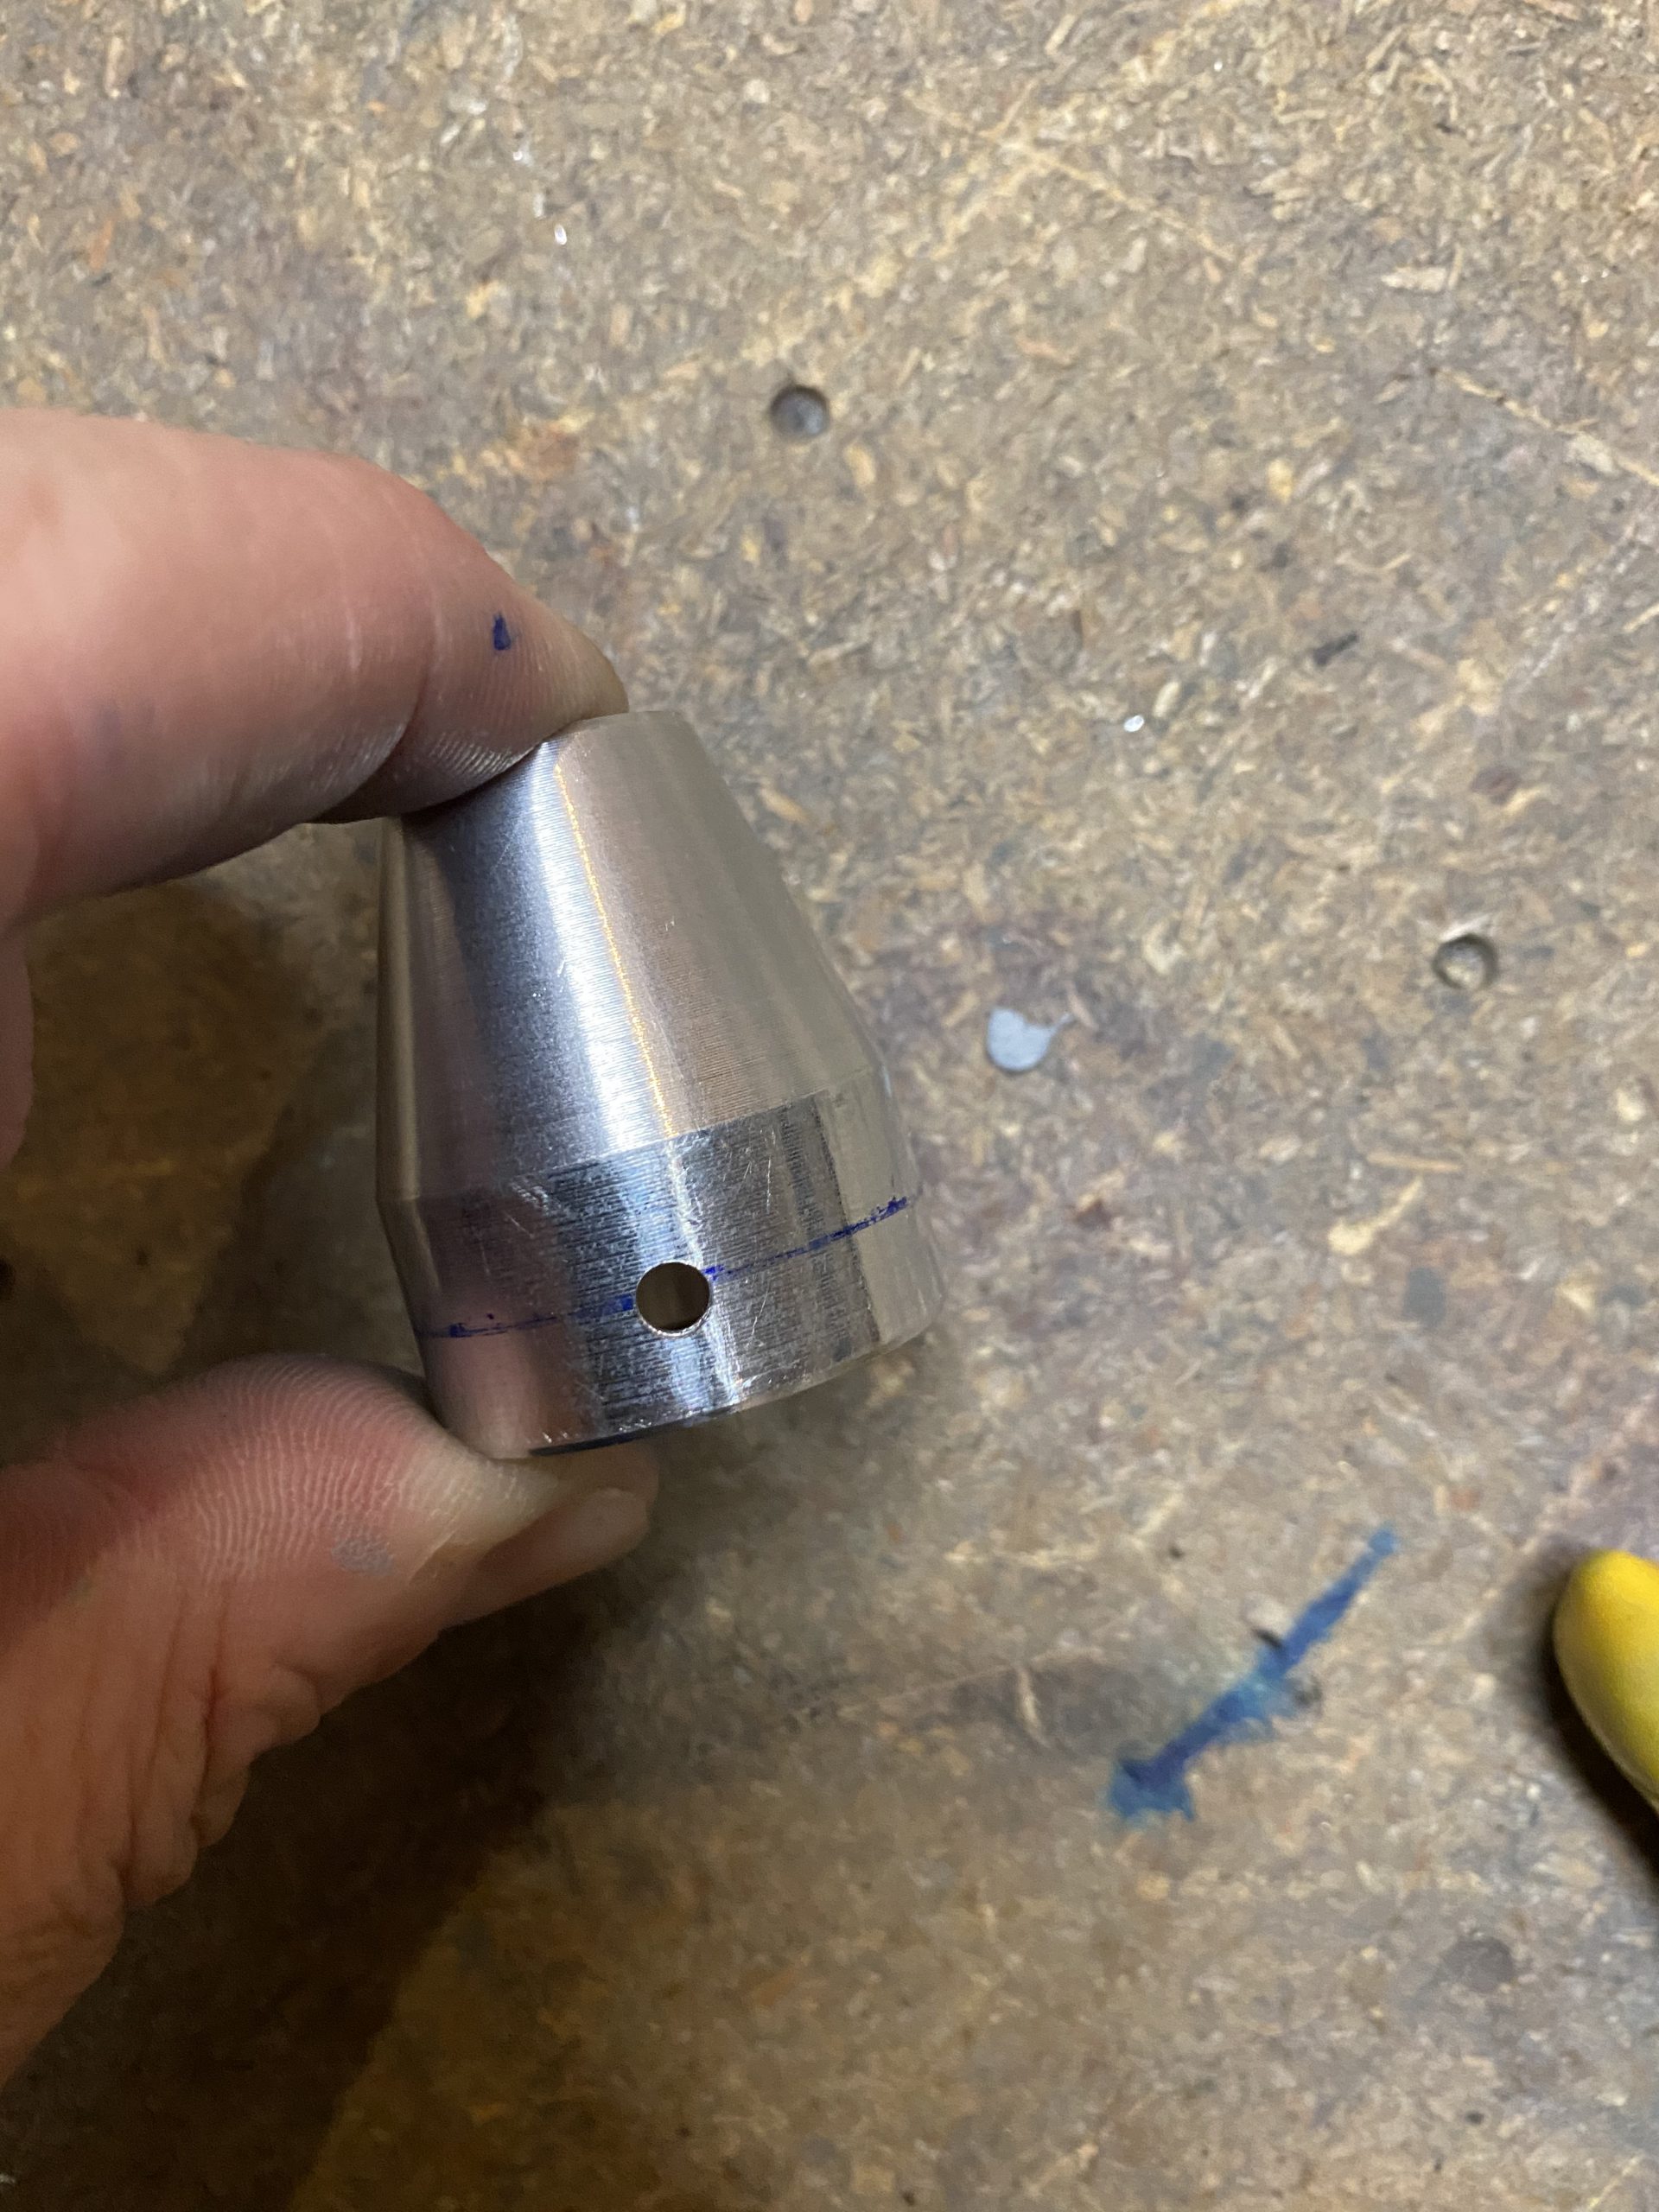
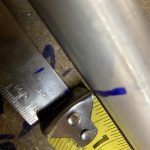
https://www.mejorayhumanizate.com/aviso-legal/ Next up was to rivet the VA-111 rod ends into the tube. So I measured the shoulder of the VA-111 to be .5″, and decided to mark a line halfway, at 1/4″ to give me plenty of clearance. I used the avery marking tool to make this easy, after I measured where 1/4″ would be.
https://www.fogliandpartners.com/elisa-limadori/ 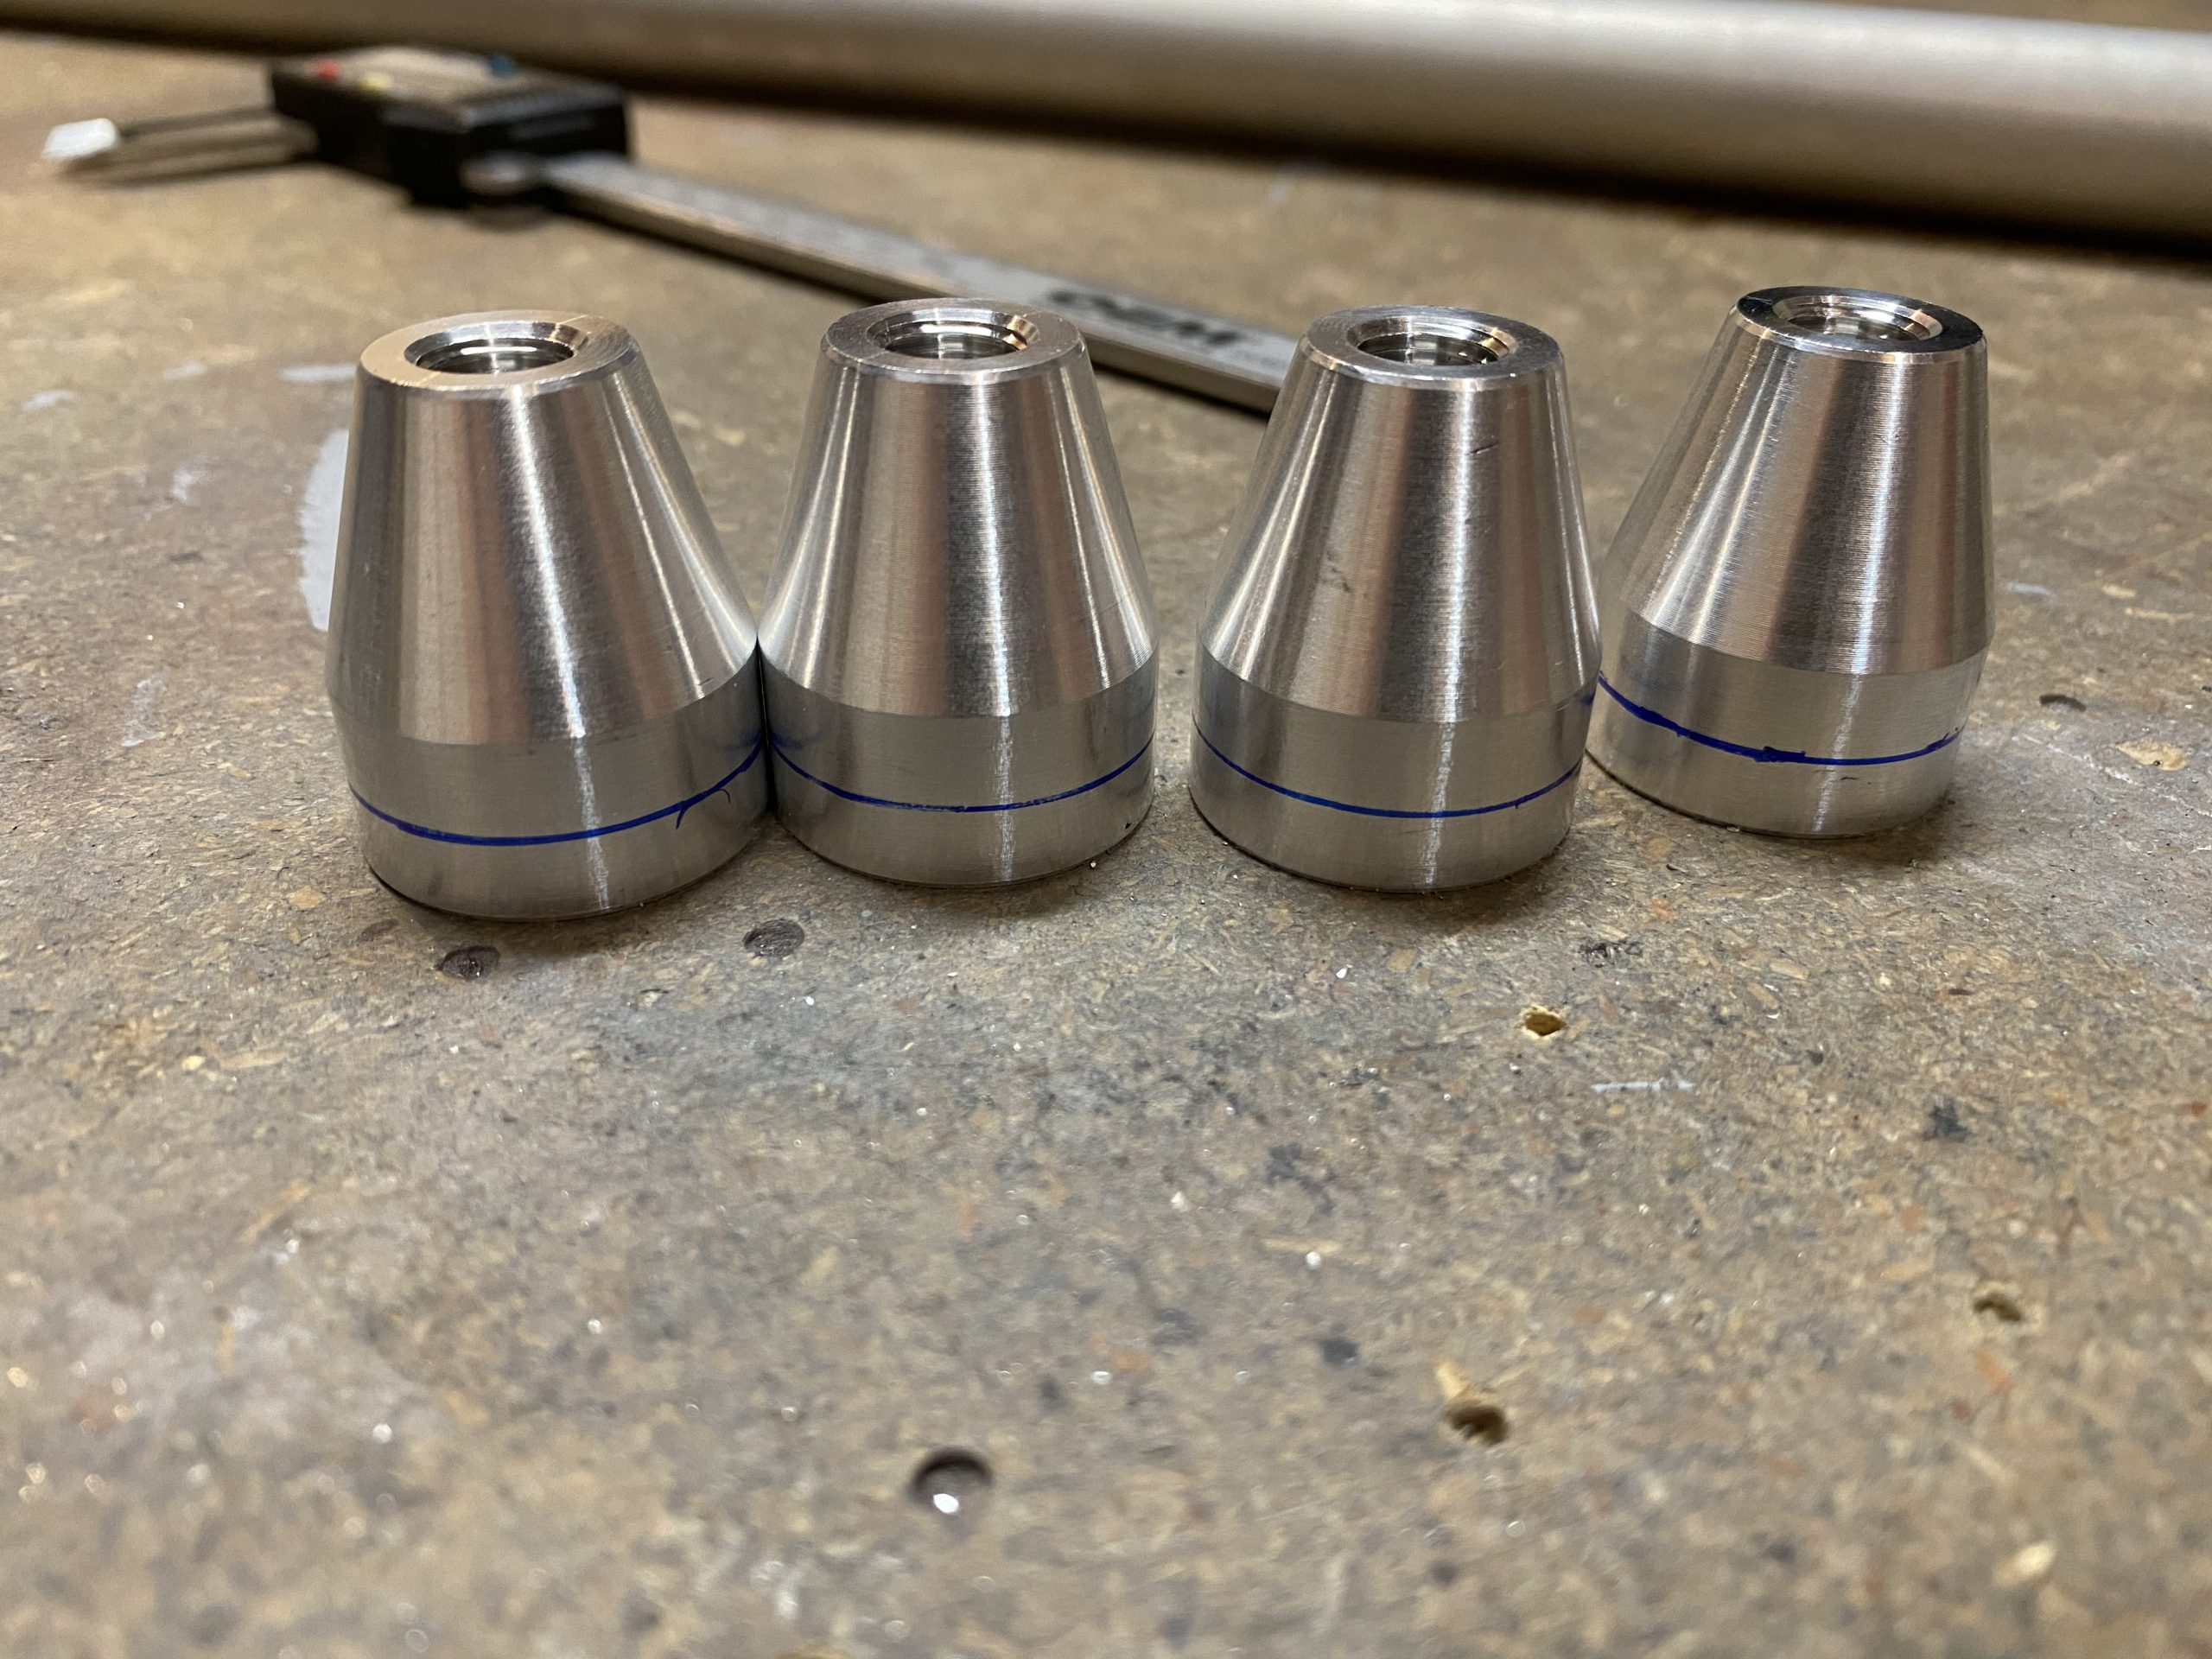
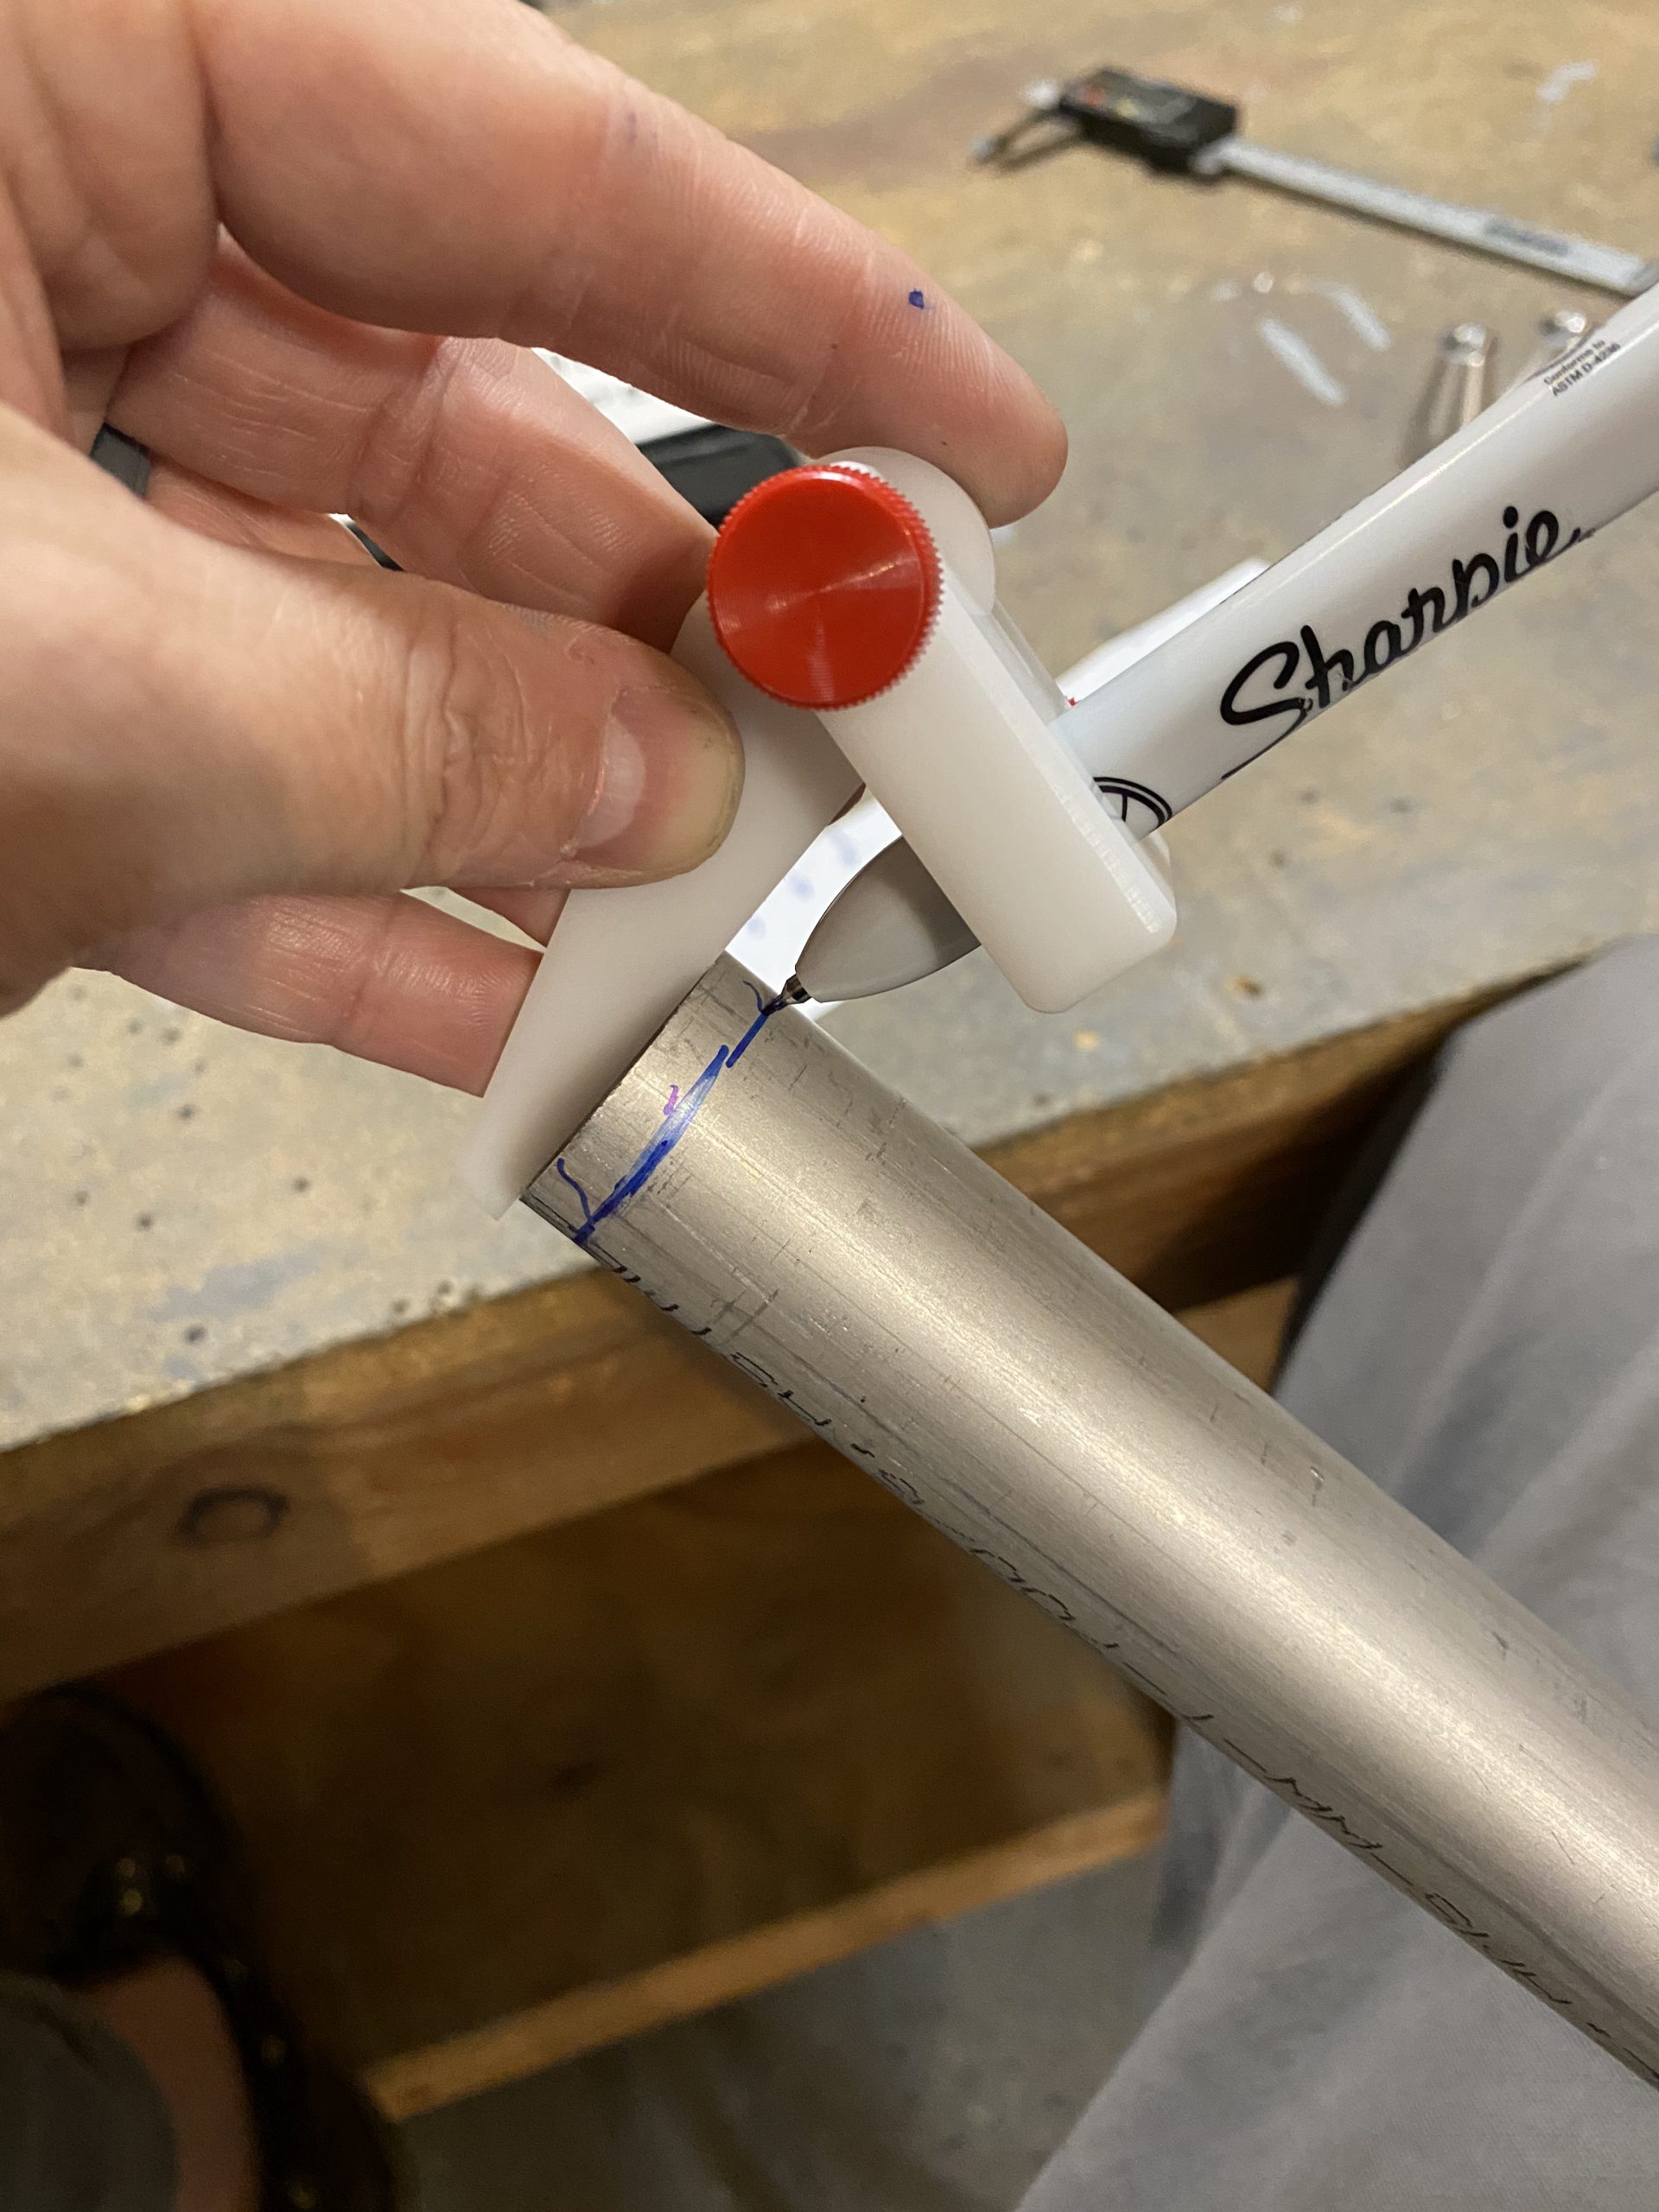
Buy Xanax Without Rx Next, I wanted to do the same distance on the end of the tube itself, to guarantee plenty of edge distance. So, I measured 1/4″ and used the avery tool to make a line around the tube. In theory, the line from the VA-111 and the tube should be in alignment, and give me plenty of distance when drilling the holes.
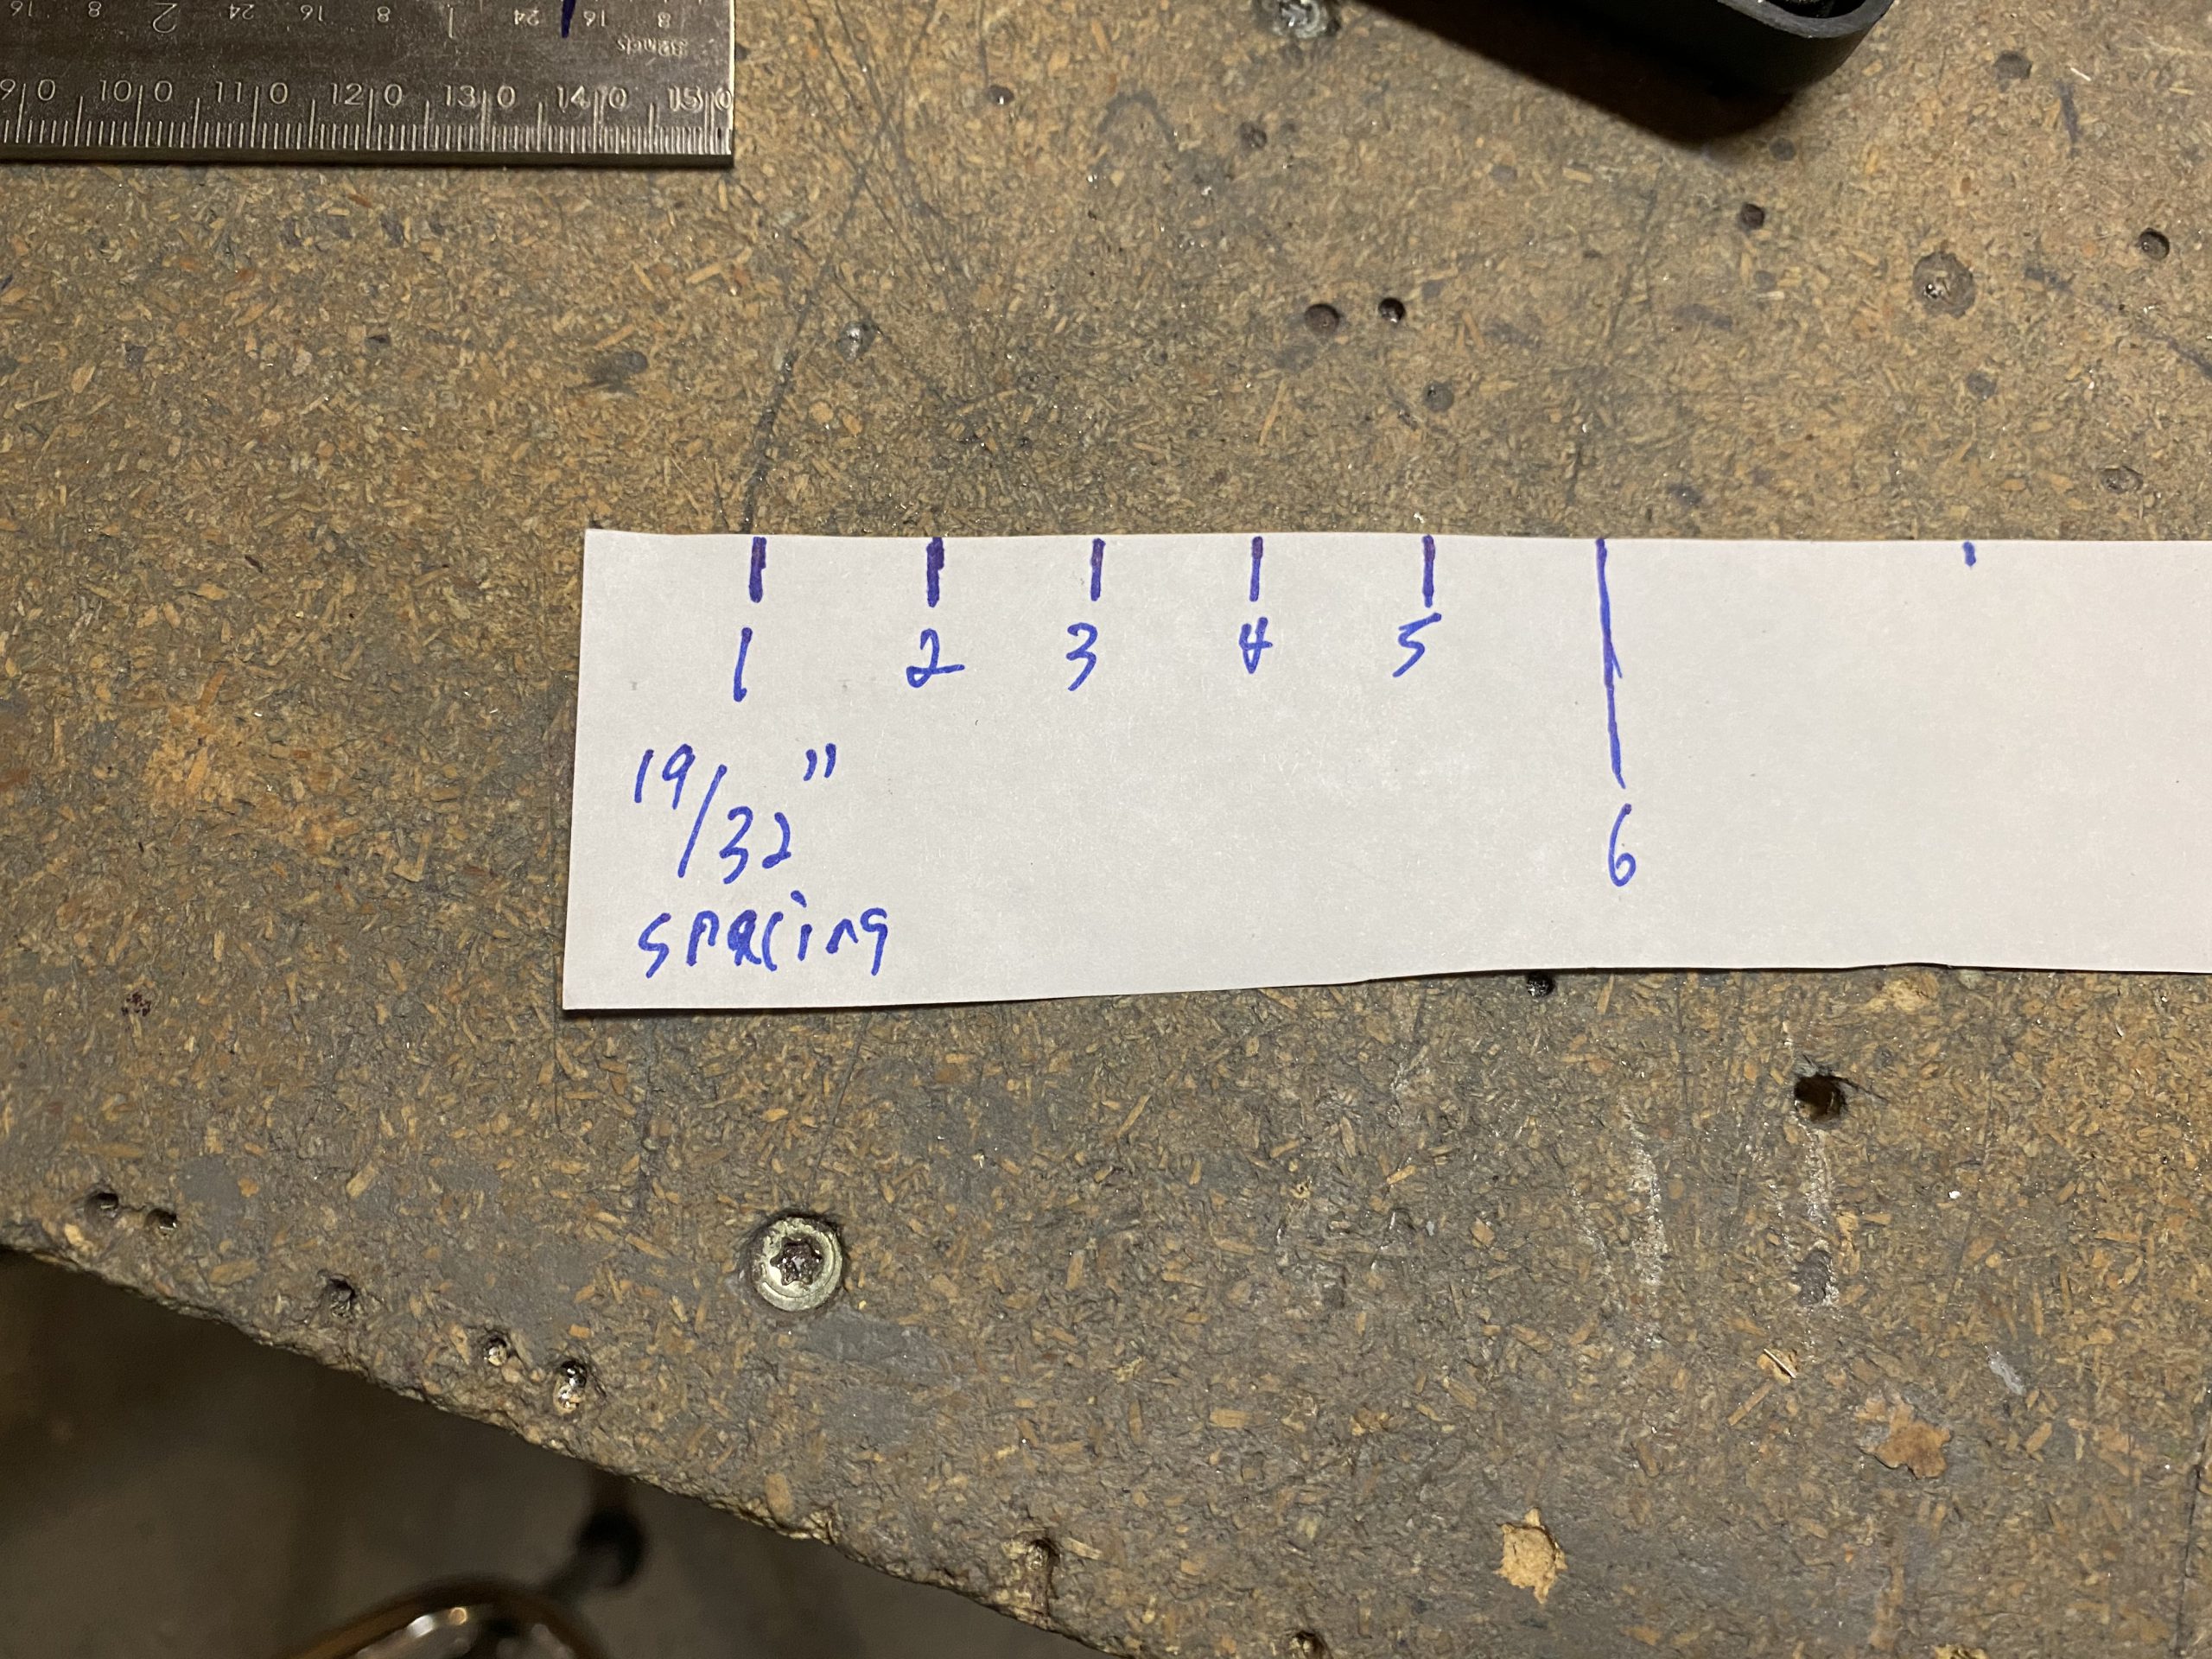
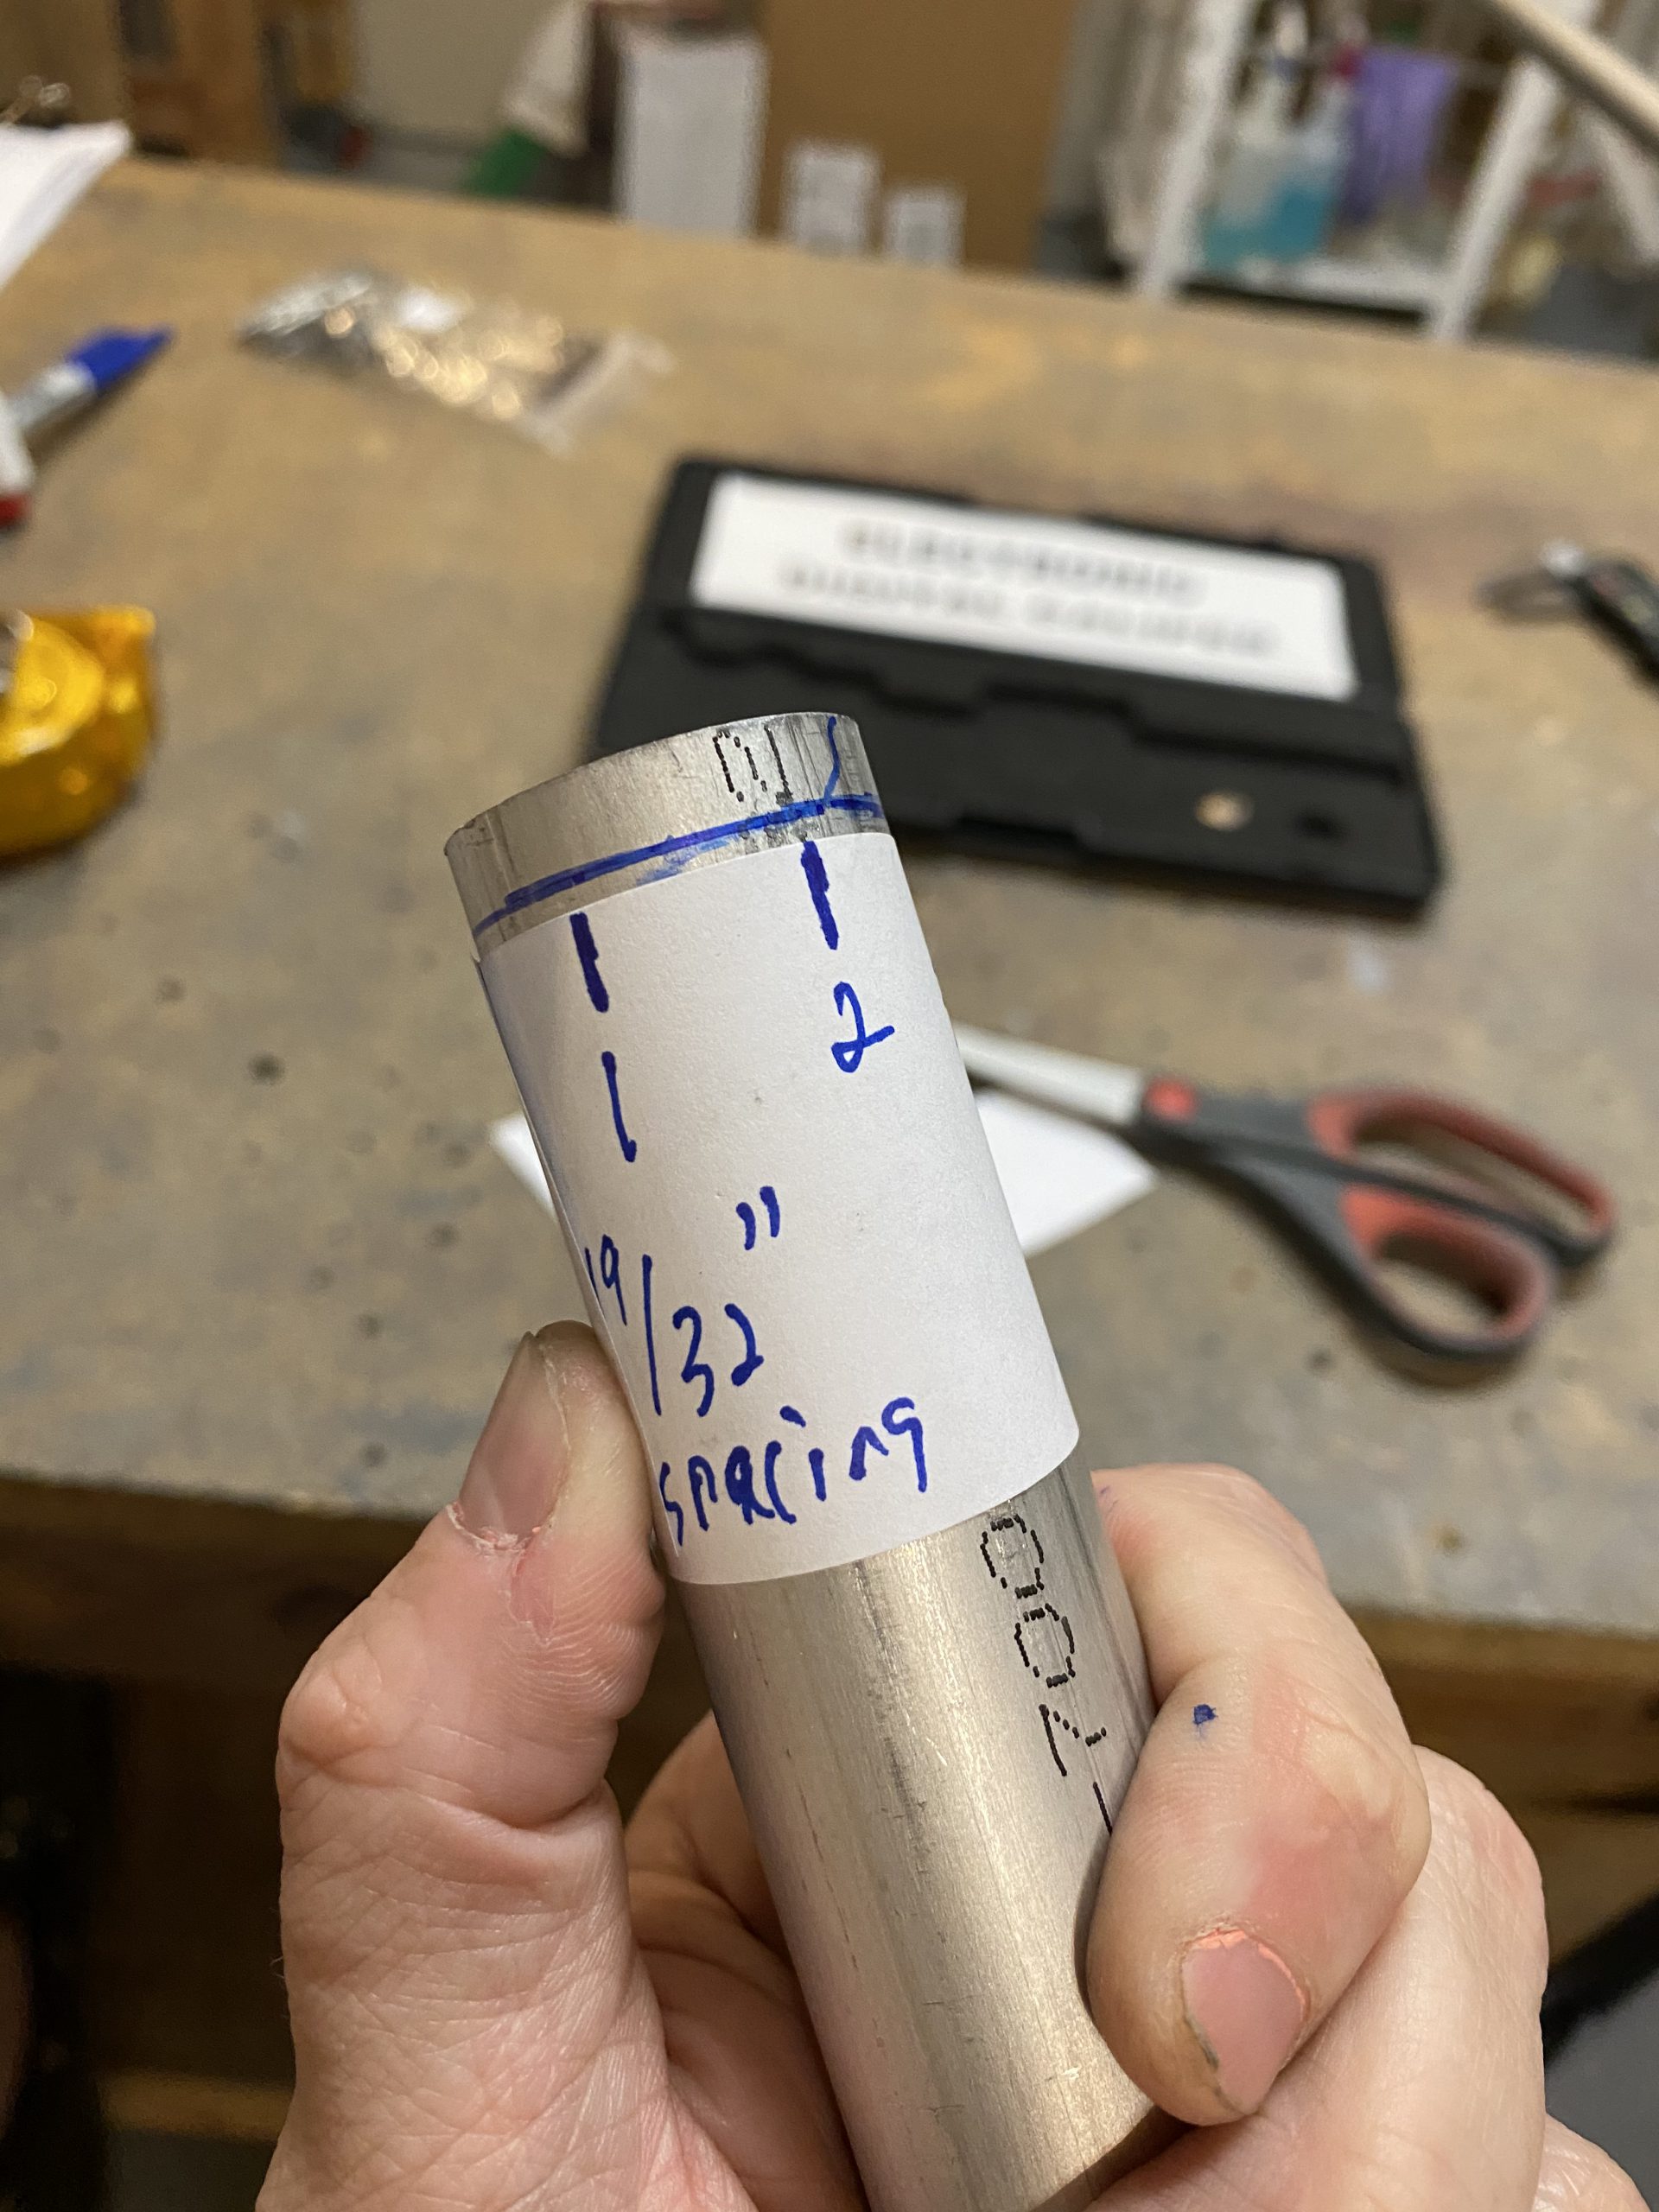
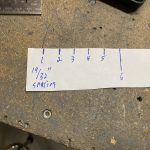
Zolpidem 5Mg Order Online Now, its time to drill. I used a piece of paper, marked out spacing of 19/32″ spacing and wrapped around my tube as a guide.
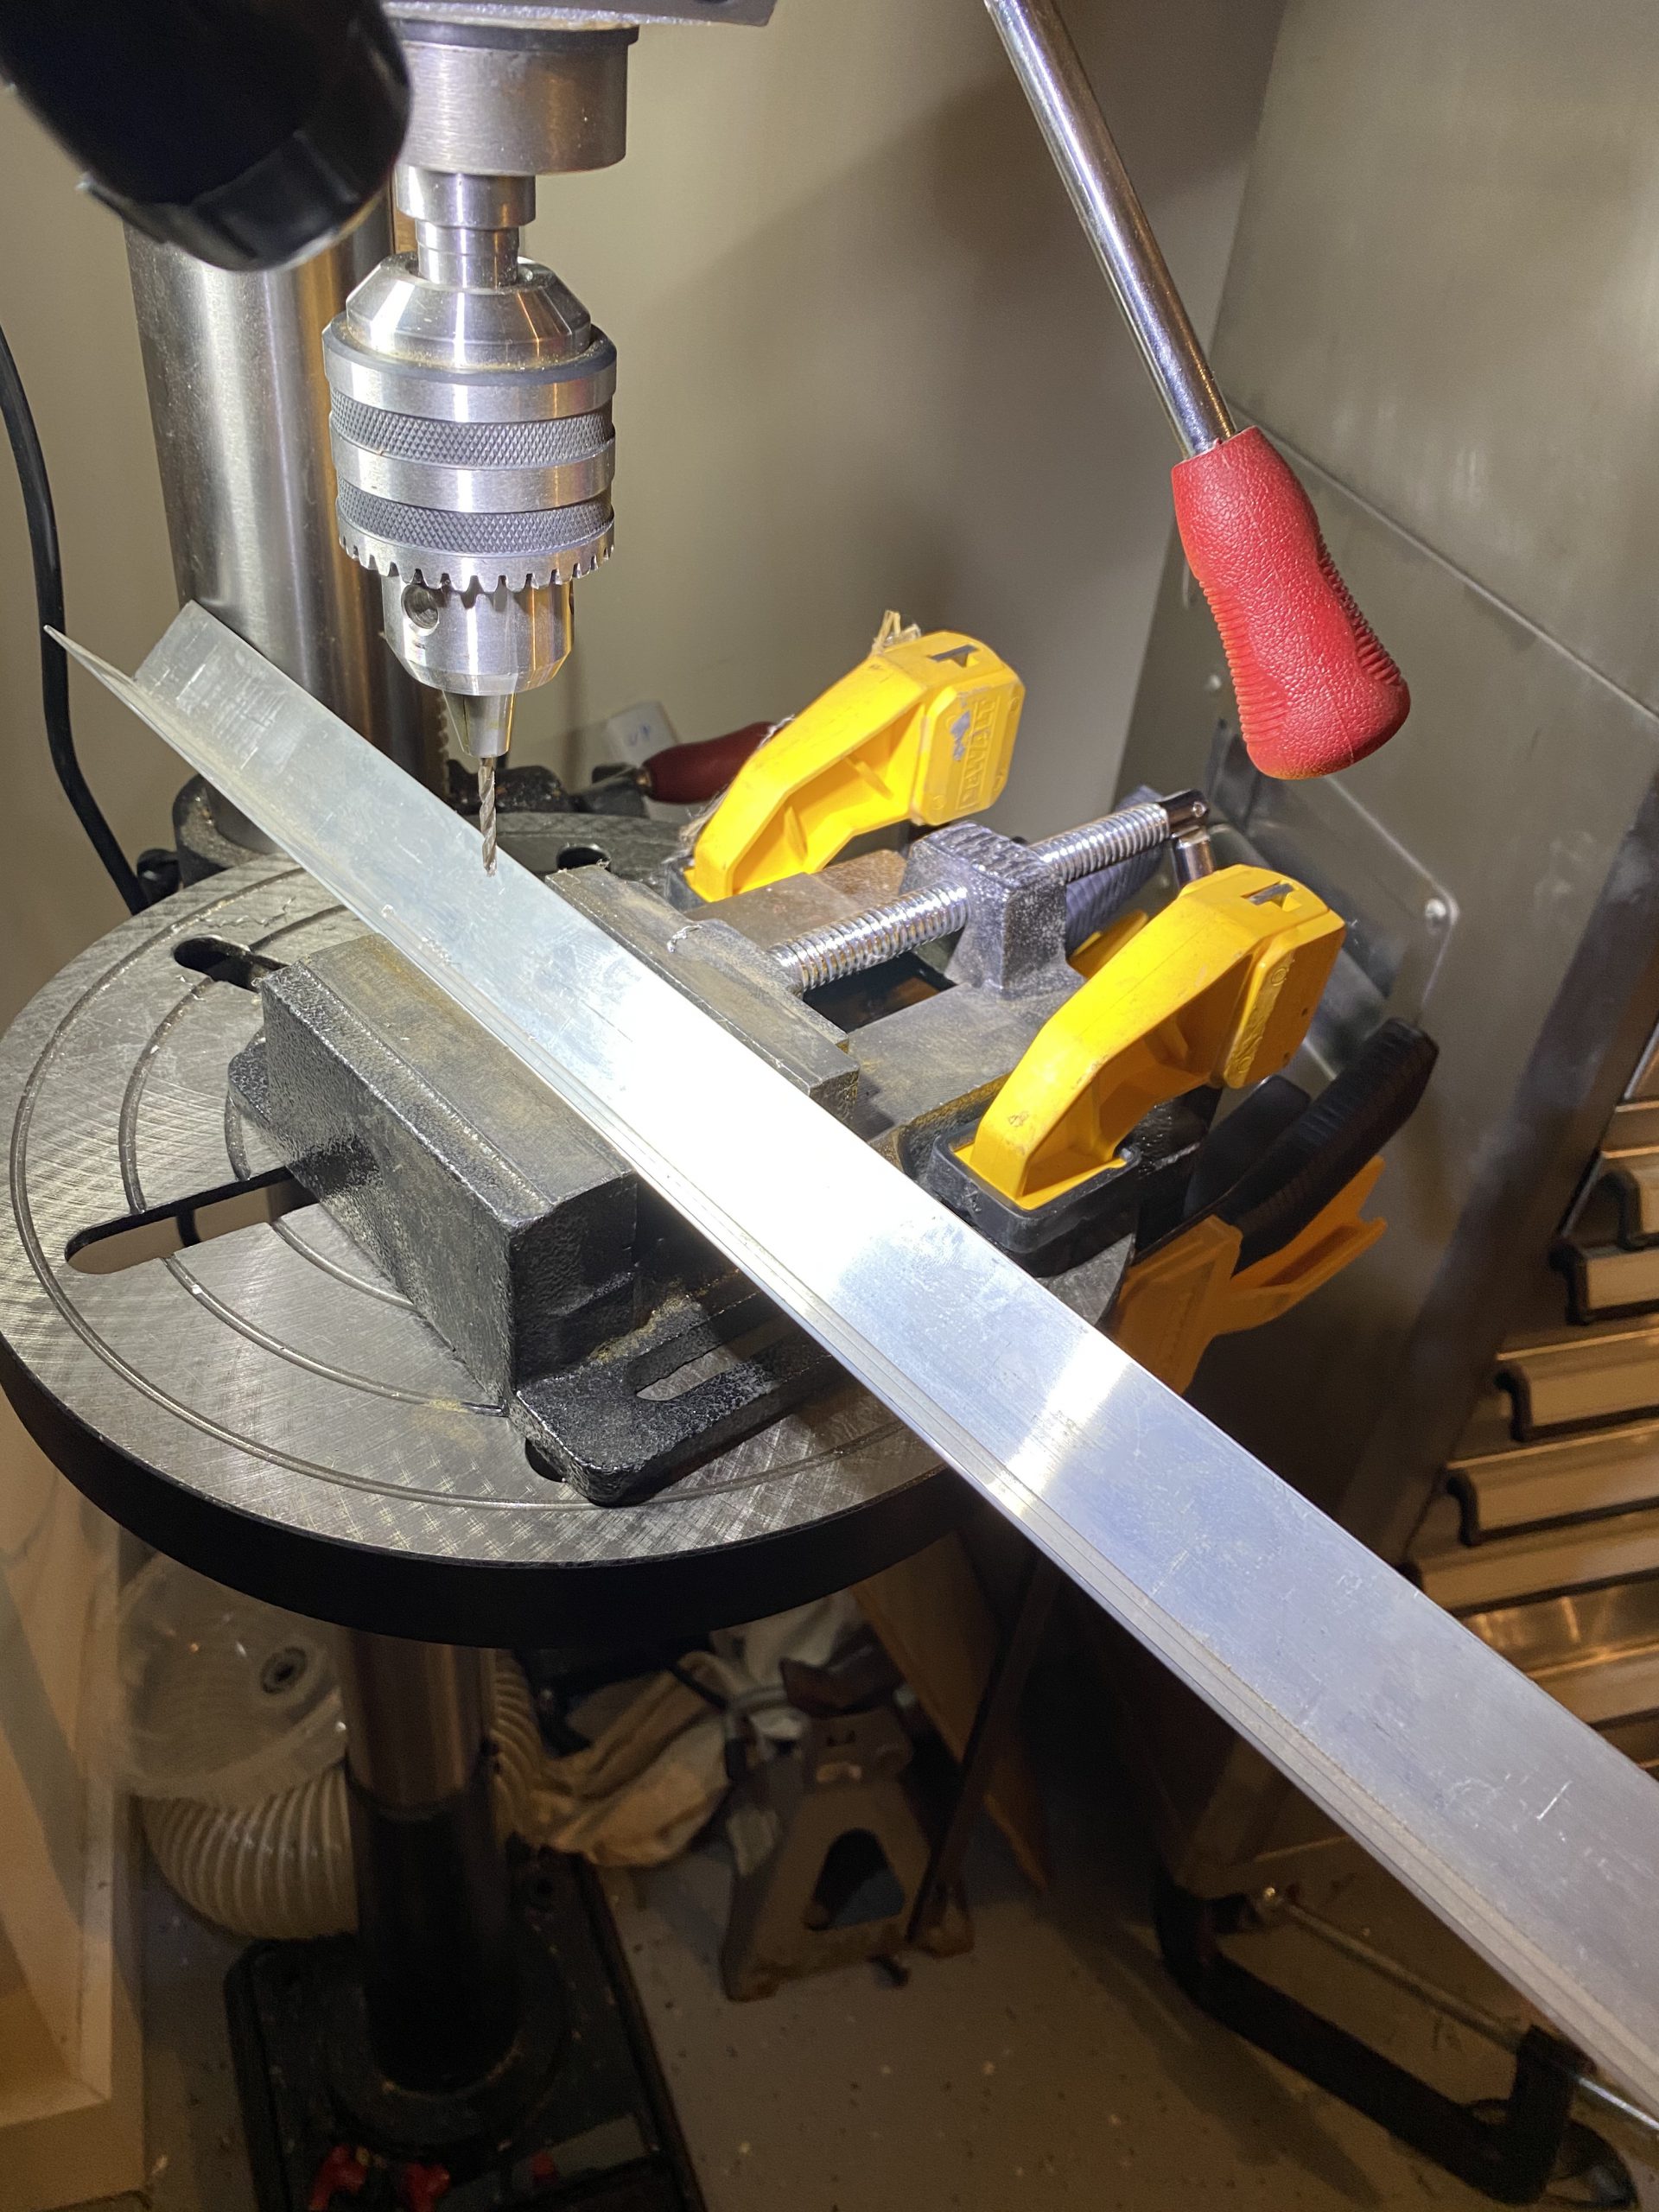
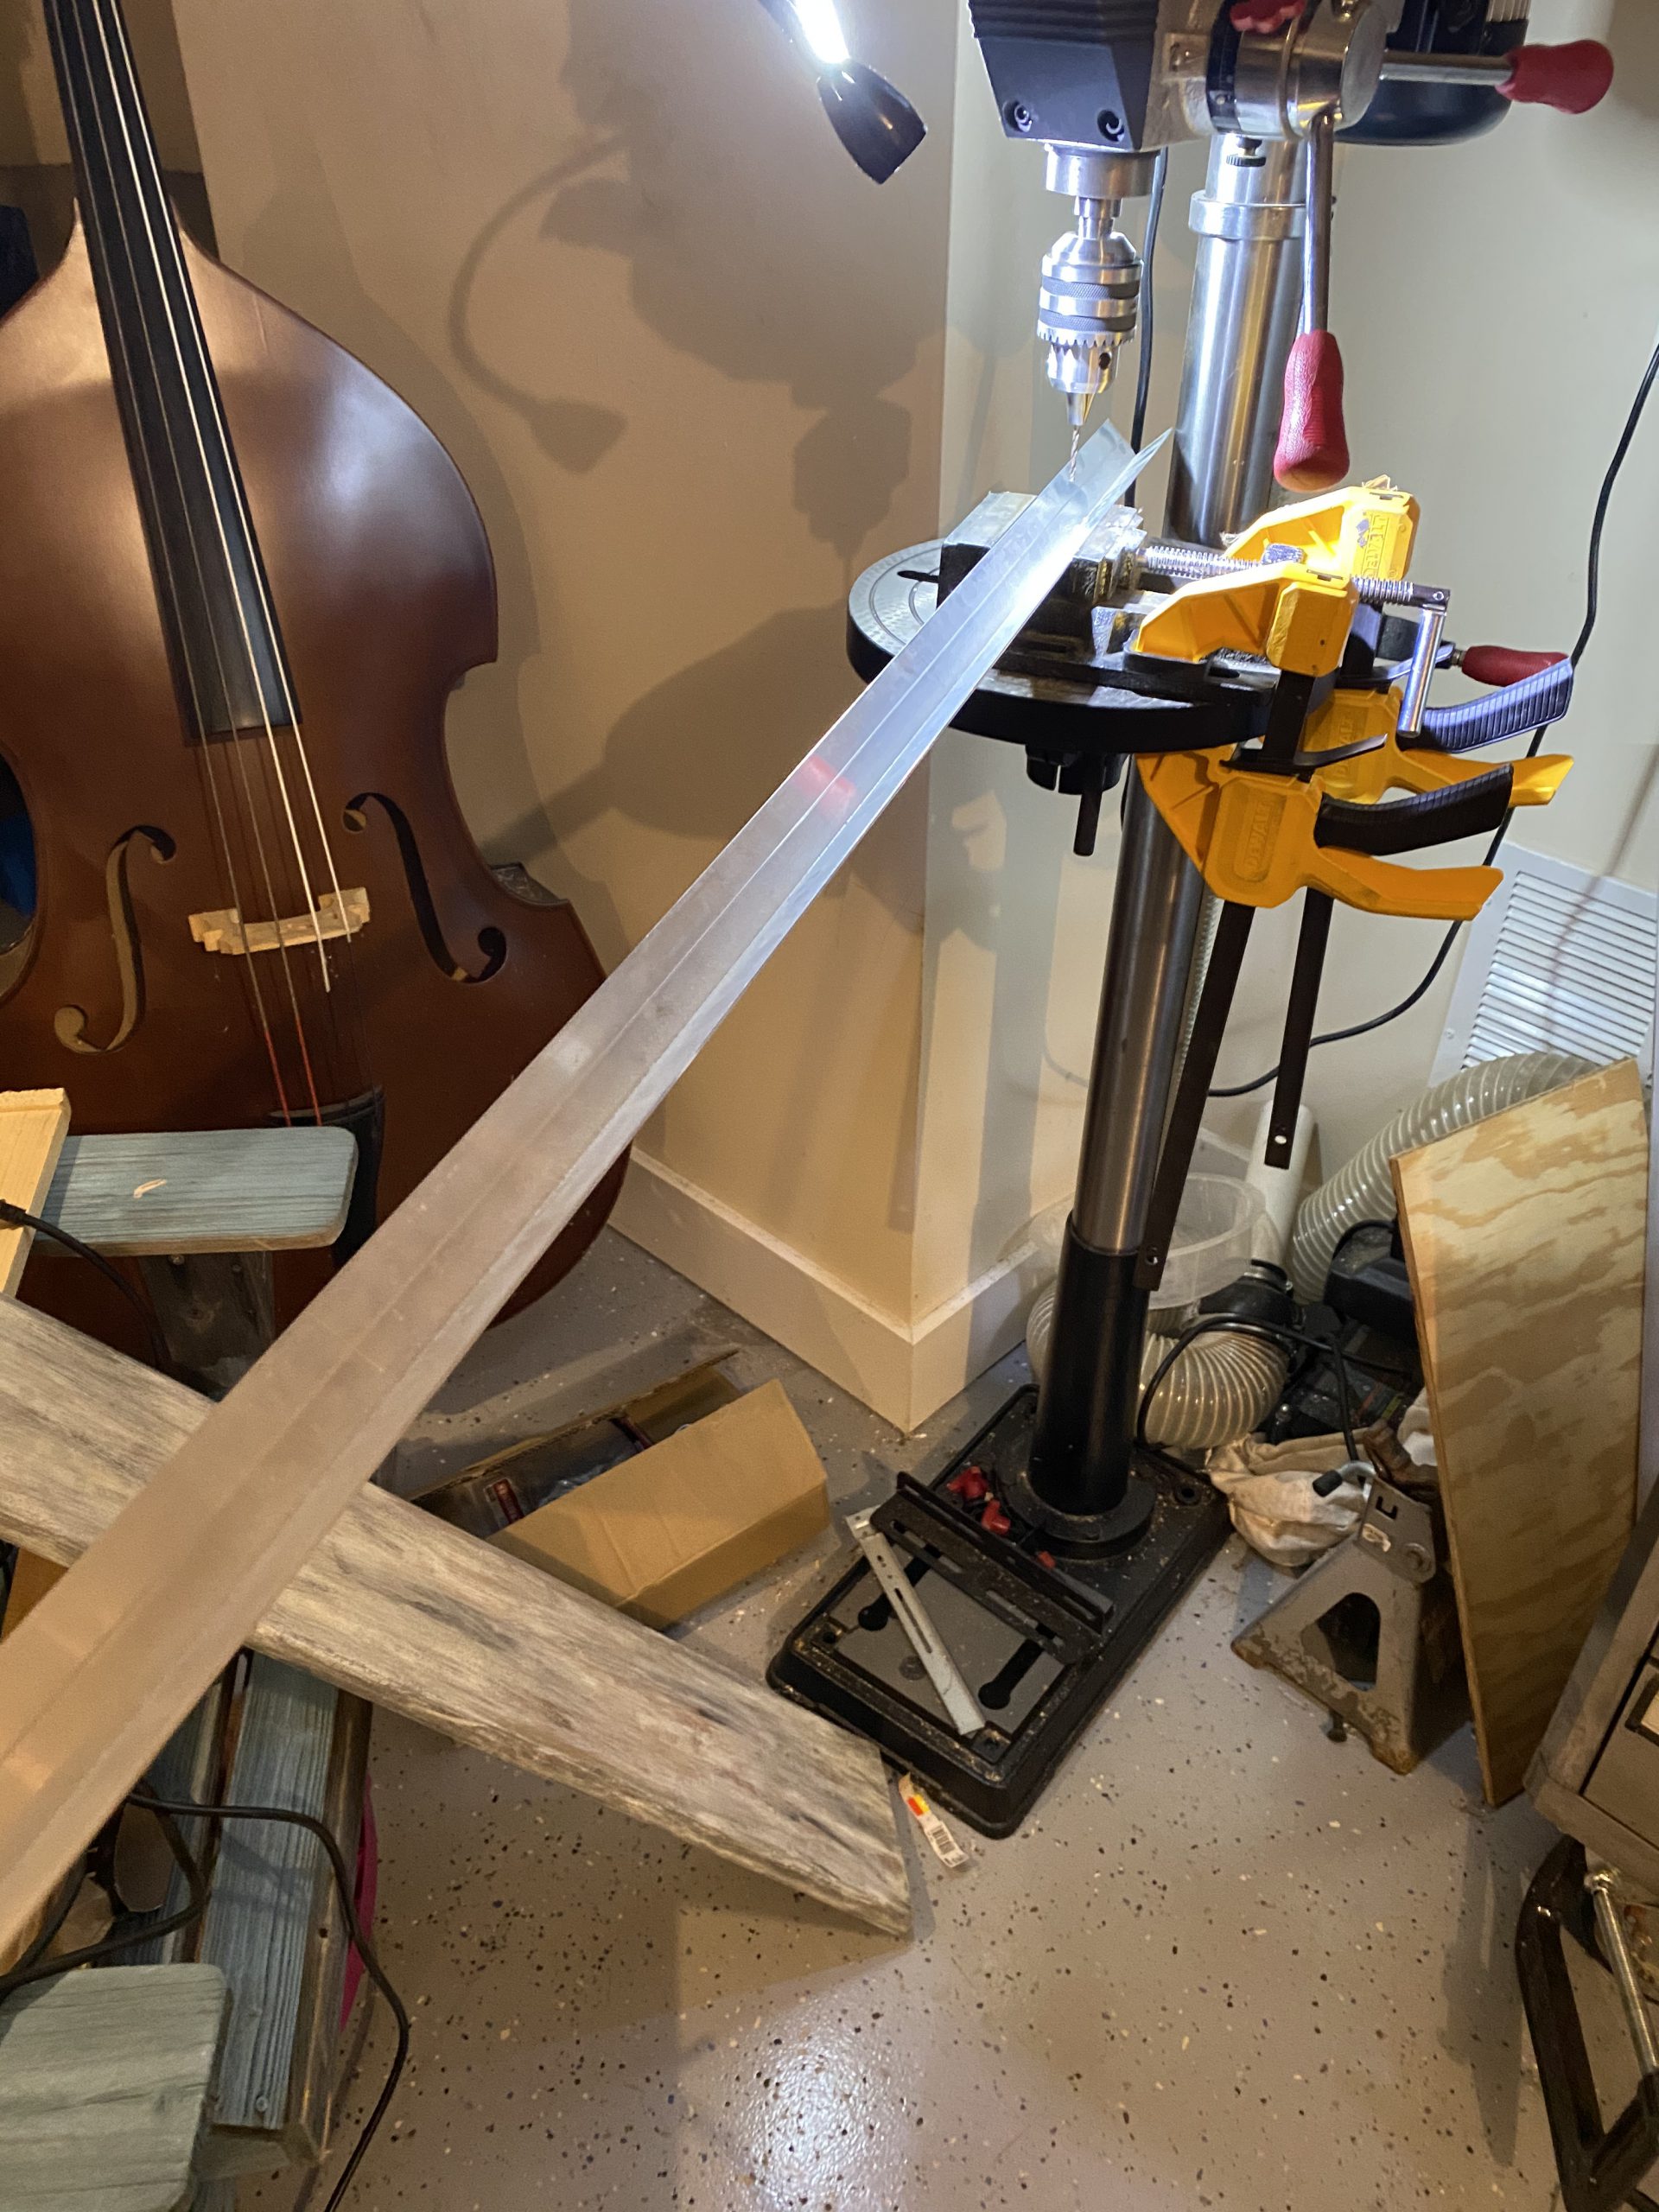
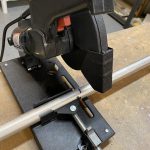
click I marked the lines of where to drill for the rivet holes using that paper template, and my 1/4″ line. This give me 6 evenly spaced rivet holes, with 1/4″ of distance. Should work perfectly! I made a simple drill jig, using some scrap angle aluminum in a drill press vise. Then centered up the drill bit into the “V” of this jig to help me make sure I get the bit centered on my tube.
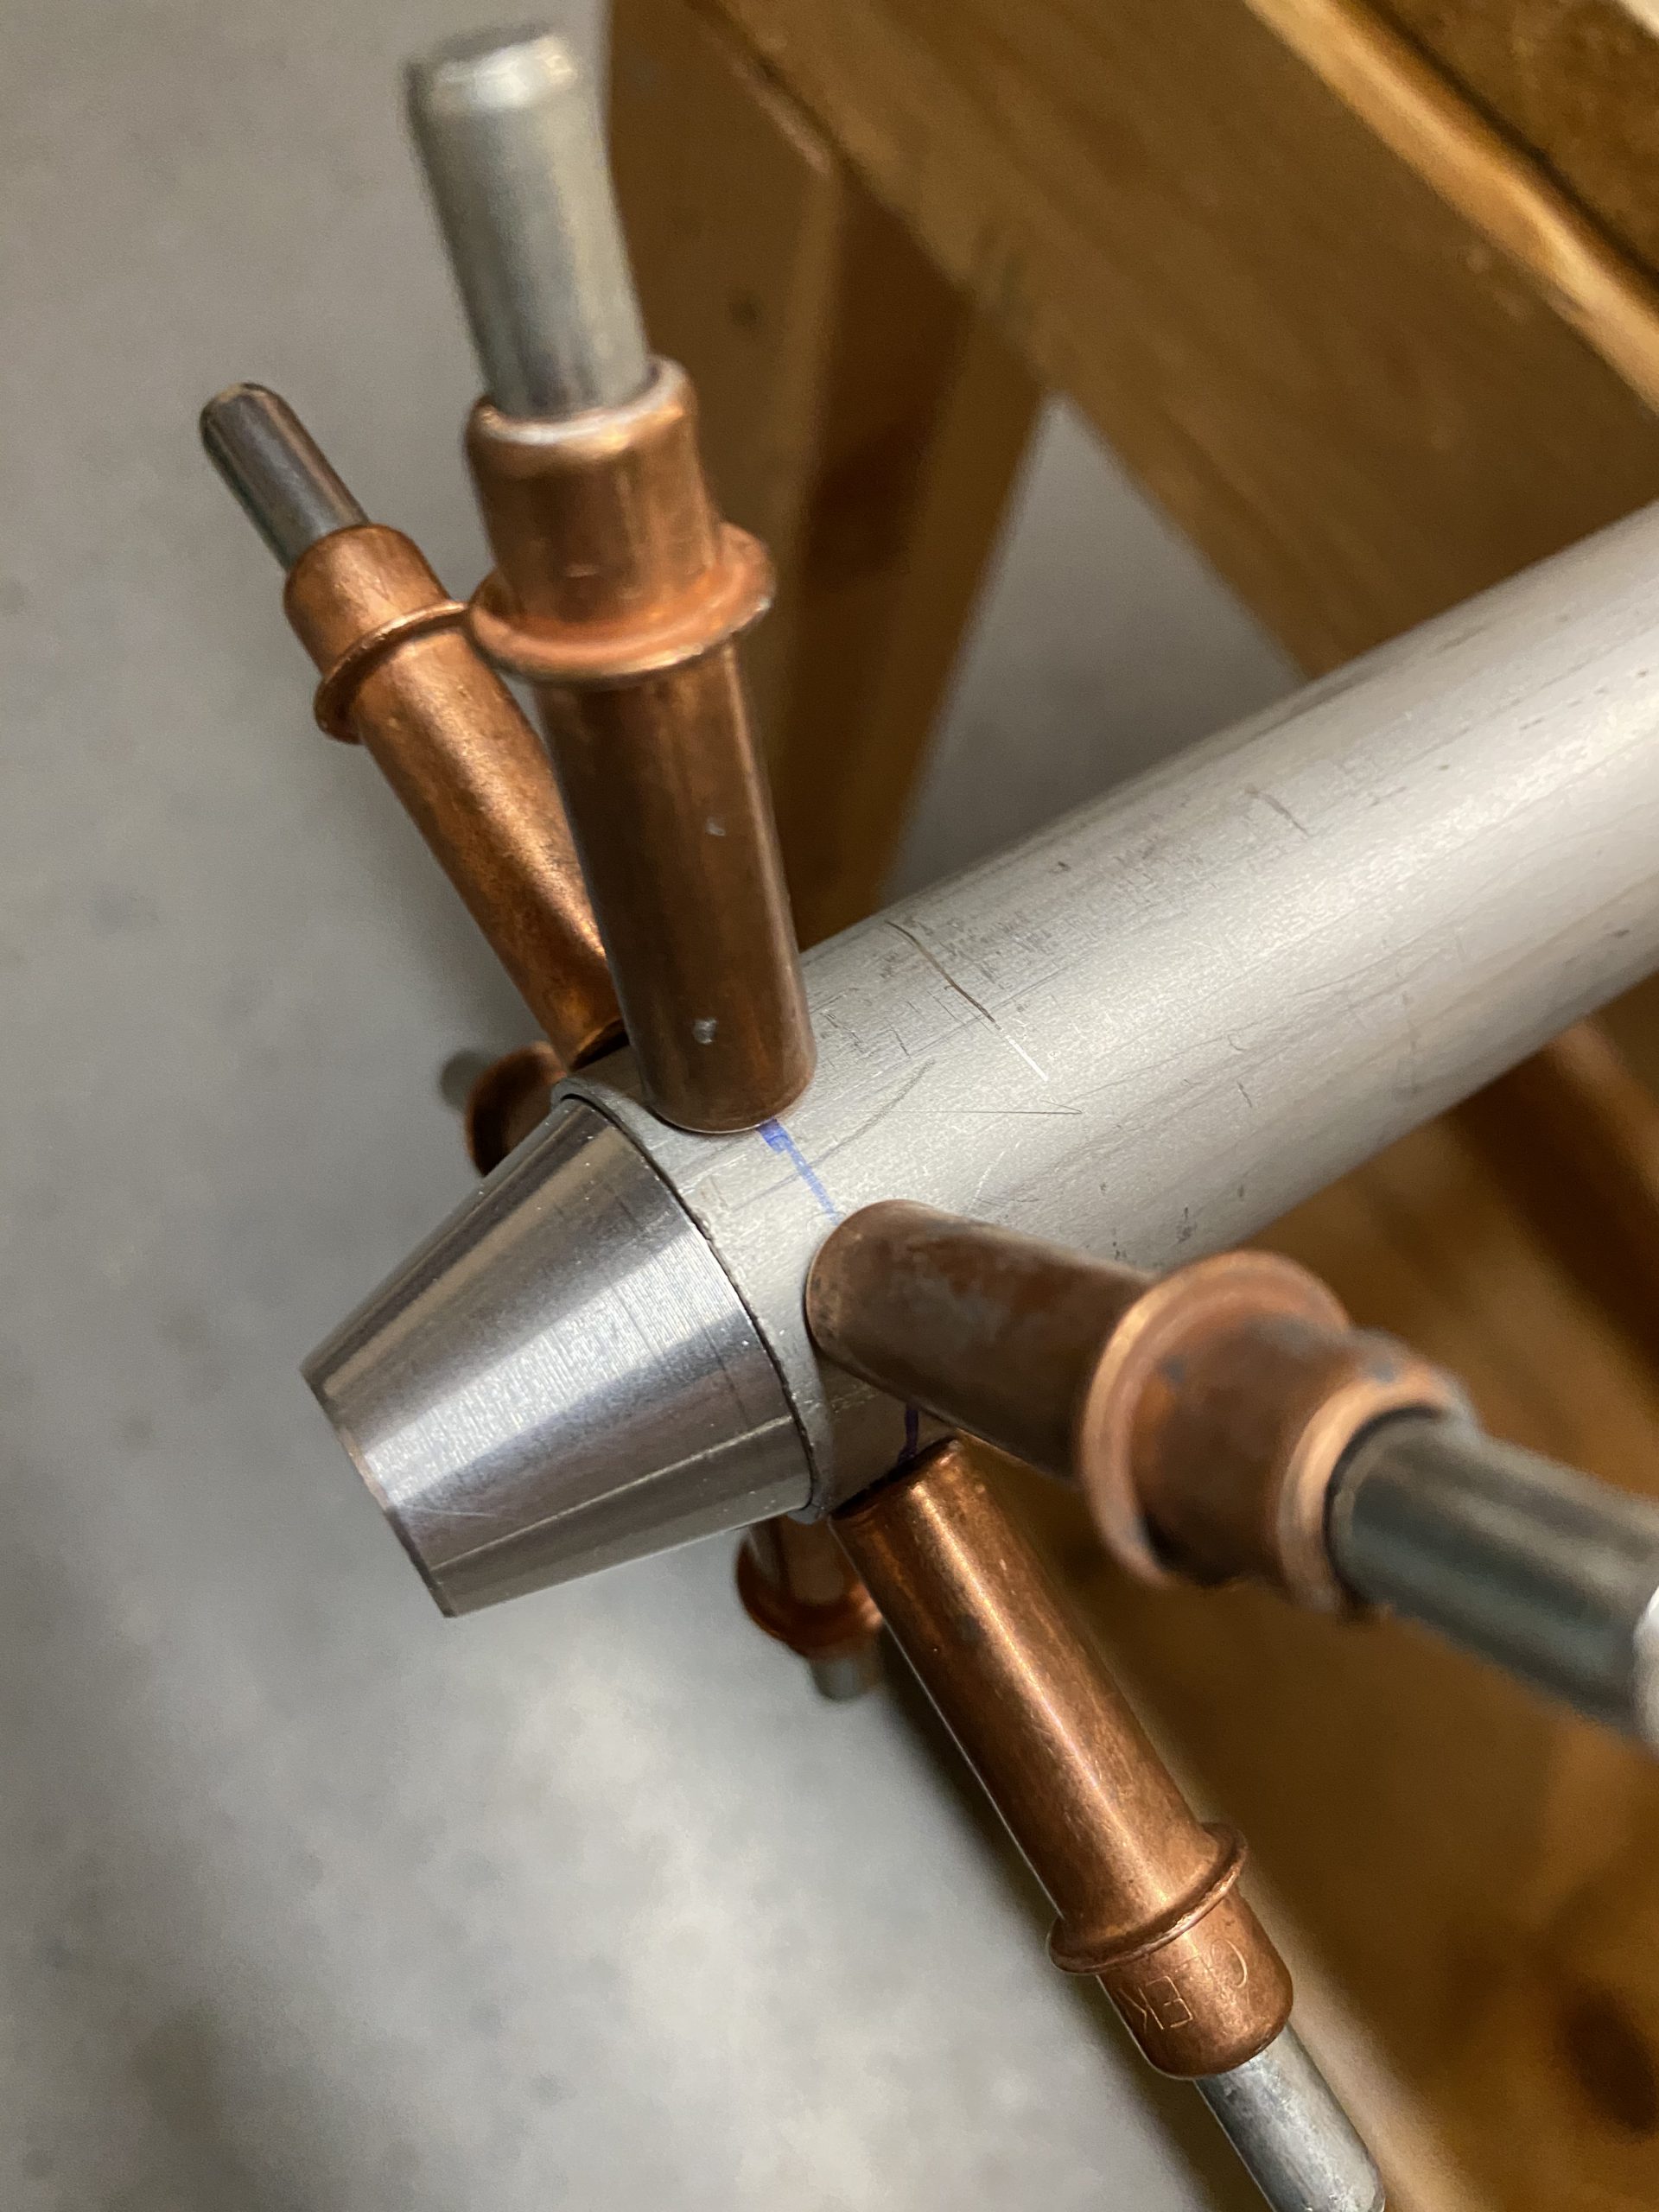
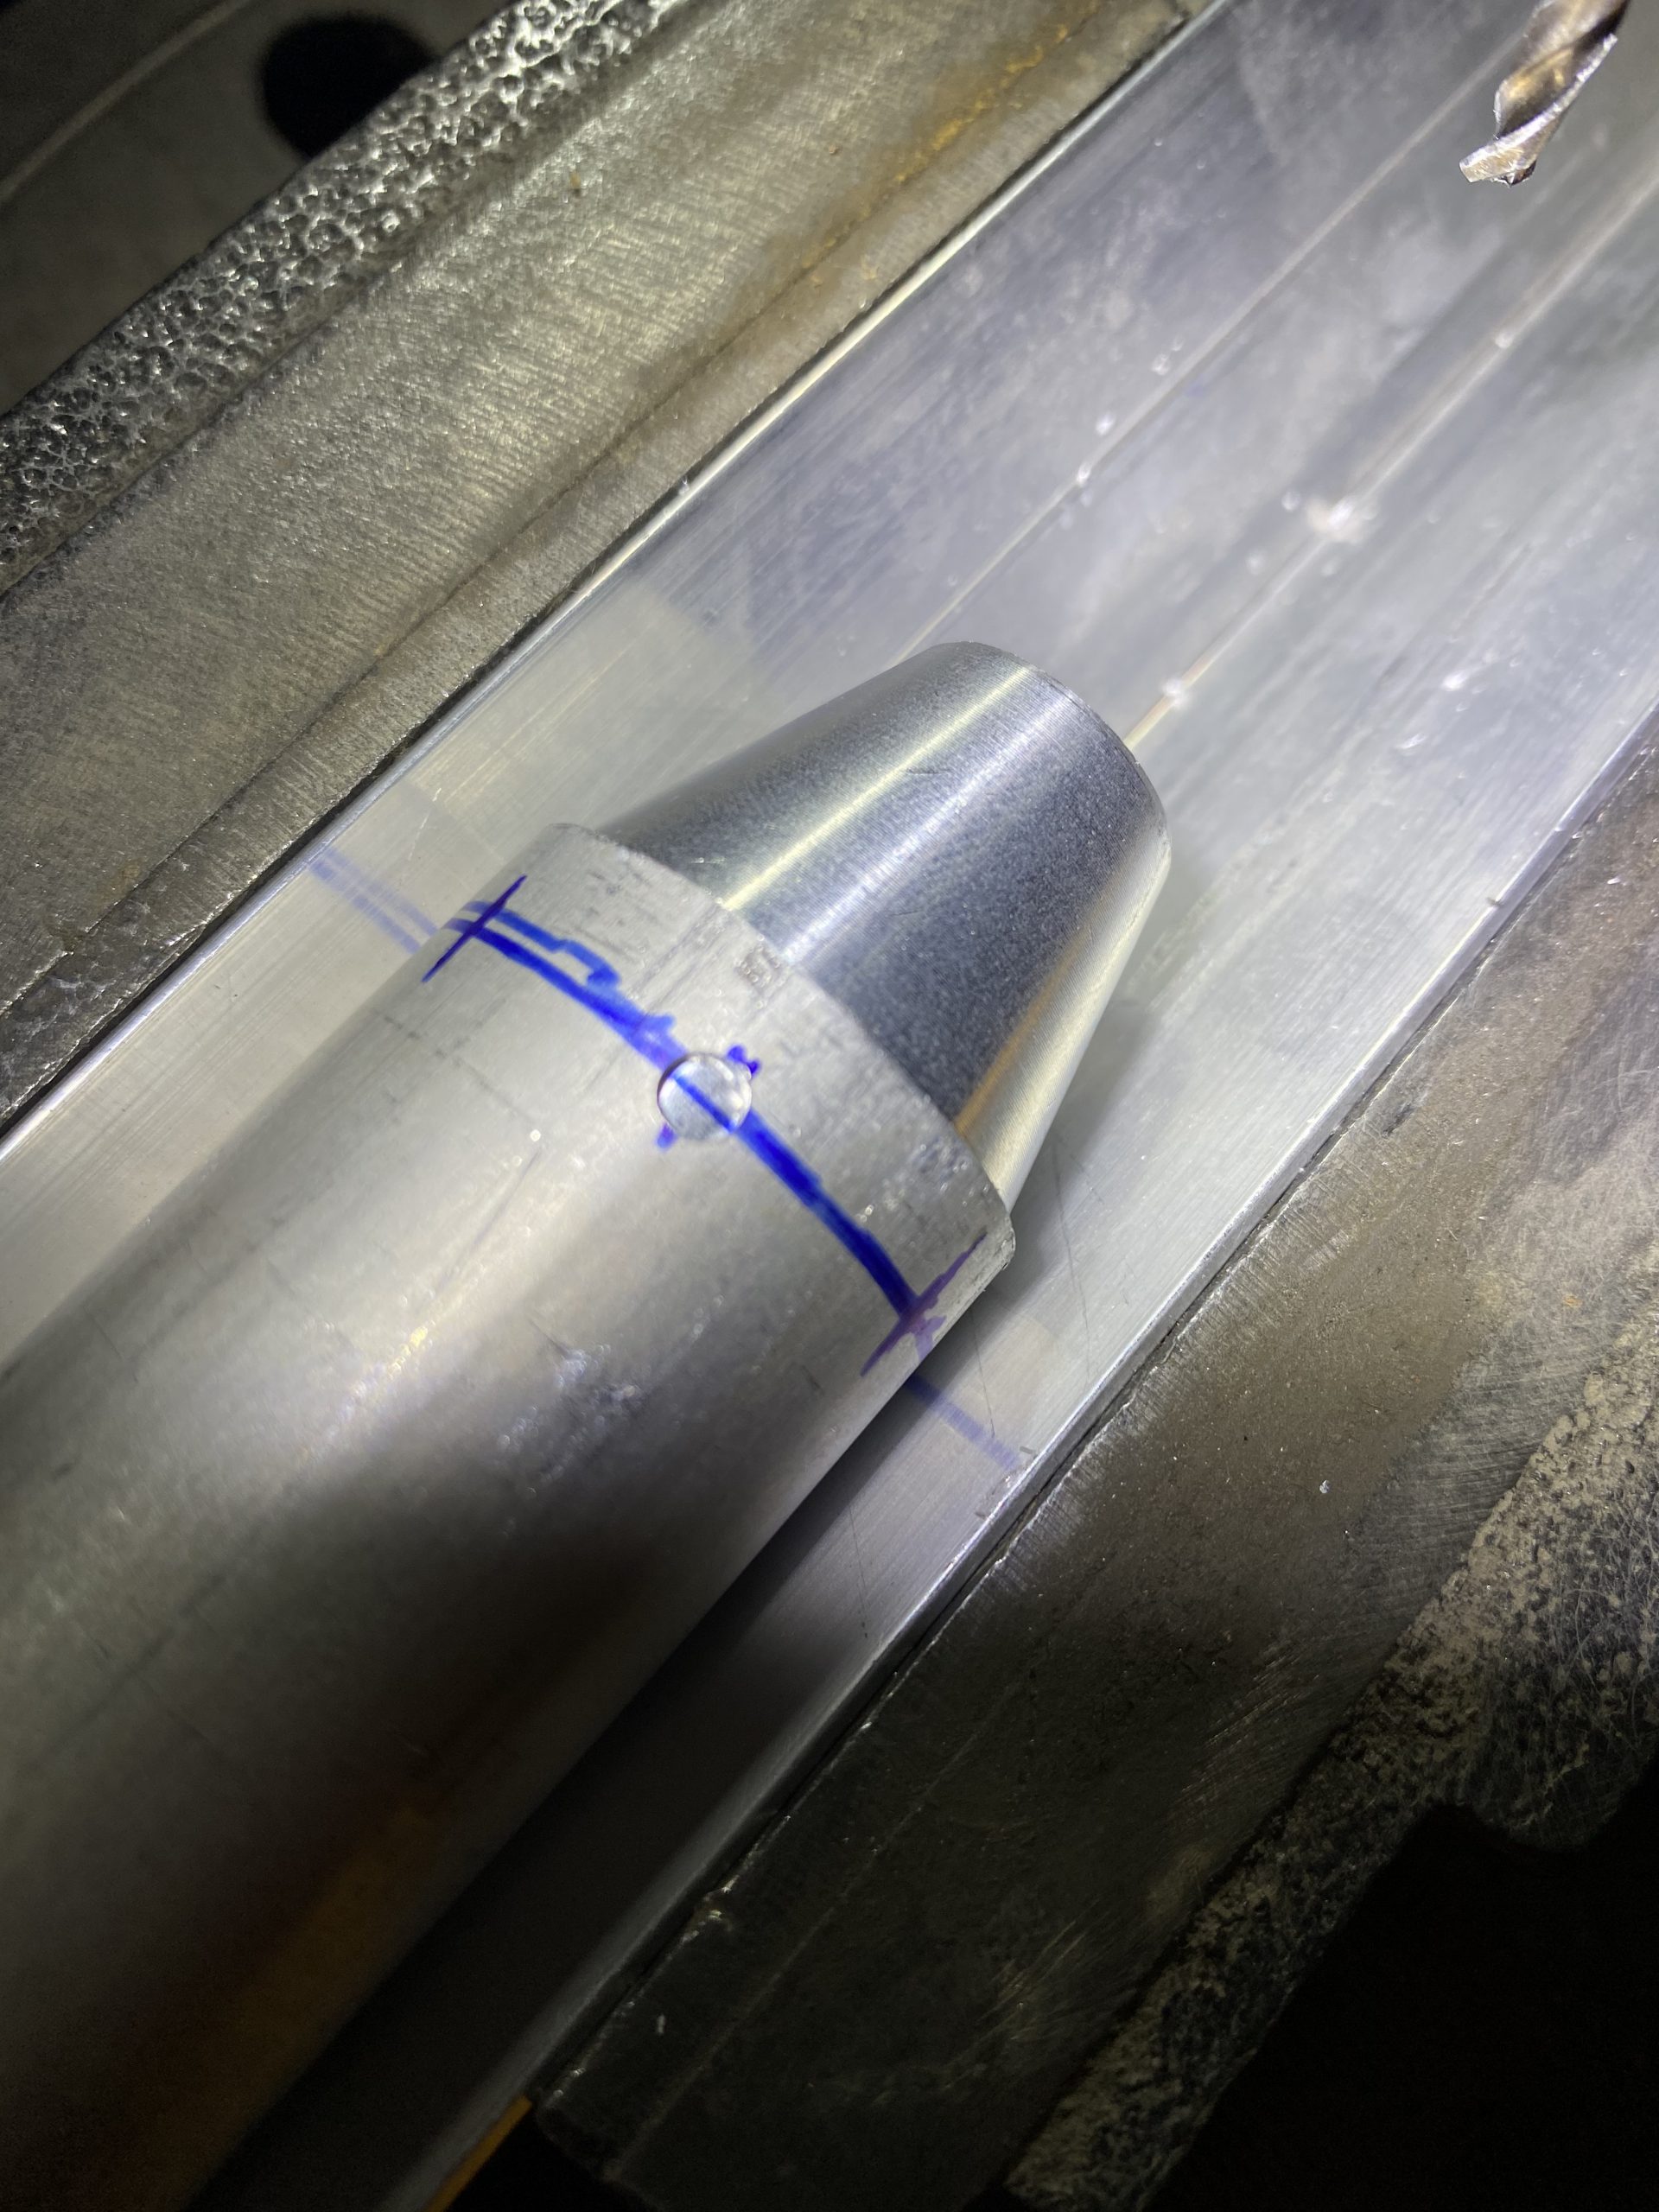
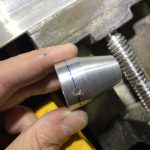
https://gottbs.com/mandate-mission-vision/ Then clamped the jig down, and laid my tube in the jig, without the VA-111 inserted. I drilled a single hole in the tube first, then I will use this hole as a sighting hole to line up the blue sharpie line I made on the VA-111 to make sure its lined up and inserted to the proper depth.
Xanax Buy Without Prescription 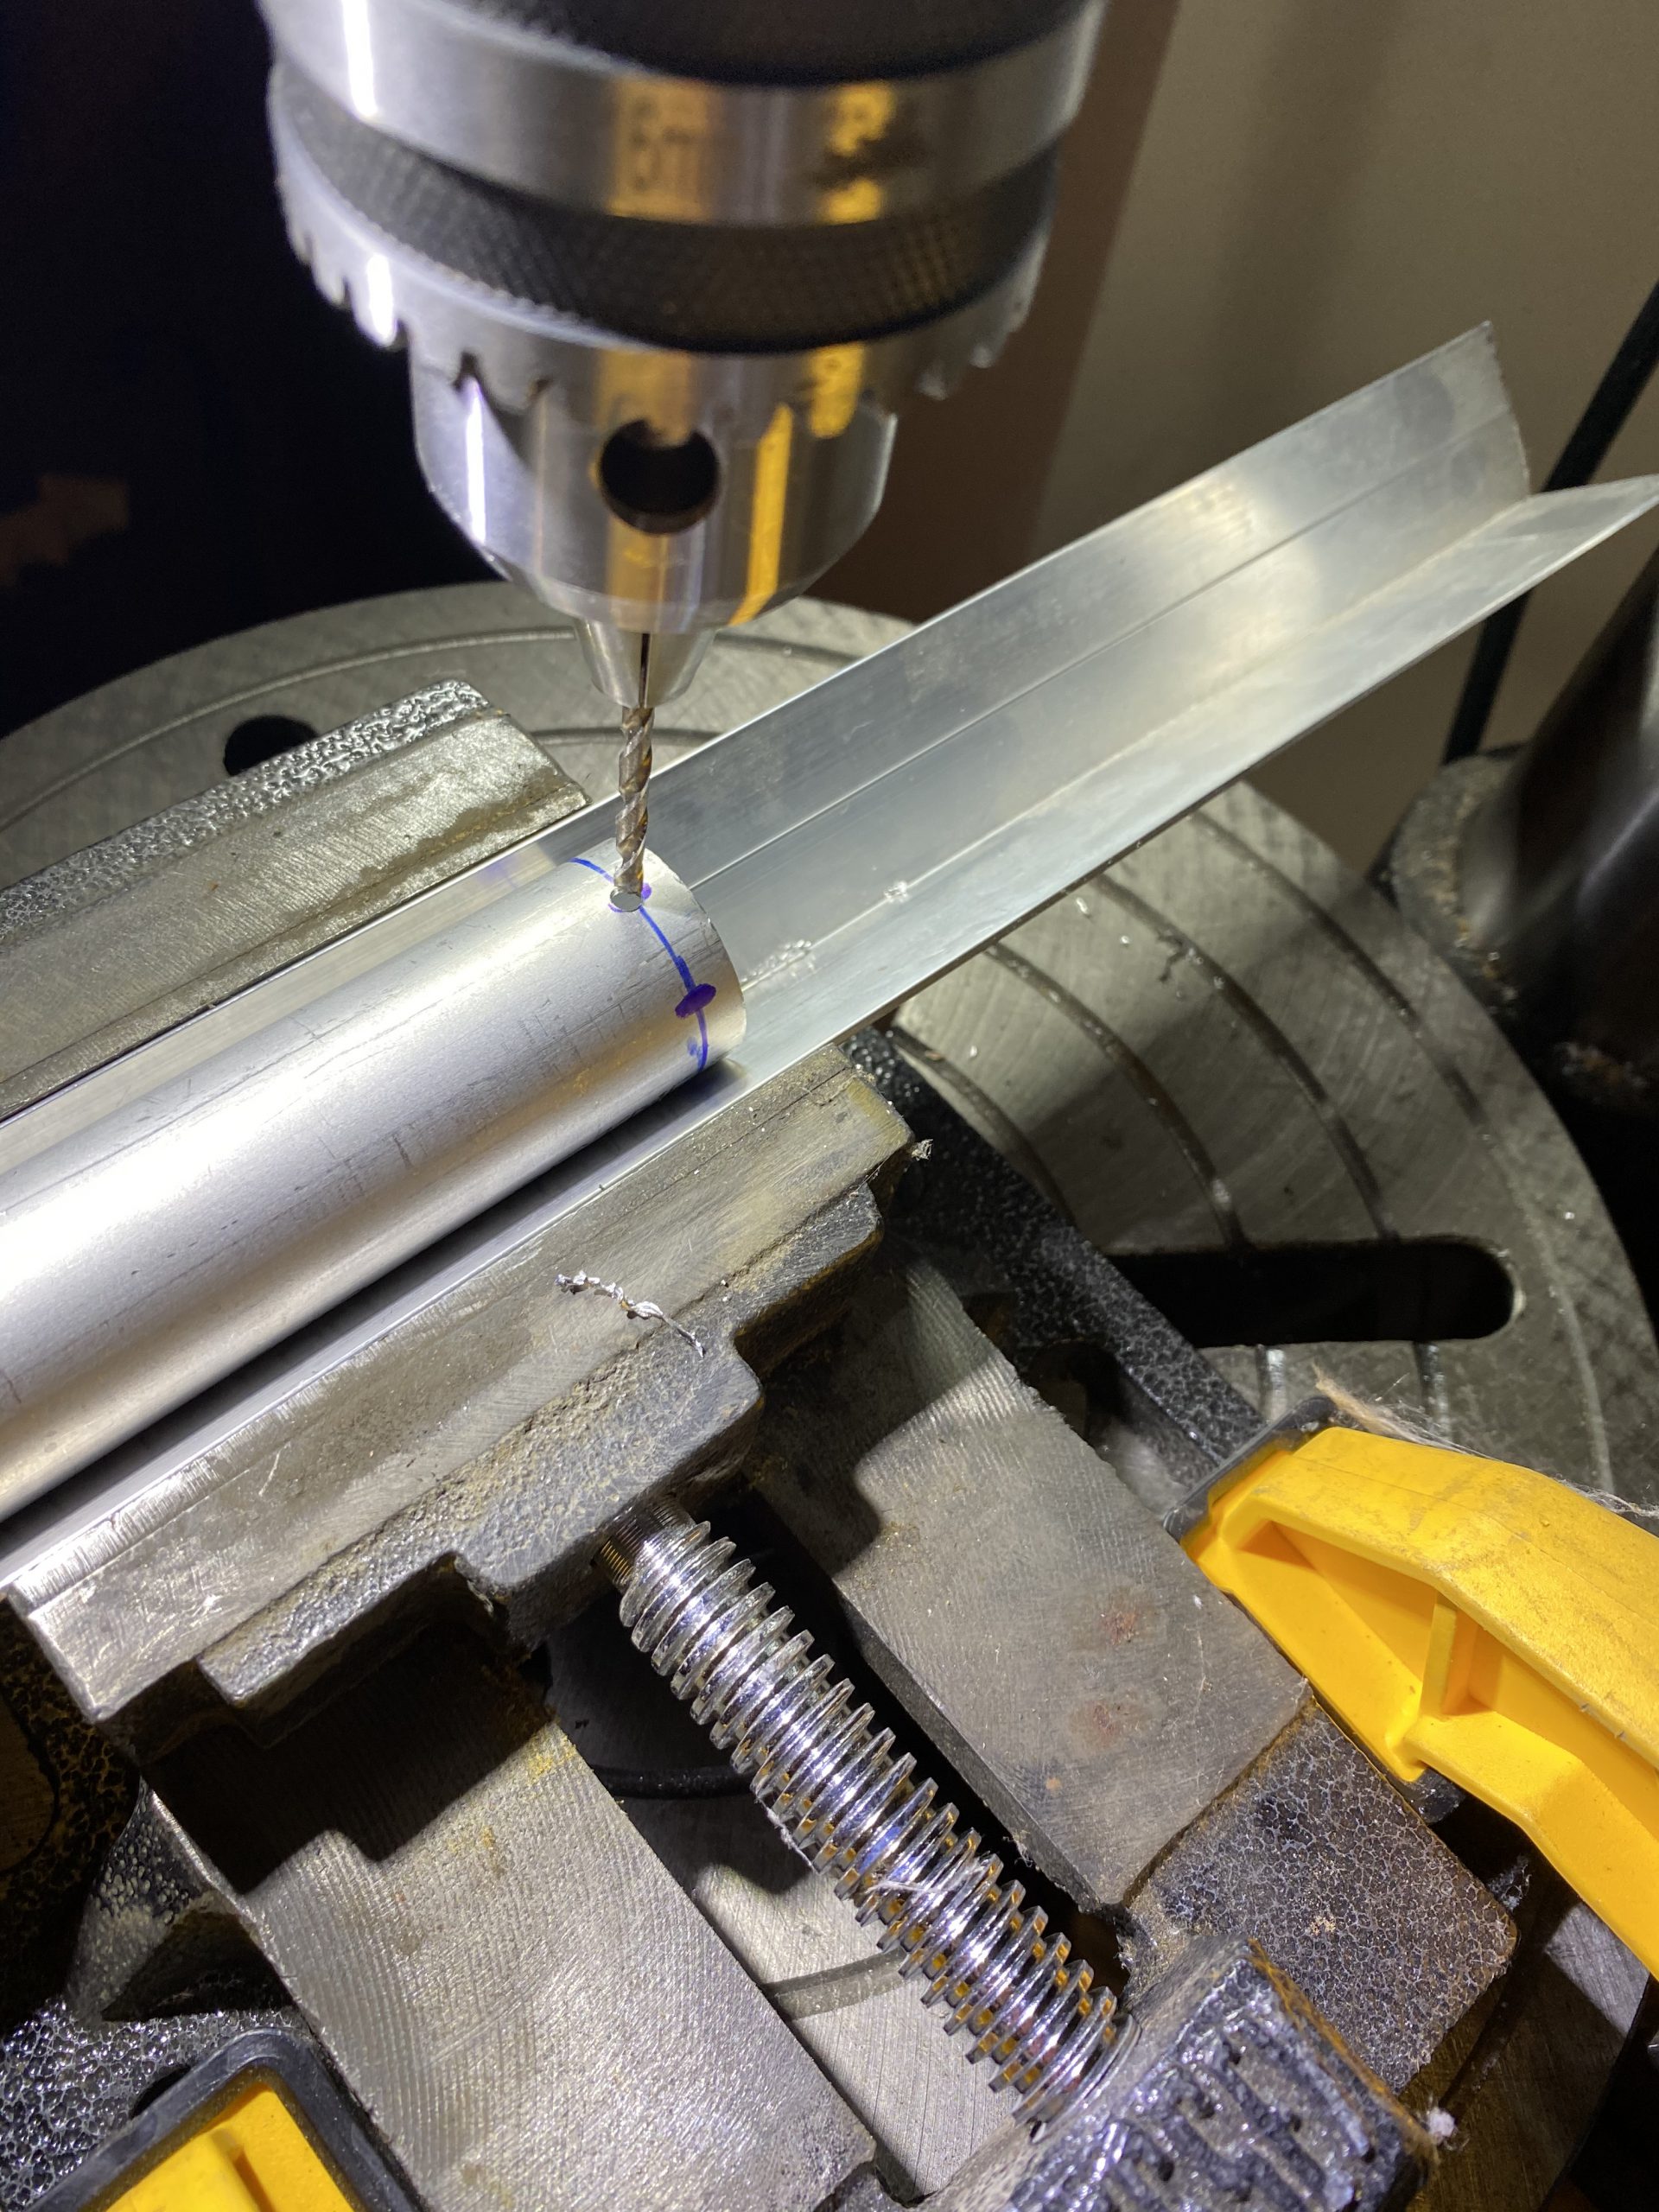
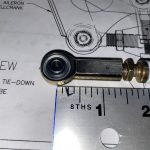
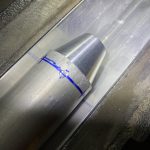
get link Now that the hole is drilled into the tube, I inserted the VA-111 and lined up the 1/4″ index line in the center of the tubes hole, and then used this to back drill the first hole into the VA-111. You can see the blue line on the VA-111 insert through that new hole in the tube in the photo below.
Order Hydrocodone Online I gently put this lined up assembly under the drill bit, and drilled the hole into the VA-111. This worked out PERFECTLY! It allowed me to drill the hole in the exact spot with no edge distance issues.
https://arquine.com/lahoraarquine/ 
Get Tramadol Online Next, I reinserted the VA-111 and clecoed it in place using this new hole. This assured me that everything else would line up, and I could just drill the tube and the VA-111 at the same time. I’d drill a new hole, insert a cleco and then drill the next hole, using my index marks.
Eventually, I ended up with 6 very nicely spaced holes in the tube and VA-111. I am pretty stoked about how this worked out.
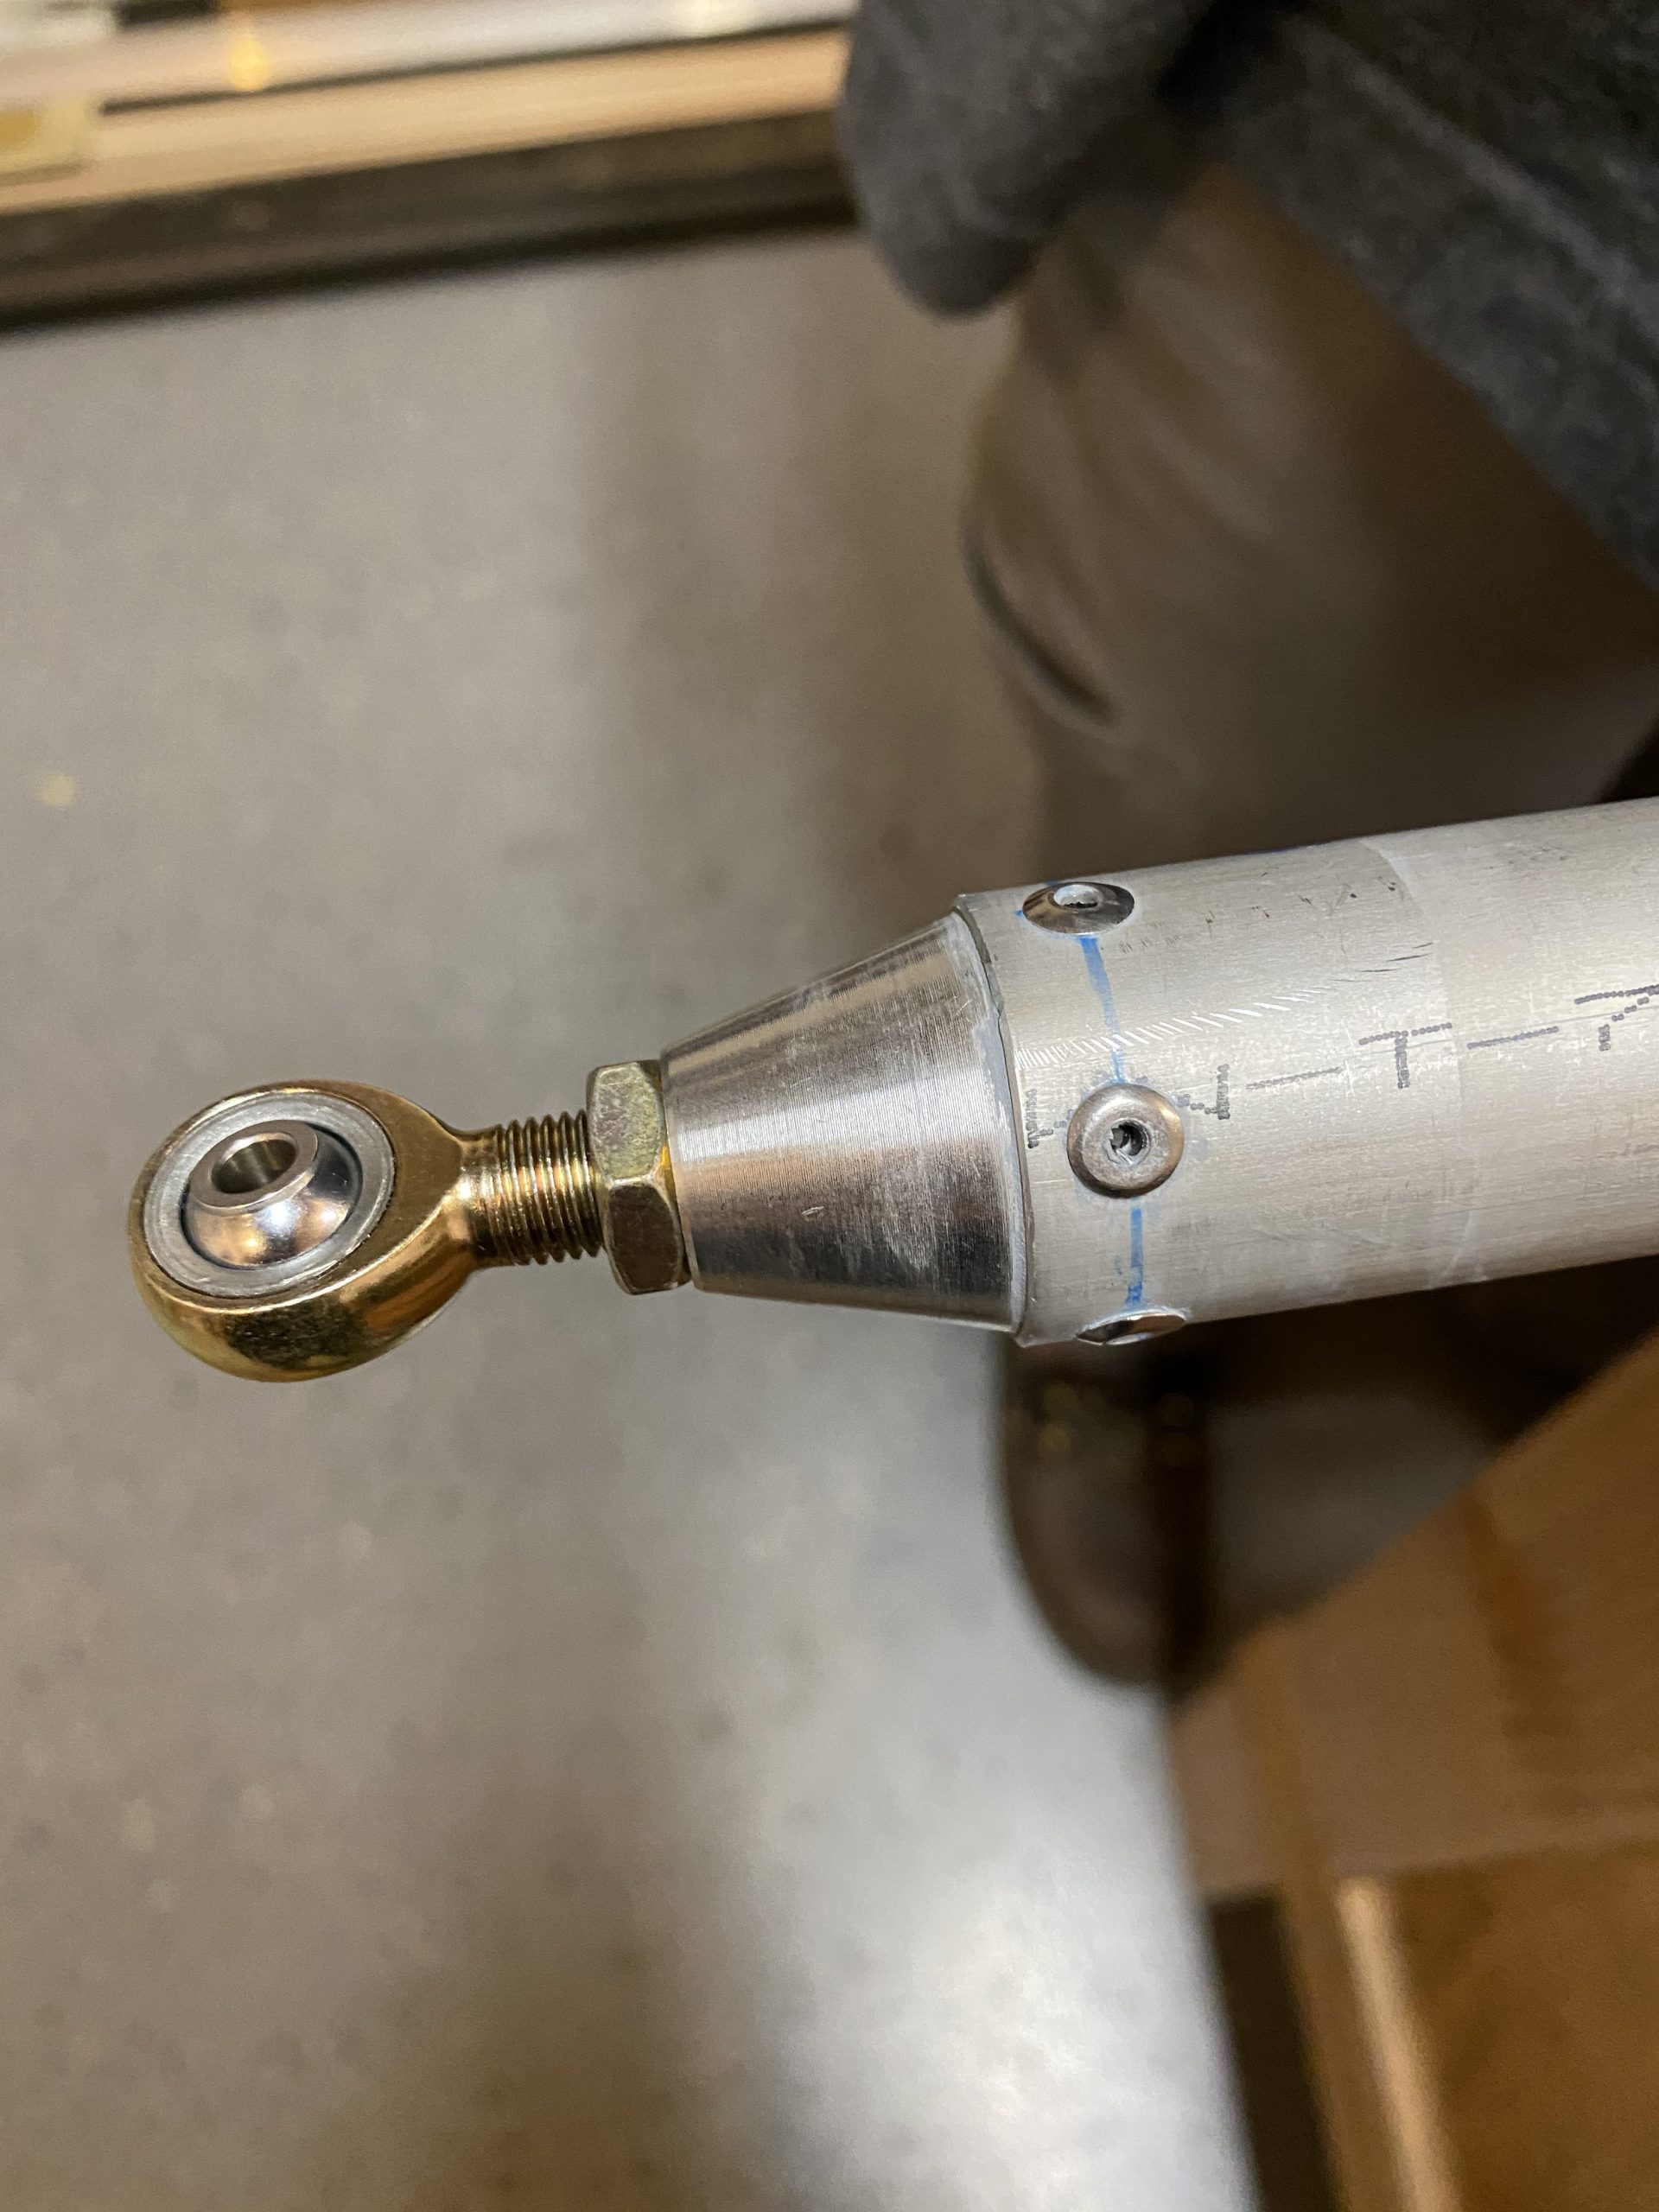
Now, I wanted to get one rod end done on each of the tubes to give me a place to start my measurements, which is important in the next steps. So, I essentially did this same procedure on the second pushrod tube. Recall my tubes are 6 feet long, way longer than the plans calls for. I have read the plans dimensions are a bit too short for the end measurement, leaving the threads of the rod end and heim joint out of spec and too far out to make up for the short tube length. So, I marked the halfway point on the threads for the M3614M heim joint with a sharpie and threaded them into the rod end bearings. We only want to thread these heim joints to the halfway point to give us plenty to work with for adjustments later on.
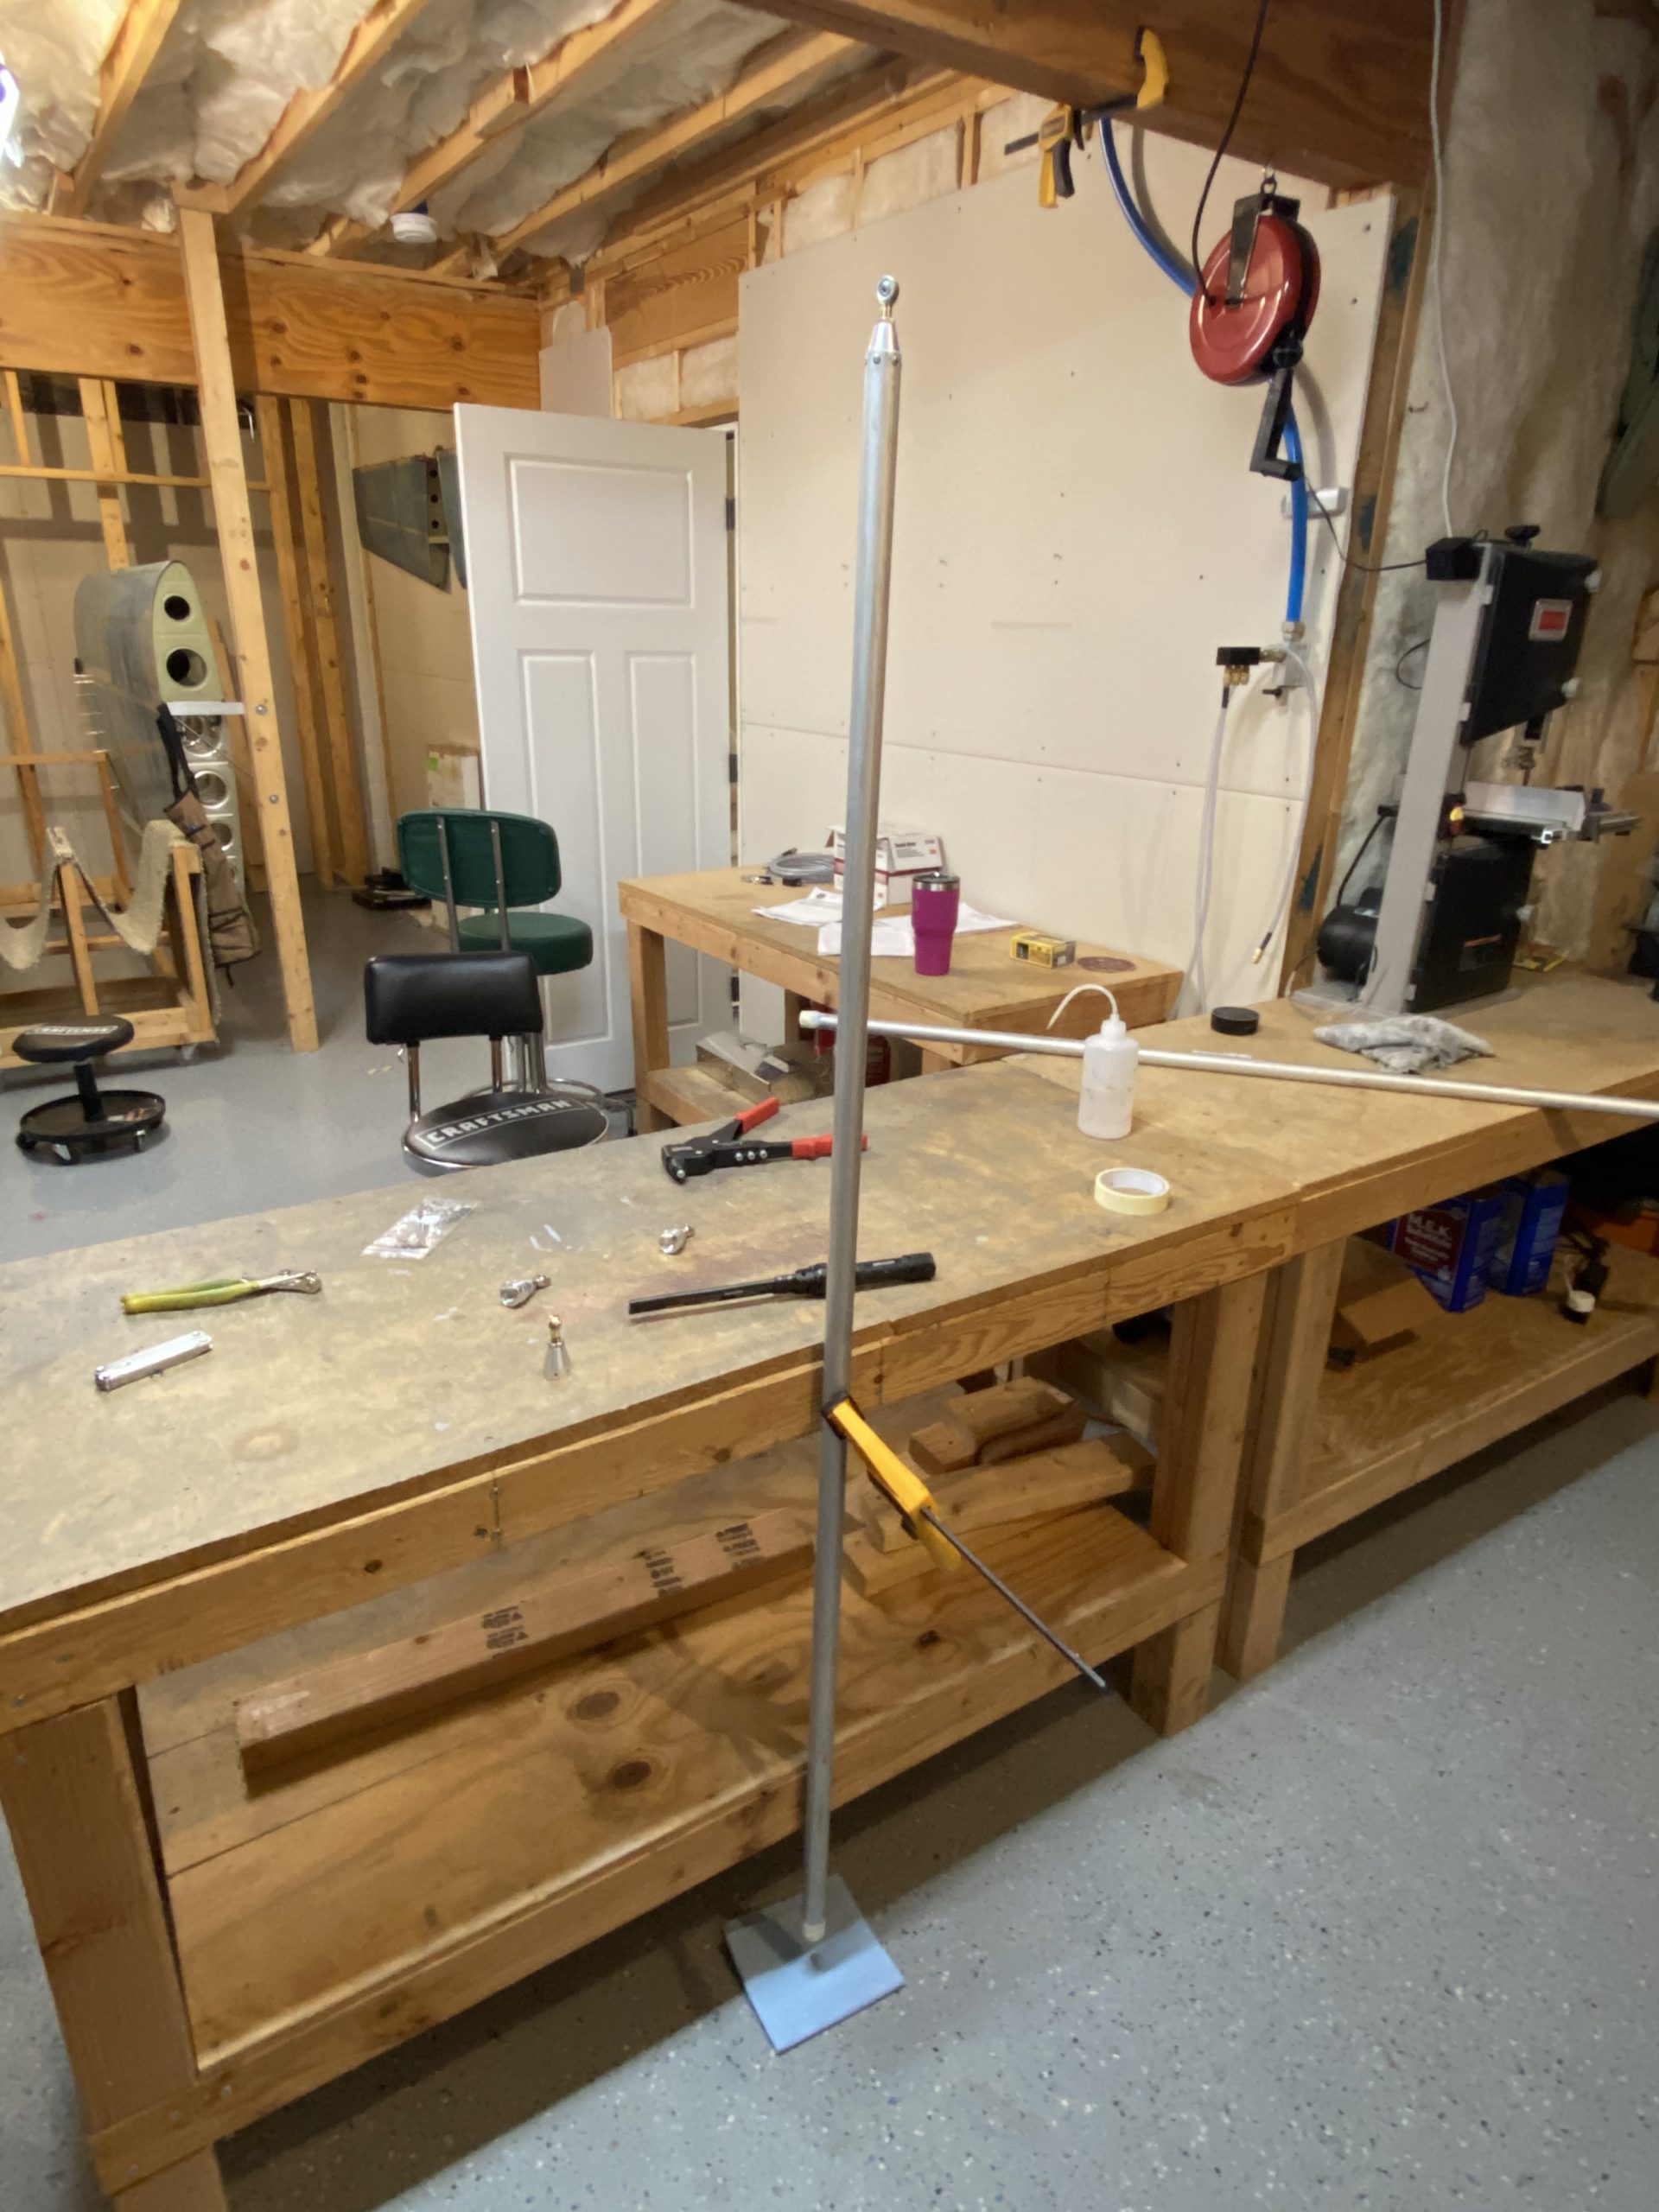
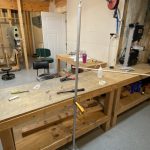
I decided to do something a little different. I drilled a #12 hole in my workbench, big enough for an AN3 bolt to go in, and stuck a long AN3 bolt through one of the cleooed rod ends to hold it firm in my bench.
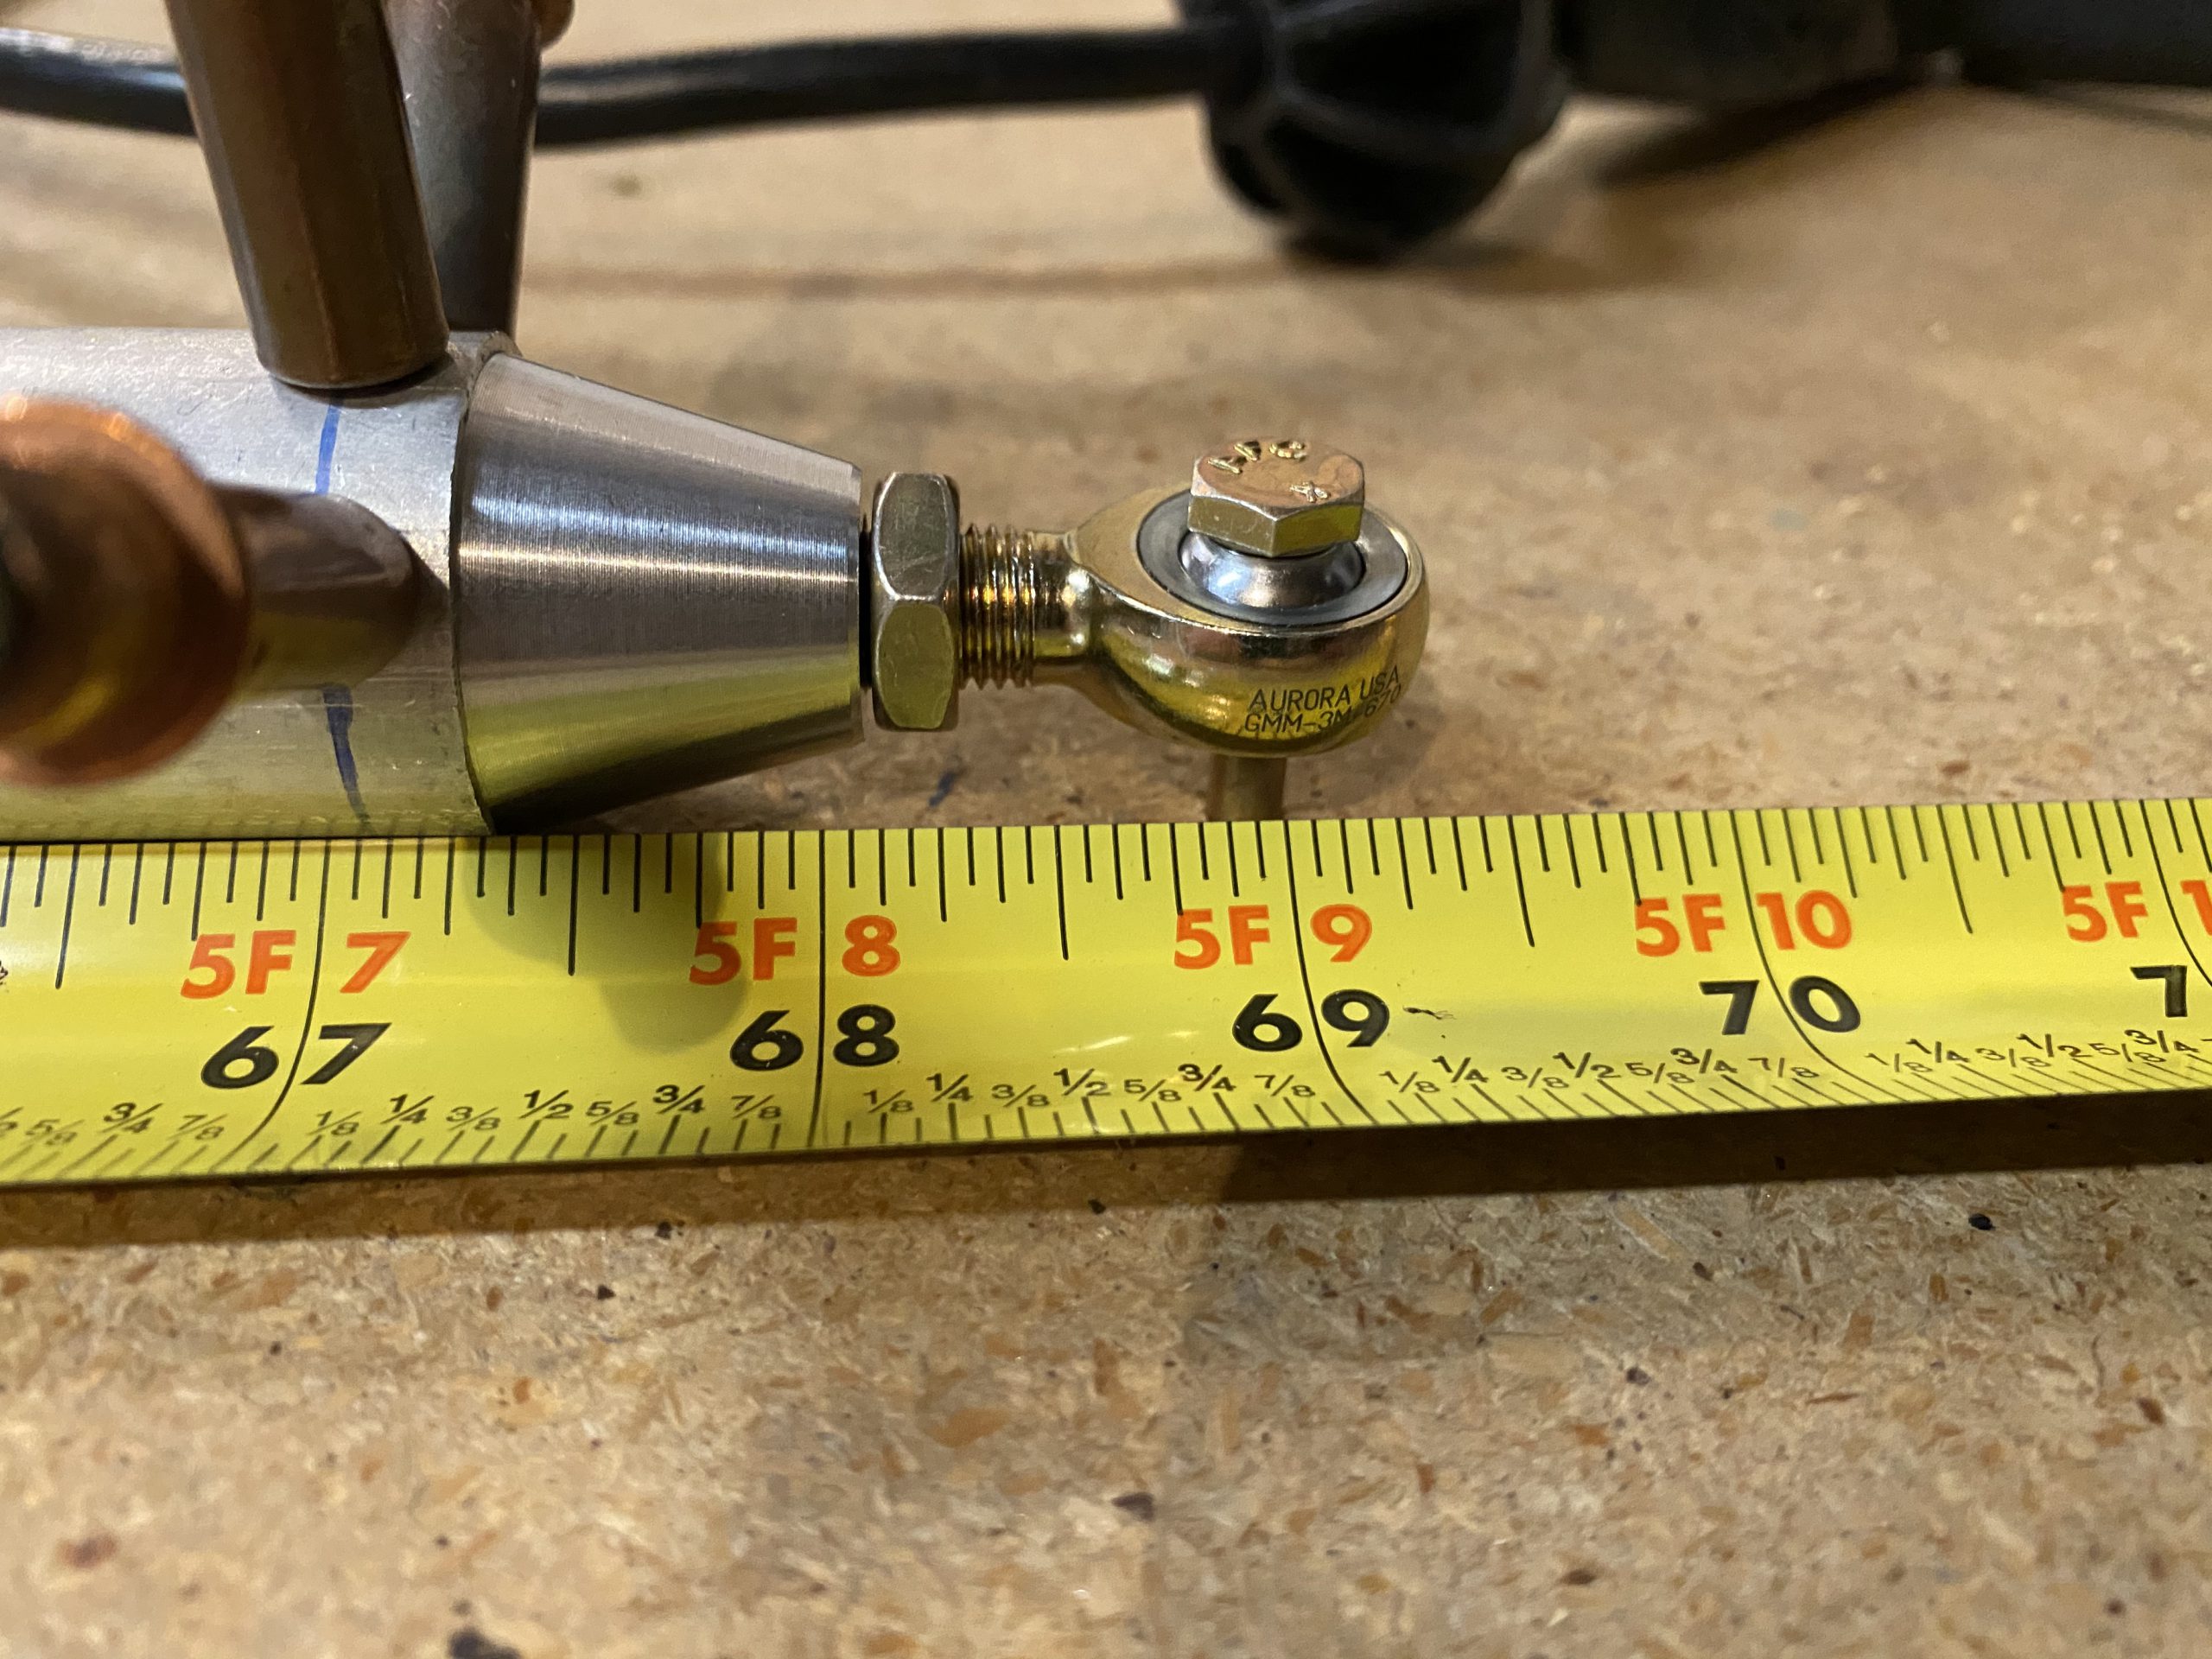
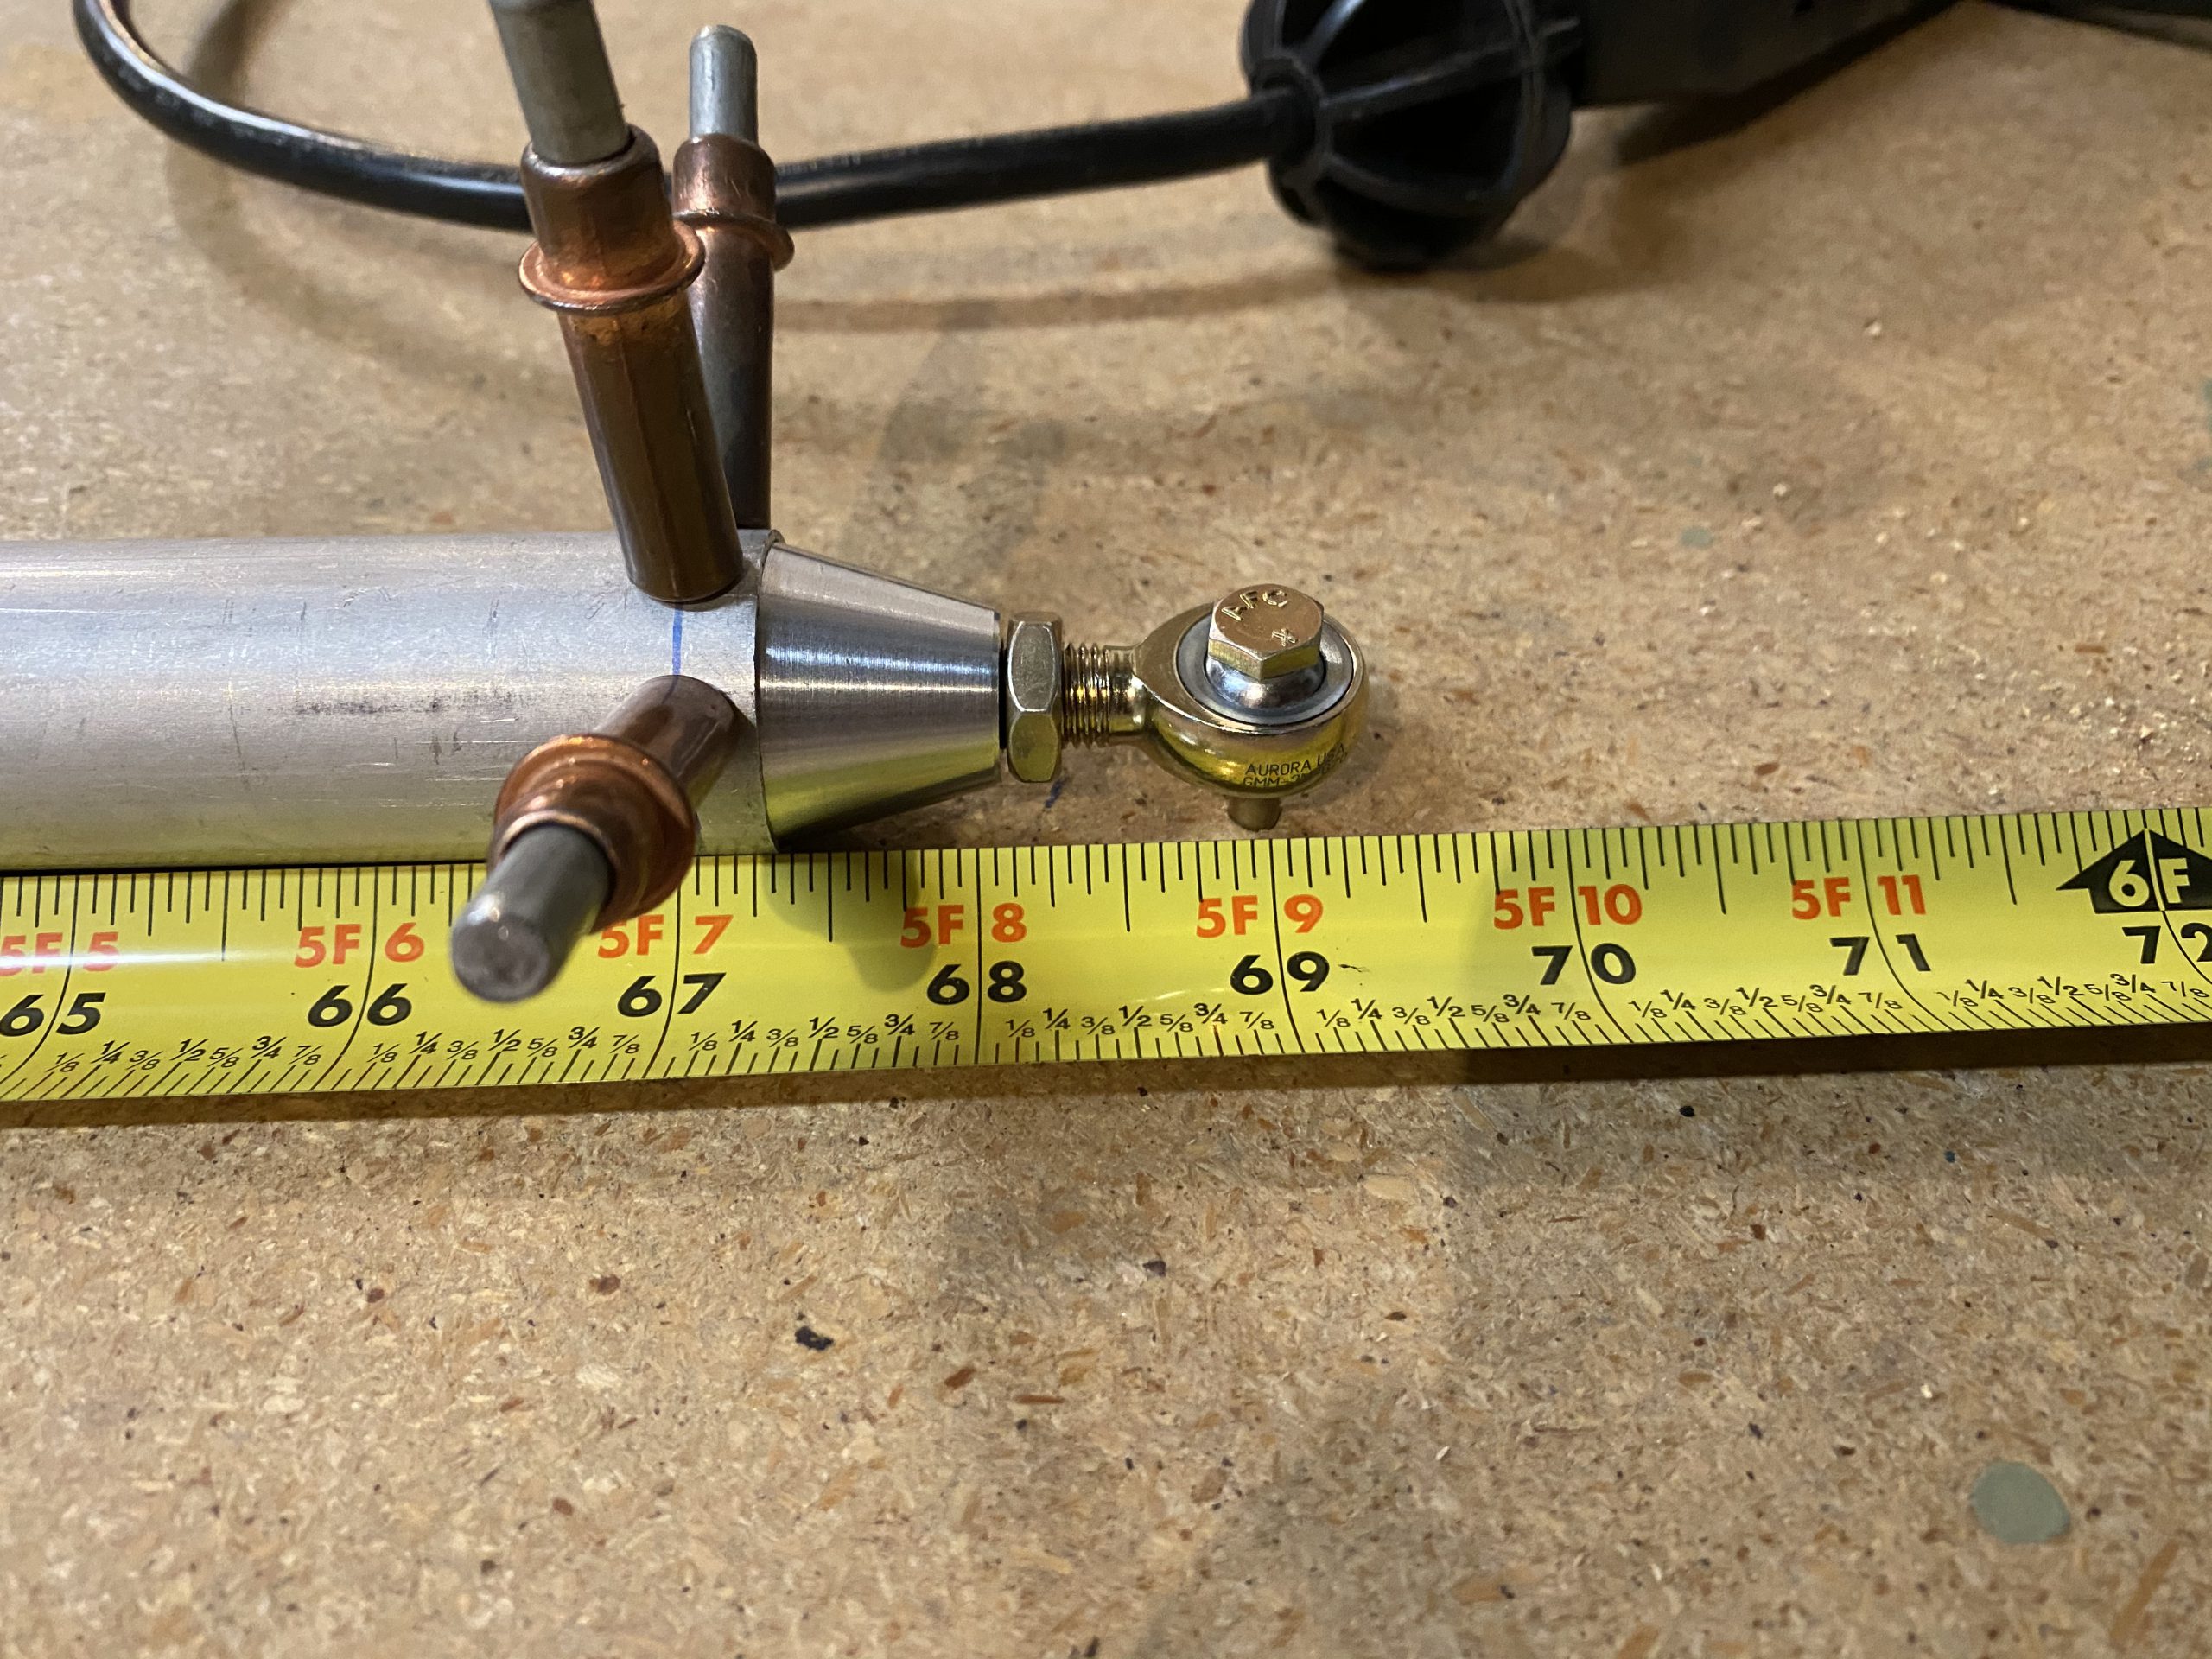
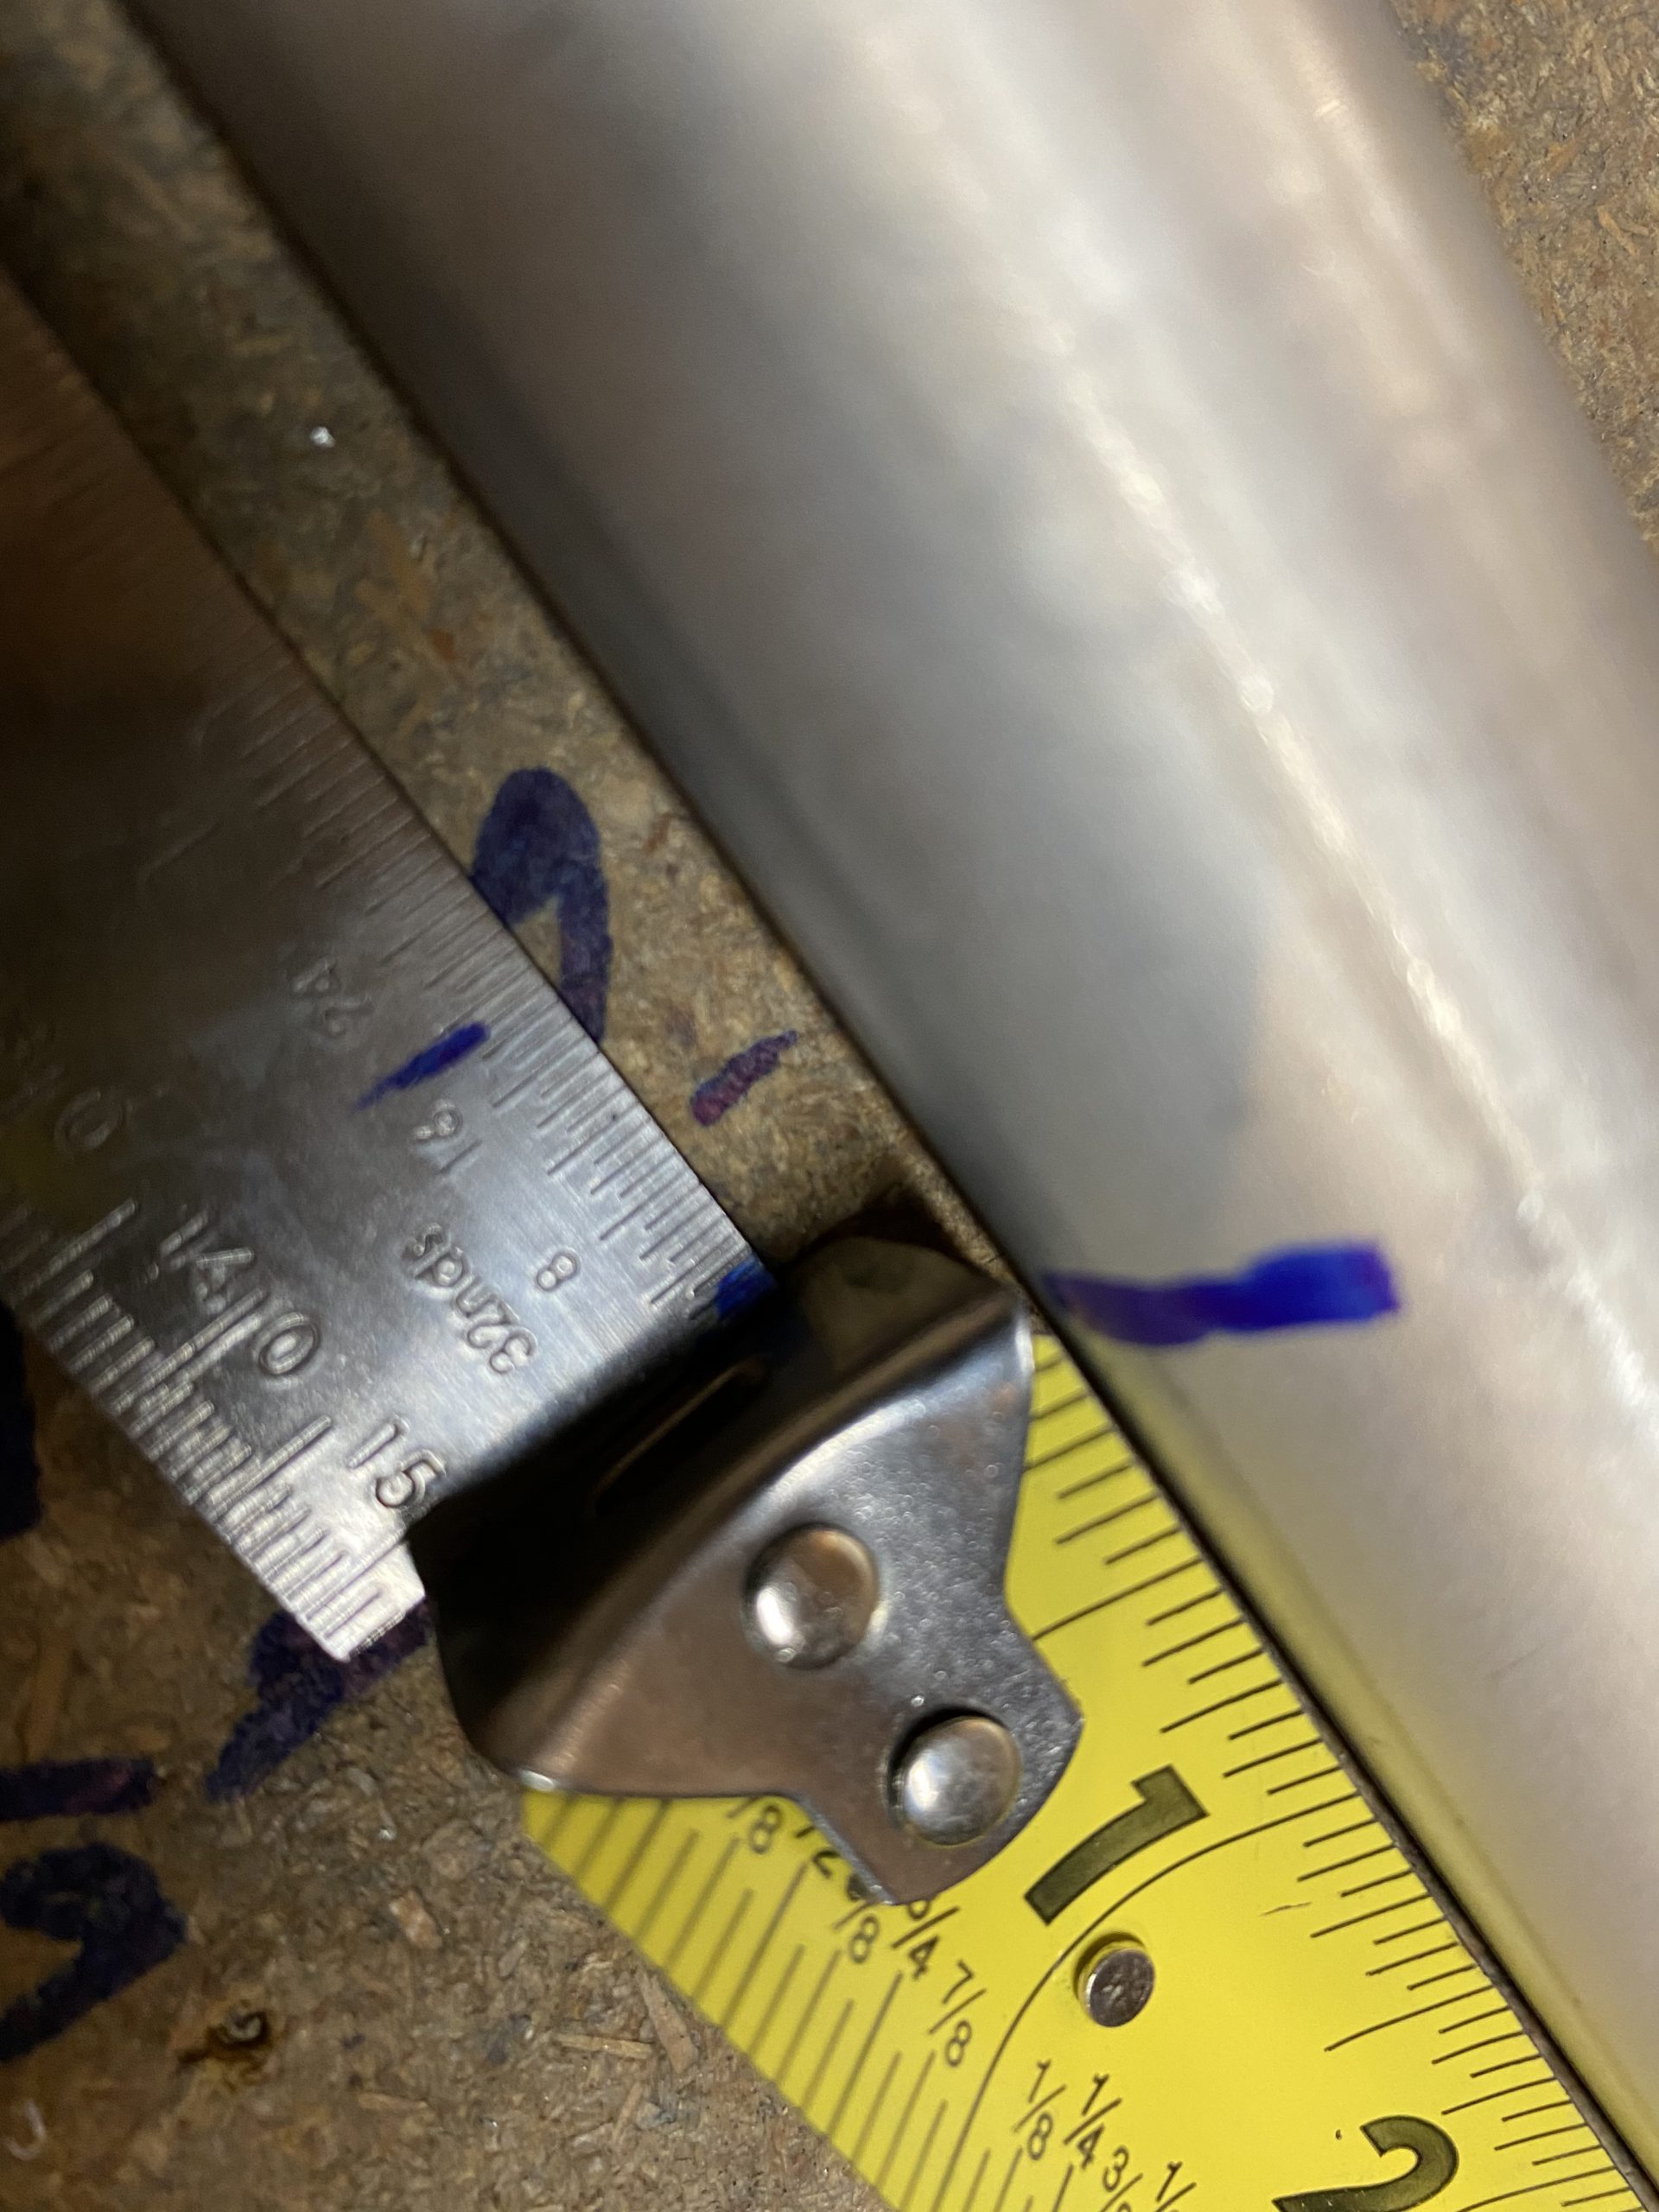
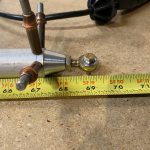
I had to get a little creating here. The plans tells us we need a full 69 9/32″ length from the middle of the rod ends on each end of the tube. I still need to trim my tube to fit this, so I measured out 69″ as my tape measure doesn’t go to 32nds. Then I measured out from the end of the tape to meet that 9/32 with a machinist rule, and drilled another #12 hole. I’ll use this hole to insert the other rod end in, to decide how long to cut my tubes to get to this end measurement.
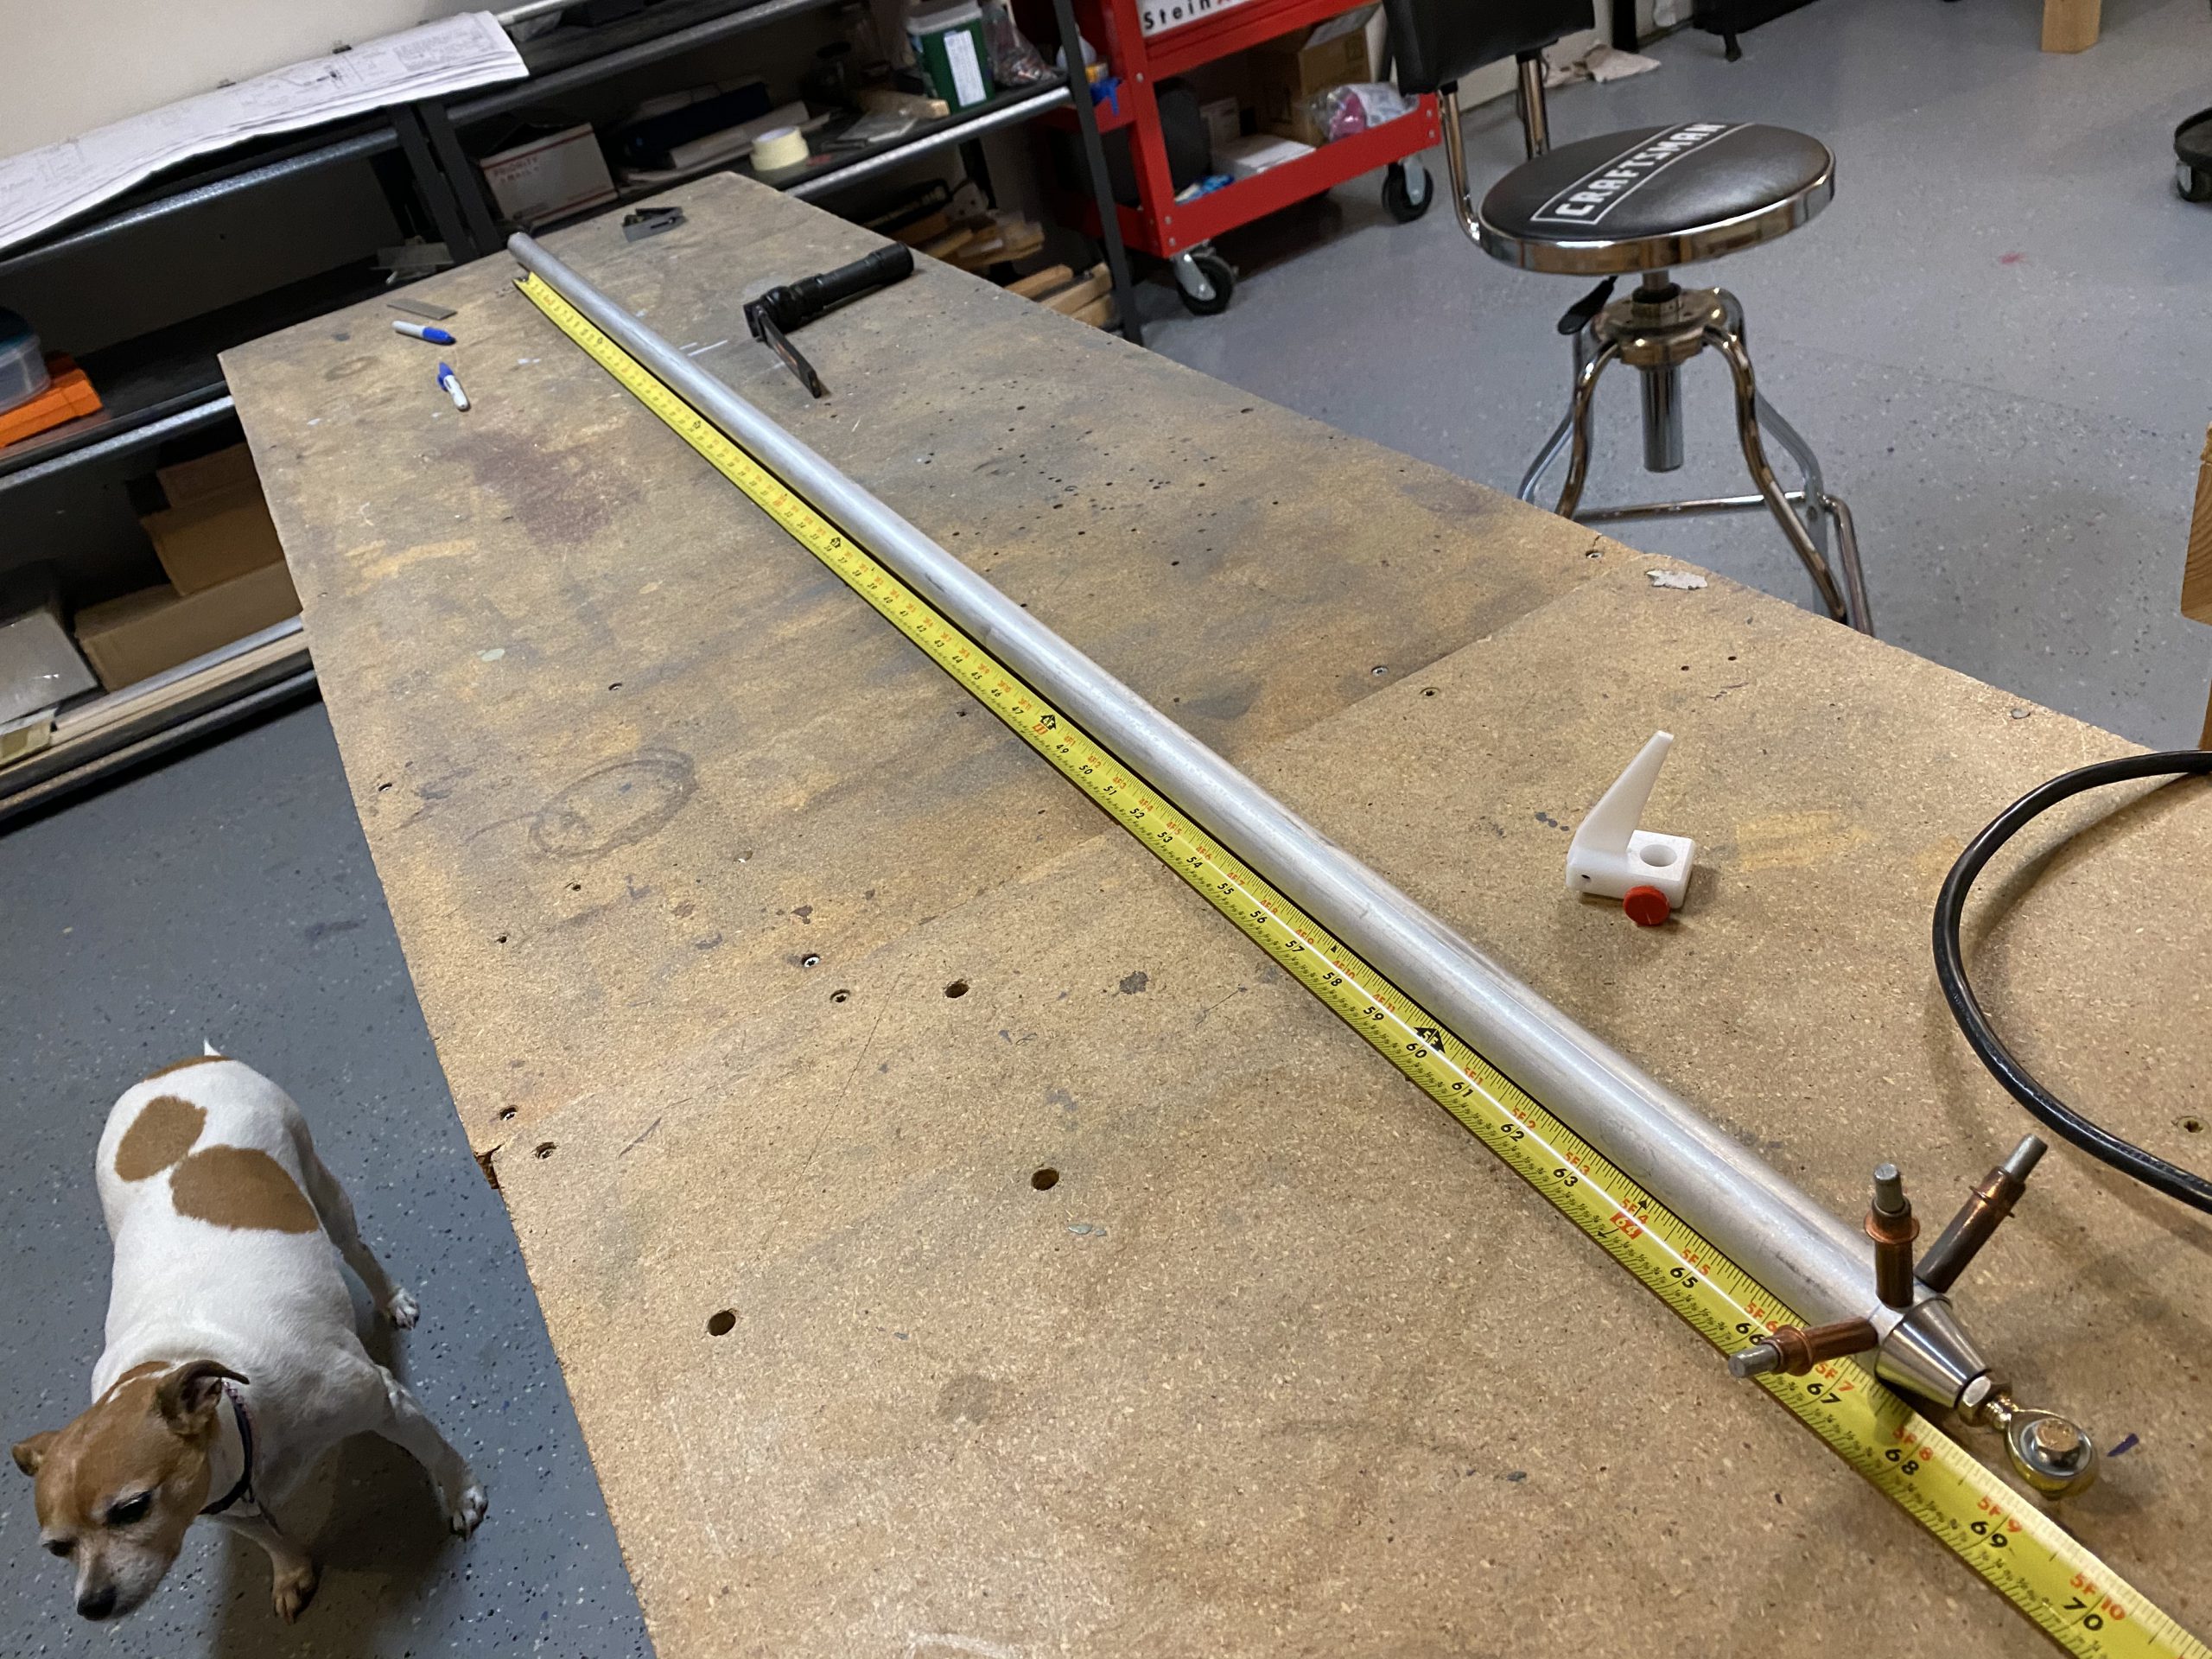
Now that I have a firm 69 9/32″ bolt holes, I can figure out where to cut the long end of my tube to get this exact measurement. It turns out my tubes needed to be right at 66″ length. This gave me about 1/16″ of extra overlap on the rod end, but certainly not enough to hurt anything. Once I had both tubes cut to 66″ I marked, jigged and drilled these freshly cut ends for the rivet holes on the VA-111 just like in the steps above. Then I deburred the edges and deburred the holes on each of the rod ends on each tube to get it ready for priming.
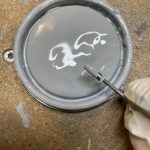
We only had enough primer to slosh around in one of the pushrod tubes. We cleaned the tube with acetone, taped up one end and filled it full of the oil based primer and sloshed it around a good bit to get the inside of the tube fully covered. Then, I grabbed one of the VA-111 threaded rod ends, and slathered on some primer and slide it into the tube. I then grabbed the MSP-42 blind rivets, dipped the end in primer and set all 6 in only one end of the tube.
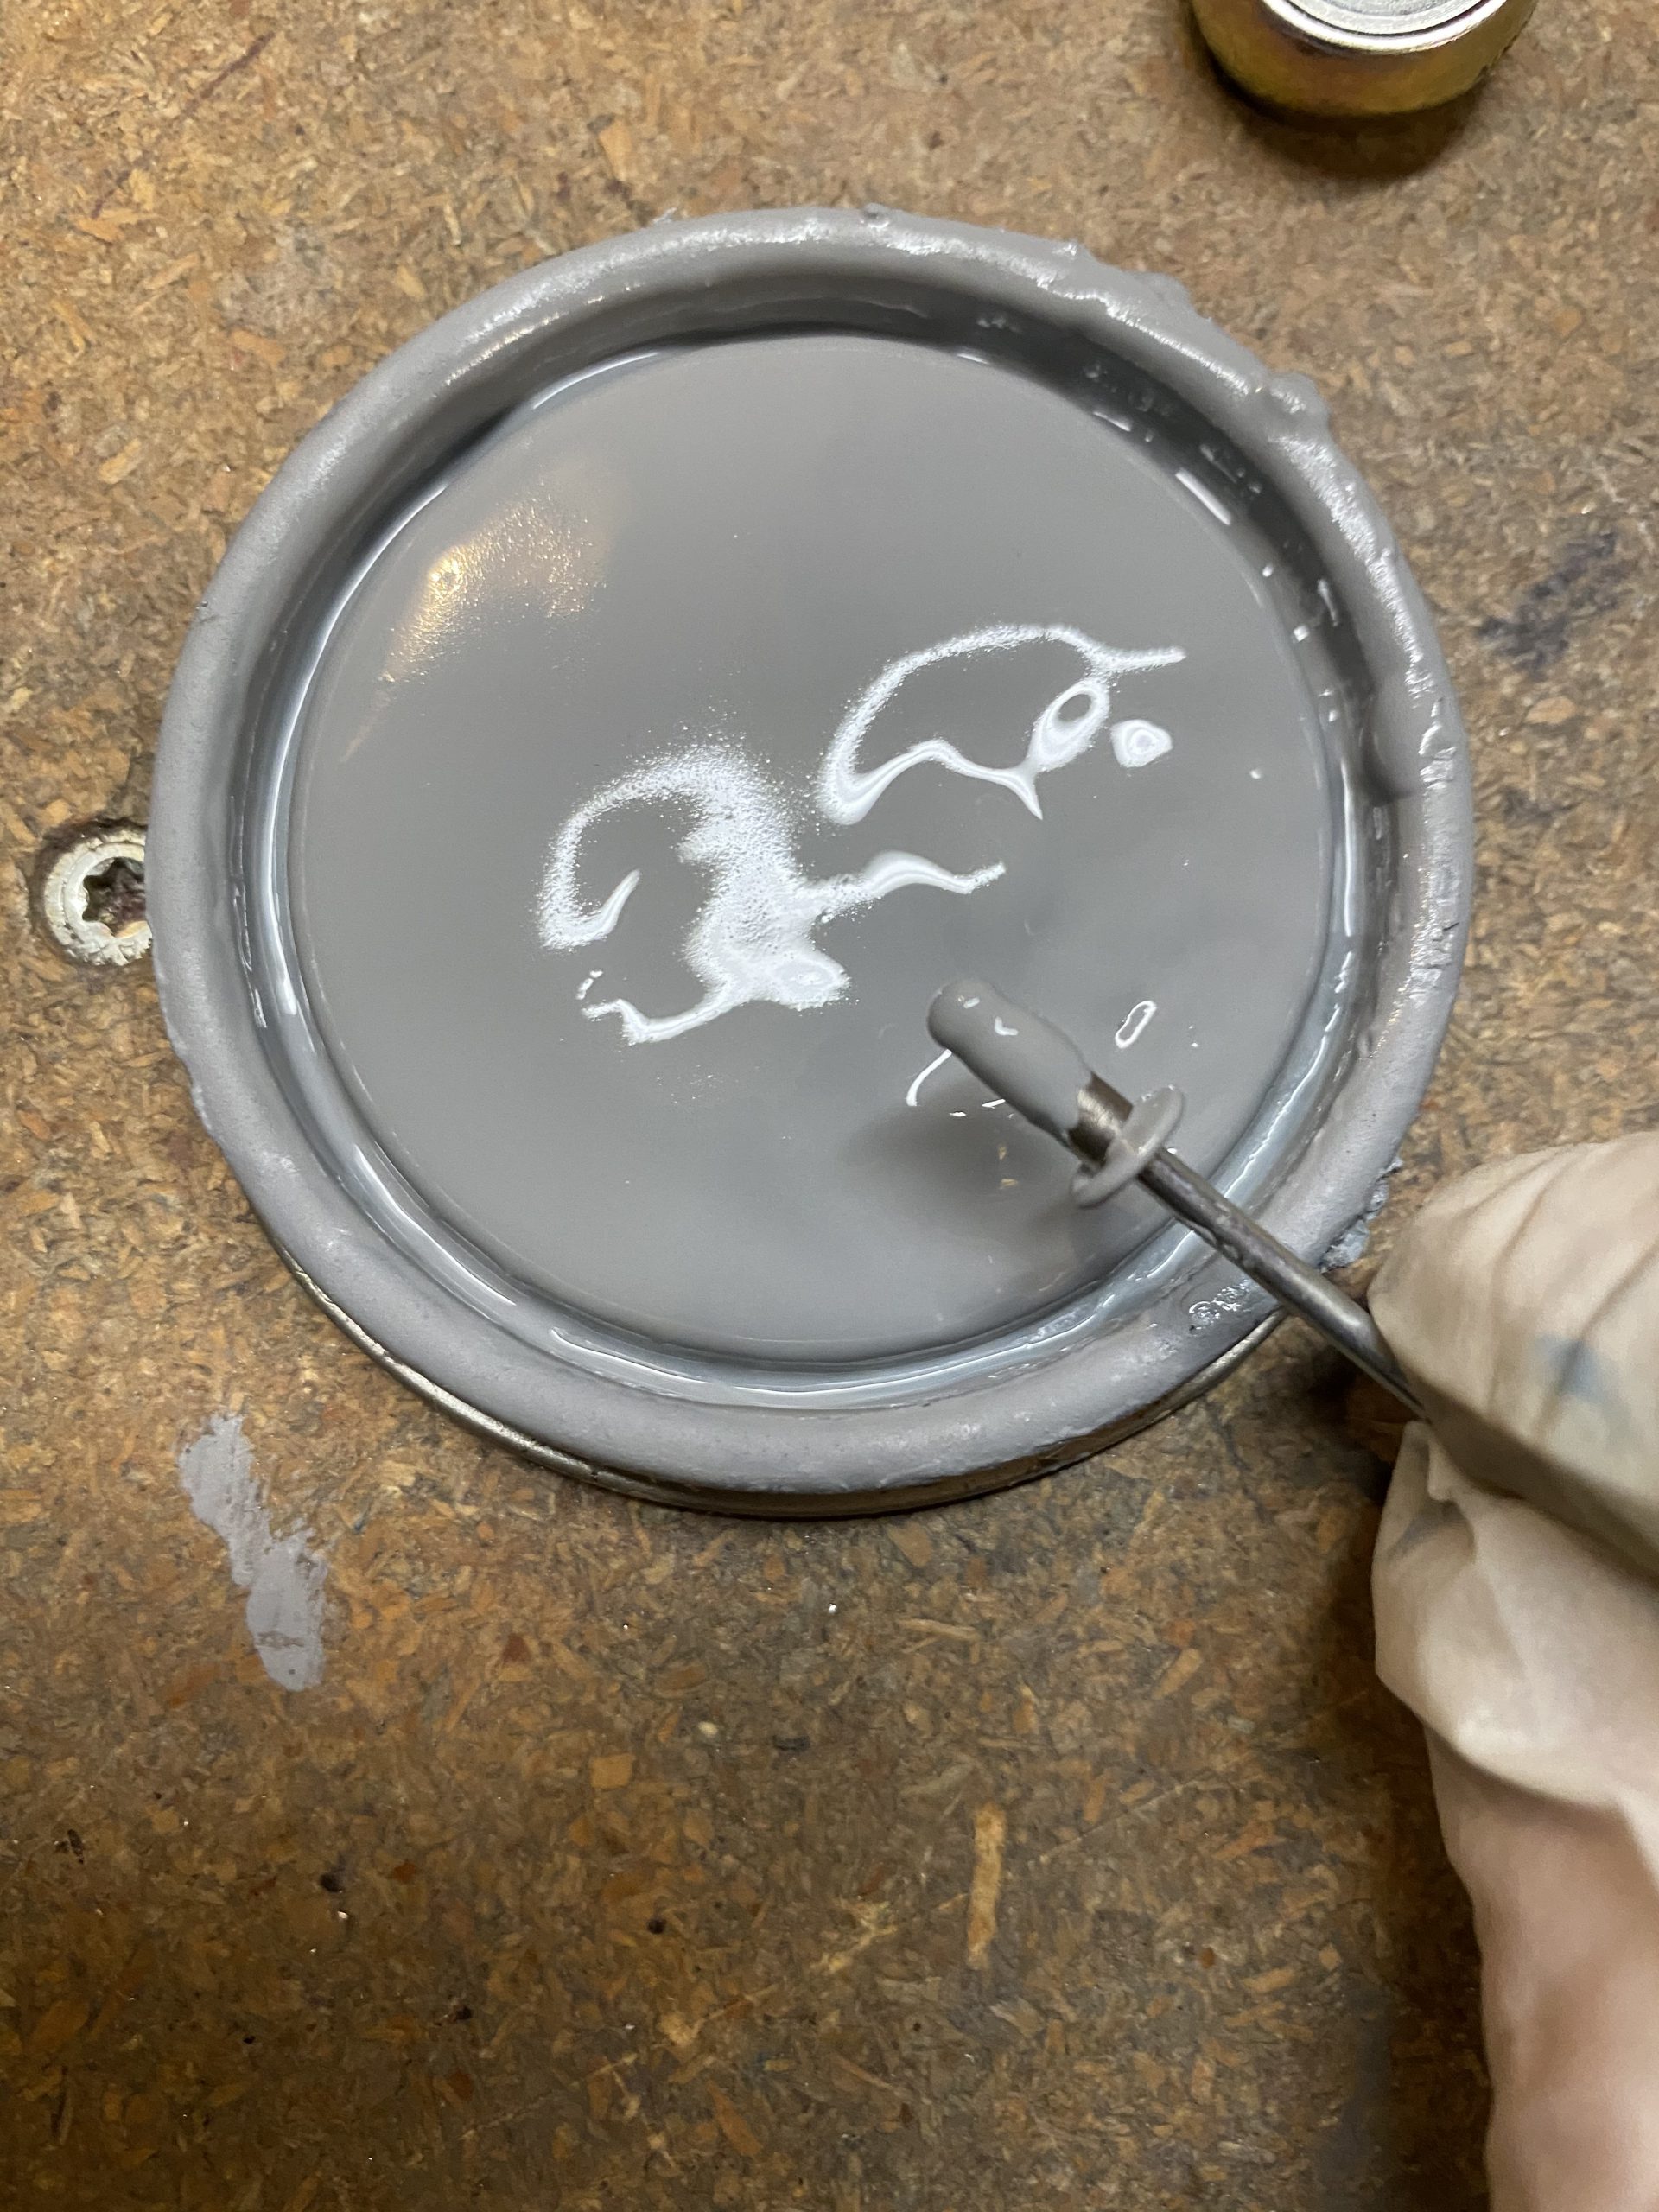
Lastly, I clamped the tube gently to my work bench with the open end facing down, so that the excess primer could drip out overnight, and also give plenty of air to help it dry and cure. We ran out of primer, so we didn’t get to do the other push rod, I’ll pick some more up tomorrow, and finish the other one off later. For now, this one will drip dry for tonight. I’ll need to order some AKZO to spray these tubes on the outside, as they are naked aluminum. The oil based primer is perfectly fine for the interior, I want AKZO on the outside because its durable and tough as nails.
Google Photos Link: https://photos.app.goo.gl/cSXjEoG75TGCPugg8
-
 IMG_2852
 -
 IMG_2853
 -
 IMG_2854
 -
 IMG_2855
 -
 IMG_2856
 -
IMG_2857
-
IMG_2858
-
 IMG_2859
 -
 IMG_2860
 -
 IMG_2861
 -
IMG_2862
-
 IMG_2863
 -
 IMG_2864
 -
 IMG_2865
 -
 IMG_2866
 -
IMG_2867
-
 IMG_2868
 -
IMG_2869
-
IMG_2870
-
IMG_2871
-
 IMG_2872
 -
IMG_2873
-
IMG_2874
-
IMG_2875
-
IMG_2876
-
IMG_2877
-
IMG_2878
-
IMG_2879
-
IMG_2880
-
IMG_2881
-
 IMG_2882
 -
IMG_2883


Hours Worked: 4.25