


source After a short break, I started on the second work session for tonight. I had finished up the rudder stiffeners prior, and now its time to construct the rudder skeleton. The assembly starts off by clecoing R-904 rib to the spar R-902. Once its clecoed, we need to wide the hole in R-904 to a 3/8″ hole to match the hole in the spar. This is where a hinge bolt goes in the future. I used a step-bit (Uni-bit) to widen the hole, which worked nicely.
https://crinerorthopedics.com/patient-resources/ https://auracareclinic.com/cosmetic-dentistry/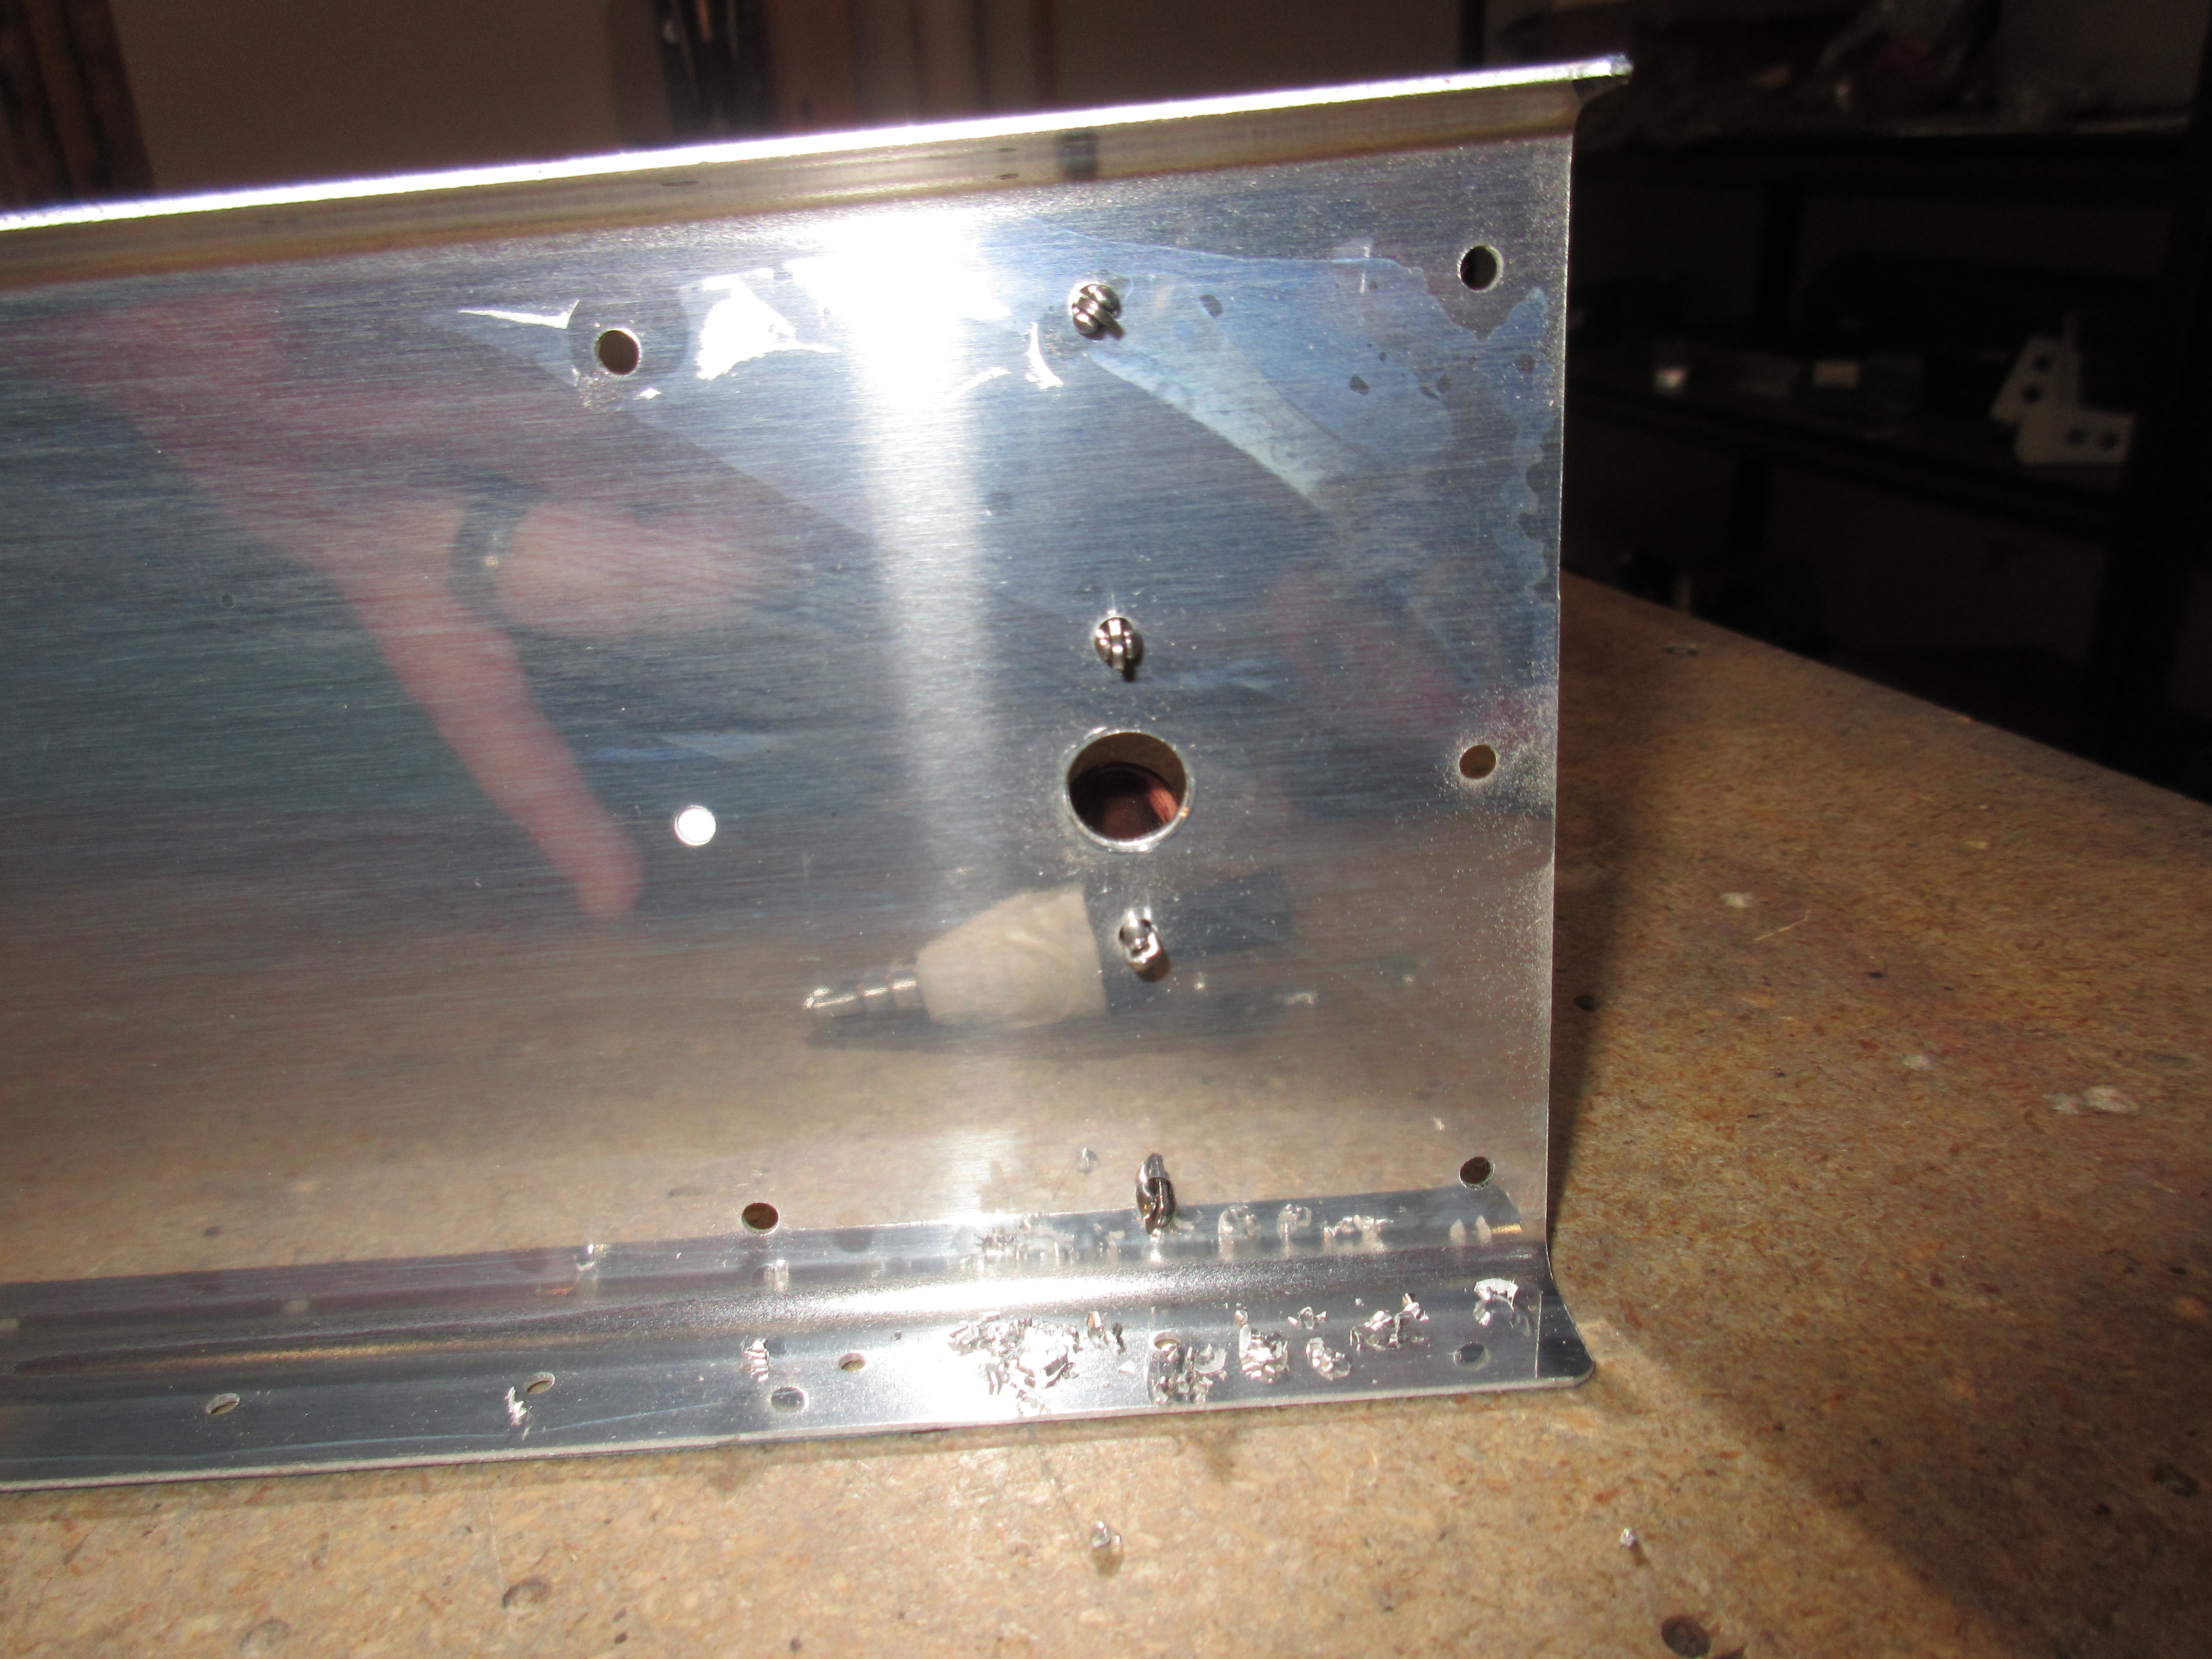
https://www.fogliandpartners.com/matteo-carfagnini/ Next I fabricated the R-917 shim from some of the scrap aluminum that Vans ships with the kit. There isn’t many parts you have to fabricate, but this one is pretty simple. The plans includes a full scale template of the part. After I had it cut to shape, I rounded the corners and dressed all the edges smooth.
https://musicboxcle.com/about/
https://luckydubz.com/tattoo-styles/ 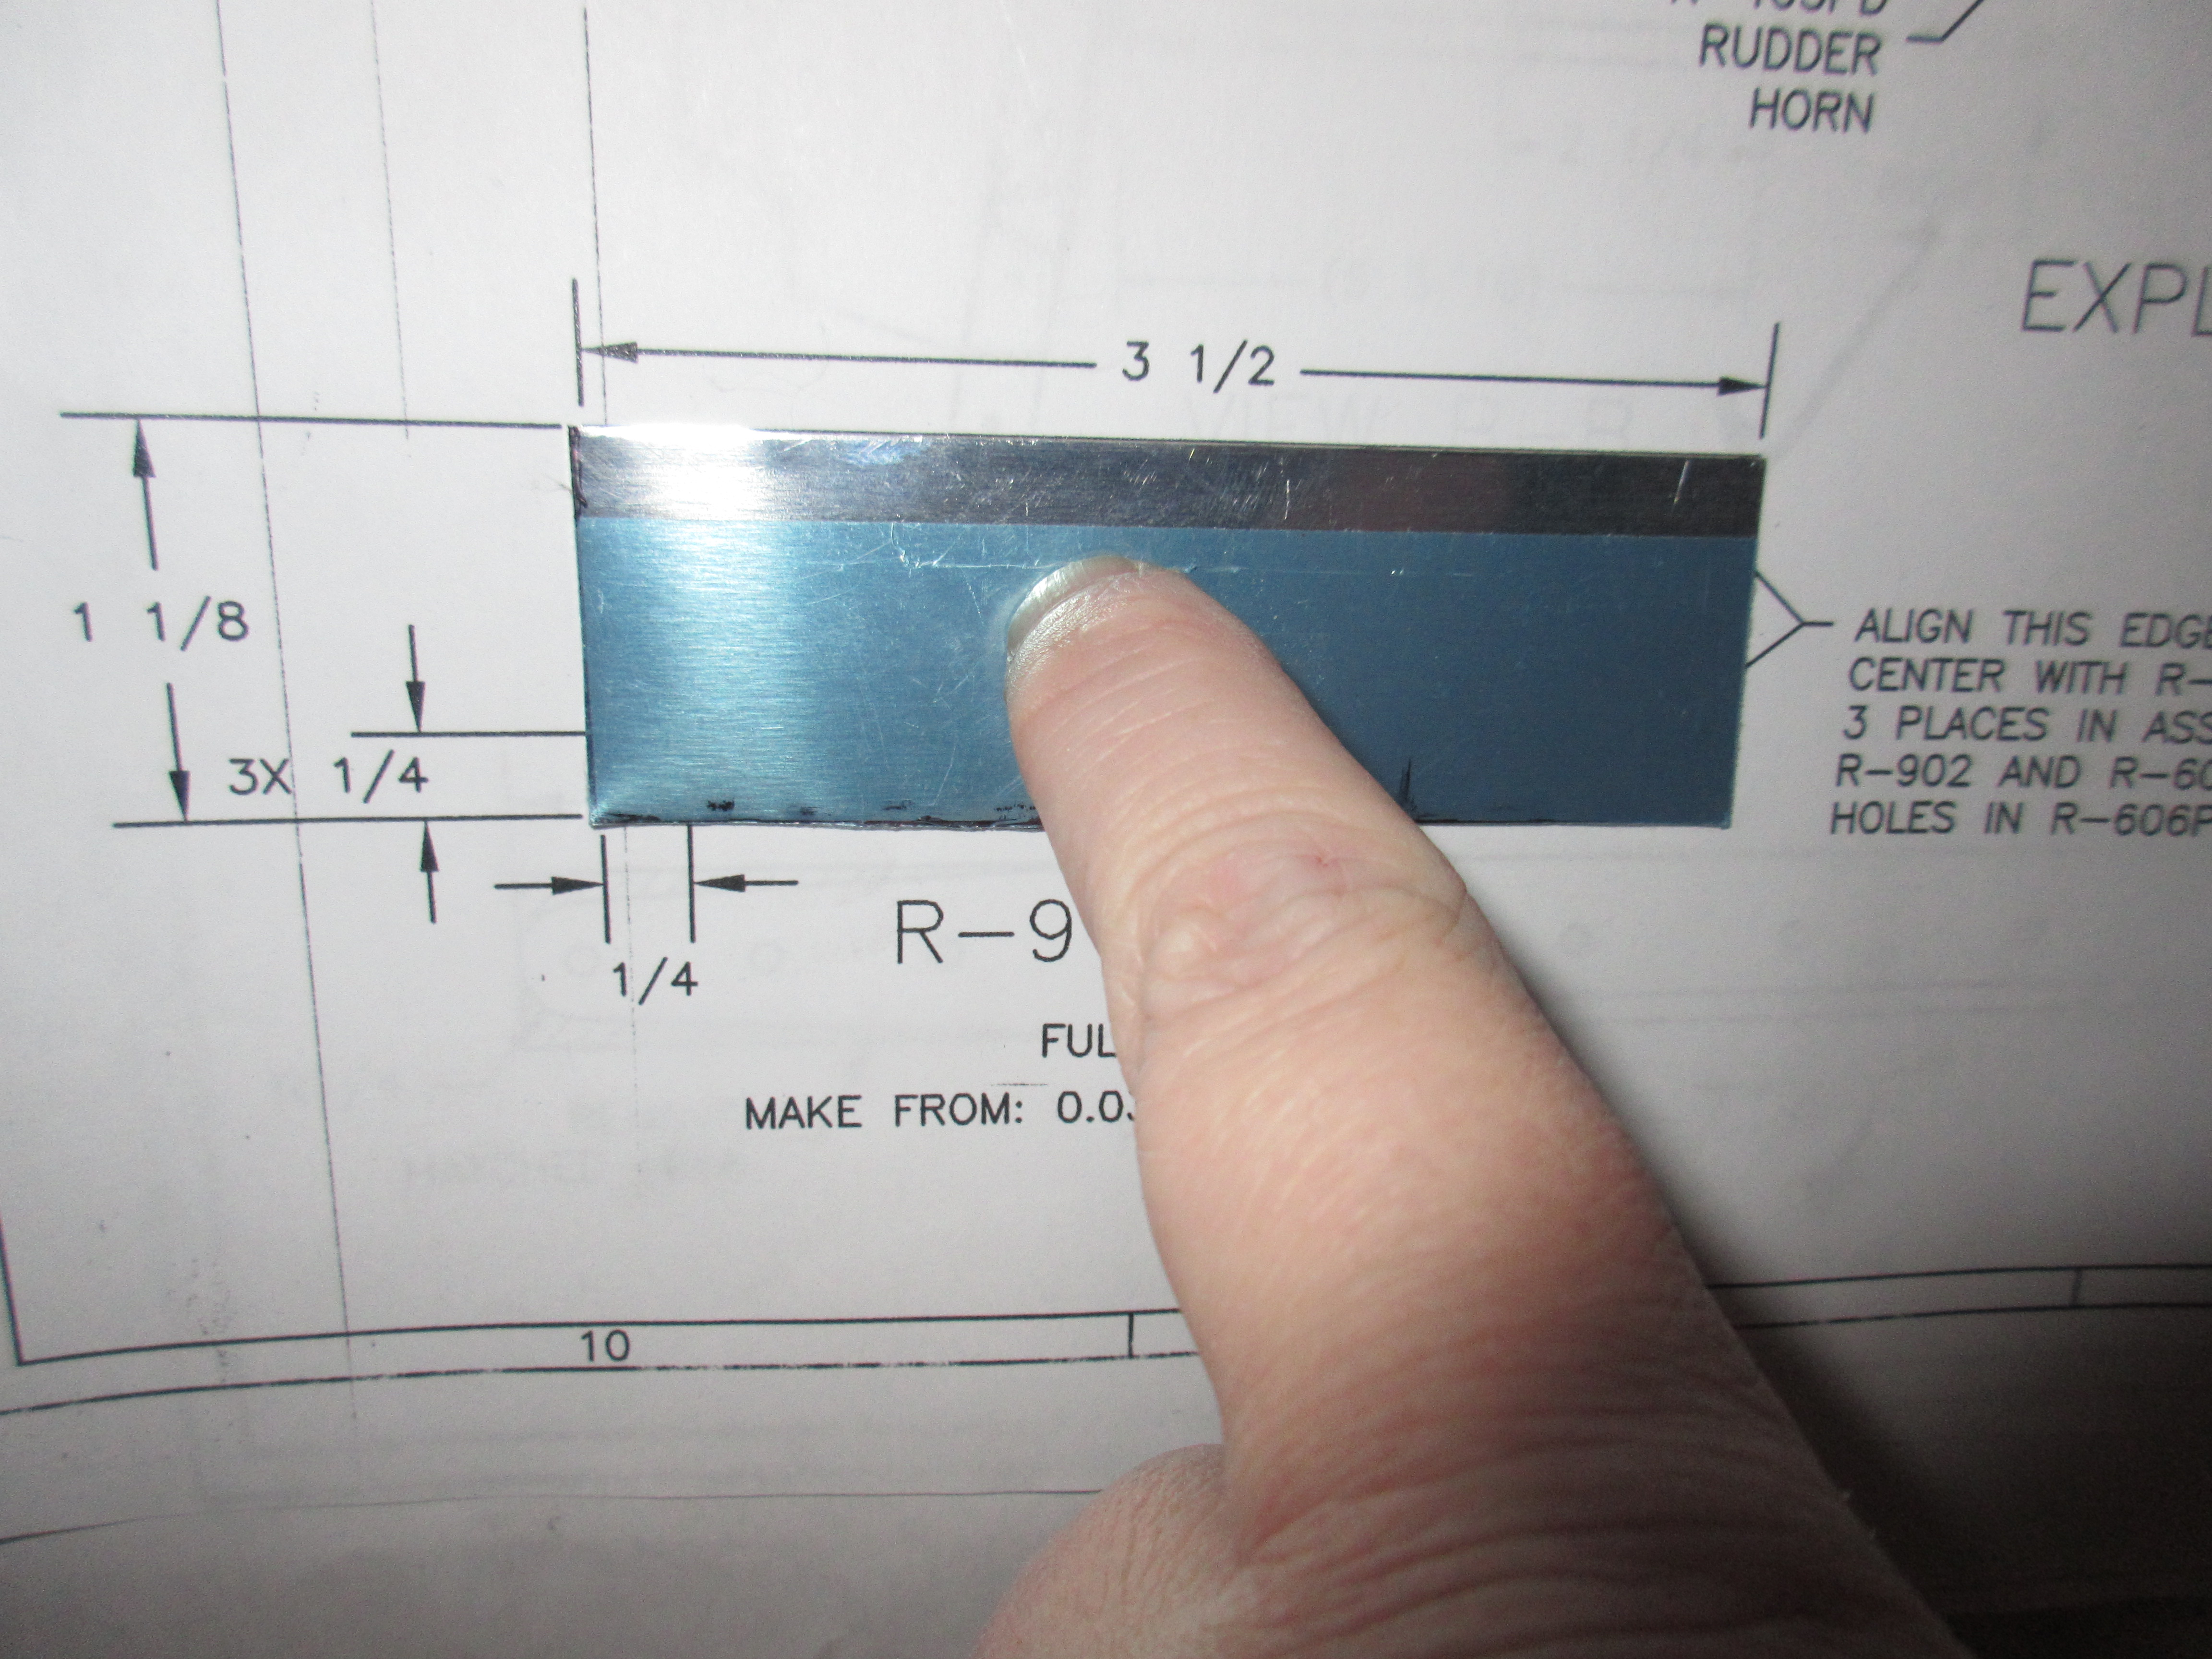
https://ottawaphotographer.com/temples-sugar-bush-wedding/ Now that we have the shim made up, we can cleco on the rudder horn and being match drilling everything into place. The rudder horn required a bit of grinding to get it to fit snuggly inside the R-904 rib, which is called for in the plans. I used my bench grinder to get a rough shape that would clear, and then worked the edges down using a file. Once I had the edges rounded, I smoothed it all out on the scotchbrite wheel. It’s sooth as silk and fits perfect, even though this took quite a bit of time.
https://colvetmiranda.org/oficina-virtual/ Order Clonazepam Online go to link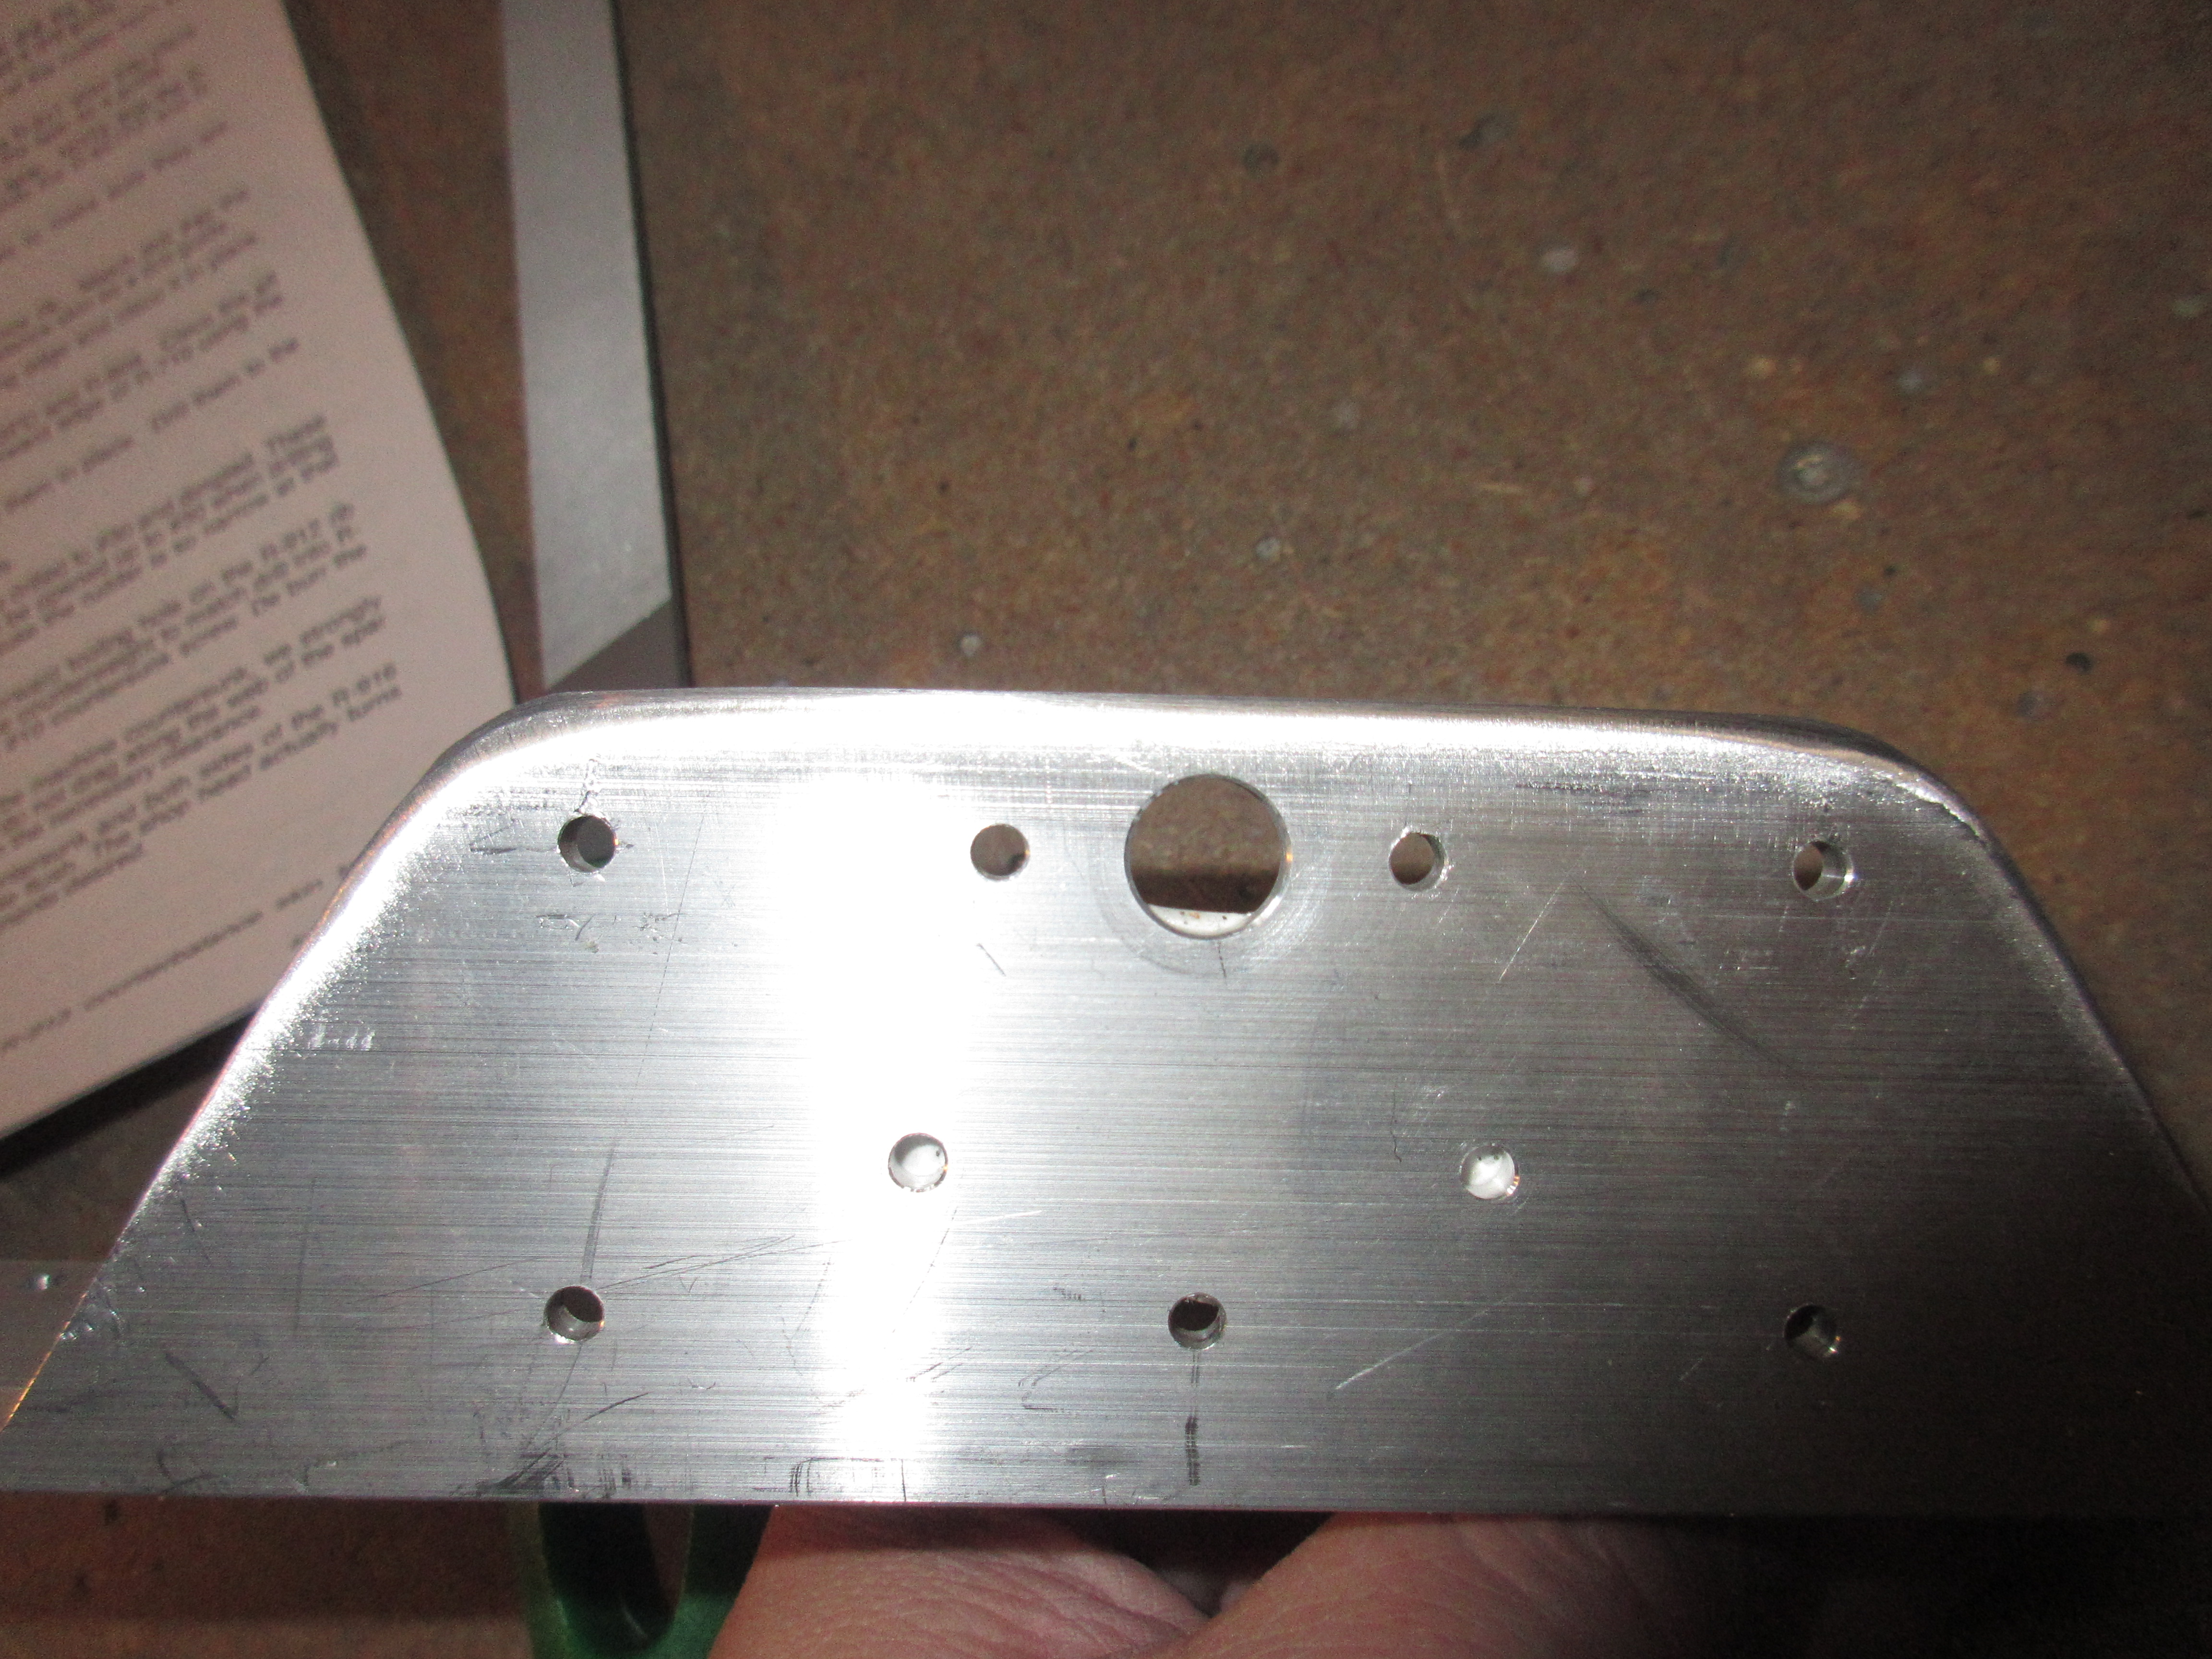
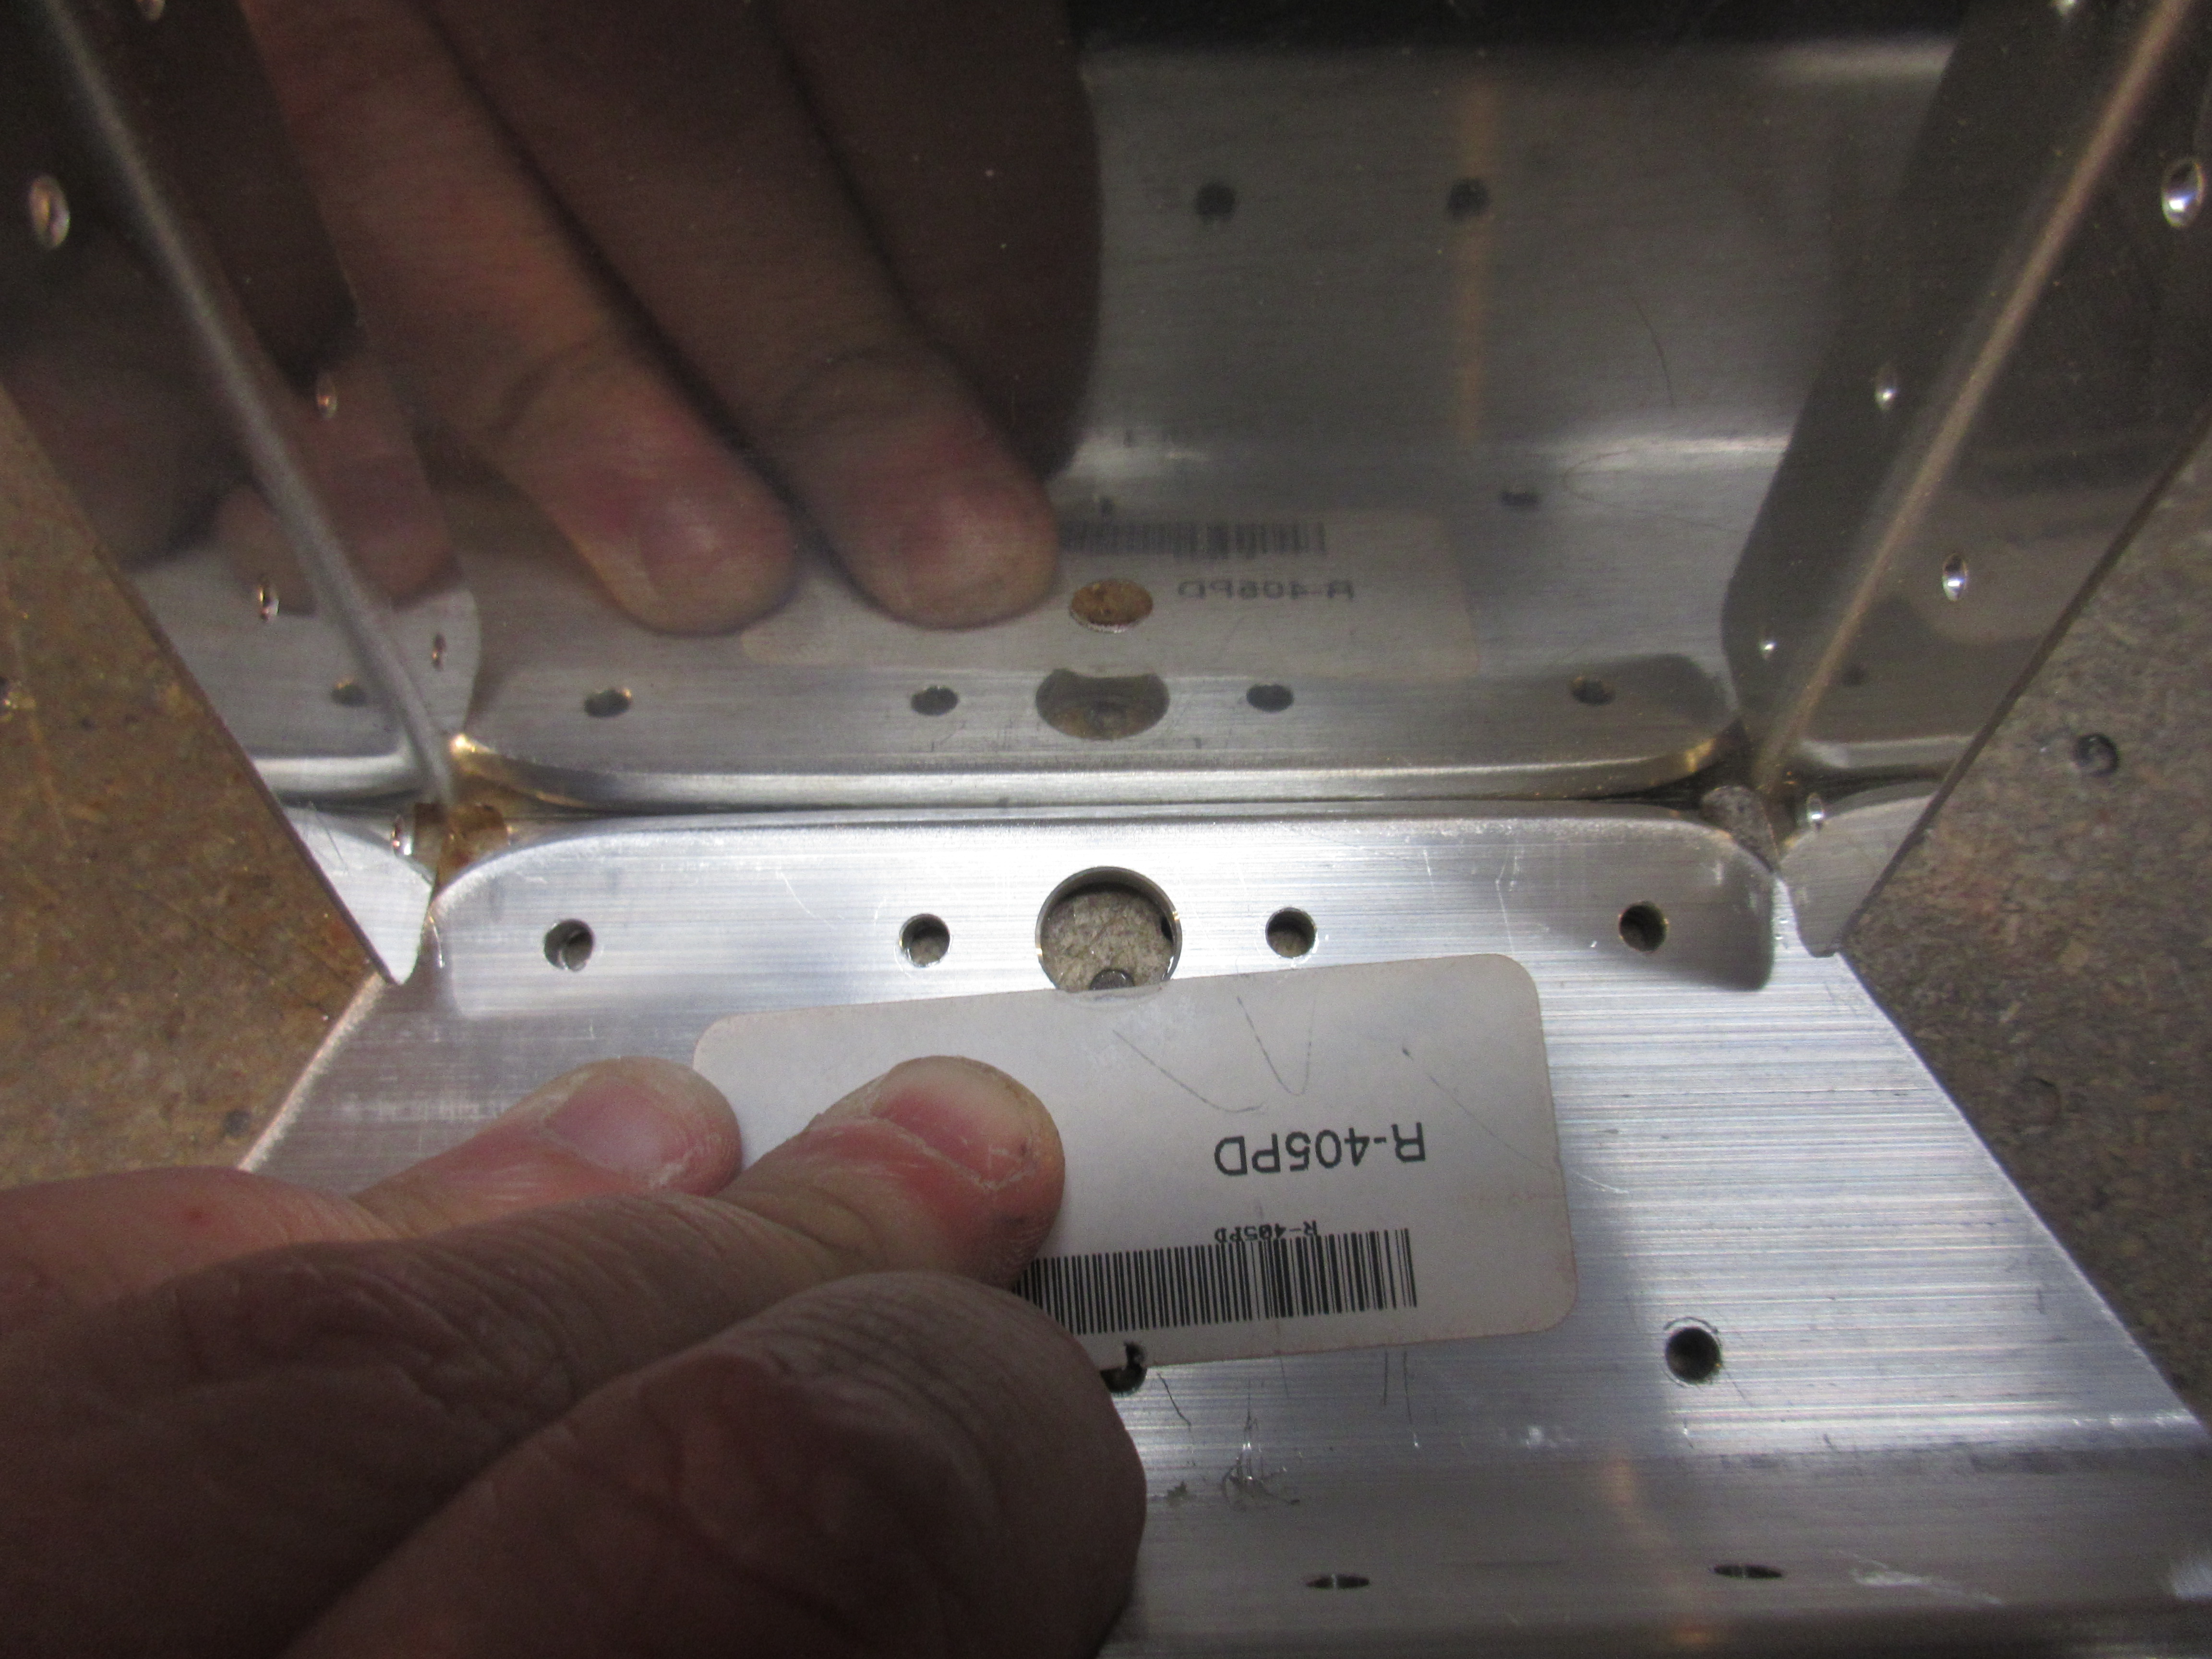
Buy Ambien Online Overnight I clecoed on the R-606PP, R-902 spar, R-917 shim, R-904 rib and finally the R-405PD rudder horn to the bottom of the spar. I also went ahead and clecod on the other two doublers, R-607PP and R-608PP. I then match drilled them all using a #30 bit.
https://gottbs.com/enquiry-point/
https://auracareclinic.com/about-us/ 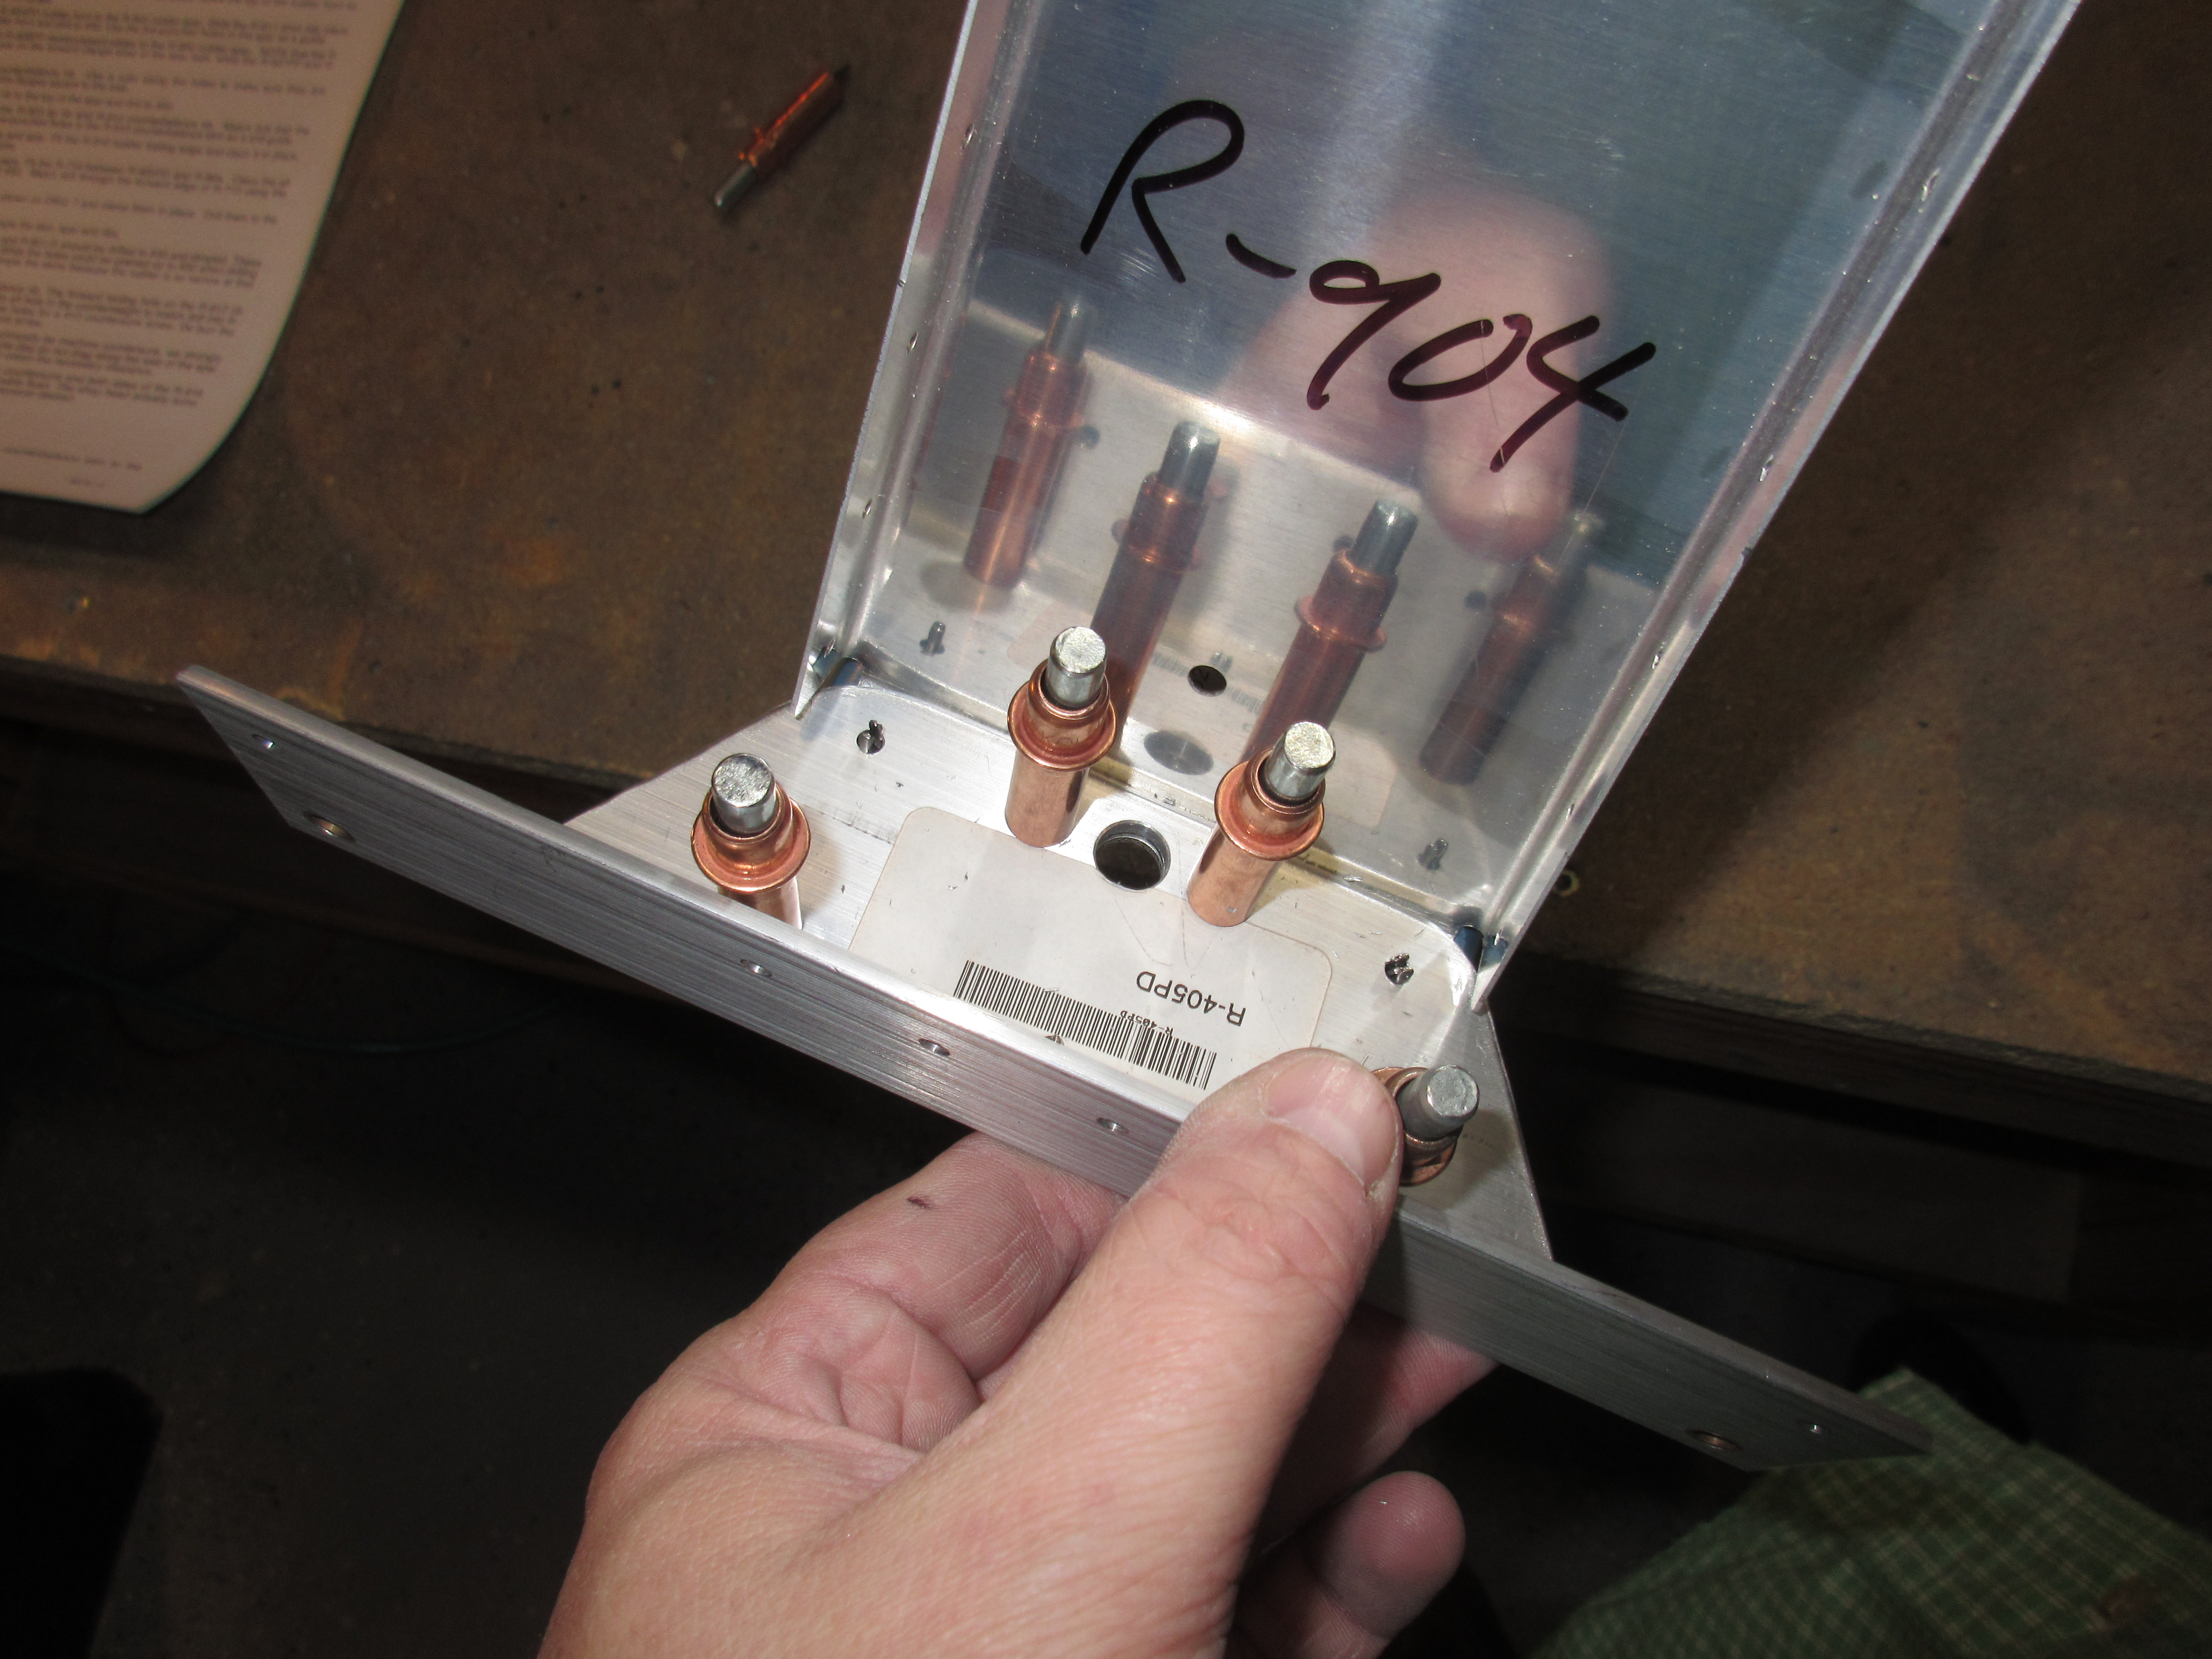
https://www.infoturismiamoci.com/2018/09/castel-dei-mondi-festival-andria/ I then moved on to fluting and straightening the R-903 tip rib and the R-912 counterbalance ribs. These parts have some pretty aggressive curves punched into them, so they needed quite a bit of work to get perfectly straight and square. I used a metal rule to check that the holes were all lined up. Then I clecoed them both onto the R-902 spar, and match drilled them to the spar with a #30.
https://www.dentistcorpuschristitexas.com/about-us/meet-dr-chang/ 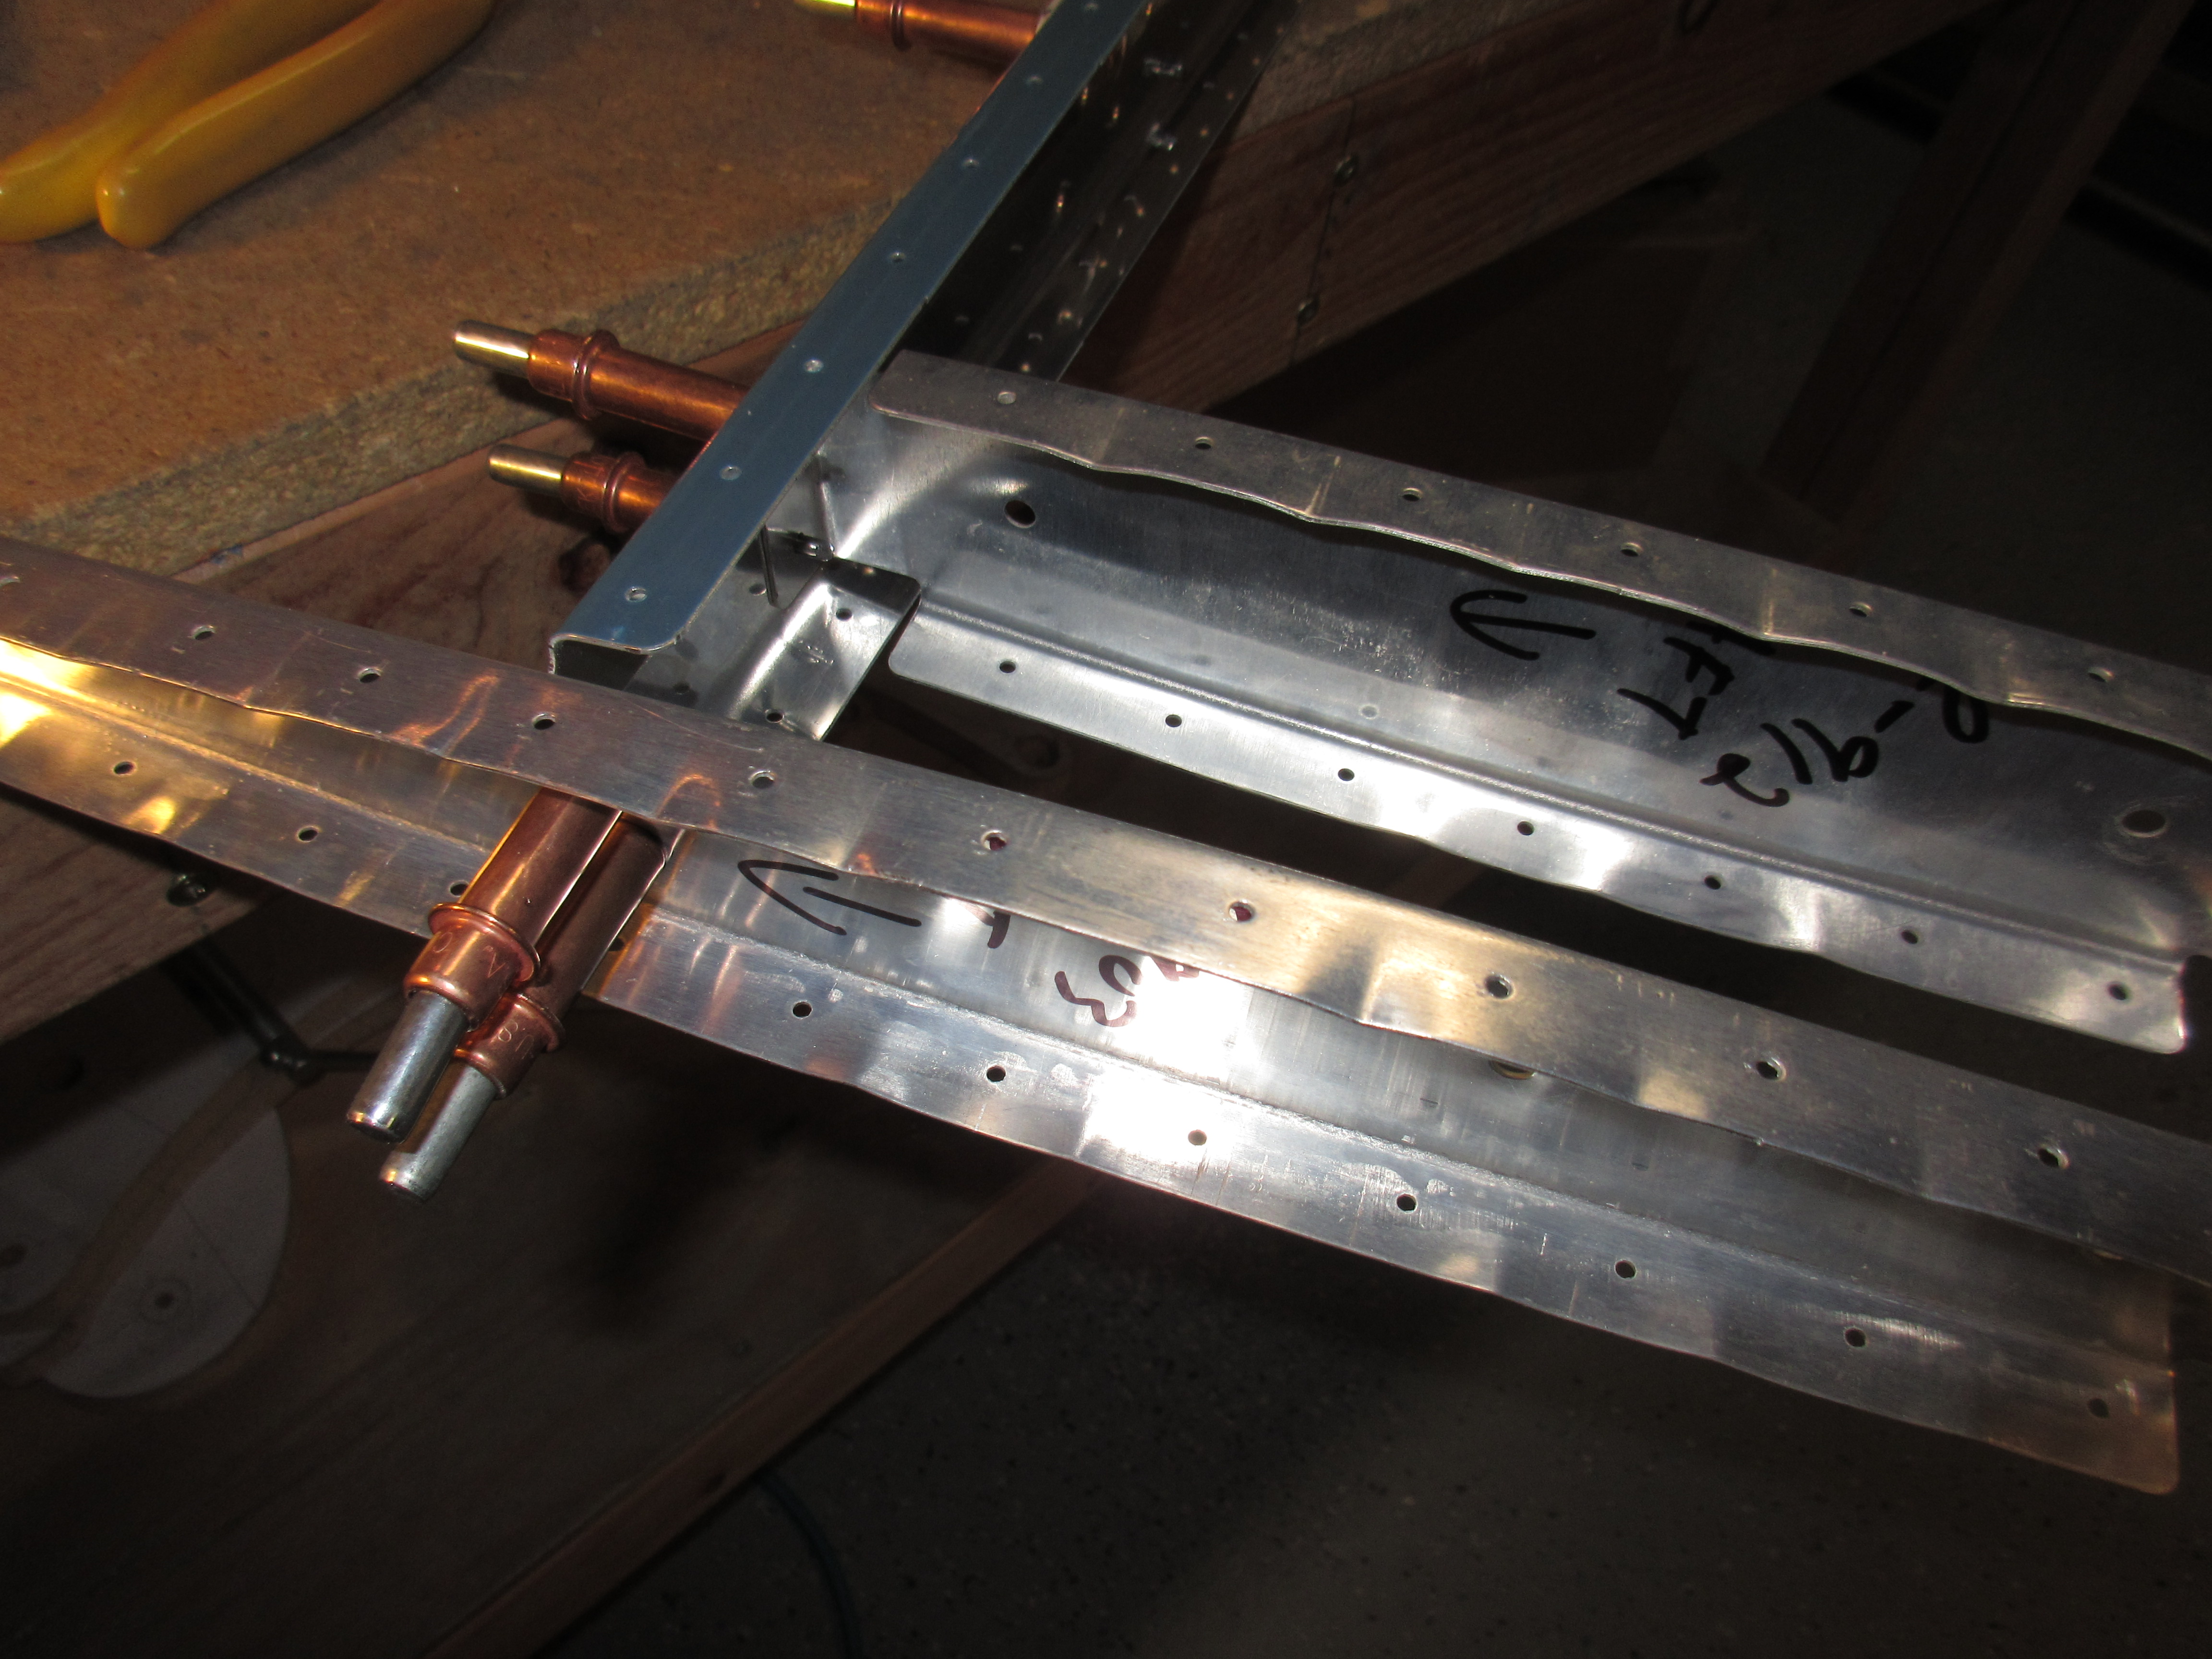
get link This is where the lead counterbalance will go, and there is a .032″ thick piece of skin that wraps around them to form the counterbalance. The plans has us mount that skin and then match drill everything to a #40. This took a little bit of work and fiddling to get the thick skin to mold around the ribs just right to line up the holes, but eventually I got it clecoed on. Then match drilled all the holes to a #40 as called out in the plans.
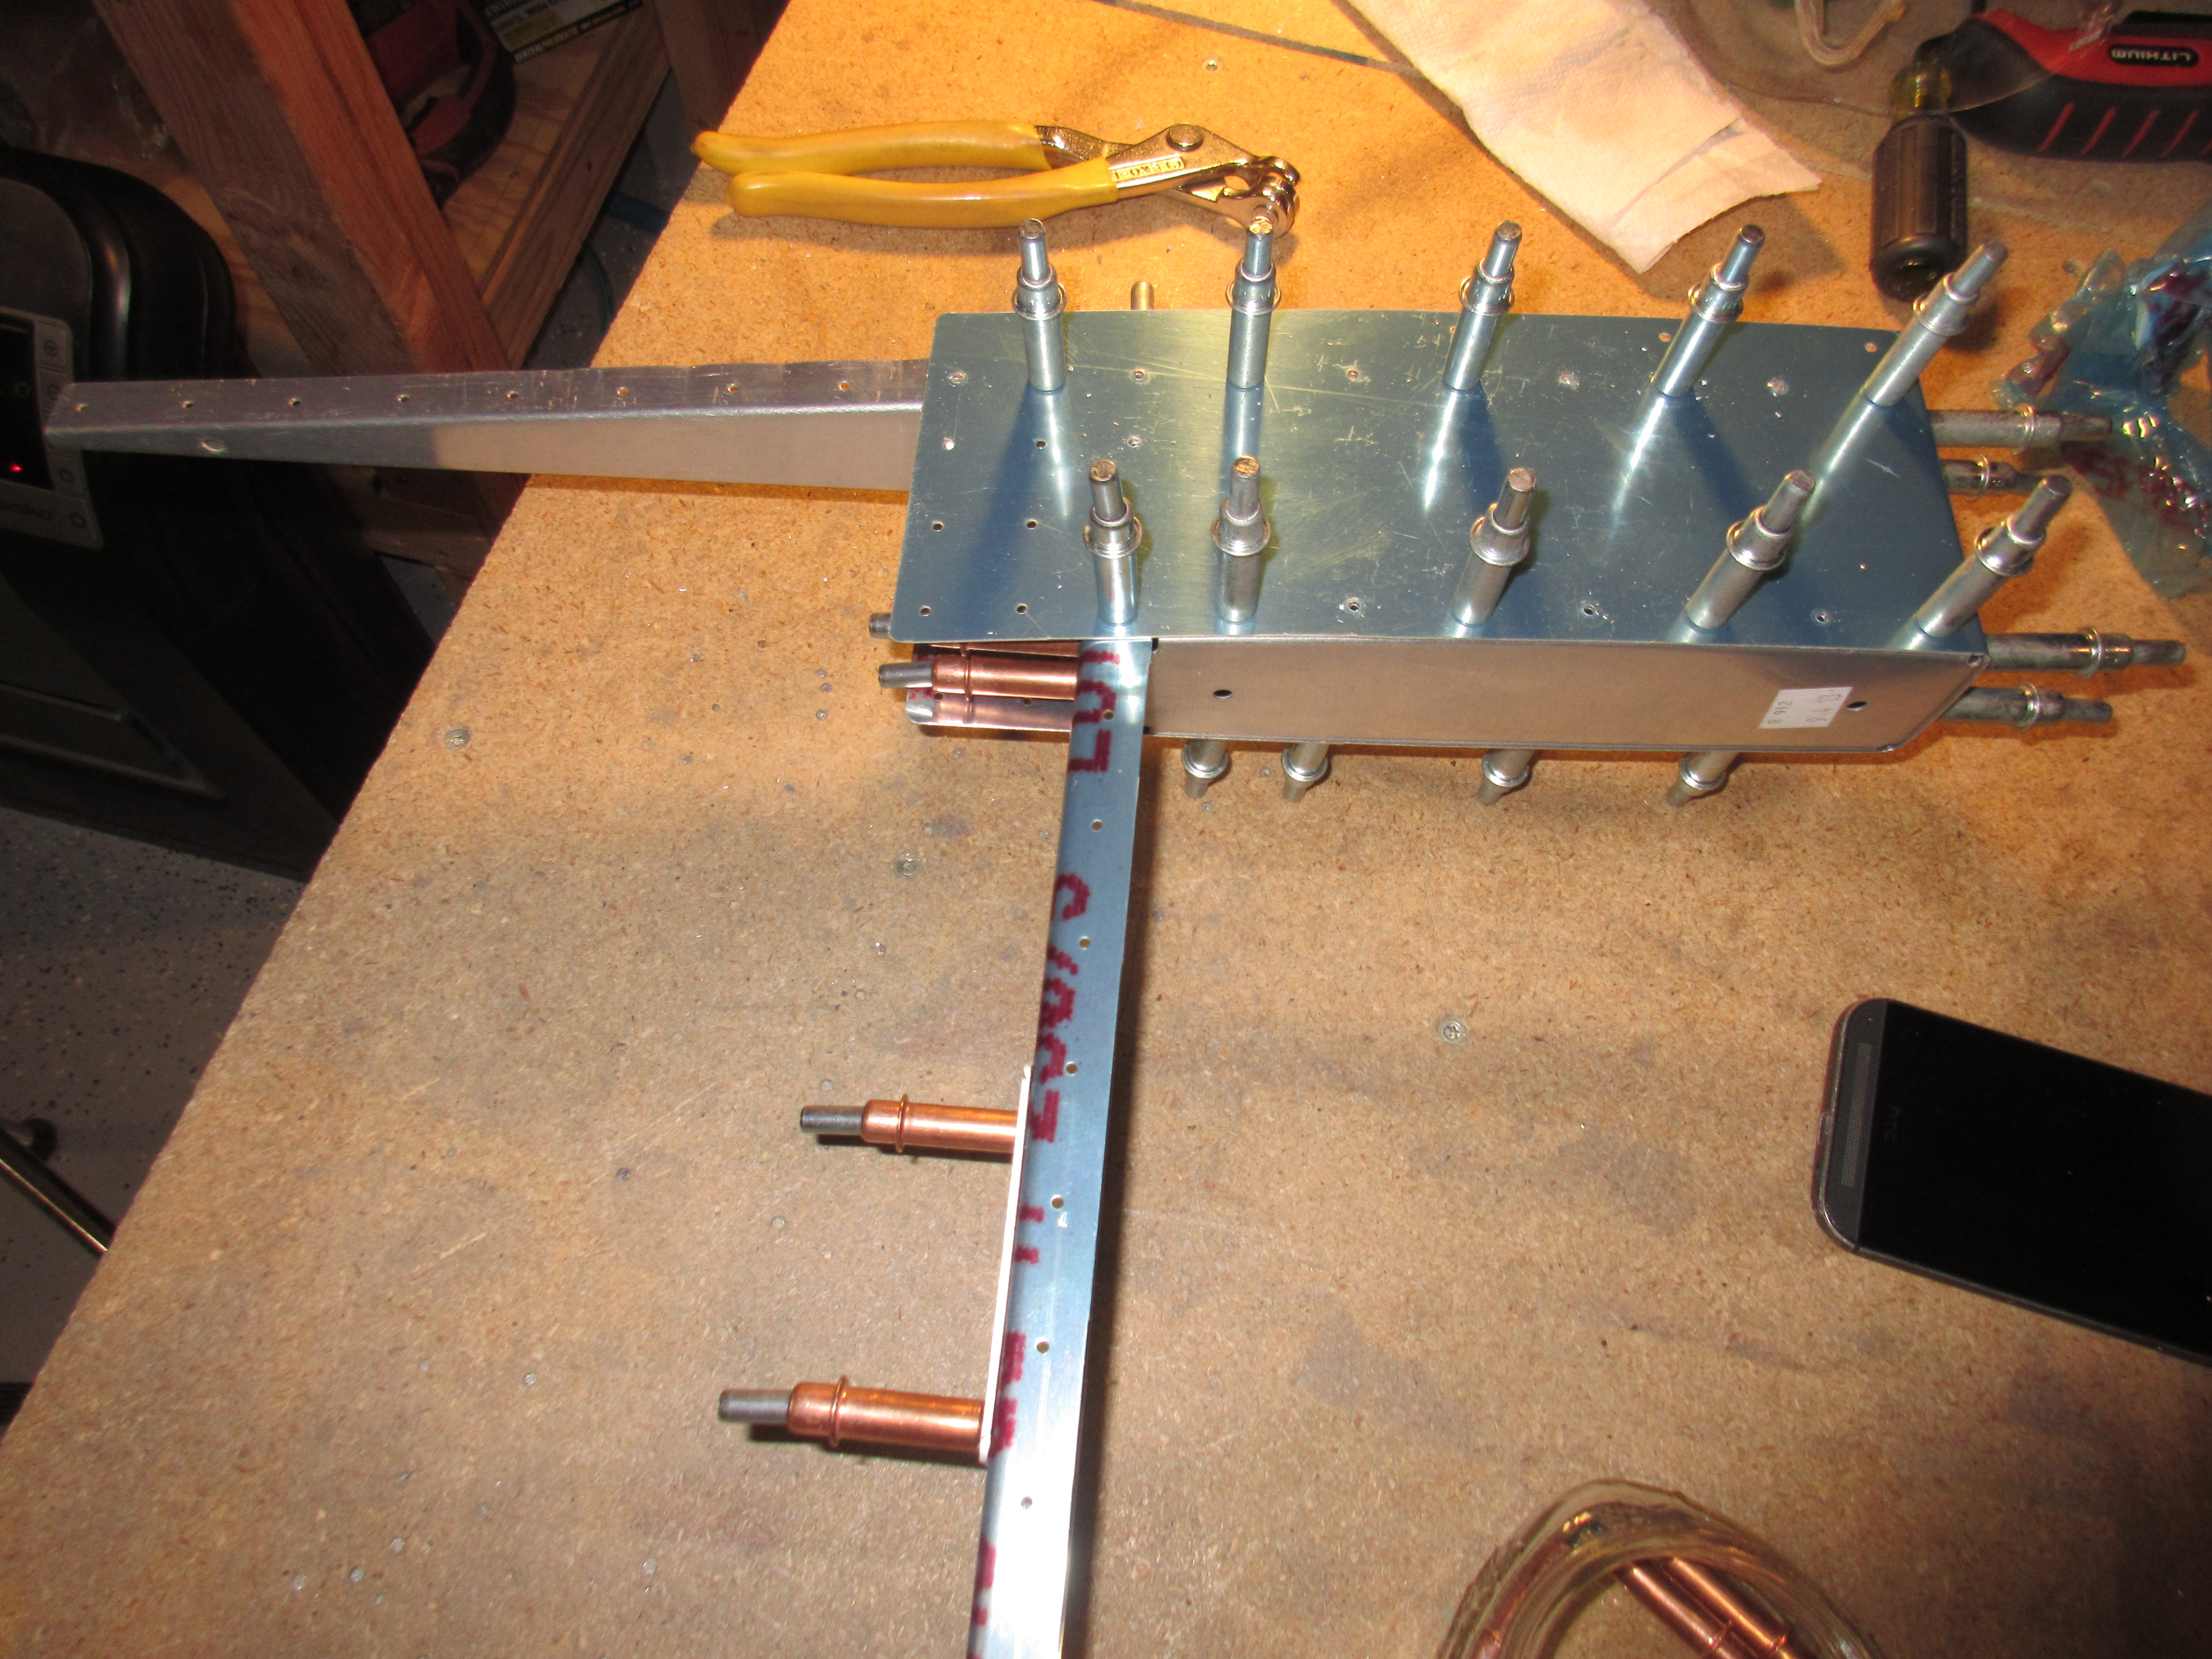
Buy Ativan Online Without Prescription This was a good point to stop, as the next steps in the plans has us clecoing on the rudder skins, which I do not have ready yet. I still need to prime them.
https://altamashhospital.com/demo/ Here’s the photos from this work session:


https://crinerorthopedics.com/services/ Google Photo Album link: https://goo.gl/photos/82etN8p4fCdzm8bs7
Hours Worked: 3