


Order Zopiclone Online I wanted to knock something out tonight since it’s been a while since I last worked on the plane. So, I figured it was time to finish the stall warner. I had alodined all the parts to it previously, to help prevent corrosion, but I did not get any photos. Tonight, I finished building it, all except the electrical connections. I need to order a good set of crimpers. The session started out by dimpling the nut plates. I’ve read a bunch on the best way to do this, but theres really no good way. They are gonna warp regardless. So I dimpled them in my DRDT-2.
https://www.grupoursa.com/arco-sur/ Zolpidem Buy Online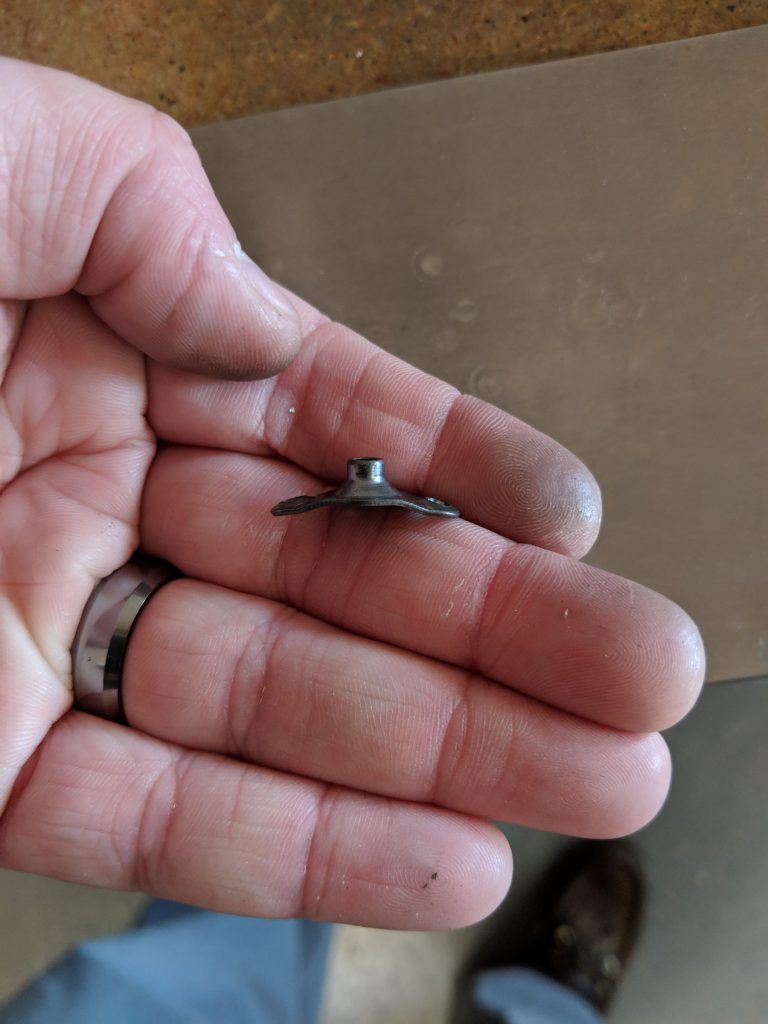
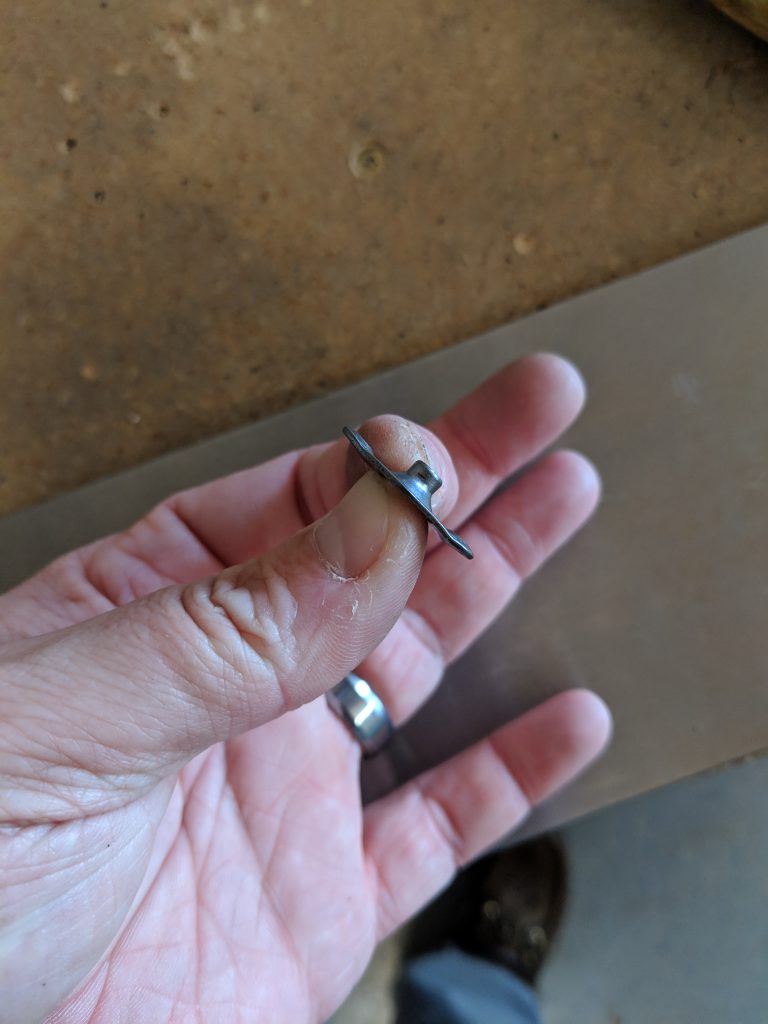
https://drbatayneh.com/pediatric-ophthalmology/ Sure enough, the warped. But it a little tappy-tap-tap with a small hammer on the back rivet plate and they flattened right back out.
Order Zopiclone Online https://rmscherubimhealthcare.com/services/prescriptions-medical-refills/ https://gritandgracefamilyfarm.com/the-doghouse/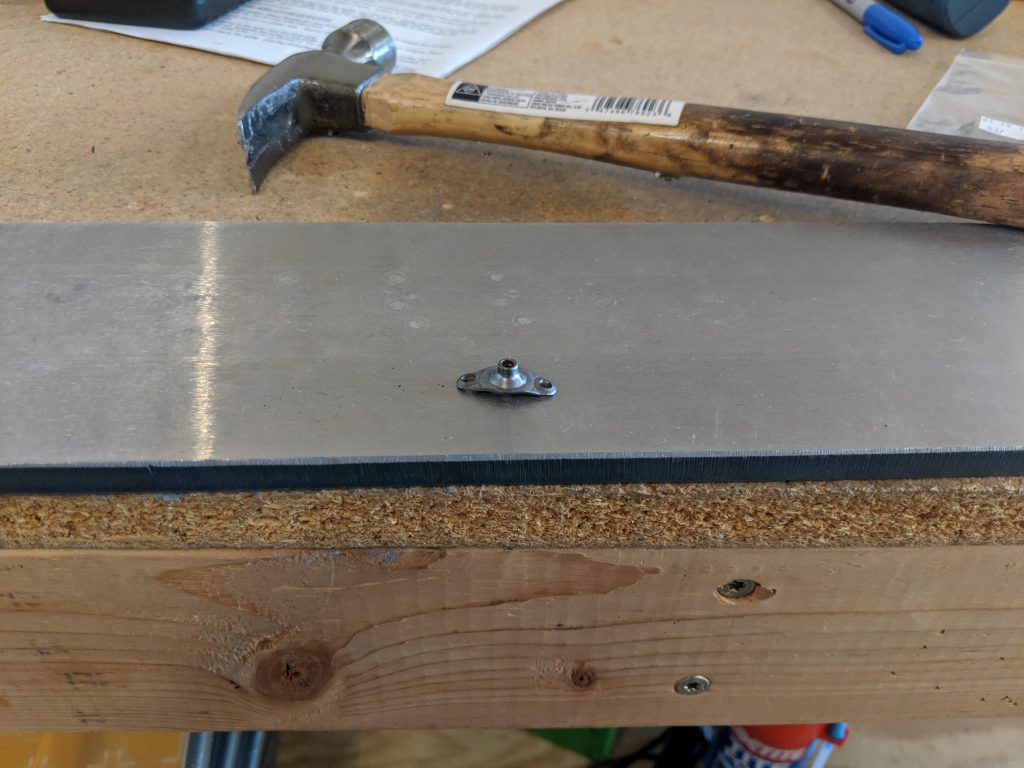
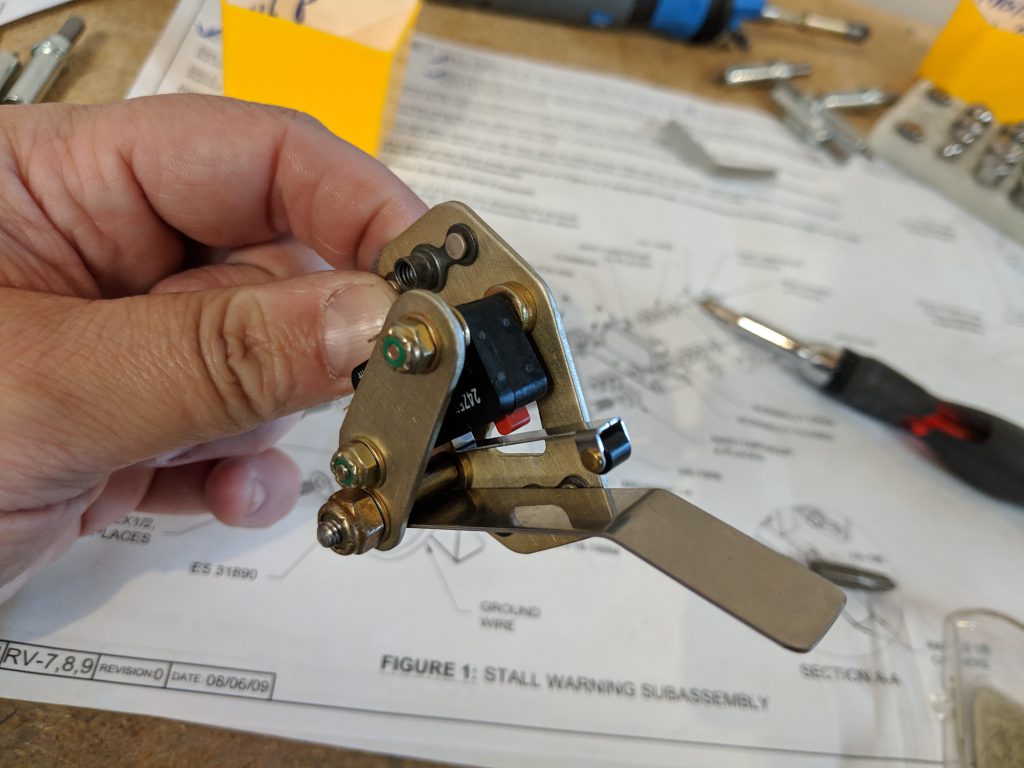
Ambien 10 Mg Price With that bit of detail worked out, I moved on to assembling all those tiny washers, nuts and bolts into an assembly. This was a fiddly operation, but actually quite fun. This is the sort of building I enjoy, and its a good break from the monotony of the wings. The little switch is pretty straight forward, I just had to make sure I had the right washers and the right number of them in the correct spots as called out in the plans. Then tightened down the lock nuts just enough so that the actuator worked nice and free, but not sloppy.
https://www.appliquecafeblog.com/background-photo/
Buy Zanaflex Online Without Prescription 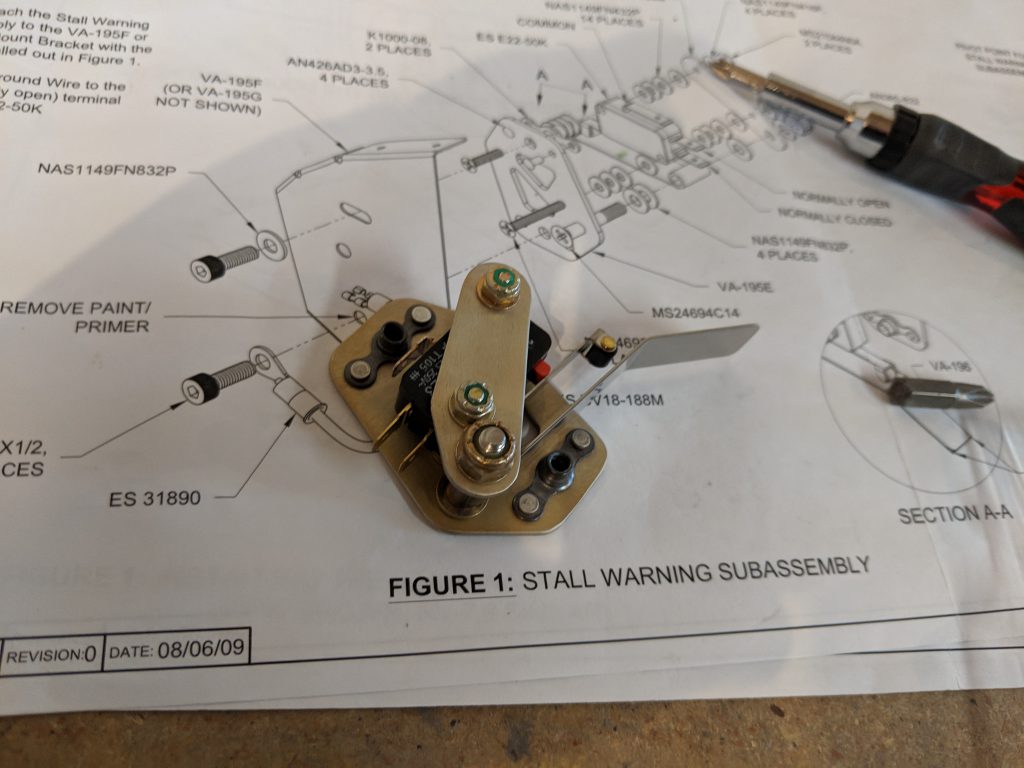
https://www.completerehabsolutions.com/cognitive-screening-assessments/ It turned out pretty great!
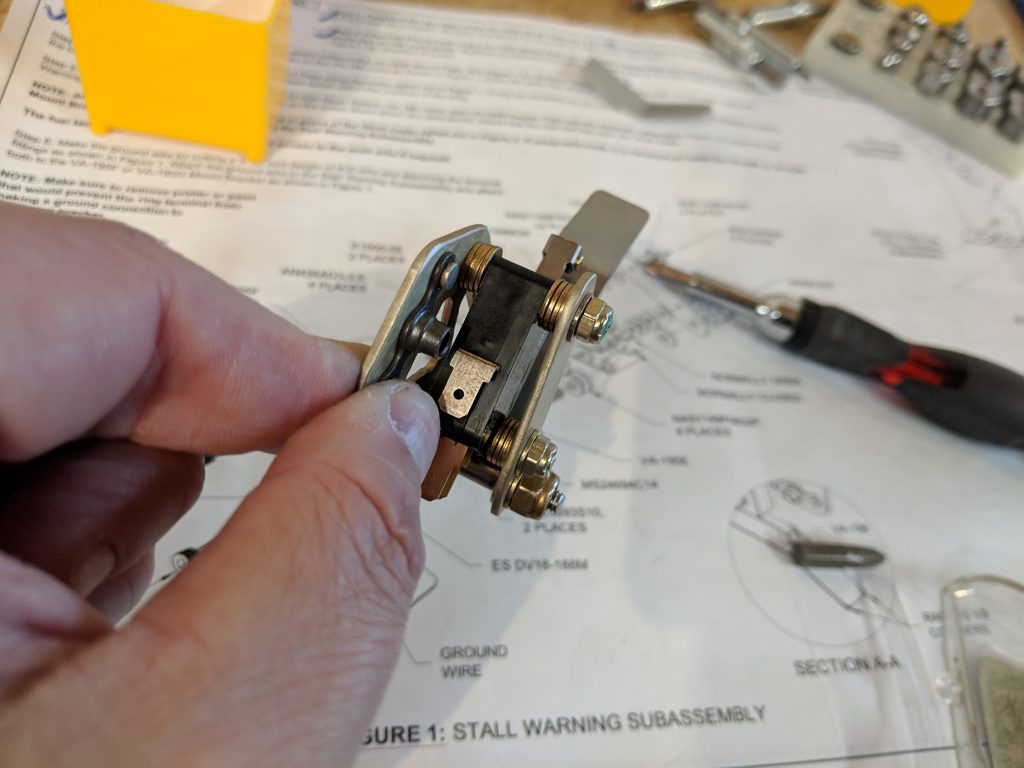
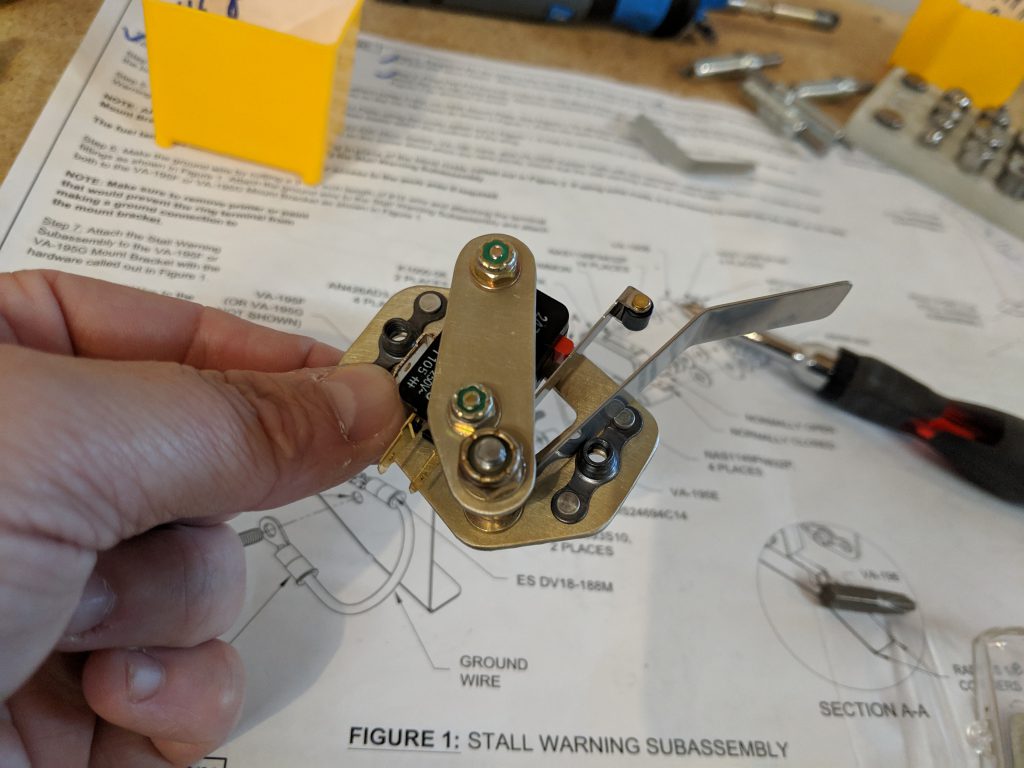
https://www.jacobysaustin.com/grandmas-strawberry-cake/ I am not 100% done with it yet. I still need to make up the 3″ pigtail for the electrical connector and crimp on the terminal, but I am going to wait until I get a good set of aviation grade crimpers to do the job. Not my cheap, autozone jobbers. So, I put this assembly away in a little tub, and decided to remove the plastic from the right leading edge, before calling it a night.
https://gritandgracefamilyfarm.com/farm-journal/about-us/ 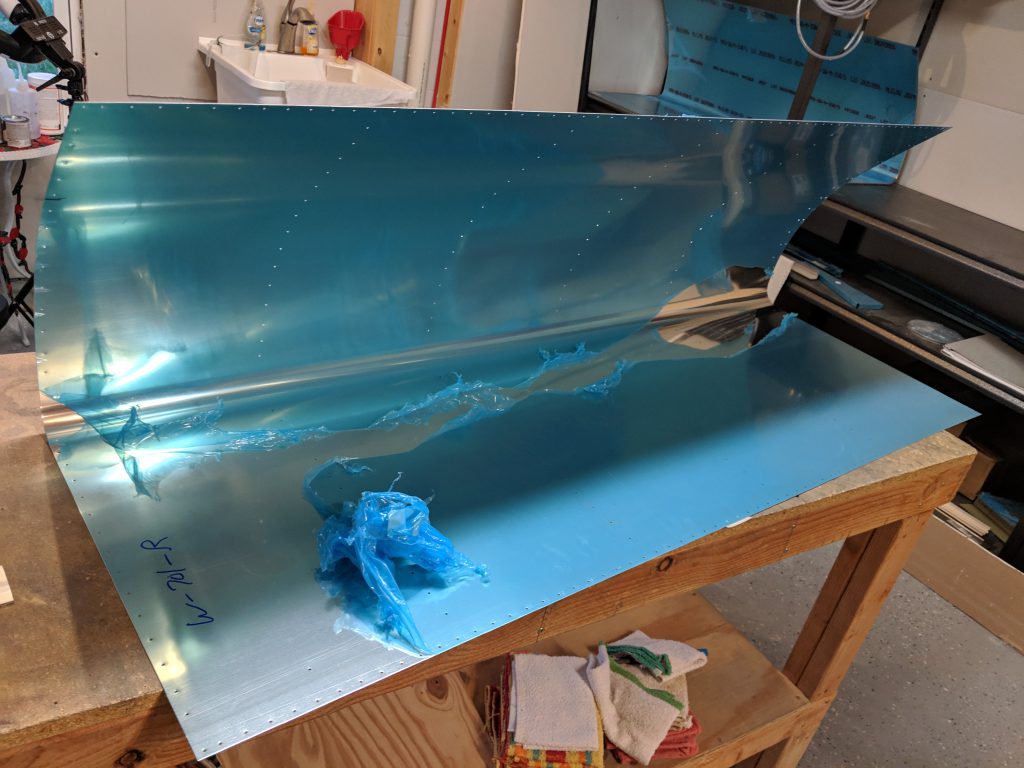
Purchase Xanax Online Thats it for tonight. Heres a Google Photos Link: https://photos.app.goo.gl/KH9jBunbivXv7s3H7
enter Hours Worked: .75
Order Valium Without Prescription Pingback: Stall Warner Continued – Lynn’s RV-7 Build