


go site I spent about 20 minutes bending the left elevator trailing edge in the bending brake tonight. I figured since I already had my bending brake setup on my bench, I might as well go ahead and bend the left elevator as well. Since this elevator doesn’t have as much trailing edge to bend (due to the trim tab), it was really easy to get bent to the right shape and only took about 20 minutes counting checking it with a straight edge. It came out great, and then went back on the shelf until I get ready for it.
https://ballymenachamber.co.uk/?page_id=442
https://gottbs.com/procurement/ 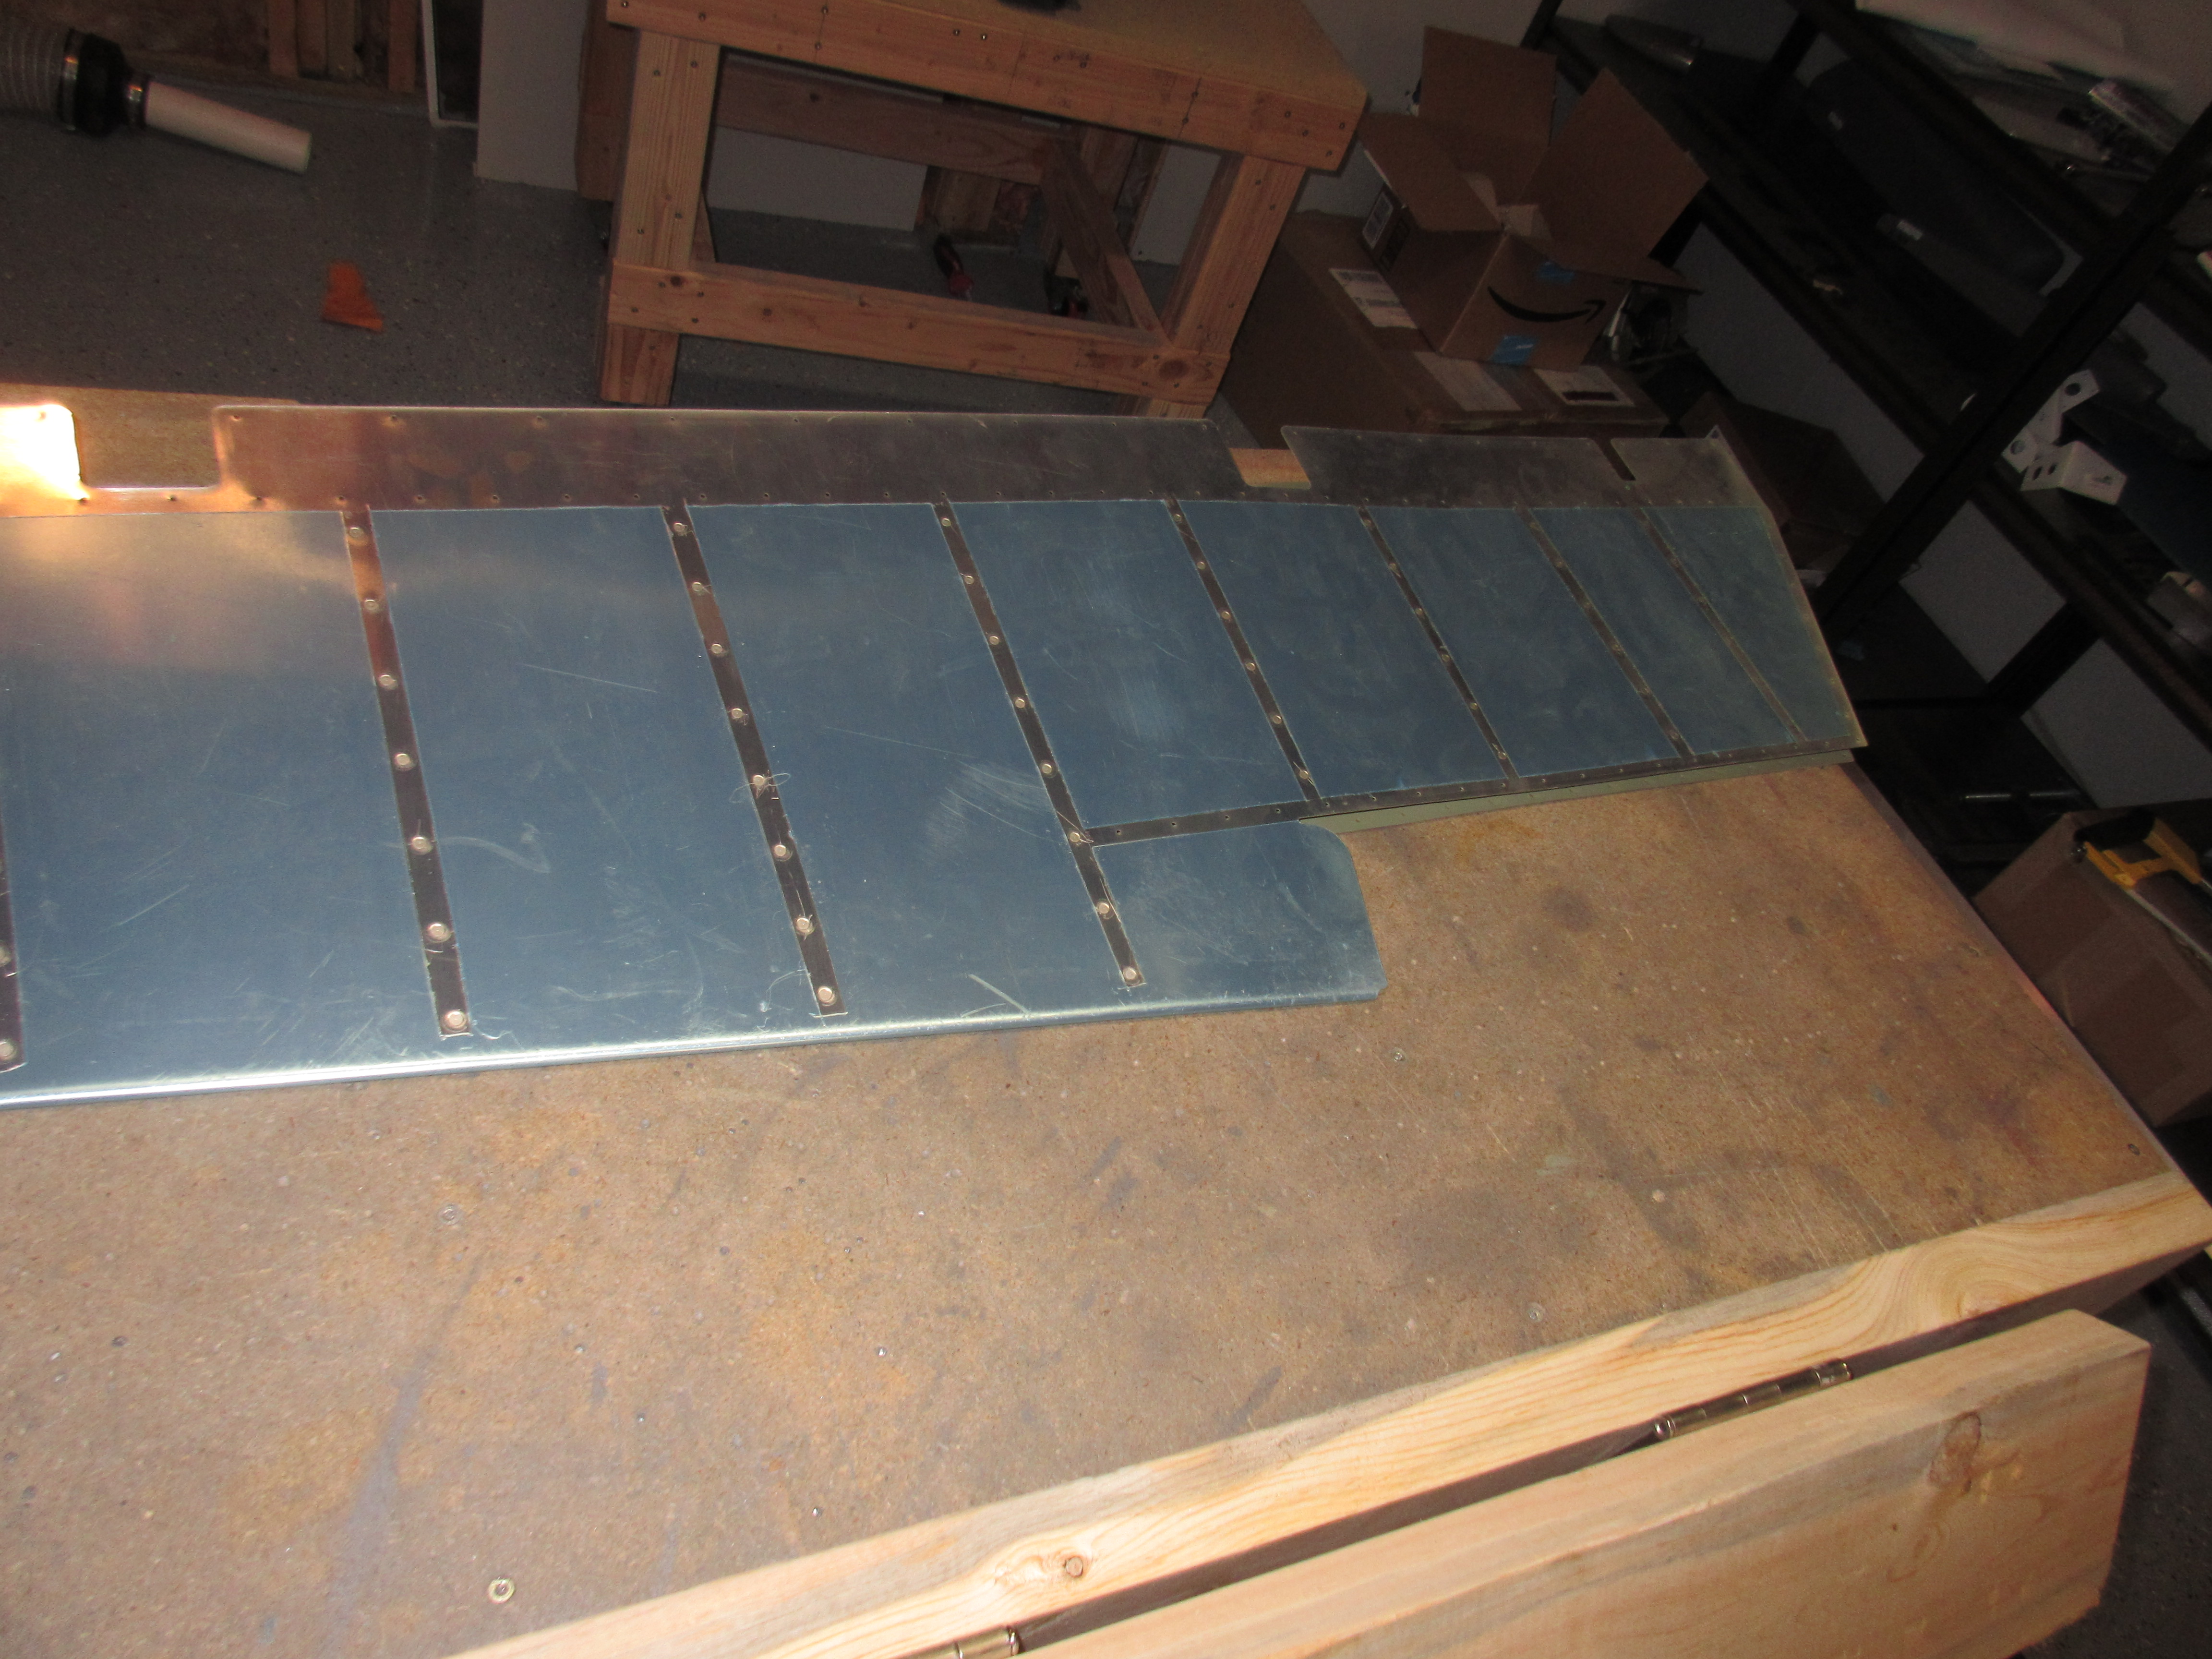
https://luckydubz.com/artists/ I decided to do a little more work on the right elevator since it took less than a half hour to bend the left. I thought I would go ahead and get the right elevator assembled so I could match drill the skin to the skeleton and get it ready for dimpling. While I was assembling the E-713 counterbalance skin to the E-703 and E-704 ribs I realized I made my first mistake, and one so bad I would need to order some new parts 🙁 I made the mistake last month during the initial assembly which you can see by this photo. Notice the counterbalance skin, I have it flipped over in the wrong direction. This cascaded down to when I drilled the lead counterweight. So, essentially what happened is I assembled everything with that skin flipped over, and then match drilled the counterweight to it. Tonight, when I started assembling everything together, I noticed the counterweight holes were not lining up, which is when I noticed that I messed this part up. You can see from these photos how the parts were drilled:
Buy Amoxicillin Online Without Prescription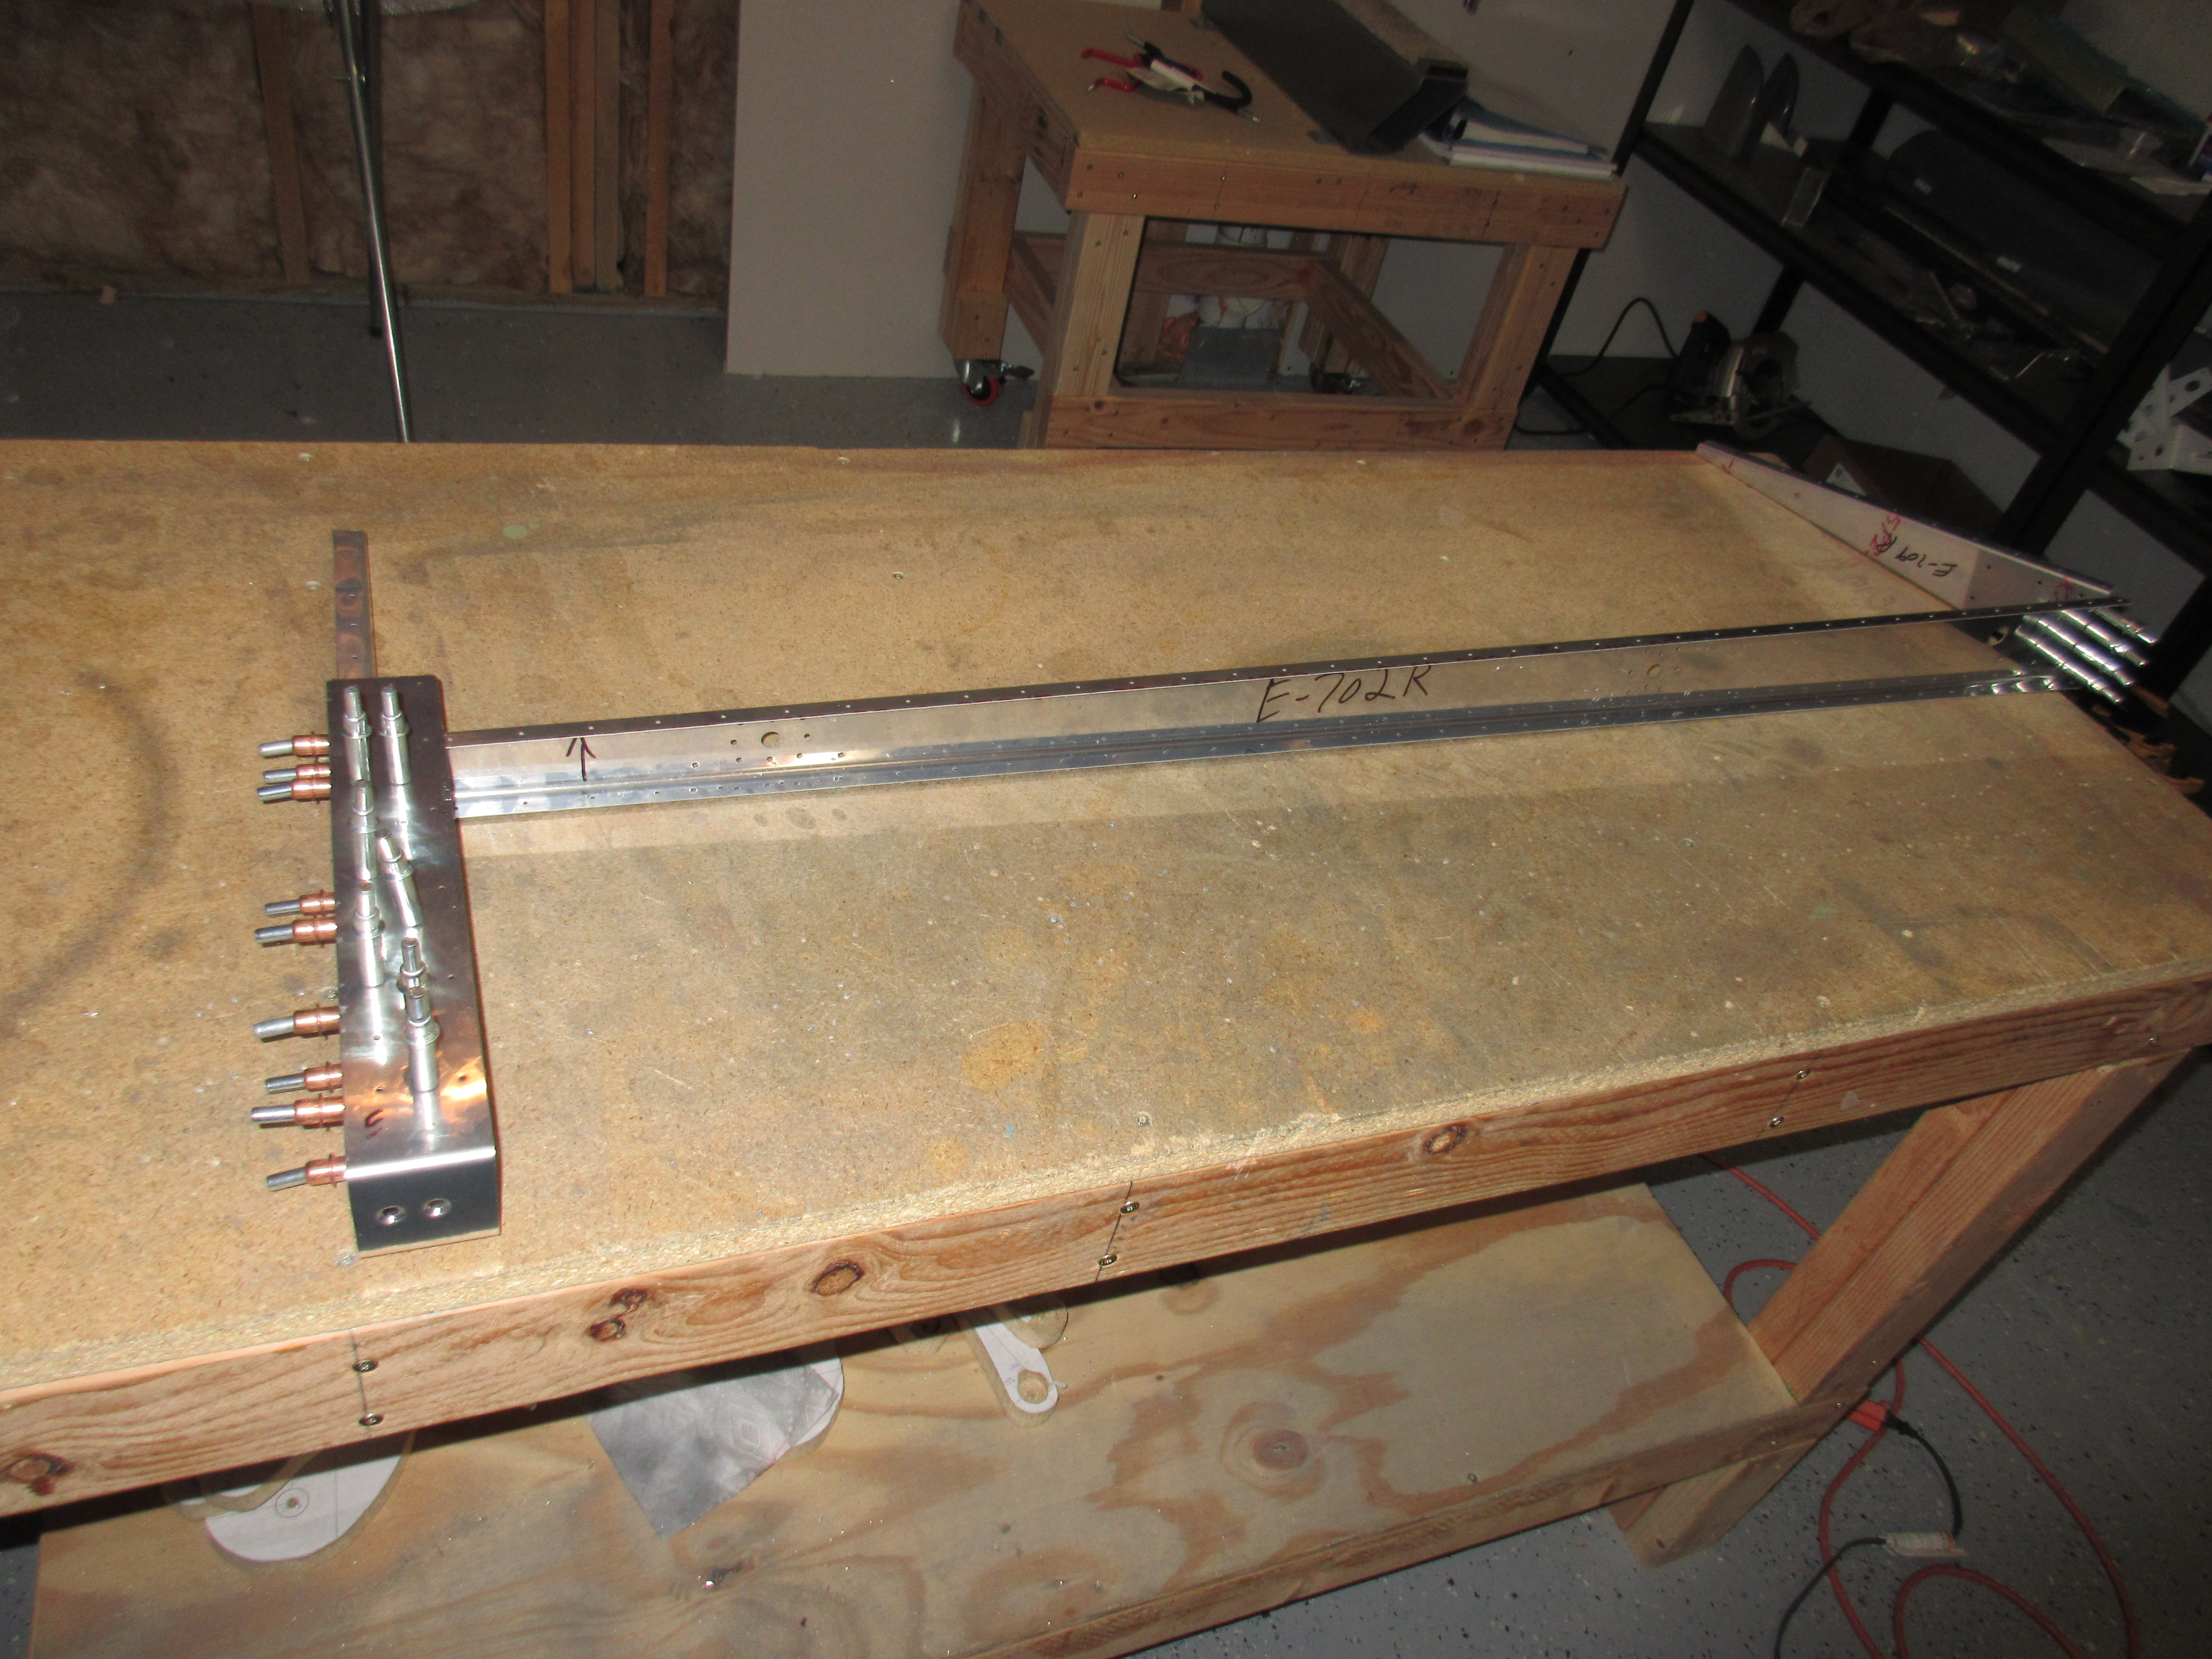
https://ballymenachamber.co.uk/?page_id=442 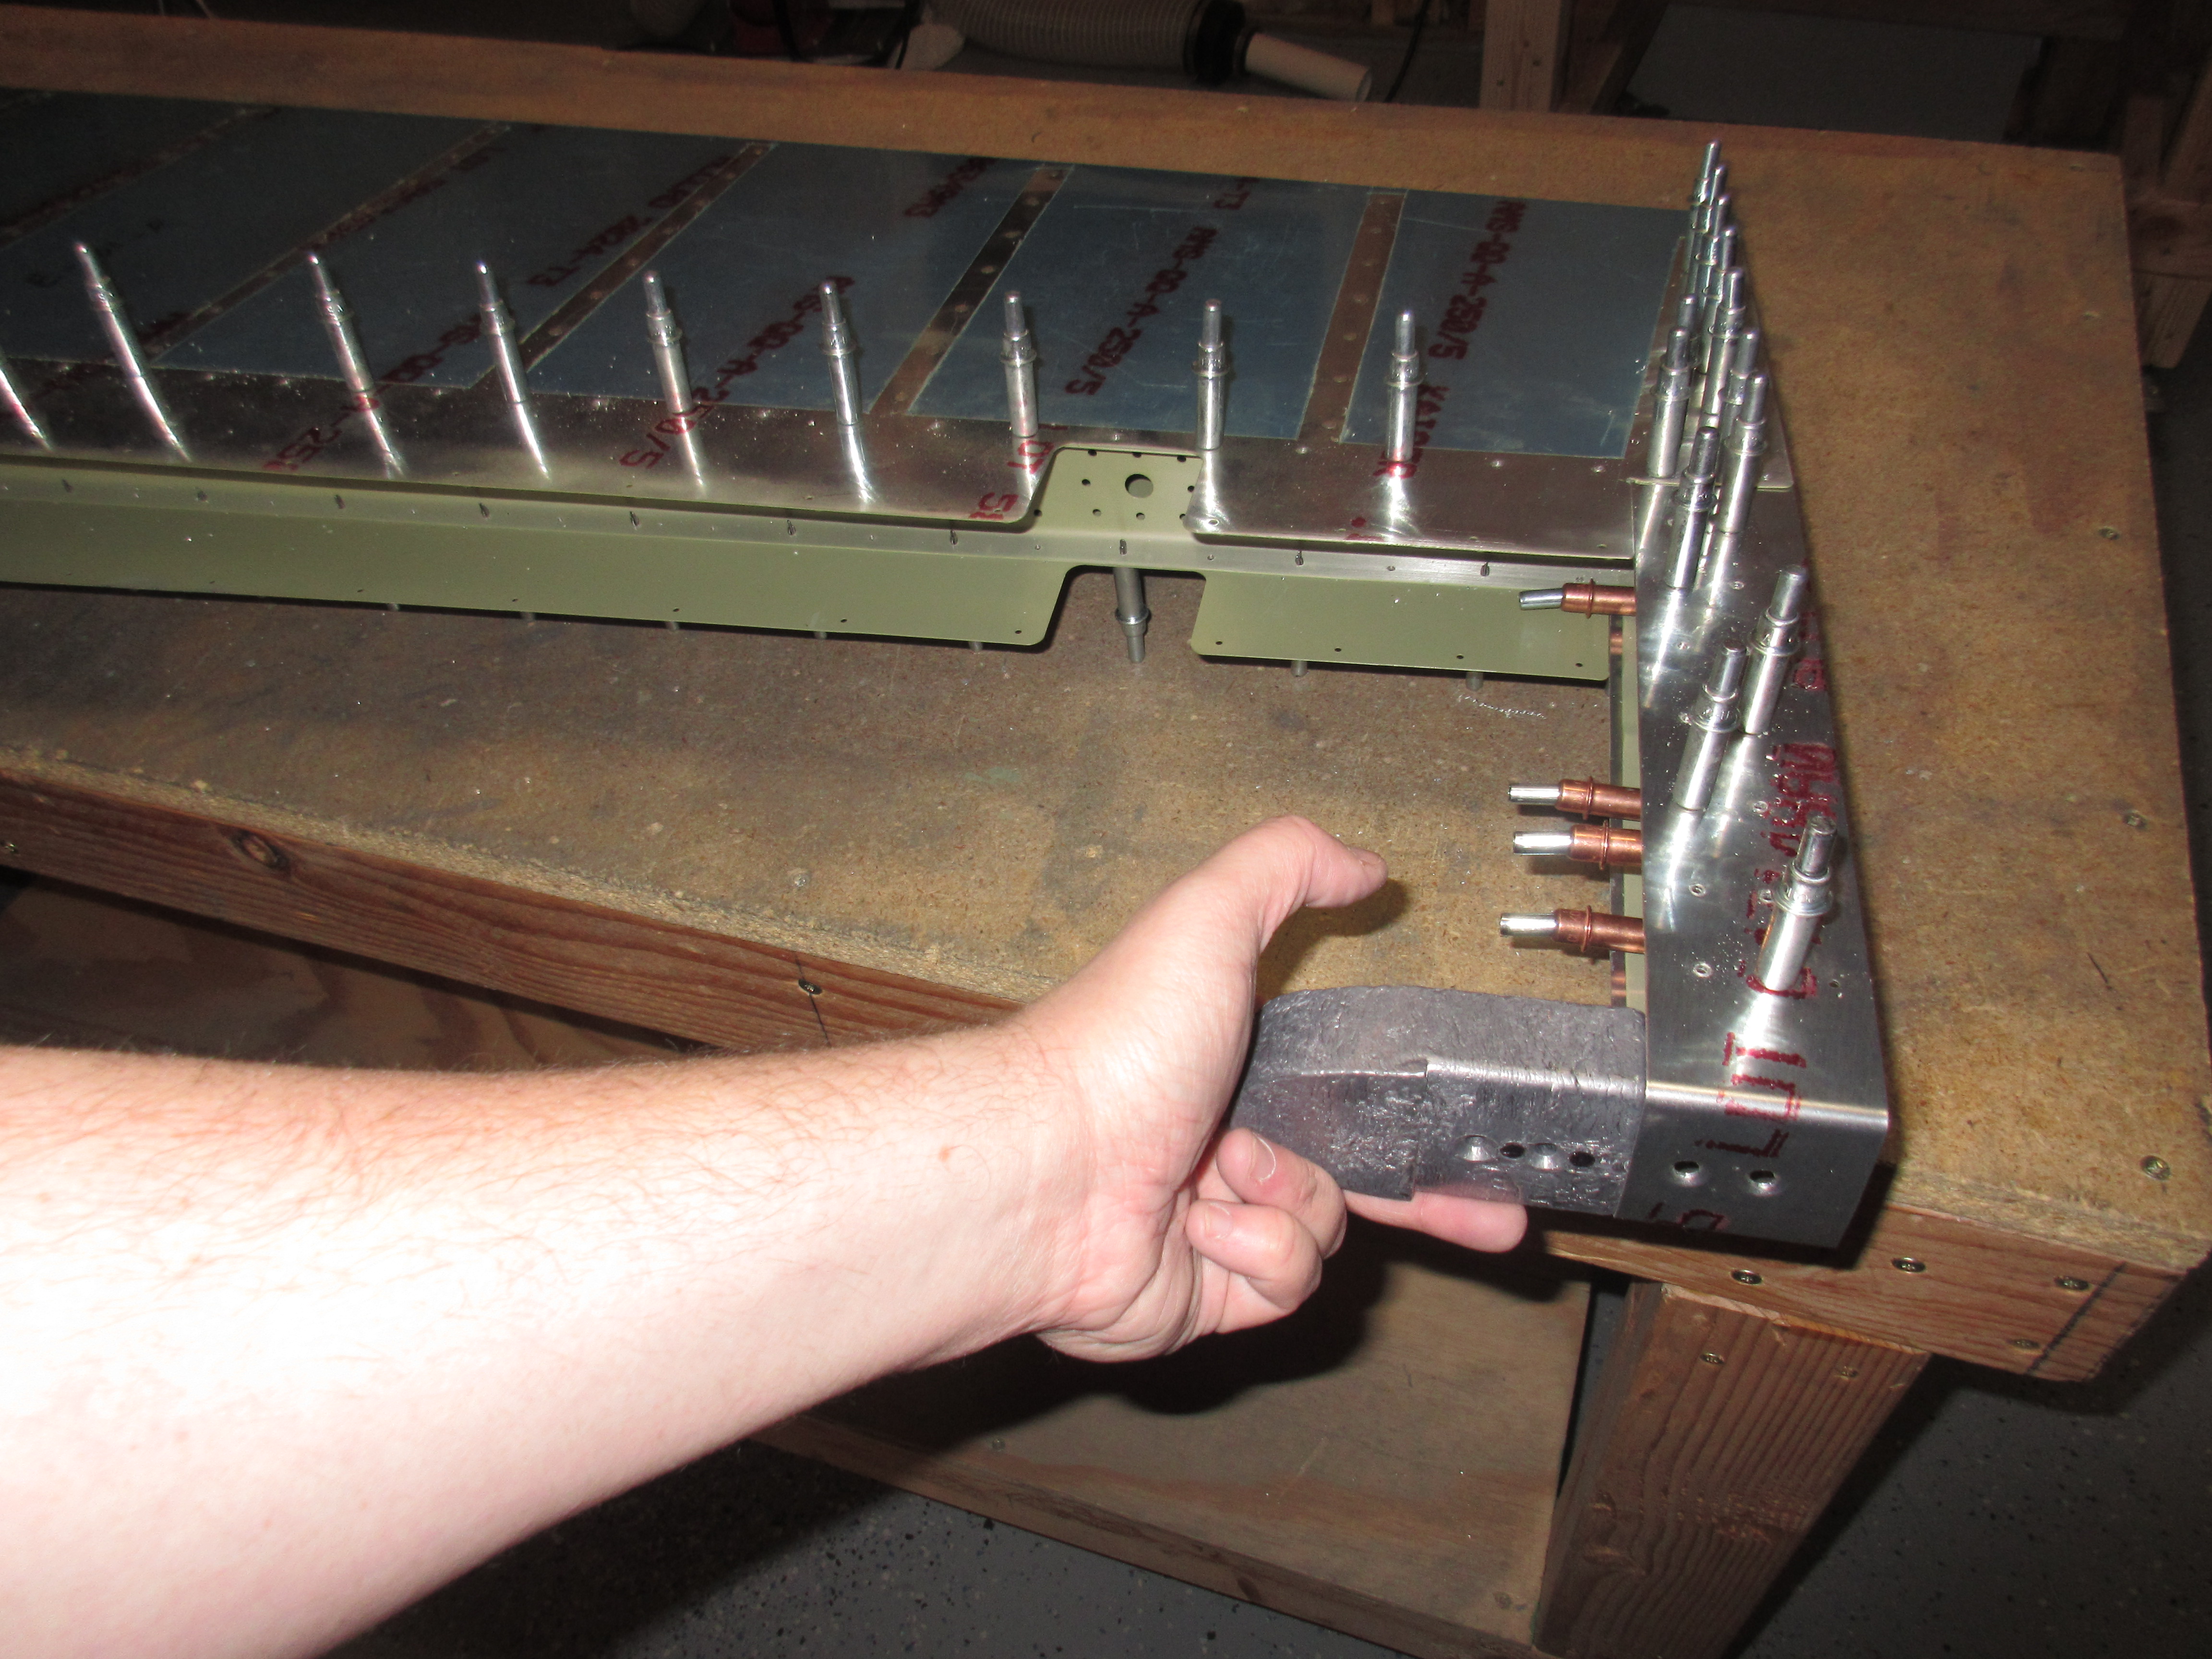
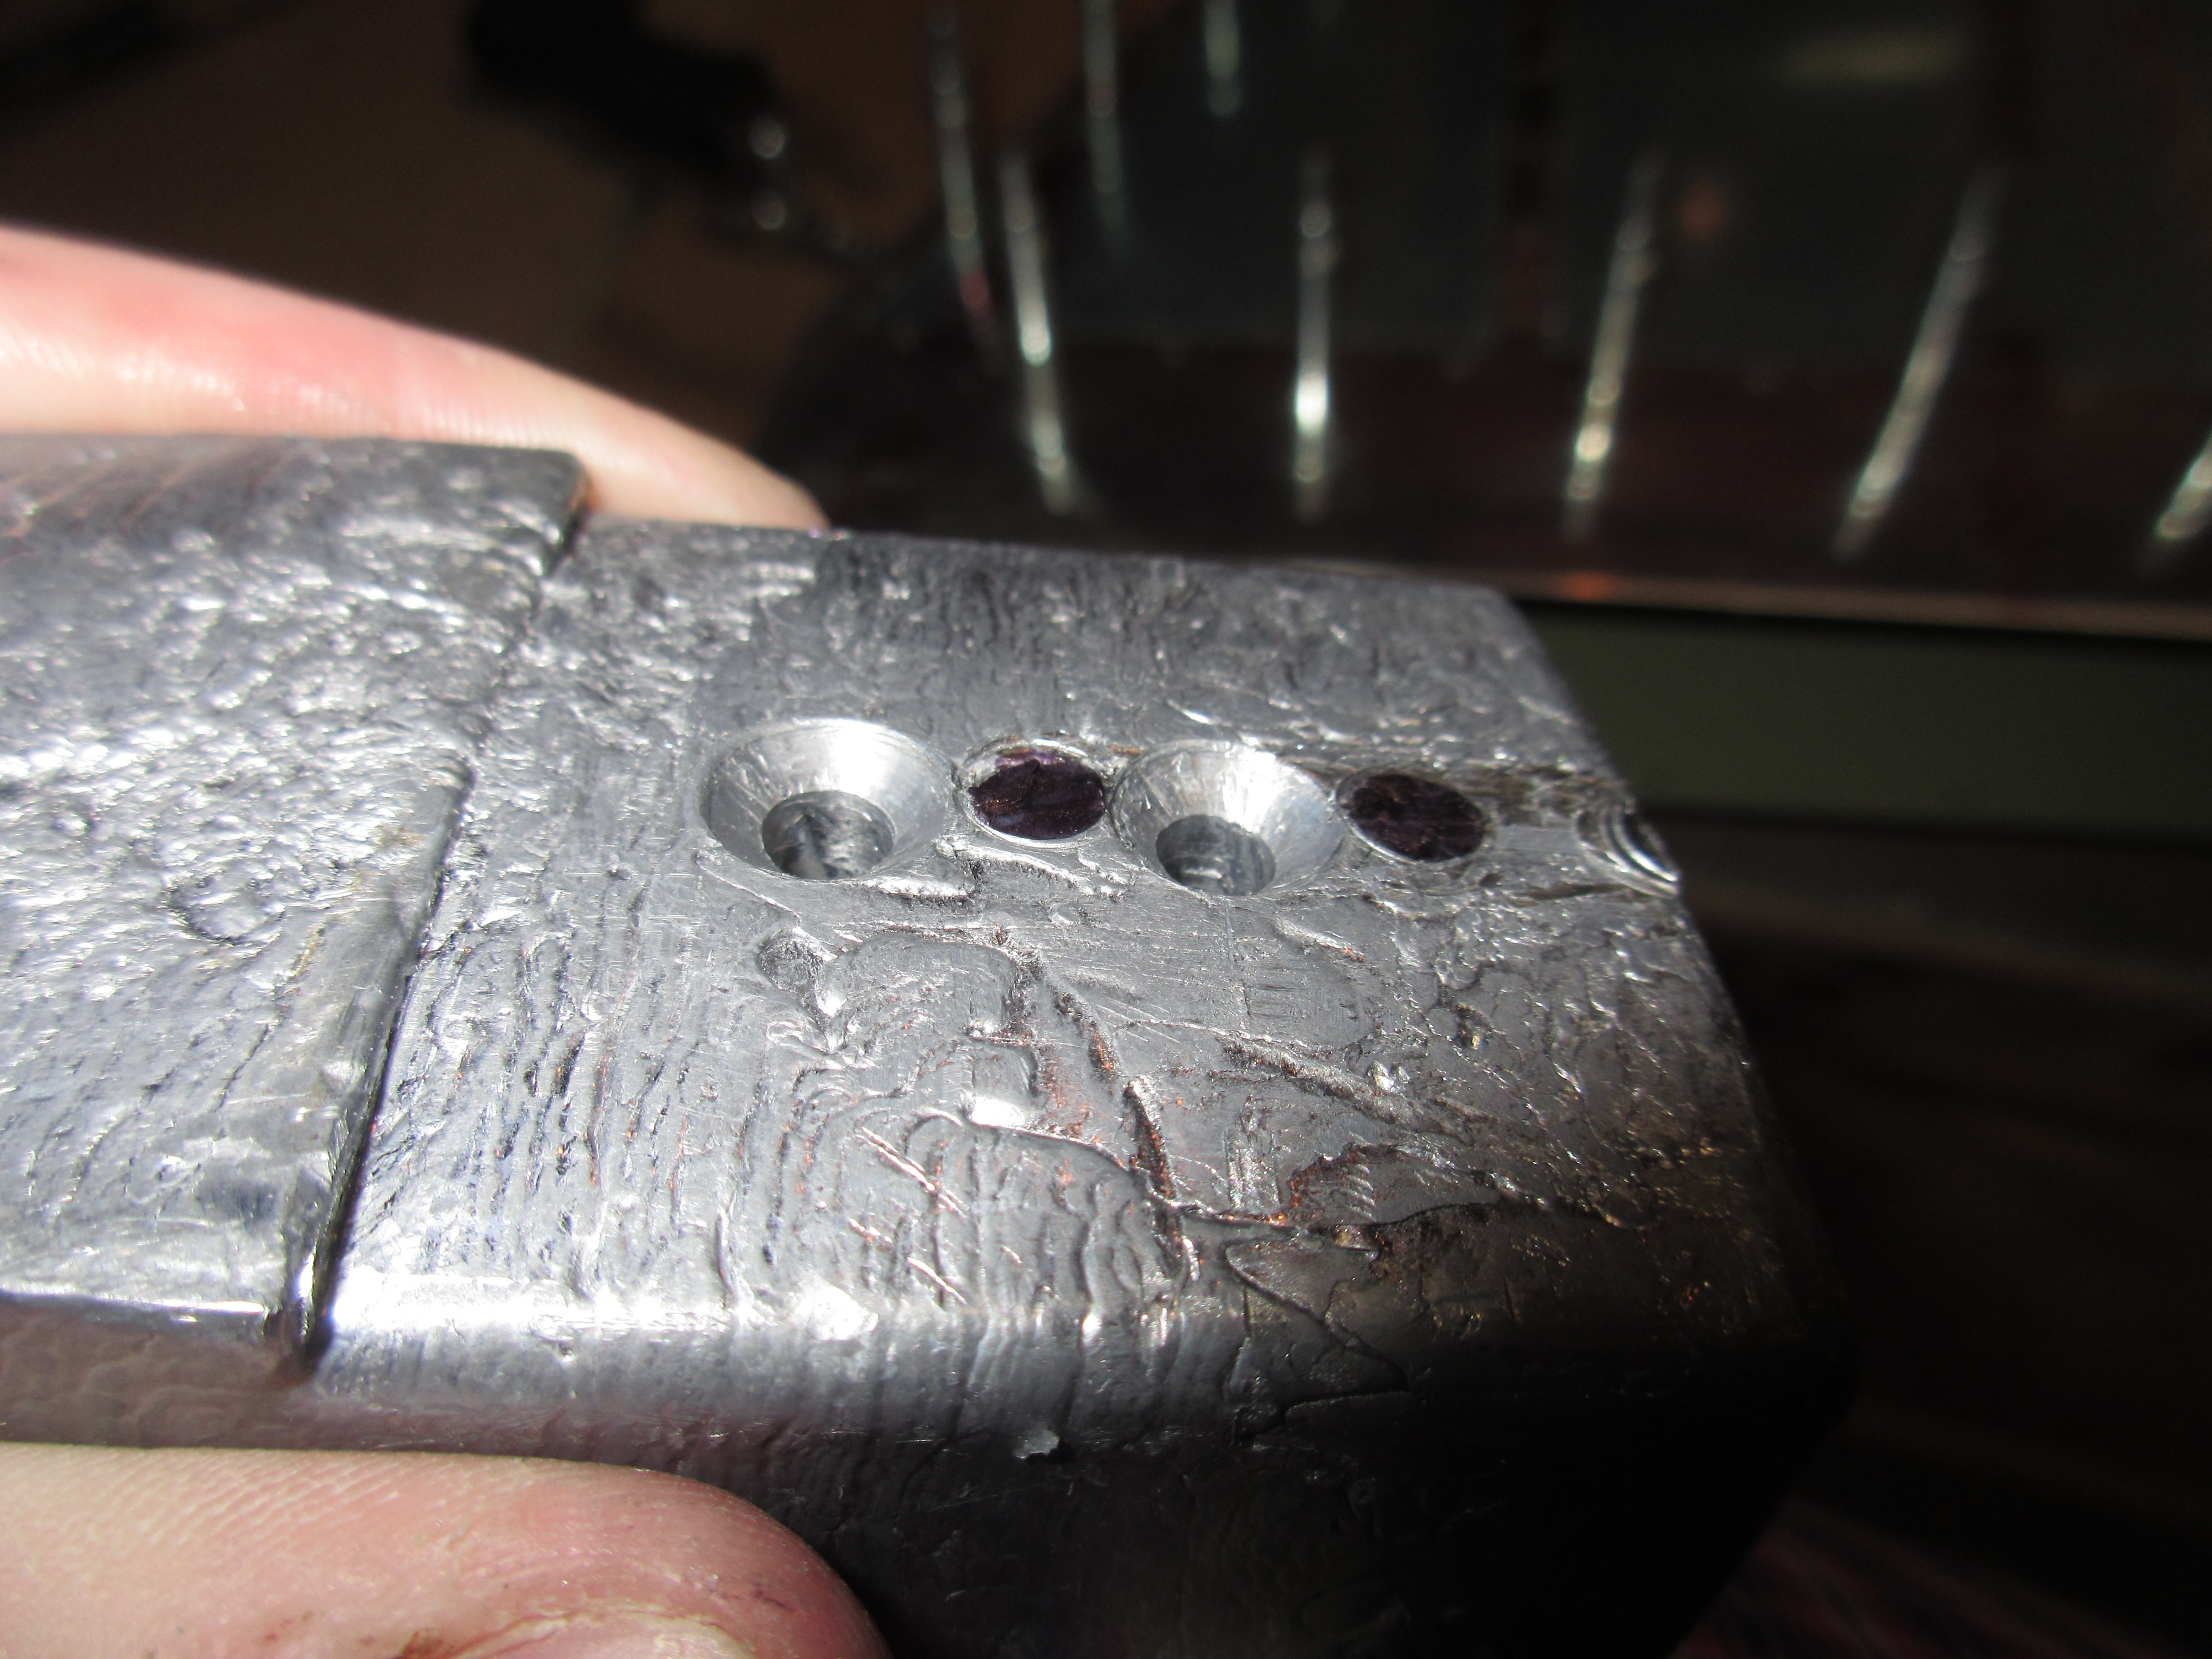
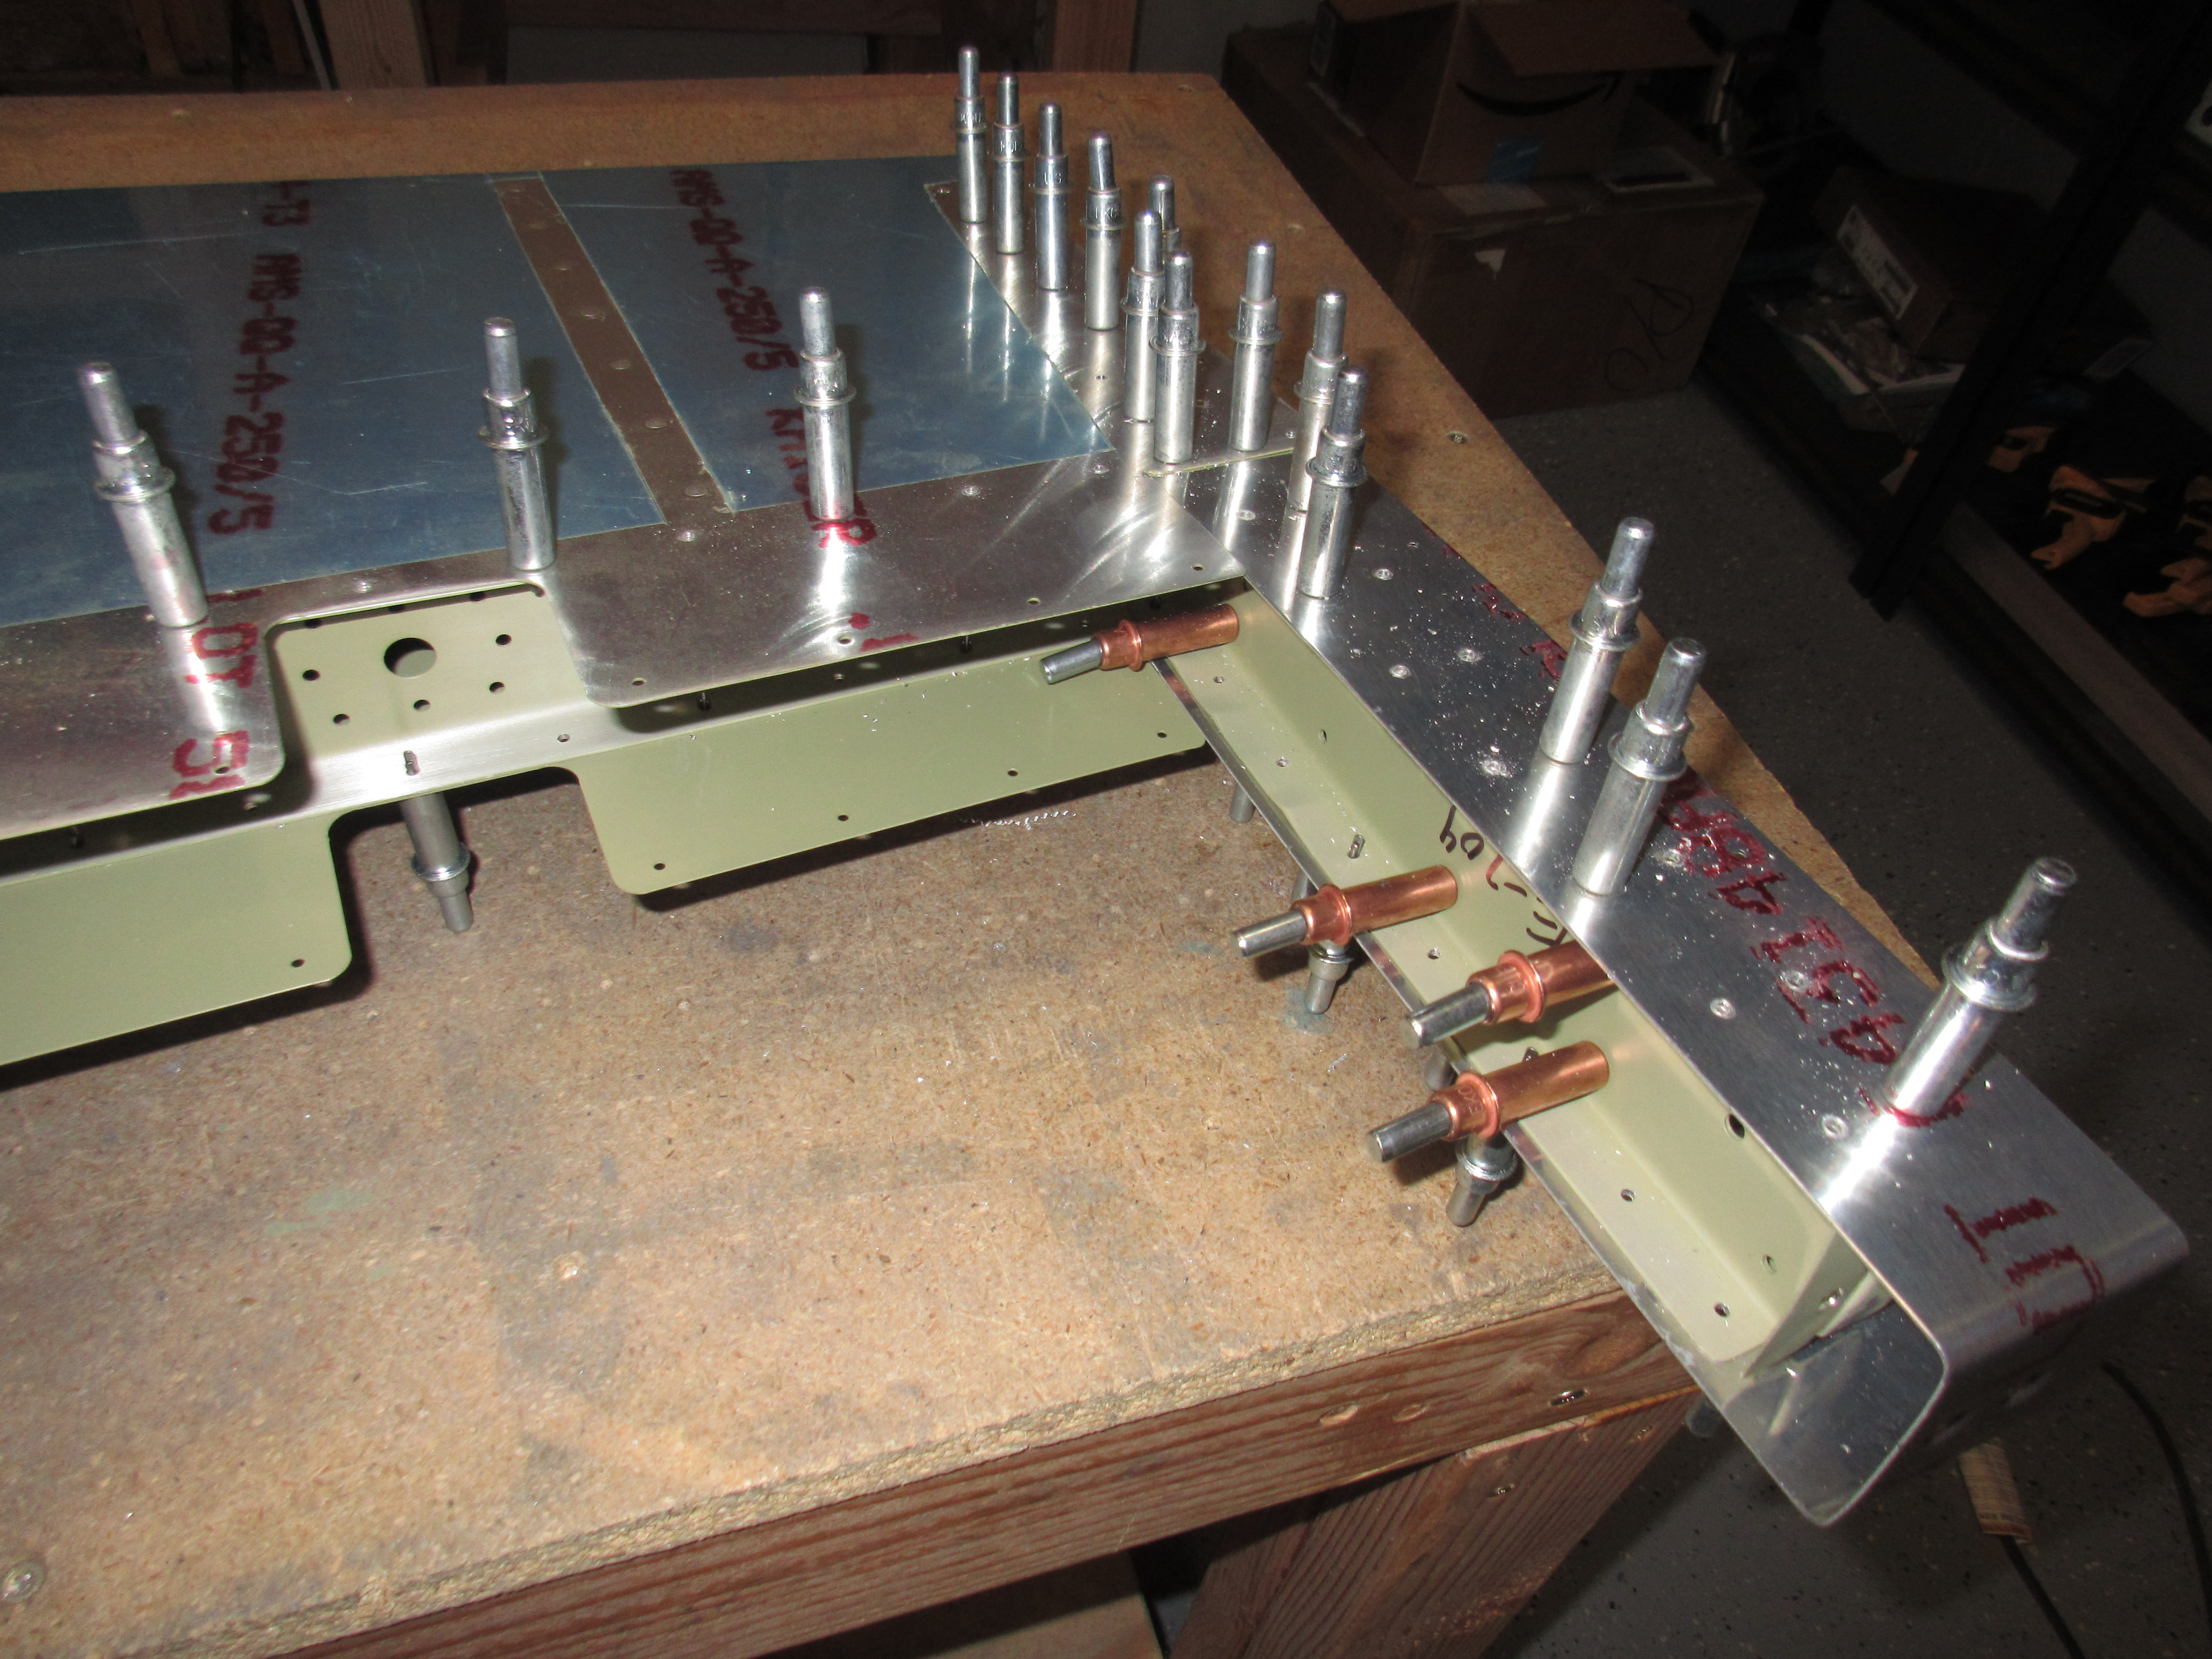
follow link That counterweight should be on the OTHER side of the rib and you can see the sharpie marks I made tonight to see just how bad it would be to re-drill. These holes are too close so re-drilling them is not an option. But, it looks like only the counterweight and its skin are needing to be replaced, and since the kit came with two (one for the left and another for the right) I can just use the remaining E-714 and E-713 that would have went on the left side, to keep working until the replacement parts come in. Both the left and right parts identical.
https://colvetmiranda.org/reglamento-de-la-ley-del-ejercicio-de-la-medicina-veterinaria/Order Tramadol Overnight Thank goodness that I only need to replace two parts, the E-714 counterweight and the E-713 counterbalance skin for a grand total of about $40 from Vans. I am so glad I caught this now, before I wound up having to replace more parts! Oh well, I guess its good that my first mistake was something that is easy to fix and cheap to replace. Luckily it won’t hold up any progress while I wait on the new parts.
follow linkhttps://gottbs.com/accredited-testing-laboratories/ So, I pulled out the E-714 and E-713 from my stock and re-drilled the skin and counterweight MAKING SURE the orientation was correct this time :-). Drilling lead is a pretty rough task on a drill bit, so I kept it slathered up in Boelube. With that squared away, I decided I’d go ahead and assembly it to the skeleton and then match drill the left elevator skin to the skeleton to get it ready for dimpling. This was pretty uneventful, and went quickly.
Vicodin Online Purchase
https://www.dentistcorpuschristitexas.com/strengthen-teeth/ 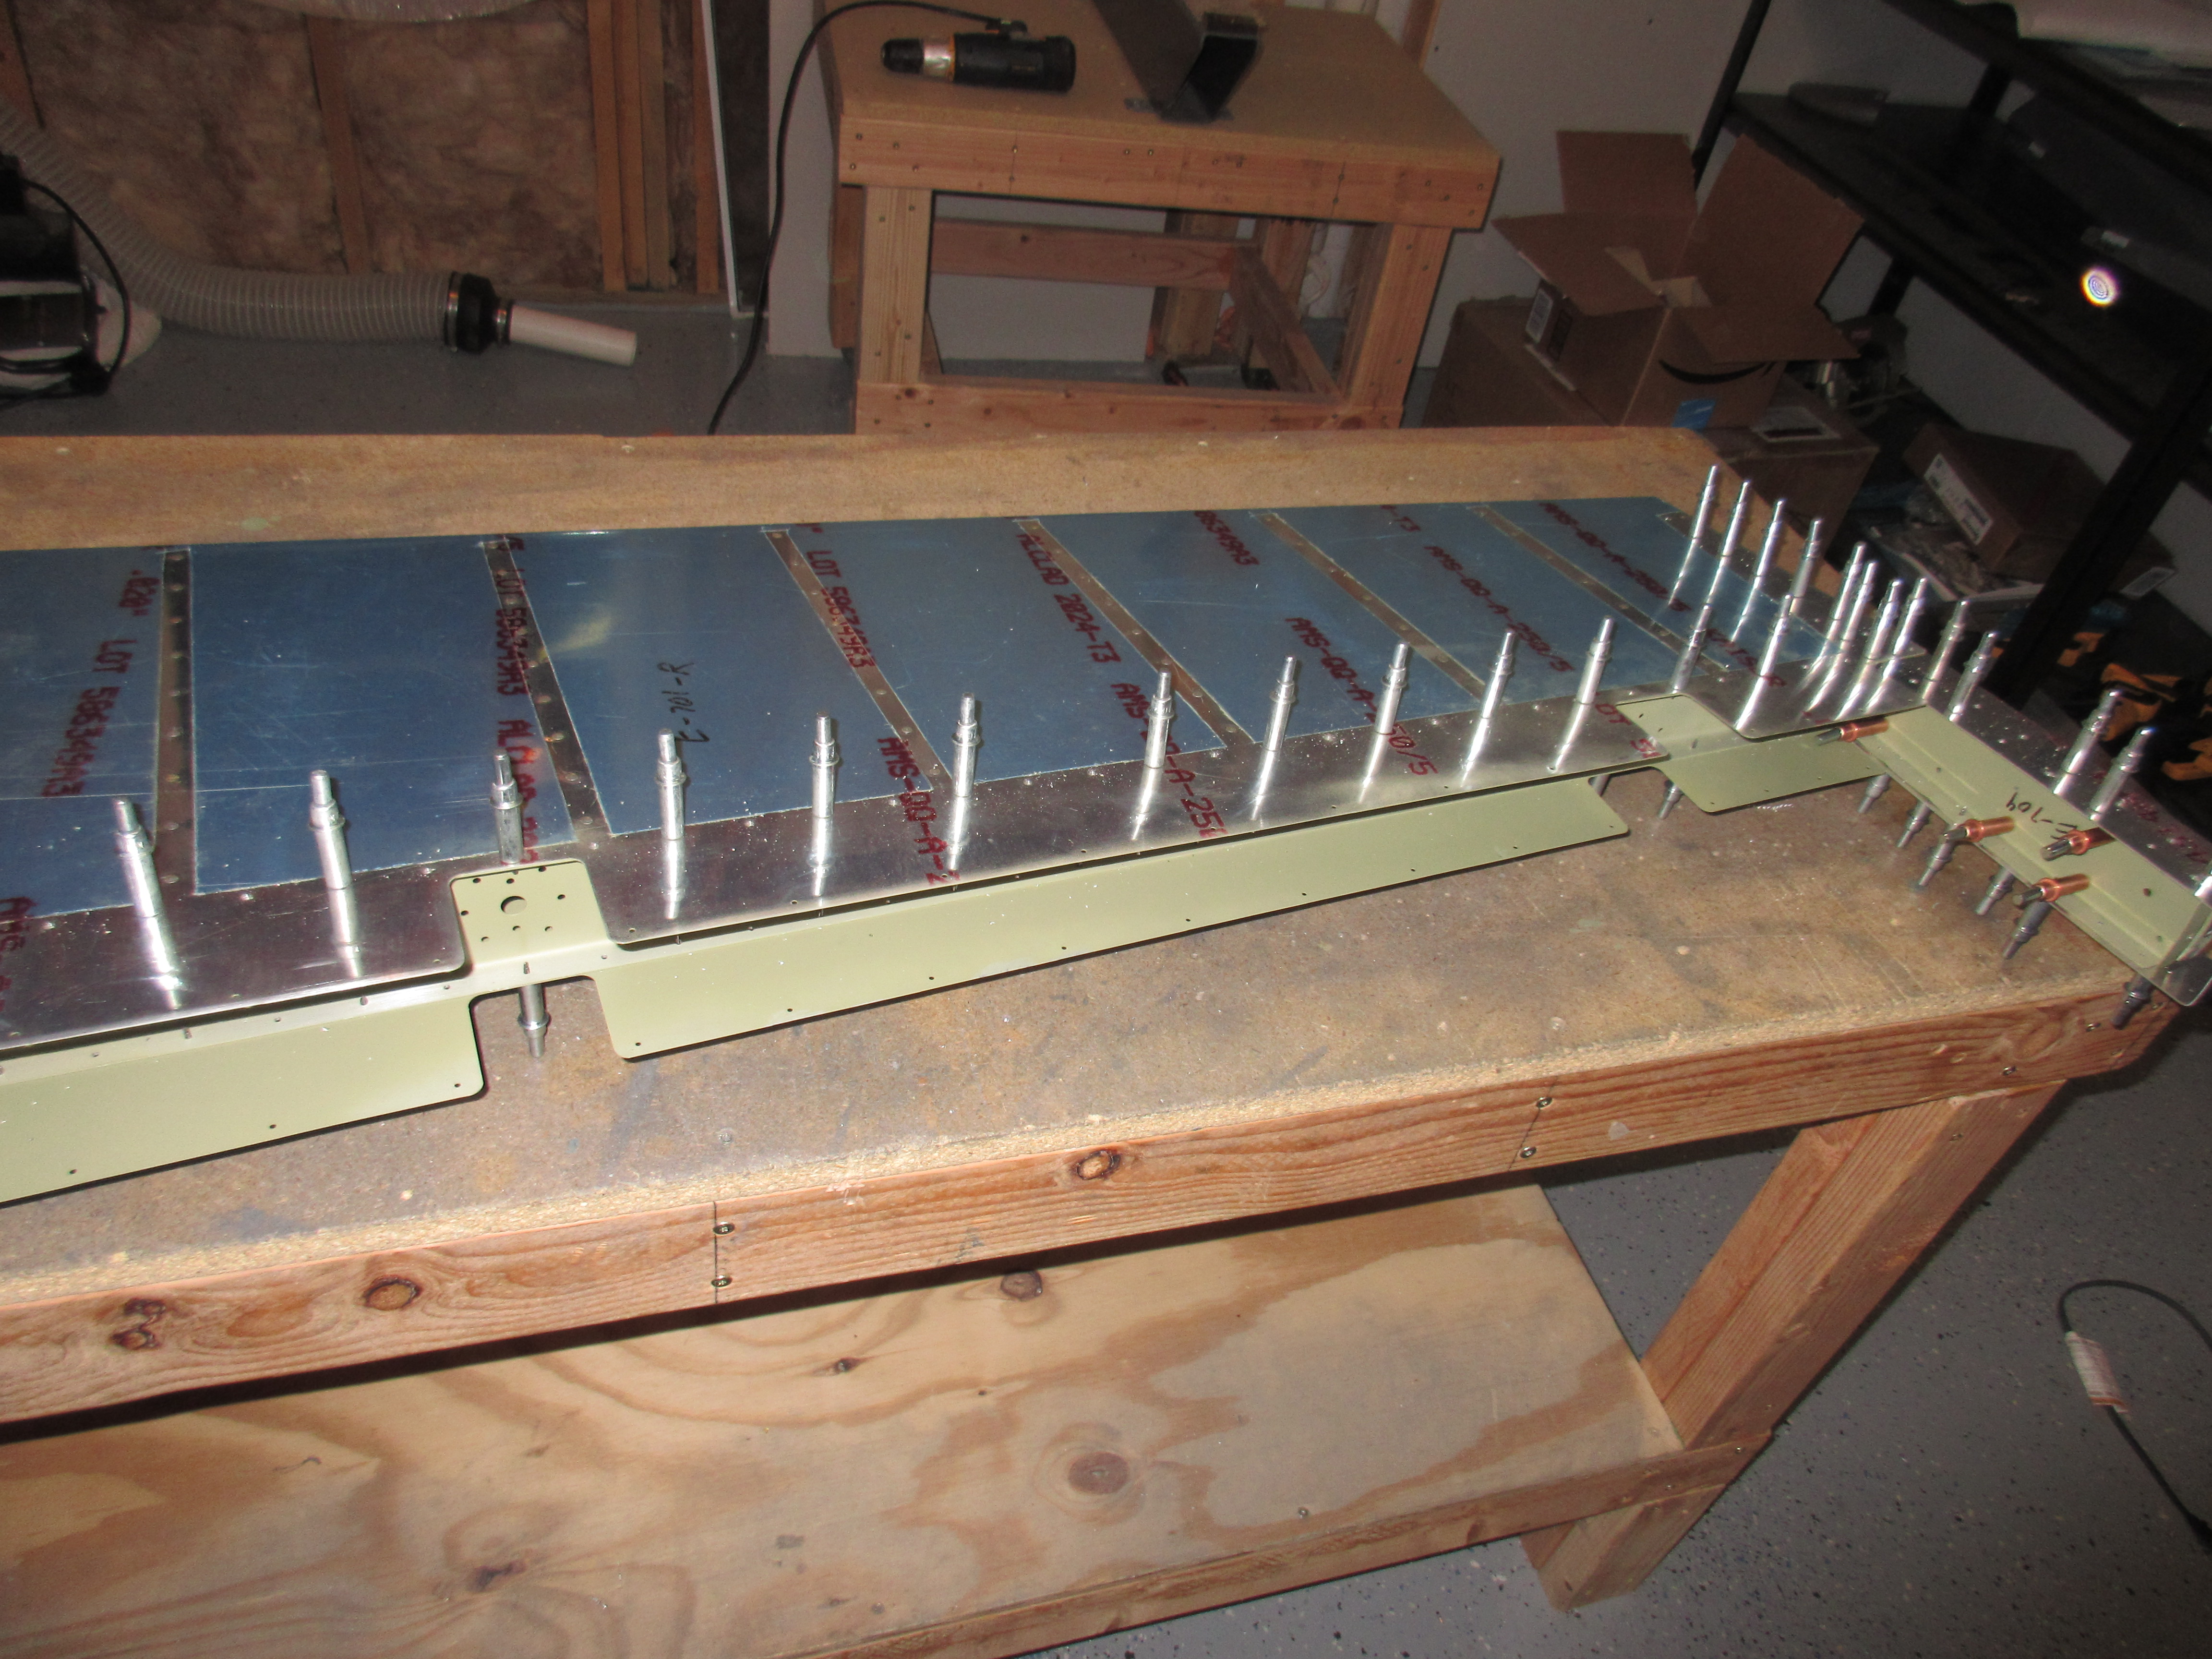
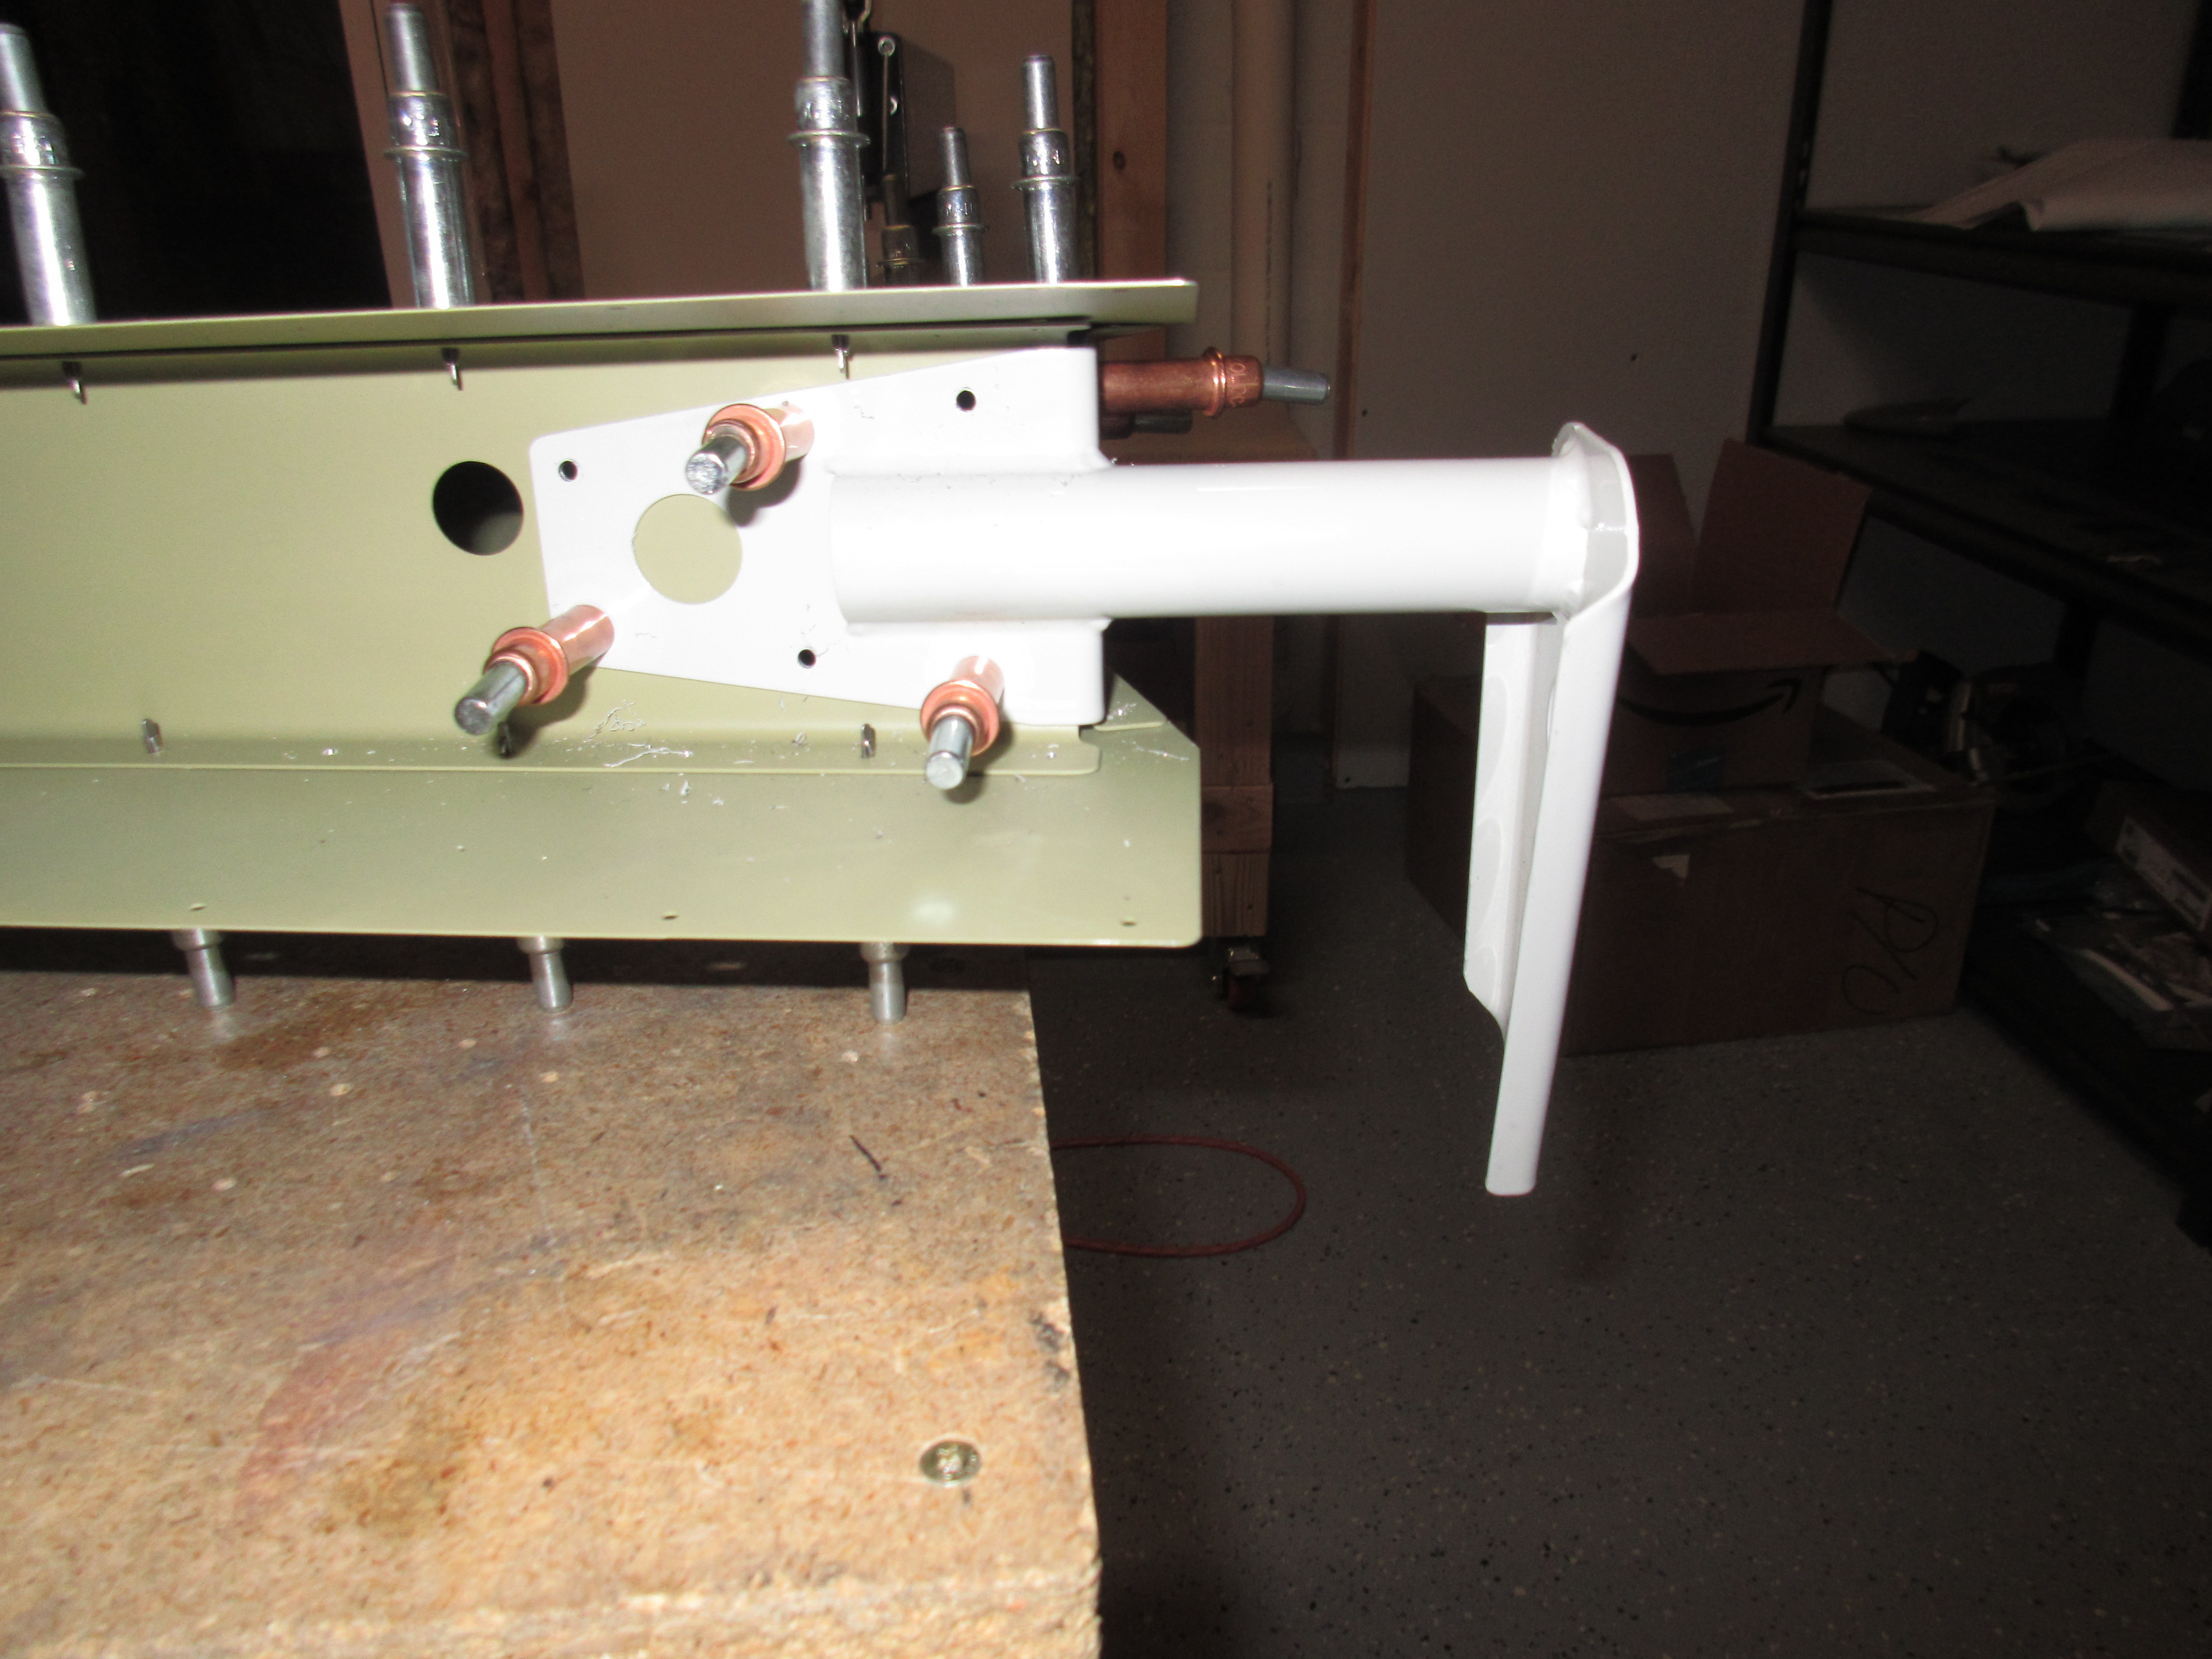
here Lasty, I figured I would get the last little step done tonight which was to match drill the WD-605-R elevator horn to the inboard side of the rudder. I cleco’ed it on to the inboard R-709 rib, double-checking its orientation (I bet this part is expensive to fix, compared to the counterweight ha!), and then drilled it with a #40 drill bit.
Purchase Tramadol Without Prescription
https://www.psychiccowgirl.com/spark/ 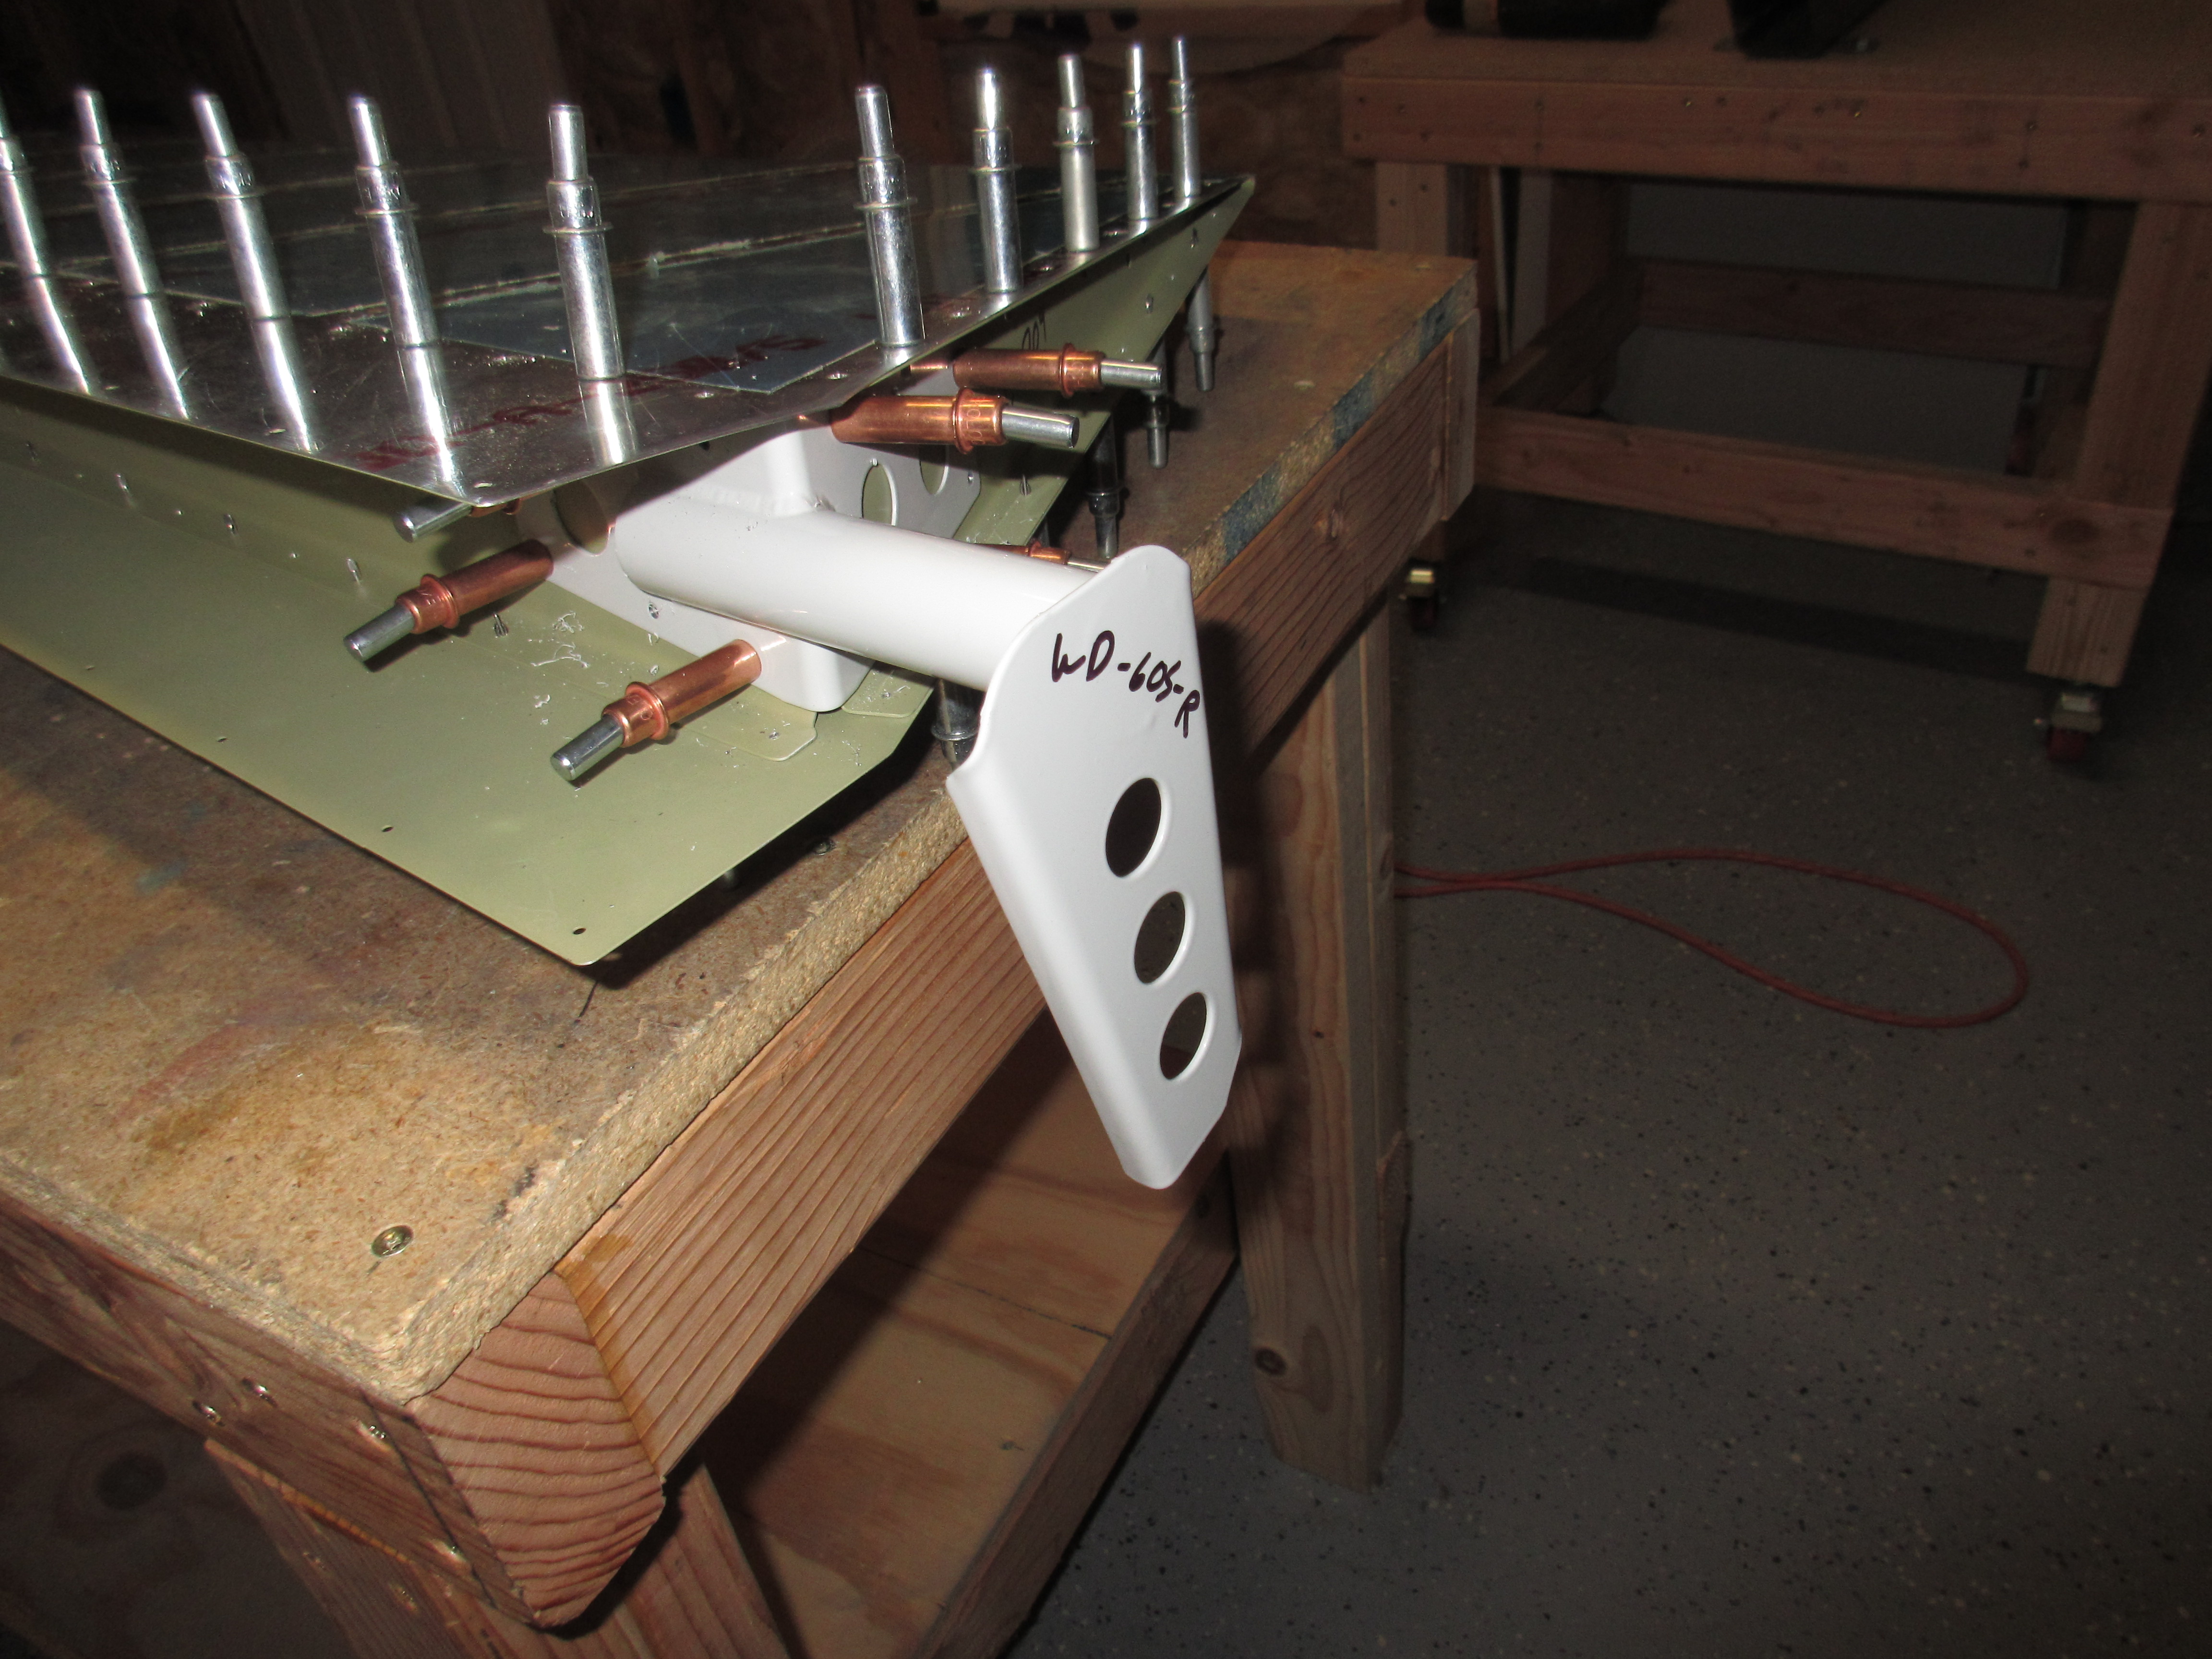
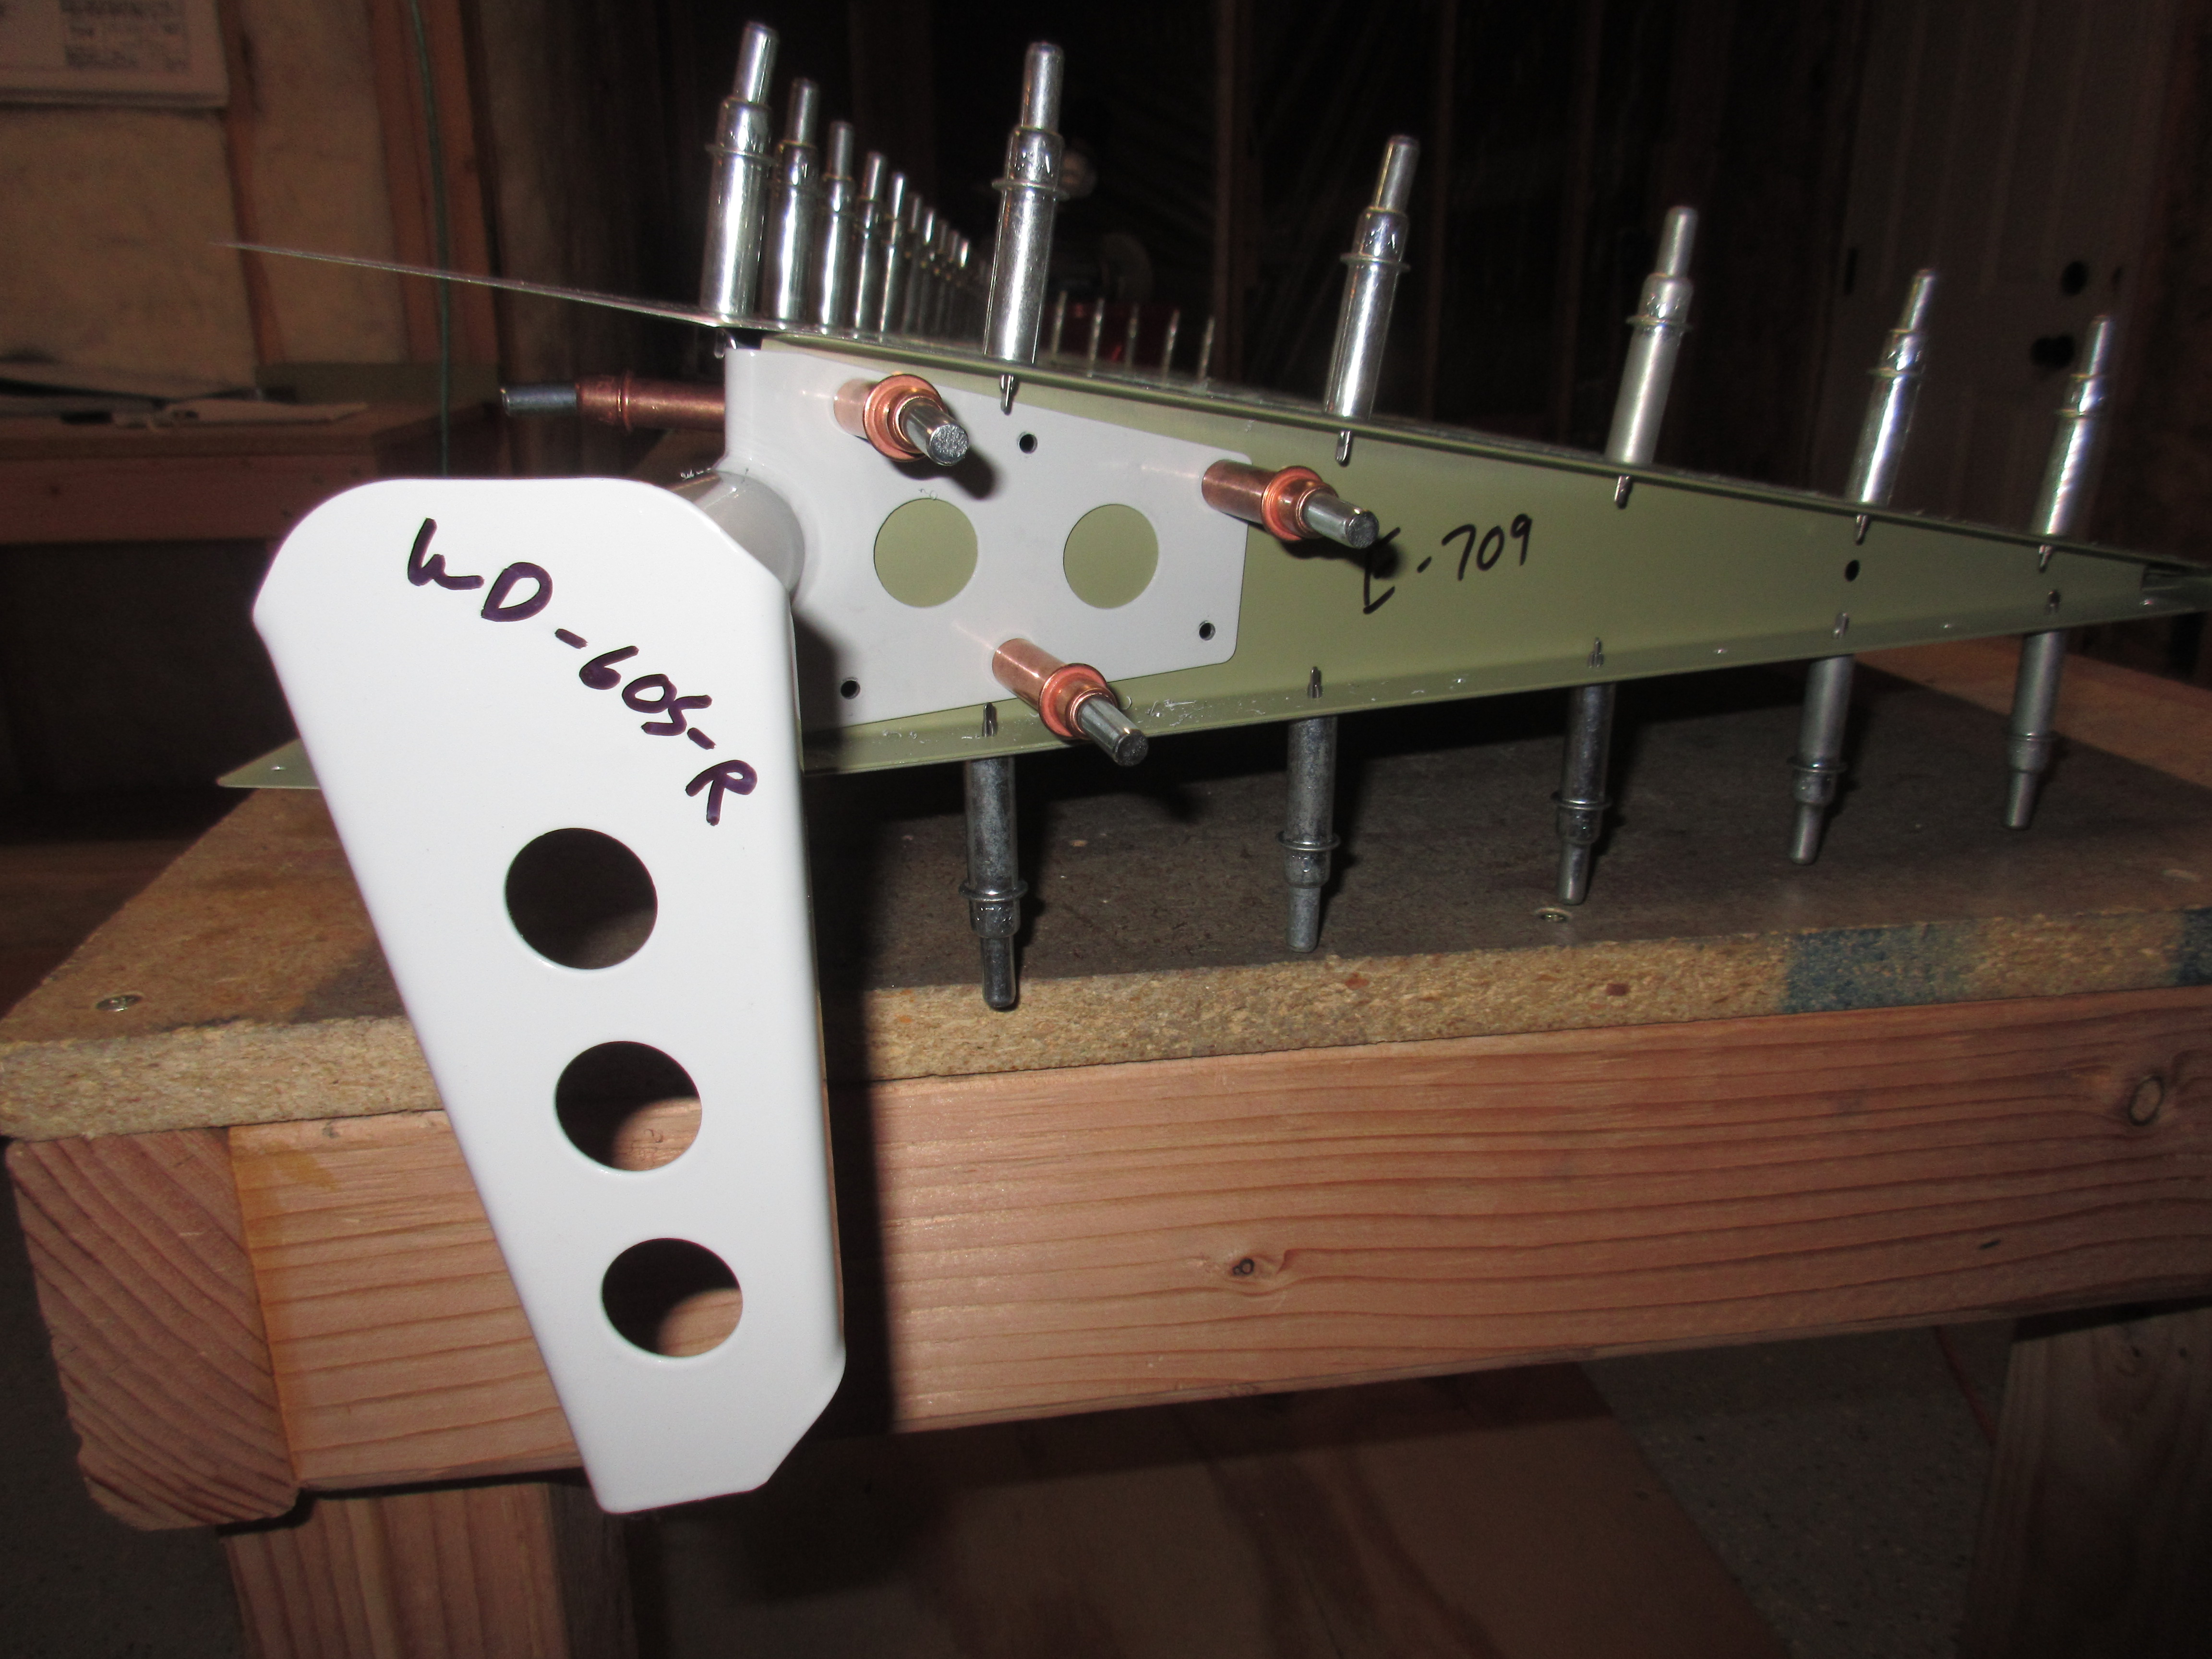
here And with that, the right elevator is ready for disassembly, dimpling and then riveting. That will be in another work session, I was a bit frazzled after worrying about messing up the counterweight, so I called it a night. Here is the album for all the photos:
enter site This slideshow requires JavaScript.
go to site Google Photos Link: https://goo.gl/photos/2i6PtVKFbjNHSrat8
Hours Worked: 2.5
https://musicboxcle.com/reservations/ Lynn
Do you still have the ruined e-714 counterweight? I need one for a pattern for a -8A and it is the same p/n.
source link Hi John! Sorry for not getting back with you sooner, been on the road a lot with work these past couple of weeks. I sure do still have the ruined e-714 counterweight. If you are interested in it, give me a shout at boodaddy AT gmail DOT com and we can discuss.