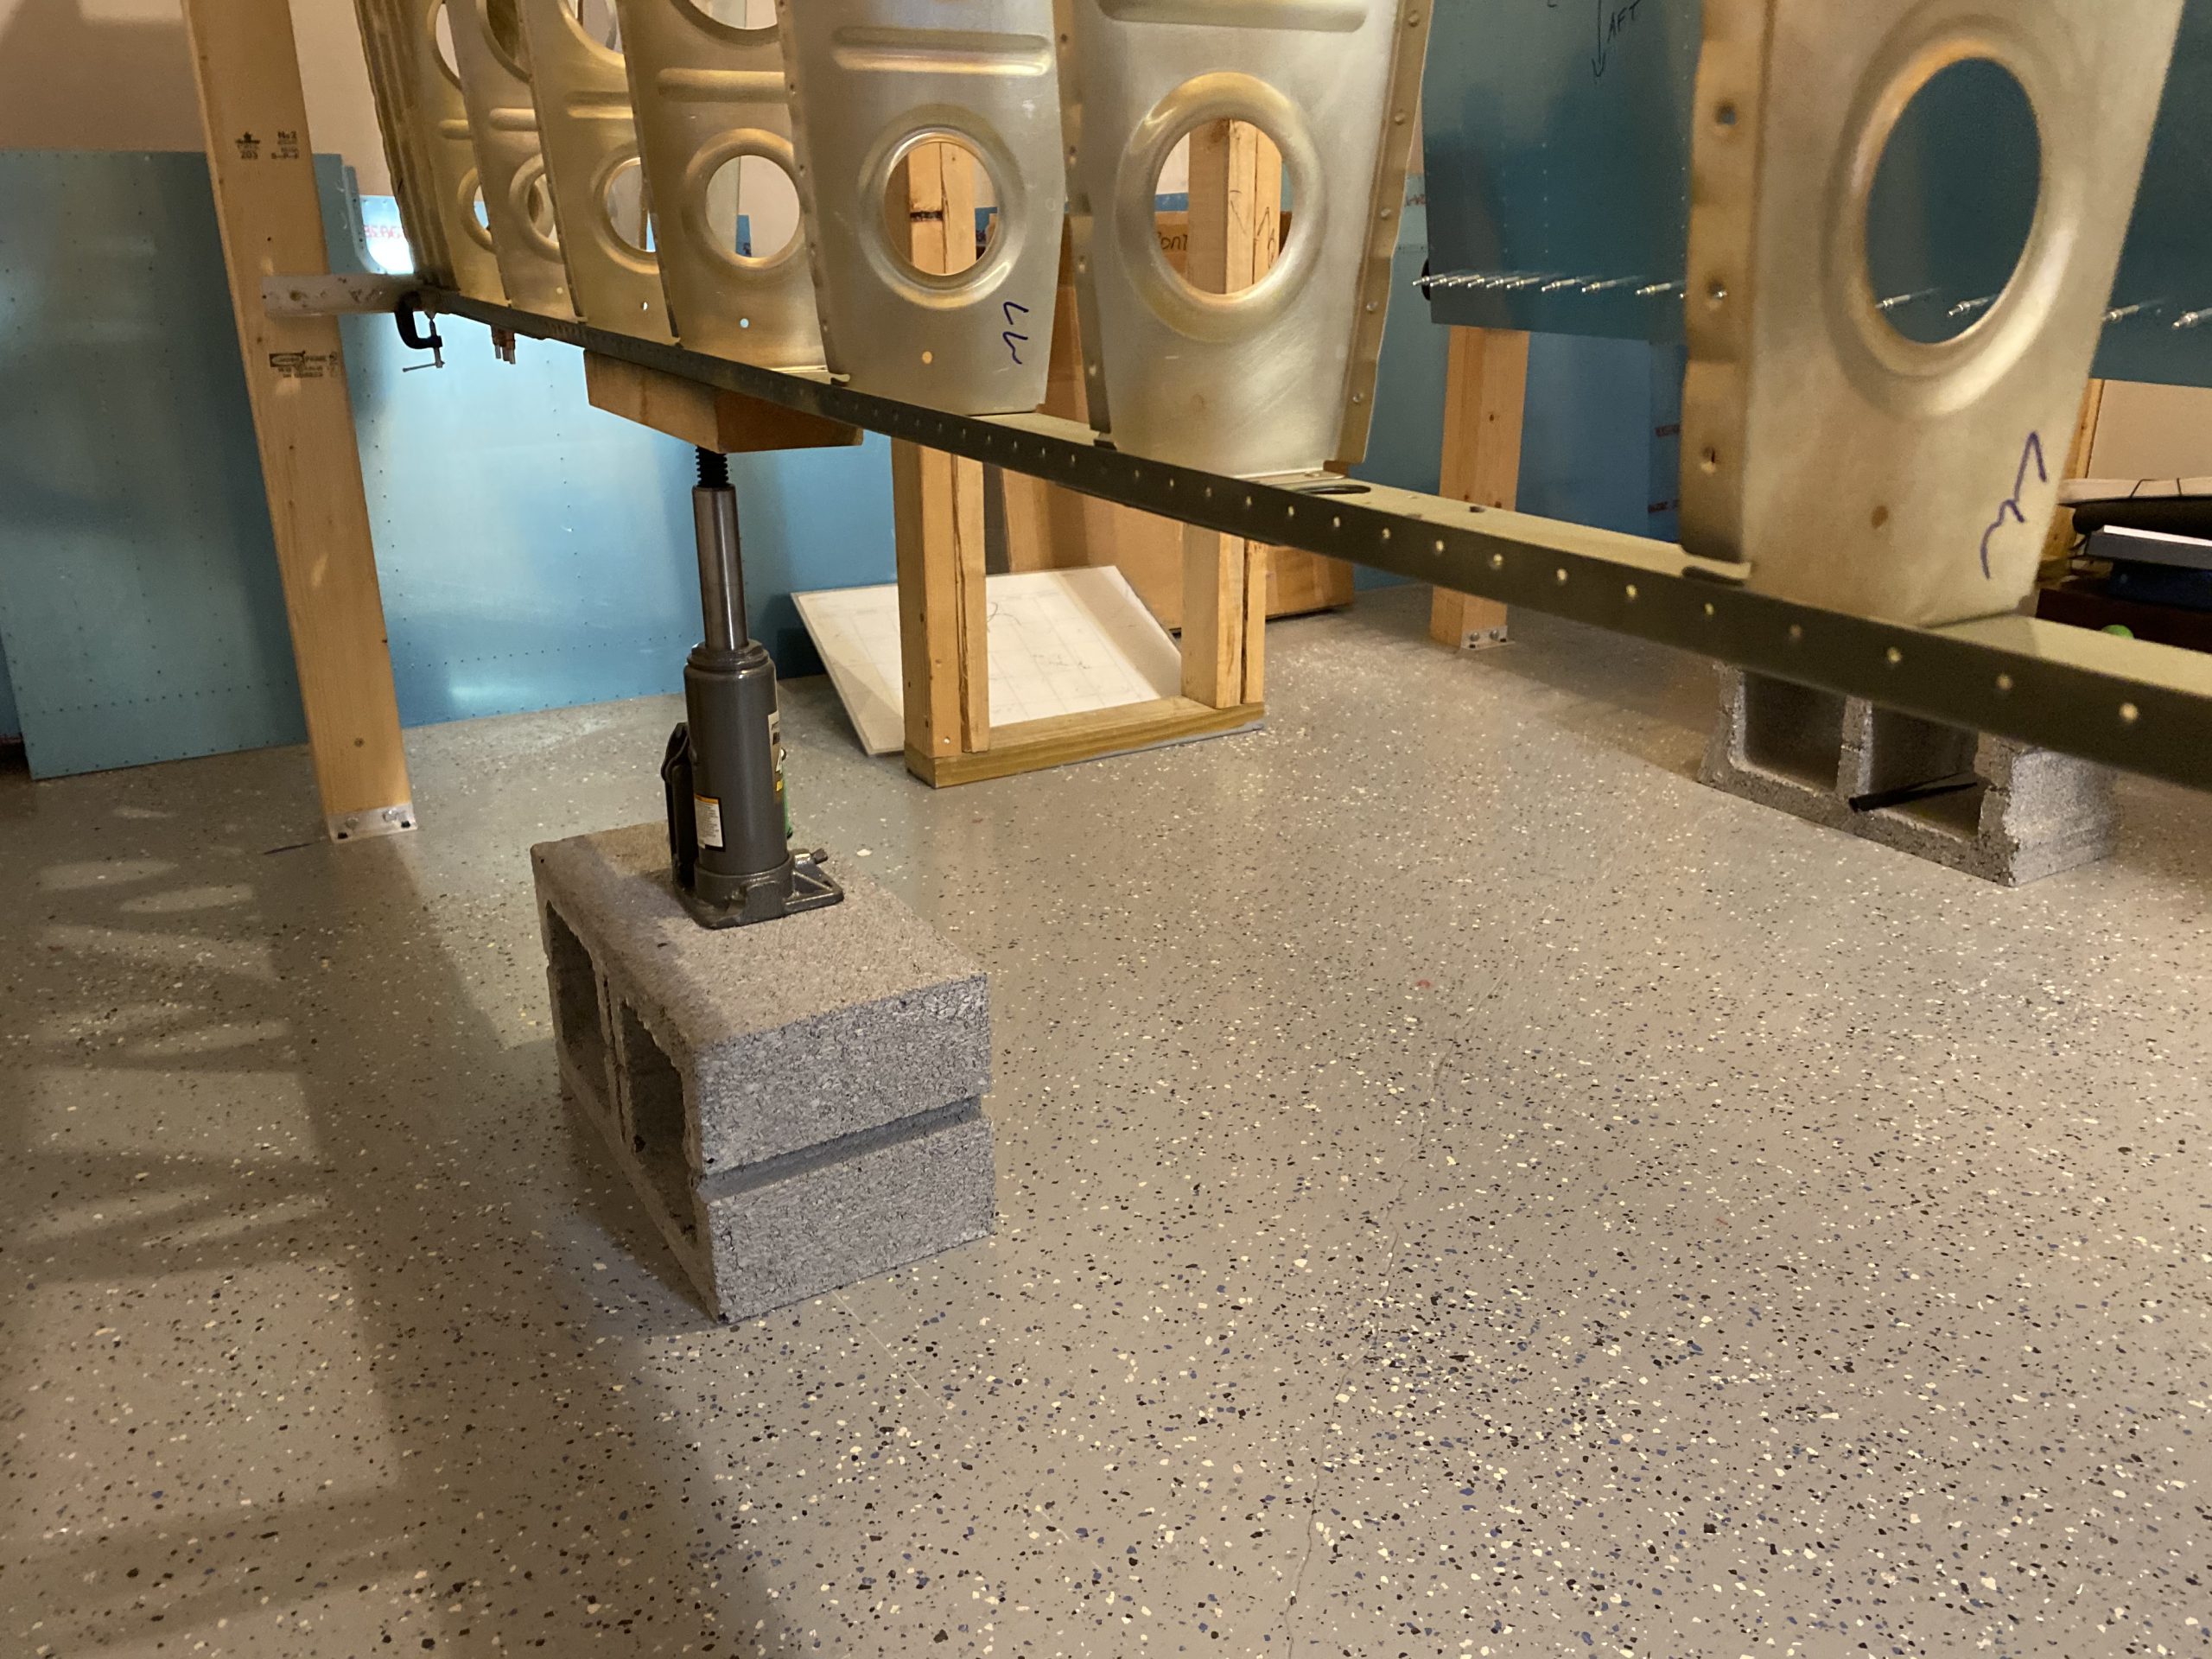
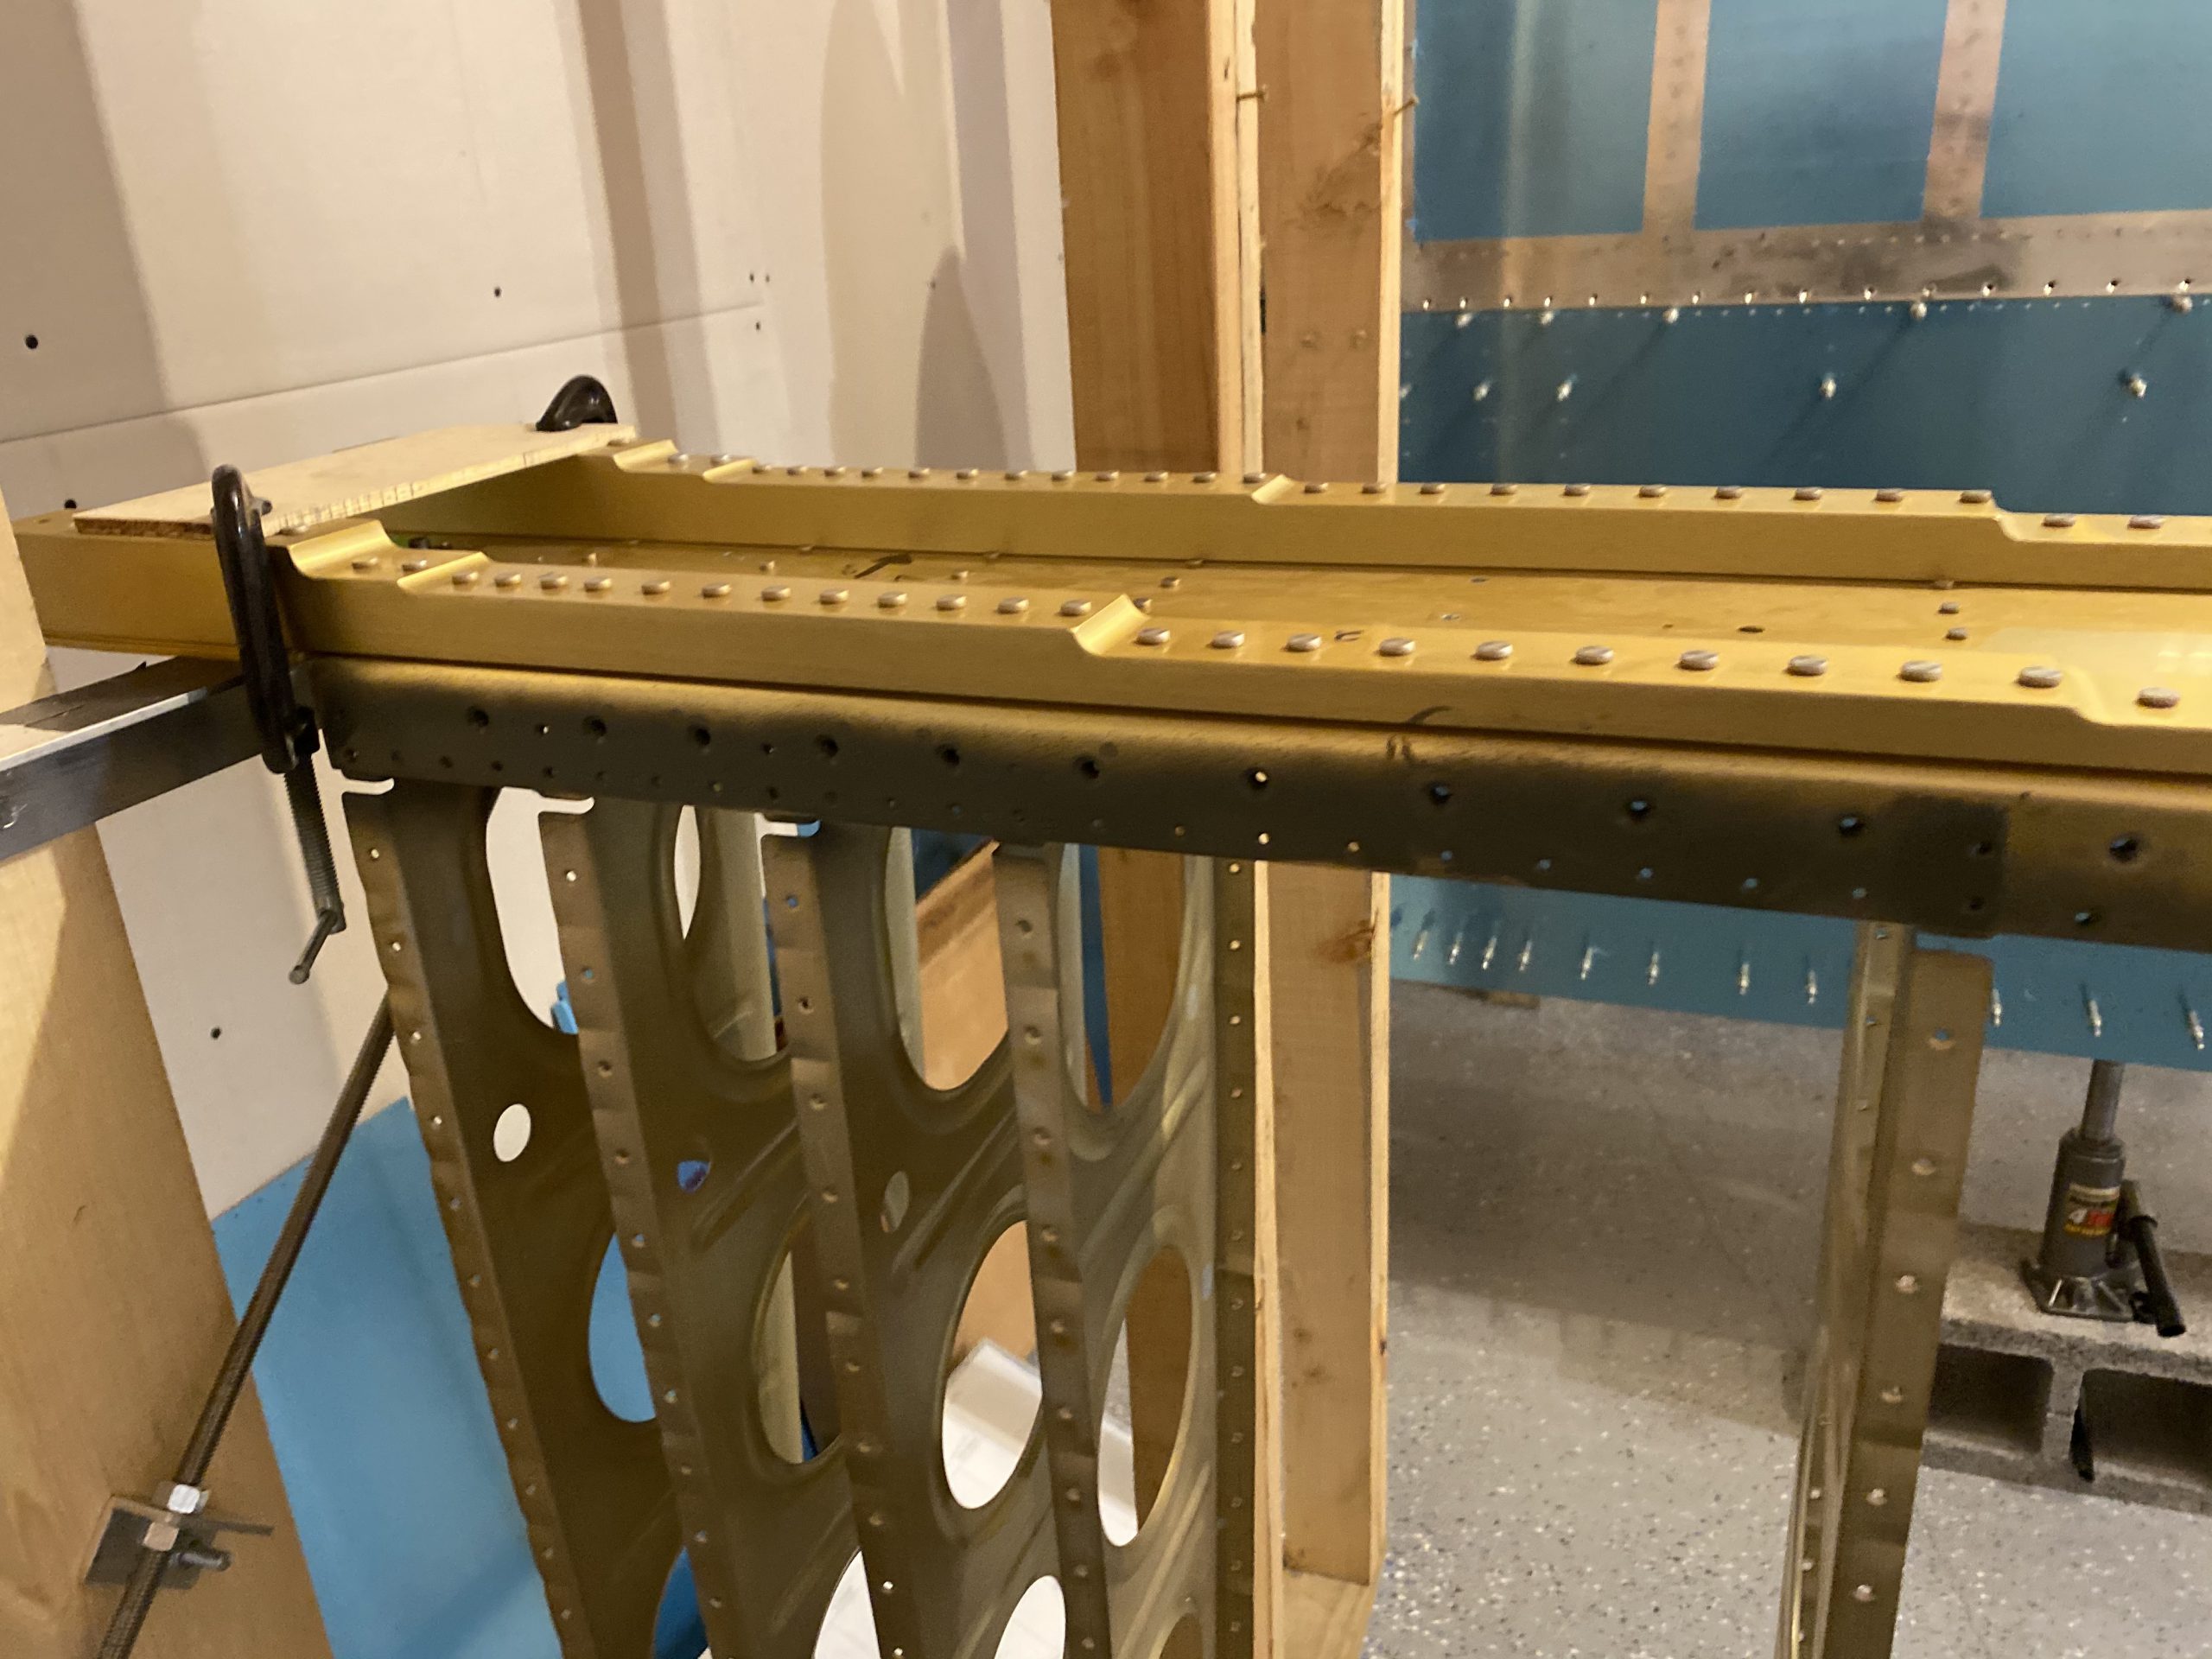
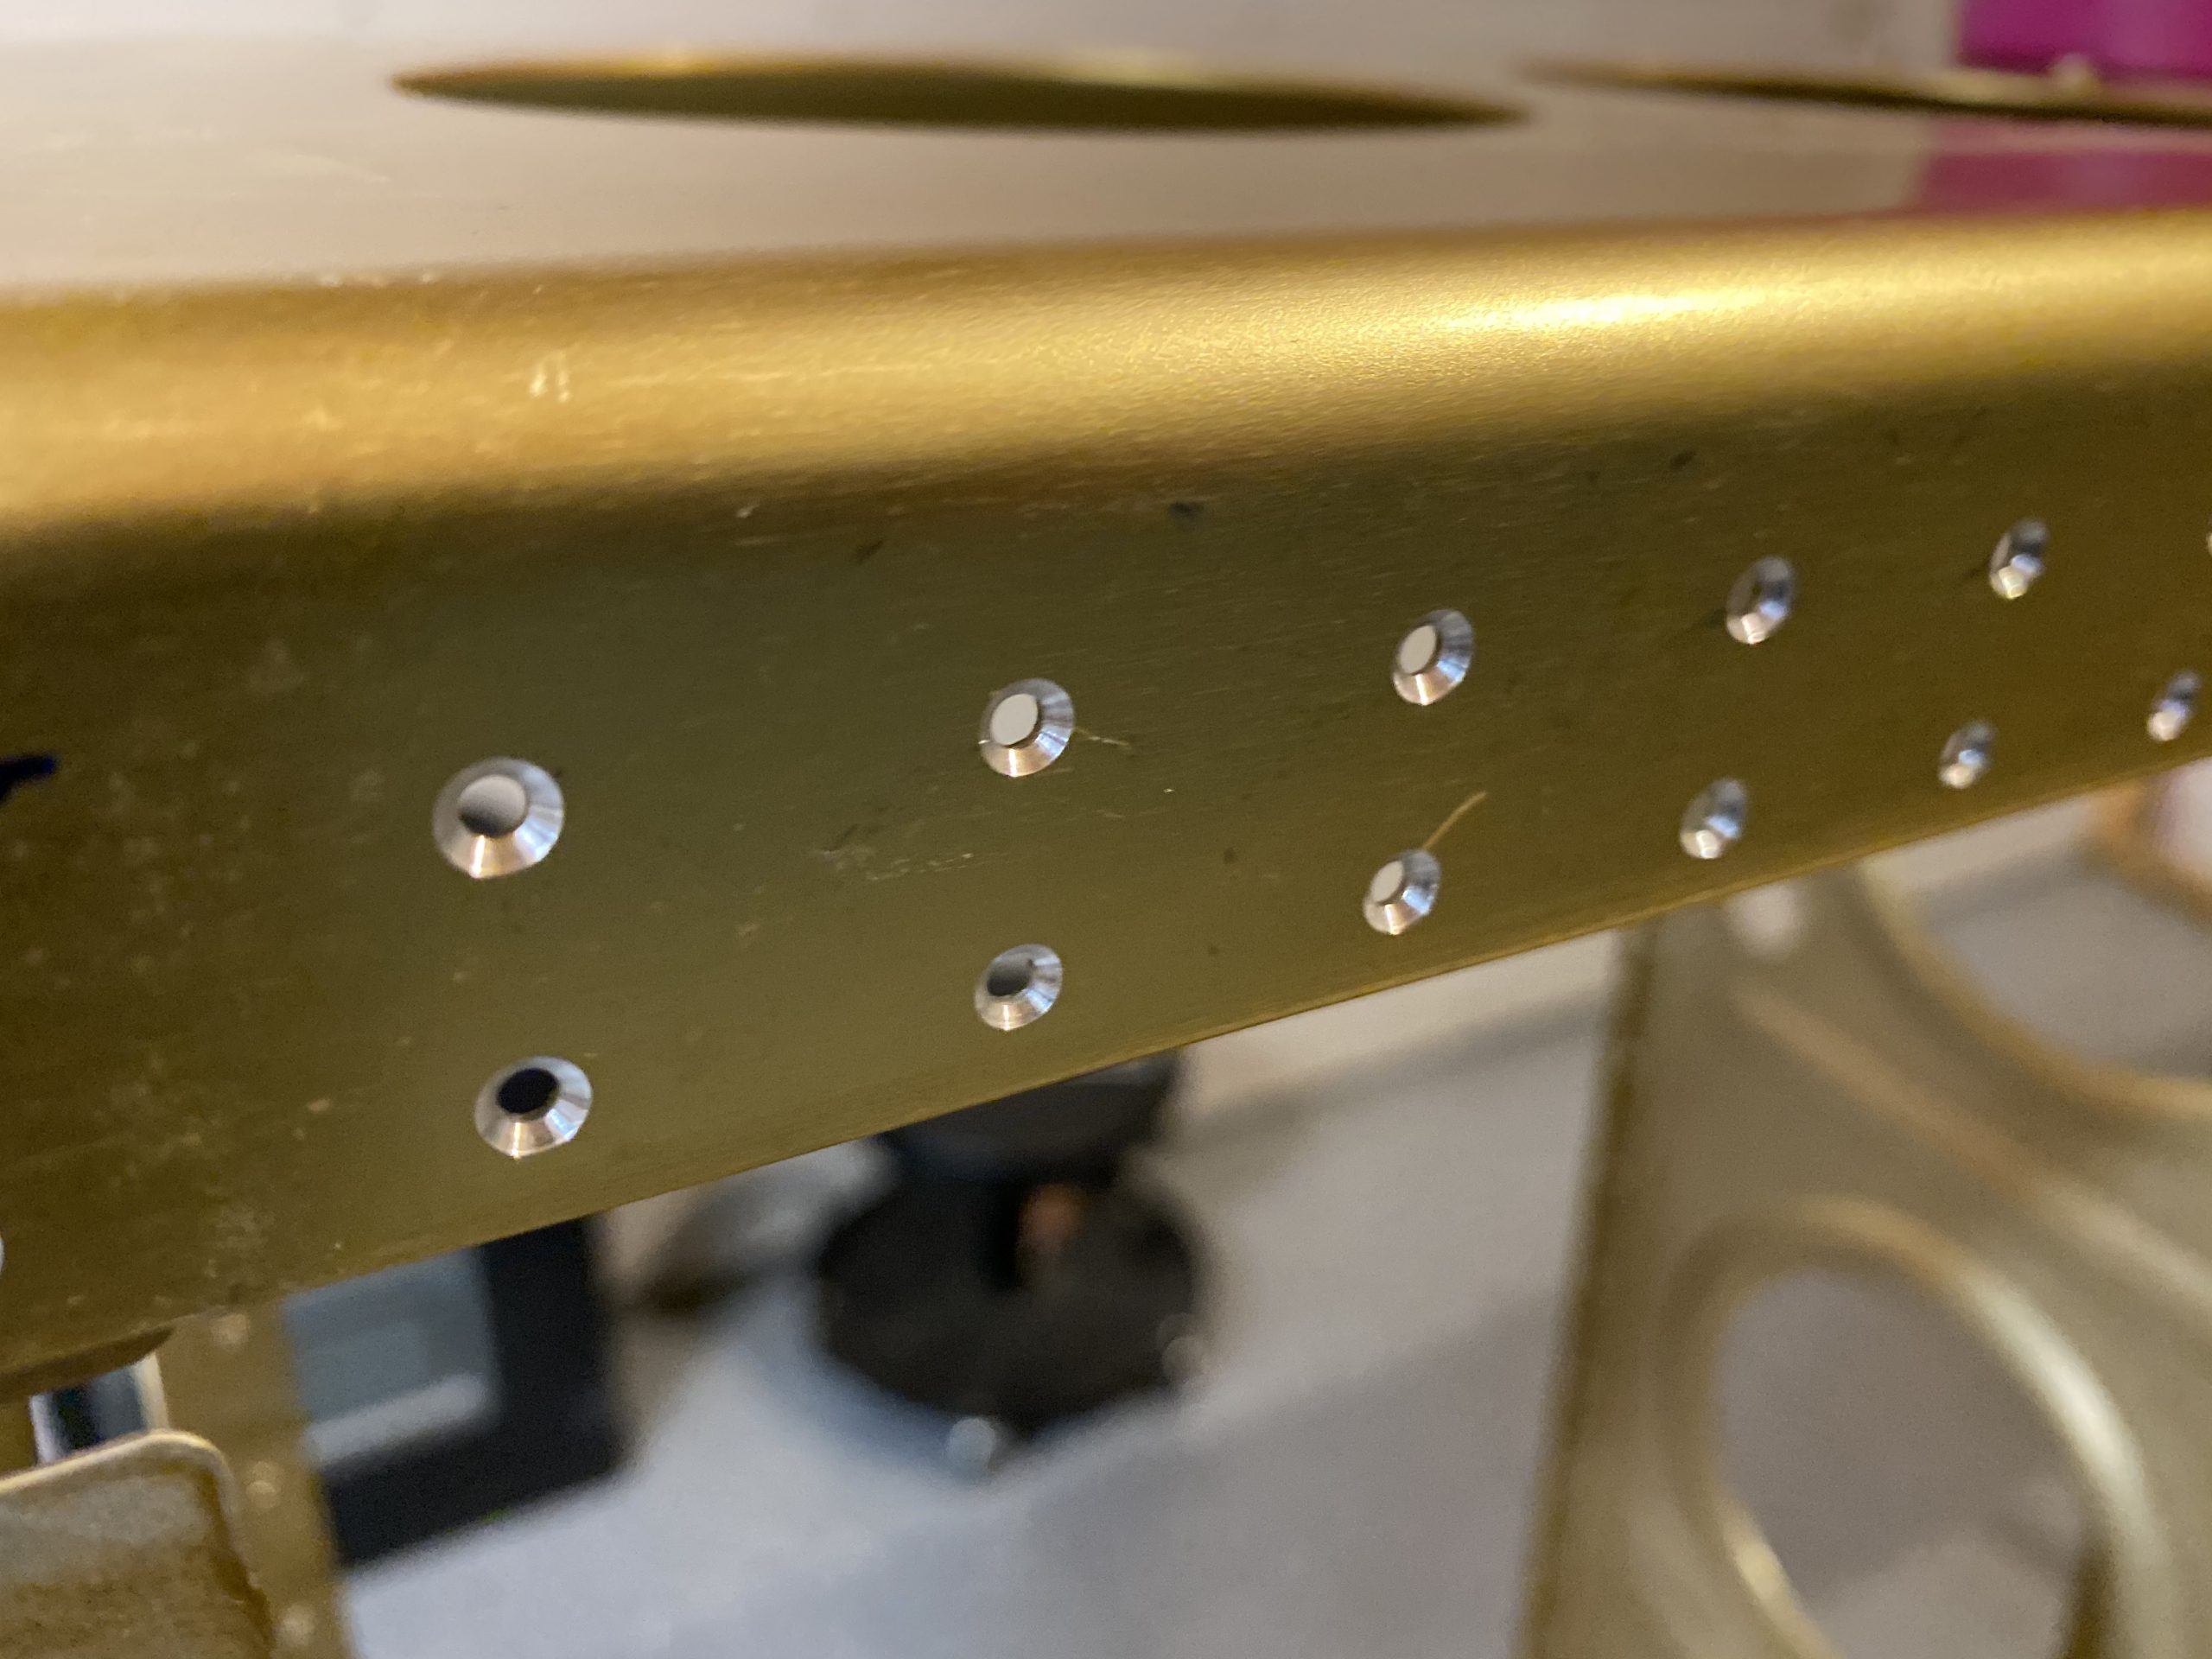
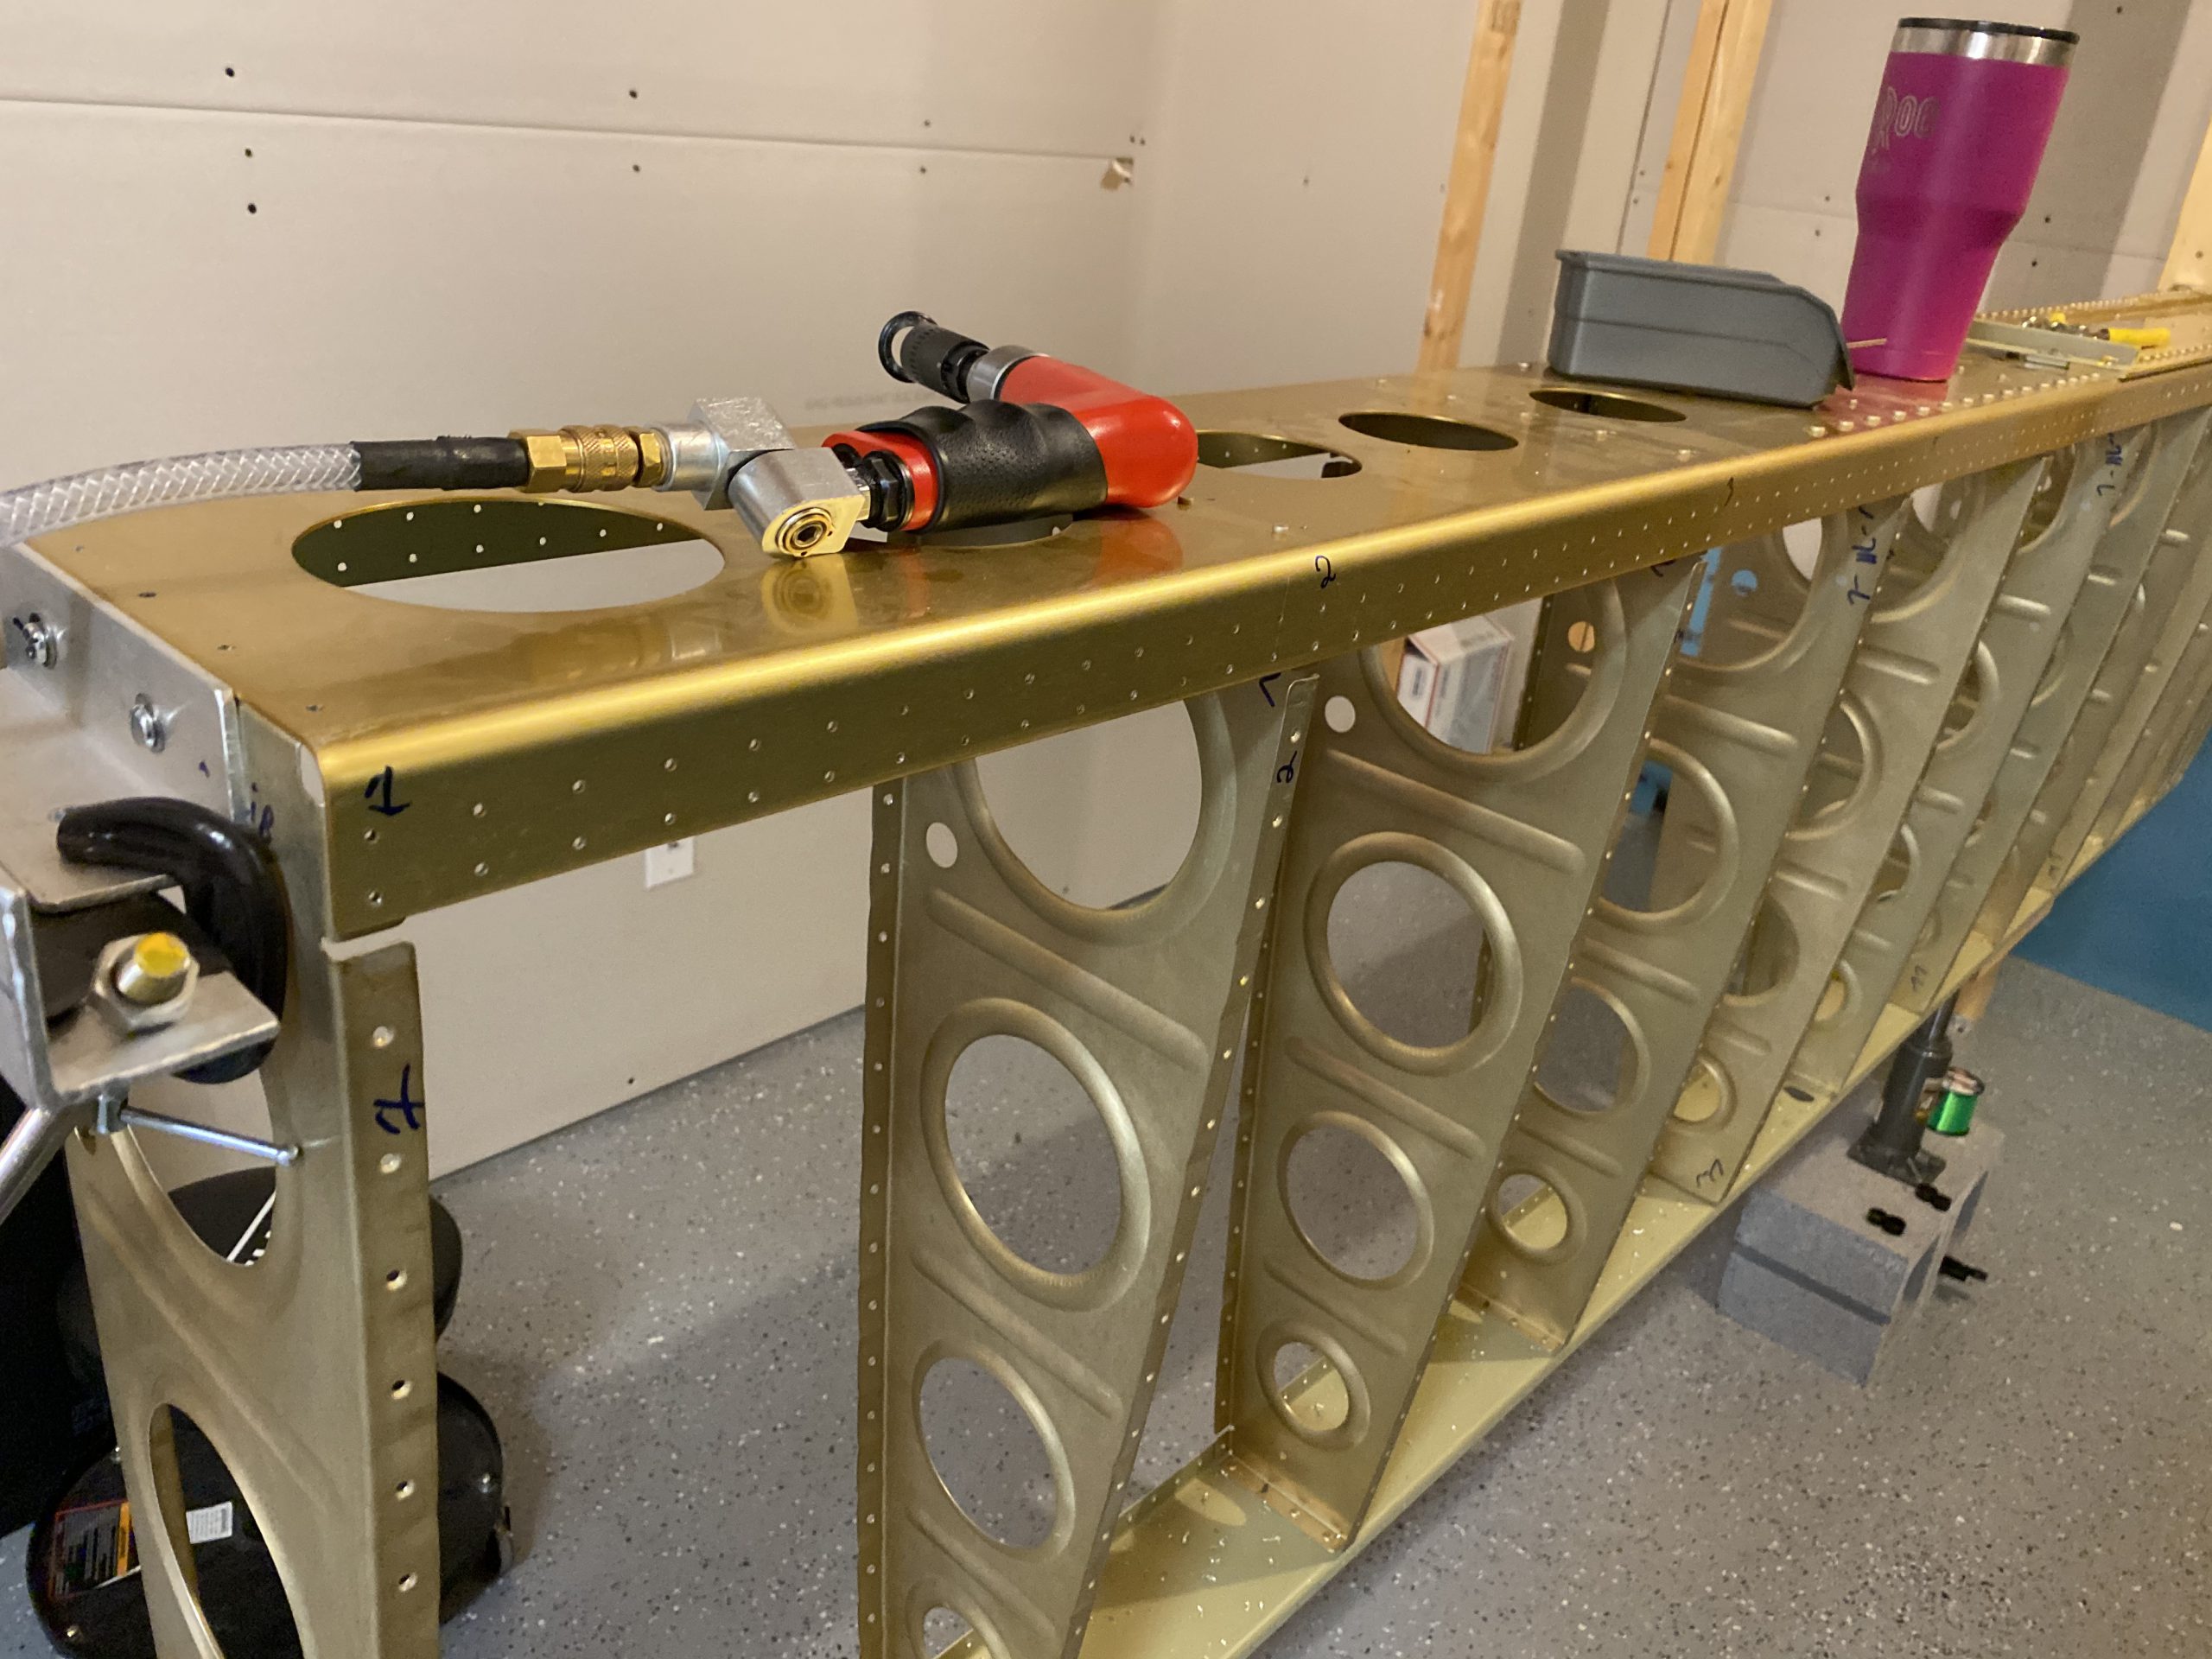
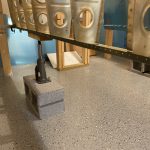
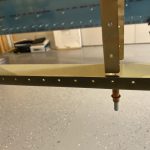
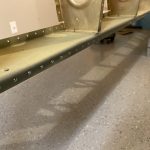
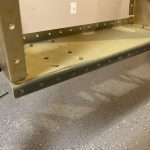
https://www.turtleopticians.com/locations/ I forgone priming tonight, I’ll do that this weekend. But, I did get some good progress on the left wing skeleton. I completed all of the machine countersinking on the main spar, so its ready for skins! Here’s the timelapse:
Order Tramadol OvernightBuy Lyrica Without Prescription
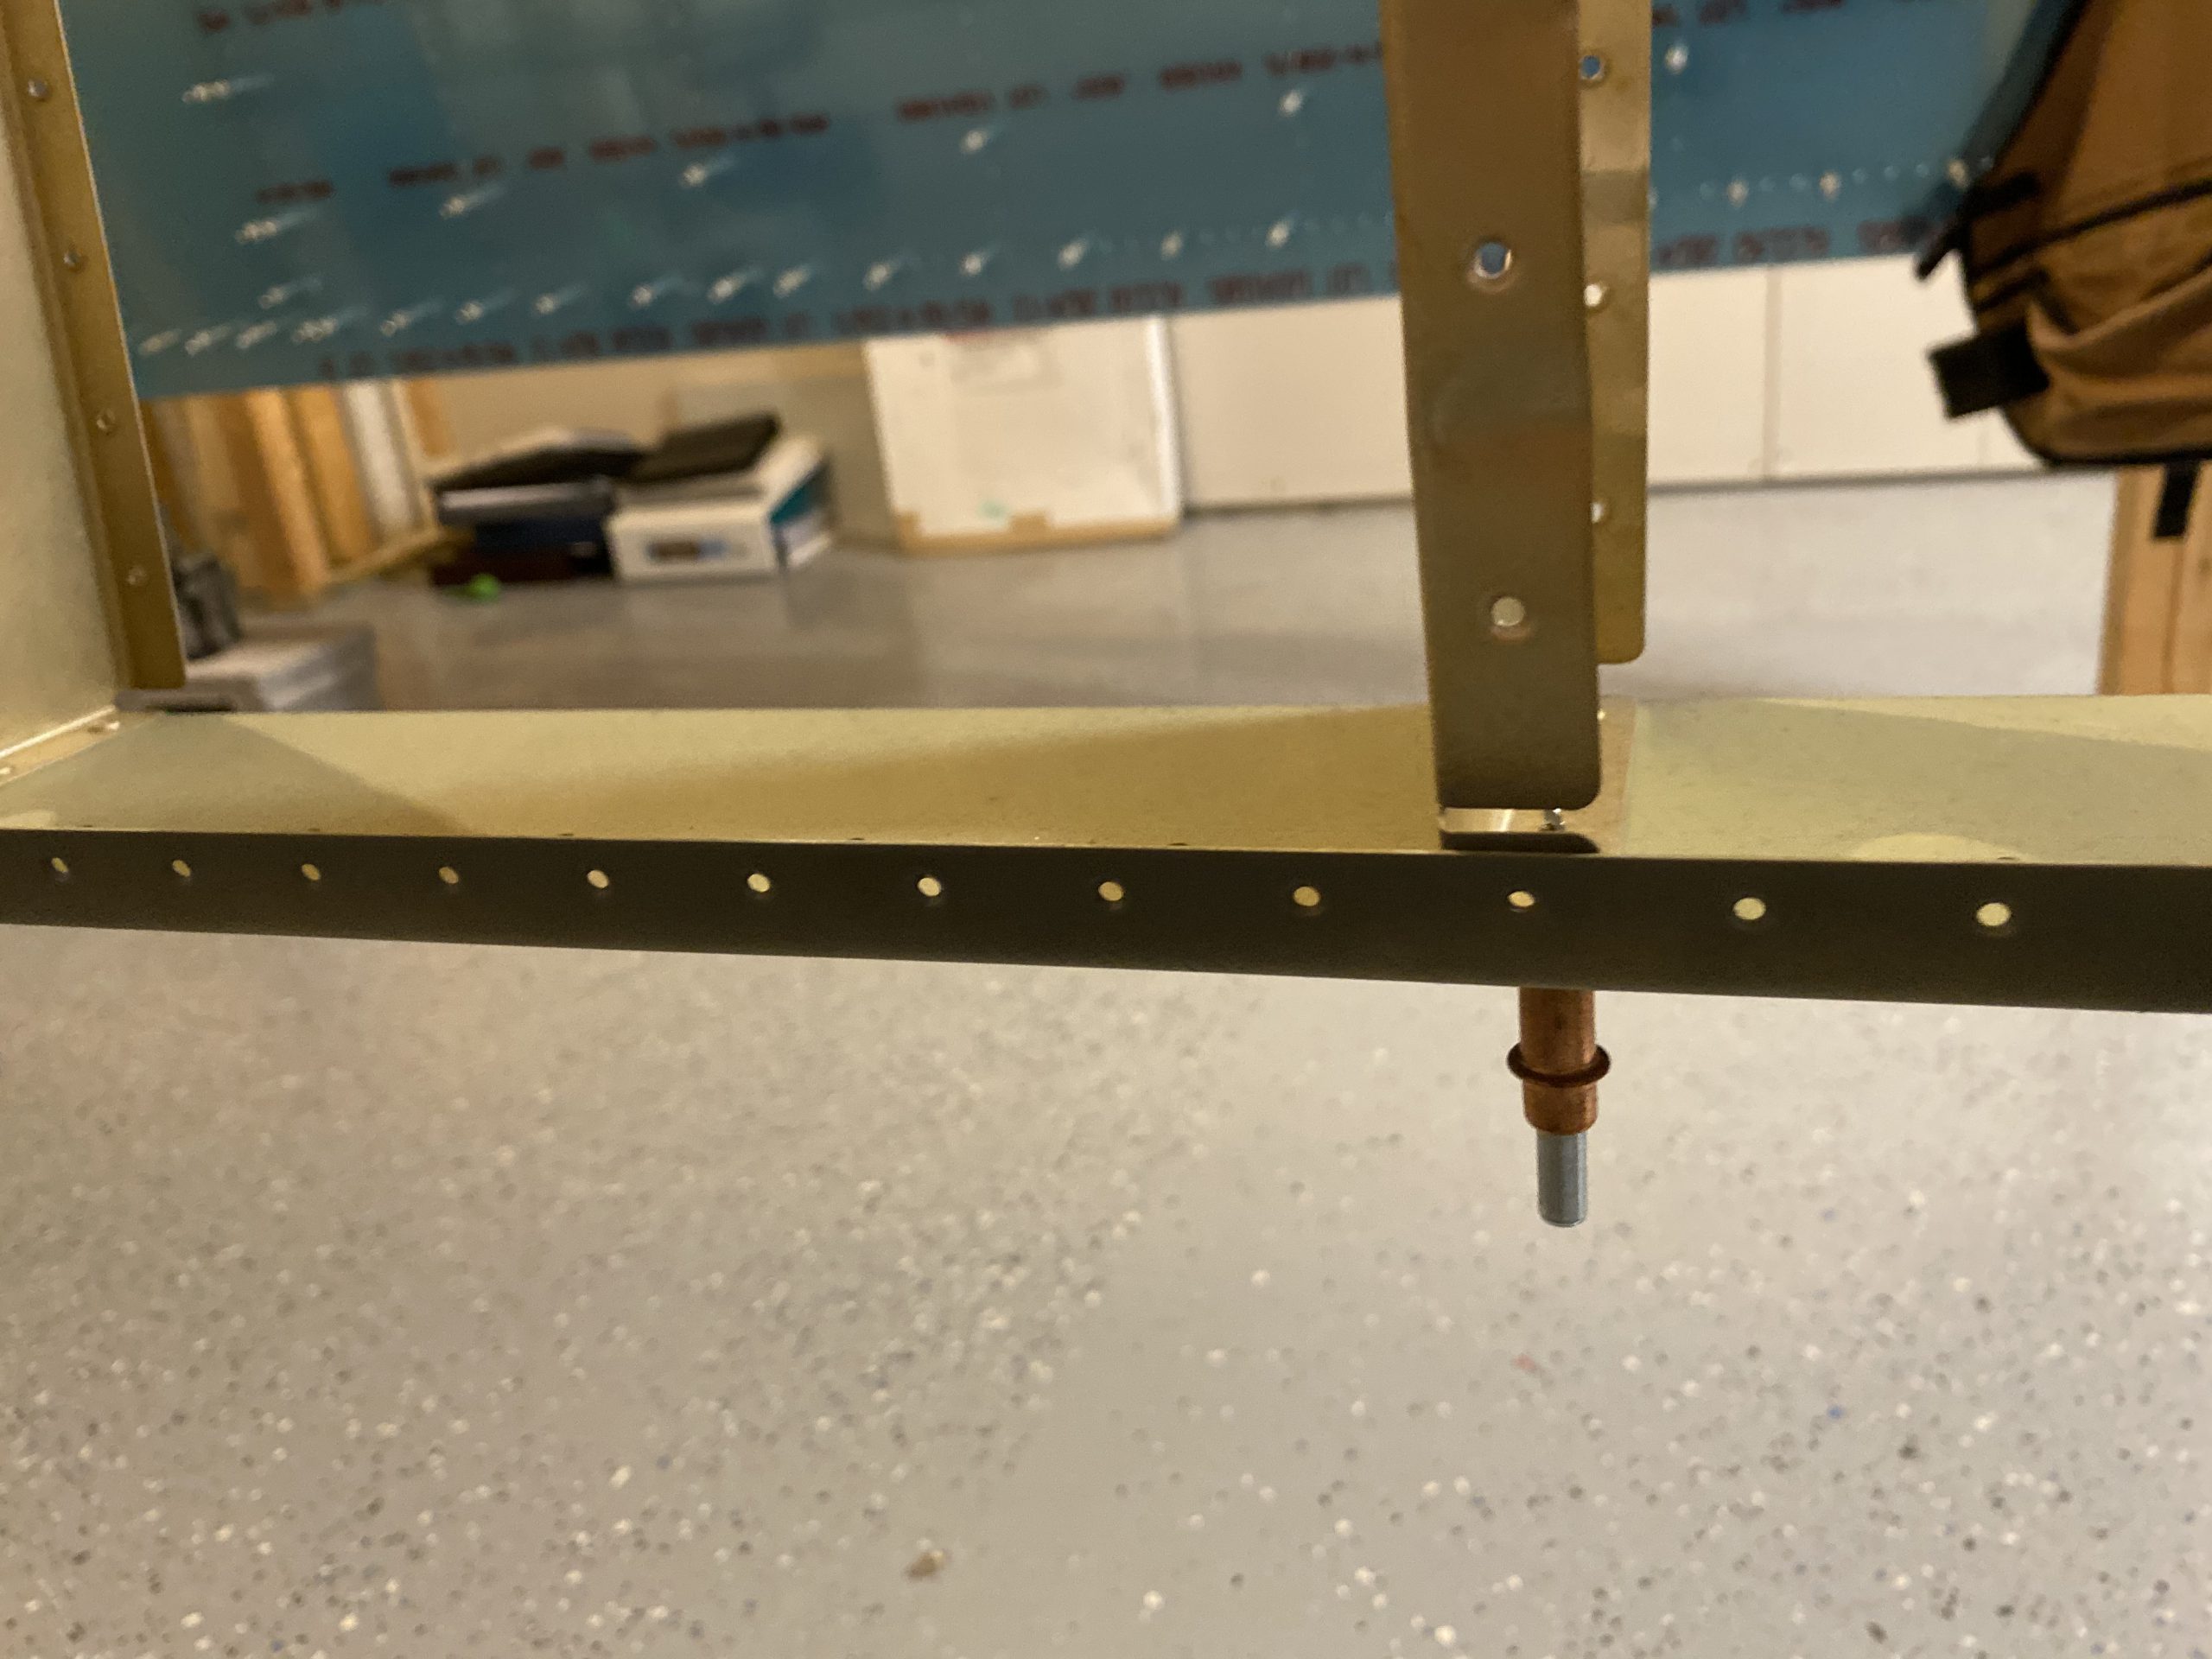
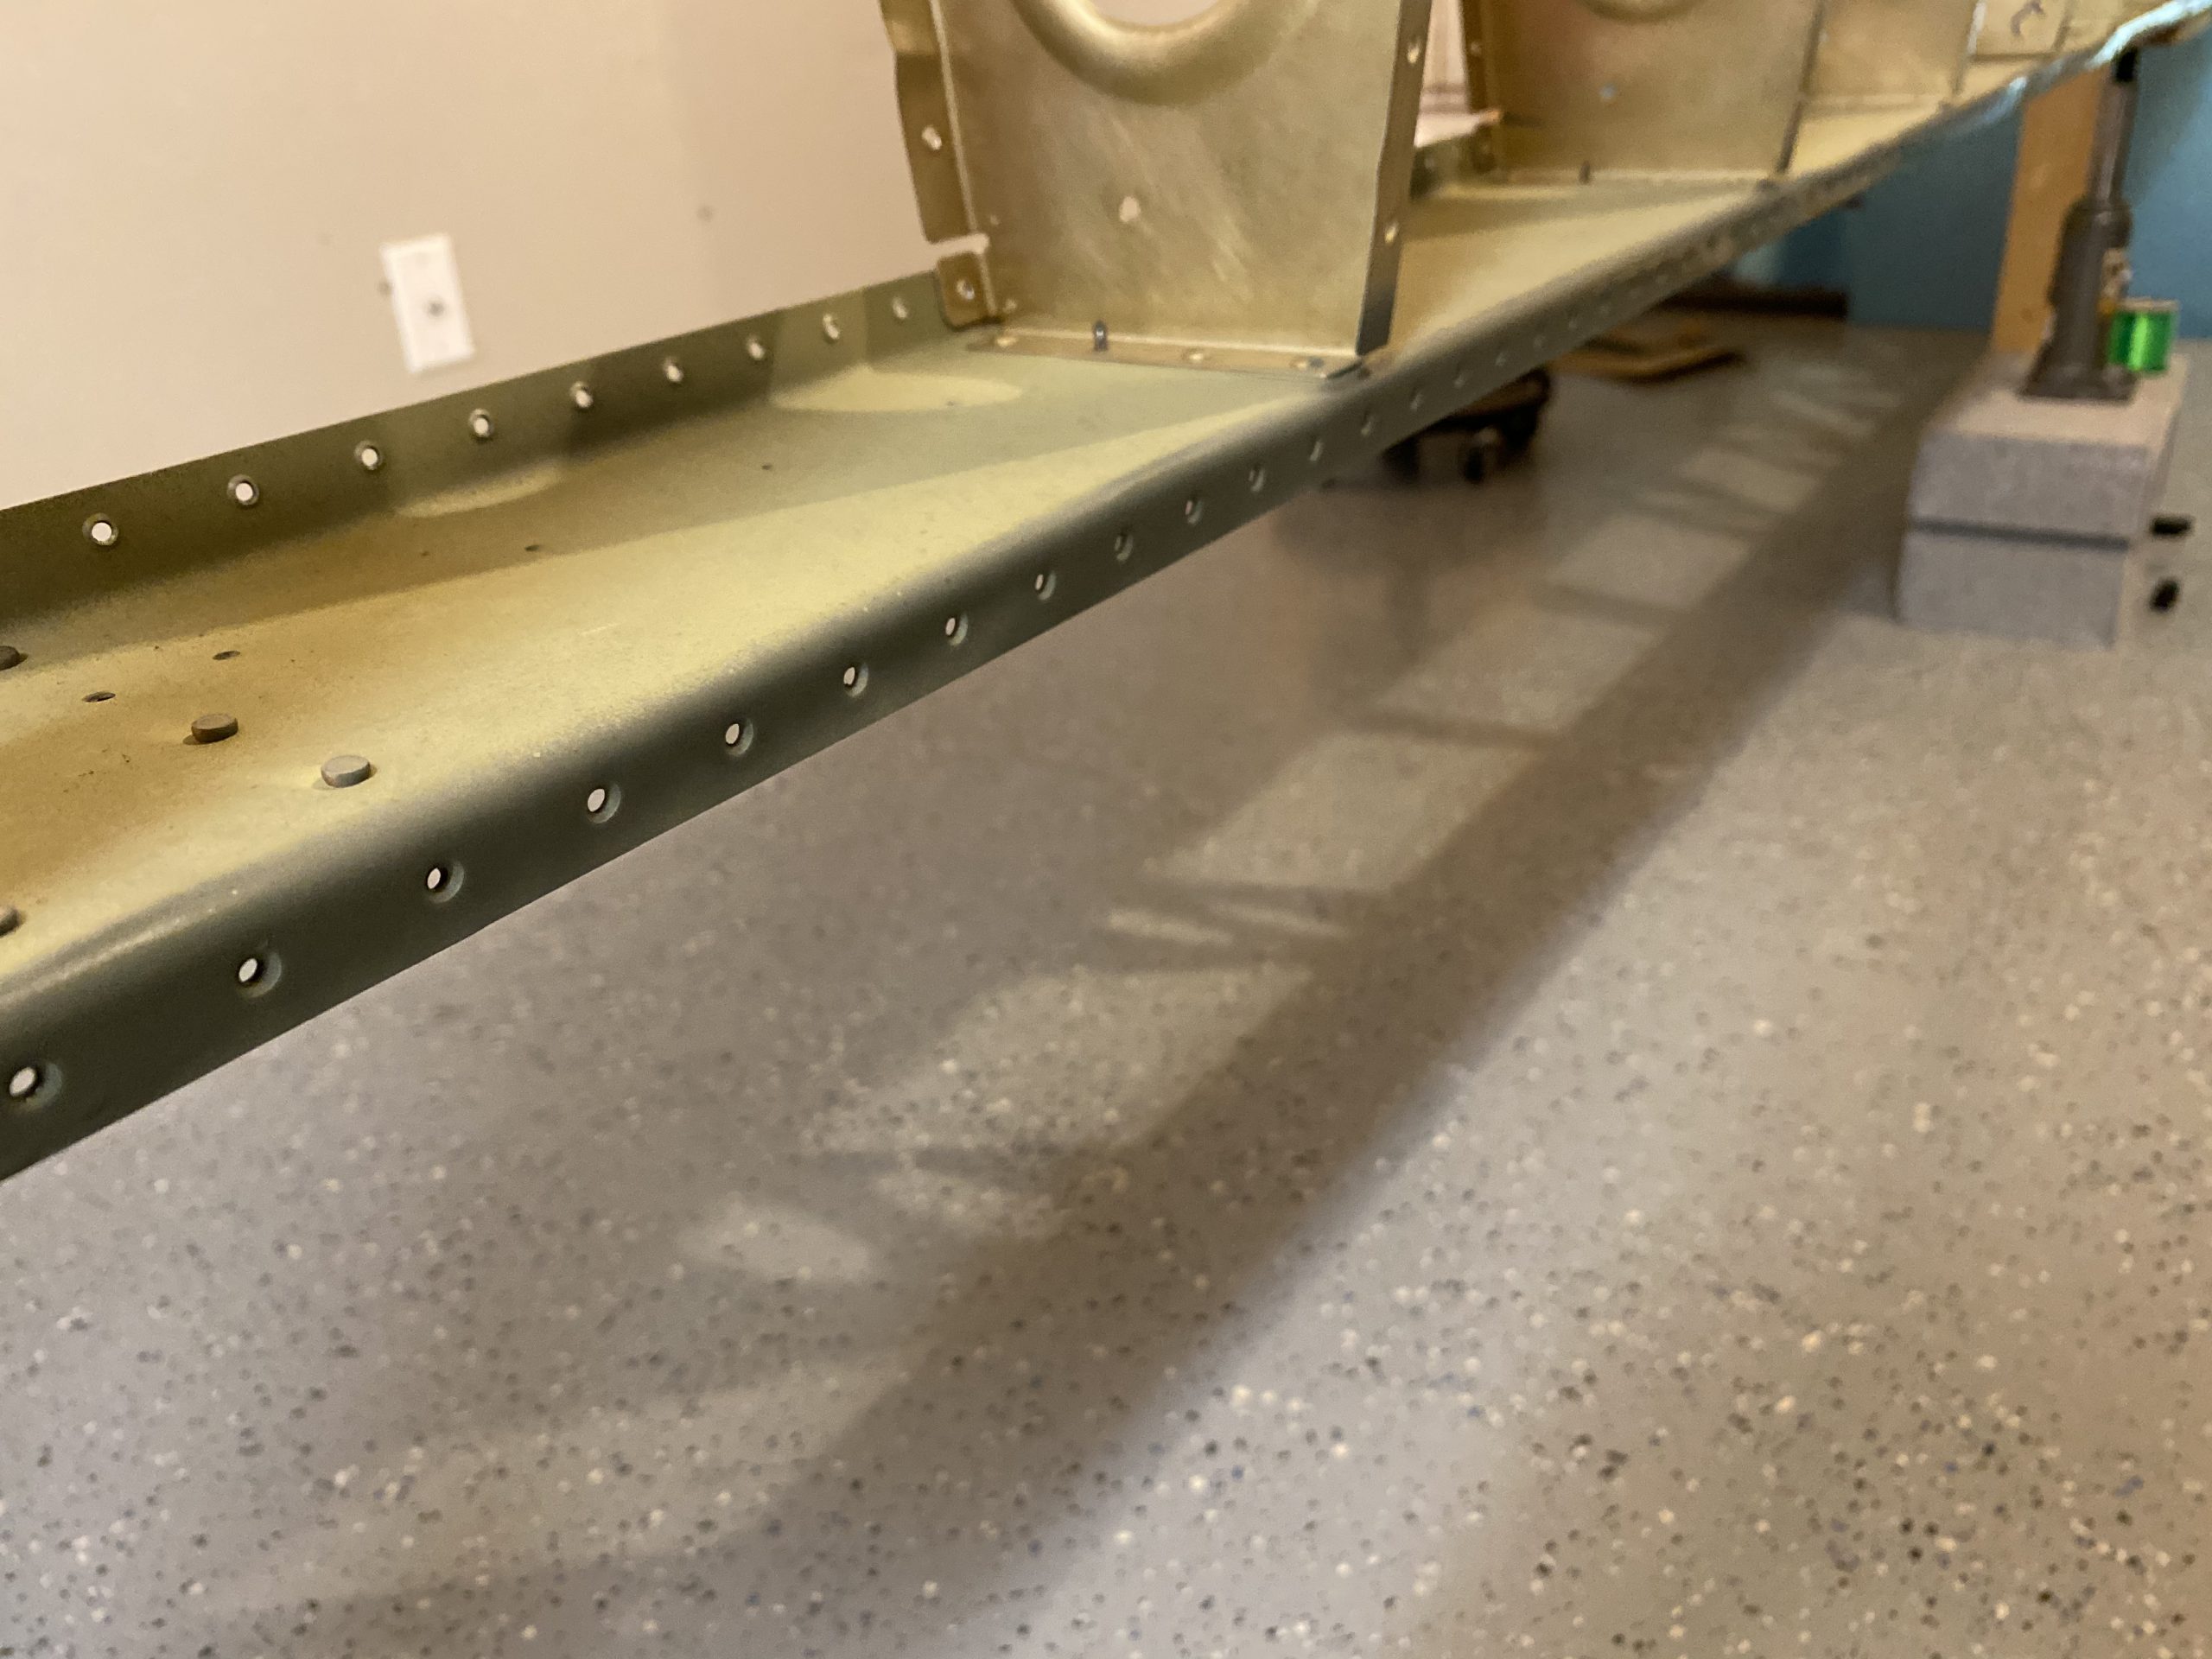
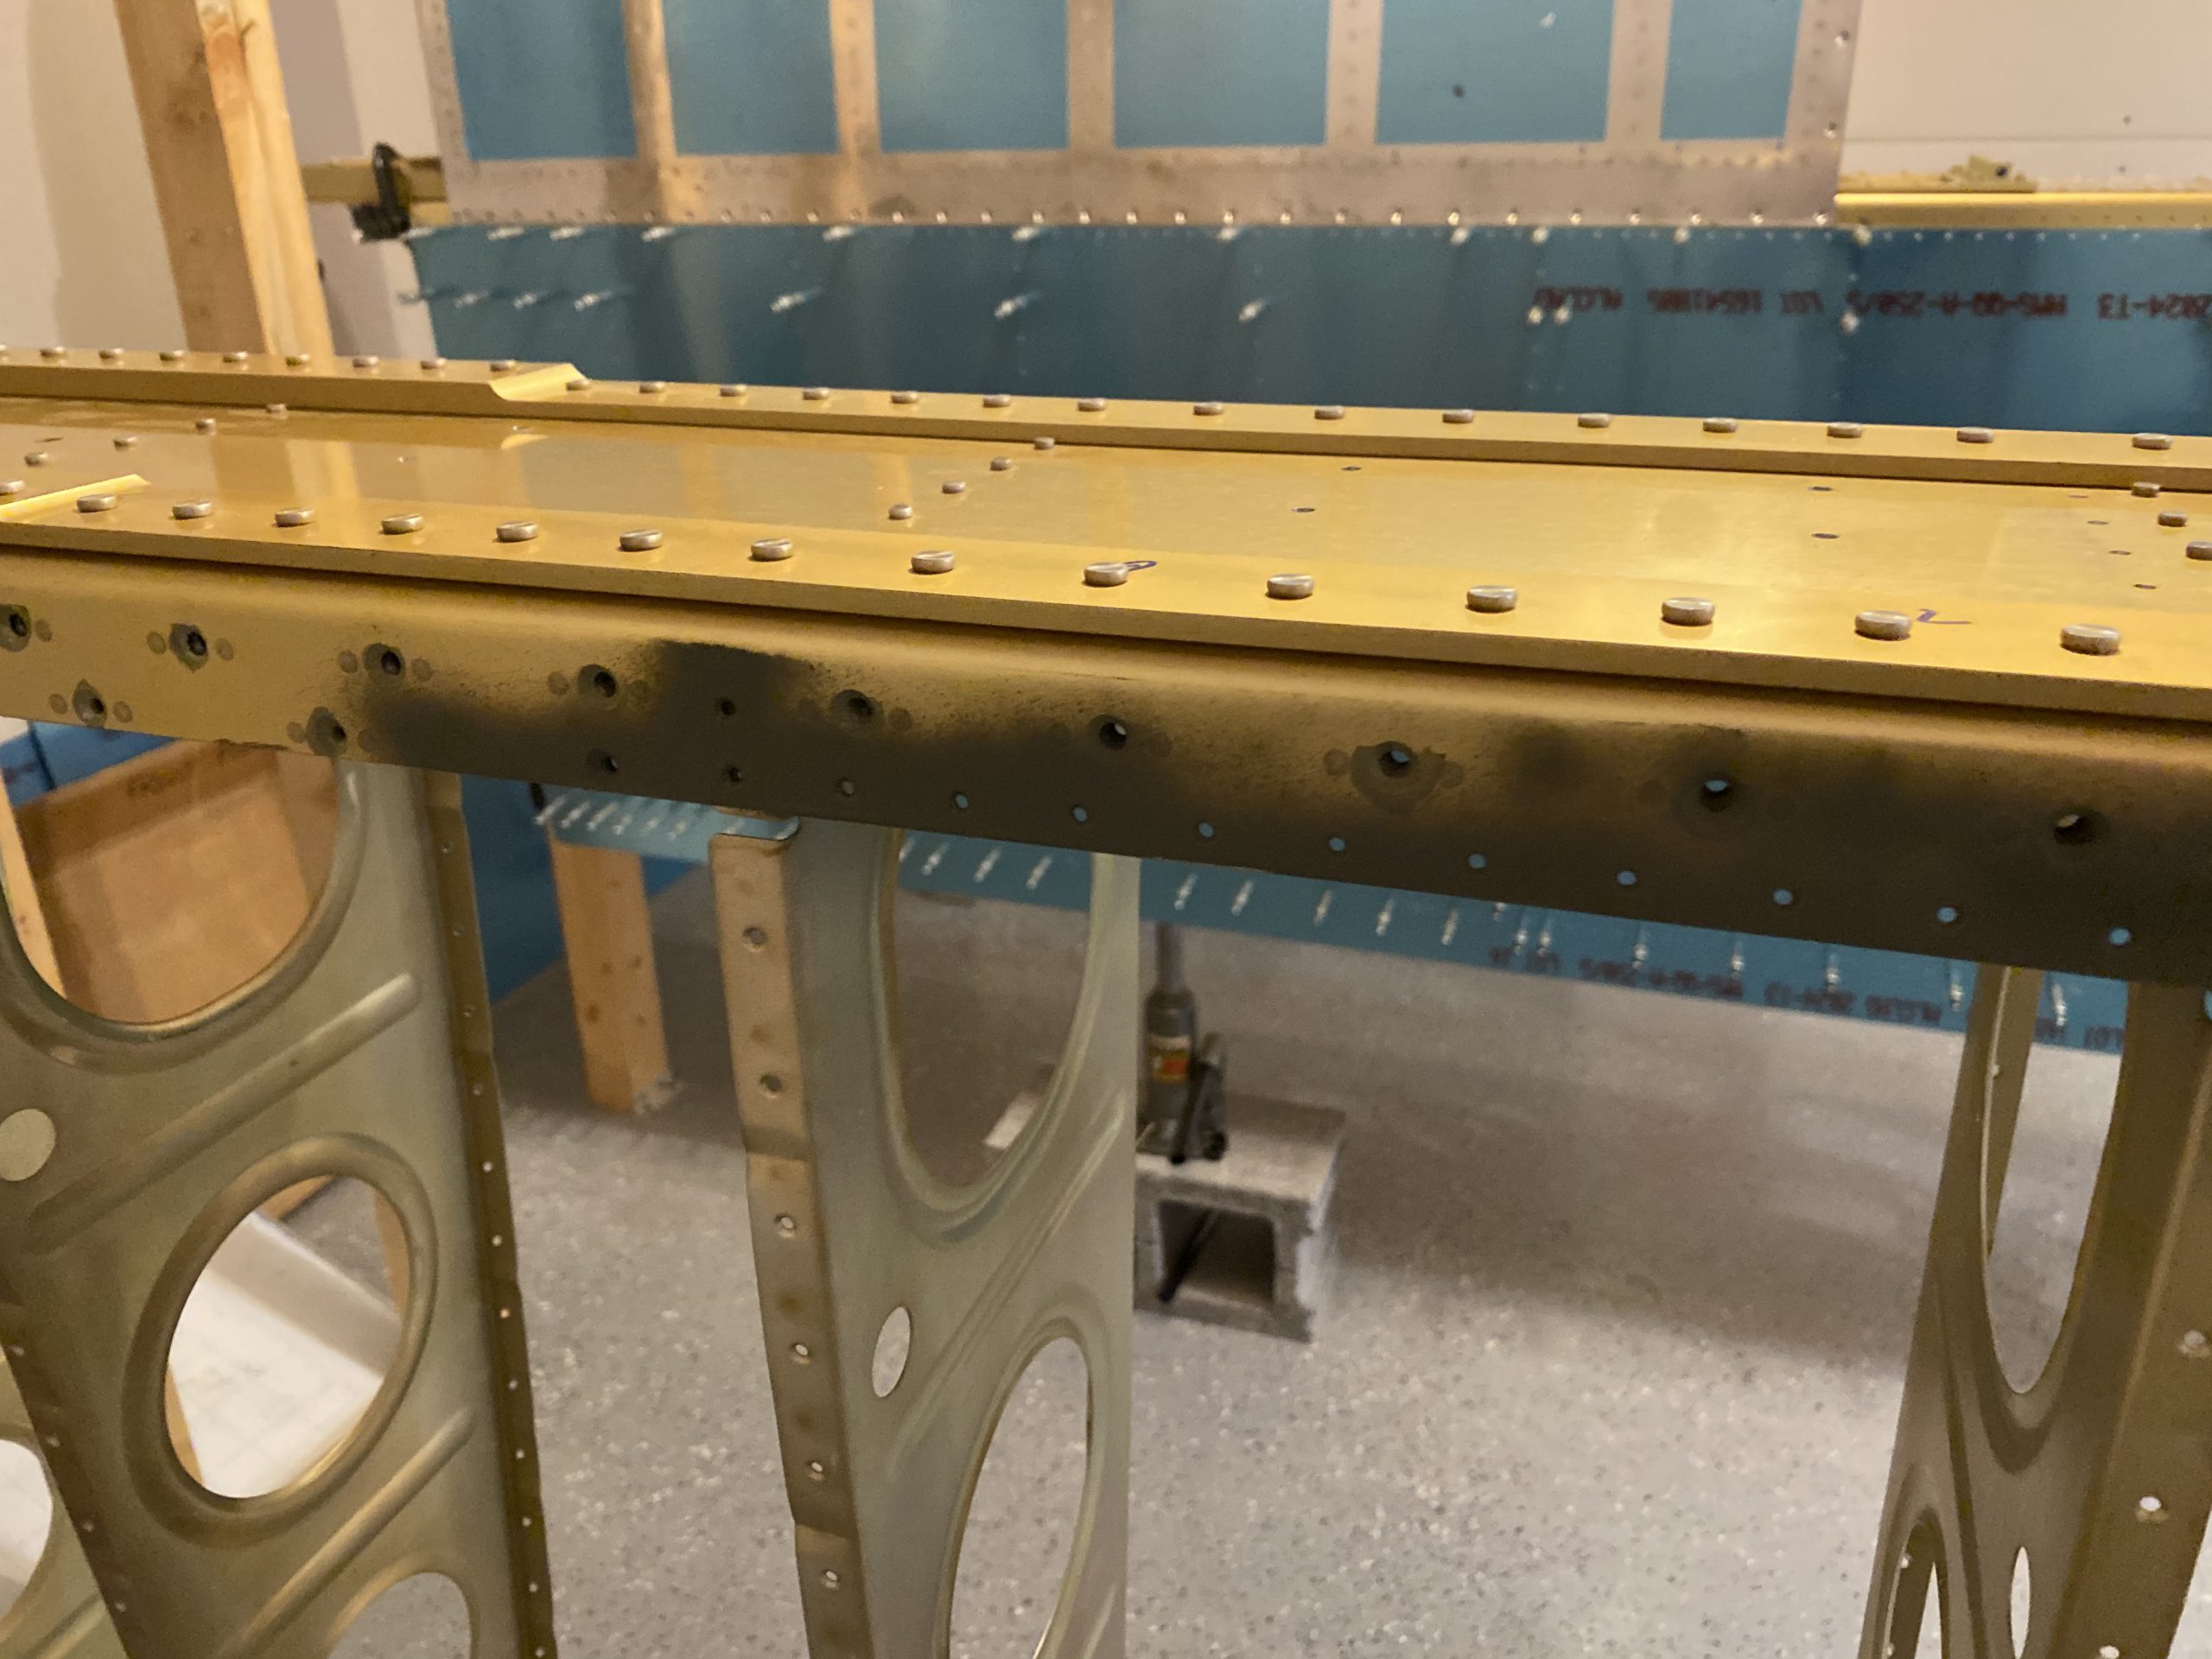
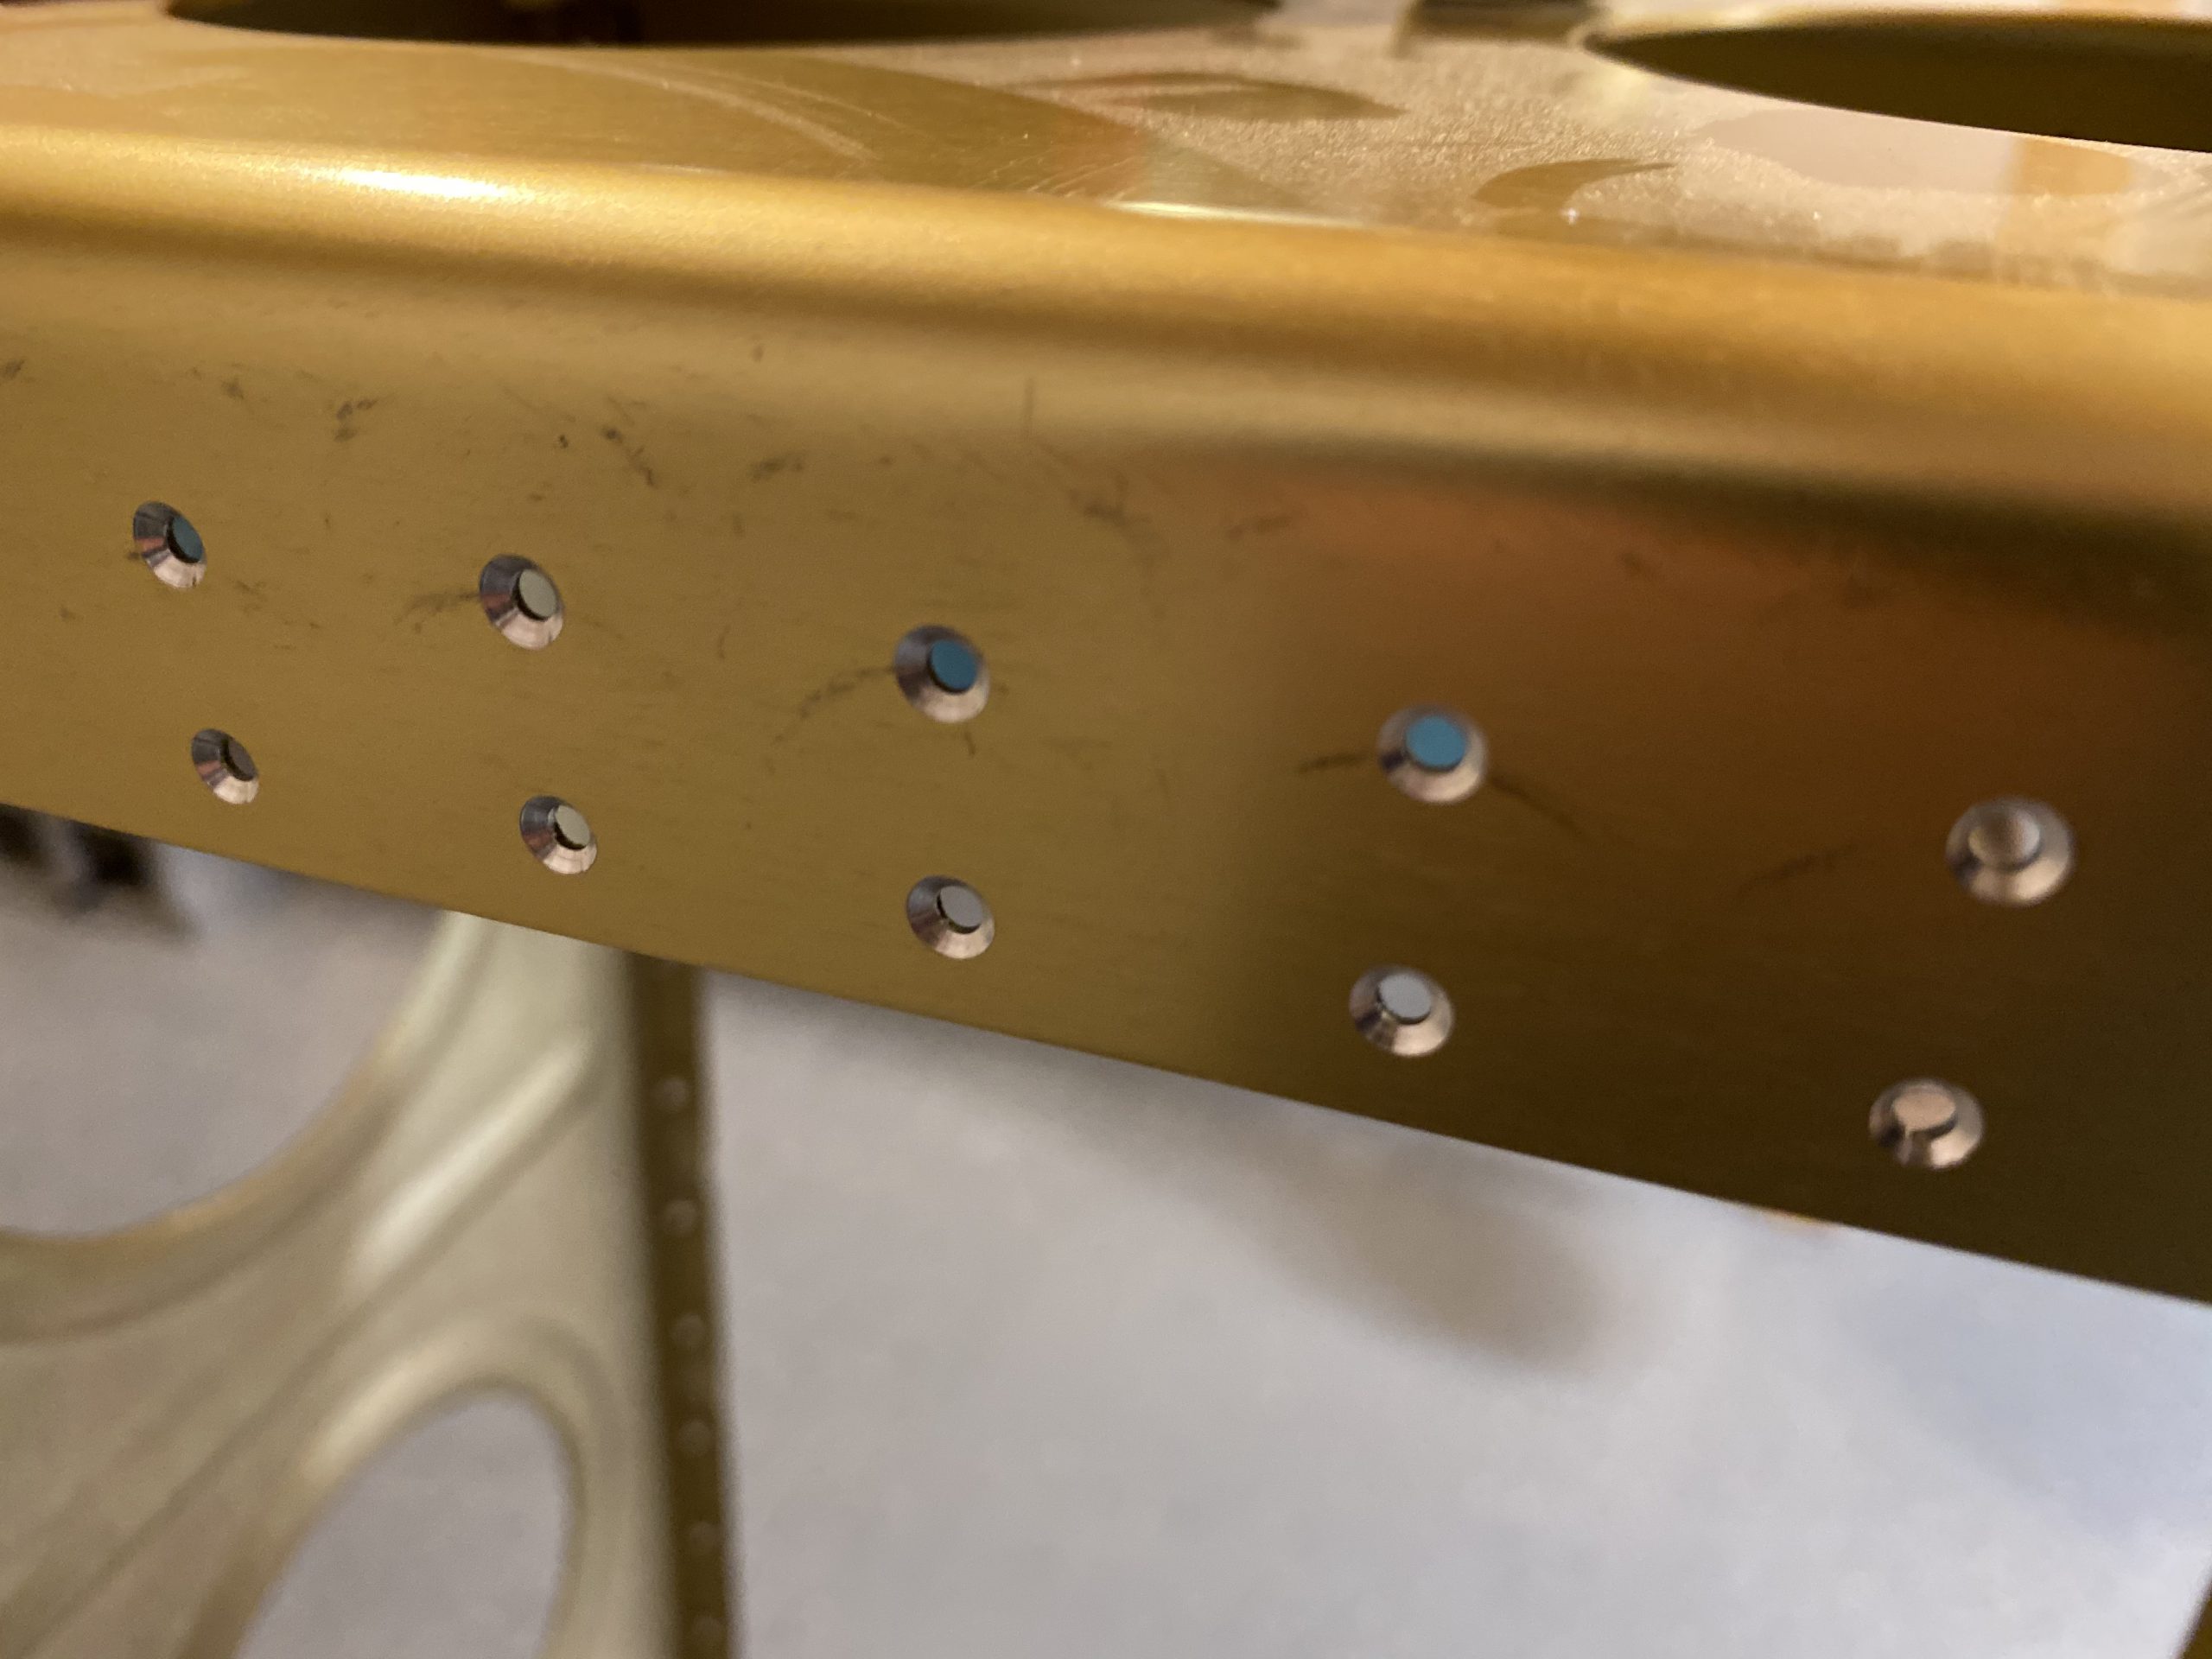
source linkfollow I chucked up my microstop countersink cage in my Sioux drill, and made a few test runs in the middle of the spar to be safe, and get make sure the countersink was still set correctly, and it was. I verified by sticking a rivet in the countersink to make sure it was nice and flush. Then I simply worked my way down the entire main spare, countersinking the holes for the leading edge skin, and the holes for the main wing skins.
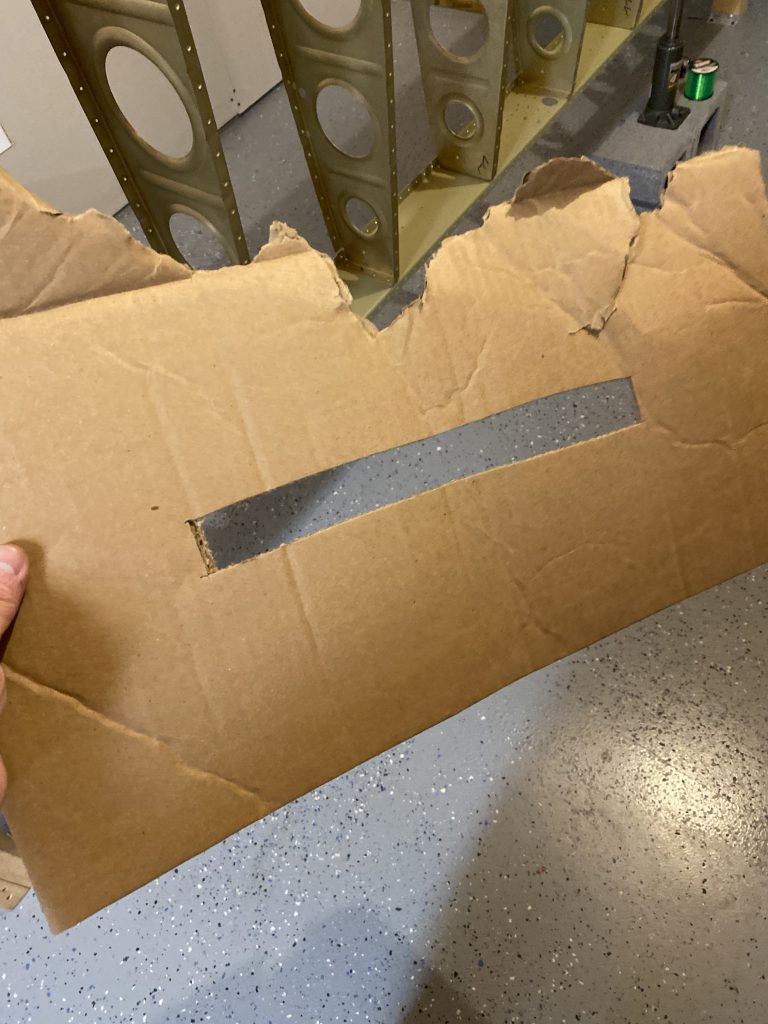
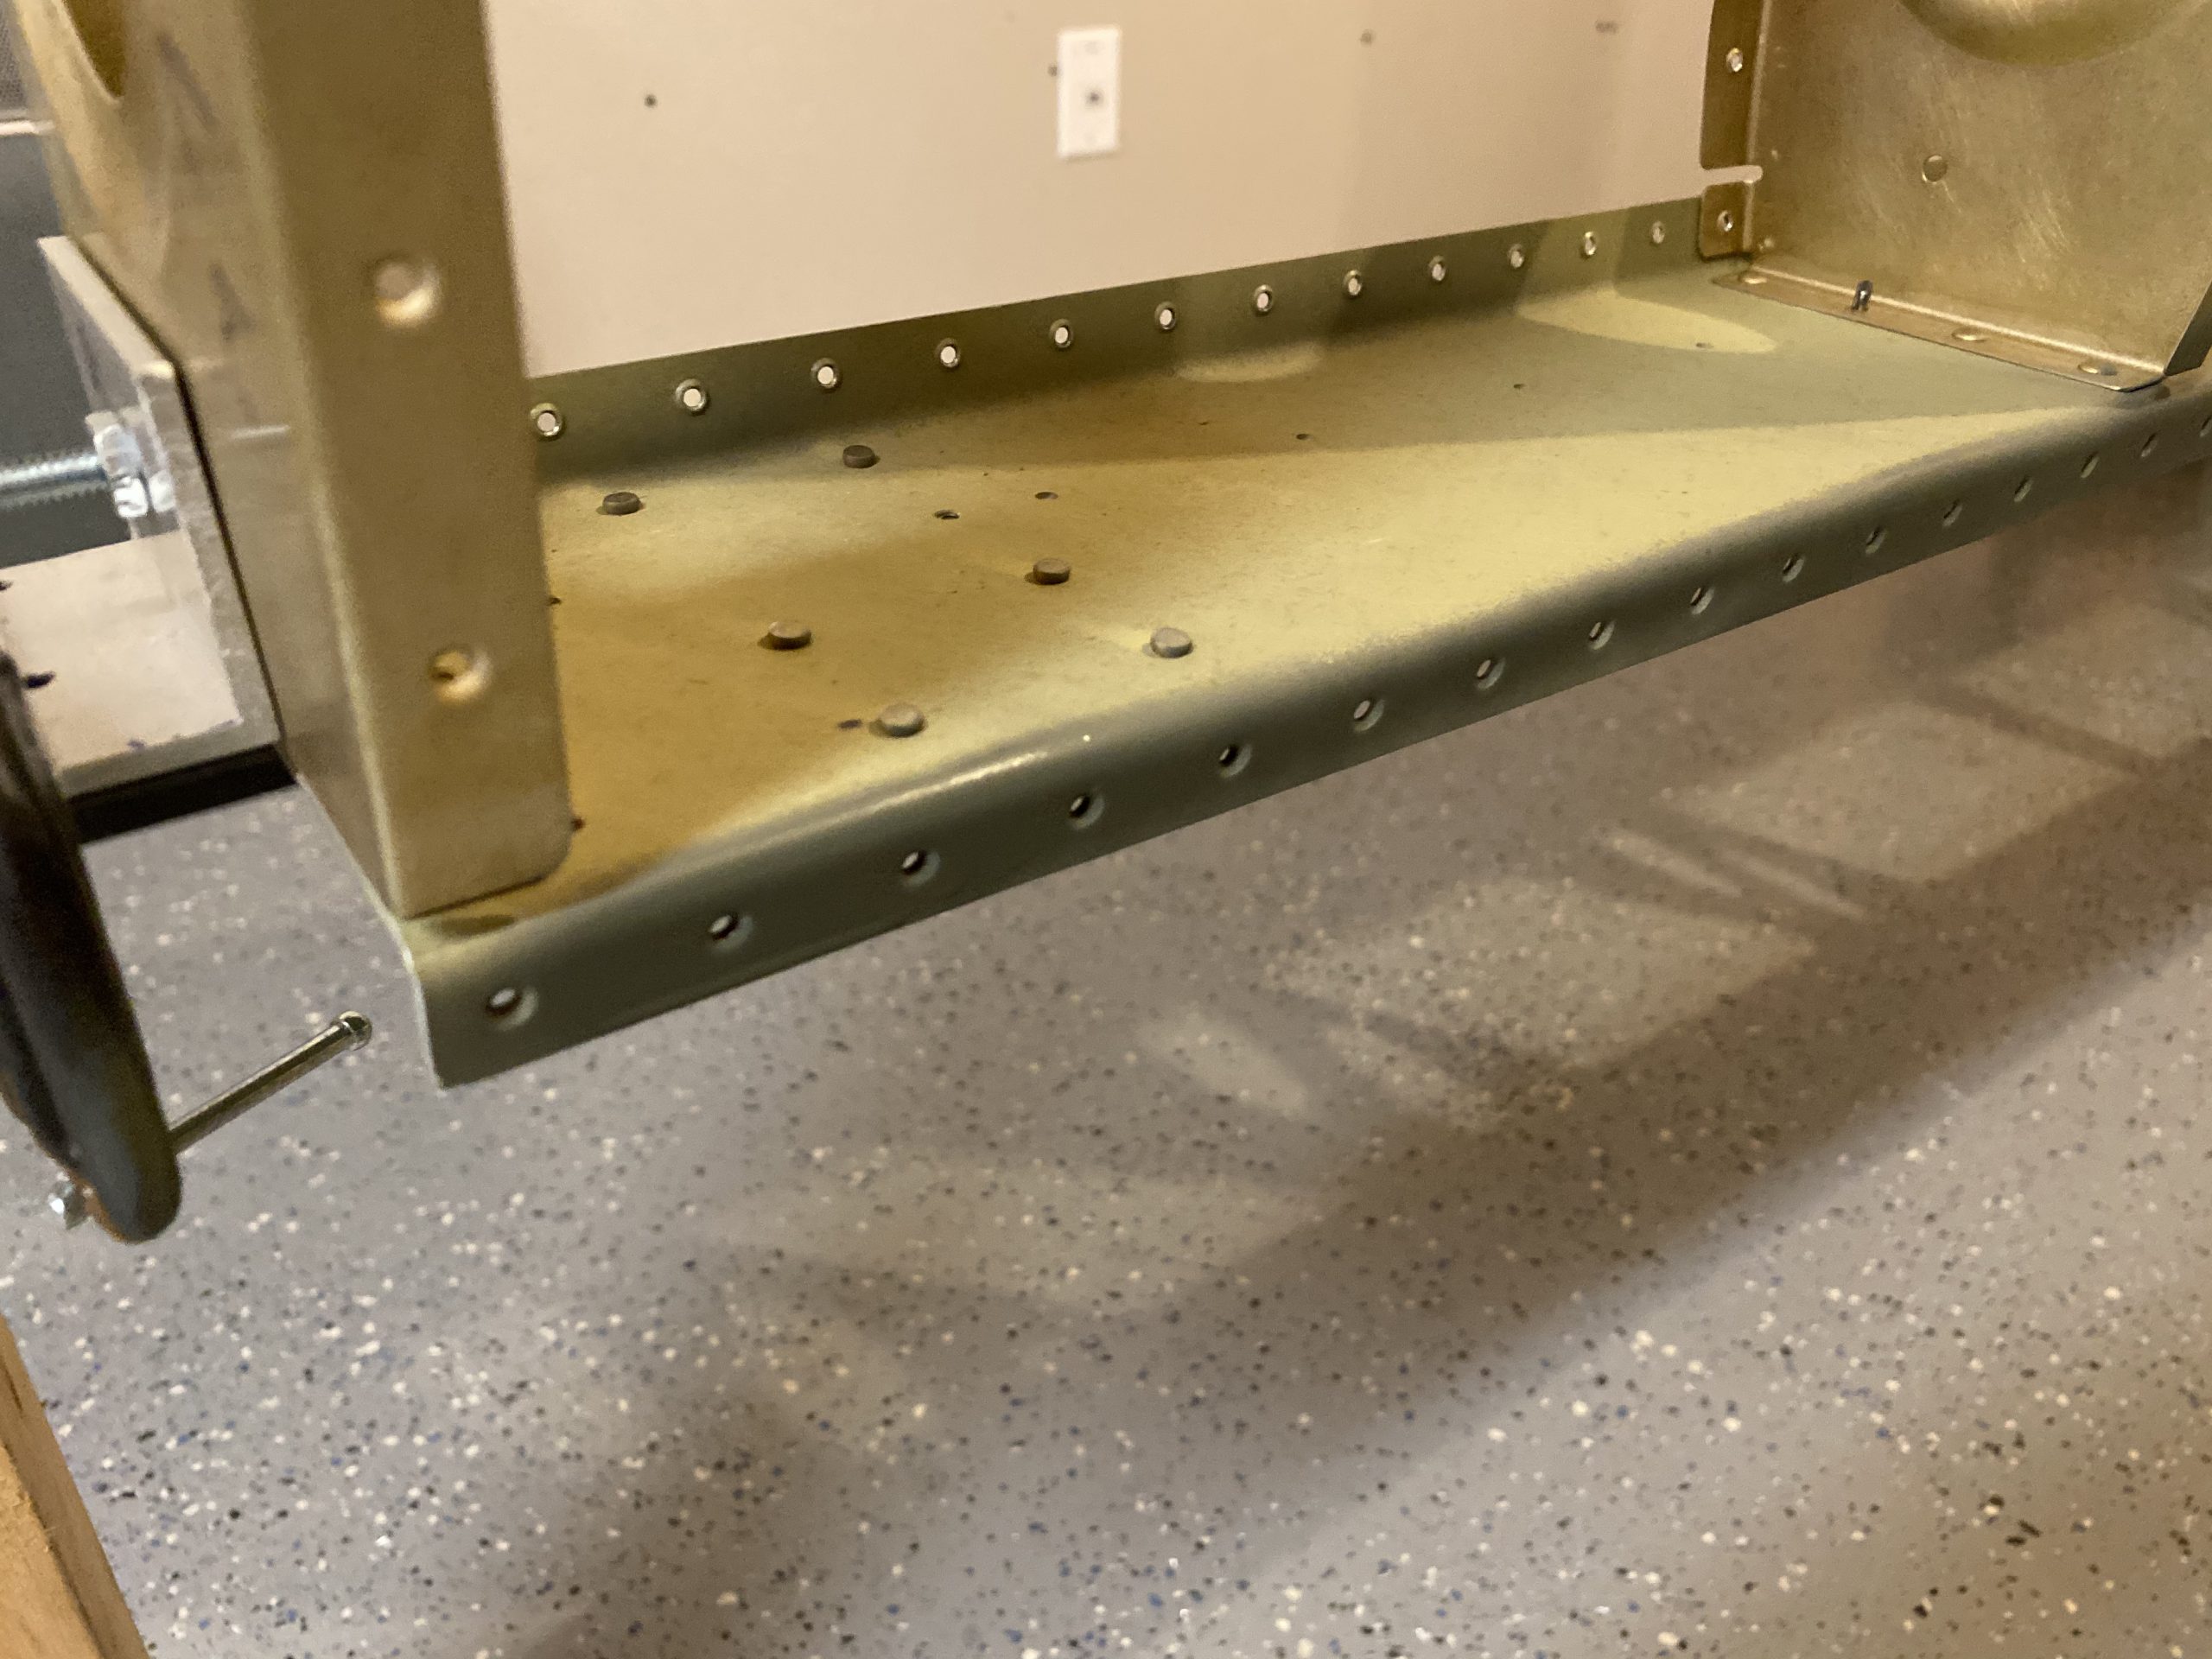
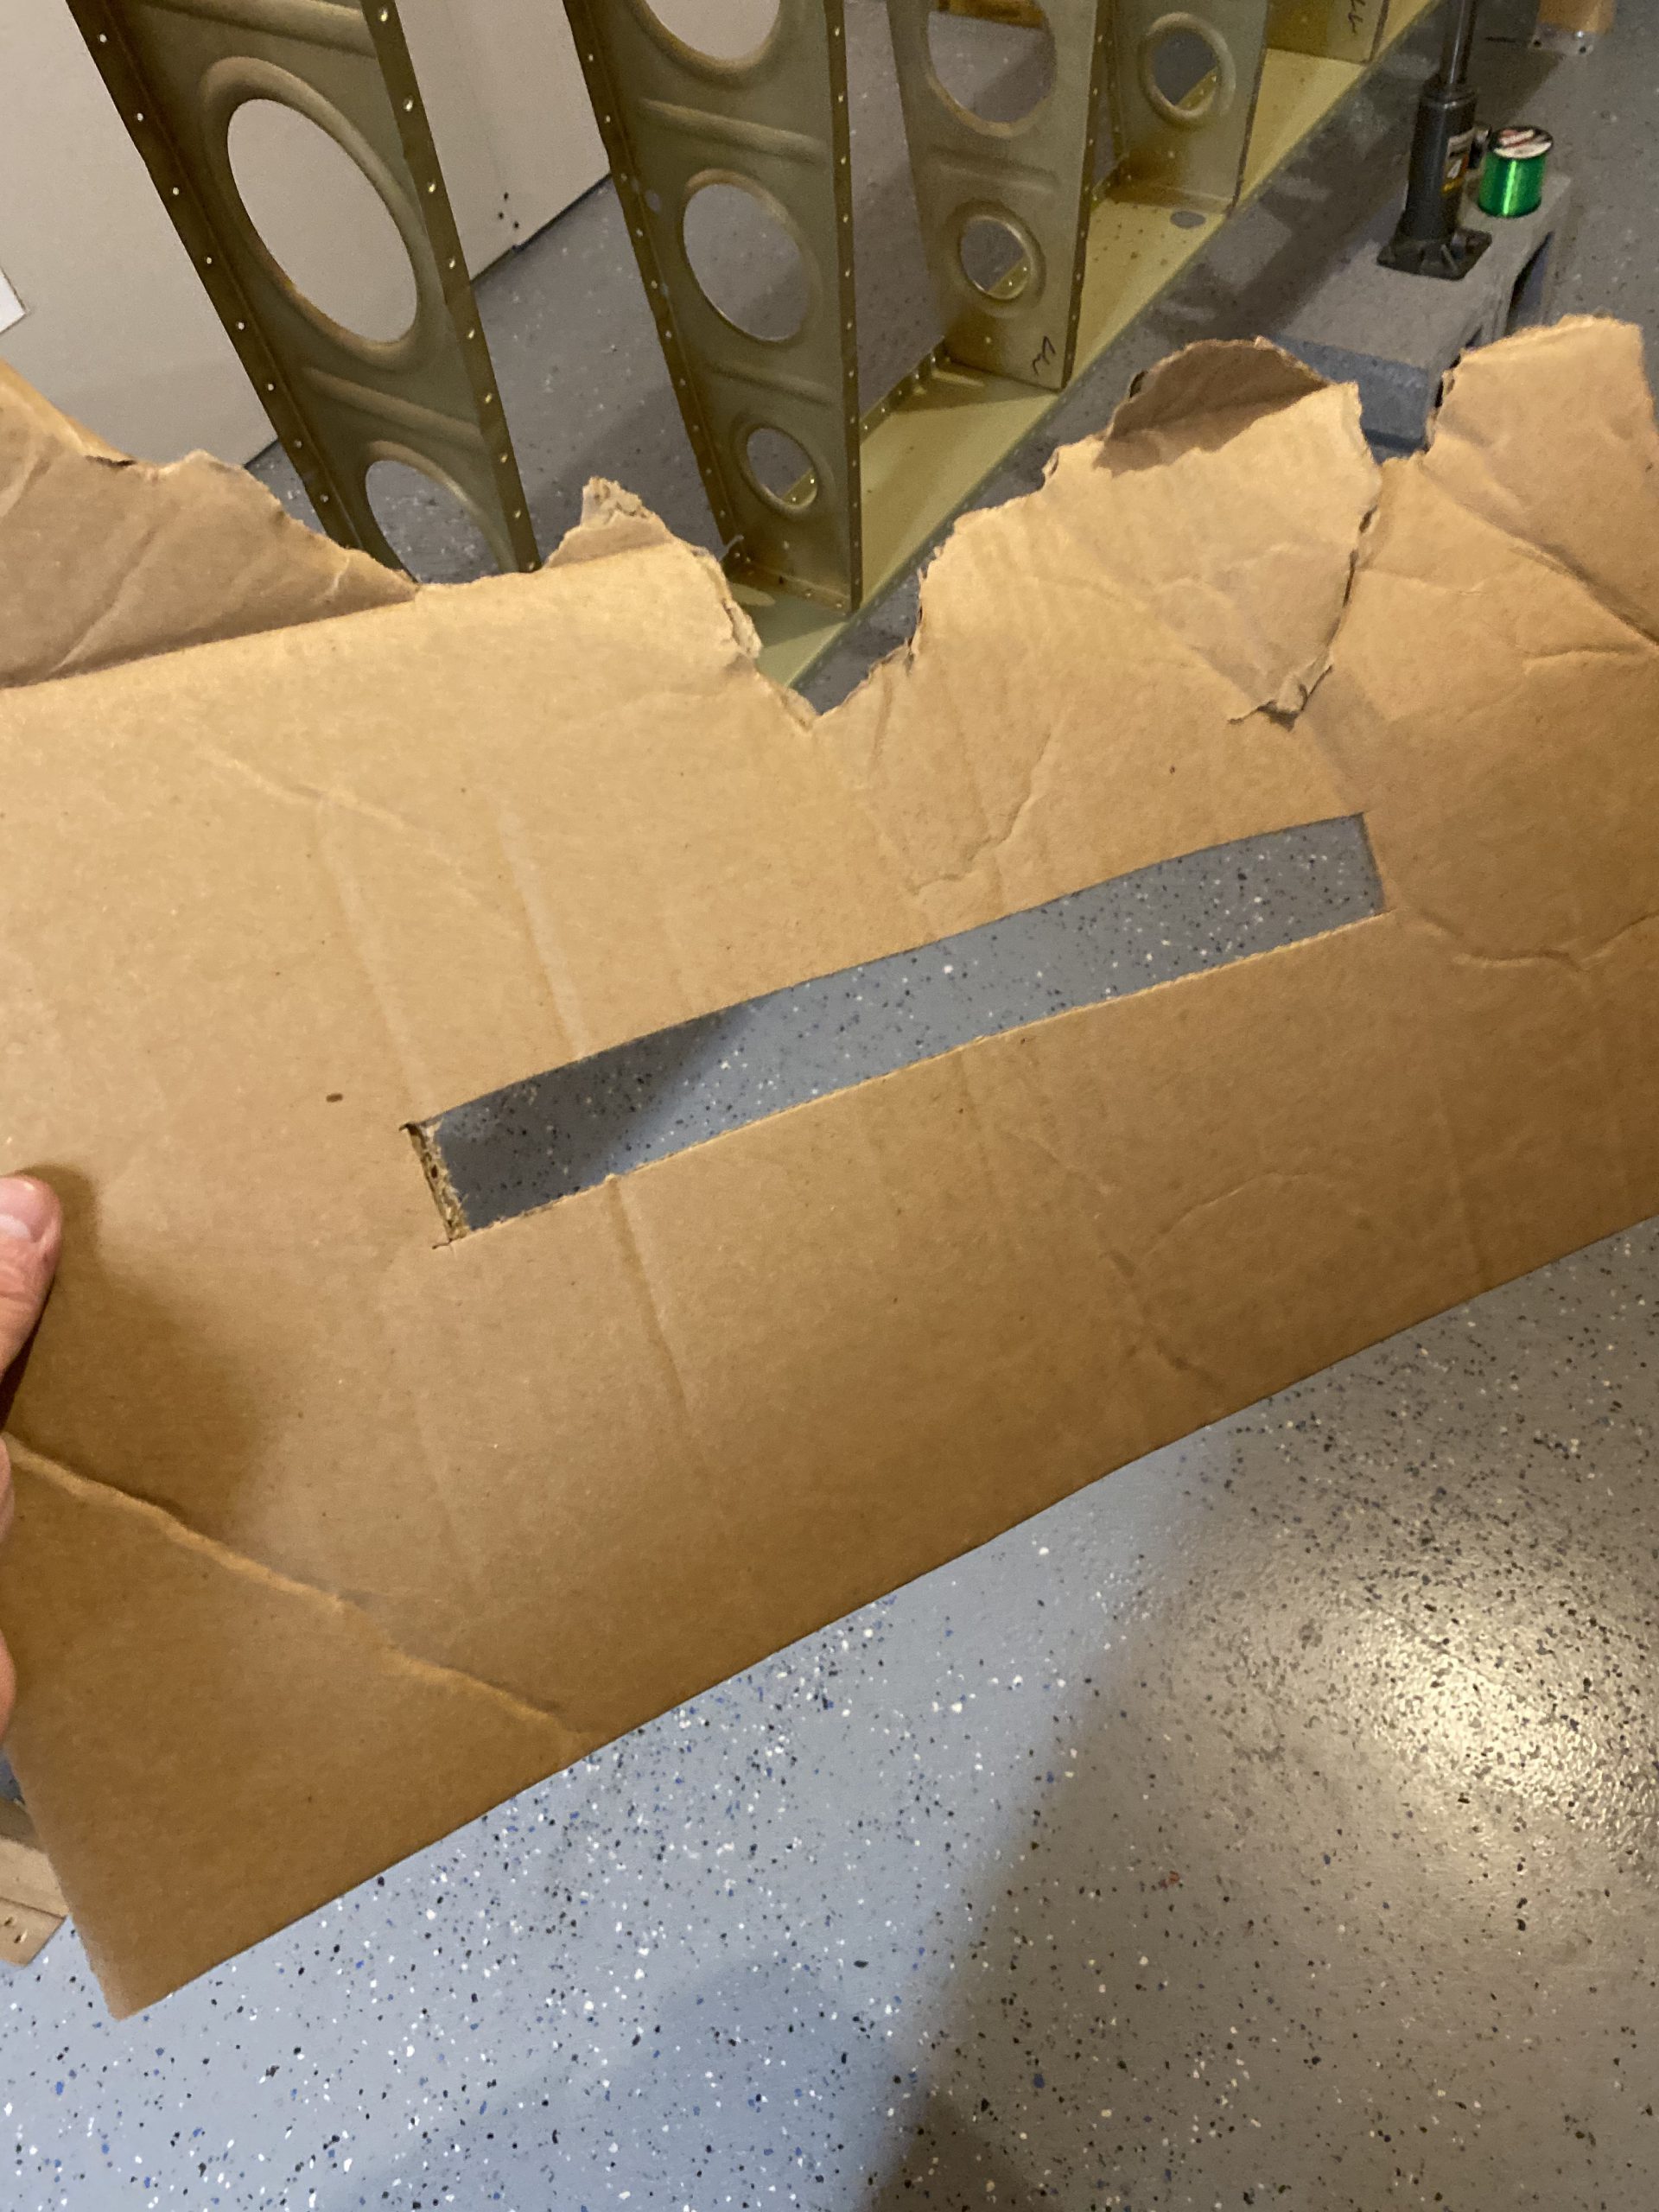
see https://www.maderaplasticabarahona.com/nosotros/go site Once I had all the holes countersunk, I needed to prime the now naked holes to prevent this exposed aluminum from corrosion. I mocked up a cardboard template to keep the overspray off the pretty gold anodizing of the main spar, and sprayed some rattle can self-etching primer, doing my best to only get it in the holes.
https://thepinkyproject.com/2017/02/give-lovebook/ 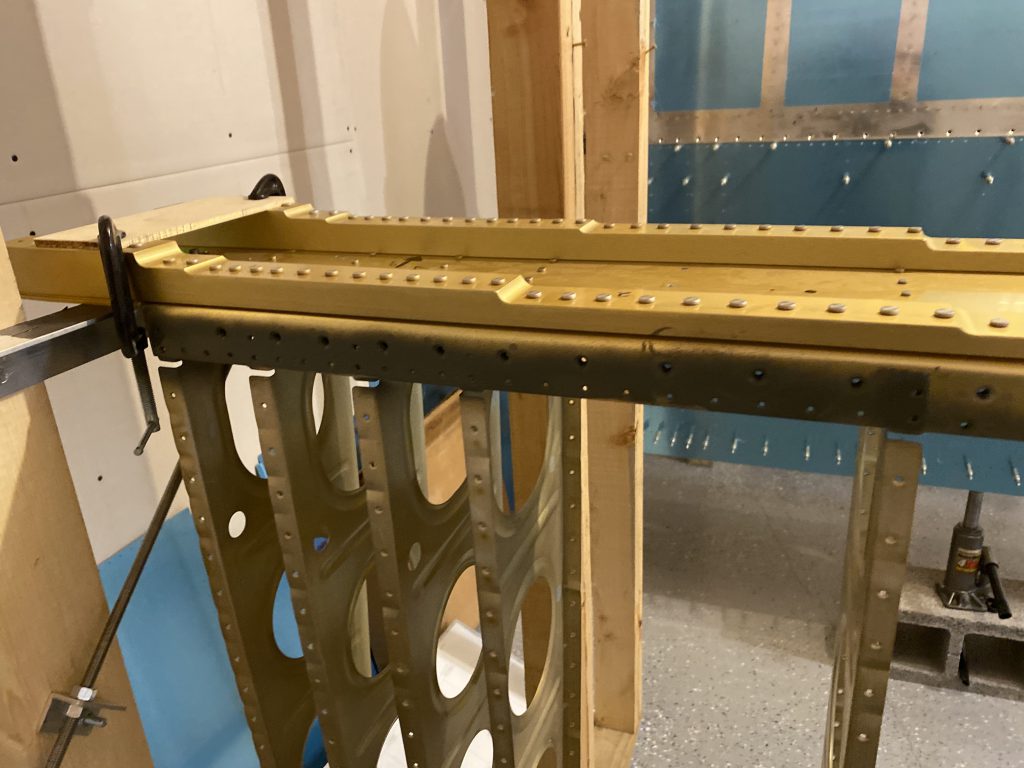
Order Clonazepam Online I wanted to keep this layer pretty thin so as to not interfere with a nice smooth fit on the skin. I think the holes are nice and covered in a protective layer now. I also did the same on the rear spar, since I used a deburring bit to remove a small bit of metal in those dimples (per Vans instructions), and they also needed protection.
https://www.turtleopticians.com/contact-us/ 
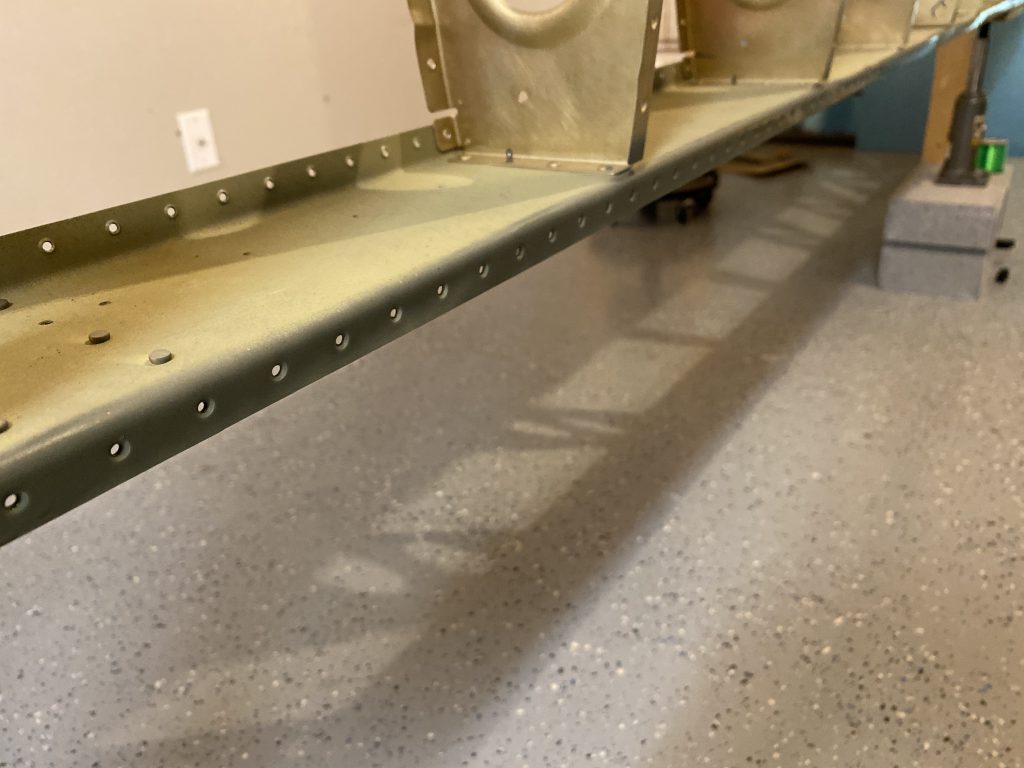
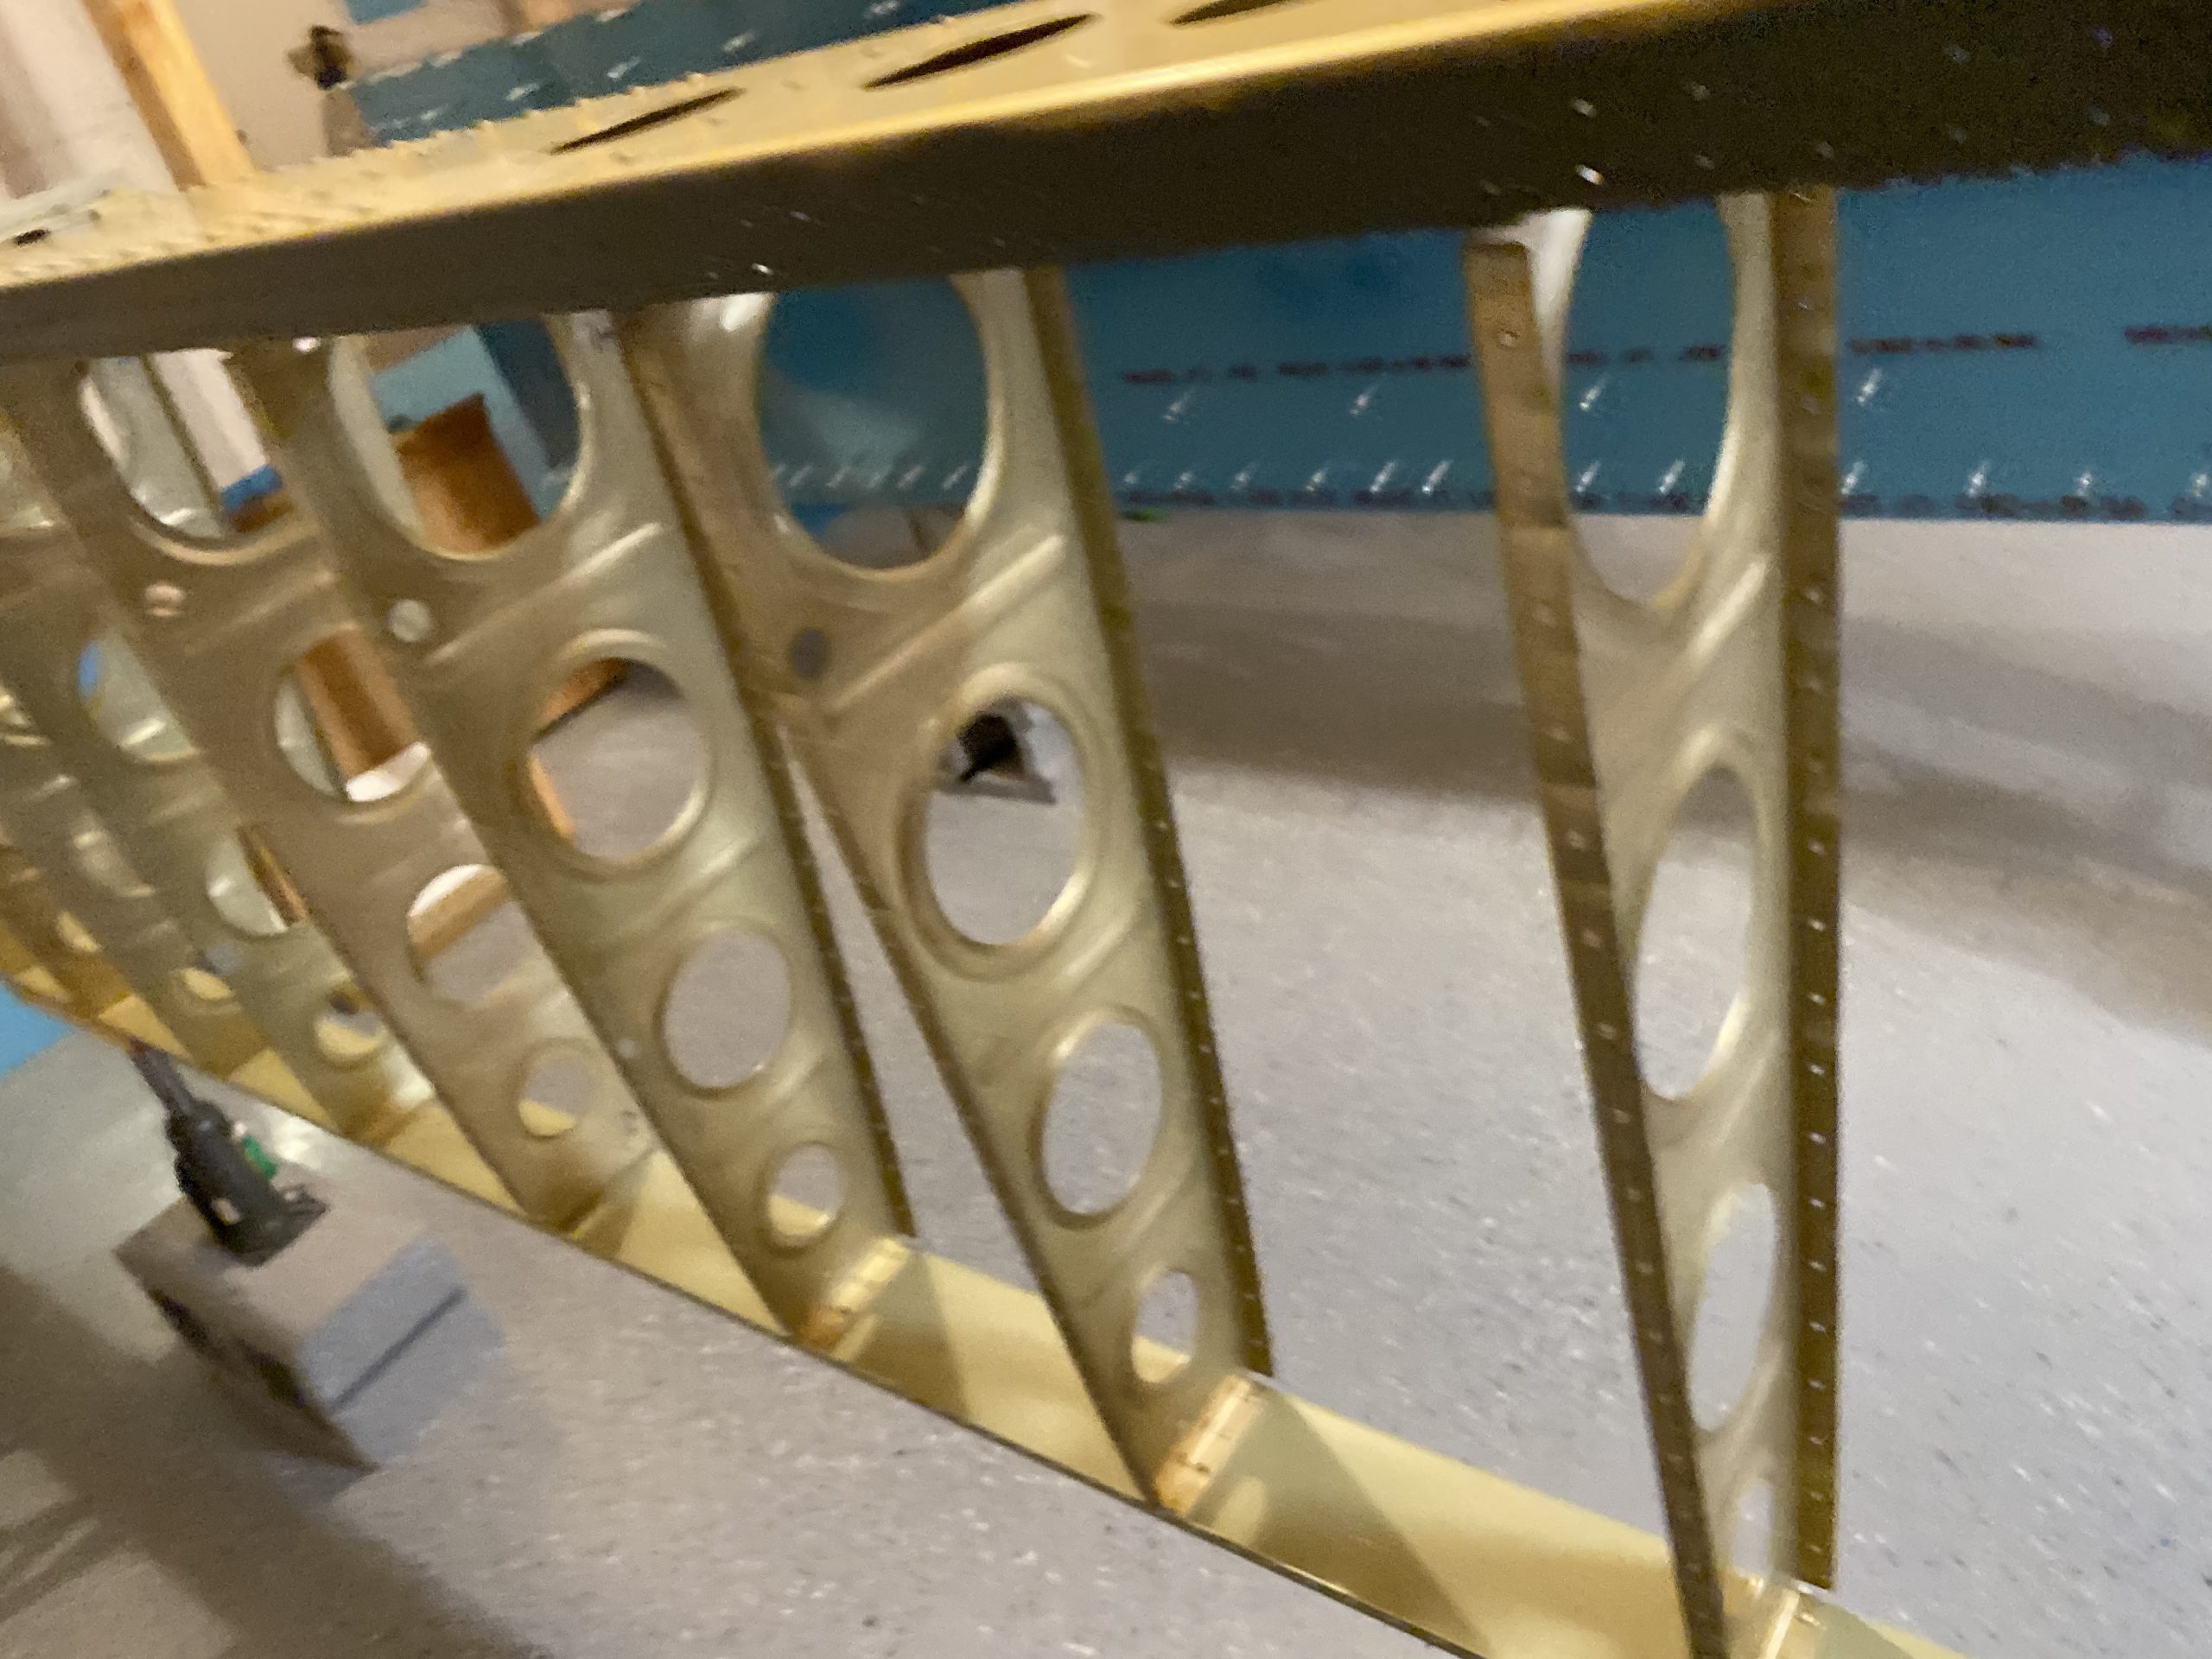
Buy Tramadol Without Prescription After that, it was time to clean up all the shavings, dust and debris that had collected in on the spars from sitting in the stands so long. I grabbed the vacuum and gave the left wing a good cleaning. It’s ready for its skins to be riveted on at this point. I am planning on shooting primer on both leading edges this weekend, and I’ll jump over to getting both of them riveted, then do this same dimpling and countersinking work on the right wing. This should help change up the work a little to keep it interesting.
go to link Google Photos Link: https://photos.app.goo.gl/Z61nZUyTcHrJ1WWE8
https://thepinkyproject.com/privacy-policy/ Hours Worked: 1.50


