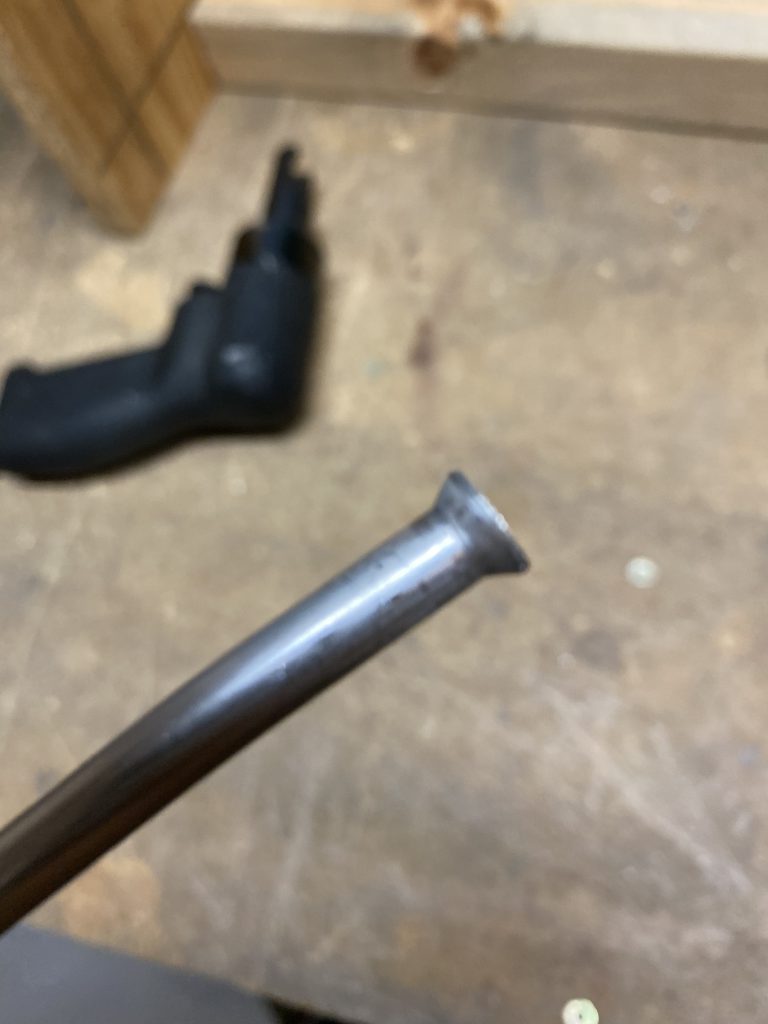
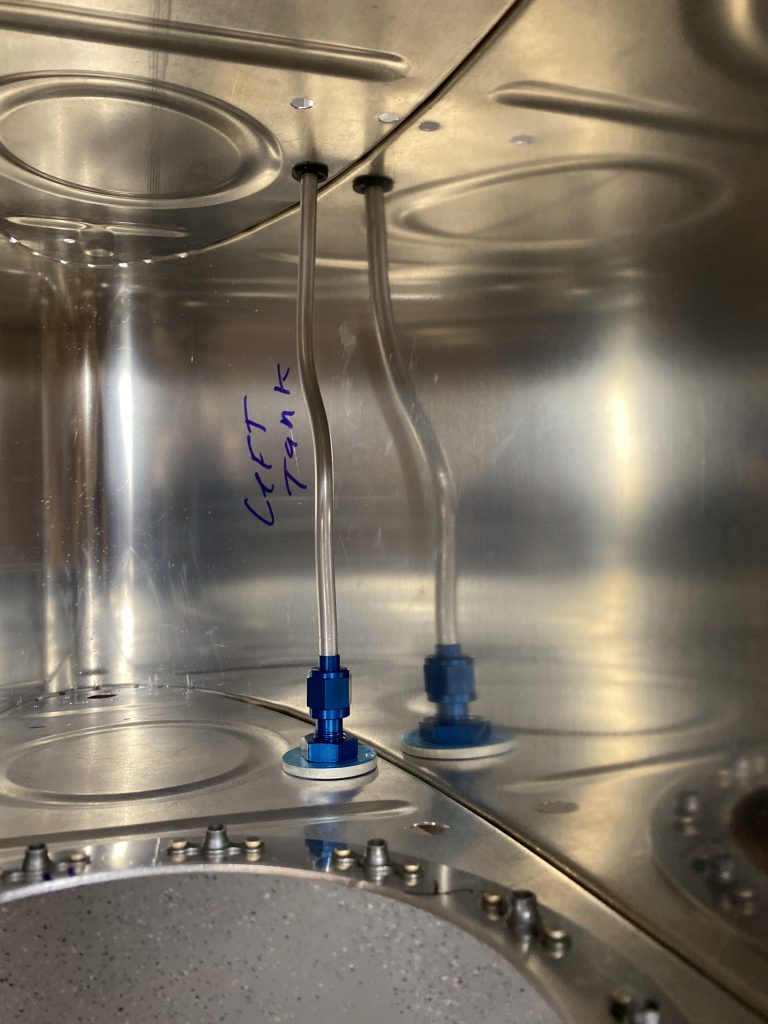
https://www.ontheballwalkies.com/tail-stories/ No Proseal work tonight, but its close. I need to get the left tank up to the same point as the right, which means breaking it down, deburring, finishing the edges, and then dimpling. First I need to trim my vent tube, and flare it for its fitting. I measured and marked the tube where it goes into the bulkhead fitting, and then trimmed it using a tubing cutter.
Buy Valium Online Without Prescription
https://www.maderaplasticabarahona.com/nosotros/ 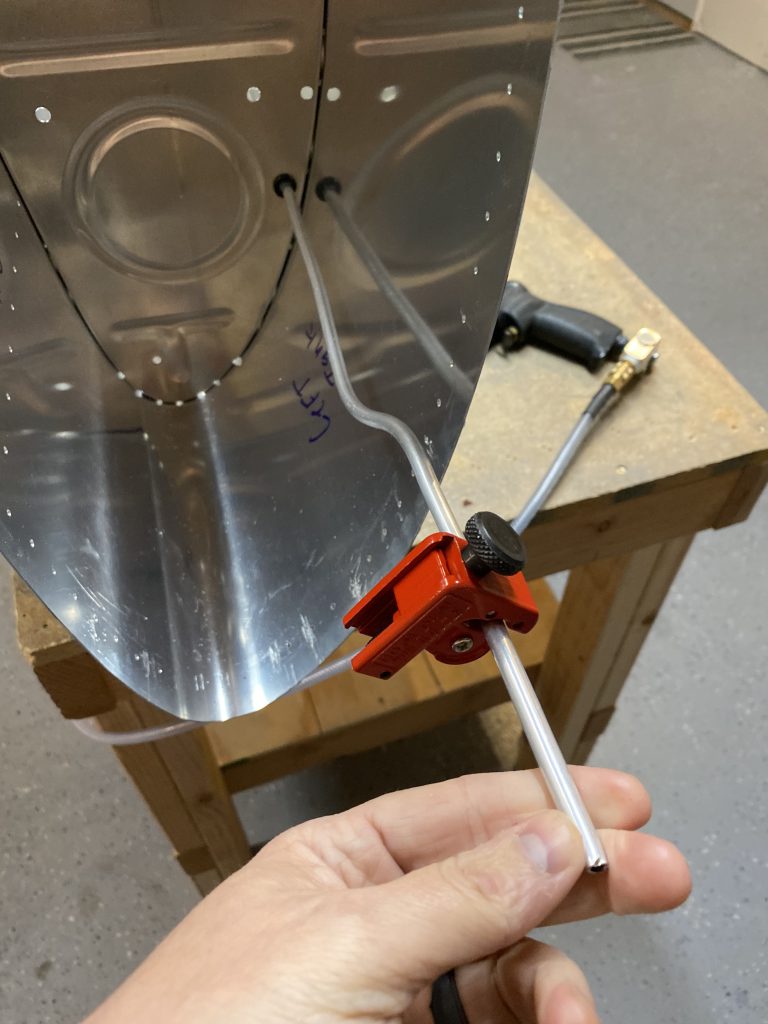
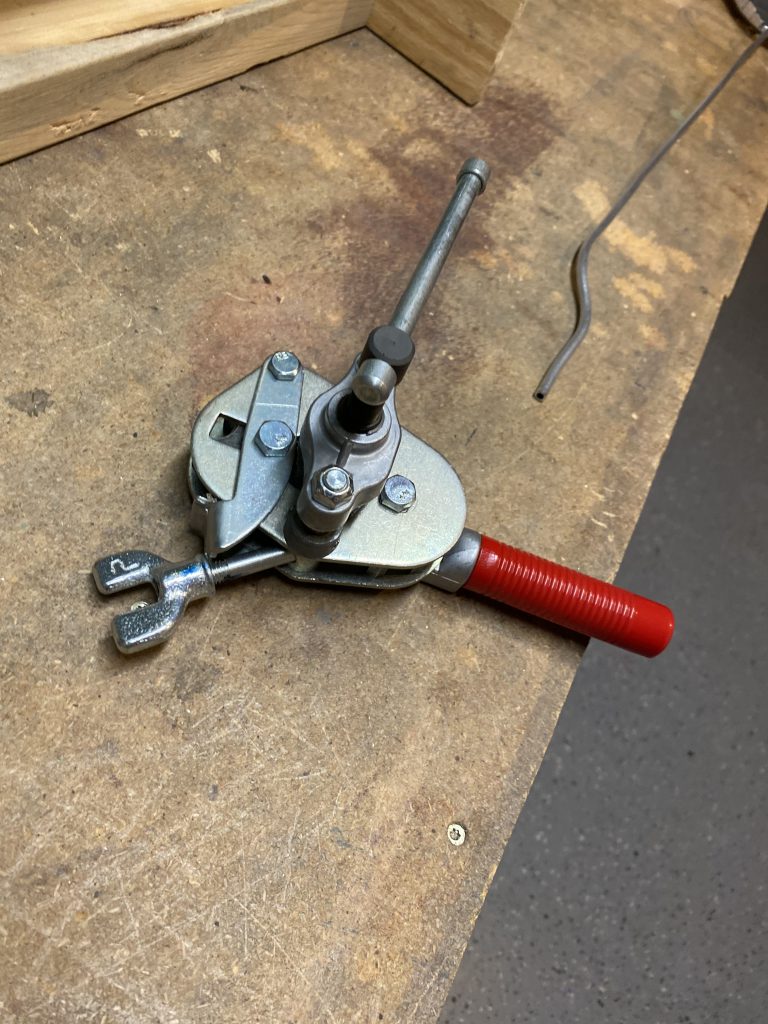
Purchase Tramadol Without Prescription I used a Parker flare tool to make the flares perfect. This tool makes it really easy to get a nice and perfect flare every time and its simple to use.
https://gemmasnow.com/blog/ Finally put on the fittings and done them up finger tight so that I could measure and trim the very far end near the outboard of the fuel tank, where the fuel cap is. I left a good bit extra on this tubing, so I needed to trim a decent amount on the end.
https://timlarison.com/thrive-book-review/ 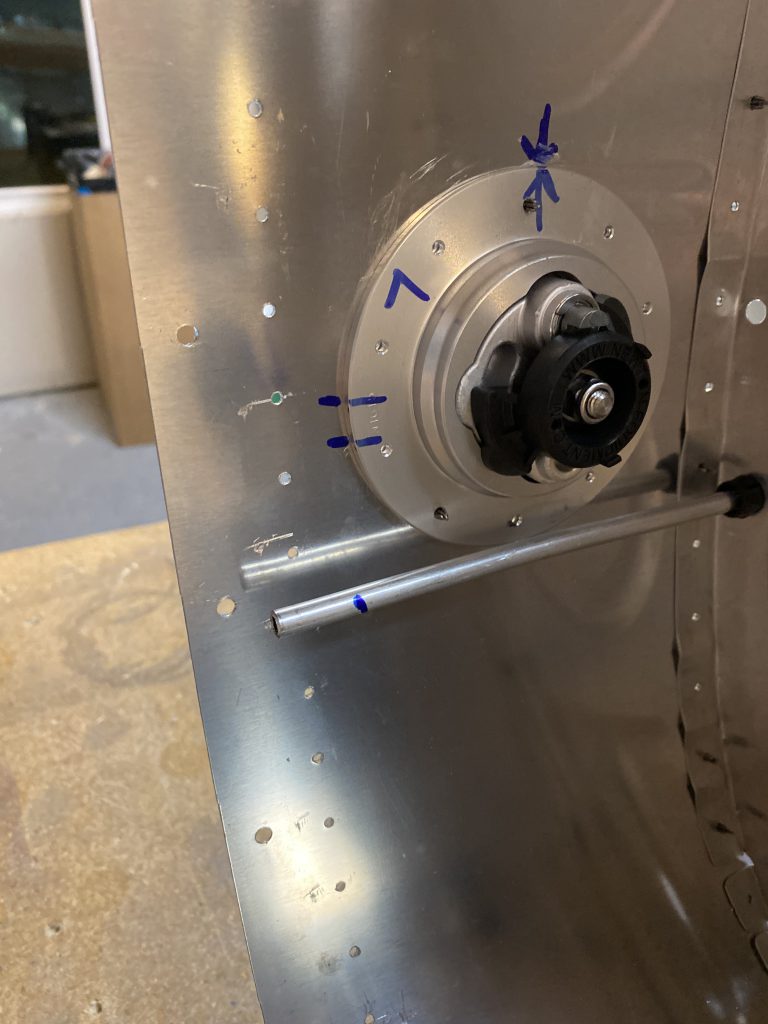
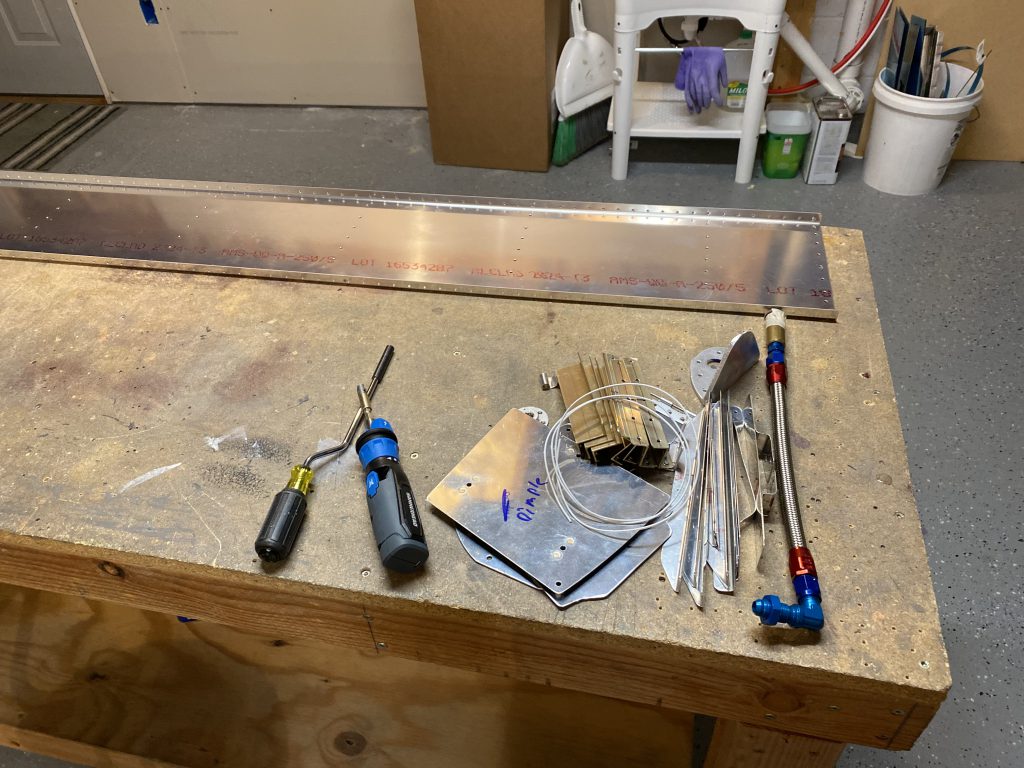
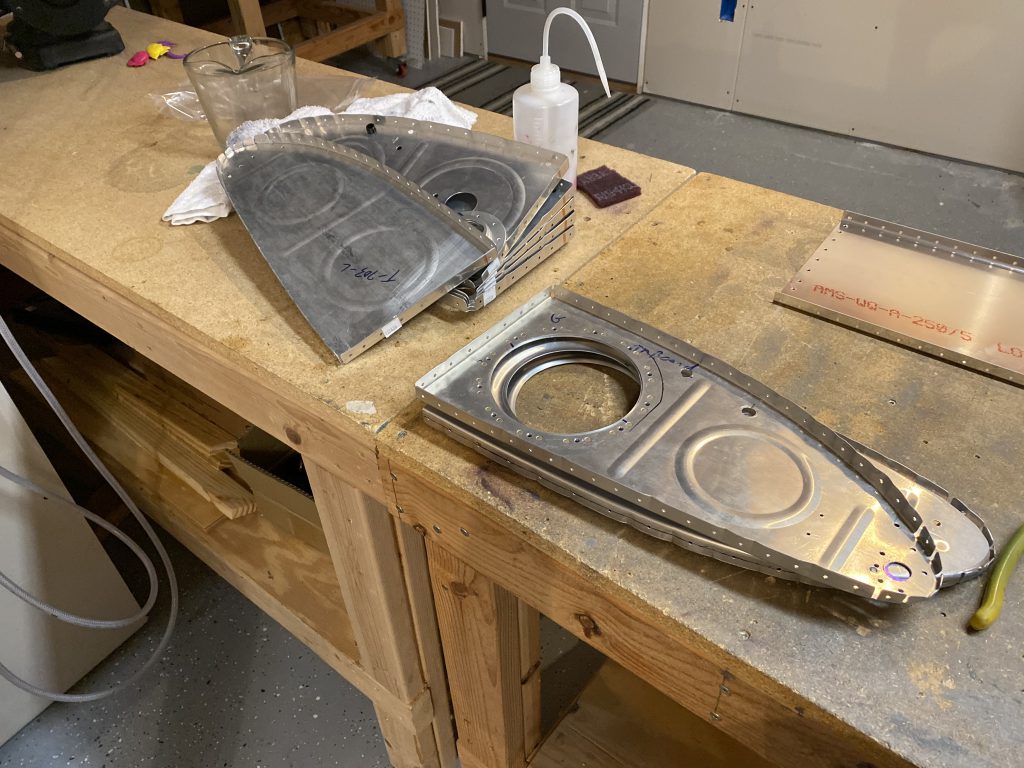
source site Once that was done, all that was left was to disassemble the tank and get the parts ready for deburring. I started deburring all the small parts first, and I made pretty decent progress before I decided to call it a night. Since I used a reamer on most of these holes, the deburring process went really quickly, and with much less effort. These are all the parts I was able to get deburred tonight:
source link All that I have left to deburr is the holes on the ribs. Then I’ll follow all the pieces up with some edge deburring to get everything ready for dimpling. I still need to deburr the skin though.
go to link Thats it for tonight. Decent progress on these parts. I’d say I have another hour or two of deburring and edge finishing before I’m ready to dimple these parts. Then its scuffing for sealant, and then sealing. Lots of work going into these tanks!
Order Clonazepam Online Google Photos Link: https://photos.app.goo.gl/hFeupKe9wpfhHRMD8
Order Valium Online Hours Worked: 2.0


 .
. 

