


go A LOT accomplished tonight. I managed to get all the aileron parts dimpled, the counterbalance pipe countersunk, and even alodined a few of the small parts. I started off by setting up my DRDT-2 dimpler so I could make quick work of the skins. This is pretty much what this dimpler is designed to do. I also used it to dimple the holes in the spar, since its fairly thick metal, and fit in the DRDT-2 nicely. I then used my squeezer to get to all the tight edges of the end ribs, and the very last little hole, I had to use my home-made hammer-and-anvil styled dimpler. I made this a while back using some scrap metal, and a bent squeezer set. I drilled a hole in the piece of metal, and countersunk it to fit a 3/32 dimple. I just clamp it on my bench, and then use a 3/32 male dimple die to create the dimple in my parts.
here https://www.psychiccowgirl.com/podcast-2/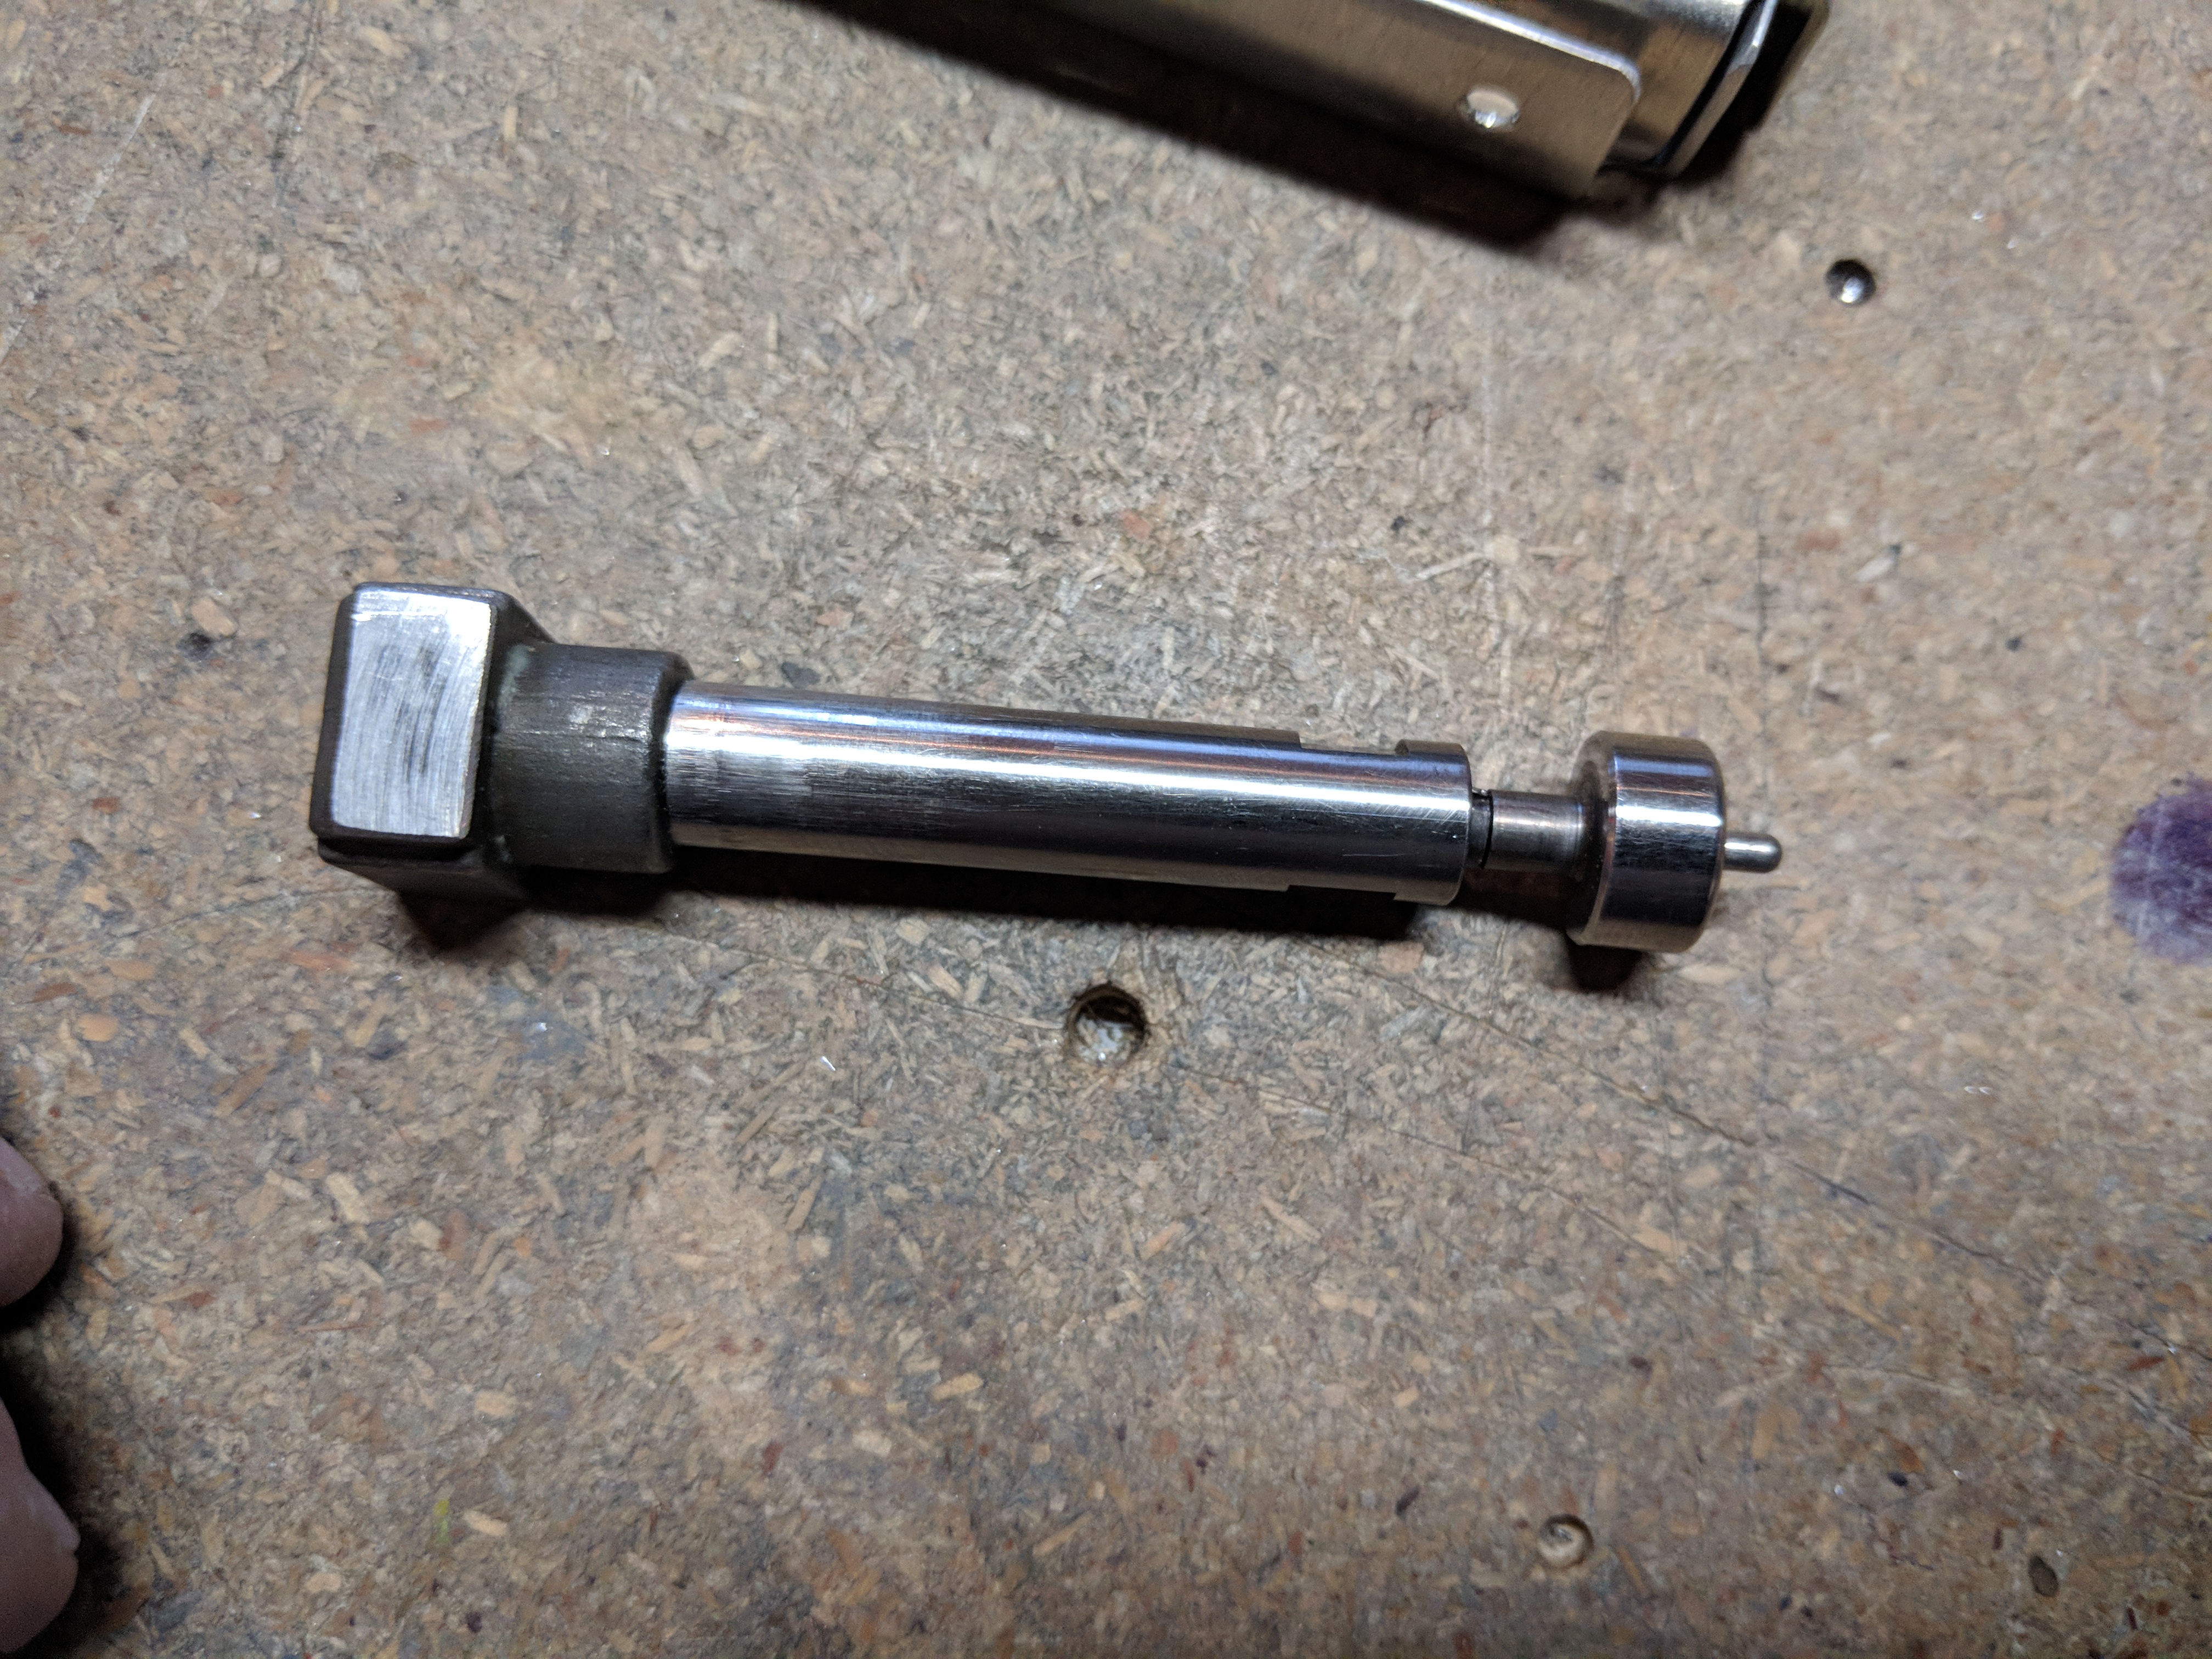
https://www.psychiccowgirl.com/qualifications/ 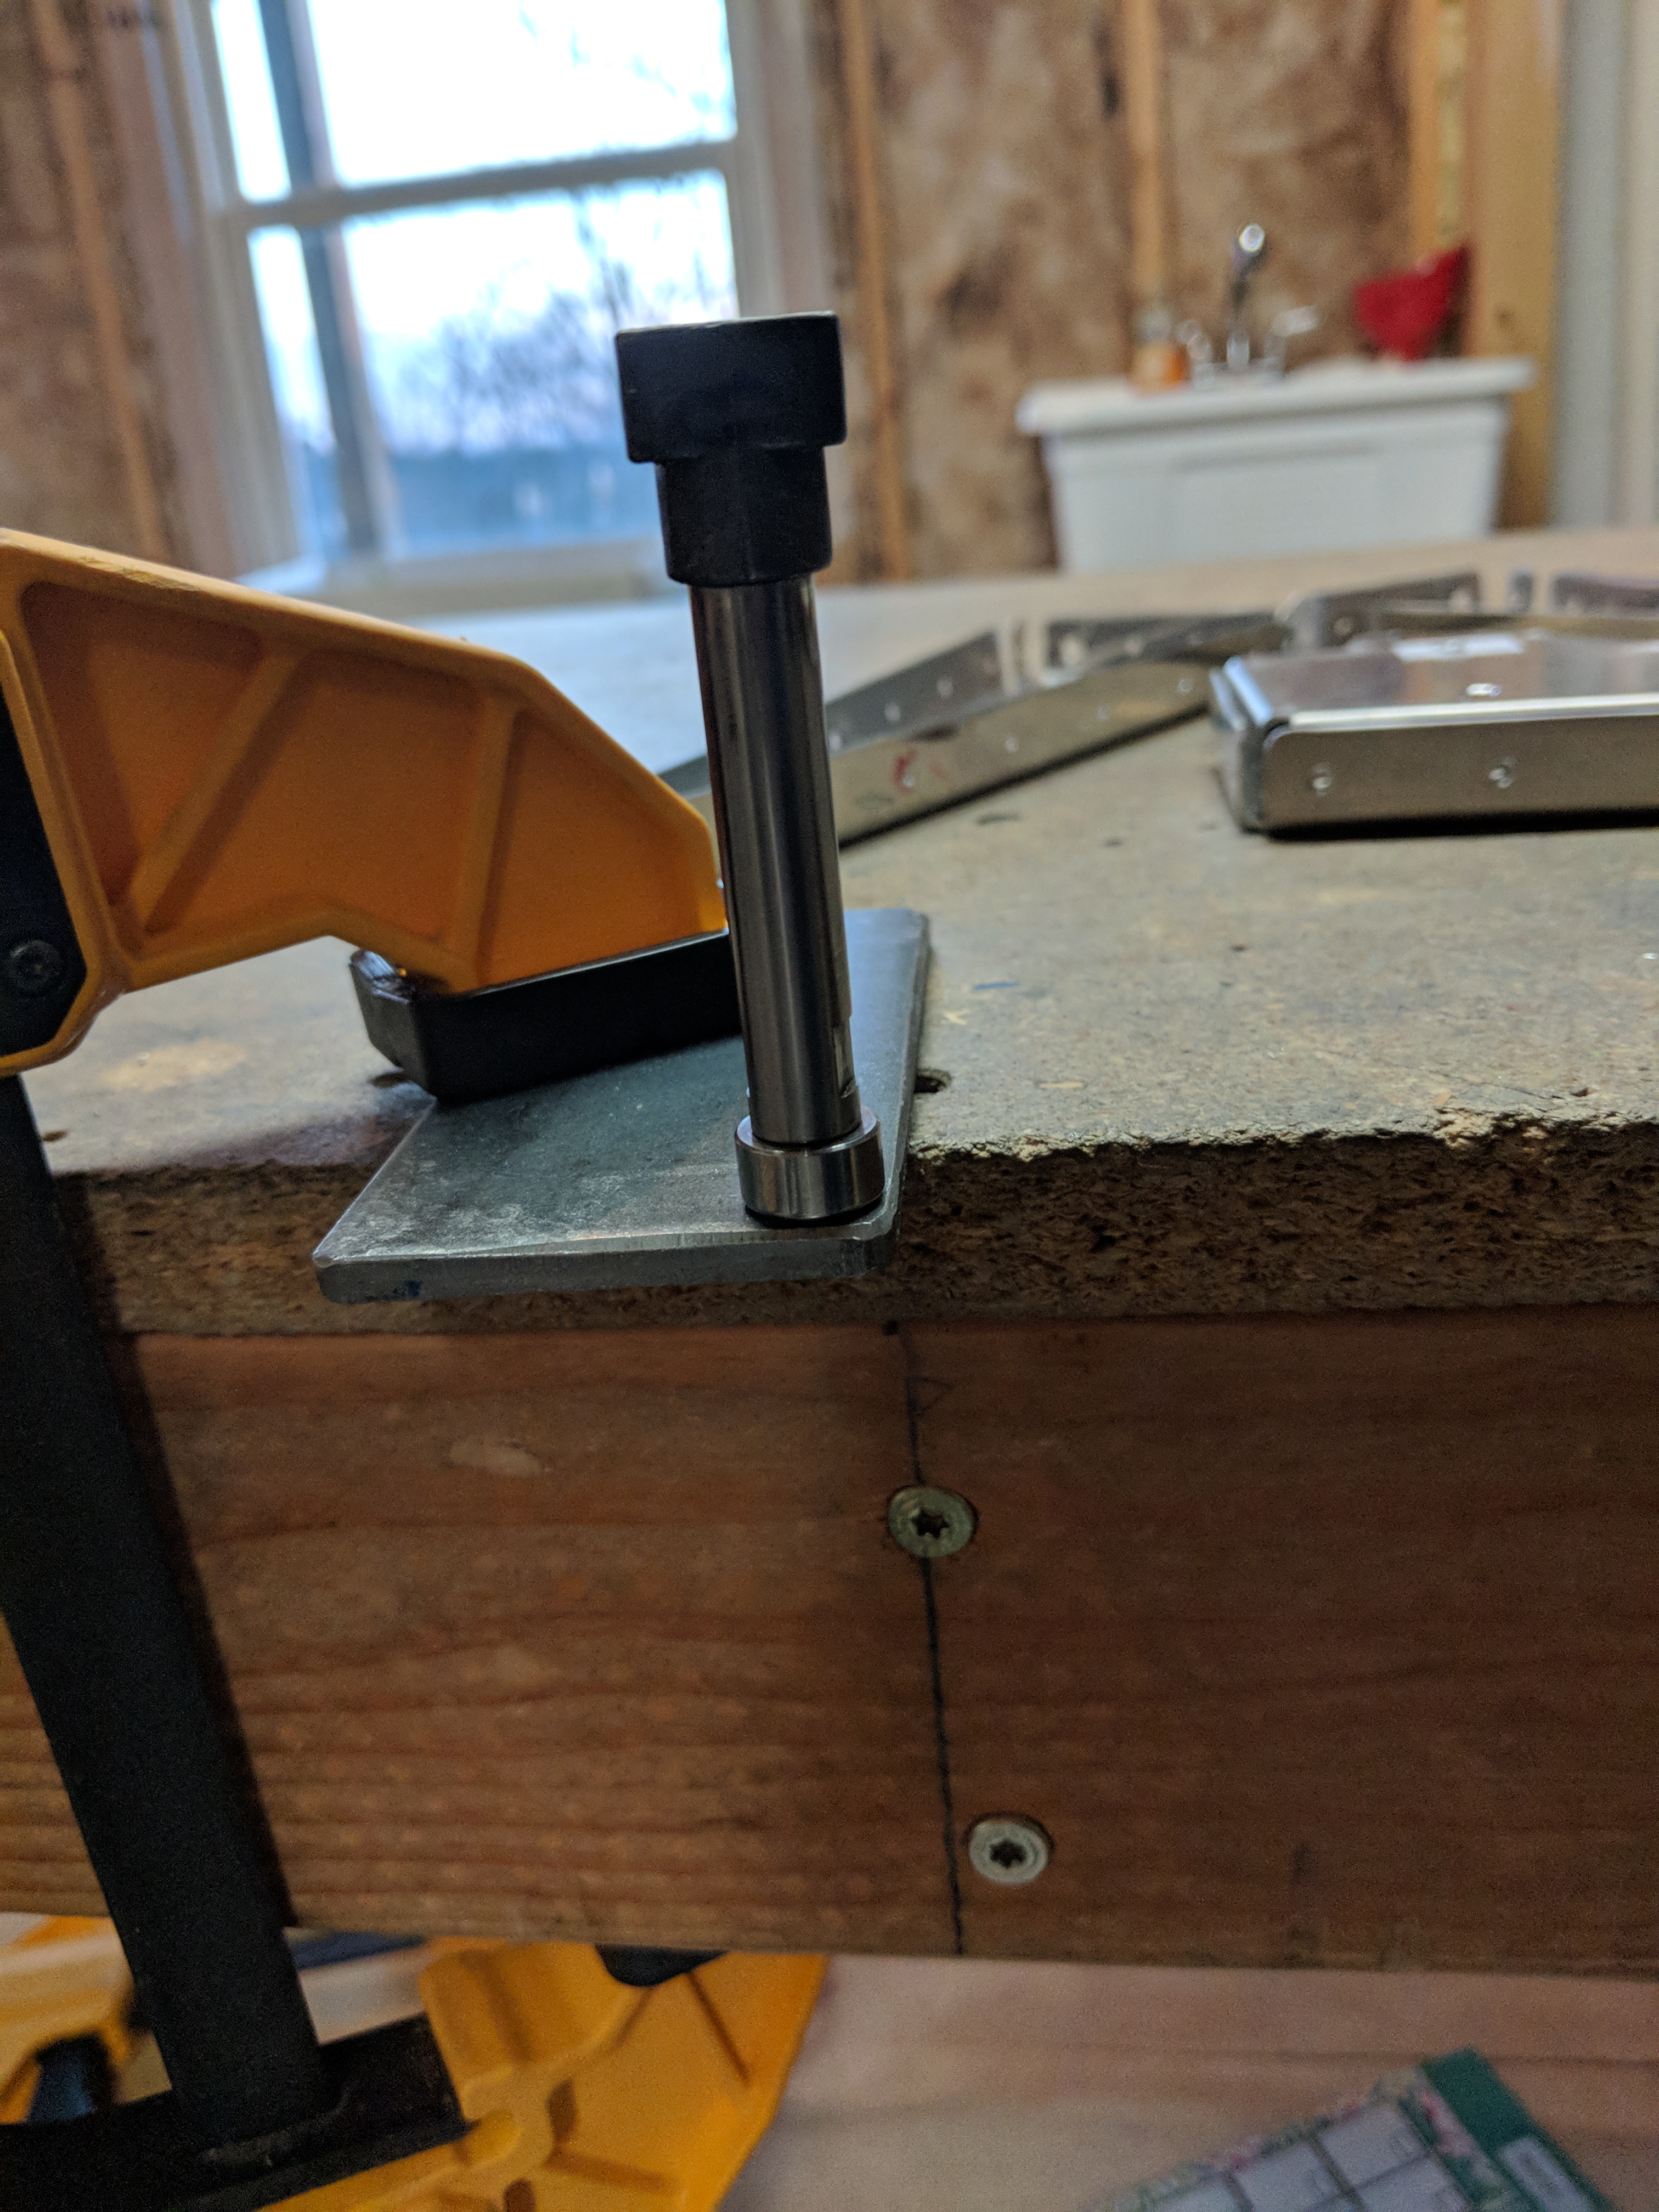
https://auracareclinic.com/about-us/ I can get the small gap of the end ribs nicely over this hole and keep the flanges flat and straight, insert the male dimple die and the give it a good few whacks with a hammer and it forms a very nice little dimple.

source link After I had those end ribs done, the only thing that needing dimpling was the leading edge skins, where the counterbalance pipe is riveted on. The instructions tell us to machine countersink the holes in the counterbalance pipe, and then when we use the bling rivets, they will form the skin into the countersunk holes enough to be flush. I had seen other builders use different methods, but since my little hammer and anvil dimpler works so well, I figured I would give it a try. First up was to countersink the pipe. I ended up using an old cheap countersink I had bought from Home Depot years ago for other projects. I didn’t want to ruin my nice one on this tough pipe, so I drug this one of the bin.
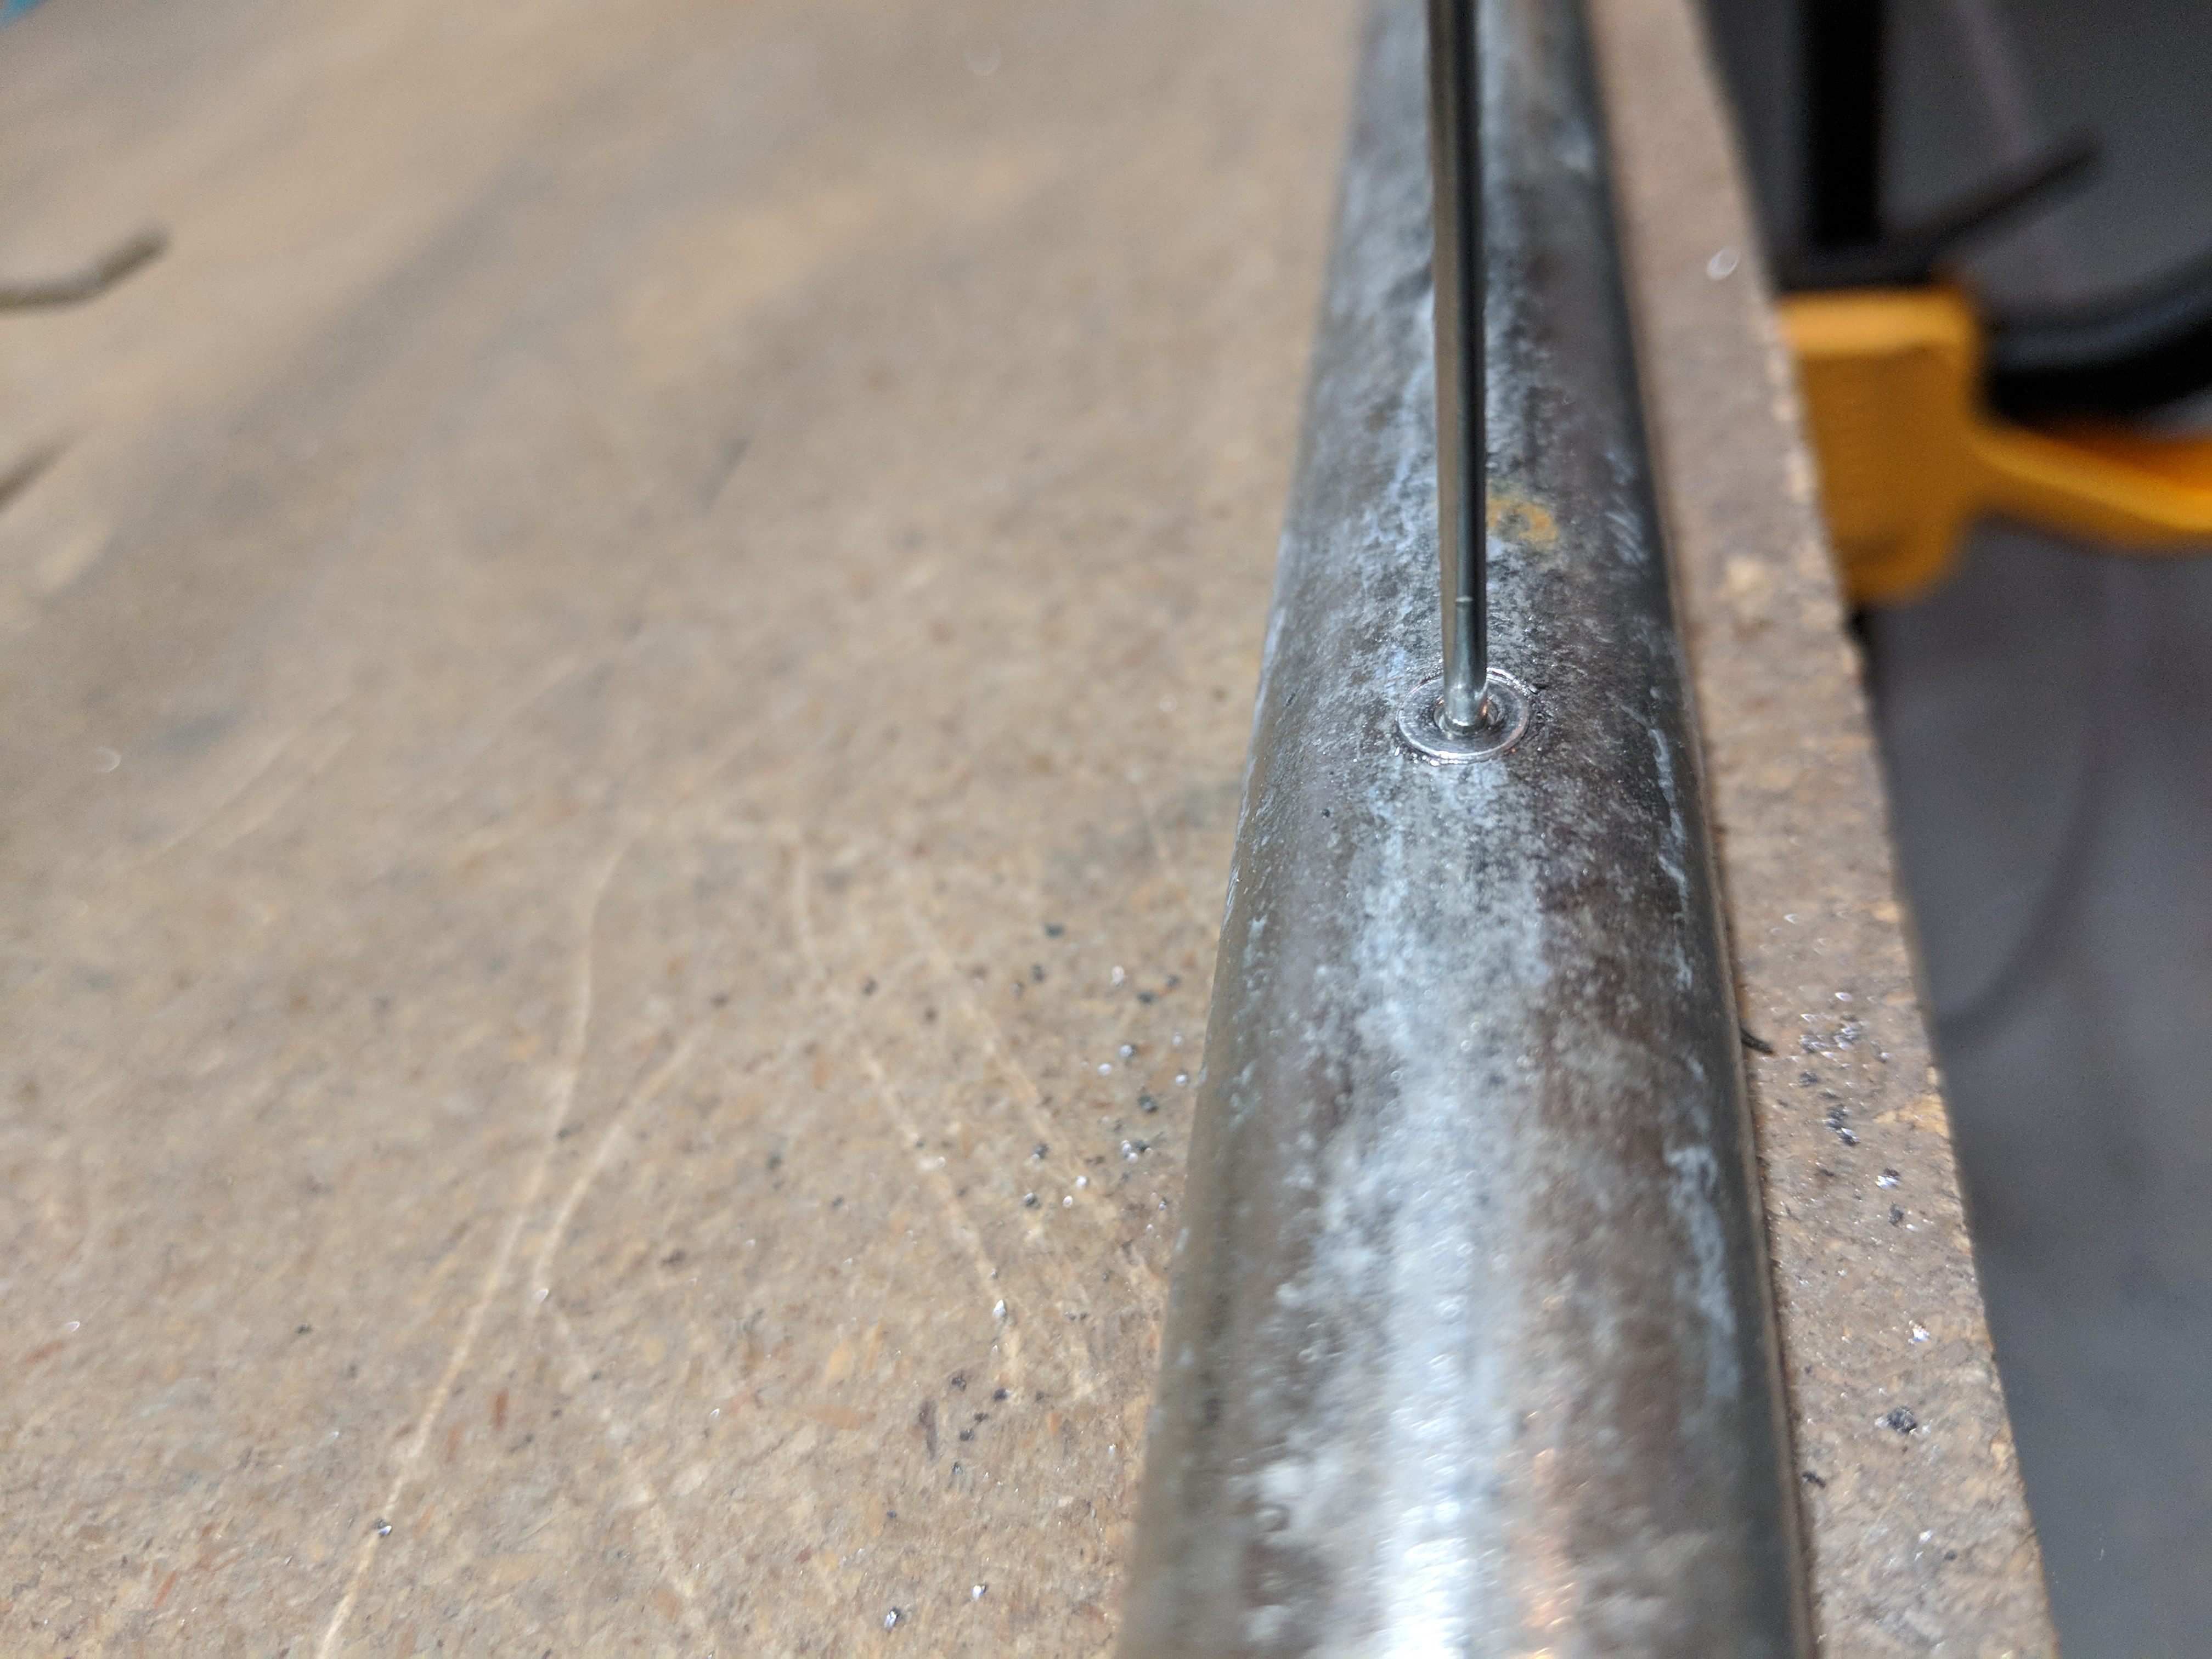
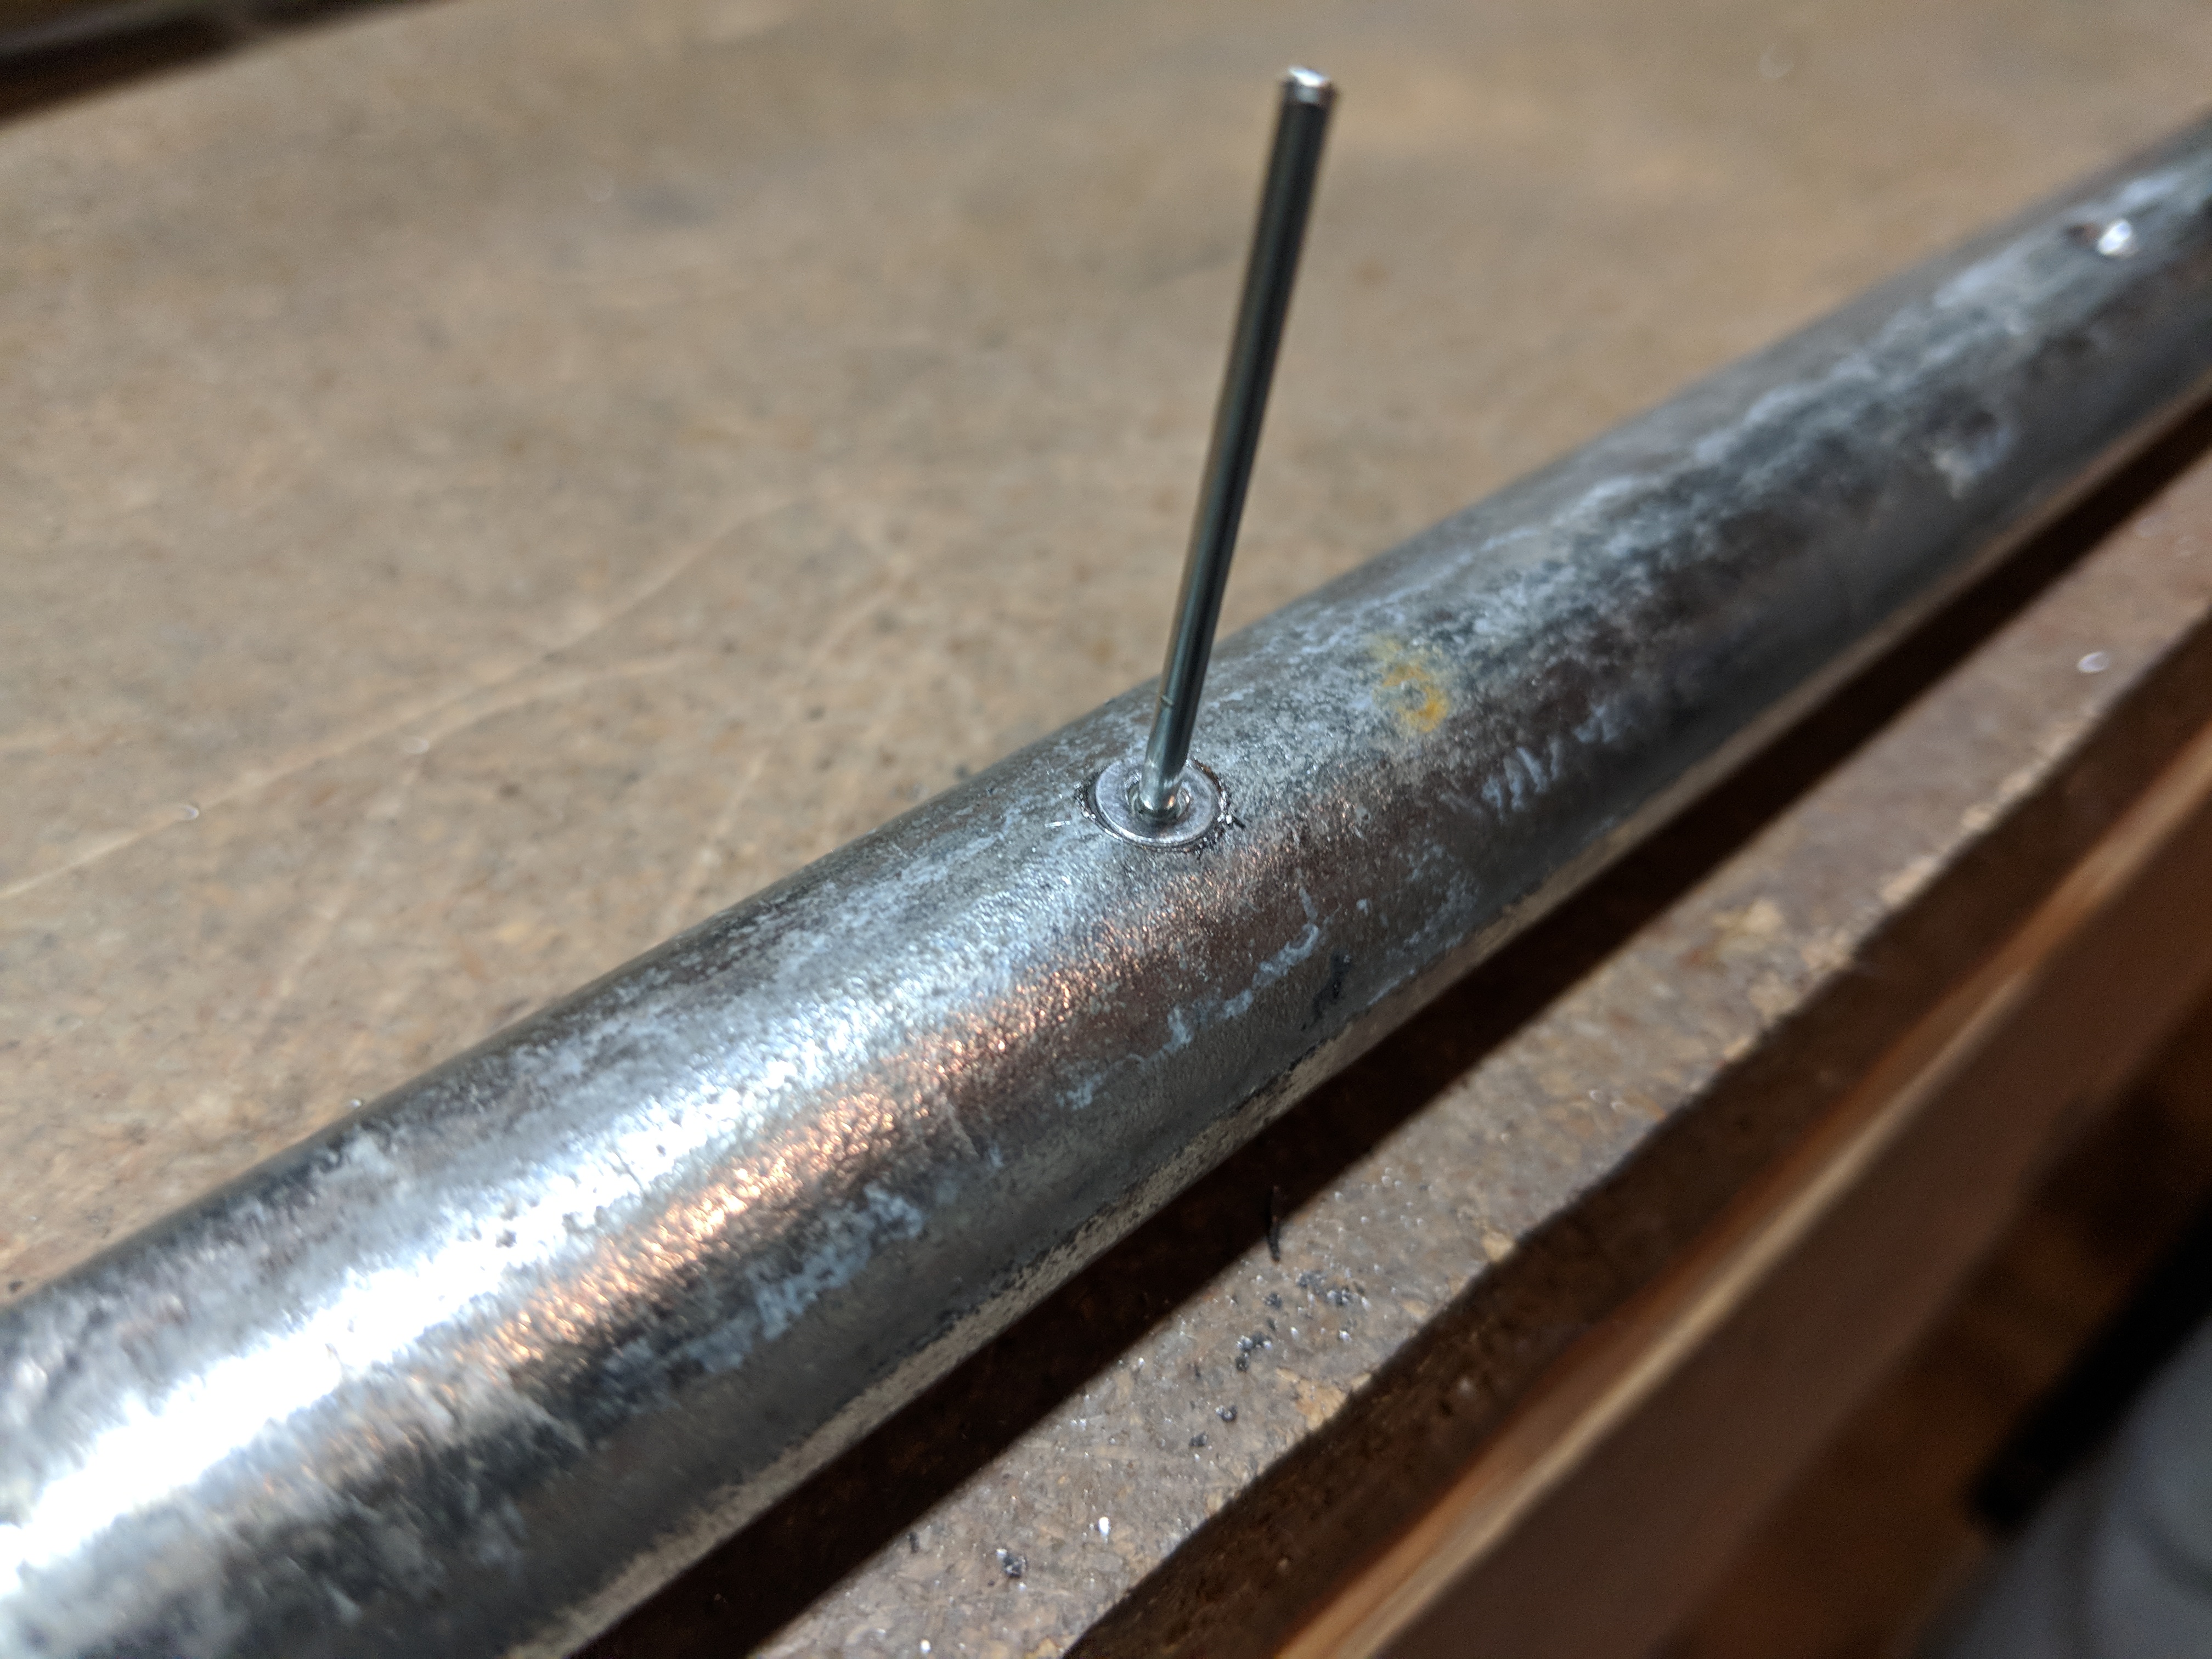
Purchase Tramadol Without Prescription To get this done, I clamped the pipe down on to my workbench and went at it with my old electric drill and worn our countersink. It worked good enough to get my countersinking done, but the holes were just nasty!! I had to use a #30 bit to clean up the holes and then file the outside edges down with a bastard file because of the roughness of the hole.
https://altamashhospital.com/our-specialists/ 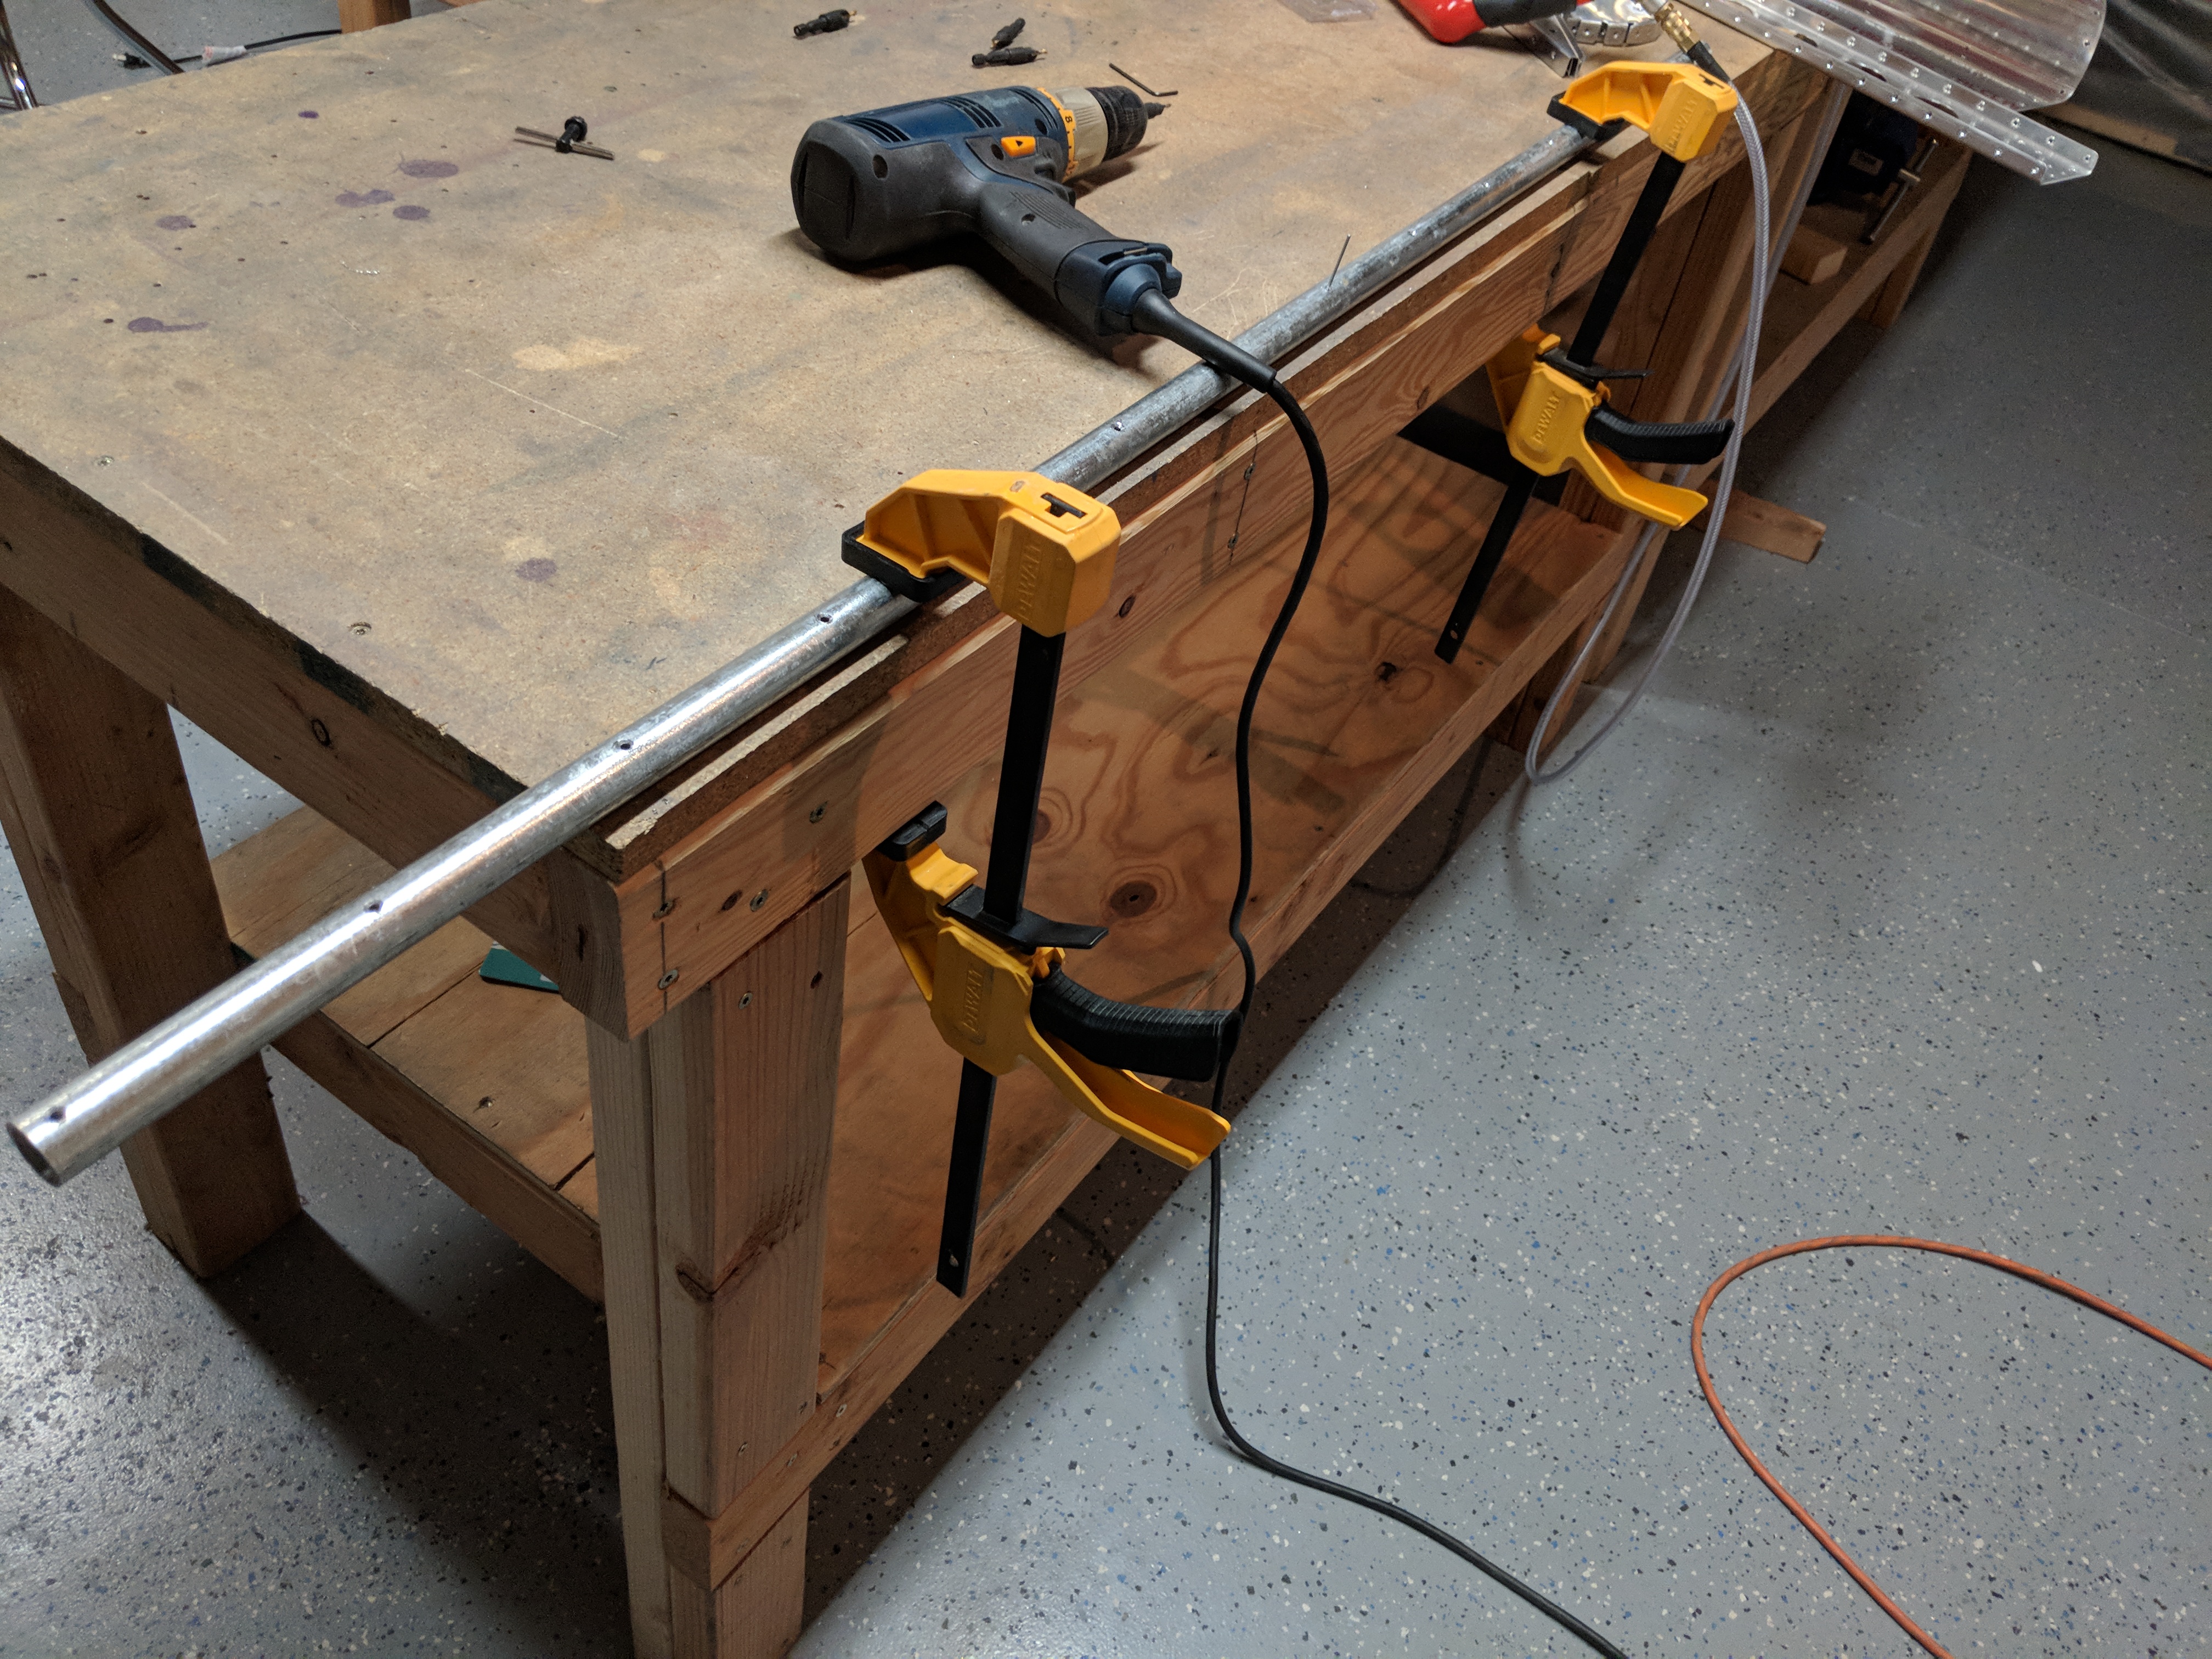
watch I ad to go back over them a few times, testing with a CS4-4 rivet as called for in the plans, to make sure I had the right depth.
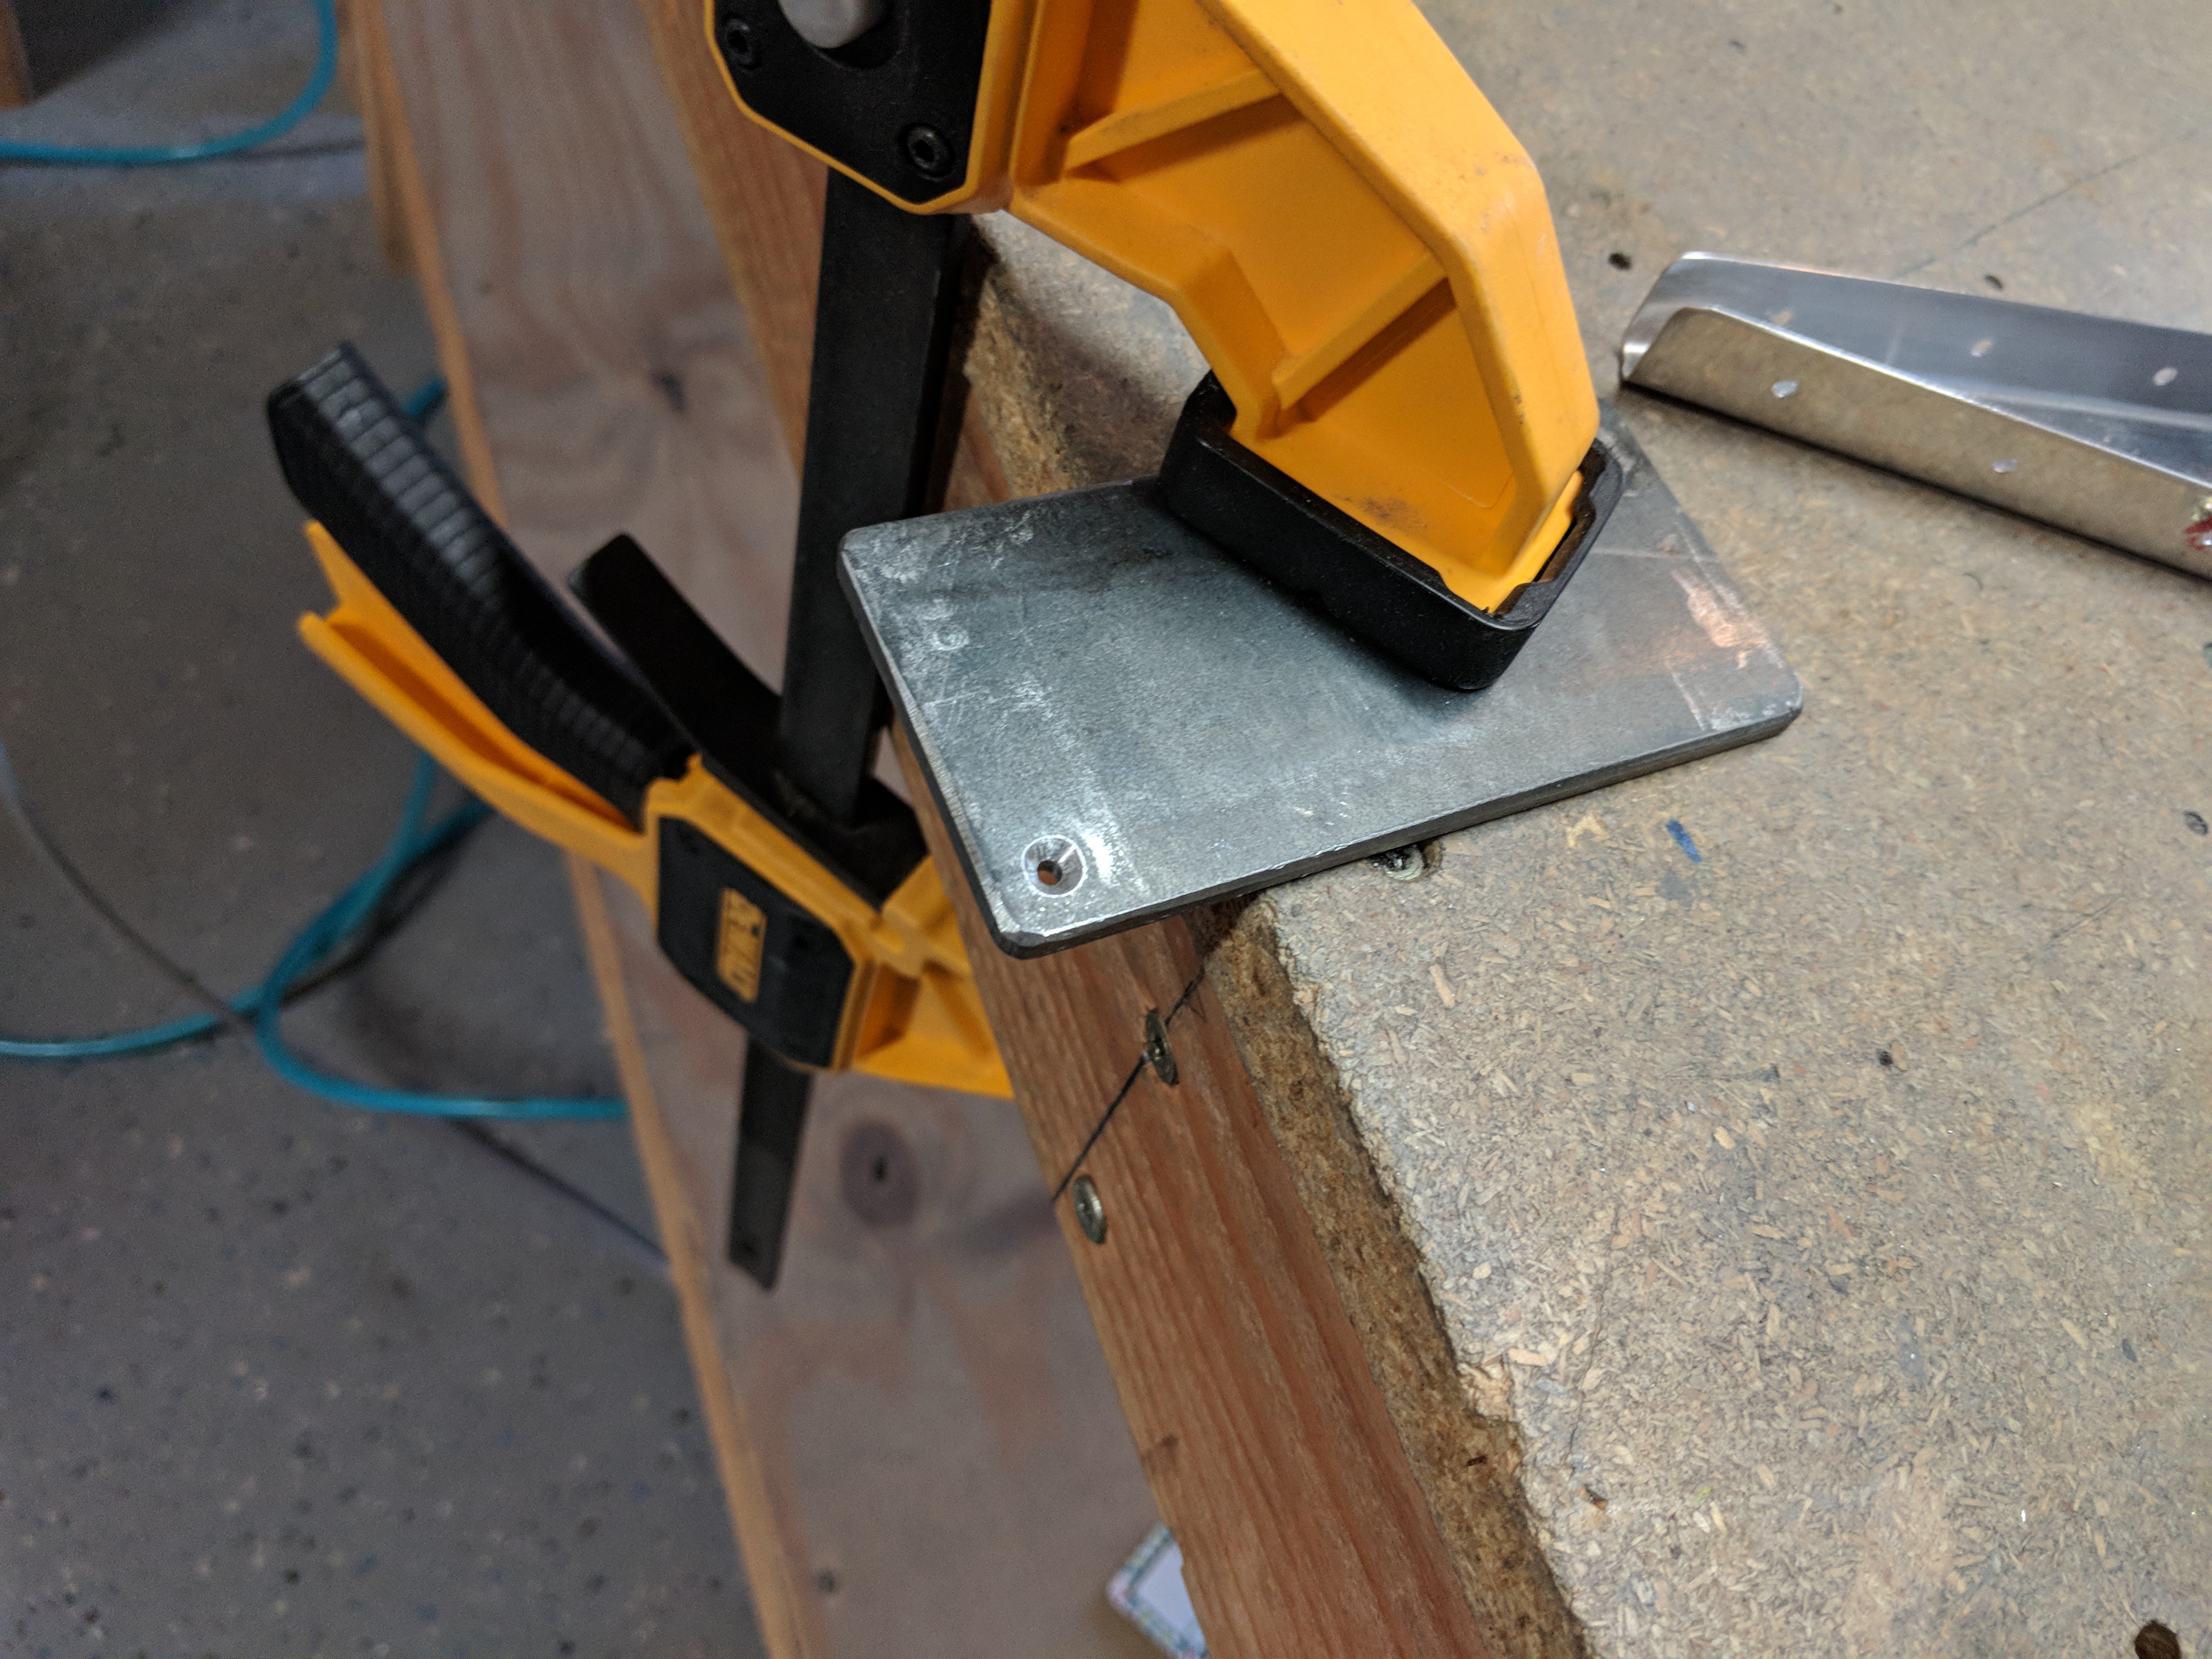
Buy Xanax Without Rx Eventually I had them all finished up and cleaned. Now, I decided to give something new a try. I noticed that a 2×6 was just about the right height to hold the skin off the bench, but not quite thick enough to make it stable……HOWEVER…I realized I could use the bending brake I made with 2×6 boards to get the job done! I clecoe’d the counterbalance pipe to the skins, and then laid the skin over the bending brake and it worked great!.
https://www.psychiccowgirl.com/spark/ 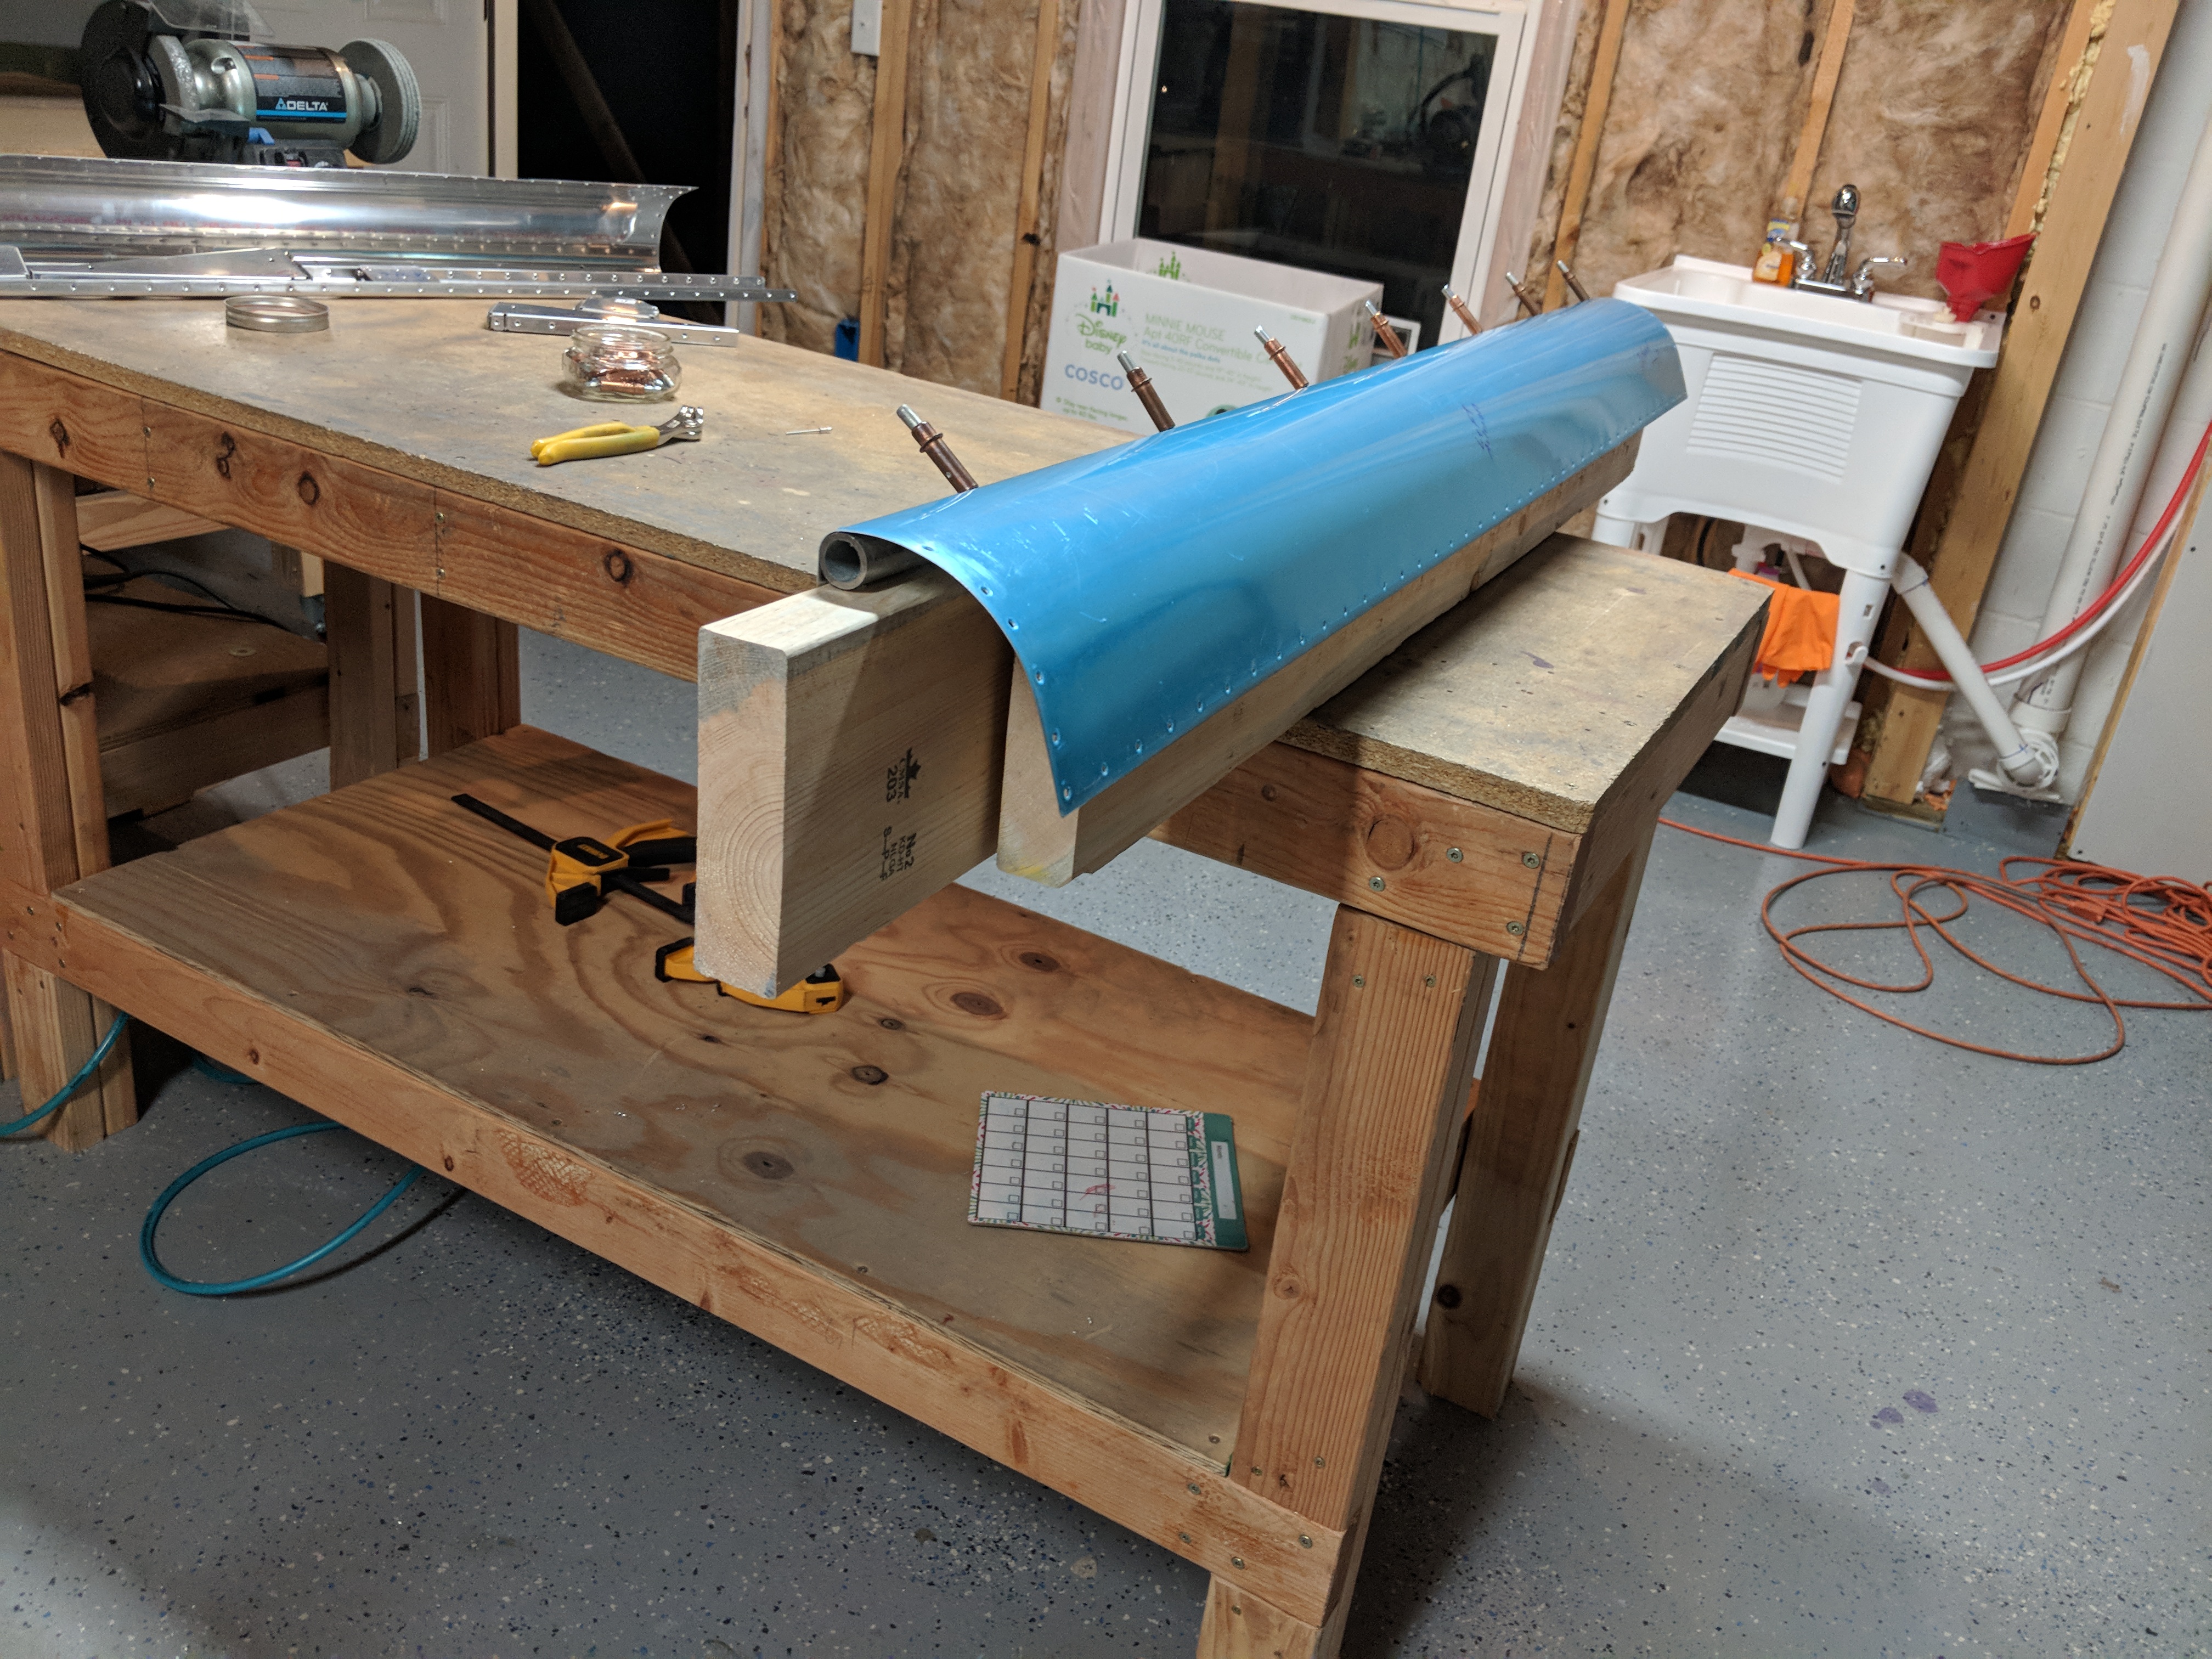

Buy Carisoprodol Online Now, I could use my hammer and anvil dimpler set to create a nice dimple in the leading edge skins for the CS4-4 pulled rivet.
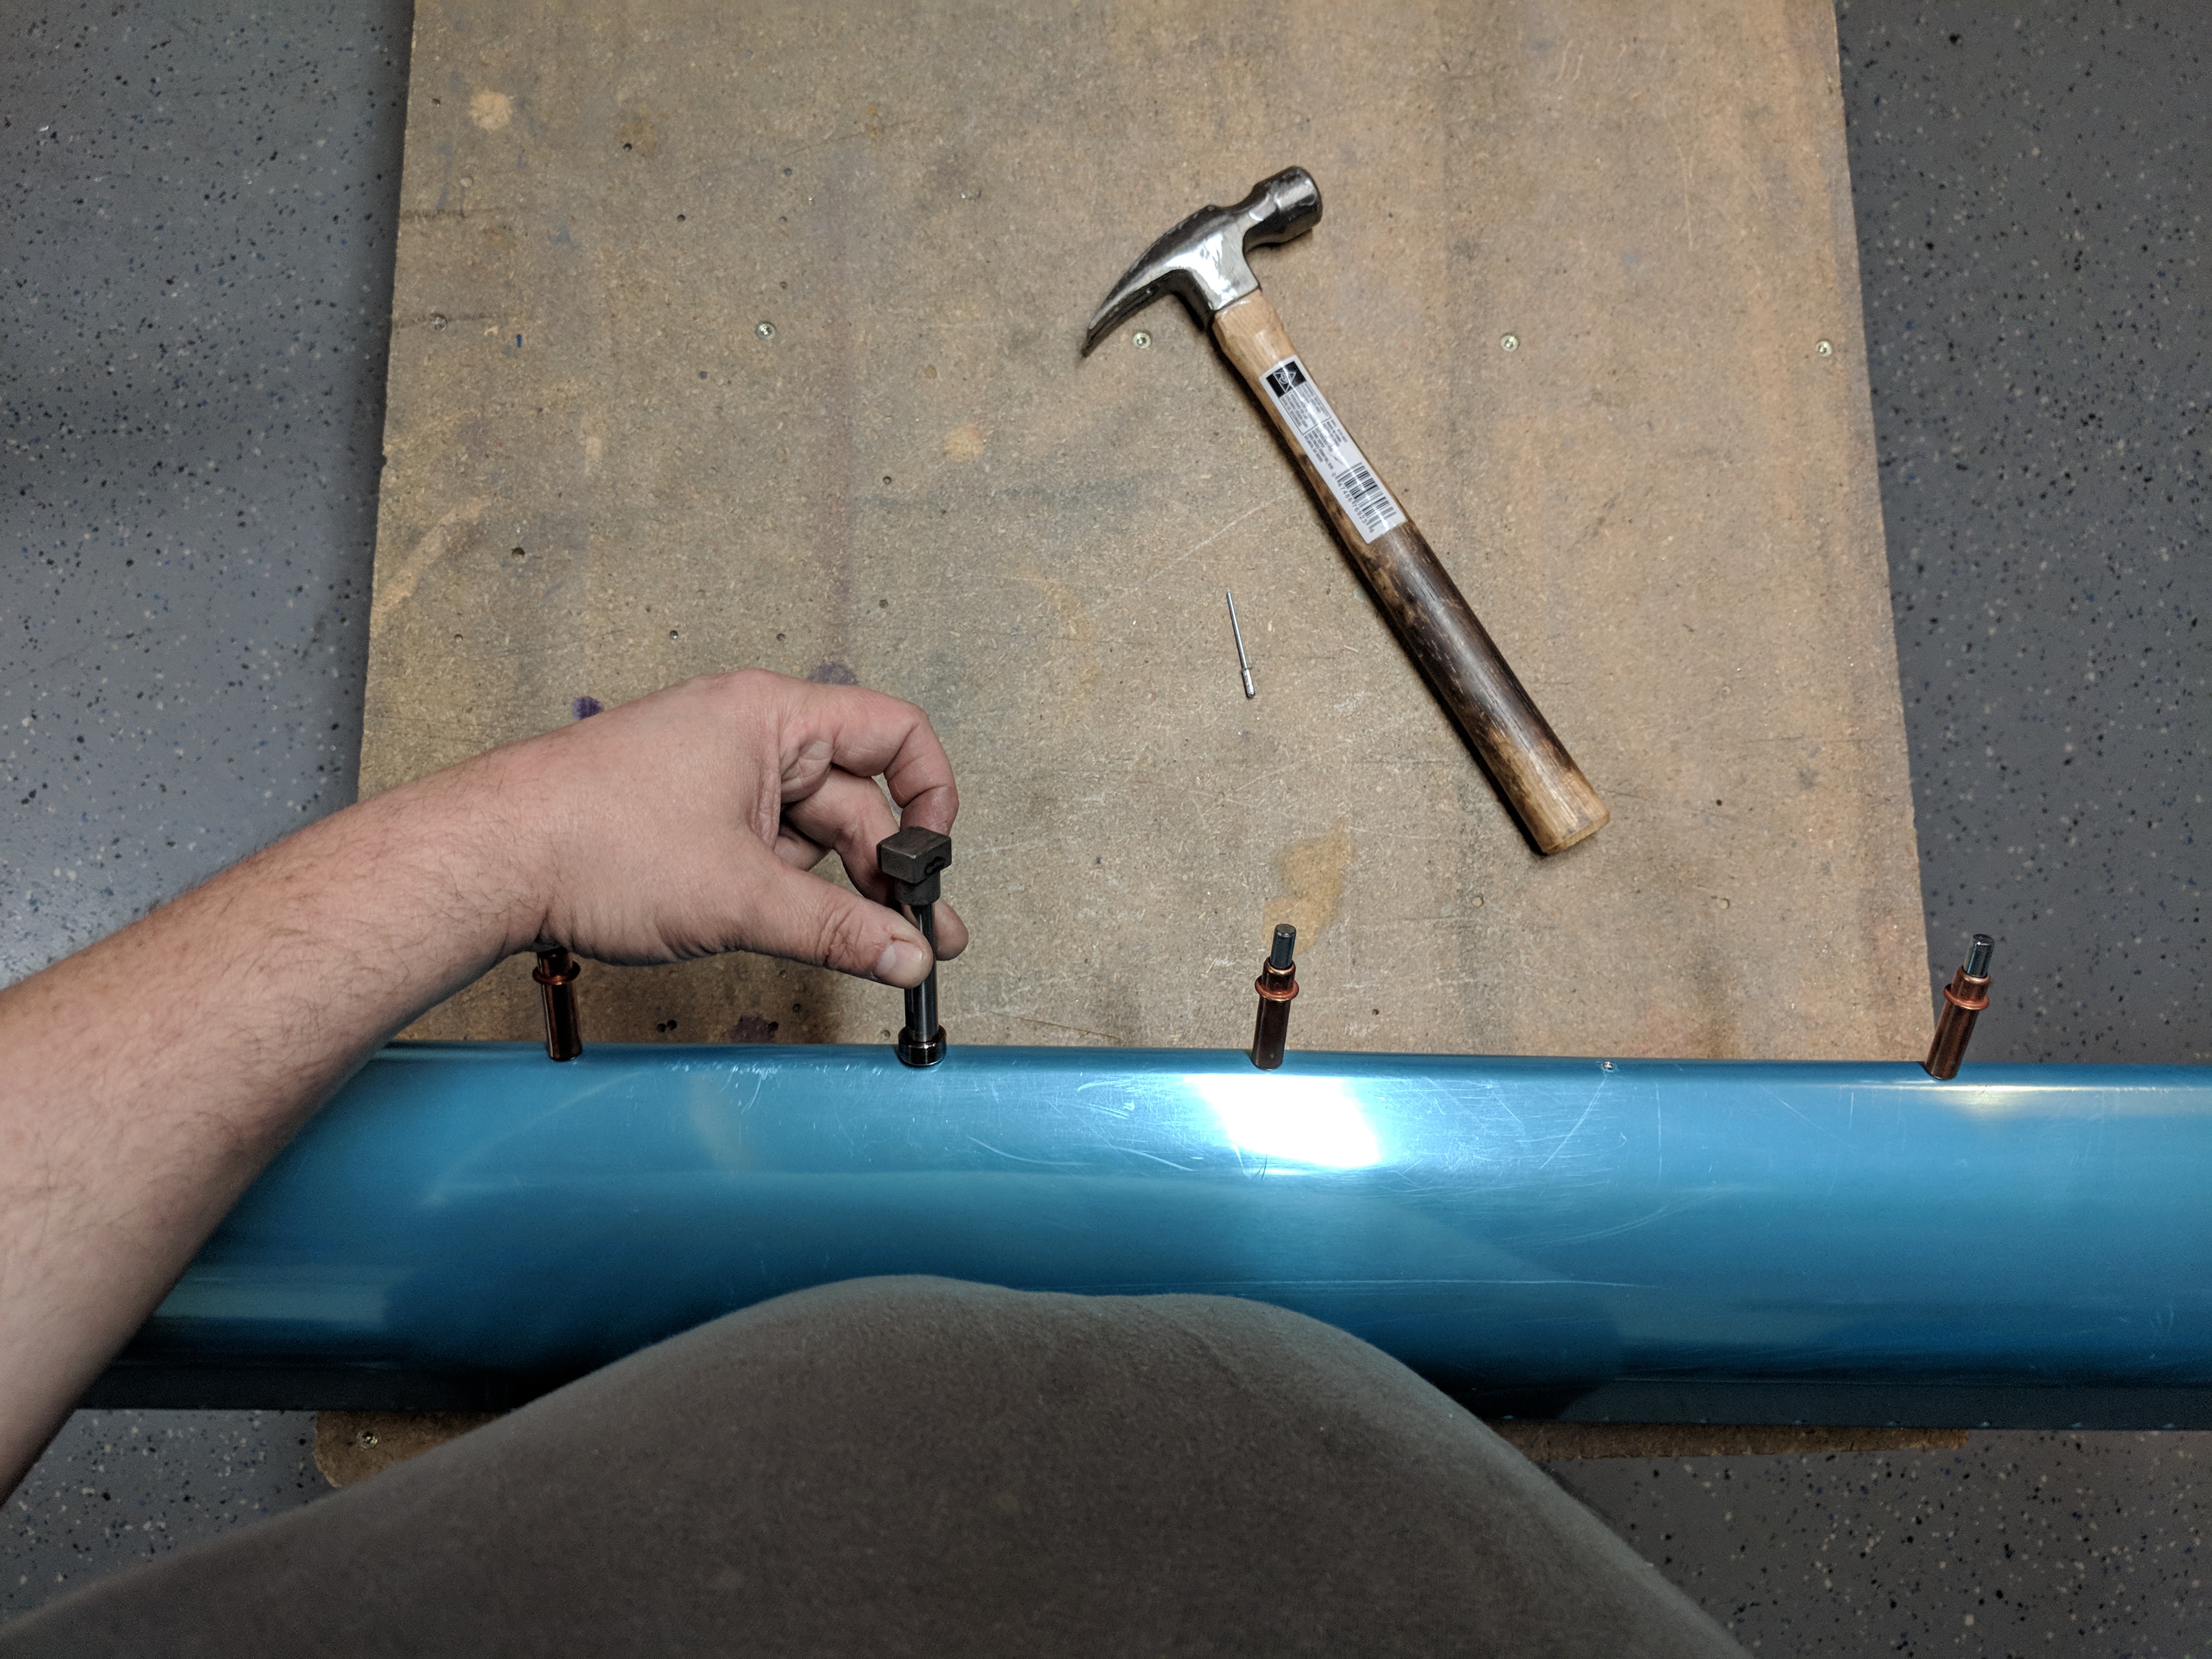
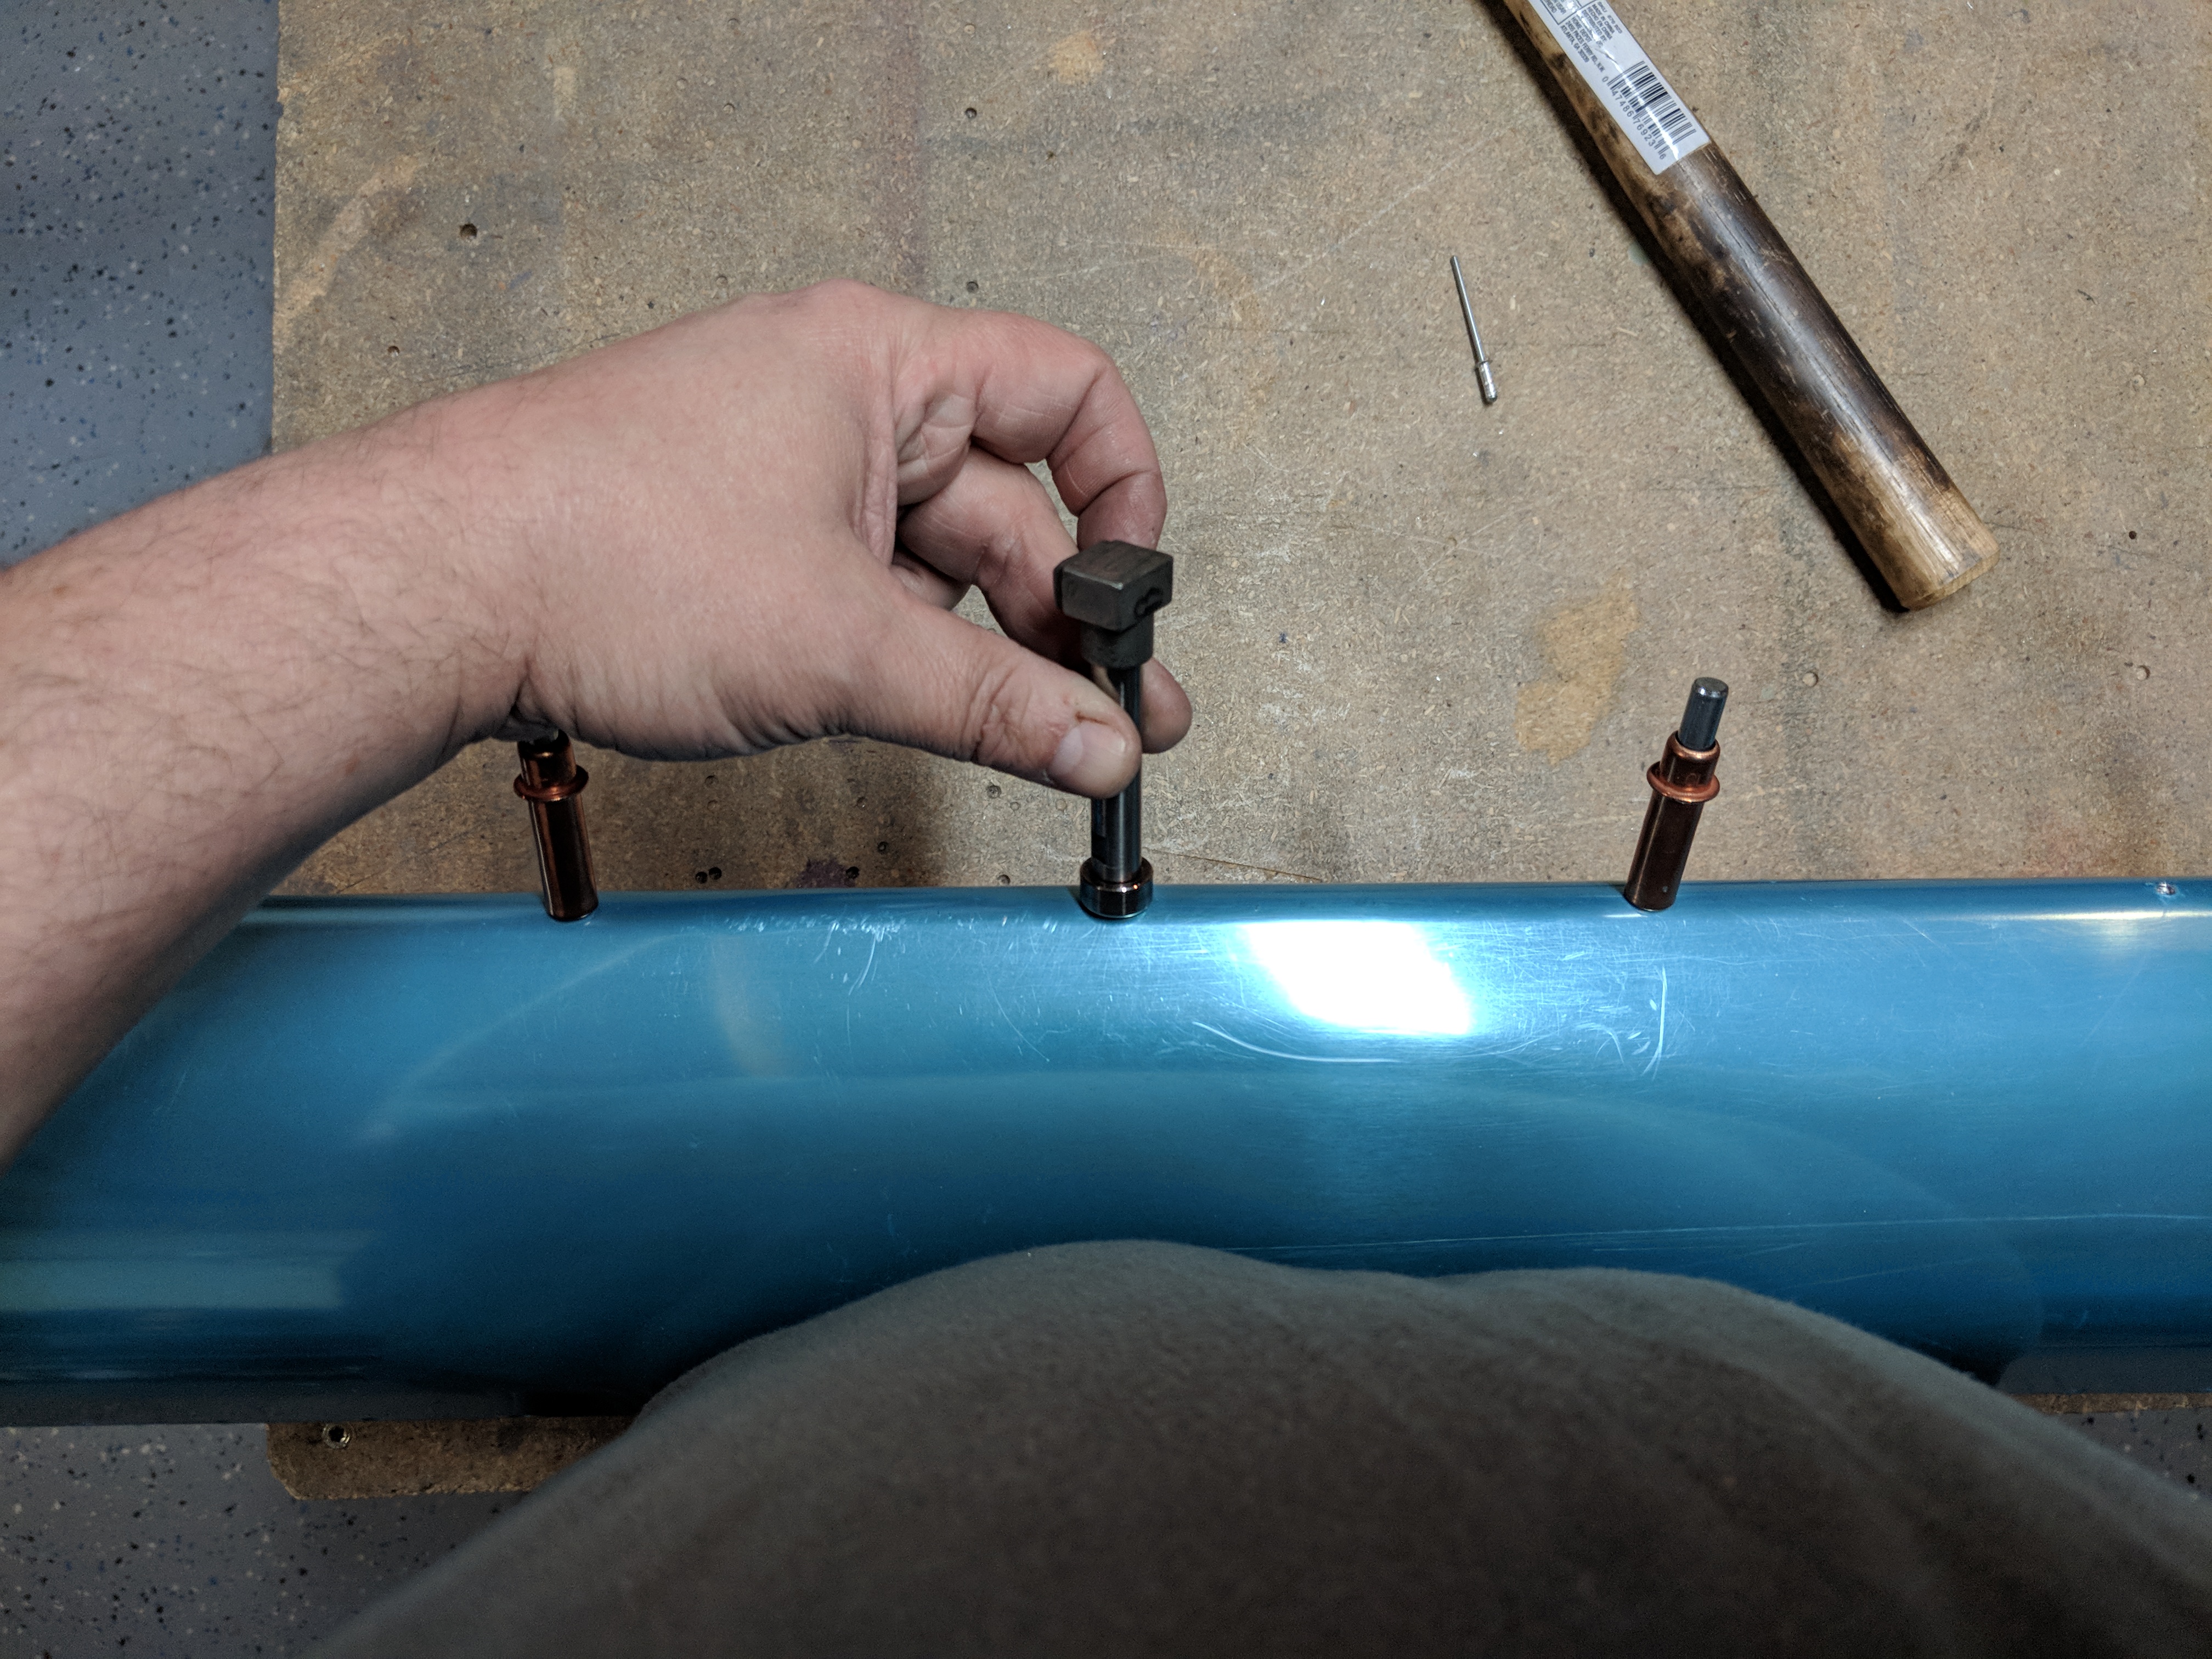
go A few quick hits with the hammer and very nice little dimple was made in this rounded area!
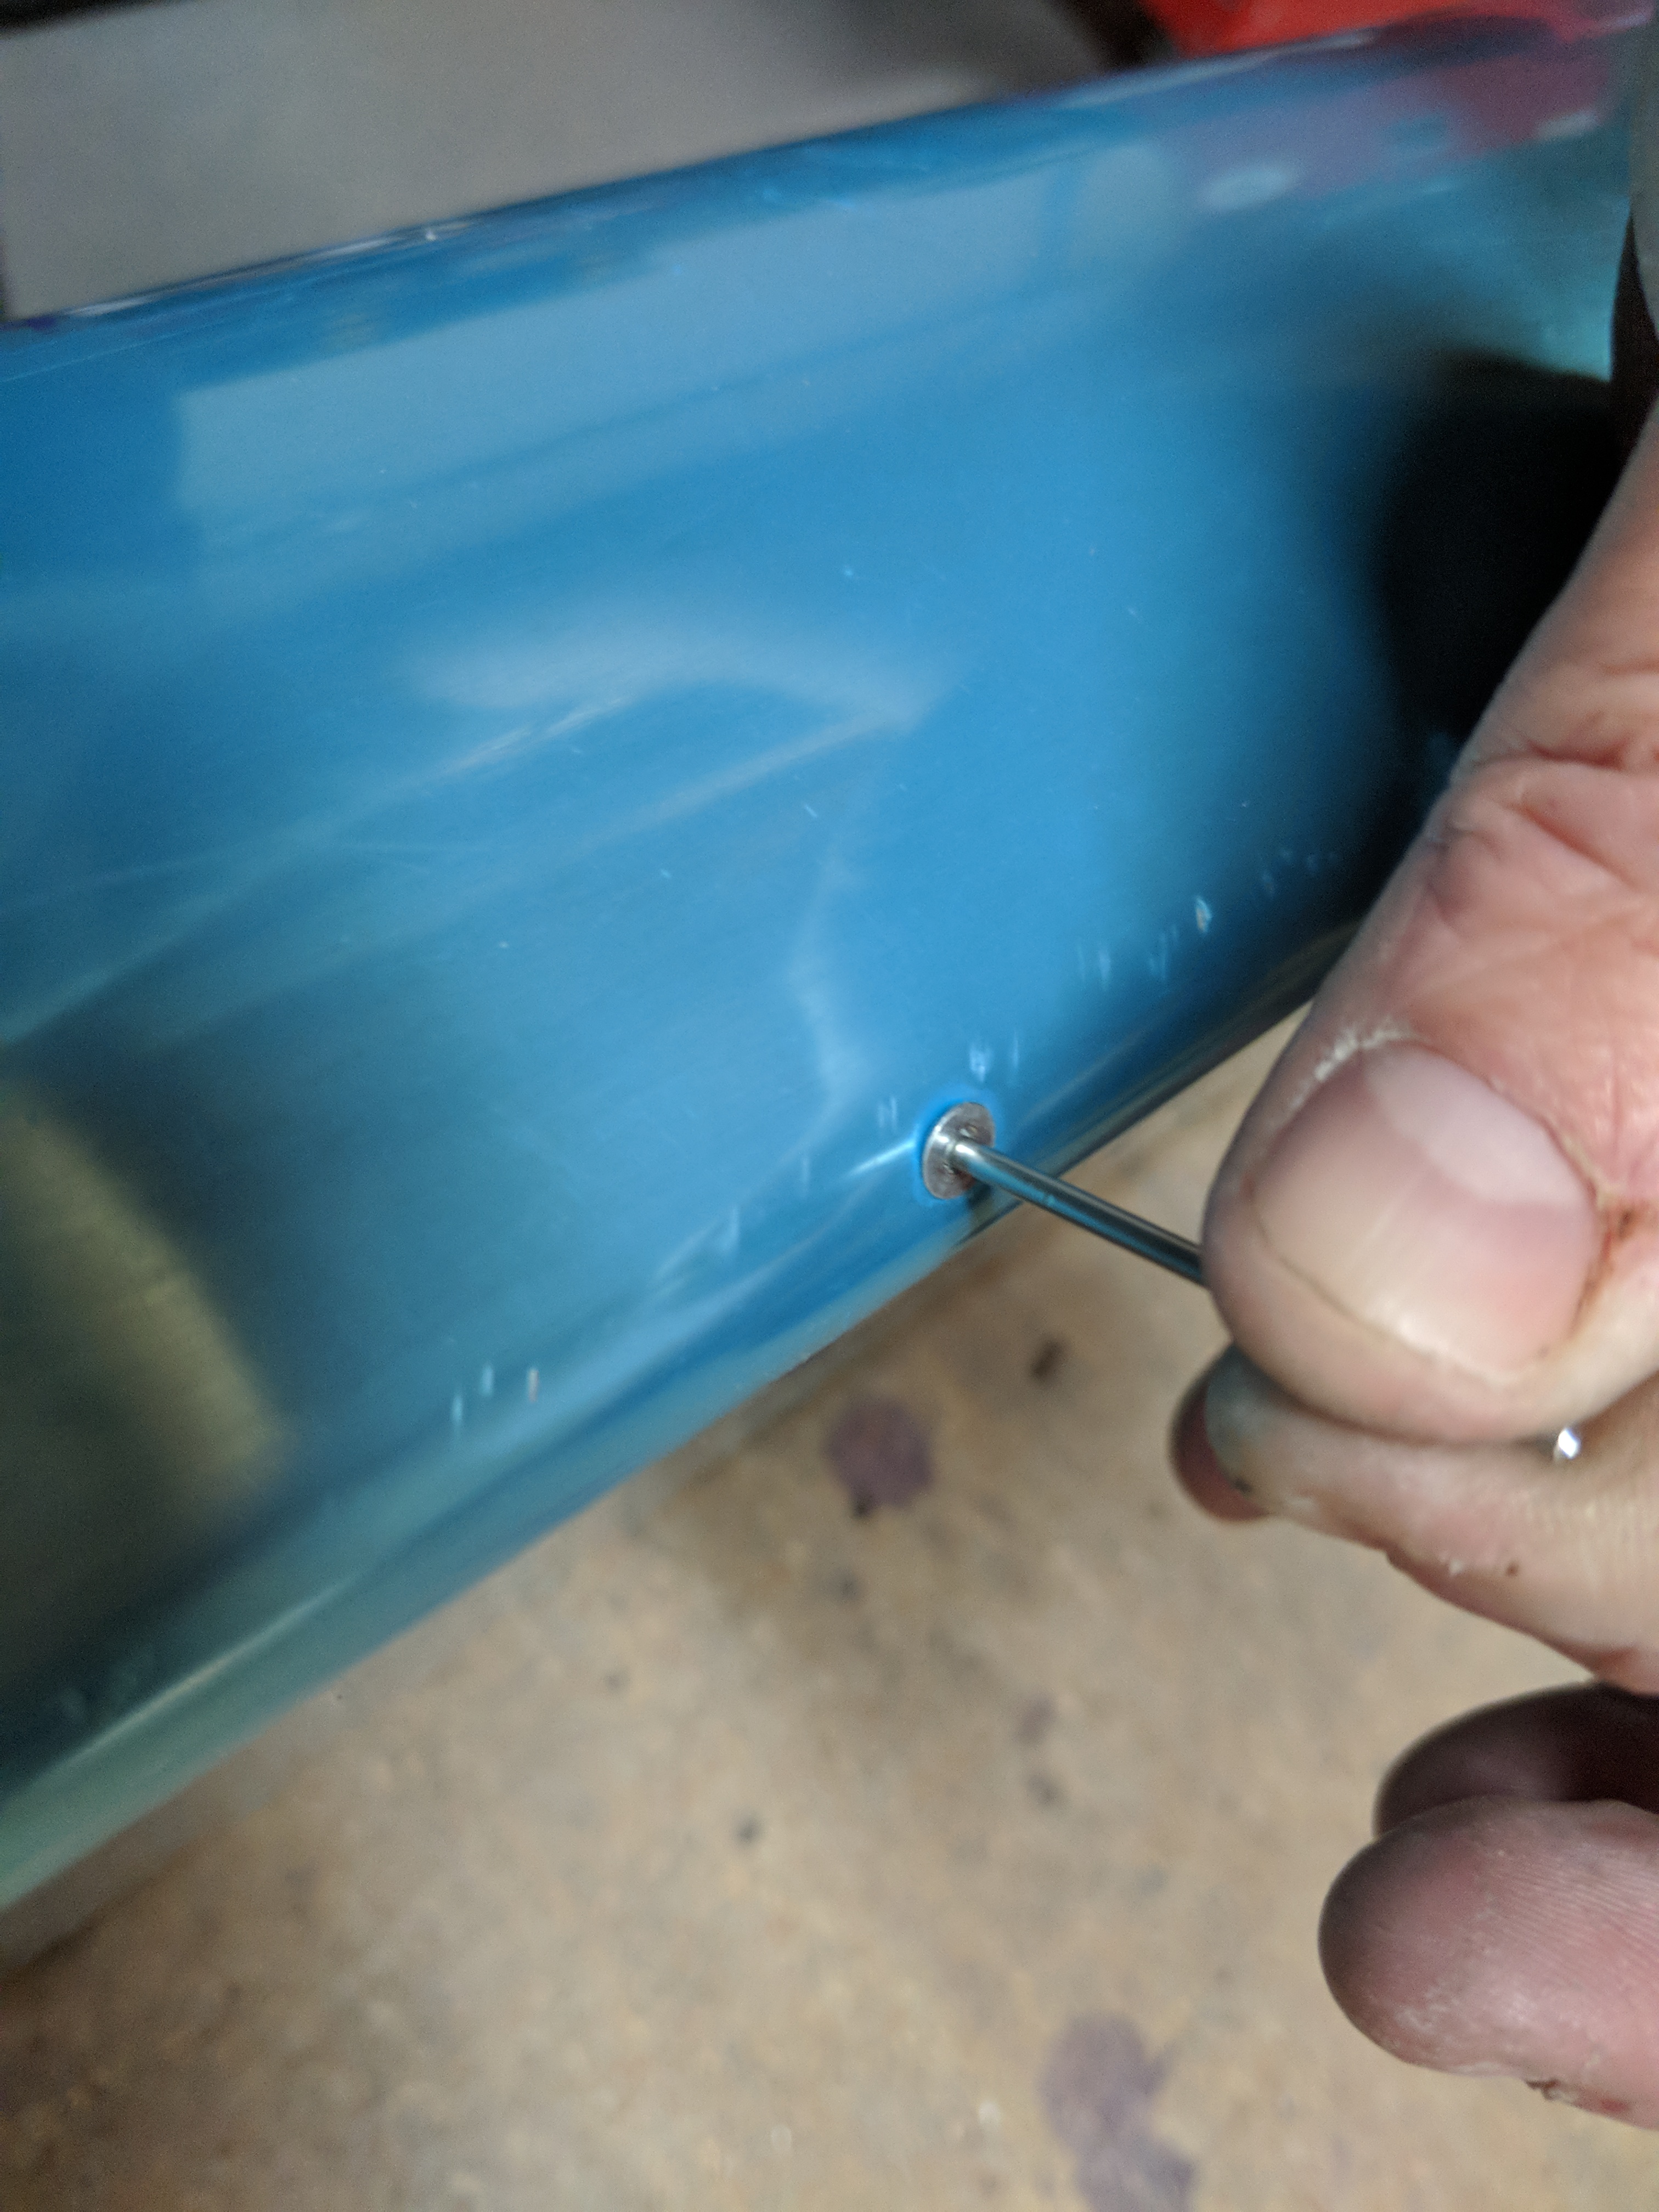
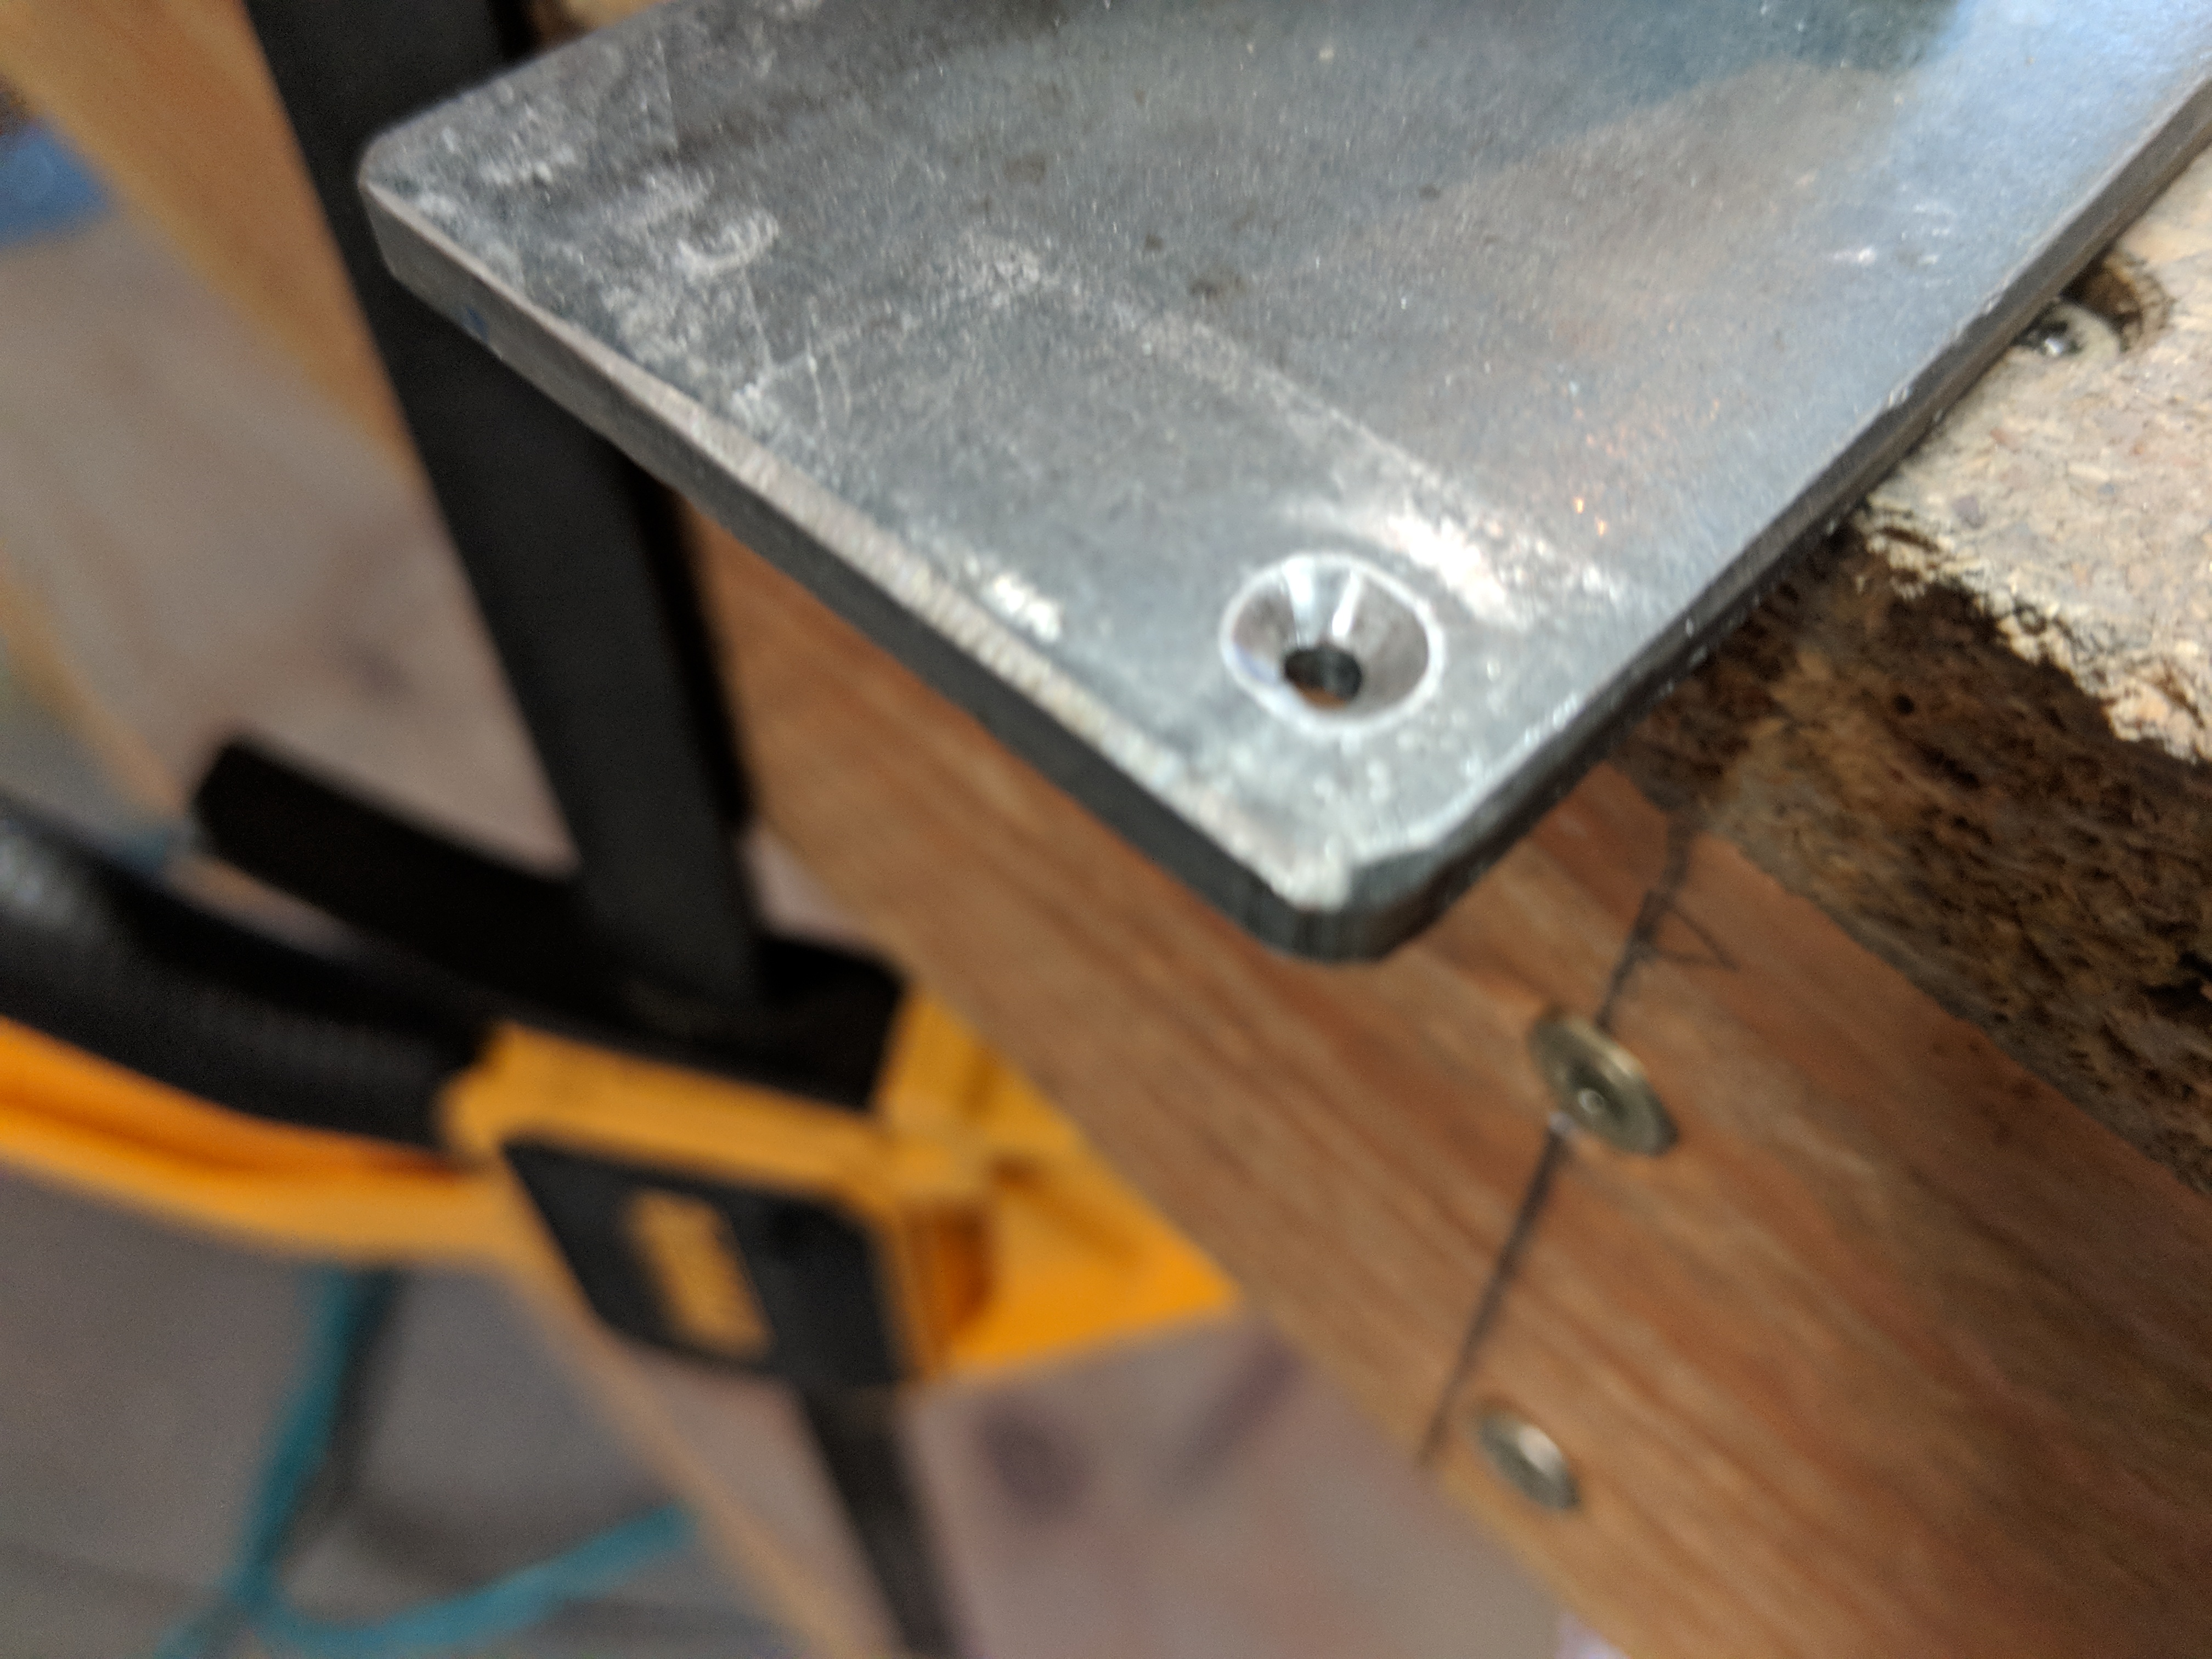
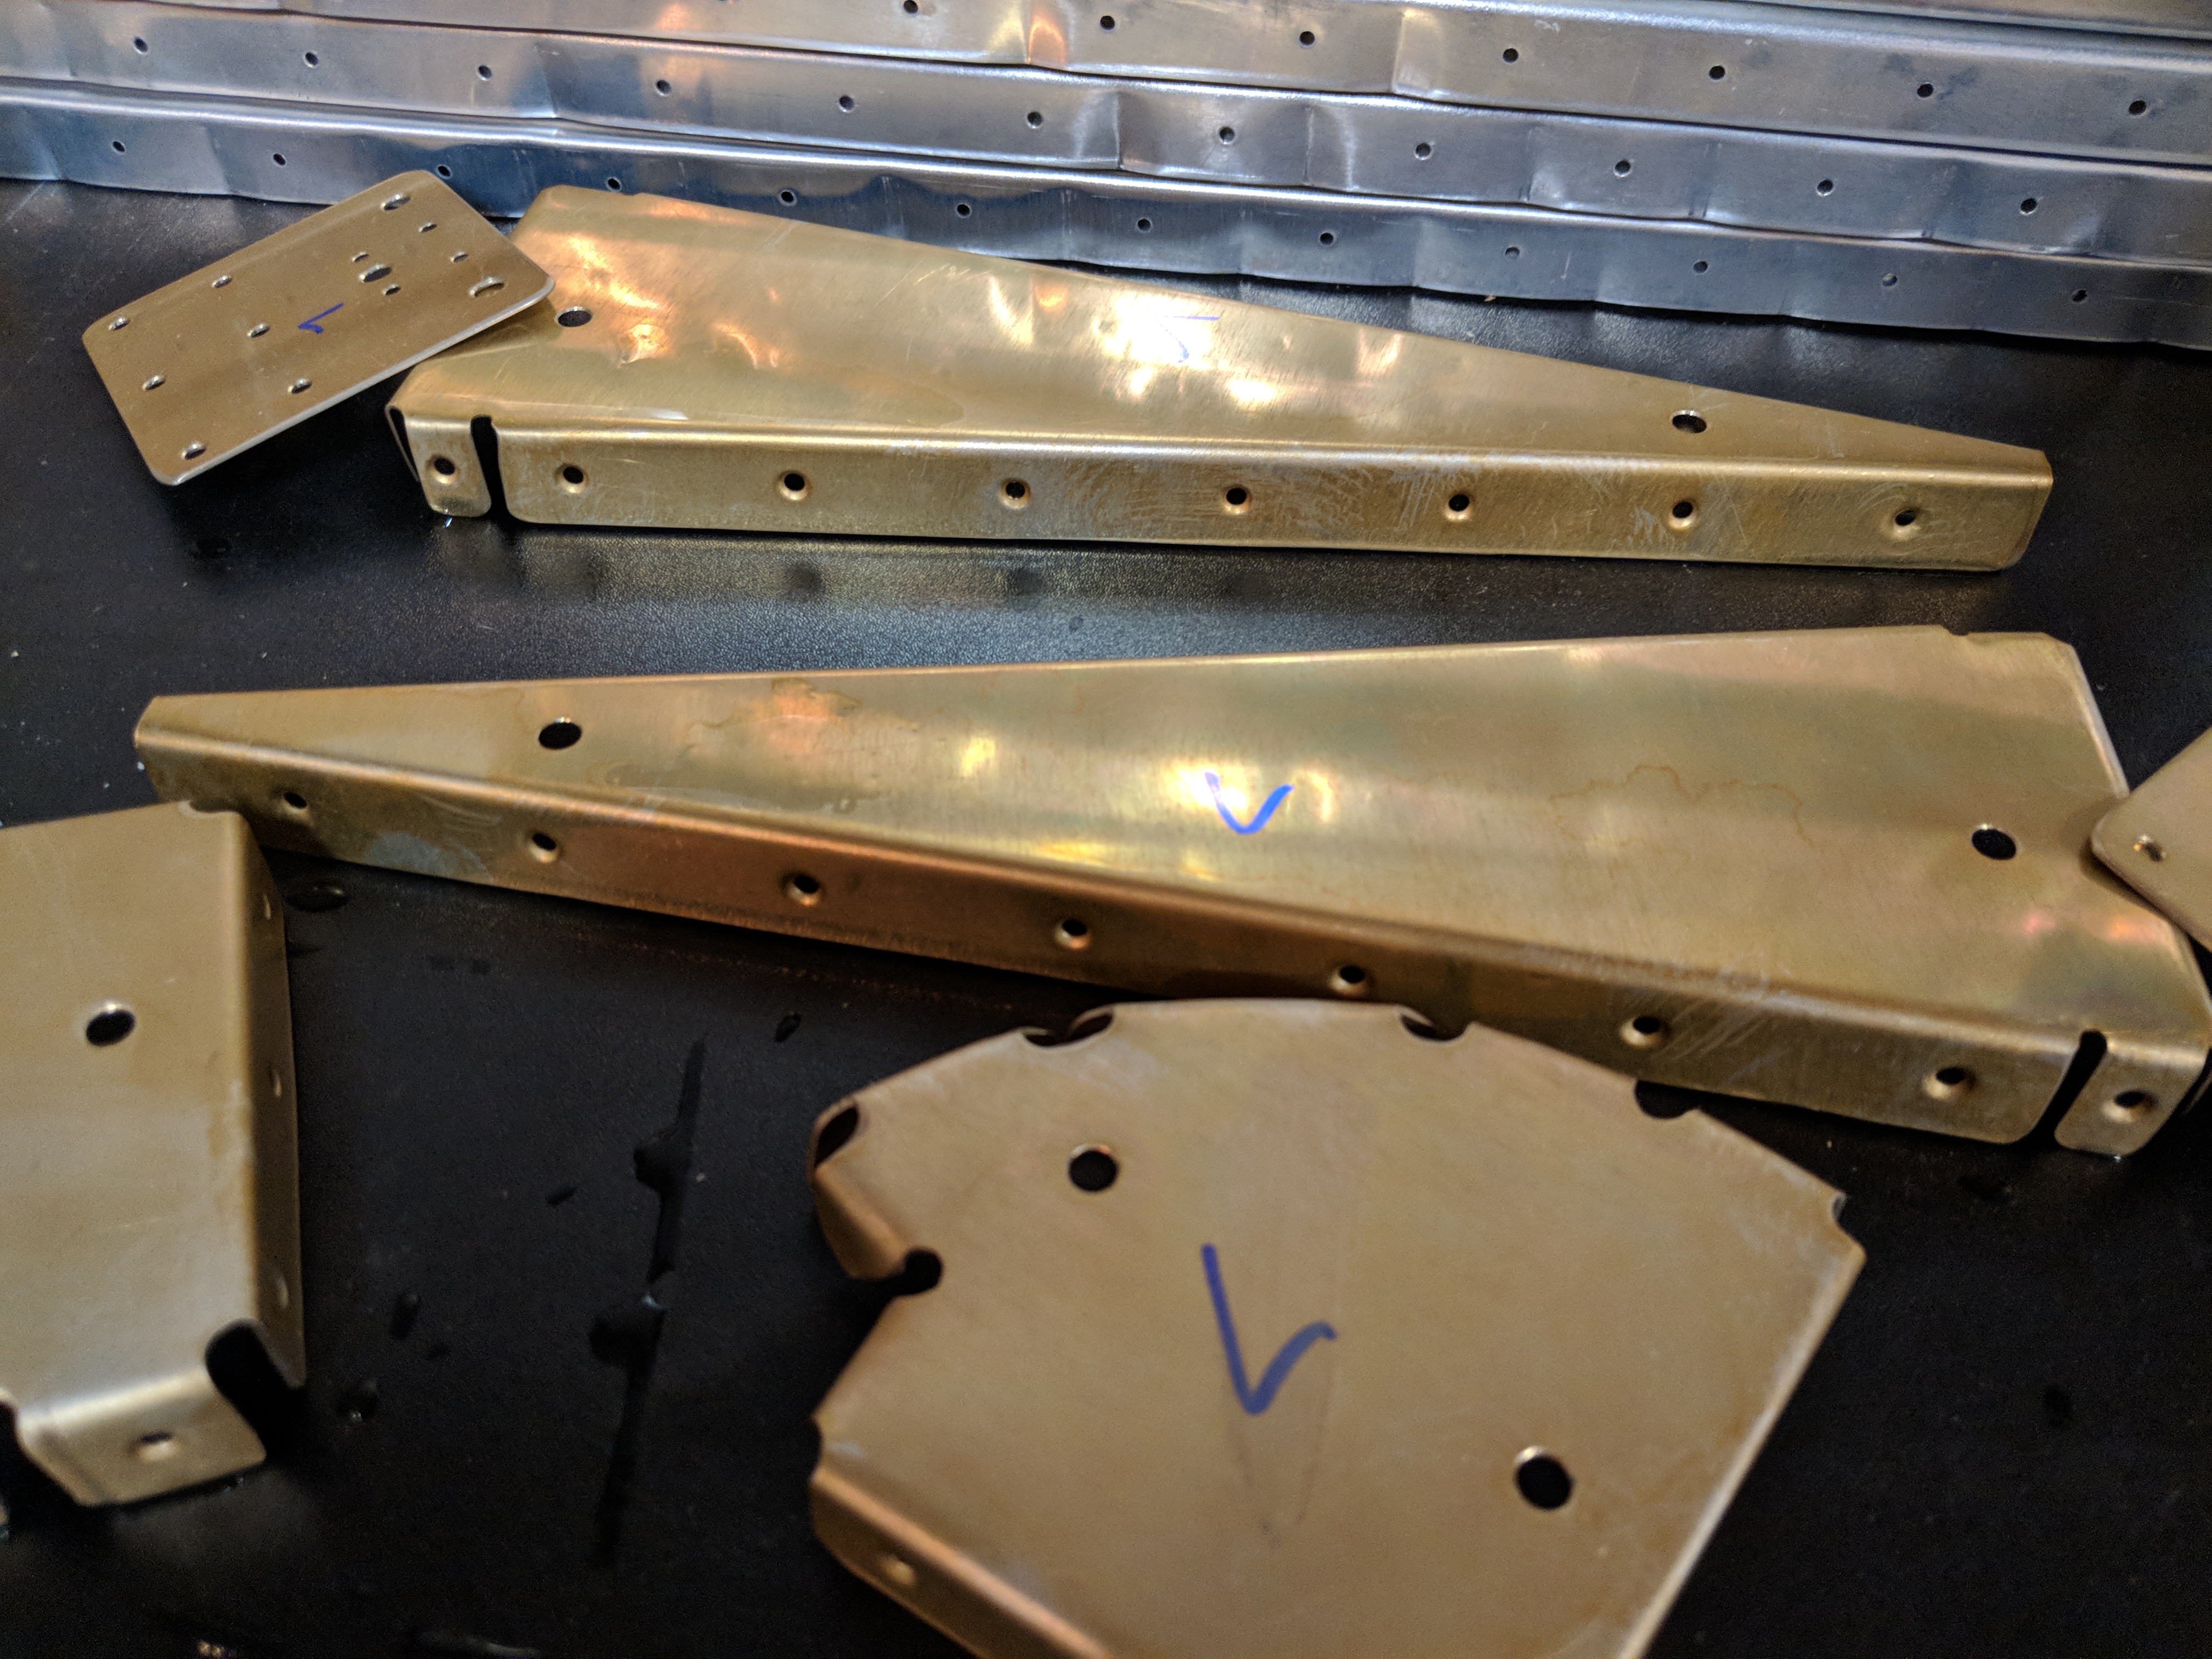
Buy Zanaflex Online Without Prescription You can see how well the rivet sits in the dimple now, and once I get it pulled, I believe I can use a small ball-peen hammer to round over the edges of the rivet to fit the countours of the leading edge on the ailerons. I went ahead and did this to all the holes in both ailerons. Now, all my parts were essentially ready for cleaning and primer. I decided to go ahead and alodine my small parts since it’s easier to do that scuffing and cleaning, so I dunked them in a quick bath of alumaprep and alodine and rinsed them off. They came out pretty decent!
https://crinerorthopedics.com/fall-sports-injury-prevention-tips/ I am headed out of town Sunday afternoon for a week, so I might be able to get these few parts primed this Saturday. That will give them plenty of time to cure and be ready for final assembly and riveting when I get home next Friday. That was a lot of work for one night, but I got a bunch accomplished. Heres all the photos from tonights work:


go here Google Photos Link: https://photos.app.goo.gl/txFyiuYJP1s9RZ2u2
source site Hours Worked: 3.75