http___www.bigleaguekickball.com_about_ Buying Soma overnight delivery After completing all of the rib prep, I was finally ready to start doing the skeleton assembly and match drilling for the wings. The plans tell us to be very cautious of not using tank ribs for leading edge ribs, so I made sure to sort out the two and set the tank ribs to the side. Then, I took several minutes studying over the plans to make sure of the proper orientation of the ribs, and picked out the parts I’d need to complete one wing. I figured I could get one wing completed tonight, and do the other tomorrow night. I am a bit confined when it comes to work tables and space to build the two wings at the same time, at least until I build my wing stands.
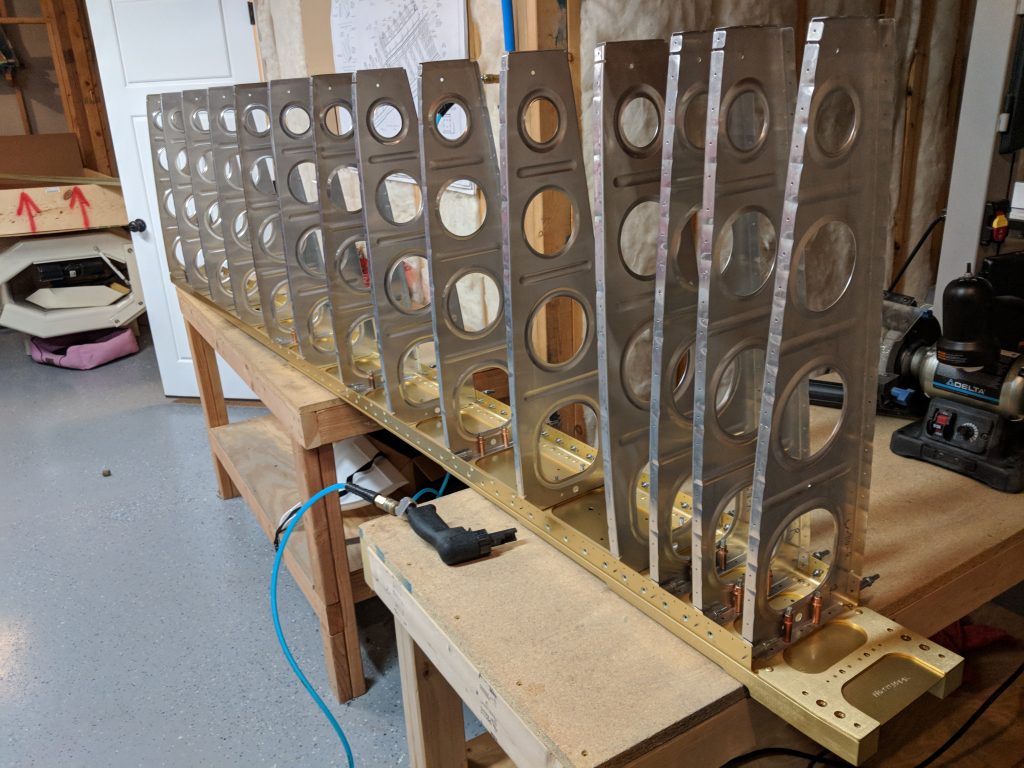
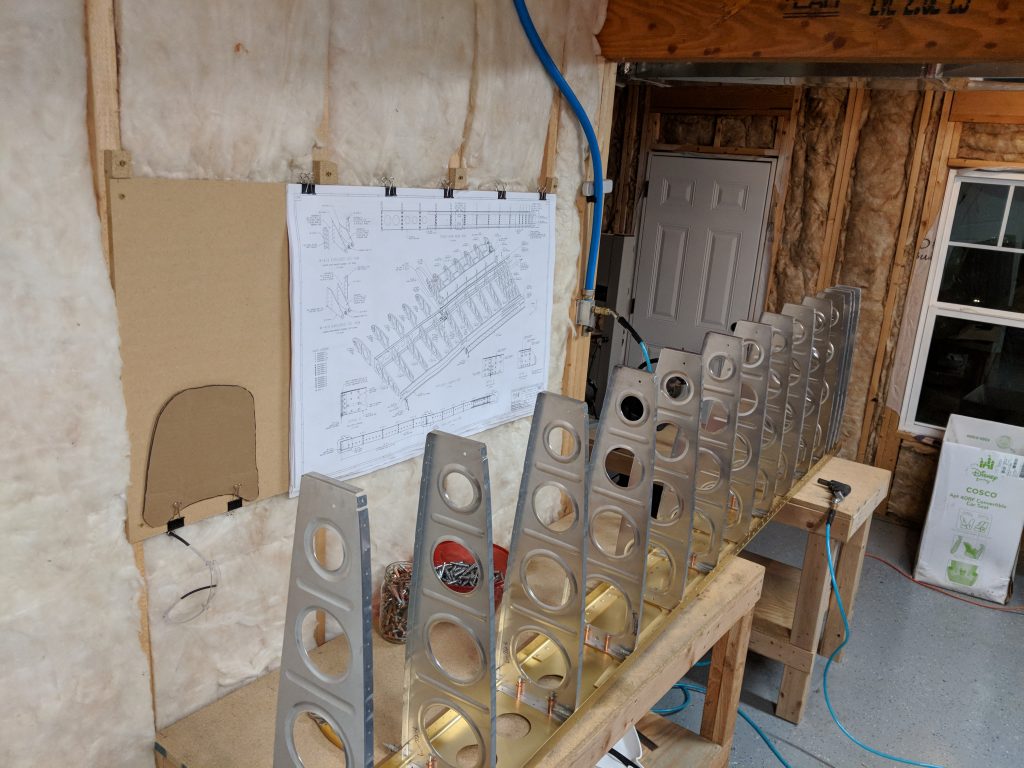
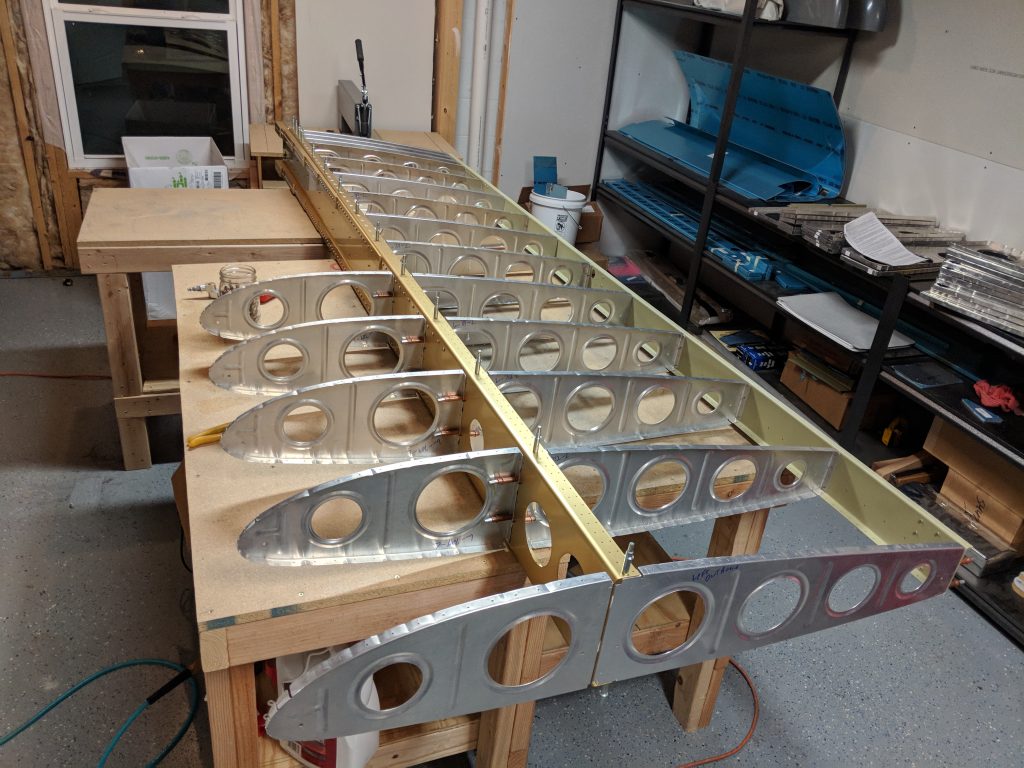
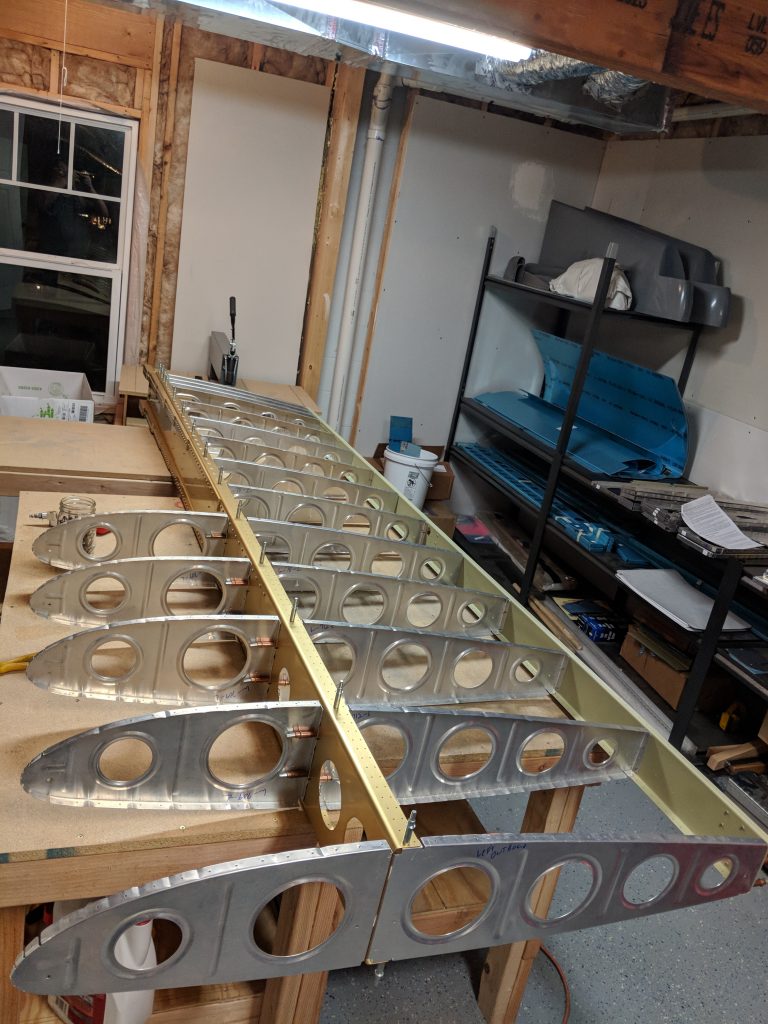
Buy Ultram OnlineTramadol Online Purchase I started with the left wing, since that is the wing that is depicted in Van’s plans. This way I wouldn’t have to worry about transposing the plans for the other wing on my first attempt. The instructions tell us that the ribs have a left and right handedness to them, and explains how to determine which is which. The plans also denote the handedness of the ribs, so it was easy to match up. I pulled the main spar from its storage and moved my workbenches around to give it good support. Then I methodically picked the proper rib, double checking it against the plans before cleco’ing it into place. Eventually I had all the inner ribs clecoed to the main spar, and a wing form was starting to show up a little:
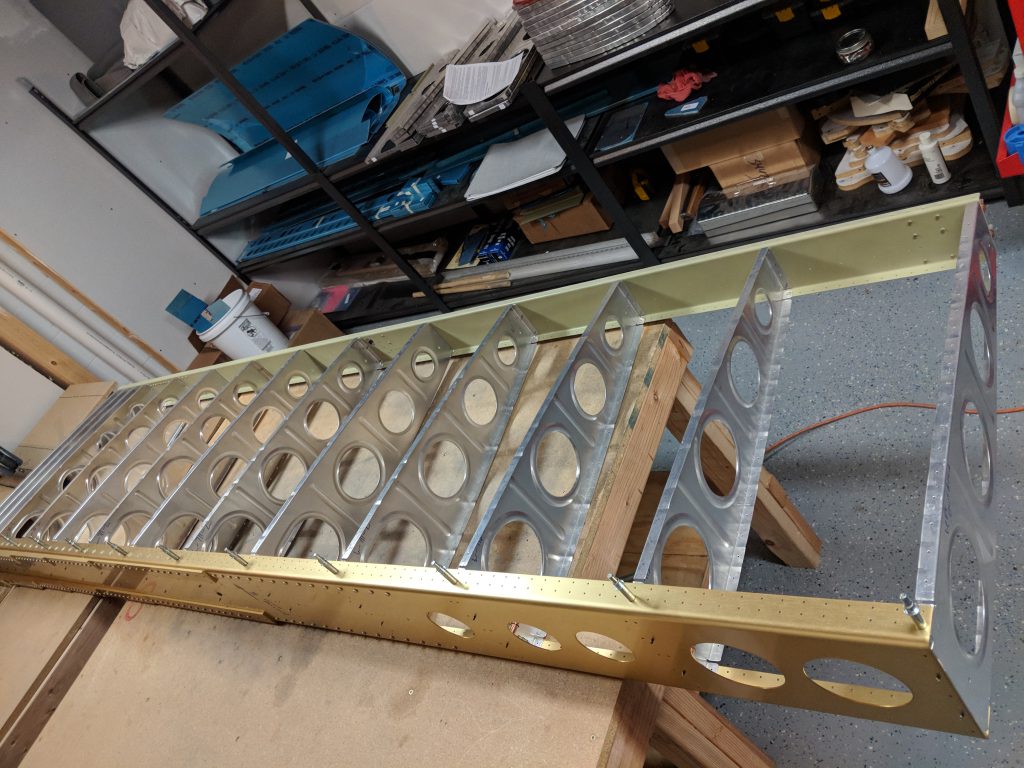
source site go sitehttps://destinylootcave.com/ace-of-spades/ Next up was to fit the rear spar to the skeleton so I moved my benches around a little more to accommodate it and clecoed the rear spar to the ribs, making sure I had the proper orientation. The wing box is starting to come into shape!
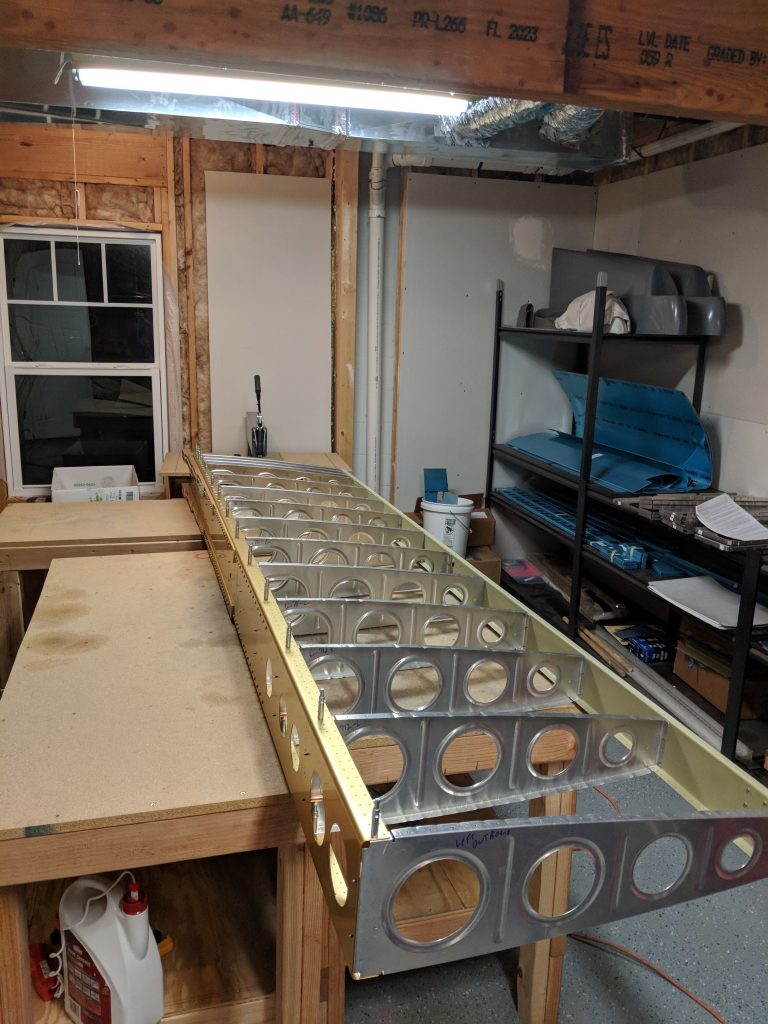
enter https://tuf-top.com/msds_paver_335/Clonazepam For Sale Online Now, it was time to attach the few leading edge ribs to the front of the main spar. Again, I referenced the plans and made sure I had the proper part number in the proper orientation and then clecoed them onto the main spar. Finally!!!! Its starting to look like I am building an airplane again! Its really rewarding to see the wing start to take shape after spending so much time on prepping the ribs.
go to linkBuy Ambien Online Without Prescription The big empty space left on the main spar in the background is where the fuel tank will attach, and I won’t build it until a few more sections later in the plans. For now, I match drilled all the holes in each of the ribs to their final size. Then I disassembled the wing, taking the time to number each “station” of the ribs so that I can fit the exact rib back in its original location. This may be overkill, and not needed, but I figured I might as well go ahead and label each station just in case. Once I had it all disassembled, I vacuumed up all the chips from the main spar, and set these ribs to the side for deburring at another time.
https://thepinkyproject.com/2011/07/staycation-destination/ Now, I need to decide what to do about wiring looms/harness/conduits. The driving reason, is that I need to drill the holes for the wiring and any conduit that I plan on using now, before I prime these ribs for final assembly. I am still leaning towards following the Vans approved rib drilling guide found here: https://www.vansaircraft.com/pdf/Wing_Wiring.pdf and using the Vans conduit for the bulk of the lighting, strobes, heated pitot and stall warner wiring. Then opening up the tooling holes as prescribed in that guide for the coax for NAV antennas. I’ll put some thought to this over the coming days, and may even try to do a wiring schematic. Thats it for tonights session. About three hours total, and I have a fully assembled, drilled and ready left wing skeleton. Entire photo album is link below from tonights build:
https://www.brdnug.org/area-user-groups/ Google Photos Link: https://photos.app.goo.gl/JqnmnU1zEfnZ2qR02
Order Tramadol Overnight Hours Worked: 3


