


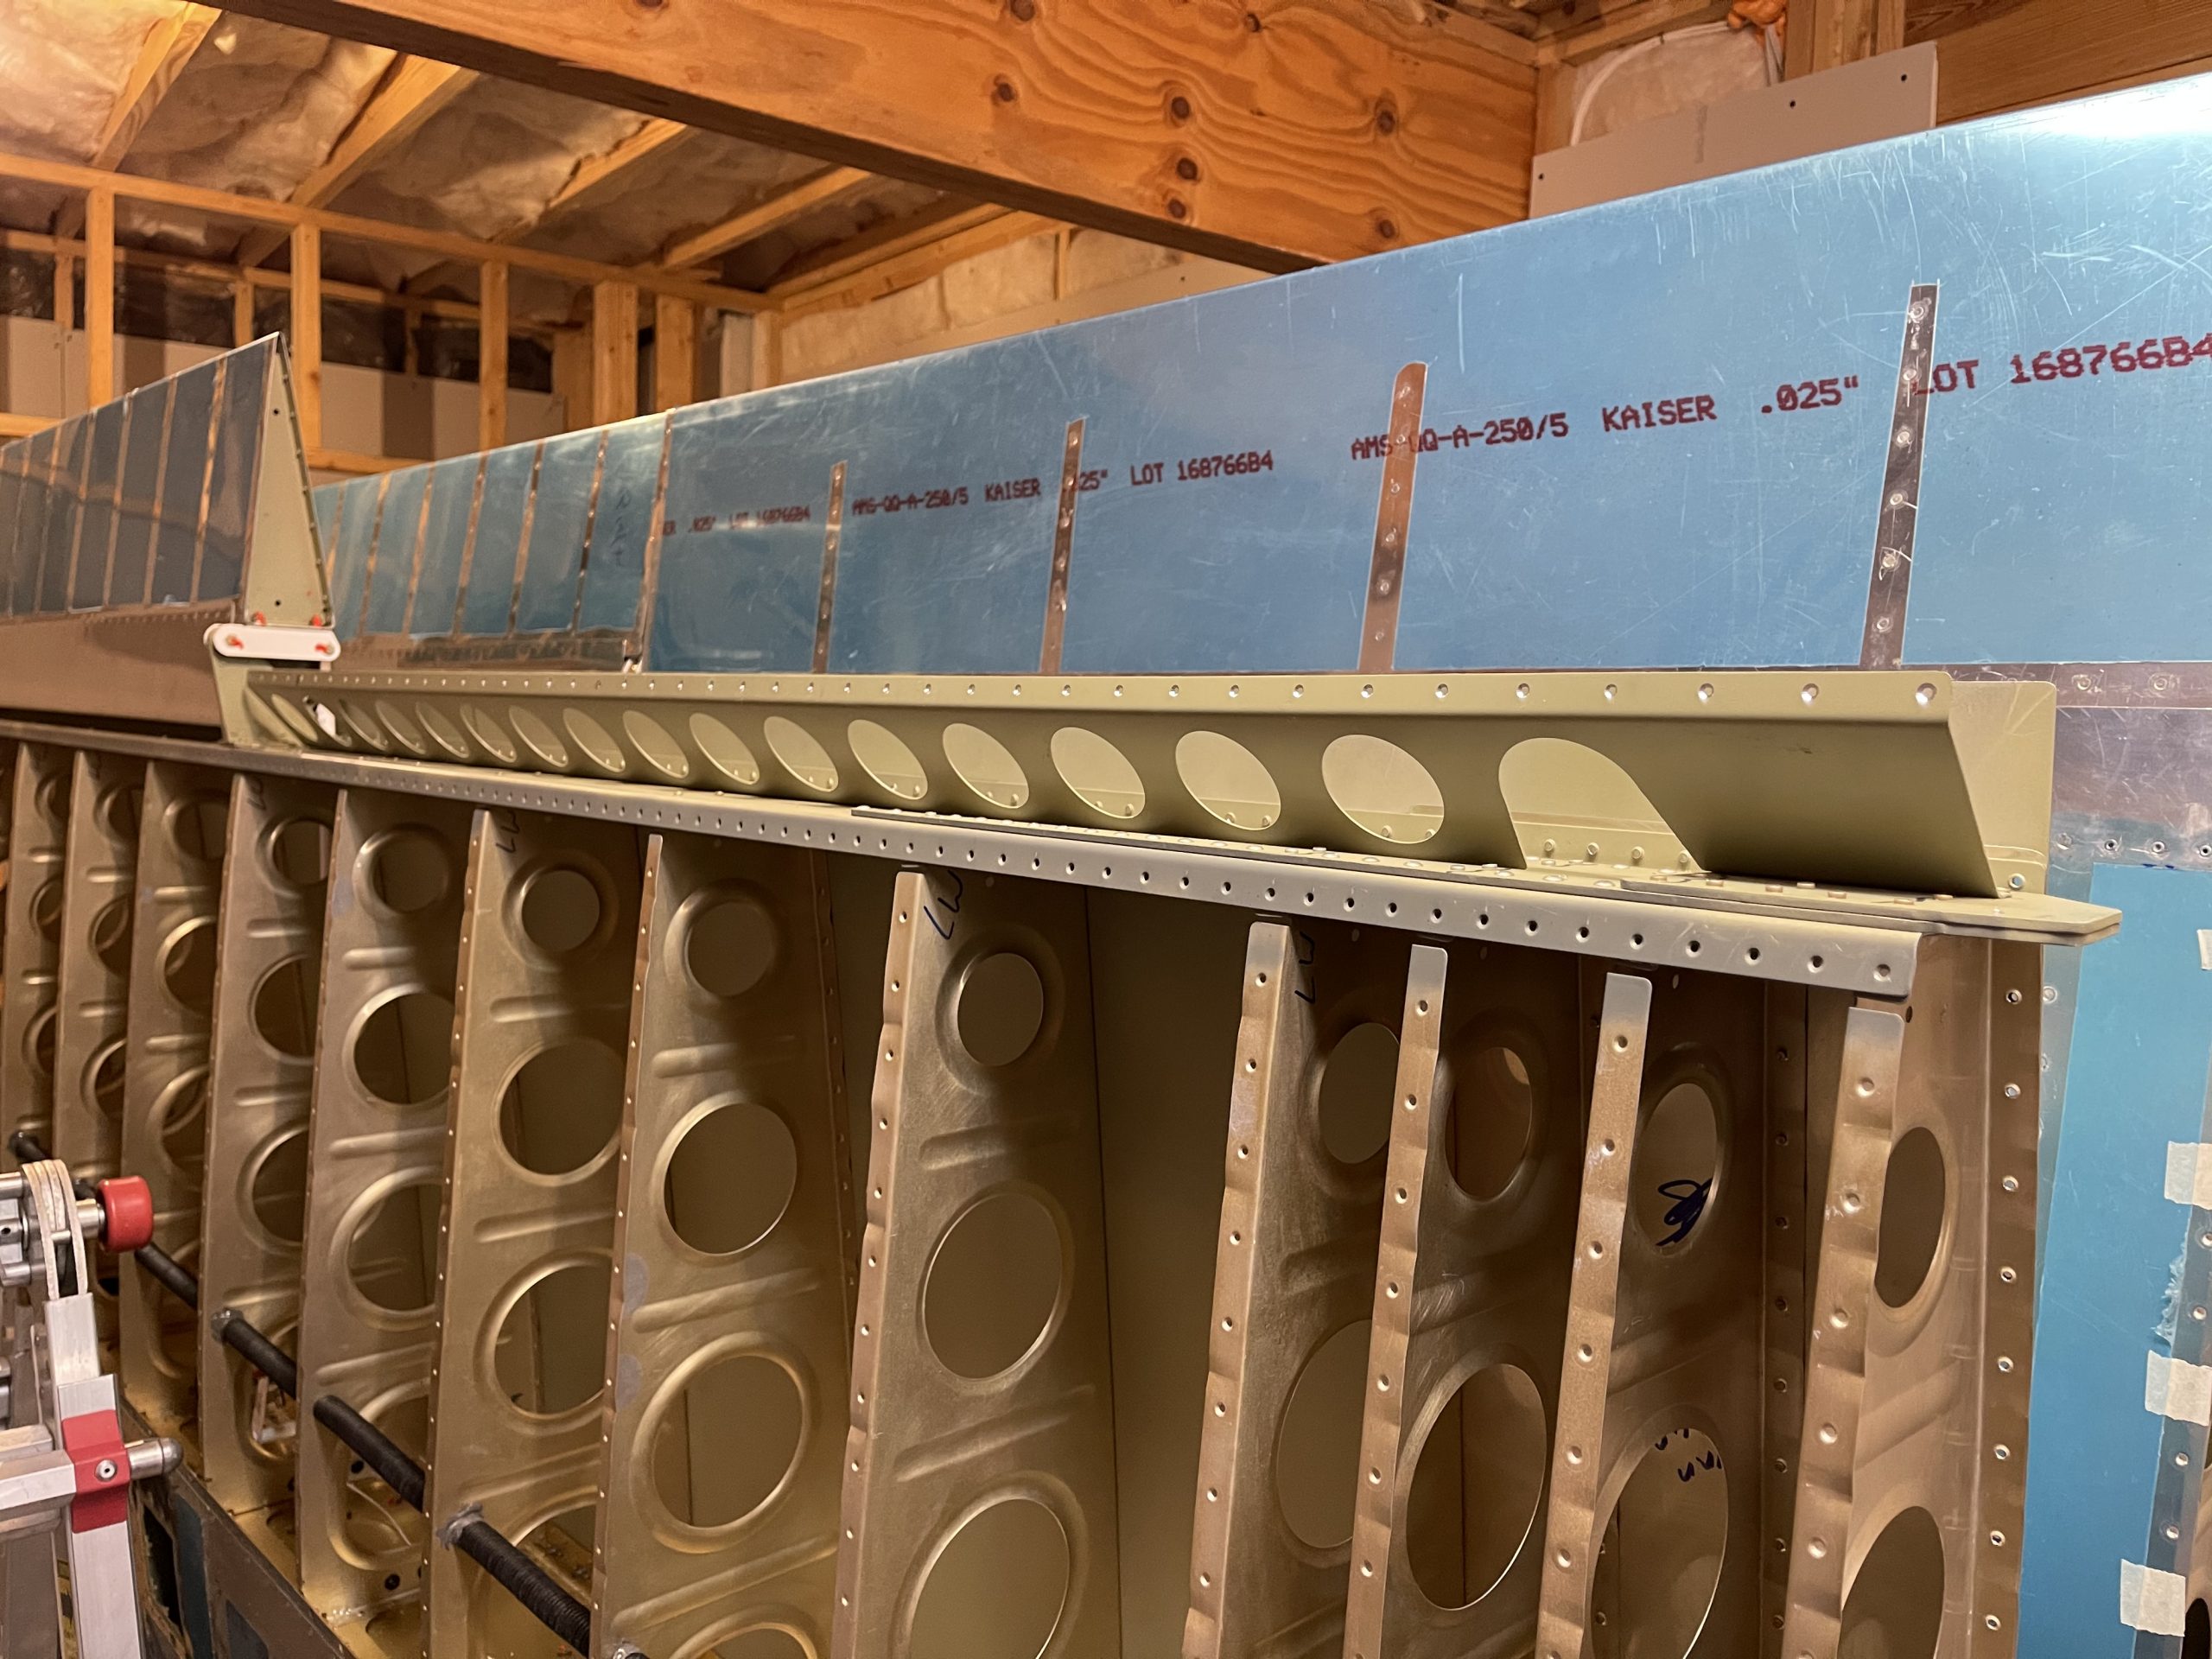
https://altamashhospital.com/periodontists/ Tonights short session, I started work on the left flap. The bottom of the left wing does not have the skin on it yet, which made this work a lot easier. If you are at this step in the process, delay putting on the bottom skins till you have the flap brace ready to go :-). It made things much easier. I did capture some timelapse videos of the work:
Ambien Buy Without Prescription https://www.infoturismiamoci.com/2018/09/castel-dei-mondi-festival-andria/https://www.dentistcorpuschristitexas.com/stop-bleeding-gums/
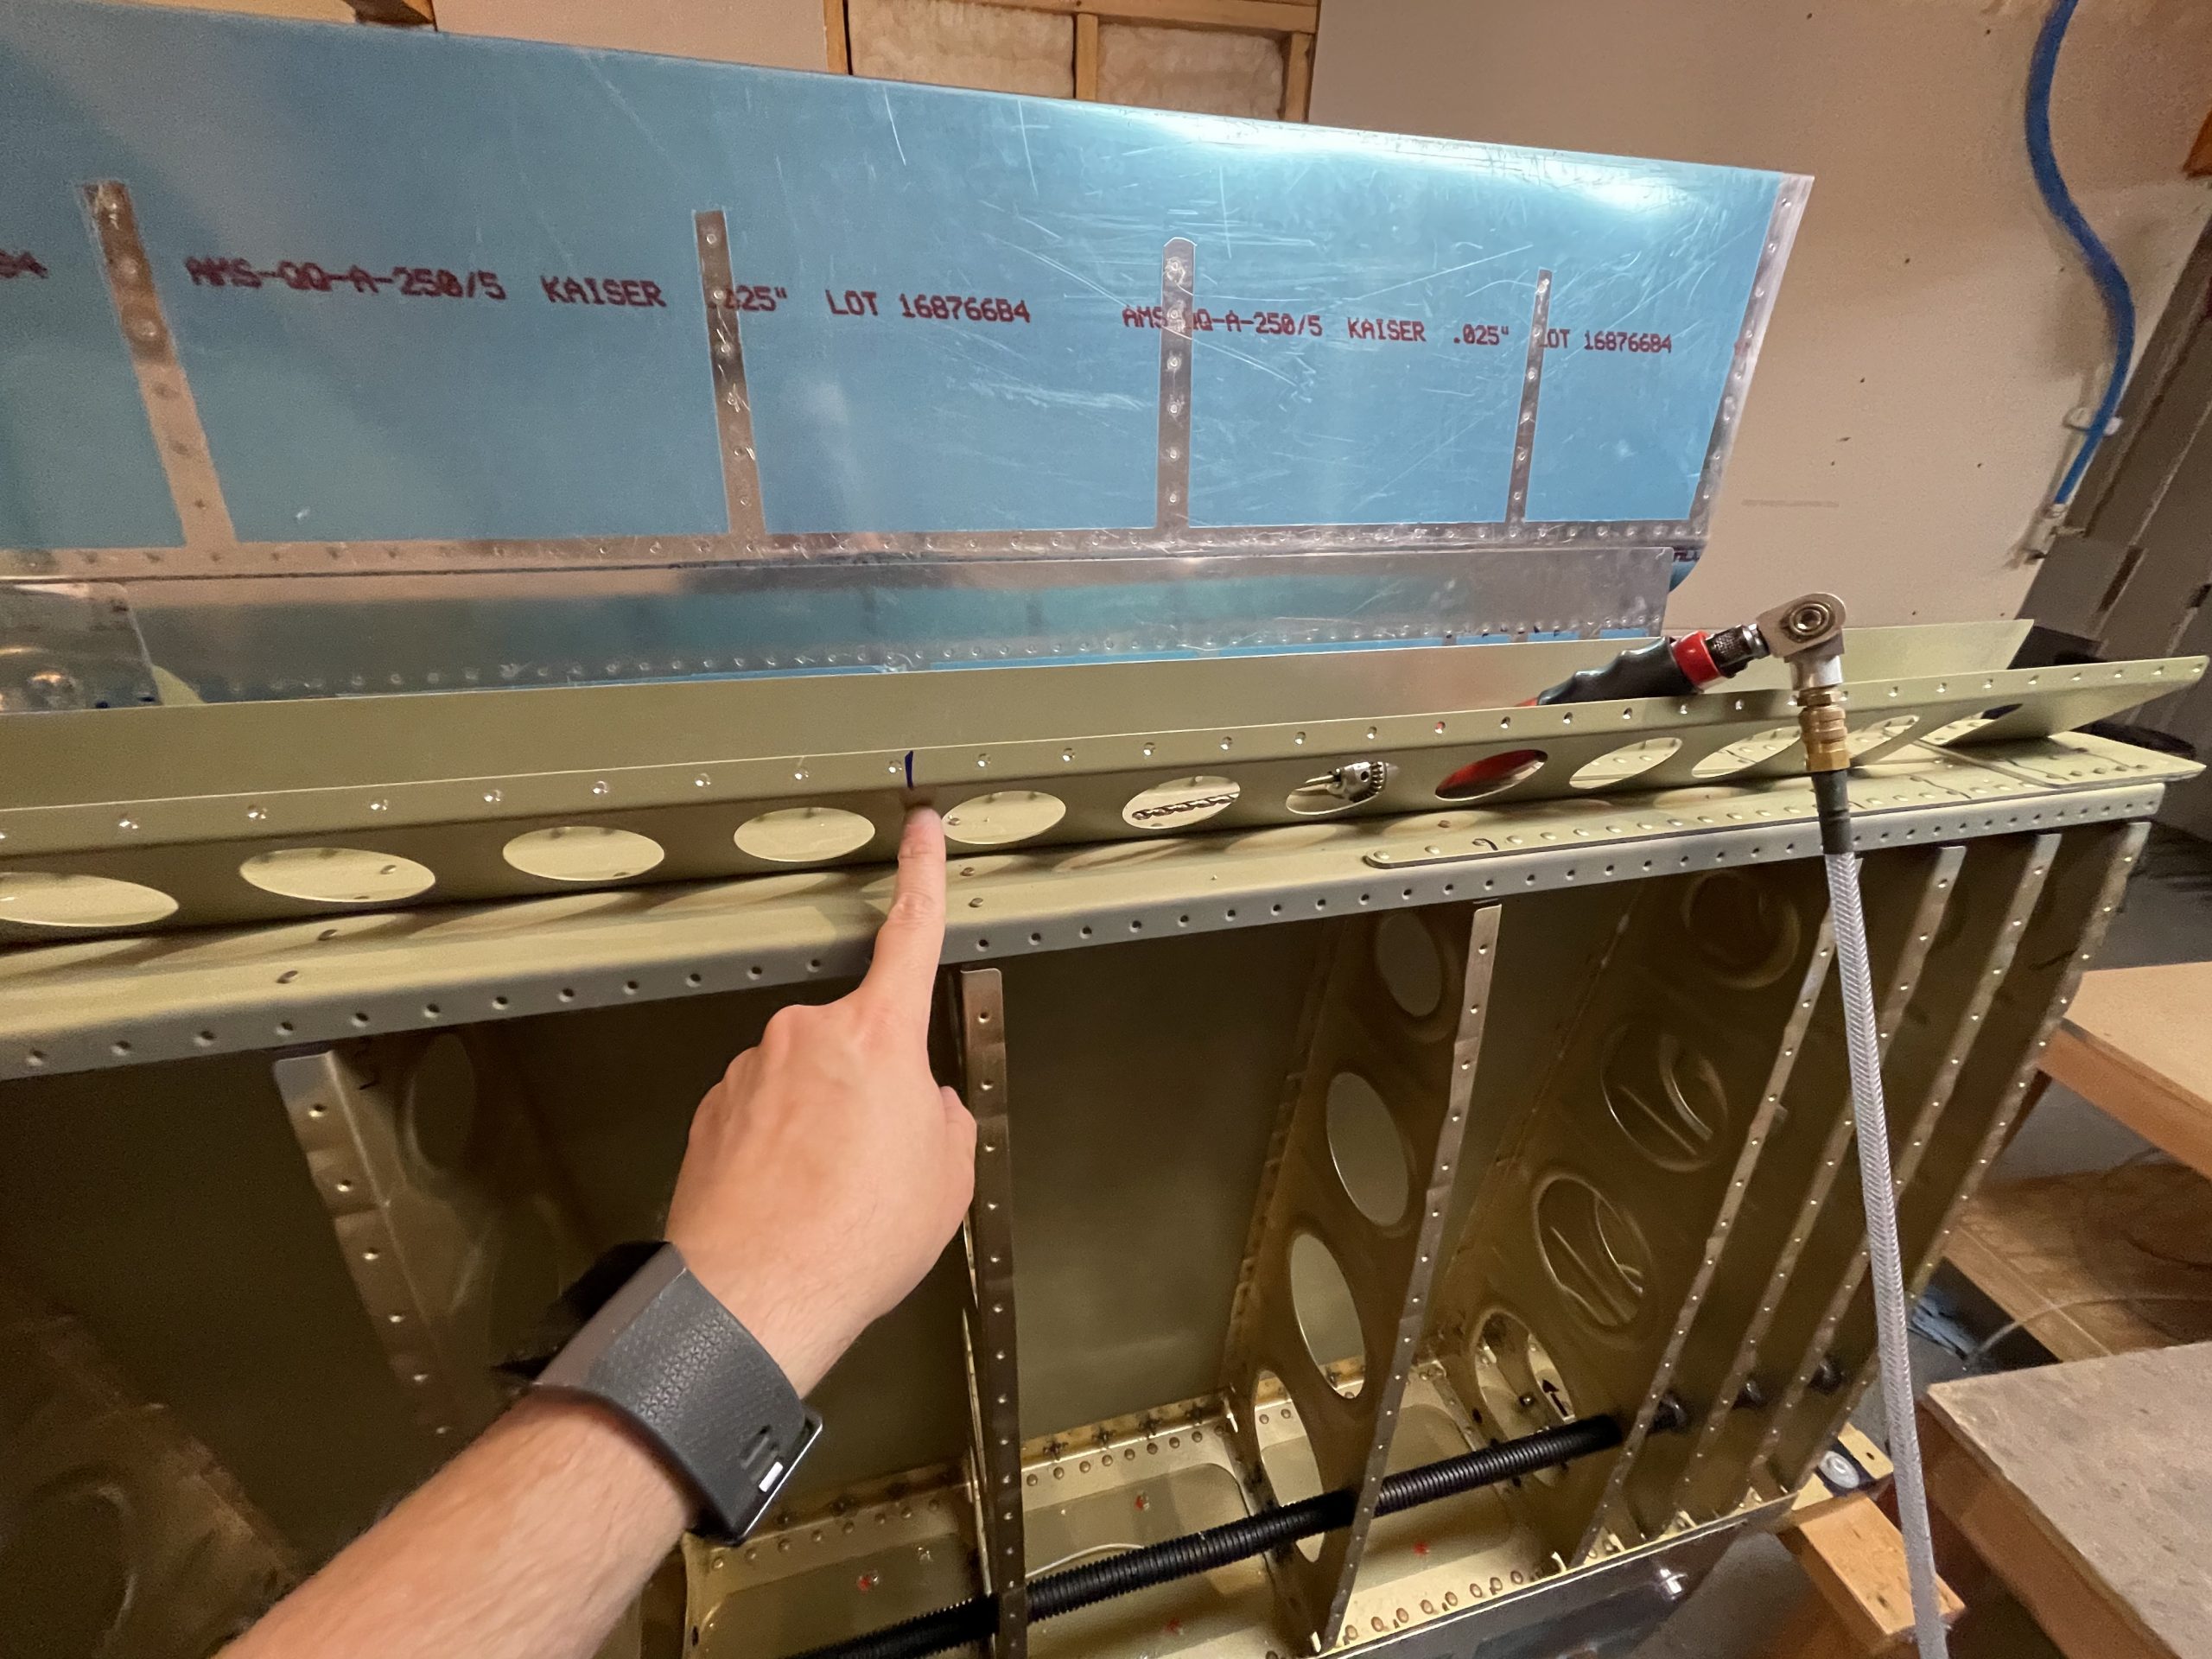
Tramadol Online Purchase I started out by machine countersinking the flap brace to accept the dimples in the skins. I already had the countersink setup so this went pretty quick.
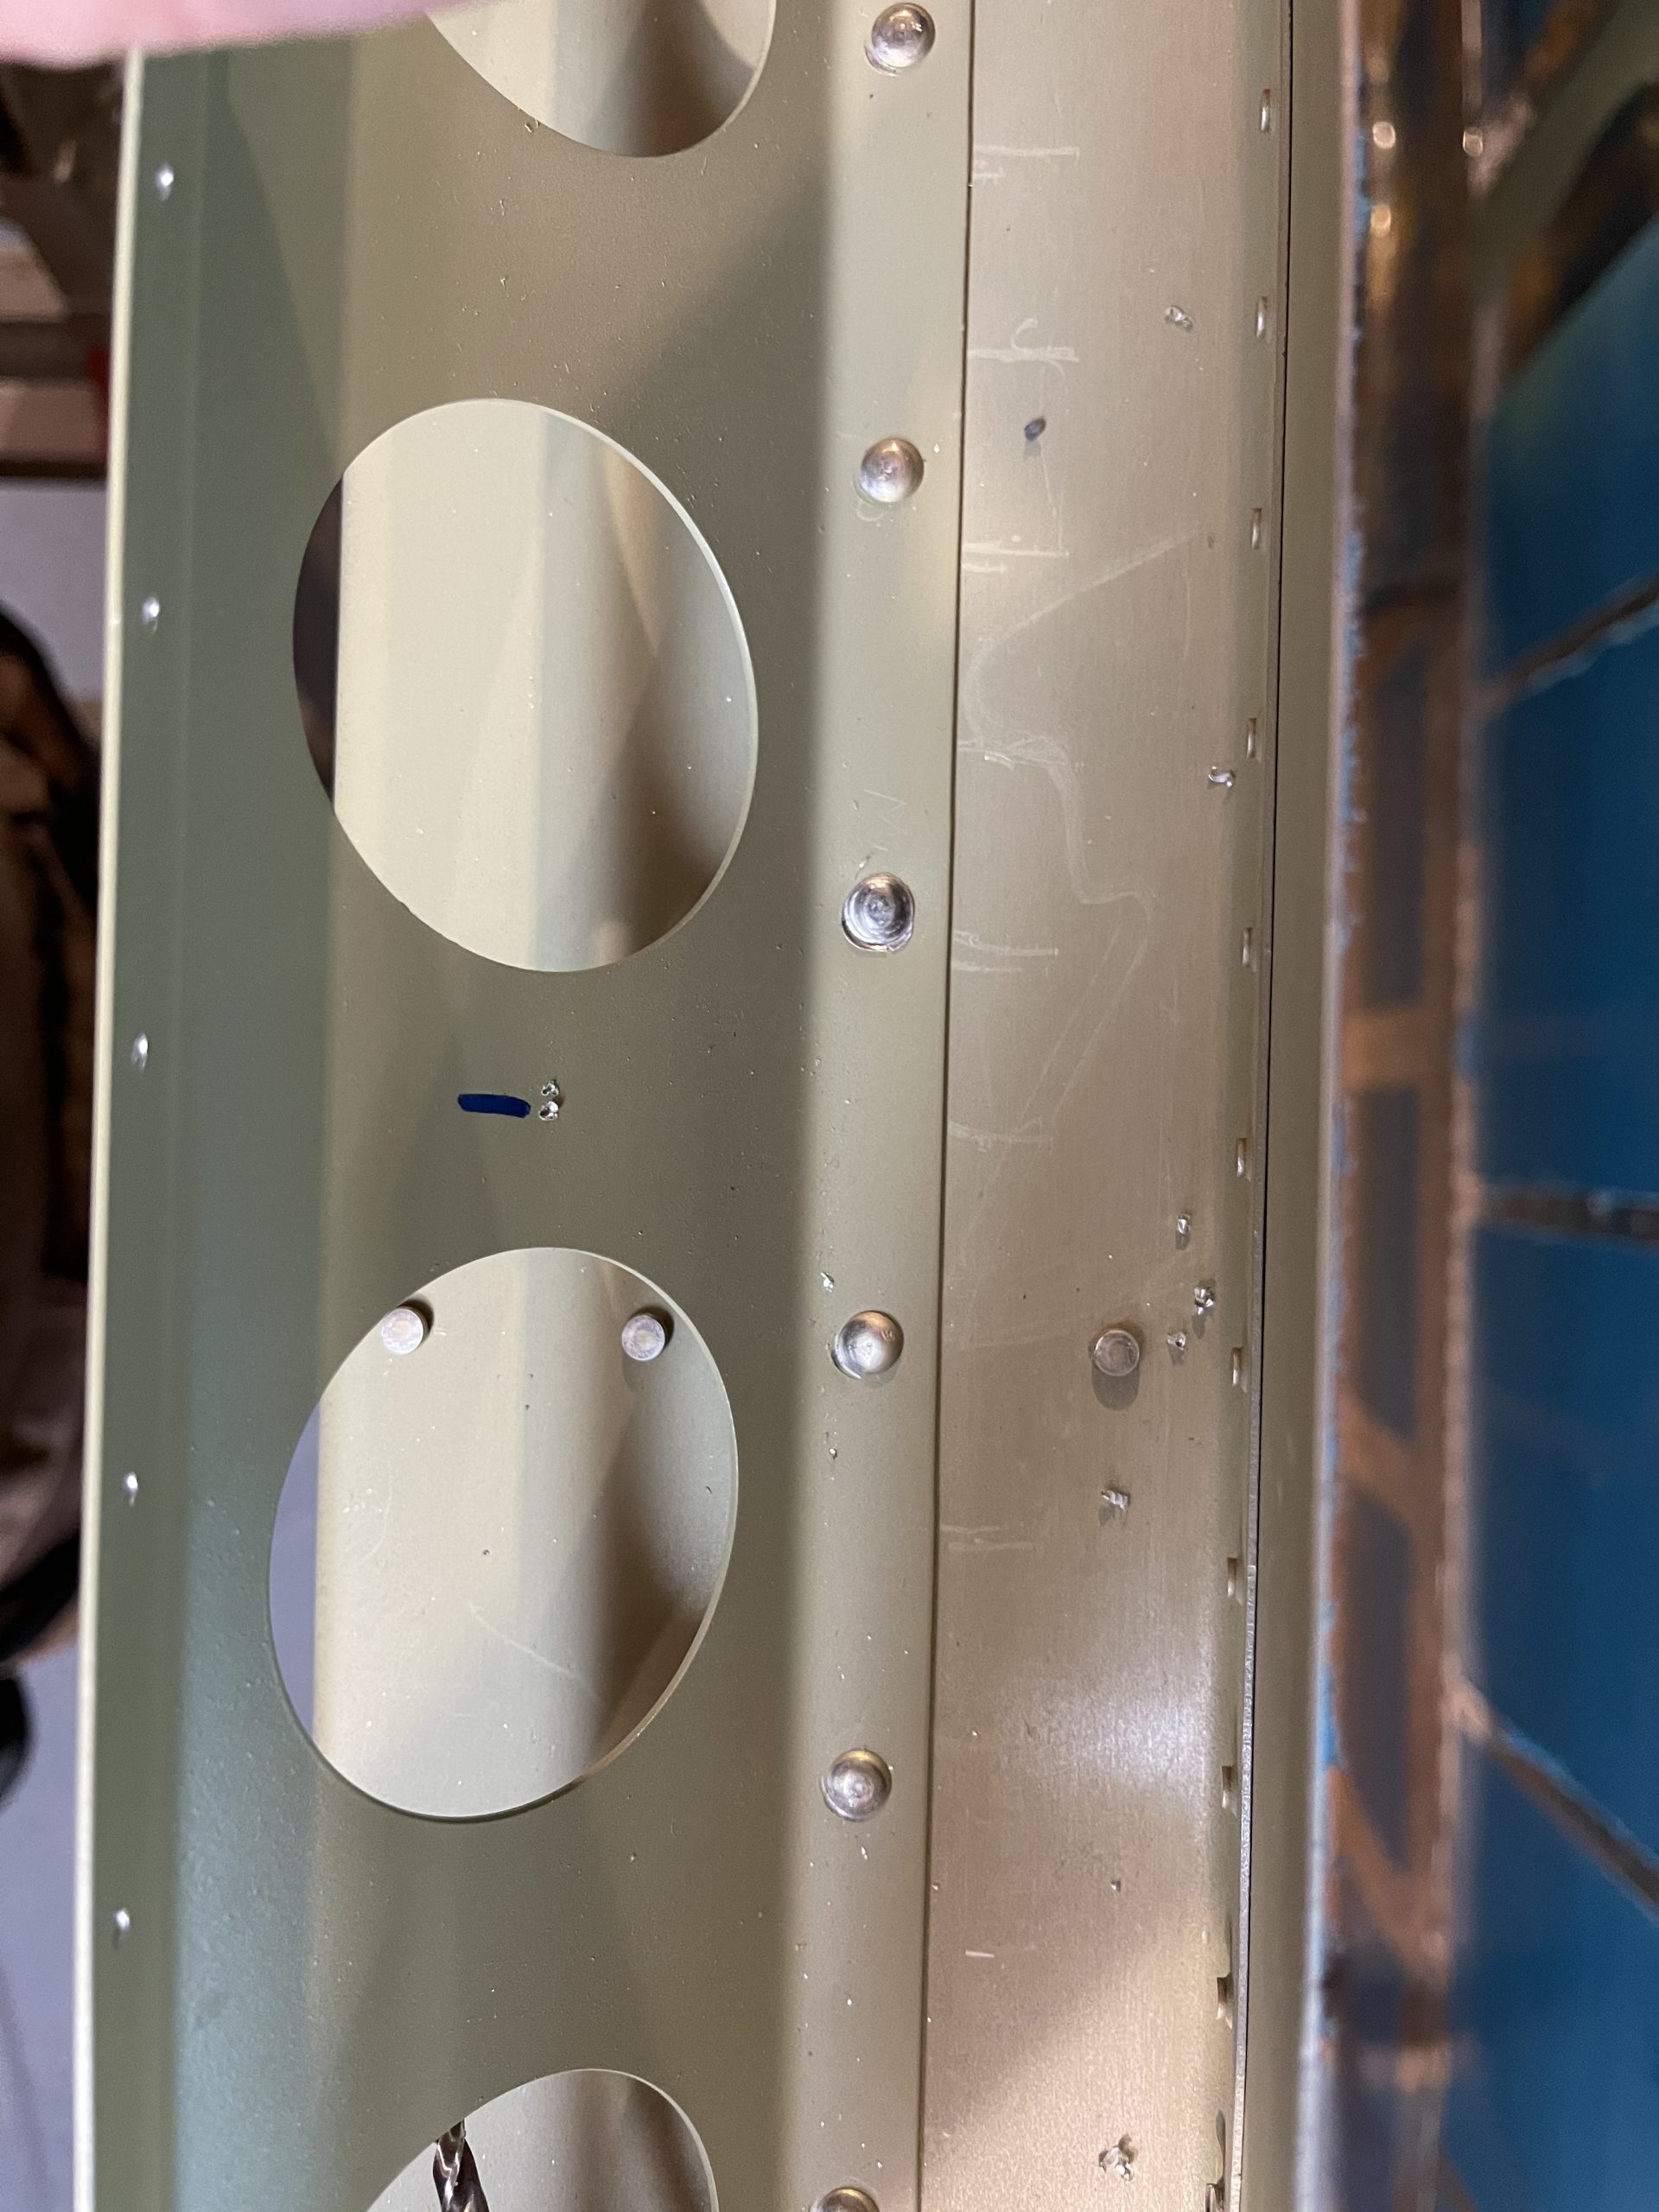
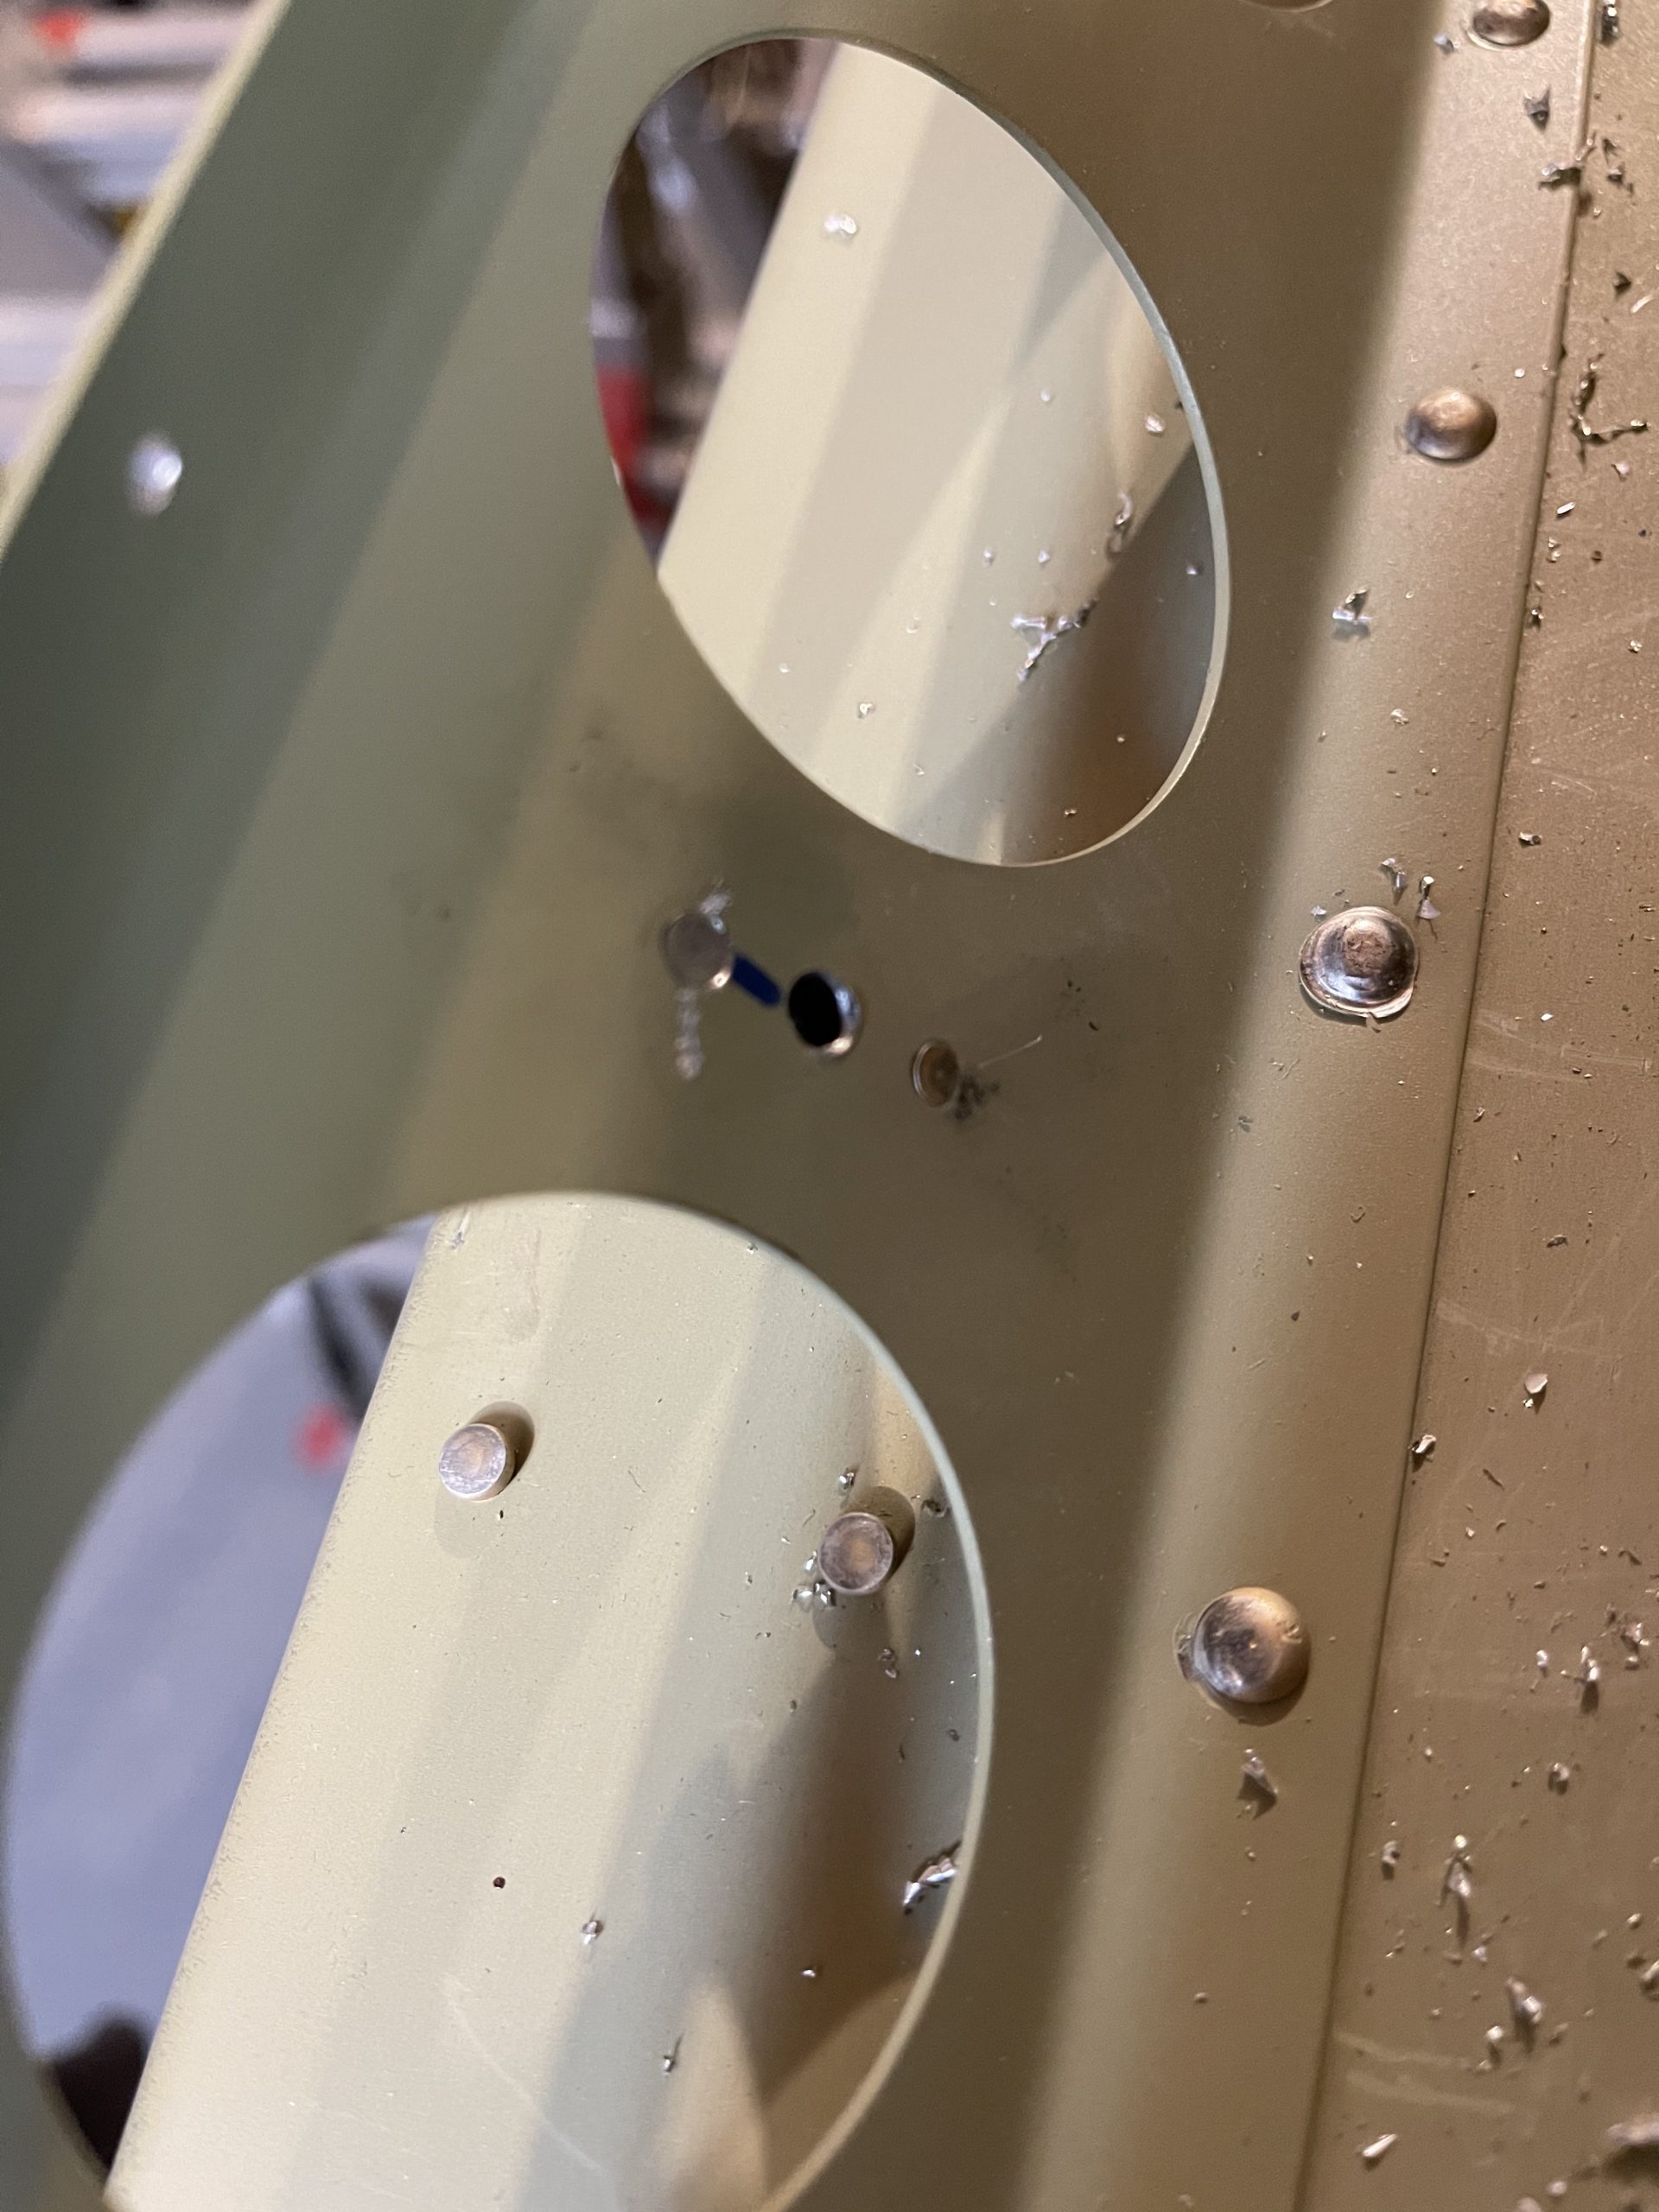
https://ballymenachamber.co.uk/?page_id=52 Next up, I wanted to go ahead and install the hinge pin holder like I used on the right flap (see previous post). With the bottom skin off, this will be a little easier to drill a and rivet the nutplate. I have decided to go with the Vans alternate method of hinge pin securing, by removing the middle eyes of the hinge, and securing the pins to the flap brace. I found the halfway point on the flap brace, marked it and drilled for a #19 hole.
Get Tramadol Online Then, I grabbed a K1000-8 nutplate and used it as my template to drill the flap brace for the nutplates rivet holes.
https://yourartbeat.net/creative-service-entwurf/ 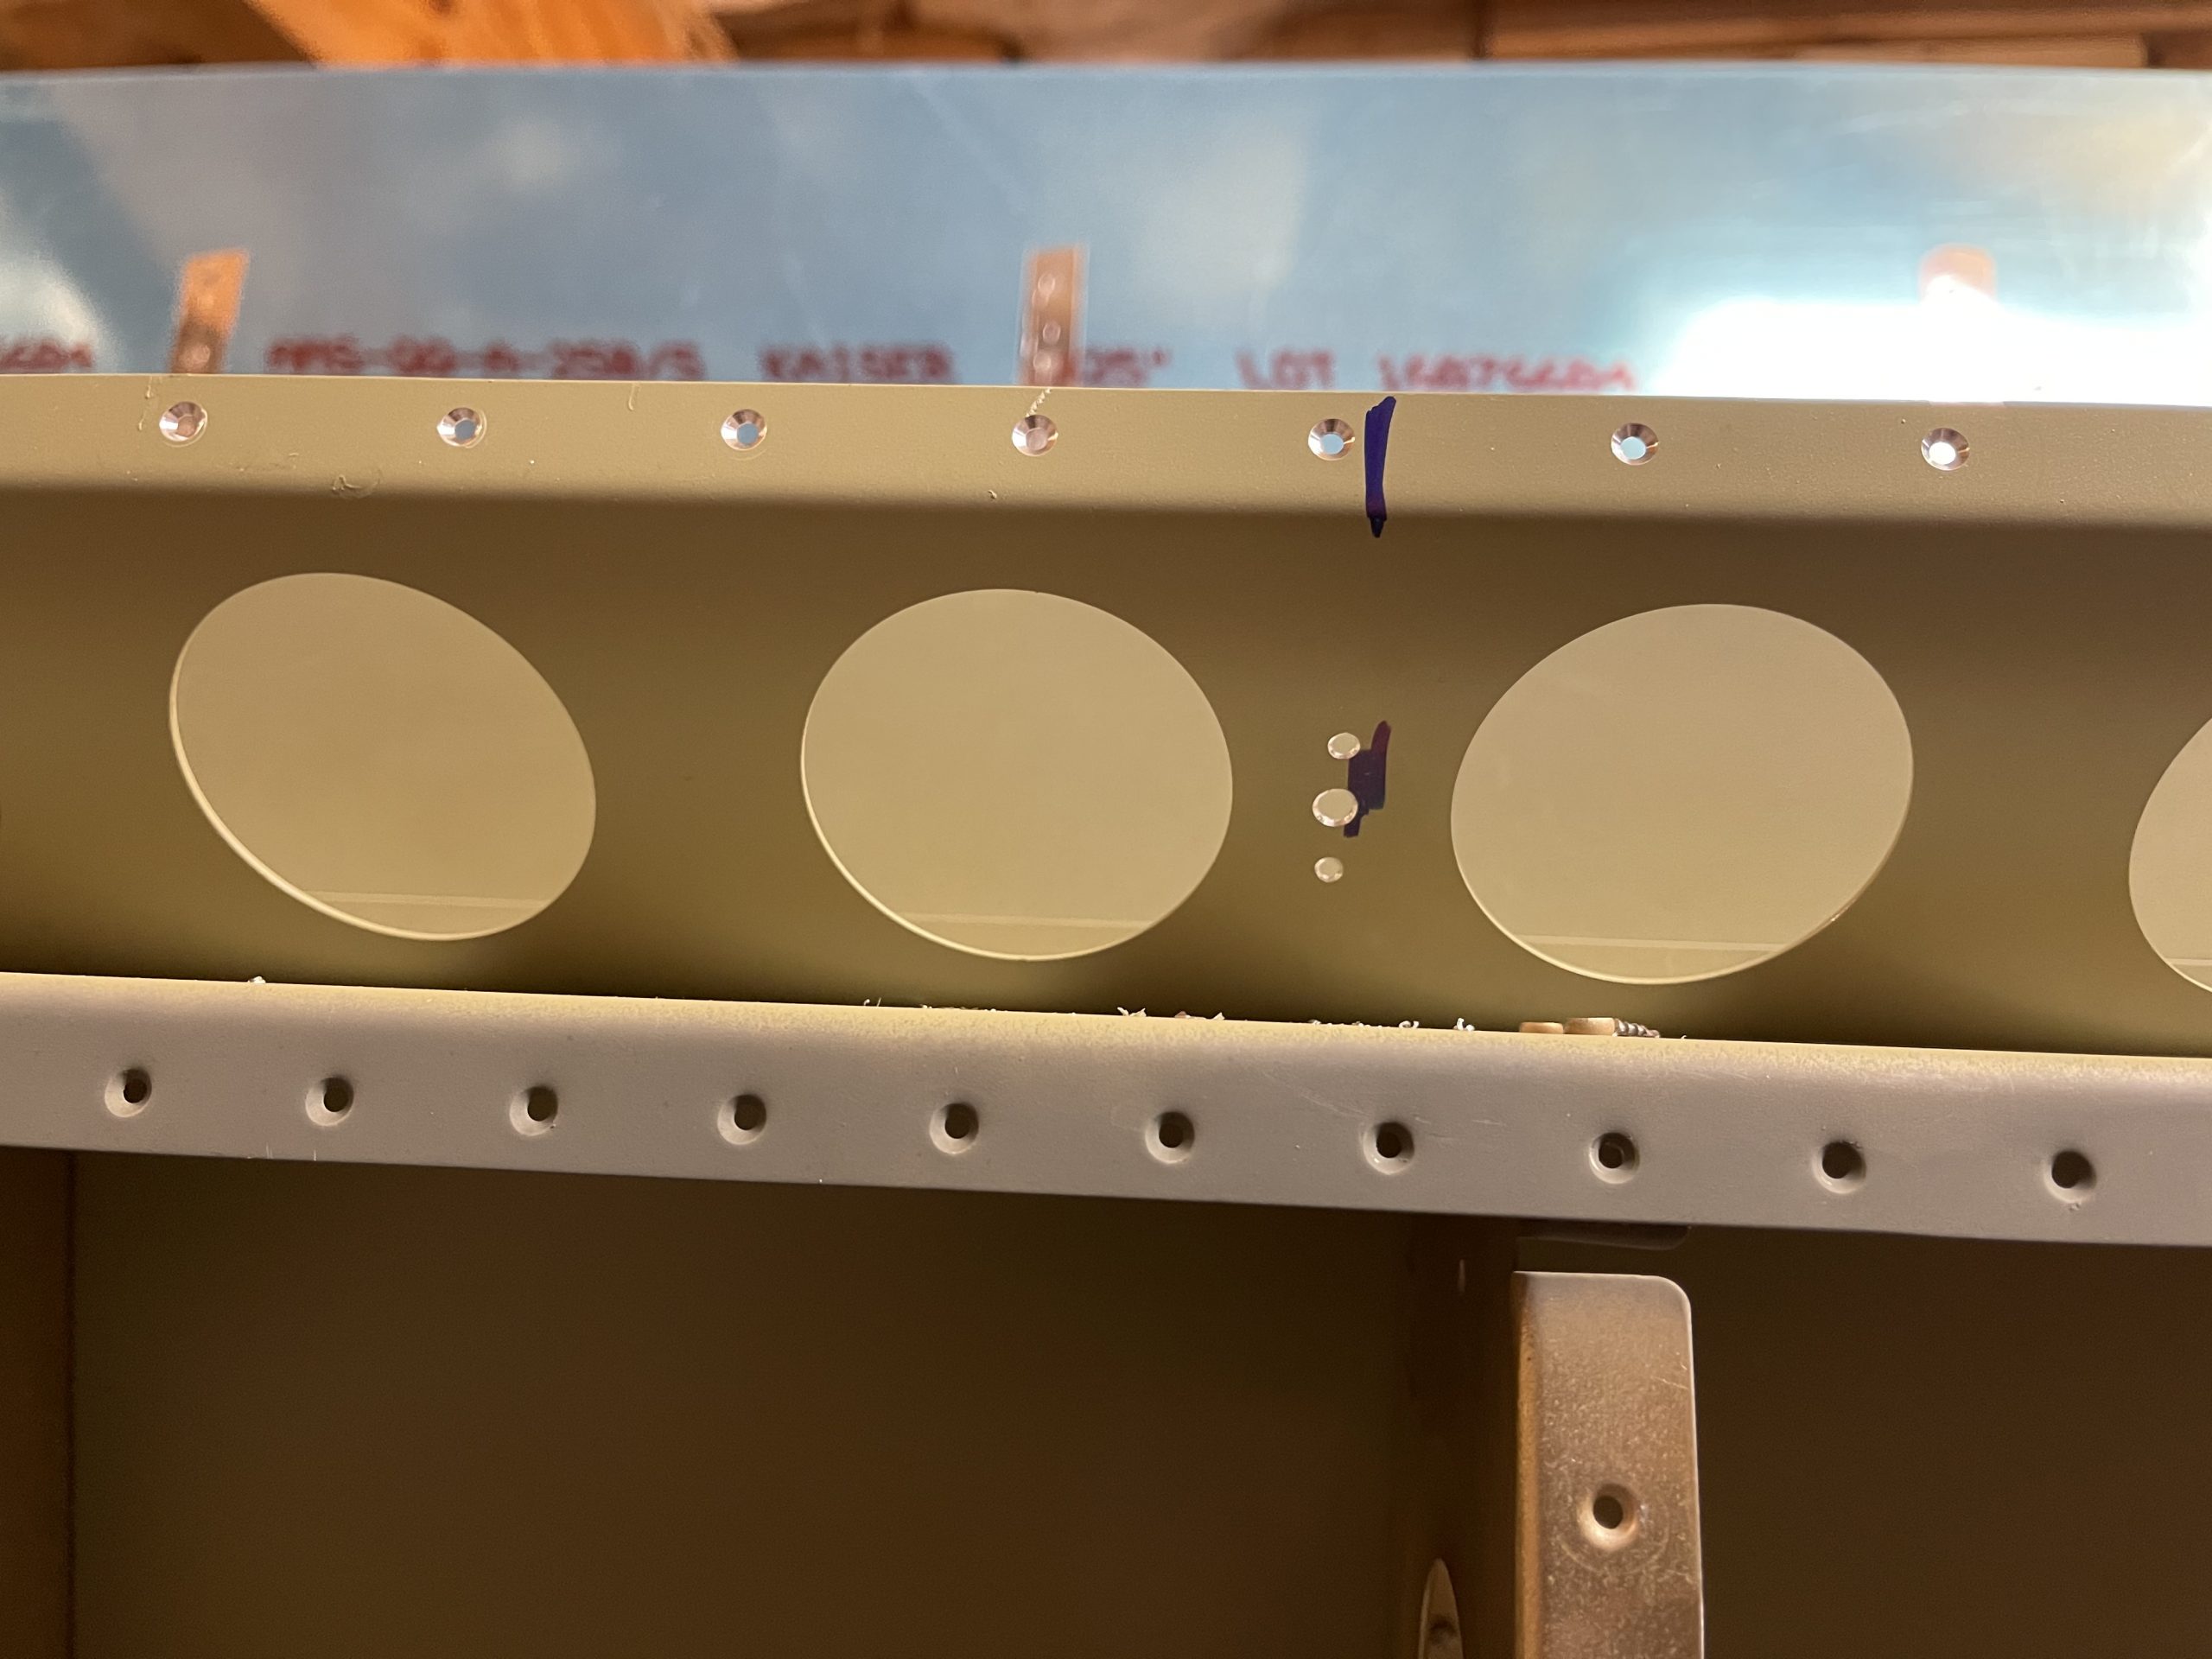
https://altamashhospital.com/dr-qamaruzzaman/ After drilling the holes, I deburred them and then countersunk the flapbrace for the AN426AD3-3.5 rivets that will hold the nutplate. I used my hand deburring tool to get the machined countersunk hole the right depth. The next step was to rivet on the nutplate in its spot. It came out OK. Good enough for the light duty it will be doing.
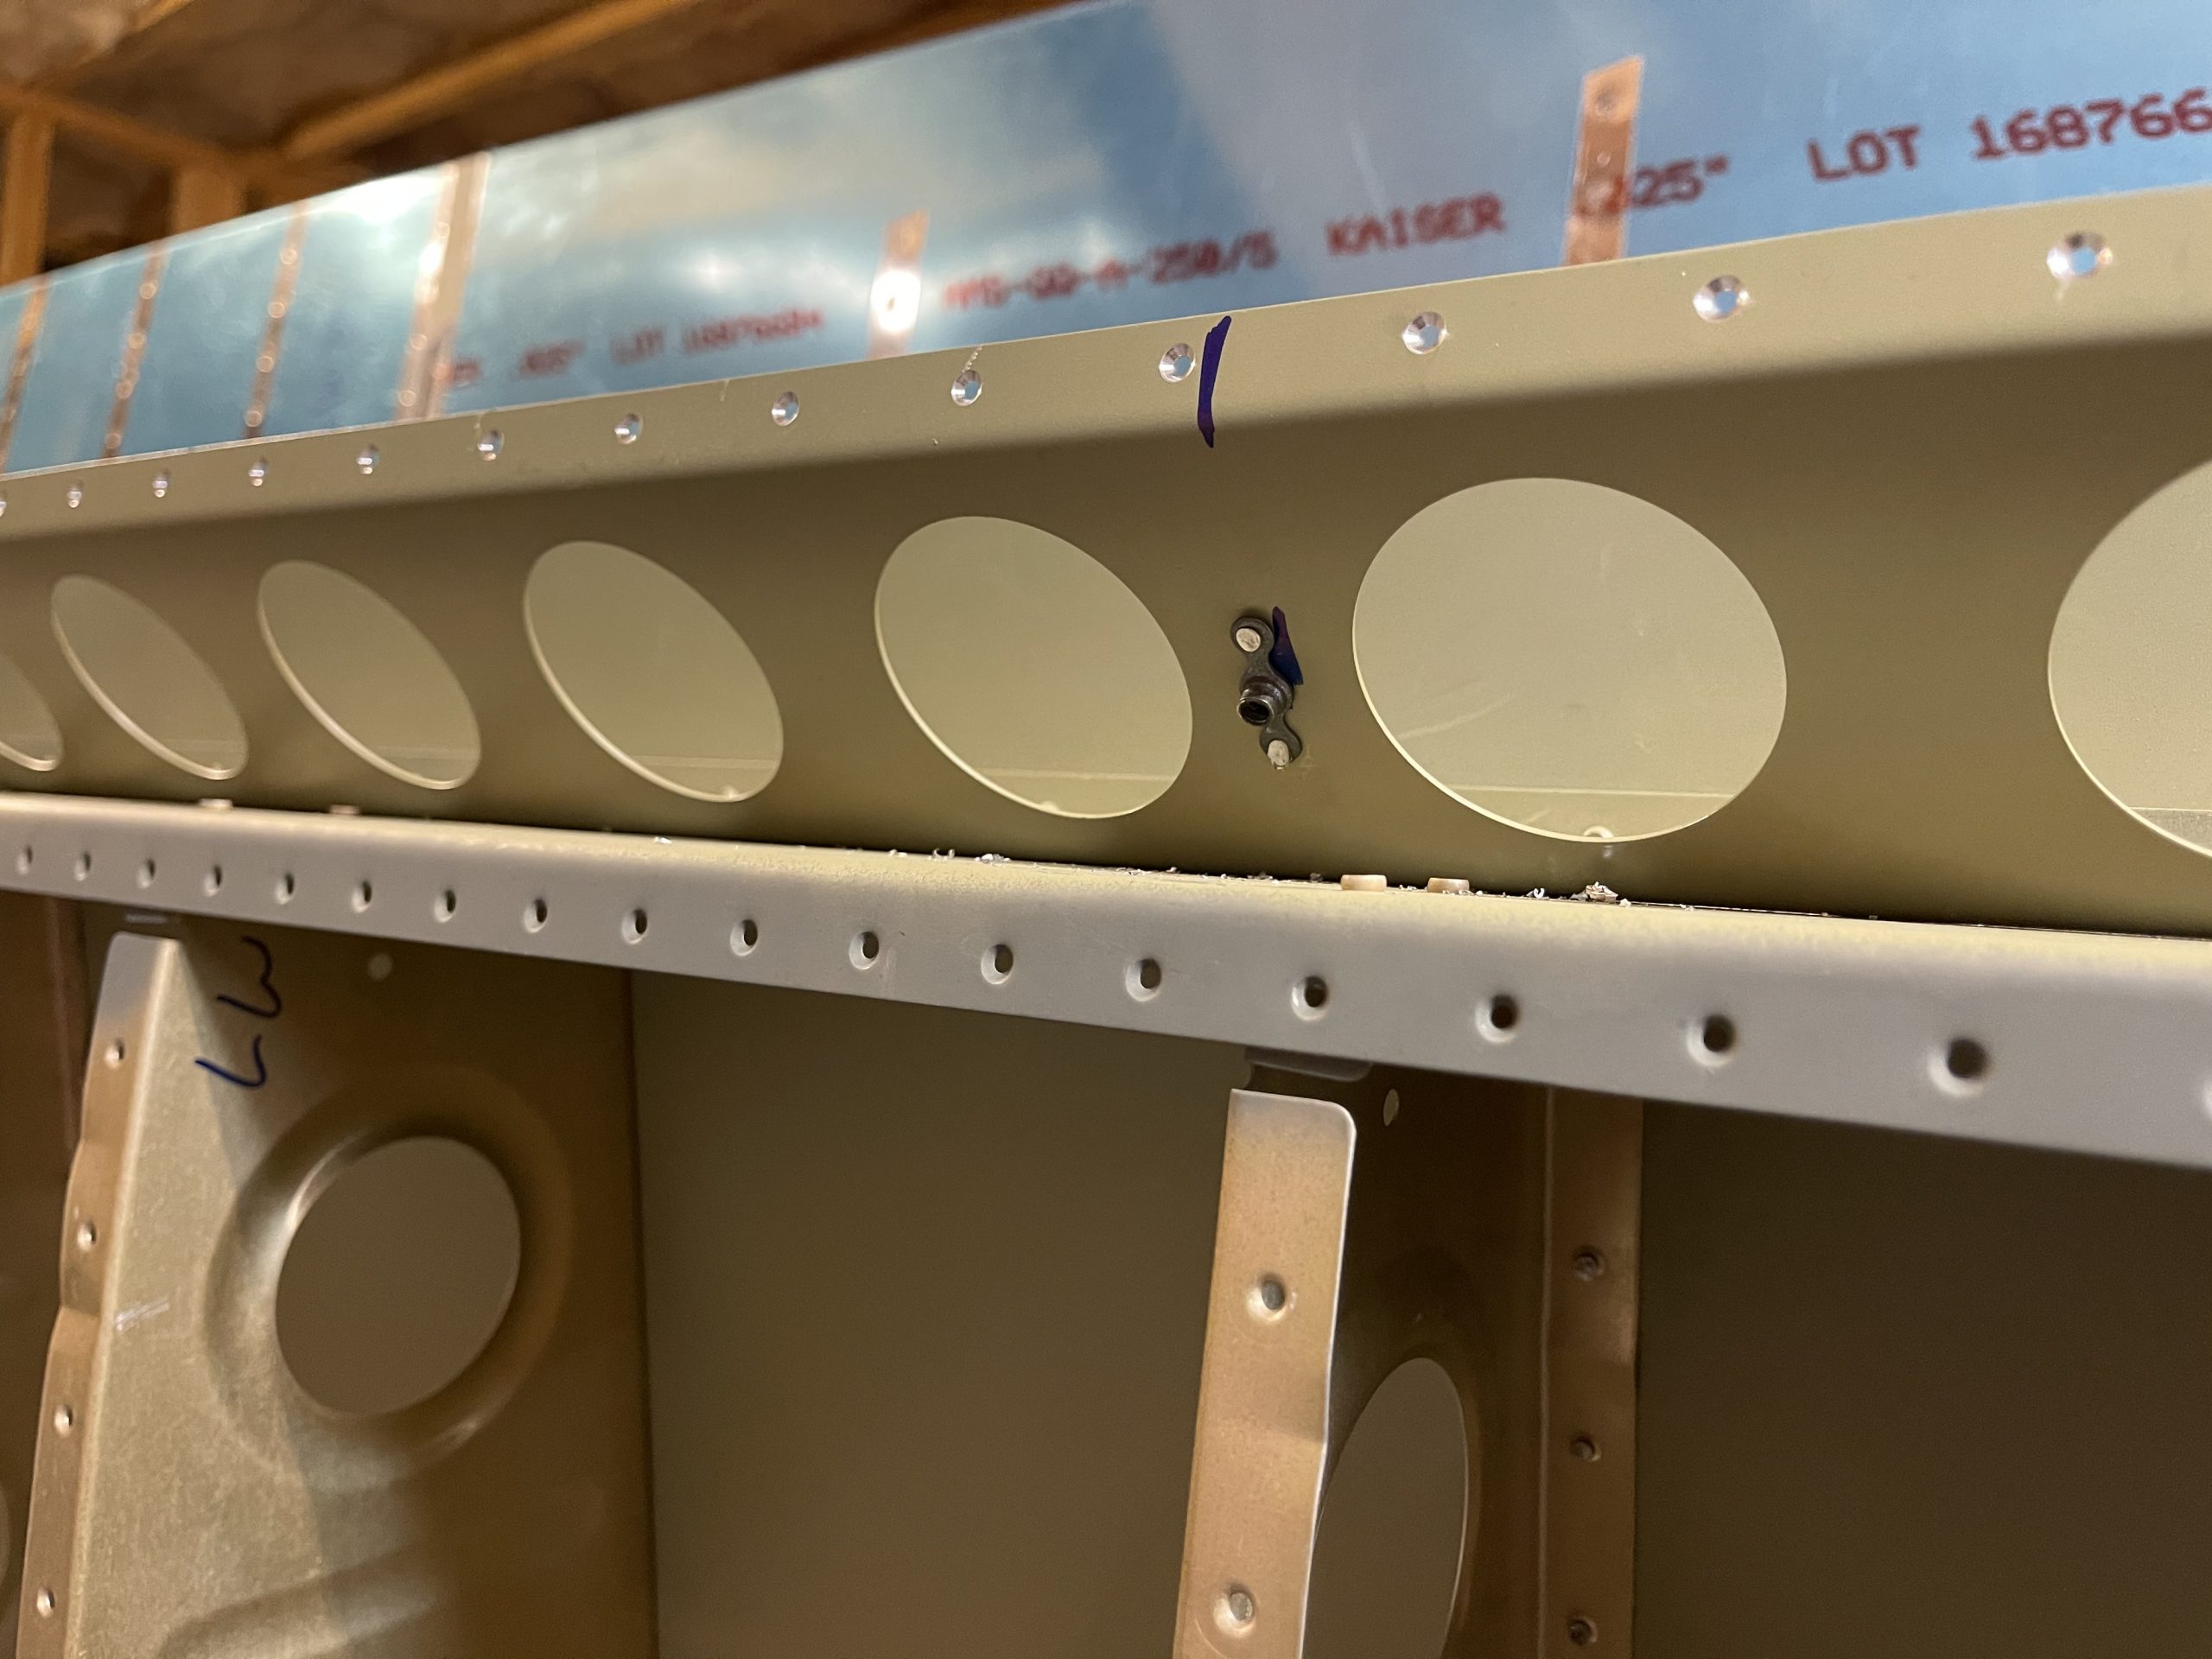
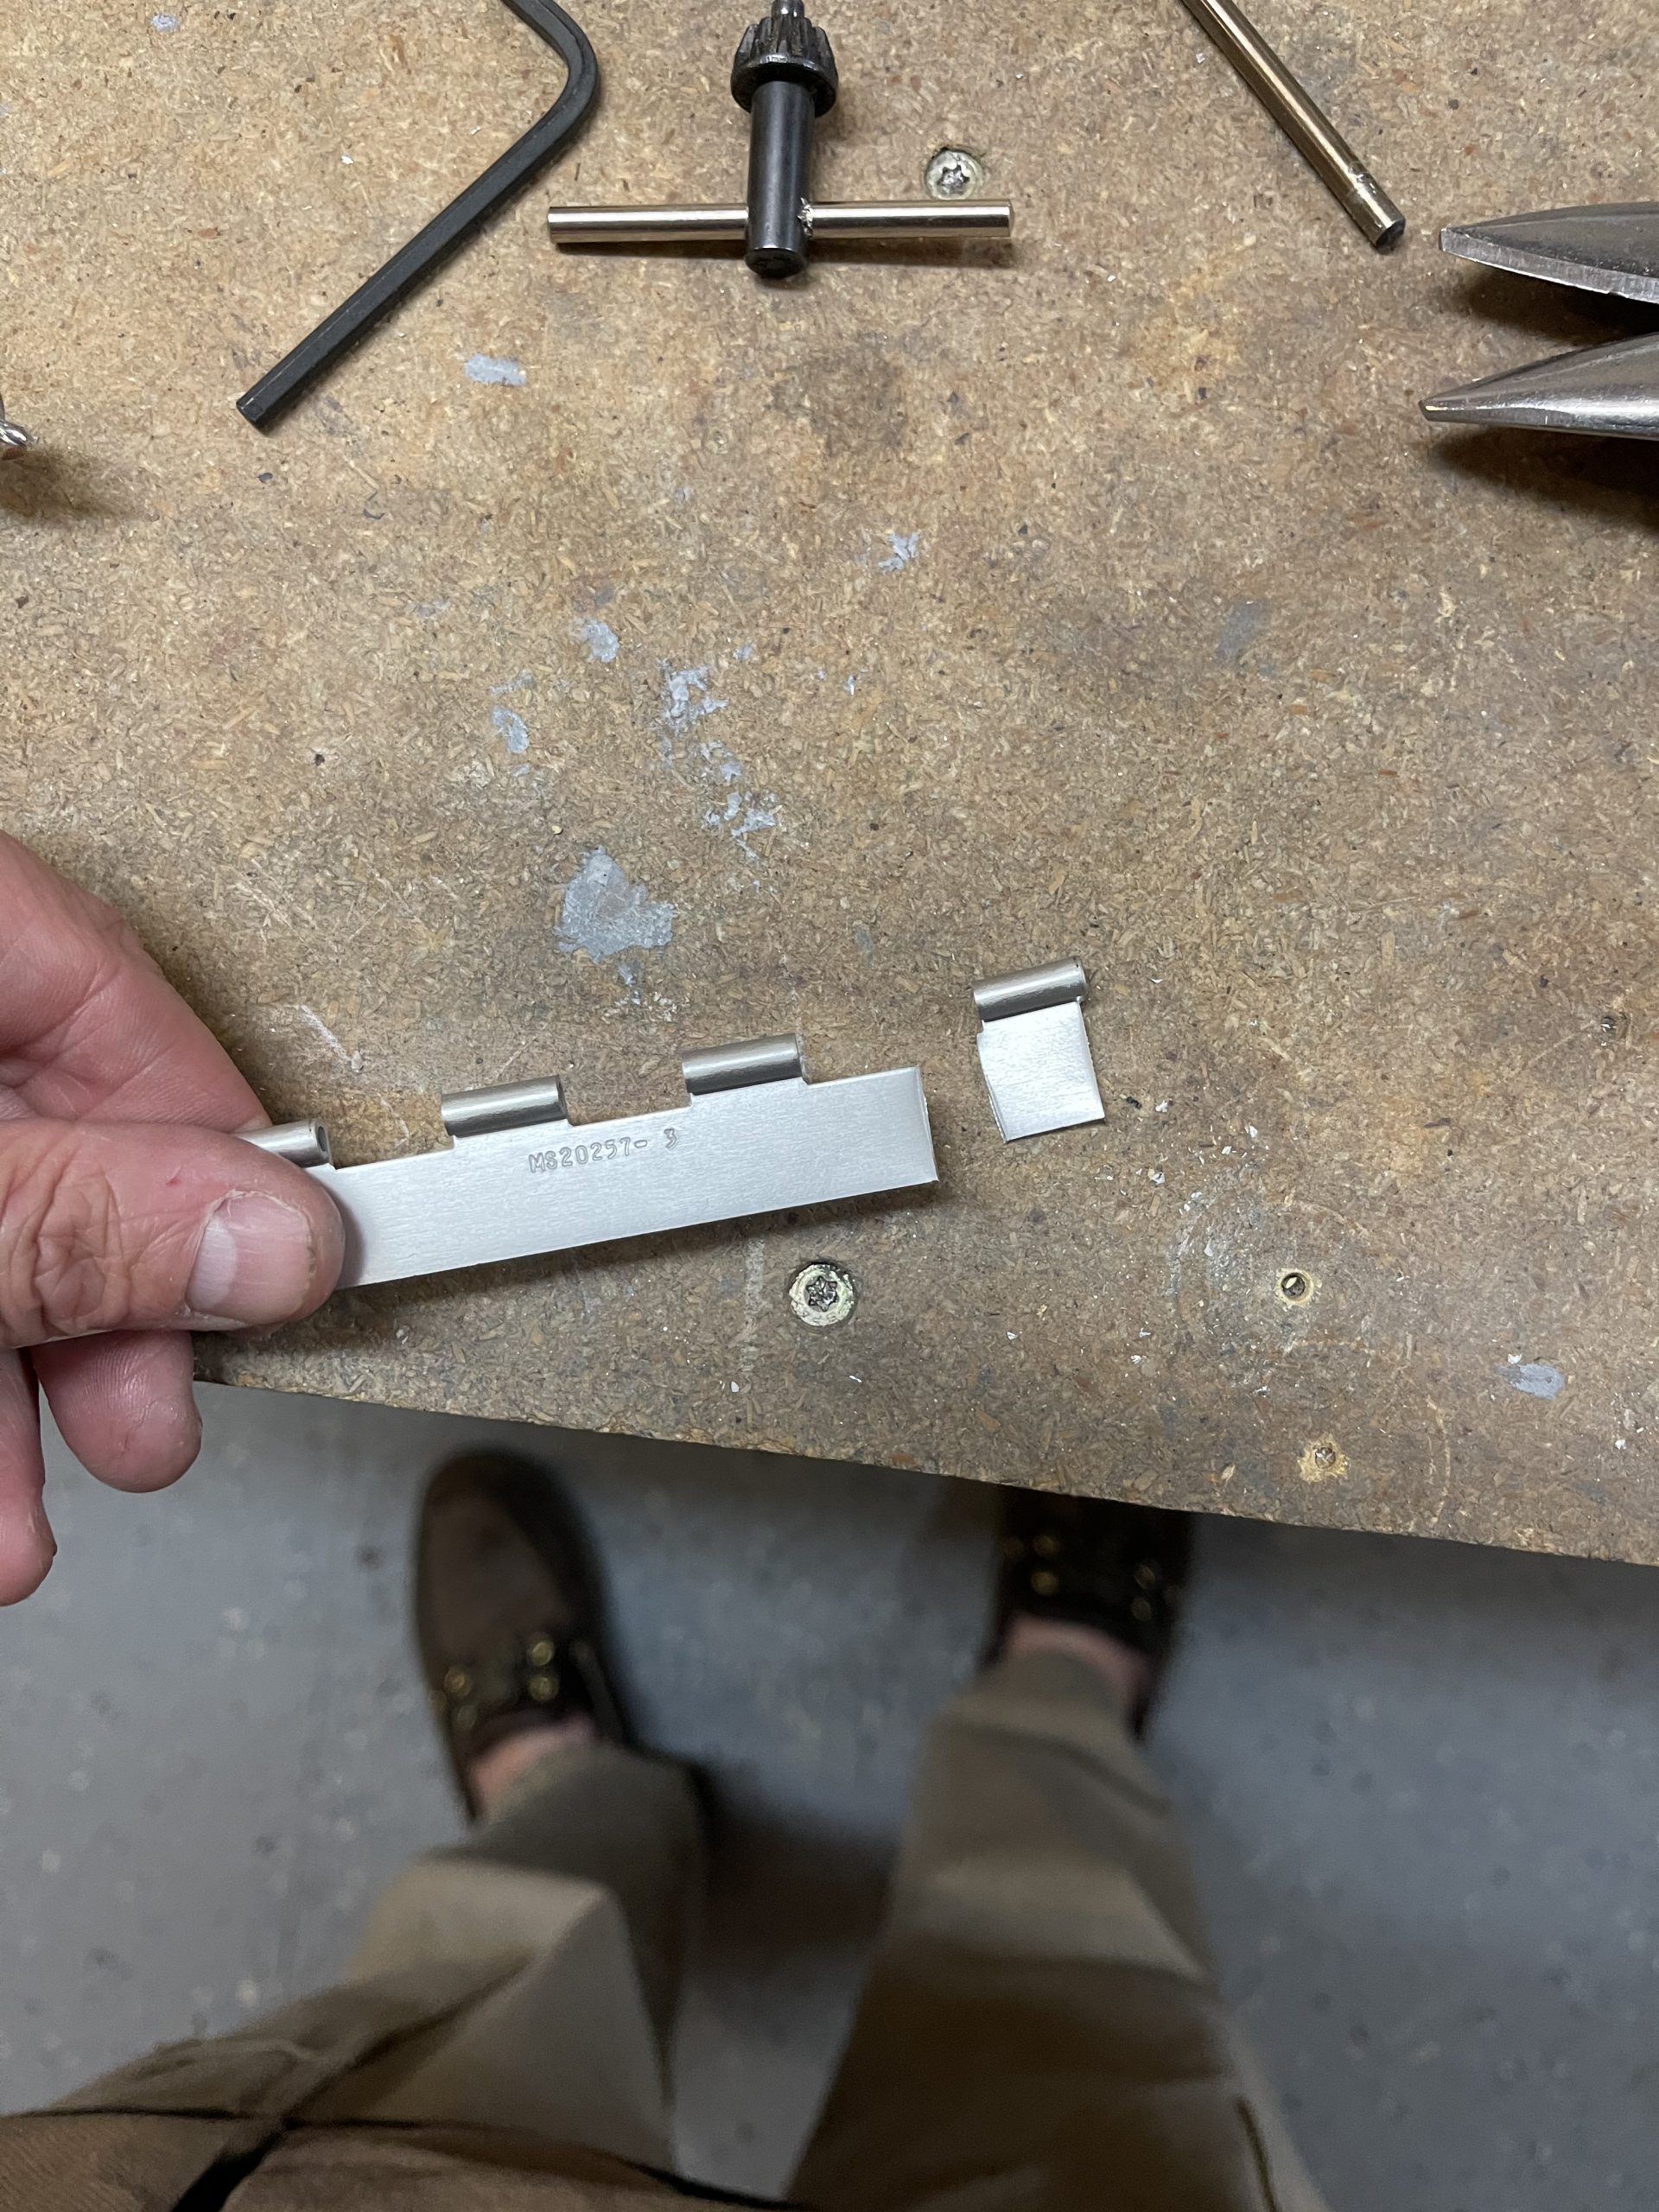
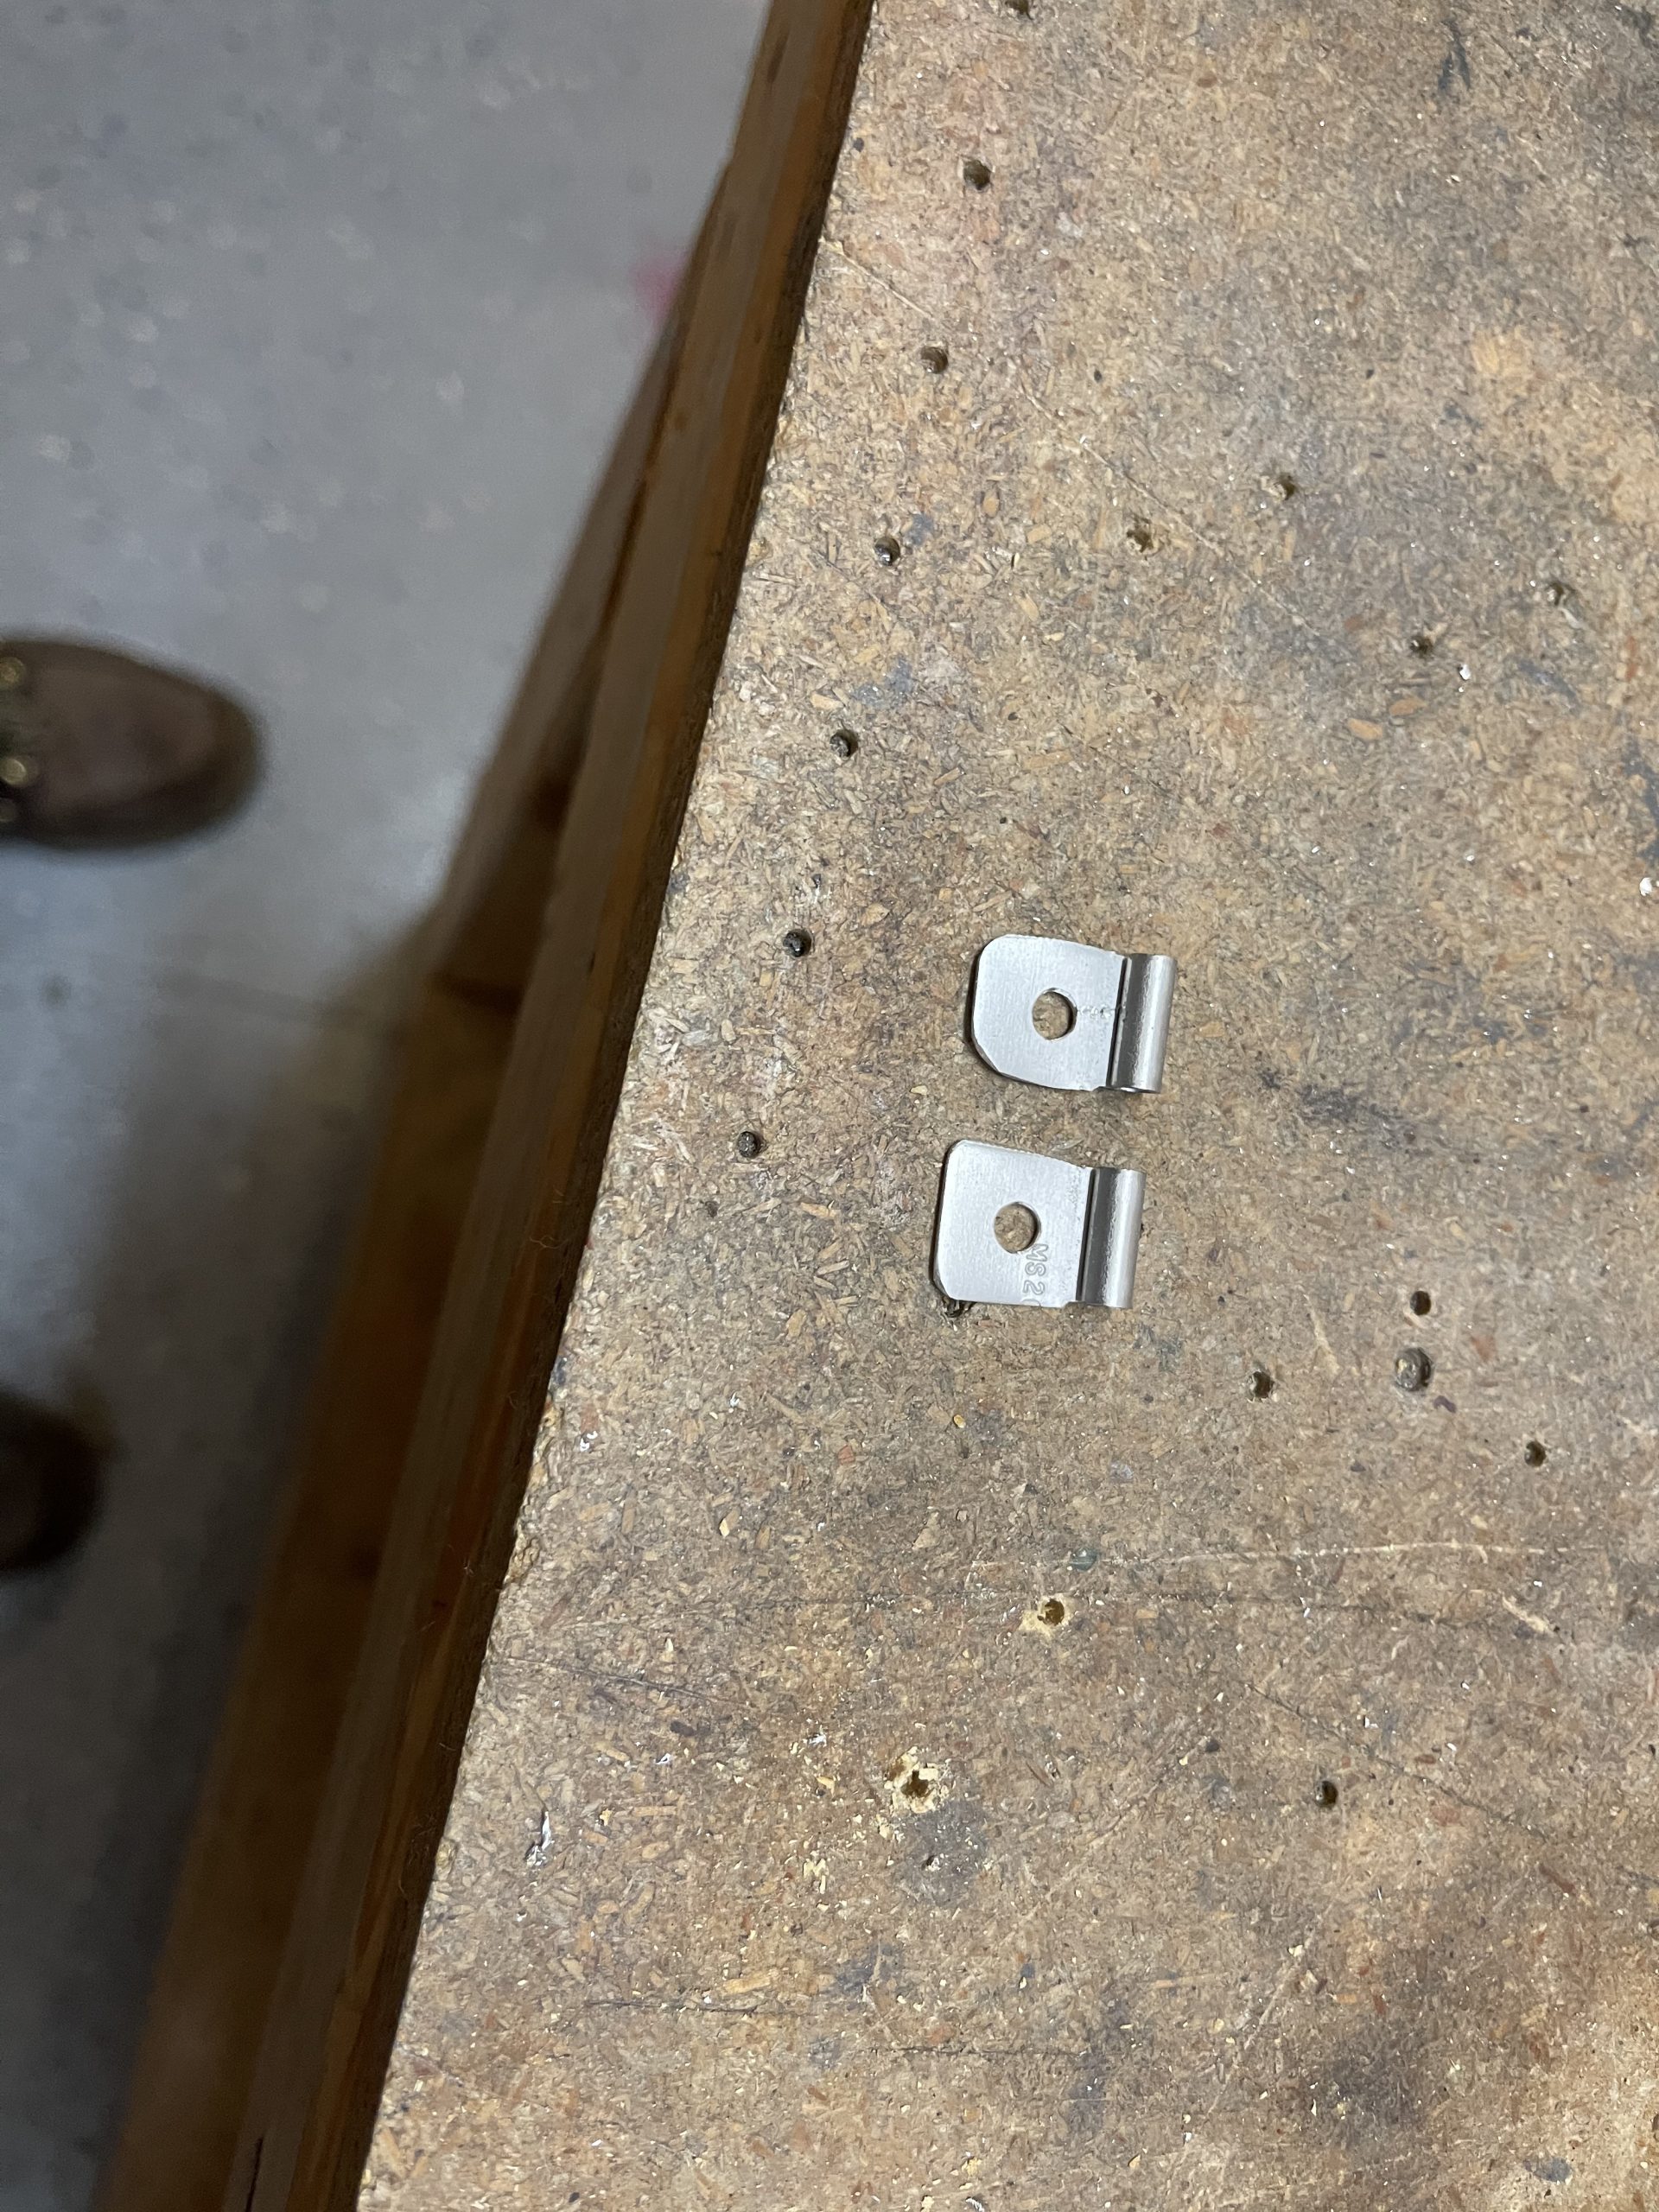
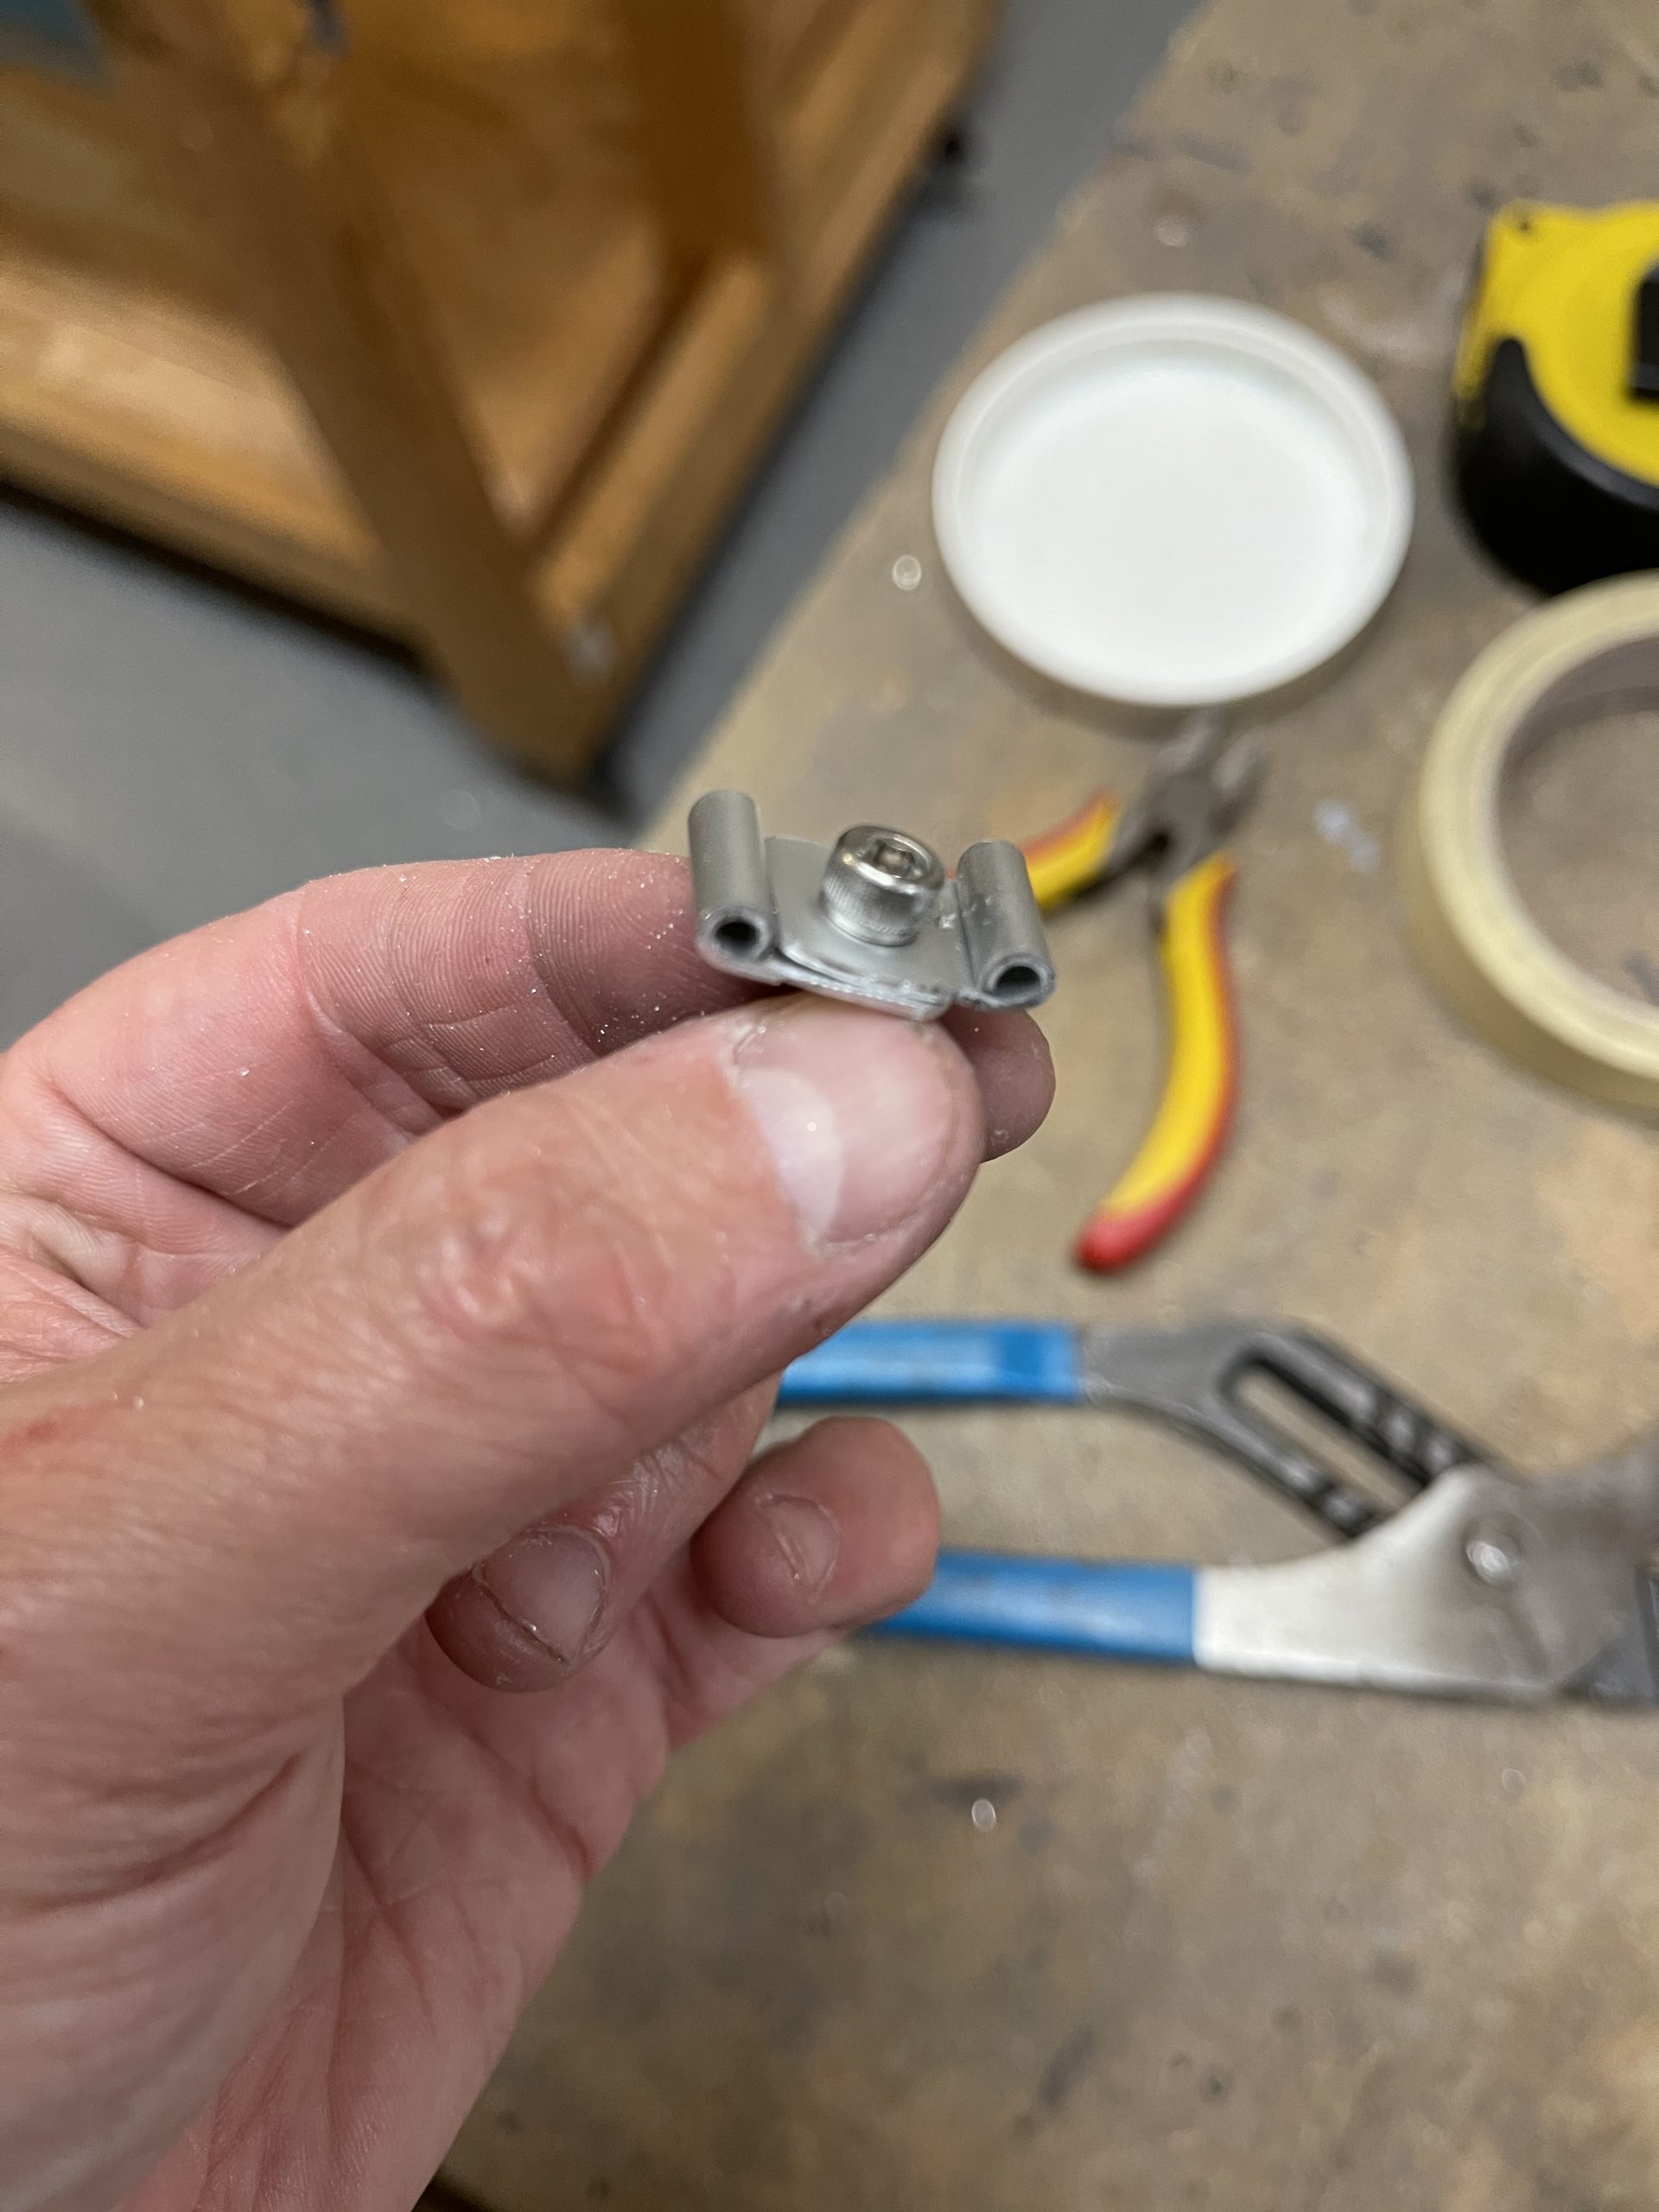
https://www.fogliandpartners.com/giuliano-foglia/ To wrap up for tonight, I decided to go ahead and make the “ears” that will secure the hinge pins to this flapbrace via the nutplate. I grabbed some scrap piano hinge, and snipped of two eyelets. Then trimmed them to the shape I needed. Followed by drilling them with a #19 hole to fit the screw.
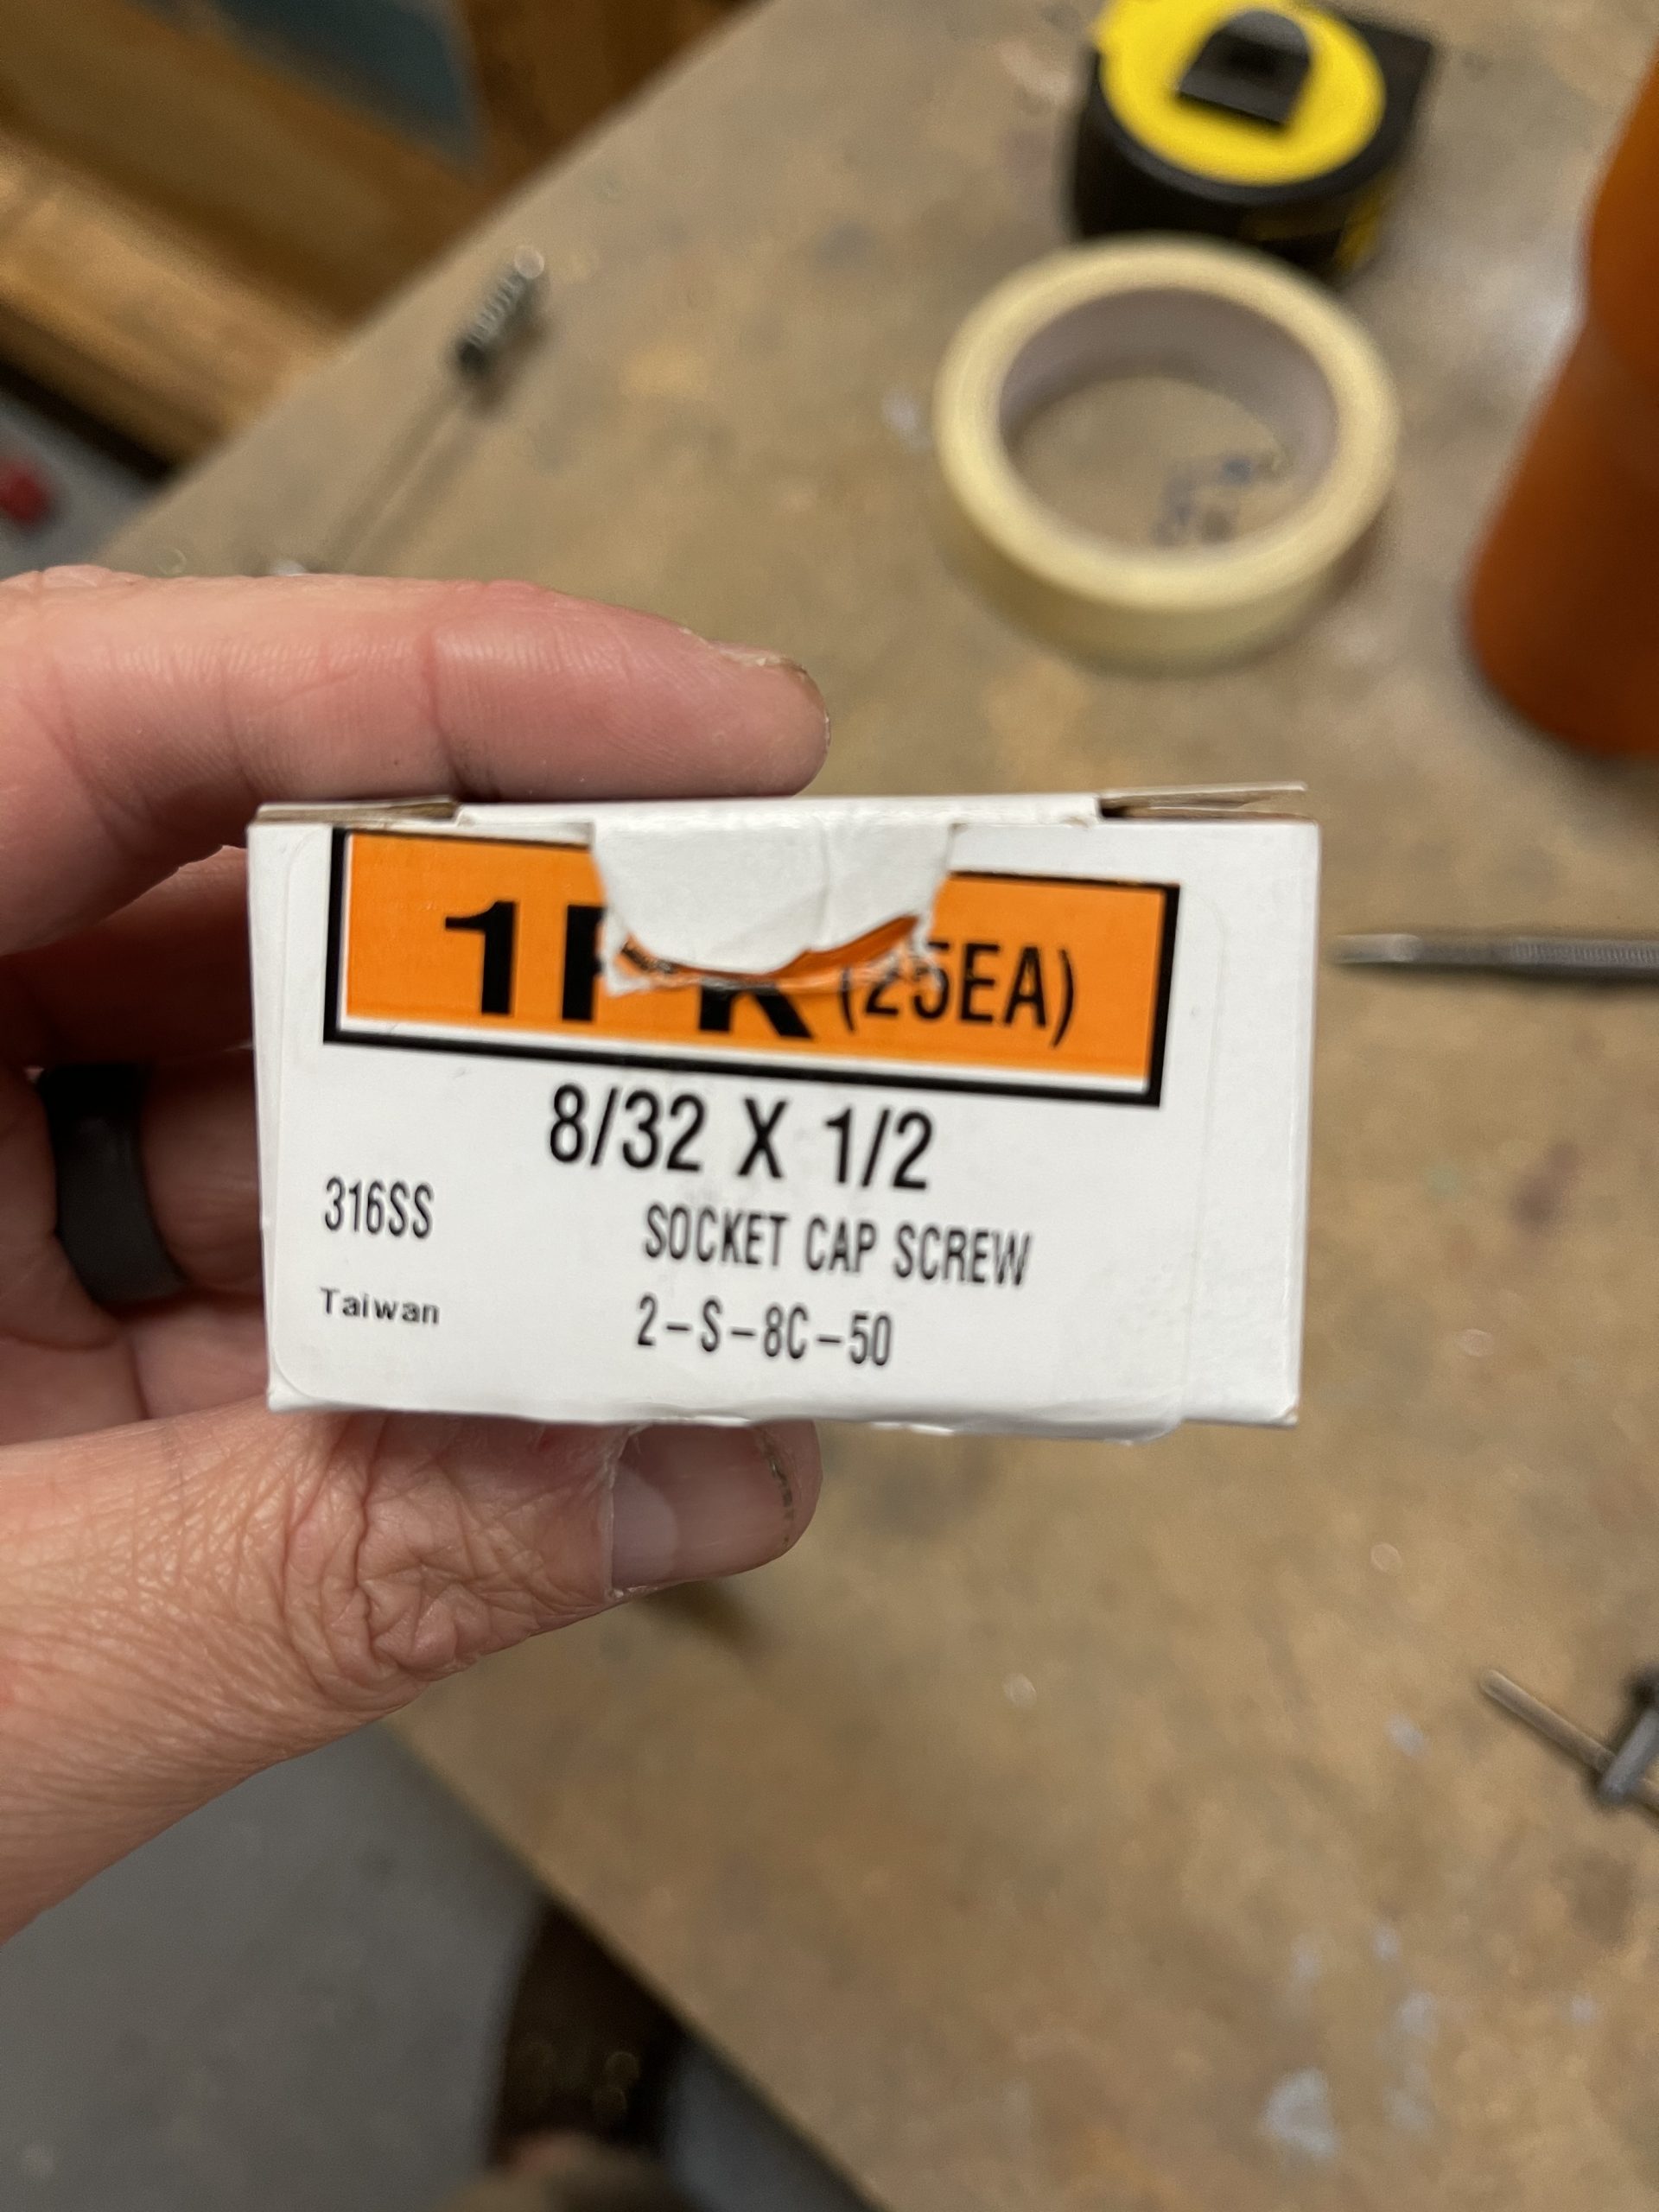
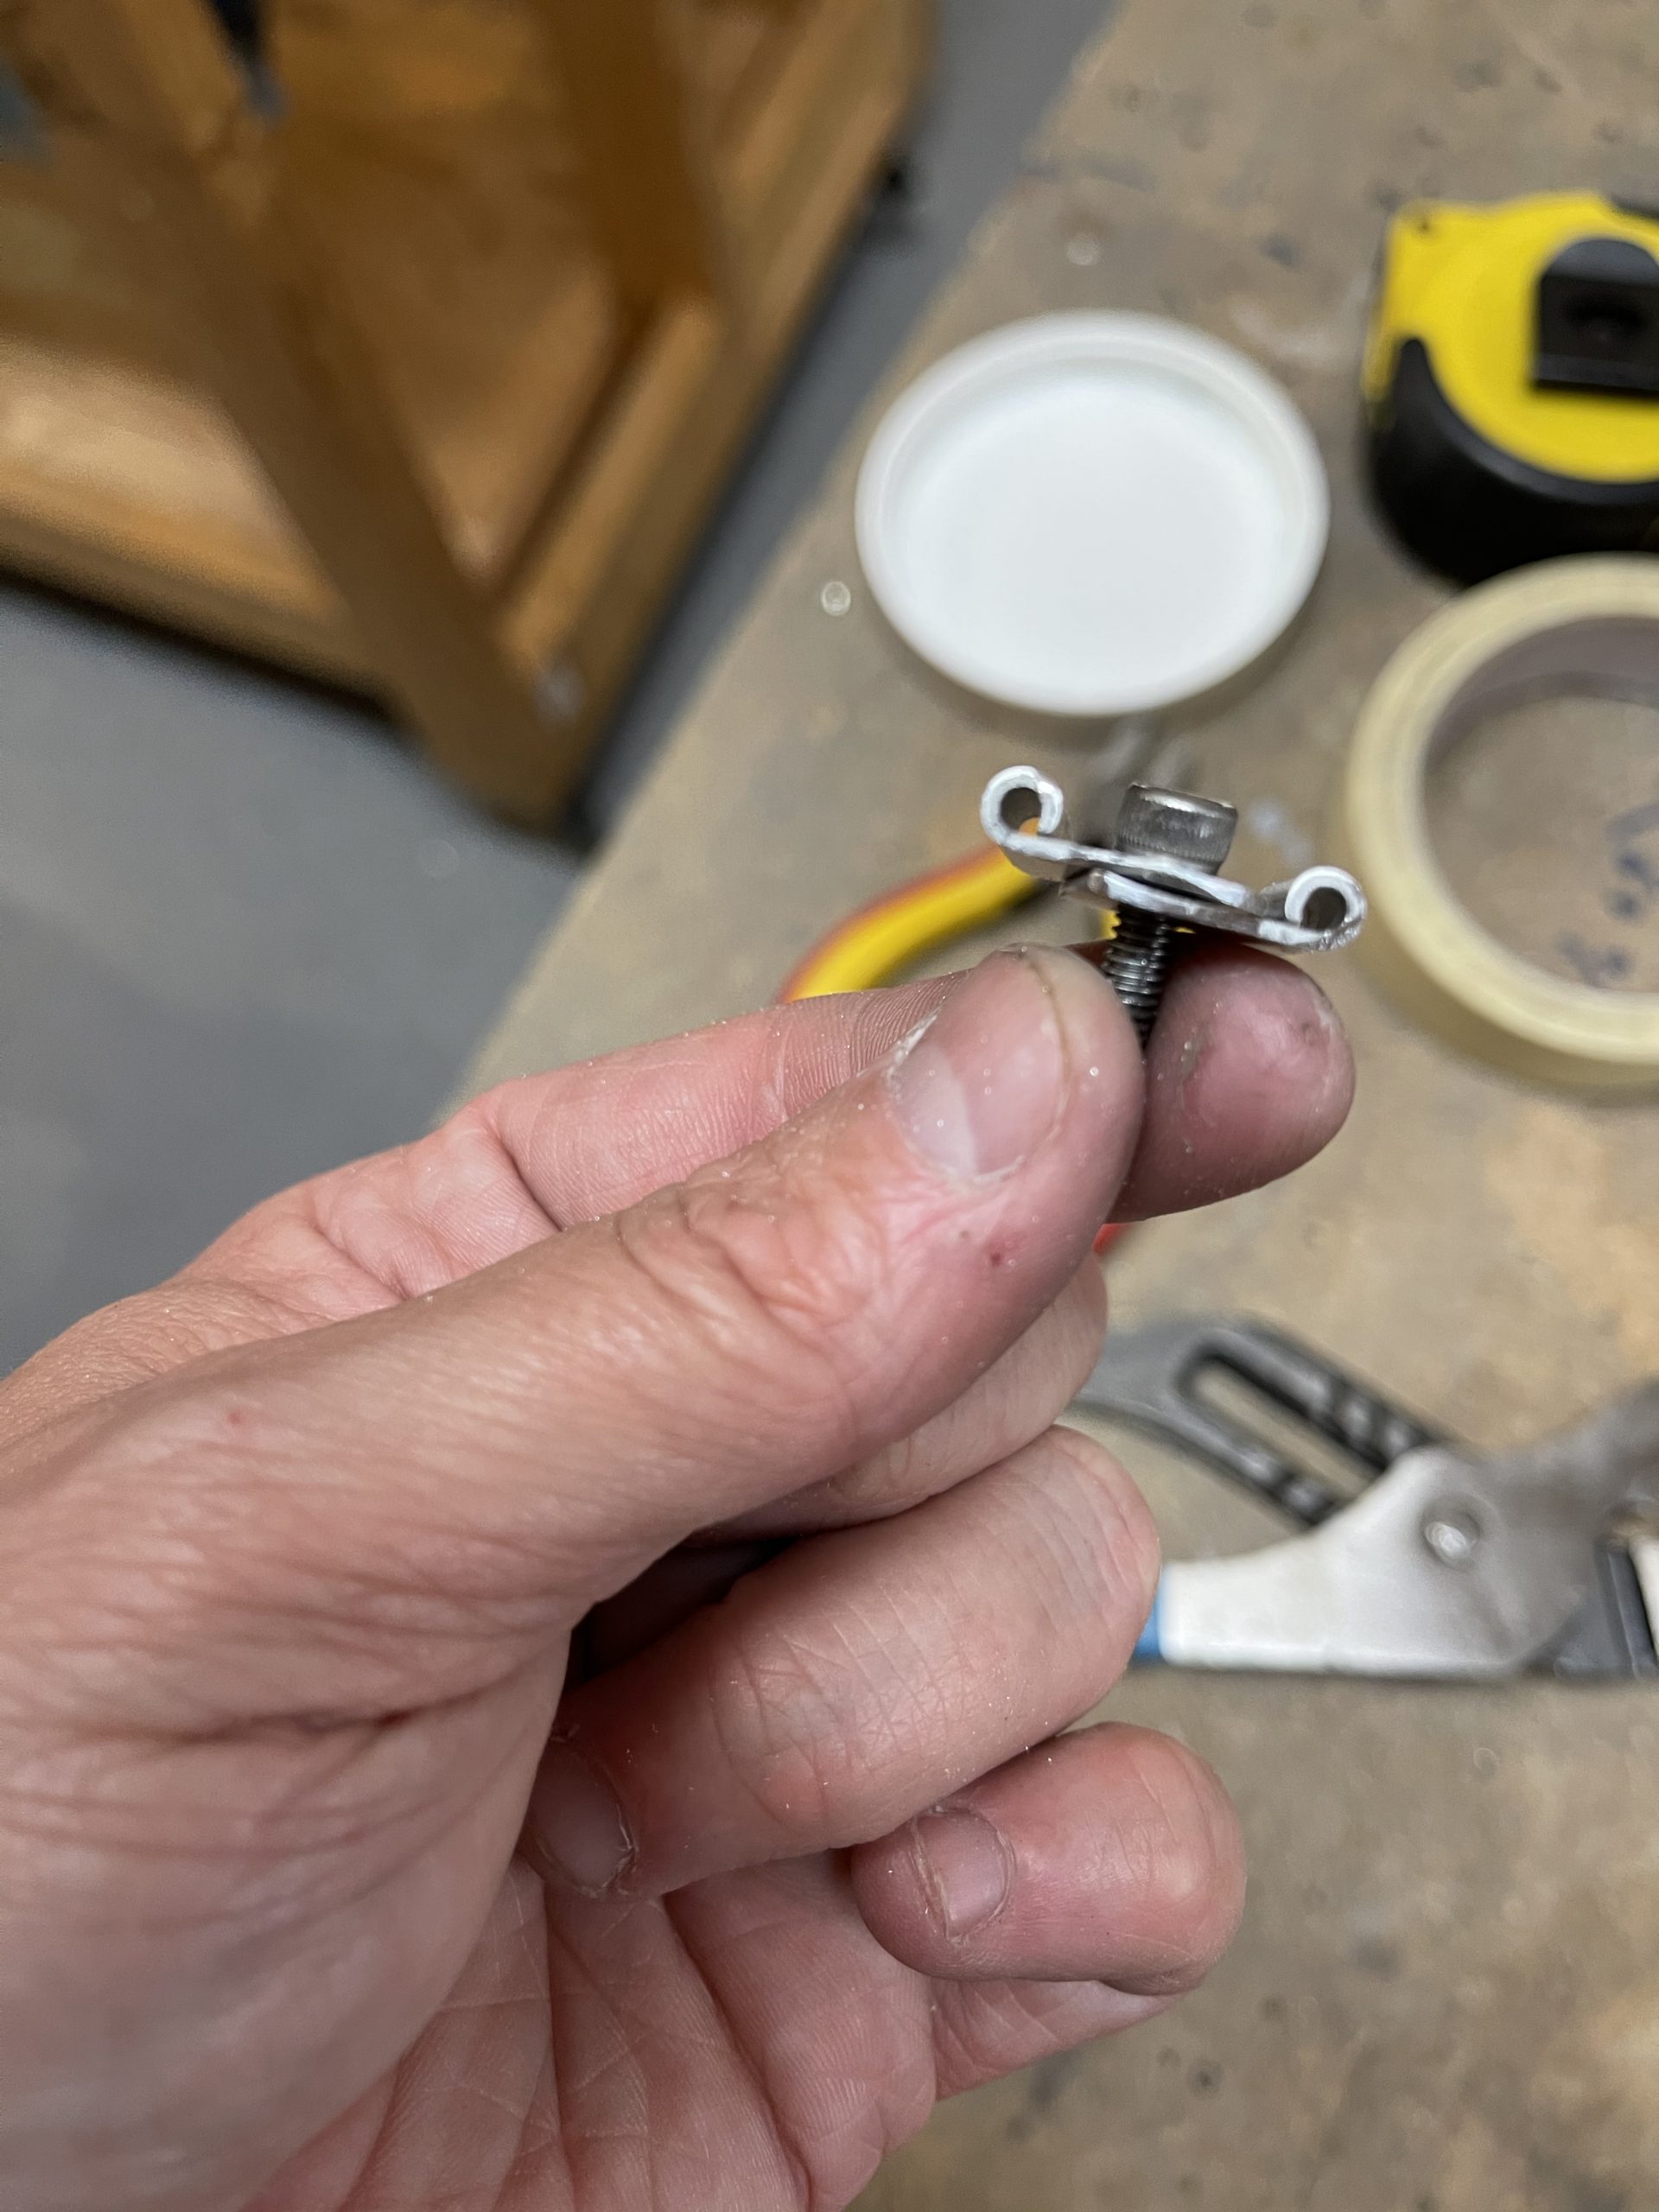
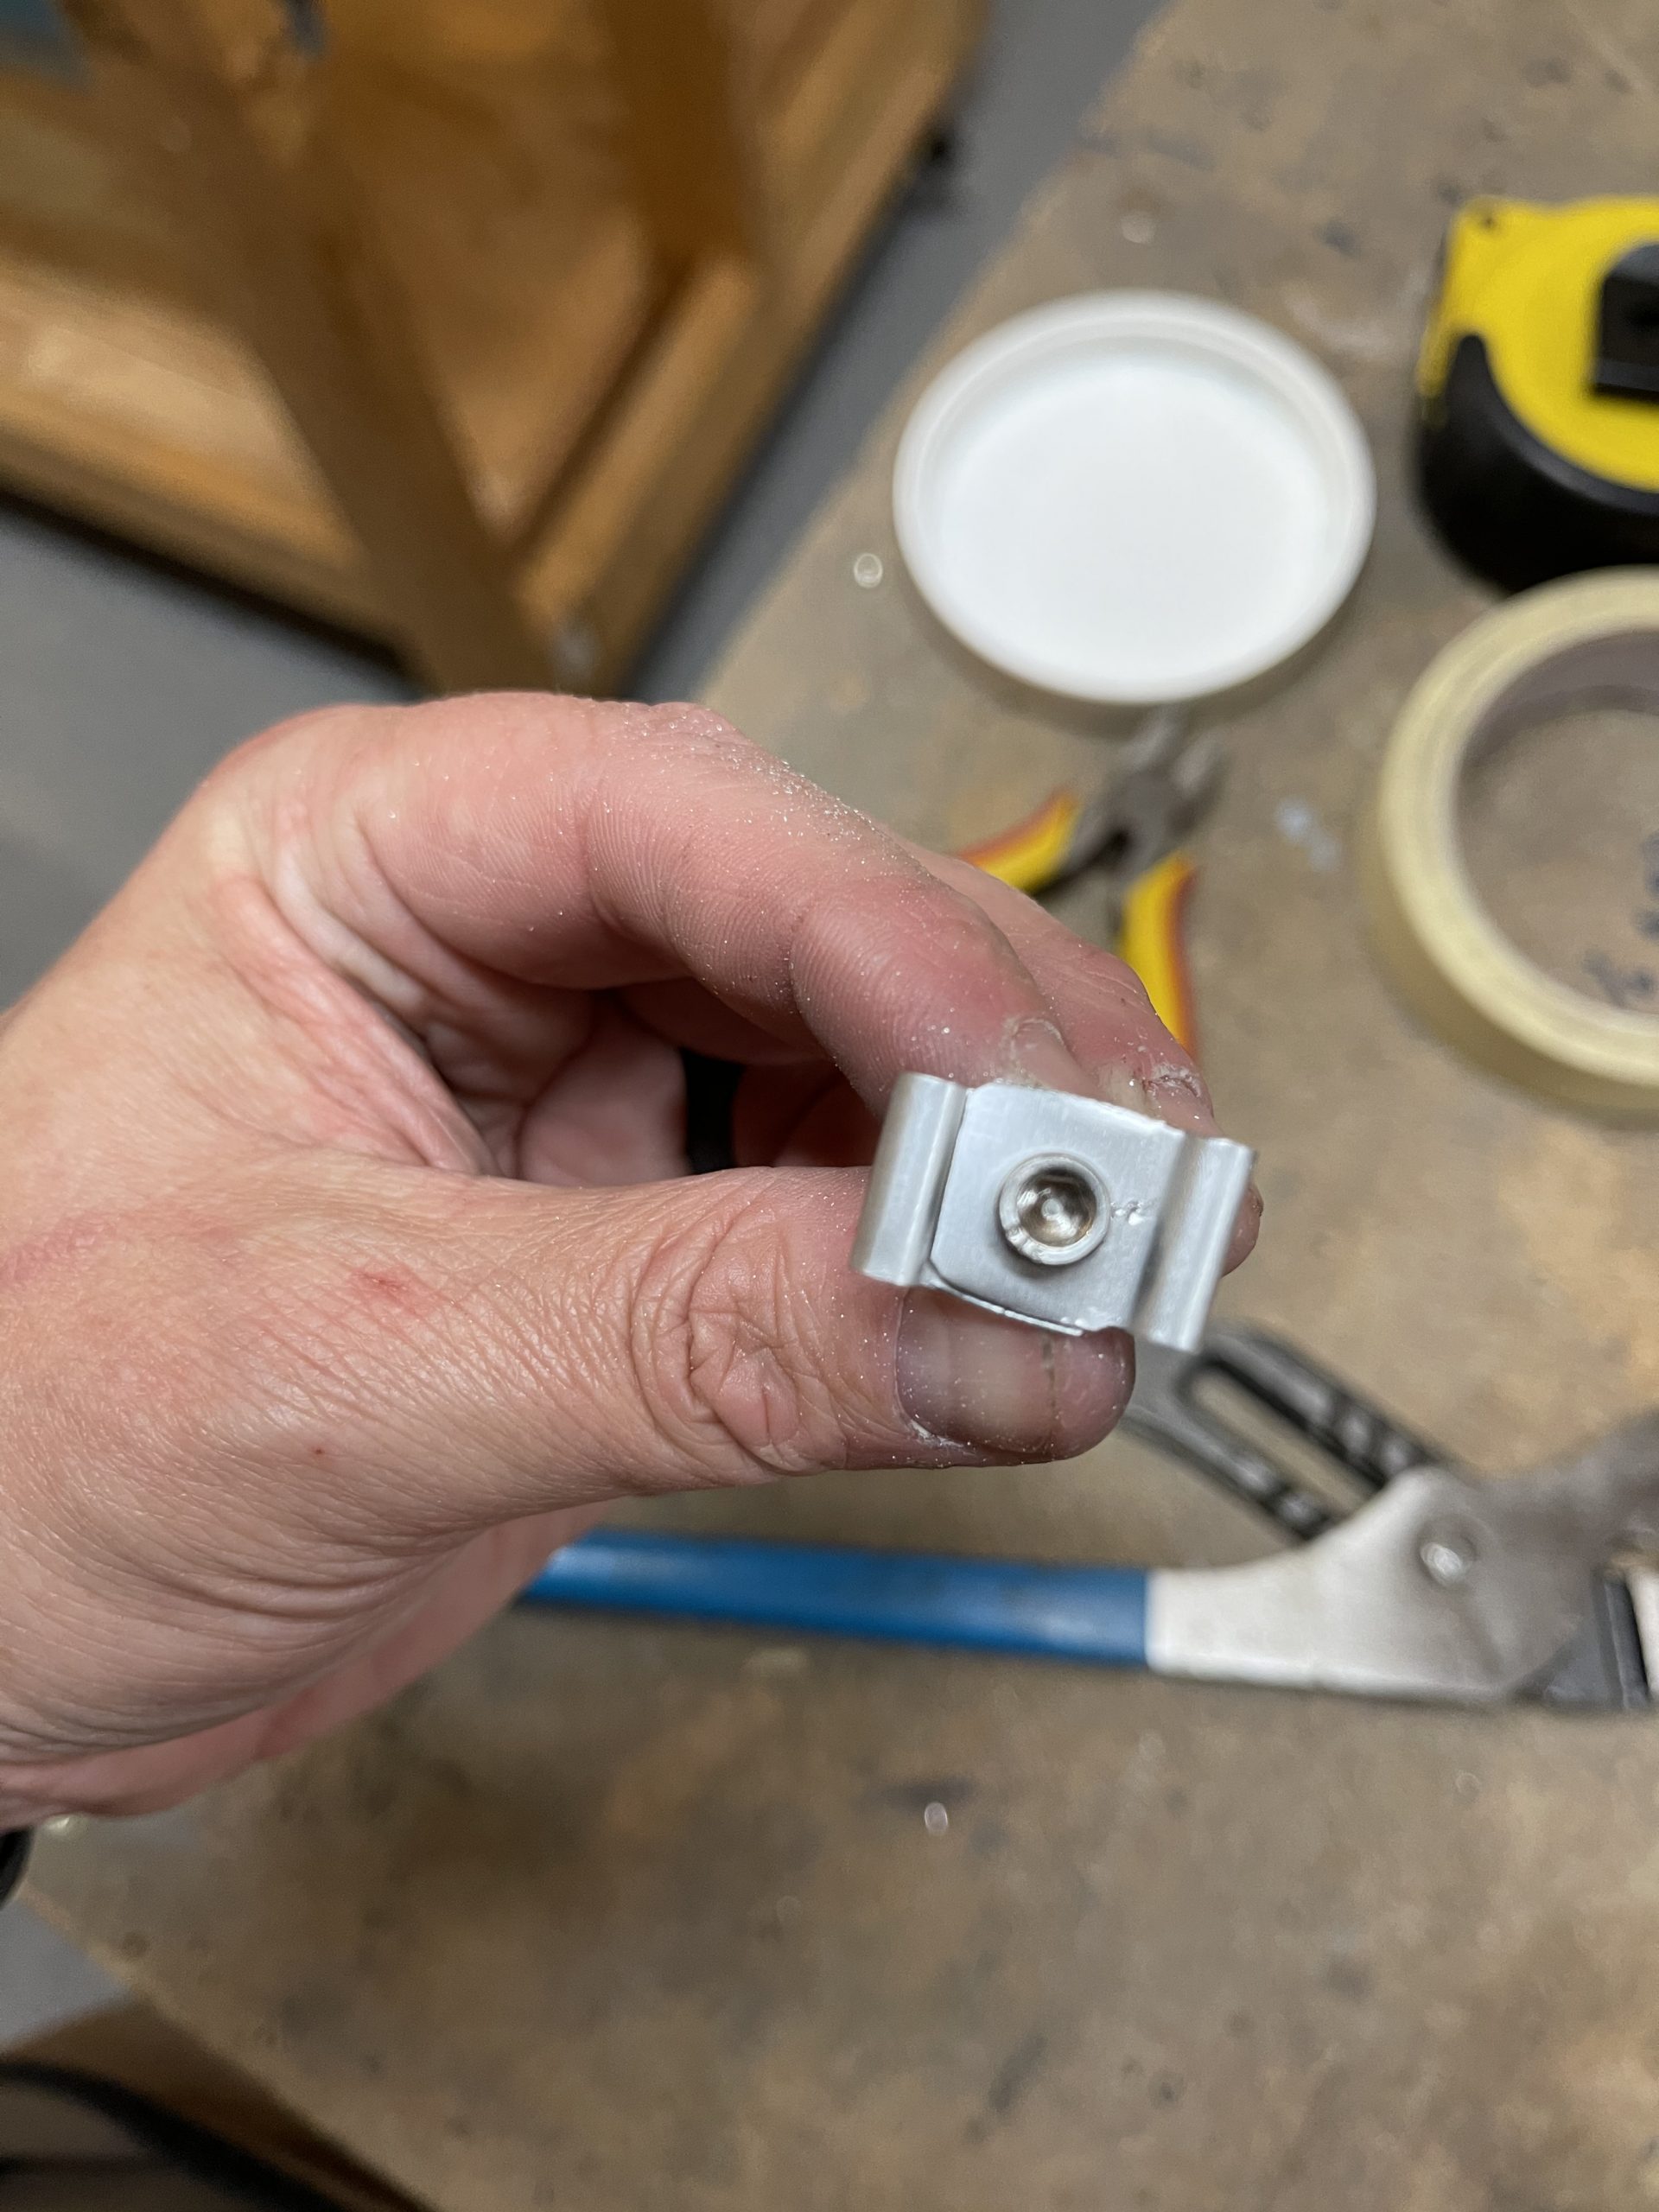
https://musicboxcle.com/about/ I am going to use some stainless steel capscrews to make things easier to work with when I need to remove the flaps. Heres the ones I am using:
Zolpidem Buy Online With a little trimming, I made sure that the eyelets I am using as “ears” for the hinge pins will sit on top of each other with the screw in place.
go And thats it for the night. These will ultimately end up like I used on the right flap last night. Here’s a picture of how I am planning on using these. It might make things a little more easier to picture out their use:
https://auracareclinic.com/impacted-teeth/ 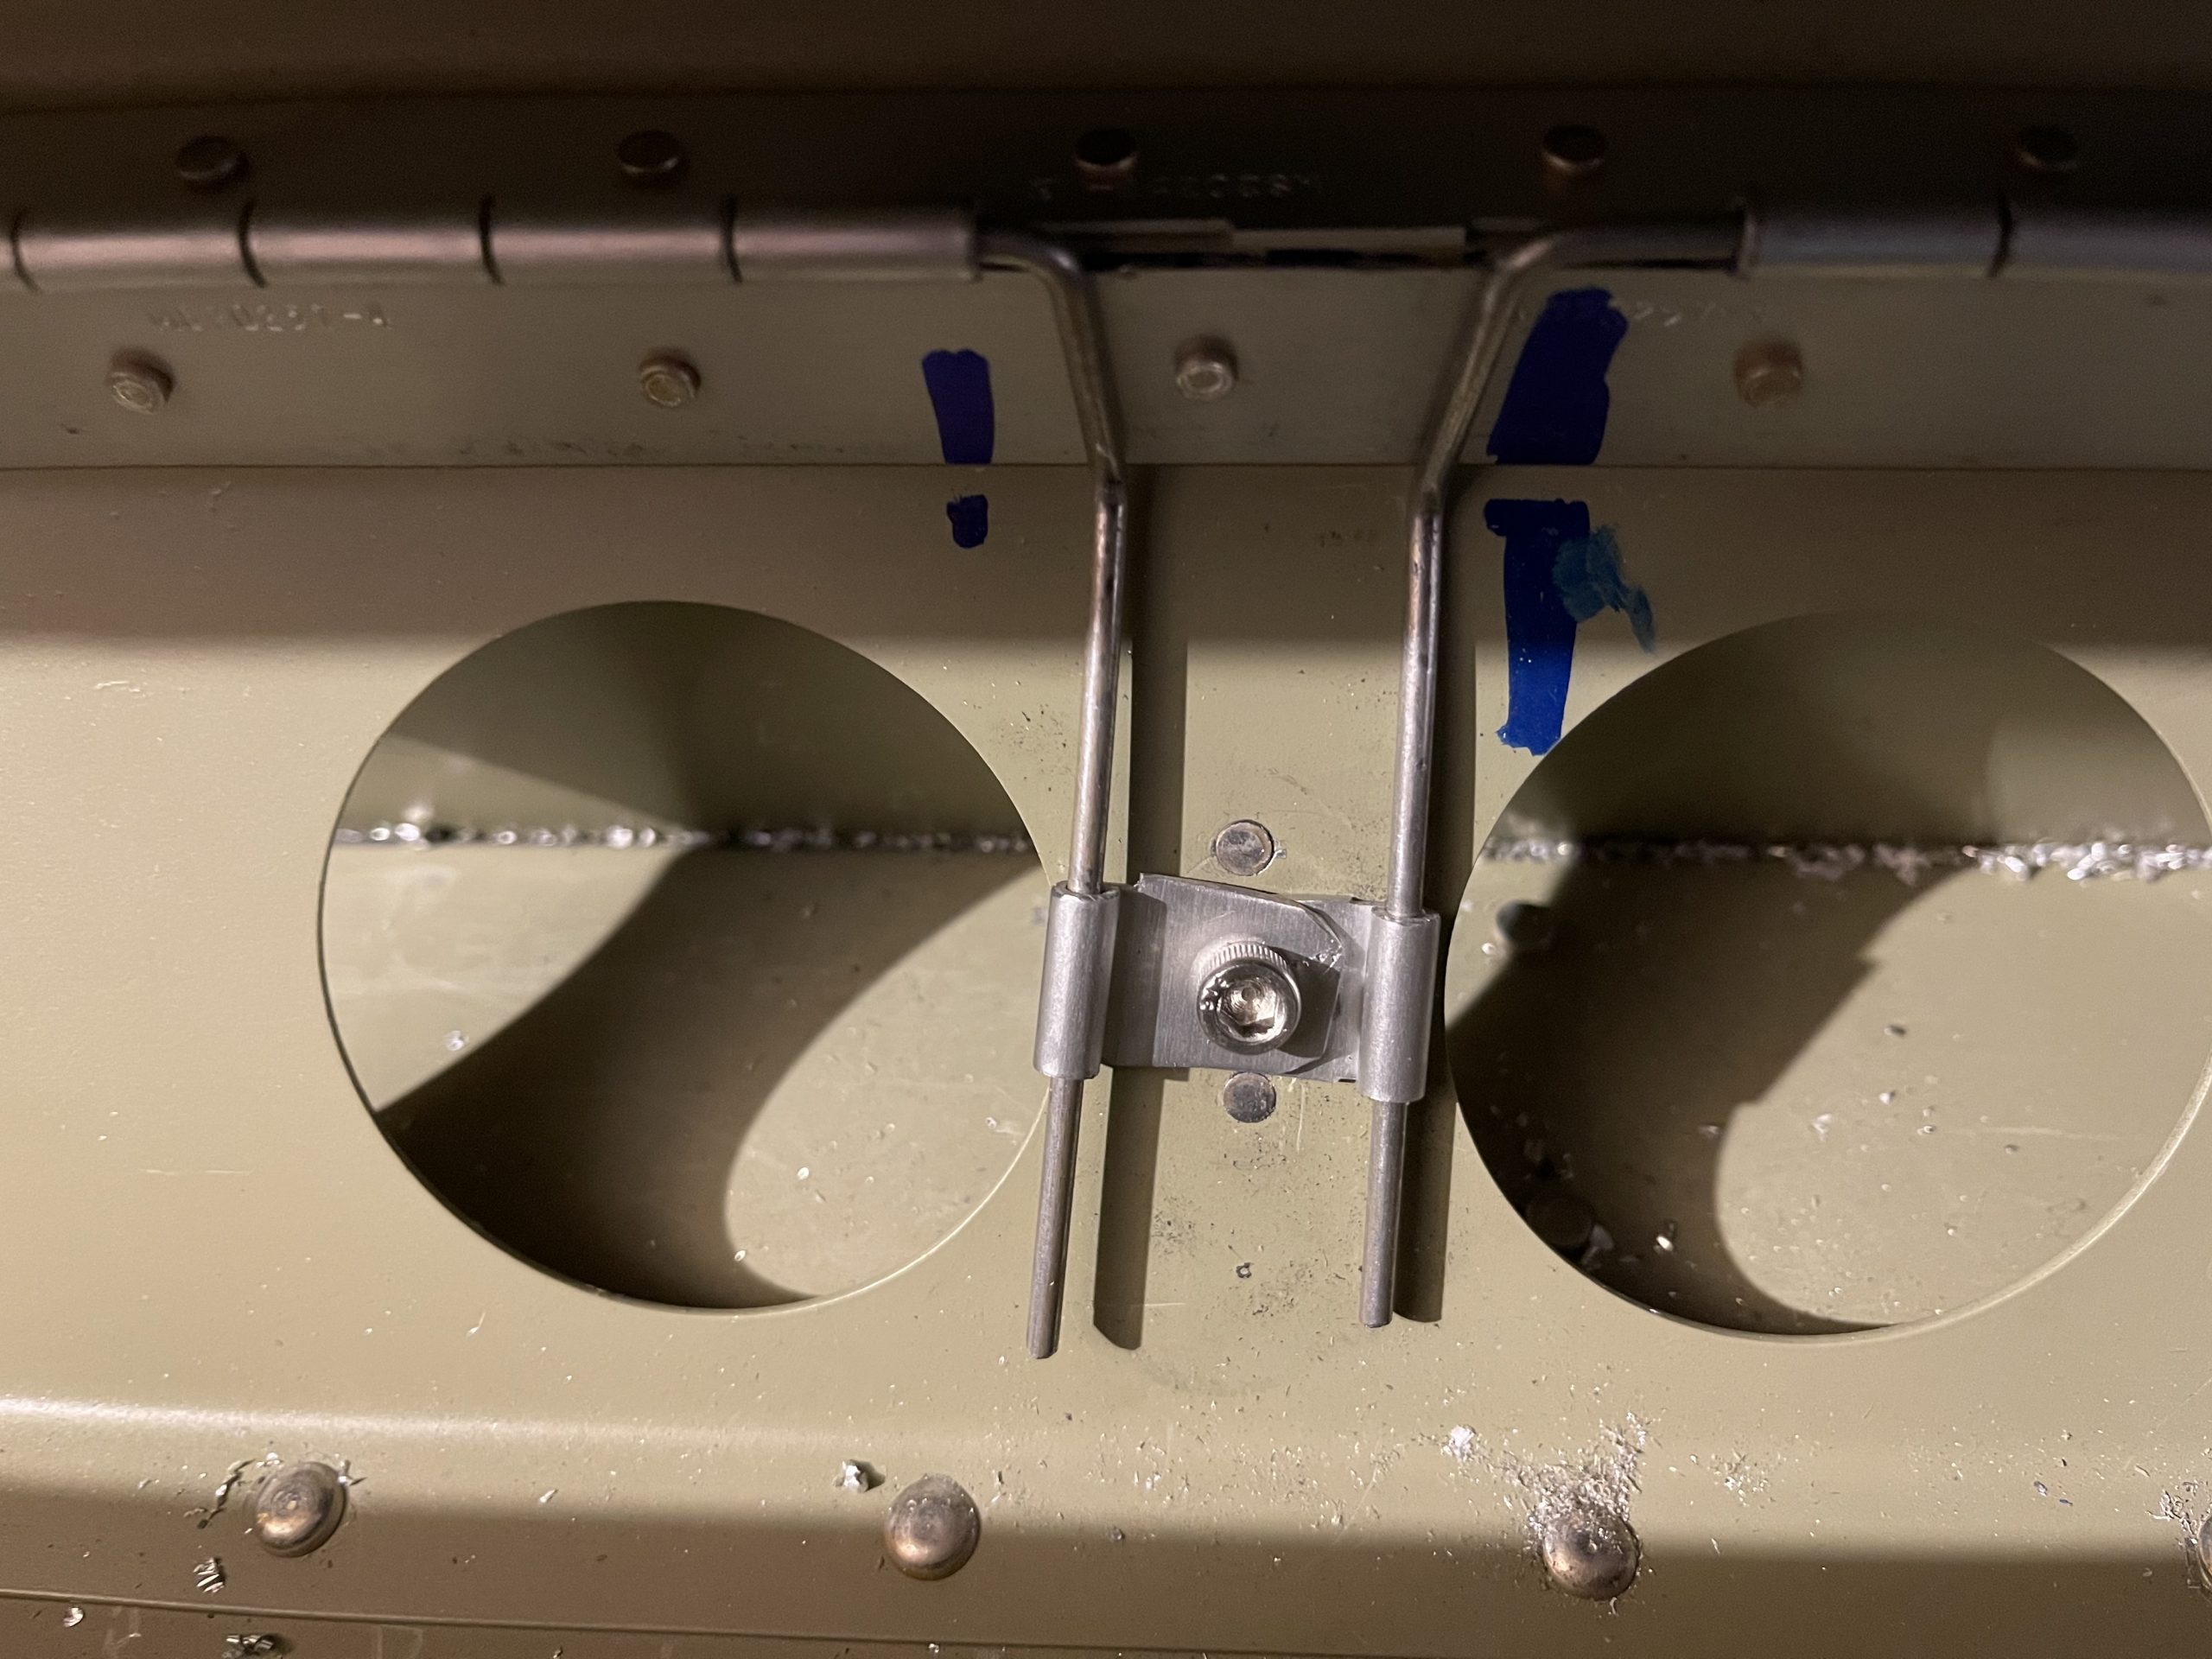
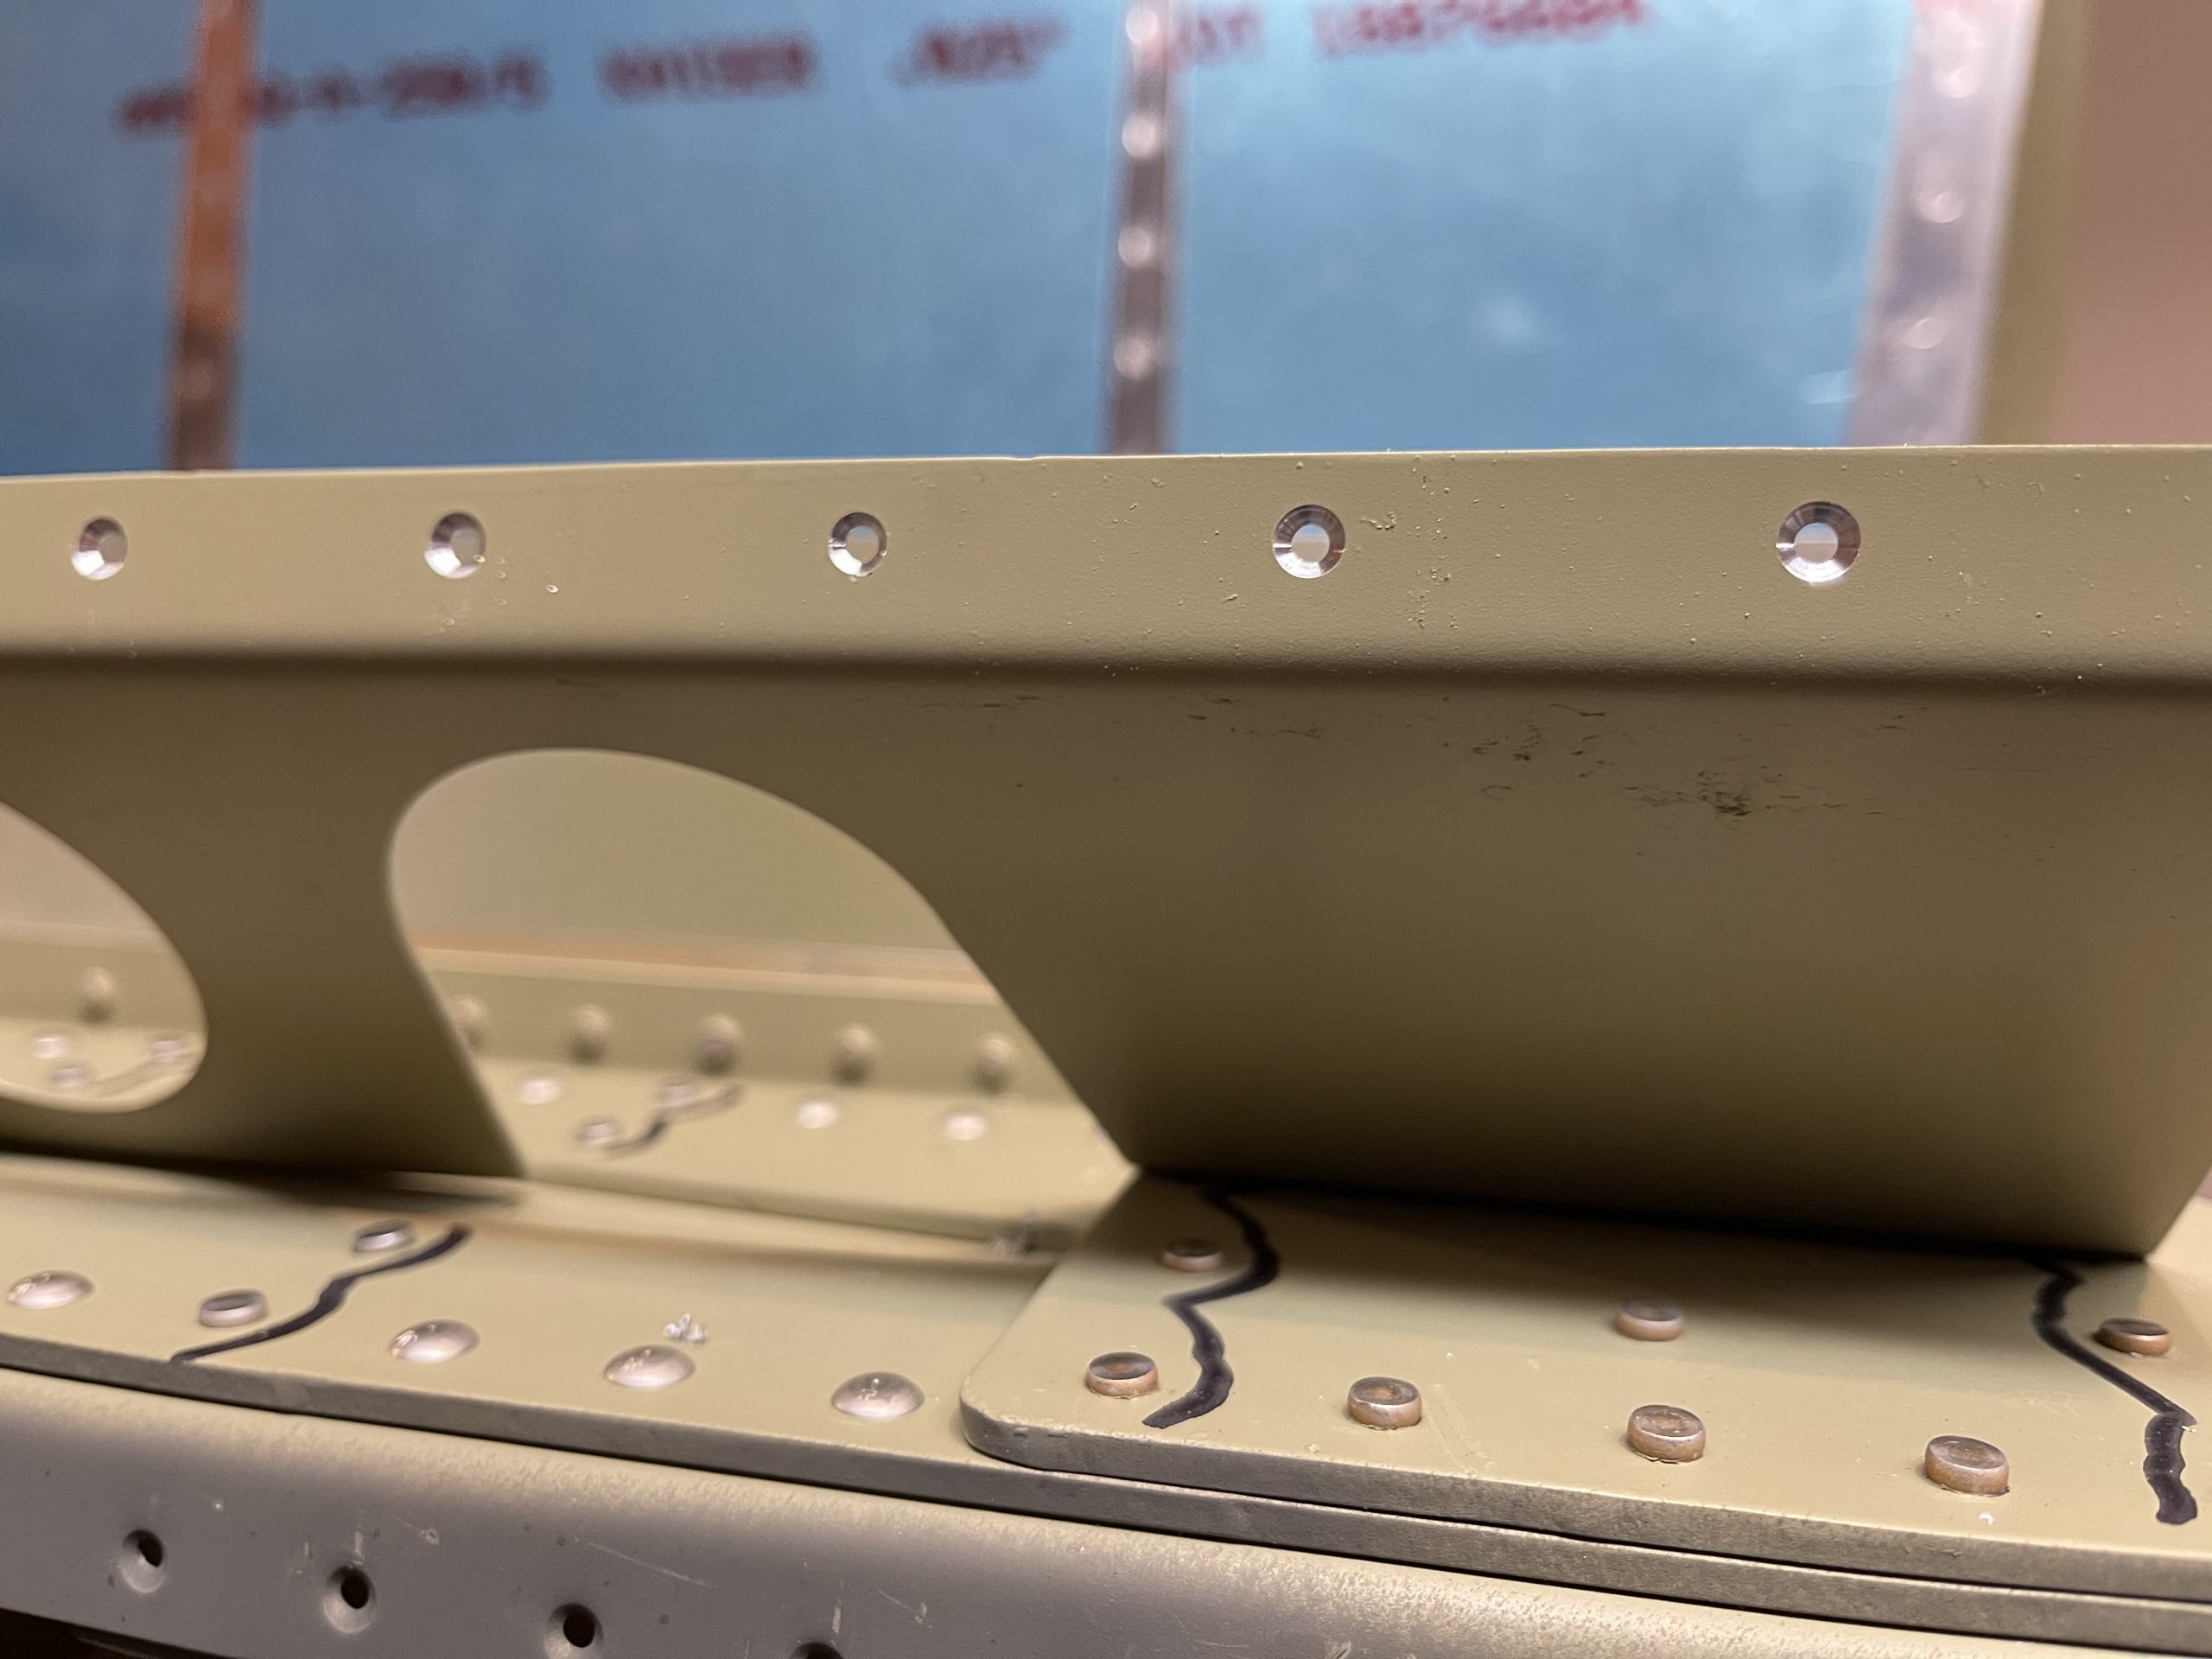
https://yourartbeat.net/creative-service-entwurf/ Thats it for tonight. I’ll probably align and drill the flap hinge in the next session, leaving only the skins to be riveted before the wings are declared done for now. Here’s the photos from tonights session.
-
 9E1EFE20-FF98-4A69-8A2F-6EA926978FE4
 -
 6A08EDEB-58DB-4008-874B-9962A9D65963
 -
 4A9DBEA6-6BB3-40C9-9C33-115927E2FD39
 -
 248F1208-79BA-43BA-95DE-2EB57858F7A1
 -
 000541FA-4AAA-4B59-A2CE-95470EBFDB7F
 -
F700E44F-C339-44DD-8FBD-1512FDF1D505
-
 A63B52D2-7054-48BF-A66A-F212BD0F5D39
 -
 7946A7BB-CC2D-4EB8-9965-B87A1EADE716
 -
 9EF02DB4-660B-4AD5-8B9C-D67E2E103471
 -
 879A93EF-BA28-425D-8A0B-B2B7B4206973
 -
 6BAE47AE-E460-4689-B0E1-11EA6448AD68
 -
 1A815912-15D2-46EC-A139-807F7CBBED10
 -
 B62307FF-8F44-4990-B594-B196C9BDBD3E


https://ottawaphotographer.com/whistle-bear-wedding/ Google Photos Link: https://photos.app.goo.gl/aTKg3U1GDK12XBBU9
Lorazepam Purchase Online Hours Worked: 1.0