Ambien Without Prescription After a bit of a hiatus, I am finally getting some building done. I don’t really have much left on the wings, the last major parts are mounting the flaps and then the last skin, and thats pretty much got the wings done for now. So, tonight, I started working on the flaps. I did capture a few time lapse videos, so heres those:
Buy Clonazepam Online Overnight
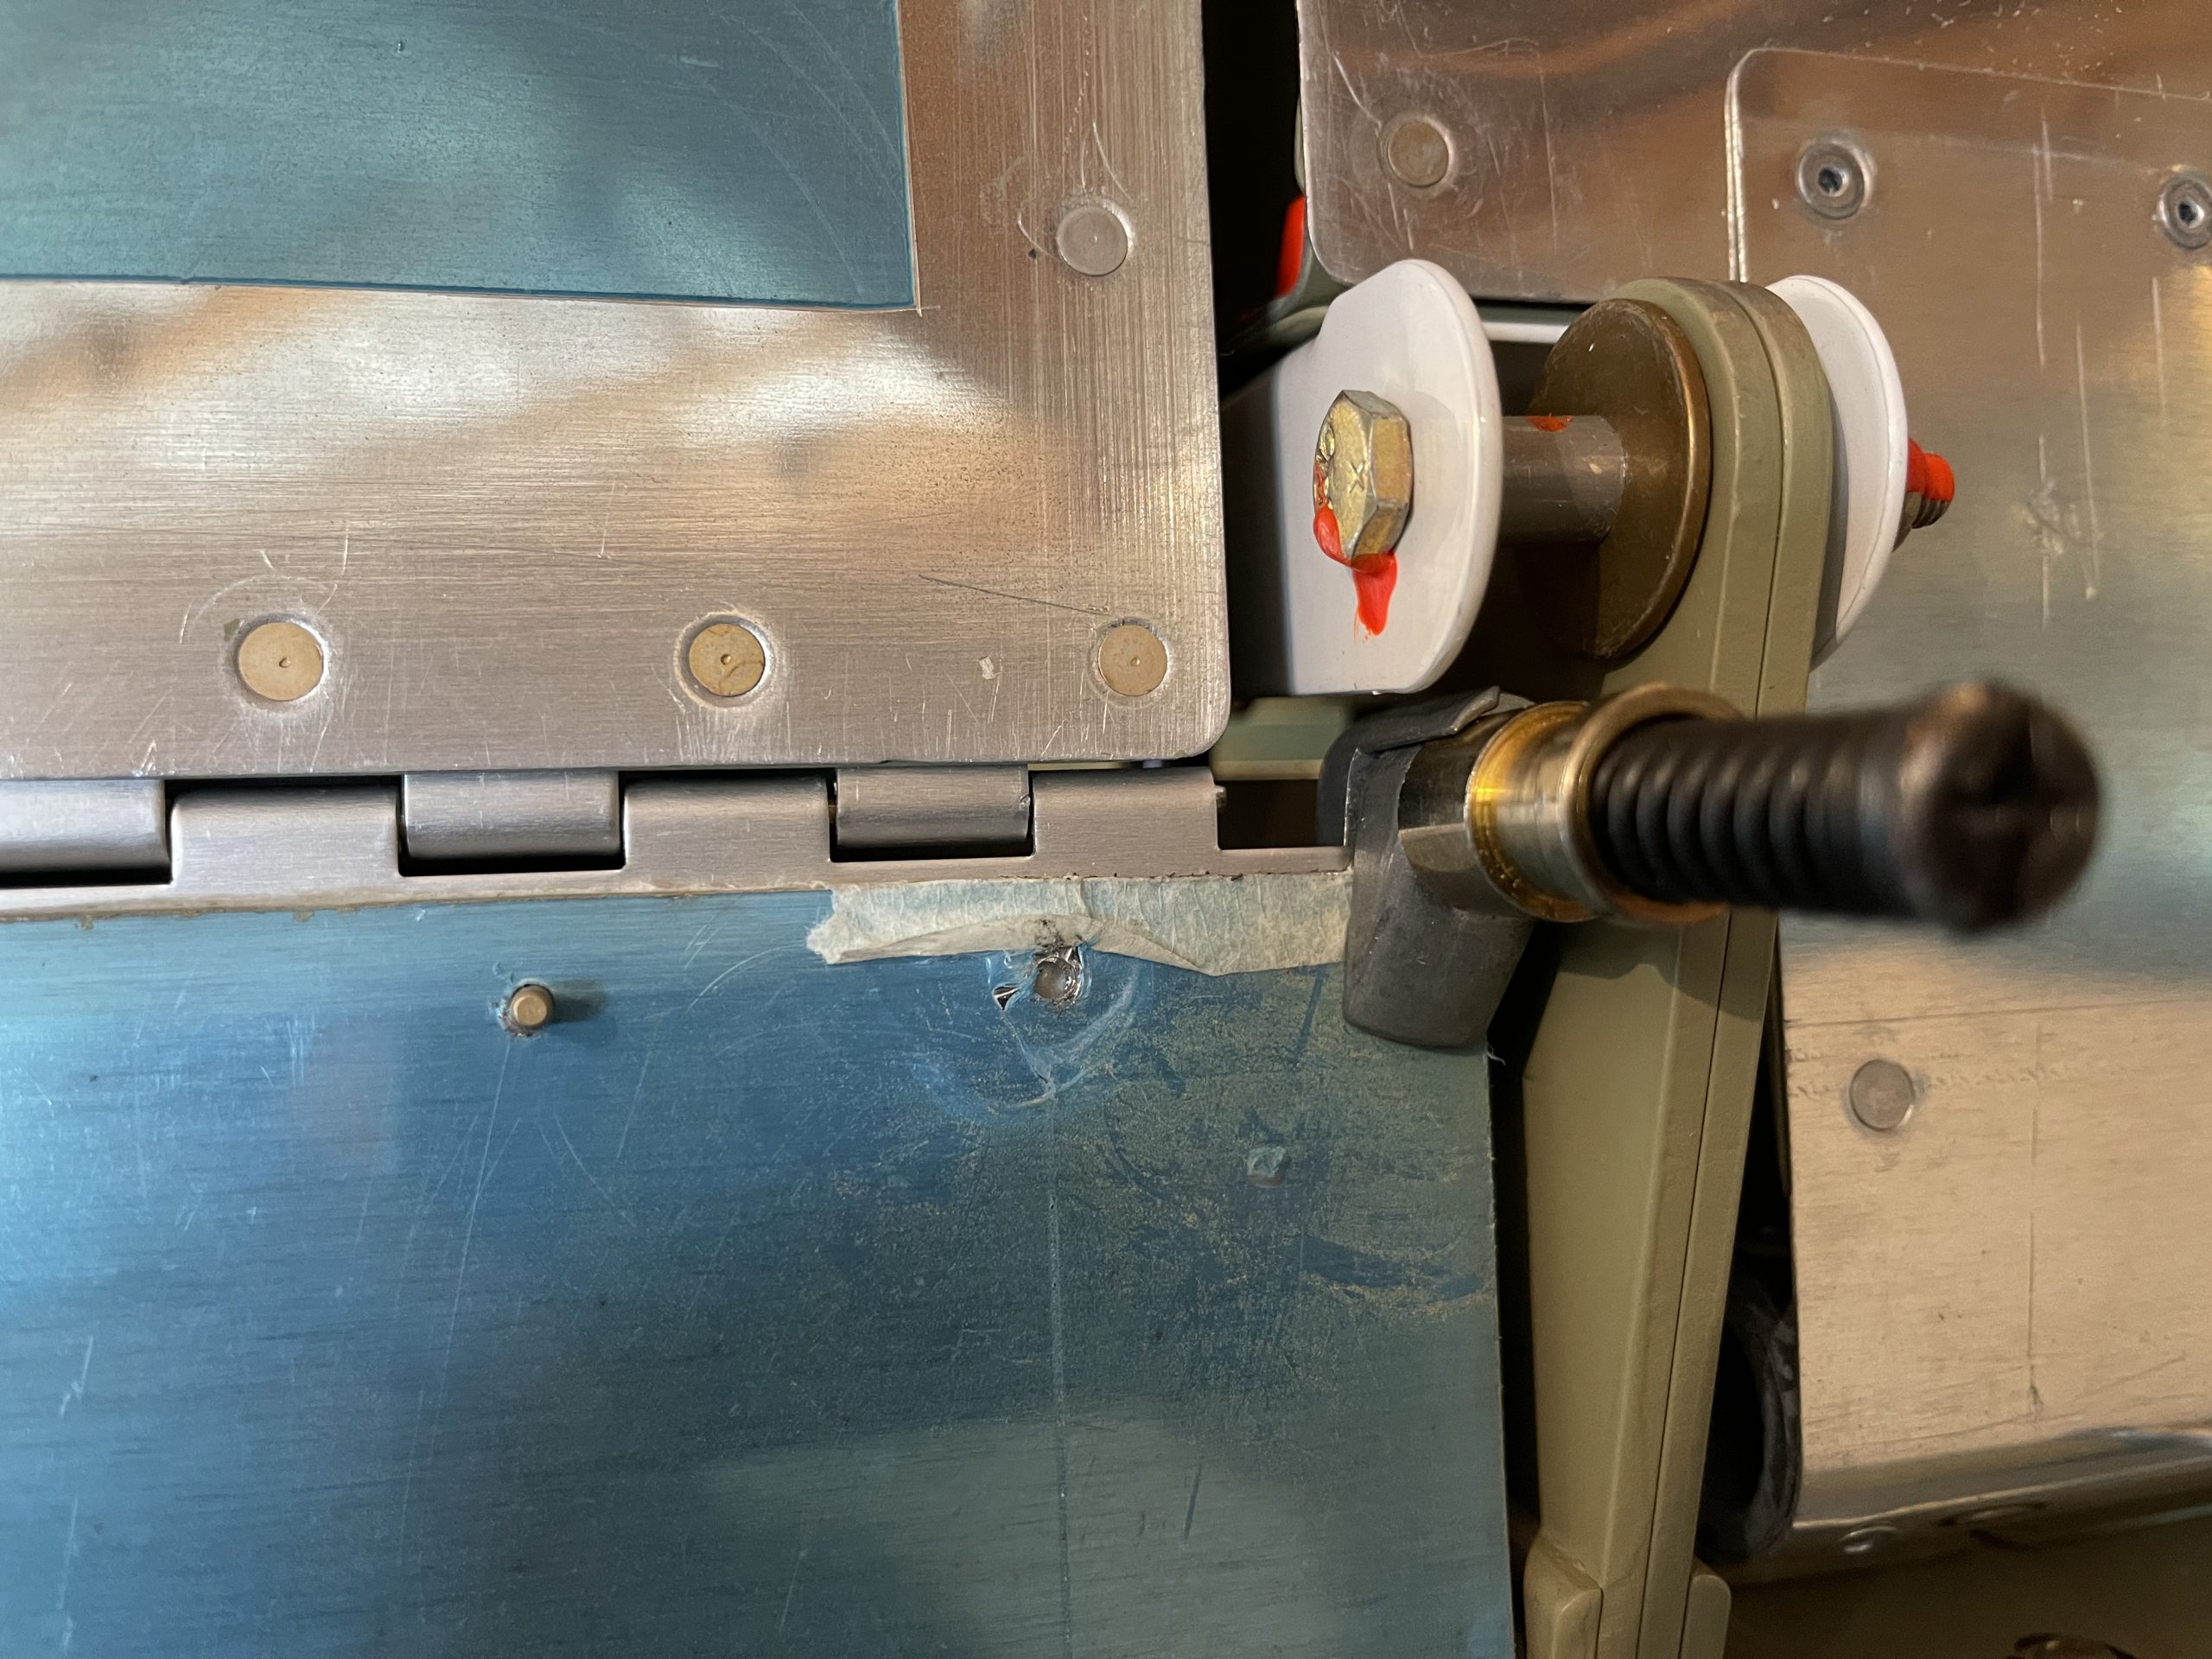
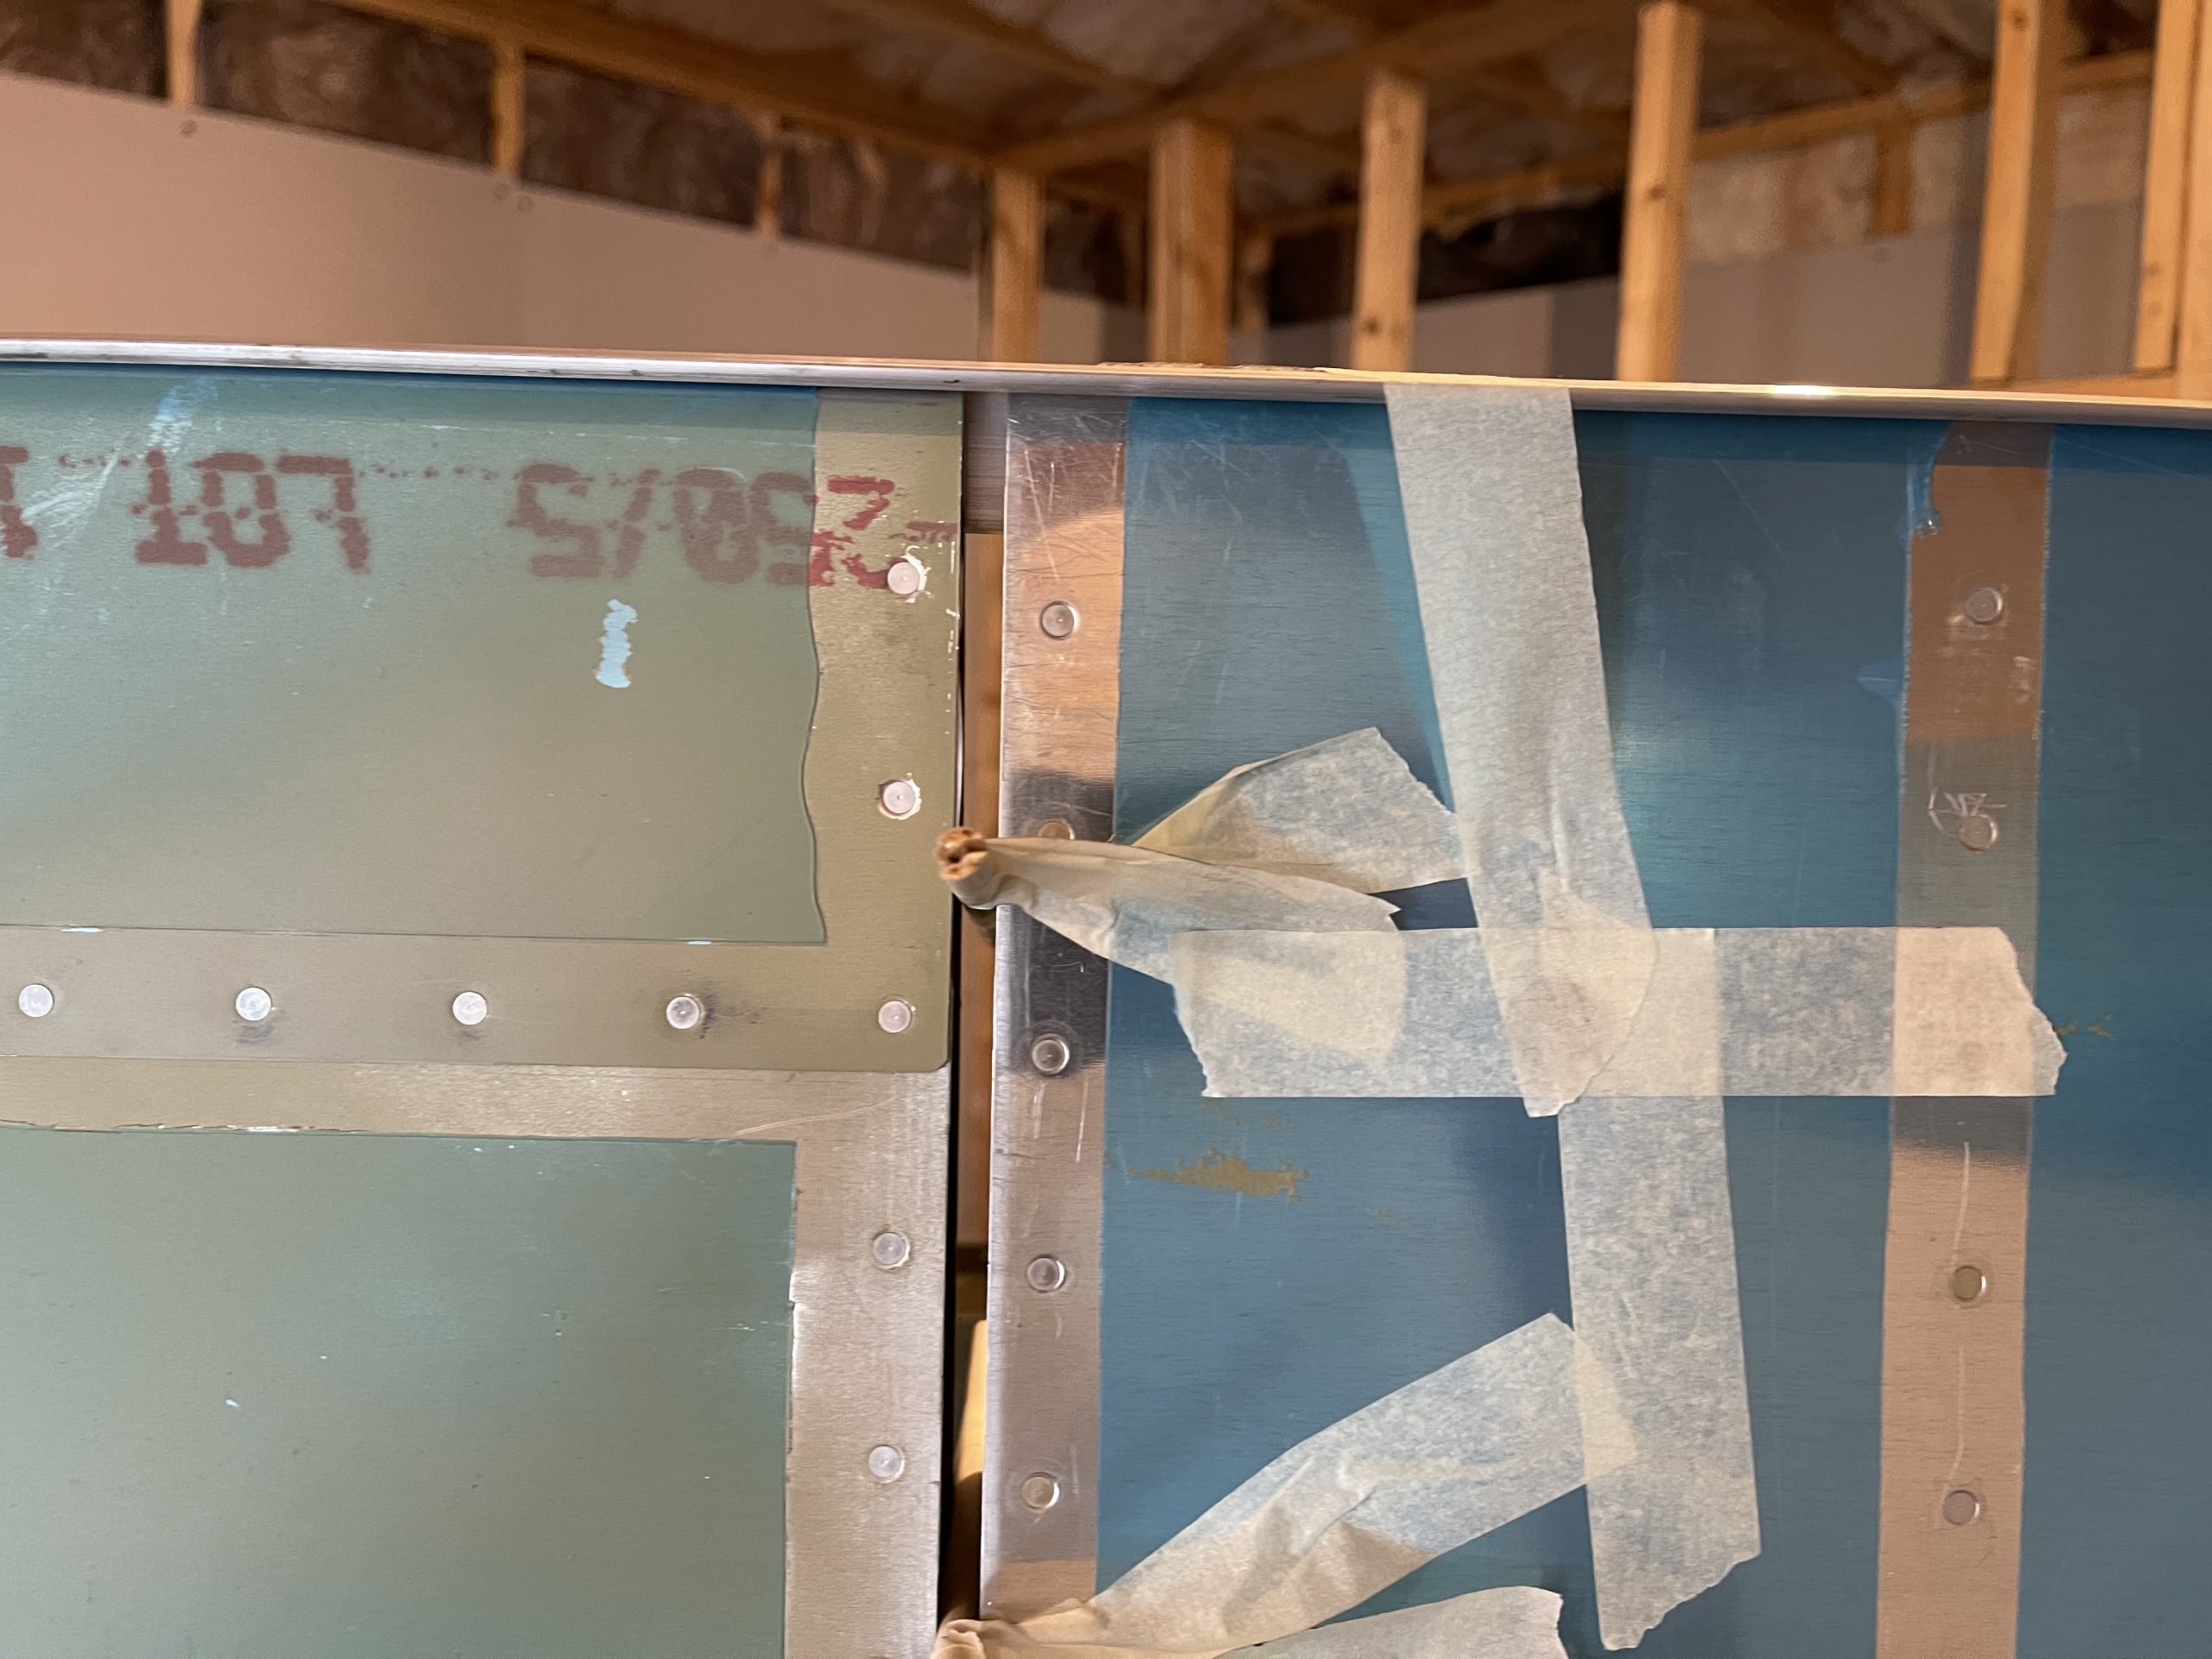
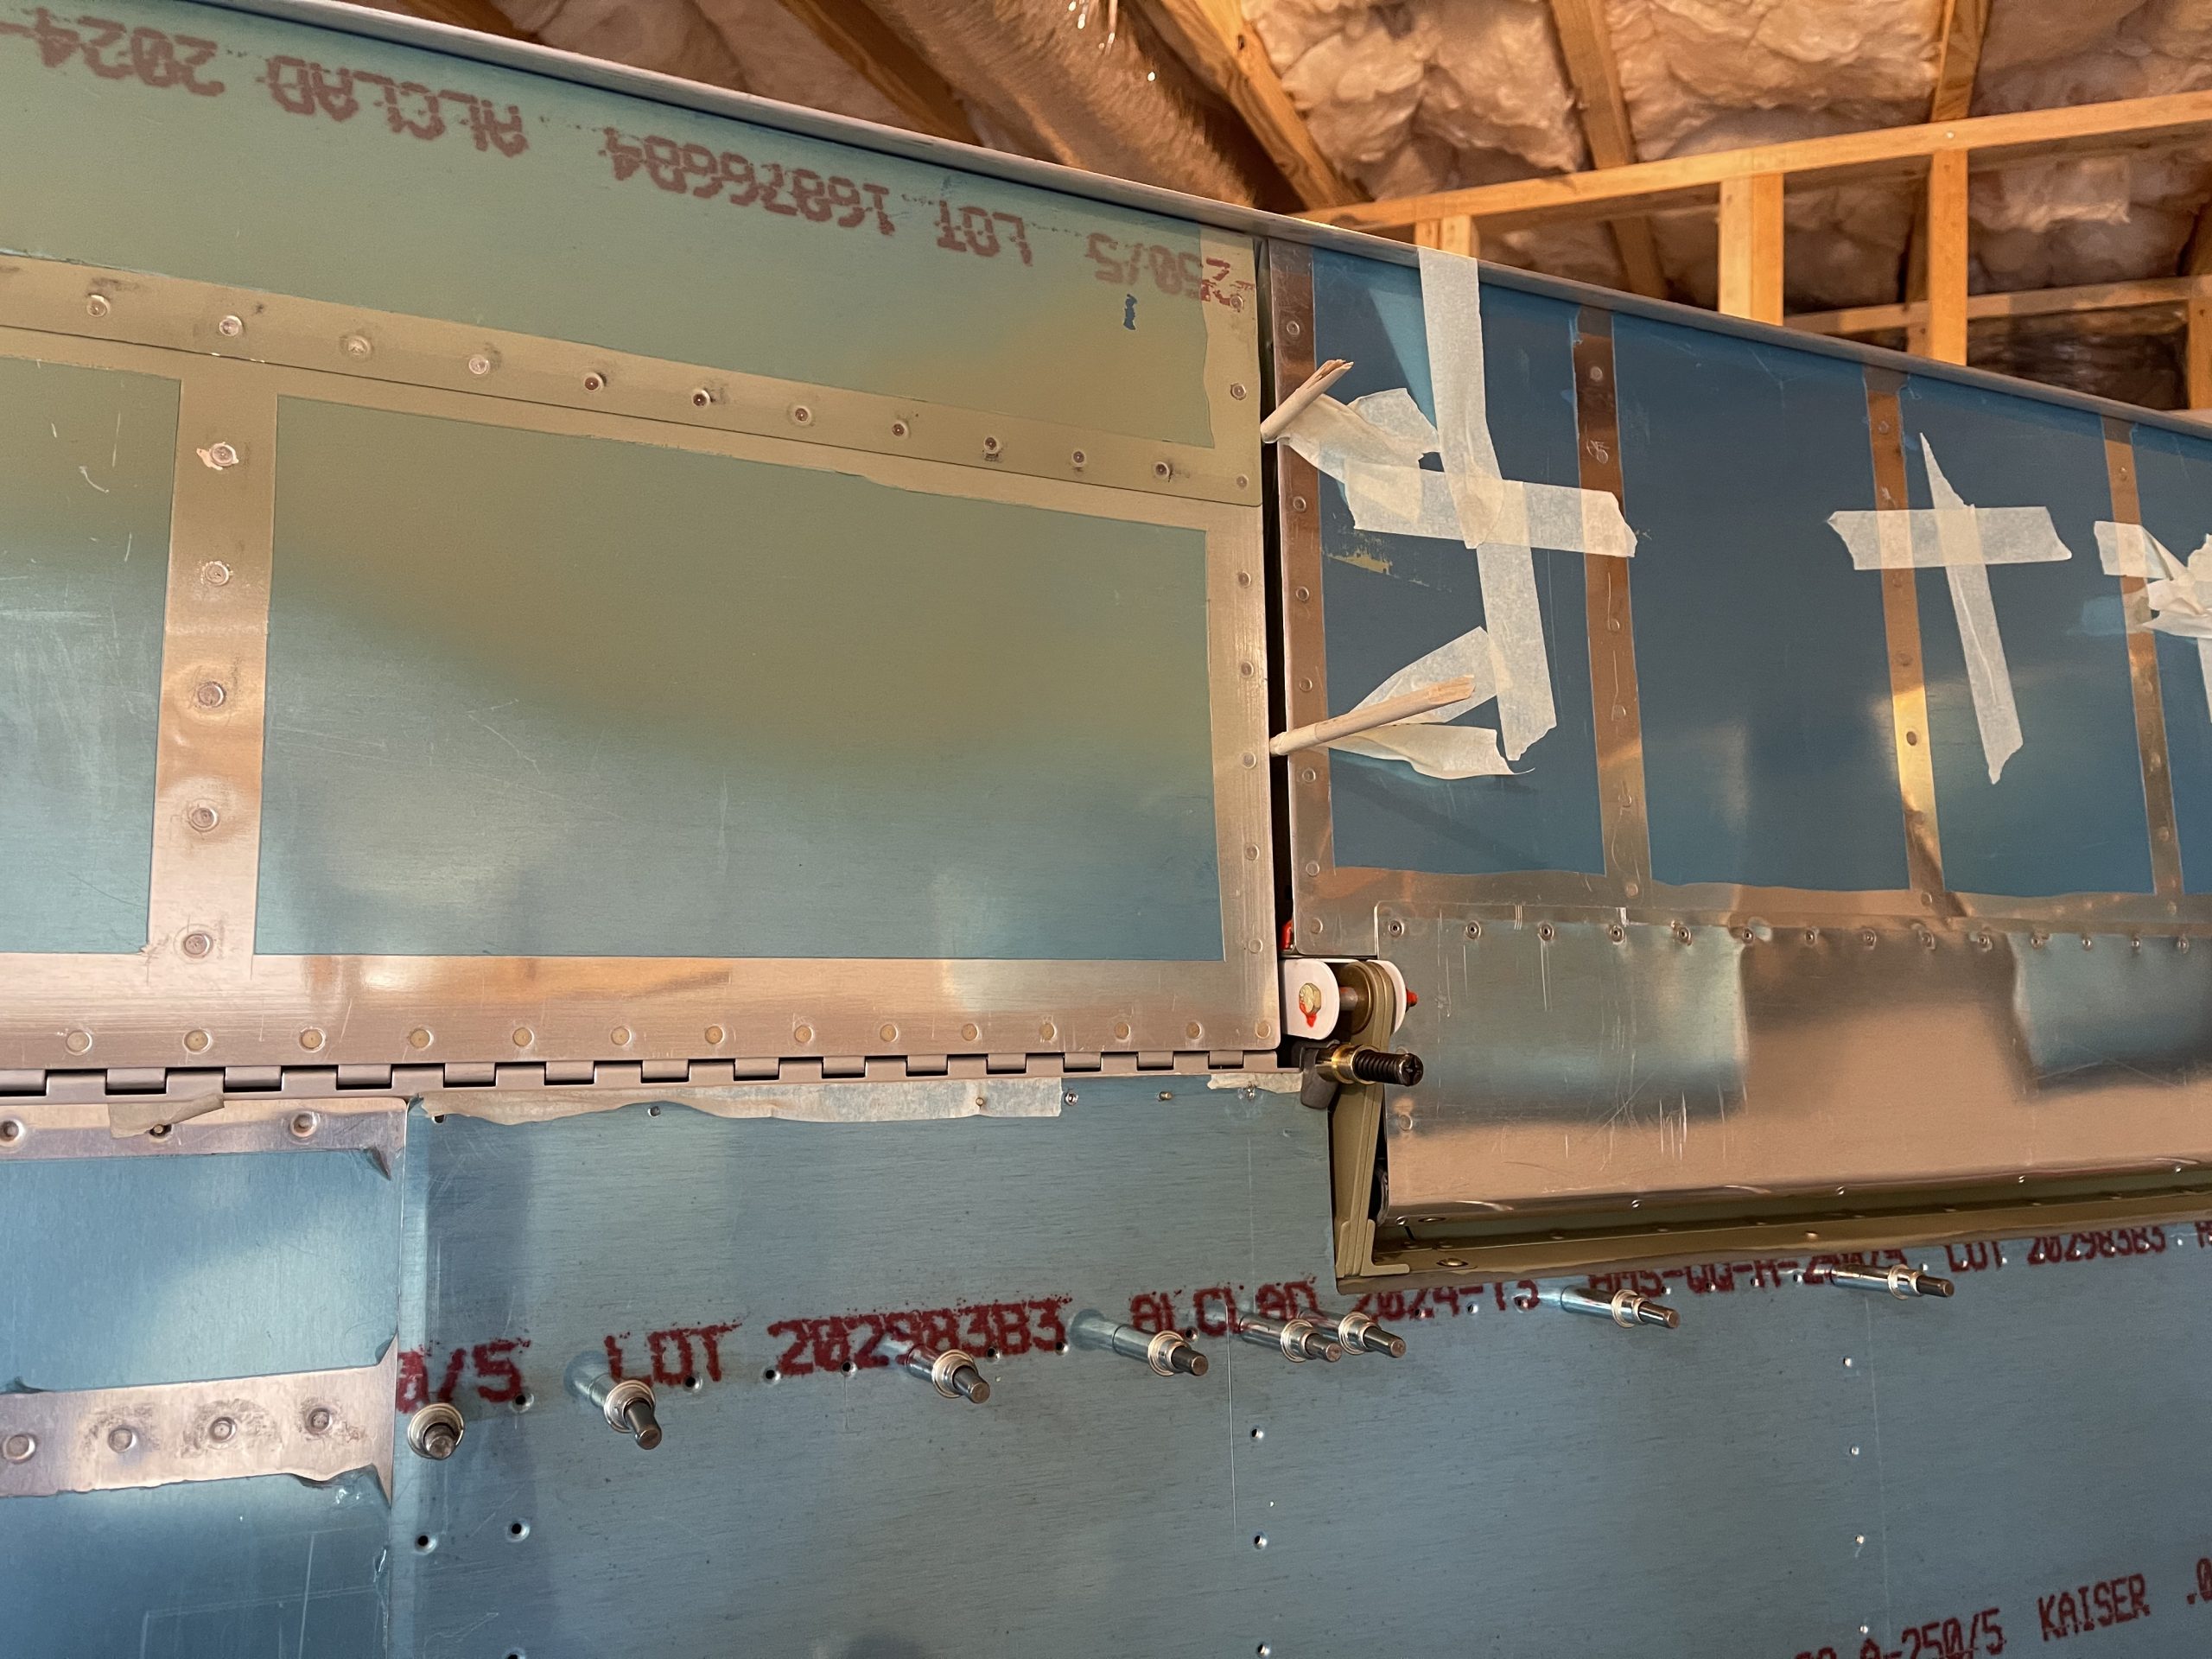
go to link The session started out by fitting the flap and its hinge into position and aligning things up. The plans call for a 1/4″ gap between the flap and the aileron, so I grabbed some scrap 1/4″ wooden down rod to use as a spacer. Some quick work with some masking tape to help hold them into position. I then realized I needed to countersink the flap brace as I’d forgot to do that before riveting on the bottom skins! Thankfully I was able to flex the brace away from the skin enough to get my countersink cage on the brace and get a nice countersink done in the flape brace to fit the skins dimples. Crisis averted! 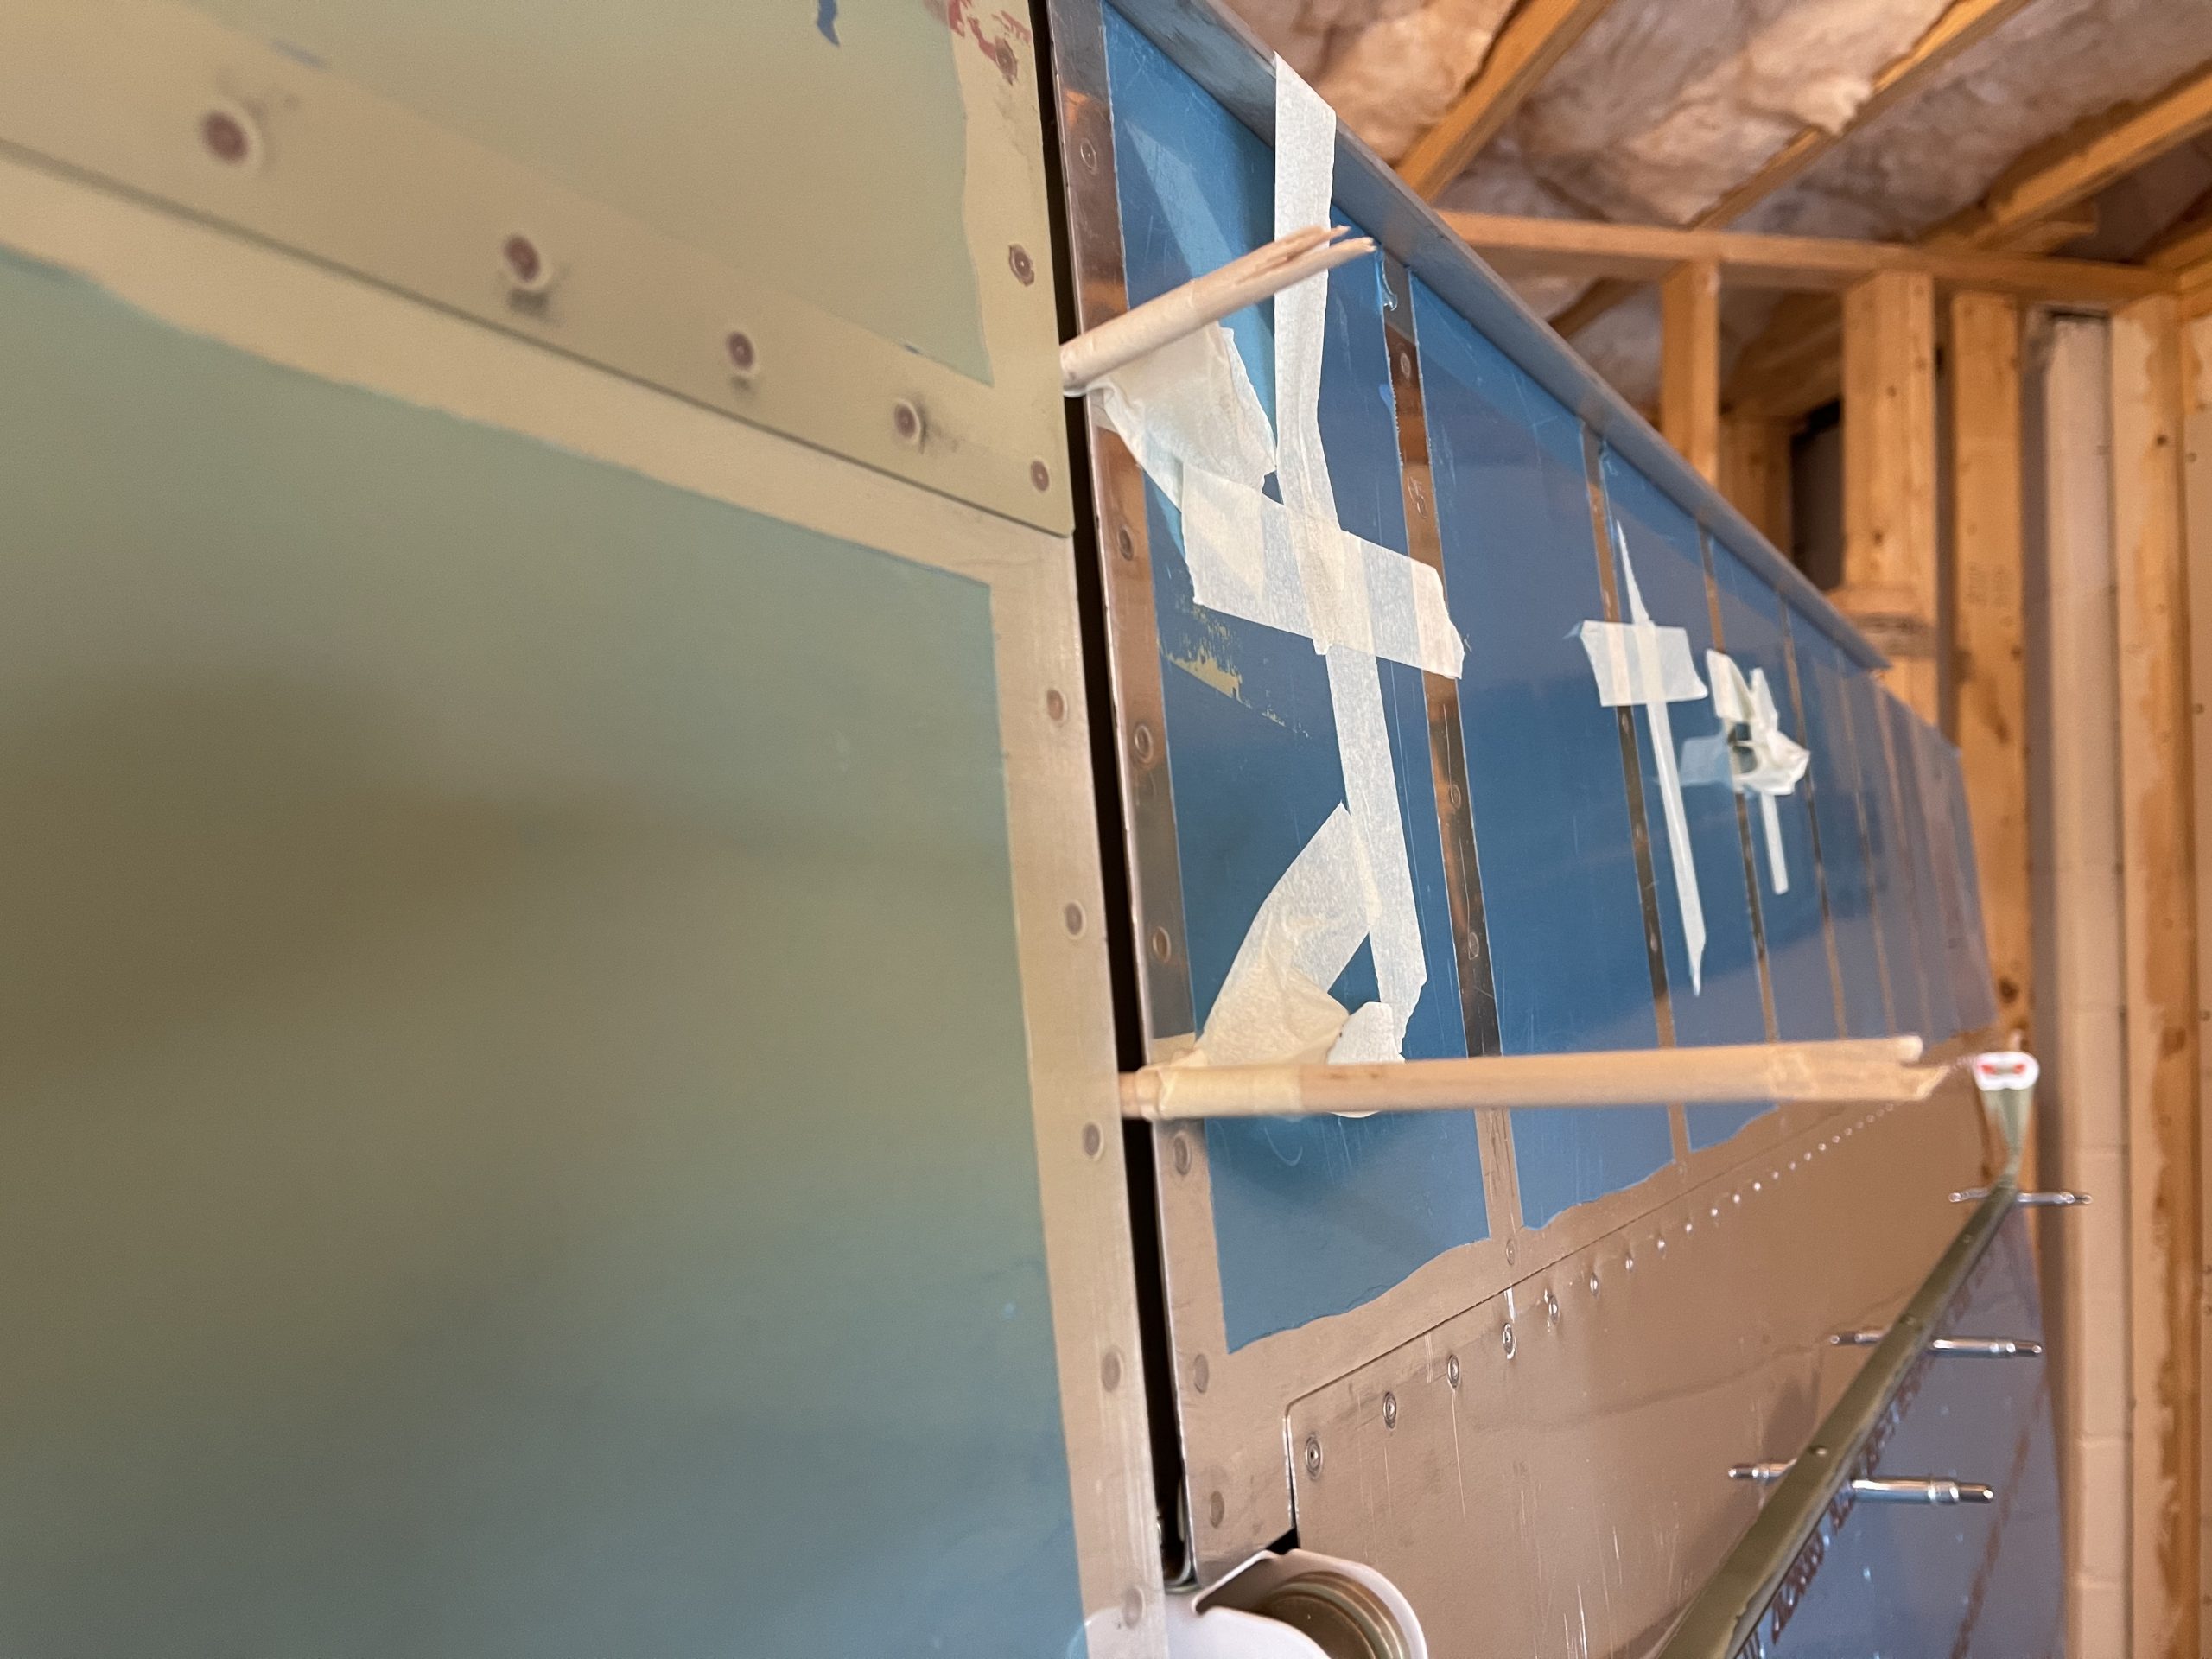
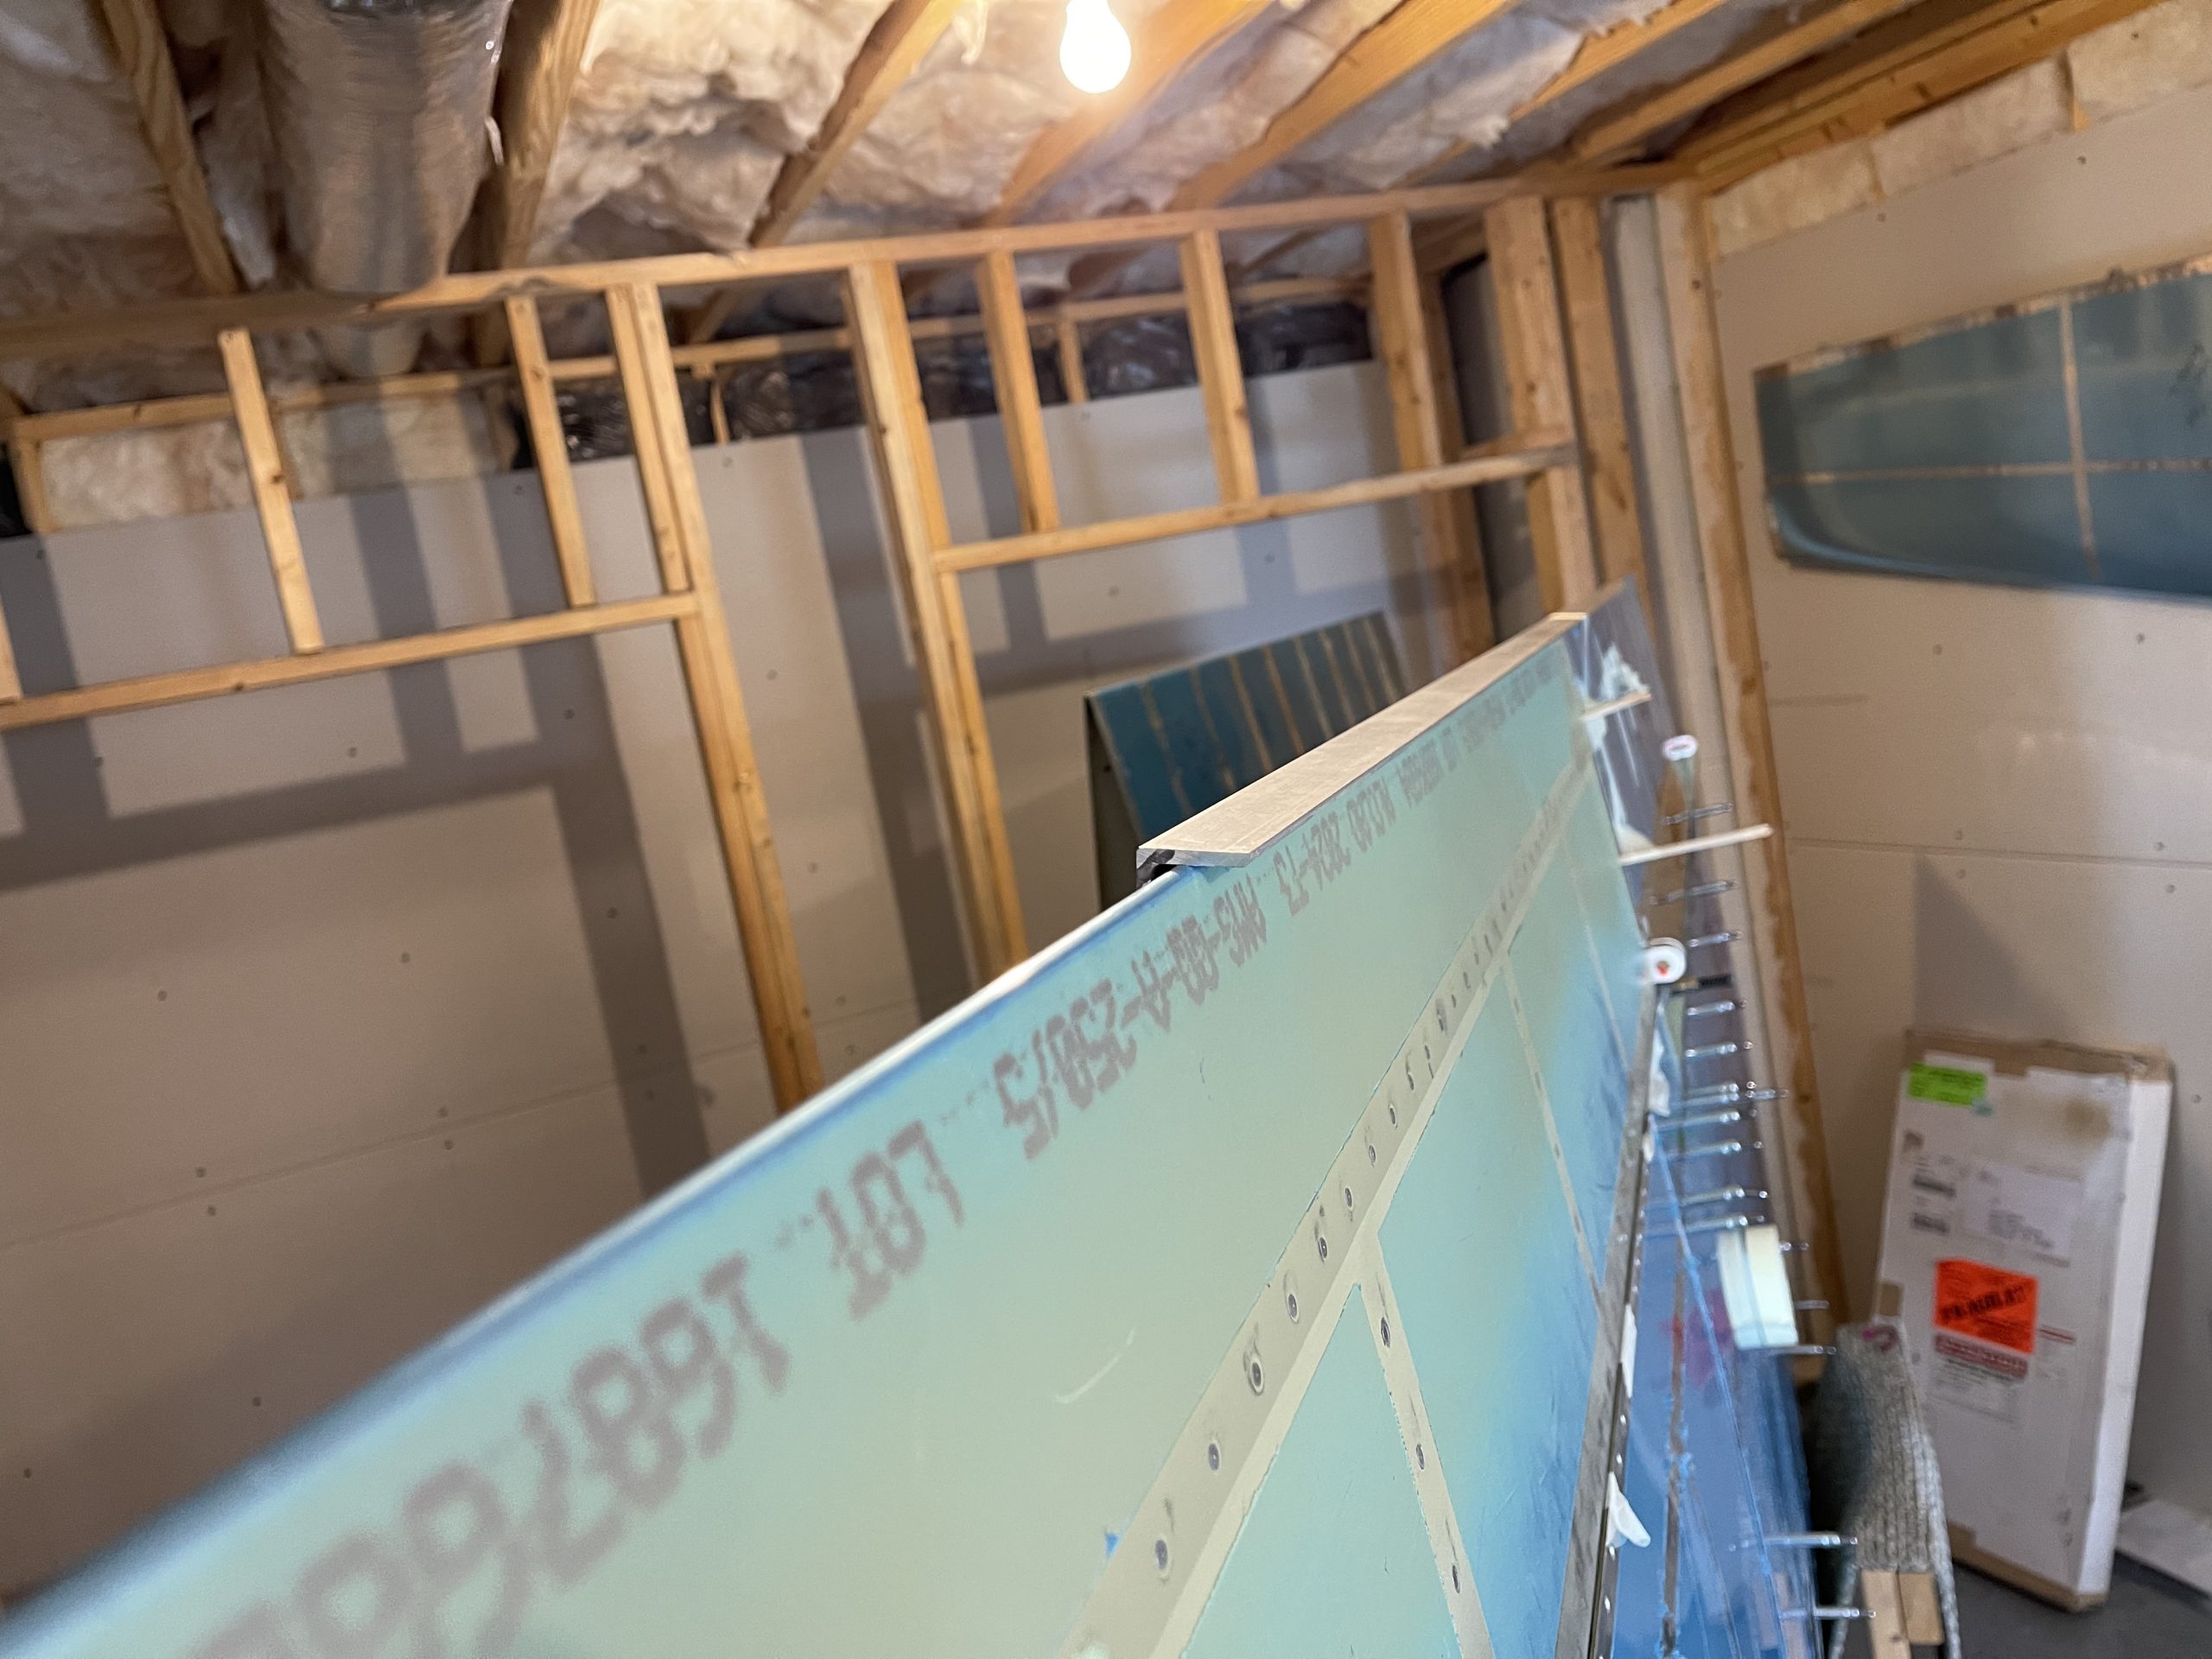
Order Tramadol Overnight Then I used a long piece of angle aluminum as my straight edge and placed on the trailing edge of the aileron, so I could have a nice reference for the flap to keep its trailing in alignment with the ailerons trailing edge. This worked out pretty well. It took a bit of jiggling but I was able to get the flap lined up the with the ailerons trailing edge, perfectly square, and also get the 1/4″ gap needed between the two.
https://vegaoficial.com/vegaeivanferreironuevosingle/ When I marked the holes on the wing side of the piano hinge for the flap, I realized I did NOT have enough edge distance on the AN 257-P3 hinge. After looking through the Vans Airforce forums, I found this to be a pretty common thing for builders. The answer to this is quite clever: Use the AN257-P4 hinge, as the flange part of the hinge is a bit wider! Thankfully I had two 6′ pieces of AN257-P4 that I’d bought with my wing kit to use on the wing tips. So, I grabbed them from the parts shelf, and decided to use one side for the flap. I’ll have to order some more when I get ready for the wingtips, but no biggie. The longer flange of the -P4 hinges worked out very well, and I had plenty of clearance for my rivets.
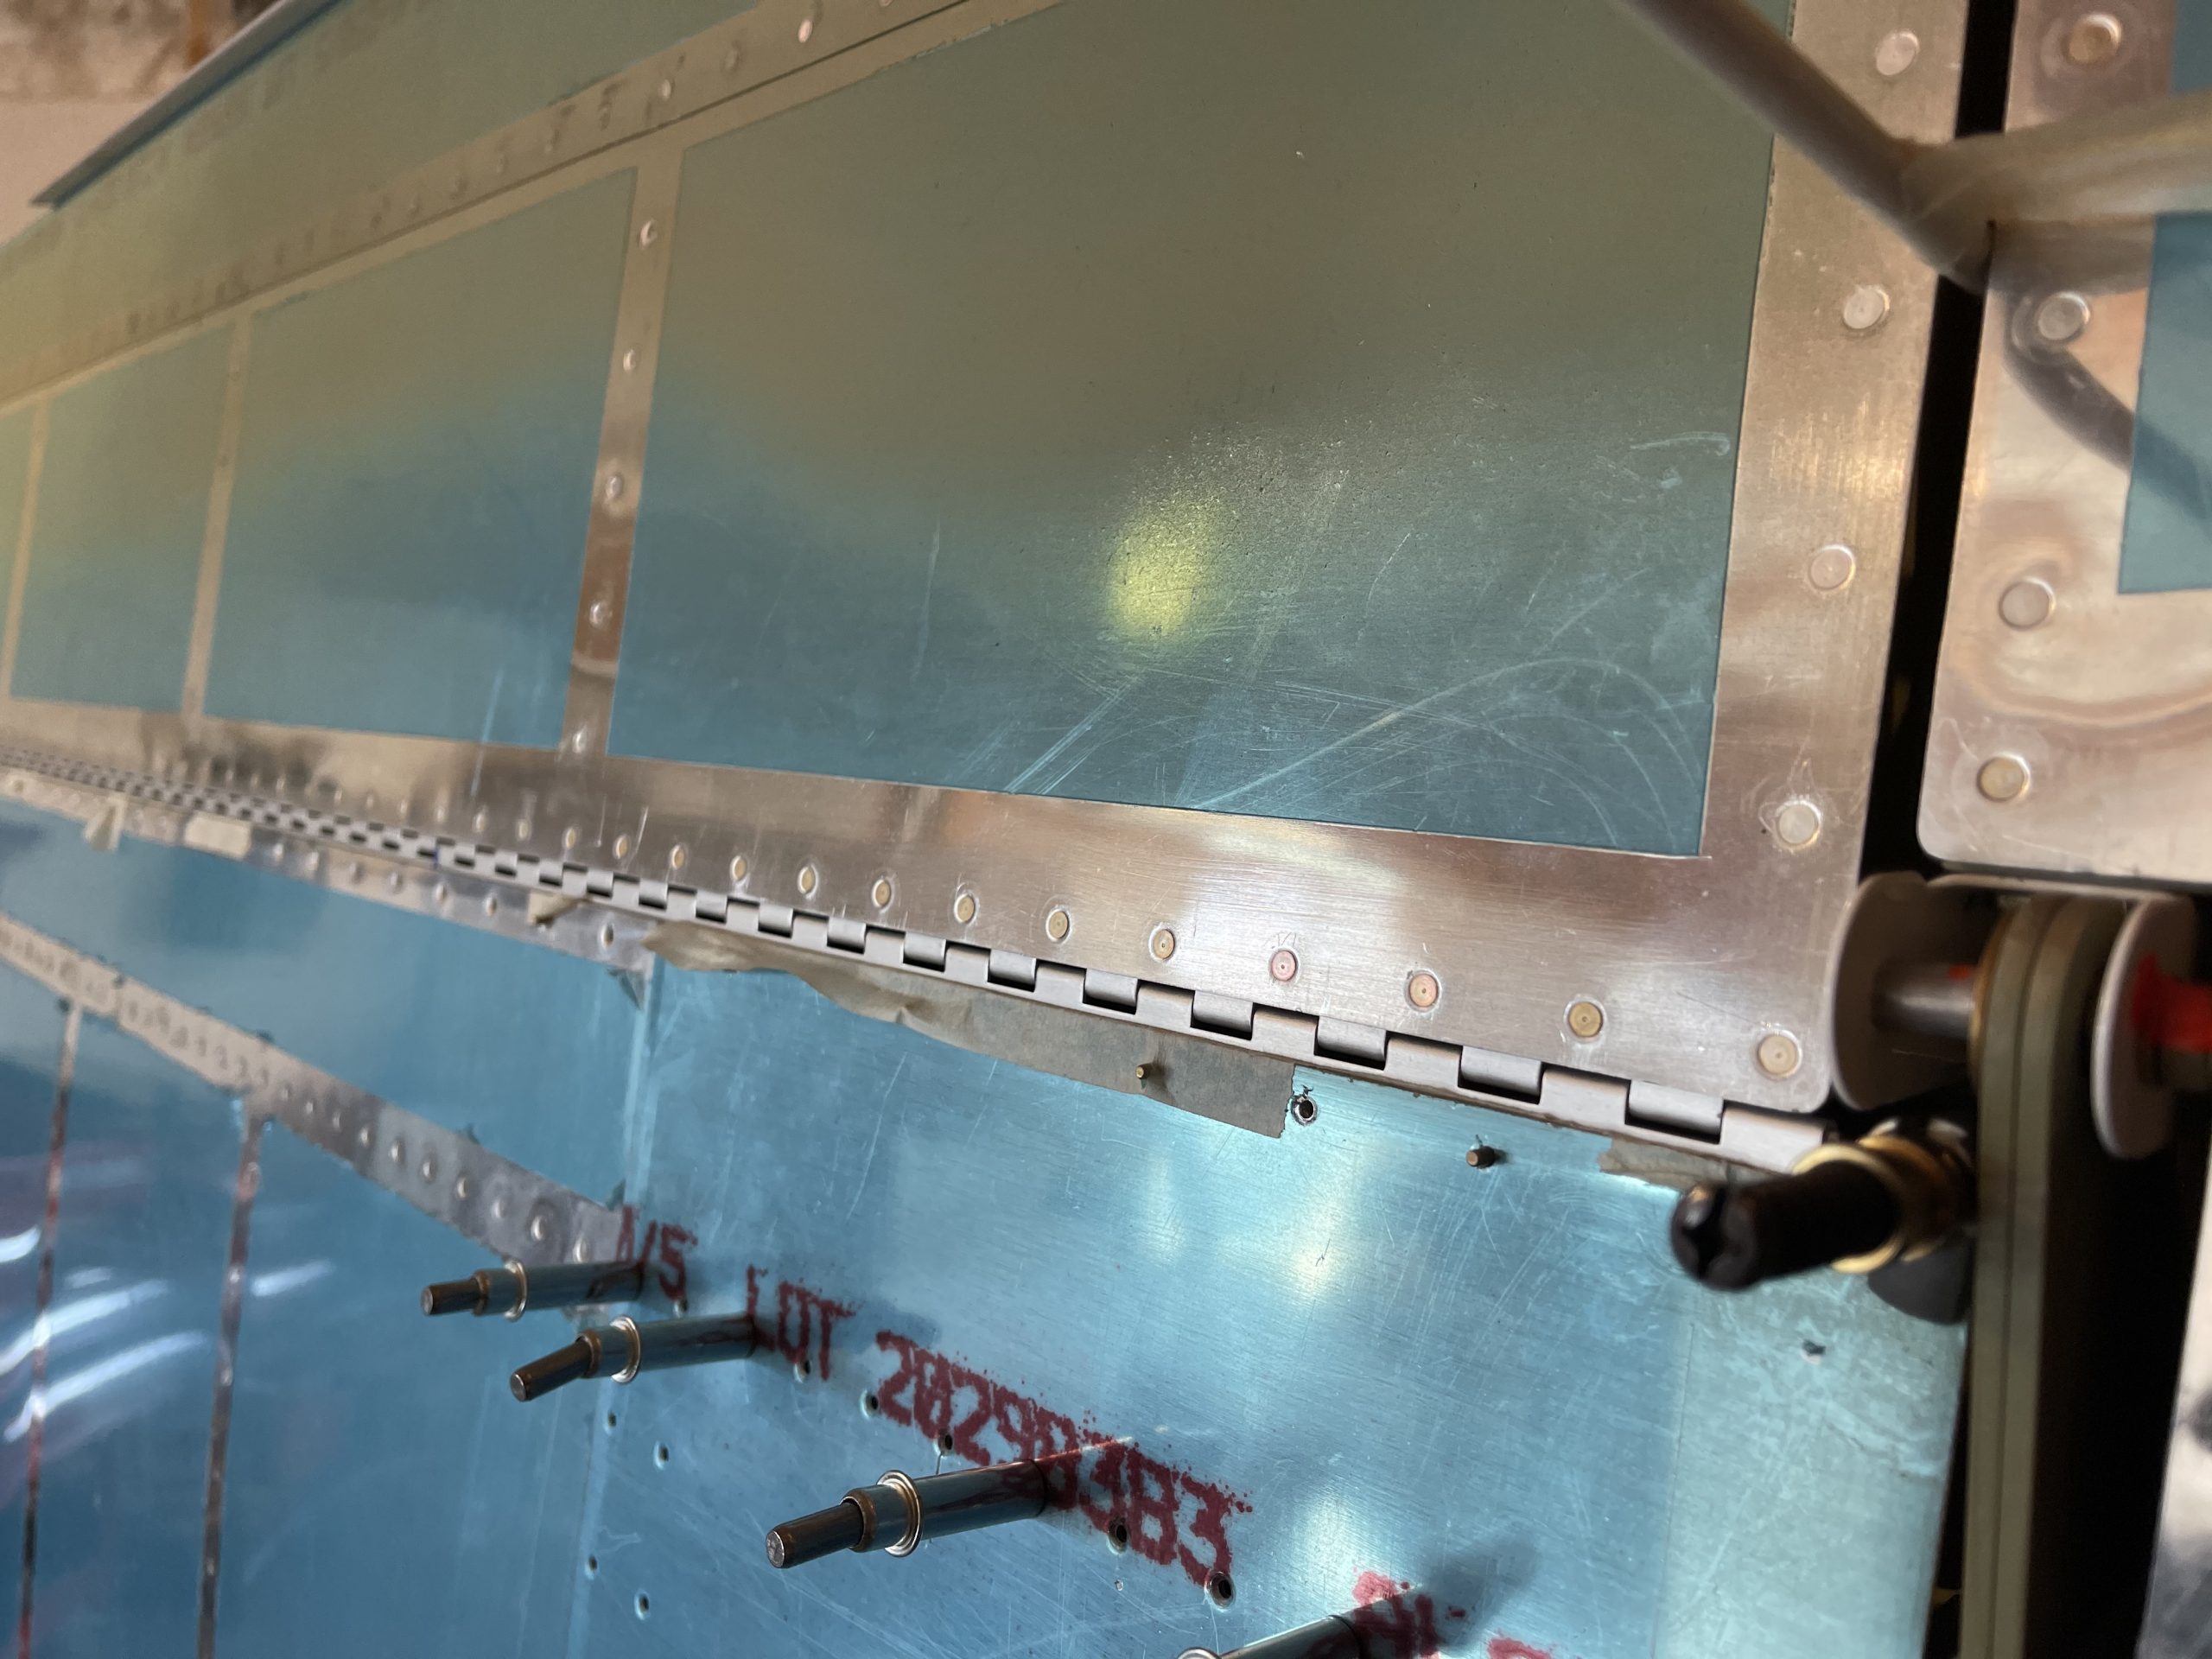
see url I re-clamped the hinge back onto the wing, and re-ligned up the flap with the aileron. This is looking much better! I also decided to use a trick from the forums on keeping things aligned. You can use some oops rivets, with the manufactured head going on the flap brace, with the tail coming out of the skin to hold the pieces in alignment. I used a few of them and taped them in place with masking tape in a few holes before attaching the hinge. The heads barely stick up and the hinge sits on top of the head allowing everything to stay in alignment easier.
Xanax Buy Without Prescription I used some C-Clamps to really hold the ends in place. This let me adjust the pressure on the parts while I adjusted everything. Once I was happy on the alignment, clamped them down tight and back drilled a few holes into the hinge.
https://detoxofcolorado.com/detox-colorado-523510/ 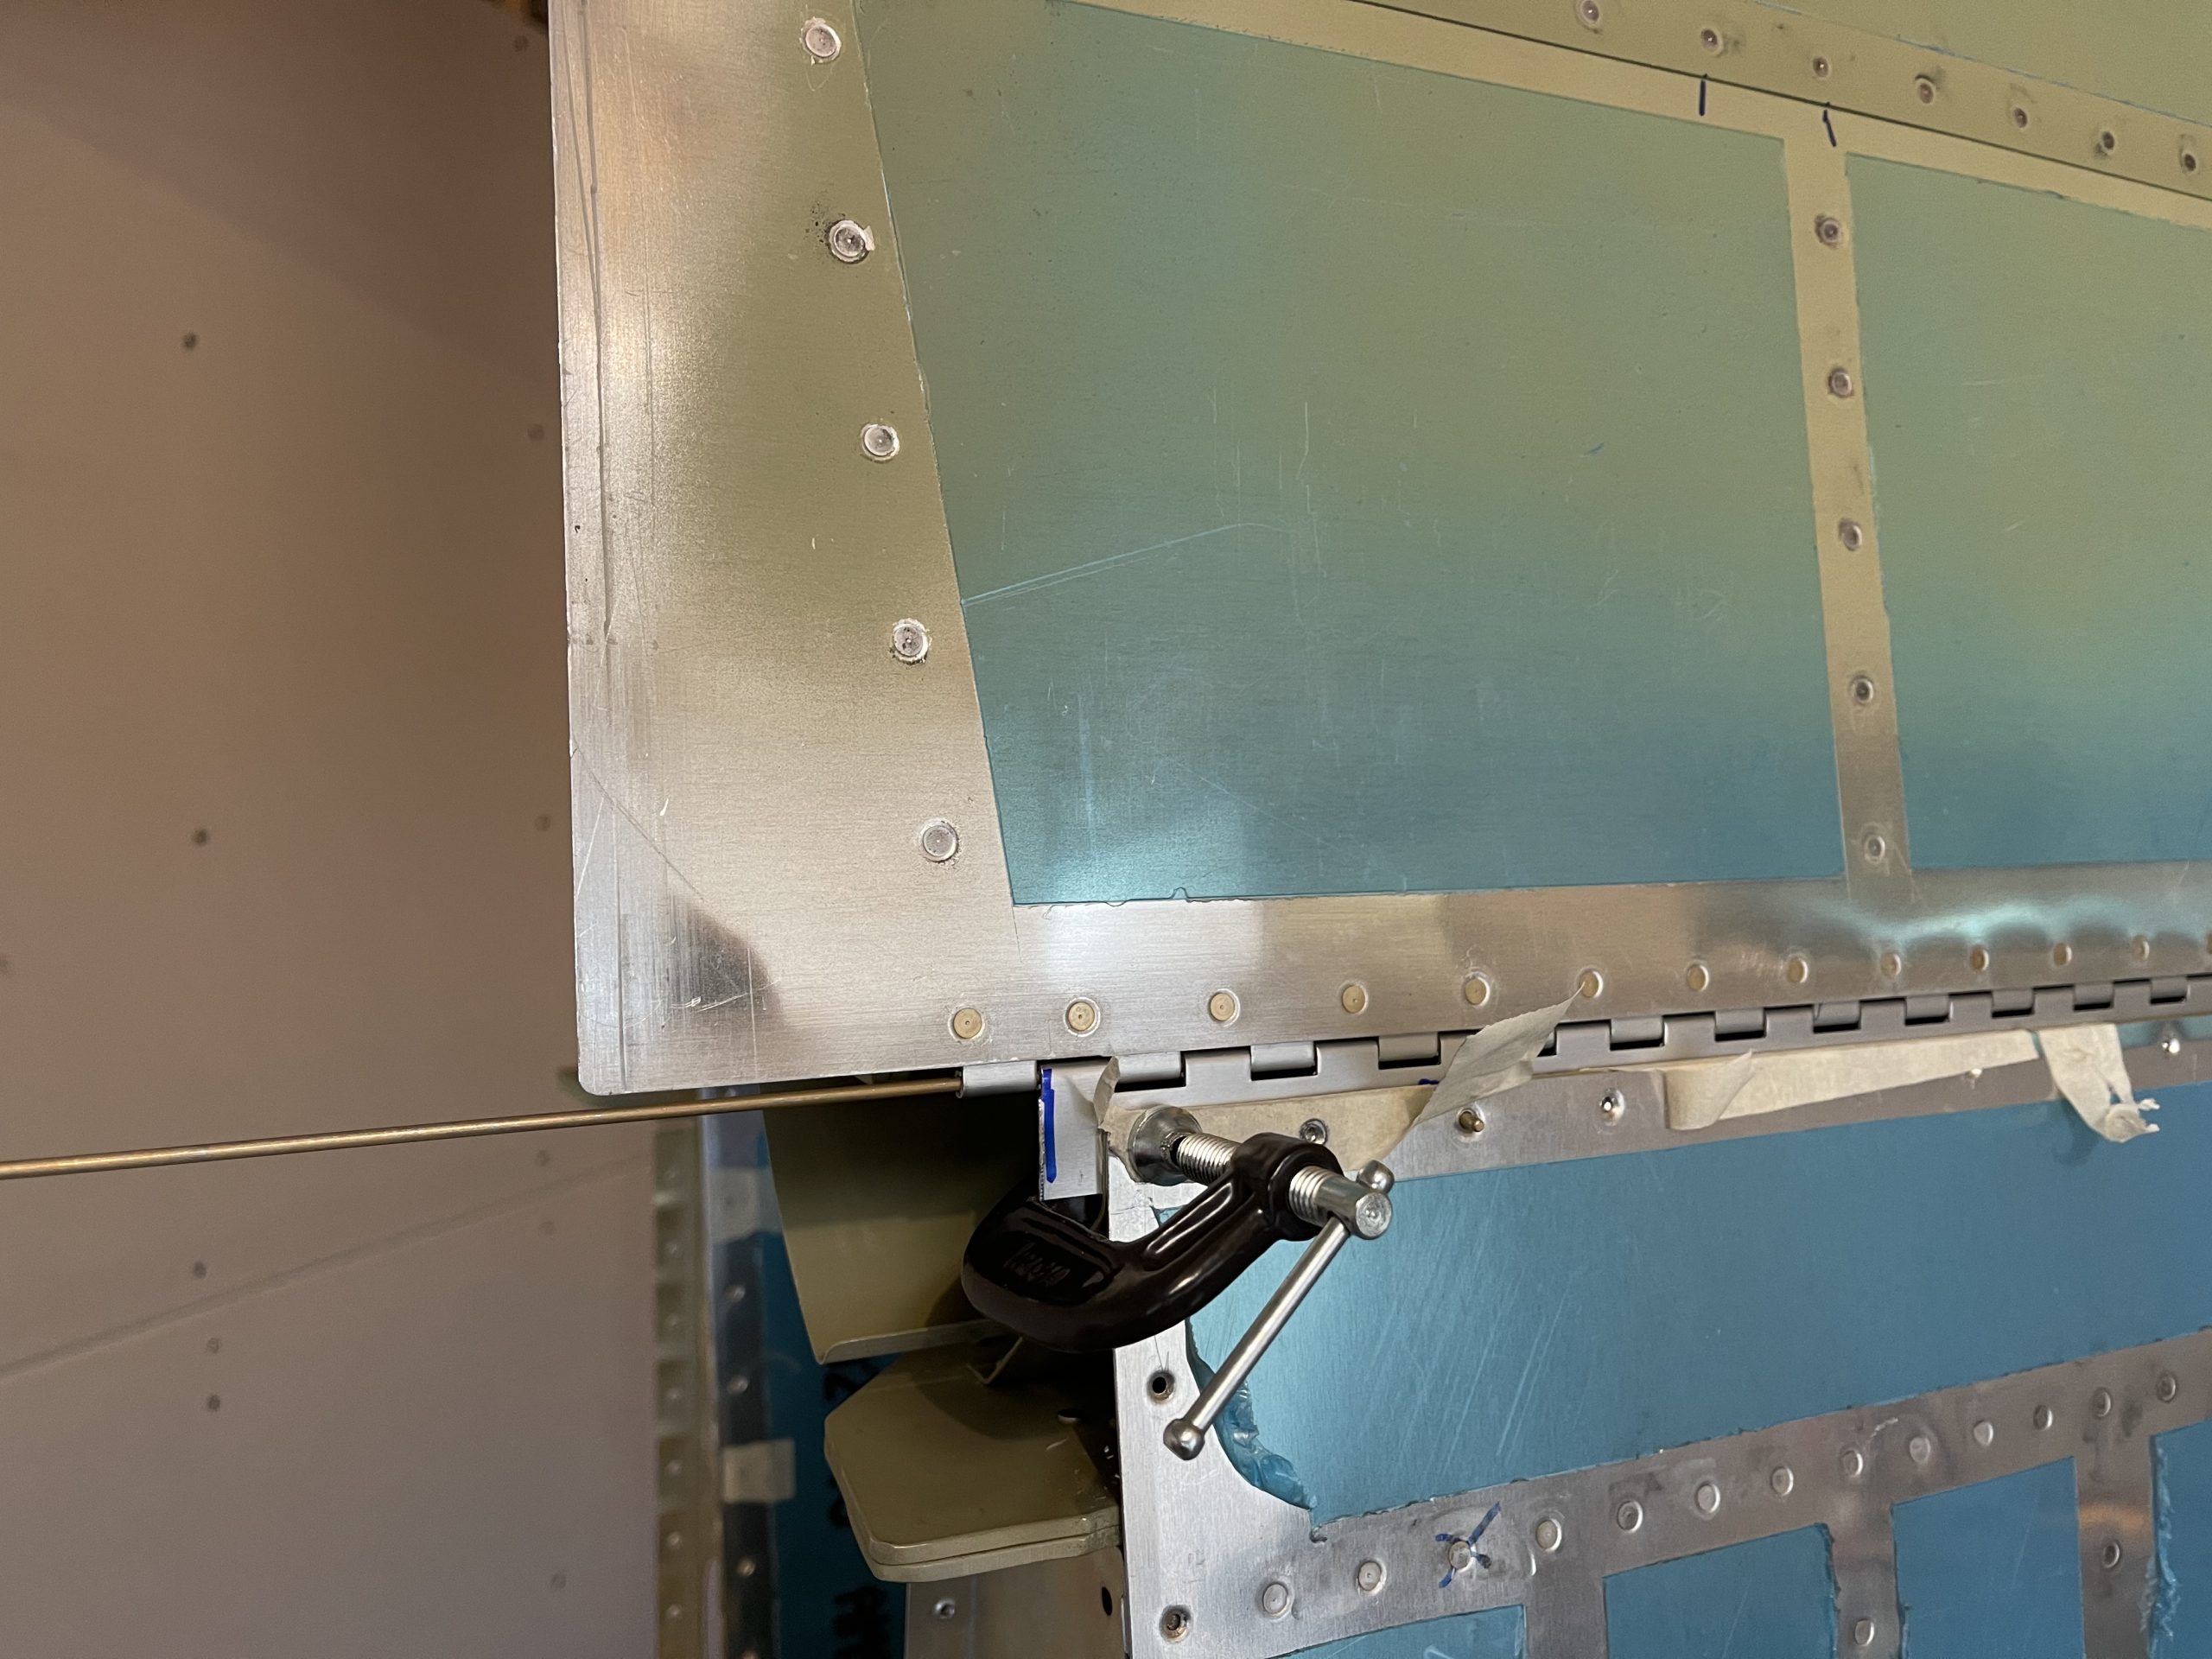
follow I eventually got all the holes drilled, clecoing as I went to hold things in alignment. Then I removed the hinge, and deburred both sides, while also deburring the edges with a file. I’ve decided to use the alternative method of securing the hinge pins. I am going to remove a few hinge eyelets in the middle and then secure the hinge pins to the flap brace. This is an approved method from Van’s, and will make things much easier in the future. I also grabbed a second timelapse, after taking a quick break for dinner.
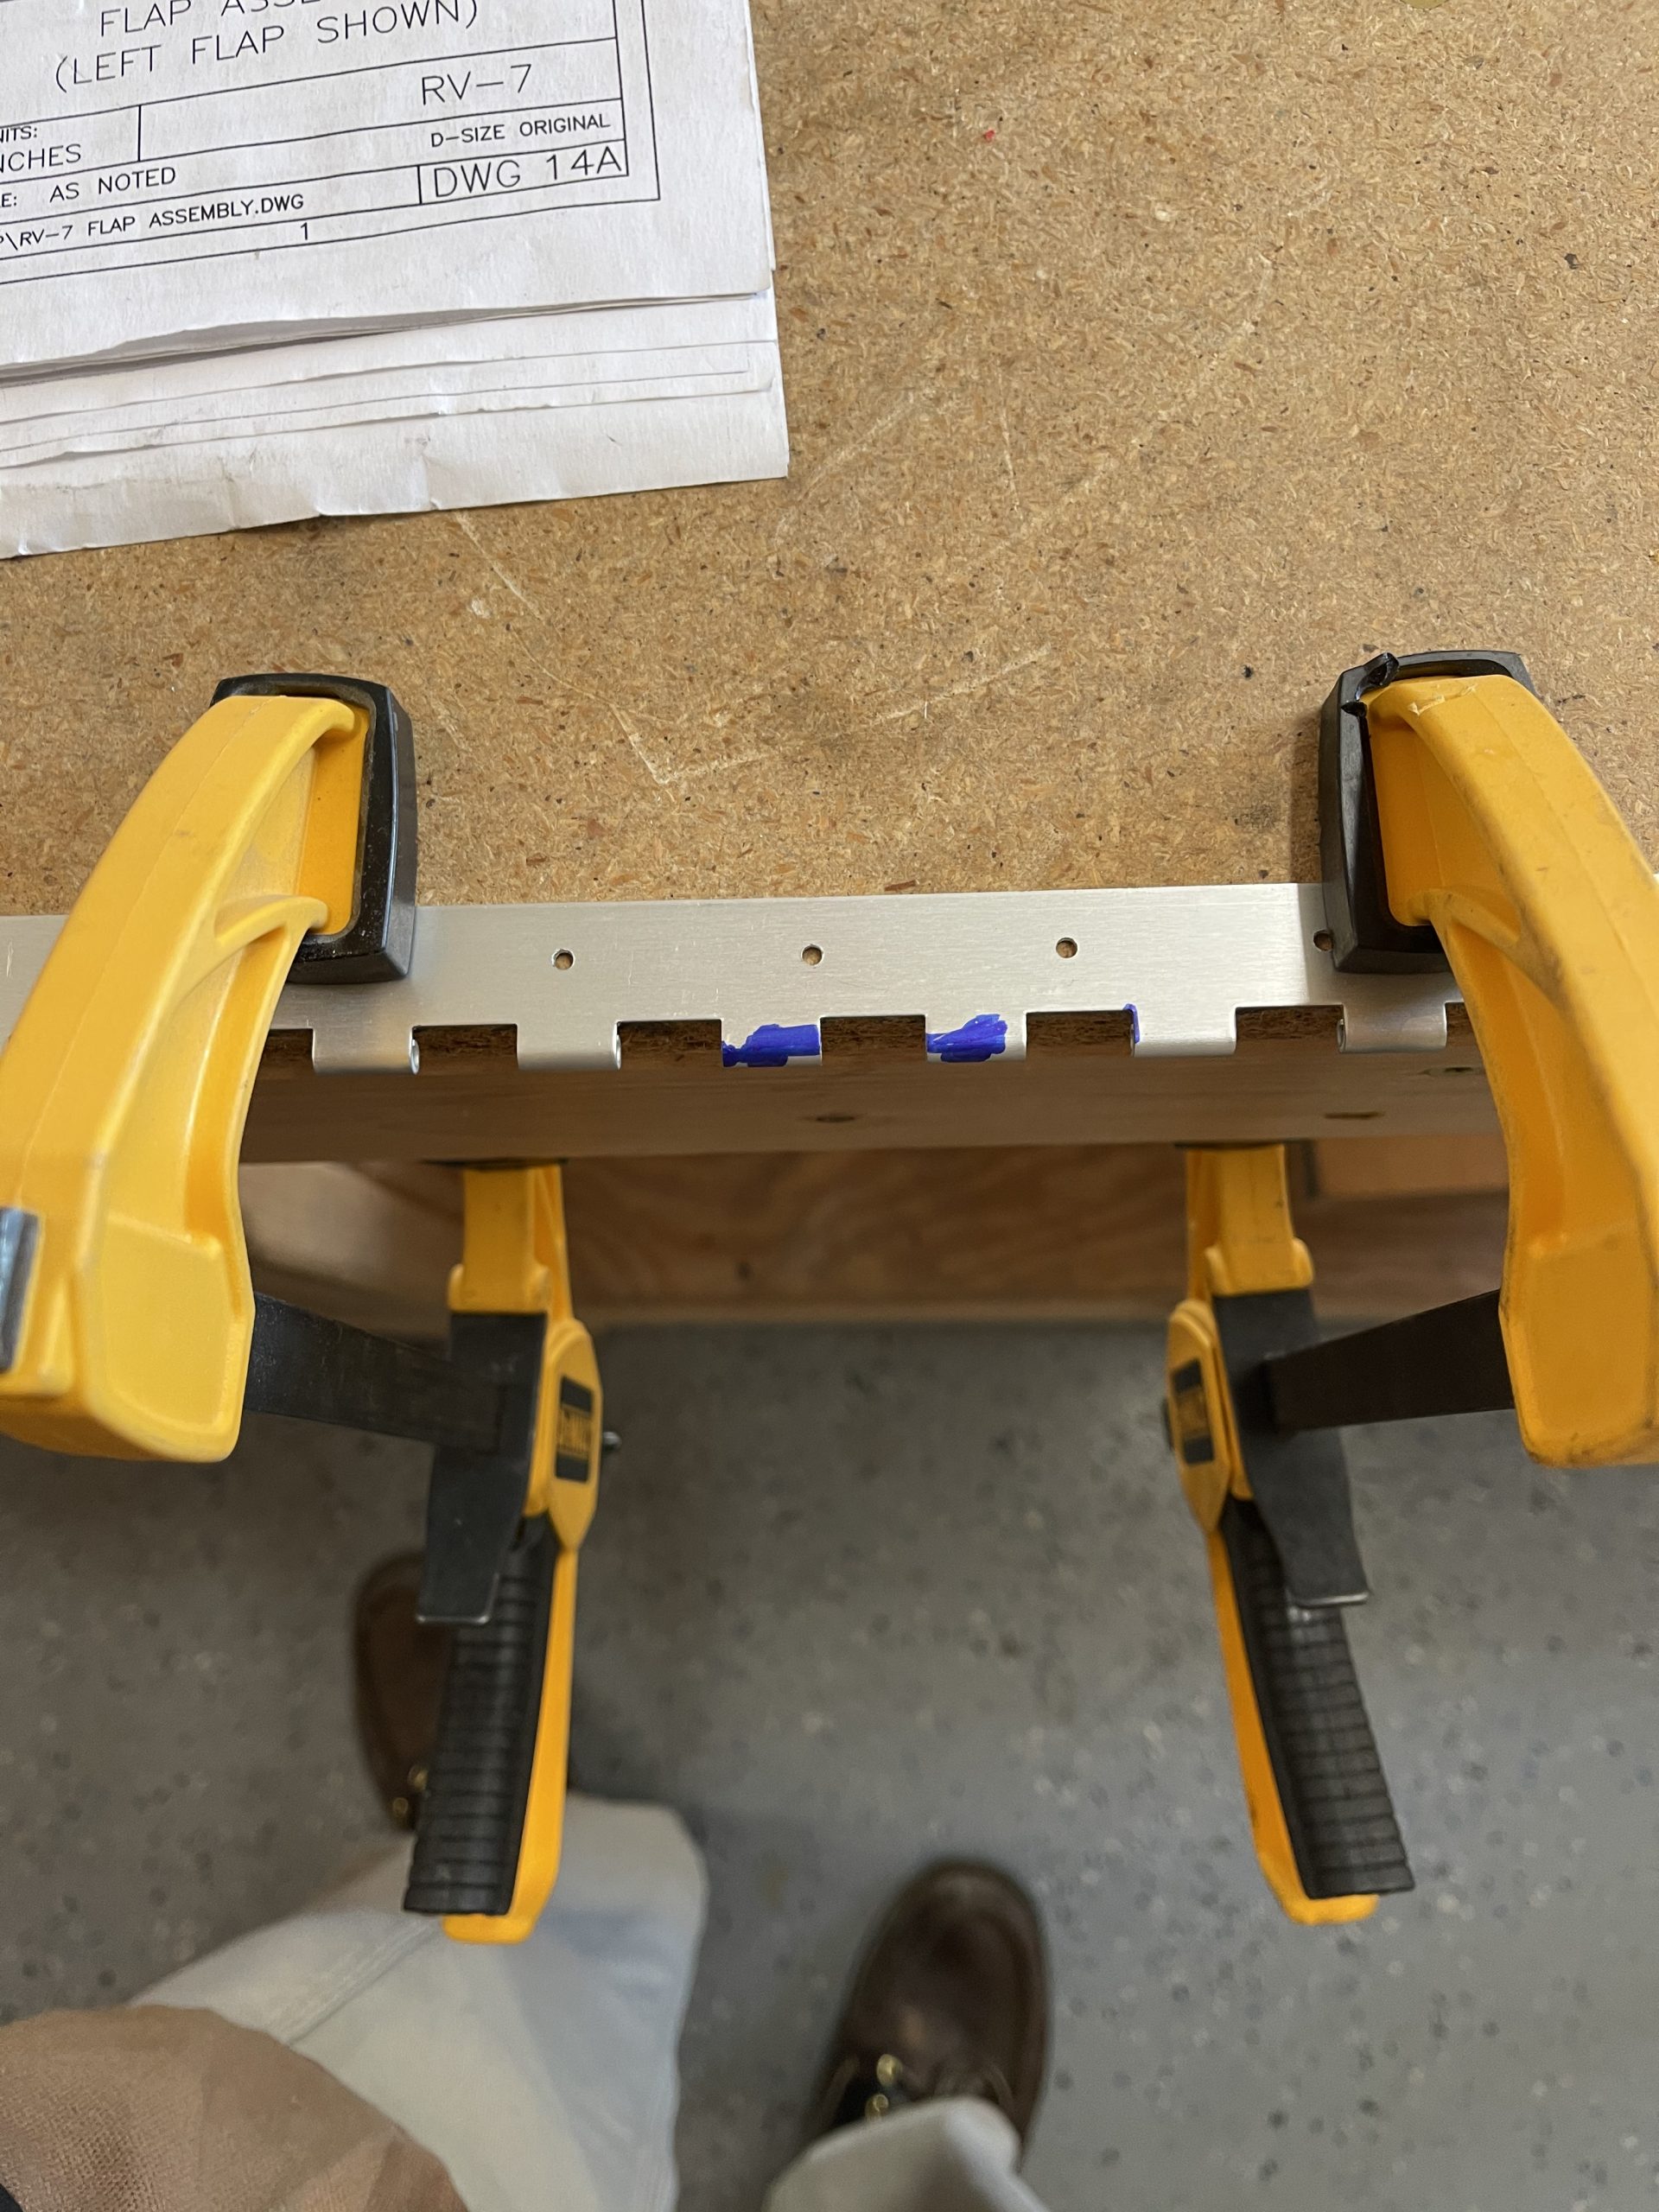
https://bodyandskinclinic.com/emsella-treatment/ So, I measured out where I needed to remove the eyelets, making sure that they’d fall in between the holes in the flap brace. I used a dremel to cut the eyelets of the flap side of the hinge, and the wing side of the hinge, then cleaned this up with a file.
https://spareveil.com/private-parties/ 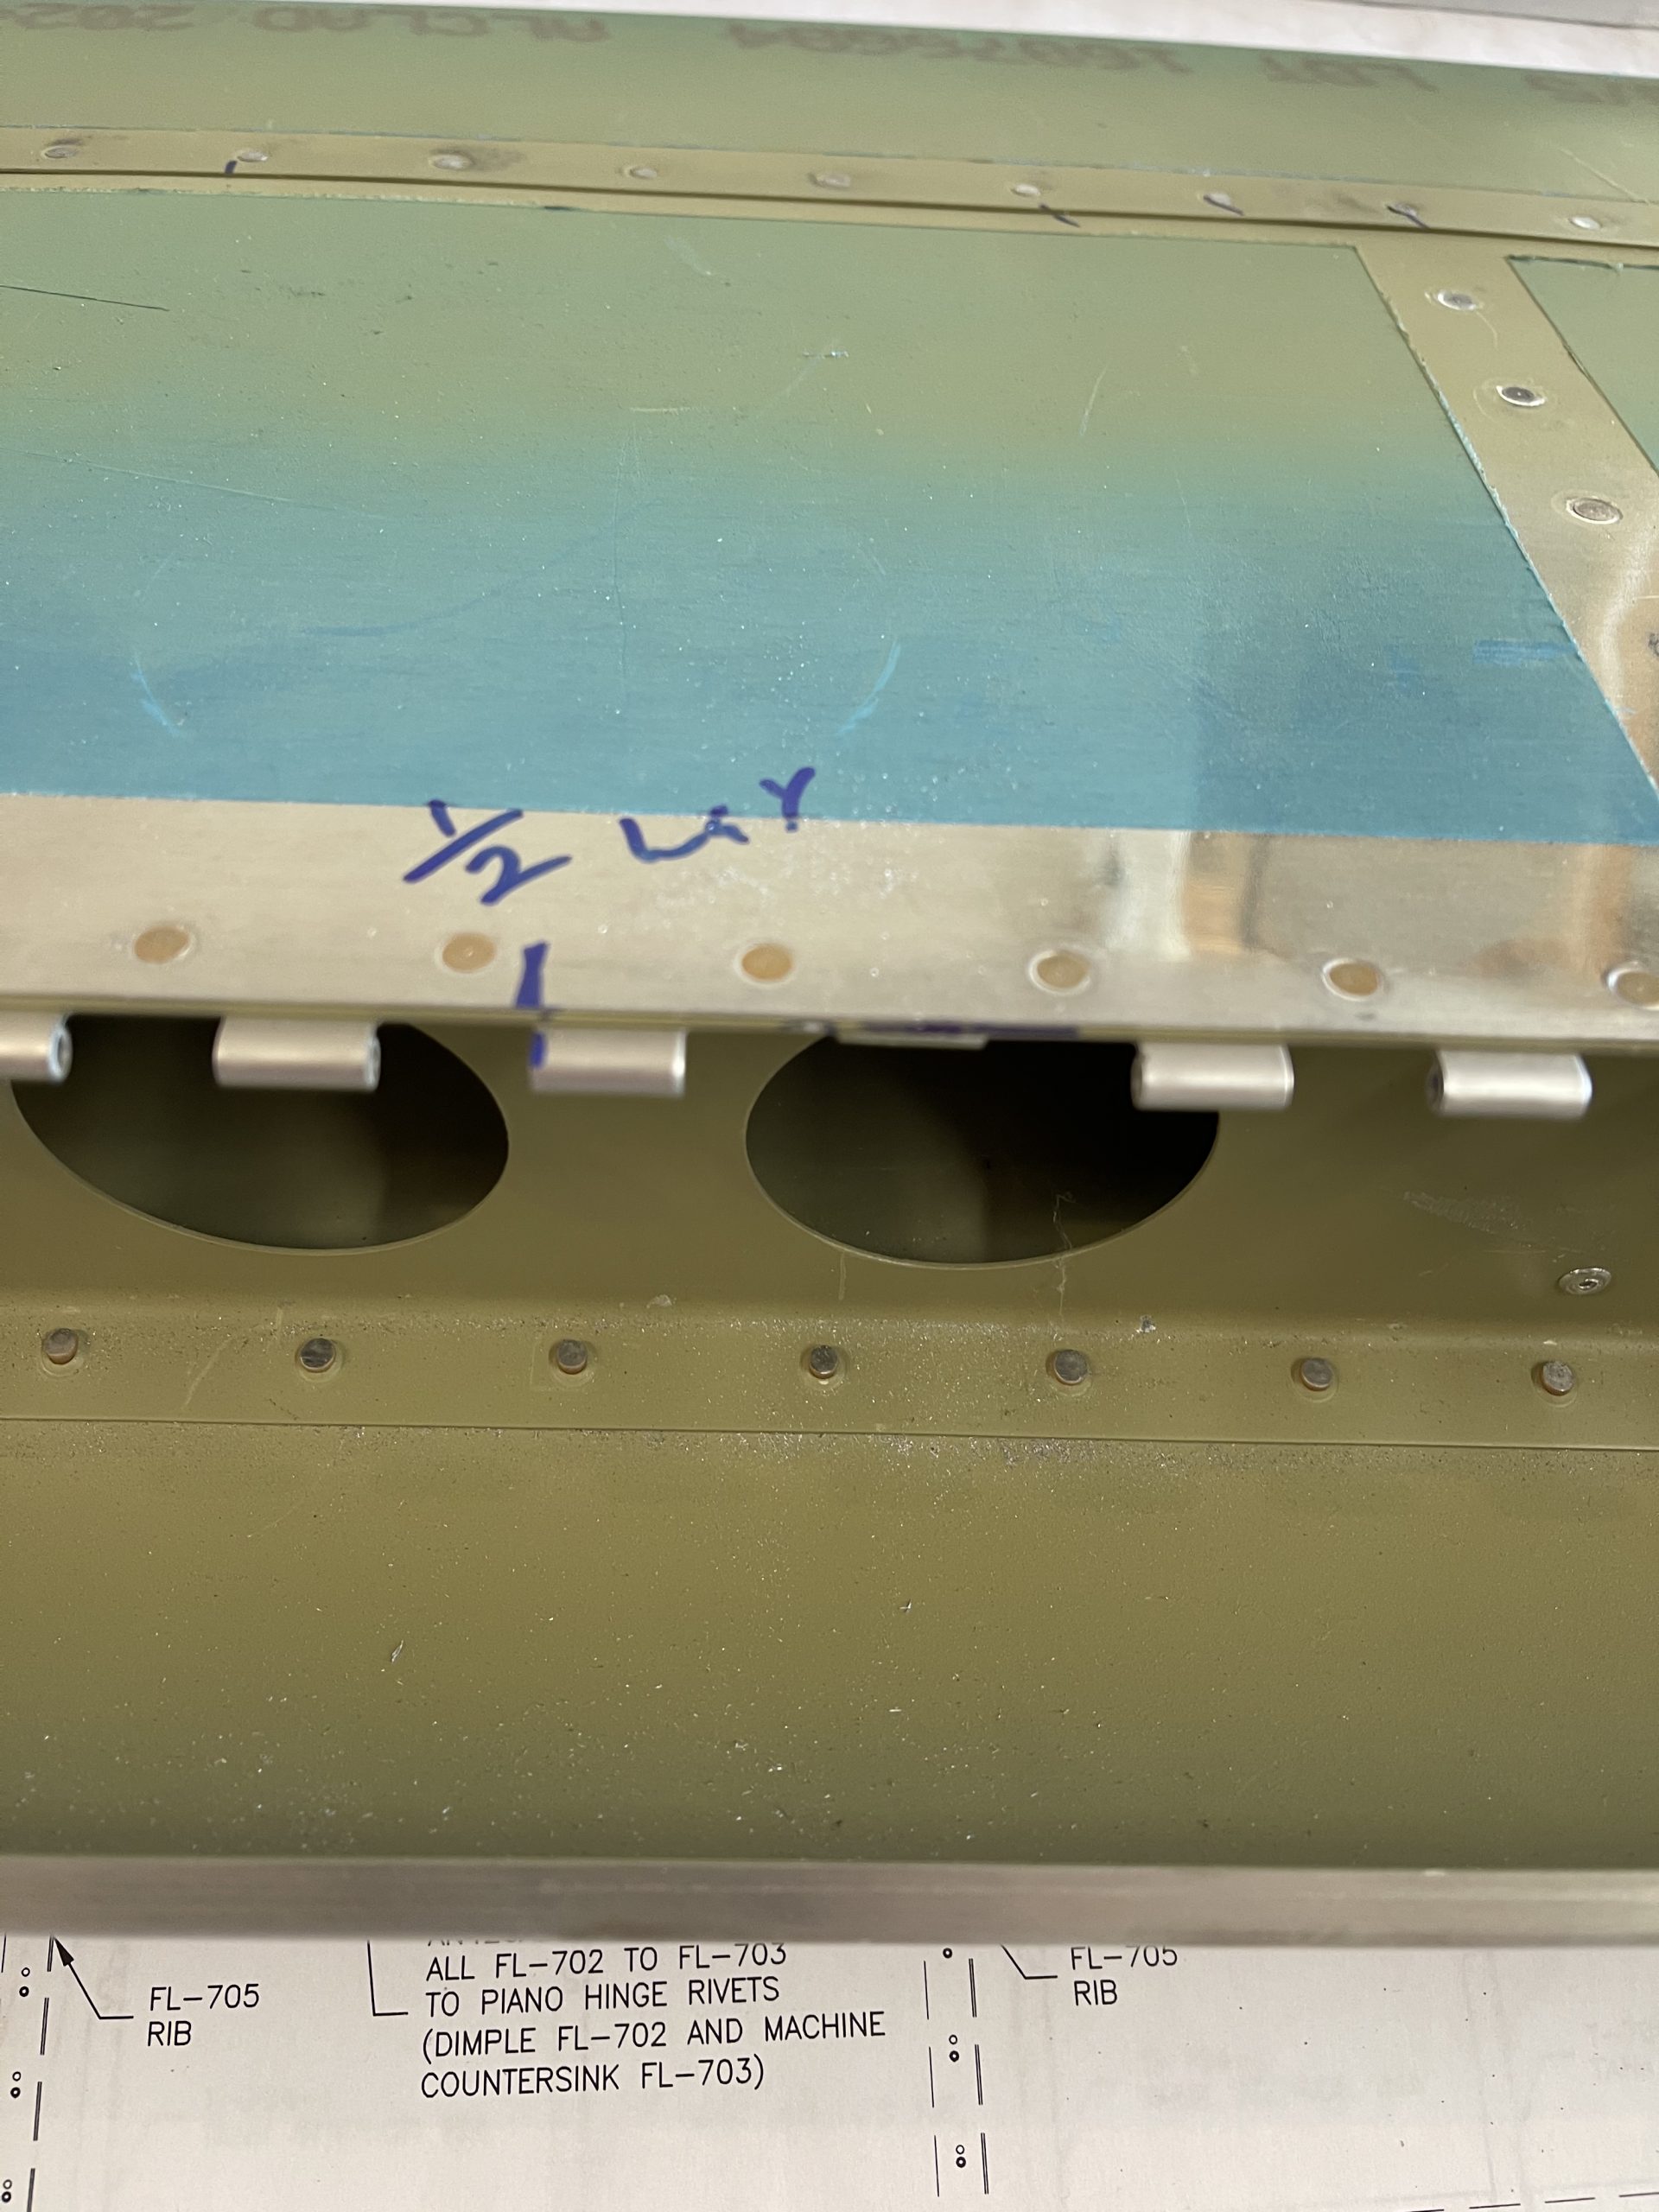
https://tuf-top.com/contact-us/ The blue marked eyelets are the ones I am going to remove. I clamped them down on the bench to hold things still.
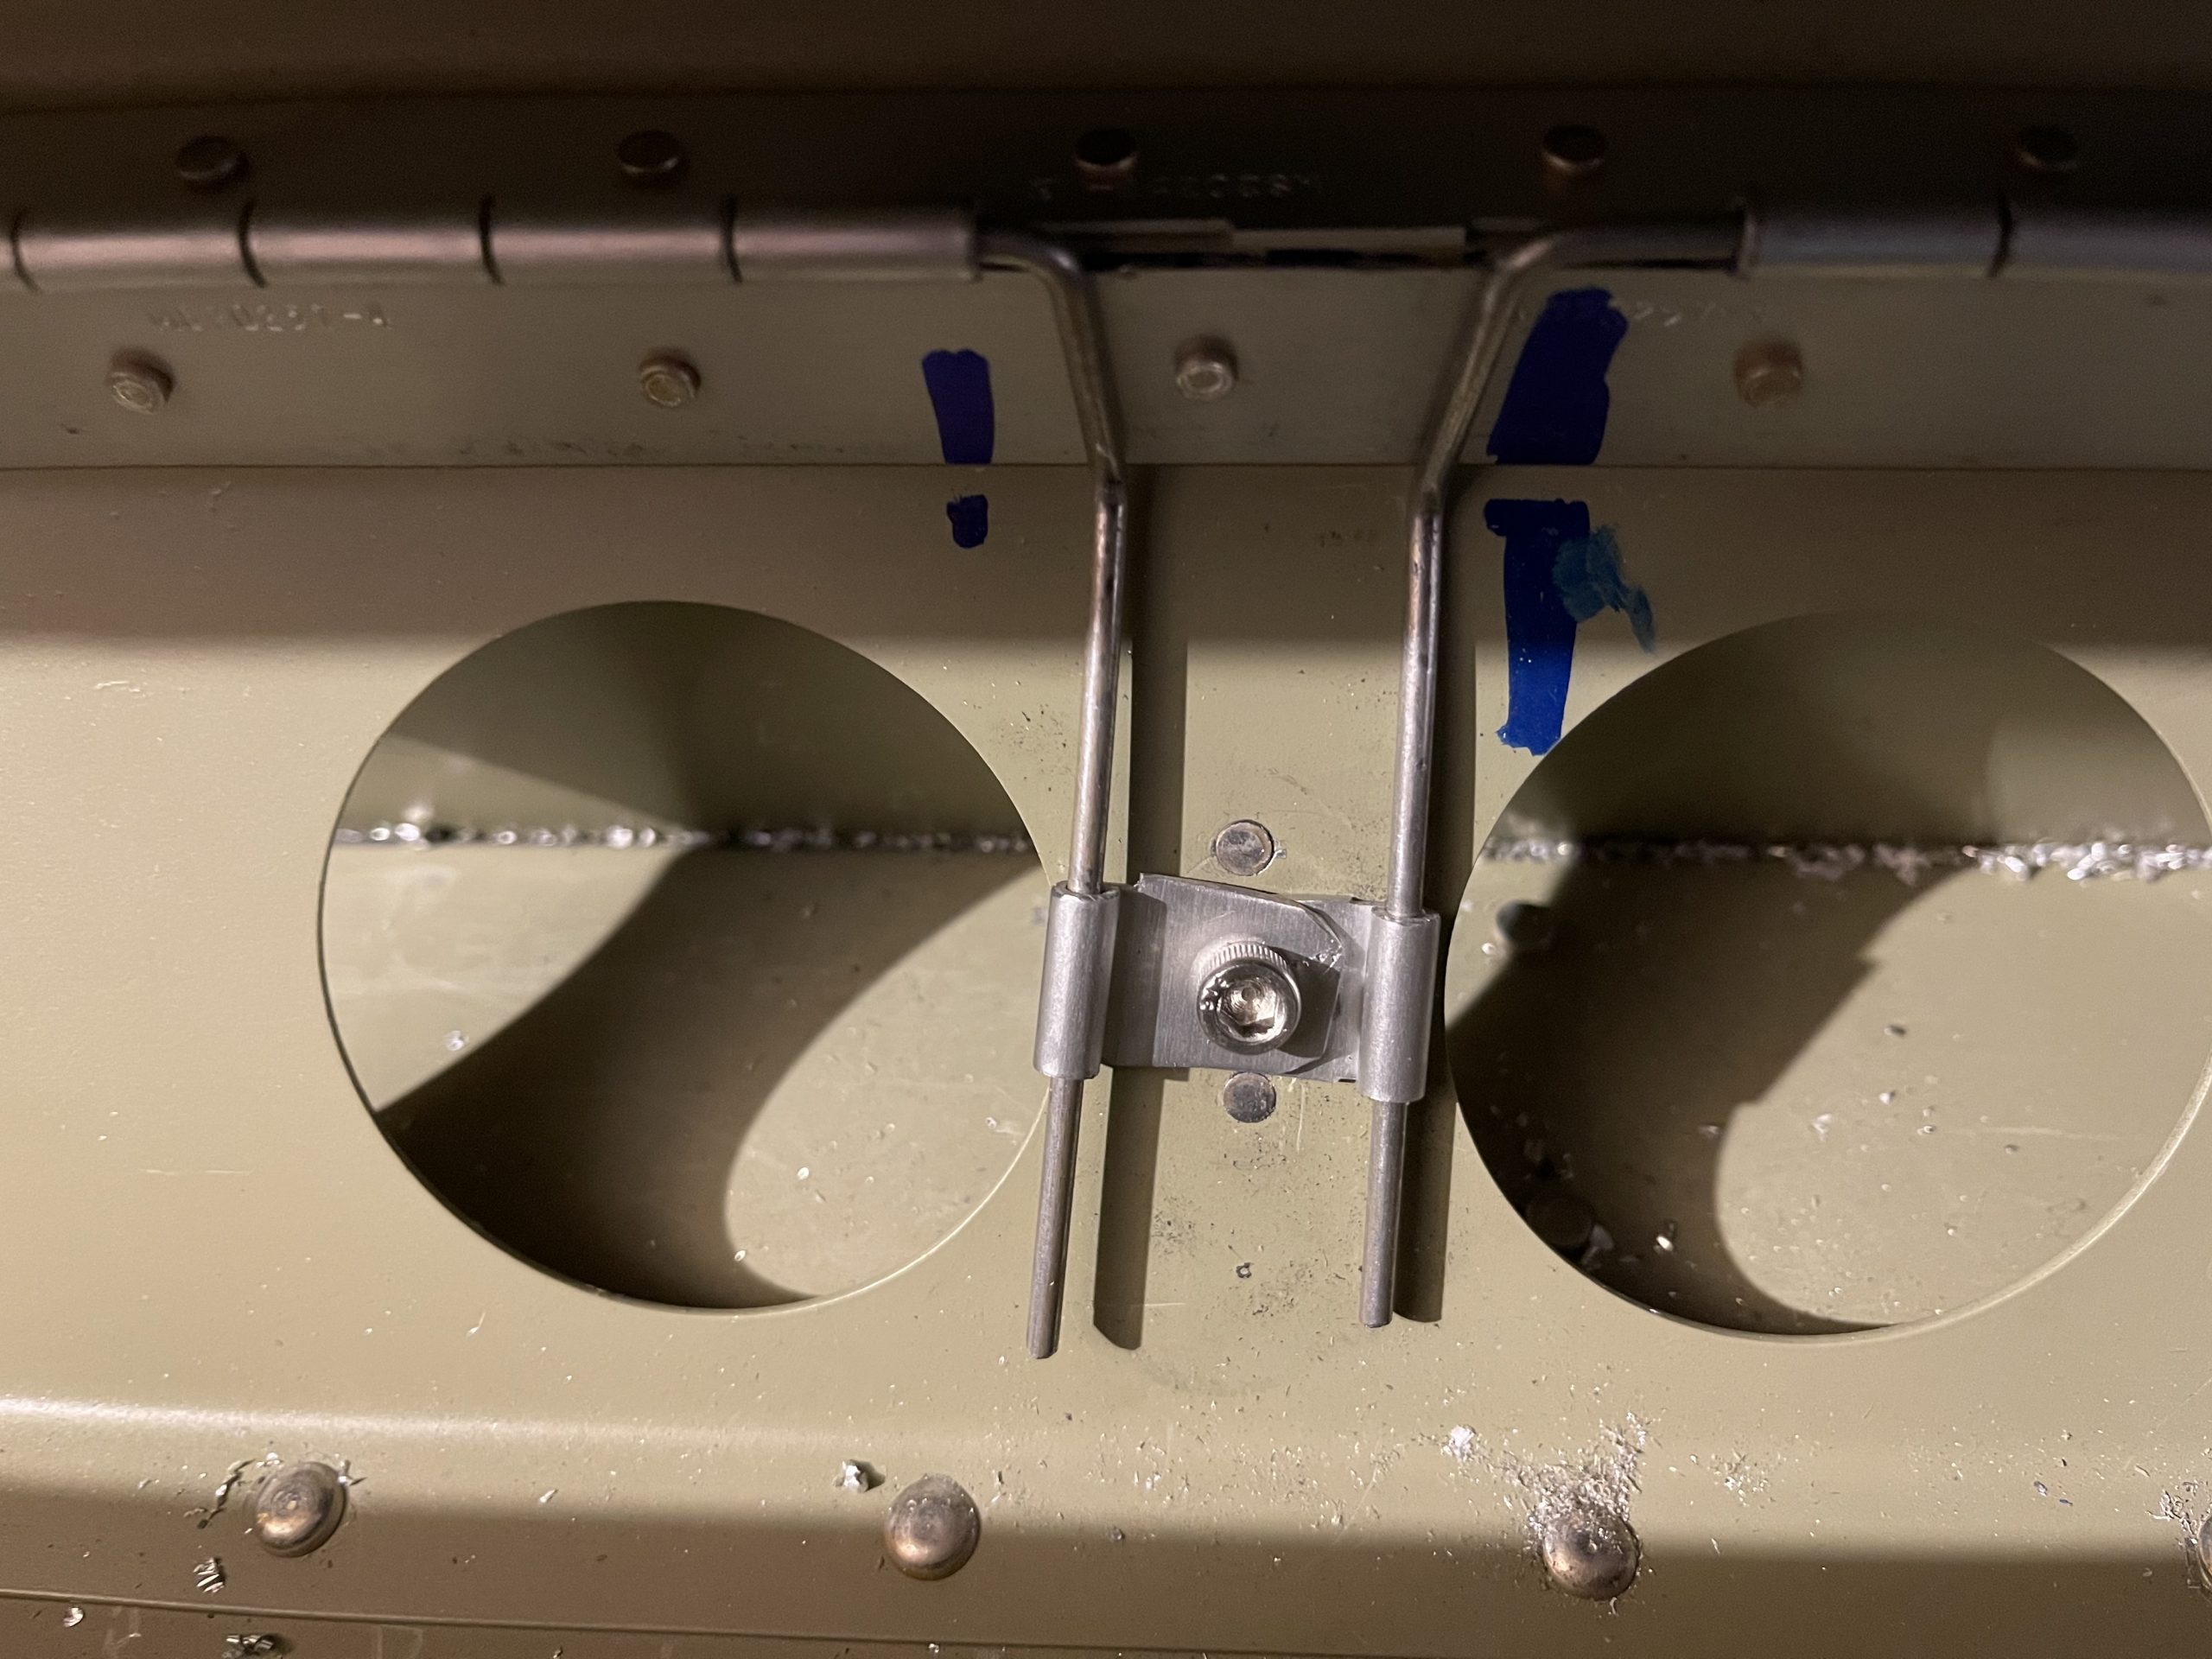
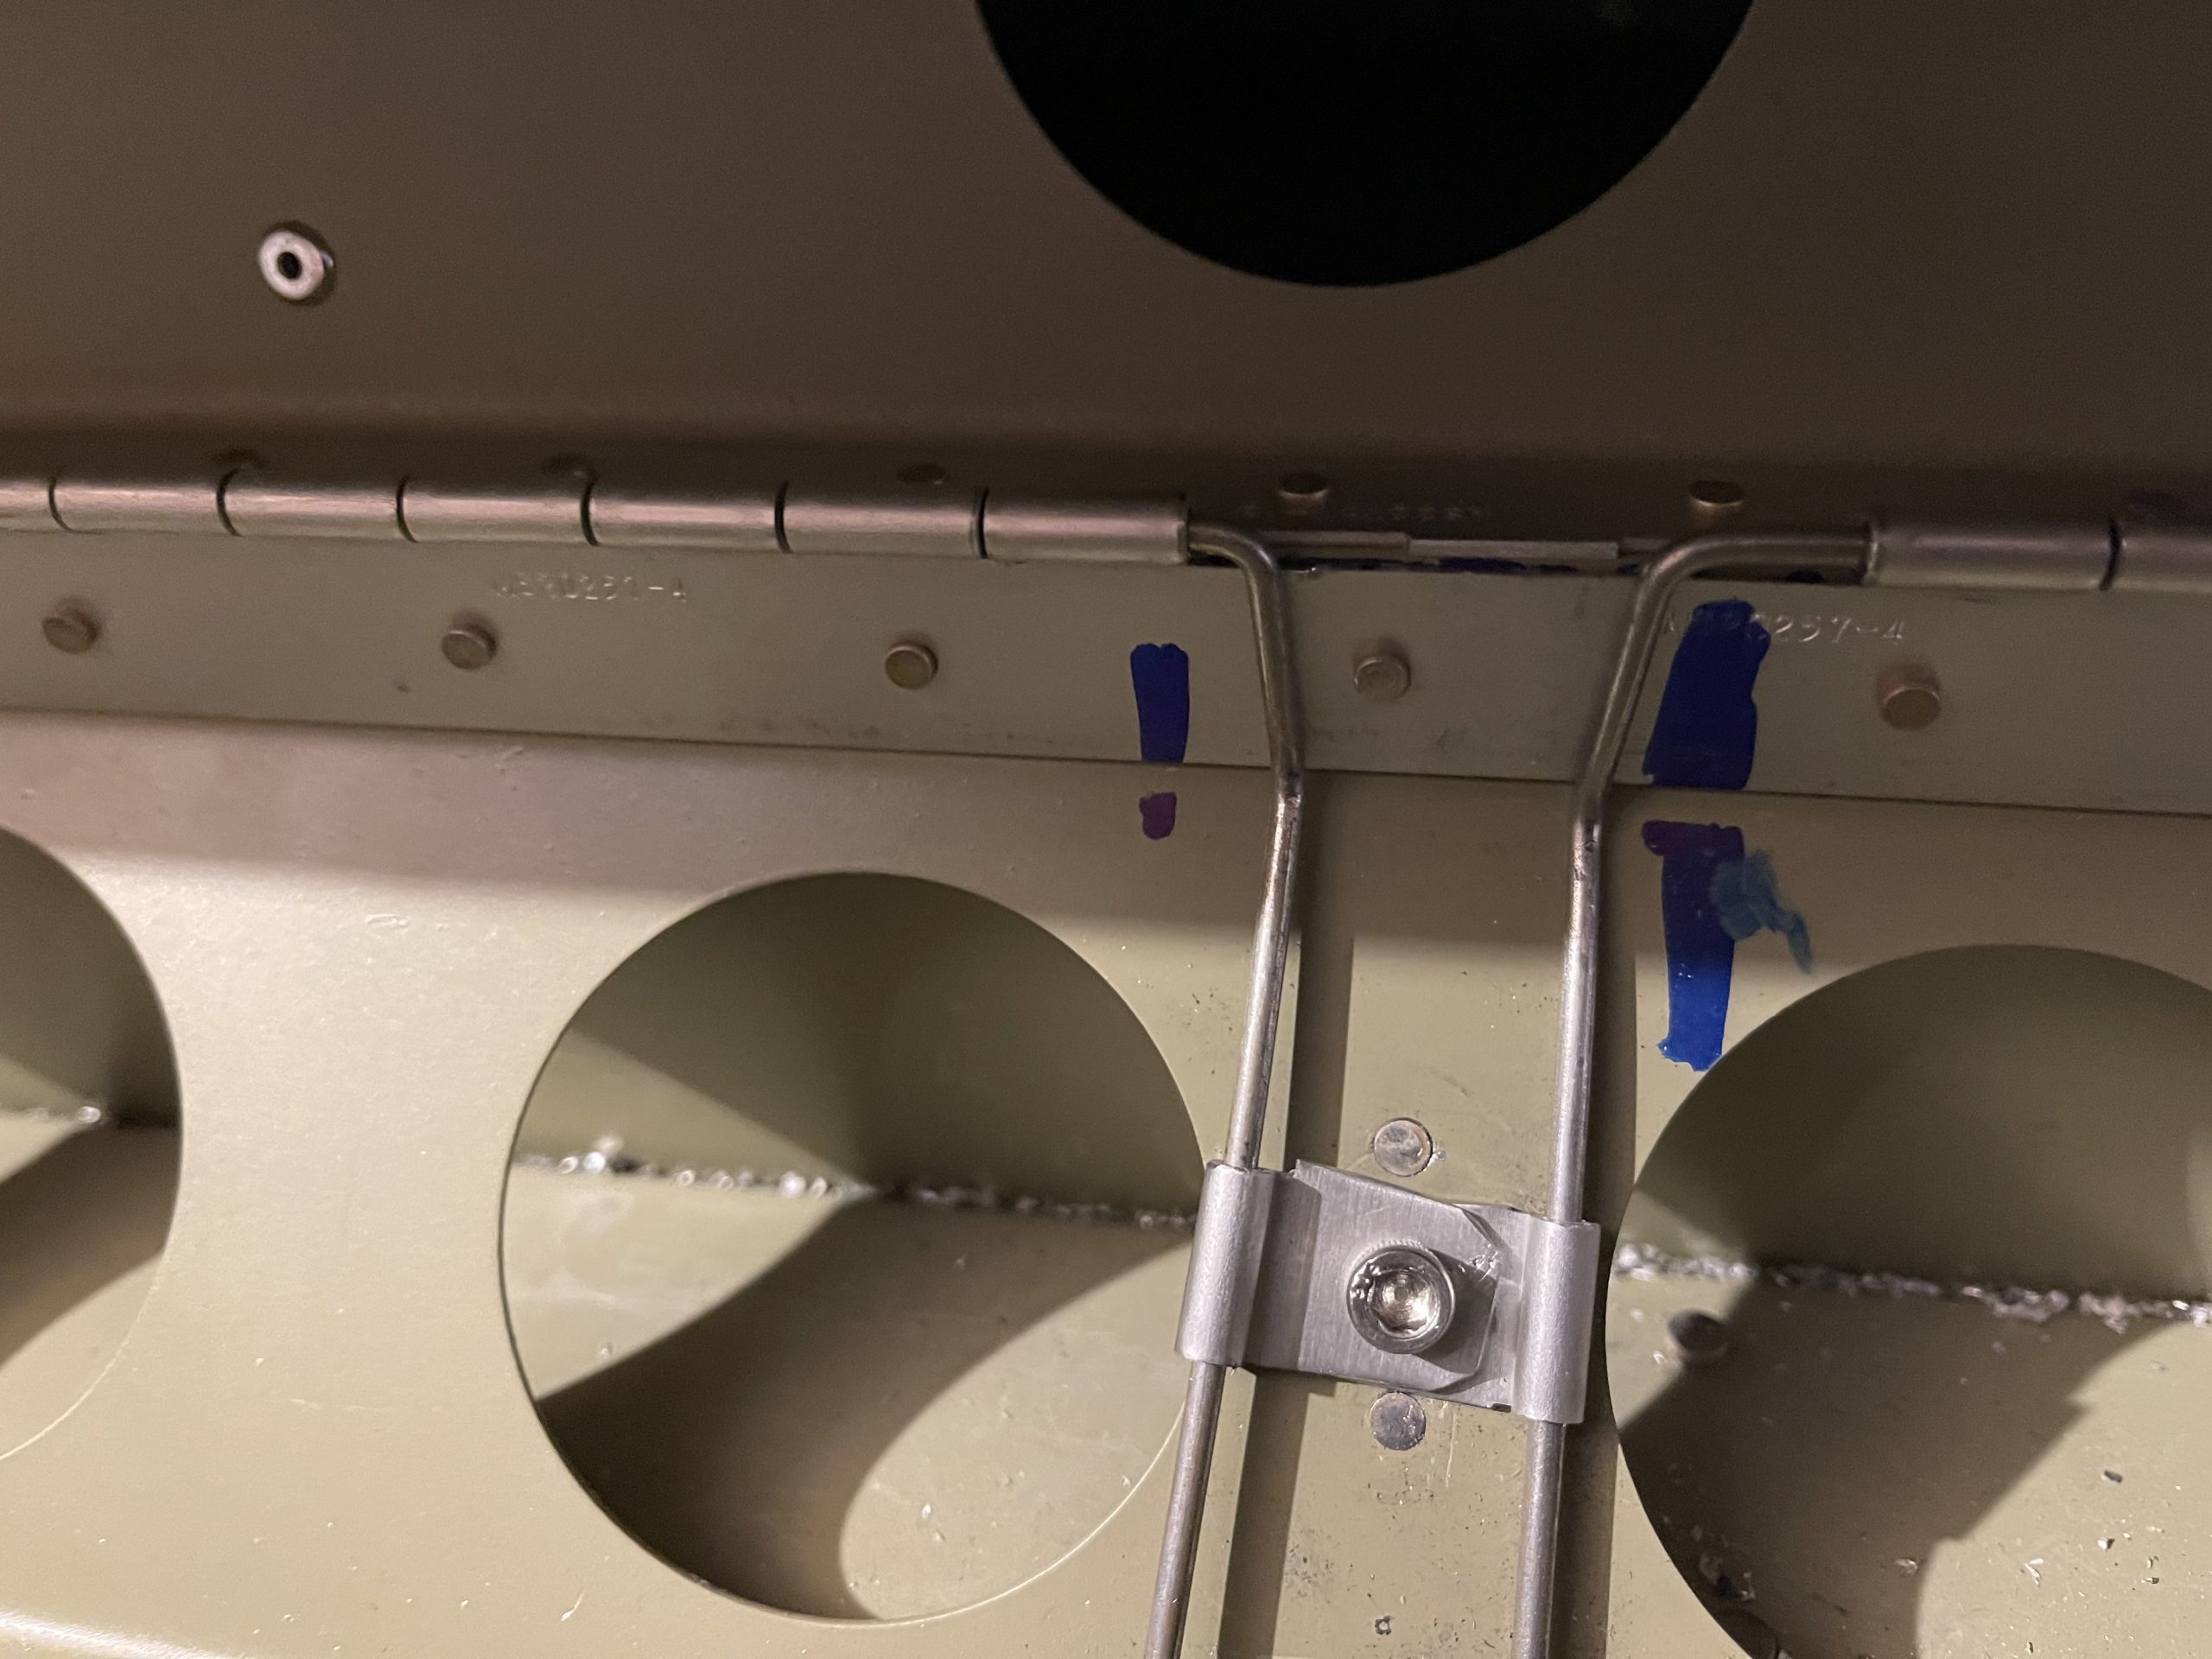
Next up was the measure and trim the hinge wire, and then bend it to fit the contours of the brace flange, and then the brace itself. I used some spare eyelets to make a retainer, drilled a #19 hole in them, and then installed a K1000-8 nutplate onto the flap brace. This lets me use a socket head stainless screw to hold the hinges wire securely in place. This should make removing and installing the flaps much easier in the future, and also securely hold the hinge pins.
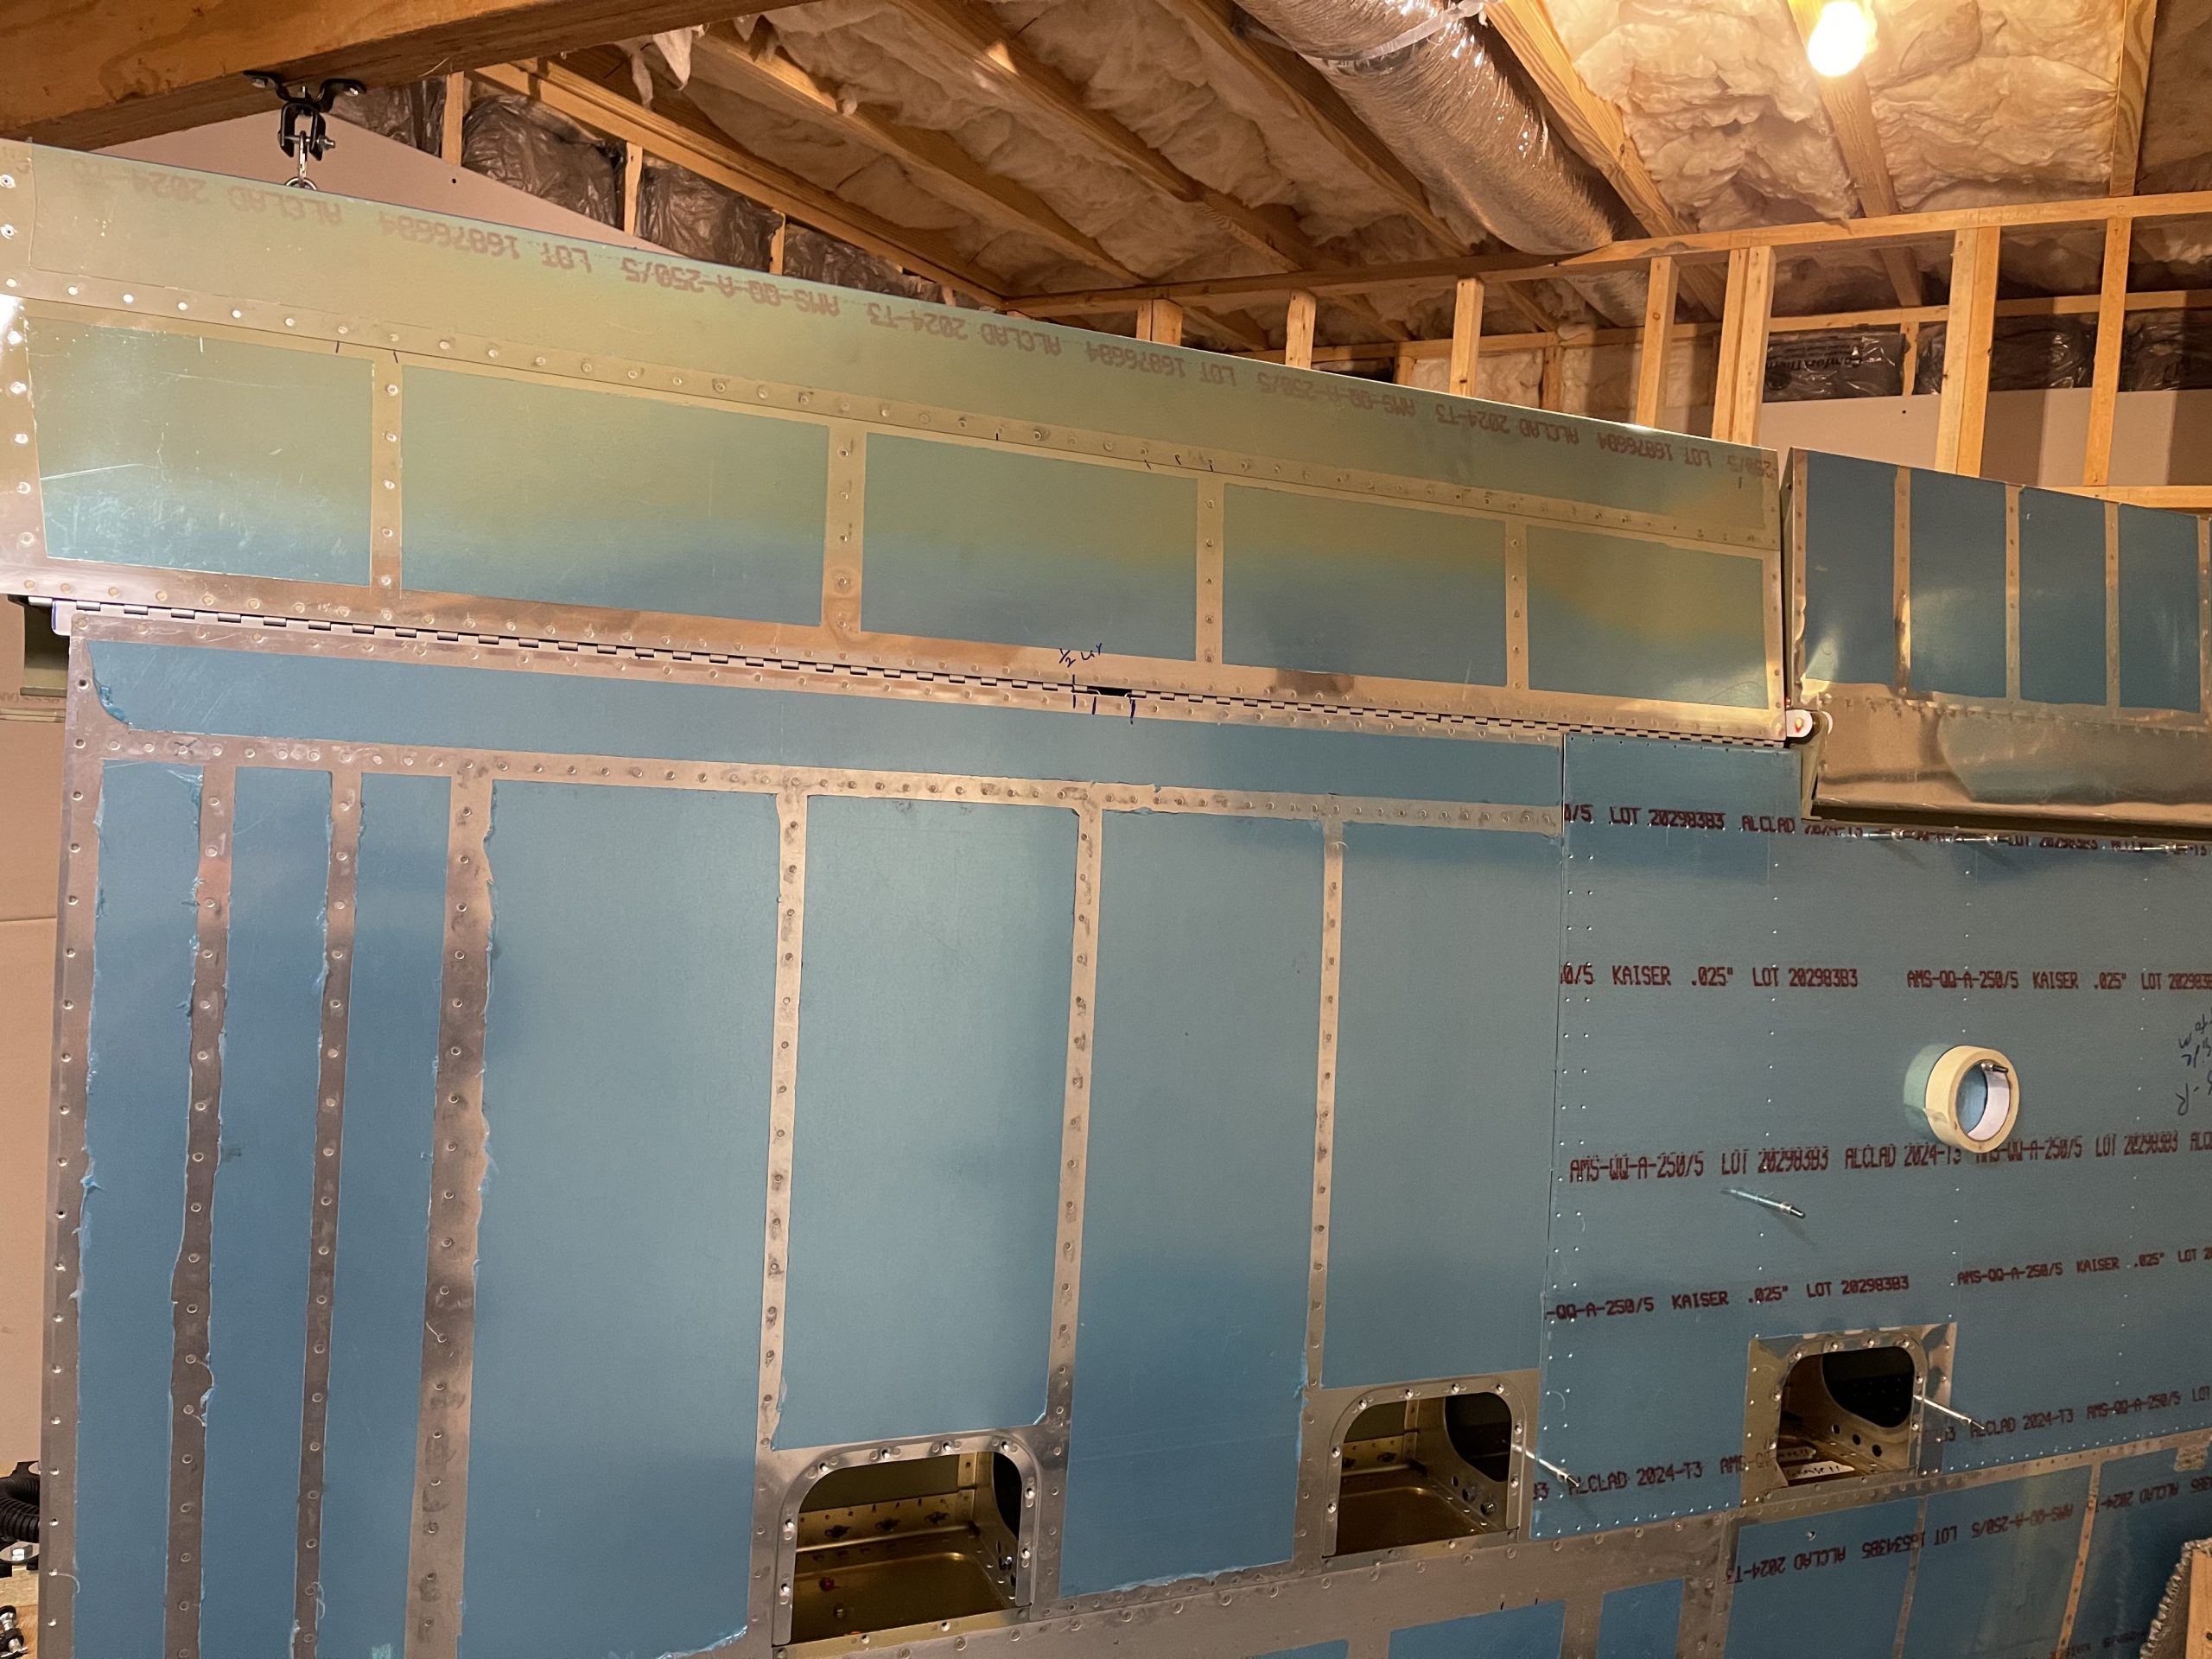
I’ve finally got this flap installed! I didn’t rivet the hinge where the outboard skin is riveted, as I am not quite ready to attach the outboard skins just yet. I’ll vacuum these out really well before final assembly as well. Heres the result:
Thats it for this session. I’ll move on to the left wing flap mounting next. I’ll also try and grab some better photos of that process, as I didn’t snap very many of this build.
Google Photos Link: https://photos.app.goo.gl/YqKZtPKU4JWntfBfA
Hours Worked: 4.5


