


Order Soma Online I managed to get a TON of work done tonight, and worked a straight 4 hours on the section of plans titled “Preparing the Left Elevator”. In a nut shell, I completely build entire left elevator, and have it disassembled so all the parts can be deburred, and the edges finished. After that, I will shoot them in AKZO primer and then they will be ready to be dimpled and riveted. This is going to be a long post, since I got so much work done tonight, so hang on!
source site We start off the right elevator in pretty much the same fashion as we did the left, since they are almost identical (except for the trim tab). It starts by rounded off the top and bottom edges of the E-00001A doubler so that it will nest correctly in the E-702 spar channel.
follow link After that, we cleco on the E-610PP and E-611PP doublers on the back side of the spar, as well as the E-00001A and E-00001B doublers on the front side. These doublers are a part of SB-14-02-15 which was included in my tail kit. Once all the doublers are clecod on, we match drill them to the E-702 spar.
https://www.thephysicaltherapyadvisor.com/about/ 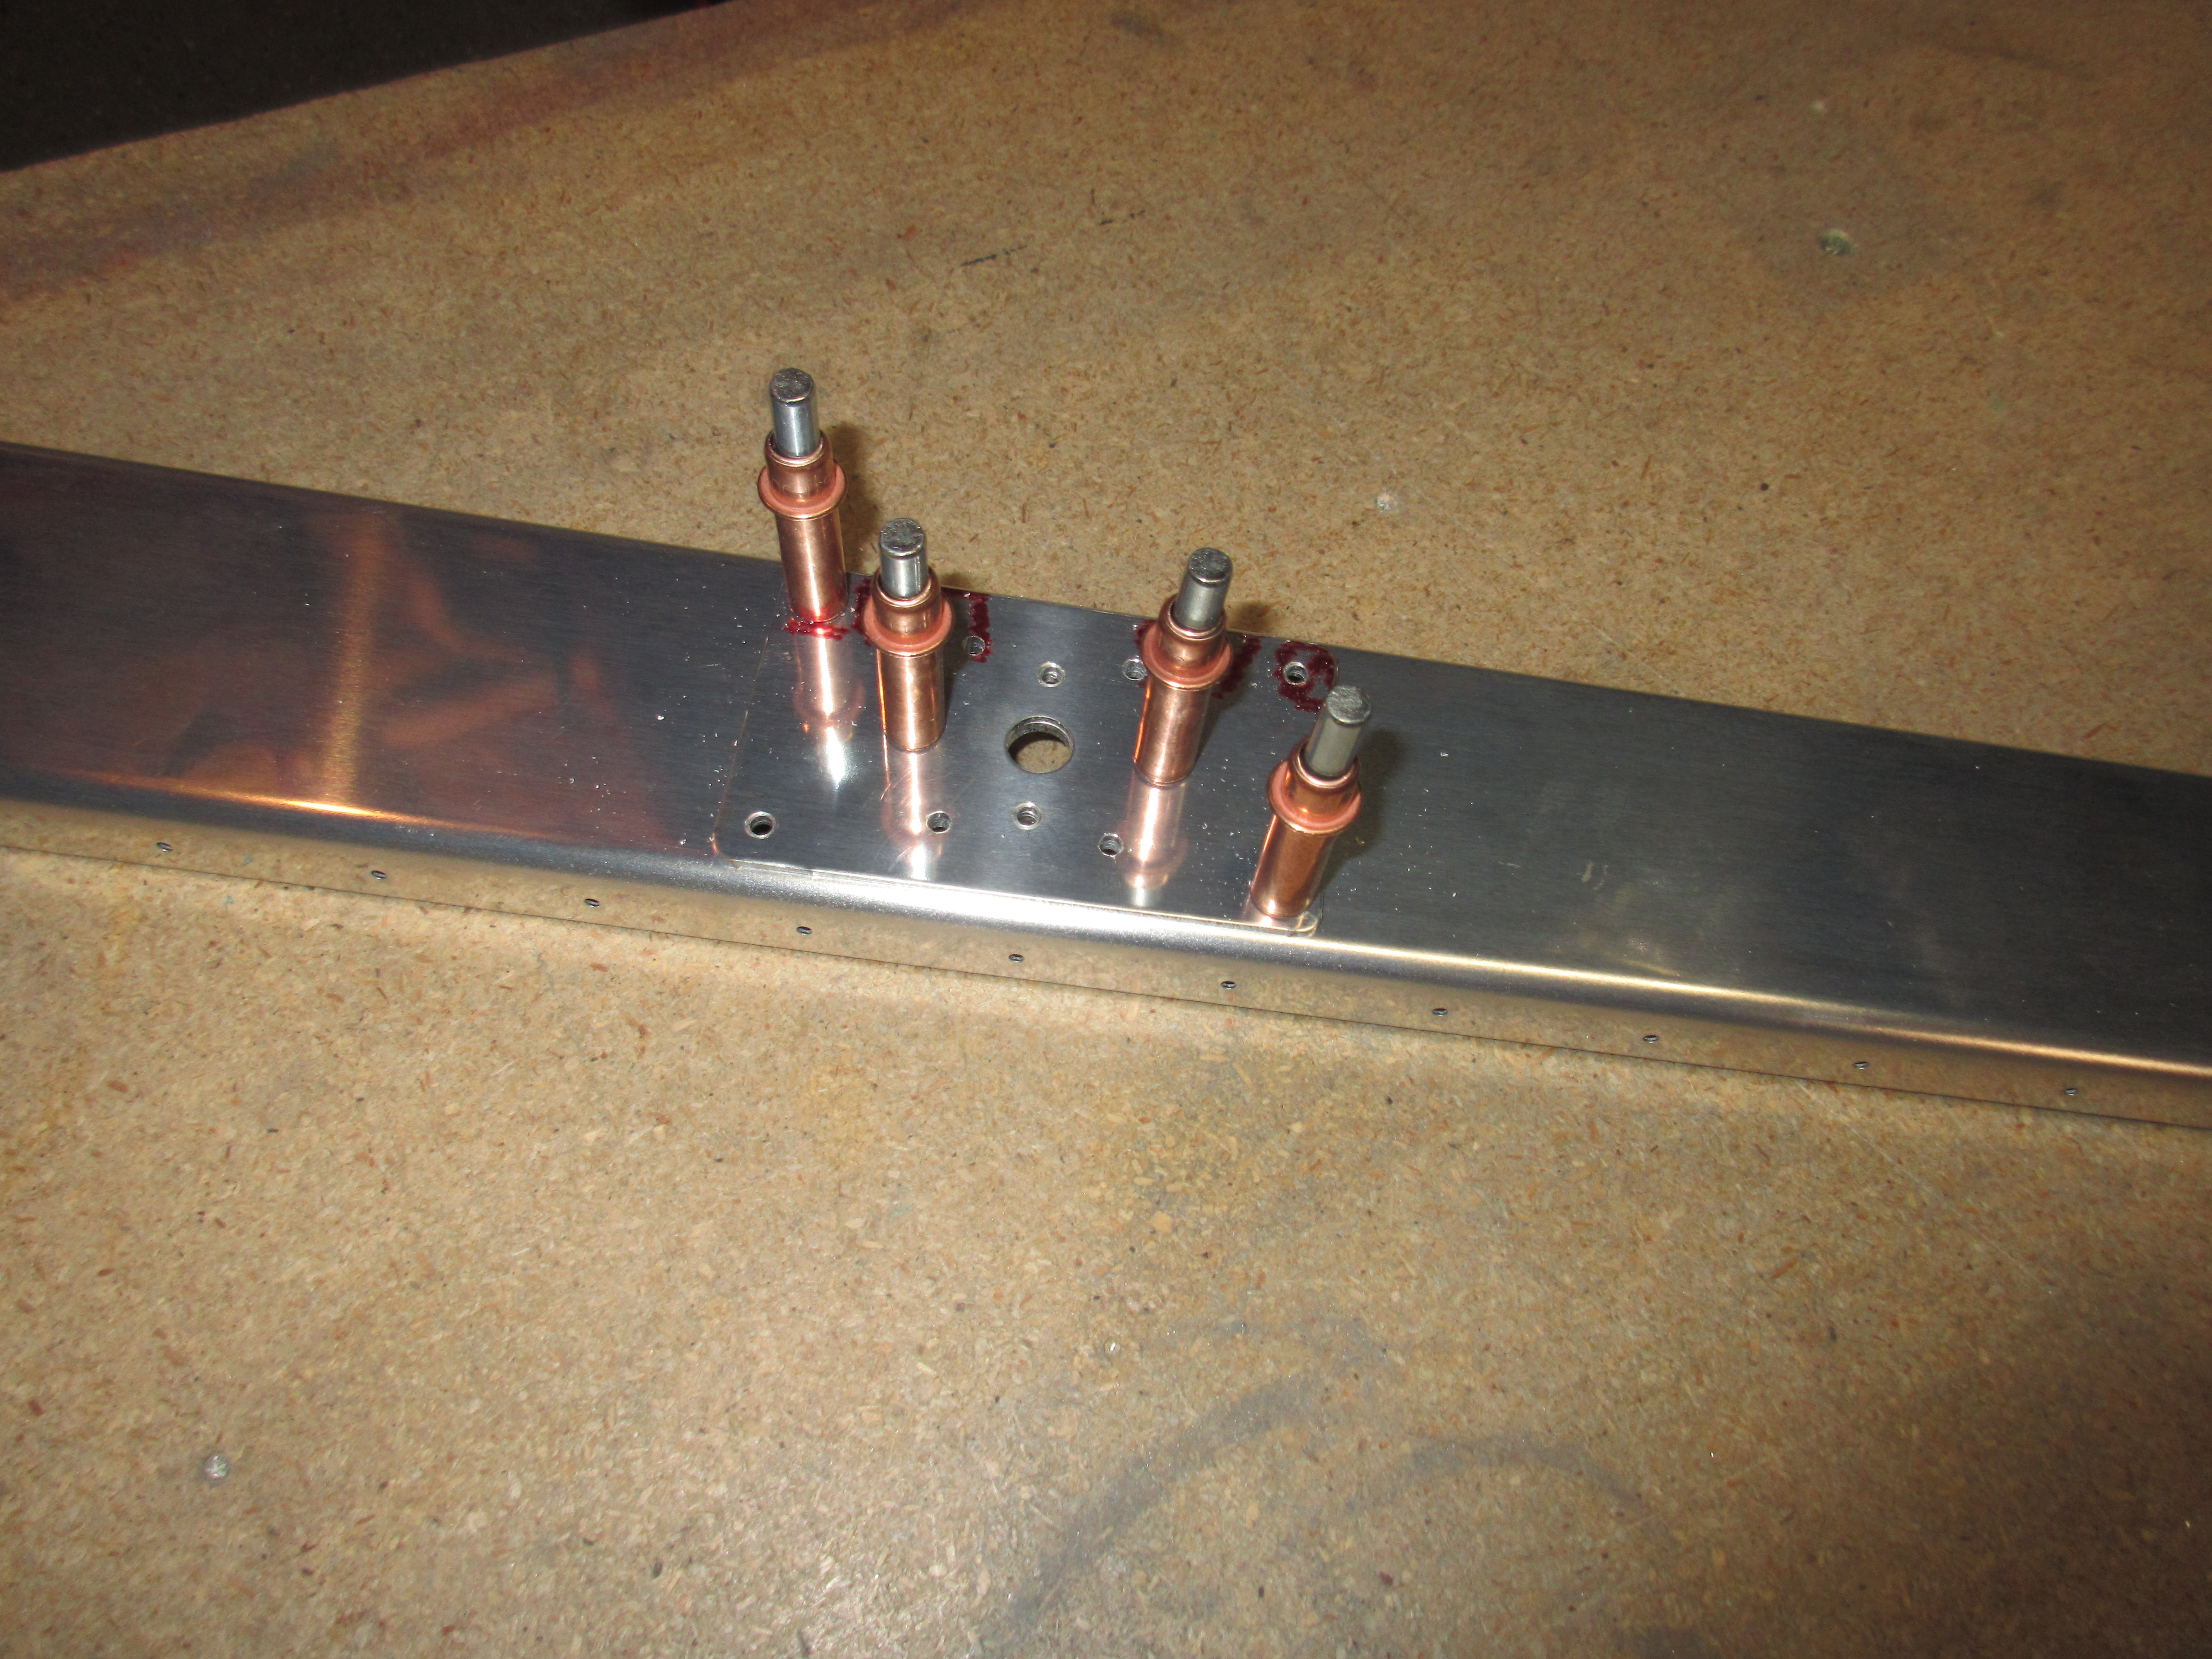
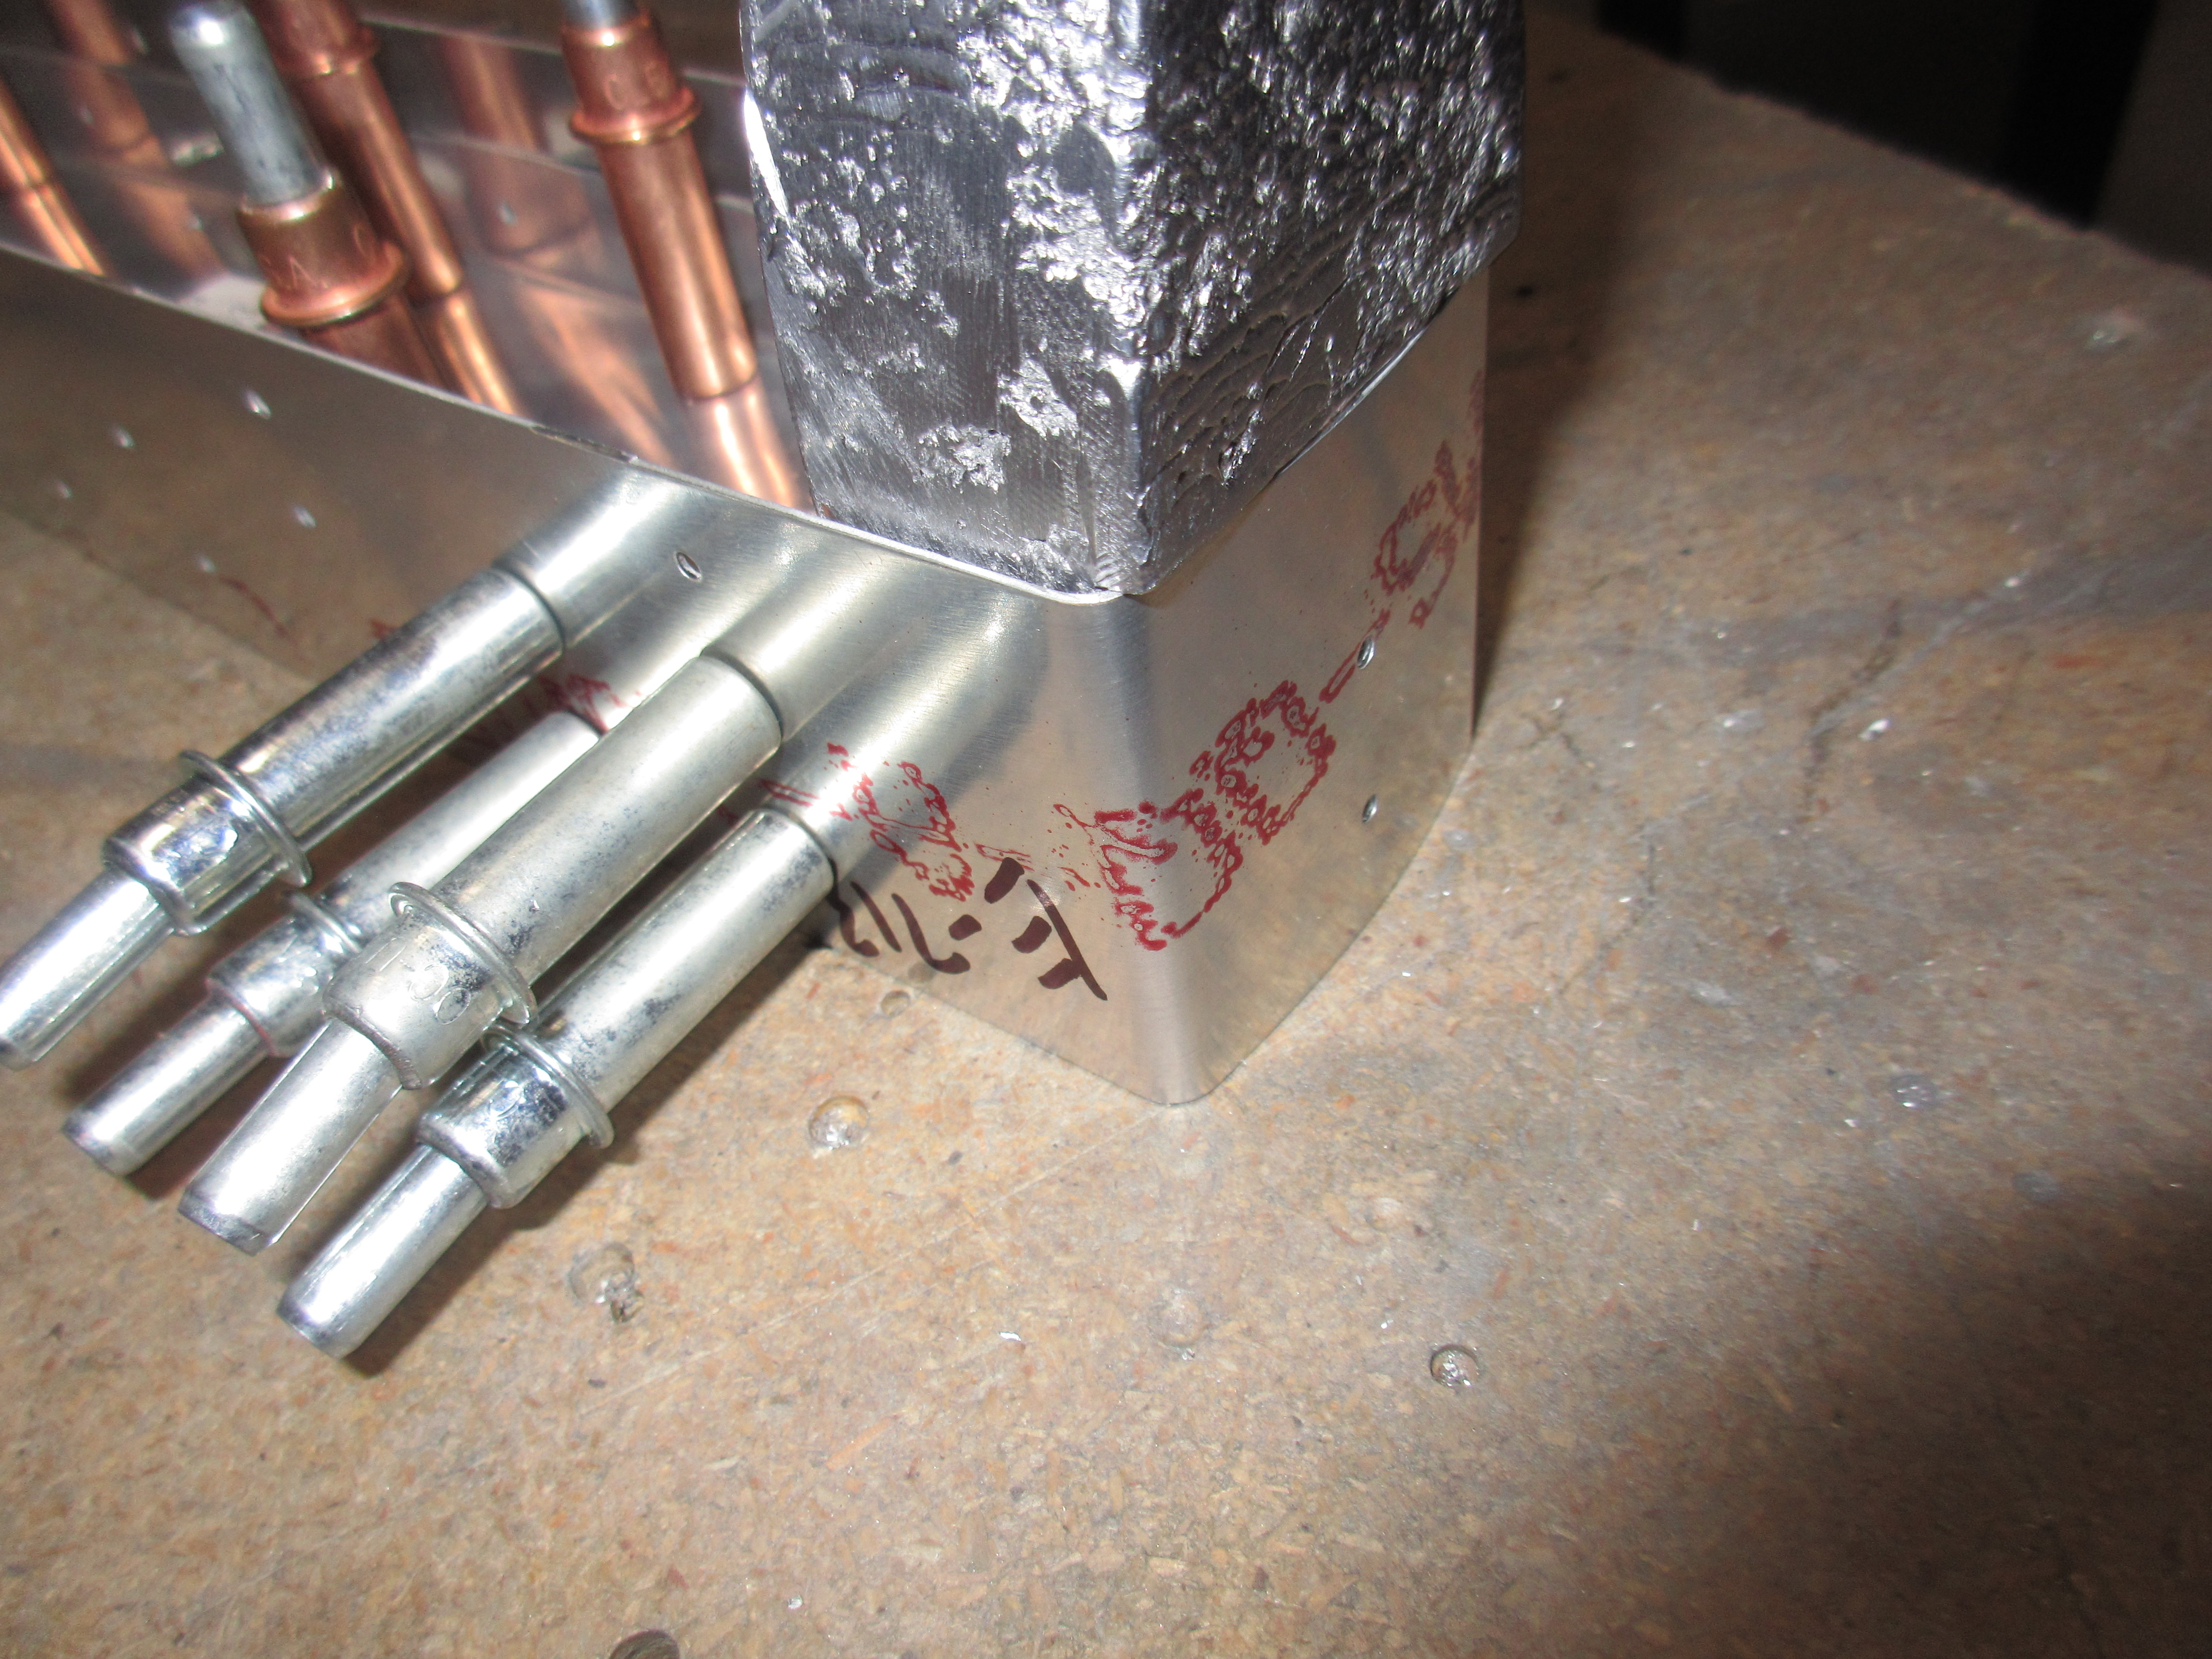
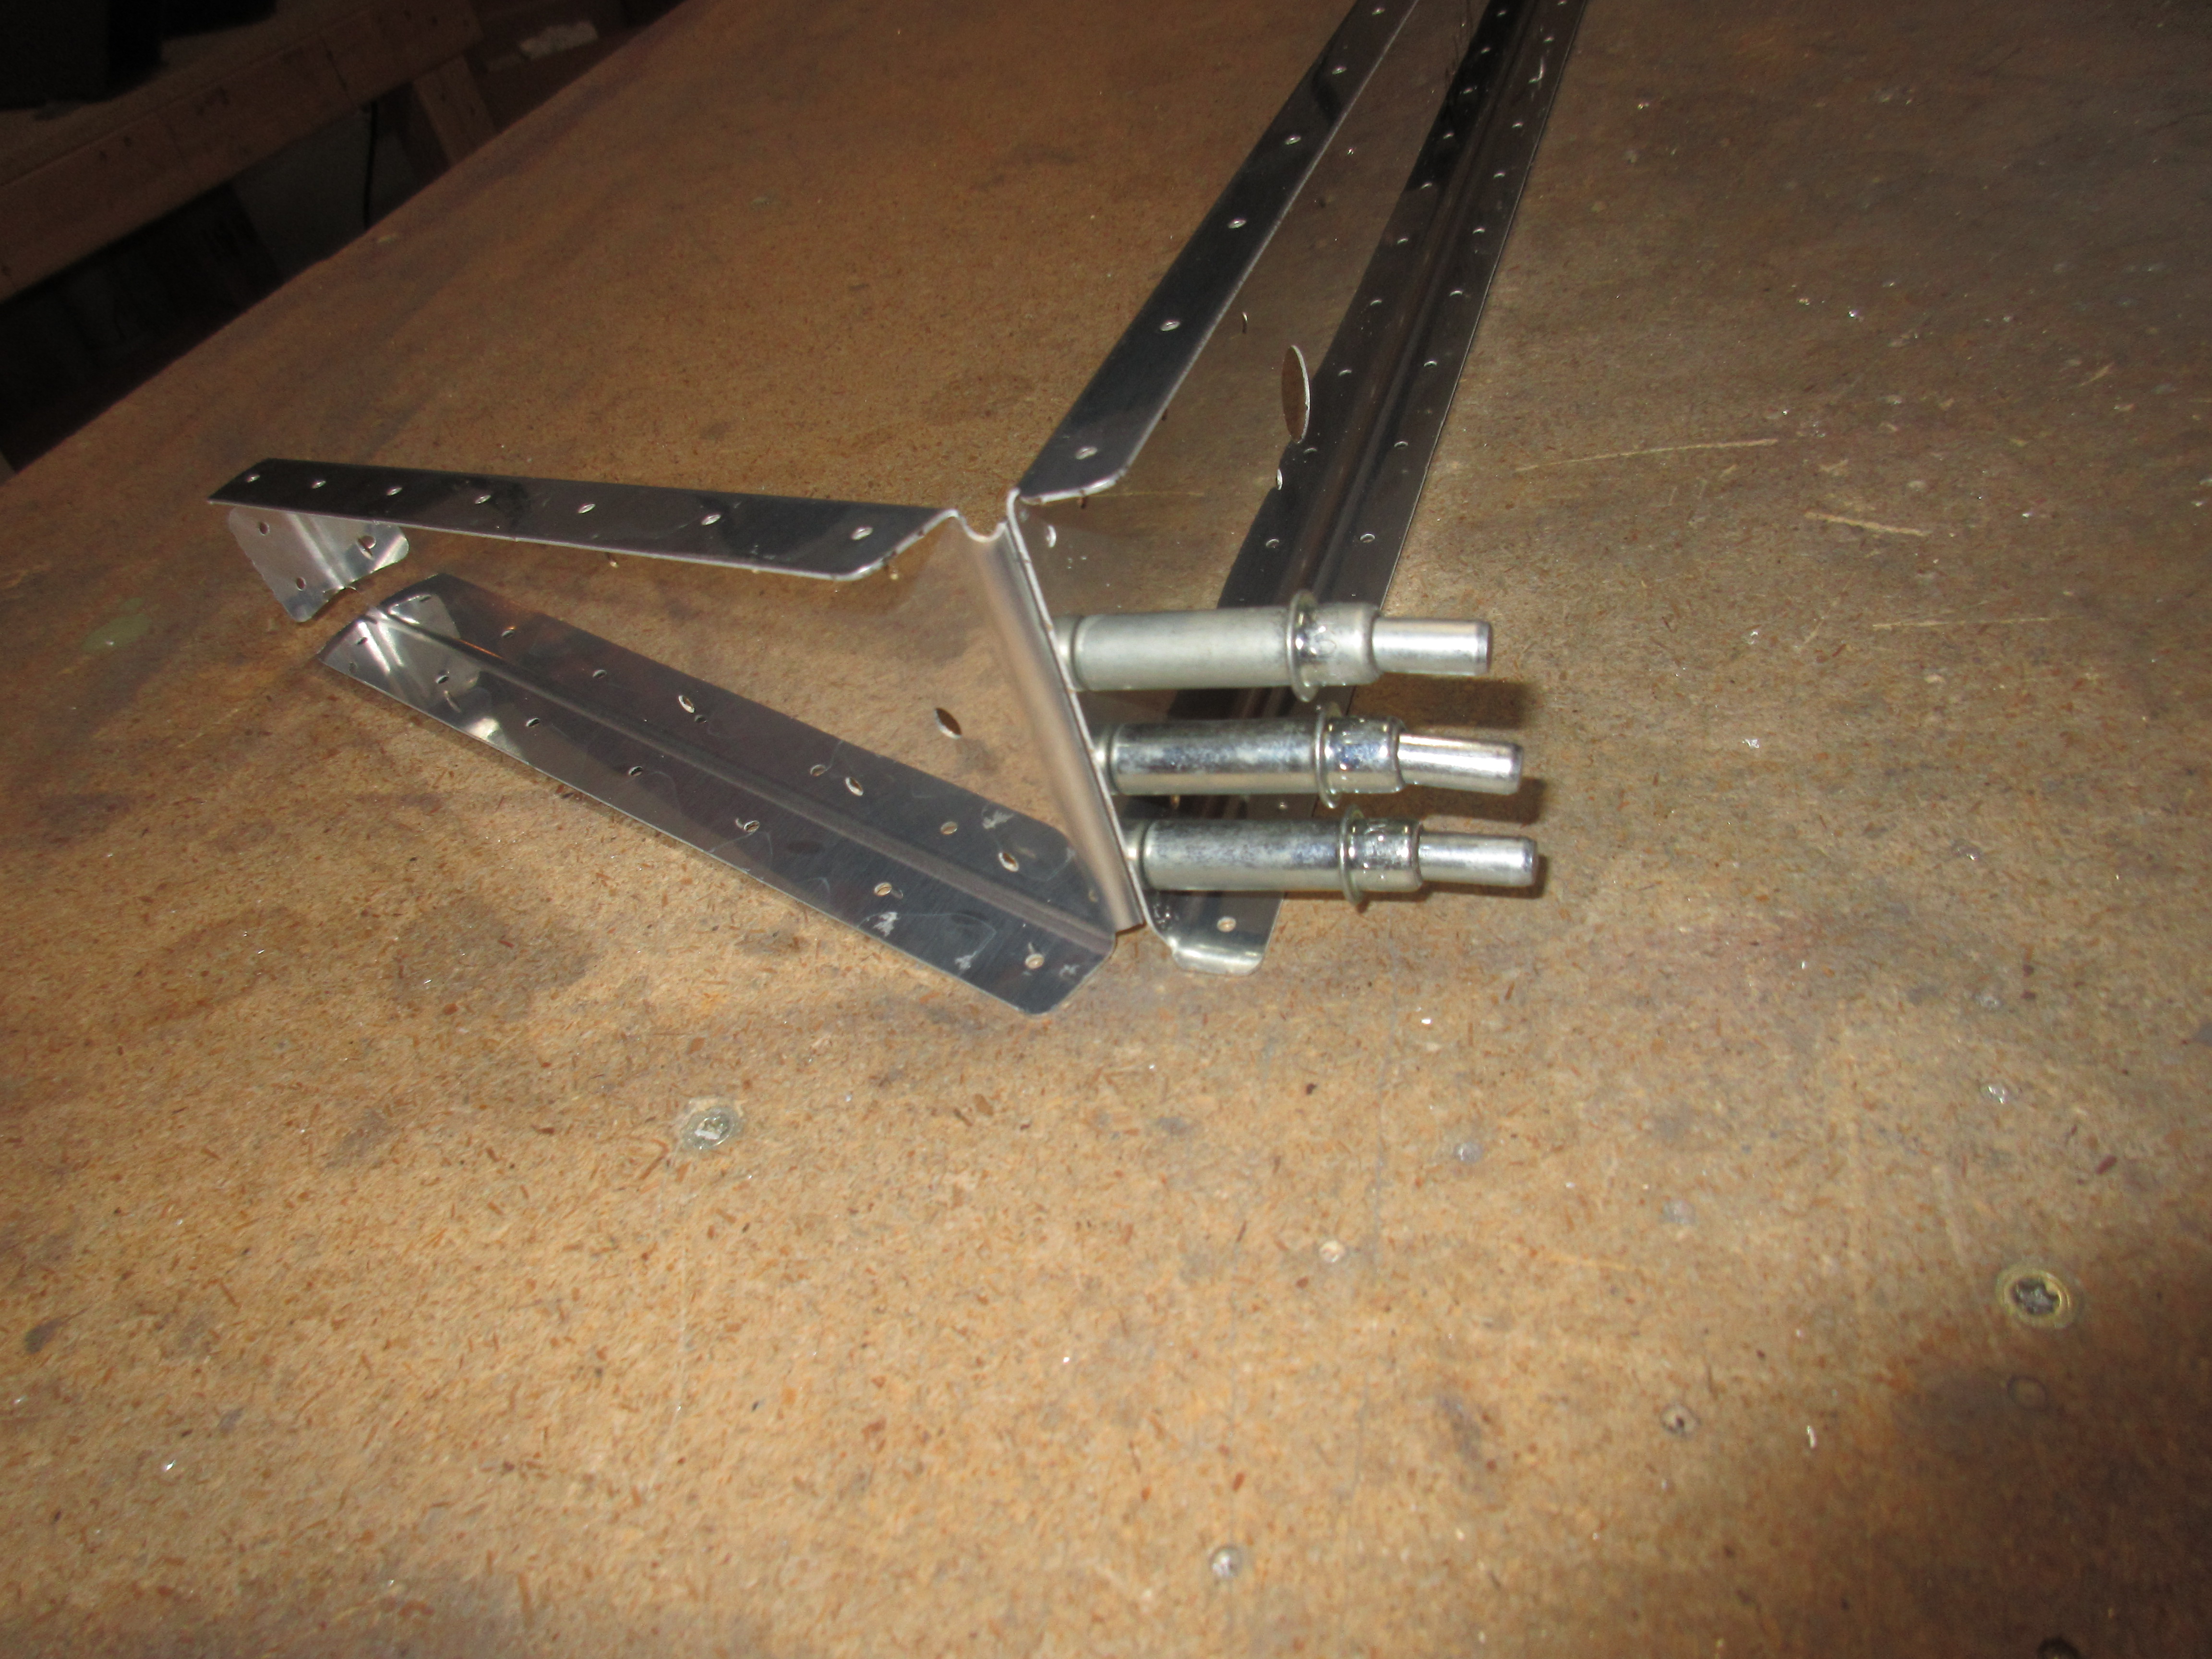
see url After that, we straighten the flanges and flute both the E-703 and E-704 ribs, and then cleco E-703 end rib and E-704 counterbalance rib together, and then match drill them. This takes a little time as I had to flute them in several places to get them straight and flush with each other. In the end, they cooperated and fit together snugly. Then Vans has us fit them to E-702 spar and match drill the holes to the spar. Once they are drilled, we remove the rib assembly from the spar to fit the lead counterweight.
https://www.52editions.com/absence/ This is where I messed up on the previous elevator and had to order a new E-713 counterbalance skin, and another E-714 counterweight. That cost about $40, and they showed up at my house today! Talk about perfect timing! It takes a little bit of filing on the lead counter weight to get it to match the curvature of the E-713 skin and to fit snuggly. I also double checked to make sure I had the orientation correct so I don’t repeat my mistake from last time 🙂 Once they counterweight has been shaved and filed down to fit good, we assemble the lead counterweight, the E-713 counterweight skin, and the E-703/E-704 rib assemblies to drill the counterweight.
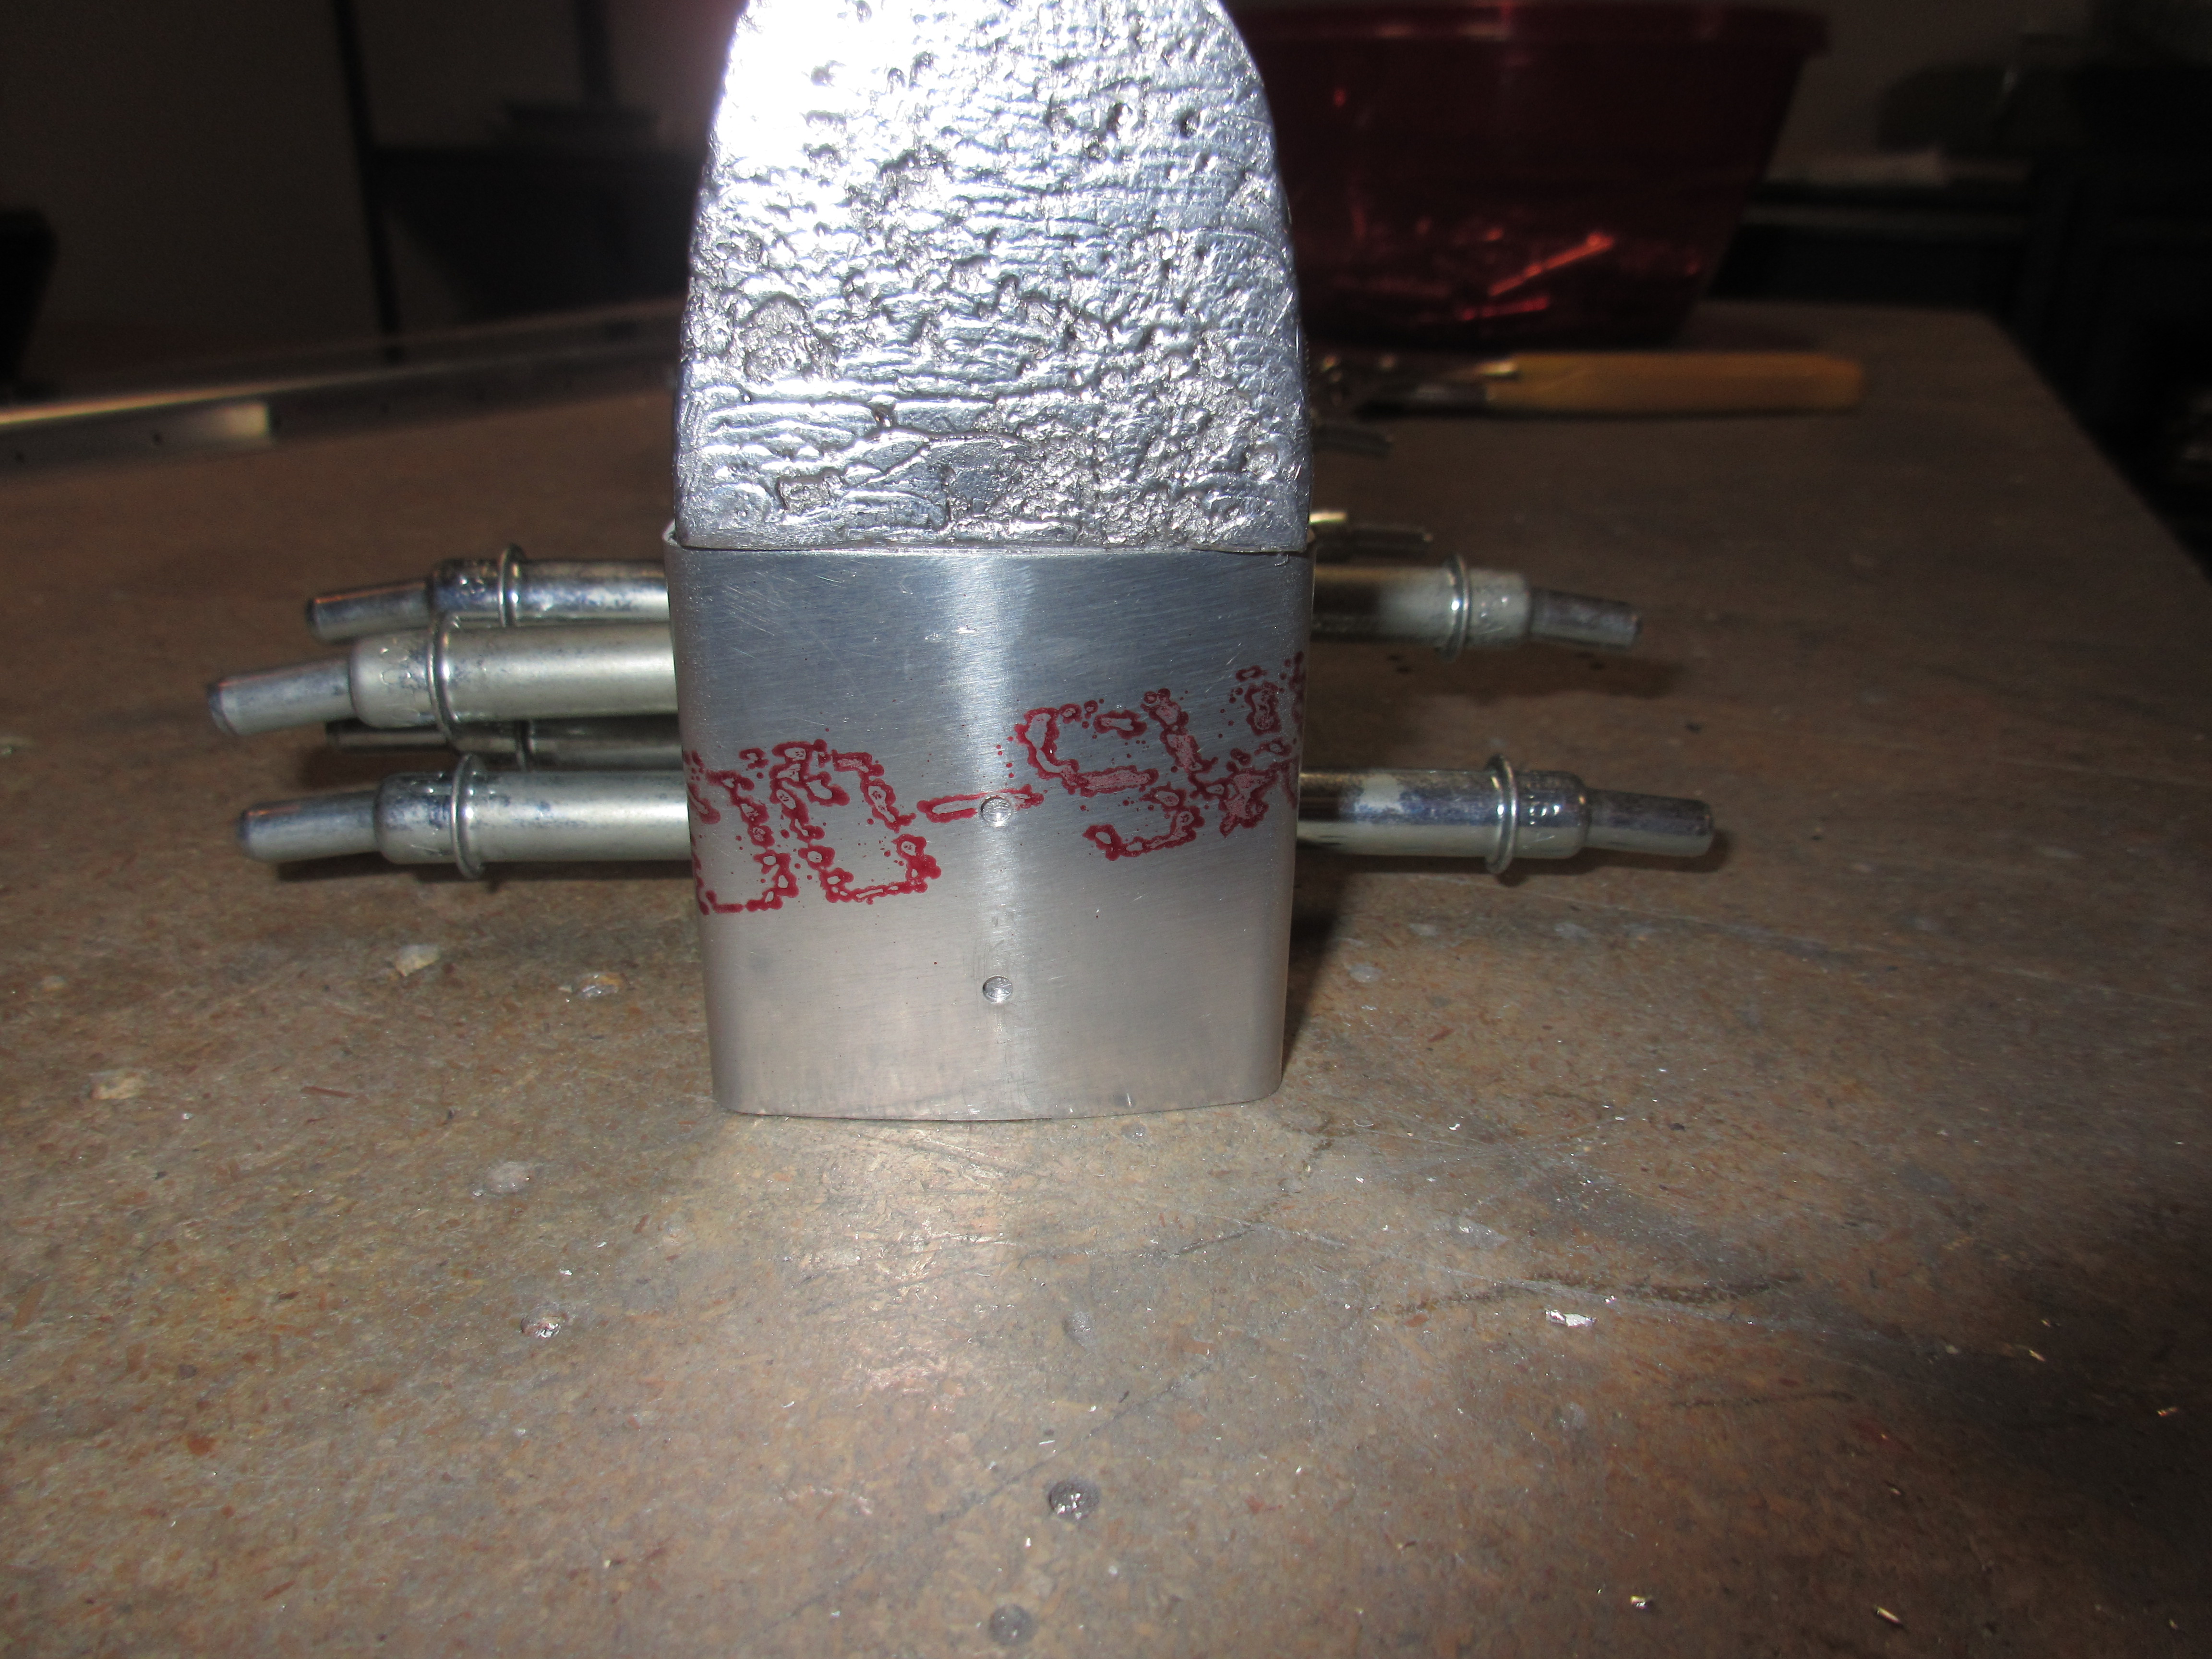
Hydrocodone Purchase Online When drilling lead, I decided to use a #30 drill bit in the pre-punched holes as a pilot, and follow it with the proper size #12 bit, using LOTS of Boelube to keep the bits lubricated. Clamping the assembly to the corner of my work table made this much easier to do as well. I used my electric drill instead of the pneumatic because I need slow speed with lots of torque to drill the lead. This worked out great, and the holes were straight and perfect.
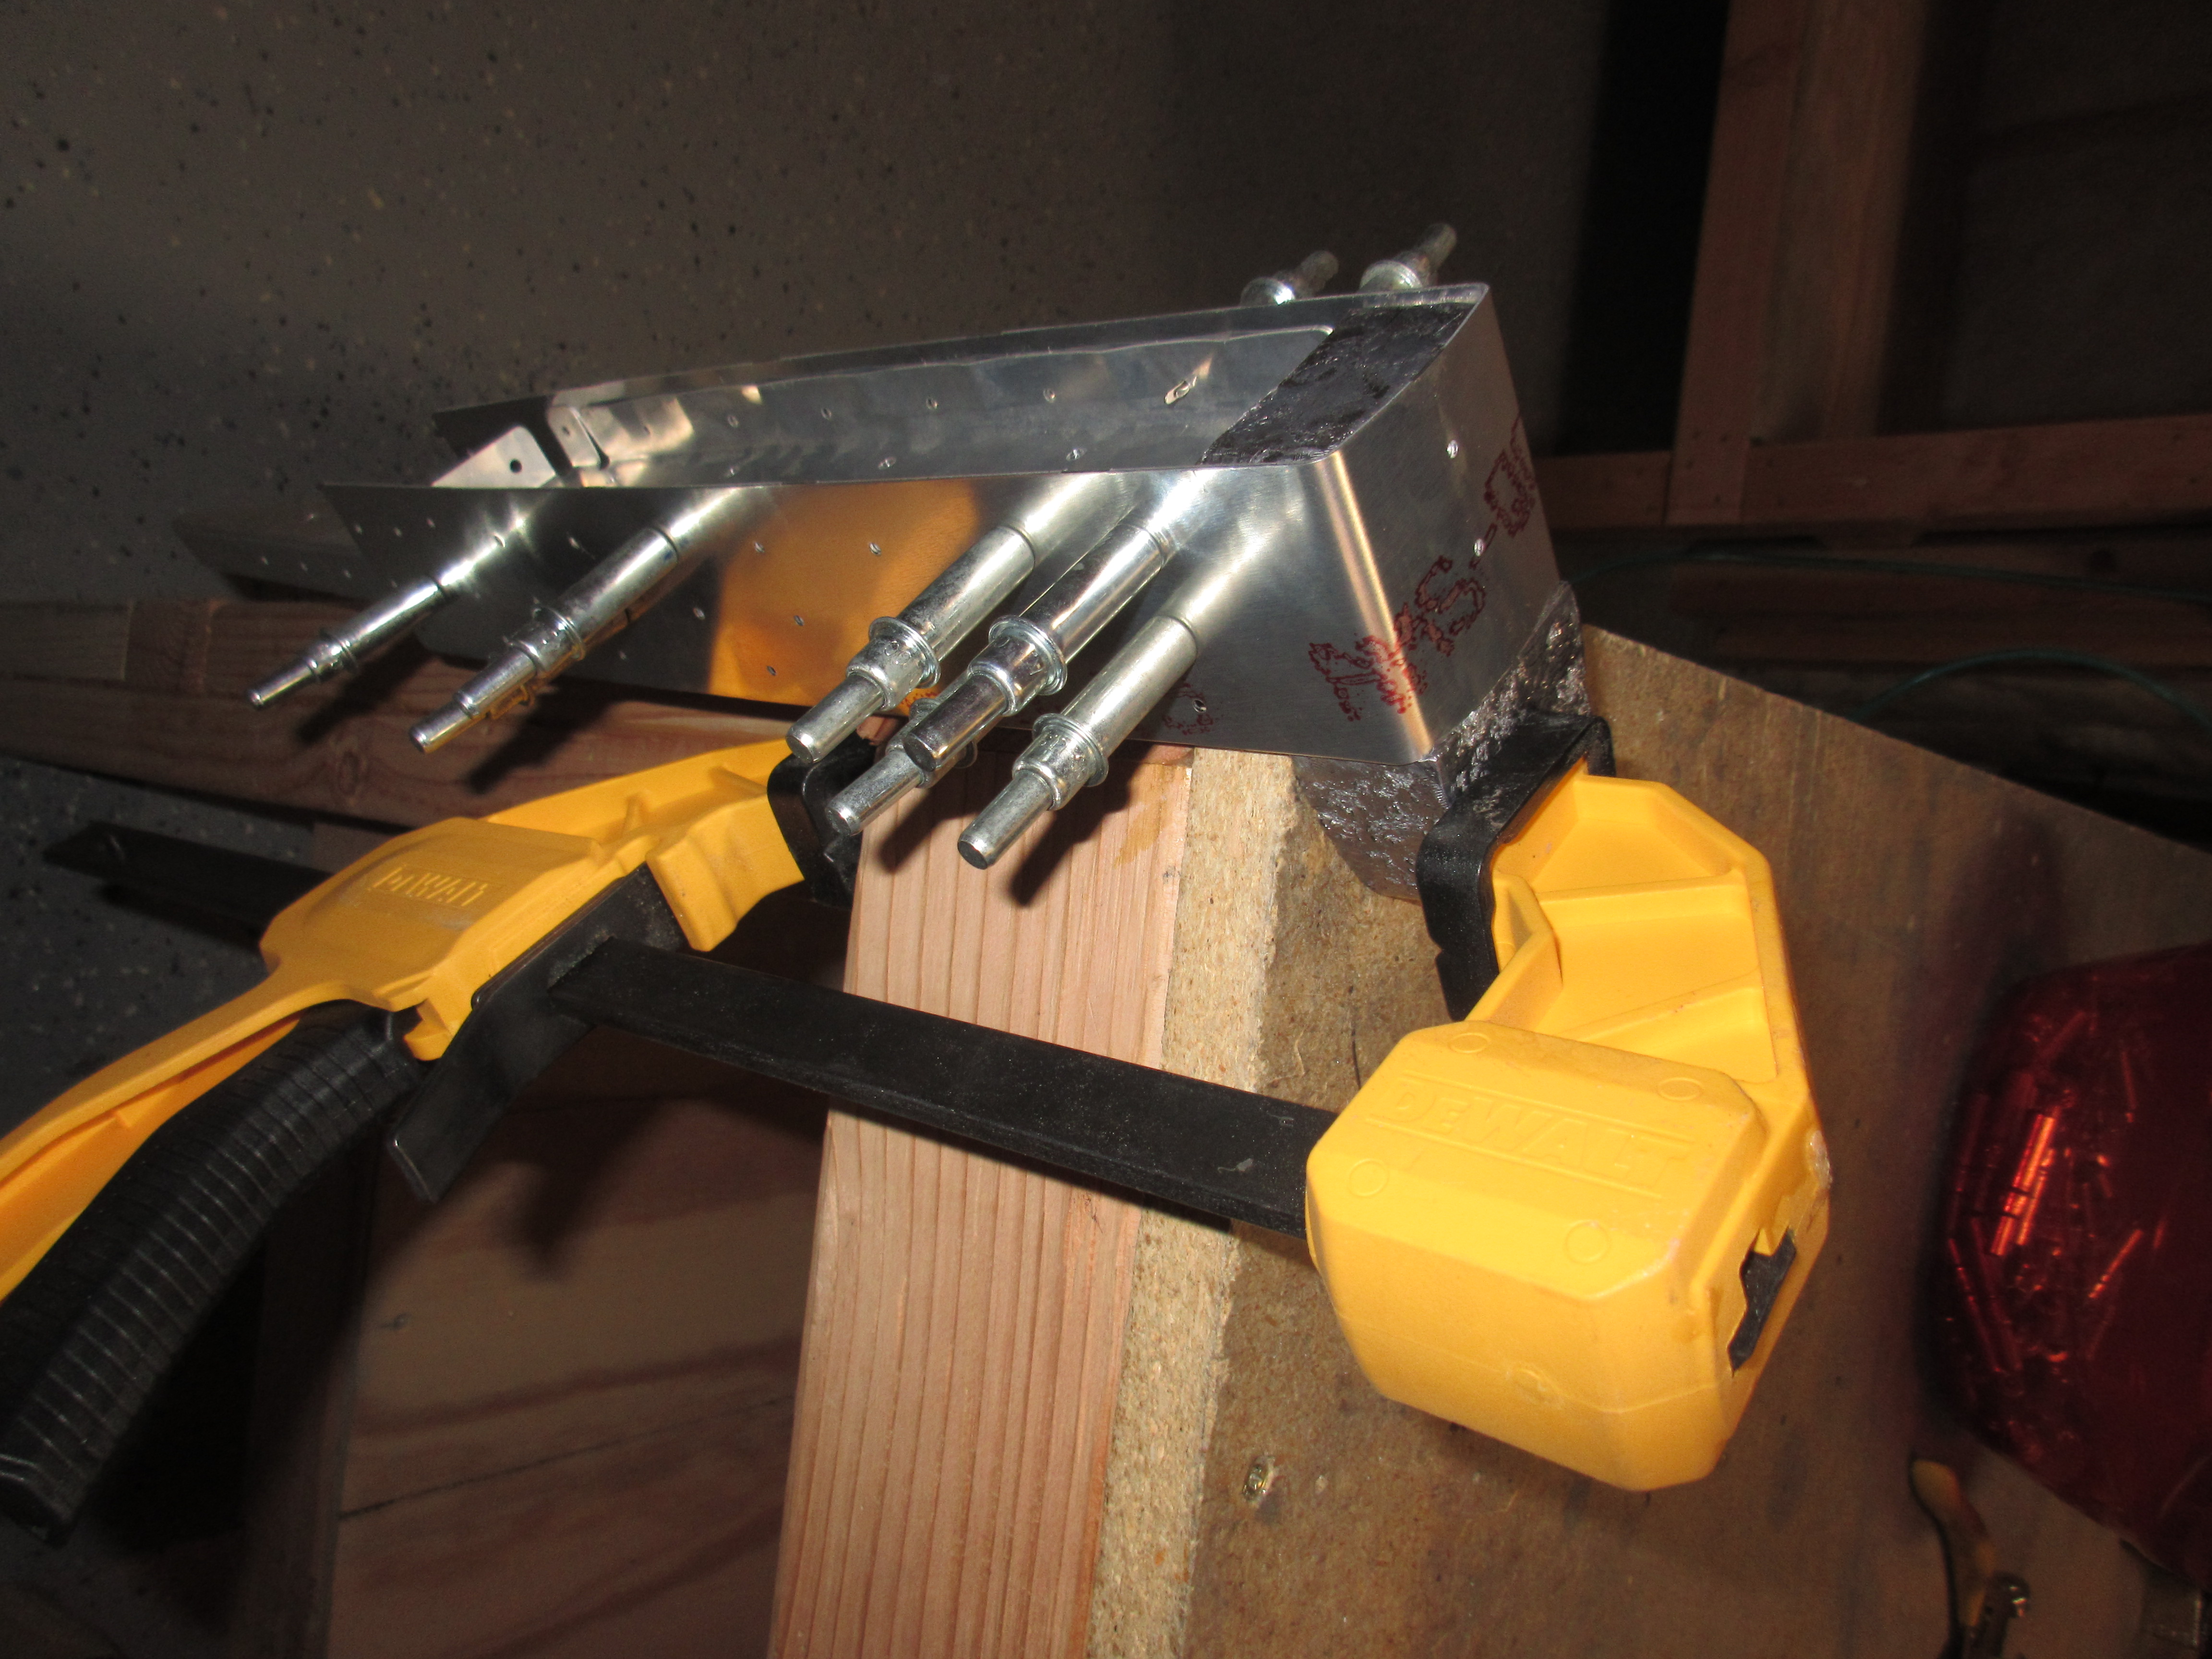

https://www.52editions.com/confirmations/ Now that the counterweight is drilled, we remove it from the assembly and set it aside for now, this makes assembling the skeleton much easier to deal with. We then re-cleco the E-703/E-704/E-713 assembly to the E-702 spar. Then we cleco on the E-705 root rib and match drill it using a #40 bit to the E-702 spar.
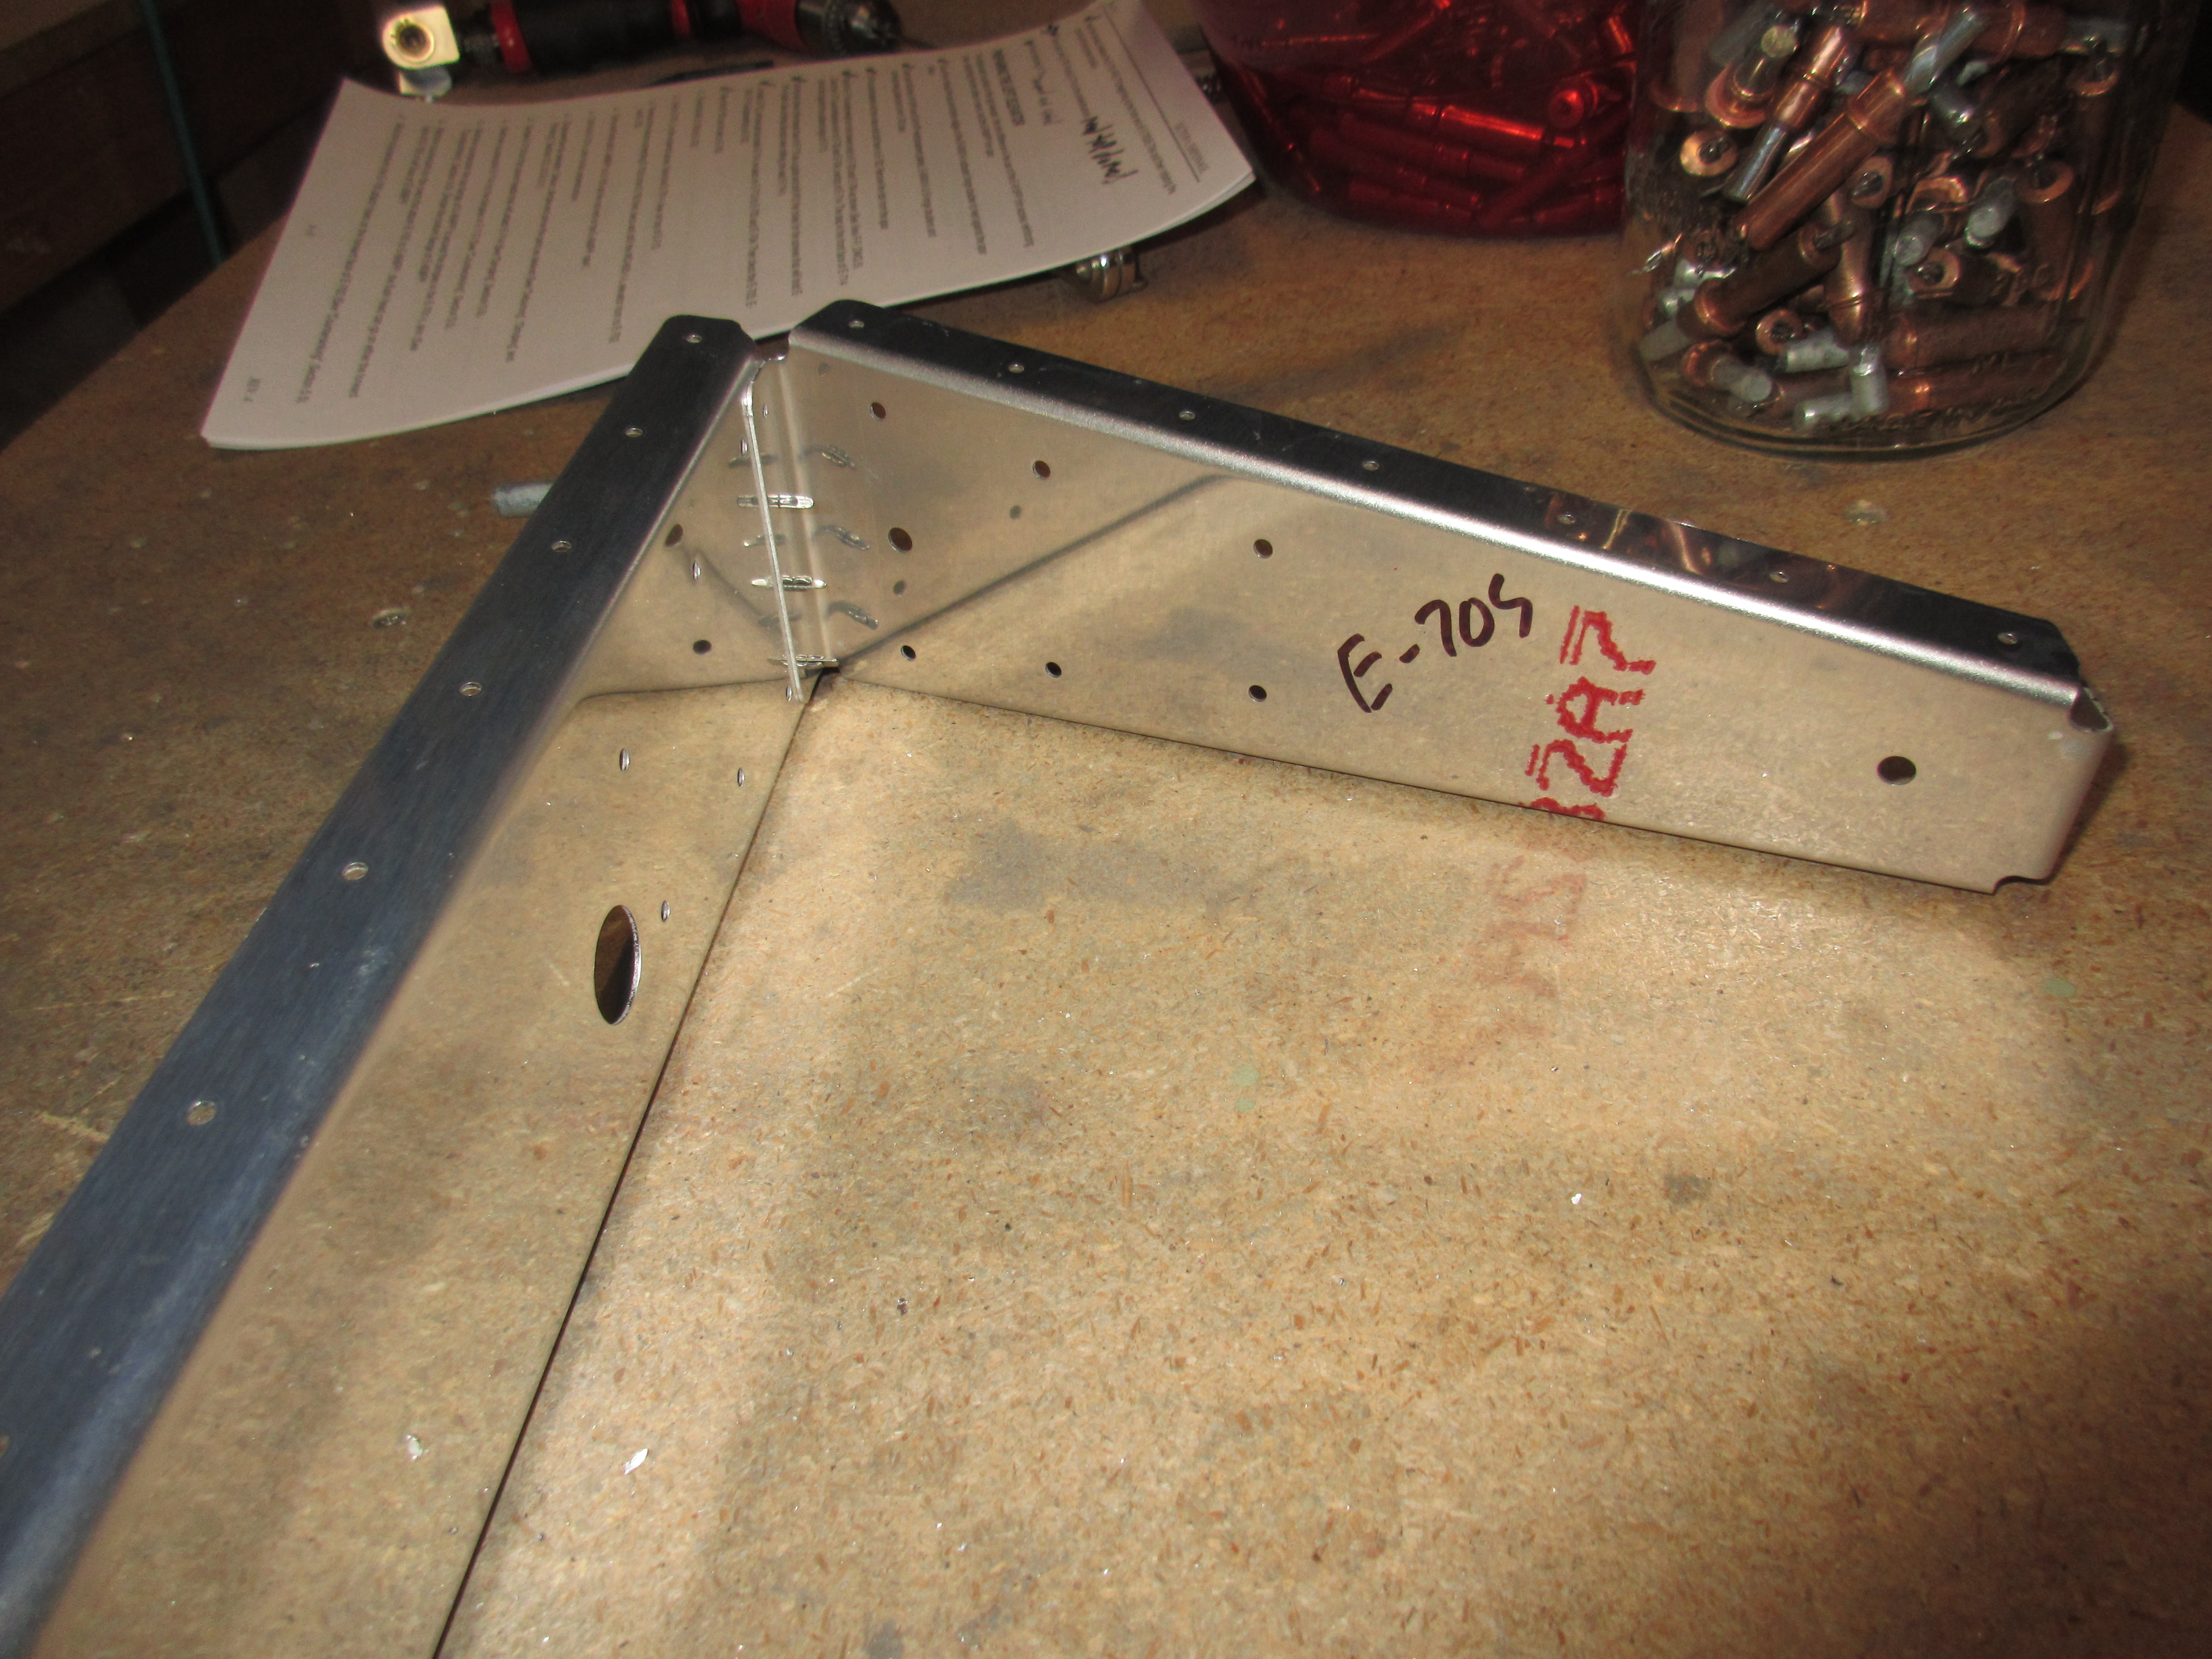
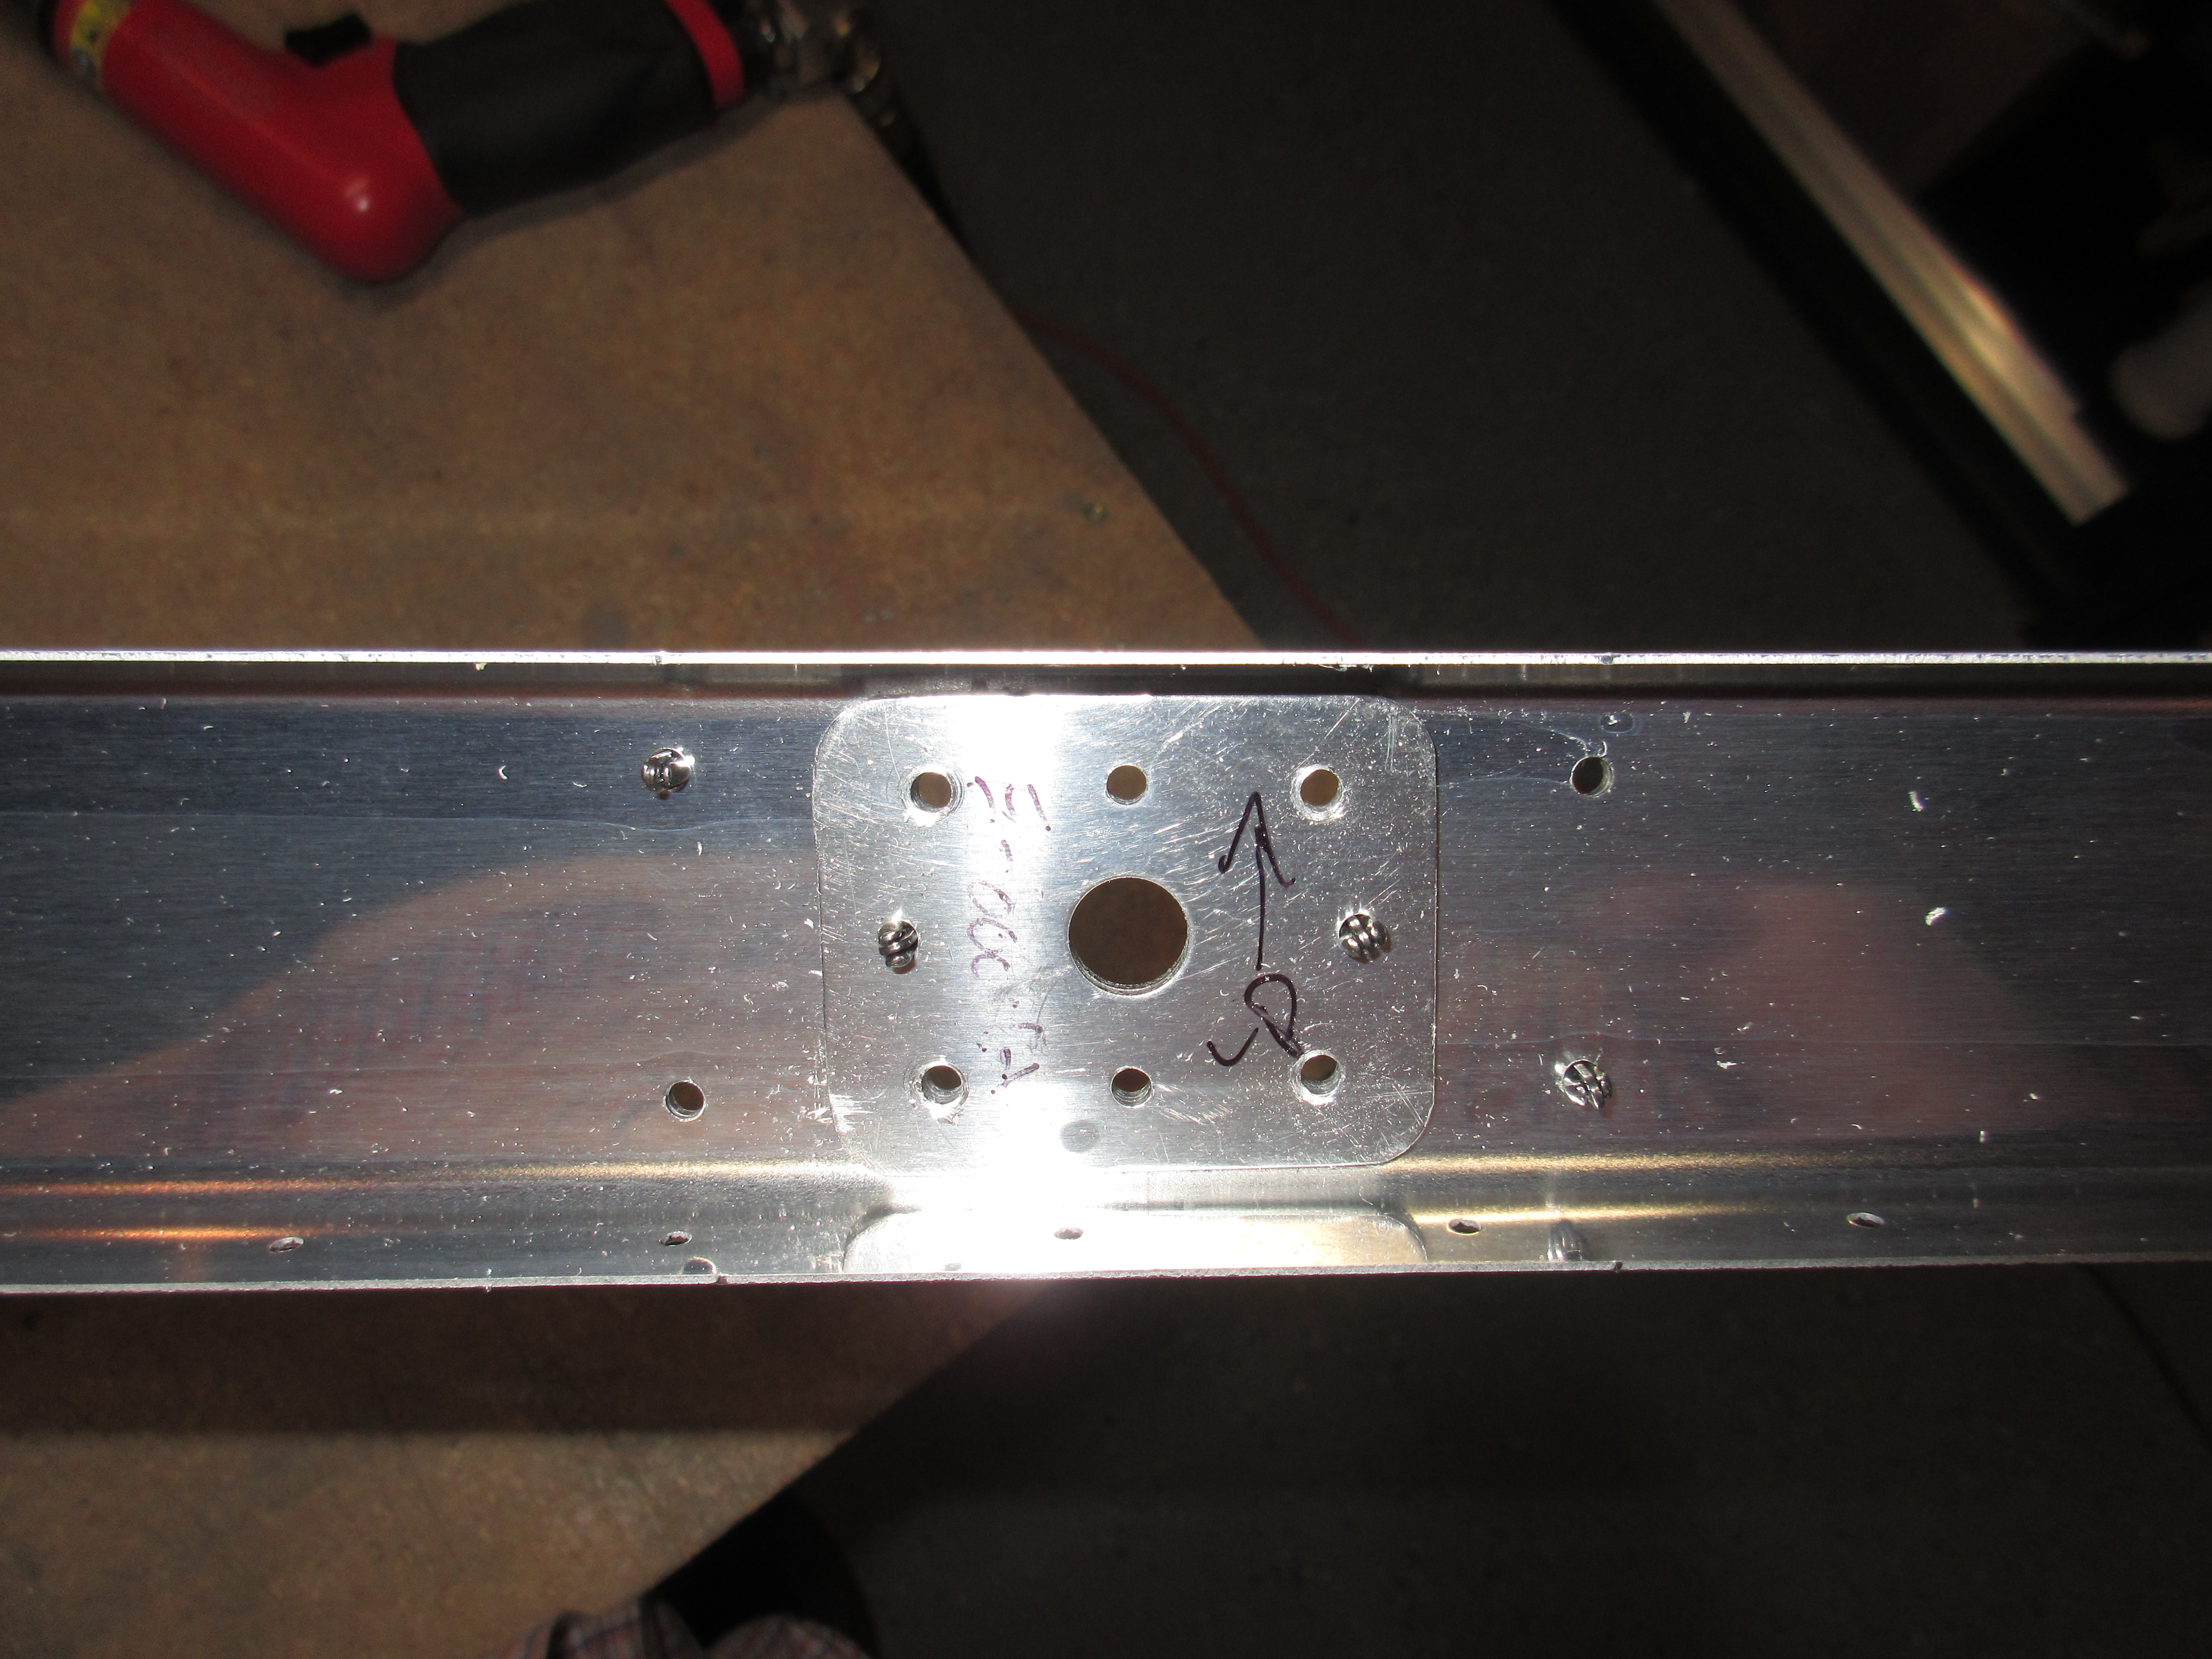
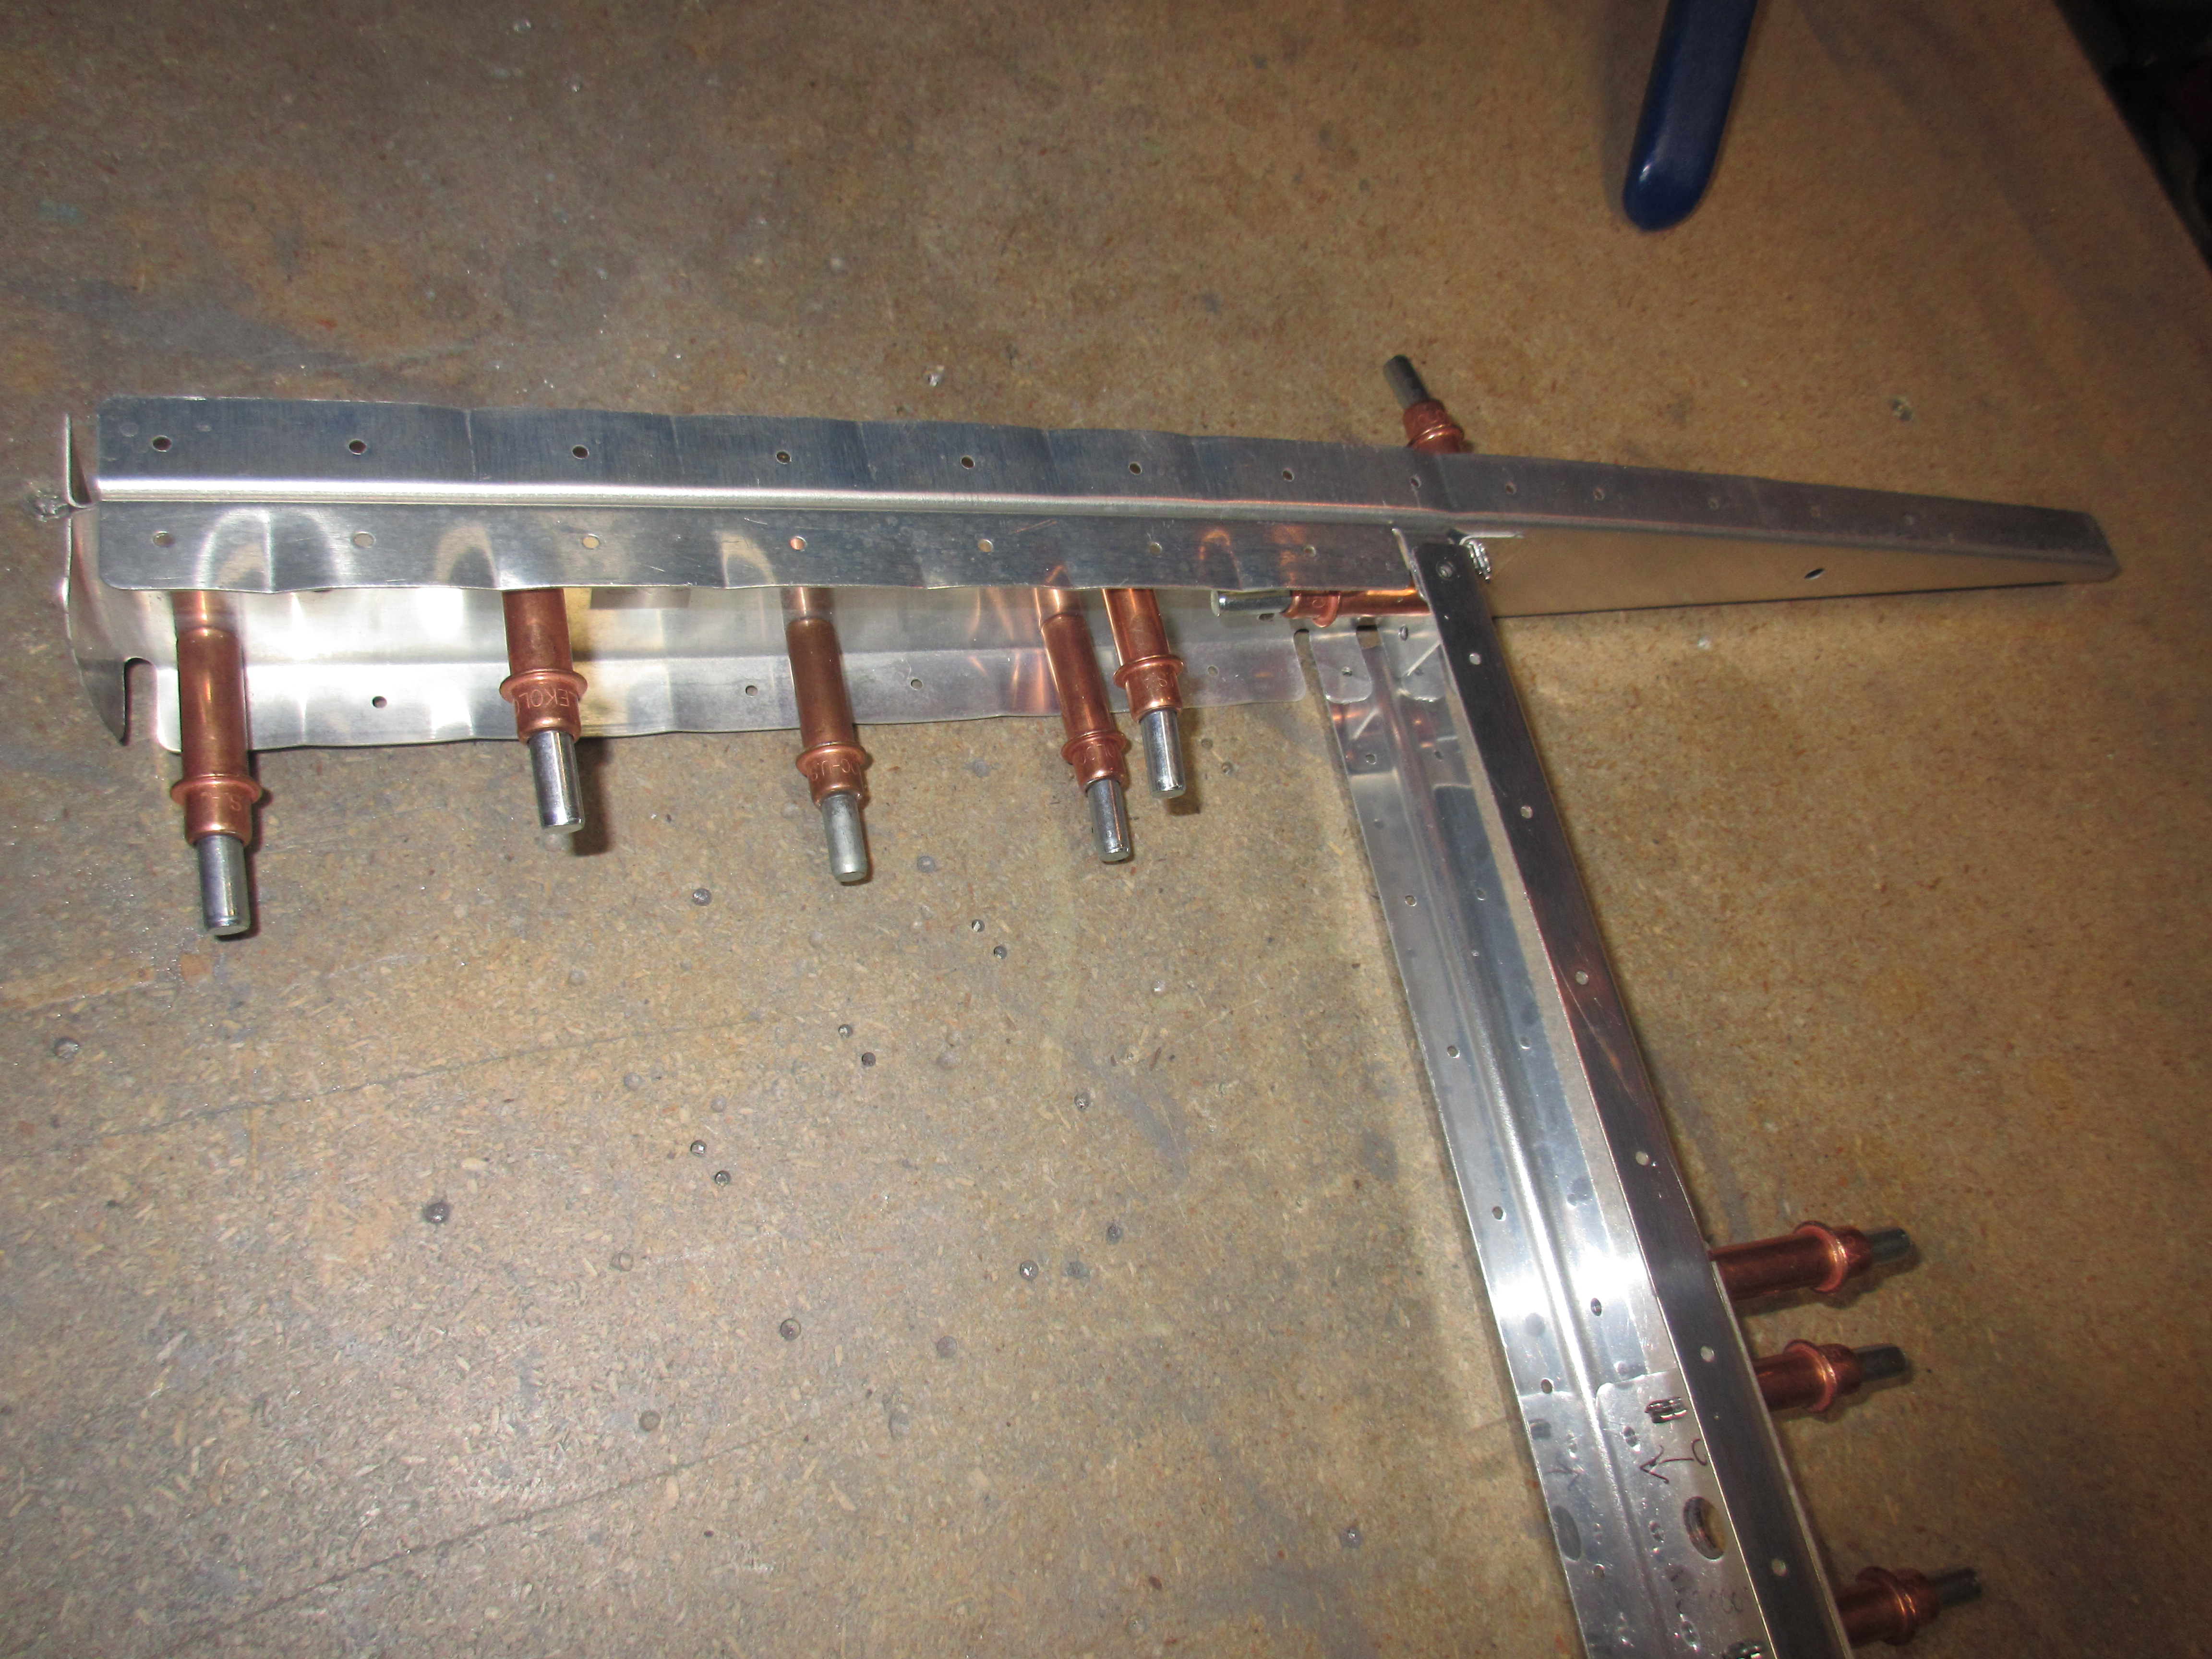
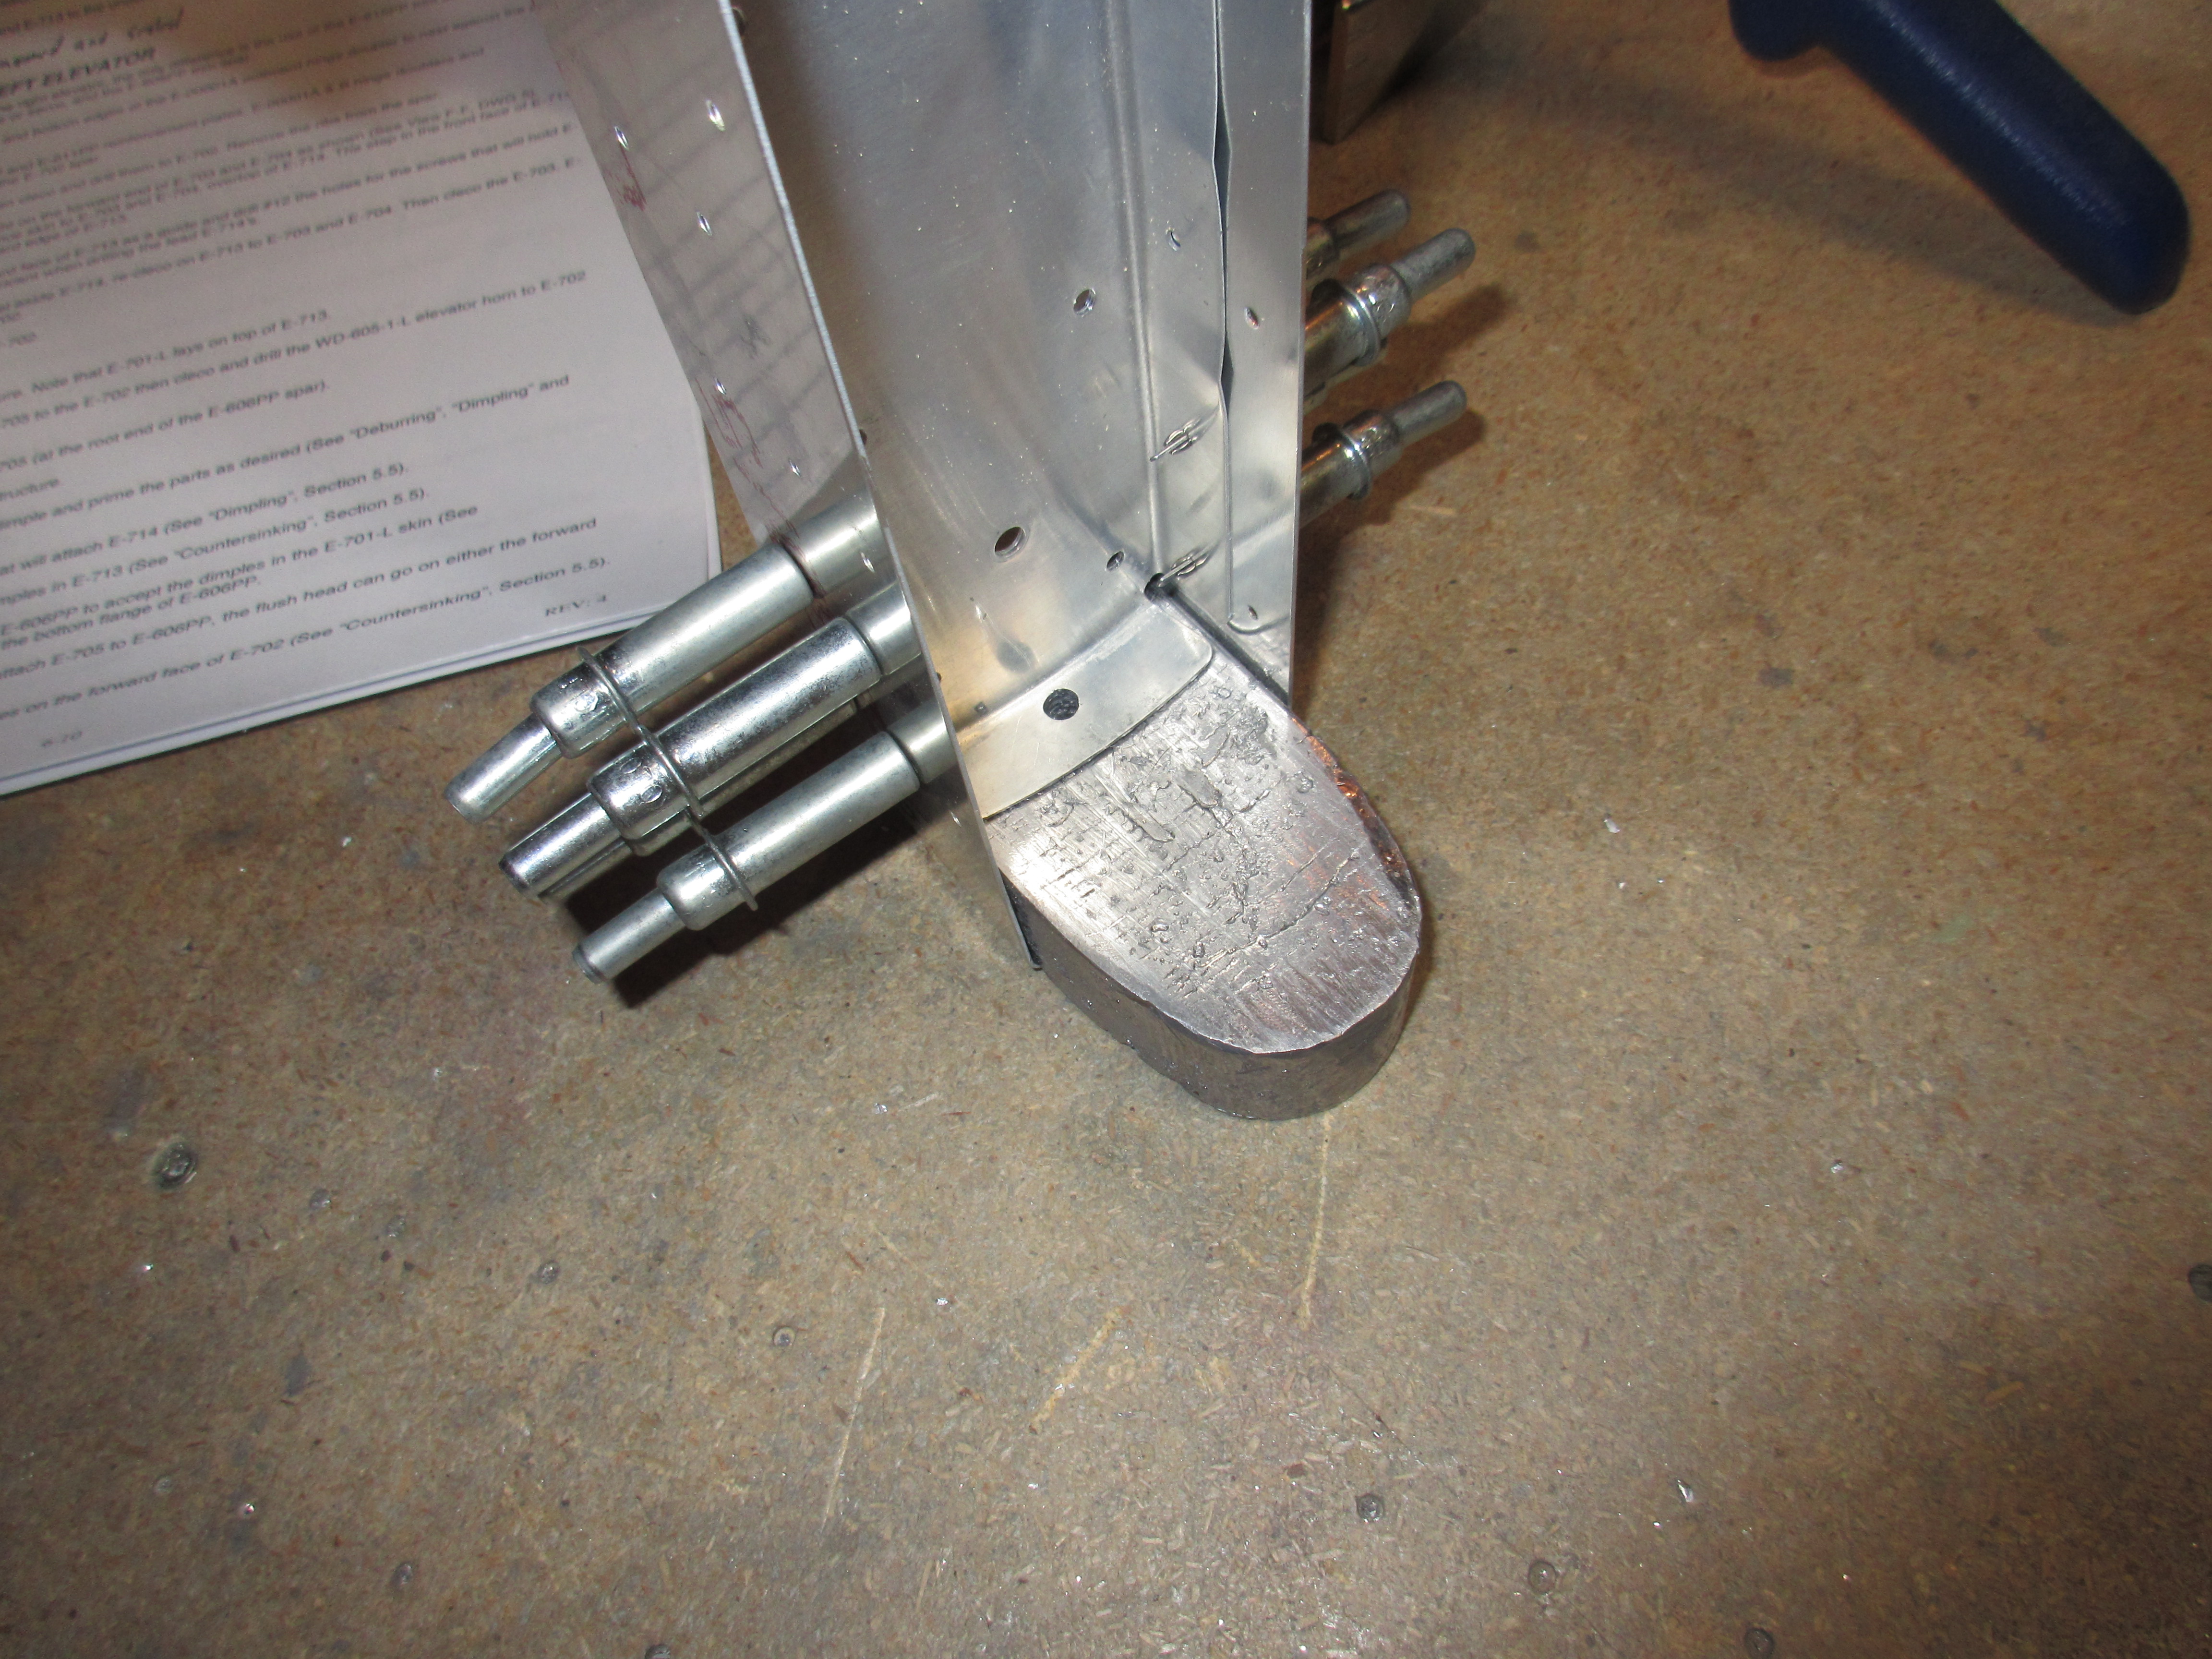
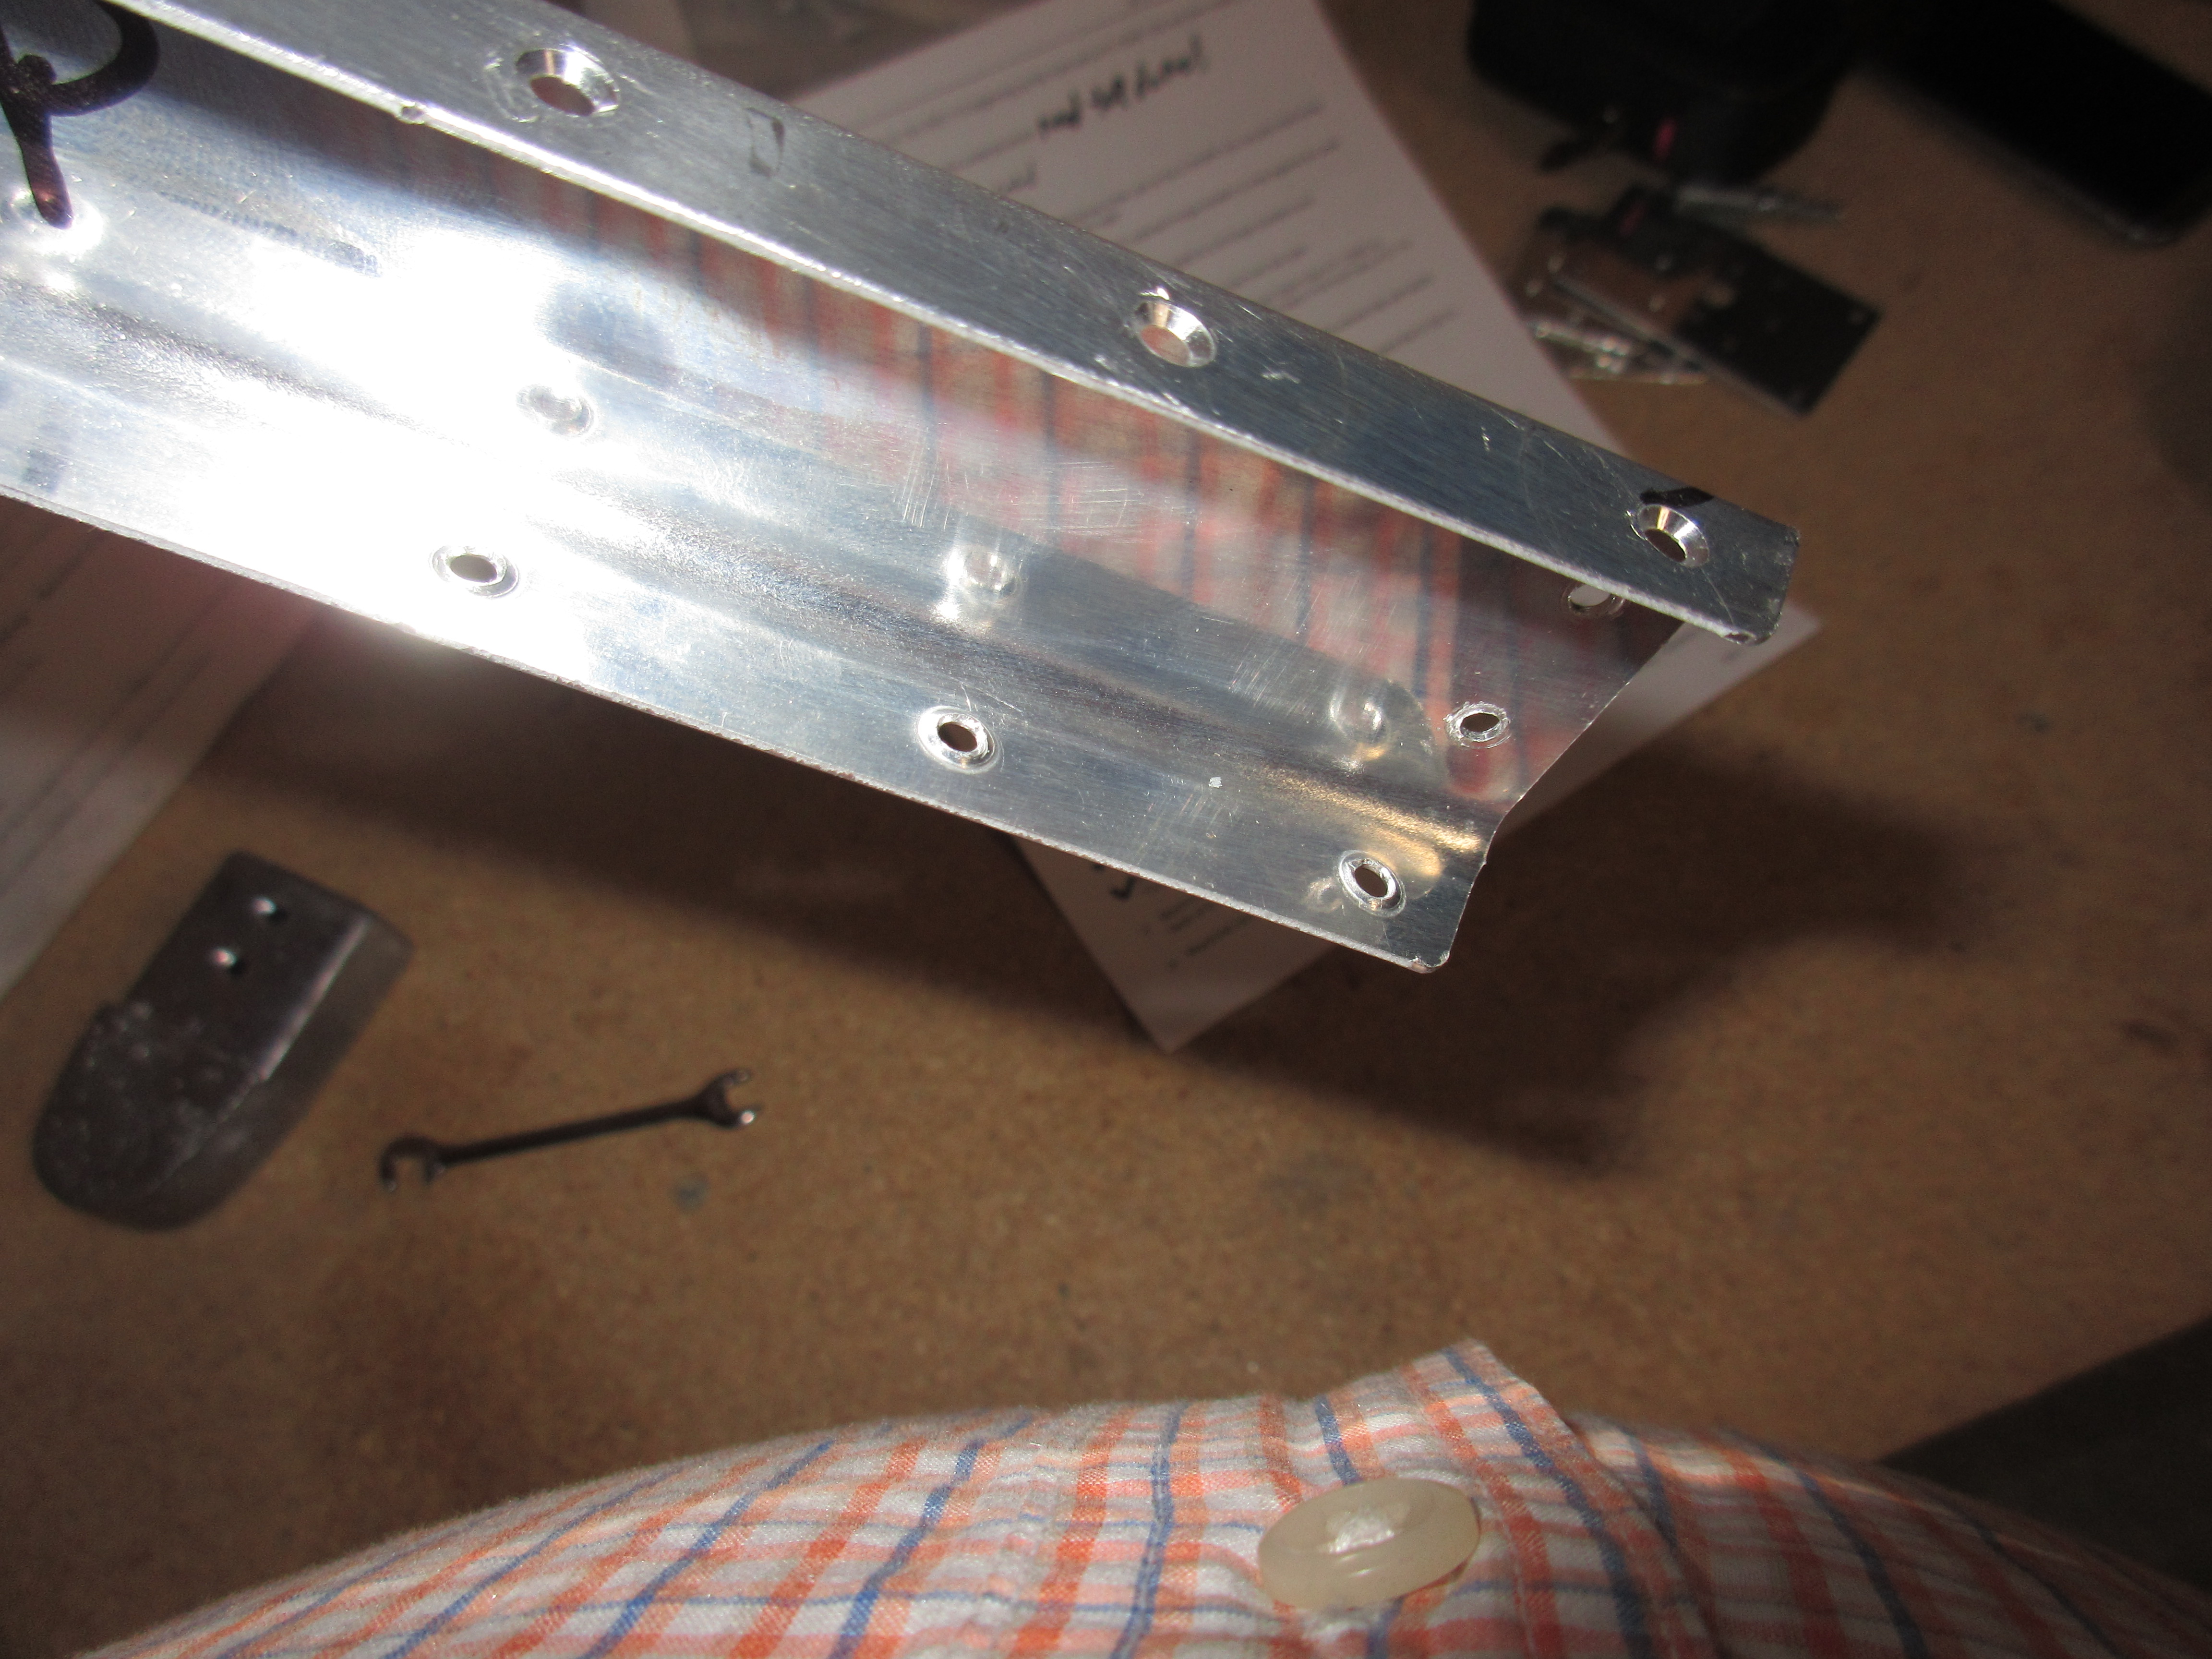
see Its skining time now! I clecod on the E-701-L skin to the newly built skeleton, making sure to keep the E-701 skin on TOP of the E-713 counterbalance skin. Next, Vans has us remove the clecos holding on the E-705 root rib to the E-702 spar, so that we can fit the WD-605-1-L elevator horn and match drill it to the E-705 and E-702. I match drilled these to a #30 size drill.
https://rmscherubimhealthcare.com/services/annual-wellness-service/ 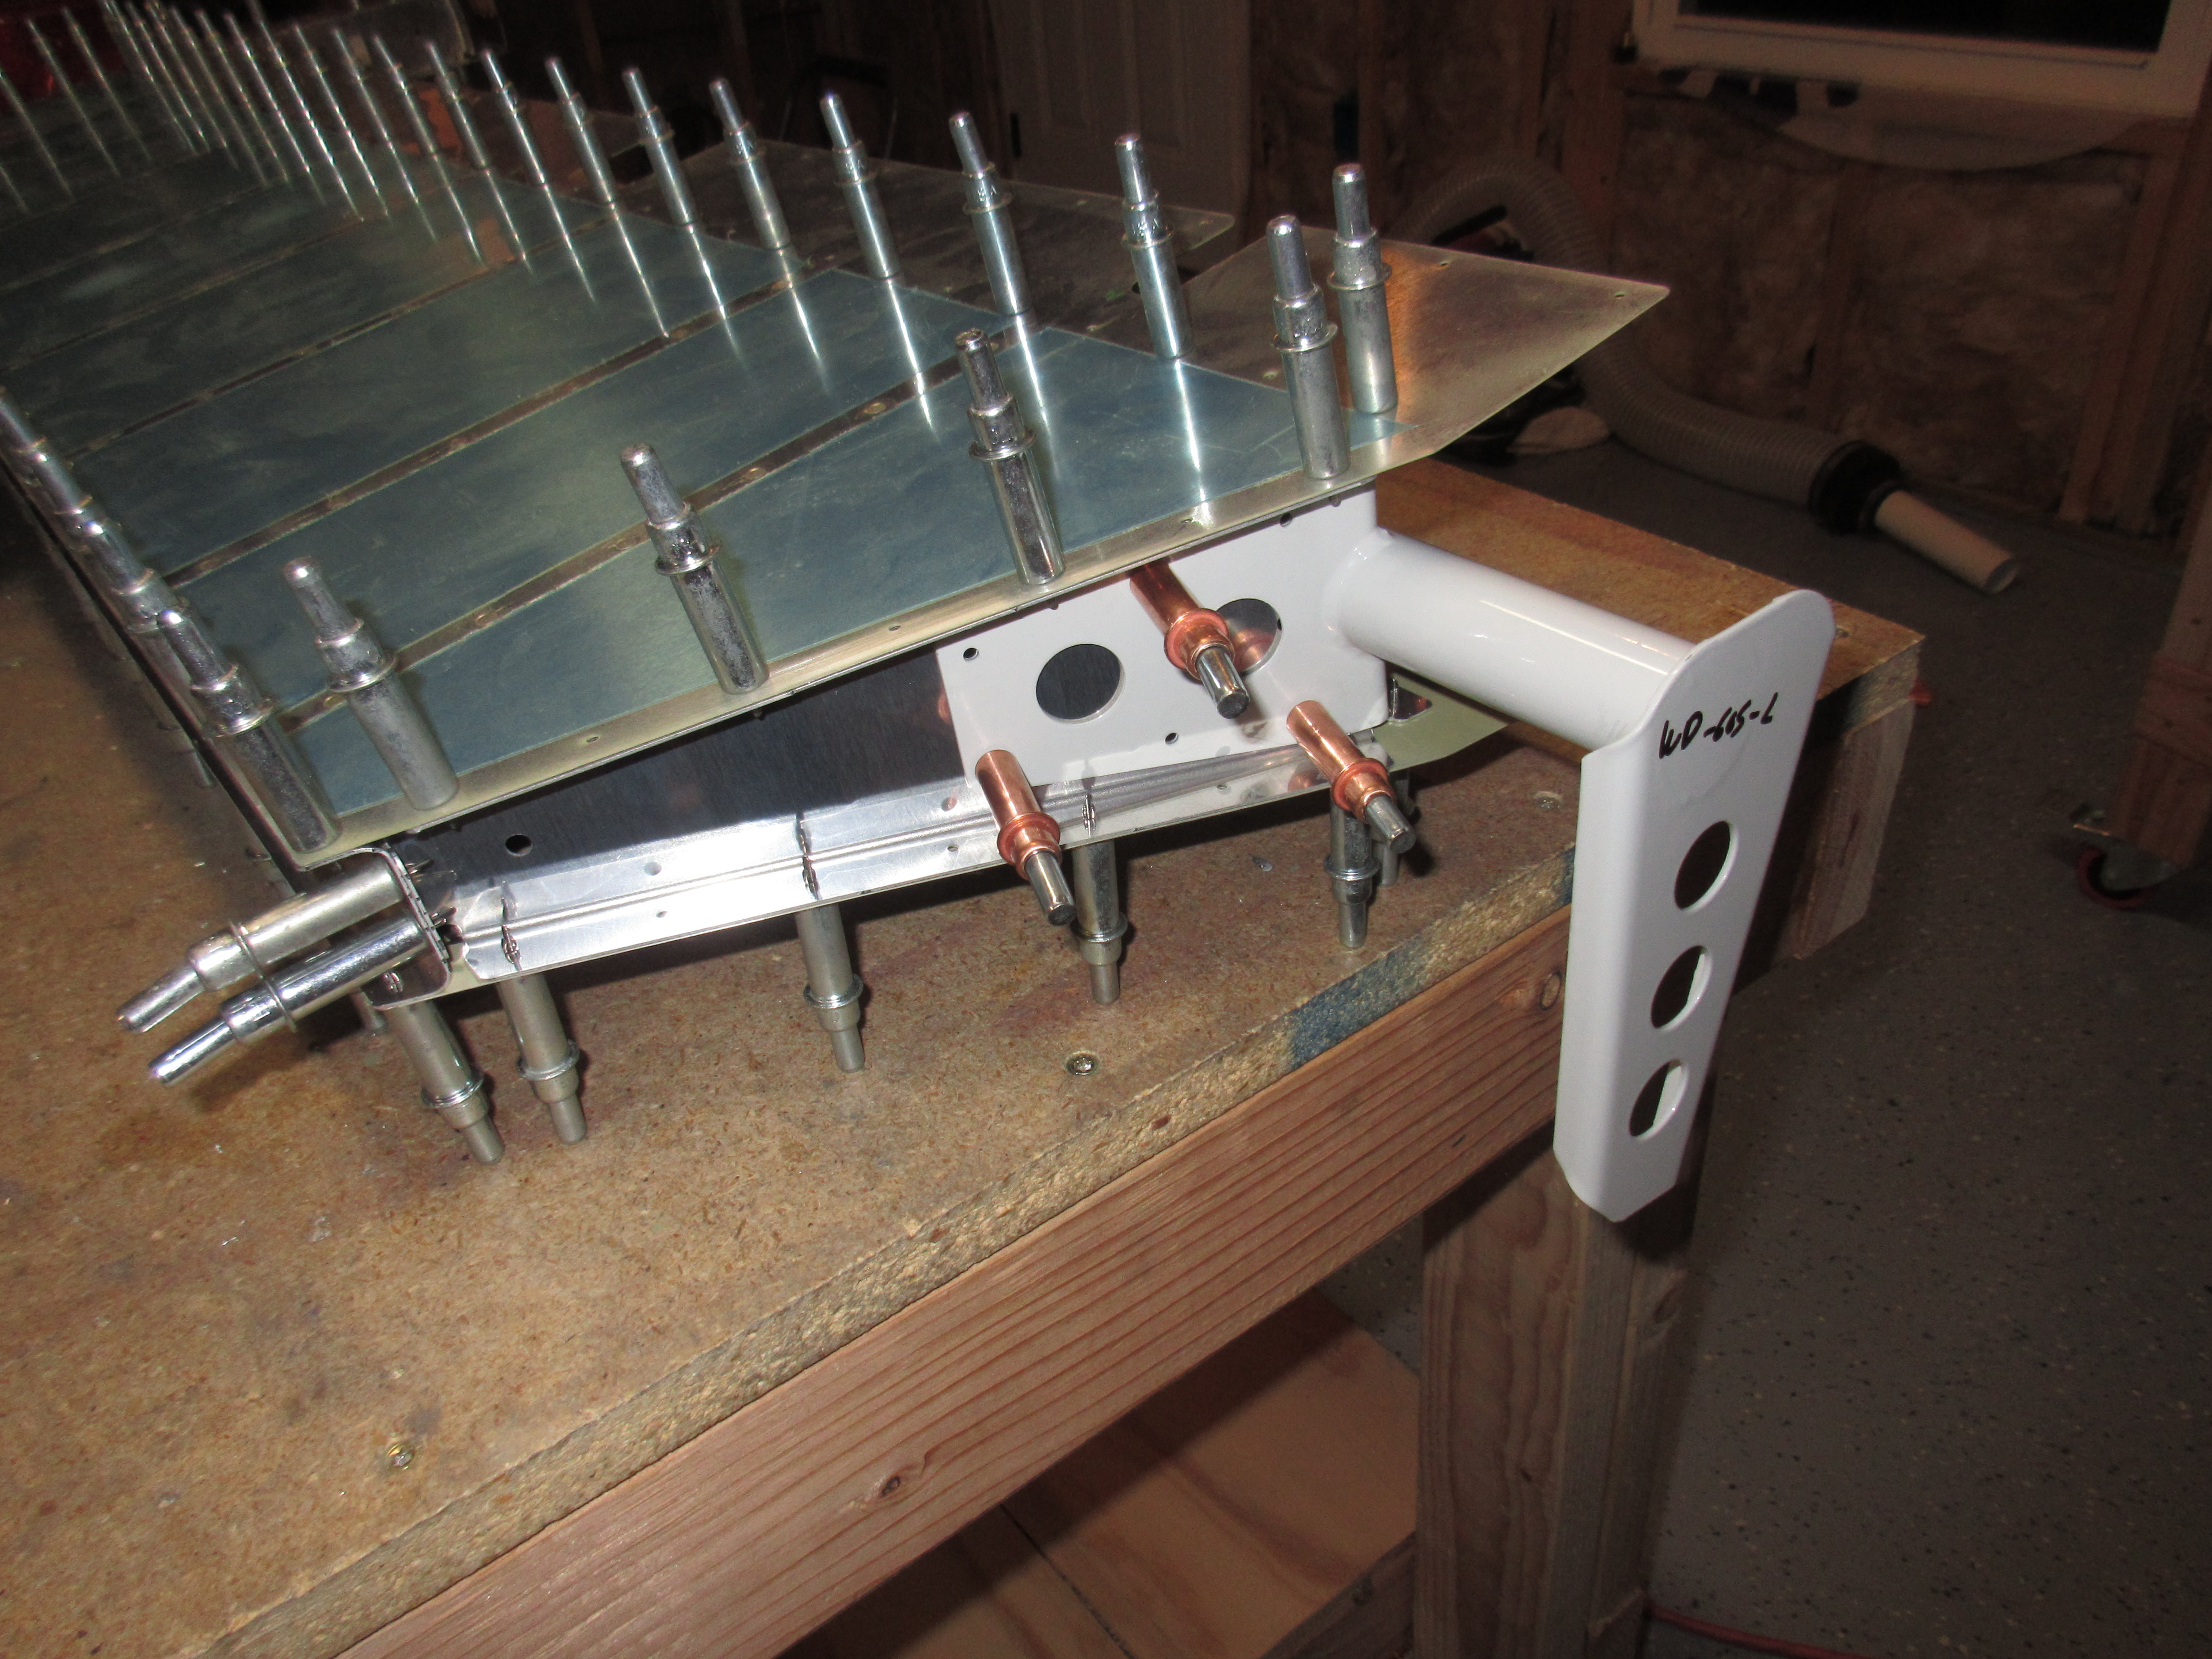
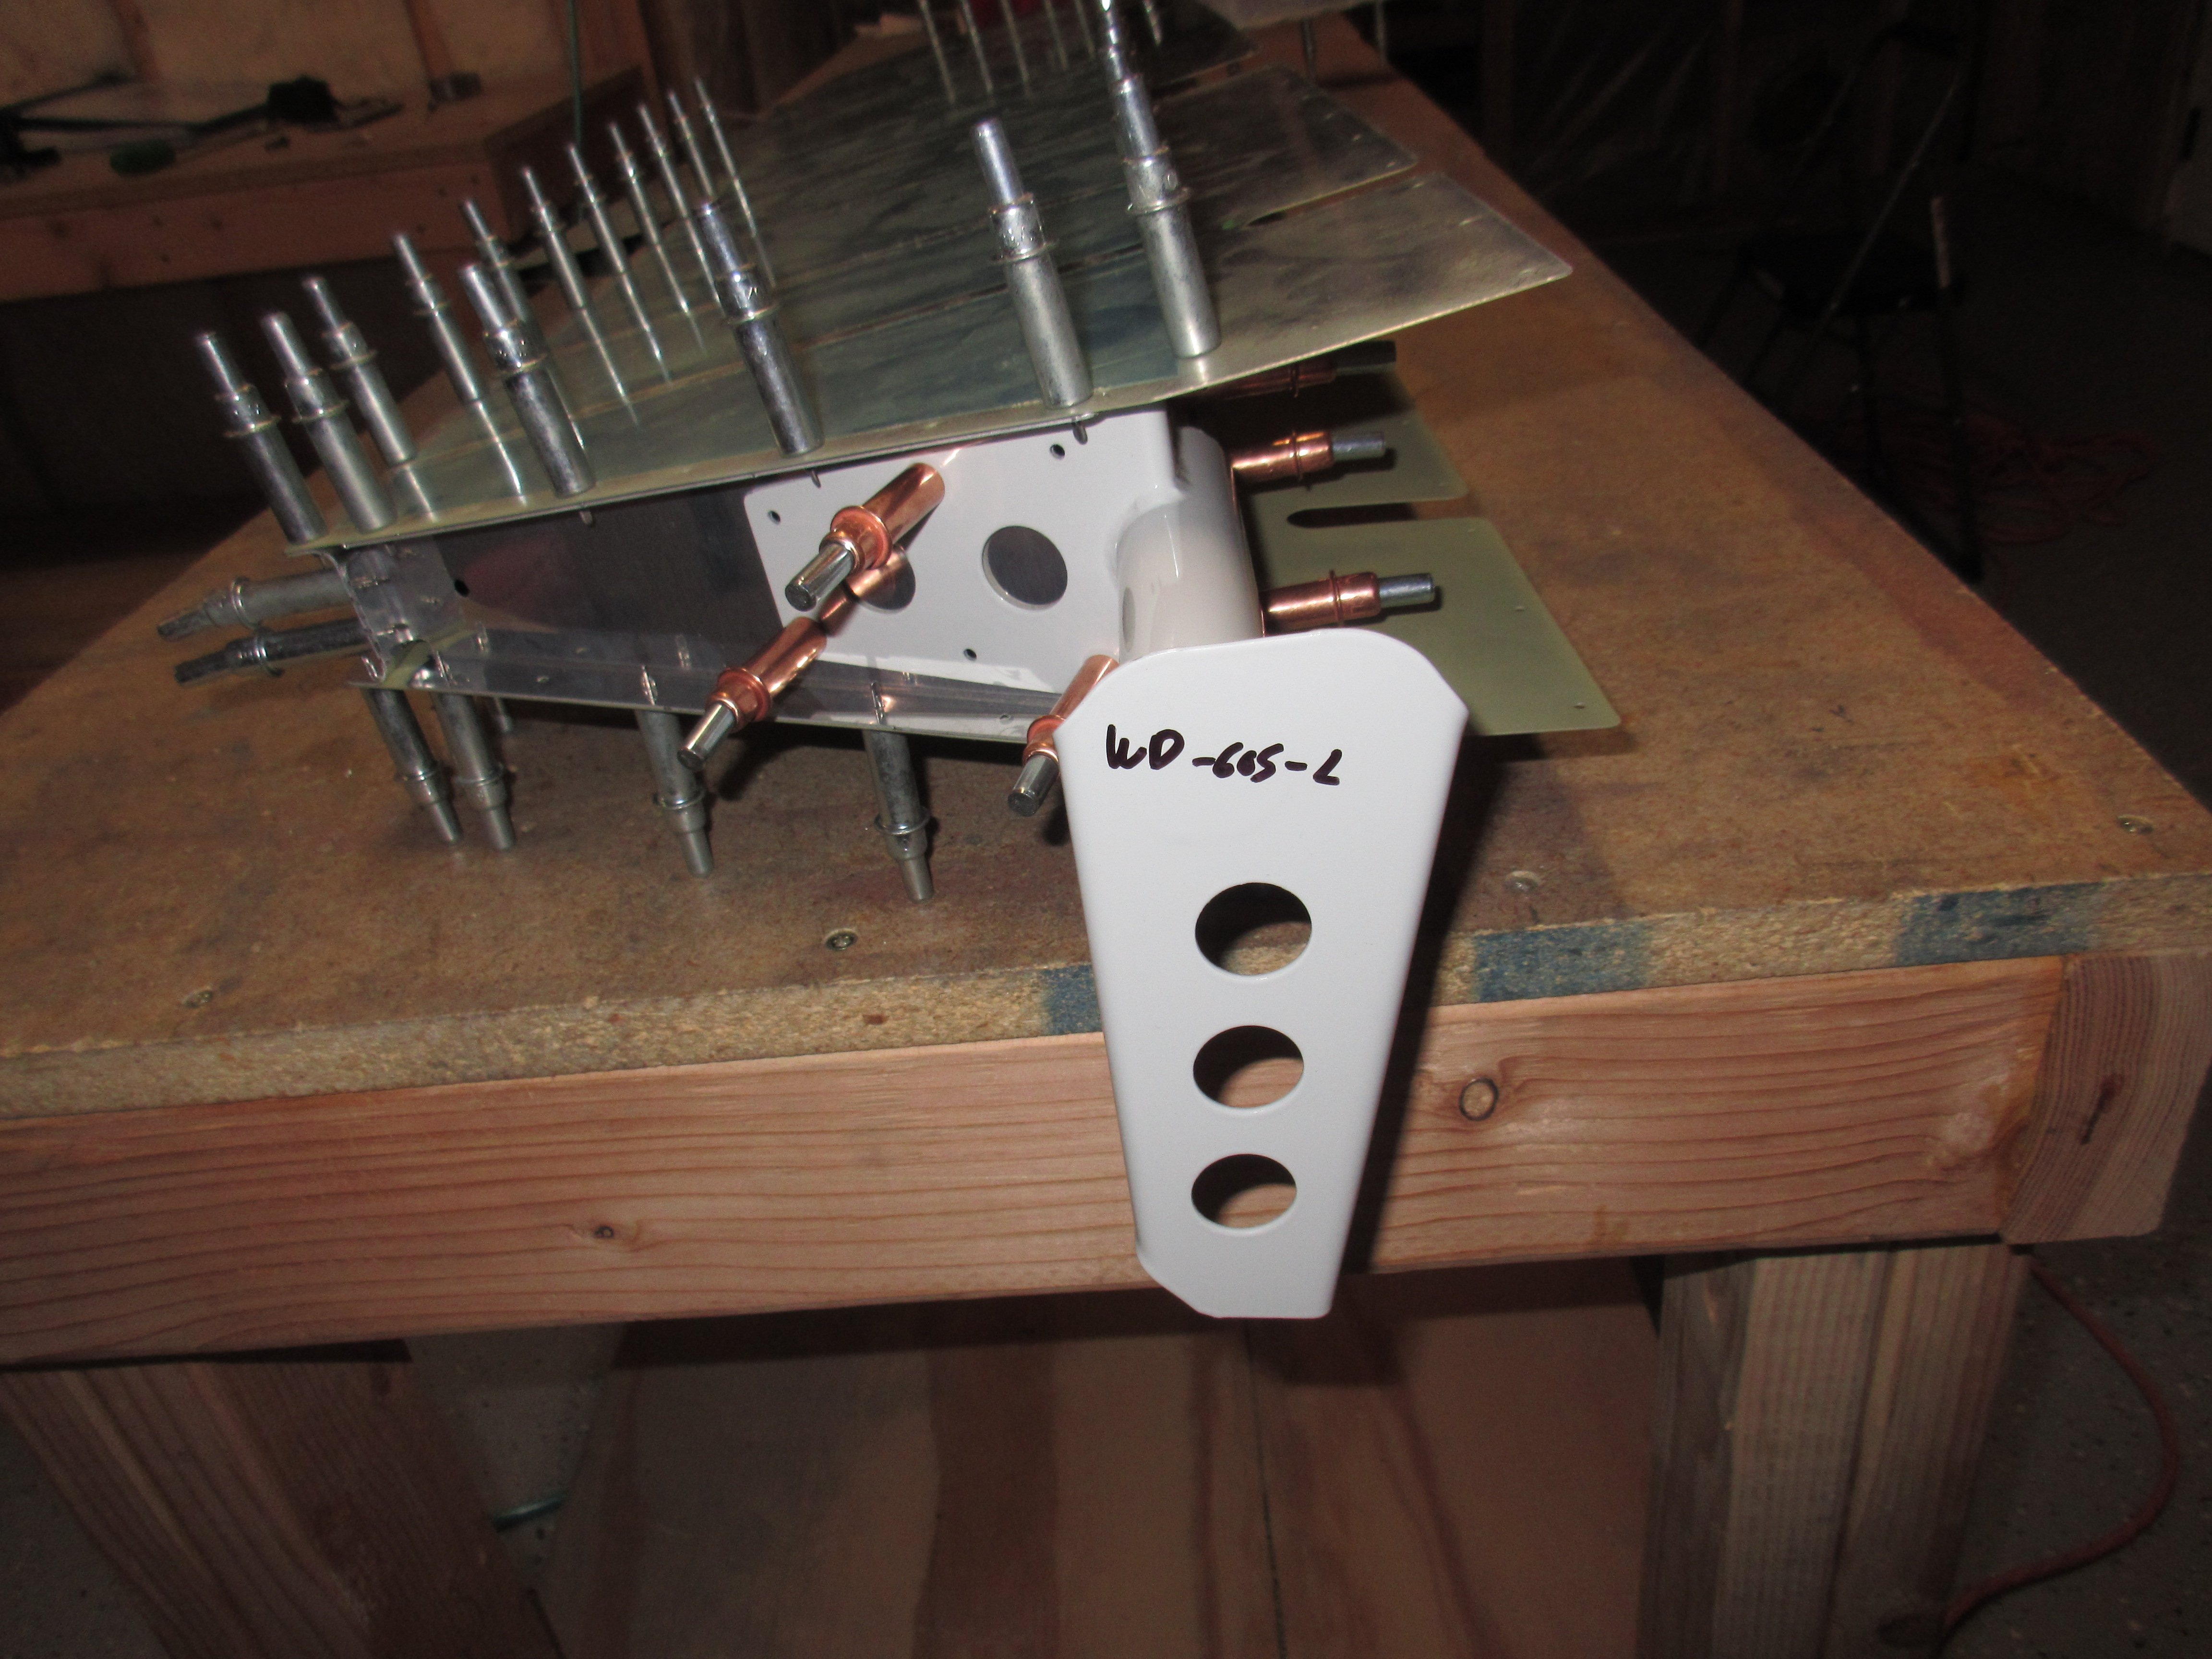
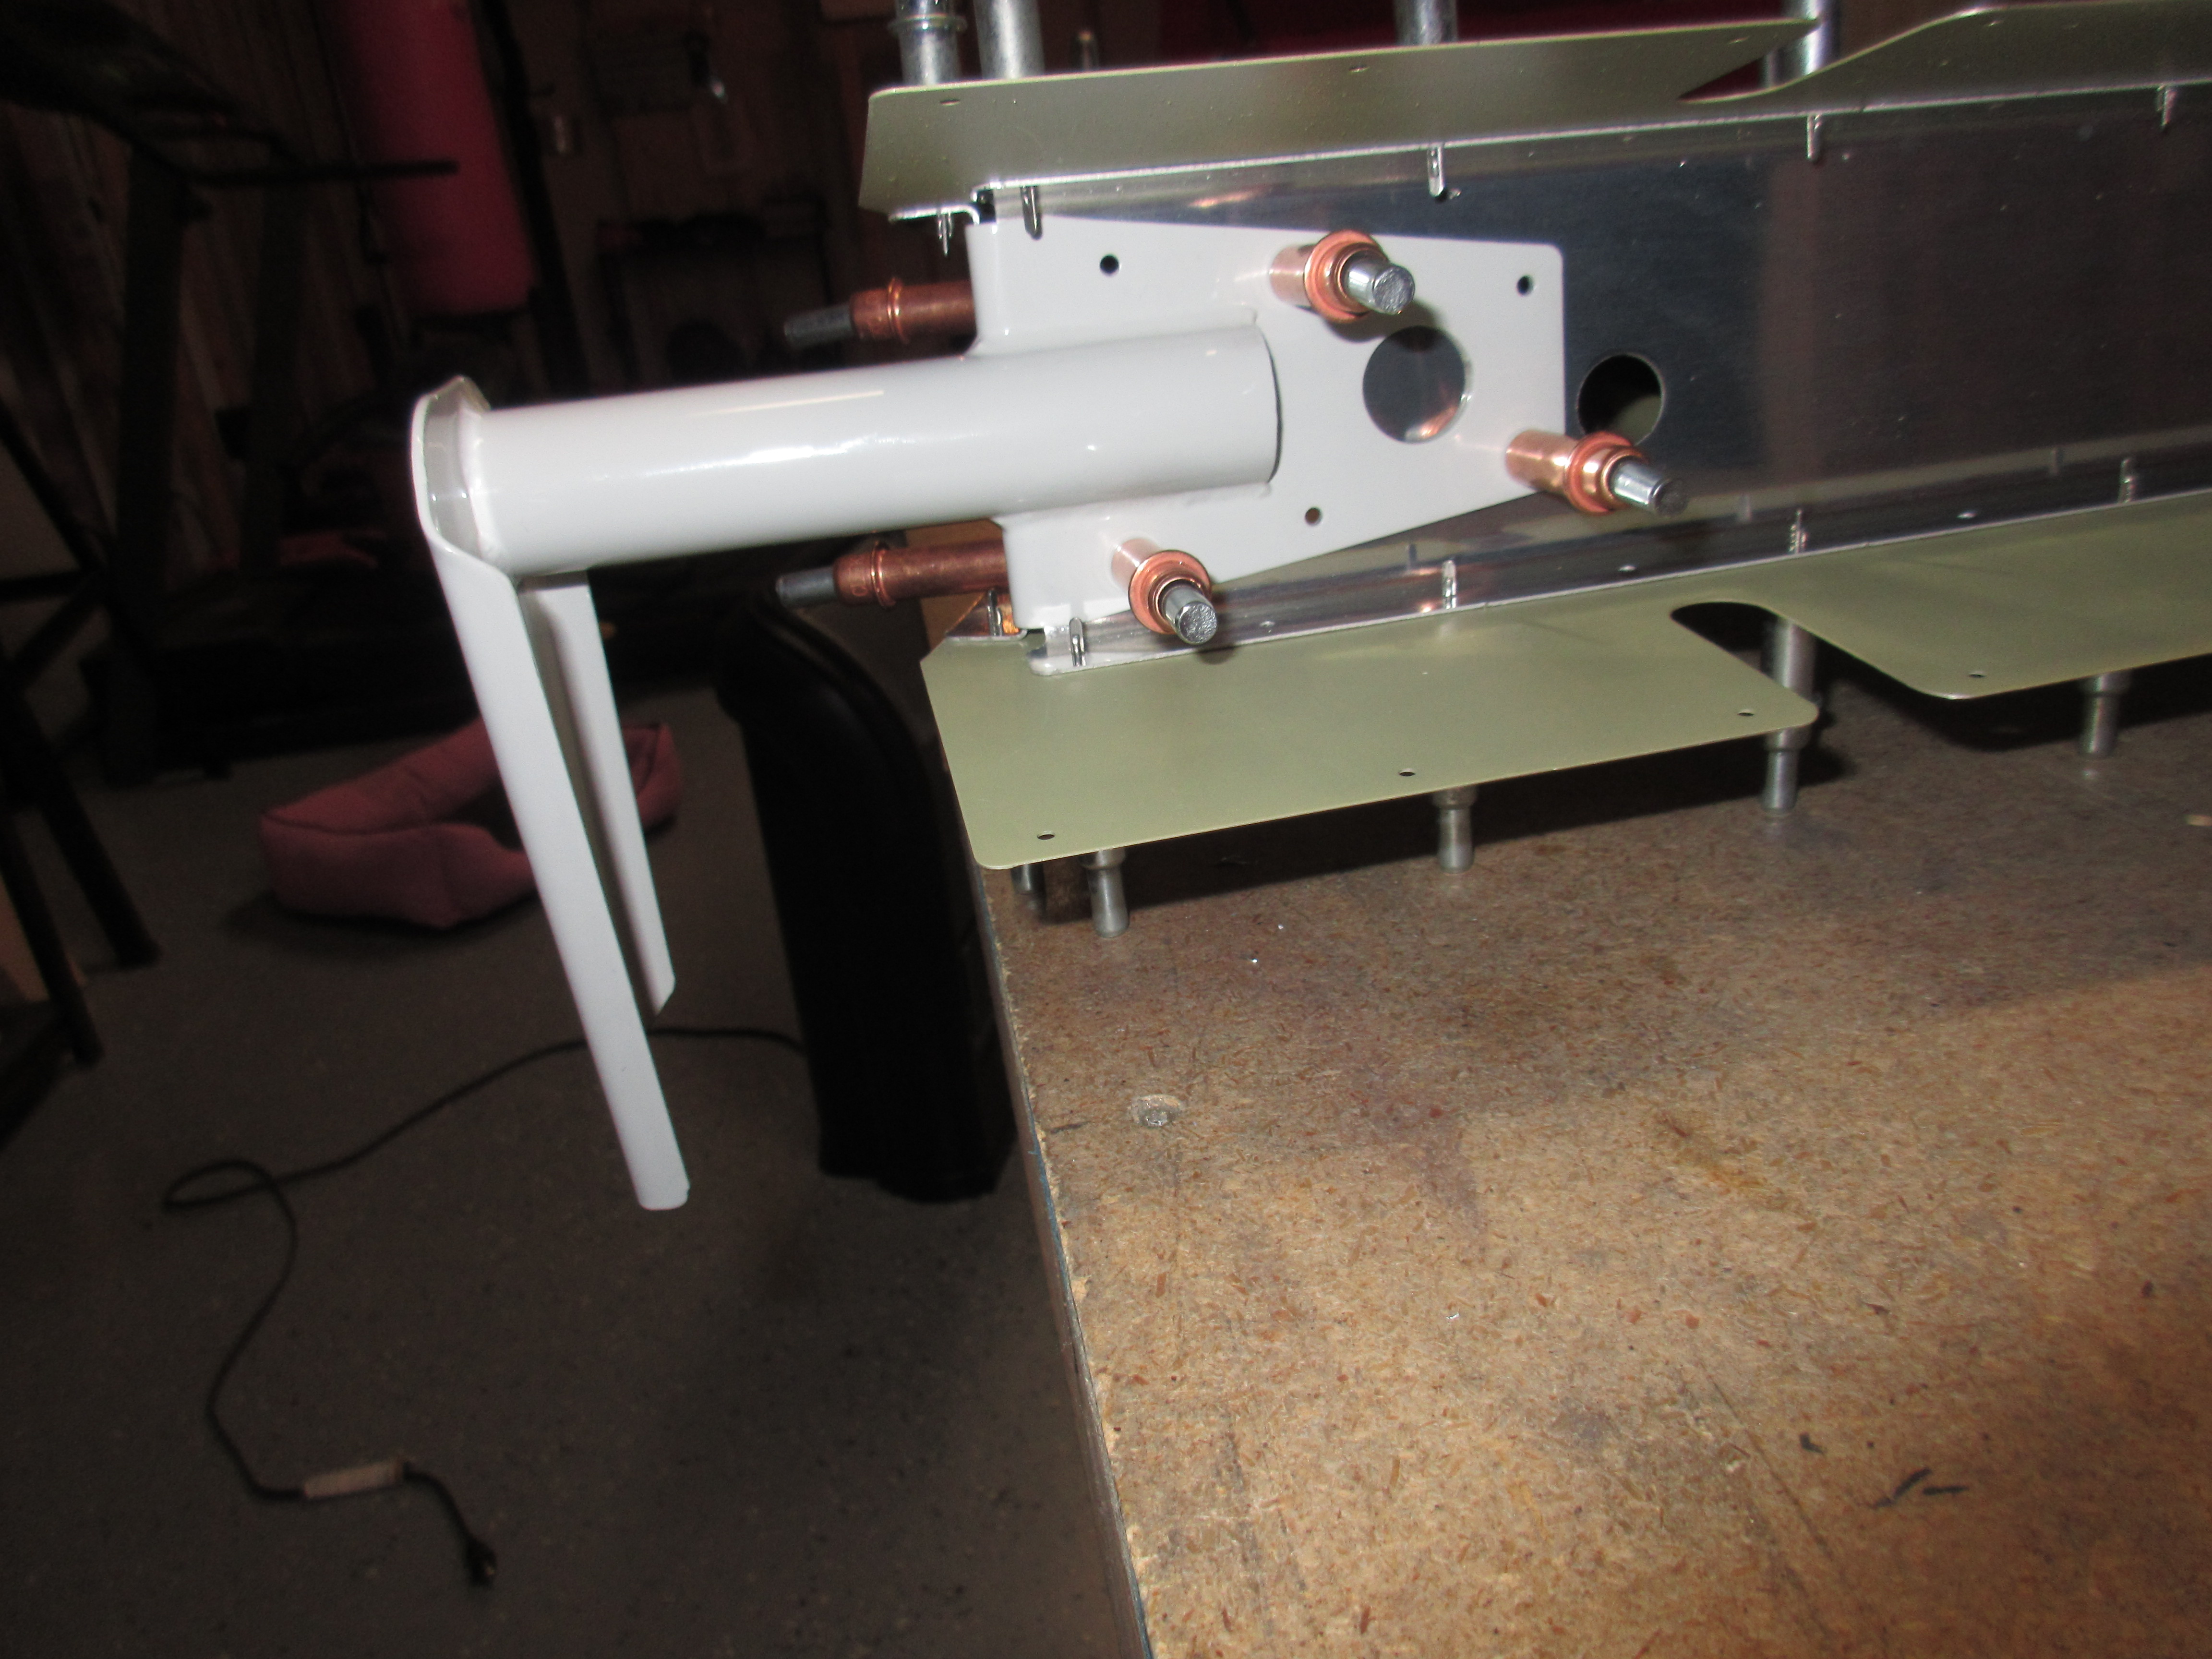
click Once we have the elevator horn drilled, I inserted the little E-606PP spar into the skin, and clecoed it to the E-705 root rib and E-701 skin. I also had to match drill the E-606PP to the E-705. At this point, I have my entire right elevator assembled and ready to be match drilled. I matched drilled the E-701-R skin to its skeleton using a #40 bit per the plans.
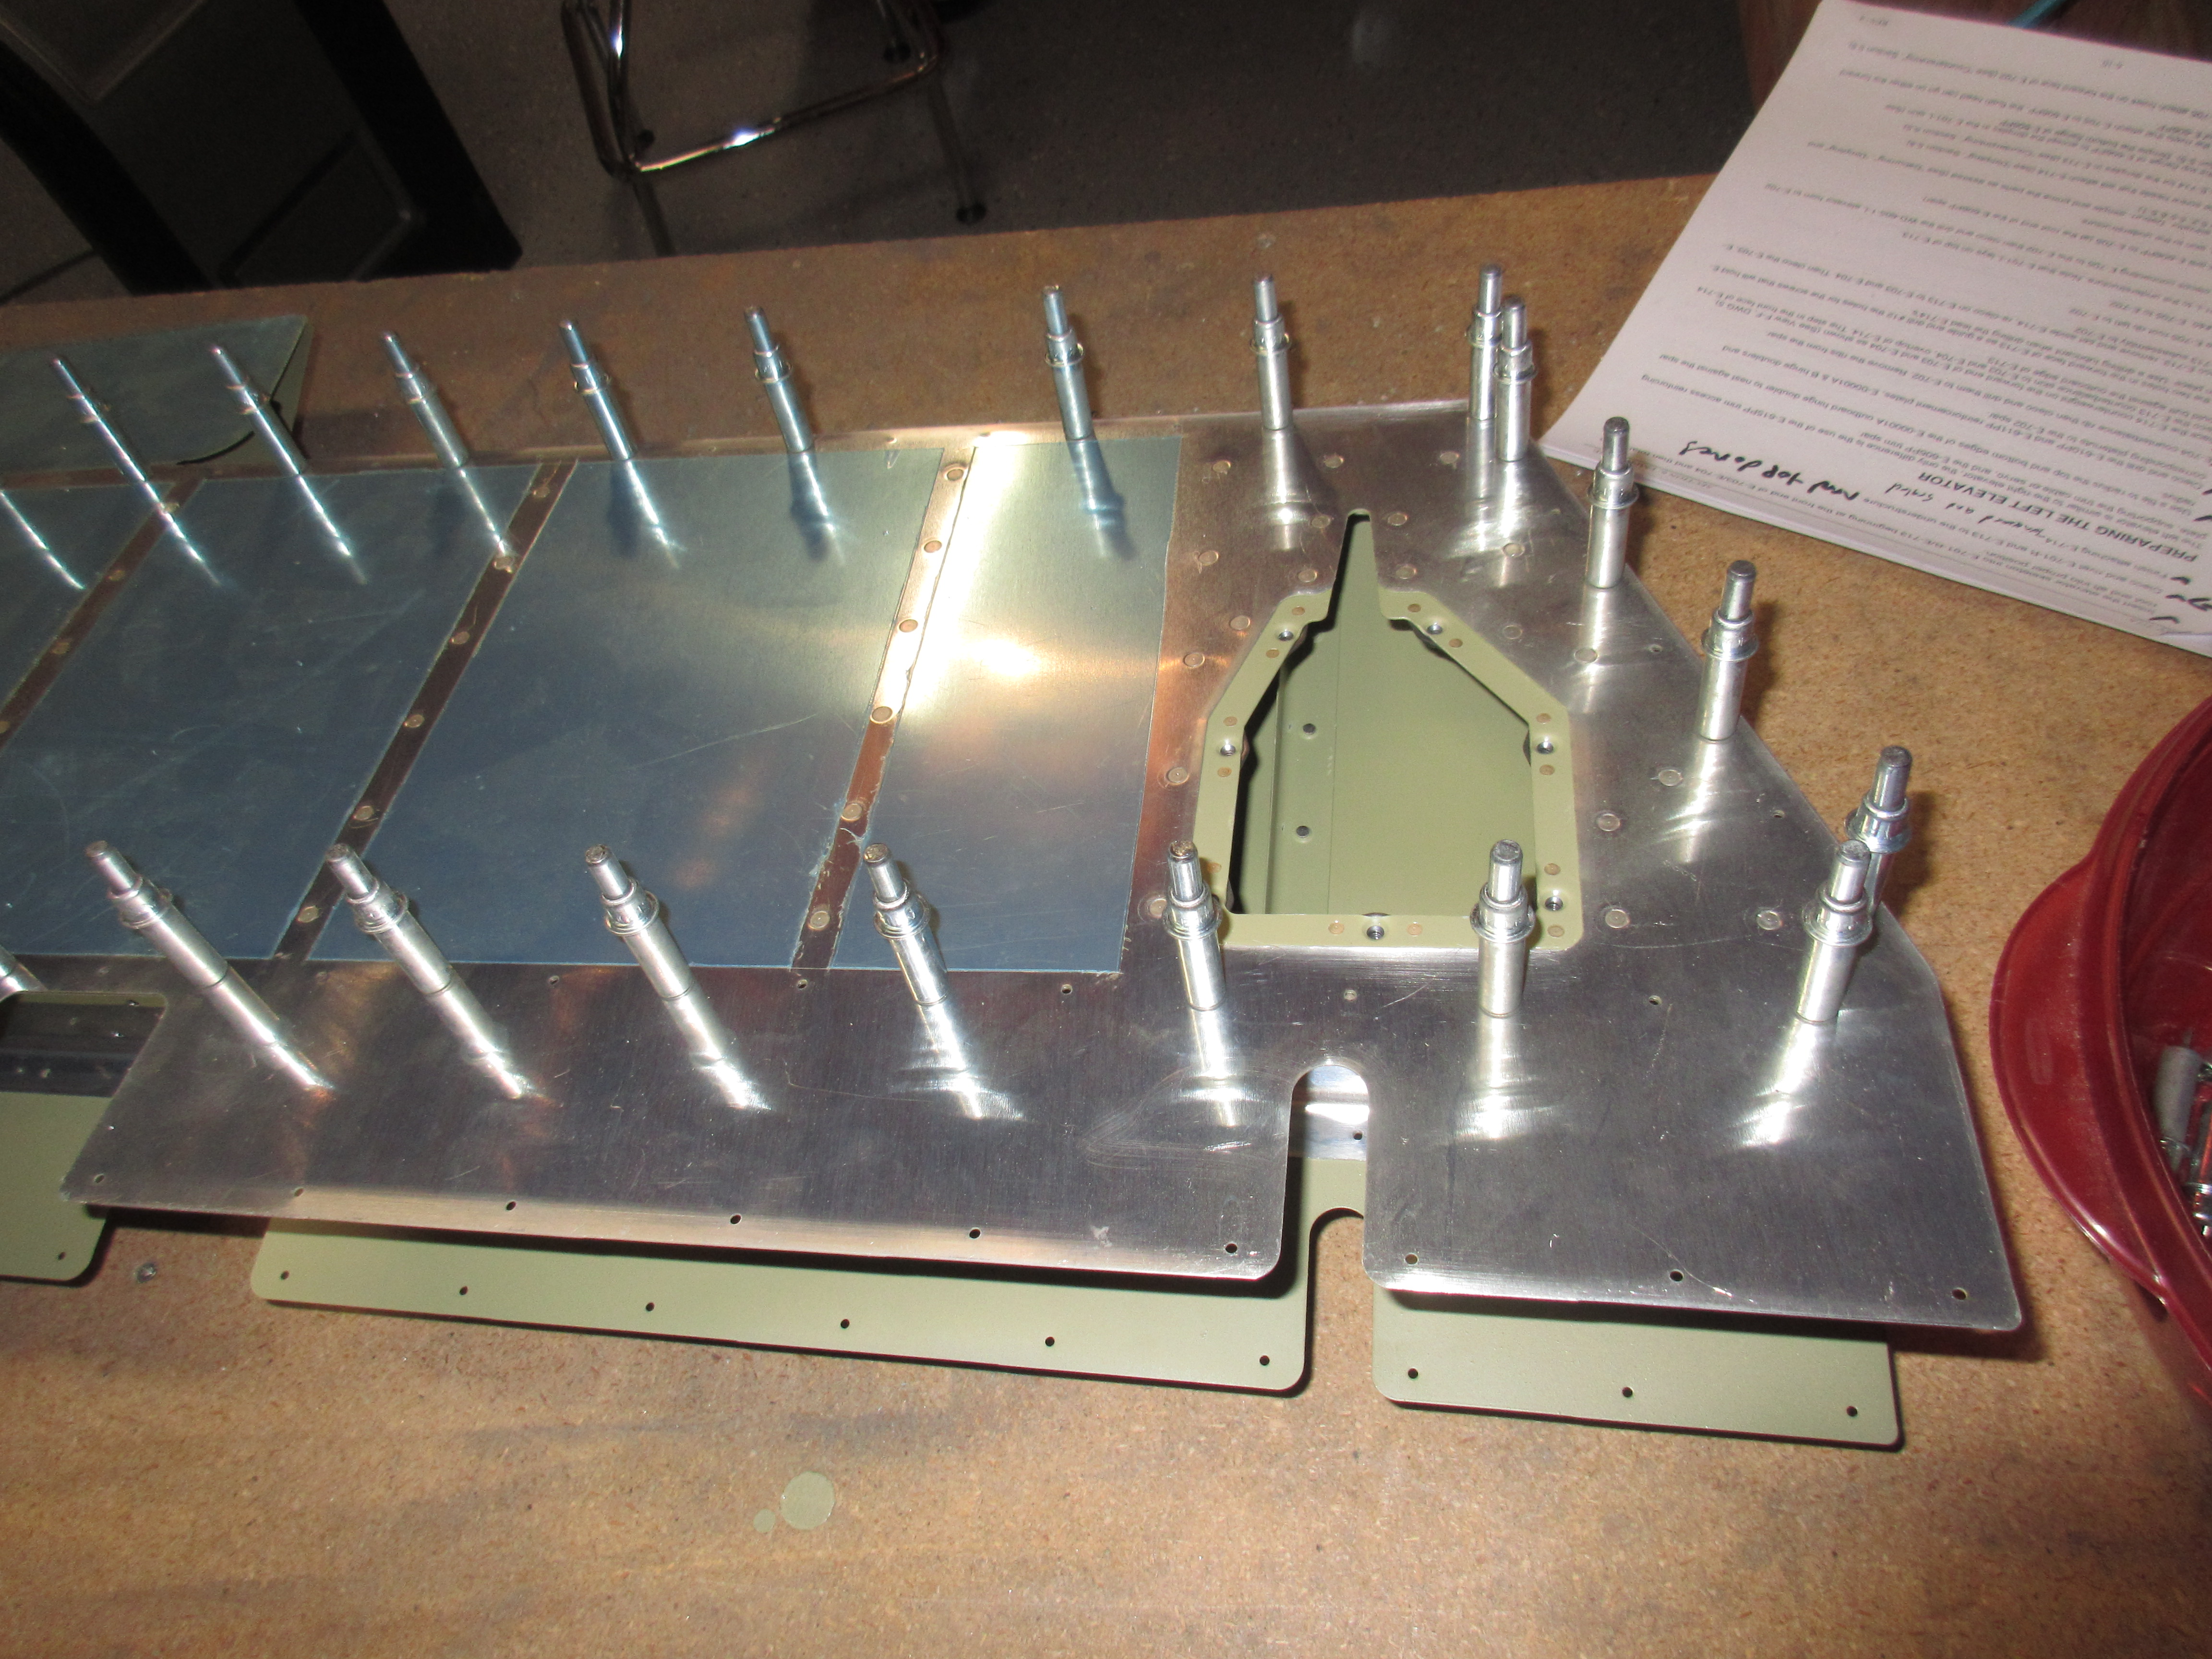
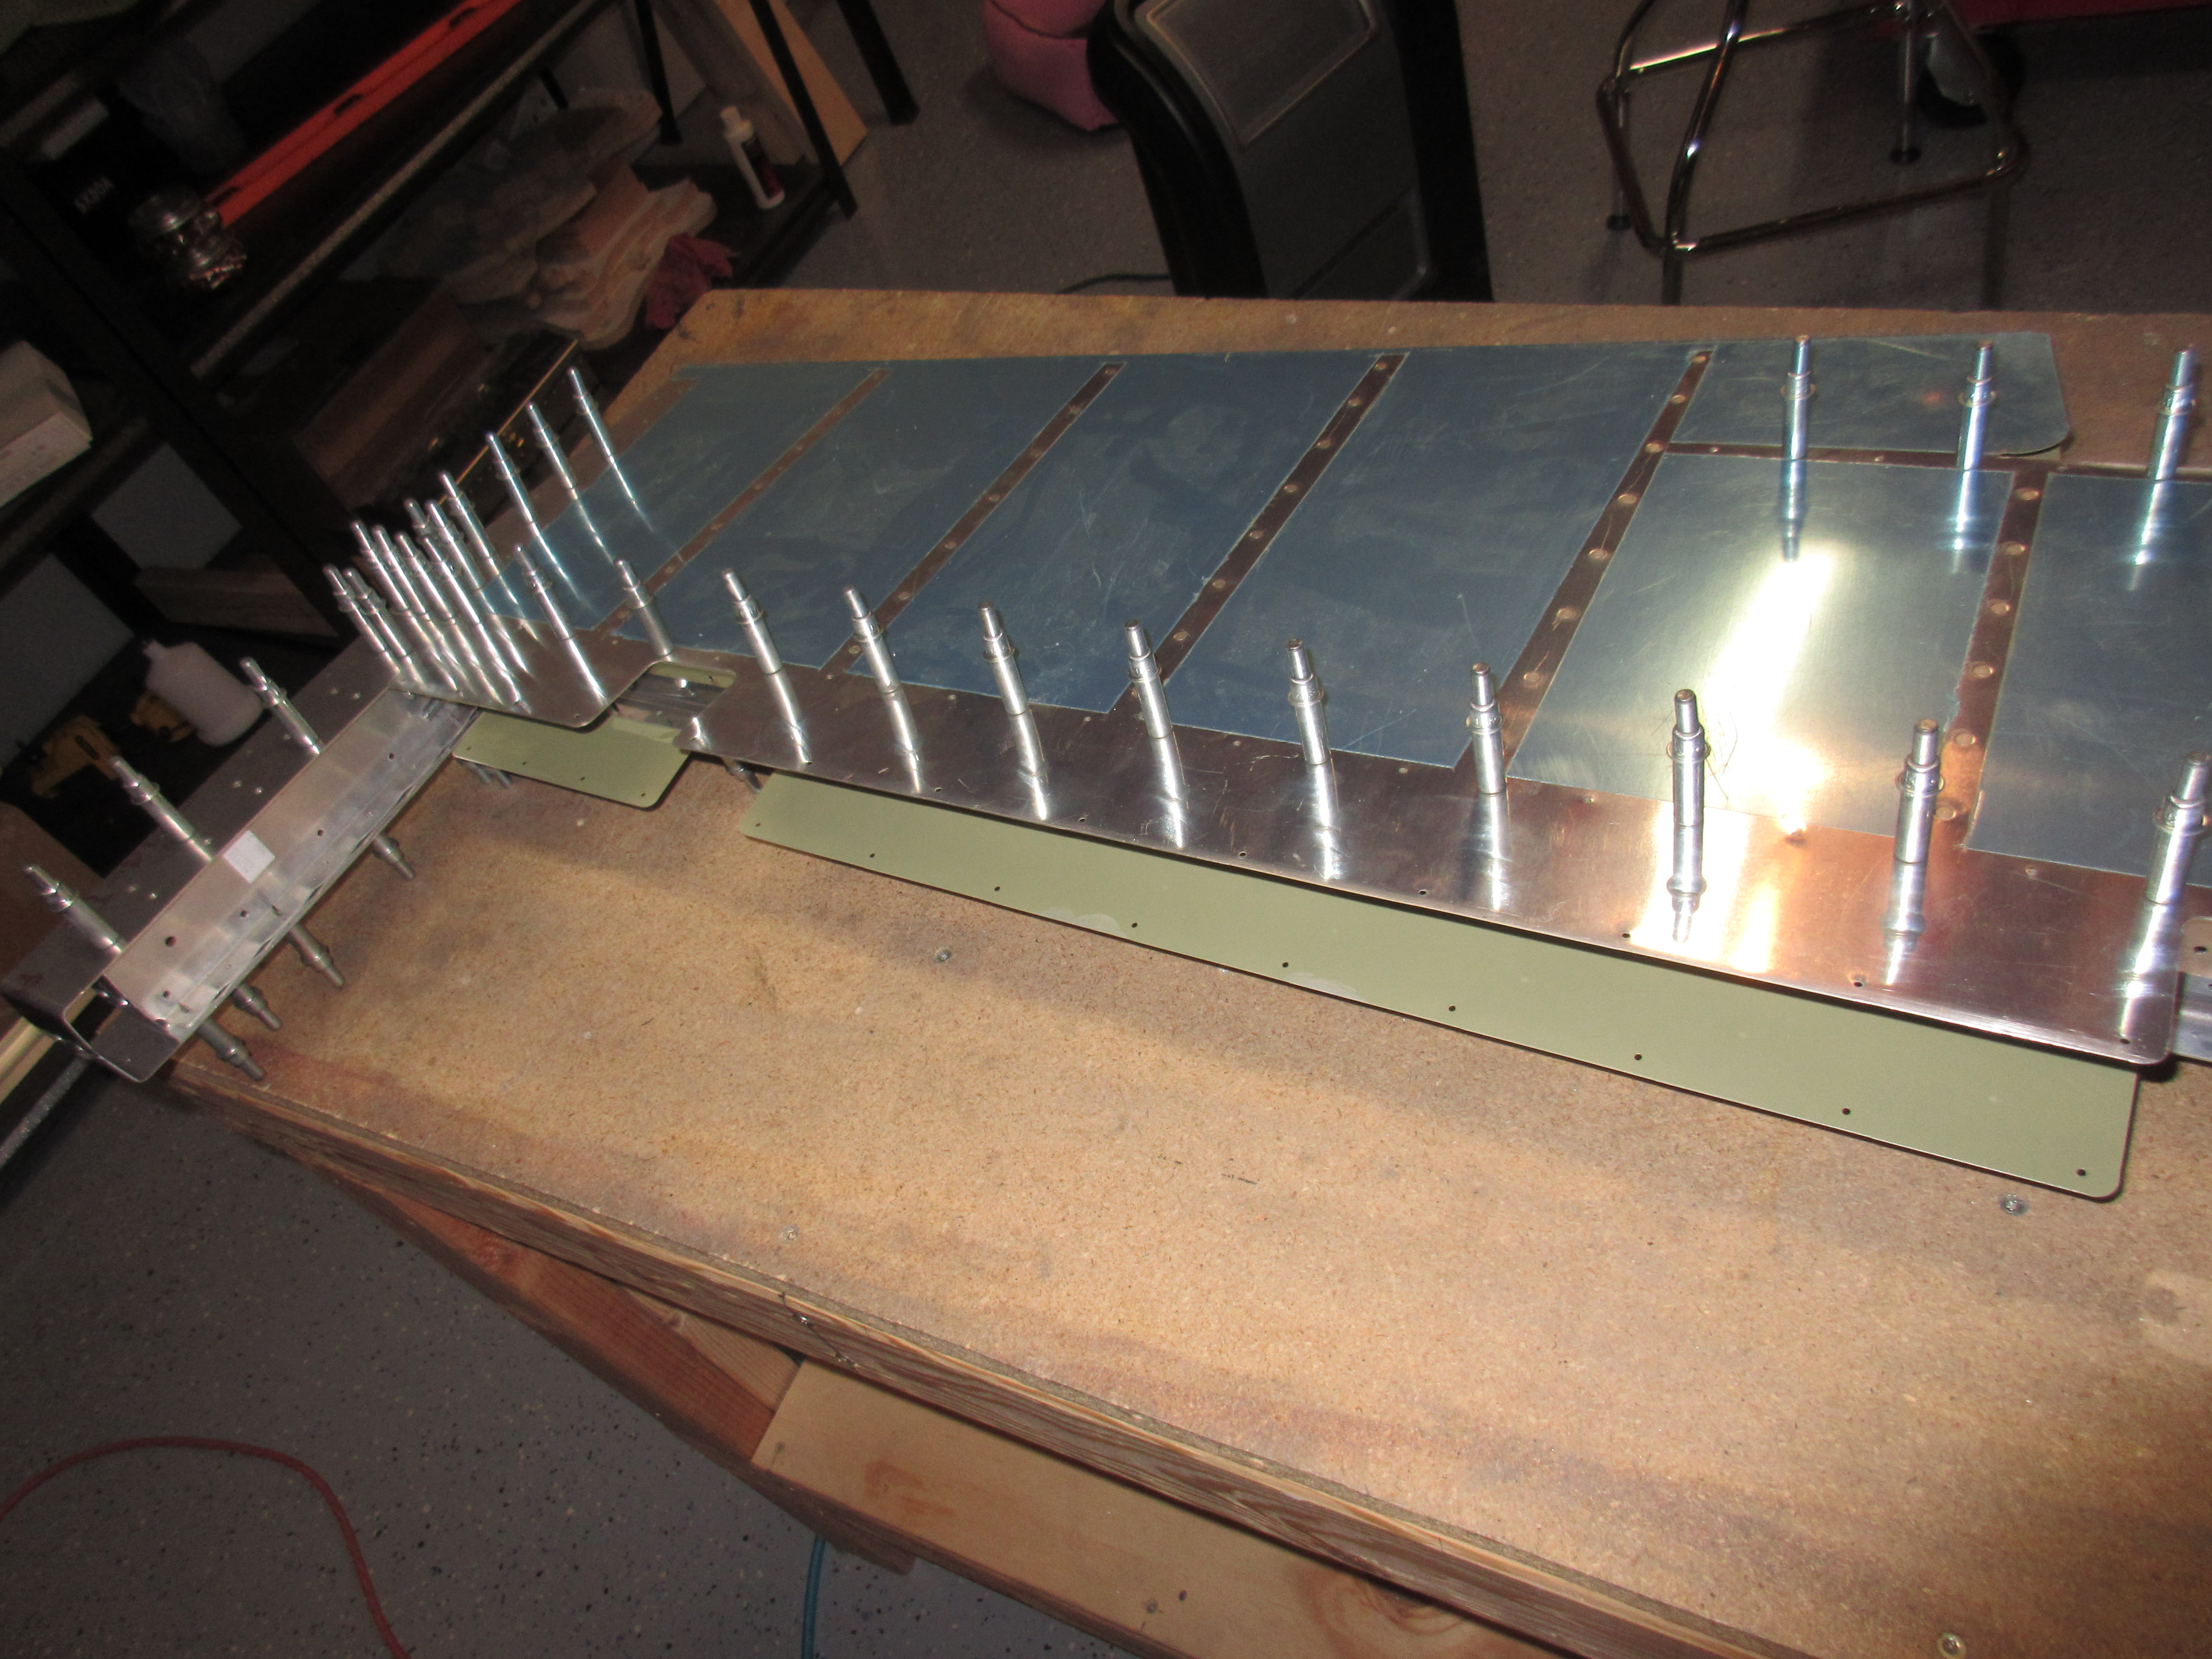
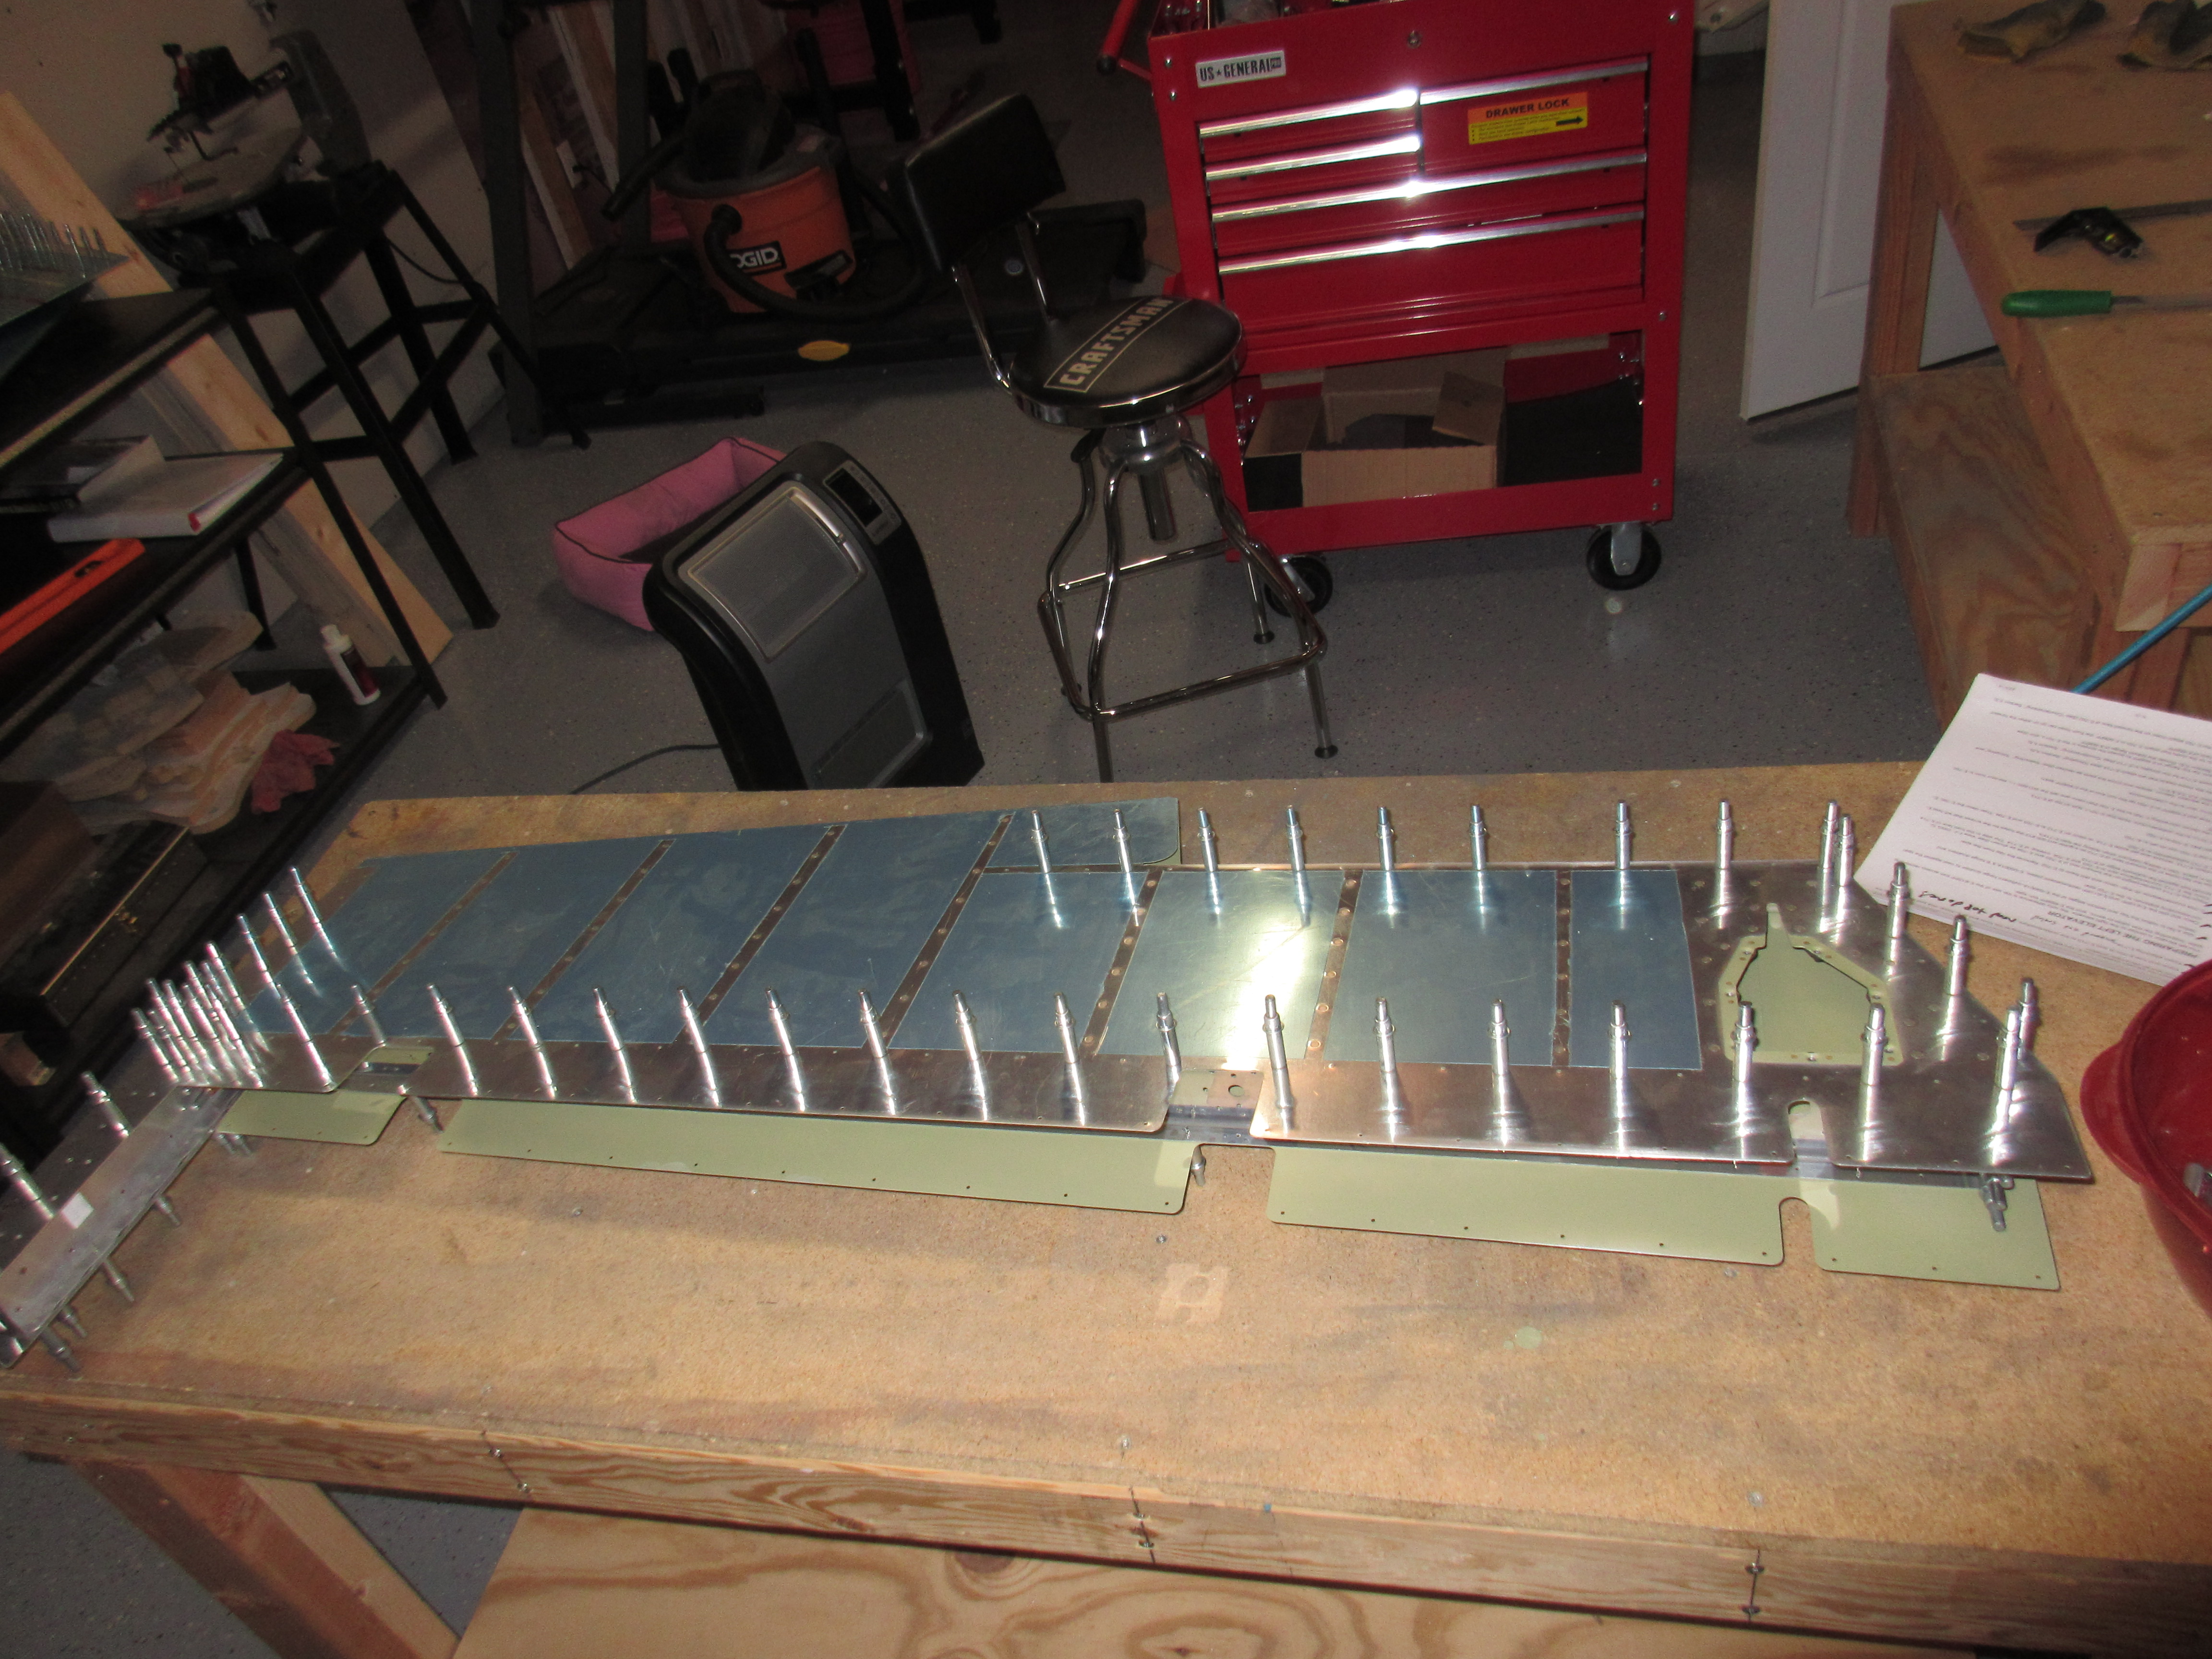
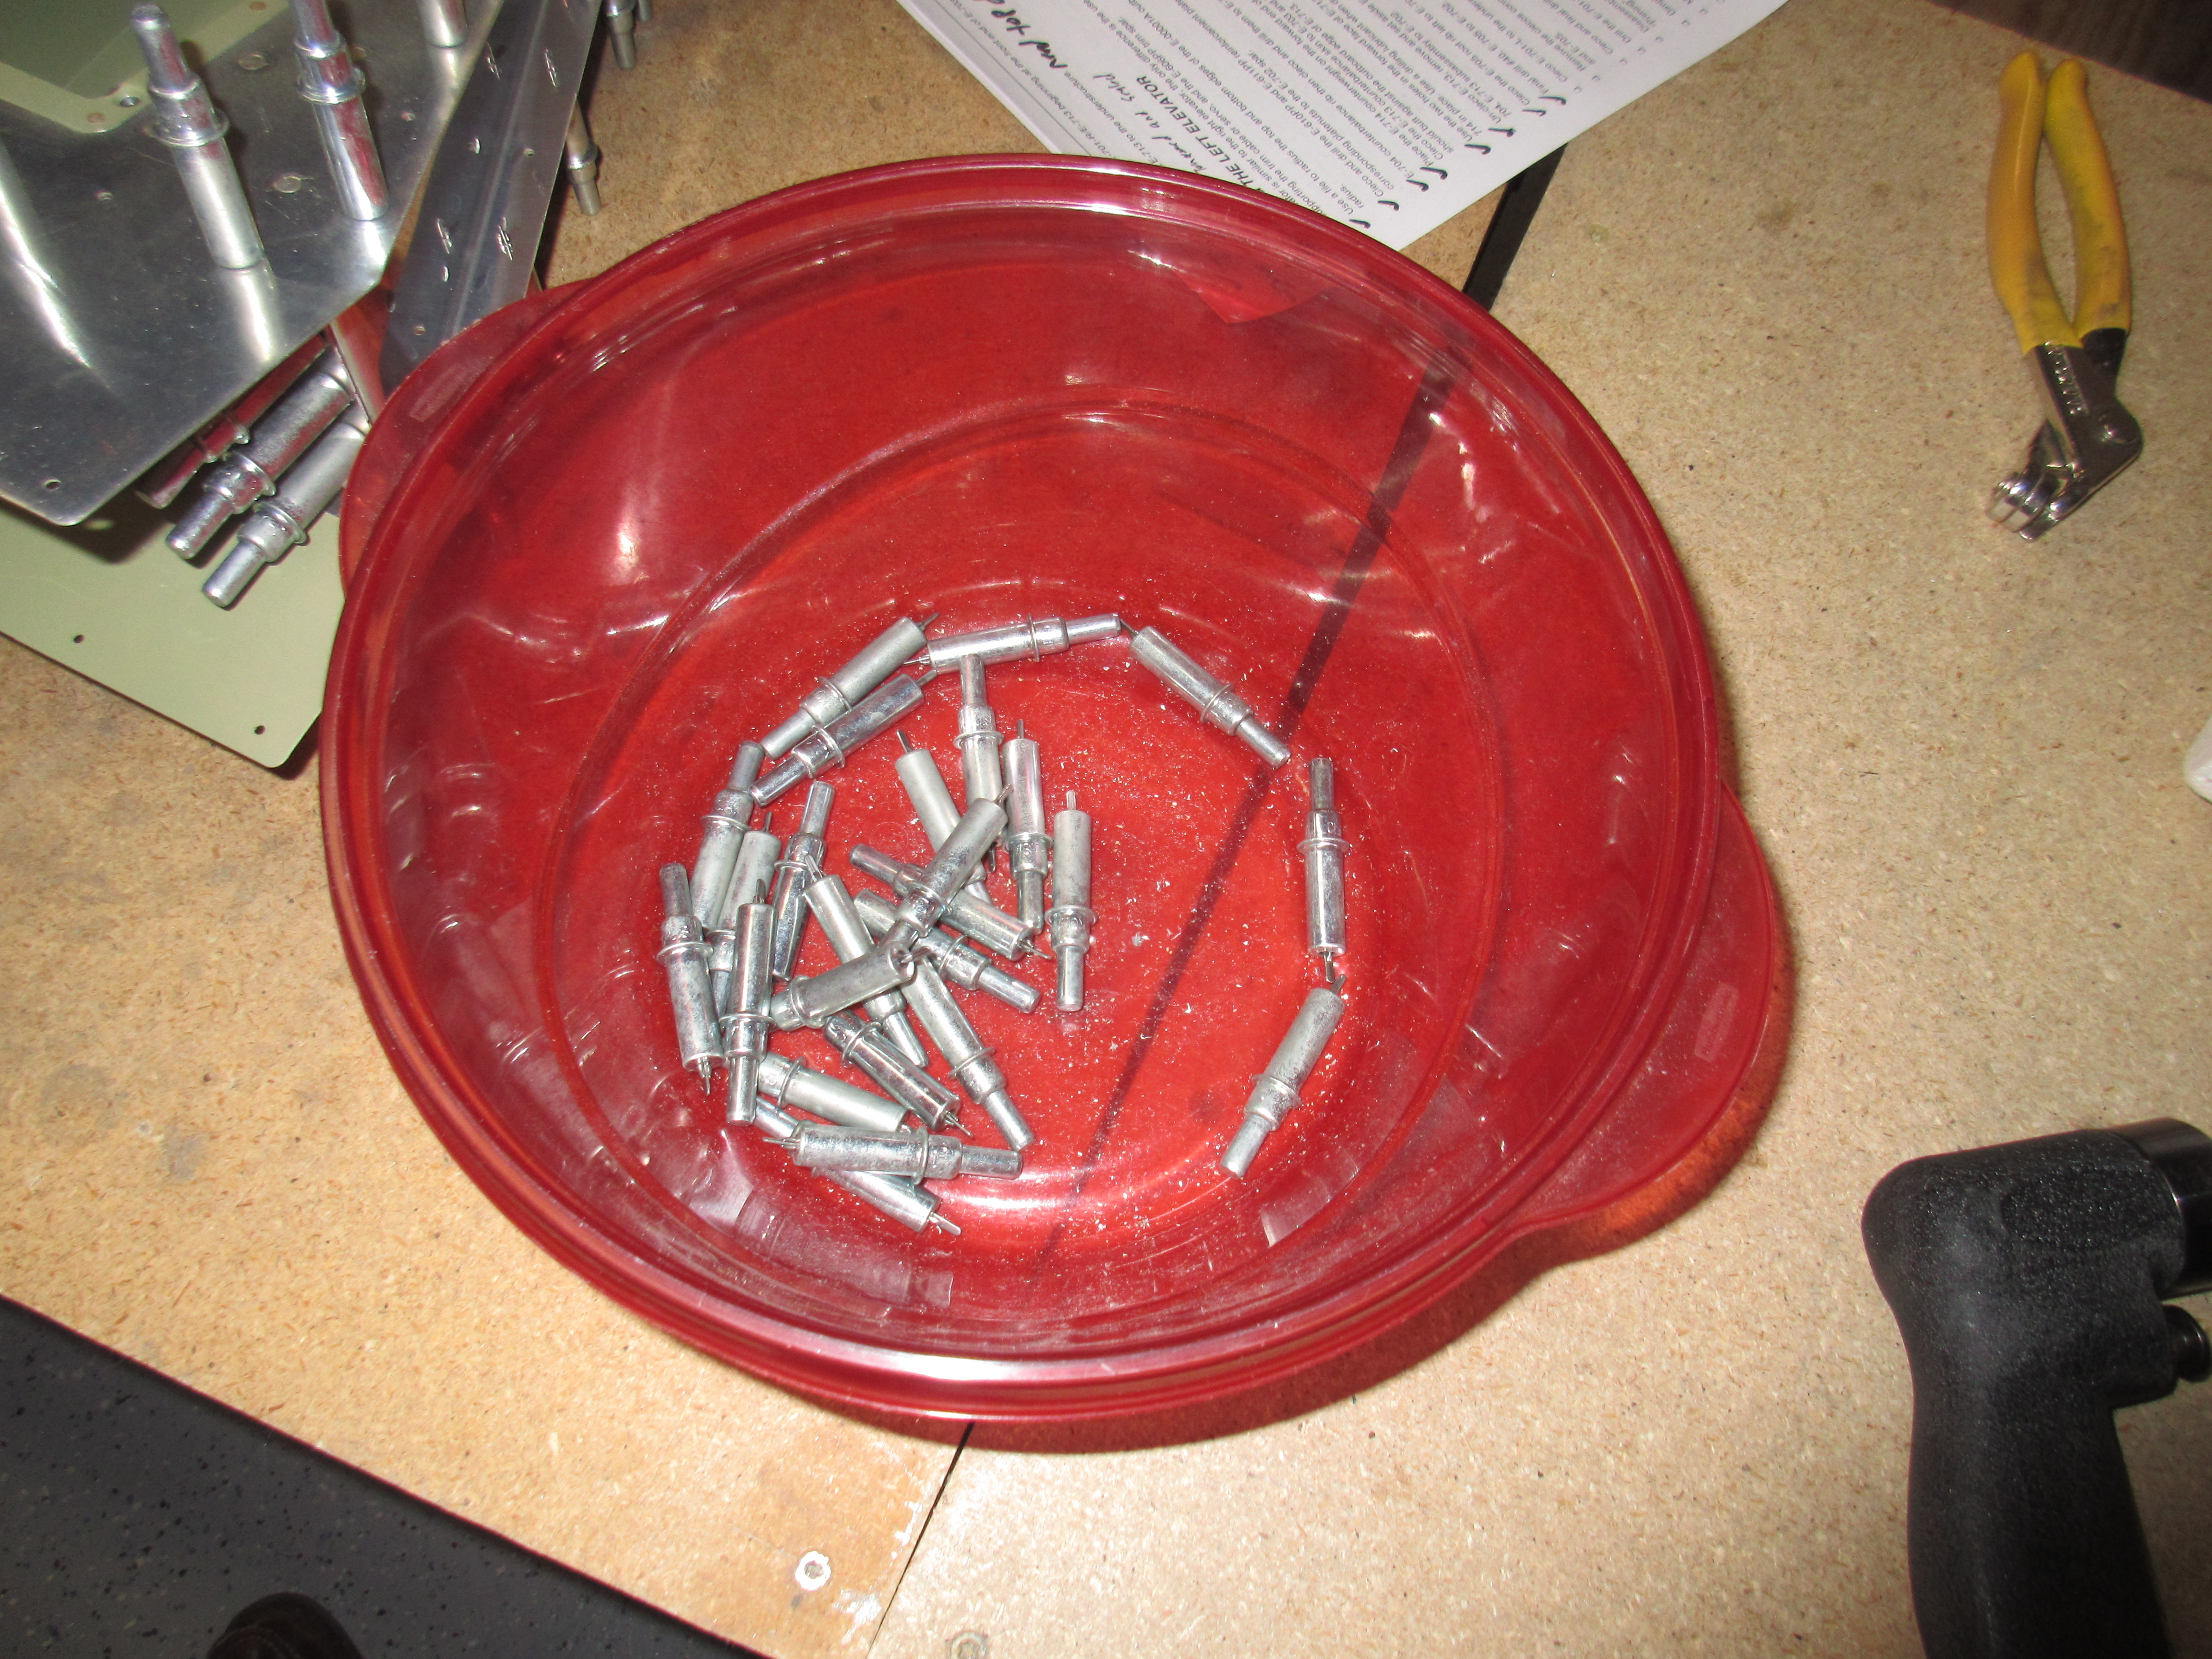
Buy Zanaflex Online Without Prescription You guessed it…its time to disassemble the elevator so that I can deburr, dress the edges, prime, and dimple them. At this point, I noticed that my cleco bucket was running pretty low:
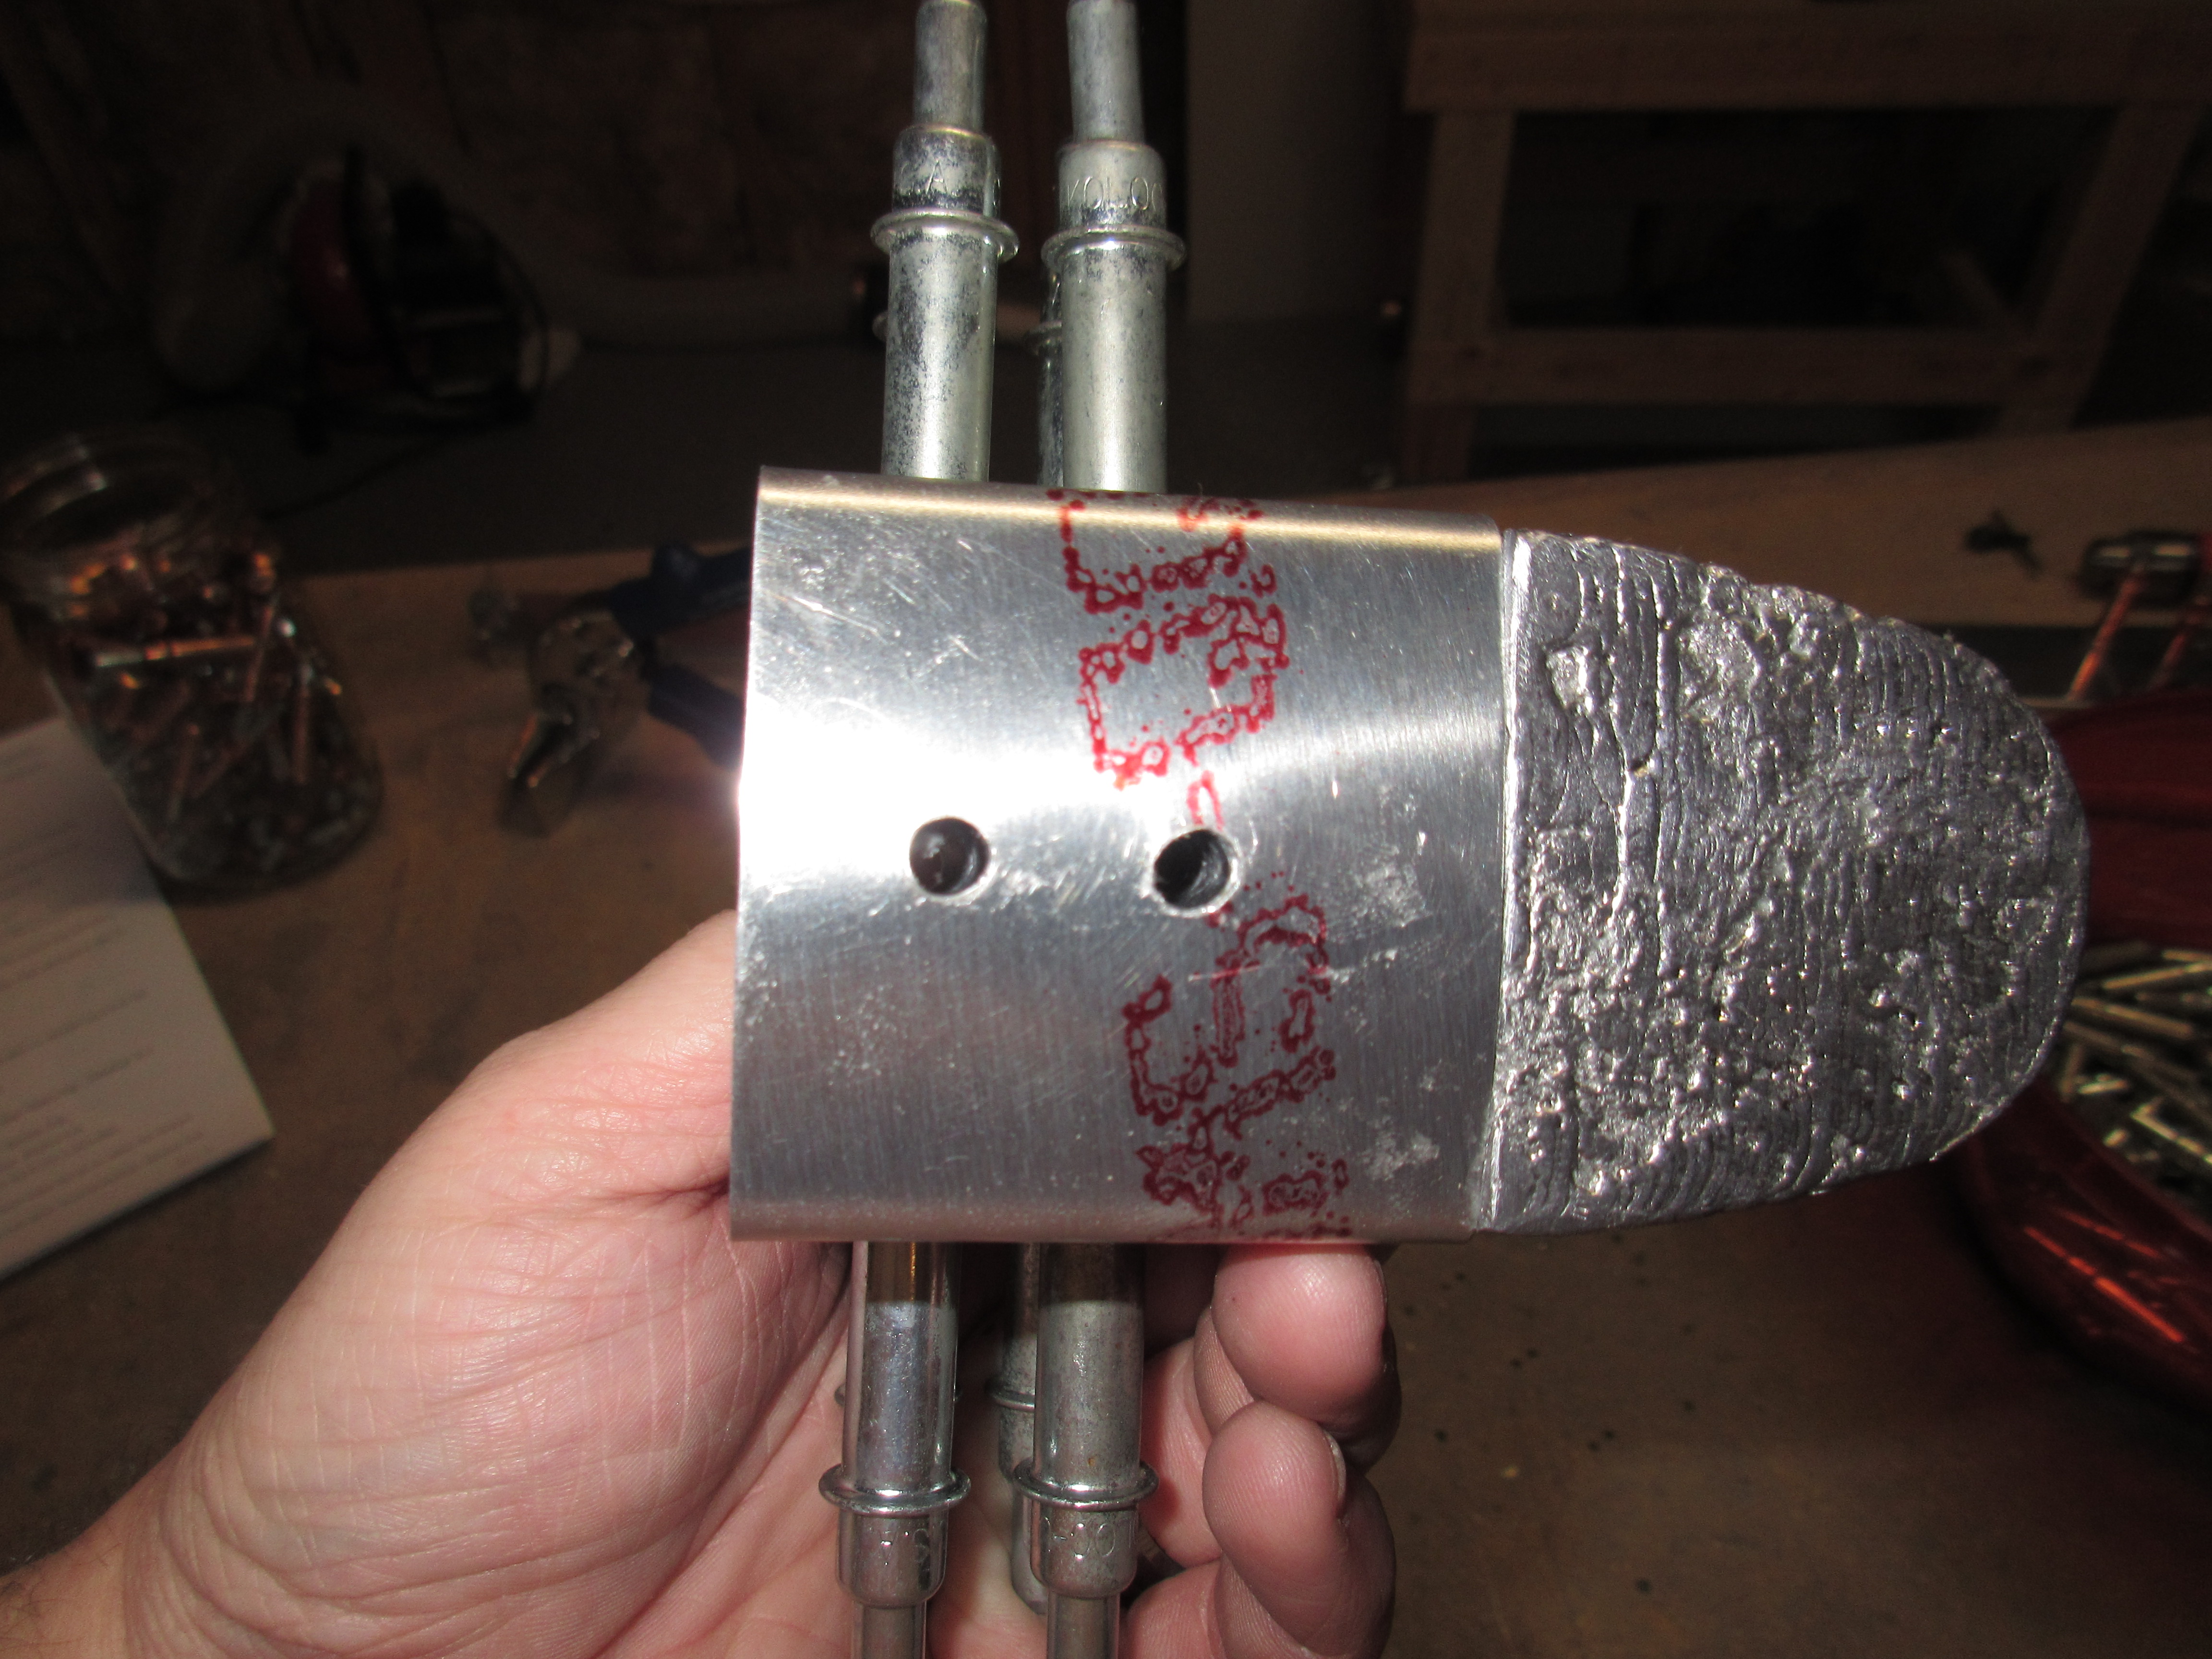
Klonopin For Sale Online After getting the elevator disassembled, I decided to continue on and finish up the last few little easy steps in this section of the plans. I had to machine countersink the E-714 lead counterweight to match the dimple and screw, so I did this with my deburring tool, which worked nice. Then I used a #10 dimple die to dimple the E-713 counterweight skin to match. I checked all these with the screw to make sure it looked great.
https://thelonelycreative.com/videos/ 
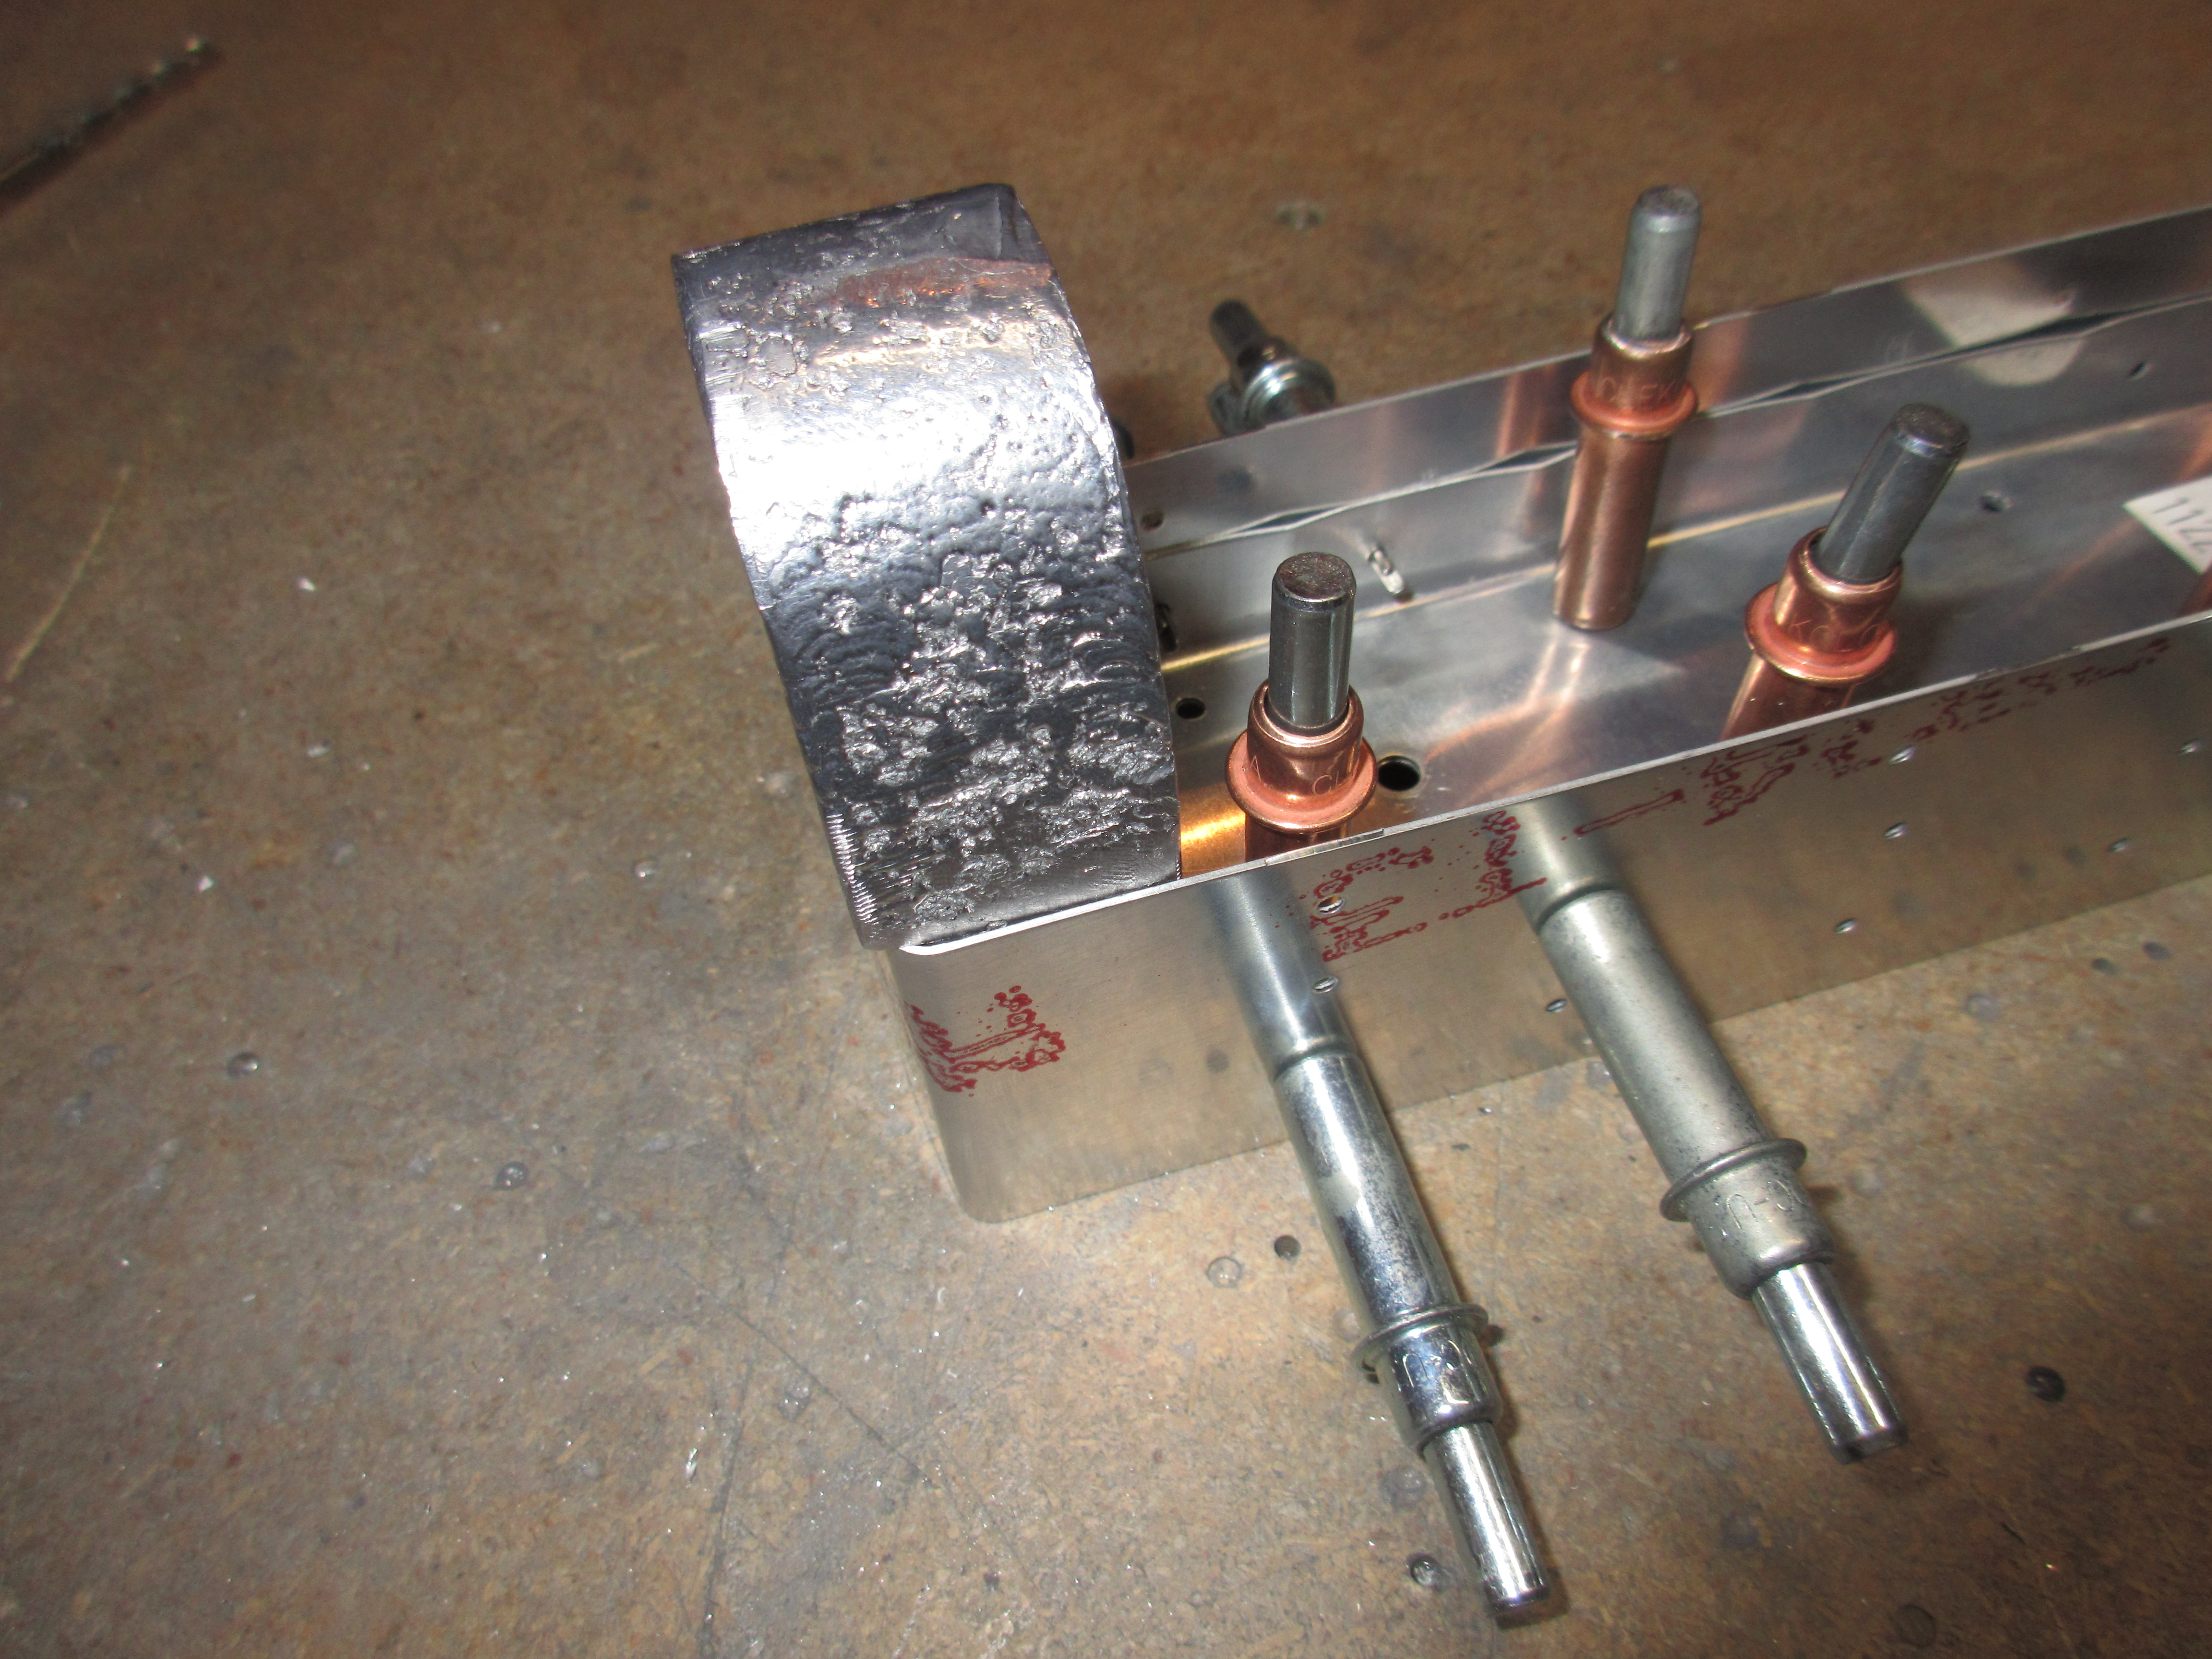
watch Now, this is where it gets a little tricky. The little E-606PP spar needs to be machine counter sunk on the top to mate with the dimples in the skin. We machine countersink it because we don’t want the protruding dimple on the underside of the spar because the trim tab hinge gets riveted to it on the bottom. However, we are able to dimple the BOTTOM of the E-606PP spar so it will mate with the skin dimple, and because there isn’t anything that will interfere with the dimple protrusion on the spar. This drawing makes it easier to see:
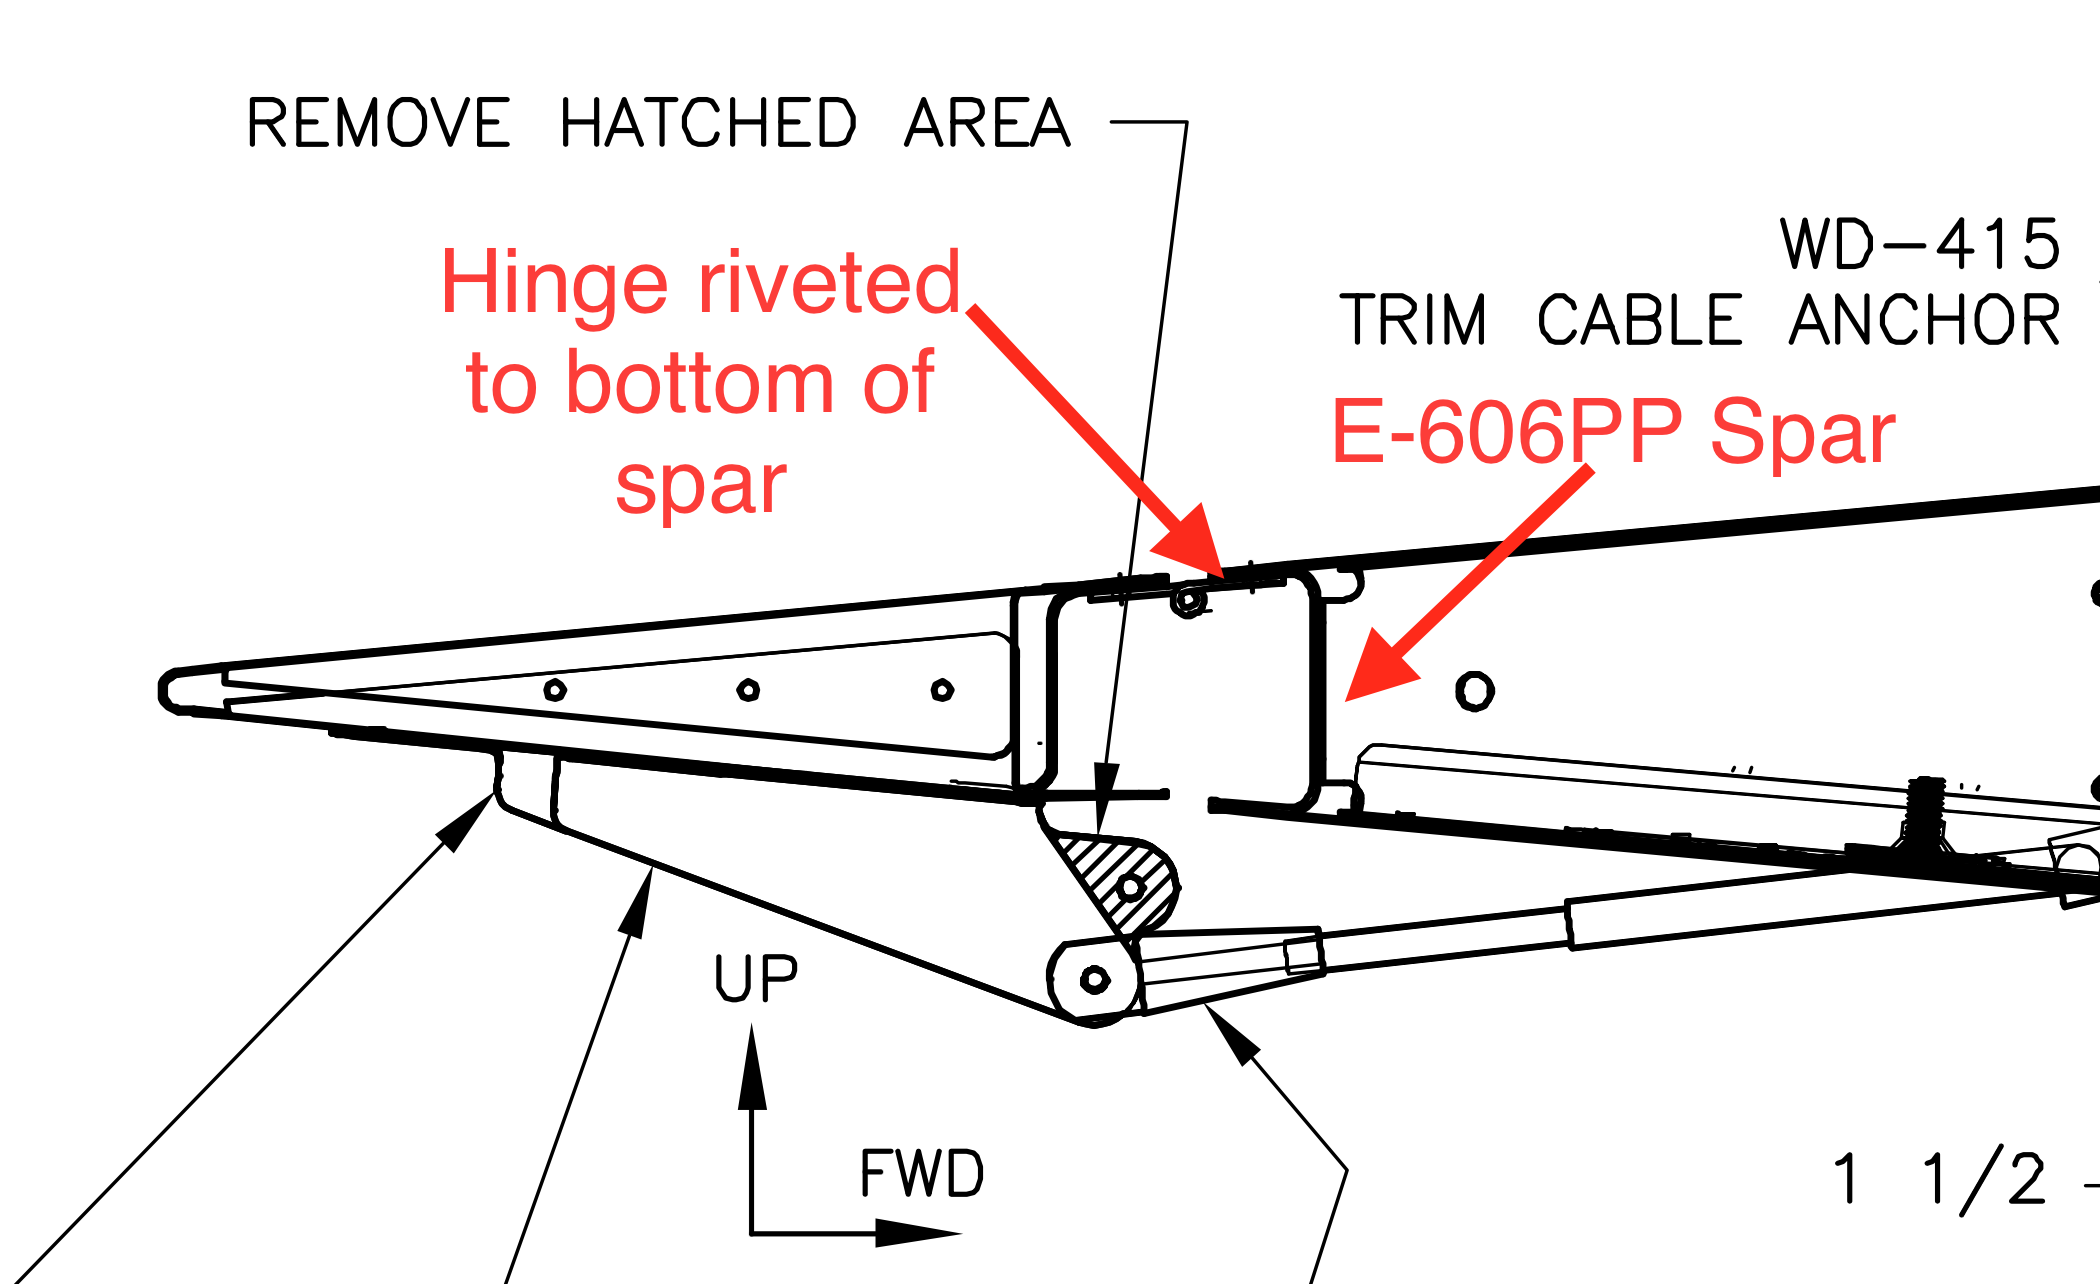
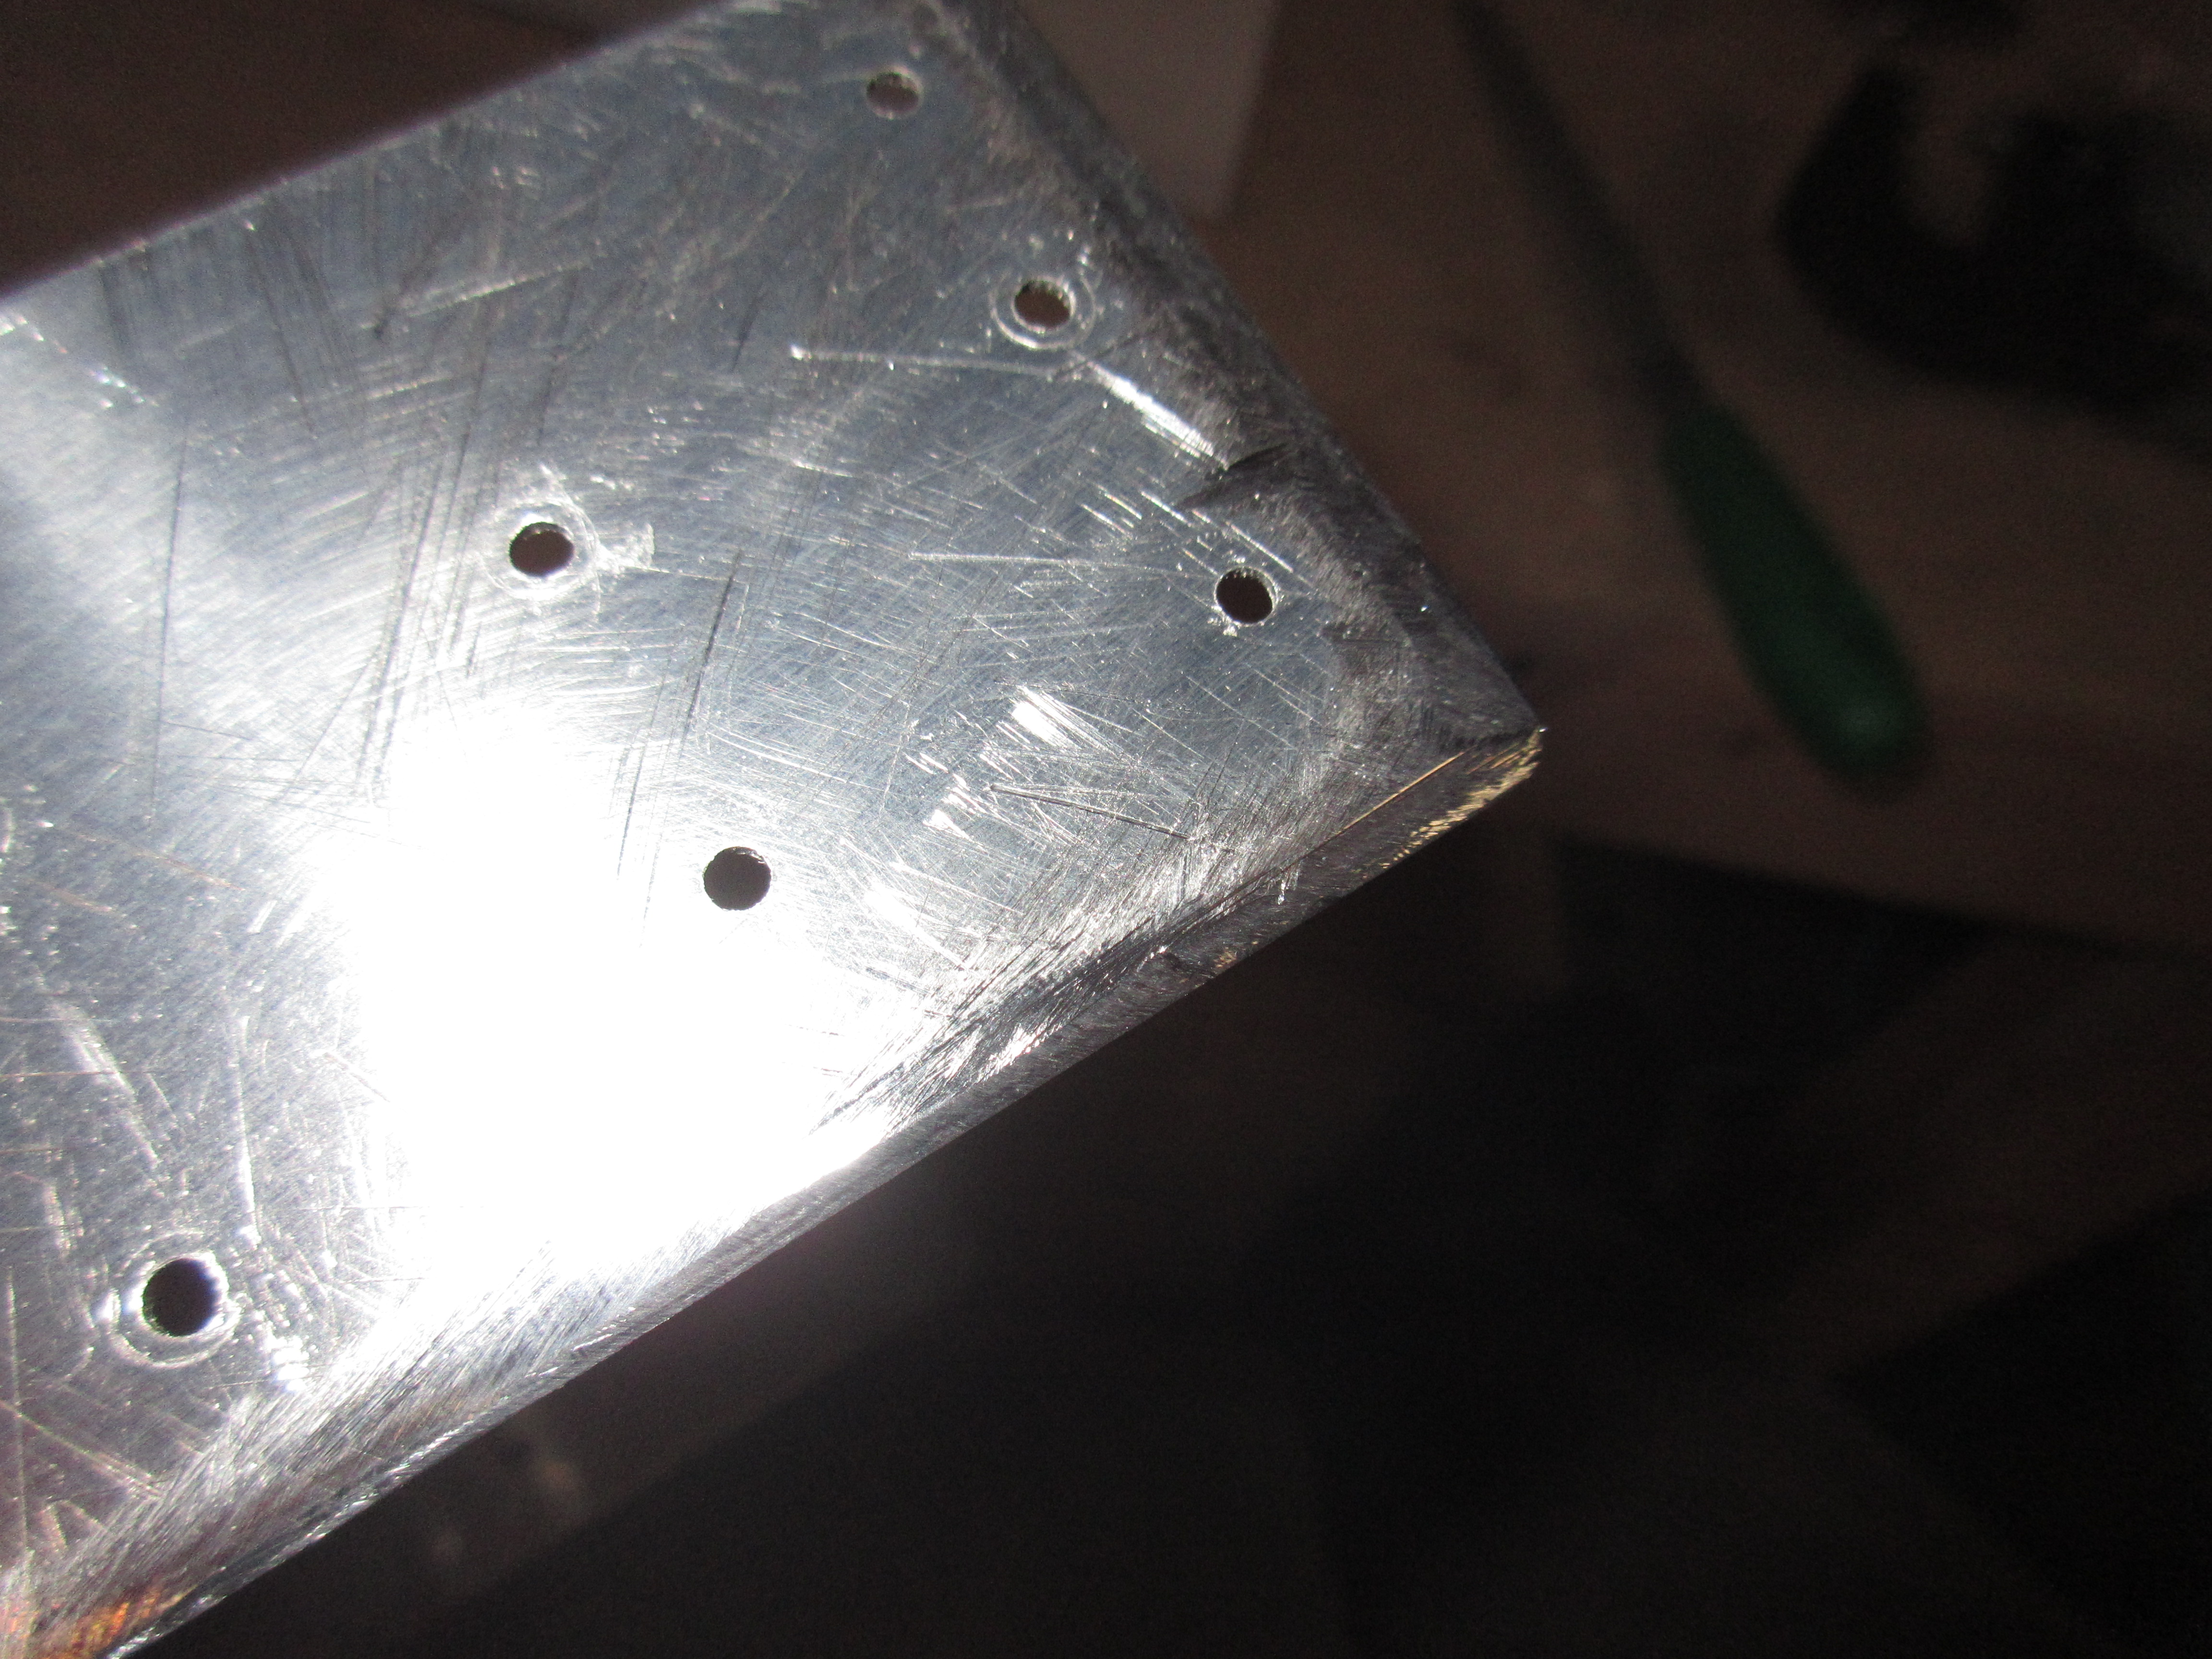
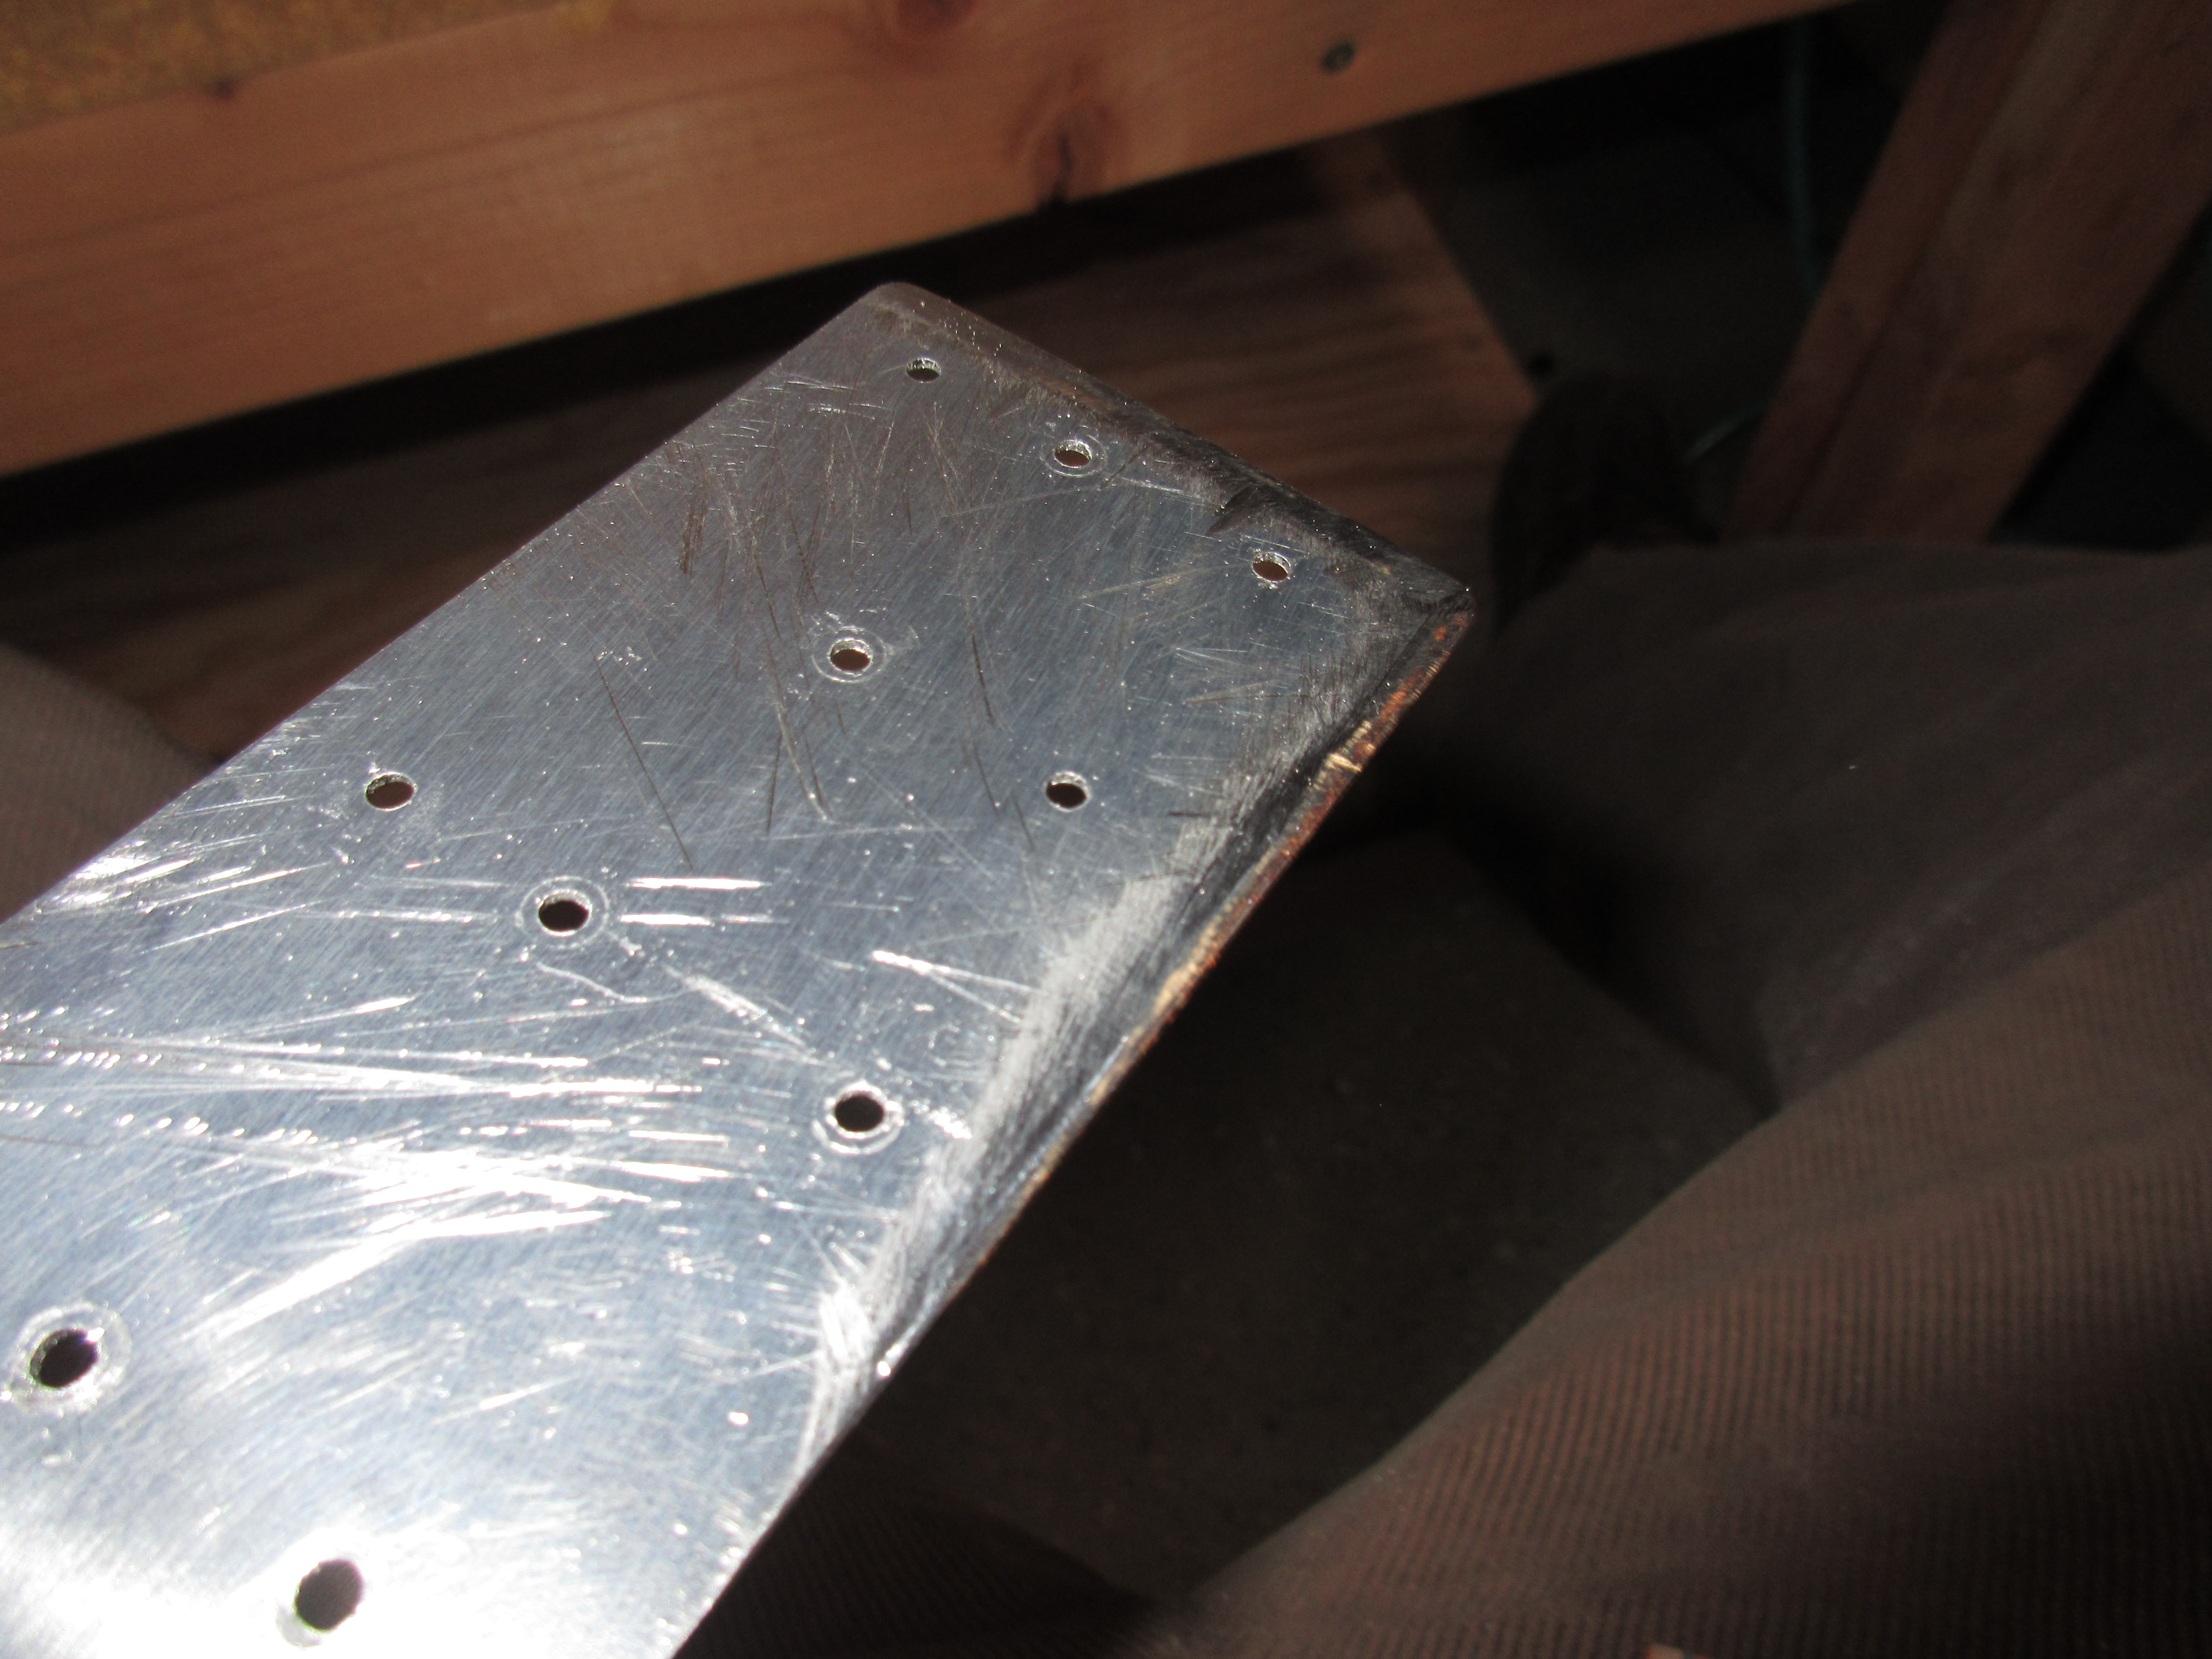
So, I deburred all the holes, and chucked up my countersink cage in my drill and countersunk every hole along the TOP of the E-606PP, checking each one with a rivet to make sure it was flush. Then I used my squeezer and a 3/32 dimple die to dimple the BOTTOM of the E-606PP, except for the last two holes. They were too tight to fit the squeezer, and the spar was too thick for the pop rivet dimple die, so I just machine countersunk the last two holes on the bottom. Simple and easy solution!
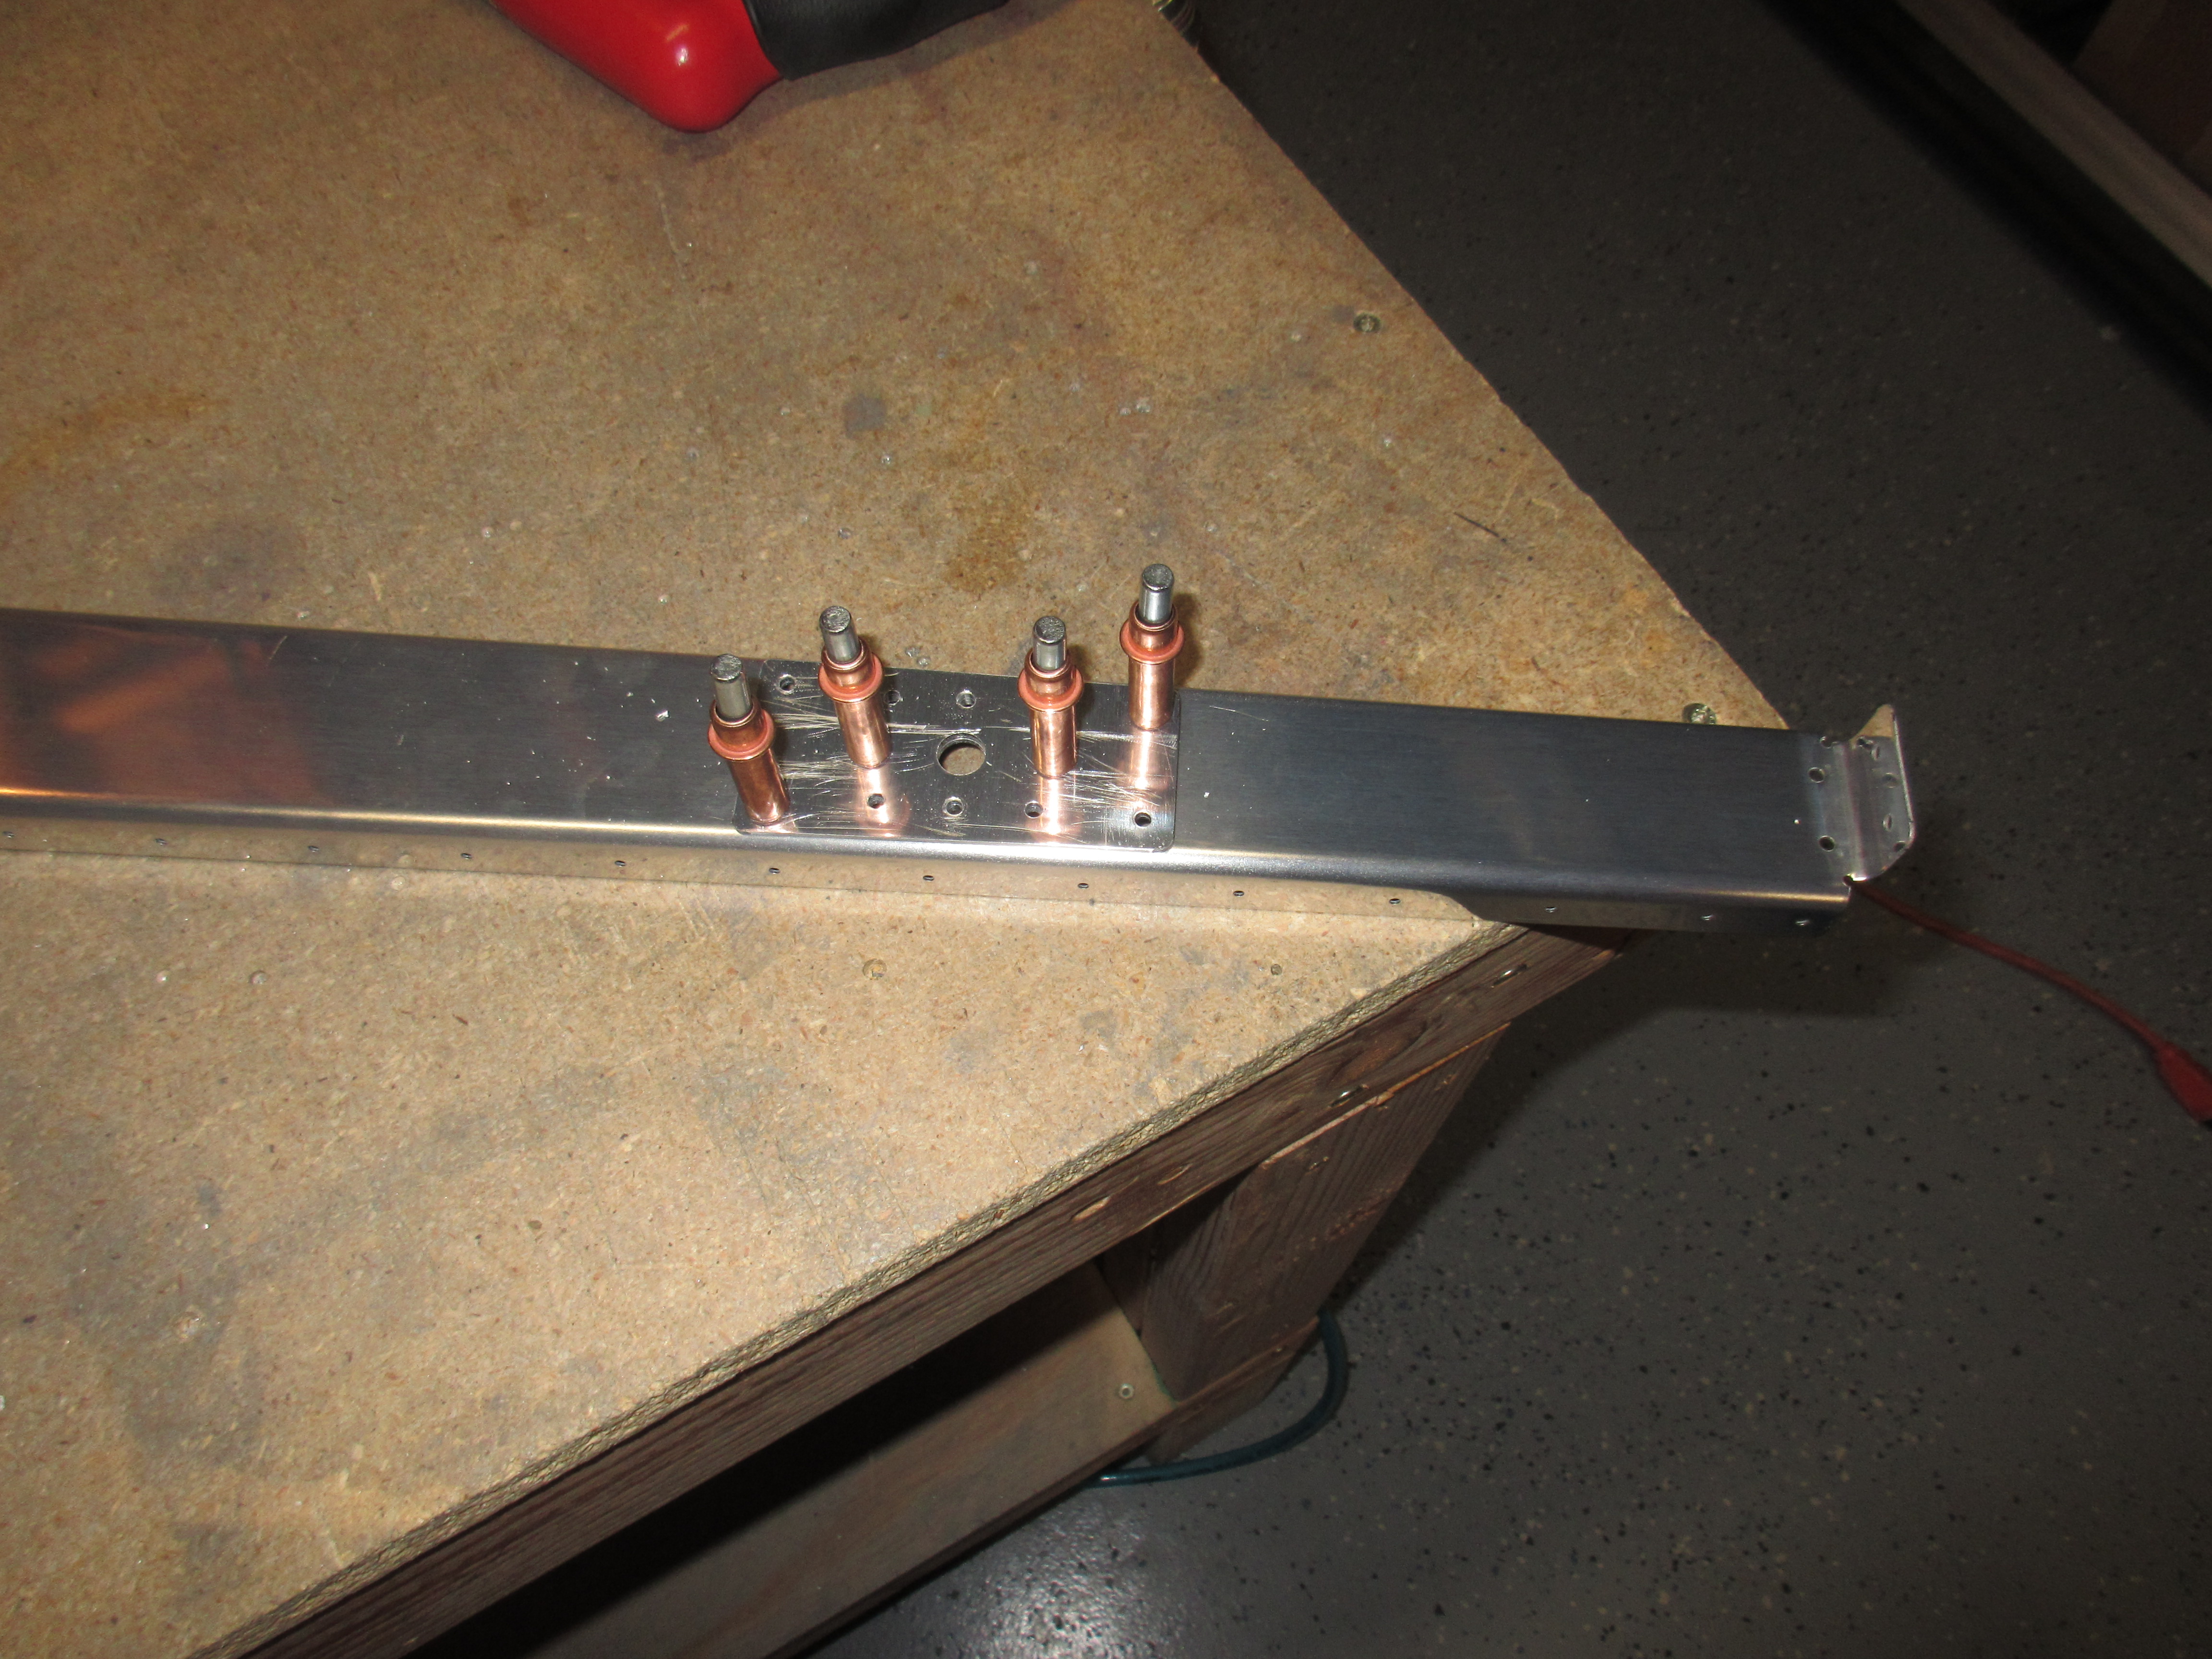
Then I machine countersunk the two holes that attach the E-606PP to the E-705 root rib, orienting the countersink so that the flush rivet will go in with the flush head on the aft face of the E-606PP. This will eliminate any chance of interference during the trim tab travel, and make it look nice and neat in this area. The plans said we could do the countersink on either side of the hole, so I chose to do it this way. Then, I dimpled the holes for the E-705 to R-702. Vans calls for this to be machine countersunk, due to the sharp bend on the E-705 root rib, making it hard to dimple, but I was able to get my dimple dies in there and squeeze them without any problems. We have to use flush rivets here because the WD-605-1-L elevator horn fits over this intersection. Lastly, the only thing left in this section is to bevel the edges of the E-713 counterweight skin so that the E-701 will overlap it very smoothly where they meet. I used my file to work the edges into a nice bevel where the two skins meet. This worked out very nicely on the right elevator, so I used the same technique here.
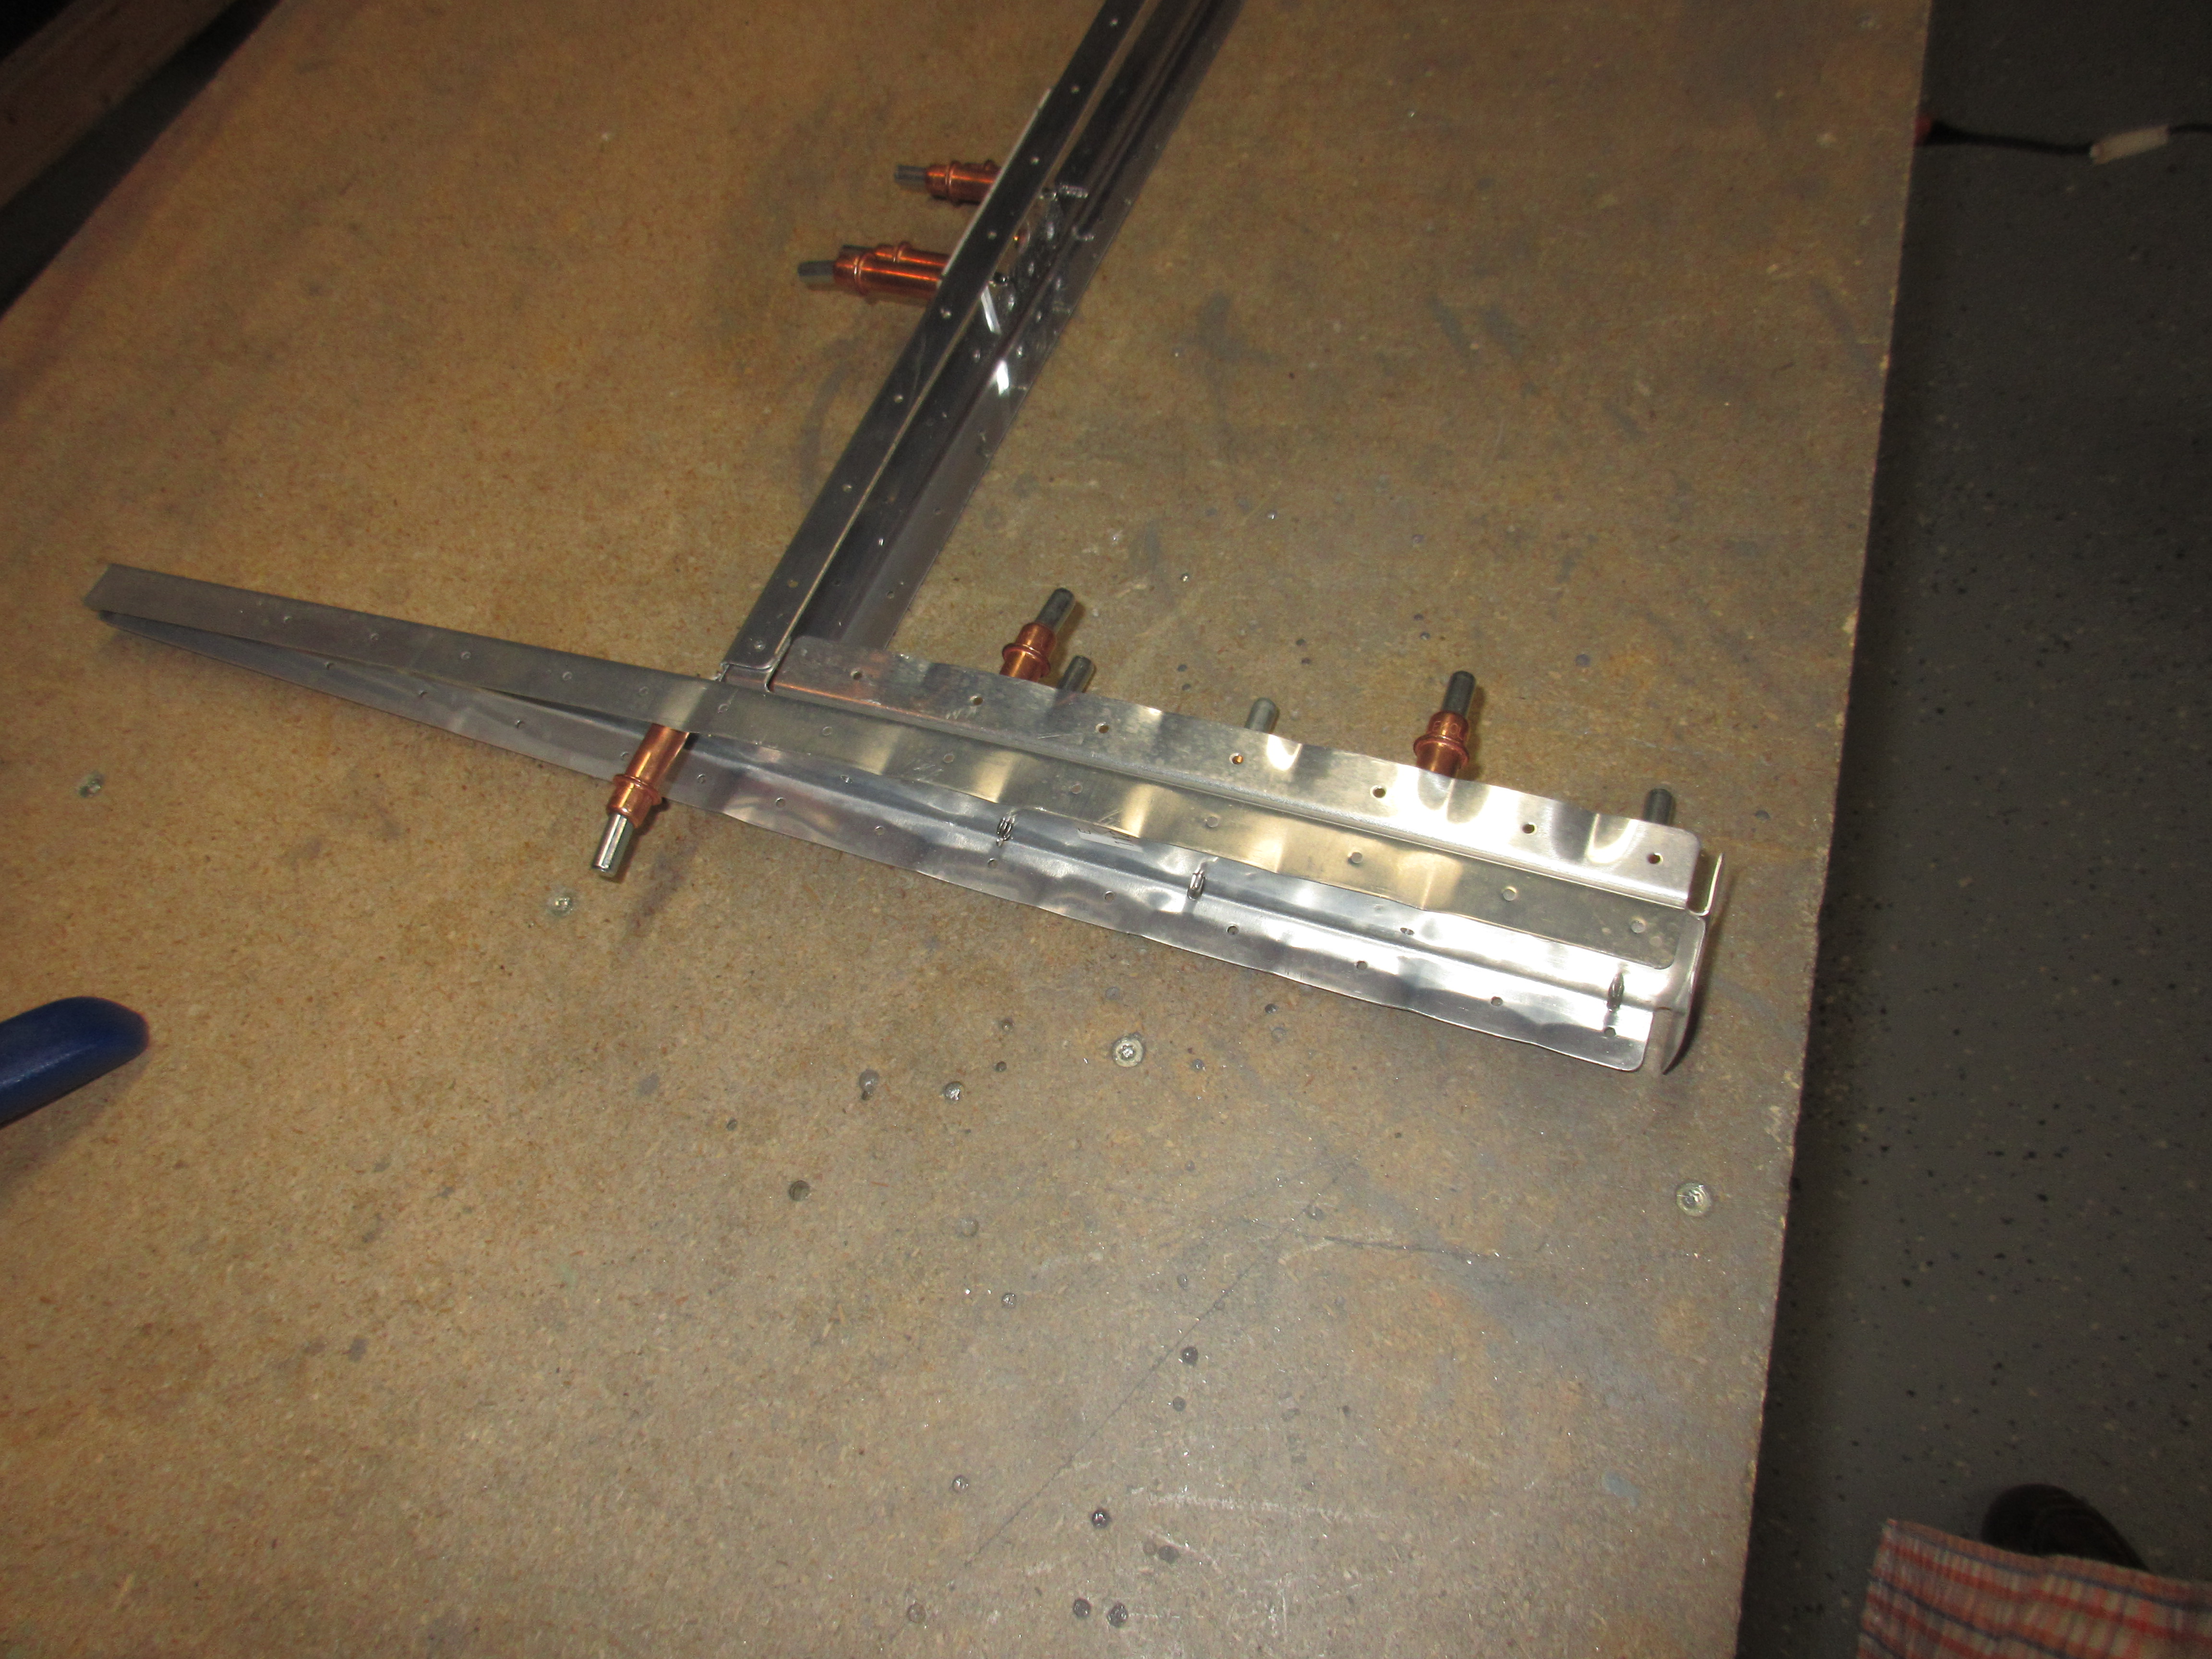
With that, the right elevator has been assembled and ready for all the parts to be dressed. In the next few sessions I will work on deburring all the holes (so many holes deburred at this point!), dressing all the edges with the scotchbrite wheel and then priming them. Follow that with dimpling and final assembly! Here is the photo album from tonights work:
Google Photos Link: https://goo.gl/photos/rpvXUguFpbjwQyqd7
Hours Worked: 4