https://spareveil.com/privacy-policy/ Another priming day. I really don’t enjoy priming, its probably the only part of building an airplane that I despise. It very well could be my process, so I think I will try something different on the ribs. However, I followed my normal routine for the spar parts:
Purchase Tramadol Without Prescription- Scuff all the parts with maroon scotchbrite pads. My goal was to not take off the alclad, but give the primer a good surface to adhere to. I figure having alclad AND AKZO primer would give me good protection.
- Clean the parts with acetone. This gets rid of oils, scuffing dust, and other contaminants that would cause the primer to not stick. I have found I have to clean each part three times with a fresh paper towel before the paper towel comes up clean.
- Spray the parts with primer.
https://drsurdis.com/contact/ Now, this may not seem like a lot of work, but all that scuffing and cleaning is boring and very tiresome (repetitive). I am seriously considering switching methods to the Alumaprep, Alodine and primer methods as they dont require no where near the scrubbing and scuffing. I could just dunk the parts in bulk into tubs of the stuff and let it do its magic.
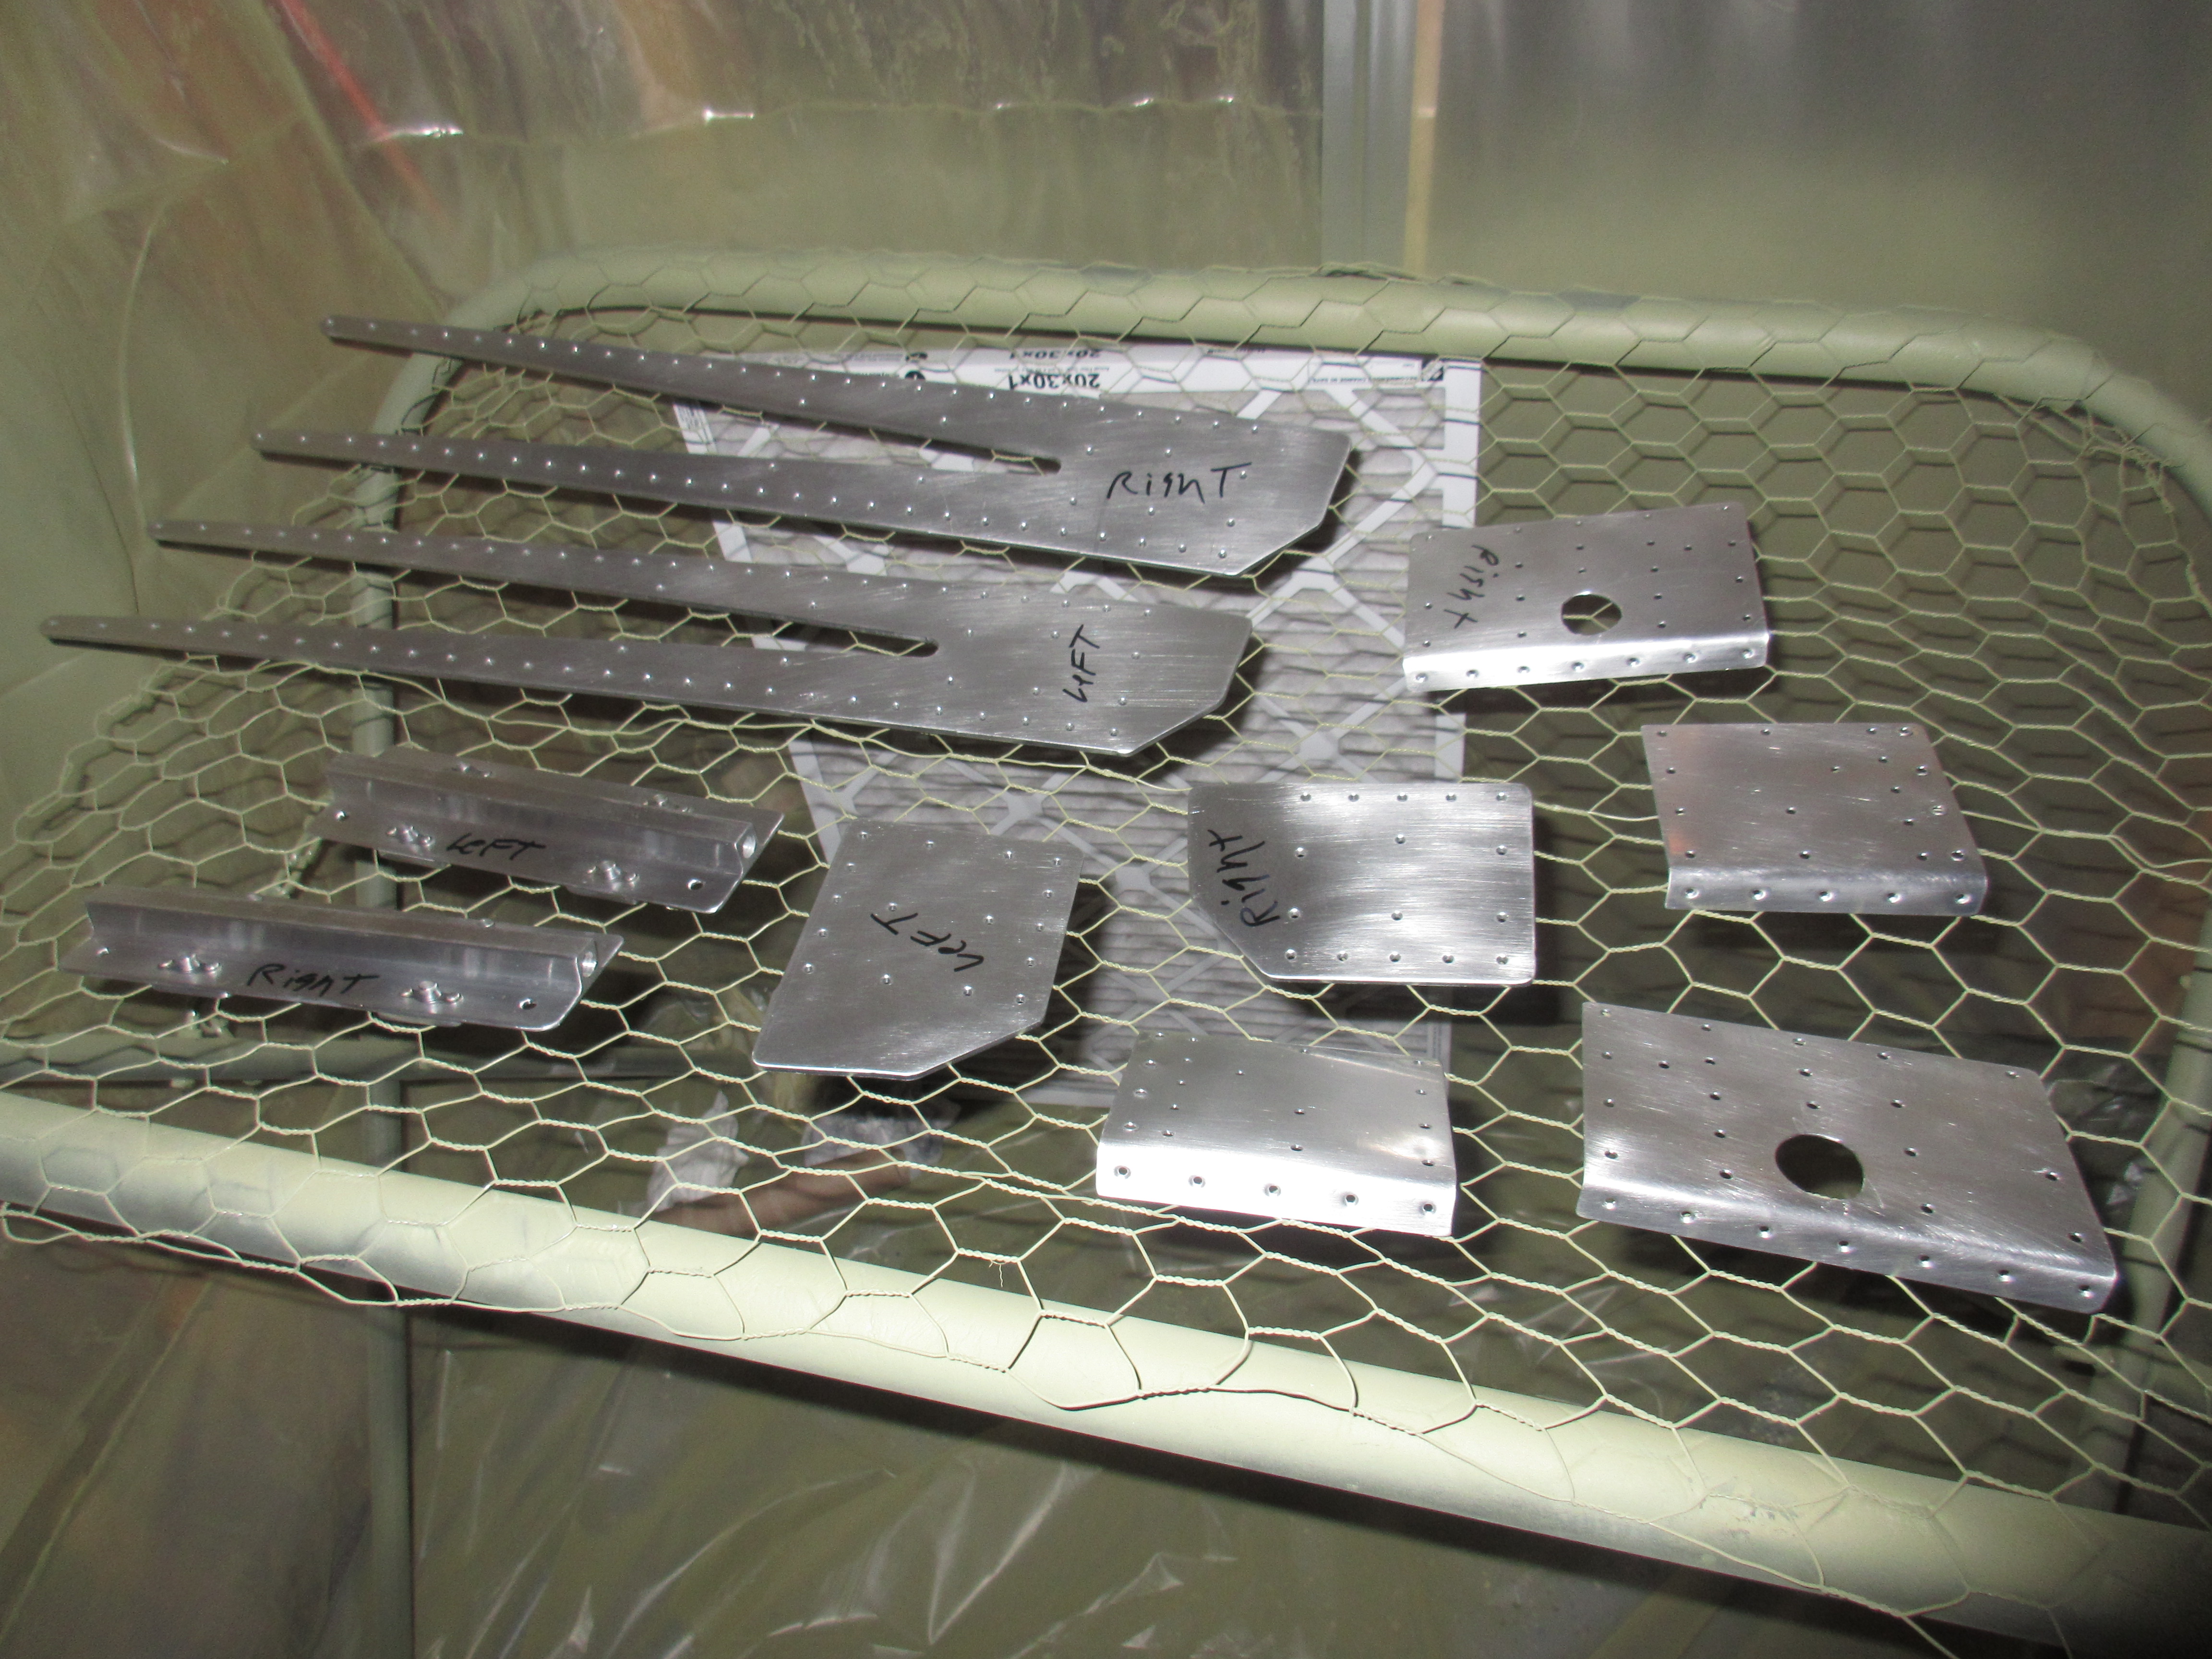
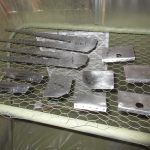
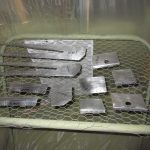
https://www.maderaplasticabarahona.com/contactos/follow url Anyways, I followed my normal procedure for now, and scuffed up all the parts, cleaned them with acetone and then sprayed AKZO. Here’s the photos of where I had them all scuffed up, cleaned and re-marked ready for priming.
see url
Buy Ambien Online Without Prescription 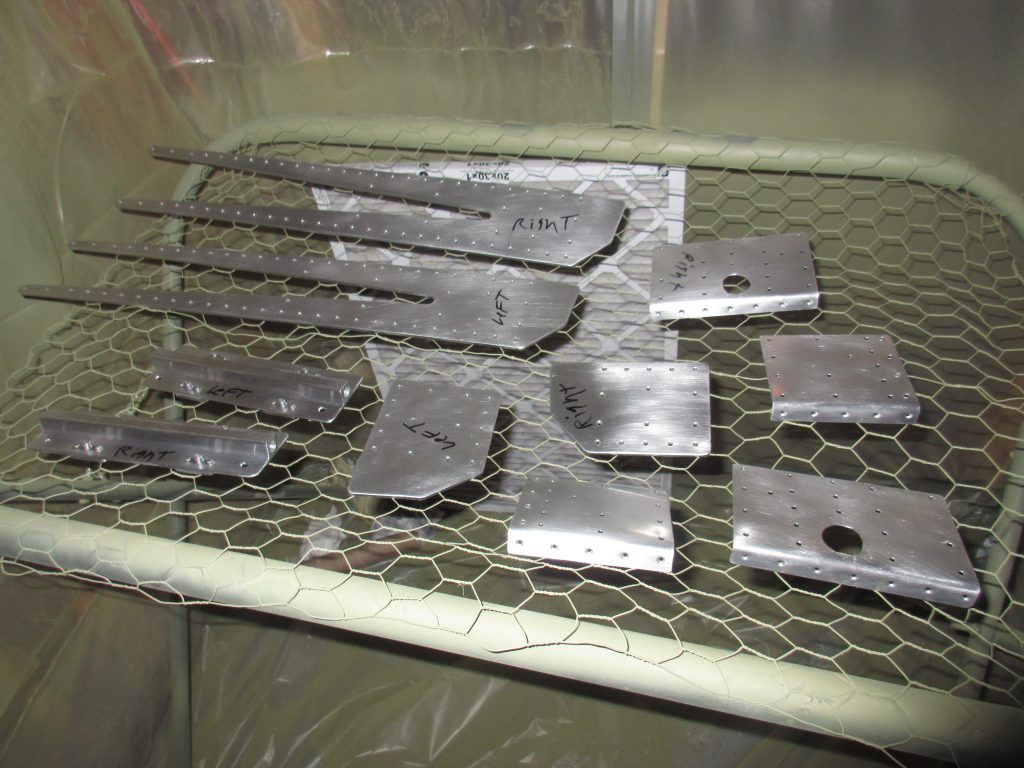
follow site I will admit a mistake:
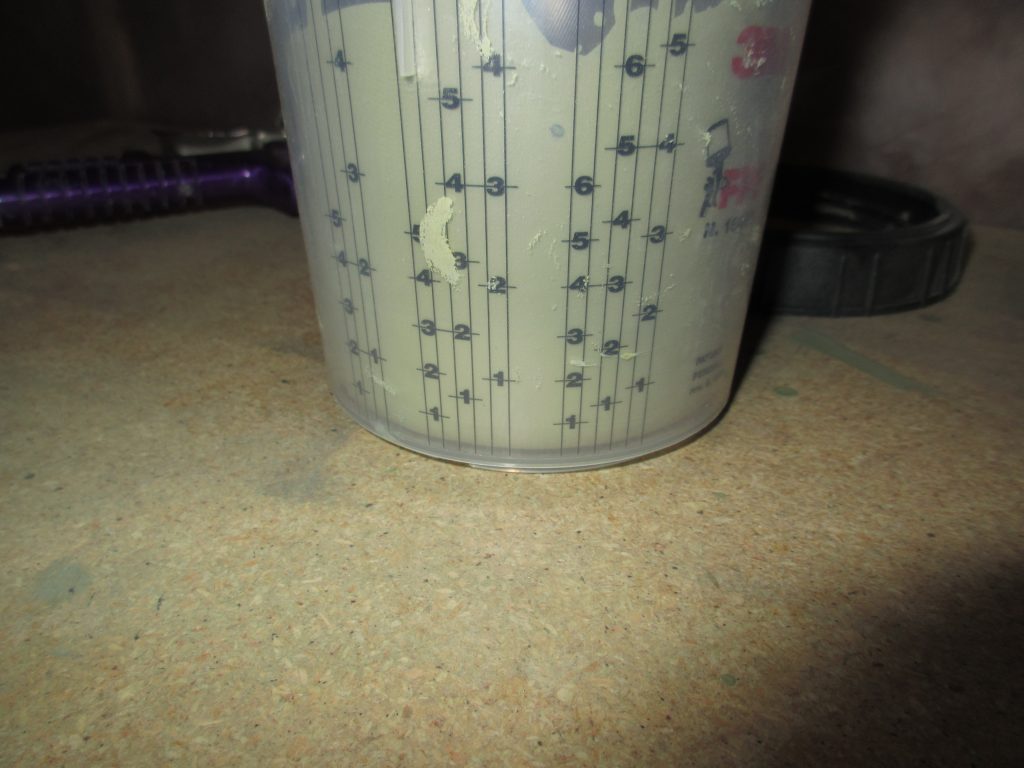
https://thepinkyproject.com/2017/02/give-lovebook/https://eternaclinic.com/acne-treatments/ It’s hard to see but I only mixed up about 3 ounces of AKZO (1.5 of parts A and B). I let it have its 30 minute induction time, while I suited up. I thought it would be enough but I learned about halfway through my spray session that it was not enough. I was only able to finish about 90% of the parts, and I needed to go back and touch up some bare spots on the spars. SO… thats my mistake. I had to mix up a second batch, this time doing another 2 ounces of mixed primer and let it sit another 30 minutes to induct. After it was ready, I finished up my priming session, and left the parts in the booth so the offgases would get ventilated outside. AKZO has a tendency to off-gas as its curing, and its a strong smell, so they can hang out in the booth for a day or two and cure.
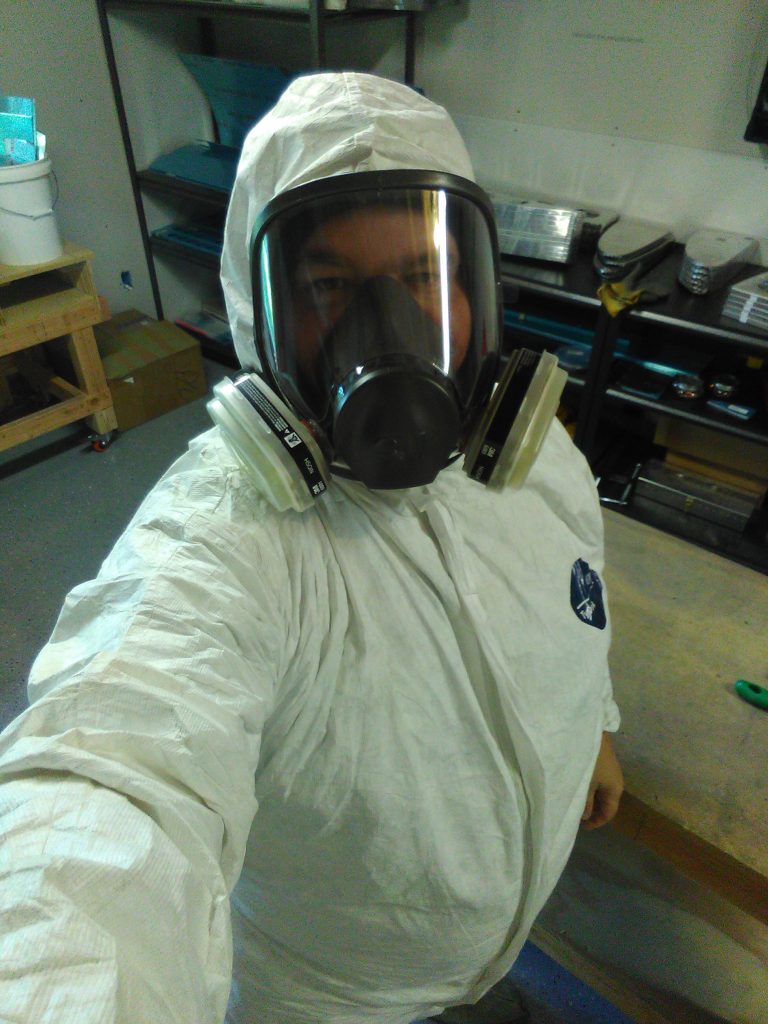
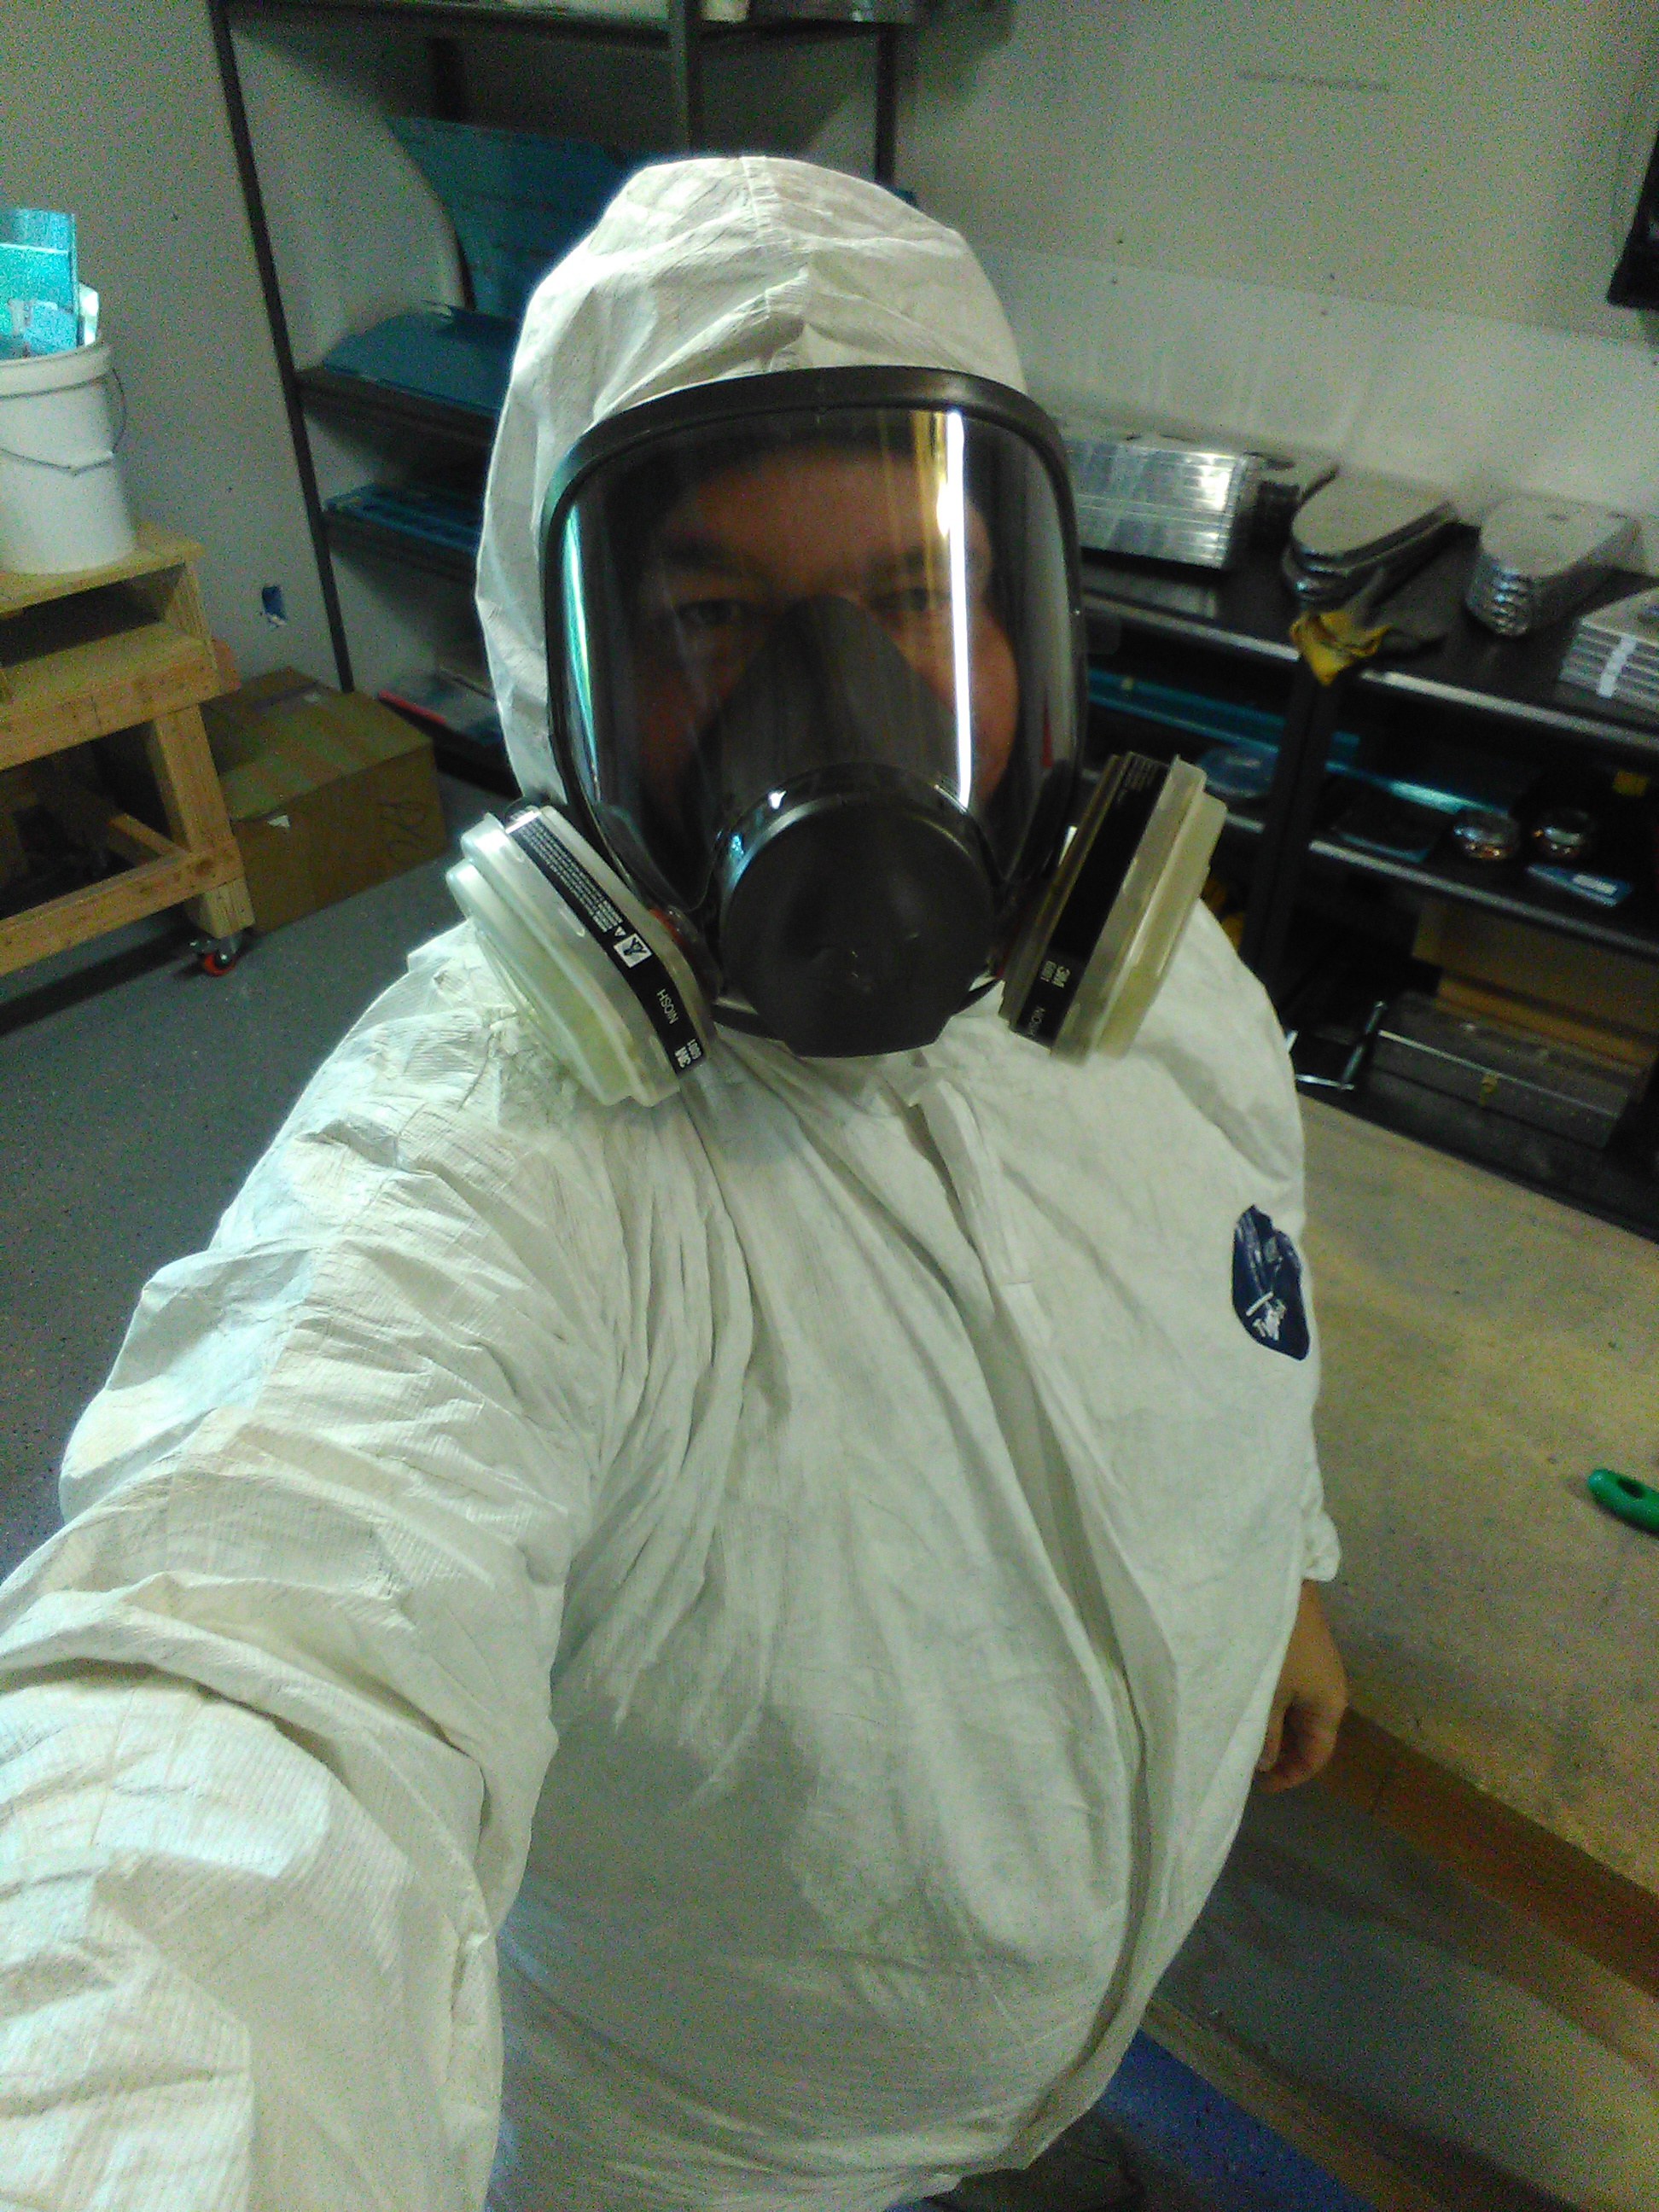
follow site Of course, heres the painter selfie for proof that I did the work
source url Here’s all the photos from tonights work. I’ll add the rest of the photos when the parts cure and I can get them out of the booth and in to good light to snap some photos.
https://www.turtleopticians.com/eye-exams/ Google Photos link:
Hours Worked: 3.5


