


see url I spent about 3.5 hours on riveting the horizontal stabilizer, and ended up getting the left side completed, and ready for the rear spar. I also got a start on the right side and have it ready for final riveting.
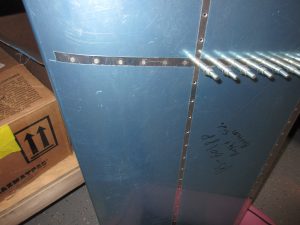
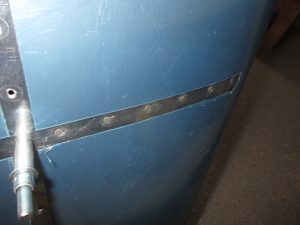
go siteBuy Valium 10 Mg Online First off I riveted the HS-706 to the front spar HS702 using universal head rivets. These were quick and easy:
https://colvetmiranda.org/ley-del-ejercicio-de-la-medicina-veterinaria-en-venezuela/ https://www.fogliandpartners.com/professionisti/
Order Xanax No Prescription The skin riveting work started out by riveting the ret of the skin to the skeleton, on both sides. George Orndorf suggests riveting from where the HS-707 and HS-708 meet at the front spar (HS-702), and then working your way outward from that center point. This helps to reduce any oil-canning that may occur and its also a lot easier to do. So, I started out at that junction but using an AN4263-4 rivet. The -4 length is needed here because the ribs, spar and skin are all riveted together. The plans calls for an AN4263-3.5 rivet everywhere else on the skin. Here is where I first started riveting:
here
https://www.infoturismiamoci.com/servizi-offerti/ 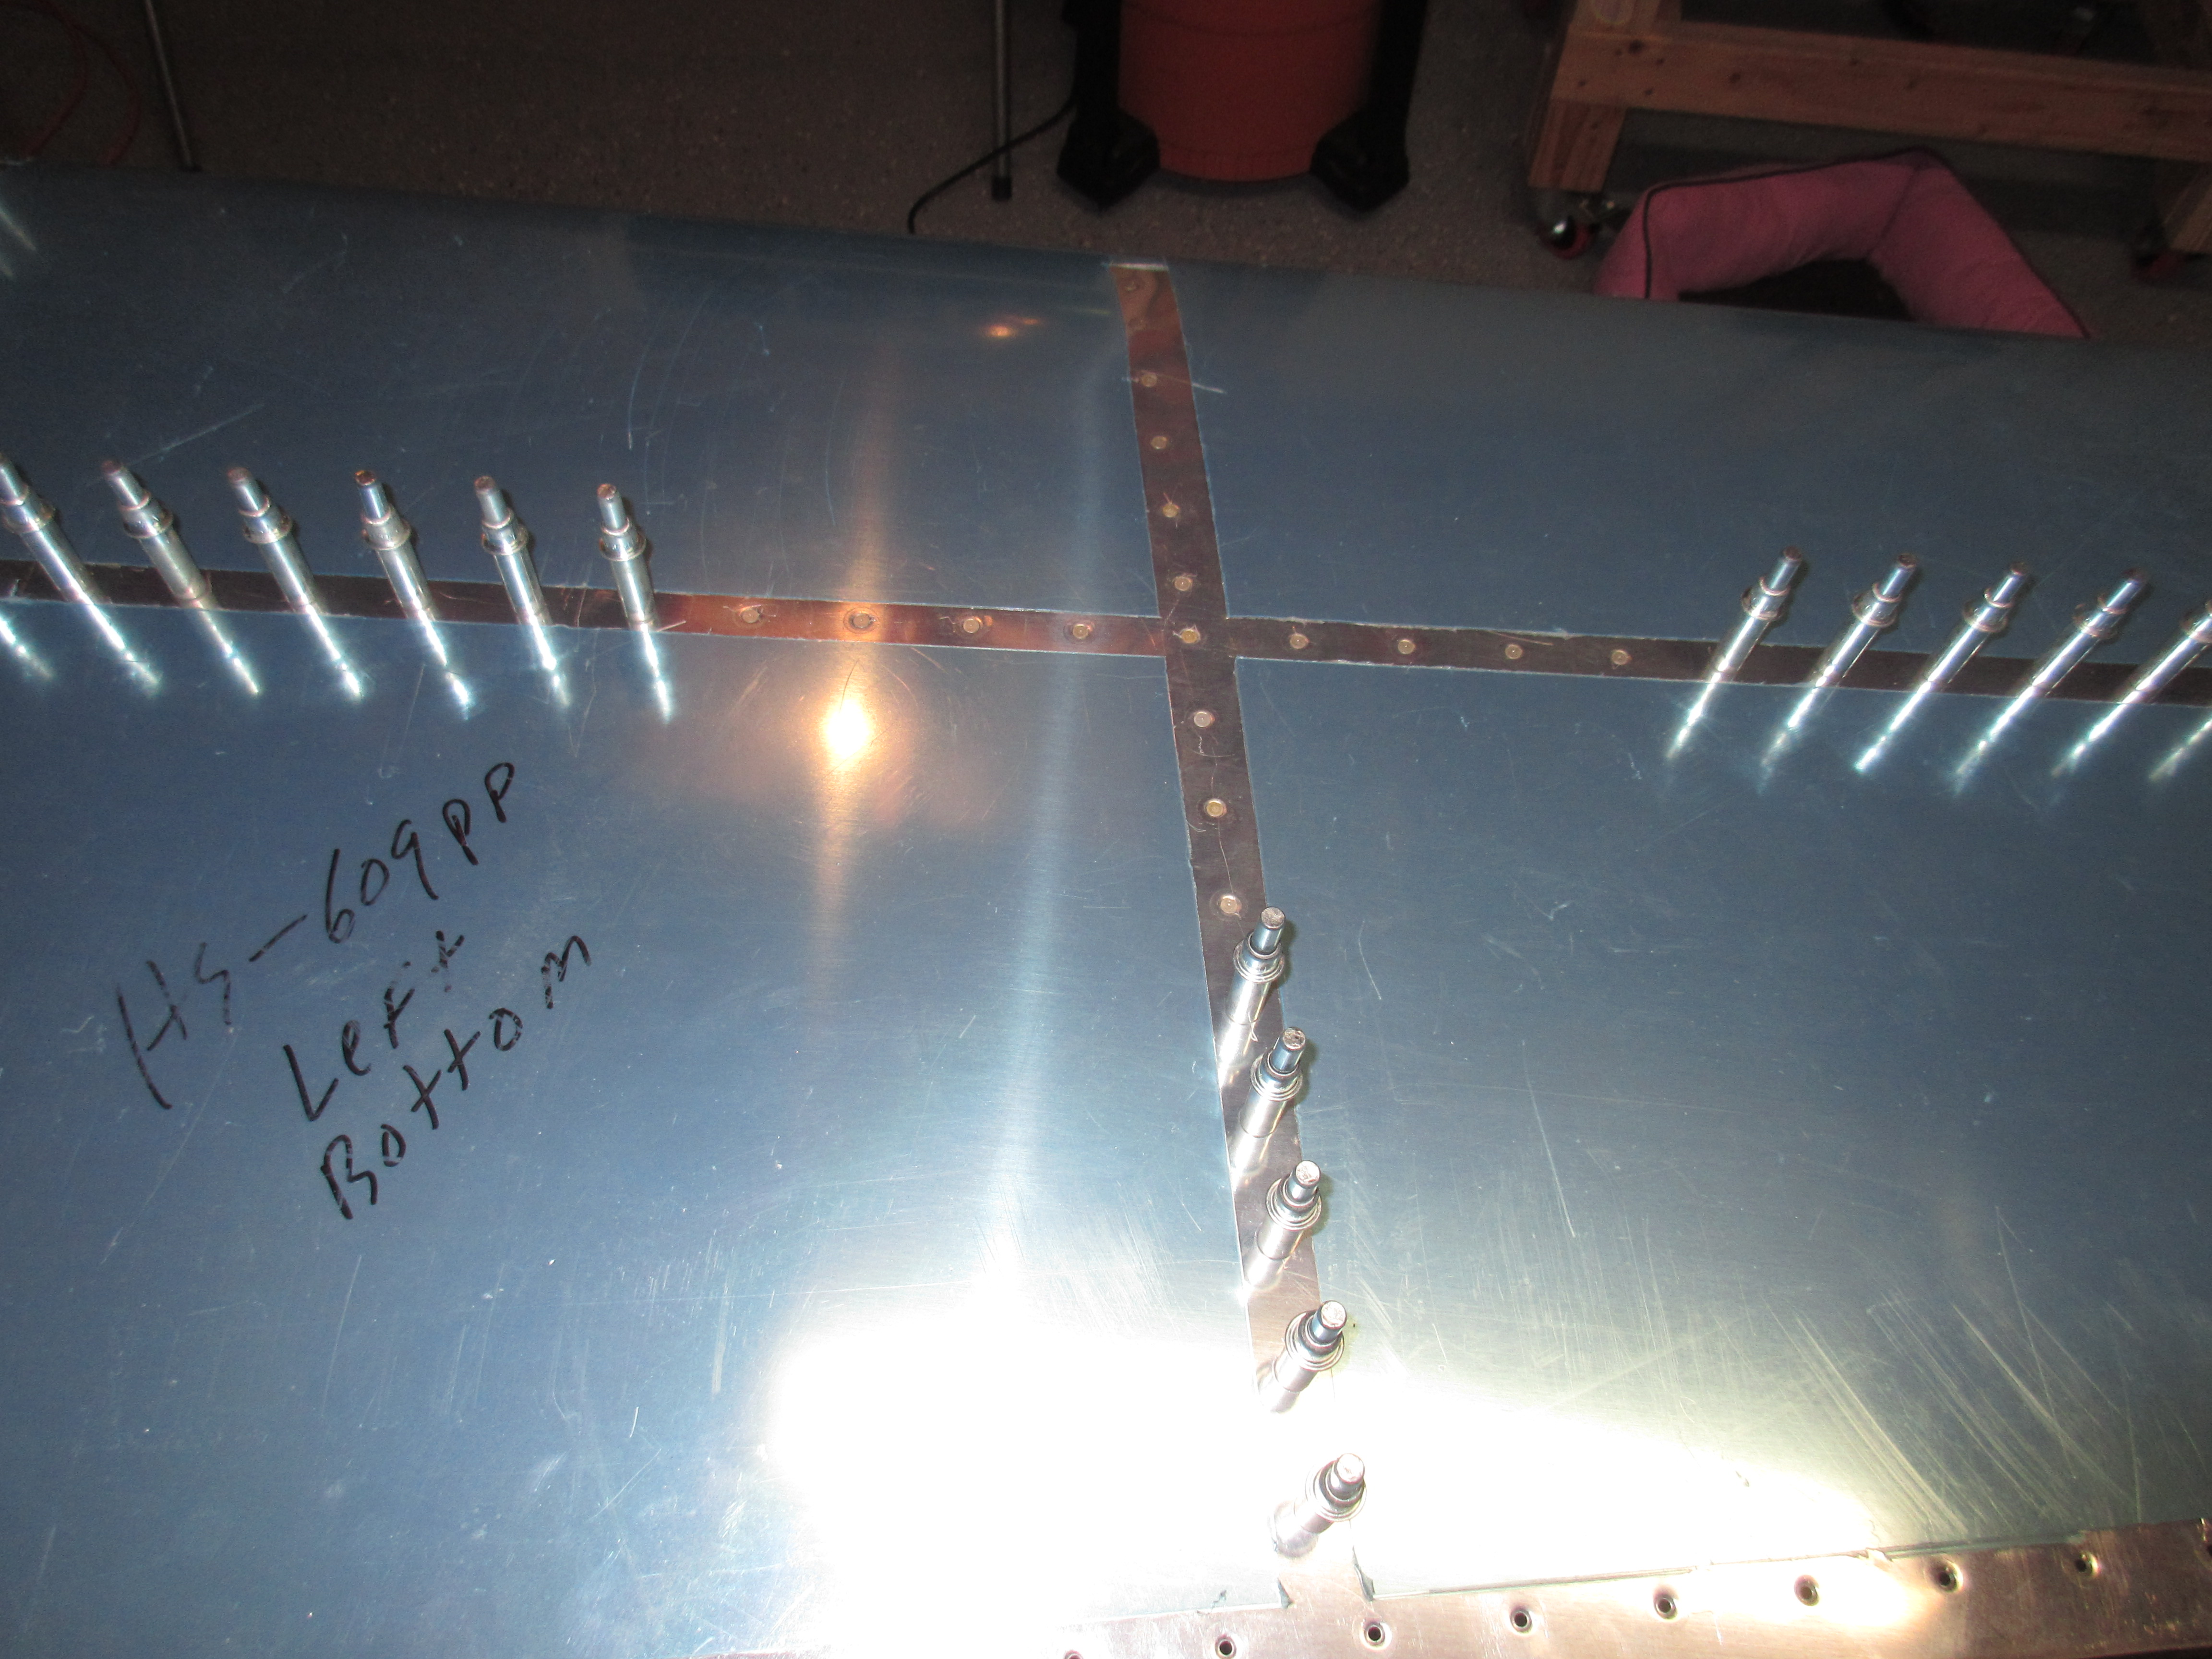
Buy Soma Online These came out pretty great and I checked each one using a rivet gauge to make sure I was setting correctly. Then I just continued radiating outward from that center point, working left-right-center in order until I reached the edges. I am happy with the results, there was no denting, dishing or smiles! Looks smooth and flush:
Purchase Xanax Online

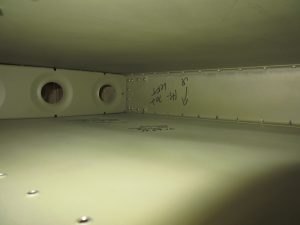
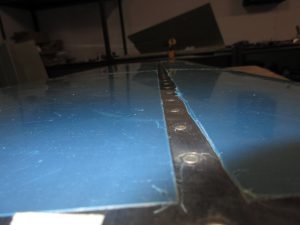
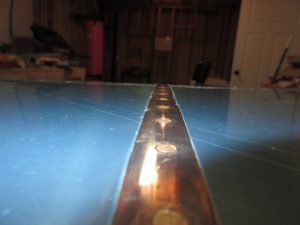
click And here are a few shots of the completed left horizontal stabilizer, inside and out:
https://www.psychiccowgirl.com/qualifications/


go to site After I finished up the left stabilizer, I had some time left so I moved on to starting the right horizontal stabilizer. Its done exactly the same as the left, so I followed the plans like I did last time. I cleco’d HS-707 nose rib to the skin and then riveted it to the top skin. Then I used HS-708 and HS-706 to hold the skin in place with clecos while I riveted HS-707 to the bottom skin. Then I pulled HS-708 out and inserted the HS-702 front spar assembly. Now this thing is starting to look like an empennage!
Buy Tramadol 100 Mg Online
https://auracareclinic.com/dental-crowns/ 
https://gottbs.com/procurement/ After getting both sides of the right stabilizer clecoed in place to keep any undue stress from the skeleton, I called it a night. I will rivet this skin to the skeleton as well as HS-706 to HS-702 in the next work session.
source urlsource site Here is all the photos from tonights work:
Order Pregabalin Online


https://luckydubz.com/inkstories/ Link to the Google Photos for tonights work: https://goo.gl/photos/GxeabPSKq5DGGumt9
Pregabalin 300Mg Buy Online Hours Worked: 3.5